mNo edit summary |
m (→Description) Tag: Visual edit |
||
| (13 intermediate revisions by 7 users not shown) | |||
| Line 1: | Line 1: | ||
{{Next-Gen}} |
{{Next-Gen}} |
||
| − | {{Under Construction|new=y}} |
||
{{Infobox vehicles |
{{Infobox vehicles |
||
|name = Sugoi |
|name = Sugoi |
||
| Line 13: | Line 12: | ||
|price = [[Money|$]]1,224,000<br>$918,000 <small>([[#Locations|trade price]])</small><br><small>([[Southern San Andreas Super Autos]])</small> |
|price = [[Money|$]]1,224,000<br>$918,000 <small>([[#Locations|trade price]])</small><br><small>([[Southern San Andreas Super Autos]])</small> |
||
|appearances = ''[[Grand Theft Auto Online]]'' {{DLC|GTA Online: The Diamond Casino Heist}} {{NG}} |
|appearances = ''[[Grand Theft Auto Online]]'' {{DLC|GTA Online: The Diamond Casino Heist}} {{NG}} |
||
| − | |related = [[Blista]] |
+ | |related = [[Blista]]<br>[[Sultan]]<br>[[Sultan RS]]<br>[[Elegy RH8]]<br>[[Surge]]<br>[[Flash GT]] |
|variants = |
|variants = |
||
|makeyear = |
|makeyear = |
||
| Line 52: | Line 51: | ||
{{Quote|How do you let people know you're interesting and exciting without engaging in conversation, or even making eye contact? The Dinka Sugoi has as much finish and flash as the elaborate mating ritual of a bird of paradise. Just paint it bright, beam the lights and powerslide your way round town to lure the admiration and friendship that you alone could not.|[[Southern San Andreas Super Autos]] description.}} |
{{Quote|How do you let people know you're interesting and exciting without engaging in conversation, or even making eye contact? The Dinka Sugoi has as much finish and flash as the elaborate mating ritual of a bird of paradise. Just paint it bright, beam the lights and powerslide your way round town to lure the admiration and friendship that you alone could not.|[[Southern San Andreas Super Autos]] description.}} |
||
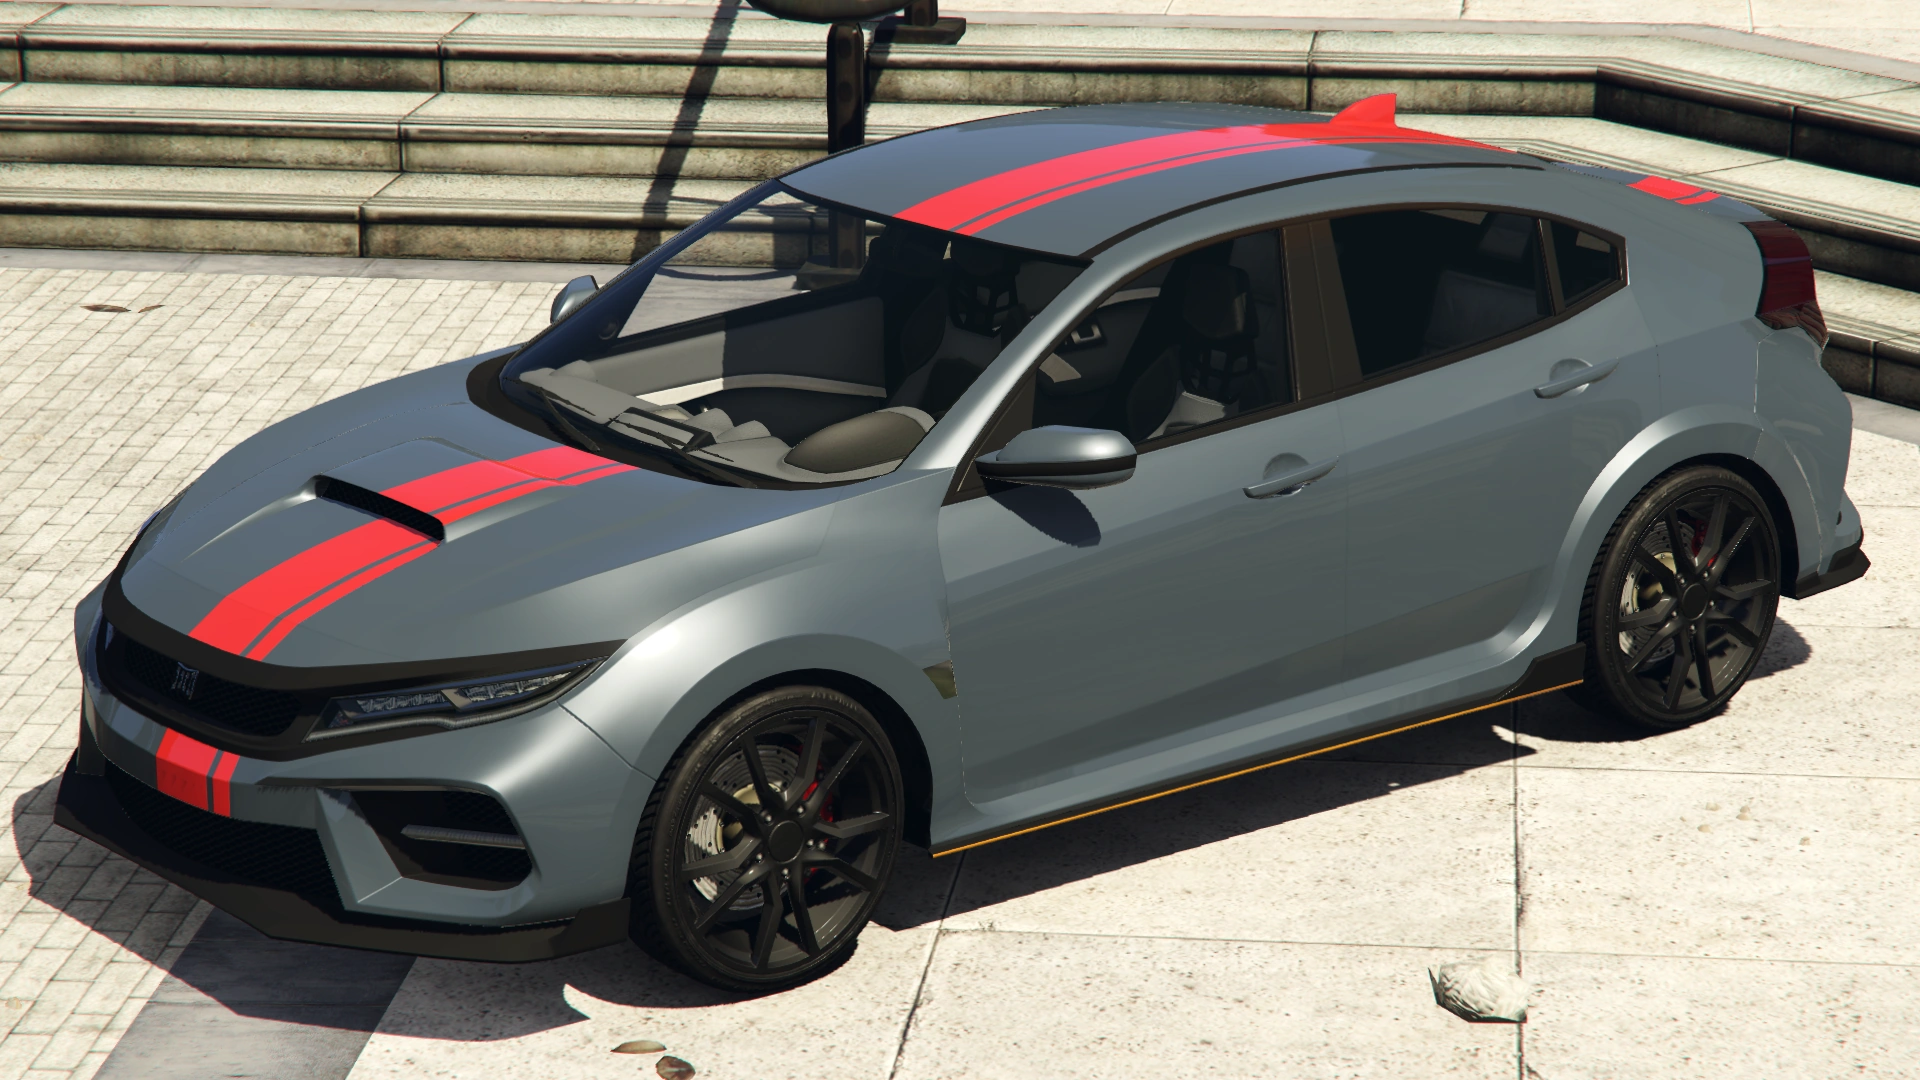
The [[Dinka]] '''Sugoi''' (Japanese: '''スゴイ''', lit. "Great") is a five-door hatchback featured in ''[[Grand Theft Auto Online]]'' as part of the continuation of the [[GTA Online: The Diamond Casino Heist|The Diamond Casino Heist]] update, released on February 13, 2020, during the [[Valentine's Day 2020]] event. |
The [[Dinka]] '''Sugoi''' (Japanese: '''スゴイ''', lit. "Great") is a five-door hatchback featured in ''[[Grand Theft Auto Online]]'' as part of the continuation of the [[GTA Online: The Diamond Casino Heist|The Diamond Casino Heist]] update, released on February 13, 2020, during the [[Valentine's Day 2020]] event. |
||
| + | |||
| + | ==Description== |
||
| + | The Sugoi was initially featured as a mission-only vehicle in the "[[Heist Prep: Getaway Vehicles|Getaway Vehicles]]" preparation and later used as a possible getaway vehicle in the [[Casino Heist]]. However, as of the [[Valentine's Day 2020]] event, it became available for purchase. |
||
==Design== |
==Design== |
||
===''Grand Theft Auto Online''=== |
===''Grand Theft Auto Online''=== |
||
| − | The Sugoi is based on the {{WP|Honda Civic Type R#FK8 (2017–present) (based on 10th generation Civic)|Honda Civic Type R FK8}}, with a lot of influence taken from the {{WP|Subaru Impreza#WRX STI 2|fourth generation Subaru WRX STI}} as seen in |
+ | The Sugoi is based on the {{WP|Honda Civic Type R#FK8 (2017–present) (based on 10th generation Civic)|Honda Civic Type R FK8}}, with a lot of influence taken from the {{WP|Subaru Impreza#WRX STI 2|fourth generation Subaru WRX STI}} as seen in the bonnet, front bumper, and side view. The shape of the tail lights seems to be reminiscent of the {{WP|Chevrolet Volt#Second generation (2016–2019)|second generation Chevrolet Volt}}. |
| + | |||
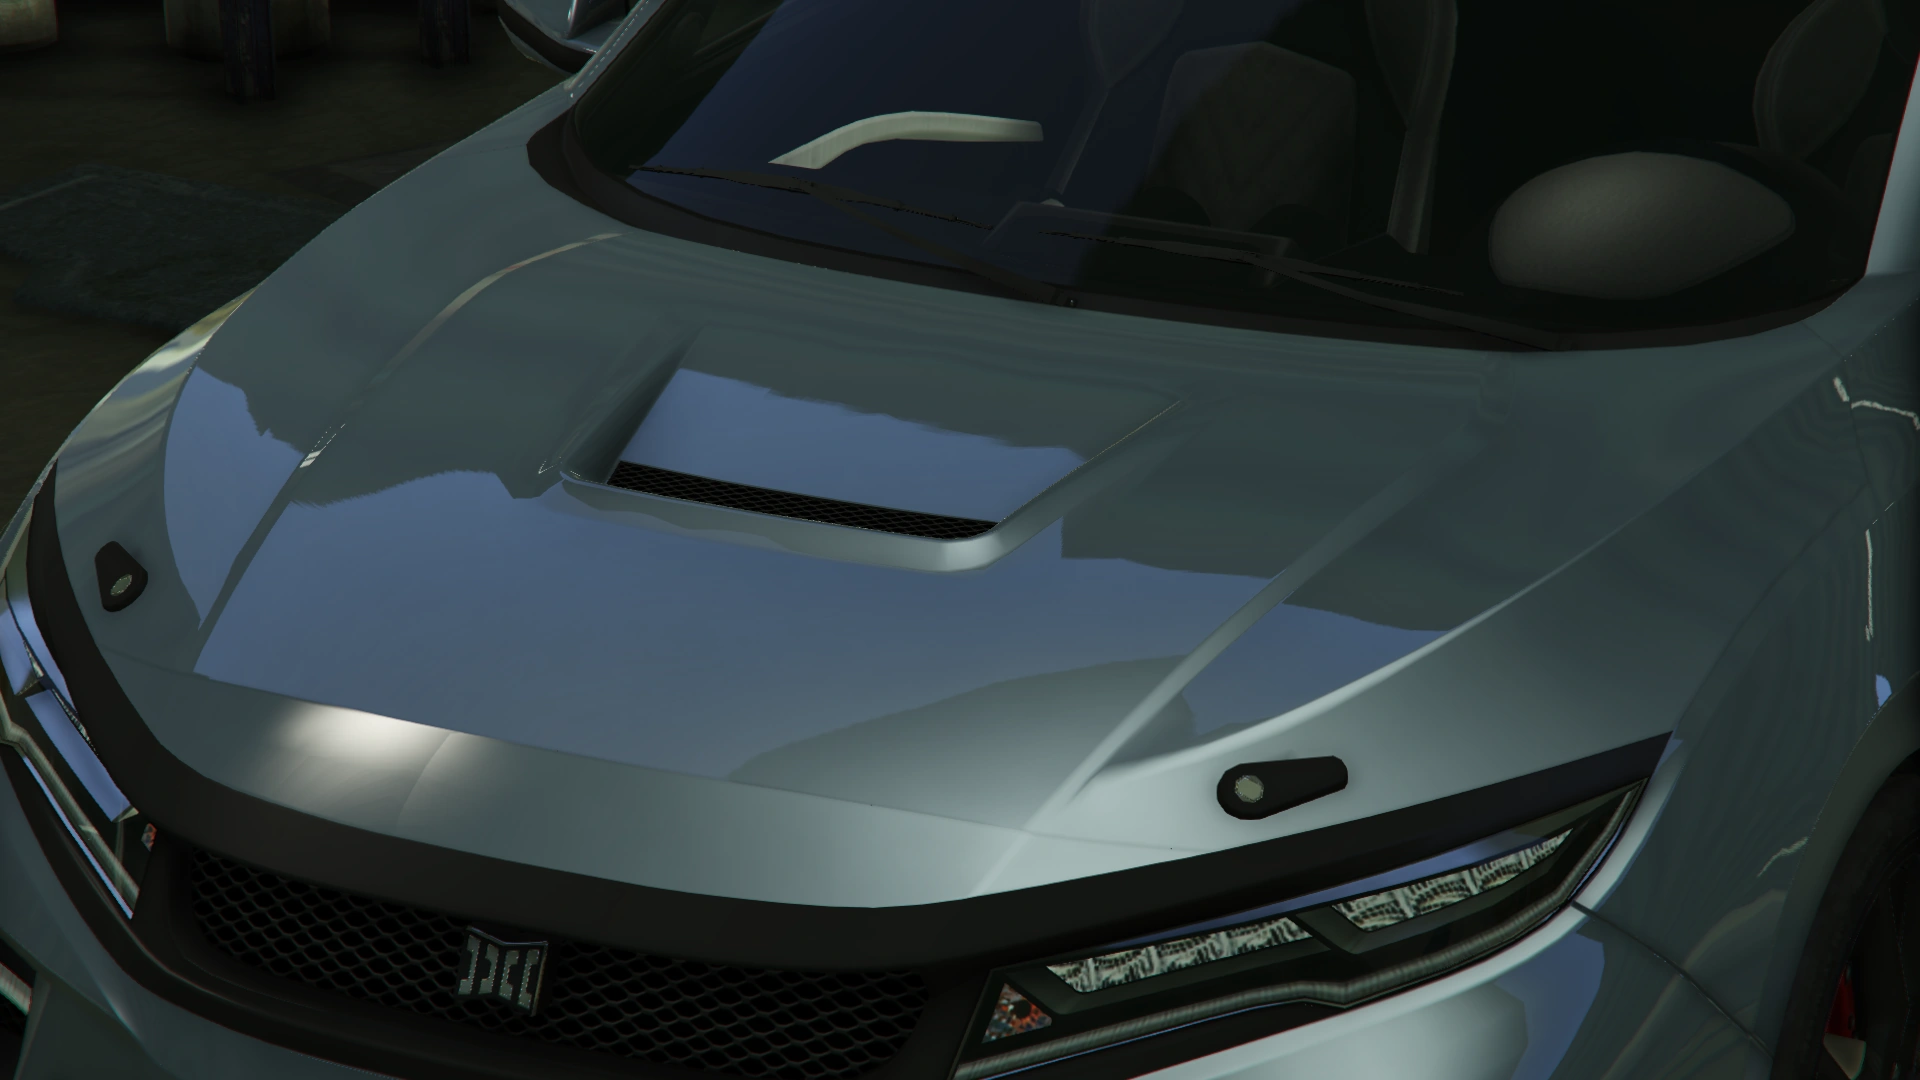
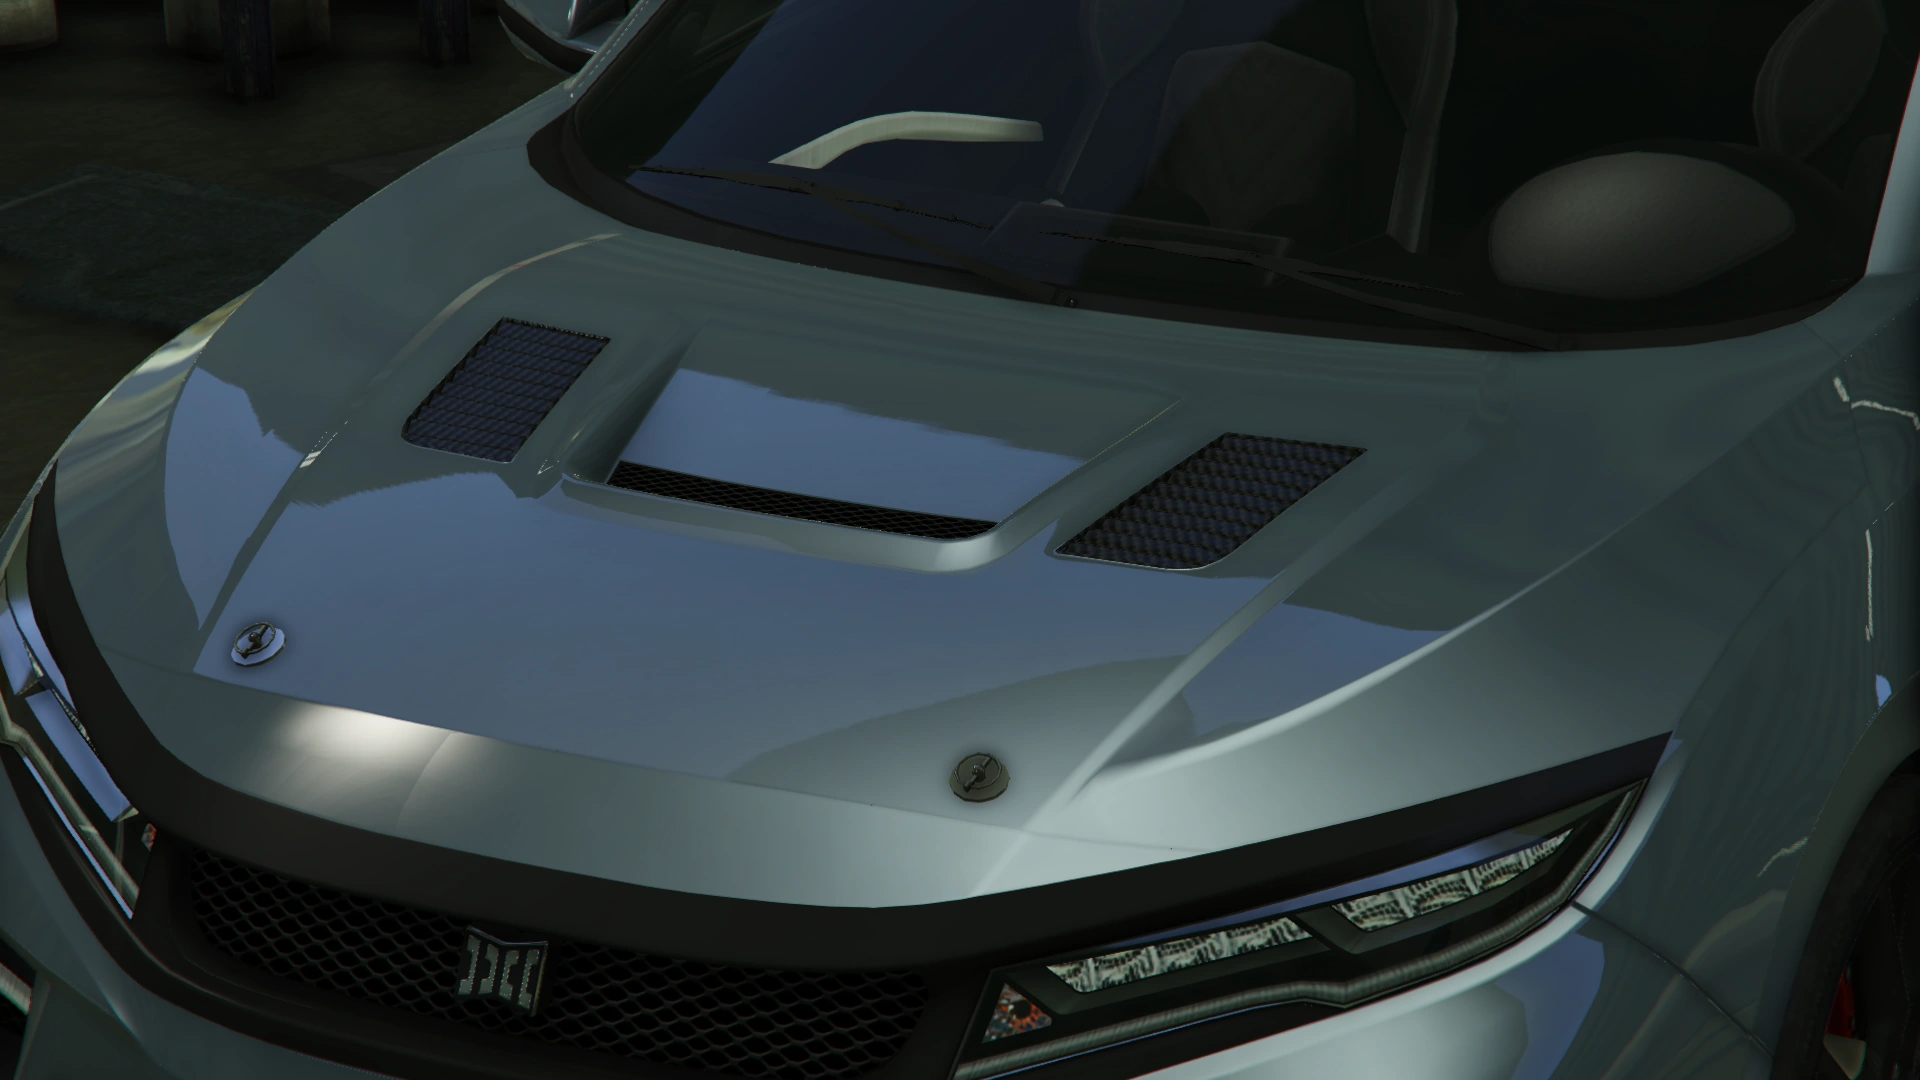
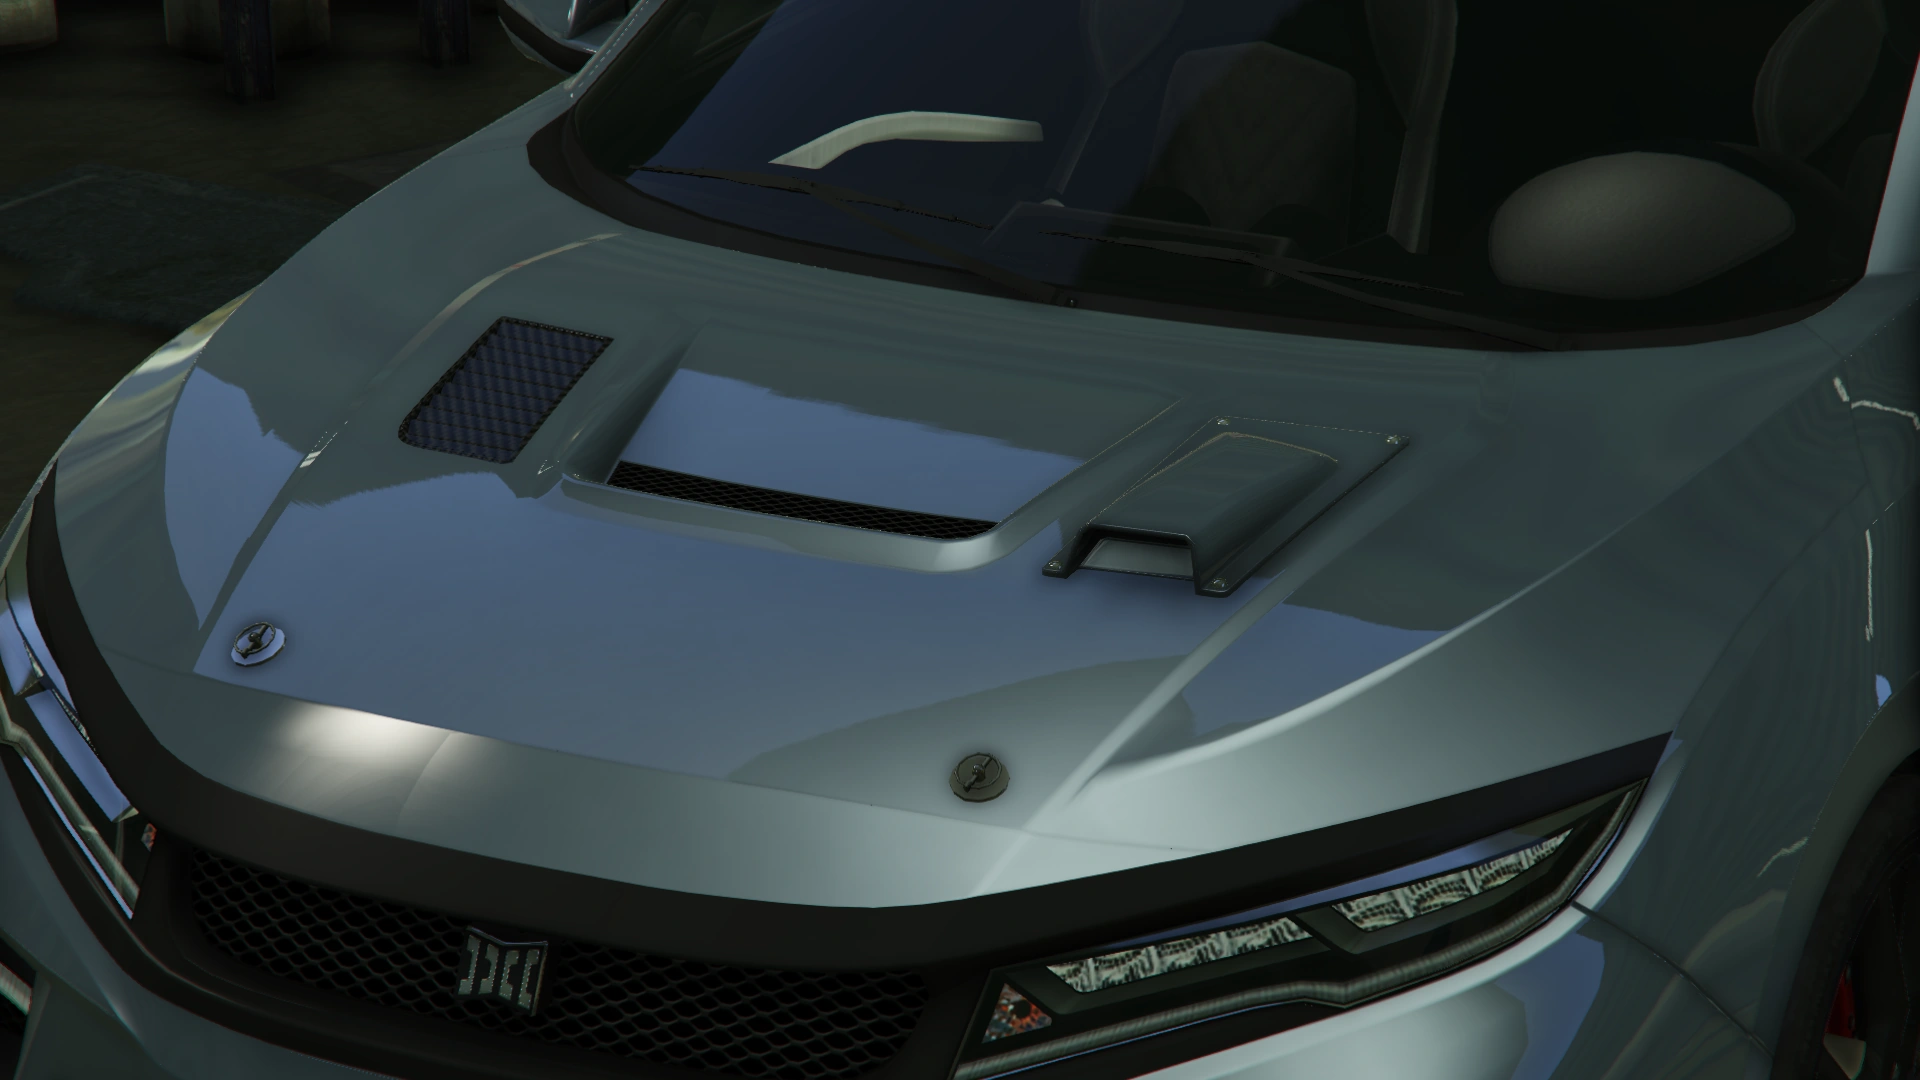
| + | The Sugoi is distinguished by featuring sporty elements and aggressive looks in a rather conventional design, having a set of intakes at the front end and a splitter at the bottom. Its headlights and grille give strong similarities to the [[Jester]] (a sportscar also manufactured by Dinka) and have a plastic trim surrounding them. A bonnet intake and a black trim around the engine bay are seen as well. |
||
| + | |||
| + | The sides of the car feature a concave formation running along the sides, and slightly pronounced rear wheel arches, along with side vents at the front. At the bottom, there is a set of side skirts bearing a coloured trim. The rear-view mirror wings have a plastic frame on the middle. Its window trimmings are also finished in plastic. |
||
| + | |||
| + | On the rear end, a set of stylised C-shaped tail lights can be seen, with a set of turning signals and reverse lights in a triangle shape. Below the boot area, the rear bumper extends a bit further and features a set of rear vents on either side, as well as a plastic section encompassing the lower rear and part of the underside, also housing the twin exhaust tubes centred on the car. |
||
| + | |||
| + | Most of the car's bodywork is painted in a primary colour, while the trims on the side skirts are painted in a secondary colour. A trim colour is also available for the interior panels and seats. |
||
{{Clr}} |
{{Clr}} |
||
| Line 71: | Line 81: | ||
|underside_image = Sugoi-GTAO-Underside.png |
|underside_image = Sugoi-GTAO-Underside.png |
||
|inside_image = Sugoi-GTAO-Inside.png |
|inside_image = Sugoi-GTAO-Inside.png |
||
| − | |detail_image = |
+ | |detail_image = Logo-V-Dinka.png |
|open_other_image = Sugoi-GTAO-Other.png |
|open_other_image = Sugoi-GTAO-Other.png |
||
|dashboard_image = Sugoi-GTAO-Dashboard.png |
|dashboard_image = Sugoi-GTAO-Dashboard.png |
||
| Line 78: | Line 88: | ||
==Performance== |
==Performance== |
||
===''Grand Theft Auto Online''=== |
===''Grand Theft Auto Online''=== |
||
| + | The Sugoi has a fair amount of wheelspin before it can take off, though while it does have a good amount of acceleration and top speed, it tends to fishtail uncontrollably when turning at fast speeds despite its FWD feature unless brakes or a handbrake is applied. Its durability is average at best and is overall still relatively outmatched by other Sports cars with much better performance especially in terms of tackling corners. |
||
| + | |||
| + | The Sugoi is powered by a V8 engine, as suggested by the cover, powering the front wheels. Its engine sound is identical to the one from the [[Kuruma]]. |
||
====GTA Online Overview==== |
====GTA Online Overview==== |
||
| Line 83: | Line 96: | ||
|handling_top_speed = |
|handling_top_speed = |
||
|handling_gears = |
|handling_gears = |
||
| − | |handling_drivetrain = |
+ | |handling_drivetrain = FWD |
|handling_mass = |
|handling_mass = |
||
|handling_fuel_tank = |
|handling_fuel_tank = |
||
| Line 92: | Line 105: | ||
|website_drivetrain = |
|website_drivetrain = |
||
|website_mass = |
|website_mass = |
||
| − | |observed_acceleration =5.281 |
+ | |observed_acceleration = 5.281 |
| − | |observed_top_speed =106/170.59 |
+ | |observed_top_speed = 106/170.59 |
|observed_gears = |
|observed_gears = |
||
| − | |observed_engine = |
+ | |observed_engine = {{H:title|Front engine, front wheel drive|FF}} V8 <small>(Cover)</small> |
| − | |observed_drivetrain = |
+ | |observed_drivetrain = FWD |
| − | |rsc_image =Sugoi-GTAO-RSCStats.png |
+ | |rsc_image = Sugoi-GTAO-RSCStats.png |
| − | |rsc_top_speed ={{PercentBar|83.702011|width=150}} |
+ | |rsc_top_speed = {{PercentBar|83.702011|width=150}} |
| − | |rsc_acceleration ={{PercentBar|77.5|width=150}} |
+ | |rsc_acceleration = {{PercentBar|77.5|width=150}} |
| − | |rsc_braking ={{PercentBar|28.333334|width=150}} |
+ | |rsc_braking = {{PercentBar|28.333334|width=150}} |
| − | |rsc_traction ={{PercentBar|100|width=150}} |
+ | |rsc_traction = {{PercentBar|100|width=150}} |
}} |
}} |
||
| − | ==Modifications== |
||
| ⚫ | |||
==Modifications== |
==Modifications== |
||
===''Grand Theft Auto Online''=== |
===''Grand Theft Auto Online''=== |
||
| Line 151: | Line 162: | ||
|Stock Front Diffuser |
|Stock Front Diffuser |
||
| style="text-align: center;" |$2,200 |
| style="text-align: center;" |$2,200 |
||
| − | |[[File:Sugoi-GTAO-StockFrontDiffuser.png |
+ | |[[File:Sugoi-GTAO-StockFrontDiffuser.png|thumb|center|220px]] |
|- |
|- |
||
|Stock w/ Canards |
|Stock w/ Canards |
||
| style="text-align: center;" |$4,600 |
| style="text-align: center;" |$4,600 |
||
| − | |[[File:Sugoi-GTAO-StockWithCanards.png |
+ | |[[File:Sugoi-GTAO-StockWithCanards.png|thumb|center|220px]] |
|- |
|- |
||
|Racer Diffuser |
|Racer Diffuser |
||
| style="text-align: center;" |$7,400 |
| style="text-align: center;" |$7,400 |
||
| − | |[[File:Sugoi-GTAO-RacerDiffuser.png |
+ | |[[File:Sugoi-GTAO-RacerDiffuser.png|thumb|center|220px]] |
|- |
|- |
||
|Racer Diffuser w/ Canards |
|Racer Diffuser w/ Canards |
||
| style="text-align: center;" |$11,700 |
| style="text-align: center;" |$11,700 |
||
| − | |[[File:Sugoi-GTAO-RacerDiffuserWithCanards.png |
+ | |[[File:Sugoi-GTAO-RacerDiffuserWithCanards.png|thumb|center|220px]] |
|- |
|- |
||
|Sweep Diffuser |
|Sweep Diffuser |
||
| style="text-align: center;" |$14,500 |
| style="text-align: center;" |$14,500 |
||
| − | |[[File:Sugoi-GTAO-SweepDiffuser.png |
+ | |[[File:Sugoi-GTAO-SweepDiffuser.png|thumb|center|220px]] |
|- |
|- |
||
|Carbon Sweep Diffuser |
|Carbon Sweep Diffuser |
||
| style="text-align: center;" |$14,700 |
| style="text-align: center;" |$14,700 |
||
| − | |[[File:Sugoi-GTAO-CarbonSweepDiffuser.png |
+ | |[[File:Sugoi-GTAO-CarbonSweepDiffuser.png|thumb|center|220px]] |
|- |
|- |
||
|Primary Sweep Diffuser |
|Primary Sweep Diffuser |
||
| style="text-align: center;" |$14,900 |
| style="text-align: center;" |$14,900 |
||
| − | |[[File:Sugoi-GTAO-PrimarySweepDiffuser.png |
+ | |[[File:Sugoi-GTAO-PrimarySweepDiffuser.png|thumb|center|220px]] |
|- |
|- |
||
|Arc Diffuser |
|Arc Diffuser |
||
| style="text-align: center;" |$15,100 |
| style="text-align: center;" |$15,100 |
||
| − | |[[File:Sugoi-GTAO-ArcDiffuser.png |
+ | |[[File:Sugoi-GTAO-ArcDiffuser.png|thumb|center|220px]] |
|- |
|- |
||
|Carbon Arc Diffuser |
|Carbon Arc Diffuser |
||
| style="text-align: center;" |$15,300 |
| style="text-align: center;" |$15,300 |
||
| − | |[[File:Sugoi-GTAO-CarbonArcDiffuser.png |
+ | |[[File:Sugoi-GTAO-CarbonArcDiffuser.png|thumb|center|220px]] |
|- |
|- |
||
|Primary Arc Racer Diffuser |
|Primary Arc Racer Diffuser |
||
| style="text-align: center;" |$15,500 |
| style="text-align: center;" |$15,500 |
||
| − | |[[File:Sugoi-GTAO-PrimaryArcRacerDiffuser.png |
+ | |[[File:Sugoi-GTAO-PrimaryArcRacerDiffuser.png|thumb|center|220px]] |
|- |
|- |
||
|GT Diffuser |
|GT Diffuser |
||
| style="text-align: center;" |$15,700 |
| style="text-align: center;" |$15,700 |
||
| − | |[[File:Sugoi-GTAO-GTDiffuser.png |
+ | |[[File:Sugoi-GTAO-GTDiffuser.png|thumb|center|220px]] |
|- |
|- |
||
|Carbon GT Diffuser |
|Carbon GT Diffuser |
||
| style="text-align: center;" |$15,900 |
| style="text-align: center;" |$15,900 |
||
| − | |[[File:Sugoi-GTAO-CarbonGTDiffuser.png |
+ | |[[File:Sugoi-GTAO-CarbonGTDiffuser.png|thumb|center|220px]] |
|- |
|- |
||
|Primary GT Diffuser w/ Canards |
|Primary GT Diffuser w/ Canards |
||
| style="text-align: center;" |$16,100 |
| style="text-align: center;" |$16,100 |
||
| − | |[[File:Sugoi-GTAO-PrimaryGTDiffuserWithCanards.png |
+ | |[[File:Sugoi-GTAO-PrimaryGTDiffuserWithCanards.png|thumb|center|220px]] |
|- |
|- |
||
|Carbon Downforce Diffuser |
|Carbon Downforce Diffuser |
||
| style="text-align: center;" |$16,300 |
| style="text-align: center;" |$16,300 |
||
| − | |[[File:Sugoi-GTAO-CarbonDownforceDiffuser.png |
+ | |[[File:Sugoi-GTAO-CarbonDownforceDiffuser.png|thumb|center|220px]] |
|- |
|- |
||
|Primary Downforce Diffuser |
|Primary Downforce Diffuser |
||
| style="text-align: center;" |$16,500 |
| style="text-align: center;" |$16,500 |
||
| − | |[[File:Sugoi-GTAO-PrimaryDownforceDiffuser.png |
+ | |[[File:Sugoi-GTAO-PrimaryDownforceDiffuser.png|thumb|center|220px]] |
|- |
|- |
||
| rowspan="8" |Rear Diffusers |
| rowspan="8" |Rear Diffusers |
||
|Stock Rear Diffuser |
|Stock Rear Diffuser |
||
| style="text-align: center;" |$2,200 |
| style="text-align: center;" |$2,200 |
||
| − | |[[File:Sugoi-GTAO-StockRearDiffuser.png |
+ | |[[File:Sugoi-GTAO-StockRearDiffuser.png|thumb|center|220px]] |
|- |
|- |
||
|Racer Diffuser |
|Racer Diffuser |
||
| style="text-align: center;" |$4,600 |
| style="text-align: center;" |$4,600 |
||
| − | |[[File:Sugoi-GTAO-RearRacerDiffuser.png |
+ | |[[File:Sugoi-GTAO-RearRacerDiffuser.png|thumb|center|220px]] |
|- |
|- |
||
|Performance Diffuser |
|Performance Diffuser |
||
| style="text-align: center;" |$7,400 |
| style="text-align: center;" |$7,400 |
||
| − | |[[File:Sugoi-GTAO-PerformanceDiffuser.png |
+ | |[[File:Sugoi-GTAO-PerformanceDiffuser.png|thumb|center|220px]] |
|- |
|- |
||
|Sweep Diffuser |
|Sweep Diffuser |
||
| style="text-align: center;" |$11,700 |
| style="text-align: center;" |$11,700 |
||
| − | |[[File:Sugoi-GTAO-RearSweepDiffuser.png |
+ | |[[File:Sugoi-GTAO-RearSweepDiffuser.png|thumb|center|220px]] |
|- |
|- |
||
|GT Diffuser |
|GT Diffuser |
||
| style="text-align: center;" |$14,500 |
| style="text-align: center;" |$14,500 |
||
| − | |[[File:Sugoi-GTAO-RearGTDiffuser.png |
+ | |[[File:Sugoi-GTAO-RearGTDiffuser.png|thumb|center|220px]] |
|- |
|- |
||
|Speed Diffuser |
|Speed Diffuser |
||
| style="text-align: center;" |$14,700 |
| style="text-align: center;" |$14,700 |
||
| − | |[[File:Sugoi-GTAO-SpeedDiffuser.png |
+ | |[[File:Sugoi-GTAO-SpeedDiffuser.png|thumb|center|220px]] |
|- |
|- |
||
|Turbo Diffuser |
|Turbo Diffuser |
||
| style="text-align: center;" |$14,900 |
| style="text-align: center;" |$14,900 |
||
| − | |[[File:Sugoi-GTAO-TurboDiffuser.png |
+ | |[[File:Sugoi-GTAO-TurboDiffuser.png|thumb|center|220px]] |
|- |
|- |
||
|Carbon Downforce Diffuser |
|Carbon Downforce Diffuser |
||
| style="text-align: center;" |$15,100 |
| style="text-align: center;" |$15,100 |
||
| − | |[[File:Sugoi-GTAO-RearCarbonDownforceDiffuser.png |
+ | |[[File:Sugoi-GTAO-RearCarbonDownforceDiffuser.png|thumb|center|220px]] |
|- |
|- |
||
| colspan="2" rowspan="4" |Engine |
| colspan="2" rowspan="4" |Engine |
||
| Line 258: | Line 269: | ||
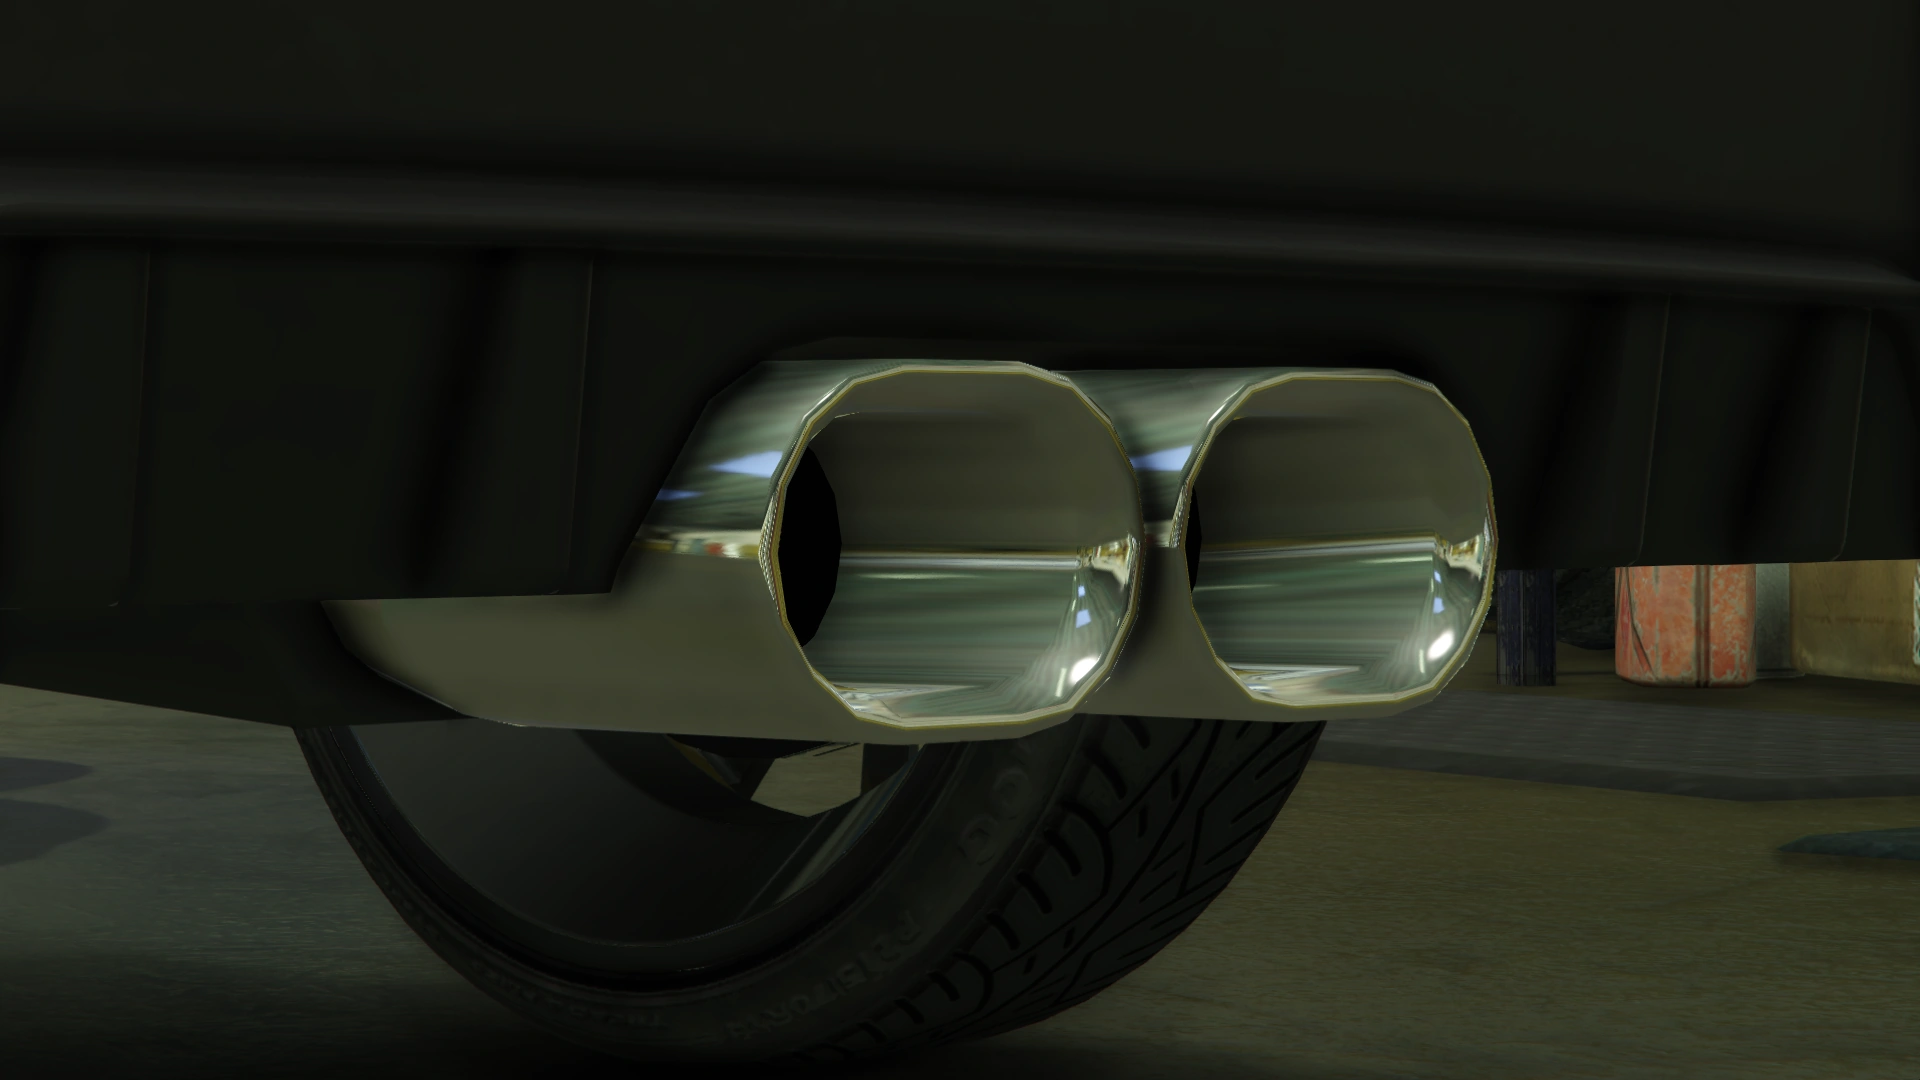
|Stock Exhaust |
|Stock Exhaust |
||
| style="text-align: center;" |$260 |
| style="text-align: center;" |$260 |
||
| − | |[[File:Sugoi-GTAO-StockExhaust.png |
+ | |[[File:Sugoi-GTAO-StockExhaust.png|thumb|center|220px]] |
|- |
|- |
||
|Round Exhaust |
|Round Exhaust |
||
| style="text-align: center;" |$750 |
| style="text-align: center;" |$750 |
||
| − | |[[File:Sugoi-GTAO-RoundExhaust.png |
+ | |[[File:Sugoi-GTAO-RoundExhaust.png|thumb|center|220px]] |
|- |
|- |
||
|Oval Exhaust |
|Oval Exhaust |
||
| style="text-align: center;" |$1,800 |
| style="text-align: center;" |$1,800 |
||
| − | |[[File:Sugoi-GTAO-OvalExhaust.png |
+ | |[[File:Sugoi-GTAO-OvalExhaust.png|thumb|center|220px]] |
|- |
|- |
||
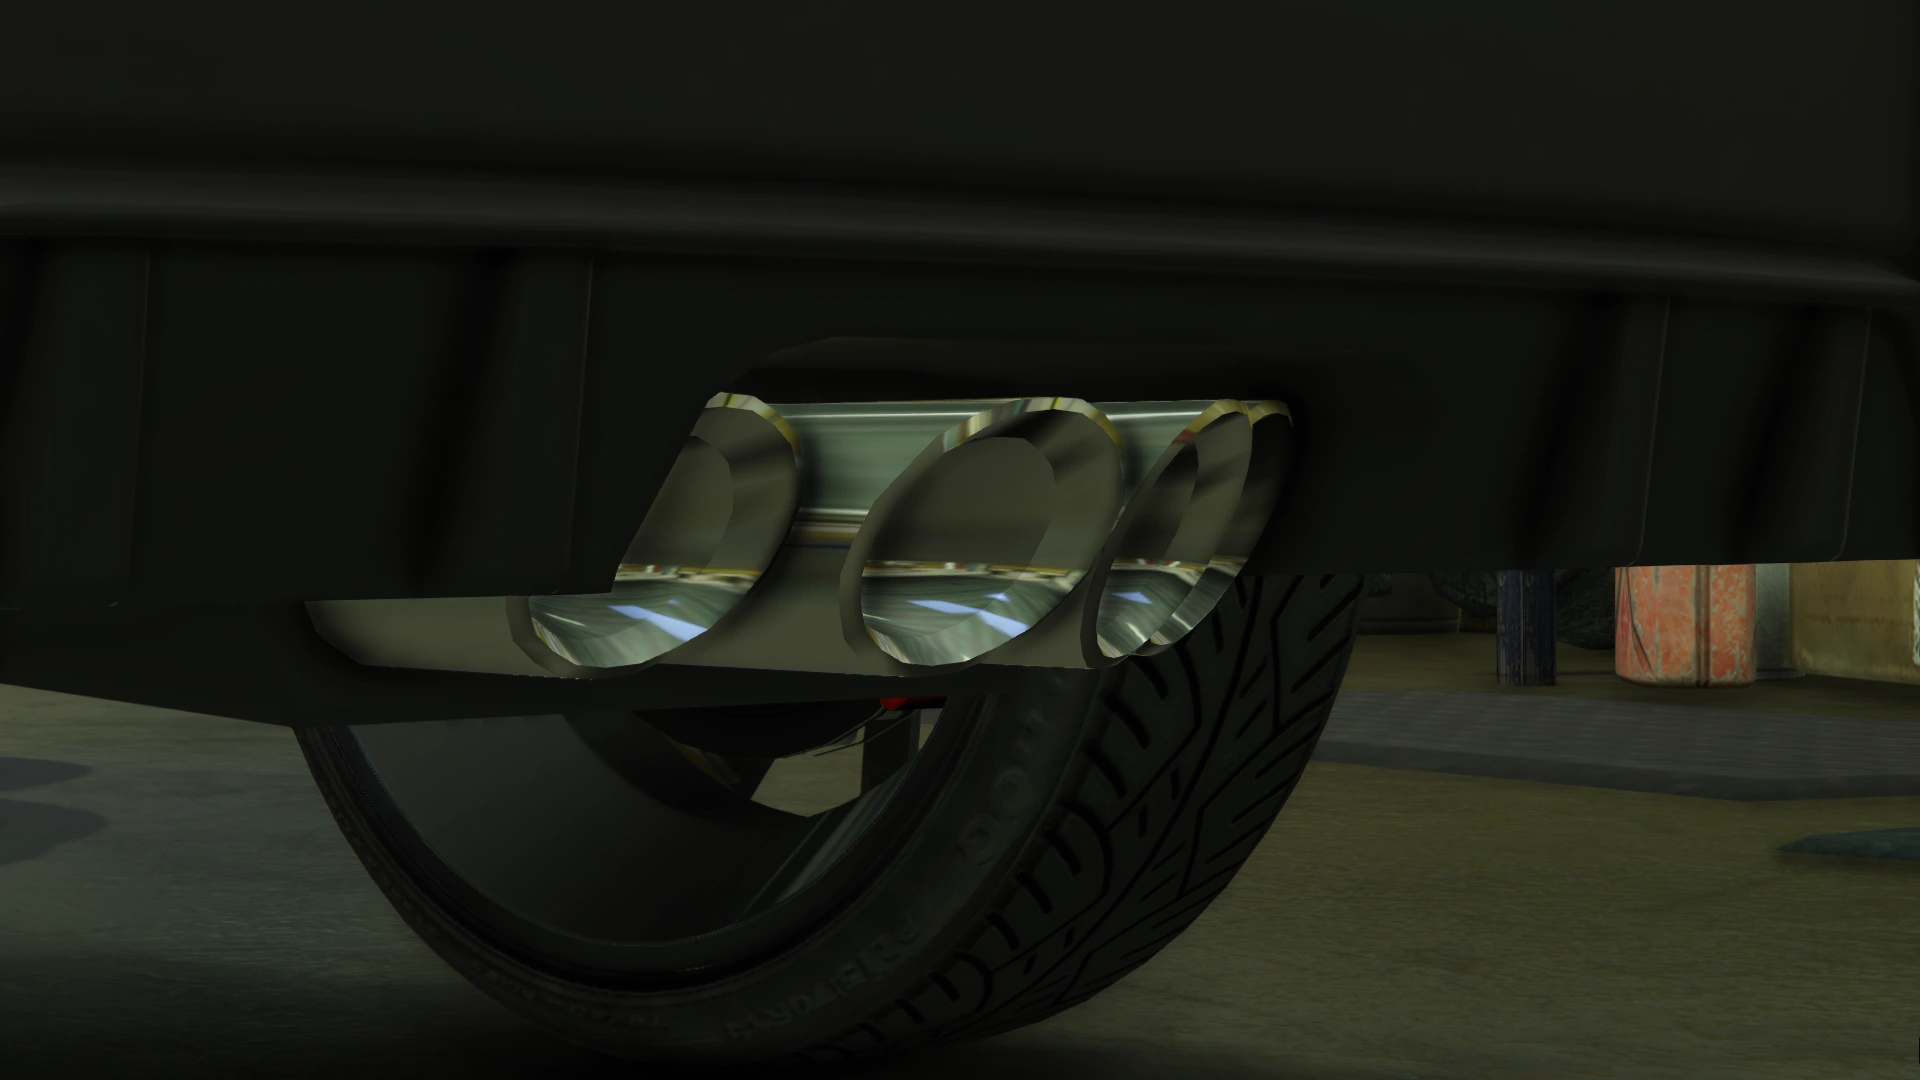
|Round Cluster Exhaust |
|Round Cluster Exhaust |
||
| style="text-align: center;" |$3,000 |
| style="text-align: center;" |$3,000 |
||
| − | |[[File:Sugoi-GTAO-RoundClusterExhaust.png |
+ | |[[File:Sugoi-GTAO-RoundClusterExhaust.png|thumb|center|220px]] |
|- |
|- |
||
|Sports Exhaust |
|Sports Exhaust |
||
| style="text-align: center;" |$9,550 |
| style="text-align: center;" |$9,550 |
||
| − | |[[File:Sugoi-GTAO-SportsExhaust.png |
+ | |[[File:Sugoi-GTAO-SportsExhaust.png|thumb|center|220px]] |
|- |
|- |
||
|Split Exhaust |
|Split Exhaust |
||
| style="text-align: center;" |$9,750 |
| style="text-align: center;" |$9,750 |
||
| − | |[[File:Sugoi-GTAO-SplitExhaust.png |
+ | |[[File:Sugoi-GTAO-SplitExhaust.png|thumb|center|220px]] |
|- |
|- |
||
|Square Cluster Exhaust |
|Square Cluster Exhaust |
||
| style="text-align: center;" |$10,500 |
| style="text-align: center;" |$10,500 |
||
| − | |[[File:Sugoi-GTAO-SquareClusterExhaust.png |
+ | |[[File:Sugoi-GTAO-SquareClusterExhaust.png|thumb|center|220px]] |
|- |
|- |
||
|Angled Square Exhaust |
|Angled Square Exhaust |
||
| style="text-align: center;" |$12,000 |
| style="text-align: center;" |$12,000 |
||
| − | |[[File:Sugoi-GTAO-AngledSquareExhaust.png |
+ | |[[File:Sugoi-GTAO-AngledSquareExhaust.png|thumb|center|220px]] |
|- |
|- |
||
| colspan="2" rowspan="2" |[[Car Bomb|Explosives]] |
| colspan="2" rowspan="2" |[[Car Bomb|Explosives]] |
||
| Line 298: | Line 309: | ||
|Stock Grille |
|Stock Grille |
||
| style="text-align: center;" |$200 |
| style="text-align: center;" |$200 |
||
| − | |[[File:Sugoi-GTAO-StockGrille.png |
+ | |[[File:Sugoi-GTAO-StockGrille.png|thumb|center|220px]] |
|- |
|- |
||
|Top Trim Grille |
|Top Trim Grille |
||
| style="text-align: center;" |$750 |
| style="text-align: center;" |$750 |
||
| − | |[[File:Sugoi-GTAO-TopTrimGrille.png |
+ | |[[File:Sugoi-GTAO-TopTrimGrille.png|thumb|center|220px]] |
|- |
|- |
||
|Rally Grille |
|Rally Grille |
||
| style="text-align: center;" |$1,340 |
| style="text-align: center;" |$1,340 |
||
| − | |[[File:Sugoi-GTAO-RallyGrille.png |
+ | |[[File:Sugoi-GTAO-RallyGrille.png|thumb|center|220px]] |
|- |
|- |
||
|Rally w/ Top Trim Grille |
|Rally w/ Top Trim Grille |
||
| style="text-align: center;" |$1,650 |
| style="text-align: center;" |$1,650 |
||
| − | |[[File:Sugoi-GTAO-RallyWithTopTrimGrille.png |
+ | |[[File:Sugoi-GTAO-RallyWithTopTrimGrille.png|thumb|center|220px]] |
|- |
|- |
||
|Track Grille |
|Track Grille |
||
| style="text-align: center;" |$3,000 |
| style="text-align: center;" |$3,000 |
||
| − | |[[File:Sugoi-GTAO-TrackGrille.png |
+ | |[[File:Sugoi-GTAO-TrackGrille.png|thumb|center|220px]] |
|- |
|- |
||
|Track w/ Top Trim Grille |
|Track w/ Top Trim Grille |
||
| style="text-align: center;" |$3,200 |
| style="text-align: center;" |$3,200 |
||
| − | |[[File:Sugoi-GTAO-TrackWithTopTrimGrille.png |
+ | |[[File:Sugoi-GTAO-TrackWithTopTrimGrille.png|thumb|center|220px]] |
|- |
|- |
||
|GT Grille |
|GT Grille |
||
| style="text-align: center;" |$3,650 |
| style="text-align: center;" |$3,650 |
||
| − | |[[File:Sugoi-GTAO-GTGrille.png |
+ | |[[File:Sugoi-GTAO-GTGrille.png|thumb|center|220px]] |
|- |
|- |
||
|GT w/ Top Trim Grille |
|GT w/ Top Trim Grille |
||
| style="text-align: center;" |$4,100 |
| style="text-align: center;" |$4,100 |
||
| − | |[[File:Sugoi-GTAO-GTWithTopTrimGrille.png |
+ | |[[File:Sugoi-GTAO-GTWithTopTrimGrille.png|thumb|center|220px]] |
|- |
|- |
||
| colspan="2" rowspan="13" |Hoods |
| colspan="2" rowspan="13" |Hoods |
||
|Stock Hood |
|Stock Hood |
||
| style="text-align: center;" |$1,600 |
| style="text-align: center;" |$1,600 |
||
| − | |[[File:Sugoi-GTAO-StockHood.png |
+ | |[[File:Sugoi-GTAO-StockHood.png|thumb|center|220px]] |
|- |
|- |
||
|Carbon Stock Hood |
|Carbon Stock Hood |
||
| style="text-align: center;" |$3,000 |
| style="text-align: center;" |$3,000 |
||
| − | |[[File:Sugoi-GTAO-CarbonStockHood.png |
+ | |[[File:Sugoi-GTAO-CarbonStockHood.png|thumb|center|220px]] |
|- |
|- |
||
|Primary Hood |
|Primary Hood |
||
| style="text-align: center;" |$5,000 |
| style="text-align: center;" |$5,000 |
||
| − | |[[File:Sugoi-GTAO-PrimaryHood.png |
+ | |[[File:Sugoi-GTAO-PrimaryHood.png|thumb|center|220px]] |
|- |
|- |
||
|Carbon Hood |
|Carbon Hood |
||
| style="text-align: center;" |$8,000 |
| style="text-align: center;" |$8,000 |
||
| − | |[[File:Sugoi-GTAO-CarbonHood.png |
+ | |[[File:Sugoi-GTAO-CarbonHood.png|thumb|center|220px]] |
|- |
|- |
||
|Vented Hood |
|Vented Hood |
||
| style="text-align: center;" |$9,600 |
| style="text-align: center;" |$9,600 |
||
| − | |[[File:Sugoi-GTAO-VentedHood.png |
+ | |[[File:Sugoi-GTAO-VentedHood.png|thumb|center|220px]] |
|- |
|- |
||
|Carbon Vented Hood |
|Carbon Vented Hood |
||
| style="text-align: center;" |$11,000 |
| style="text-align: center;" |$11,000 |
||
| − | |[[File:Sugoi-GTAO-CarbonVentedHood.png |
+ | |[[File:Sugoi-GTAO-CarbonVentedHood.png|thumb|center|220px]] |
|- |
|- |
||
|Vented Catch Hood |
|Vented Catch Hood |
||
| style="text-align: center;" |$11,600 |
| style="text-align: center;" |$11,600 |
||
| − | |[[File:Sugoi-GTAO-VentedCatchHood.png |
+ | |[[File:Sugoi-GTAO-VentedCatchHood.png|thumb|center|220px]] |
|- |
|- |
||
|Street Vented Hood |
|Street Vented Hood |
||
| style="text-align: center;" |$12,000 |
| style="text-align: center;" |$12,000 |
||
| − | |[[File:Sugoi-GTAO-StreetVentedHood.png |
+ | |[[File:Sugoi-GTAO-StreetVentedHood.png|thumb|center|220px]] |
|- |
|- |
||
|Rally Hood |
|Rally Hood |
||
| style="text-align: center;" |$12,400 |
| style="text-align: center;" |$12,400 |
||
| − | |[[File:Sugoi-GTAO-RallyHood.png |
+ | |[[File:Sugoi-GTAO-RallyHood.png|thumb|center|220px]] |
|- |
|- |
||
|Sports Hood |
|Sports Hood |
||
| style="text-align: center;" |$12,400 |
| style="text-align: center;" |$12,400 |
||
| − | |[[File:Sugoi-GTAO-SportsHood.png |
+ | |[[File:Sugoi-GTAO-SportsHood.png|thumb|center|220px]] |
|- |
|- |
||
|Dual Vented Hood |
|Dual Vented Hood |
||
| style="text-align: center;" |$12,500 |
| style="text-align: center;" |$12,500 |
||
| − | |[[File:Sugoi-GTAO-DualVentedHood.png |
+ | |[[File:Sugoi-GTAO-DualVentedHood.png|thumb|center|220px]] |
|- |
|- |
||
|Performance Hood |
|Performance Hood |
||
| style="text-align: center;" |$12,900 |
| style="text-align: center;" |$12,900 |
||
| − | |[[File:Sugoi-GTAO-PerformanceHood.png |
+ | |[[File:Sugoi-GTAO-PerformanceHood.png|thumb|center|220px]] |
|- |
|- |
||
|Carbon Performance Hood |
|Carbon Performance Hood |
||
| style="text-align: center;" |$13,250 |
| style="text-align: center;" |$13,250 |
||
| − | |[[File:Sugoi-GTAO-CarbonPerfomanceHood.png |
+ | |[[File:Sugoi-GTAO-CarbonPerfomanceHood.png|thumb|center|220px]] |
|- |
|- |
||
| colspan="2" |Horns |
| colspan="2" |Horns |
||
| Line 400: | Line 411: | ||
|None |
|None |
||
| style="text-align: center;" |$11,400 |
| style="text-align: center;" |$11,400 |
||
| − | |[[File:Sugoi-GTAO-NoLivery.png |
+ | |[[File:Sugoi-GTAO-NoLivery.png|thumb|center|220px|<small>([[:File:Sugoi-GTAO-NoLiveryRear.png|Rear quarter view]])</small>]] |
|- |
|- |
||
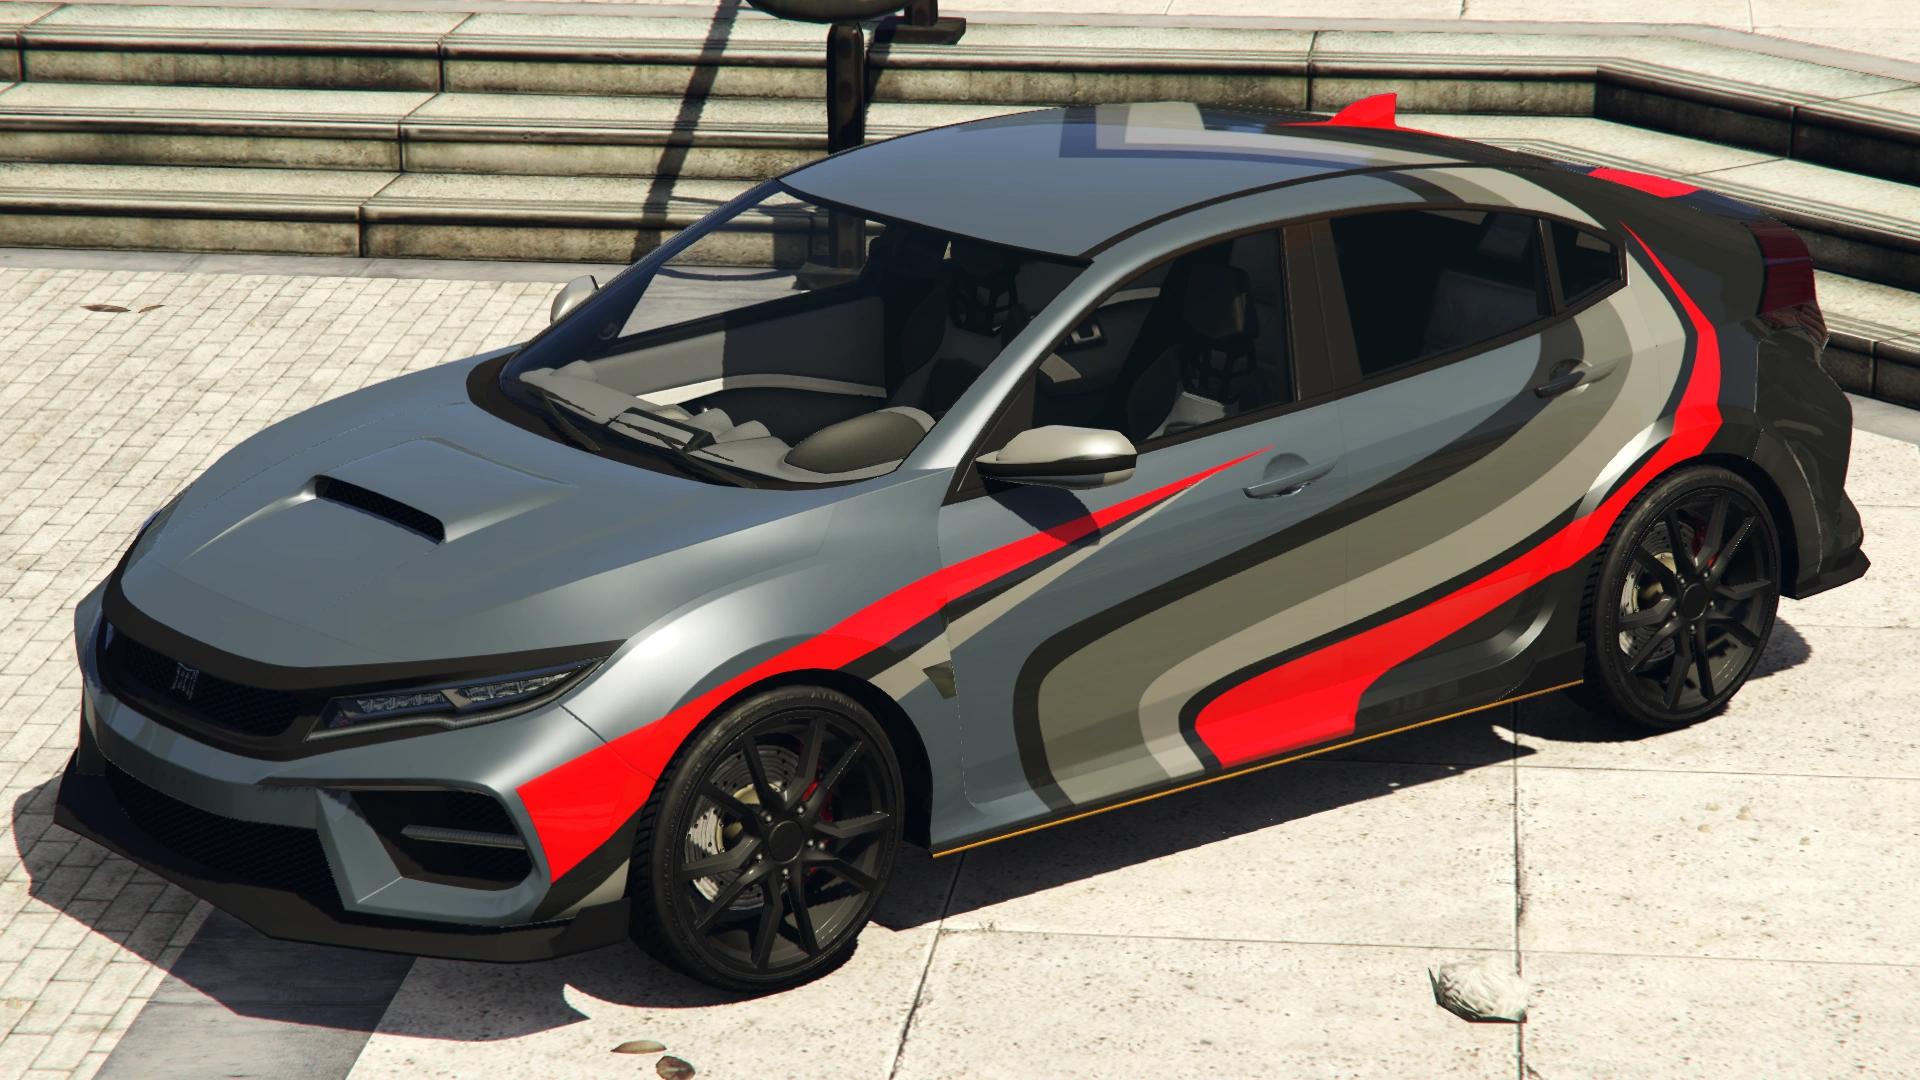
|Red Stripes |
|Red Stripes |
||
| style="text-align: center;" |$18,240 |
| style="text-align: center;" |$18,240 |
||
| − | |[[File:Sugoi-GTAO-RedStripes.png |
+ | |[[File:Sugoi-GTAO-RedStripes.png|thumb|center|220px|<small>([[:File:Sugoi-GTAO-RedStripesRear.png|Rear quarter view]])</small>]] |
|- |
|- |
||
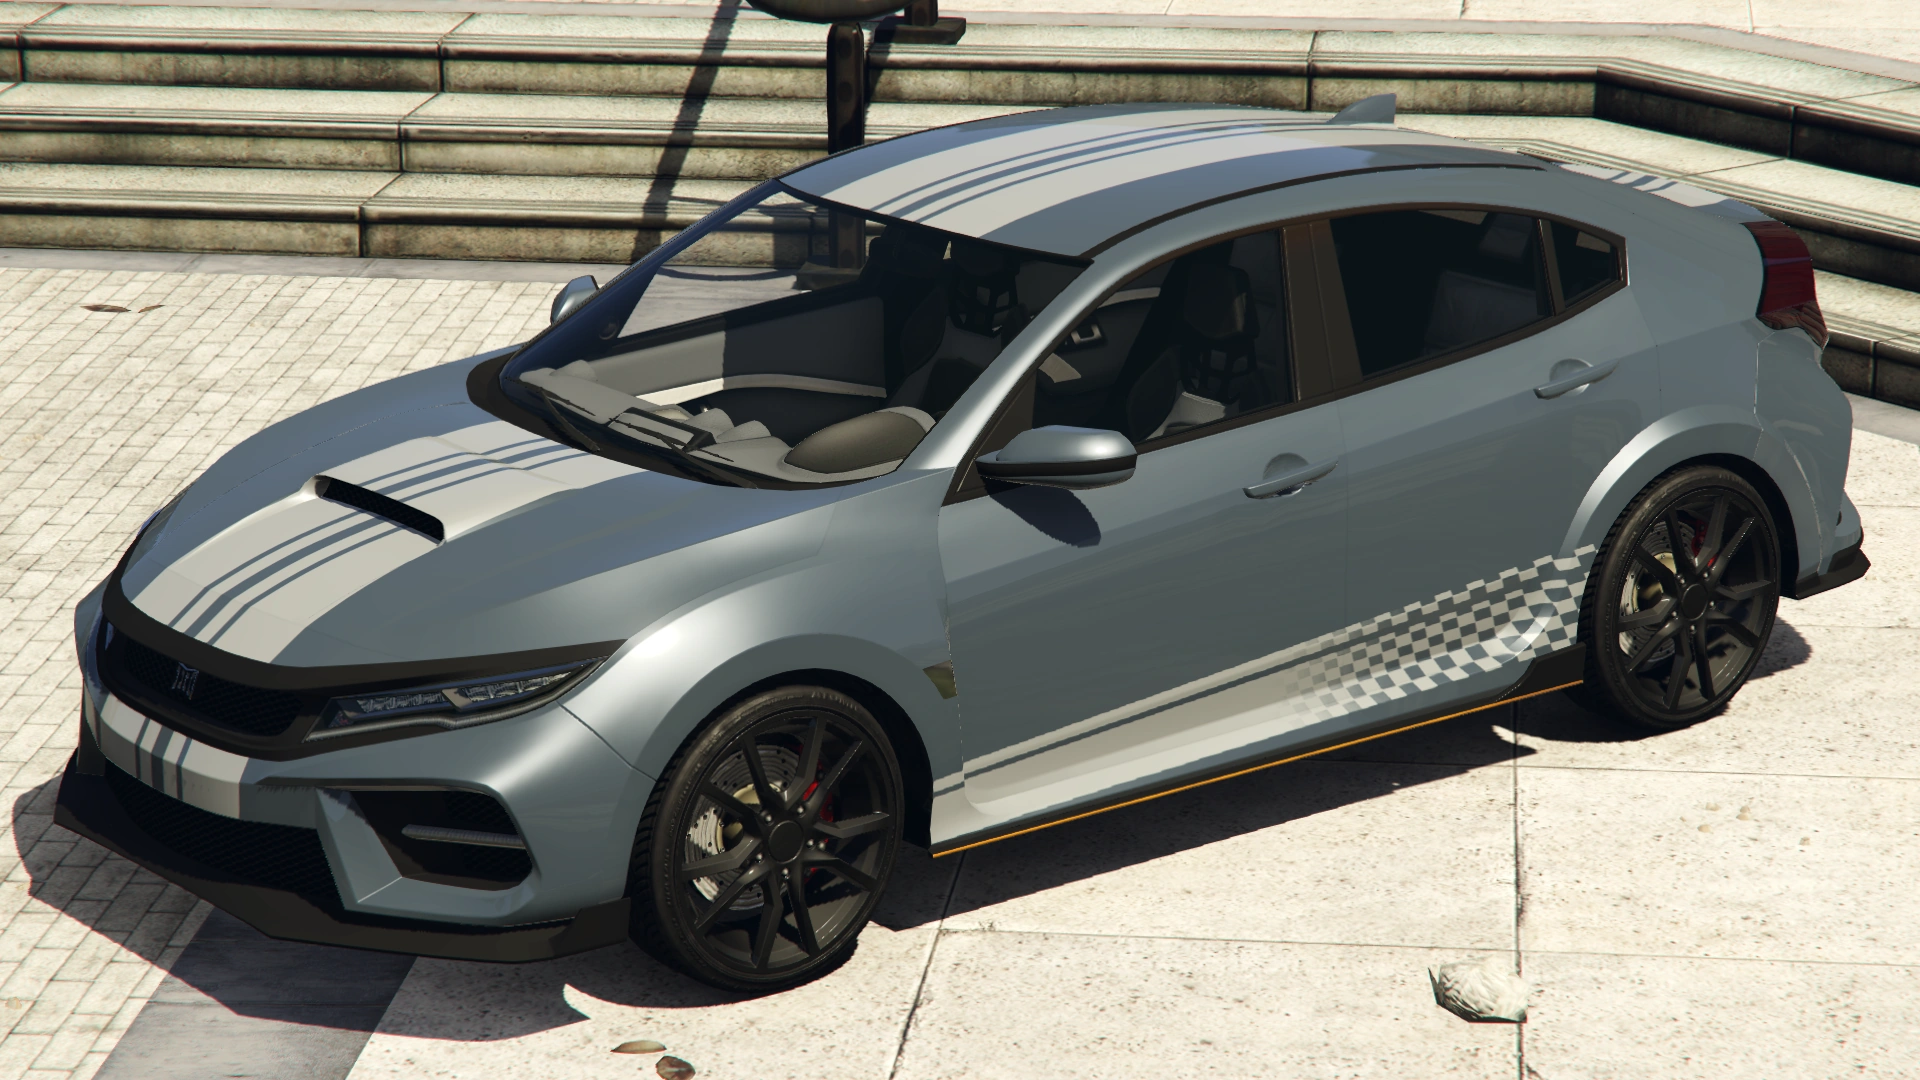
|Checker Stripes |
|Checker Stripes |
||
| style="text-align: center;" |$19,380 |
| style="text-align: center;" |$19,380 |
||
| − | |[[File:Sugoi-GTAO-CheckerStripes.png |
+ | |[[File:Sugoi-GTAO-CheckerStripes.png|thumb|center|220px|<small>([[:File:Sugoi-GTAO-CheckerStripesRear.png|Rear quarter view]])</small>]] |
|- |
|- |
||
|Sugoi Stripes |
|Sugoi Stripes |
||
| style="text-align: center;" |$20,520 |
| style="text-align: center;" |$20,520 |
||
| − | |[[File:Sugoi-GTAO-SugoiStripes.png |
+ | |[[File:Sugoi-GTAO-SugoiStripes.png|thumb|center|220px|<small>([[:File:Sugoi-GTAO-SugoiStripesRear.png|Rear quarter view]])</small>]] |
|- |
|- |
||
|Wave |
|Wave |
||
| style="text-align: center;" |$21,660 |
| style="text-align: center;" |$21,660 |
||
| − | |[[File:Sugoi-GTAO-Wave.png |
+ | |[[File:Sugoi-GTAO-Wave.png|thumb|center|220px|<small>([[:File:Sugoi-GTAO-WaveRear.png|Rear quarter view]])</small>]] |
|- |
|- |
||
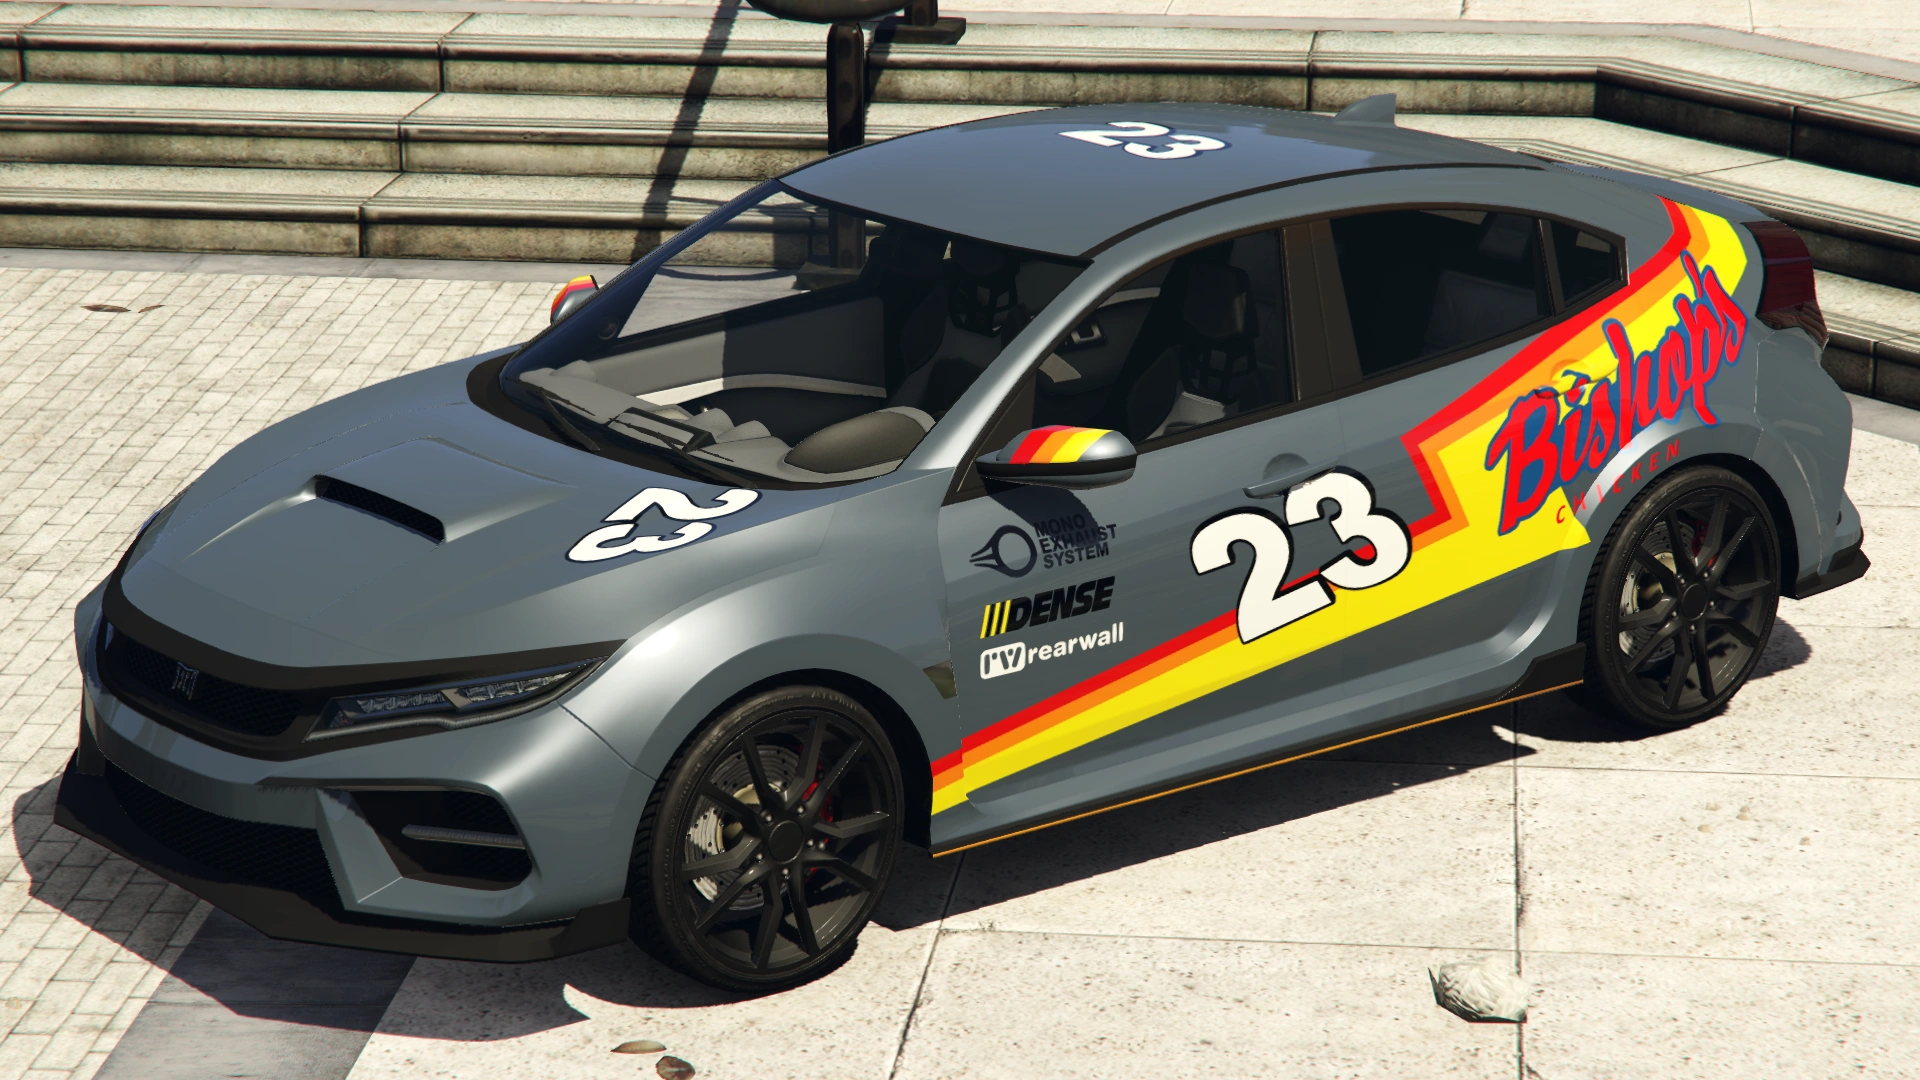
|Racer 23 |
|Racer 23 |
||
| style="text-align: center;" |$22,800 |
| style="text-align: center;" |$22,800 |
||
| − | |[[File:Sugoi-GTAO-Racer23.png |
+ | |[[File:Sugoi-GTAO-Racer23.png|thumb|center|220px|<small>([[:File:Sugoi-GTAO-Racer23Rear.png|Rear quarter view]])</small>]] |
|- |
|- |
||
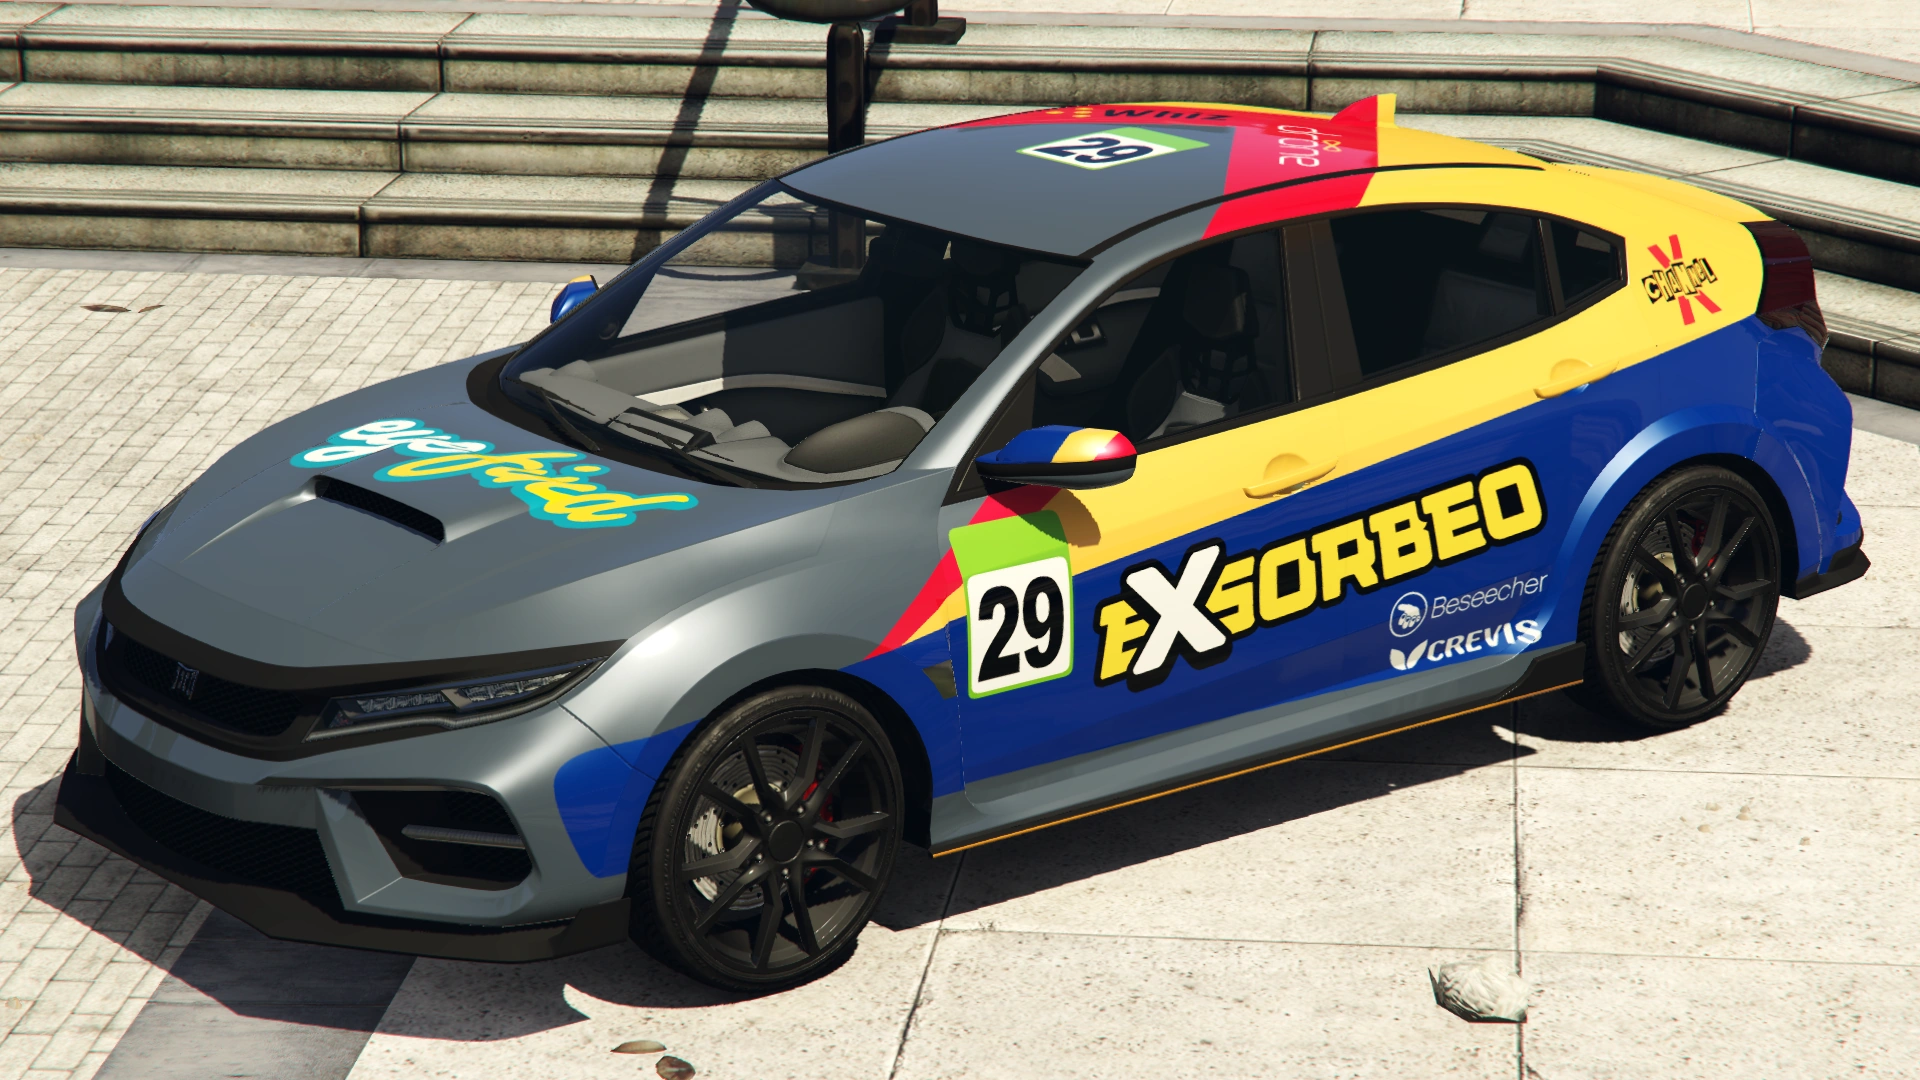
|Racer 29 |
|Racer 29 |
||
| style="text-align: center;" |$23,370 |
| style="text-align: center;" |$23,370 |
||
| − | |[[File:Sugoi-GTAO-Racer29.png |
+ | |[[File:Sugoi-GTAO-Racer29.png|thumb|center|220px|<small>([[:File:Sugoi-GTAO-Racer29Rear.png|Rear quarter view]])</small>]] |
|- |
|- |
||
|Racer 99 |
|Racer 99 |
||
| style="text-align: center;" |$23,939 |
| style="text-align: center;" |$23,939 |
||
| − | |[[File:Sugoi-GTAO-Racer99.png |
+ | |[[File:Sugoi-GTAO-Racer99.png|thumb|center|220px|<small>([[:File:Sugoi-GTAO-Racer99Rear.png|Rear quarter view]])</small>]] |
|- |
|- |
||
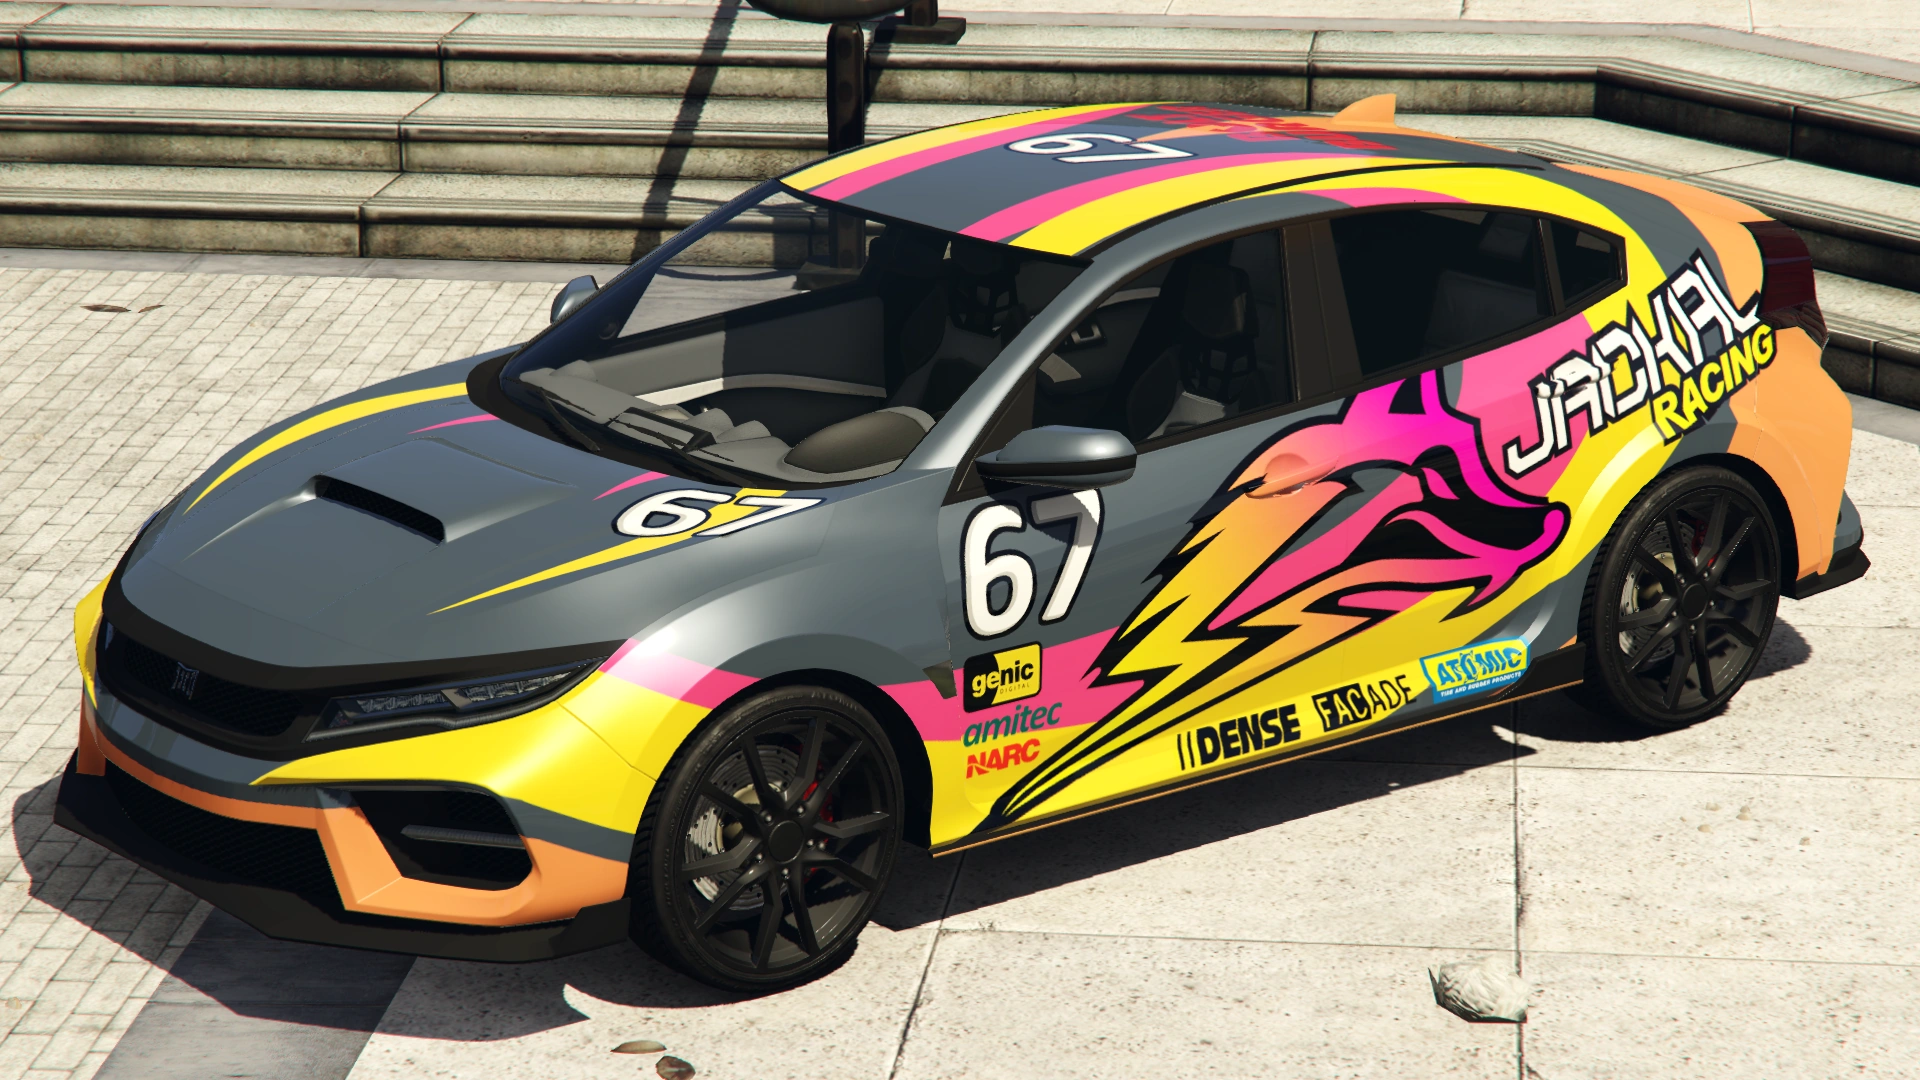
|[[Jackal Racing]] |
|[[Jackal Racing]] |
||
| style="text-align: center;" |$24,510 |
| style="text-align: center;" |$24,510 |
||
| − | |[[File:Sugoi-GTAO-JackalRacing.png |
+ | |[[File:Sugoi-GTAO-JackalRacing.png|thumb|center|220px|<small>([[:File:Sugoi-GTAO-JackalRacingRear.png|Rear quarter view]])</small>]] |
|- |
|- |
||
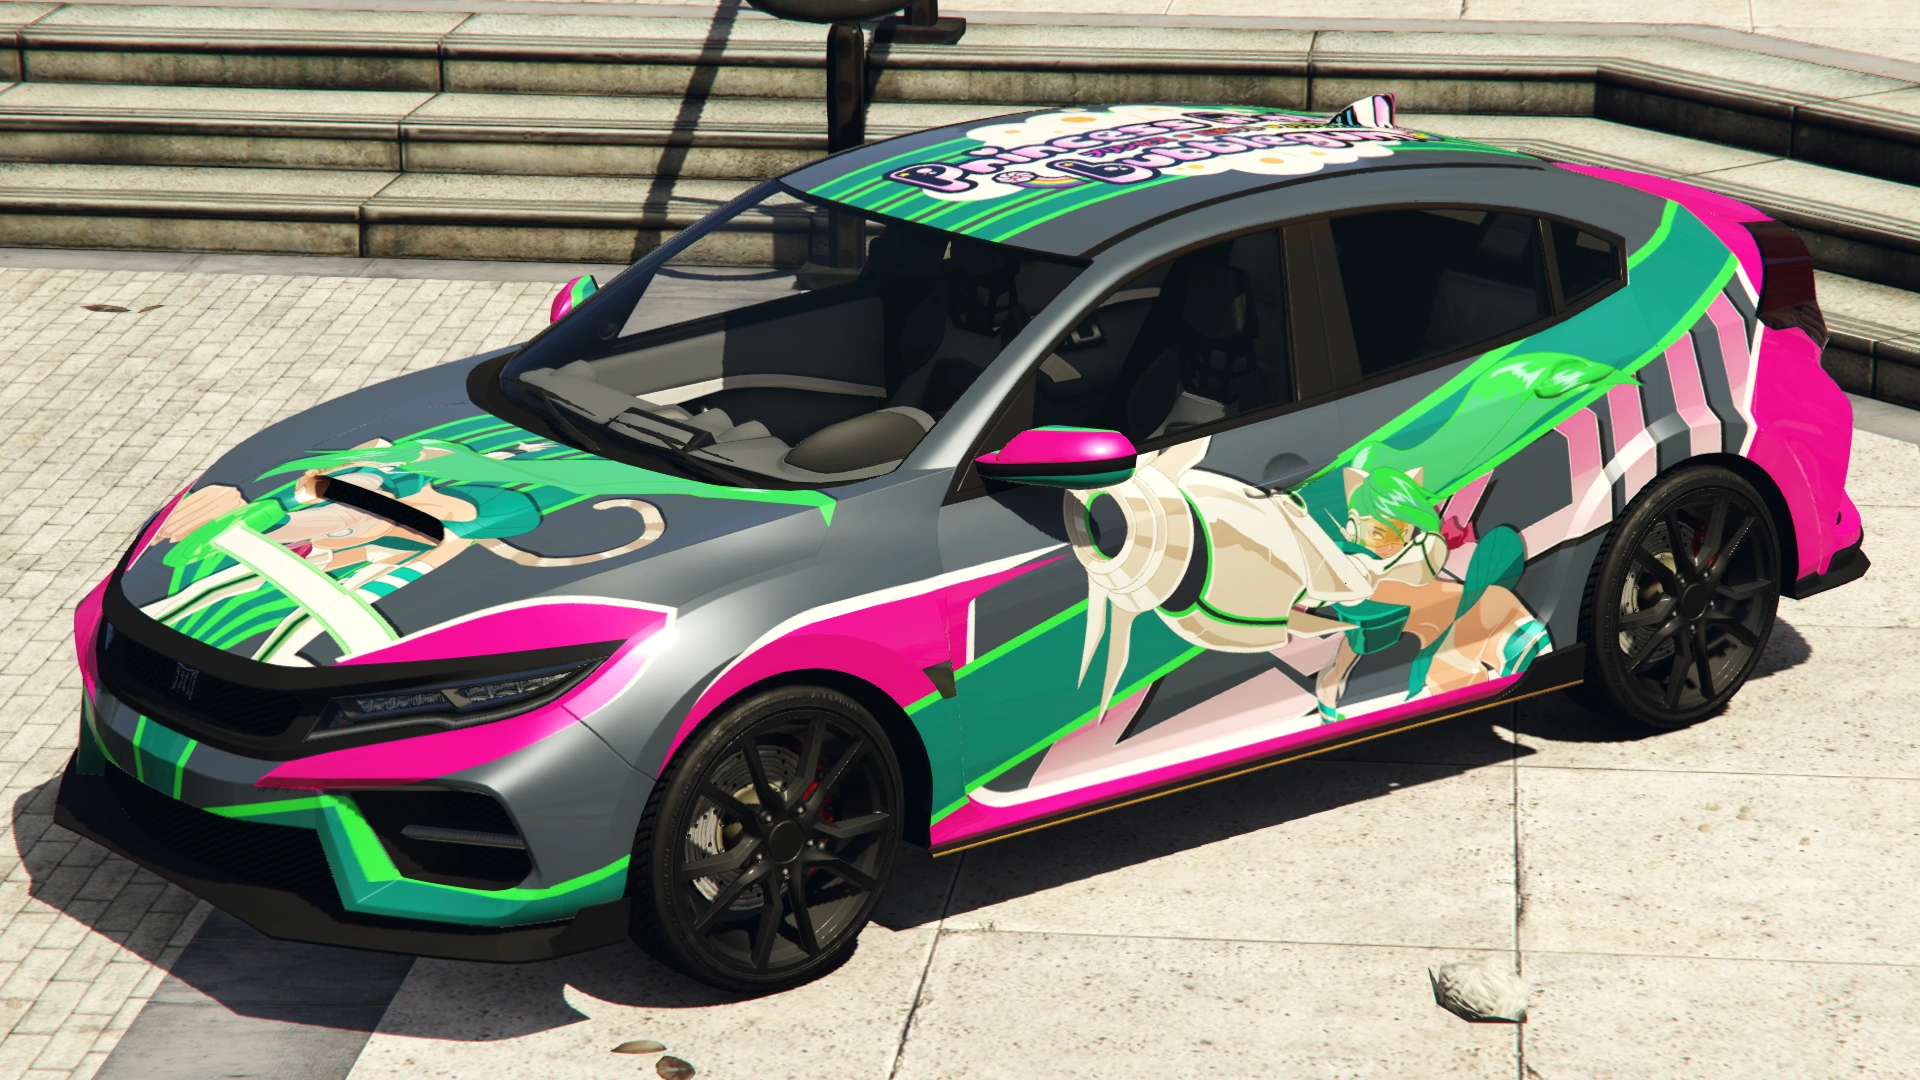
|[[Princess Robot Bubblegum|Wasabi Kitty]] |
|[[Princess Robot Bubblegum|Wasabi Kitty]] |
||
| style="text-align: center;" |$25,080 |
| style="text-align: center;" |$25,080 |
||
| − | |[[File:Sugoi-GTAO-WasabiKitty.png |
+ | |[[File:Sugoi-GTAO-WasabiKitty.png|thumb|center|220px|<small>([[:File:Sugoi-GTAO-WasabiKittyRear.png|Rear quarter view]])</small>]] |
|- |
|- |
||
|Red Warrior |
|Red Warrior |
||
| style="text-align: center;" |$25,650 |
| style="text-align: center;" |$25,650 |
||
| − | |[[File:Sugoi-GTAO-RedWarrior.png |
+ | |[[File:Sugoi-GTAO-RedWarrior.png|thumb|center|220px|<small>([[:File:Sugoi-GTAO-RedWarriorRear.png|Rear quarter view]])</small>]] |
|- |
|- |
||
| colspan="2" rowspan="2" |Loss/Theft Prevention |
| colspan="2" rowspan="2" |Loss/Theft Prevention |
||
| Line 452: | Line 463: | ||
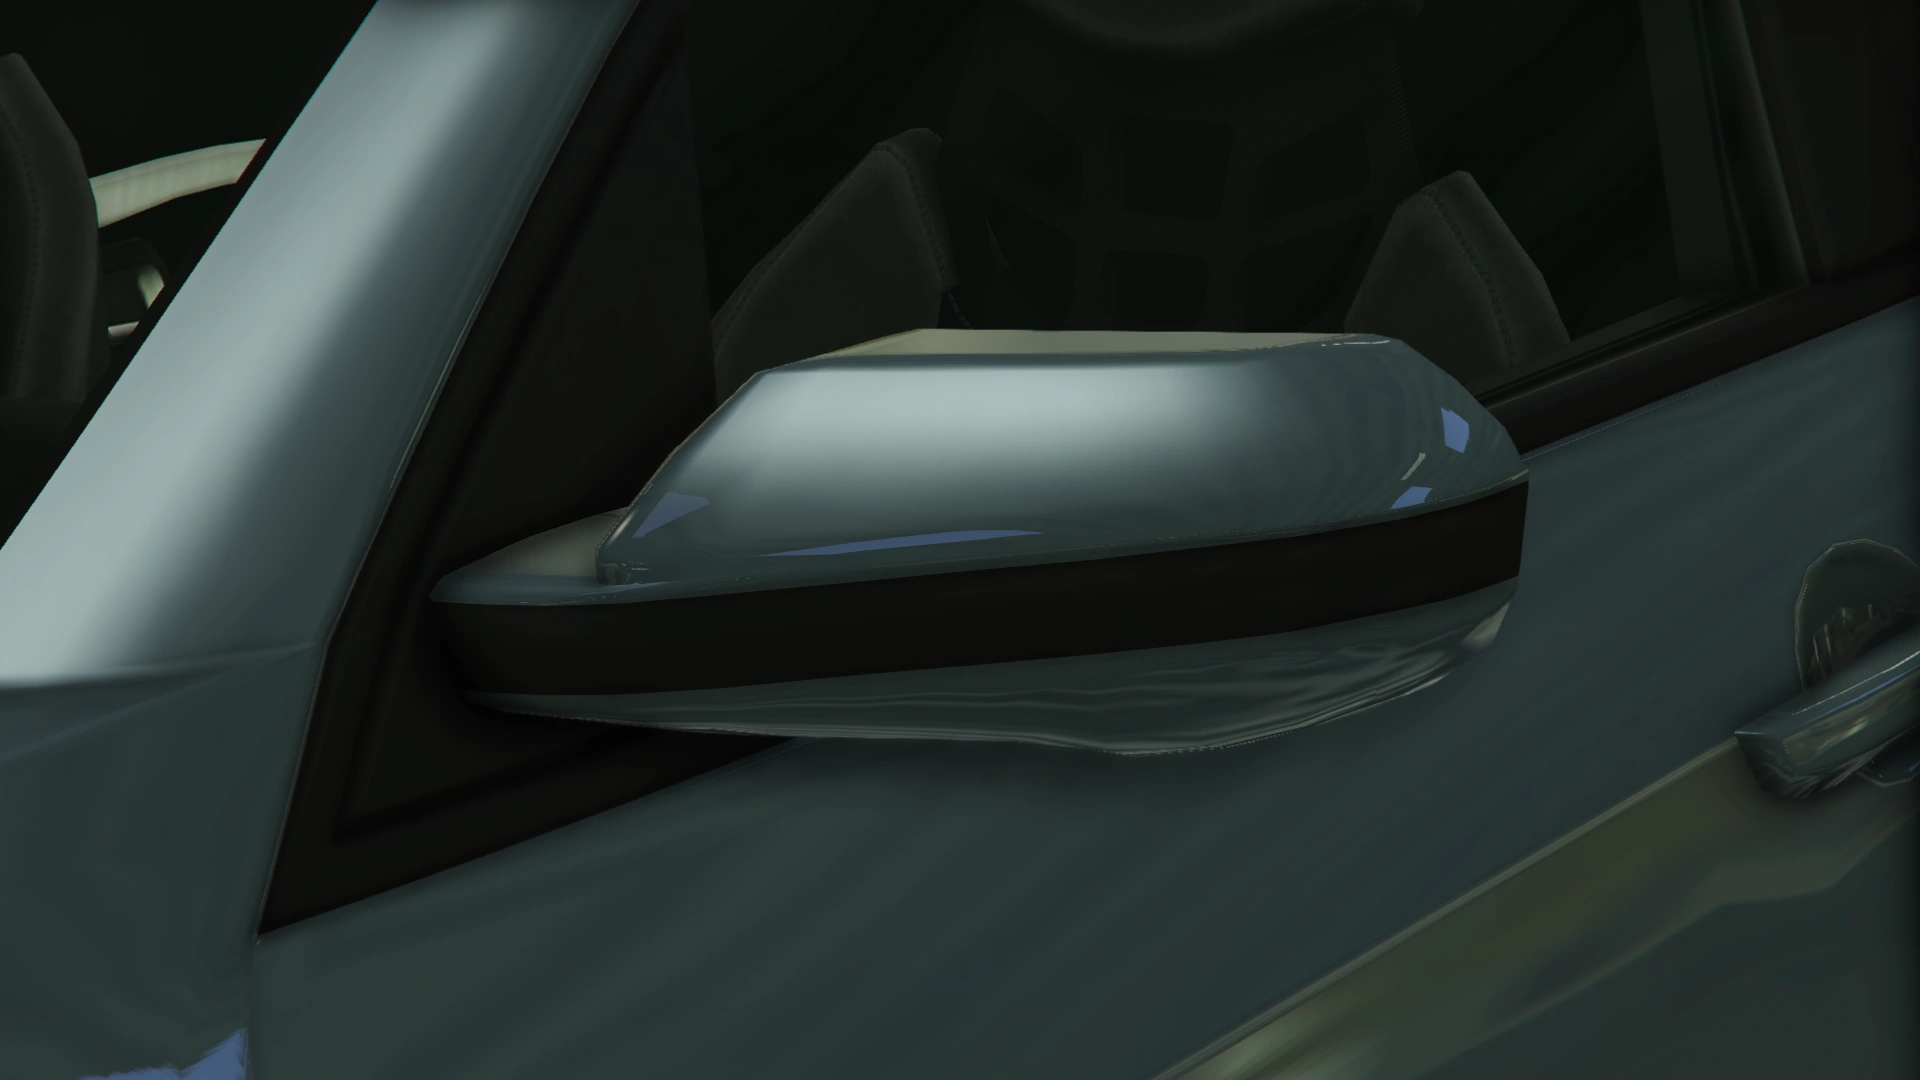
|Stock Mirrors |
|Stock Mirrors |
||
| style="text-align: center;" |$300 |
| style="text-align: center;" |$300 |
||
| − | |[[File:Sugoi-GTAO-StockMirrors.png |
+ | |[[File:Sugoi-GTAO-StockMirrors.png|thumb|center|220px]] |
|- |
|- |
||
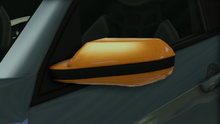
|Secondary Frame |
|Secondary Frame |
||
| style="text-align: center;" |$900 |
| style="text-align: center;" |$900 |
||
| − | |[[File:Sugoi-GTAO-SecondaryFrame.png |
+ | |[[File:Sugoi-GTAO-SecondaryFrame.png|thumb|center|220px]] |
|- |
|- |
||
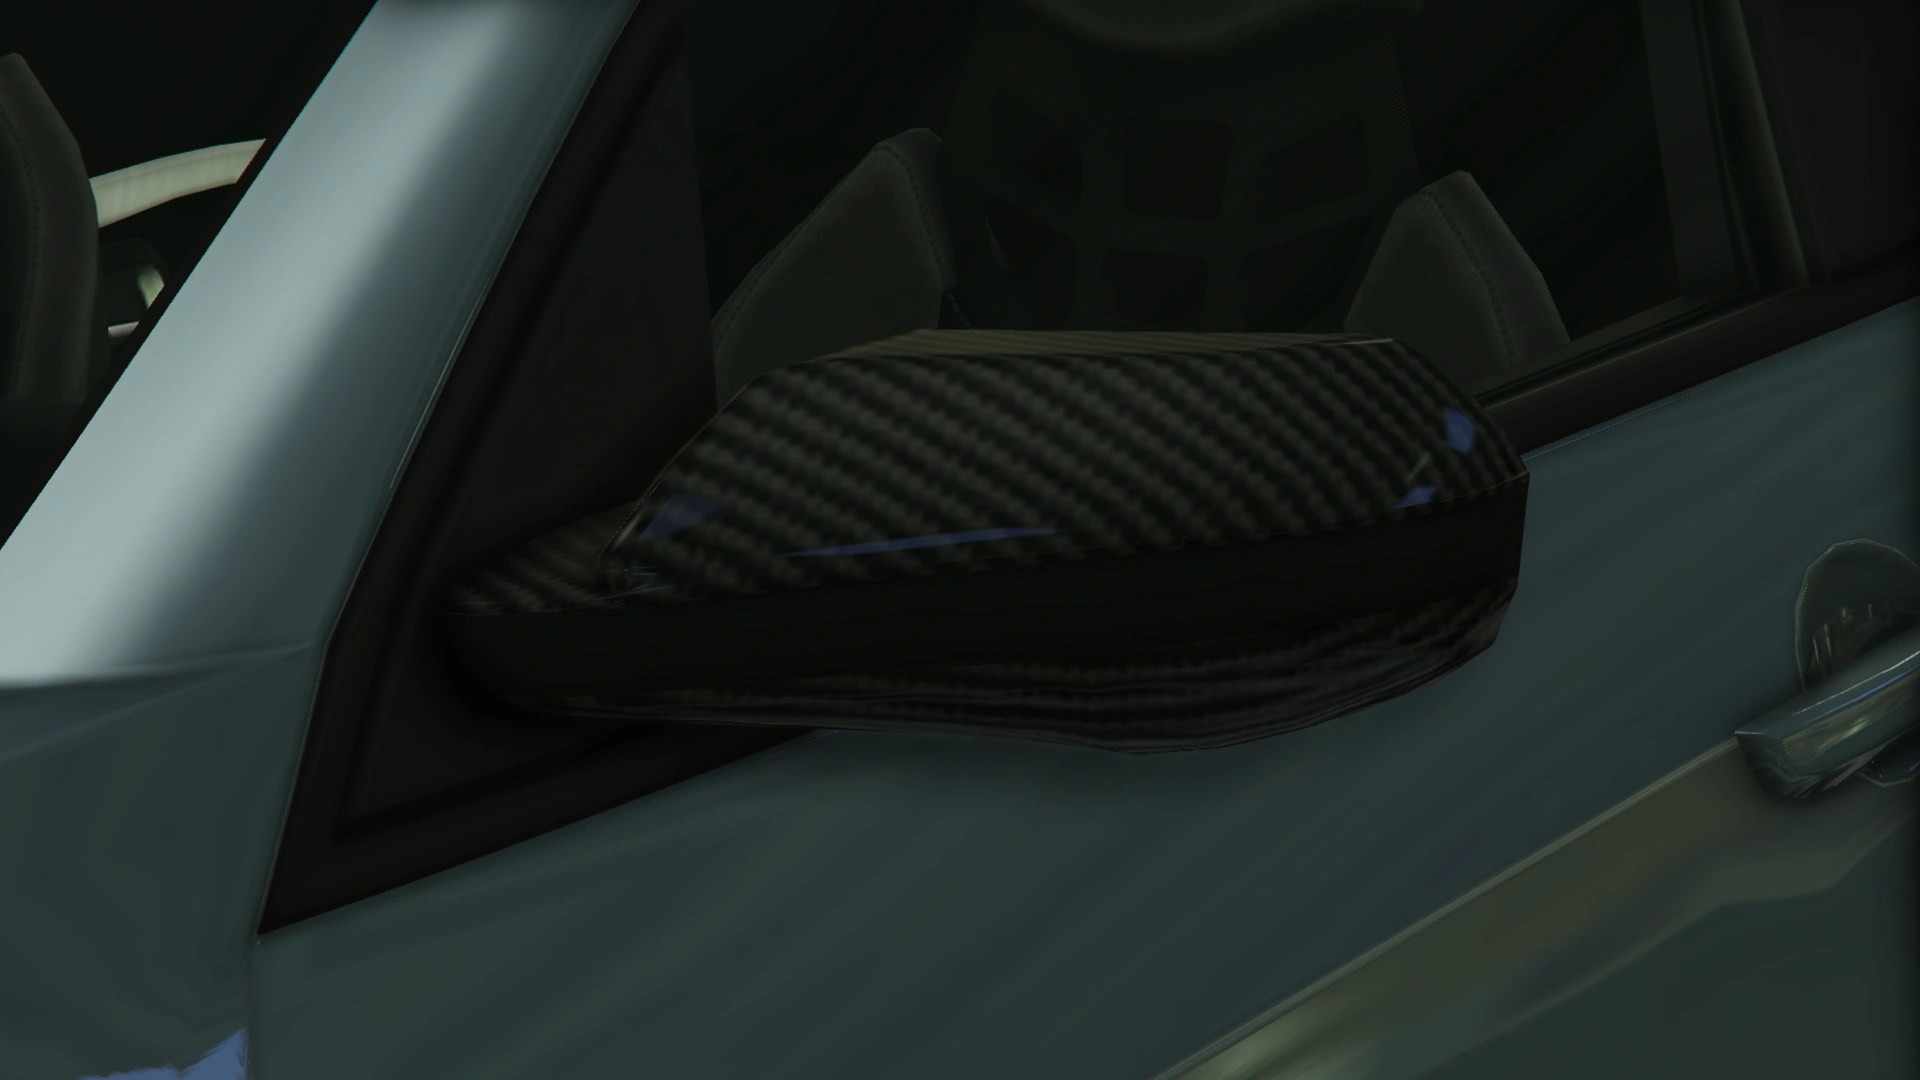
|Carbon Frame |
|Carbon Frame |
||
| style="text-align: center;" |$1,500 |
| style="text-align: center;" |$1,500 |
||
| − | |[[File:Sugoi-GTAO-CarbonFrame.png |
+ | |[[File:Sugoi-GTAO-CarbonFrame.png|thumb|center|220px]] |
|- |
|- |
||
|Primary Carbon Frame |
|Primary Carbon Frame |
||
| style="text-align: center;" |$1,700 |
| style="text-align: center;" |$1,700 |
||
| − | |[[File:Sugoi-GTAO-PrimaryCarbonFrame.png |
+ | |[[File:Sugoi-GTAO-PrimaryCarbonFrame.png|thumb|center|220px]] |
|- |
|- |
||
|Secondary Carbon Frame |
|Secondary Carbon Frame |
||
| style="text-align: center;" |$2,000 |
| style="text-align: center;" |$2,000 |
||
| − | |[[File:Sugoi-GTAO-SecondaryCarbonFrame.png |
+ | |[[File:Sugoi-GTAO-SecondaryCarbonFrame.png|thumb|center|220px]] |
|- |
|- |
||
| colspan="2" rowspan="5" |Plates |
| colspan="2" rowspan="5" |Plates |
||
| Line 493: | Line 504: | ||
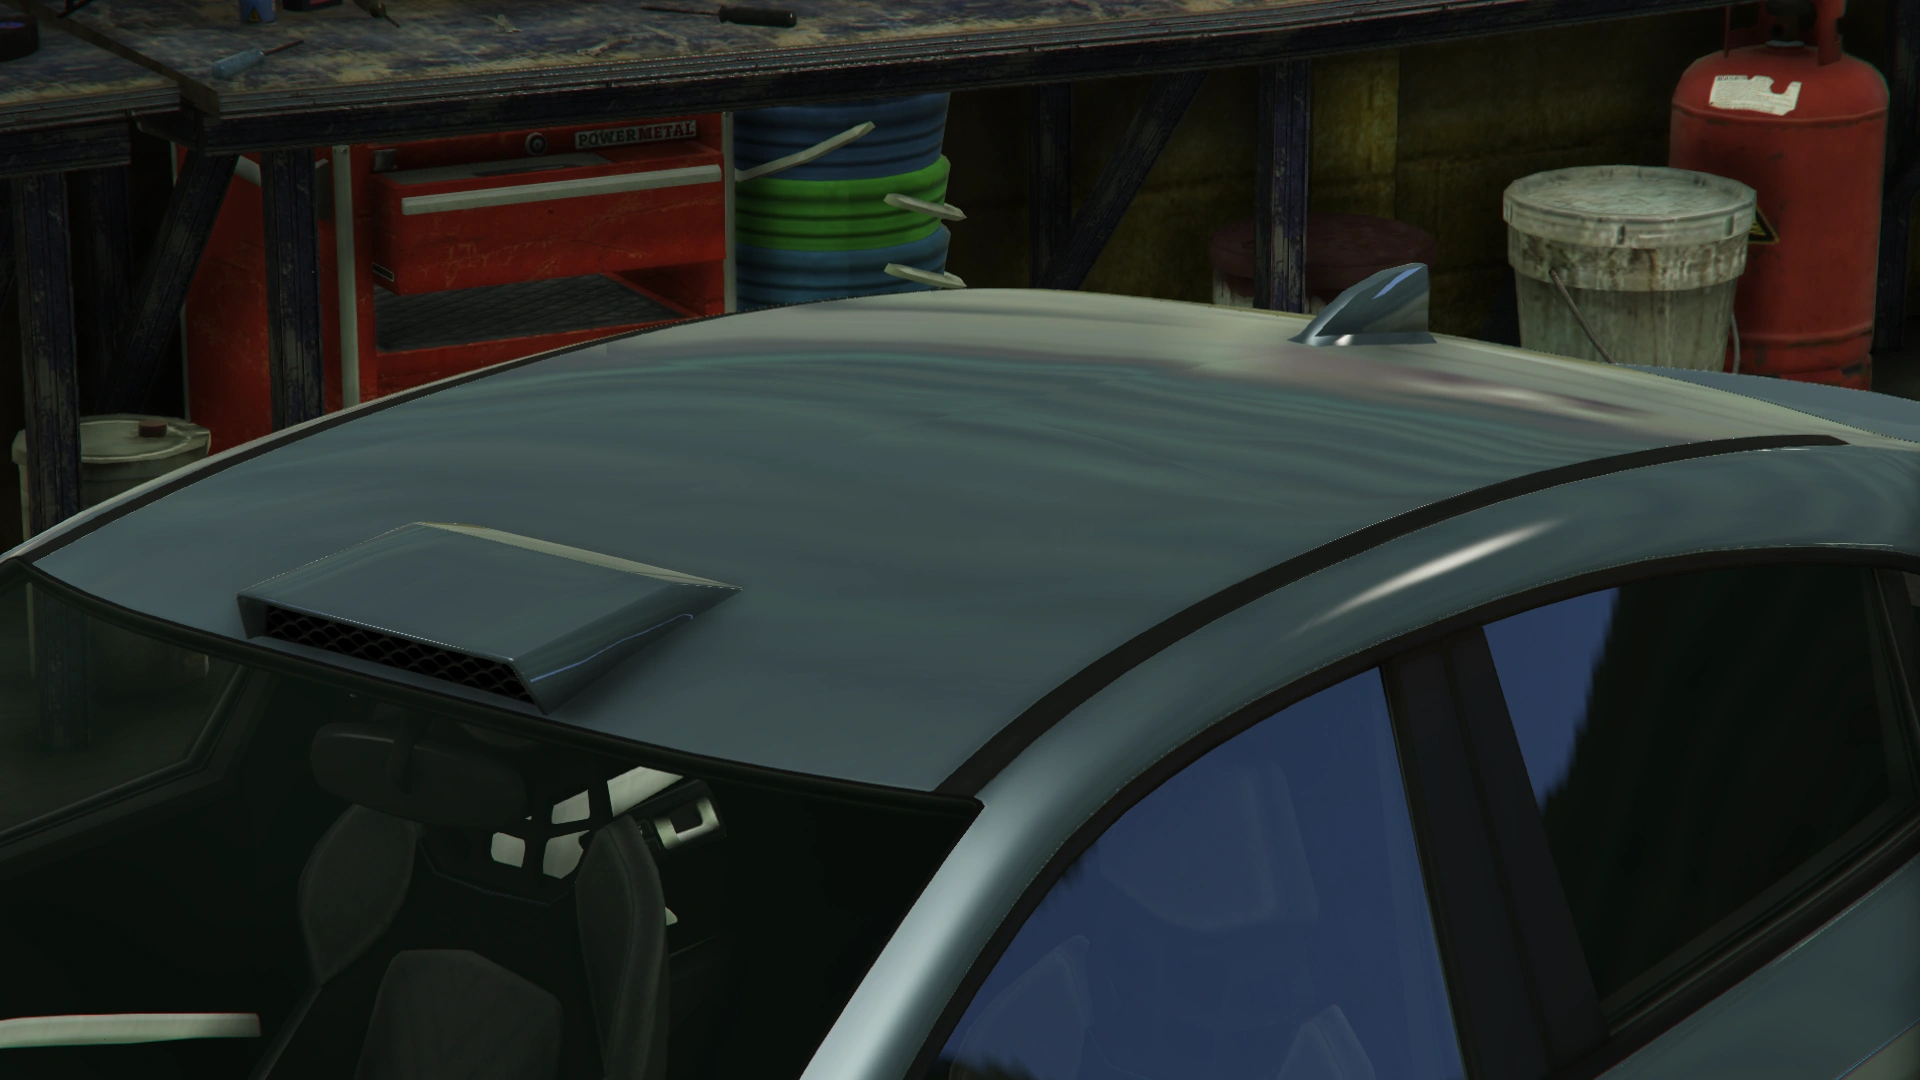
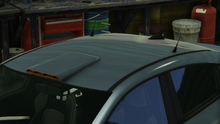
|Stock Roof |
|Stock Roof |
||
| style="text-align: center;" |$200 |
| style="text-align: center;" |$200 |
||
| − | |[[File:Sugoi-GTAO-StockRoof.png |
+ | |[[File:Sugoi-GTAO-StockRoof.png|thumb|center|220px]] |
|- |
|- |
||
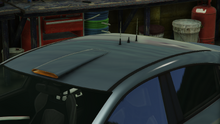
|Rally Scoop & Primary Fin |
|Rally Scoop & Primary Fin |
||
| style="text-align: center;" |$700 |
| style="text-align: center;" |$700 |
||
| − | |[[File:Sugoi-GTAO-RallyScoopAndPrimaryFin.png |
+ | |[[File:Sugoi-GTAO-RallyScoopAndPrimaryFin.png|thumb|center|220px]] |
|- |
|- |
||
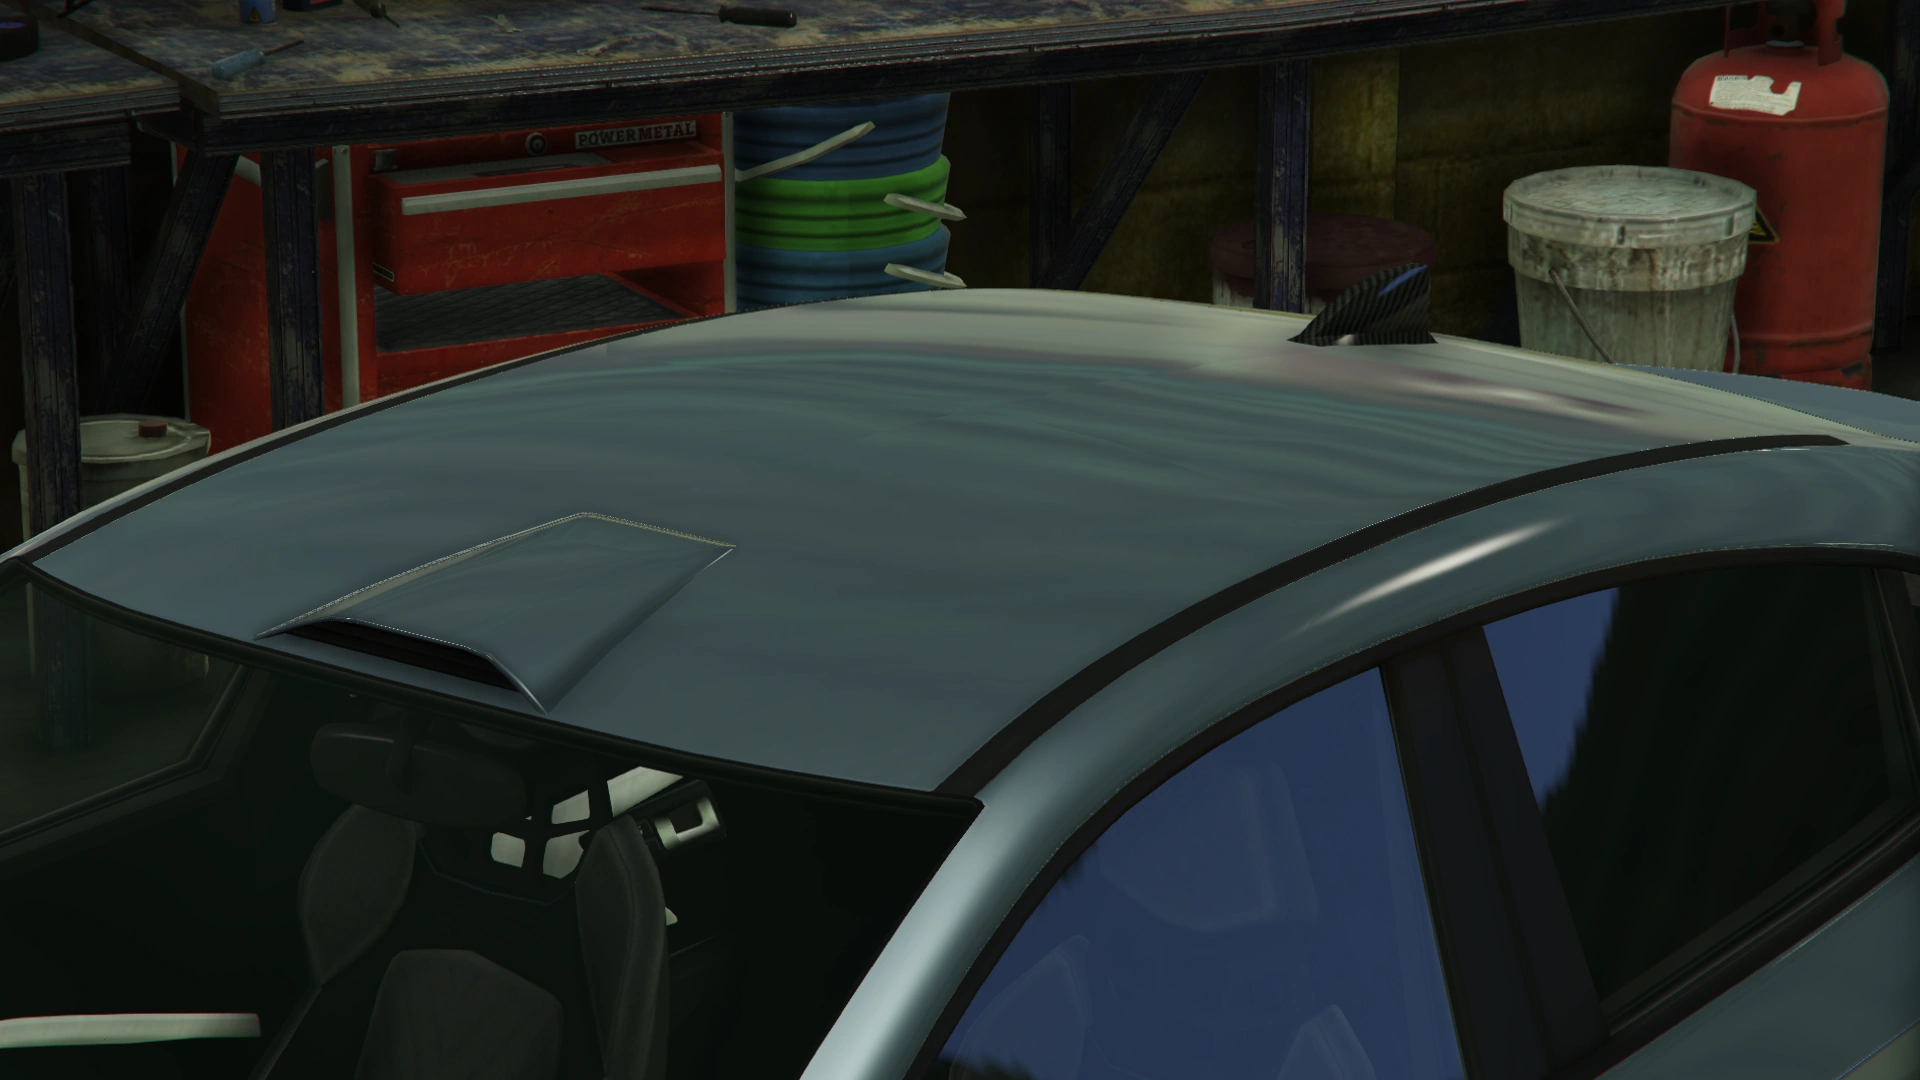
|Track Scoop & Carbon Fin |
|Track Scoop & Carbon Fin |
||
| style="text-align: center;" |$1,150 |
| style="text-align: center;" |$1,150 |
||
| − | |[[File:Sugoi-GTAO-TrackScoopAndCarbonFin.png |
+ | |[[File:Sugoi-GTAO-TrackScoopAndCarbonFin.png|thumb|center|220px]] |
|- |
|- |
||
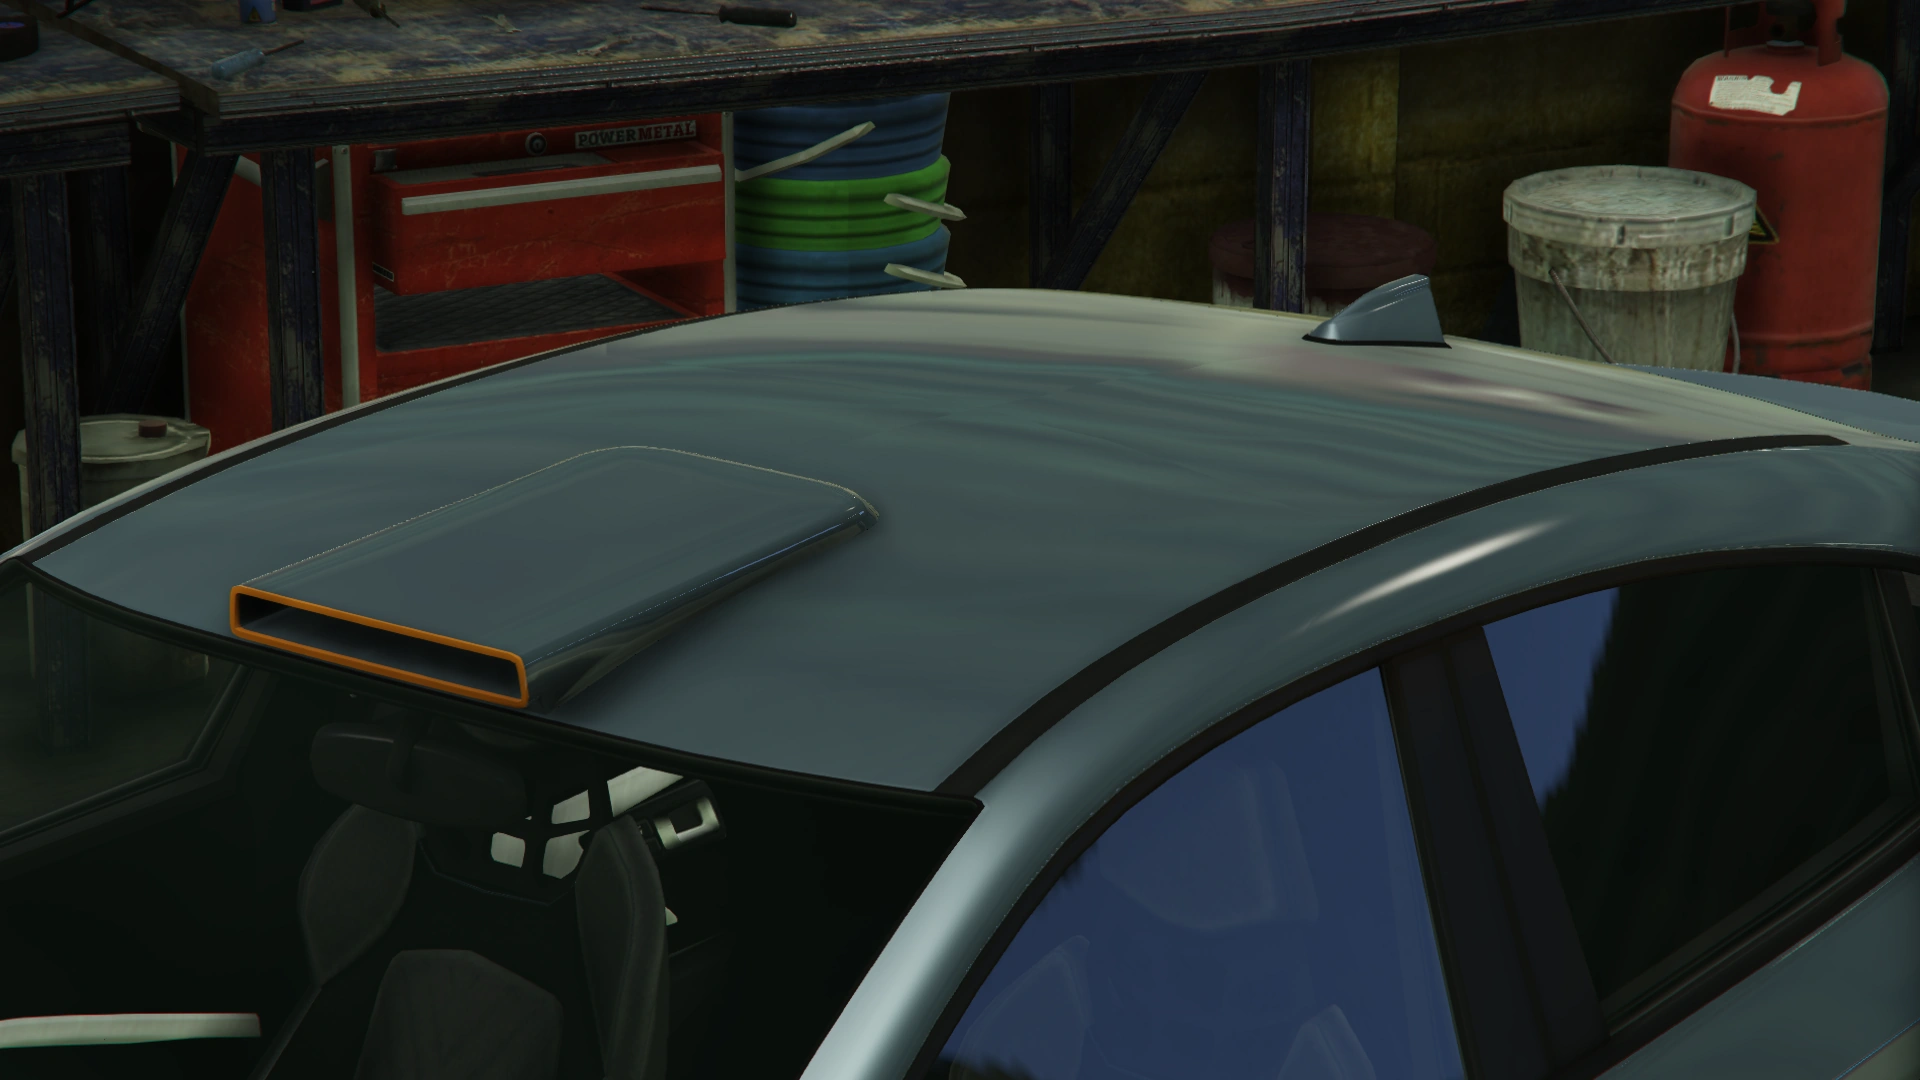
|Air Scoop & Carbon Antenna |
|Air Scoop & Carbon Antenna |
||
| style="text-align: center;" |$1,600 |
| style="text-align: center;" |$1,600 |
||
| − | |[[File:Sugoi-GTAO-AirScoopAndCarbonAntenna.png |
+ | |[[File:Sugoi-GTAO-AirScoopAndCarbonAntenna.png|thumb|center|220px]] |
|- |
|- |
||
|Square Scoop & Primary Fin |
|Square Scoop & Primary Fin |
||
| style="text-align: center;" |$1,950 |
| style="text-align: center;" |$1,950 |
||
| − | |[[File:Sugoi-GTAO-SquareScoopAndPrimaryFin.png |
+ | |[[File:Sugoi-GTAO-SquareScoopAndPrimaryFin.png|thumb|center|220px]] |
|- |
|- |
||
|GT Scoop & Rally Antennas |
|GT Scoop & Rally Antennas |
||
| style="text-align: center;" |$2,400 |
| style="text-align: center;" |$2,400 |
||
| − | |[[File:Sugoi-GTAO-GTScoopAndRallyAntennas.png |
+ | |[[File:Sugoi-GTAO-GTScoopAndRallyAntennas.png|thumb|center|220px]] |
|- |
|- |
||
|Sports Scoop & Rally Antennas |
|Sports Scoop & Rally Antennas |
||
| style="text-align: center;" |$2,500 |
| style="text-align: center;" |$2,500 |
||
| − | |[[File:Sugoi-GTAO-SportsScoopAndRallyAntennas.png |
+ | |[[File:Sugoi-GTAO-SportsScoopAndRallyAntennas.png|thumb|center|220px]] |
|- |
|- |
||
| colspan="2" |Sell |
| colspan="2" |Sell |
||
| Line 526: | Line 537: | ||
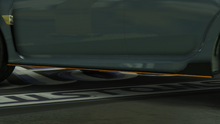
|Stock Skirts |
|Stock Skirts |
||
| style="text-align: center;" |$2,500 |
| style="text-align: center;" |$2,500 |
||
| − | |[[File:Sugoi-GTAO-StockSkirts.png |
+ | |[[File:Sugoi-GTAO-StockSkirts.png|thumb|center|220px]] |
|- |
|- |
||
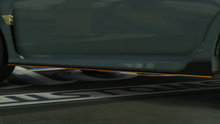
|Carbon Skirt |
|Carbon Skirt |
||
| style="text-align: center;" |$5,500 |
| style="text-align: center;" |$5,500 |
||
| − | |[[File:Sugoi-GTAO-CarbonSkirts.png |
+ | |[[File:Sugoi-GTAO-CarbonSkirts.png|thumb|center|220px]] |
|- |
|- |
||
|Street Skirt |
|Street Skirt |
||
| style="text-align: center;" |$8,000 |
| style="text-align: center;" |$8,000 |
||
| − | |[[File:Sugoi-GTAO-StreetSkirts.png |
+ | |[[File:Sugoi-GTAO-StreetSkirts.png|thumb|center|220px]] |
|- |
|- |
||
|Carbon Street Skirt |
|Carbon Street Skirt |
||
| style="text-align: center;" |$10,500 |
| style="text-align: center;" |$10,500 |
||
| − | |[[File:Sugoi-GTAO-CarbonStreetSkirt.png |
+ | |[[File:Sugoi-GTAO-CarbonStreetSkirt.png|thumb|center|220px]] |
|- |
|- |
||
|Racer Skirt |
|Racer Skirt |
||
| style="text-align: center;" |$14,000 |
| style="text-align: center;" |$14,000 |
||
| − | |[[File:Sugoi-GTAO-RacerSkirt.png |
+ | |[[File:Sugoi-GTAO-RacerSkirt.png|thumb|center|220px]] |
|- |
|- |
||
|Carbon Racer Skirt |
|Carbon Racer Skirt |
||
| style="text-align: center;" |$14,500 |
| style="text-align: center;" |$14,500 |
||
| − | |[[File:Sugoi-GTAO-CarbonRacerSkirt.png |
+ | |[[File:Sugoi-GTAO-CarbonRacerSkirt.png|thumb|center|220px]] |
|- |
|- |
||
|Jet Skirt |
|Jet Skirt |
||
| style="text-align: center;" |$15,000 |
| style="text-align: center;" |$15,000 |
||
| − | |[[File:Sugoi-GTAO-JetSkirt.png |
+ | |[[File:Sugoi-GTAO-JetSkirt.png|thumb|center|220px]] |
|- |
|- |
||
|Carbon Jet Skirt |
|Carbon Jet Skirt |
||
| style="text-align: center;" |$15,500 |
| style="text-align: center;" |$15,500 |
||
| − | |[[File:Sugoi-GTAO-CarbonJetSkirt.png |
+ | |[[File:Sugoi-GTAO-CarbonJetSkirt.png|thumb|center|220px]] |
|- |
|- |
||
|Rally Skirt |
|Rally Skirt |
||
| style="text-align: center;" |$16,000 |
| style="text-align: center;" |$16,000 |
||
| − | |[[File:Sugoi-GTAO-RallySkirt.png |
+ | |[[File:Sugoi-GTAO-RallySkirt.png|thumb|center|220px]] |
|- |
|- |
||
|Carbon Rally Skirt |
|Carbon Rally Skirt |
||
| style="text-align: center;" |$16,500 |
| style="text-align: center;" |$16,500 |
||
| − | |[[File:Sugoi-GTAO-CarbonRallySkirt.png |
+ | |[[File:Sugoi-GTAO-CarbonRallySkirt.png|thumb|center|220px]] |
|- |
|- |
||
| colspan="2" rowspan="15" |Spoilers |
| colspan="2" rowspan="15" |Spoilers |
||
|None |
|None |
||
| style="text-align: center;" |$6,000 |
| style="text-align: center;" |$6,000 |
||
| − | |[[File:Sugoi-GTAO-SpoilerNone.png |
+ | |[[File:Sugoi-GTAO-SpoilerNone.png|thumb|center|220px]] |
|- |
|- |
||
|Fin Tail Spoiler |
|Fin Tail Spoiler |
||
| style="text-align: center;" |$7,050 |
| style="text-align: center;" |$7,050 |
||
| − | |[[File:Sugoi-GTAO-FinTailSpoiler.png |
+ | |[[File:Sugoi-GTAO-FinTailSpoiler.png|thumb|center|220px]] |
|- |
|- |
||
|Racer Tail Spoiler |
|Racer Tail Spoiler |
||
| style="text-align: center;" |$10,000 |
| style="text-align: center;" |$10,000 |
||
| − | |[[File:Sugoi-GTAO-RacerTailSpoiler.png |
+ | |[[File:Sugoi-GTAO-RacerTailSpoiler.png|thumb|center|220px]] |
|- |
|- |
||
|Primary Street Spoiler |
|Primary Street Spoiler |
||
| style="text-align: center;" |$13,000 |
| style="text-align: center;" |$13,000 |
||
| − | |[[File:Sugoi-GTAO-PrimaryStreetSpoiler.png |
+ | |[[File:Sugoi-GTAO-PrimaryStreetSpoiler.png|thumb|center|220px]] |
|- |
|- |
||
|Secondary Street Spoiler |
|Secondary Street Spoiler |
||
| style="text-align: center;" |$14,000 |
| style="text-align: center;" |$14,000 |
||
| − | |[[File:Sugoi-GTAO-SecondaryStreetSpoiler.png |
+ | |[[File:Sugoi-GTAO-SecondaryStreetSpoiler.png|thumb|center|220px]] |
|- |
|- |
||
|Carbon Street Spoiler |
|Carbon Street Spoiler |
||
| style="text-align: center;" |$16,000 |
| style="text-align: center;" |$16,000 |
||
| − | |[[File:Sugoi-GTAO-CarbonStreetSpoiler.png |
+ | |[[File:Sugoi-GTAO-CarbonStreetSpoiler.png|thumb|center|220px]] |
|- |
|- |
||
|Arrow Spoiler |
|Arrow Spoiler |
||
| style="text-align: center;" |$16,500 |
| style="text-align: center;" |$16,500 |
||
| − | |[[File:Sugoi-GTAO-ArrowSpoiler.png |
+ | |[[File:Sugoi-GTAO-ArrowSpoiler.png|thumb|center|220px]] |
|- |
|- |
||
|Carbon Arrow Spoiler |
|Carbon Arrow Spoiler |
||
| style="text-align: center;" |$17,000 |
| style="text-align: center;" |$17,000 |
||
| − | |[[File:Sugoi-GTAO-CarbonArrowSpoiler.png |
+ | |[[File:Sugoi-GTAO-CarbonArrowSpoiler.png|thumb|center|220px]] |
|- |
|- |
||
|GT Spoiler |
|GT Spoiler |
||
| style="text-align: center;" |$17,500 |
| style="text-align: center;" |$17,500 |
||
| − | |[[File:Sugoi-GTAO-GTSpoiler.png |
+ | |[[File:Sugoi-GTAO-GTSpoiler.png|thumb|center|220px]] |
|- |
|- |
||
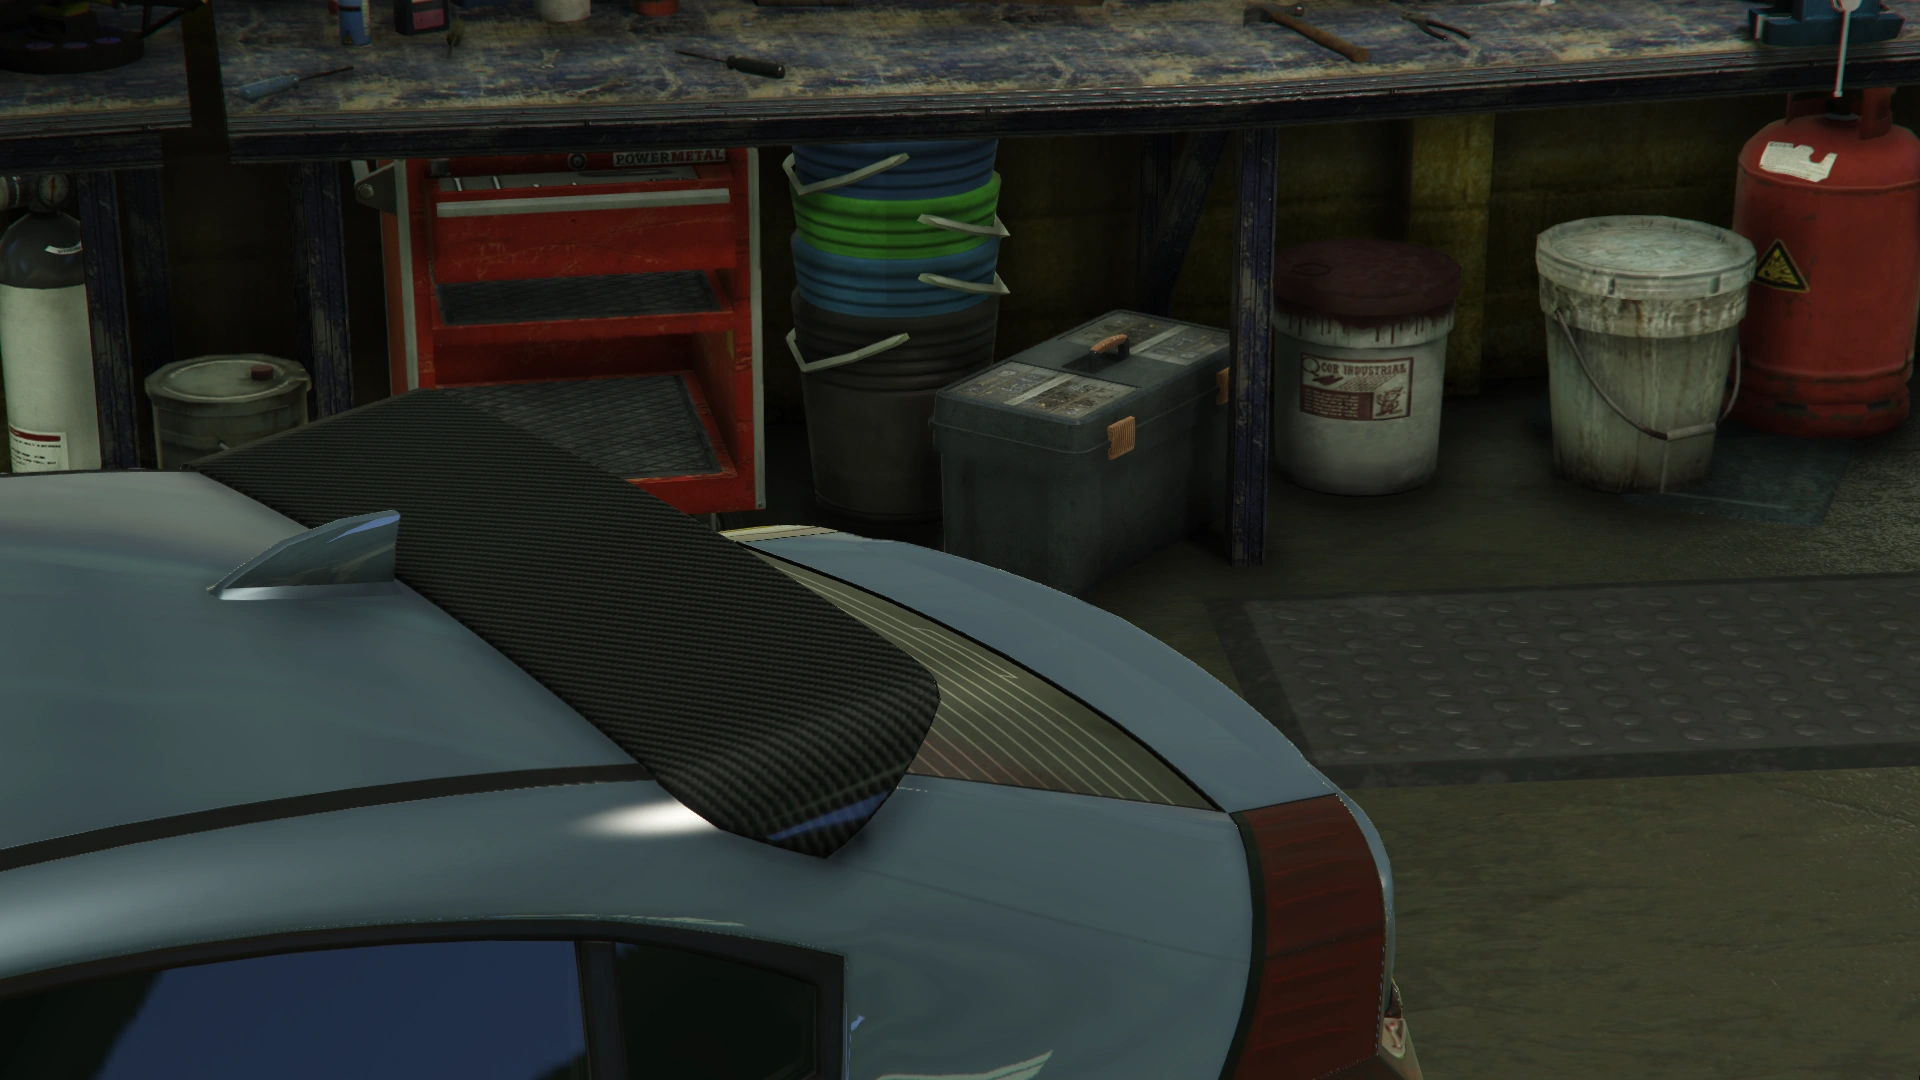
|Carbon Track Spoiler |
|Carbon Track Spoiler |
||
| style="text-align: center;" |$18,000 |
| style="text-align: center;" |$18,000 |
||
| − | |[[File:Sugoi-GTAO-CarbonTrackSpoiler.png |
+ | |[[File:Sugoi-GTAO-CarbonTrackSpoiler.png|thumb|center|220px]] |
|- |
|- |
||
|Track MK2 Spoiler |
|Track MK2 Spoiler |
||
| style="text-align: center;" |$18,500 |
| style="text-align: center;" |$18,500 |
||
| − | |[[File:Sugoi-GTAO-TrackMK2Spoiler.png |
+ | |[[File:Sugoi-GTAO-TrackMK2Spoiler.png|thumb|center|220px]] |
|- |
|- |
||
|Carbon Drag Spoiler |
|Carbon Drag Spoiler |
||
| style="text-align: center;" |$19,000 |
| style="text-align: center;" |$19,000 |
||
| − | |[[File:Sugoi-GTAO-CarbonDragSpoiler.png |
+ | |[[File:Sugoi-GTAO-CarbonDragSpoiler.png|thumb|center|220px]] |
|- |
|- |
||
|Secondary Drag Spoiler |
|Secondary Drag Spoiler |
||
| style="text-align: center;" |$19,500 |
| style="text-align: center;" |$19,500 |
||
| − | |[[File:Sugoi-GTAO-SecondaryDragSpoiler.png |
+ | |[[File:Sugoi-GTAO-SecondaryDragSpoiler.png|thumb|center|220px]] |
|- |
|- |
||
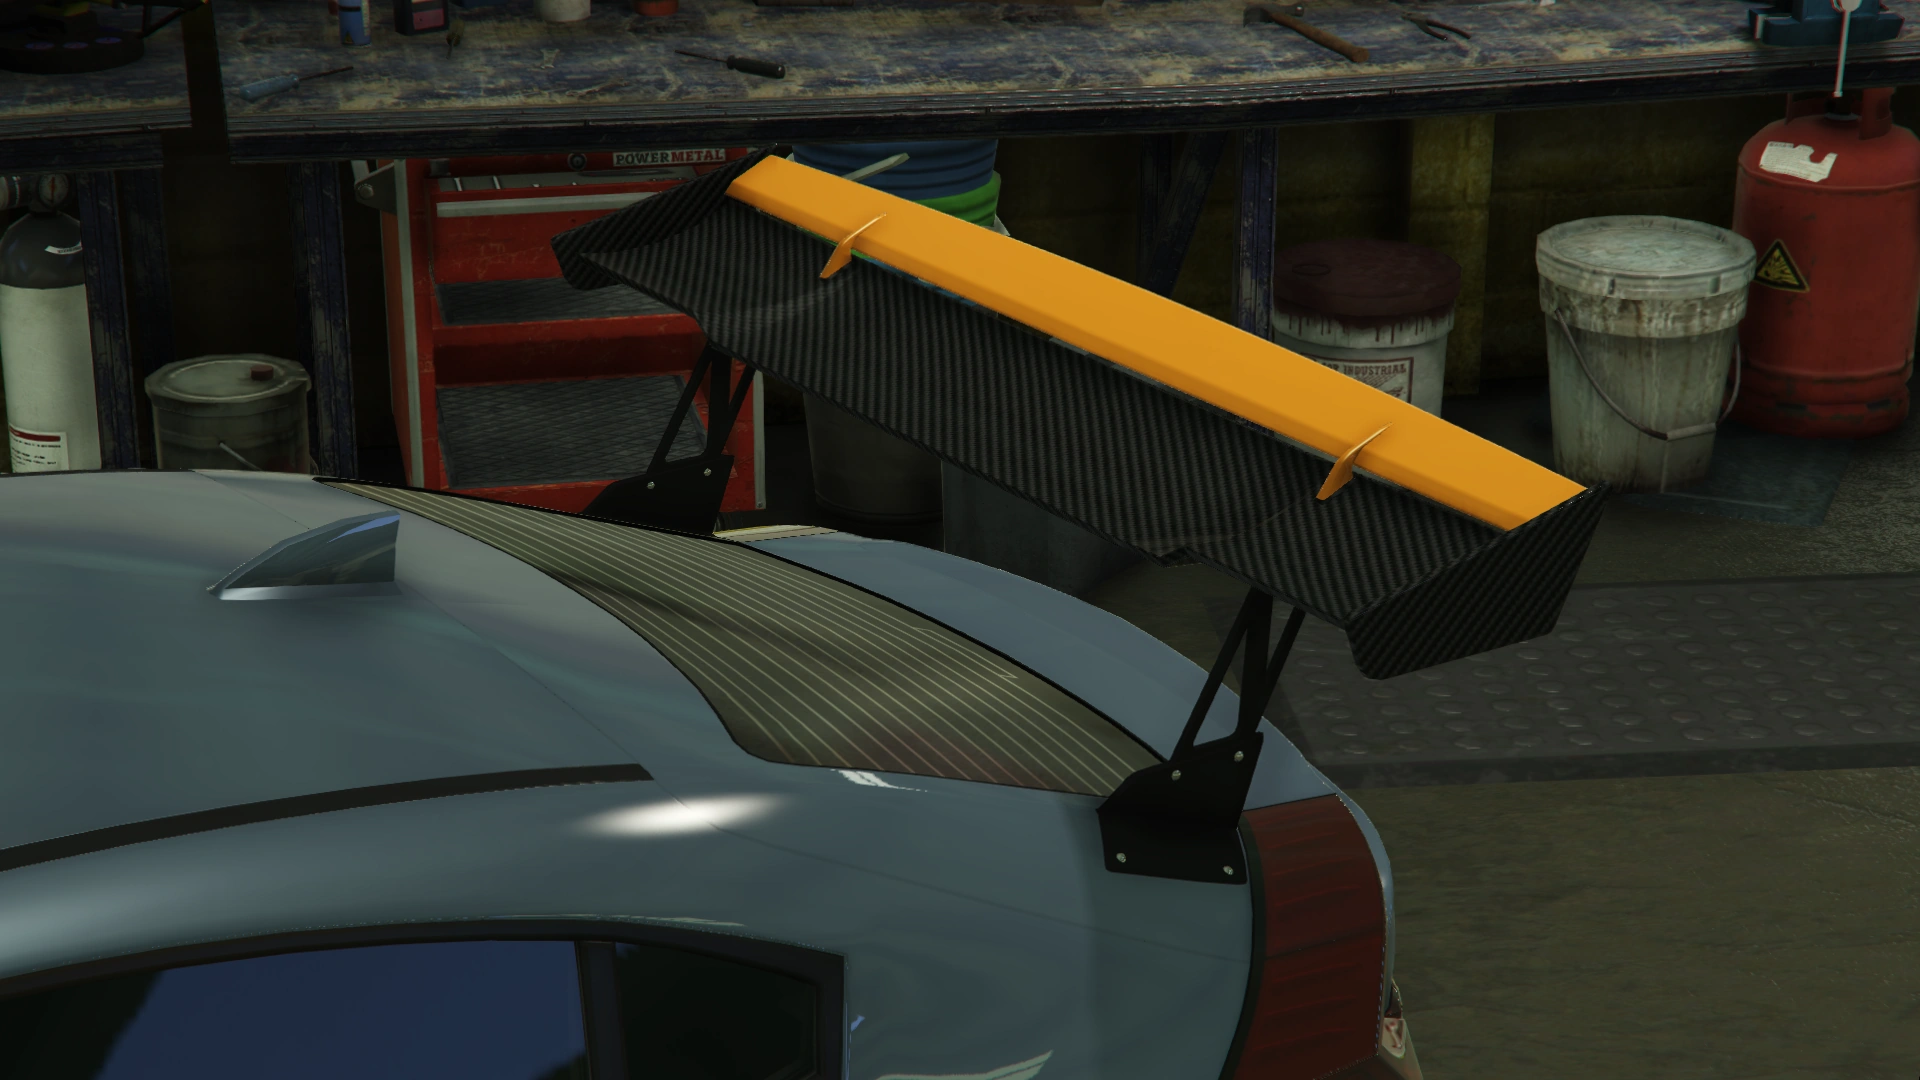
|Sports Spoiler |
|Sports Spoiler |
||
| style="text-align: center;" |$20,000 |
| style="text-align: center;" |$20,000 |
||
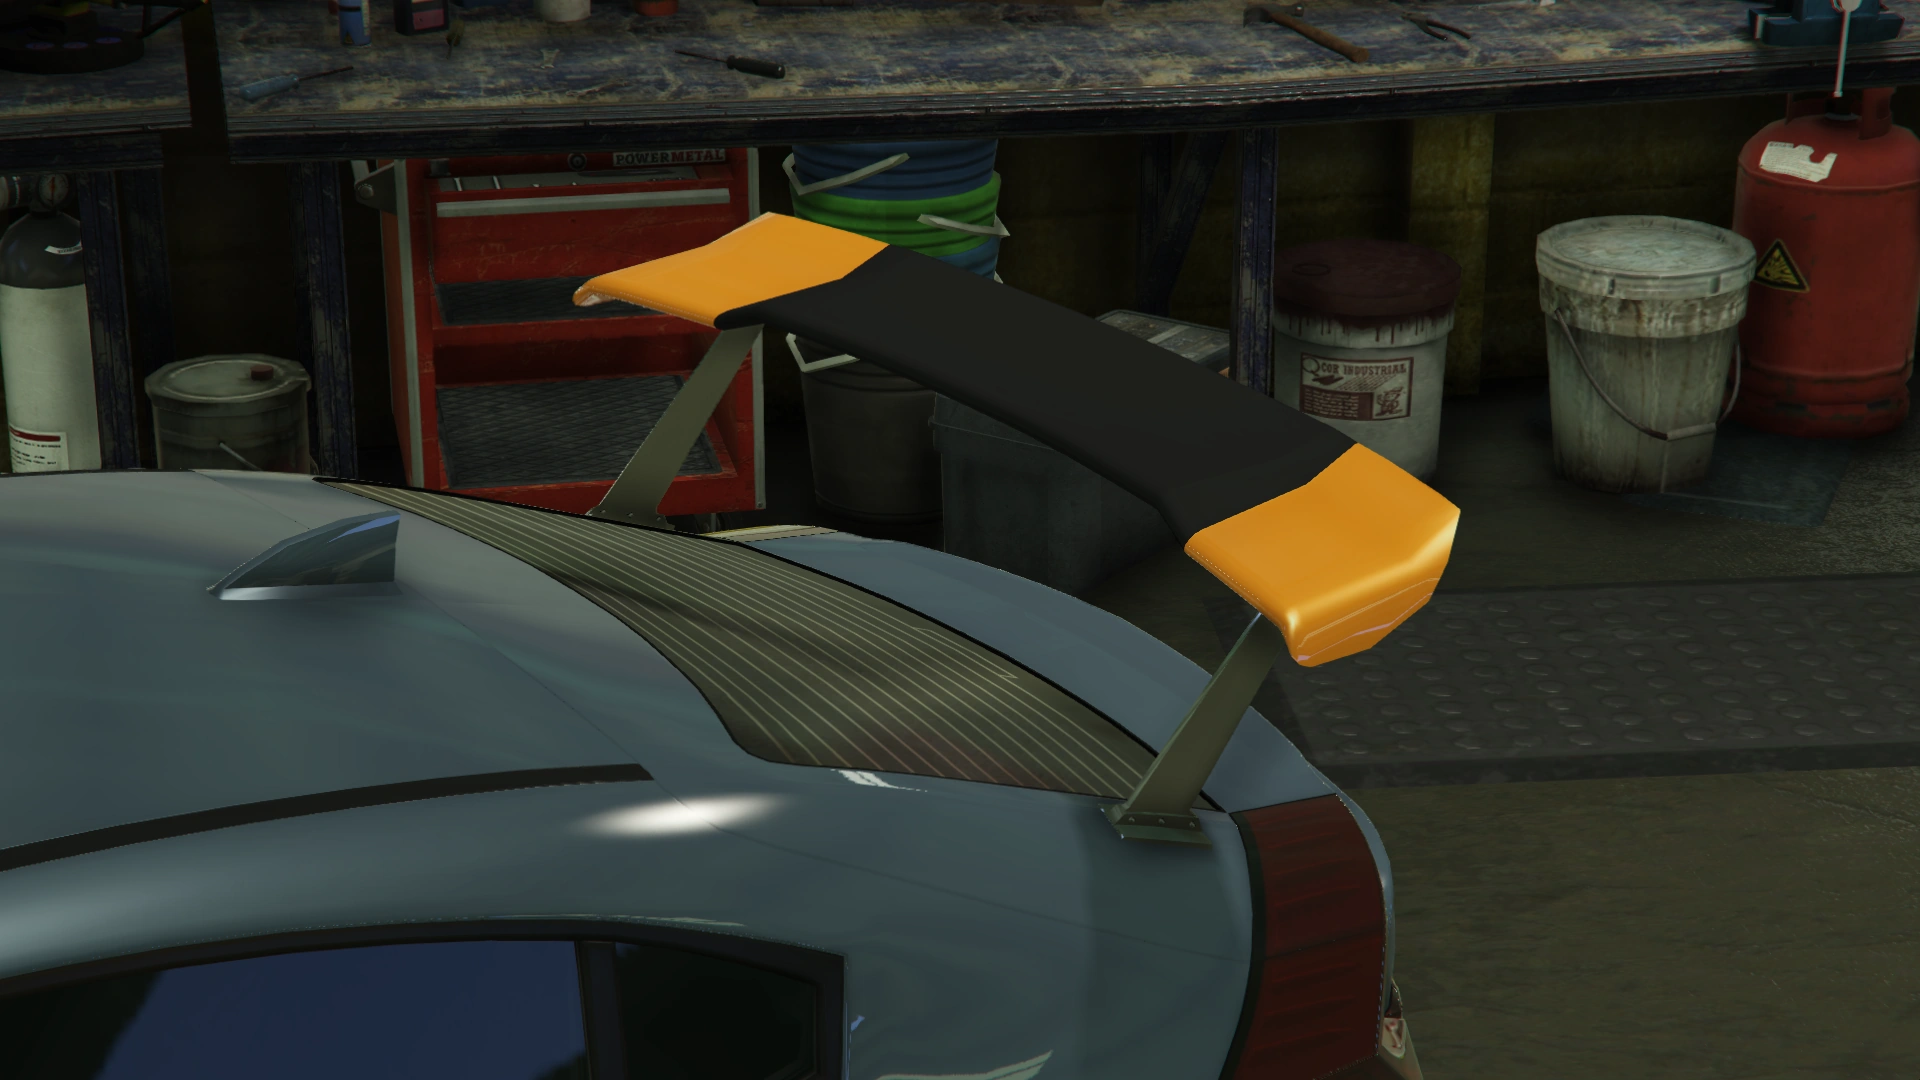
| − | |[[File:Sugoi-GTAO-SportsSpoiler.png |
+ | |[[File:Sugoi-GTAO-SportsSpoiler.png|thumb|center|220px]] |
|- |
|- |
||
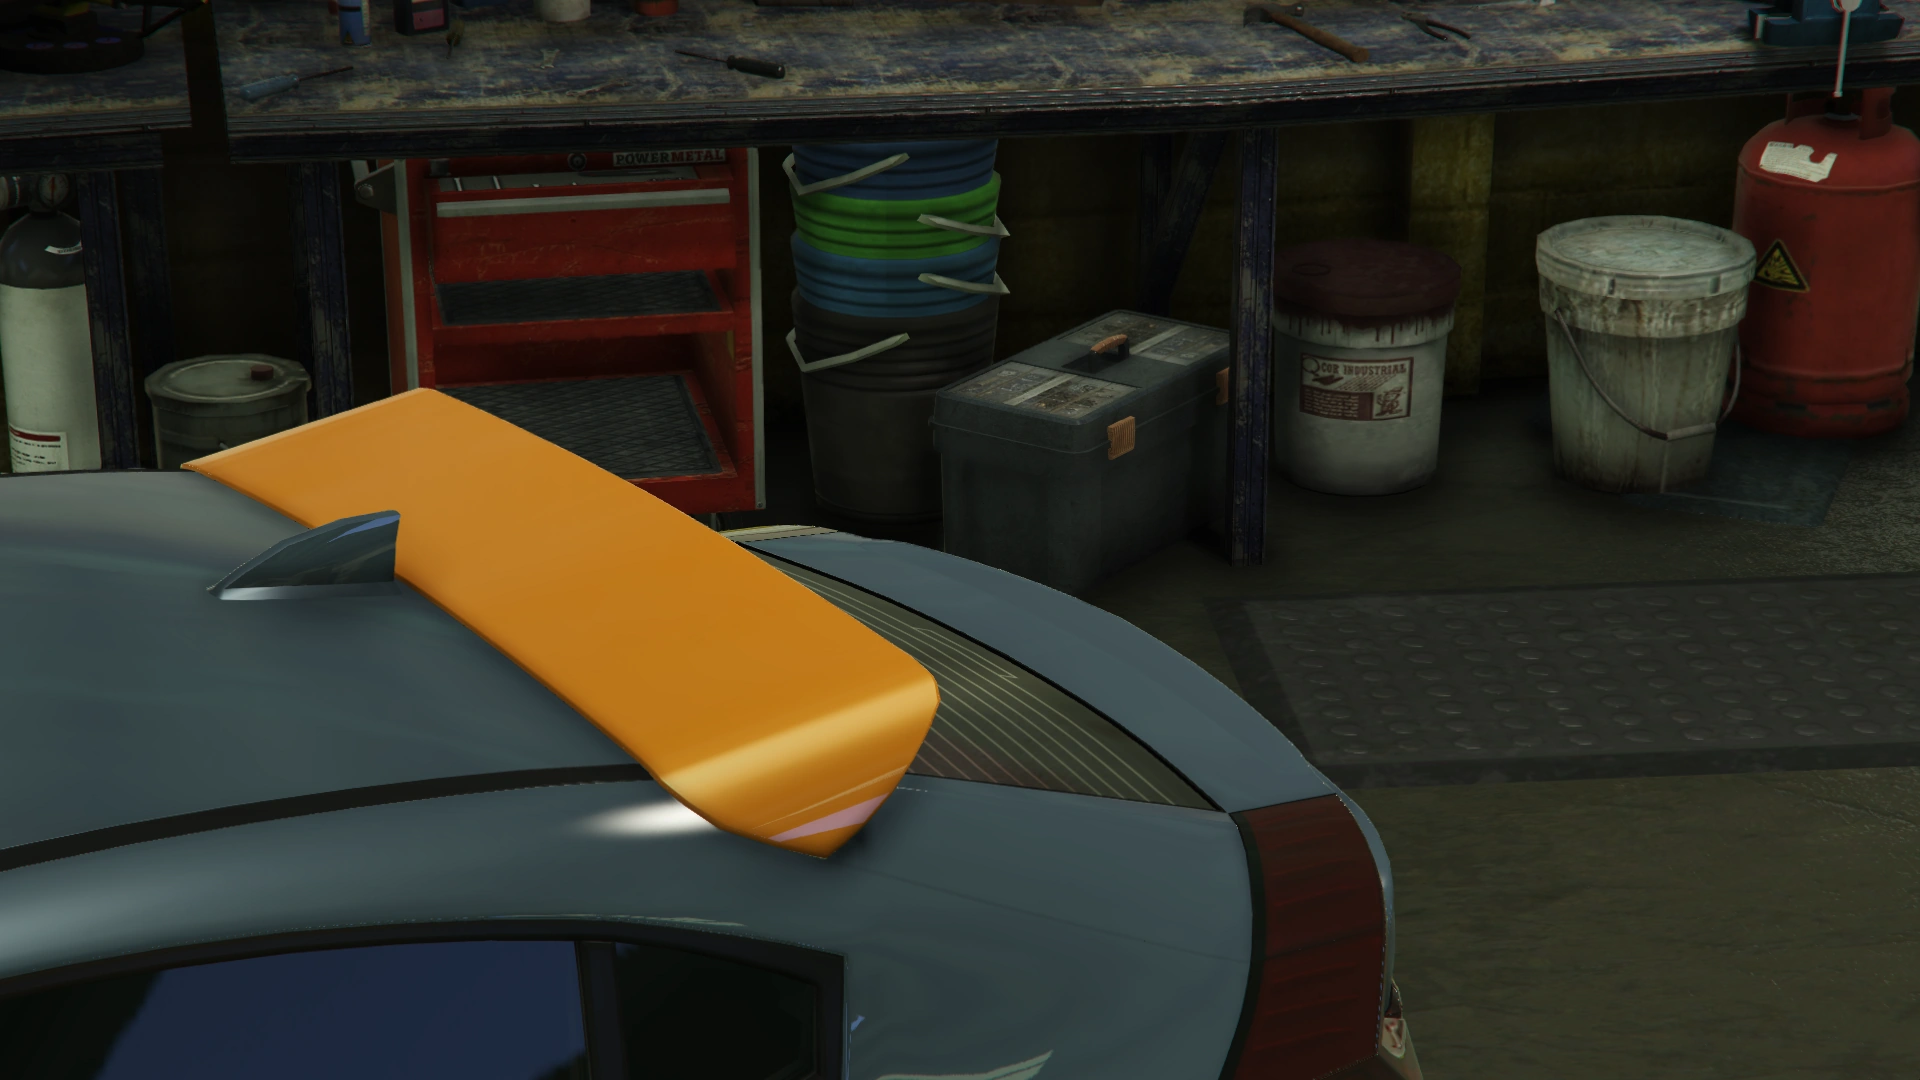
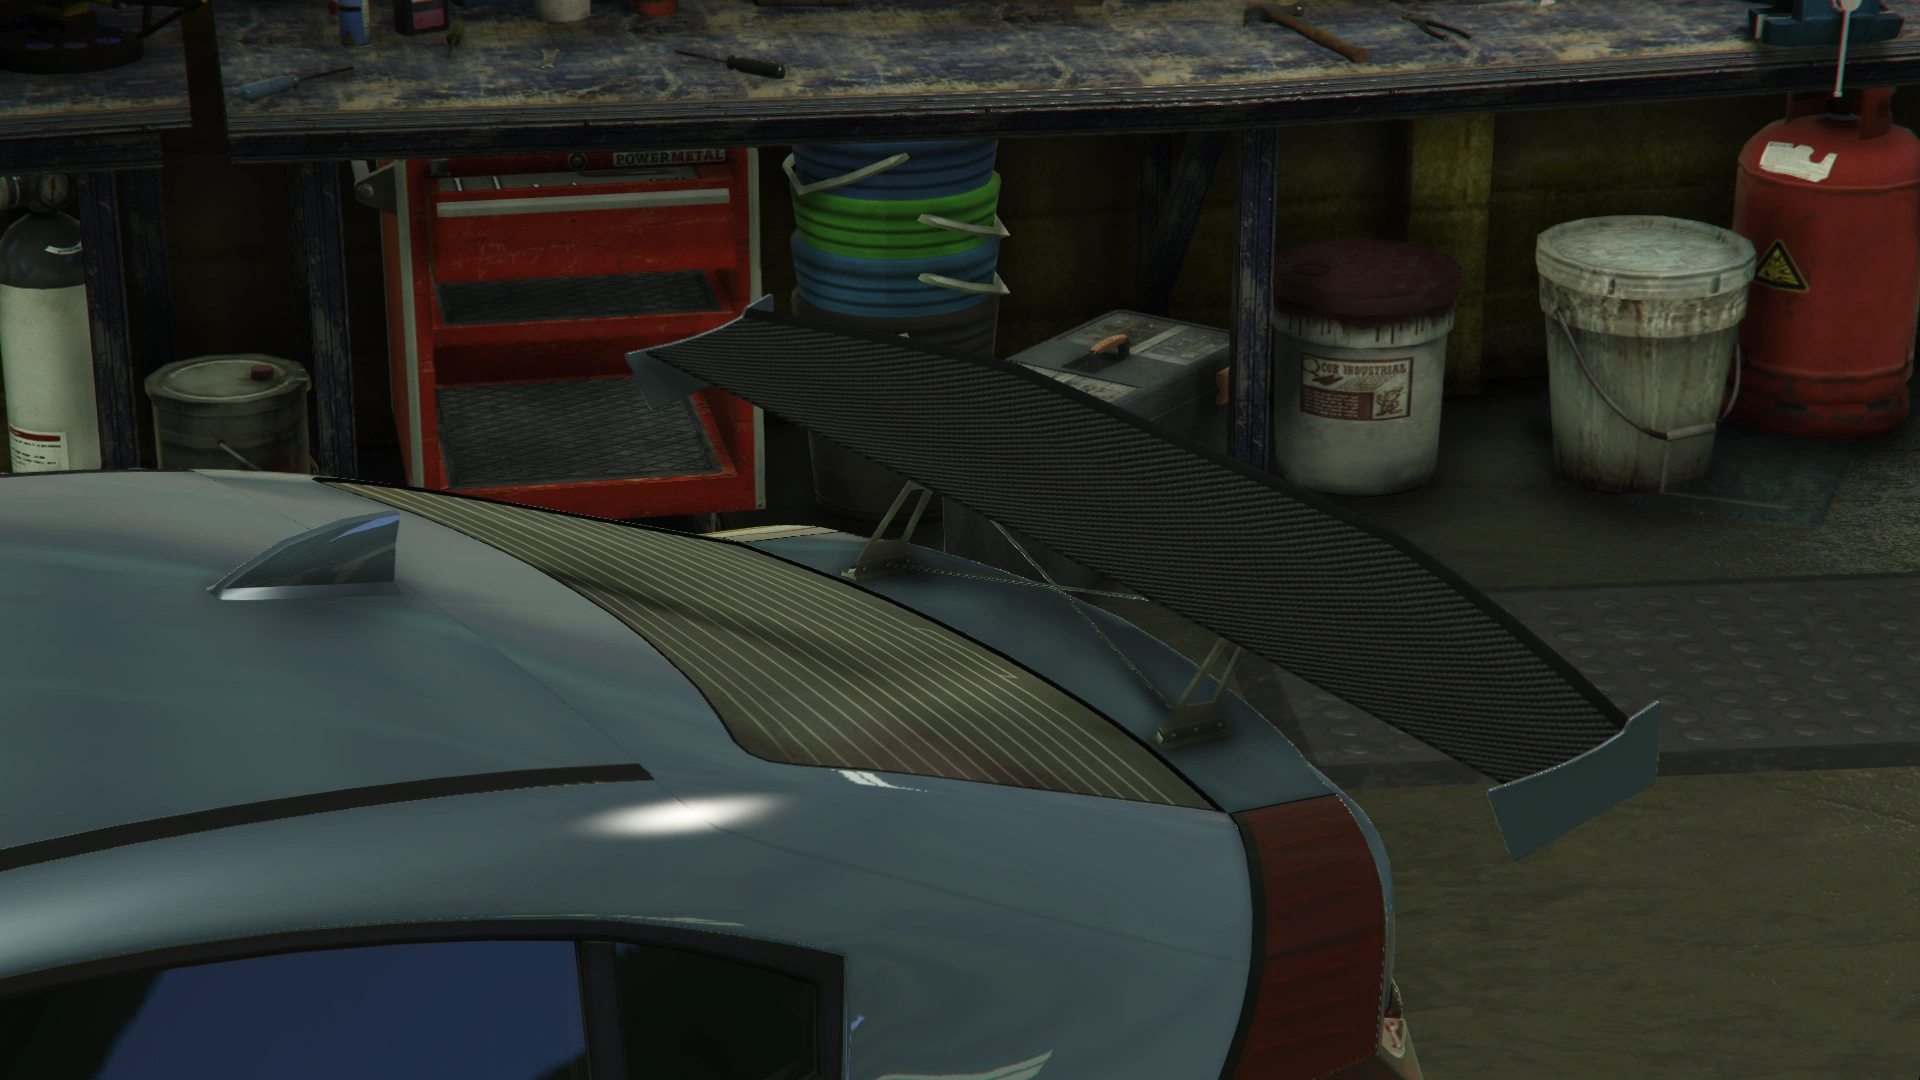
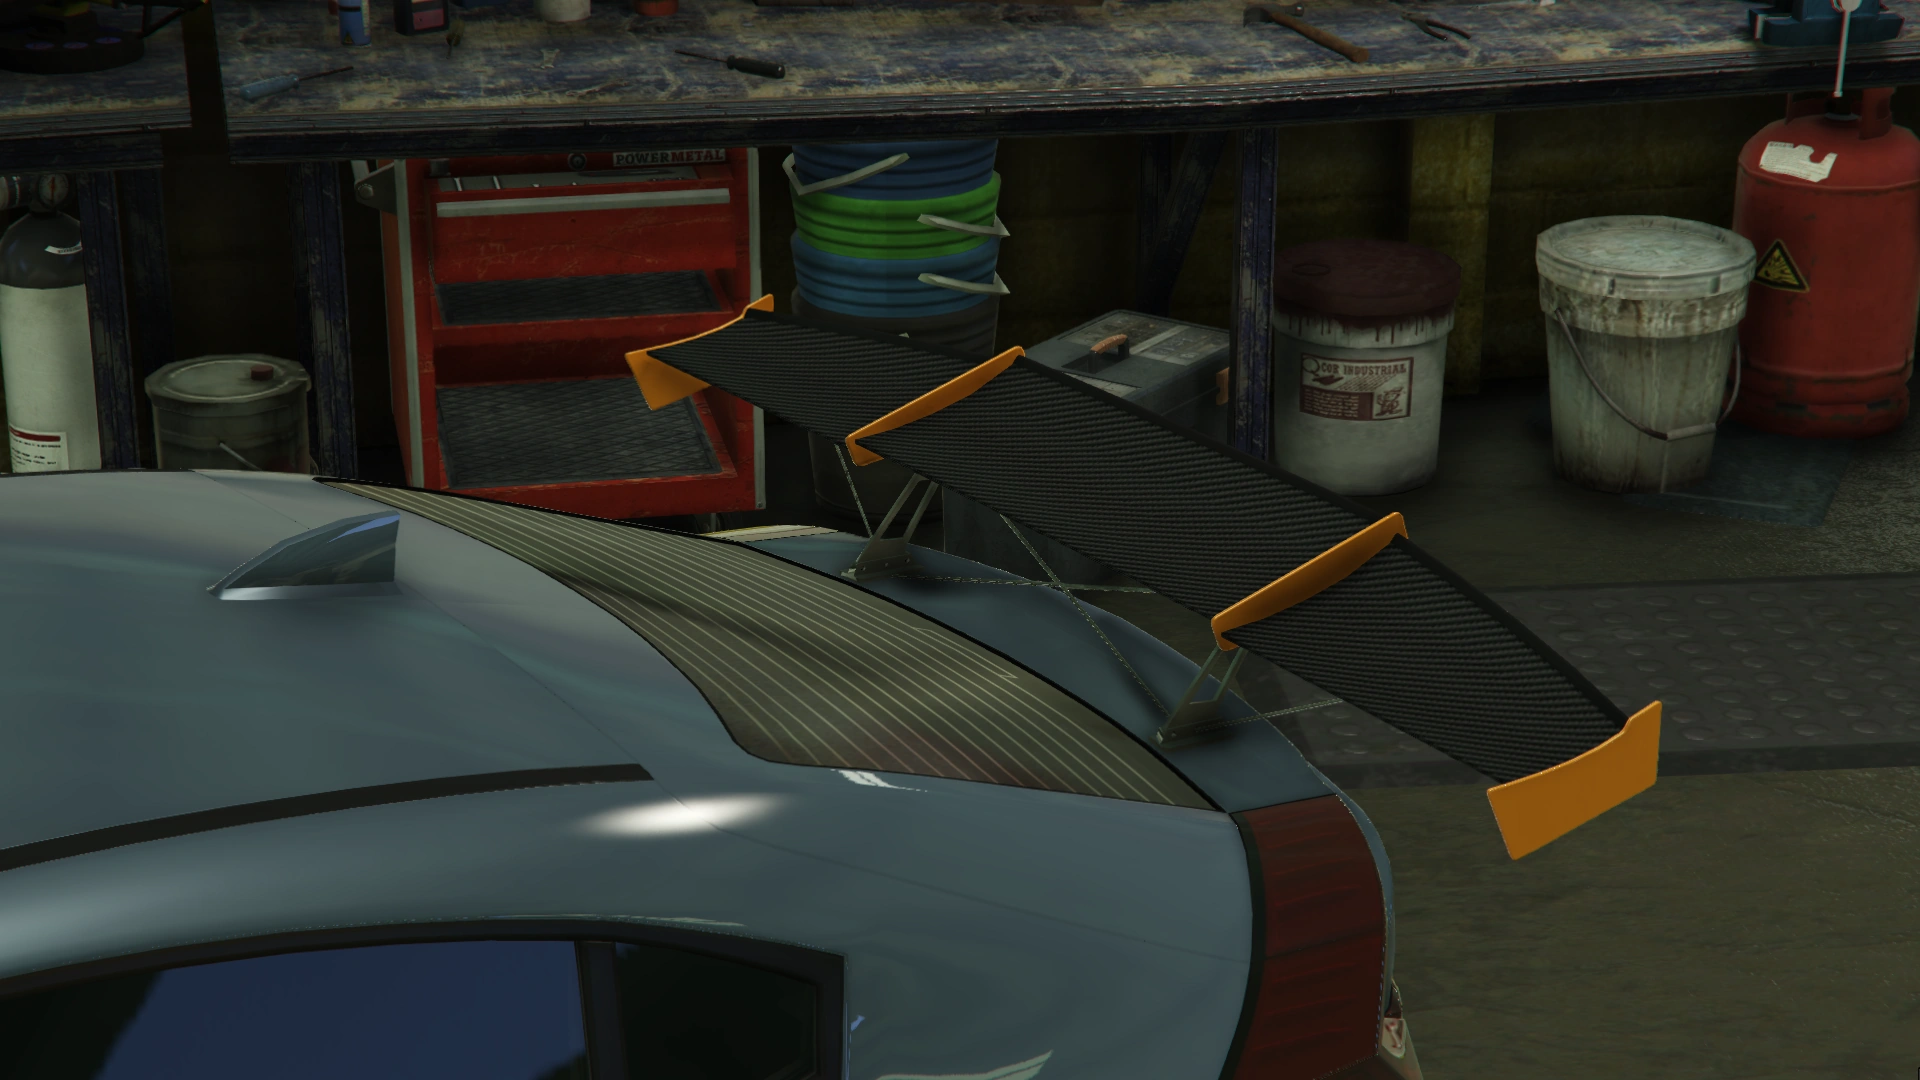
|Sprint Spoiler |
|Sprint Spoiler |
||
| style="text-align: center;" |$20,500 |
| style="text-align: center;" |$20,500 |
||
| − | |[[File:Sugoi-GTAO-SprintSpoiler.png |
+ | |[[File:Sugoi-GTAO-SprintSpoiler.png|thumb|center|220px]] |
|- |
|- |
||
| colspan="2" rowspan="6" |Suspension |
| colspan="2" rowspan="6" |Suspension |
||
| Line 682: | Line 693: | ||
|} |
|} |
||
| − | ==Gallery== |
+ | ==Image Gallery== |
===''Grand Theft Auto Online''=== |
===''Grand Theft Auto Online''=== |
||
;General |
;General |
||
| Line 689: | Line 700: | ||
Sugoi-GTAO-SSASA.png|The '''Sugoi''' on [[Southern San Andreas Super Autos]]. |
Sugoi-GTAO-SSASA.png|The '''Sugoi''' on [[Southern San Andreas Super Autos]]. |
||
Sugoi-GTAO-RGSC.jpg|The '''Sugoi''' on [[Rockstar Games Social Club]]. |
Sugoi-GTAO-RGSC.jpg|The '''Sugoi''' on [[Rockstar Games Social Club]]. |
||
| − | Sugoi-GTAO-RGSC2.jpg|The '''Sugoi''' in the cinematic preview on Rockstar Games Social Club. |
+ | Sugoi-GTAO-RGSC2.jpg|The '''Sugoi''' in the cinematic preview on ''GTA Online'' Rockstar Games Social Club. |
| − | Sugoi-GTAO-Logo.svg| |
+ | Sugoi-GTAO-Logo.svg|Alternative badge used for the advert. |
</gallery> |
</gallery> |
||
| Line 700: | Line 711: | ||
Sugoi-GTAO-Advert-Interior.jpg|Interior. |
Sugoi-GTAO-Advert-Interior.jpg|Interior. |
||
Sugoi-GTAO-Advert-Details.jpg|Details. |
Sugoi-GTAO-Advert-Details.jpg|Details. |
||
| + | </gallery> |
||
| + | |||
| + | ===Video=== |
||
| + | [[File:GTA Online Dinka Sugoi (The Diamond Casino Heist)|center|350x350px]] |
||
| + | |||
| + | ==Special Variants== |
||
| + | ===''GTA Online'': The Diamond Casino Heist=== |
||
| + | *Two pre-modified variants of the Sugoi can be chosen as getaway vehicles to steal for [[The Diamond Casino Heist]]. They are one of the four sets of vehicles driver [[Taliana Martinez]] randomly allocates for the player. |
||
| + | |||
| + | {{ModelSet |
||
| + | |modelset_file = |
||
| + | |modelset_name = Casino Heist 1<ref>'''Script Data''':<br><pre> |
||
| + | case 0: |
||
| + | Var2.f_66 = joaat("Sugoi"); |
||
| + | StringCopy(&(Var2.f_1), "01SRP848", 16); |
||
| + | Var2.f_5 = 112; |
||
| + | Var2.f_6 = 12; |
||
| + | Var2.f_7 = 0; |
||
| + | Var2.f_8 = 156; |
||
| + | Var2.f_97 = 1; |
||
| + | Var2.f_99 = 132; |
||
| + | Var2.f_98 = 0; |
||
| + | Var2.f_65 = 1; |
||
| + | Var2.f_69 = 7; |
||
| + | Var2.f_62 = 255; |
||
| + | Var2.f_63 = 255; |
||
| + | Var2.f_64 = 255; |
||
| + | Var2.f_74 = 255; |
||
| + | Var2.f_76 = 255; |
||
| + | Var2.f_9[0] = 6; |
||
| + | Var2.f_9[1] = 9; |
||
| + | Var2.f_9[2] = 5; |
||
| + | Var2.f_9[3] = 2; |
||
| + | Var2.f_9[6] = 7; |
||
| + | Var2.f_9[7] = 8; |
||
| + | Var2.f_9[8] = 4; |
||
| + | Var2.f_9[10] = 3; |
||
| + | Var2.f_9[23] = 22; |
||
| + | Var2.f_9[48] = 4; |
||
| + | Var2.f_59[0] = 1; |
||
| + | break; |
||
| + | </pre></ref> |
||
| + | |modelset_colorset = |
||
| + | {{CarColV/Title|extended=y}} |
||
| + | {{CarColV|extended=y|112|12|0|156|0|132}} |
||
| + | |modelset_window = Limo<!--1--> |
||
| + | |modelset_livery = See Modkit |
||
| + | |modelset_modkit = |
||
| + | {{Modkit |
||
| + | |fbumper = Primary Arc Racer Diffuser<!--9--> |
||
| + | |rbumper = Speed Diffuser<!--5--> |
||
| + | |lfender = Secondary Carbon Frame<!--4--> |
||
| + | |grille = GT w/ Top Trim Grille<!--7--> |
||
| + | |hood = Rally Hood<!--8--> |
||
| + | |livery = Wave<!--4--> |
||
| + | |plate = 01SRP848 - Standard White |
||
| + | |roof = Air Scoop & Carbon Antenna<!--3--> |
||
| + | |skirts = Street Skirt<!--2--> |
||
| + | |spoiler = Arrow Spoiler<!--6--> |
||
| + | |wheels = High End - Hyper (Chrome)<br>Custom Tires<!--7,22--> |
||
| + | }} |
||
| + | }} |
||
| + | {{ModelSet |
||
| + | |modelset_file = |
||
| + | |modelset_name = Casino Heist 2<ref>'''Script Data''':<br><pre> |
||
| + | case 1: |
||
| + | Var2.f_66 = joaat("Sugoi"); |
||
| + | StringCopy(&(Var2.f_1), "28OKO870", 16); |
||
| + | Var2 = 1; |
||
| + | Var2.f_5 = 74; |
||
| + | Var2.f_6 = 74; |
||
| + | Var2.f_7 = 74; |
||
| + | Var2.f_8 = 122; |
||
| + | Var2.f_97 = 1; |
||
| + | Var2.f_99 = 132; |
||
| + | Var2.f_98 = 0; |
||
| + | Var2.f_69 = 5; |
||
| + | Var2.f_62 = 255; |
||
| + | Var2.f_63 = 255; |
||
| + | Var2.f_64 = 255; |
||
| + | Var2.f_74 = 255; |
||
| + | Var2.f_76 = 255; |
||
| + | Var2.f_9[0] = 3; |
||
| + | Var2.f_9[1] = 9; |
||
| + | Var2.f_9[2] = 6; |
||
| + | Var2.f_9[3] = 7; |
||
| + | Var2.f_9[6] = 5; |
||
| + | Var2.f_9[7] = 11; |
||
| + | Var2.f_9[10] = 4; |
||
| + | Var2.f_9[22] = 1; |
||
| + | Var2.f_9[23] = 9; |
||
| + | Var2.f_9[48] = 8; |
||
| + | Var2.f_59[0] = 1; |
||
| + | break; |
||
| + | </pre></ref> |
||
| + | |modelset_colorset = |
||
| + | {{CarColV/Title|extended=y}} |
||
| + | {{CarColV|extended=y|74|74|74|122|0|132}} |
||
| + | |modelset_window = {{No}} |
||
| + | |modelset_livery = See Modkit |
||
| + | |modelset_modkit = |
||
| + | {{Modkit |
||
| + | |fbumper = Primary Arc Racer Diffuser<!--9--> |
||
| + | |rbumper = Turbo Diffuser<!--6--> |
||
| + | |grille = Track w/ Top Trim Grille<!--5--> |
||
| + | |hood = Performance Hood<!--11--> |
||
| + | |lights = Xenon Lights<!--1--> |
||
| + | |livery = Jackal Racing<!--8--> |
||
| + | |plate = 28OKO870 - Yellow Plate<!--1--> |
||
| + | |roof = Square Scoop & Primary Fin<!--4--> |
||
| + | |skirts = Carbon Jet Skirt<!--7--> |
||
| + | |spoiler = Primary Street Spoiler<!--3--> |
||
| + | |wheels = Tuner - Five Star<br>Custom Tires<!--5,9--> |
||
| + | }} |
||
| + | }} |
||
| + | |||
| + | <gallery position="center" spacing="small" widths="270px" hideaddbutton="true"> |
||
| + | Sugoi-GTAO-front-CasinoHeist1.png|'''Sugoi''' variation 1 in [[The Diamond Casino Heist]]. <small>([[:File:Sugoi-GTAO-rear-CasinoHeist1.png|Rear quarter view]])</small> |
||
| + | Sugoi-GTAO-front-CasinoHeist2.png|'''Sugoi''' variation 2 in The Diamond Casino Heist. <small>([[:File:Sugoi-GTAO-rear-CasinoHeist2.png|Rear quarter view]])</small> |
||
</gallery> |
</gallery> |
||
==Prominent Appearances in Missions== |
==Prominent Appearances in Missions== |
||
| ⚫ | |||
| − | *Two Sugois can be chosen as getaway vehicles if the player decides to steal them for the Diamond Casino Heist. |
||
| + | *Should the player employ [[Taliana Martinez]] as the driver for [[The Diamond Casino Heist]], she may request the player to steal two Sugois as getaway vehicles. |
||
==Locations== |
==Locations== |
||
| Line 711: | Line 842: | ||
==Trivia== |
==Trivia== |
||
*The default radio stations for the Sugoi are [[FlyLo FM]], [[Los Santos Underground Radio]], and [[Soulwax FM]]. |
*The default radio stations for the Sugoi are [[FlyLo FM]], [[Los Santos Underground Radio]], and [[Soulwax FM]]. |
||
| + | *There is a discrepancy between the top speed shown on the analog and digital speedometers, with the digital speedometer showing the car reaching approximately 106 MPH while the analog speedometer shows that it reaches about 120 MPH. |
||
==See Also== |
==See Also== |
||
| + | *[[Blista]] – A compact 2-door hatchback with similar shape. |
||
| − | *[[Blista]] |
||
| + | *[[Surge]] – A compact sedan with similar design and also borrows inspiration from the {{WP|Chevrolet Volt}}. |
||
| + | |||
| + | ==References== |
||
| + | {{Reflist}} |
||
==Navigation== |
==Navigation== |
||
| Line 734: | Line 870: | ||
[[Category:Sports Cars]] |
[[Category:Sports Cars]] |
||
[[Category:Sports Vehicle Class]] |
[[Category:Sports Vehicle Class]] |
||
| + | [[Category:Tuners]] |
||
Revision as of 15:28, 30 July 2020
Template:Next-Gen Template:Infobox vehicles
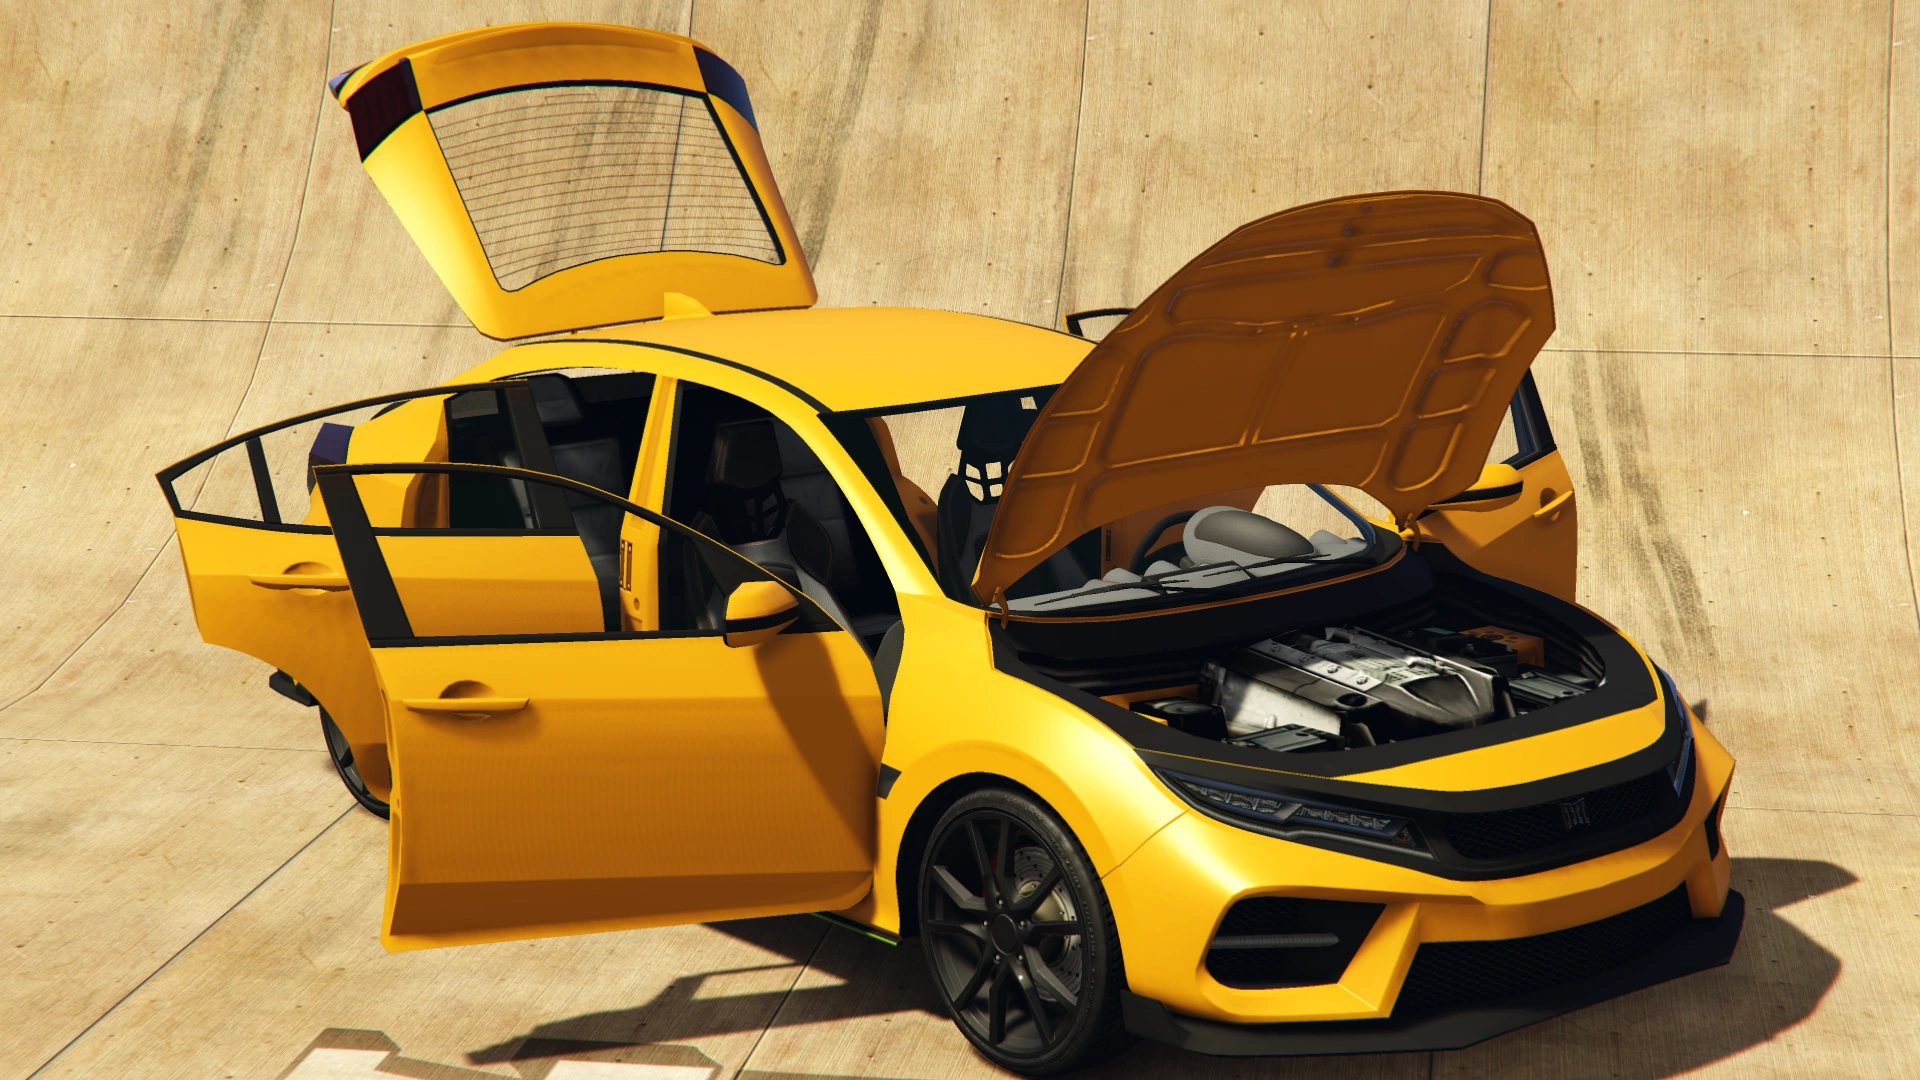
The Dinka Sugoi (Japanese: スゴイ, lit. "Great") is a five-door hatchback featured in Grand Theft Auto Online as part of the continuation of the The Diamond Casino Heist update, released on February 13, 2020, during the Valentine's Day 2020 event.
Description
The Sugoi was initially featured as a mission-only vehicle in the "Getaway Vehicles" preparation and later used as a possible getaway vehicle in the Casino Heist. However, as of the Valentine's Day 2020 event, it became available for purchase.
Design
Grand Theft Auto Online
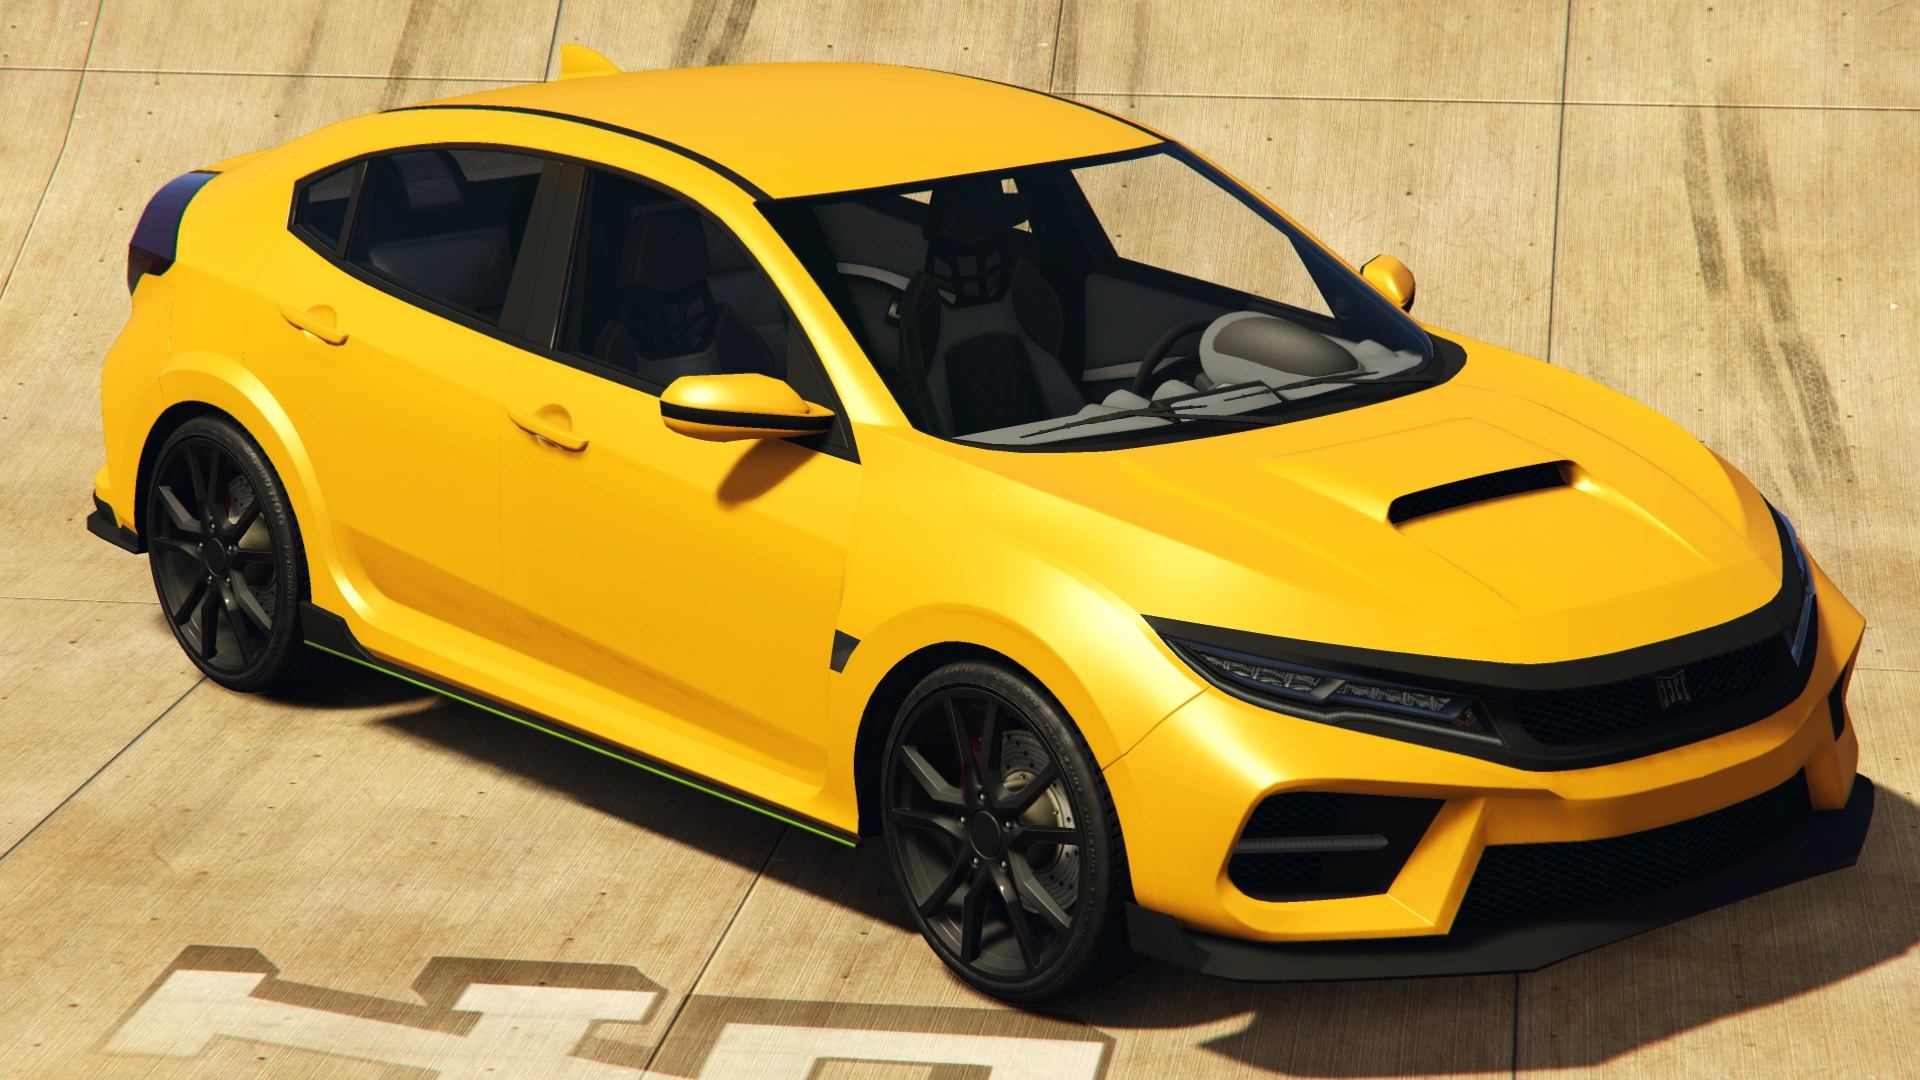
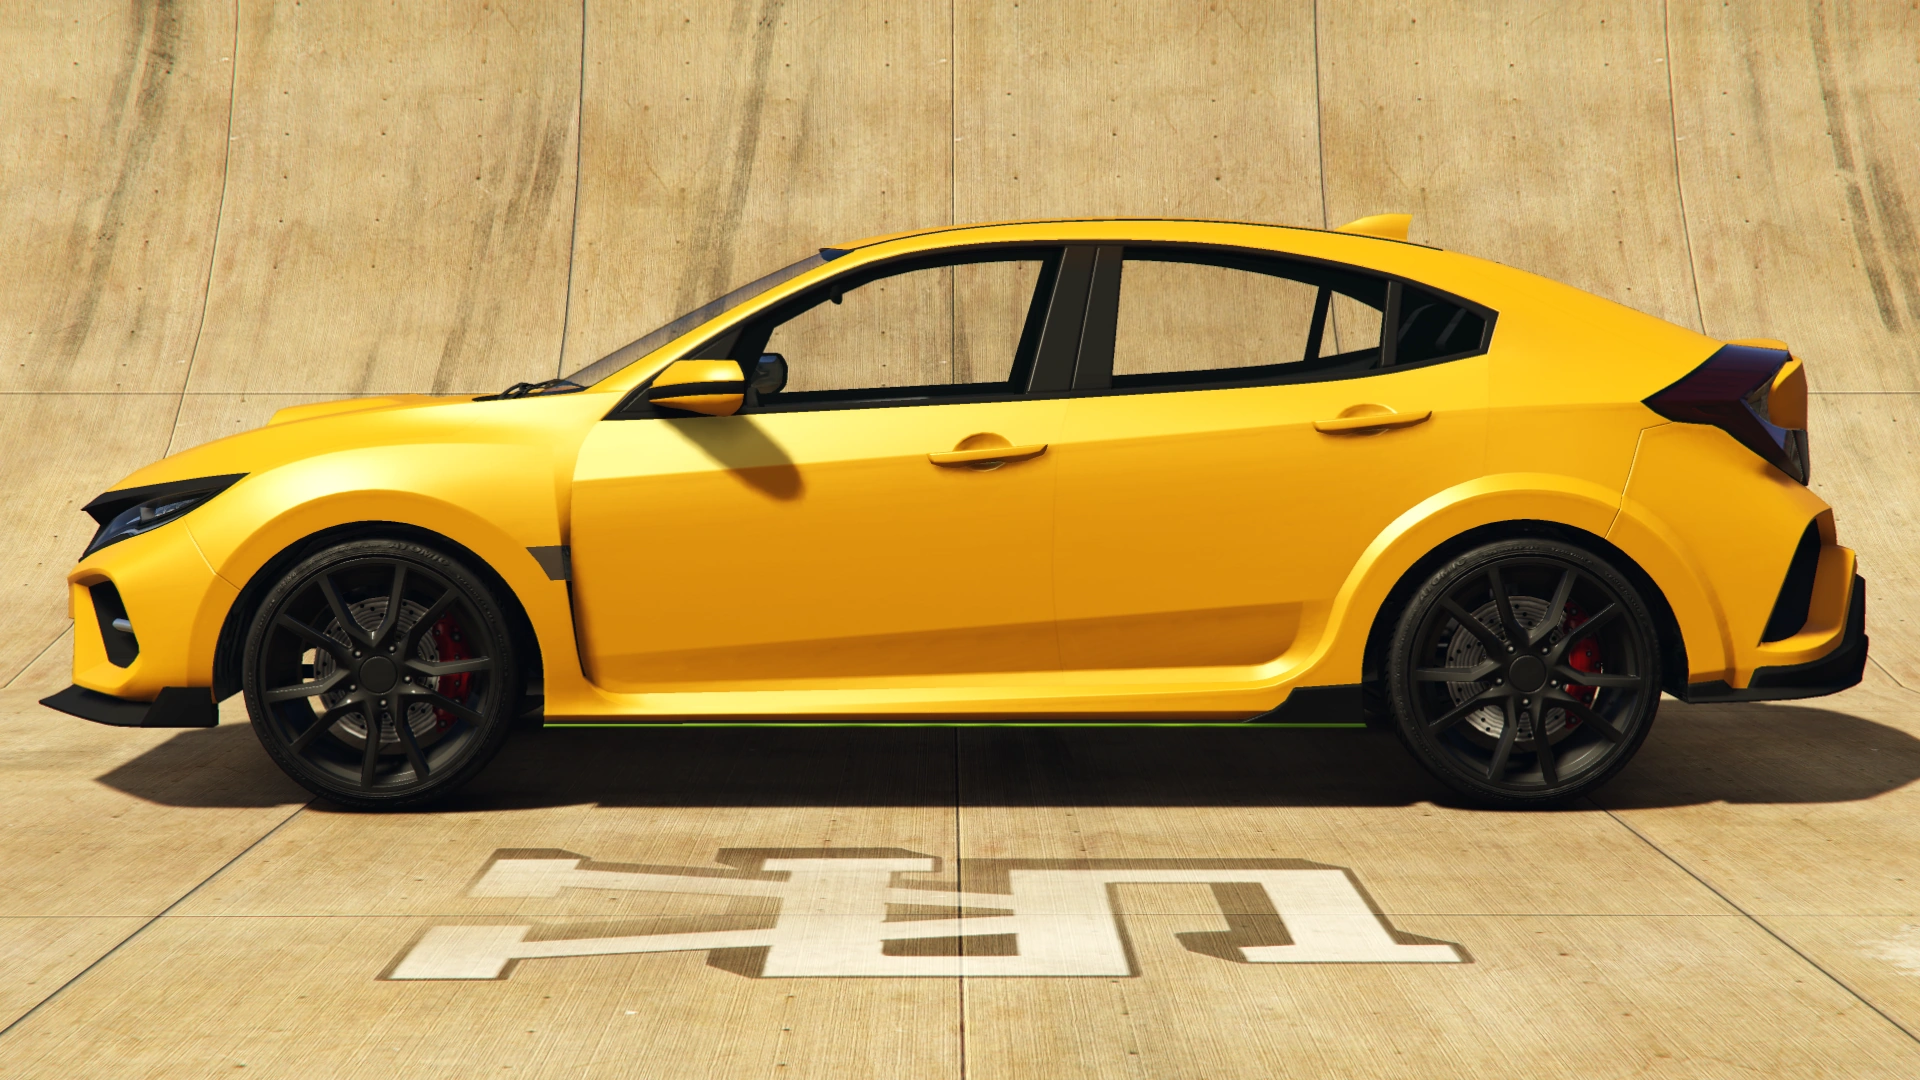
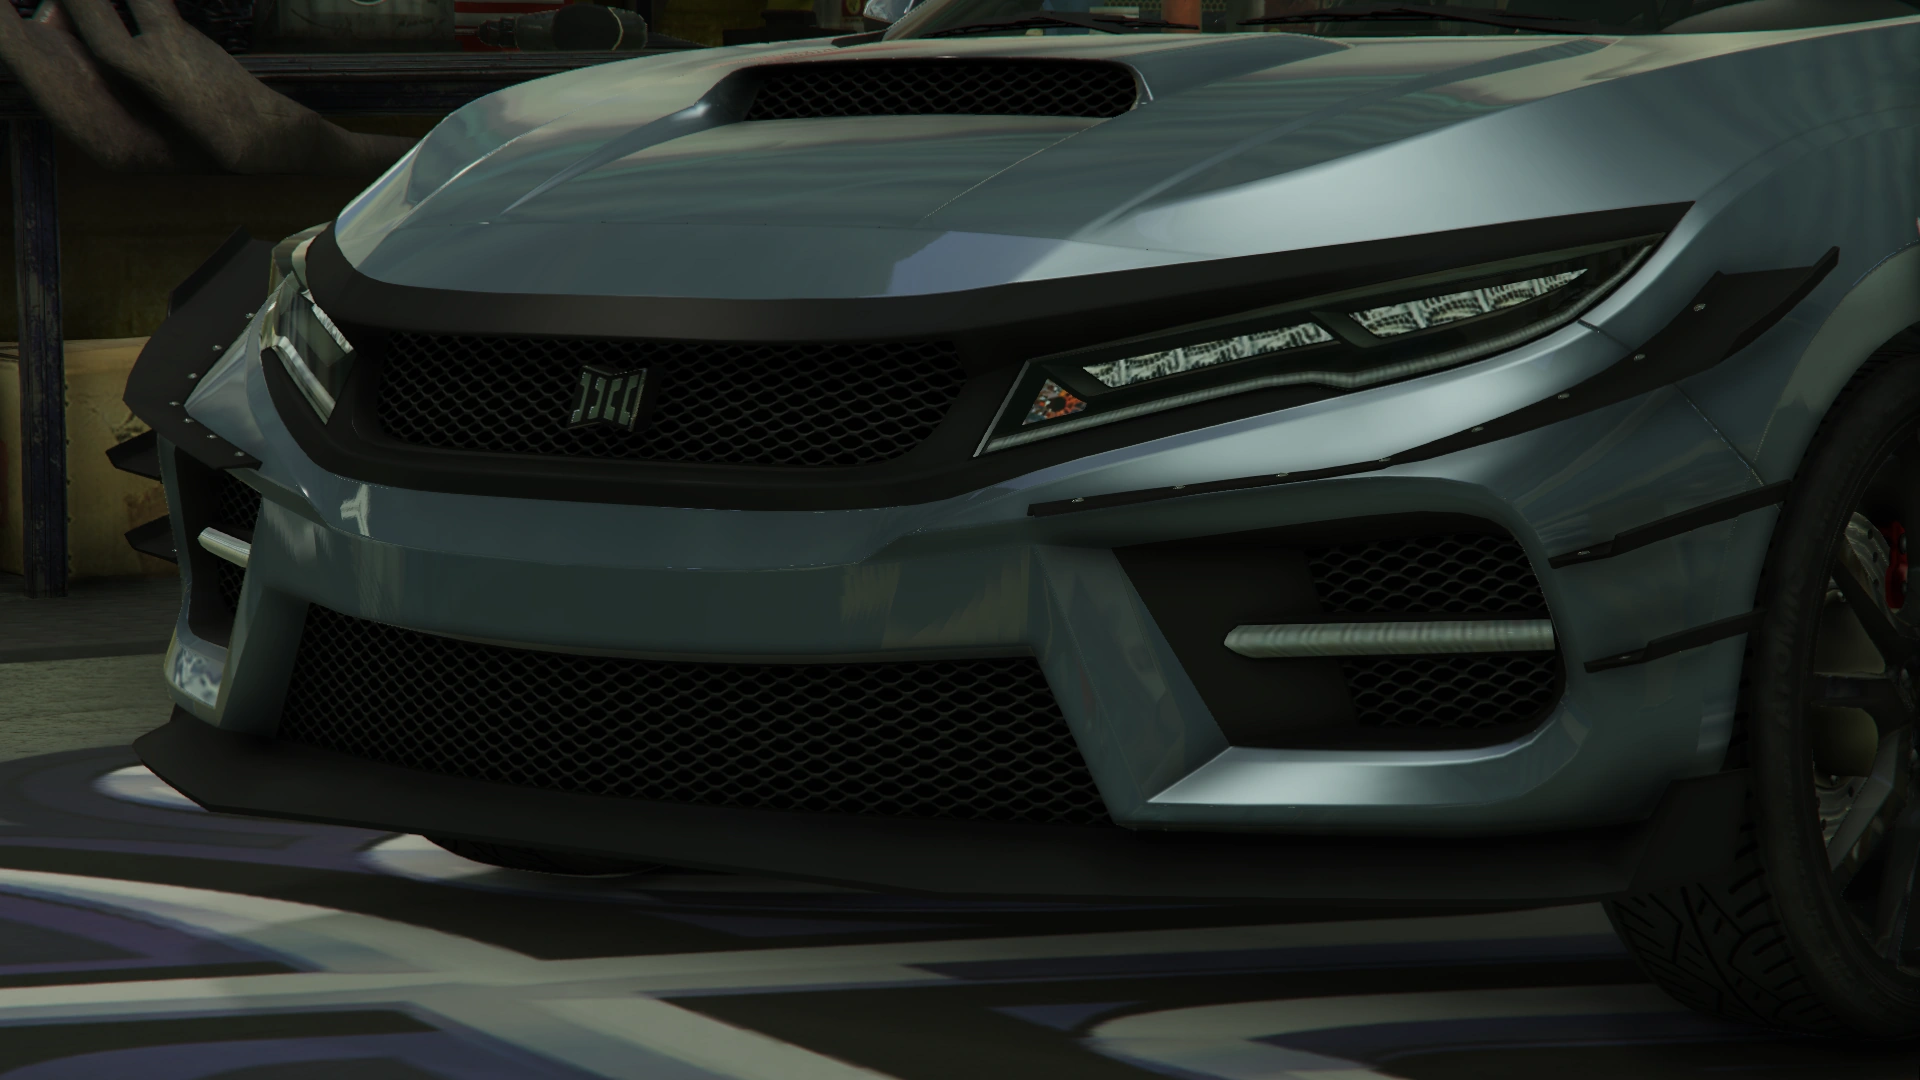
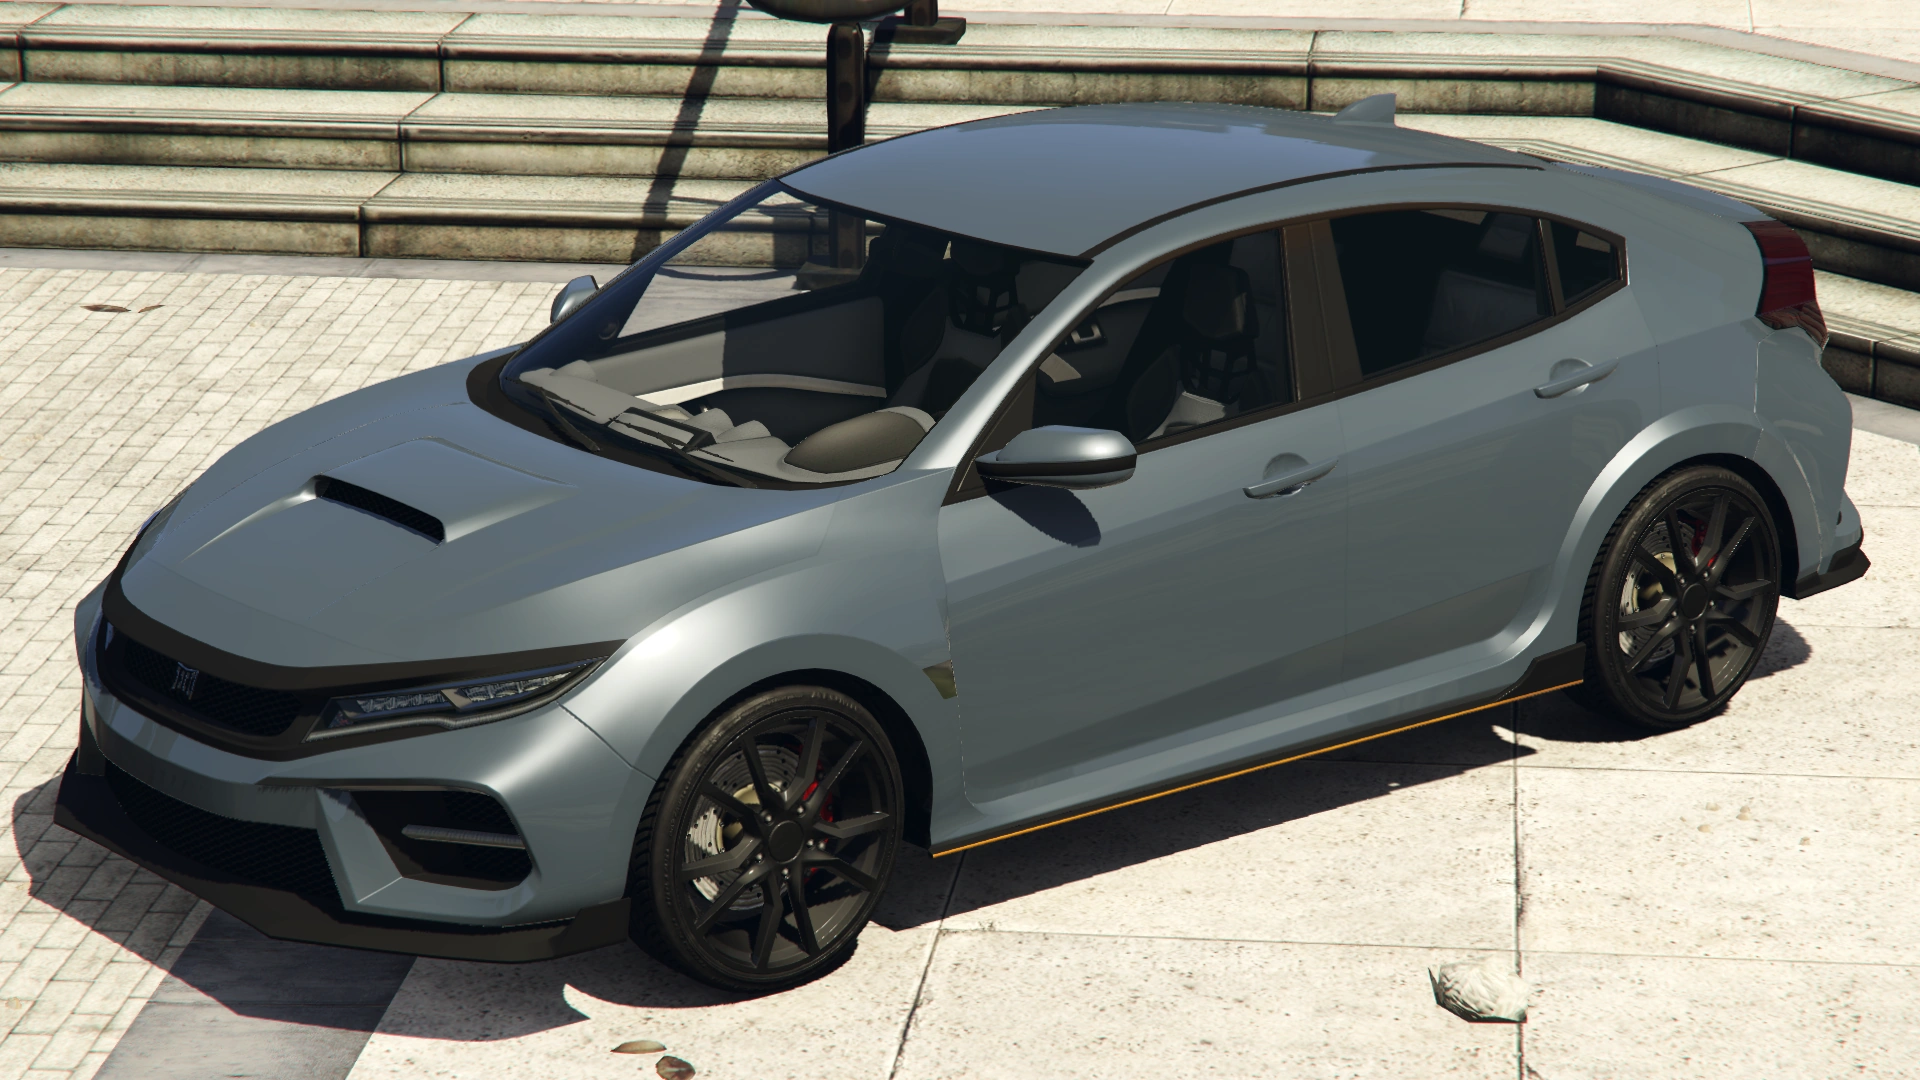
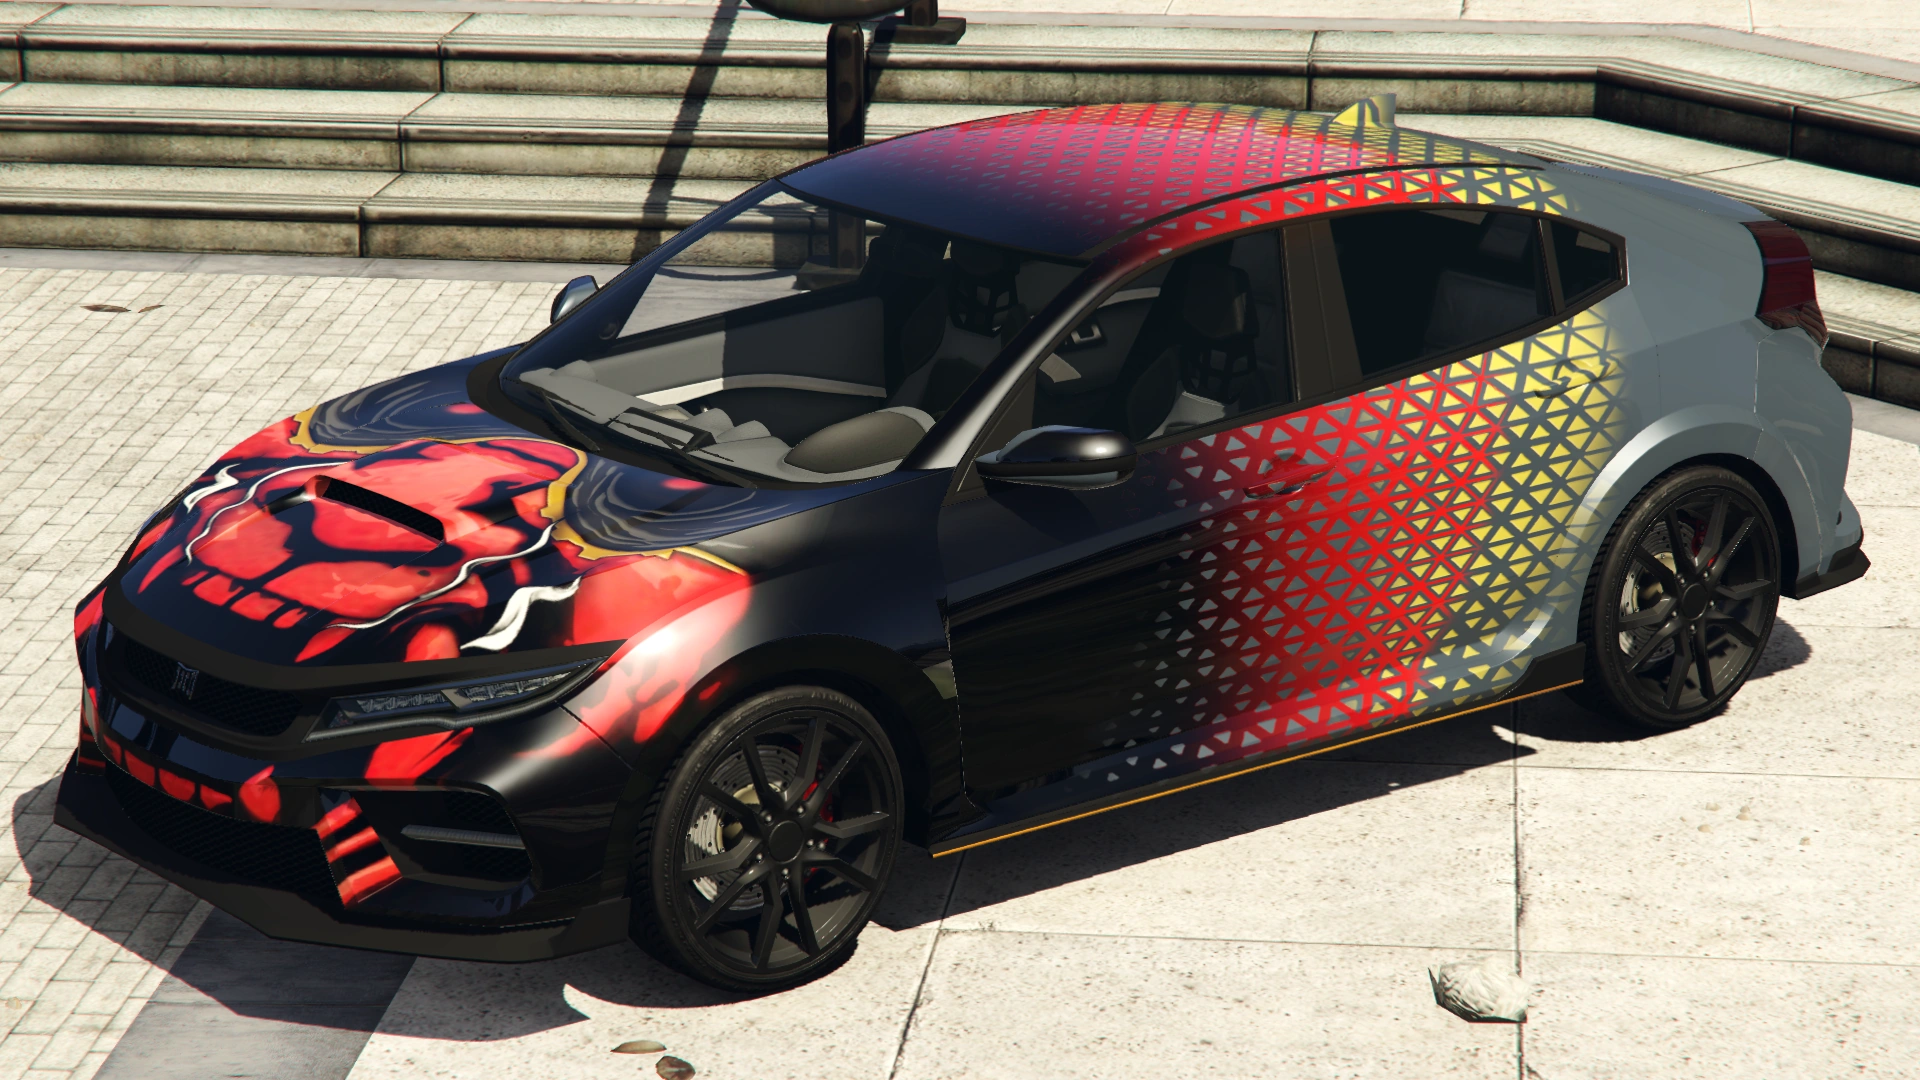
The Sugoi is based on the Honda Civic Type R FK8, with a lot of influence taken from the fourth generation Subaru WRX STI as seen in the bonnet, front bumper, and side view. The shape of the tail lights seems to be reminiscent of the second generation Chevrolet Volt.
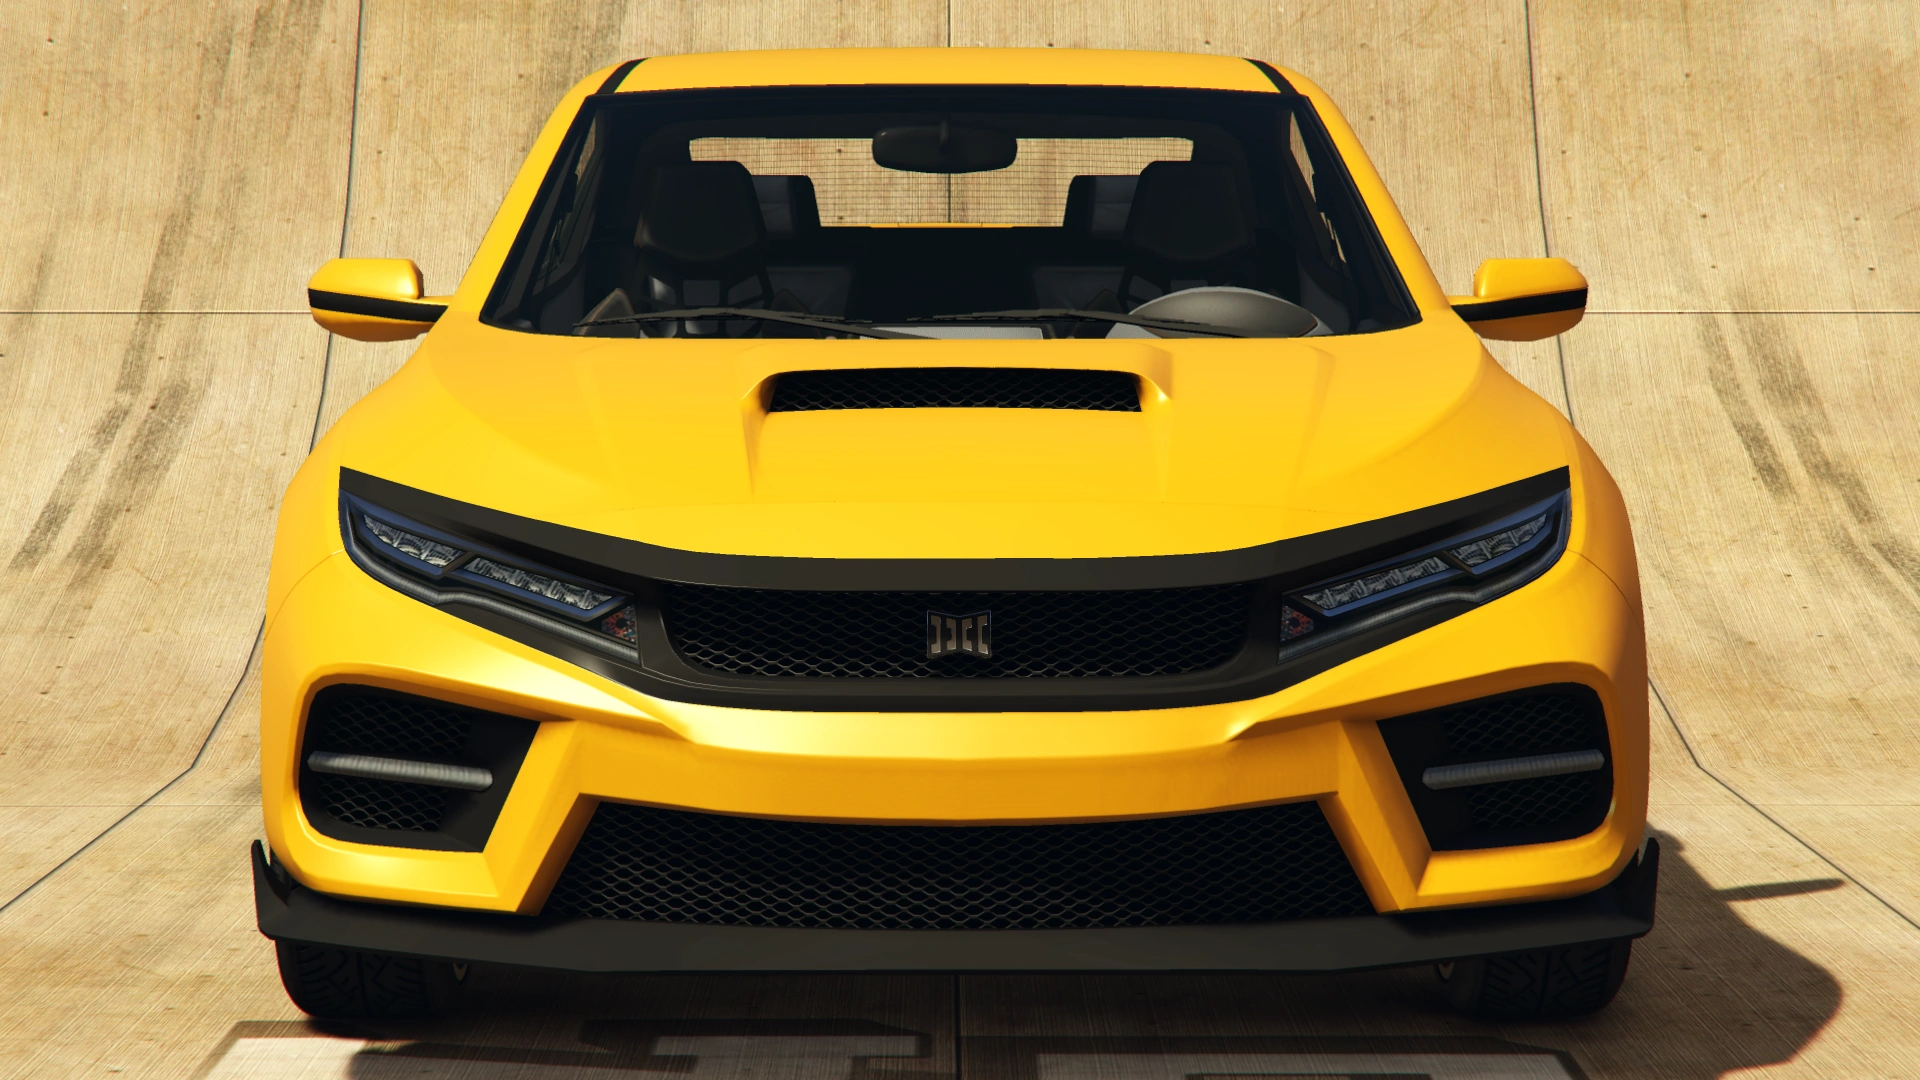
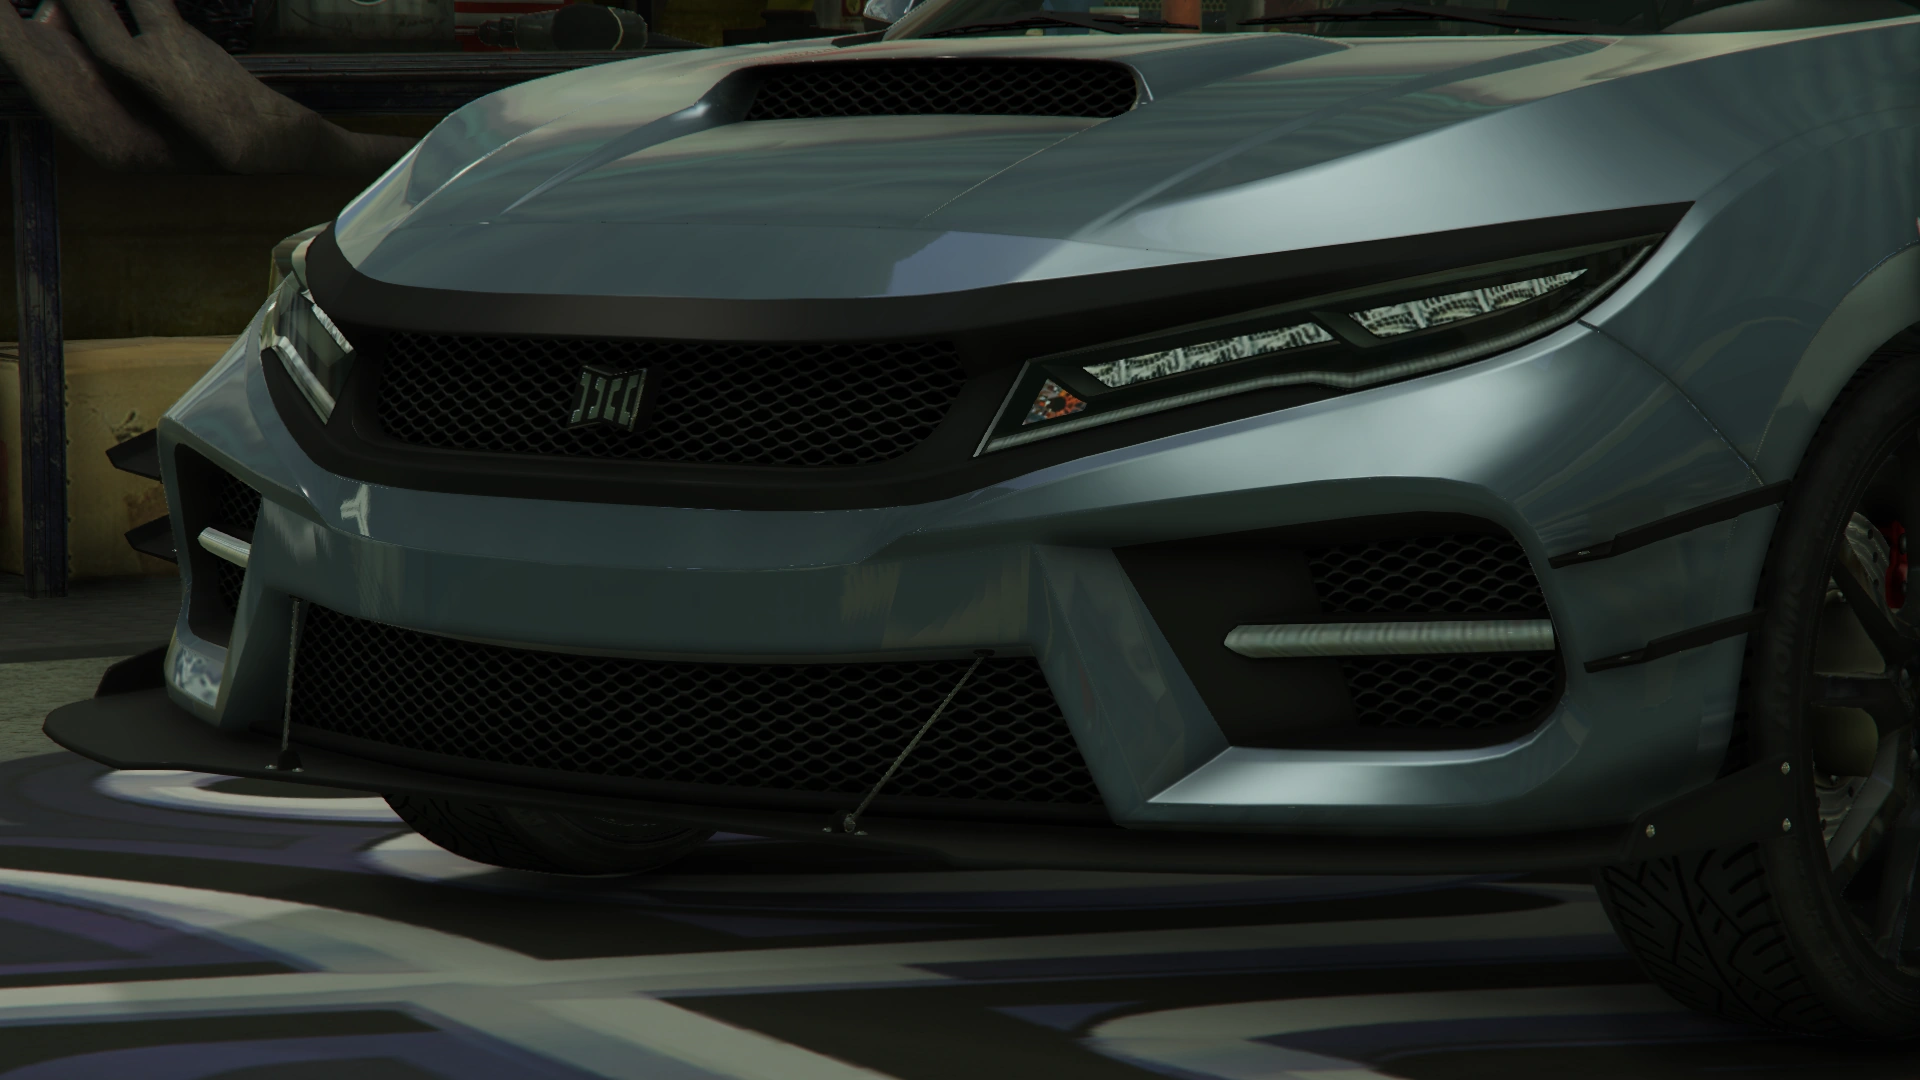
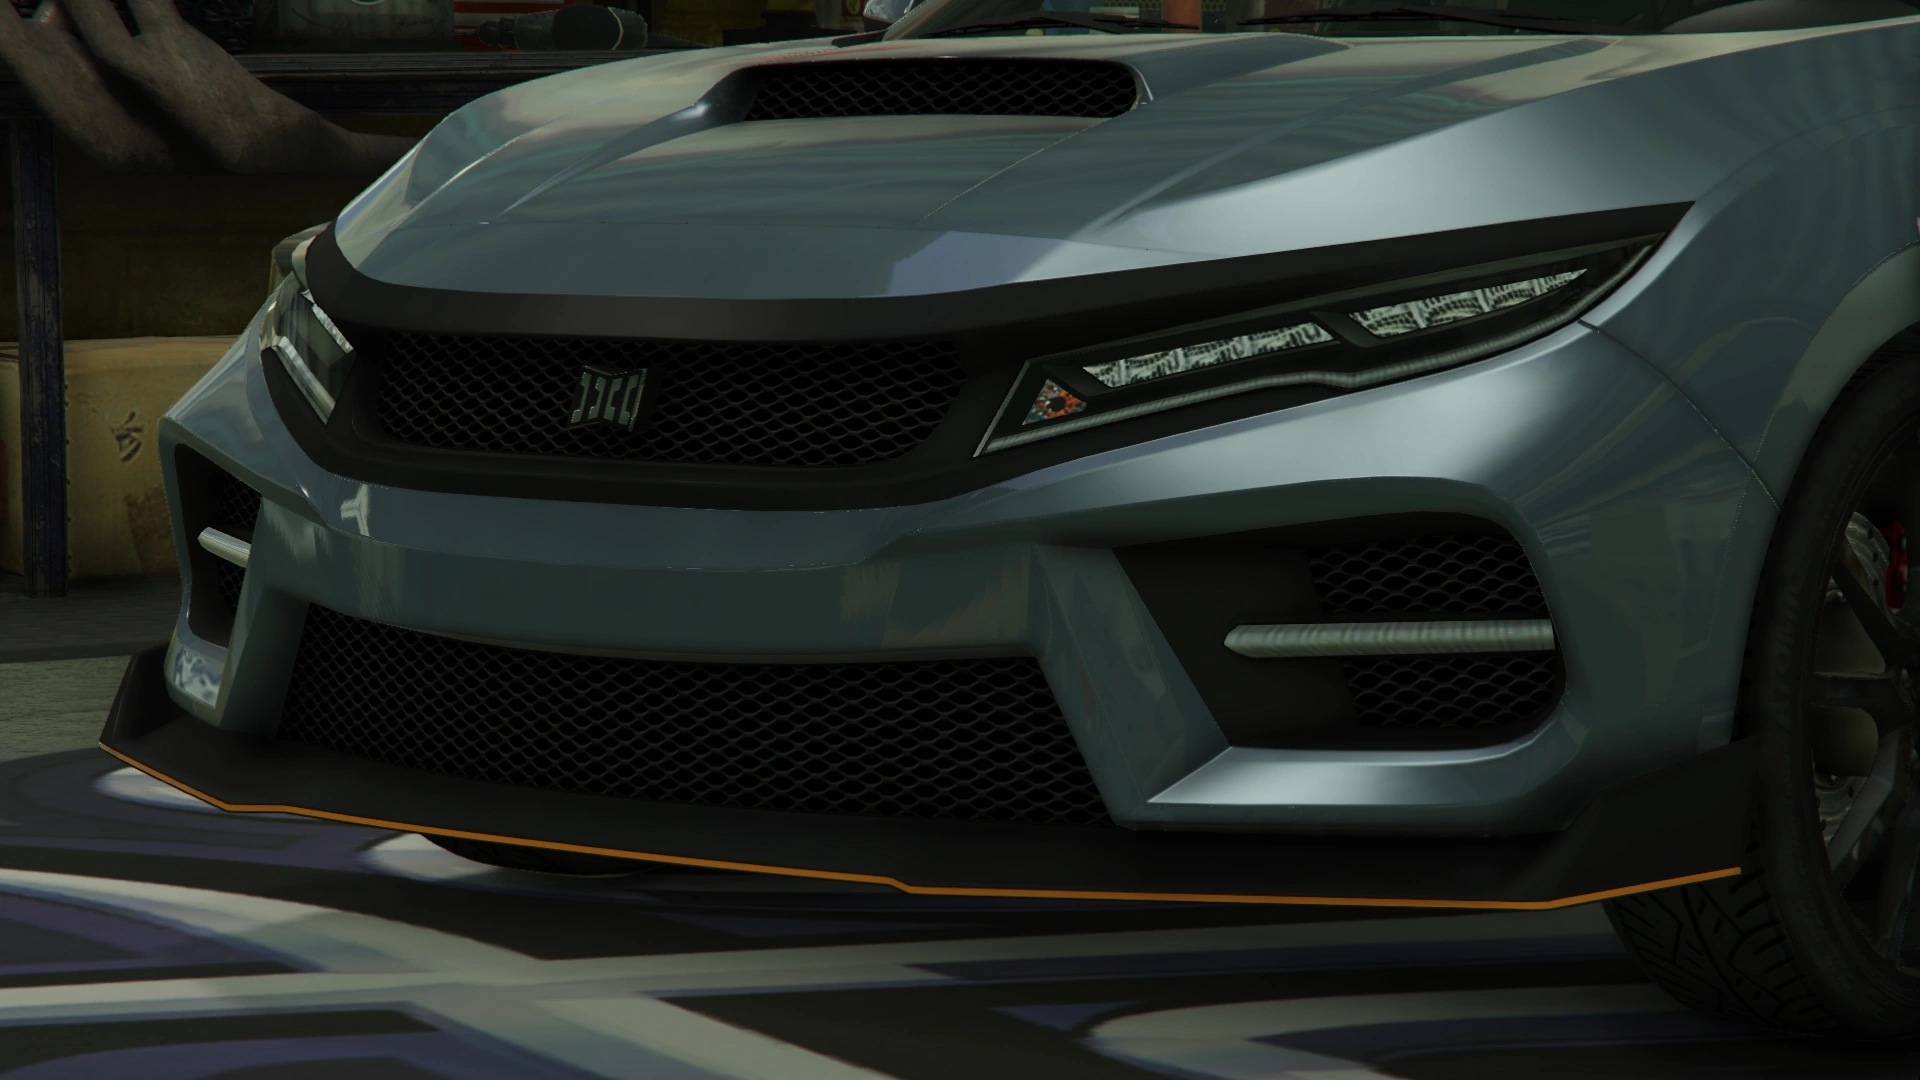
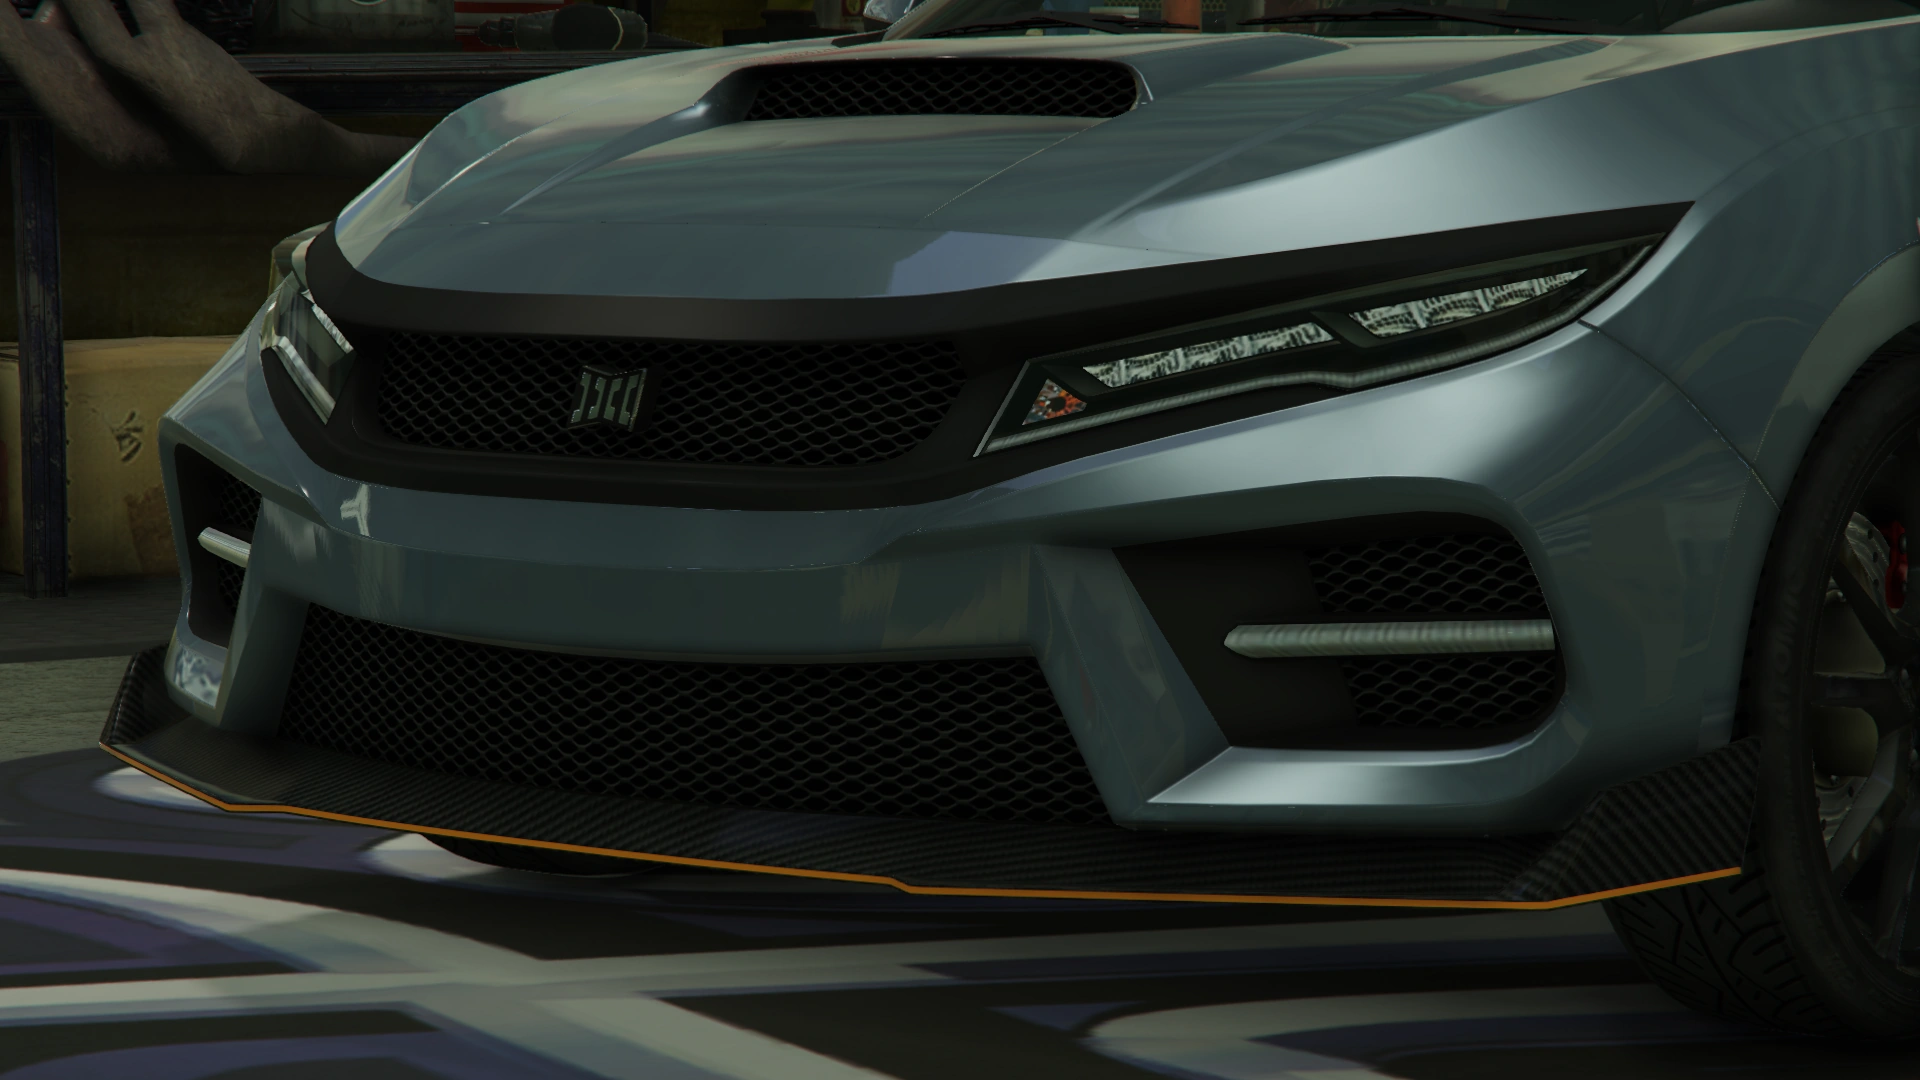
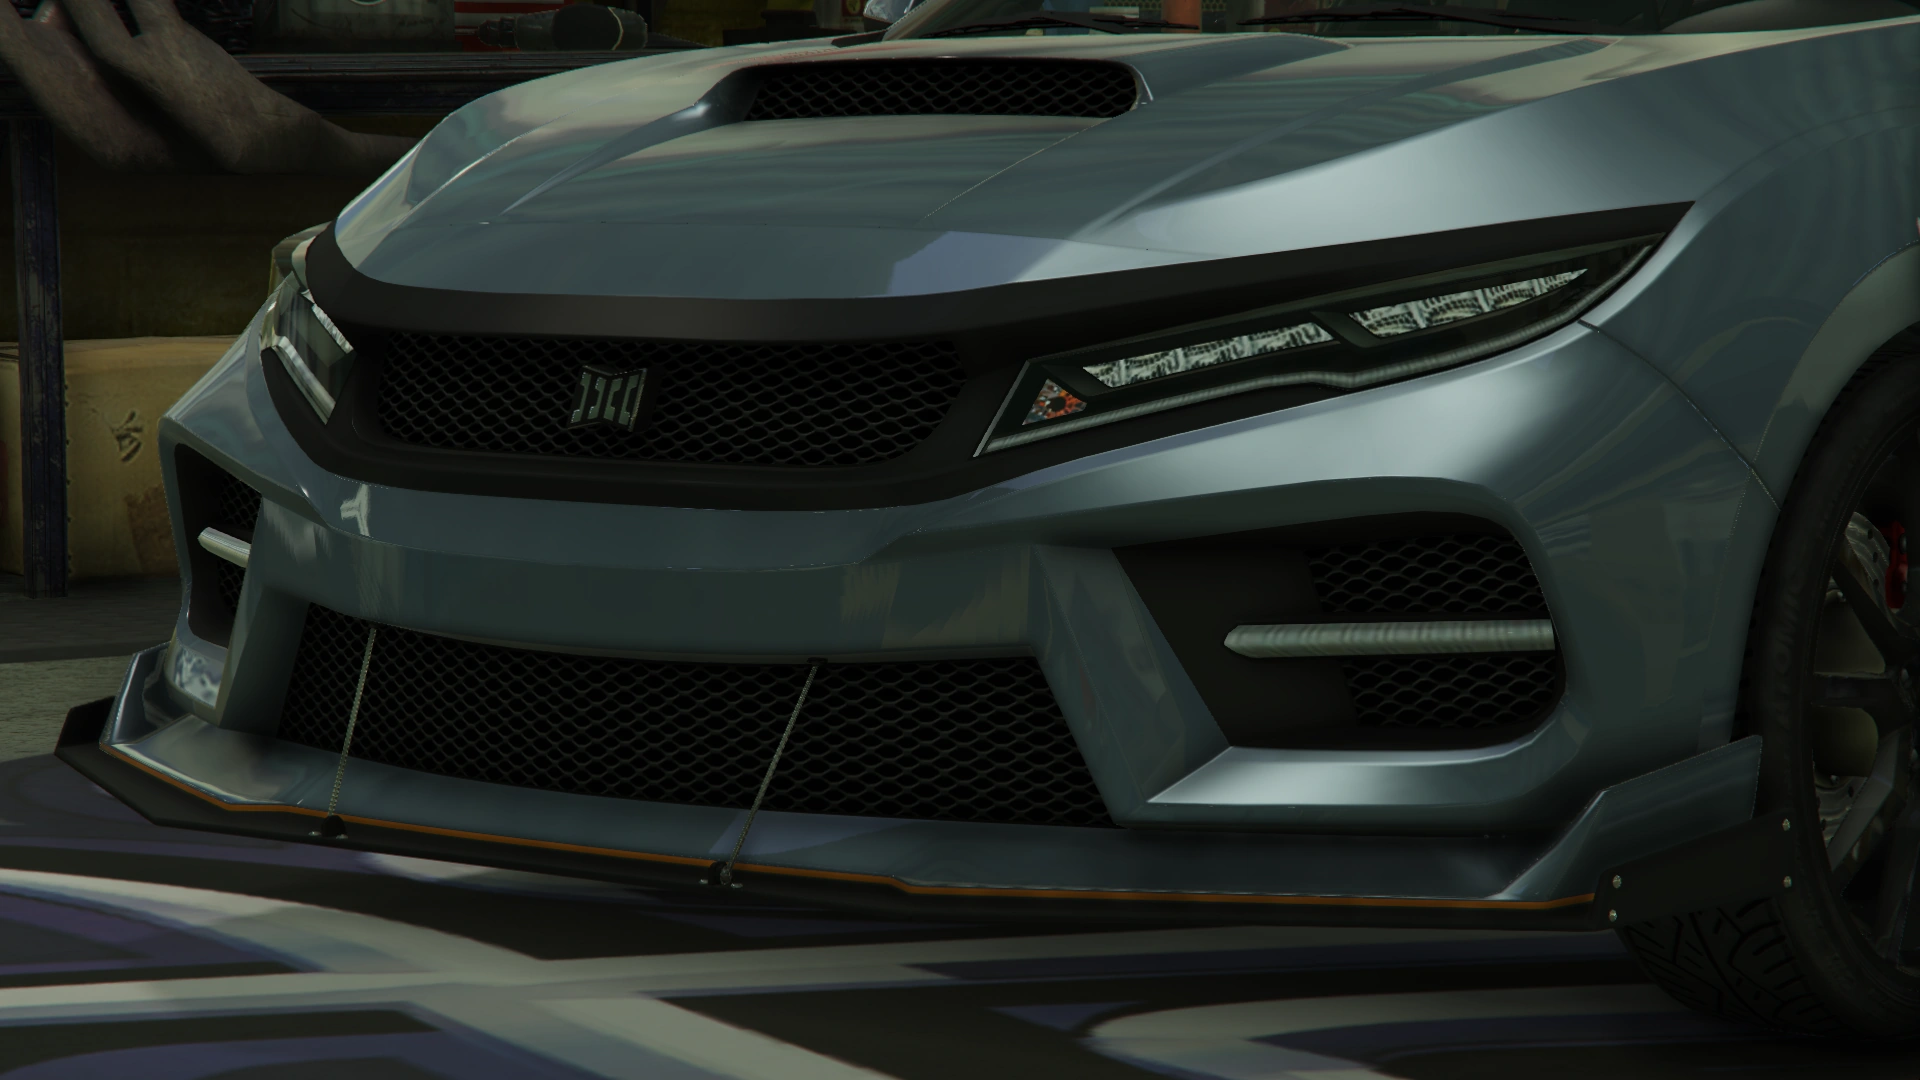
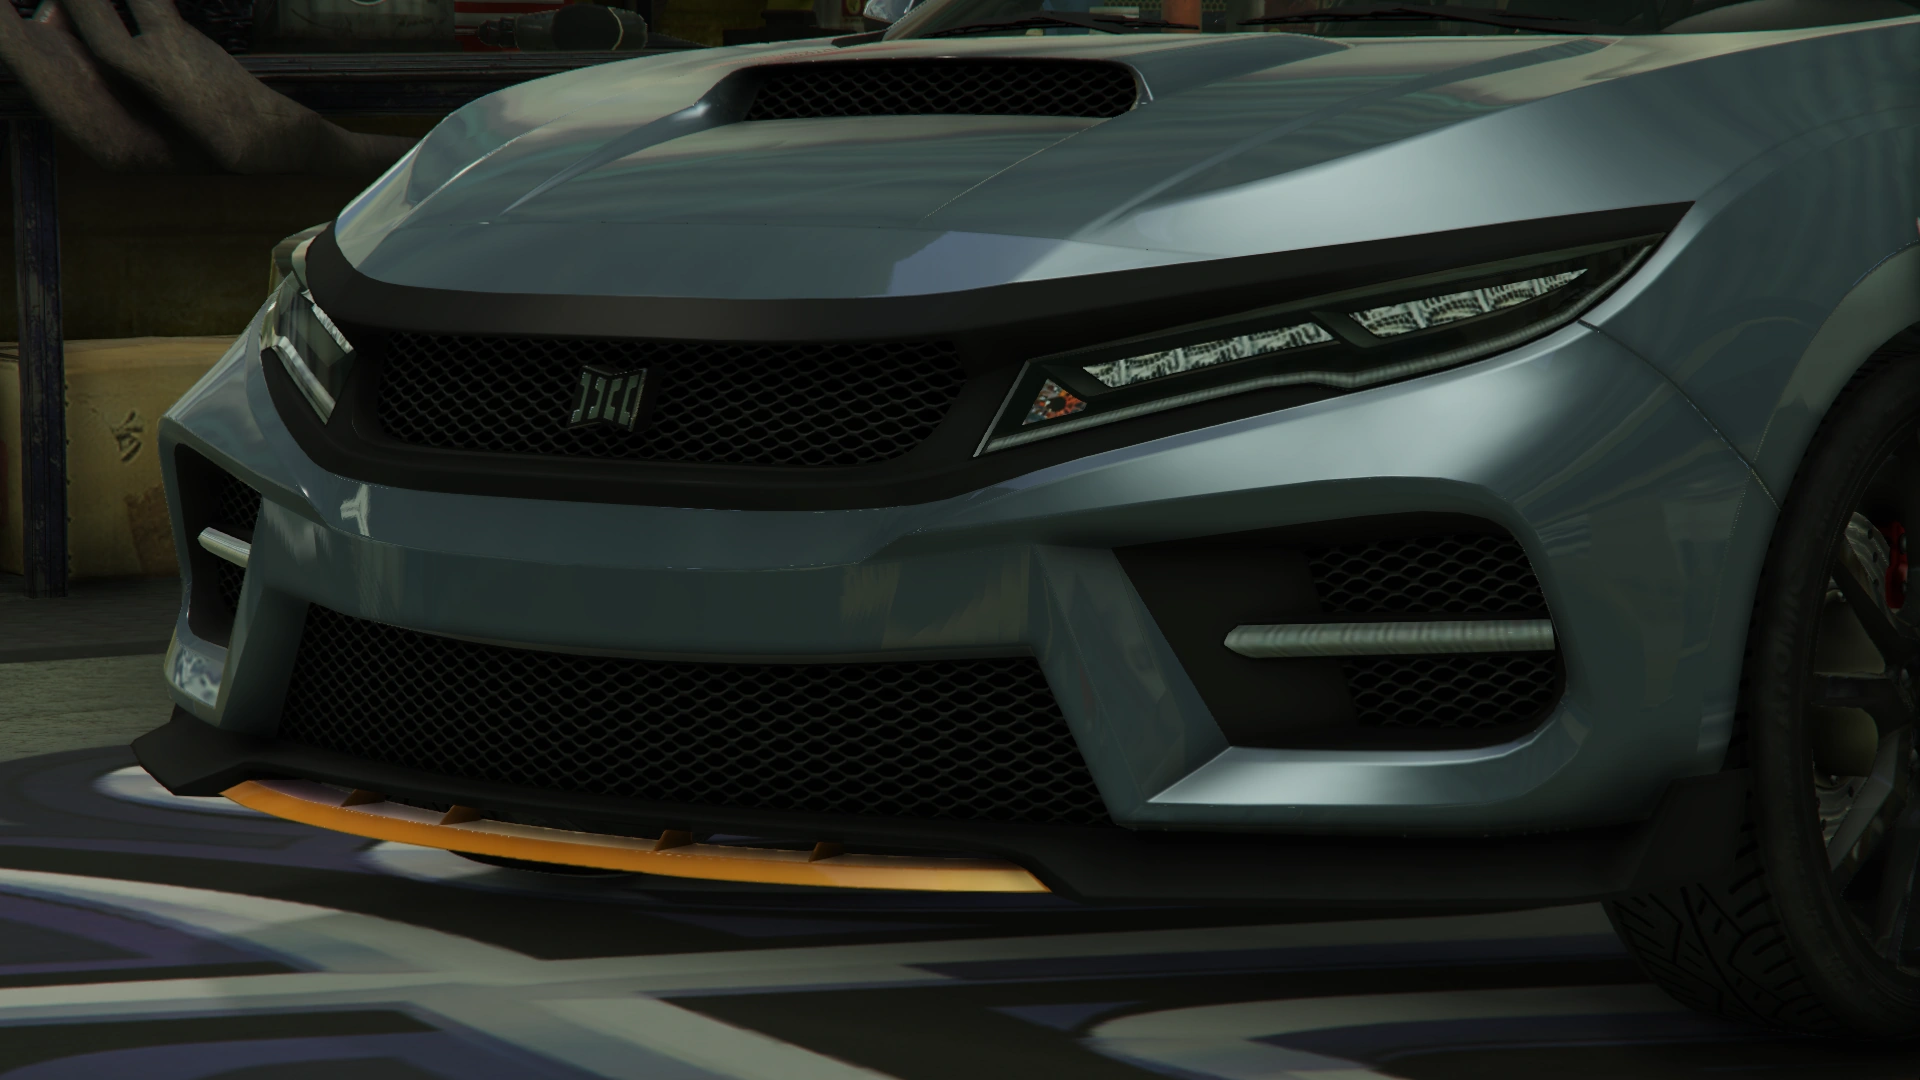
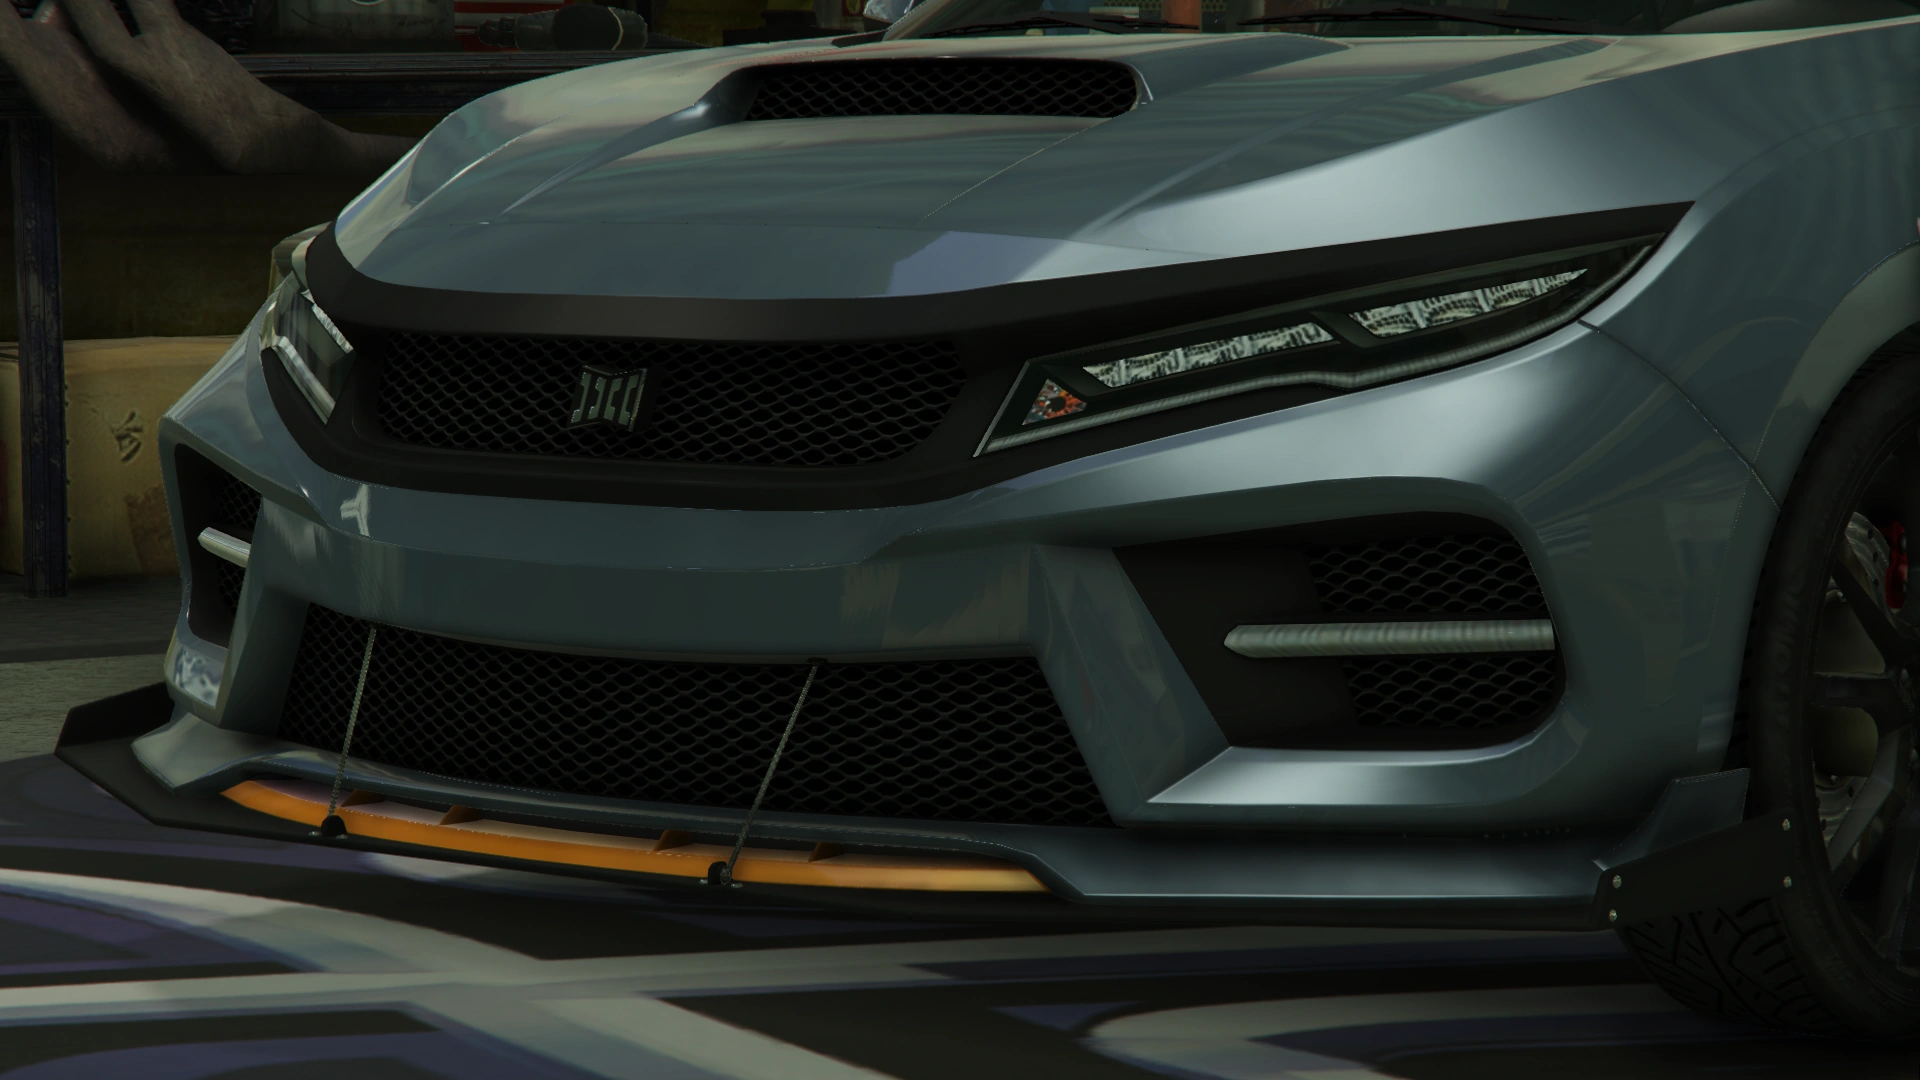
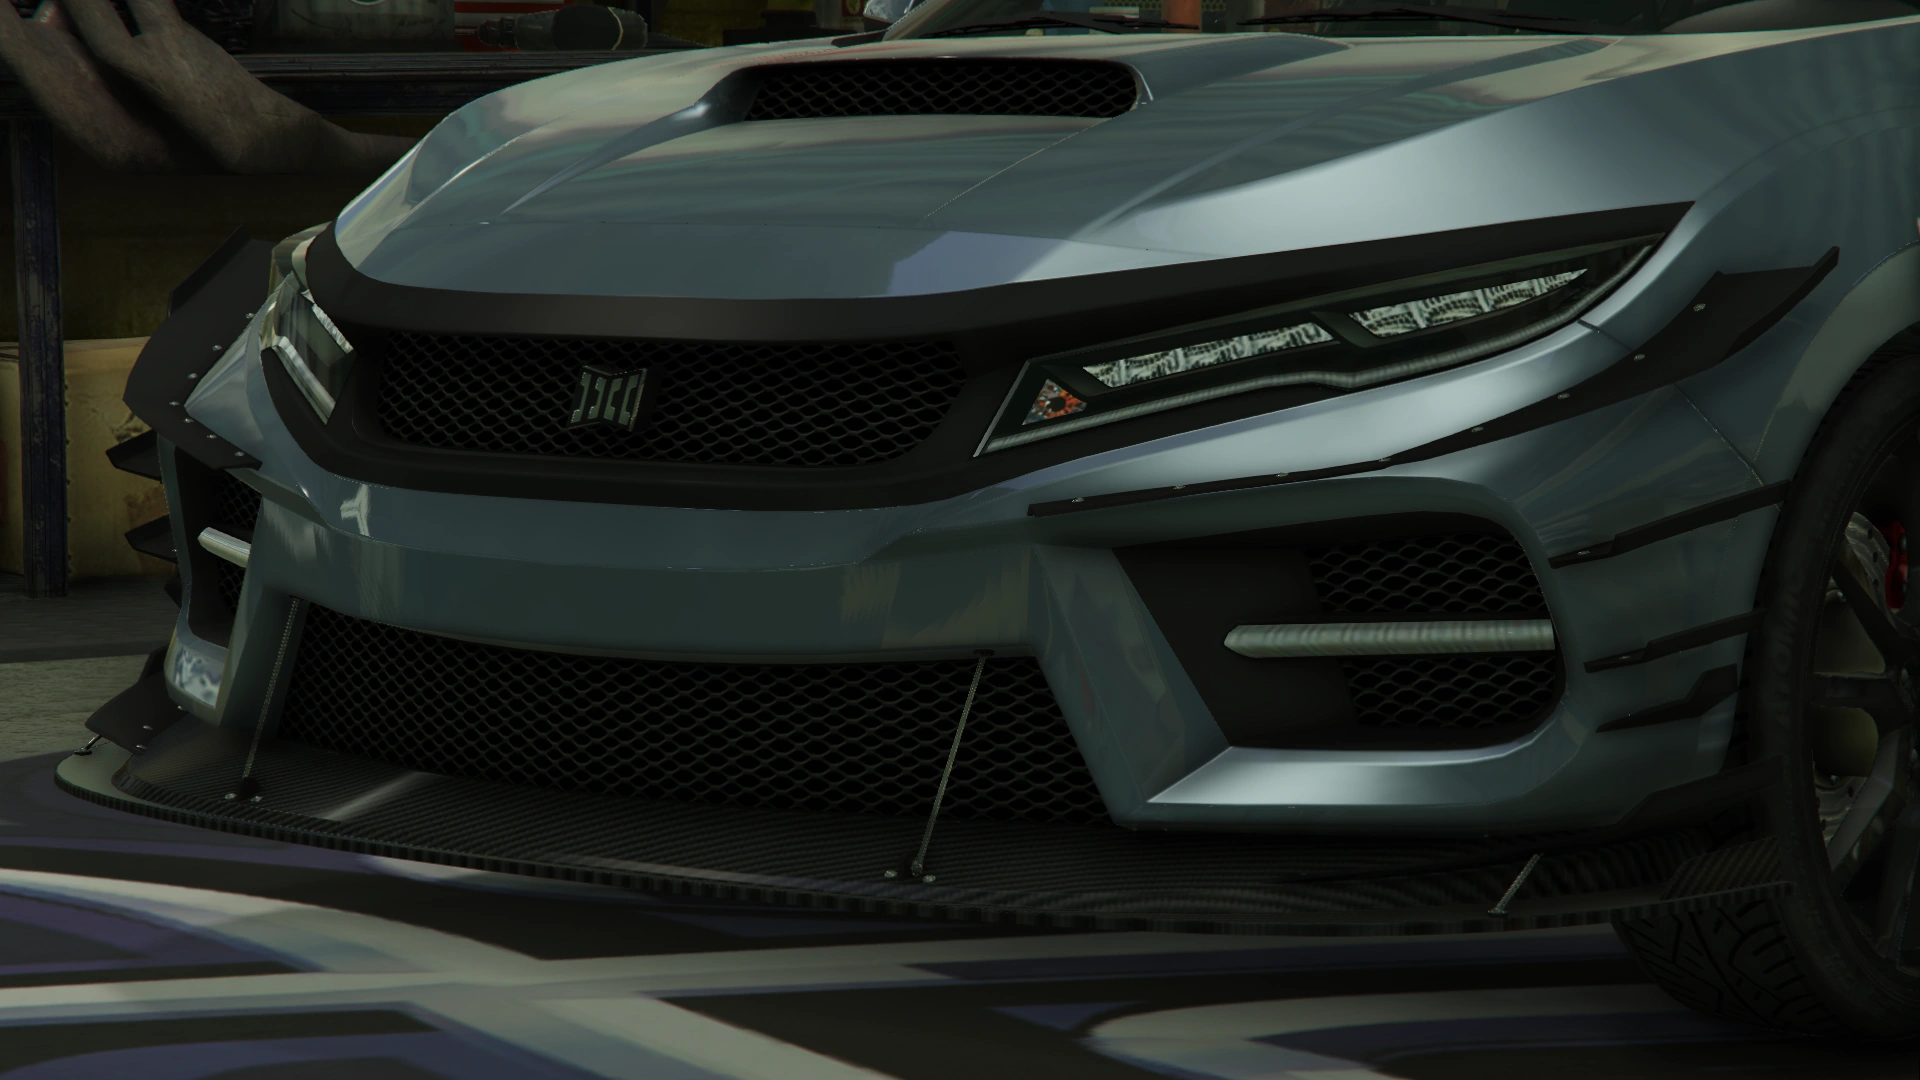
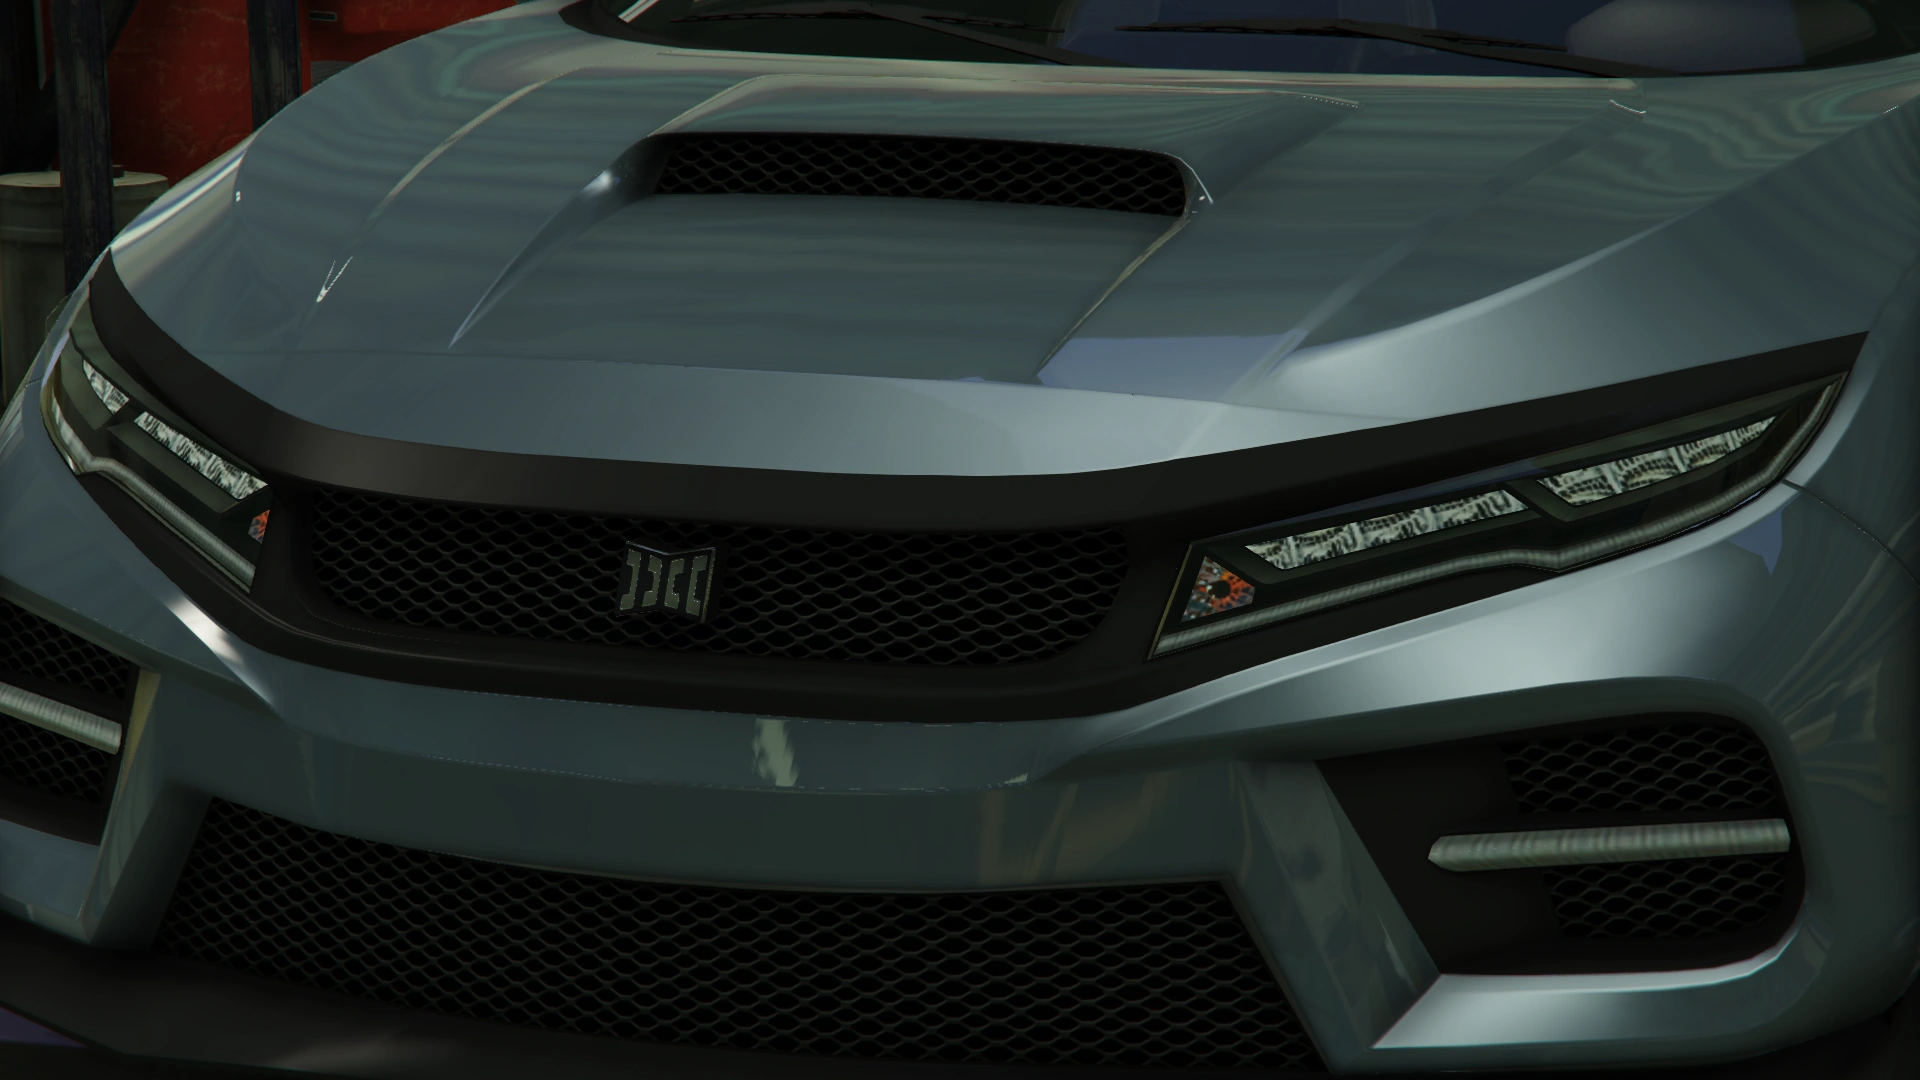
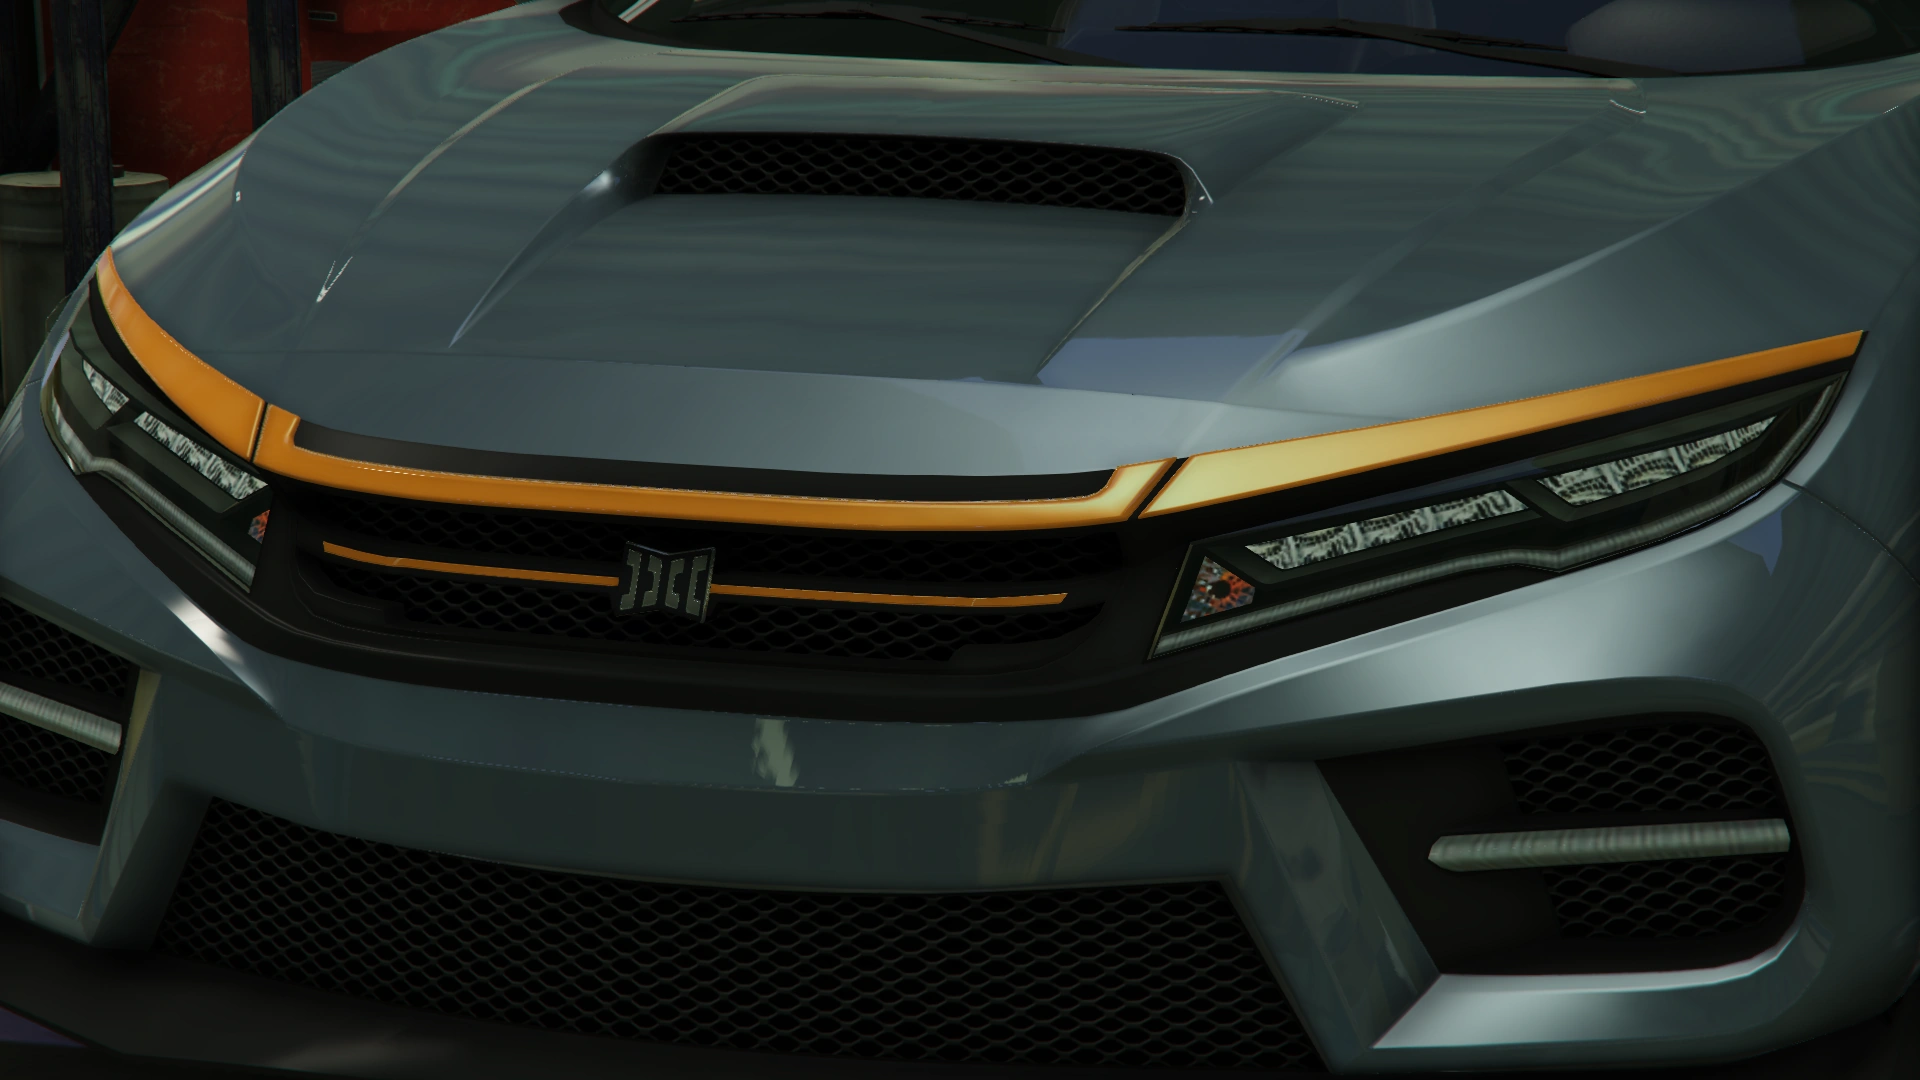
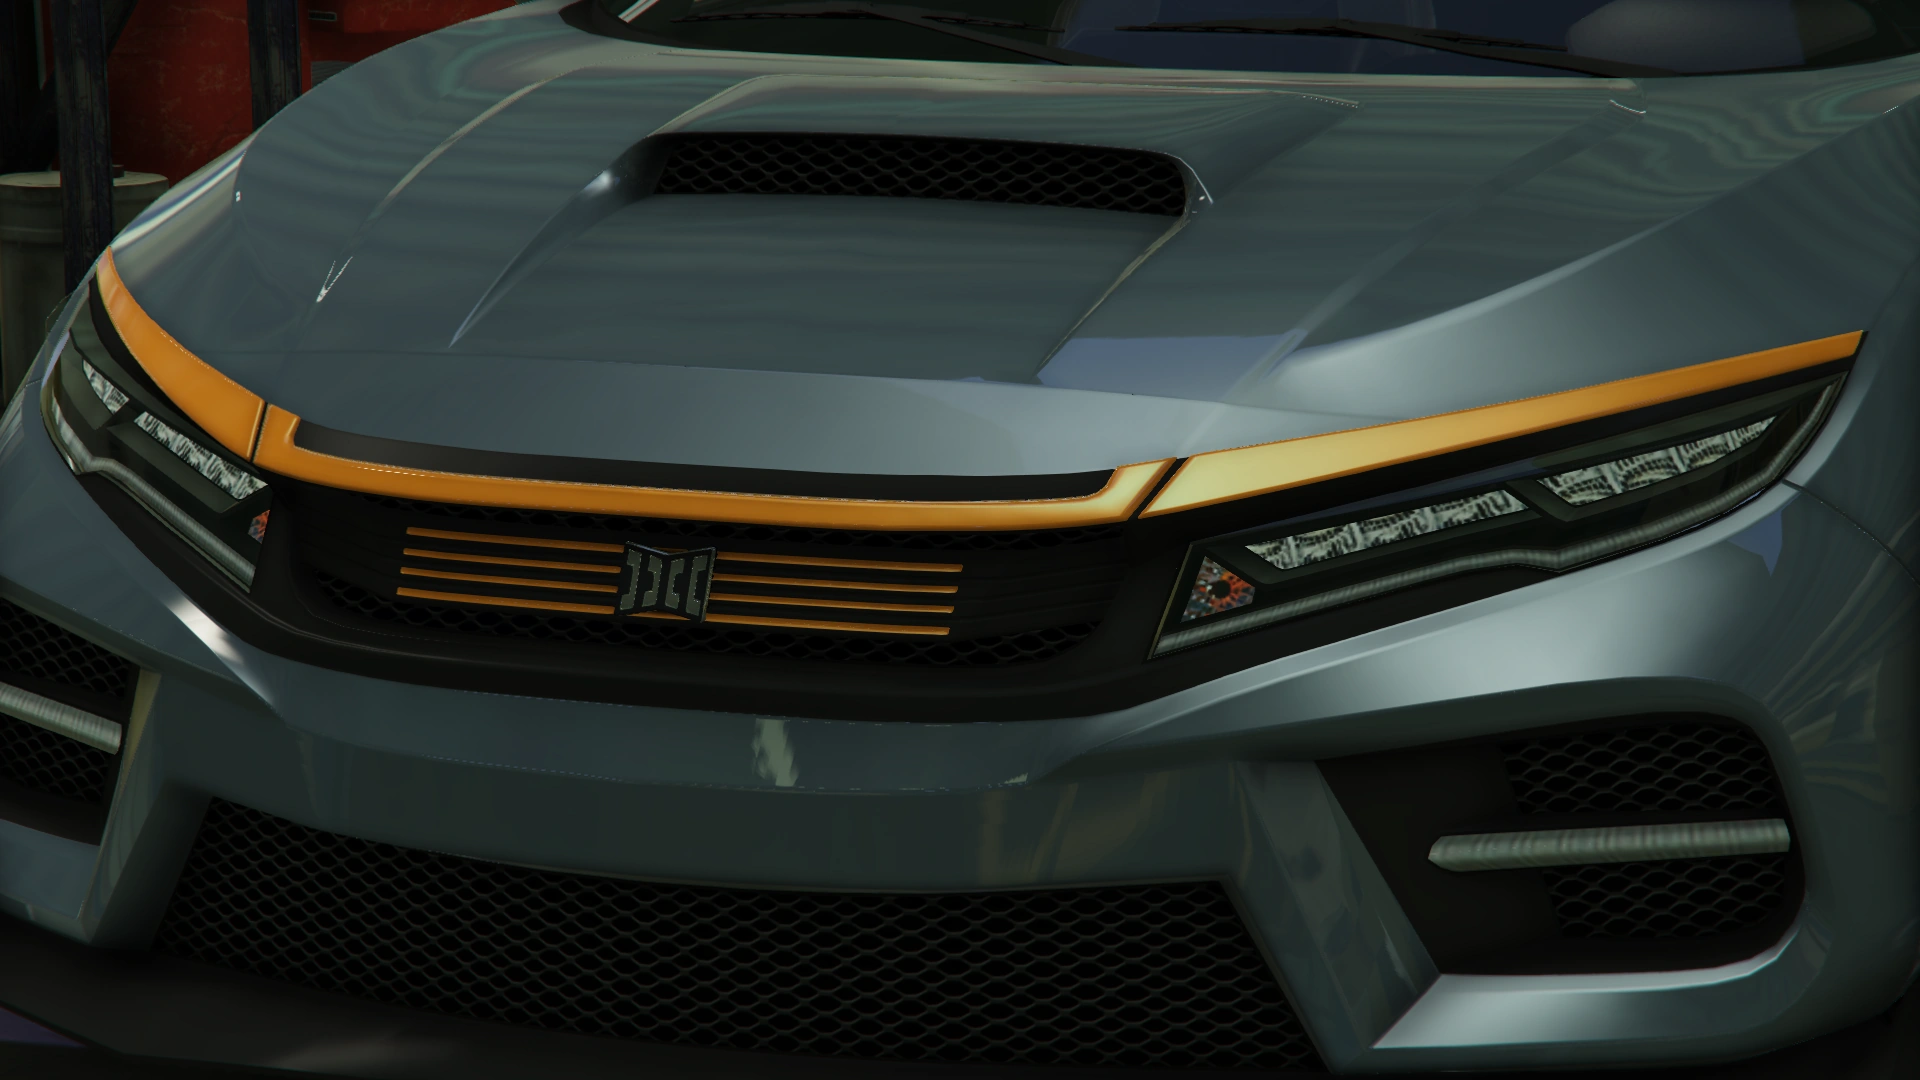
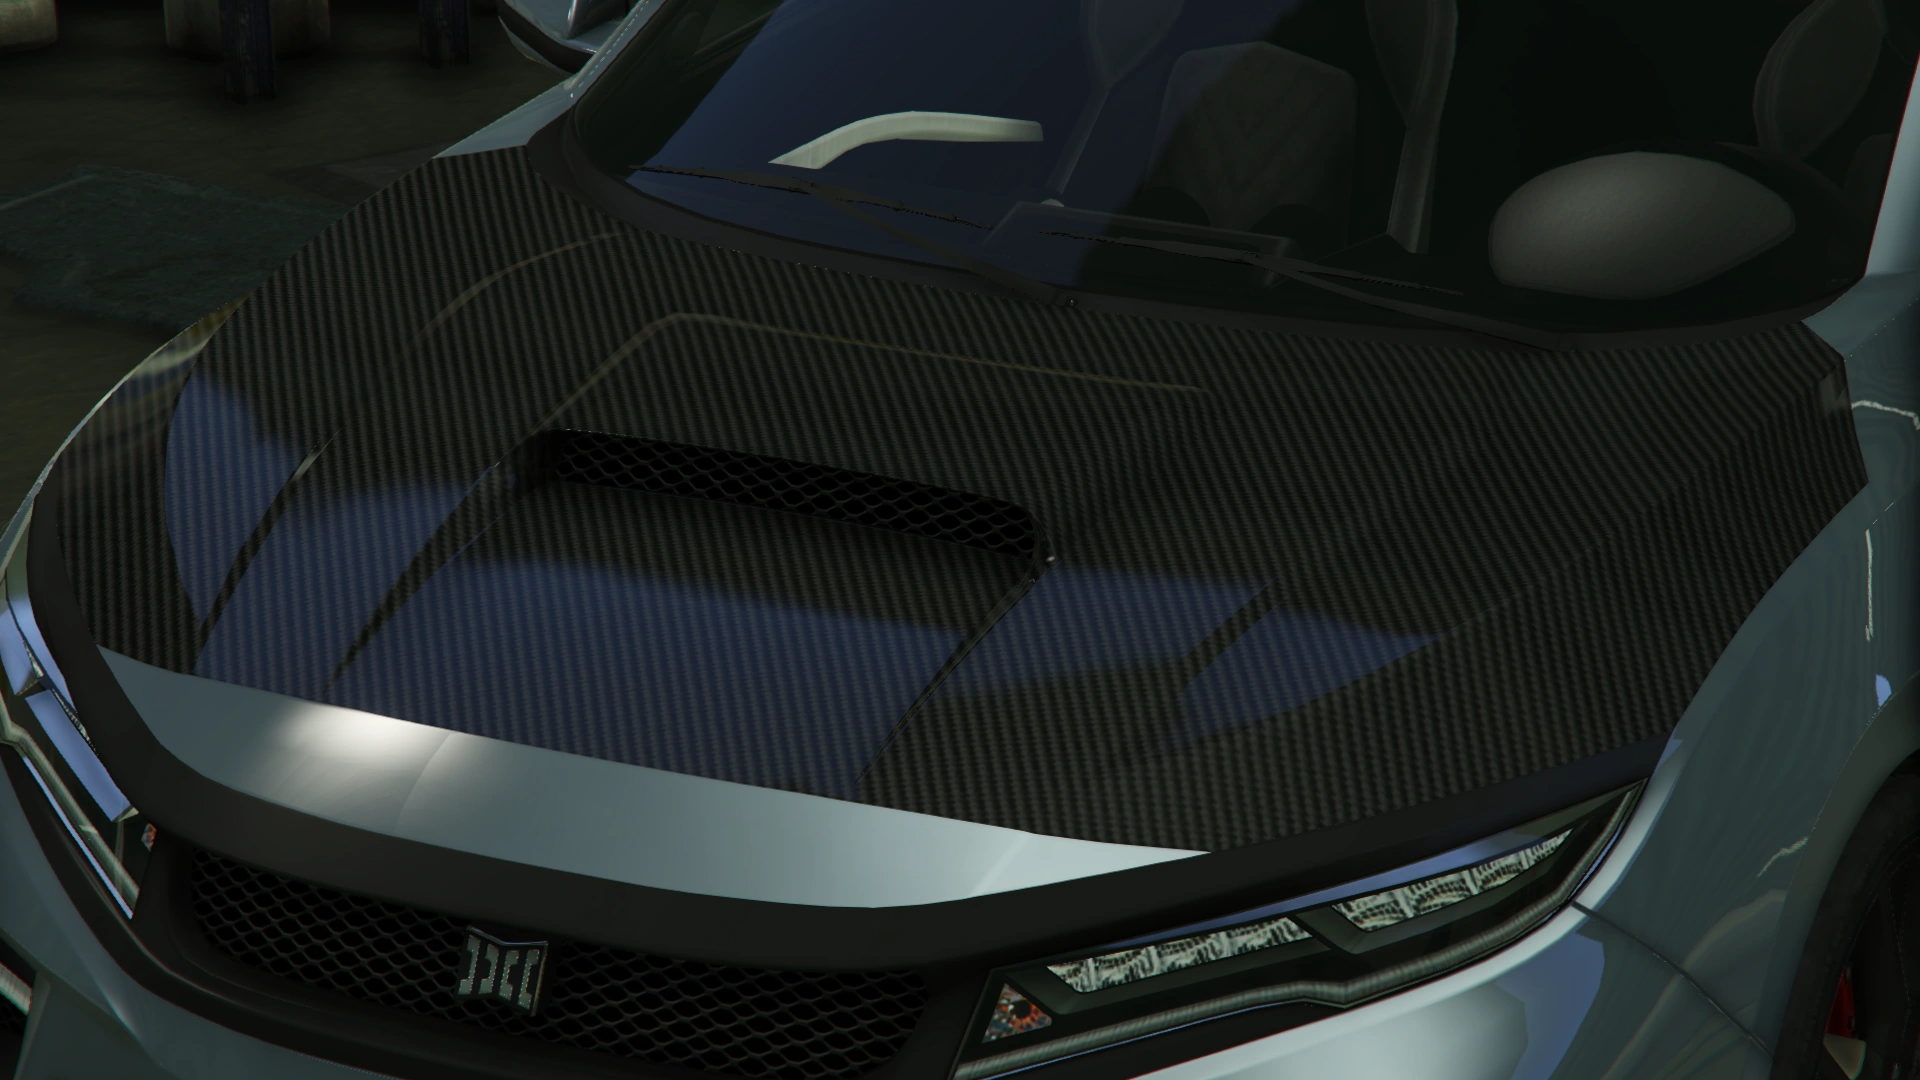
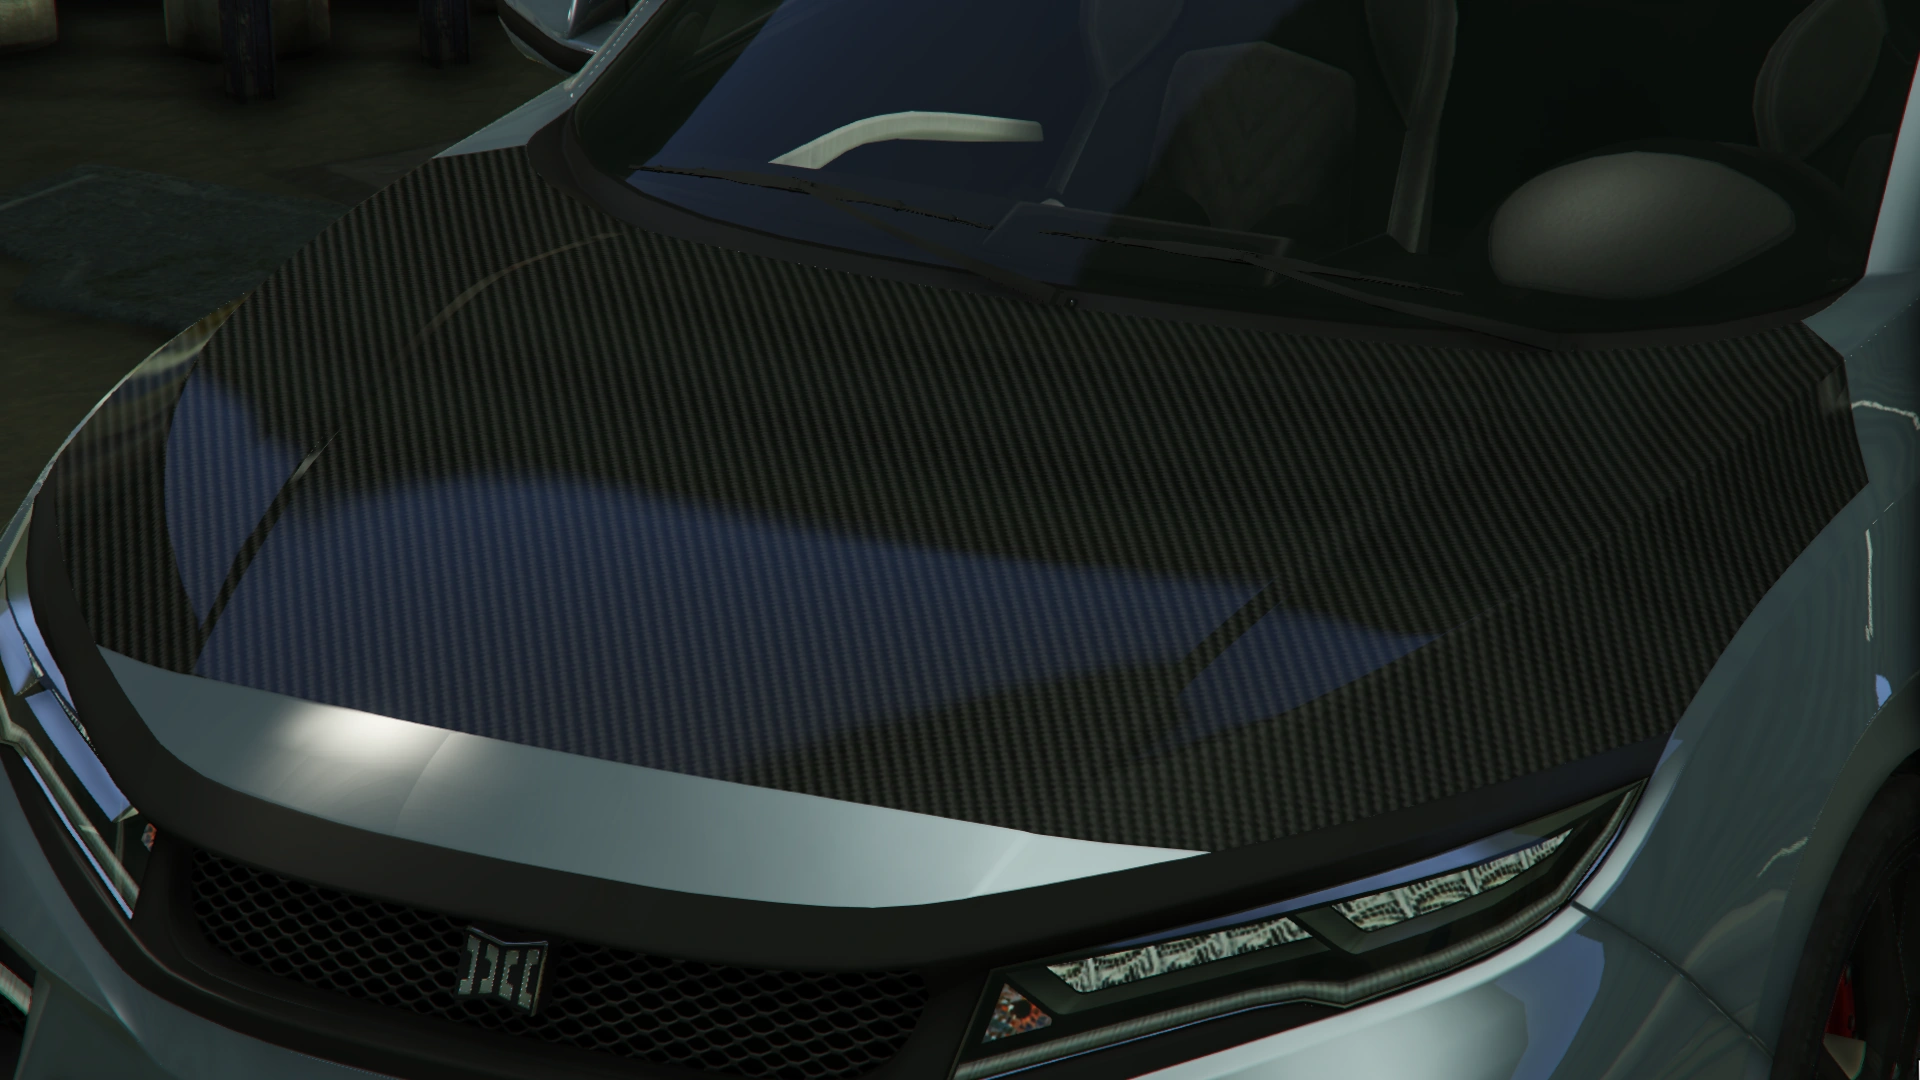
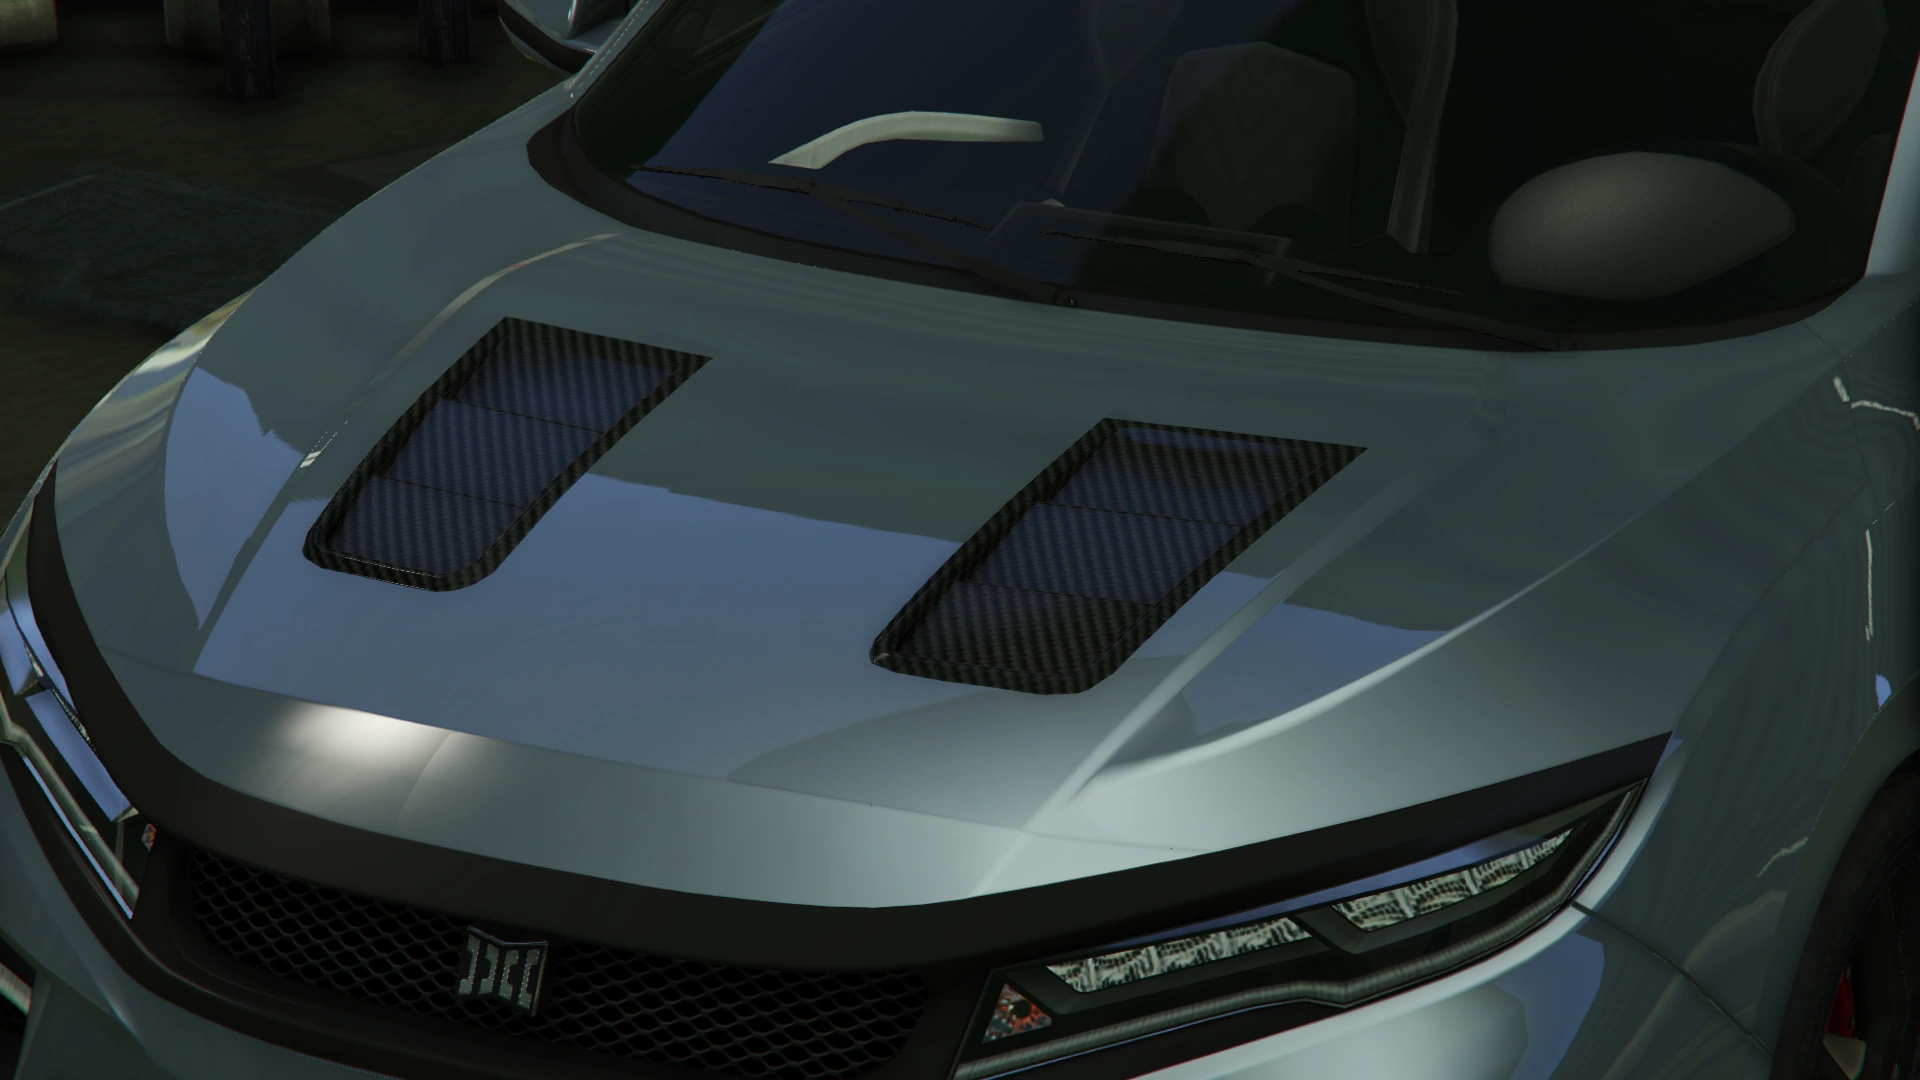
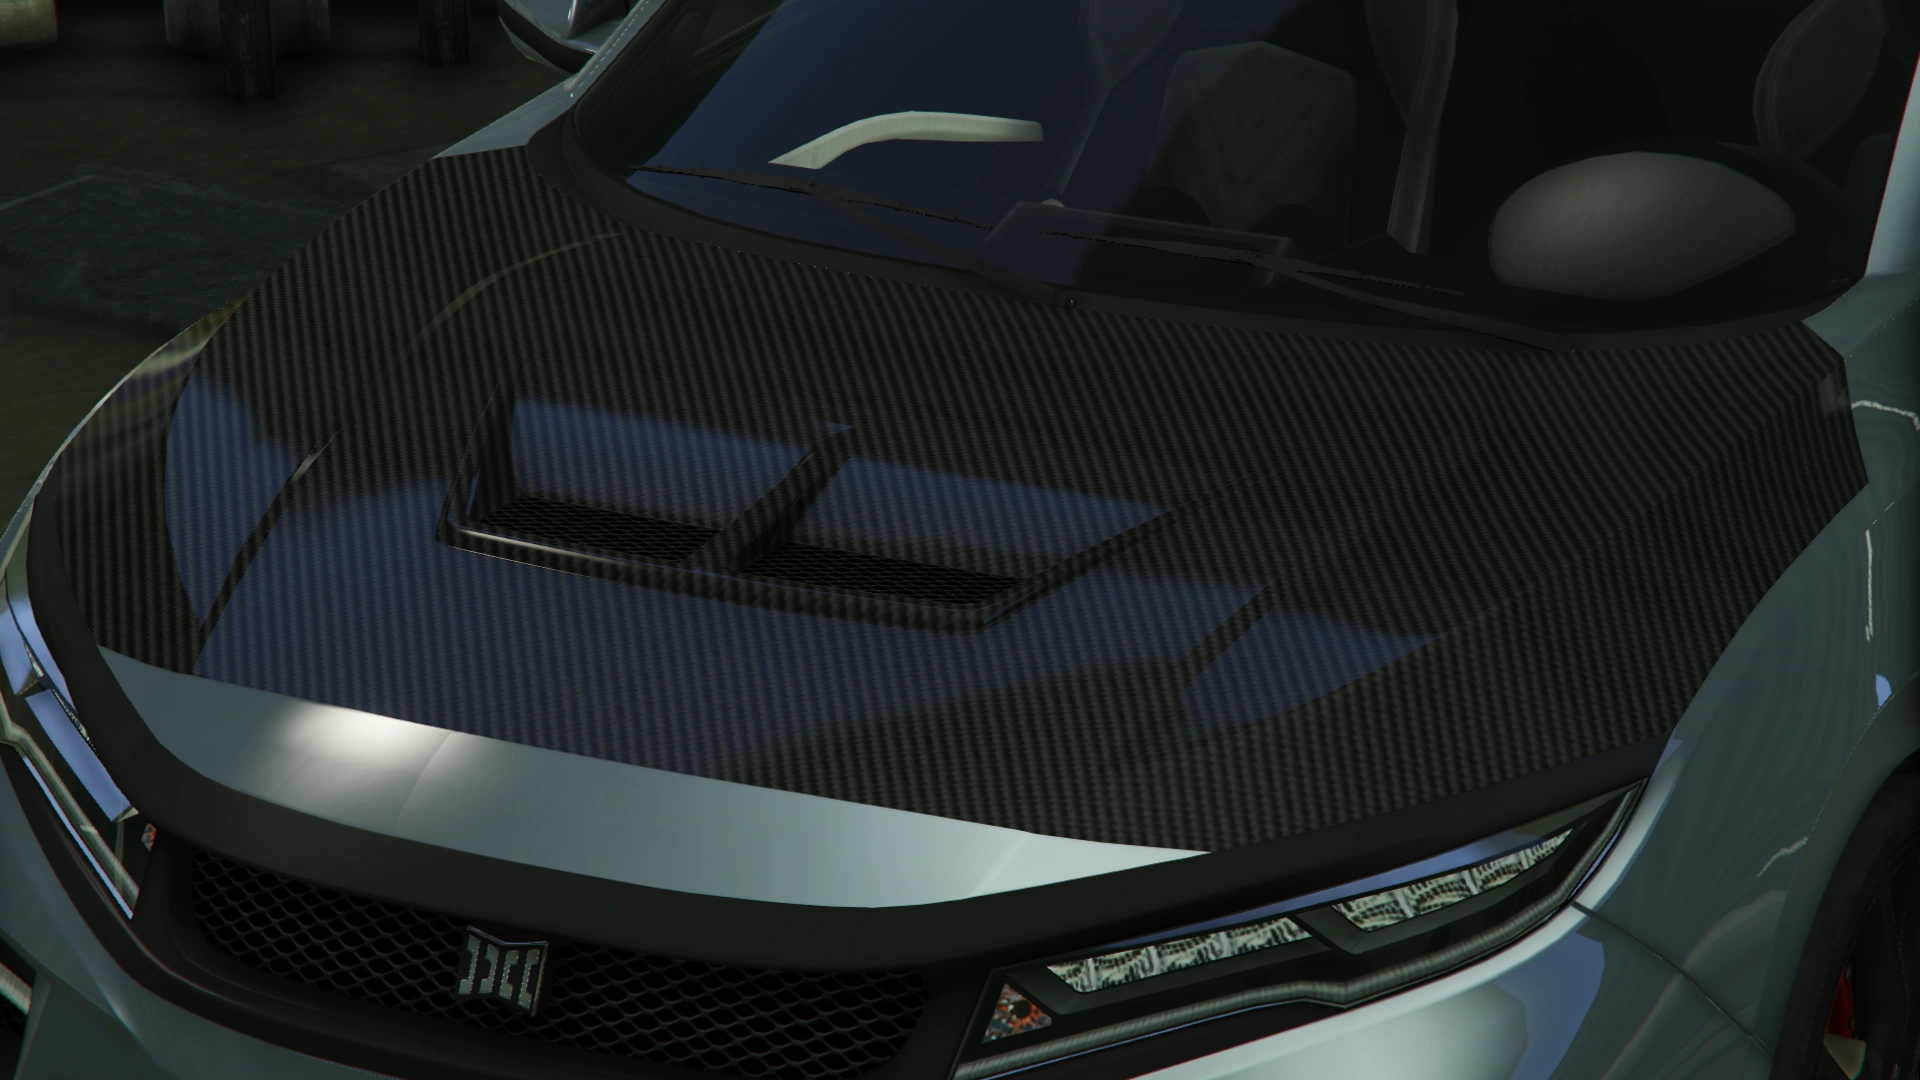
The Sugoi is distinguished by featuring sporty elements and aggressive looks in a rather conventional design, having a set of intakes at the front end and a splitter at the bottom. Its headlights and grille give strong similarities to the Jester (a sportscar also manufactured by Dinka) and have a plastic trim surrounding them. A bonnet intake and a black trim around the engine bay are seen as well.
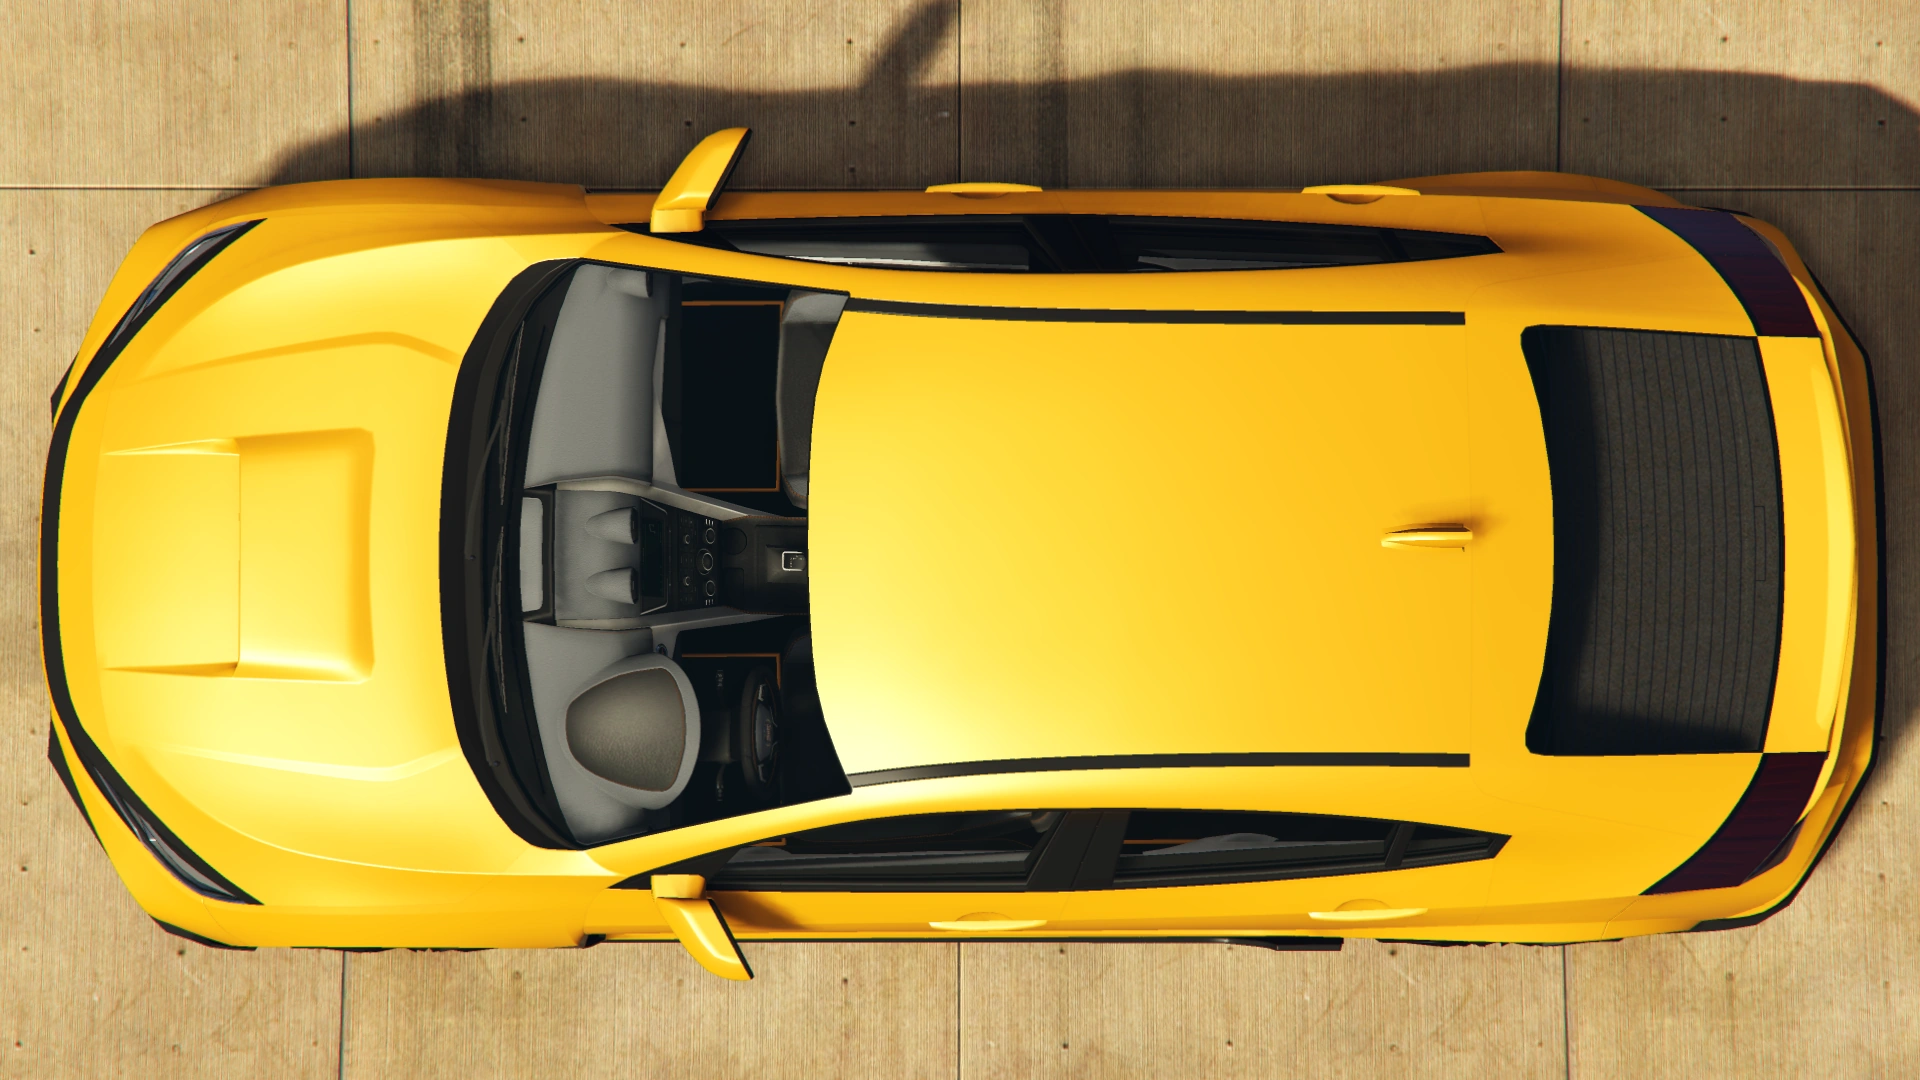
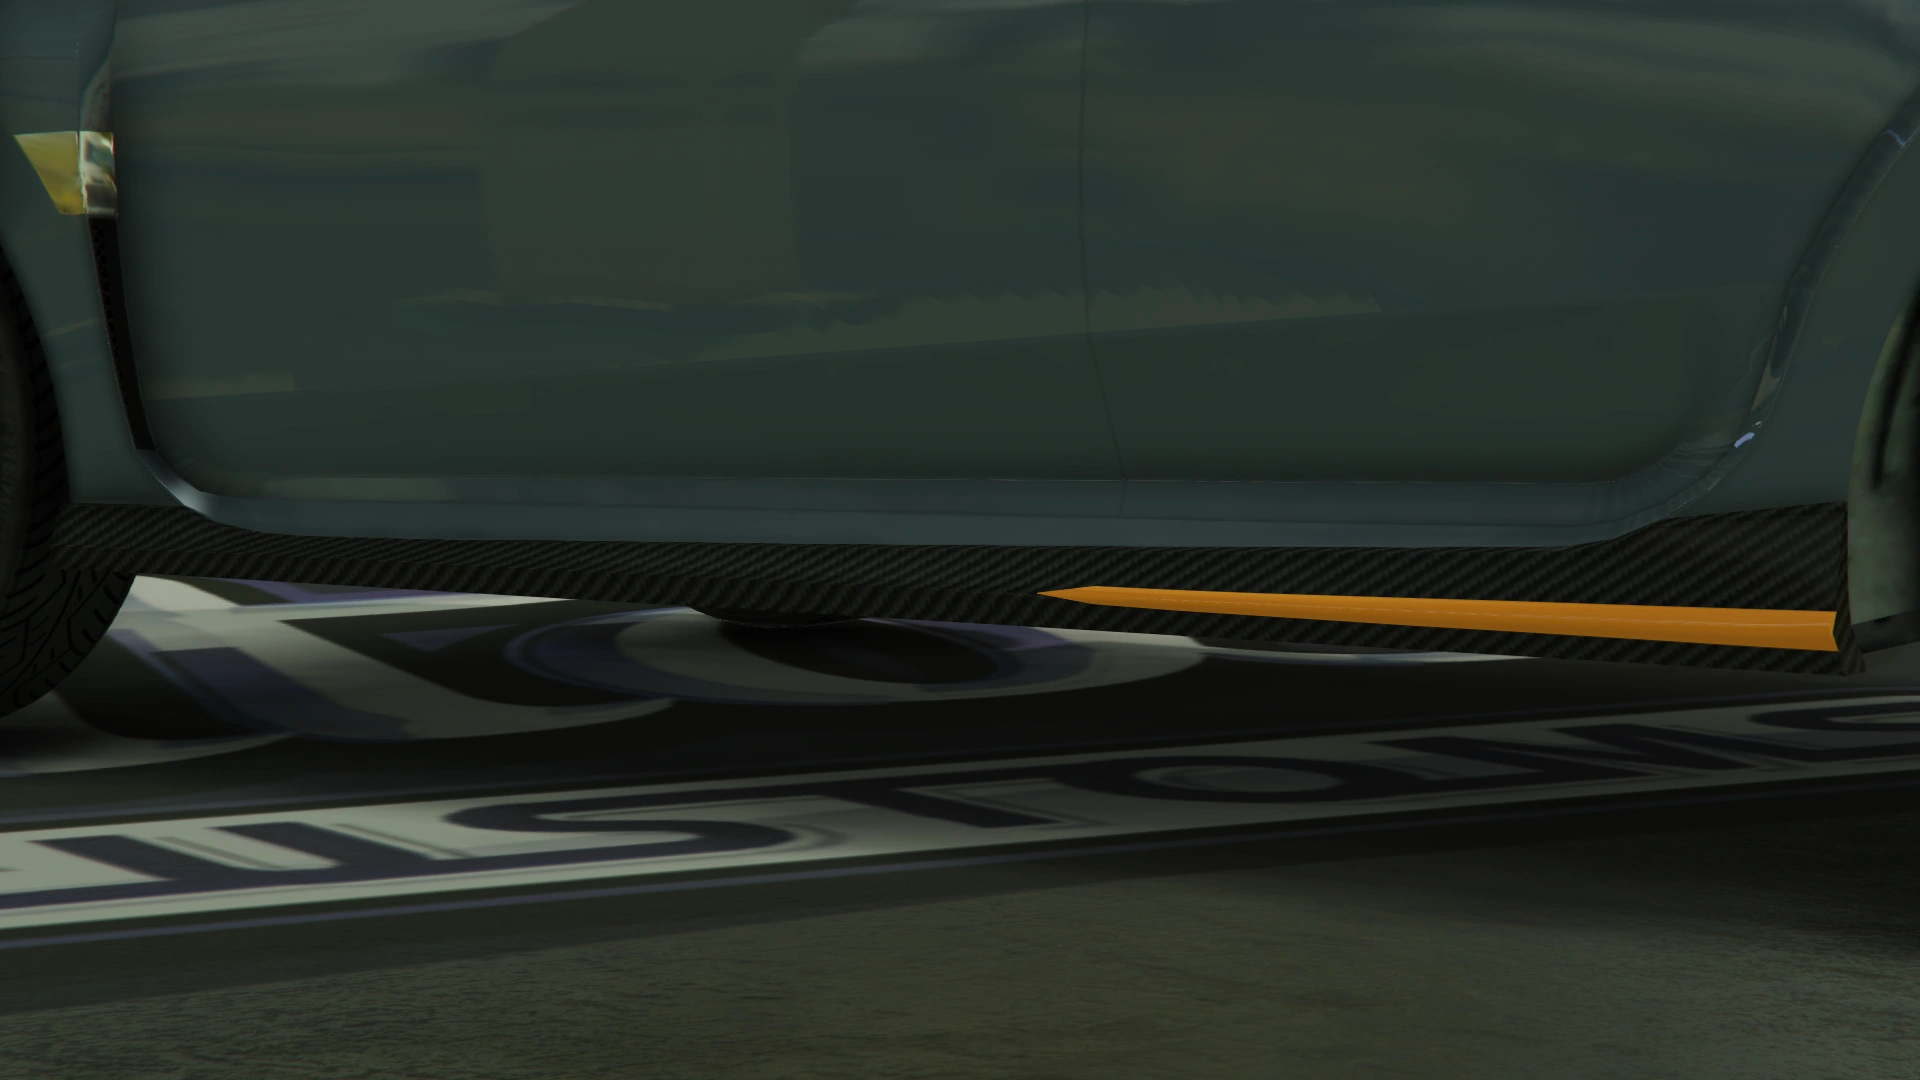
The sides of the car feature a concave formation running along the sides, and slightly pronounced rear wheel arches, along with side vents at the front. At the bottom, there is a set of side skirts bearing a coloured trim. The rear-view mirror wings have a plastic frame on the middle. Its window trimmings are also finished in plastic.
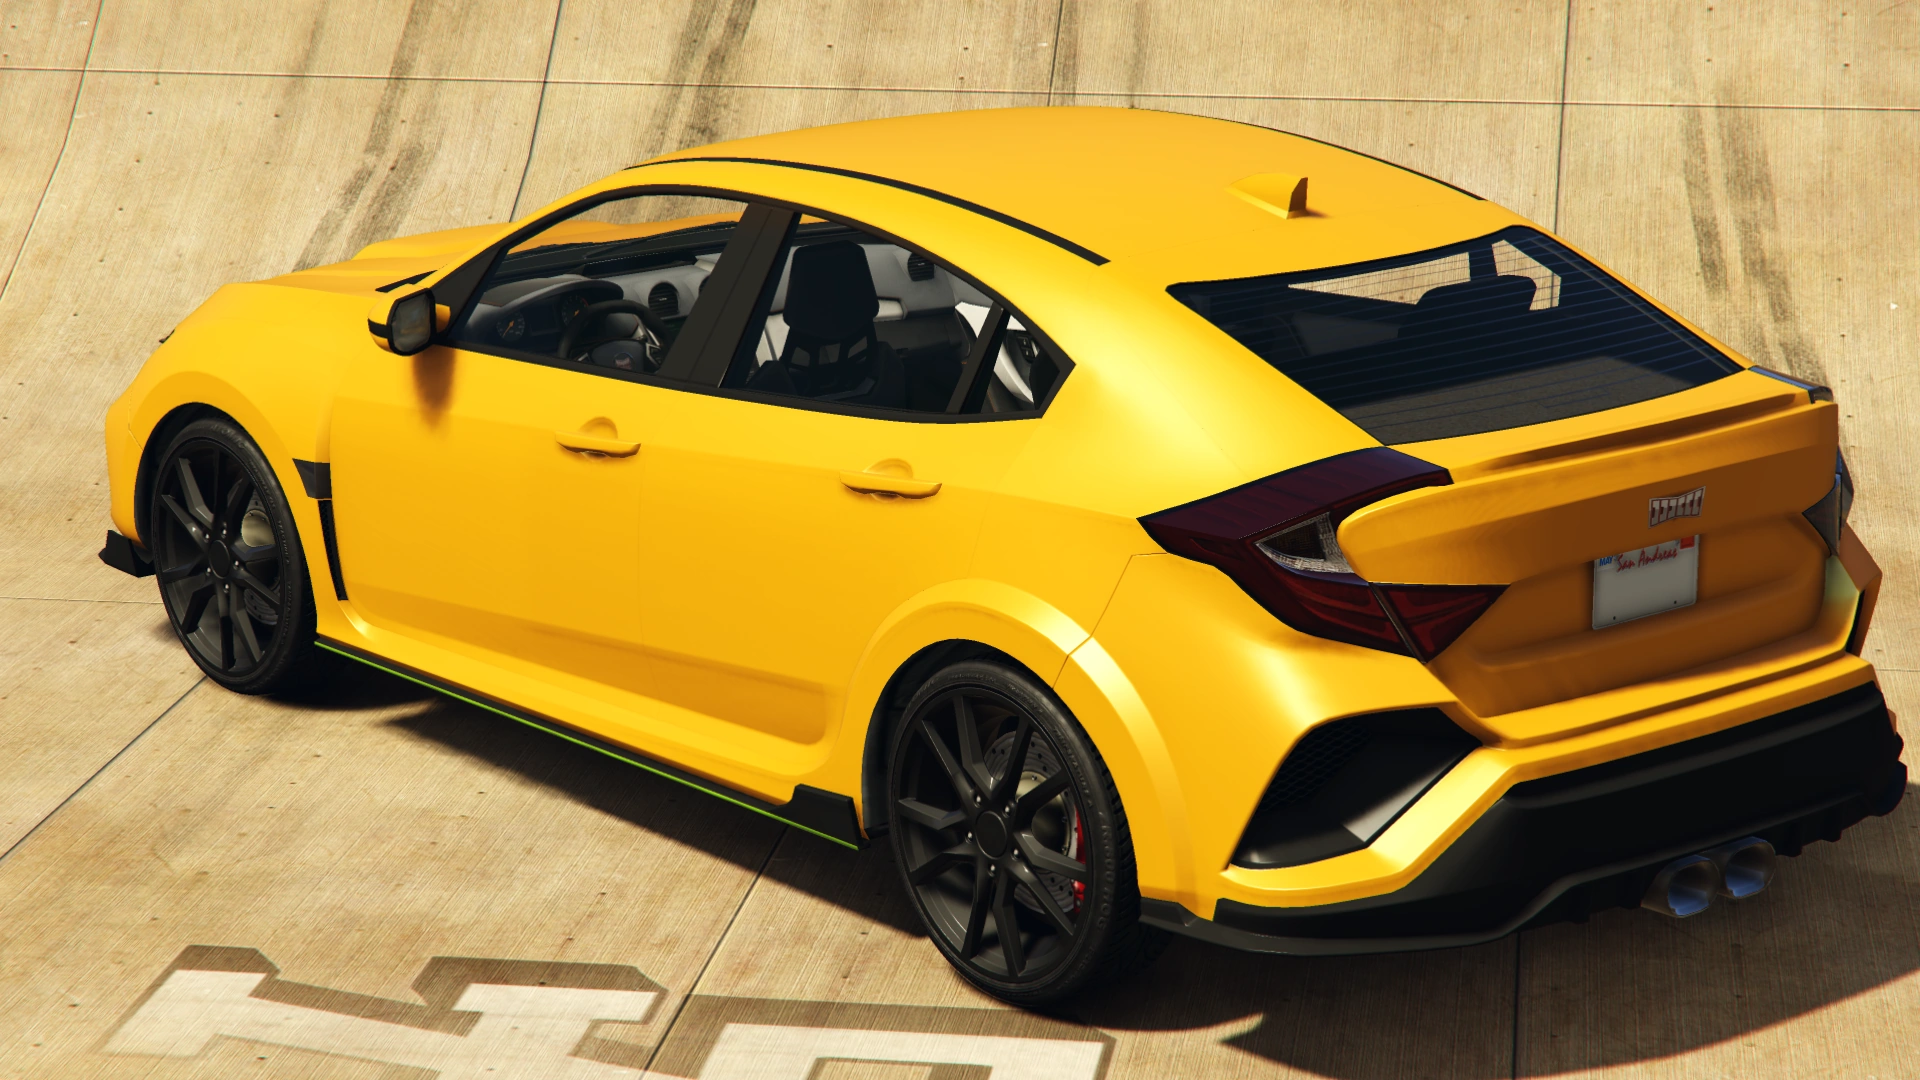
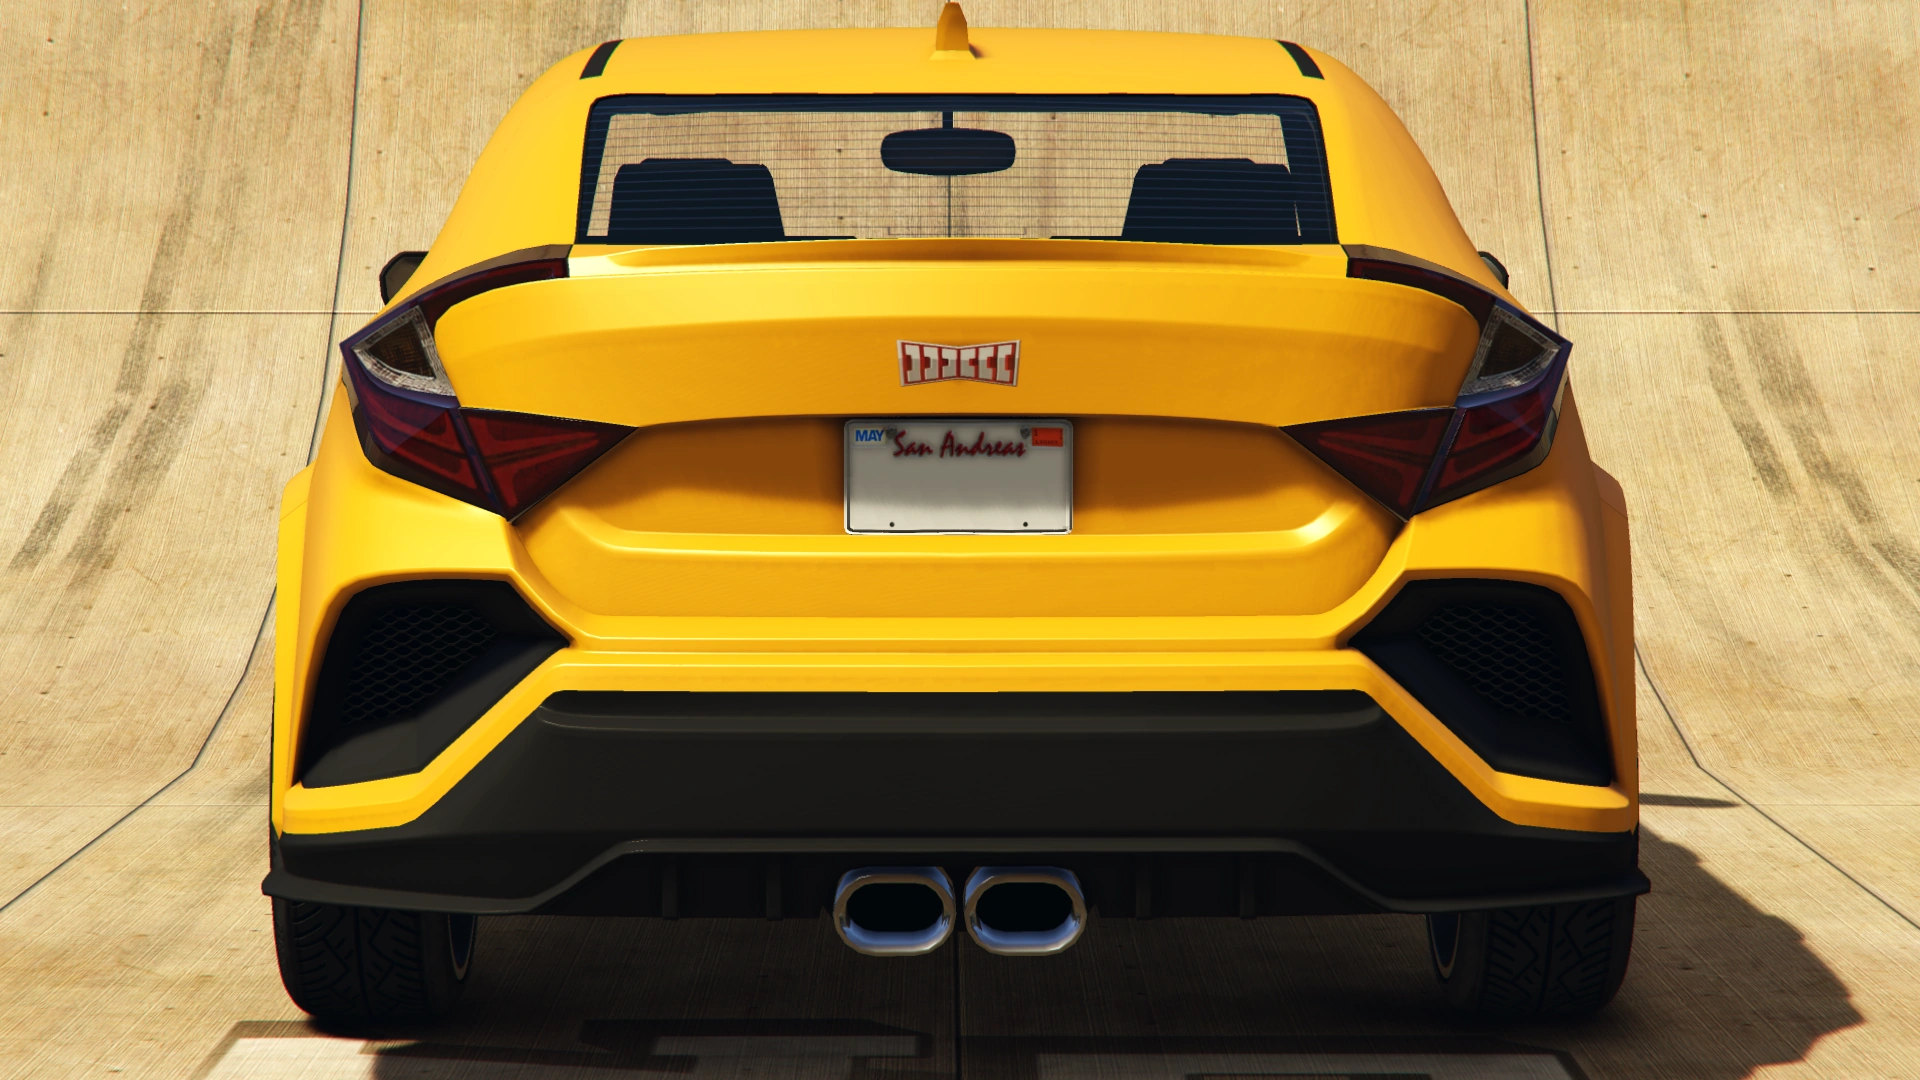
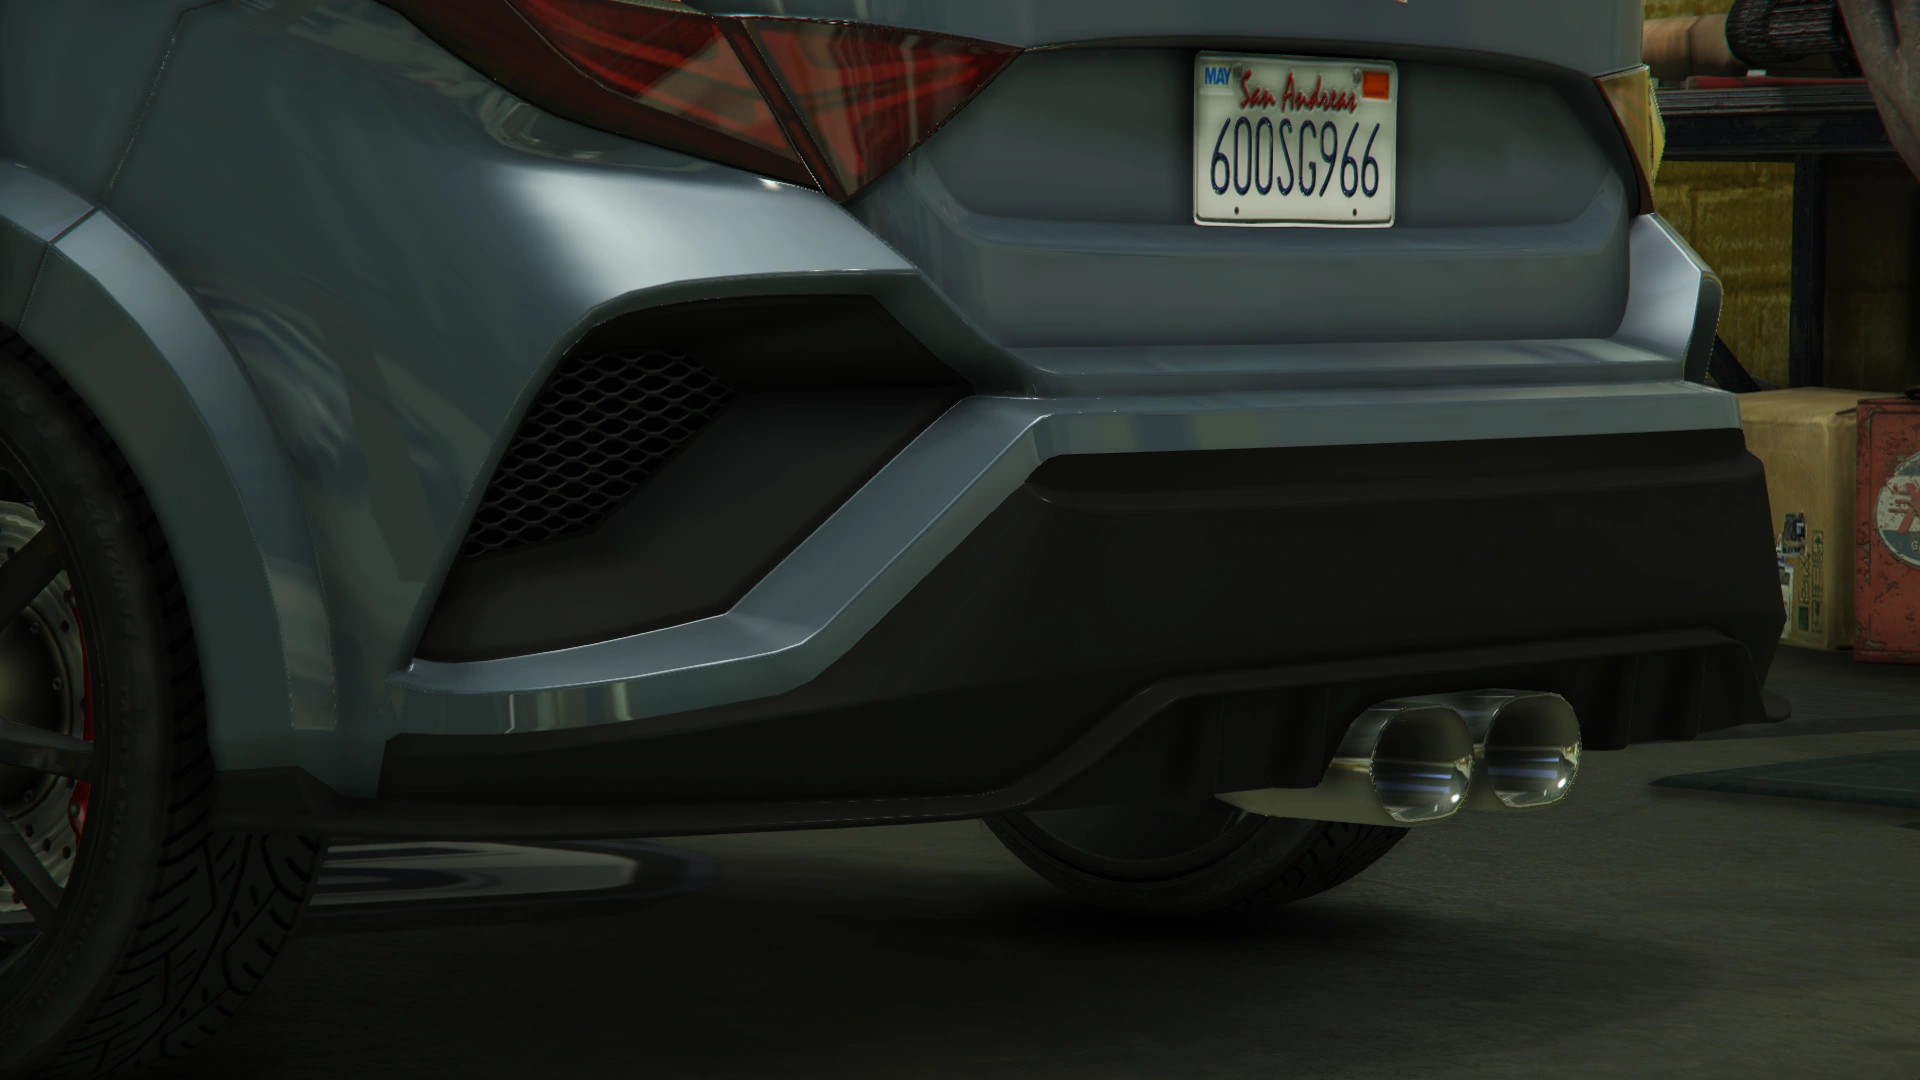
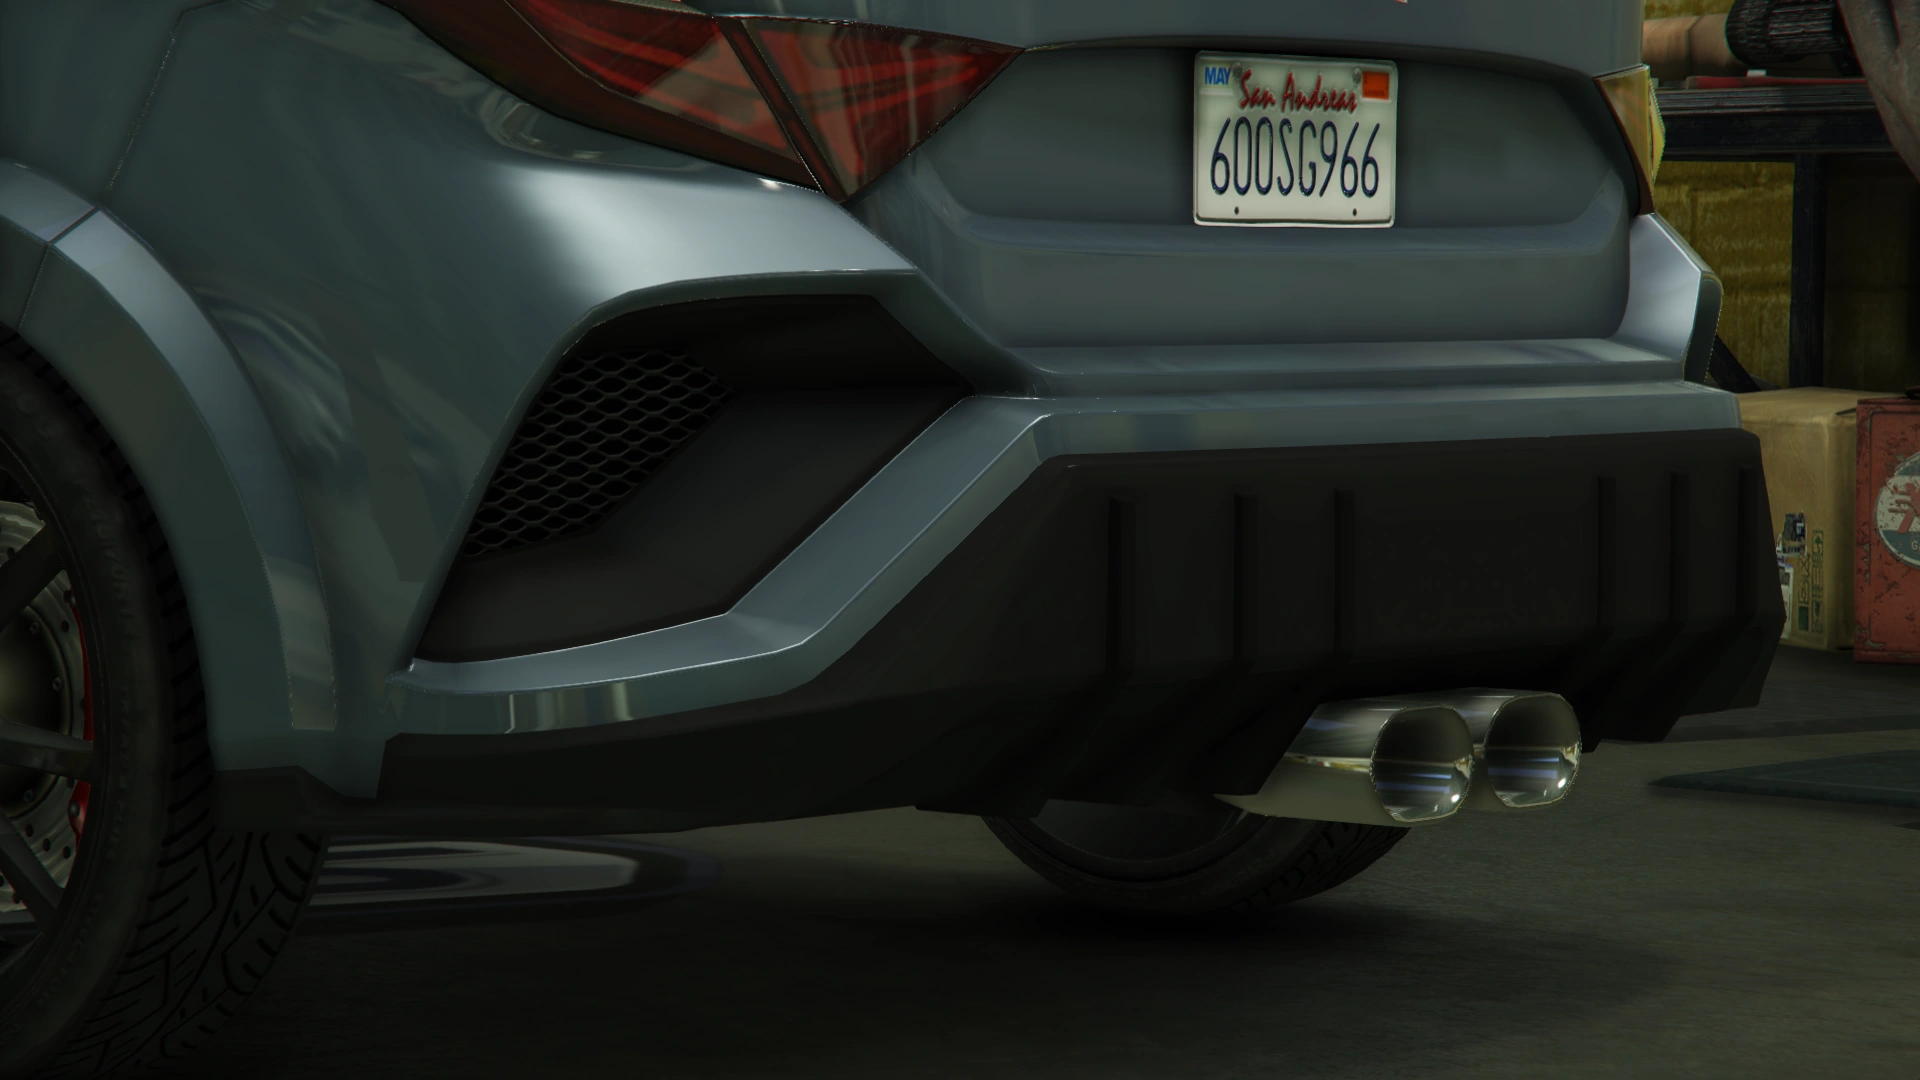
On the rear end, a set of stylised C-shaped tail lights can be seen, with a set of turning signals and reverse lights in a triangle shape. Below the boot area, the rear bumper extends a bit further and features a set of rear vents on either side, as well as a plastic section encompassing the lower rear and part of the underside, also housing the twin exhaust tubes centred on the car.
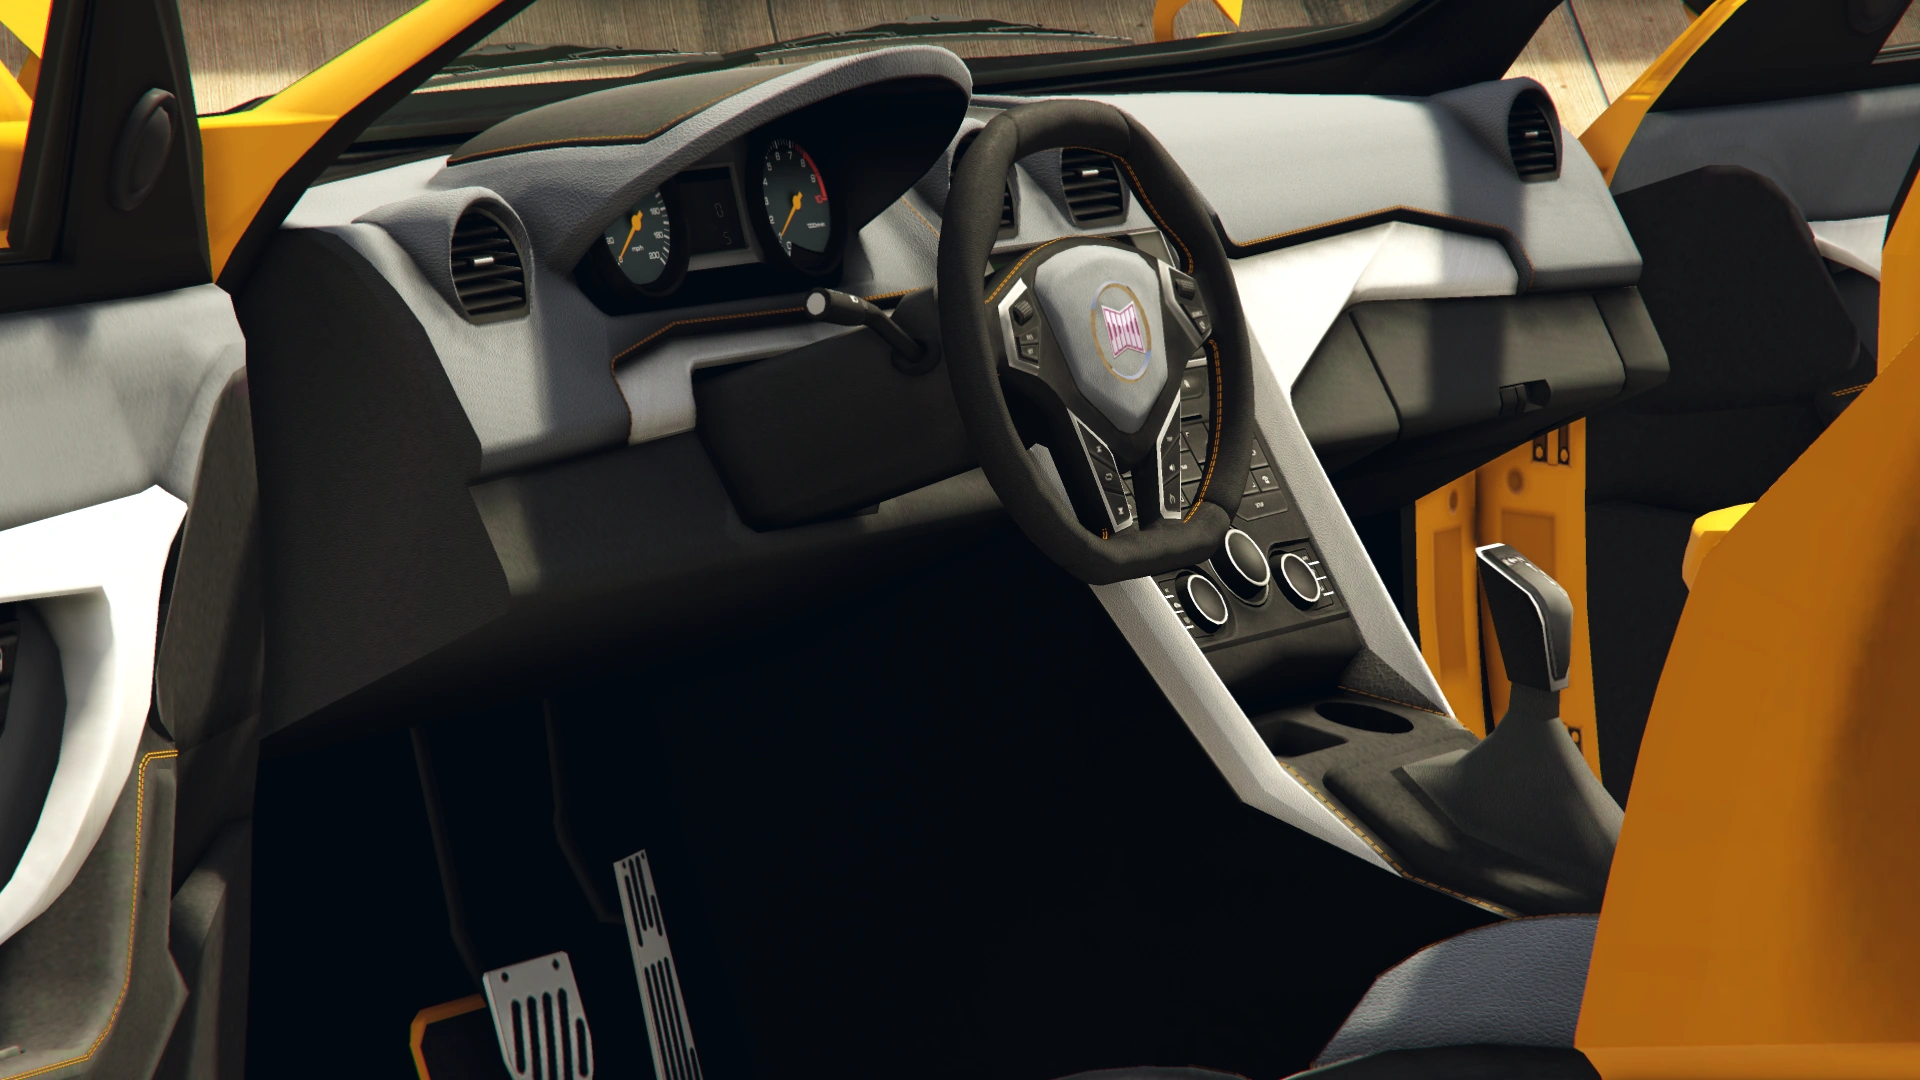
Most of the car's bodywork is painted in a primary colour, while the trims on the side skirts are painted in a secondary colour. A trim colour is also available for the interior panels and seats.
Current Design Gallery


Detailing


Performance
Grand Theft Auto Online
The Sugoi has a fair amount of wheelspin before it can take off, though while it does have a good amount of acceleration and top speed, it tends to fishtail uncontrollably when turning at fast speeds despite its FWD feature unless brakes or a handbrake is applied. Its durability is average at best and is overall still relatively outmatched by other Sports cars with much better performance especially in terms of tackling corners.
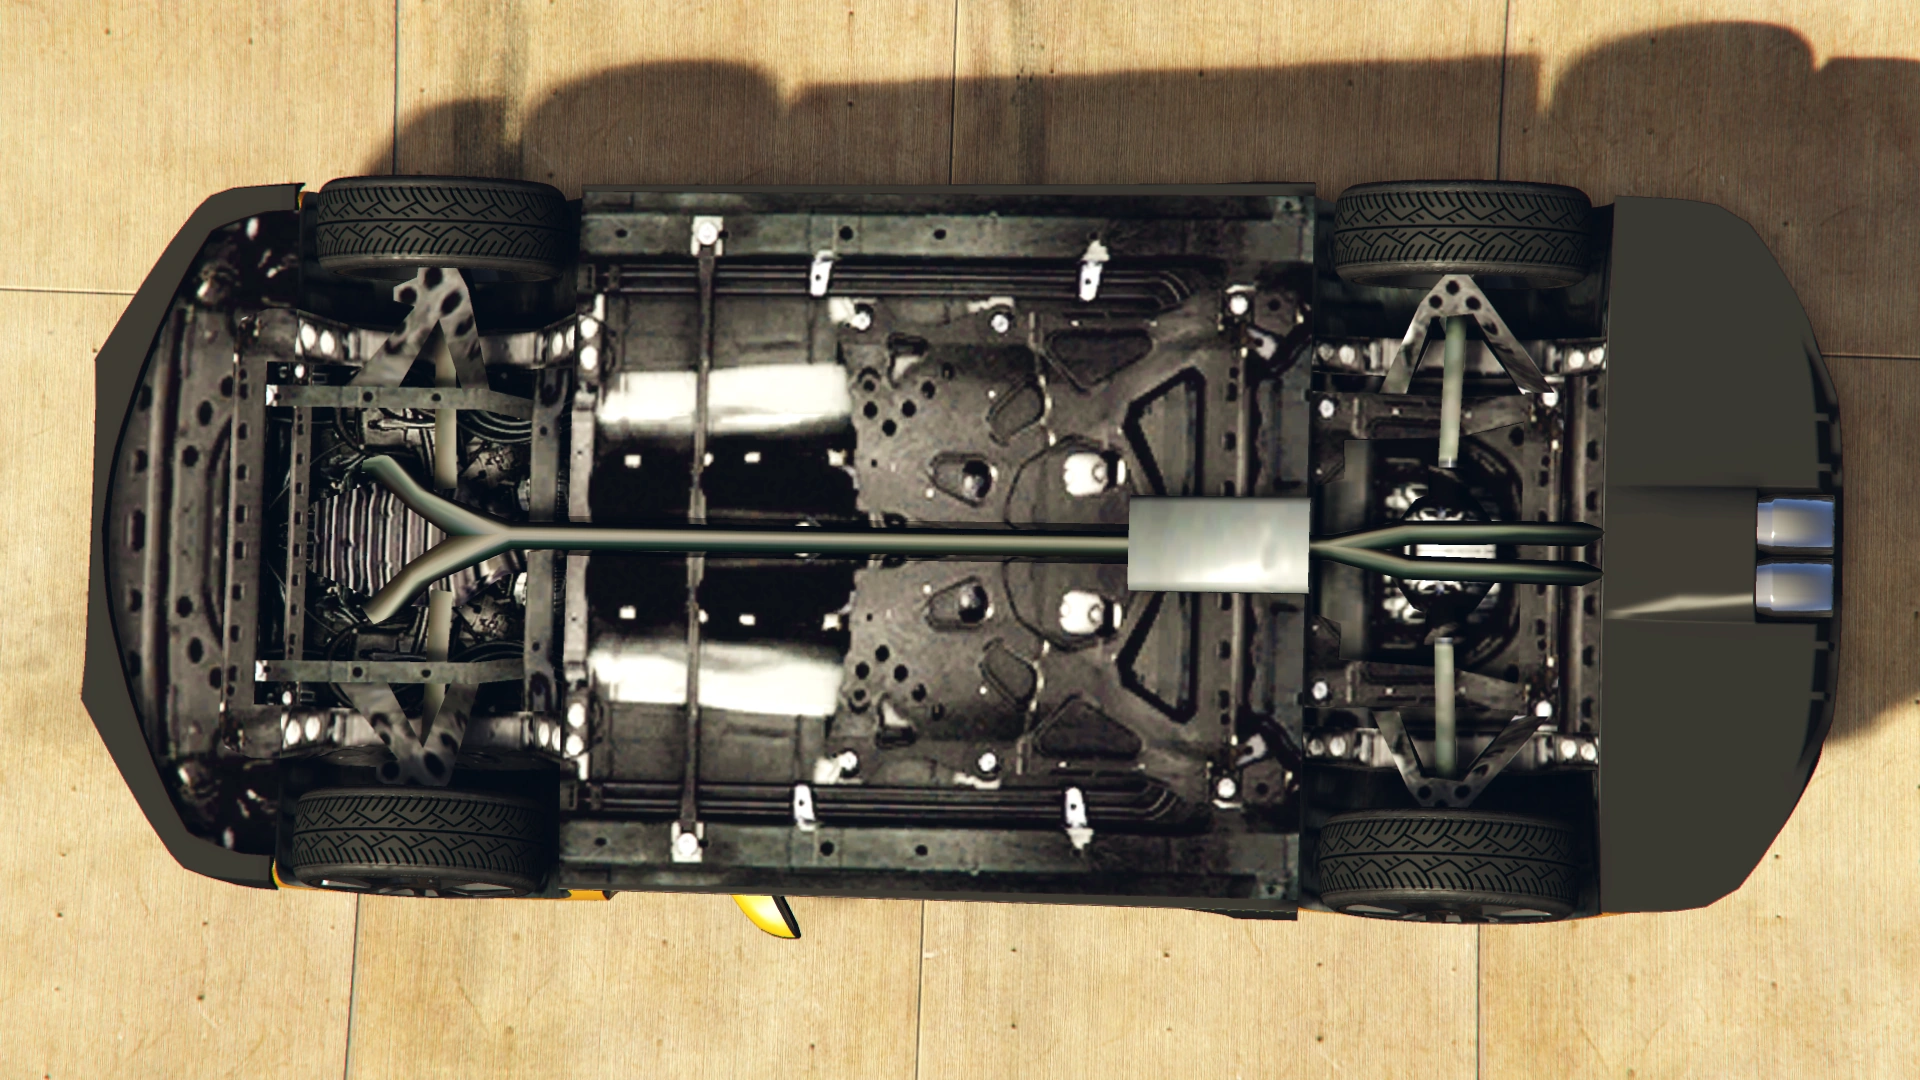
The Sugoi is powered by a V8 engine, as suggested by the cover, powering the front wheels. Its engine sound is identical to the one from the Kuruma.
GTA Online Overview
| Acceleration (0-60 mph in Seconds) |
Top Speed (mph / kmh) |
Gears | Engine | Drivetrain (FWD / RWD / AWD) |
Mass (kg / lbs) |
Fuel Tank Size (litres) |
|---|---|---|---|---|---|---|
| N/A | N/A | N/A | N/A | FWD | N/A | N/A |
| N/A | N/A | N/A | N/A | N/A | N/A | N/A |
| 5.281 | 106/170.59 | N/A | FF V8 (Cover) | FWD | Cannot be observed | Cannot be observed |
Modifications
Grand Theft Auto Online
| Category | Modification | Price | Image | |
|---|---|---|---|---|
| Armor | No Armor | $1,000 | ||
| Armor Upgrade 20% | $7,500 | |||
| Armor Upgrade 40% | $12,000 | |||
| Armor Upgrade 60% | $20,000 | |||
| Armor Upgrade 80% | $35,000 | |||
| Armor Upgrade 100% | $50,000 | |||
| Brakes | Stock Brakes | $1,000 | ||
| Street Brakes | $20,000 | |||
| Sport Brakes | $27,000 | |||
| Race Brakes | $35,000 | |||
| Bumpers | Front Diffusers | Stock Front Diffuser | $2,200 | |
| Stock w/ Canards | $4,600 | |||
| Racer Diffuser | $7,400 | |||
| Racer Diffuser w/ Canards | $11,700 | |||
| Sweep Diffuser | $14,500 | |||
| Carbon Sweep Diffuser | $14,700 | |||
| Primary Sweep Diffuser | $14,900 | |||
| Arc Diffuser | $15,100 | |||
| Carbon Arc Diffuser | $15,300 | |||
| Primary Arc Racer Diffuser | $15,500 | |||
| GT Diffuser | $15,700 | |||
| Carbon GT Diffuser | $15,900 | |||
| Primary GT Diffuser w/ Canards | $16,100 | |||
| Carbon Downforce Diffuser | $16,300 | |||
| Primary Downforce Diffuser | $16,500 | |||
| Rear Diffusers | Stock Rear Diffuser | $2,200 | ||
| Racer Diffuser | $4,600 | |||
| Performance Diffuser | $7,400 | |||
| Sweep Diffuser | $11,700 | |||
| GT Diffuser | $14,500 | |||
| Speed Diffuser | $14,700 | |||
| Turbo Diffuser | $14,900 | |||
| Carbon Downforce Diffuser | $15,100 | |||
| Engine | EMS Upgrade, Level 1 | $9,000 | ||
| EMS Upgrade, Level 2 | $12,500 | |||
| EMS Upgrade, Level 3 | $18,000 | |||
| EMS Upgrade, Level 4 | $33,500 | |||
| Exhausts | Stock Exhaust | $260 | ||
| Round Exhaust | $750 | |||
| Oval Exhaust | $1,800 | |||
| Round Cluster Exhaust | $3,000 | |||
| Sports Exhaust | $9,550 | |||
| Split Exhaust | $9,750 | |||
| Square Cluster Exhaust | $10,500 | |||
| Angled Square Exhaust | $12,000 | |||
| Explosives | Ignition Bomb | $5,000 | ||
| Remote Bomb | $7,500 | |||
| Grilles | Stock Grille | $200 | ||
| Top Trim Grille | $750 | |||
| Rally Grille | $1,340 | |||
| Rally w/ Top Trim Grille | $1,650 | |||
| Track Grille | $3,000 | |||
| Track w/ Top Trim Grille | $3,200 | |||
| GT Grille | $3,650 | |||
| GT w/ Top Trim Grille | $4,100 | |||
| Hoods | Stock Hood | $1,600 | ||
| Carbon Stock Hood | $3,000 | |||
| Primary Hood | $5,000 | |||
| Carbon Hood | $8,000 | |||
| Vented Hood | $9,600 | |||
| Carbon Vented Hood | $11,000 | |||
| Vented Catch Hood | $11,600 | |||
| Street Vented Hood | $12,000 | |||
| Rally Hood | $12,400 | |||
| Sports Hood | $12,400 | |||
| Dual Vented Hood | $12,500 | |||
| Performance Hood | $12,900 | |||
| Carbon Performance Hood | $13,250 | |||
| Horns | Main article: Los Santos Customs/Horns | - | ||
| Lights | Headlights | Stock Lights | $600 | |
| Xenon Lights | $7,500 | |||
| Neon Kits | Main article: Los Santos Customs/Lights | - | ||
| Livery | None | $11,400 | ||
| Red Stripes | $18,240 | |||
| Checker Stripes | $19,380 | |||
| Sugoi Stripes | $20,520 | |||
| Wave | $21,660 | |||
| Racer 23 | $22,800 | |||
| Racer 29 | $23,370 | |||
| Racer 99 | $23,939 | |||
| Jackal Racing | $24,510 | |||
| Wasabi Kitty | $25,080 | |||
| Red Warrior | $25,650 | |||
| Loss/Theft Prevention | Tracker | |||
| Full Coverage | ||||
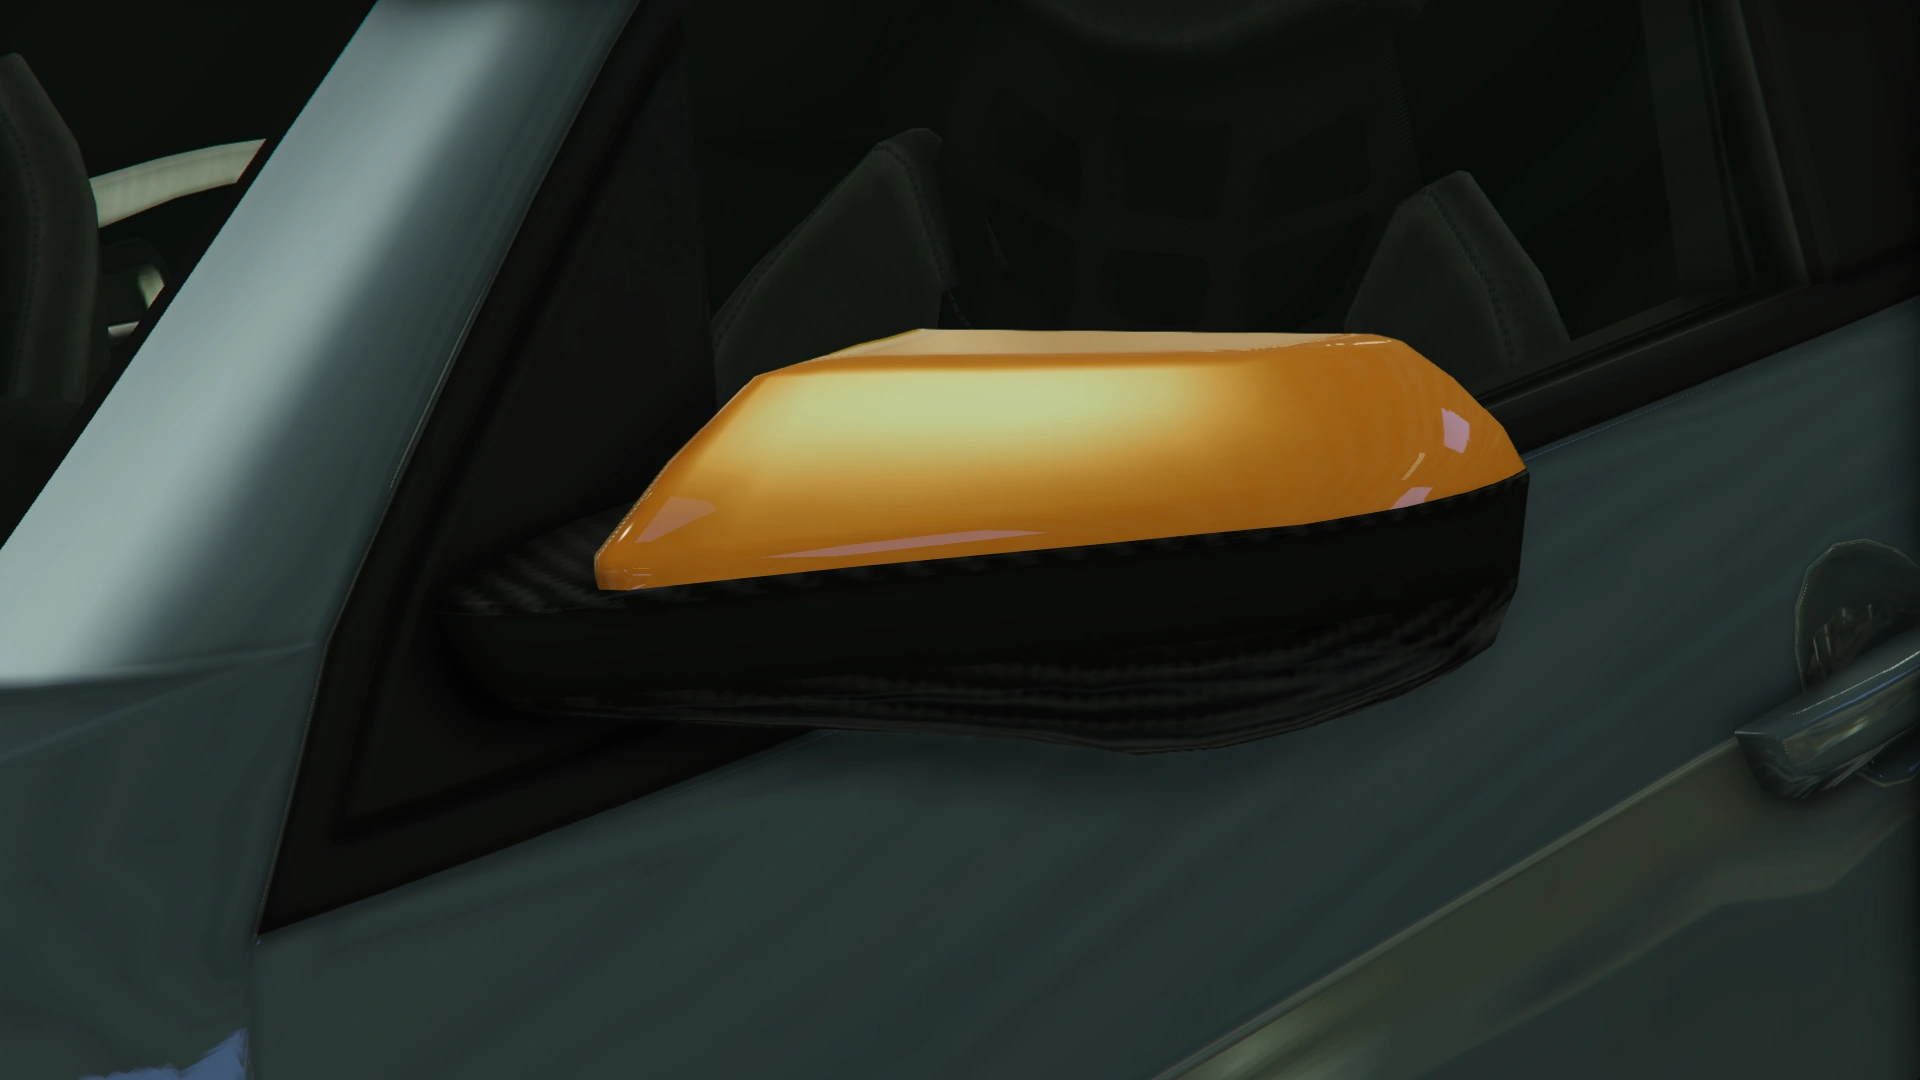
| Mirrors | Stock Mirrors | $300 | ||
| Secondary Frame | $900 | |||
| Carbon Frame | $1,500 | |||
| Primary Carbon Frame | $1,700 | |||
| Secondary Carbon Frame | $2,000 | |||
| Plates | Blue on White 1 | $200 | ||
| Blue on White 2 | $200 | |||
| Blue on White 3 | $200 | |||
| Yellow on Blue | $300 | |||
| Yellow on Black | $600 | |||
| Respray | Main article: Los Santos Customs/Respray Colors | - | ||
| Roofs | Stock Roof | $200 | ||
| Rally Scoop & Primary Fin | $700 | |||
| Track Scoop & Carbon Fin | $1,150 | |||
| Air Scoop & Carbon Antenna | $1,600 | |||
| Square Scoop & Primary Fin | $1,950 | |||
| GT Scoop & Rally Antennas | $2,400 | |||
| Sports Scoop & Rally Antennas | $2,500 | |||
| Sell | Sell Vehicle | |||
| Skirts | Stock Skirts | $2,500 | ||
| Carbon Skirt | $5,500 | |||
| Street Skirt | $8,000 | |||
| Carbon Street Skirt | $10,500 | |||
| Racer Skirt | $14,000 | |||
| Carbon Racer Skirt | $14,500 | |||
| Jet Skirt | $15,000 | |||
| Carbon Jet Skirt | $15,500 | |||
| Rally Skirt | $16,000 | |||
| Carbon Rally Skirt | $16,500 | |||
| Spoilers | None | $6,000 | ||
| Fin Tail Spoiler | $7,050 | |||
| Racer Tail Spoiler | $10,000 | |||
| Primary Street Spoiler | $13,000 | |||
| Secondary Street Spoiler | $14,000 | |||
| Carbon Street Spoiler | $16,000 | |||
| Arrow Spoiler | $16,500 | |||
| Carbon Arrow Spoiler | $17,000 | |||
| GT Spoiler | $17,500 | |||
| Carbon Track Spoiler | $18,000 | |||
| Track MK2 Spoiler | $18,500 | |||
| Carbon Drag Spoiler | $19,000 | |||
| Secondary Drag Spoiler | $19,500 | |||
| Sports Spoiler | $20,000 | |||
| Sprint Spoiler | $20,500 | |||
| Suspension | Stock Suspension | $200 | ||
| Lowered Suspension | $1,000 | |||
| Street Suspension | $2,000 | |||
| Sport Suspension | $3,400 | |||
| Competition Suspension | $4,400 | |||
| Race Suspension | $4,600 | |||
| Transmission | Stock Transmission | $1,000 | ||
| Street Transmission | $29,500 | |||
| Sports Transmission | $32,500 | |||
| Race Transmission | $40,000 | |||
| Turbo | None | $5,000 | ||
| Turbo Tuning | $50,000 | |||
| Wheels | Main article: Los Santos Customs/Wheels | - | ||
| Windows | None | $500 | ||
| Light Smoke | $1,500 | |||
| Dark Smoke | $3,500 | |||
| Limo | $5,000 | |||


Image Gallery
Grand Theft Auto Online
- General
")
")
")
")
- Official Screenshots
")
")
")
")
")
Video

Special Variants
GTA Online: The Diamond Casino Heist
- Two pre-modified variants of the Sugoi can be chosen as getaway vehicles to steal for The Diamond Casino Heist. They are one of the four sets of vehicles driver Taliana Martinez randomly allocates for the player.
| File | Color Set | Window Tint? | Livery? | Mod Kit | |||||||||||||||||||||||||||||||||||||||||||||||||||||||||||||
|---|---|---|---|---|---|---|---|---|---|---|---|---|---|---|---|---|---|---|---|---|---|---|---|---|---|---|---|---|---|---|---|---|---|---|---|---|---|---|---|---|---|---|---|---|---|---|---|---|---|---|---|---|---|---|---|---|---|---|---|---|---|---|---|---|---|
|
Limo | See Modkit |
| ||||||||||||||||||||||||||||||||||||||||||||||||||||||||||||||
| File | Color Set | Window Tint? | Livery? | Mod Kit | |||||||||||||||||||||||||||||||||||||||||||||||||||||||||
|---|---|---|---|---|---|---|---|---|---|---|---|---|---|---|---|---|---|---|---|---|---|---|---|---|---|---|---|---|---|---|---|---|---|---|---|---|---|---|---|---|---|---|---|---|---|---|---|---|---|---|---|---|---|---|---|---|---|---|---|---|---|
|
No | See Modkit |
| ||||||||||||||||||||||||||||||||||||||||||||||||||||||||||
")
")
Prominent Appearances in Missions
Grand Theft Auto Online
- Should the player employ Taliana Martinez as the driver for The Diamond Casino Heist, she may request the player to steal two Sugois as getaway vehicles.
Locations
Grand Theft Auto Online
- Available for purchase from Southern San Andreas Super Autos for $1,224,000 or for $918,000 after completing The Diamond Casino Heist as the Heist Leader and using the Sugoi as a getaway vehicle.
Trivia
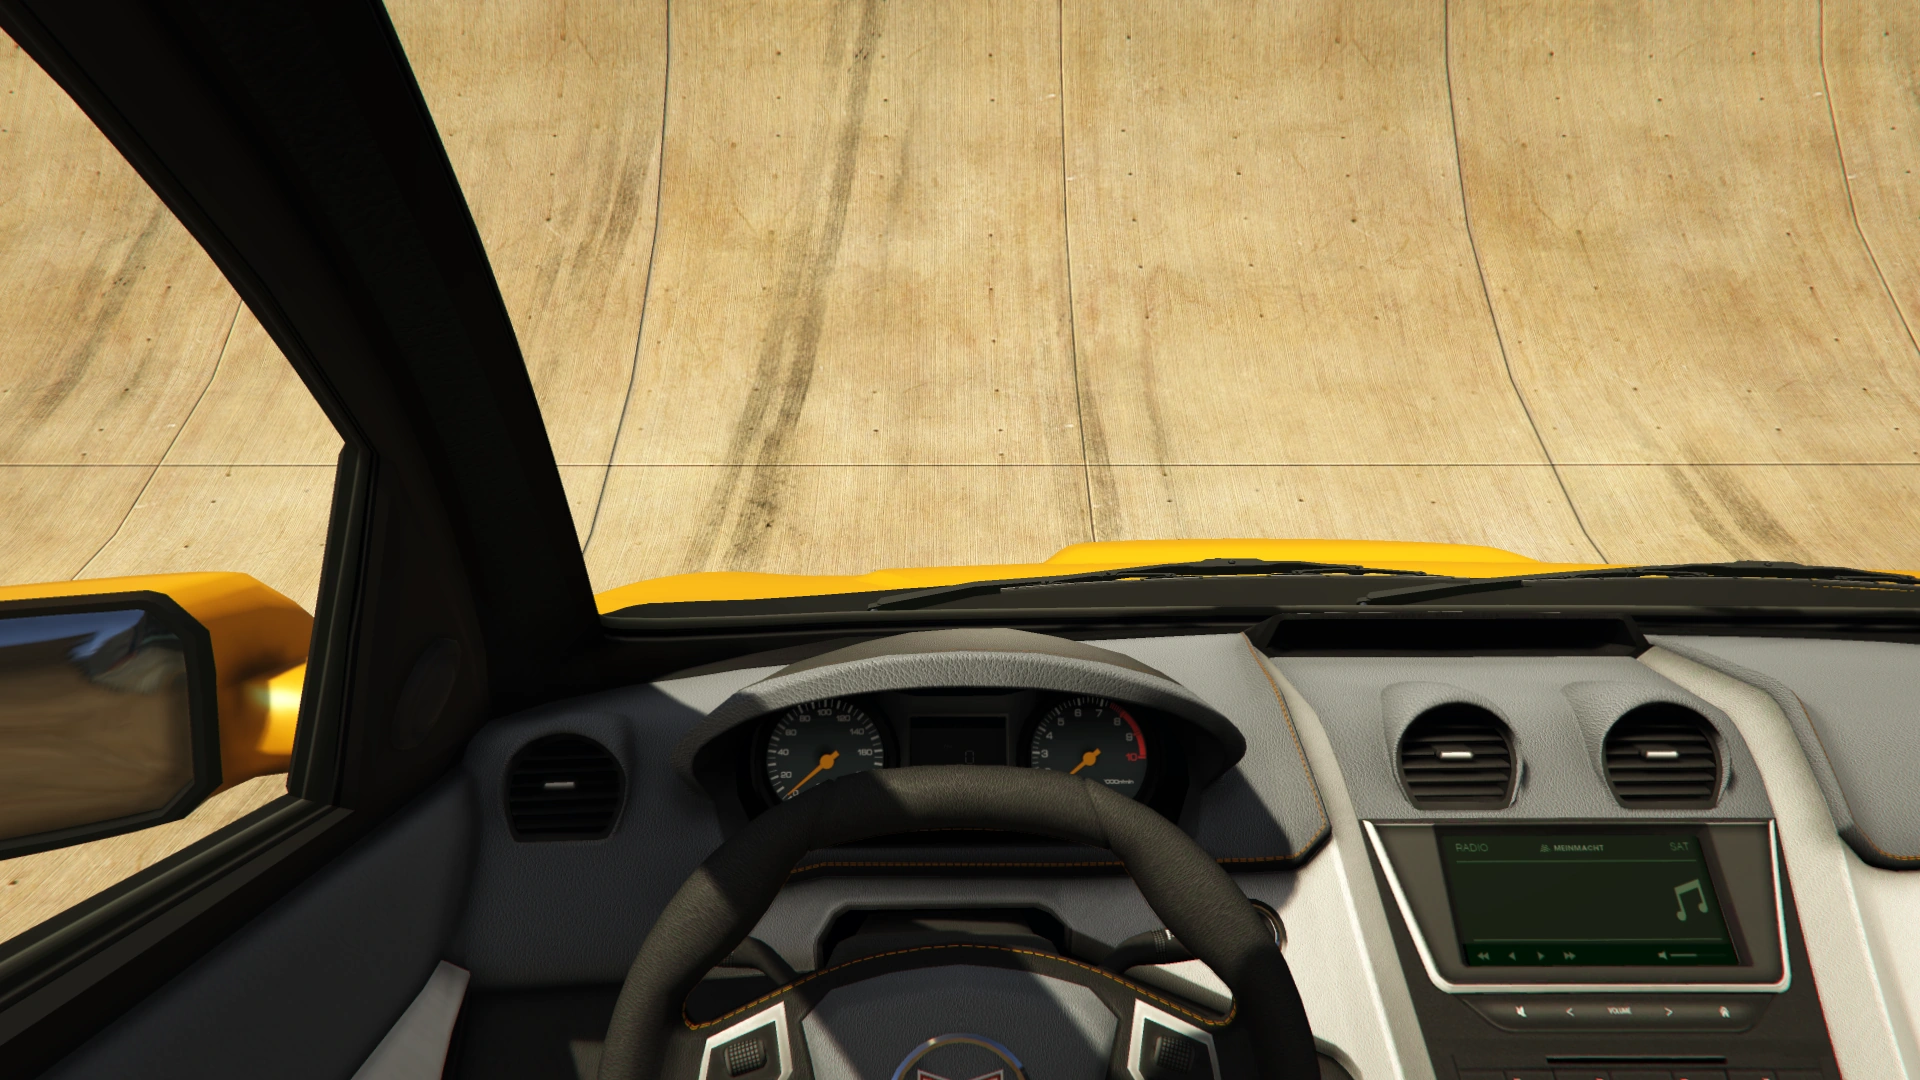
- The default radio stations for the Sugoi are FlyLo FM, Los Santos Underground Radio, and Soulwax FM.
- There is a discrepancy between the top speed shown on the analog and digital speedometers, with the digital speedometer showing the car reaching approximately 106 MPH while the analog speedometer shows that it reaches about 120 MPH.
See Also
- Blista – A compact 2-door hatchback with similar shape.
- Surge – A compact sedan with similar design and also borrows inspiration from the Chevrolet Volt.
References
- ↑ Script Data:
case 0: Var2.f_66 = joaat("Sugoi"); StringCopy(&(Var2.f_1), "01SRP848", 16); Var2.f_5 = 112; Var2.f_6 = 12; Var2.f_7 = 0; Var2.f_8 = 156; Var2.f_97 = 1; Var2.f_99 = 132; Var2.f_98 = 0; Var2.f_65 = 1; Var2.f_69 = 7; Var2.f_62 = 255; Var2.f_63 = 255; Var2.f_64 = 255; Var2.f_74 = 255; Var2.f_76 = 255; Var2.f_9[0] = 6; Var2.f_9[1] = 9; Var2.f_9[2] = 5; Var2.f_9[3] = 2; Var2.f_9[6] = 7; Var2.f_9[7] = 8; Var2.f_9[8] = 4; Var2.f_9[10] = 3; Var2.f_9[23] = 22; Var2.f_9[48] = 4; Var2.f_59[0] = 1; break; - ↑ Script Data:
				case 1:
					Var2.f_66 = joaat("Sugoi");
					StringCopy(&(Var2.f_1), "28OKO870", 16);
					Var2 = 1;
					Var2.f_5 = 74;
					Var2.f_6 = 74;
					Var2.f_7 = 74;
					Var2.f_8 = 122;
					Var2.f_97 = 1;
					Var2.f_99 = 132;
					Var2.f_98 = 0;
					Var2.f_69 = 5;
					Var2.f_62 = 255;
					Var2.f_63 = 255;
					Var2.f_64 = 255;
					Var2.f_74 = 255;
					Var2.f_76 = 255;
					Var2.f_9[0] = 3;
					Var2.f_9[1] = 9;
					Var2.f_9[2] = 6;
					Var2.f_9[3] = 7;
					Var2.f_9[6] = 5;
					Var2.f_9[7] = 11;
					Var2.f_9[10] = 4;
					Var2.f_9[22] = 1;
					Var2.f_9[23] = 9;
					Var2.f_9[48] = 8;
					Var2.f_59[0] = 1;
					break;