(No links allowed in quotes) |
No edit summary |
||
| (26 intermediate revisions by 18 users not shown) | |||
| Line 1: | Line 1: | ||
| + | {{DISPLAYTITLE: Rigged to Blow}} |
||
| + | |||
{{infobox mission |
{{infobox mission |
||
|name = Rigged To Blow |
|name = Rigged To Blow |
||
| − | |image = |
+ | |image = RiggedToBlow-GTAIII-Intro.png |
|game = III |
|game = III |
||
| − | |for = [[D-Ice]] |
+ | |for = [[File:Radar-DiceIcon-GTAIII.png|24px|link=D-Ice]] [[D-Ice]] |
| − | |location = [[Wichita Gardens]], [[Shoreside Vale]] |
+ | |location = [[Wichita Gardens]], [[Shoreside Vale]], [[Liberty City (3D Universe)|Liberty City]] |
| − | |fail = [[Wasted]]<br>[[Busted]]<br>[[Infernus]] destroyed |
+ | |fail = [[Wasted]]<br>[[Busted]]<br>[[Infernus]] destroyed<br>Infernus flipped upside down |
| − | |reward = [[Money|$20,000 |
+ | |reward = [[Money|$]]20,000 |
|unlocks = [[Bullion Run]] |
|unlocks = [[Bullion Run]] |
||
|unlockedby = [[Toyminator]] |
|unlockedby = [[Toyminator]] |
||
| + | |todo = |
||
| + | {{BP}}'''''<span style="color:#578665">Get to the garage but watch out if the car takes too much damage it will blow!</span>''''' |
||
| + | {{BP}}'''''<span style="color:#578665">Get the car repaired!</span>''''' |
||
| + | {{BP}}'''''<span style="color:#578665">Take the car back it has to be in perfect condition - no damage!</span>''''' |
||
| + | {{BP}}'''''<span style="color:#578665">Get out of the vehicle!</span>''''' |
||
}} |
}} |
||
| ⚫ | |||
| − | |||
| ⚫ | |||
| − | |||
{{Quote|Some effa bass wired my wheels to blow. If I lose those wheels, my rep on the street will be dead. Pick up my car and take it to the garage on Saint Mark's. Let them diffuse that. Let them take care of that bomb. The clock's ticking and the wiring is messed up. One pot hole too many and that thing could blow. Now move it!|[[D-Ice]]}} |
{{Quote|Some effa bass wired my wheels to blow. If I lose those wheels, my rep on the street will be dead. Pick up my car and take it to the garage on Saint Mark's. Let them diffuse that. Let them take care of that bomb. The clock's ticking and the wiring is messed up. One pot hole too many and that thing could blow. Now move it!|[[D-Ice]]}} |
||
| − | '''Rigged to Blow''' is a mission in [[Grand Theft Auto III]] given to [[protagonist]] [[Claude]] by [[Southside Hoods|Red Jacks]] leader [[D-Ice]] from a public phone booth in the [[Wichita Gardens]] district of [[Shoreside Vale]], [[Liberty City (3D Universe)|Liberty City]] |
+ | '''Rigged to Blow''' is a mission in ''[[Grand Theft Auto III]]'' given to [[protagonist]] [[Claude]] by [[Southside Hoods|Red Jacks]] leader [[D-Ice]] from a public phone booth in the [[Wichita Gardens]] district of [[Shoreside Vale]], [[Liberty City (3D Universe)|Liberty City]]. |
| + | |||
| + | If the player has completed [[Rumble]] prior, this mission becomes the only repeatable mission the player will receive from D-Ice. It is one of 3 missions repeatable in this game. |
||
==Mission== |
==Mission== |
||
| − | D-Ice's [[Infernus]] is rigged with a timed explosive. He instructs Claude to drive the car to a garage in [[Saint Mark's]], [[Portland Island]] to defuse the bomb. The bomb is sensitive, so too much damage to the car will detonate the bomb. After the bomb has been |
+ | D-Ice's [[Infernus]] is rigged with a timed explosive. He instructs Claude to drive the car to a garage in [[Saint Mark's]], [[Portland Island]] to defuse the bomb. The bomb is sensitive, so too much damage to the car will detonate the bomb. After the bomb has been defused, the car is returned in perfect condition to the original parking spot. |
| − | ==Mission |
+ | ==Mission Objectives== |
In order to complete the mission the player must: |
In order to complete the mission the player must: |
||
| − | *Get in D-Ice's car |
+ | *Get in D-Ice's car. |
| − | *Get to the garage but watch out if the car takes too much damage it will blow |
+ | *Get to the garage but watch out if the car takes too much damage it will blow. |
| − | *Take the car back it has to be in perfect condition - no damage |
+ | *Take the car back it has to be in perfect condition - no damage. |
| − | *Get out of the vehicle |
+ | *Get out of the vehicle. |
==Reward== |
==Reward== |
||
| − | The reward for completing the mission is |
+ | The reward for completing the mission is $20,000. Completing the mission for the first time unlocks [[Bullion Run]]. |
| + | |||
| + | ==Gallery== |
||
| − | == |
+ | ===Walkthrough=== |
| + | <gallery position="center" hideaddbutton="true" spacing="small" widths="270px" bordersize="small"> |
||
| − | *While playing this mission, all of the gangs in the game are set to be neutral against Claude, which includes [[Leone Family]] and the [[Colombian Cartel]]. This may have been done in order to give the player a fair chance as the Infernus is fragile and can blow up after a few bullets or bumps. |
||
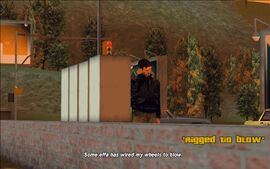
| + | RiggedToBlow-GTAIII-SS1.jpg|[[Claude]] picks up the ringing payphone in [[Wichita Gardens]] and is told by [[D-Ice]] that someone rigged his [[Infernus|car]] with a bomb. |
||
| − | *Similar to [[Turismo (mission)|Turismo]] and [[Bling-Bling Scramble]], this mission can always be repeated once all of D-Ice's missions are completed. The reason for this is most likely to give the player an opportunity to explore Liberty City without worrying about hostile gangs late in the game. |
||
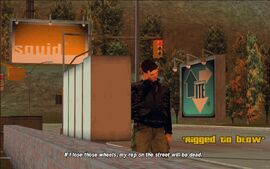
| + | RiggedToBlow-GTAIII-SS2.jpg|D-Ice says that losing the car would damage his reputation in the streets. |
||
| − | *[[Staunton Island]] doesn't need to be accessed in this mission making this the only mission that doesn't require the player to access Staunton Island to get from [[Shoreside Vale]] to [[Portland Island|Portland]] (although the player has the option to venture through Staunton Island). |
||
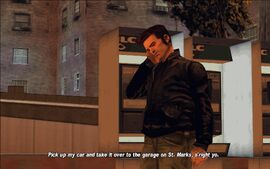
| + | RiggedToBlow-GTAIII-SS3.jpg|D-Ice tells Claude to take the car and drive it to a garage in [[Saint Mark's]], where the bomb would get disarmed. |
||
| − | *If the player damages the Infernus he has to repair it, though he won't be able to do that using of [[Safehouses in GTA III|his safehouses]]' garages (he may park the vehicle inside the garage, but the car will remain damaged). |
||
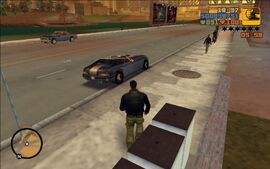
| + | RiggedToBlow-GTAIII-SS4.jpg|Before Claude goes, D-Ice tells him to be careful - the slightest bump could set the bomb off. |
||
| − | *Another mission called [[Rigged to Blow (GTA IV)|Rigged To Blow]] appears in [[Grand Theft Auto IV]], given to [[Niko Bellic]] by [[Mikhail Faustin]]. |
||
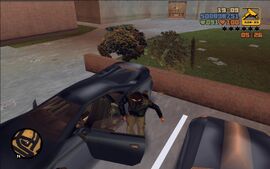
| + | RiggedToBlow-GTAIII-SS5.jpg|Claude running back to his vehicle. |
||
| + | RiggedToBlow-GTAIII-SS6.jpg|Claude taking D-Ice's Infernus. |
||
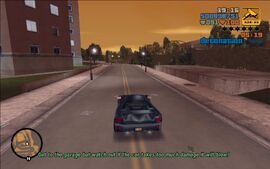
| + | RiggedToBlow-GTAIII-SS7.jpg|Claude is reminded not to damage the car too much, or else it will blow up and take him with it. |
||
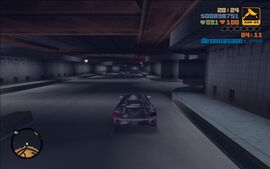
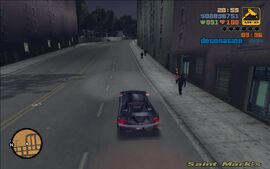
| + | RiggedToBlow-GTAIII-SS8.jpg|Claude, about to enter the [[Porter Tunnel]]. |
||
| + | RiggedToBlow-GTAIII-SS9.jpg|Claude on his way to Saint Mark's in [[Portland]]. |
||
| + | RiggedToBlow-GTAIII-SS10.jpg|Claude emerging from the tunnel. |
||
| + | RiggedToBlow-GTAIII-SS11.jpg|Claude making his way to the garage in Saint Mark's. |
||
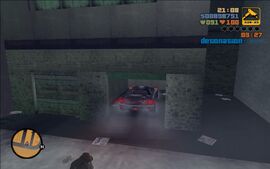
| + | RiggedToBlow-GTAIII-SS12.jpg|Claude parking the car in the garage. |
||
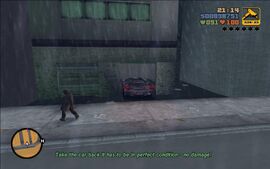
| + | RiggedToBlow-GTAIII-SS13.jpg|After the bomb has been defused, Claude has to take it back in mint condition. |
||
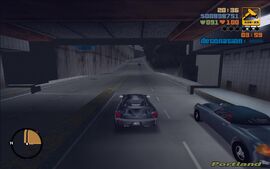
| + | RiggedToBlow-GTAIII-SS14.jpg|Claude going back to Wichita Gardens. |
||
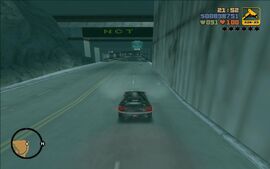
| + | RiggedToBlow-GTAIII-SS15.jpg|Claude emerging from the other side of the tunnel. |
||
| + | RiggedToBlow-GTAIII-SS16.jpg|Claude arriving back at the car lot. |
||
| + | RiggedToBlow-GTAIII-SS17.jpg|Claude parking the Infernus where D-Ice left it. |
||
| + | RiggedToBlow-GTAIII-SS18.jpg|Mission passed. |
||
| + | </gallery> |
||
| − | ==Video |
+ | ==Video Walkthroughs== |
<center> |
<center> |
||
| Line 51: | Line 75: | ||
</center> |
</center> |
||
| + | ==Navigation== |
||
| ⚫ | |||
| + | {{Navboxes |
||
| + | |title= Navigation |
||
| + | |list1= |
||
| + | {{GTA|state=collapsed}} |
||
| + | {{Gtaiii missions|state=collapsed}} |
||
| ⚫ | |||
| + | [[pl:Zdążyć przed wybuchem]] |
||
[[Category:Missions]] |
[[Category:Missions]] |
||
[[Category:Missions in GTA III]] |
[[Category:Missions in GTA III]] |
||
Revision as of 07:02, 10 February 2020
For the mission with the same name in Grand Theft Auto IV, see Rigged to Blow (GTA IV).
Rigged to Blow is a mission in Grand Theft Auto III given to protagonist Claude by Red Jacks leader D-Ice from a public phone booth in the Wichita Gardens district of Shoreside Vale, Liberty City.
If the player has completed Rumble prior, this mission becomes the only repeatable mission the player will receive from D-Ice. It is one of 3 missions repeatable in this game.
Mission
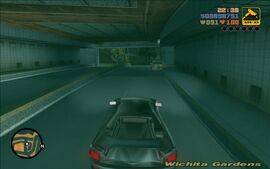
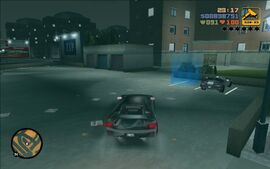
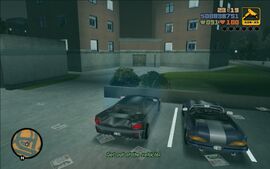
D-Ice's Infernus is rigged with a timed explosive. He instructs Claude to drive the car to a garage in Saint Mark's, Portland Island to defuse the bomb. The bomb is sensitive, so too much damage to the car will detonate the bomb. After the bomb has been defused, the car is returned in perfect condition to the original parking spot.
Mission Objectives
In order to complete the mission the player must:
- Get in D-Ice's car.
- Get to the garage but watch out if the car takes too much damage it will blow.
- Take the car back it has to be in perfect condition - no damage.
- Get out of the vehicle.
Reward
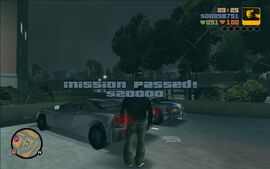
The reward for completing the mission is $20,000. Completing the mission for the first time unlocks Bullion Run.
Gallery
Walkthrough
Video Walkthroughs
| iPad Version |
|---|

|
| PC Version |

|

