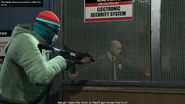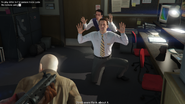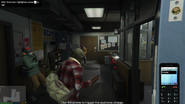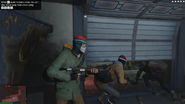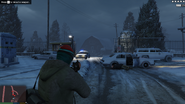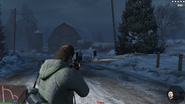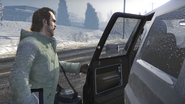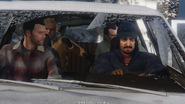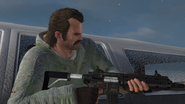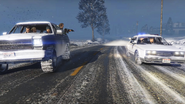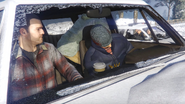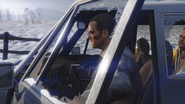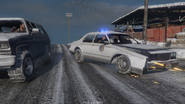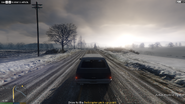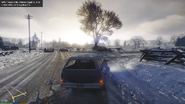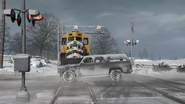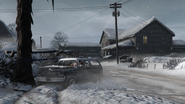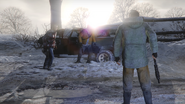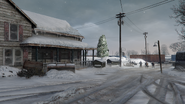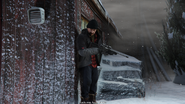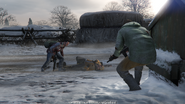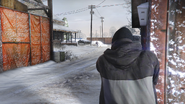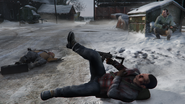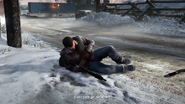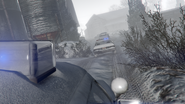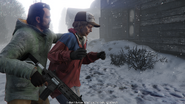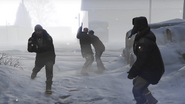
Prologue is the first mission in Grand Theft Auto V, involving Michael Townley and Trevor Philips. It is set in 2004 in the town of Ludendorff, North Yankton.
Description
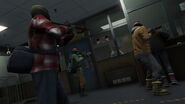
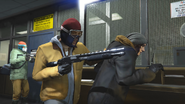
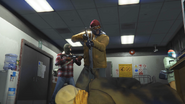
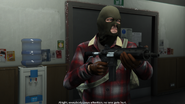
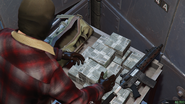
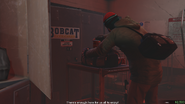
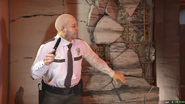
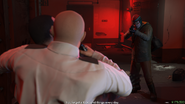
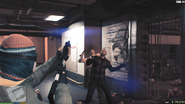
In 2004, Michael Townley, Trevor Philips and Brad Snider rob a Bobcat Security cash storage facility in Ludendorff. After locking several hostages in a room, Trevor wires an explosive to the vault doors, and Michael detonates them via his phone. Michael and Trevor enter the vault and steal just under $180,000. As the crew make their escape, Michael is held at gunpoint by a security guard, who also removes the mask from his head. Michael advises the guard to forget what he saw and leave, but Trevor shoots him in the head.
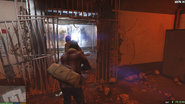
The trio blow open another door and leave the building, but are already swarmed by the local law enforcement. A massive gunfight erupts, forcing the crew to fend off the oncoming police before making their escape. The crew reach their getaway vehicle and are driven away, but they are pursued by more police vehicles, and their hired getaway driver is shot in the head. Michael pushes his body out of the door and grabs the wheel, crashing one of their pursuer's car into a roadside tree. The crew continues their journey towards the helicopter awaiting for them, but are forced to divert their course after encountering a police roadblock. They then speed over the train tracks, but aren't quick enough and the rear end of the vehicle is hit by an oncoming train, causing them to lose control and spin out into a nearby tree. The trio survive, and Trevor suggests an alternative route to the getaway chopper, but Michael insists that they stick to the original plan.
The crew then continues on foot through the town, but realize the chopper is nowhere to be seen. Meanwhile, Agent Dave Norton, hiding around a corner, shoots Brad with a Sniper Rifle, killing him. Dave fires again, this time at Michael, who falls to the ground. He behaves as if he is injured, though he is pretending and has no visible injuries. Trevor is forced to take out the oncoming police officers alone, refusing to abandon his crew, but Michael persuades Trevor to go on without him. After briefly taking a nearby woman hostage, Trevor escapes into the snowy fields while still being pursued by armed police.
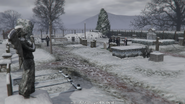
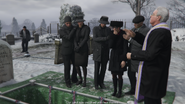
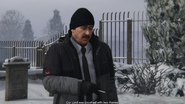
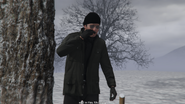
Some time later, at a local cemetery, a funeral for Michael Townley is held. Dave Norton, the agent who "shot" him, supervises the proceedings, whilst Michael himself observes from a distance and flicks away his cigarette.
The next mission, Franklin and Lamar, will automatically begin after the introductory theme.
Walkthrough
- Go to the guard.
After the beginning cutscene, Trevor kicks the door open and the player gains control of Michael. The player has to go to the guard which will trigger the next cutscene.
To prevent unnecessary ragdoll, the player is unable to jump at this point of the mission. If the player takes too long to approach the guard, Trevor and Brad will make continuous insults towards Michael, claiming they're losing time. Despite this, the mission will not fail, regardless of how long they take or wait. From this point on, killing any of the hostages will, however, fail the mission.
- Aim at the hostages to make them move.
After the cutscene, Trevor leaves to plant the bomb and the player has to aim at hostages to make them walk to a locked room. Killing any hostage will fail the mission. If the player takes no action, Trevor will return commenting on the lack of action and Brad will make the hostages get up and walk to a locked room himself.
Michael is unable to move during this sequence, and is only able to aim and shoot with his weapon. He can selectively pick which of the hostages enter the closet first, pointing the selected weapon at the individual hostages will result in each of them independently entering the closet. If the player leaves any behind and waits, Brad will force them to go in. The player is still able to shoot the hostages dead, which will fail the mission.
After forcing them into the room, Michael is able to move around again and also able to jump.
- Use the phone to trigger the explosive charge.
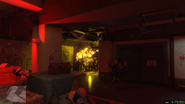
When all hostages are locked away, Trevor returns and will tell Michael to detonate the bomb. The player has to take out the cellphone and dial a "Detonate" contact. After dialing "Detonate" a cutscene will show the vault door being blown open.
Michael's position after the detonation will be fixed to the back of the door, regardless of where the player operated the phone.
- Collect the cash.
The player has to walk to the vault and pick up the cash when the cutscene ends. The cash is on a trolley in far corner of the room. Cash on the ground is worth $500, totaling to $2,500, and picking it up is optional.
- Take out the guard.
Once the cash is collected, Michael is taken hostage by a security guard during a brief cutscene. The player has to switch to Trevor and kill the guard. If the player takes no action or shoots the guard anywhere other than the head, Michael will die, failing the mission.
- Get to cover.
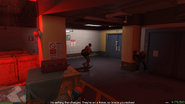
Once the guard is taken care of, the crew will proceed further to the exit. The player needs to take cover so that Brad will plant the explosive charges on the door.
- Open the shutter door.
After the door is blown up, the next task is to open the shutter door. Walking near the switch will make the player lose control of Trevor who hits the shutter switch automatically, and as such no interaction is necessary. The player receives five wanted stars and has to fight through waves of North Yankton State Patrol officers. First wave consists of two Police Roadcruisers, one Police Rancher, and three on-foot officers. Each vehicle contains two officers.
- Return to the crew.
This objective only appears if the player attempts to abandon the crew at any time from the beginning of the shootout up until entering the getaway vehicle. Mission will fail if the player does not return to the crew on time or continues to walk further away from the crew.
- Escape the Cops.
Once the player clears the first wave, the player has to leave the lot and move forward. A Police Rancher pulls up with two officers. Then two more Police Roadcruisers pull up, also with two officers, and the player has to kill them.
- Get to the car.
Once the second wave is cleared the player has to go to the getaway car. Yet another Police Roadcruiser pulls up with officers that the player has to kill. The player has to go to the getaway vehicle and enter it. Once the player is near the getaway car, two more Police Roadcruisers arrive, forming a roadblock, though the officers are not required to be killed by the player and usually Brad or Michael or Trevor deal with them if the player doesn't.
- Wait for the crew.
This objective only appears if the player does not take out the final two officers and goes directly to the getaway vehicle. The player will be able to enter the getaway car once there are no more police officers alive.
- Drive to the helicopter pick up point.
After the cutscene, Michael gets control of the getaway car and has to drive forwards to the helicopter pick up point. The player is clear of any wanted level, but if the player hits oncoming Police Roadcruisers the wanted level will be reinstated. Wanted level will, either way, be reinstated at the roadblock further down the road. The player only has to follow the GPS route on the minimap. After tuning right, halfway towards the marker, a cutscene will trigger where the car gets hit by a train and Michael and Brad get shot. Turning back, going off route or getting the car stuck will fail the mission.
- Get back in the car.
This objective only appears if the player decides to leave the getaway car. Regardless of the distance, the player will fail the mission after ten seconds of being outside the car.
- Hold off the Cops.
When the cutscene is over the player can fight off the cops as Trevor. The player can fight off the officers up to a point there's too much of them, or exit the cover and run. Regardless, the final cutscene will play and the next mission will immediately begin.
This mission will fail at any point if the player dies, kills the crew or hostages, abandons the crew, the route, or the car, makes the car undriveable, runs out of ammo, or if the cops kill Michael, Trevor or Brad before the end of the mission. It is not possible to get Busted during the mission. The player will also be allowed to enter and play Grand Theft Auto Online.
Deaths
- Jaspers – Killed by Trevor Philips for brandishing a gun at Michael and for unmasking him.
- Unknown hired driver – Killed by the police during the chase.
- Brad Snider – Killed by Dave Norton while attempting to escape after a robbery.
- Many unidentified North Yankton police officers.
Soundtrack
Main articles: Grand Theft Auto V Official Score, The Music of Grand Theft Auto V, and North Yankton Memories
The soundtrack that plays during Prologue is named "Vacuum", also named "North Yankton Memories" on The Music of Grand Theft Auto V "The Score". This specific soundtrack is a slightly different variation of the regular Vacuum OST as it has a different intro fade-in, which fits in with the introduction of the mission. The soundtrack is also heard, albeit with several different stems from other soundtracks, at the beginning of the Grand Theft Auto V Official Gameplay Trailer. This soundtrack has arguably become one of the game's most influential themes given its first appearance.
Gallery
Trailers
- Screenshots retrieved from GTA V Trailers.
In-Game
Video Walkthroughs
Trivia
- This is, chronologically, the first mission in the HD Universe, taking place four years before the events of Grand Theft Auto IV. The mission is set in either early January (i.e. before Twelfth Night) or late December 2004, due to a Christmas tree being visible in the window of the house where the final shootout takes place, and Christmas decorations in the bank's foyer.
- An early version of this mission can be seen in the second trailer. In it, the team wore slightly different outfits.
- Due to this mission being set nine years before the main storyline, Michael's and Trevor's appearances are considerably different. Trevor has a mullet and moustache, as opposed to his receding hair in 2013. Michael has fewer wrinkles on his face and a shorter, buzz cut-style haircut.
- If Michael or Trevor are killed during the mission, the Mission Failed text will read either "M died" or "T died".
- Michael and Trevor can't use their special abilities in this mission.
- Michael and Trevor's outfits from the Prologue can be worn after GTA V is complete.
- The wanted level in this mission does not add time to the wanted level-focused stats (Last Wanted Level duration, Longest Wanted Level duration, and Time spent with a five-star Wanted Level) for Michael and Trevor.
- A dead security guard with a gunshot wound in his head can be found outside the building.
- In the original version of the game, Dave Norton wears sunglasses whilst supervising the funeral. In the enhanced version, he wears a beanie hat instead.
- The jacket Michael wears during the funeral can be worn if one owns the Special/Collector's edition, or the Enhanced Edition.
- There is an unused part of the mission involving the torching of the bank's servers. An unused voice line of Brad's can be found saying, "Hey. Hey, we gotta torch the servers. Come on." A server room can also be found using hacks to teleport through walls.


