Noirlime4L (talk | contribs) mNo edit summary |
Tag: Visual edit |
||
| (25 intermediate revisions by 13 users not shown) | |||
| Line 1: | Line 1: | ||
{{Next-Gen}} |
{{Next-Gen}} |
||
| − | {{Under Construction}} |
||
{{Infobox vehicles |
{{Infobox vehicles |
||
|front_image = Menacer-GTAO-front.png |
|front_image = Menacer-GTAO-front.png |
||
|rear_image = Menacer-GTAO-rear.png |
|rear_image = Menacer-GTAO-rear.png |
||
|caption = A '''Menacer''' in ''[[Grand Theft Auto Online]]''. |
|caption = A '''Menacer''' in ''[[Grand Theft Auto Online]]''. |
||
| − | |vehicle_class = |
+ | |vehicle_class = Off-Road |
| + | |vehicle_type = Civilian vehicle<ref>Based on a custom-modified truck, the Menacer is not used as a military-personnel vehicle yet.</ref> |
||
| − | |vehicle_type = |
||
|body_style = 4-door armored truck |
|body_style = 4-door armored truck |
||
| − | |capacity = 5 <small>(driver, |
+ | |capacity = 5 <small>(driver, three passengers, one gunner)</small> |
| − | |appearances = ''[[Grand Theft Auto Online]]'' {{DLC|GTA Online: After Hours |
+ | |appearances = ''[[Grand Theft Auto Online]]'' {{DLC|GTA Online: After Hours}} {{NG}} |
|manufacturer = [[HVY]] |
|manufacturer = [[HVY]] |
||
| − | |related = [[Insurgent Pick-Up]] |
+ | |related = [[Insurgent Pick-Up]]<br>[[Insurgent Pick-Up Custom]]<br>[[Nightshark]]<br>[[Barrage]]<br>[[FBI Truck]] |
| − | |price = [[$]]1,775,000 |
+ | |price = [[Money|$]]1,775,000 <small>([[Warstock Cache & Carry]])</small> |
|makeyear = |
|makeyear = |
||
| − | |swankness = |
+ | |swankness = 1/5 |
| + | |dashtype = Truck Digital <small>(needle)</small> [[File:TruckDigital-Dials-GTAV.png|thumb|center|170px]]<br>Van Digital <small>(dial texture)</small> [[File:VanDigital-GTAV-DialSet.png|thumb|center|170px]] |
||
| − | |dashtype = |
||
| − | |inttxd = |
+ | |inttxd = Van Digital |
|carcols = |
|carcols = |
||
| + | {{Expand|| |
||
| − | |wheeltype = |
||
| + | {{CarColV/Title|extended=y}} |
||
| + | {{CarColV|extended=y|no=1|121|2|5|111|111|134}} |
||
| + | {{CarColV|extended=y|no=2|1|7|14|156|0|134}} |
||
| + | {{CarColV|extended=y|no=3|98|21|14|1|0|134}} |
||
| + | {{CarColV|extended=y|no=4|107|27|67|111|0|134}}<br> |
||
| + | }} |
||
| + | |wheeltype = SUV |
||
|flags = |
|flags = |
||
| + | {{Expand|Menacer| |
||
| − | |modelname = |
||
| + | {{Flags|FLAG_AVERAGE_CAR}}<br> |
||
| − | |handlingname = |
||
| + | {{Flags|FLAG_POOR_CAR}}<br> |
||
| − | |textlabelname = |
||
| + | {{Flags|FLAG_IS_OFFROAD_VEHICLE}}<br> |
||
| + | {{Flags|FLAG_HEADLIGHTS_USE_ACTUAL_BONE_POS}}<br> |
||
| + | {{Flags|FLAG_IS_BULKY}}<br> |
||
| + | {{Flags|FLAG_HAS_TURRET_SEAT_ON_VEHICLE}}<br> |
||
| + | {{Flags|FLAG_CONSIDERED_FOR_VEHICLE_ENTRY_WHEN_STOOD_ON}}<br> |
||
| + | {{Flags|FLAG_EXTRAS_ONLY_BREAK_WHEN_DESTROYED}}<br> |
||
| + | {{Flags|FLAG_PREFER_ENTER_TURRET_AFTER_DRIVER}}<br> |
||
| + | {{Flags|FLAG_HAS_DIRECTIONAL_SHUFFLES}}<br> |
||
| + | {{Flags|FLAG_USE_SMALLER_OPEN_DOOR_RATIO_TOLERANCE}}<br> |
||
| + | {{Flags|FLAG_DONT_STOP_WHEN_GOING_TO_CLIMB_UP_POINT}}<br> |
||
| + | {{Flags|FLAG_DISABLE_BUSTING}}<br> |
||
| + | {{Flags|FLAG_DONT_LINK_BOOT2}}<br> |
||
| + | {{Flags|FLAG_USE_AIRCRAFT_STYLE_WEAPON_TARGETING}}<br> |
||
| + | }} |
||
| + | {{Expand|Machine Gun| |
||
| + | {{Flags|Gun}}<br> |
||
| + | {{Flags|UsableOnFoot}}<br> |
||
| + | {{Flags|ForceEjectShellAfterFiring}}<br> |
||
| + | {{Flags|Turret}}<br> |
||
| + | {{Flags|StaticReticulePosition}}<br> |
||
| + | {{Flags|ApplyVehicleDamageToEngine}}<br> |
||
| + | {{Flags|Vehicle}}<br> |
||
| + | }} |
||
| + | {{Expand|Minigun| |
||
| + | {{Flags|Automatic}}<br> |
||
| + | {{Flags|Gun}}<br> |
||
| + | {{Flags|UsableOnFoot}}<br> |
||
| + | {{Flags|Vehicle}}<br> |
||
| + | {{Flags|ForceEjectShellAfterFiring}}<br> |
||
| + | {{Flags|StaticReticulePosition}}<br> |
||
| + | {{Flags|CanBlowUpVehicleAtZeroBodyHealth}}<br> |
||
| + | {{Flags|Turret}}<br> |
||
| + | {{Flags|DisableAimAngleChecksForReticule}}<br> |
||
| + | {{Flags|SkipVehiclePetrolTankDamage}}<br> |
||
| + | }} |
||
| + | |modelname = menacer |
||
| + | |handlingname = MENACER |
||
| + | |textlabelname = MENACER |
||
|roadspawn = No |
|roadspawn = No |
||
| − | |roadspawnmaxcol = |
+ | |roadspawnmaxcol = 10 |
| − | |roadspawnfreq = |
+ | |roadspawnfreq = 30 |
|roadspawntrailer = <!--null--> |
|roadspawntrailer = <!--null--> |
||
| − | |roadspawnidendis = |
+ | |roadspawnidendis = 20 |
|roadspawndrivers = <!--null--> |
|roadspawndrivers = <!--null--> |
||
|roadspawngroups = <!--null--> |
|roadspawngroups = <!--null--> |
||
| − | |roadspawnlicense = |
+ | |roadspawnlicense = Standard White - 100% |
|engineacceleration = |
|engineacceleration = |
||
|exhaustacceleration = |
|exhaustacceleration = |
||
| Line 38: | Line 82: | ||
|genpreced = |
|genpreced = |
||
}} |
}} |
||
| − | {{ |
+ | {{Quote|The tools may change, but the good old-fashioned thrill of the hunt stays the same. Your pioneer forebears were marksmen: you drive the HVY Menacer. They could strip their rifle blindfolded: you can pay your mechanic to fit a rear-mounted minigun. They could fell game with a single shot: you can cut through crowds of peaceful protesters like a hot knife through butter. Now, get out there and make them proud.|[[Warstock Cache & Carry]] description.}} |
| − | The [[HVY]] '''Menacer''' is an armored SUV featured in ''[[Grand Theft Auto Online]]'' as part |
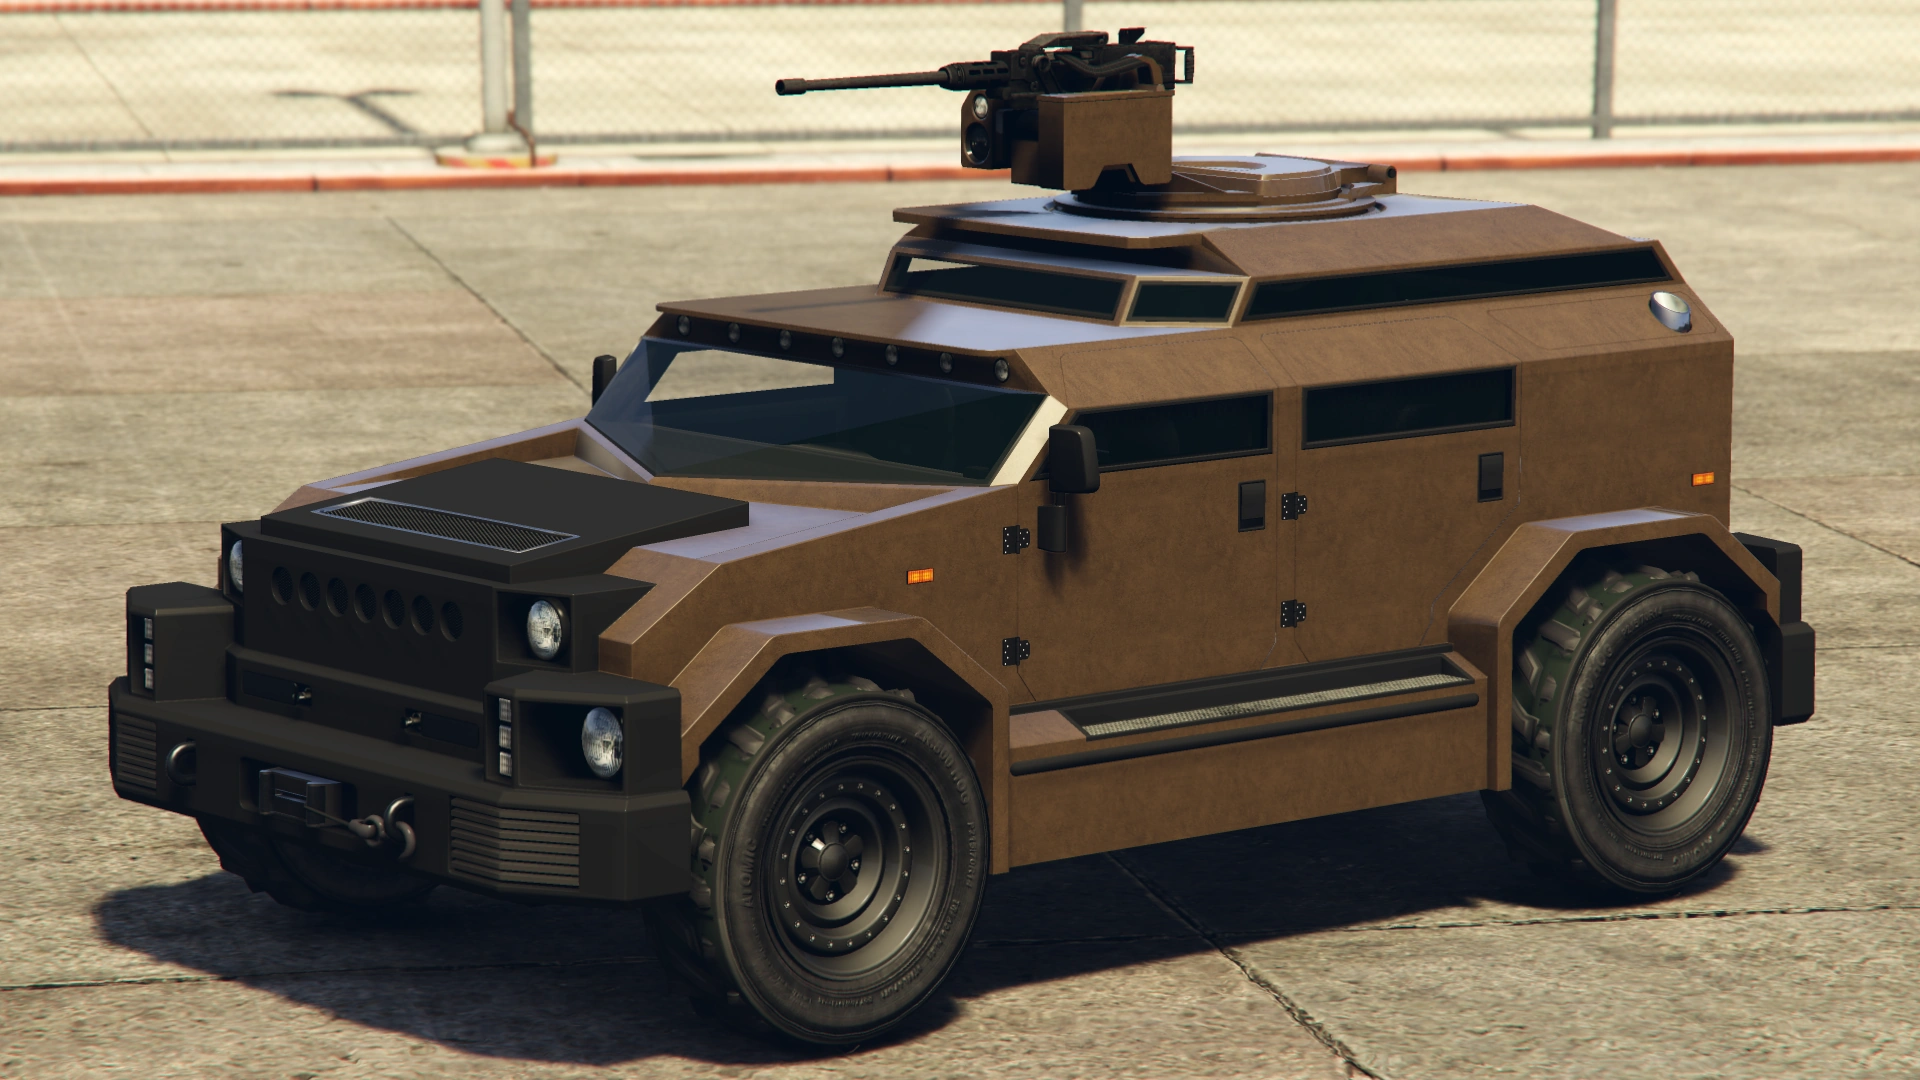
+ | The [[HVY]] '''Menacer''' is an armored SUV featured in ''[[Grand Theft Auto Online]]'' as part of the [[GTA Online: After Hours|After Hours]] update, released on August 28th, 2018, during the [[Menacer Week]] event. |
==Design== |
==Design== |
||
| + | ===''Grand Theft Auto Online''=== |
||
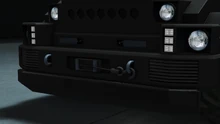
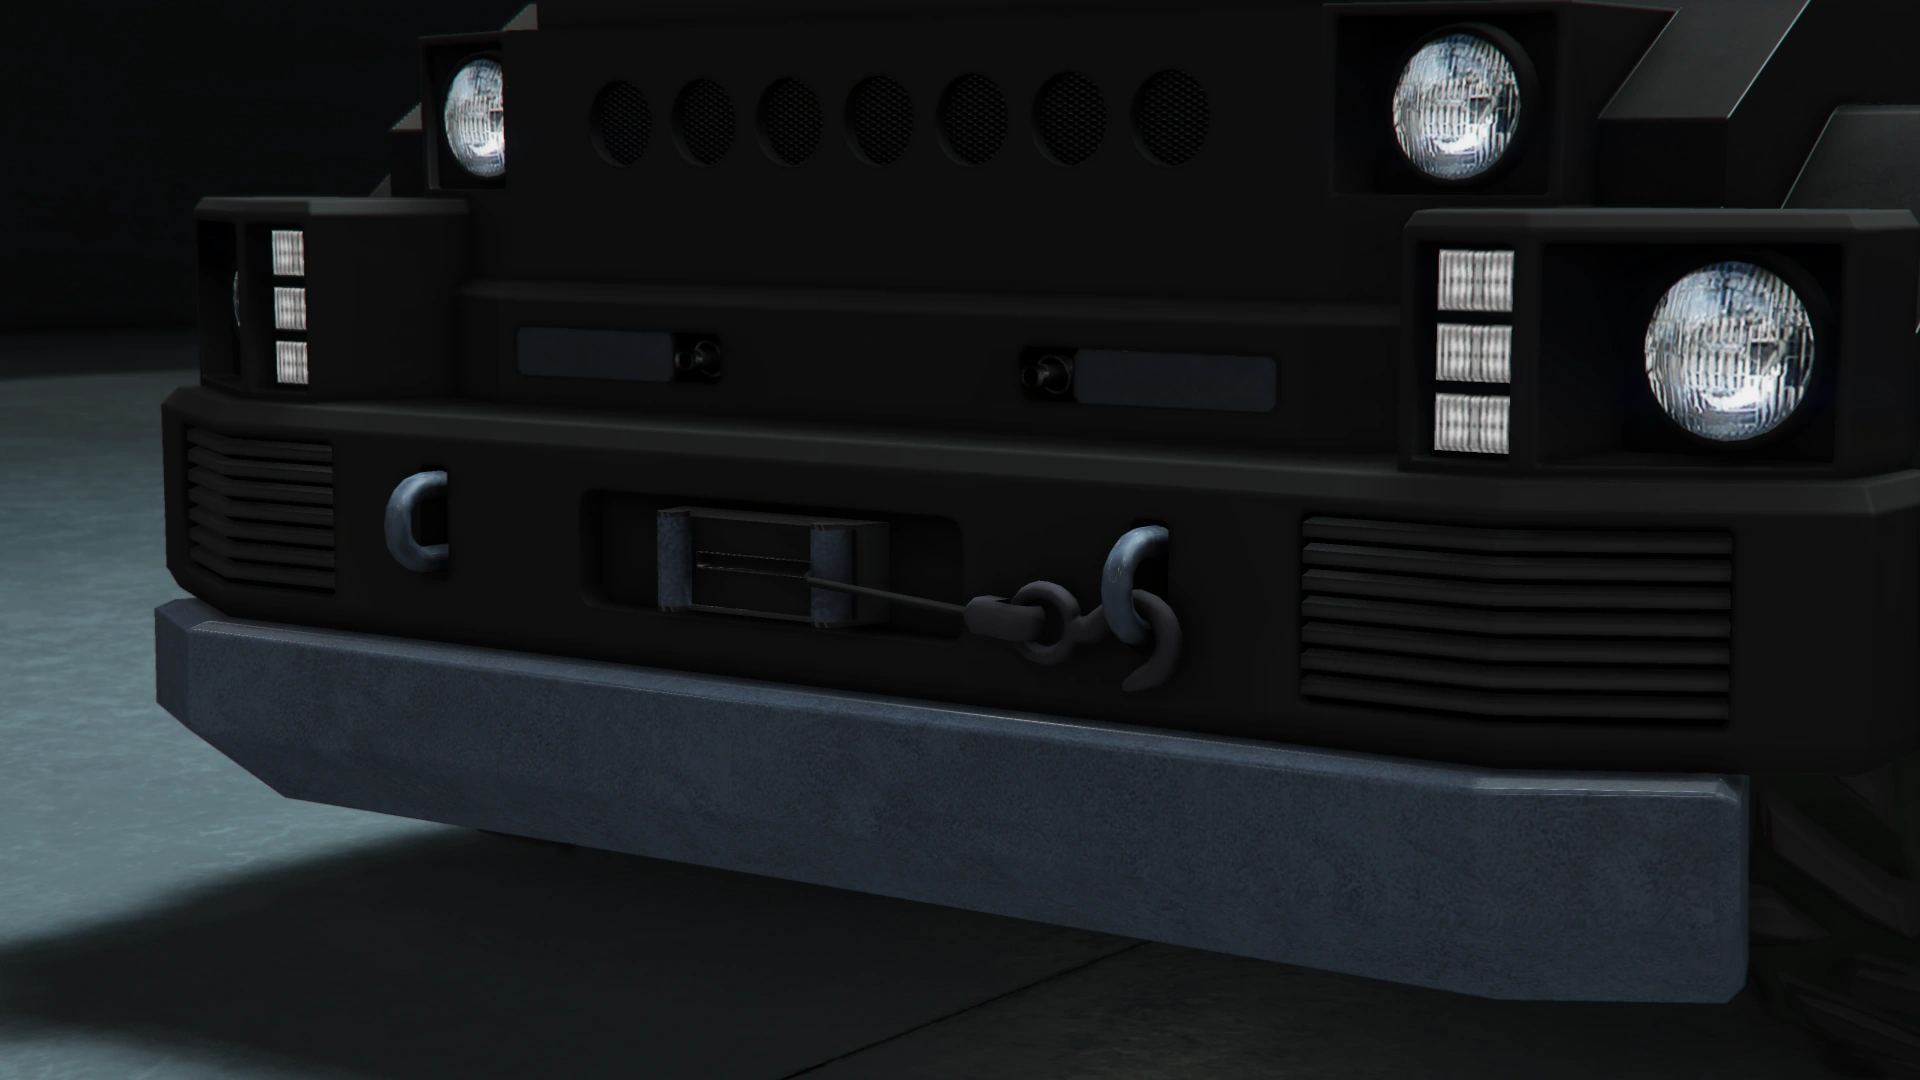
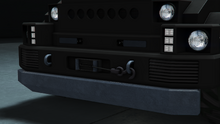
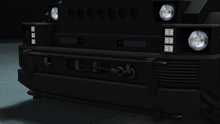
| − | The Menacer appears to be based on the [http://www.richboystoys.com/product/motors/4x4/the-boss-hummer/ Boss Hunting Truck], a custom Hummer based on the {{WP|Hummer H1|H1 K10 Series}}. It appears with a very wide body, low profile design and features a large front bumper, sides and a large grille cover. The truck also features a mounted turret on the roof which can be operated by another player in an identical manner to the [[Insurgent Pick-Up]]. |
||
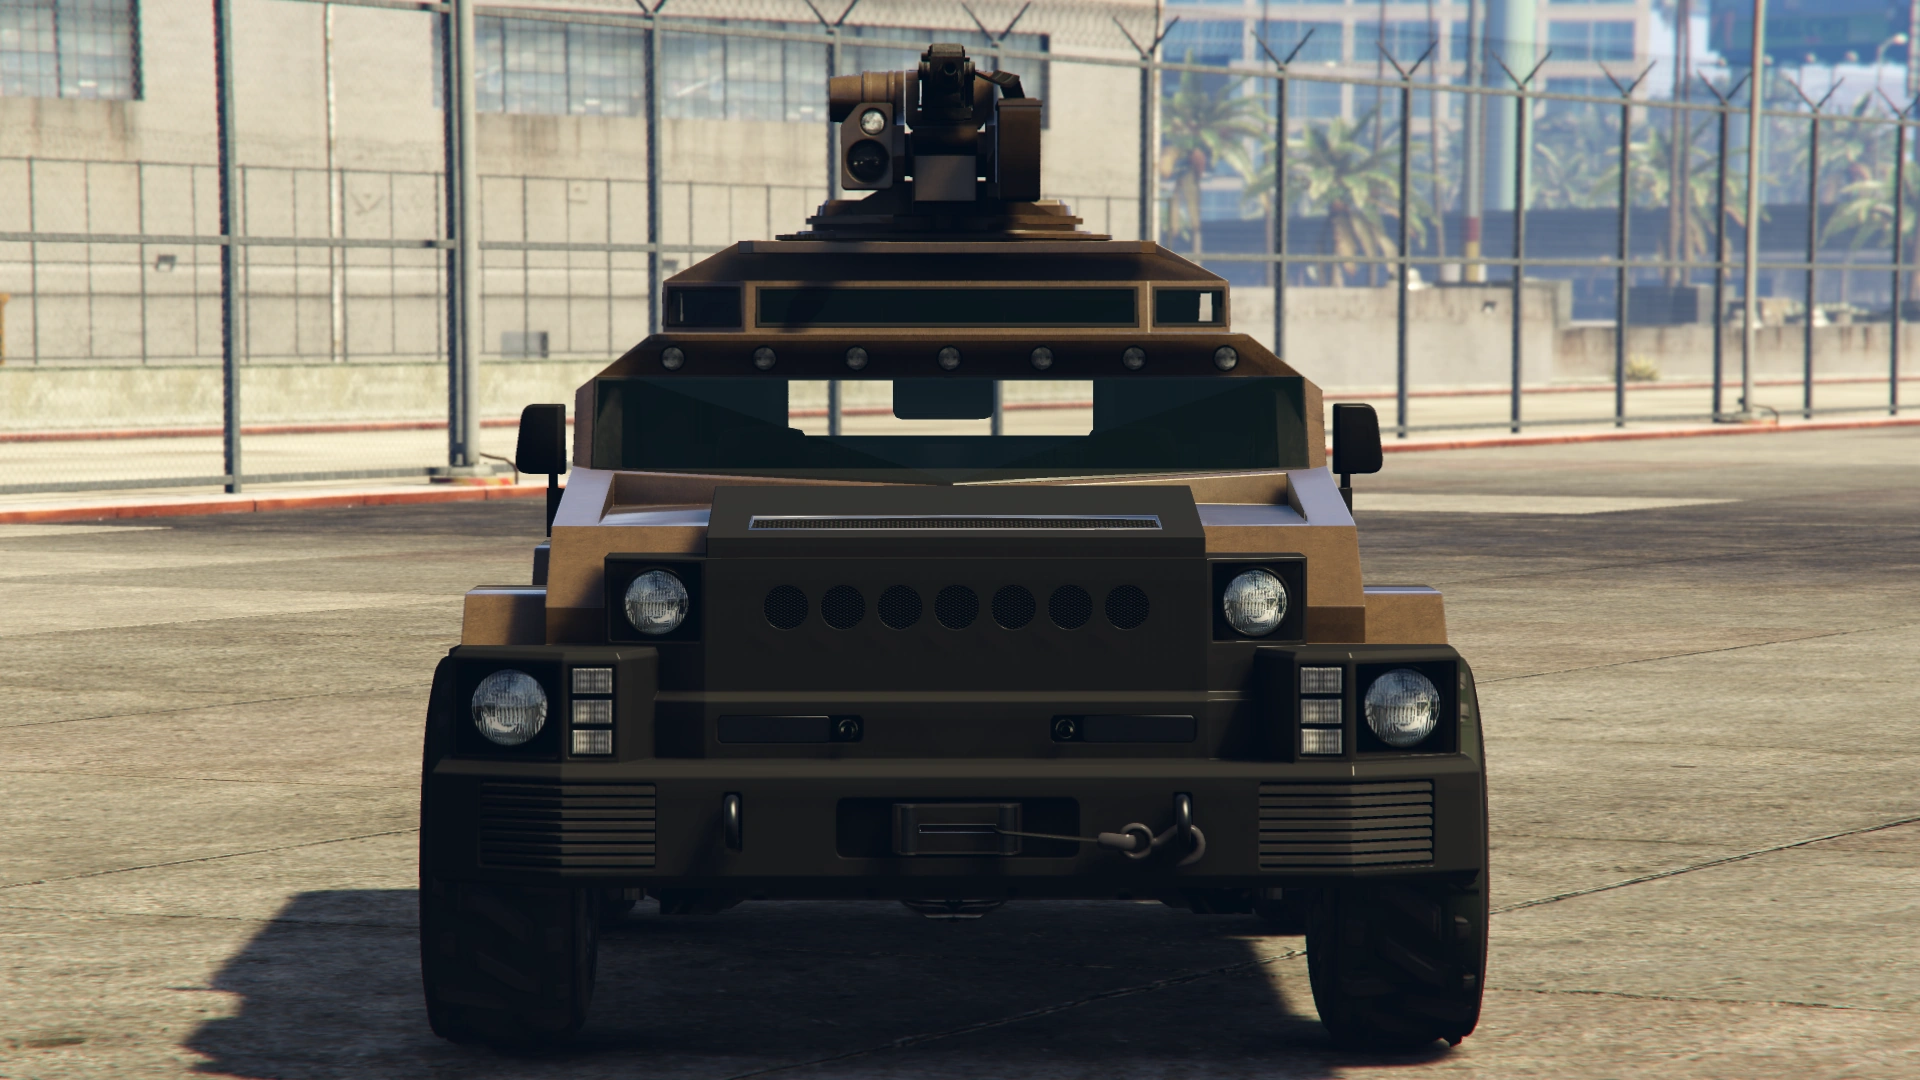
| + | The Menacer appears to be based on the {{URL|http://www.richboystoys.com/product/motors/4x4/the-boss-hummer/|Boss Hunting Truck}}, a custom Hummer based on the {{WP|Hummer H1|H1 K10 Series}}. The upper side of the front, judging by the grille and the rounded lamps, seems to take elements from the aforementioned Hummer H1. |
||
| + | |||
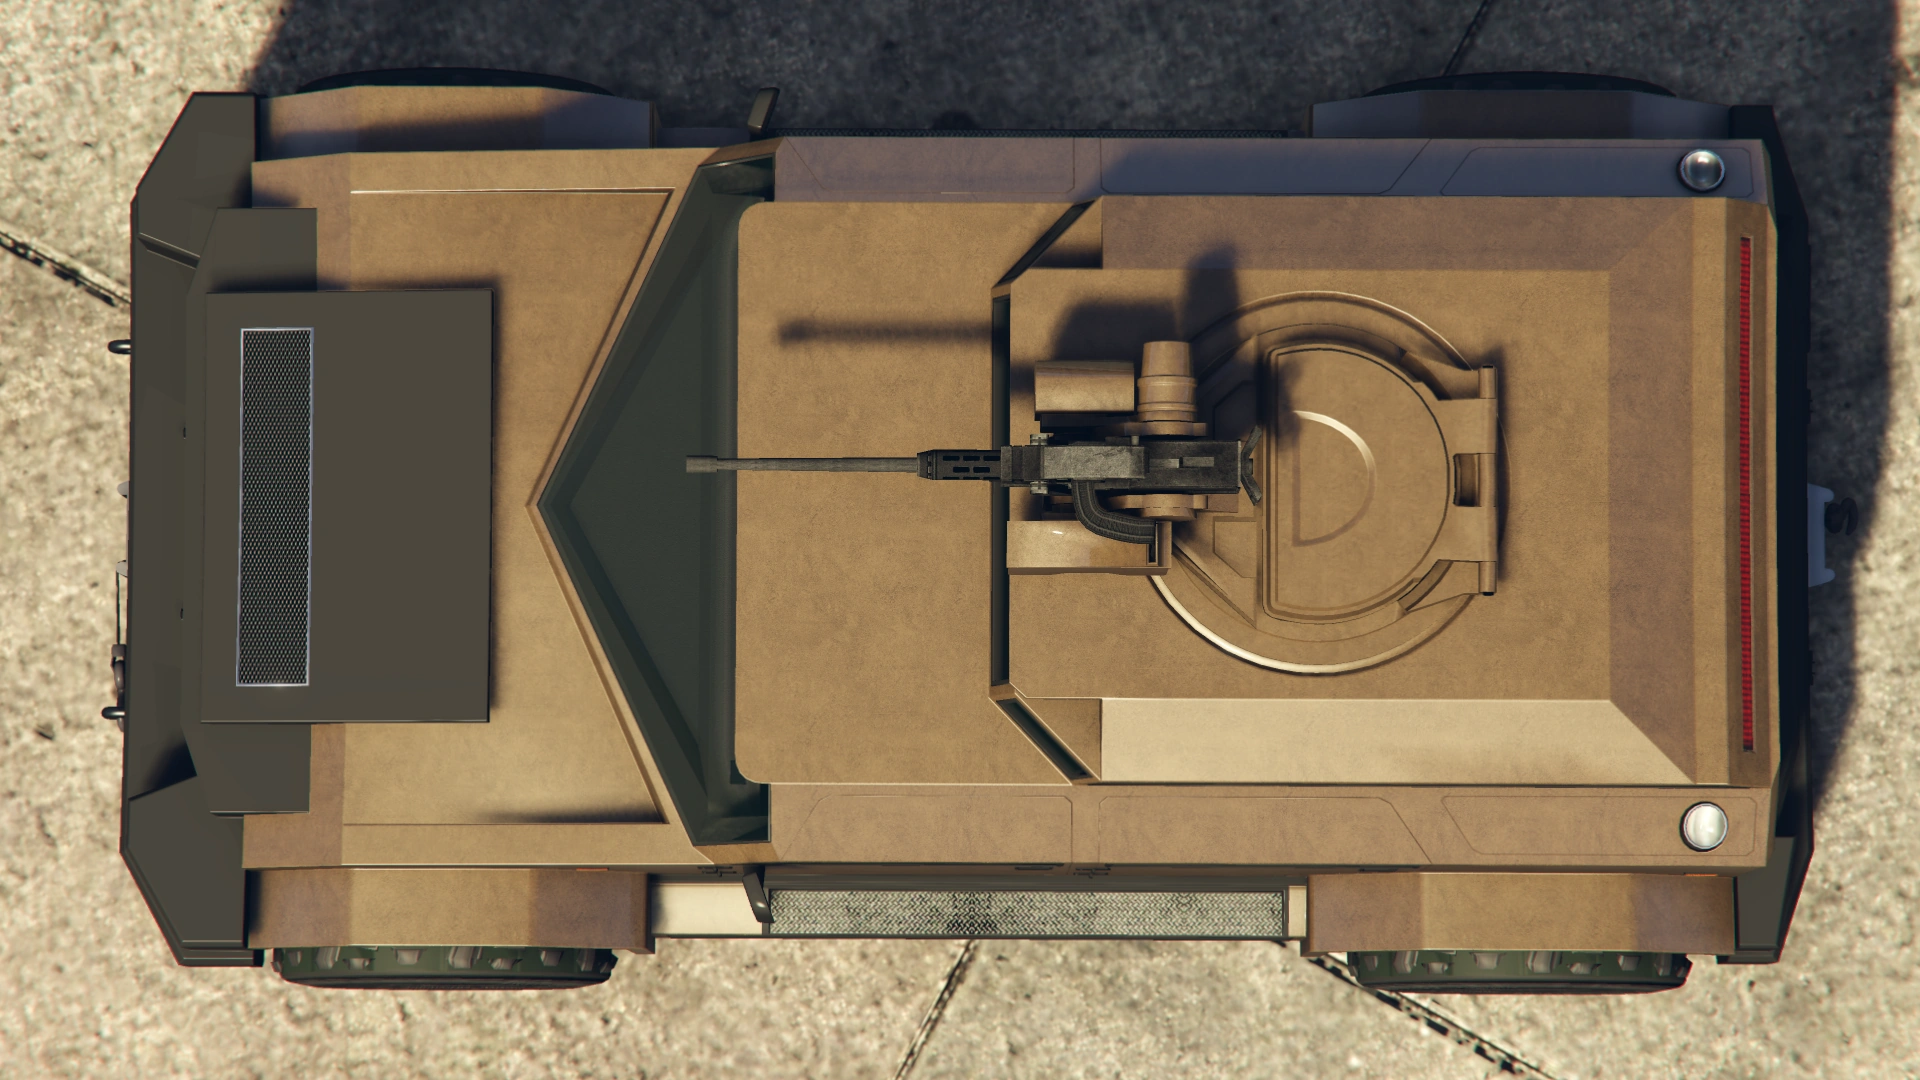
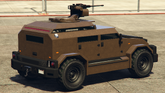
| + | The vehicle appears with a very wide body and low profile, featuring a large front bumper and grille cover. The truck also features a mounted turret on the roof which can be operated by another player in an identical manner to the [[Insurgent Pick-Up]]. Several non-functional lamps can be seen above the triangle-shaped windshield. |
||
{{Clr}} |
{{Clr}} |
||
===Current Design Gallery=== |
===Current Design Gallery=== |
||
<!--Please ensure you have read the Manual of Style [GTA_Wiki:Manual_of_Style/Vehicles/Design_Galleries] before uploading and adding images to the Current Design Gallery. Failure to meet these guidelines will result in the images being removed and deleted, and repeated offences may result in a warning.--> |
<!--Please ensure you have read the Manual of Style [GTA_Wiki:Manual_of_Style/Vehicles/Design_Galleries] before uploading and adding images to the Current Design Gallery. Failure to meet these guidelines will result in the images being removed and deleted, and repeated offences may result in a warning.--> |
||
| − | |||
{{Current Design Gallery |
{{Current Design Gallery |
||
|front_quarter_image = Menacer-GTAO-FrontQuarter.png |
|front_quarter_image = Menacer-GTAO-FrontQuarter.png |
||
| Line 65: | Line 111: | ||
==Performance== |
==Performance== |
||
===''Grand Theft Auto Online''=== |
===''Grand Theft Auto Online''=== |
||
| + | ;Vehicle |
||
| − | {{Sectstub}} |
||
| + | The Menacer is far slower than the [[Nightshark]] or the [[Insurgent Pick-Up Custom]]. However, the Menacer has enough torque and inital acceleration to propel the driver up on steep hills. Handling is somewhat difficult and the low speed does not allow it to push other vehicles or run them over with ease. It still has a strong chassis, preventing most type of physical collisions. Overall it has the features of both vehicles, but does not have a lot of modifications compared to the two. |
||
| + | |||
| + | ;Defense |
||
| + | The Menacer has a strong armor like the [[Insurgent]] and its variants, as it is able to survive up to eight rockets, nineteen missiles or explosive ammo before being destroyed with a player inside, and full armor upgrades. However, the armor is still inferior compared to the Insurgent Pick-Up Custom. The side windows are of a low profile, meaning the occupants would hardly receive damage by bullets. The rear window is also small enough to block most bullets from behind. However, the windshield is pretty large, exposing the front occupants. The gunner is also very exposed, having only the turret hatch as a protection against targets from the back and below the gunner's level. |
||
| + | |||
| + | ;Weaponry |
||
| + | The Menacer has two different weapons that can be used separately by a different occupant: |
||
| + | *The driver can use two machine guns mounted on the front of the car, which perform similarly to machine guns found on other land vehicles. |
||
| + | *The gunner can use a {{WP|M2 Browning|Browning M2HB .50 caliber machine gun}} turret, which has devastating power against pedestrians and unarmored vehicles, making it a good choice for an escort vehicle. The turret is able to kill most NPCs and players in one to two hits and take down most unarmored vehicles in less than twenty. The turret also has an option for a {{WP|GAU-19}} three-barreled .50 caliber [[Minigun]], which behaves like many mounted miniguns found on other vehicles, with lower damage but a higher fire rate, making it suitable for sustained fire against vehicles and larger targets. |
||
====GTA Online Overview==== |
====GTA Online Overview==== |
||
{{Vehiclestats-gtav |
{{Vehiclestats-gtav |
||
| − | |handling_top_speed = |
+ | |handling_top_speed = 81 / 130 |
| − | |handling_gears = |
+ | |handling_gears = 6 |
| − | |handling_drivetrain = |
+ | |handling_drivetrain = AWD<br><small>40% FWD<br>60% RWD</small> |
| − | |handling_mass = |
+ | |handling_mass = 5600 / 12346 |
| − | |handling_fuel_tank = |
+ | |handling_fuel_tank = 80 |
|website_acceleration = |
|website_acceleration = |
||
|website_top_speed = |
|website_top_speed = |
||
| Line 82: | Line 137: | ||
|observed_acceleration = |
|observed_acceleration = |
||
|observed_top_speed = |
|observed_top_speed = |
||
| − | |observed_gears = |
+ | |observed_gears = 6 |
|observed_engine = |
|observed_engine = |
||
| − | |observed_drivetrain = |
+ | |observed_drivetrain = AWD |
| − | |rsc_image = |
+ | |rsc_image = Menacer-GTAO-RSCStats.png |
| − | |rsc_top_speed = |
+ | |rsc_top_speed = {{PercentBar|69.751678|width=150}} |
| − | |rsc_acceleration = |
+ | |rsc_acceleration = {{PercentBar|50|width=150}} |
| − | |rsc_braking = |
+ | |rsc_braking = {{PercentBar|20|width=150}} |
| − | |rsc_traction = |
+ | |rsc_traction = {{PercentBar|60.606064|width=150}} |
| − | }} |
+ | }} |
==Modifications== |
==Modifications== |
||
| + | ===''Grand Theft Auto Online''=== |
||
| − | {{Sectstub}} |
||
| + | The Menacer can only be modified at a [[Weaponized Vehicle Workshop|vehicle workshop]] inside a [[Mobile Operations Center]] or [[Avenger (plane)|Avenger]]. |
||
| + | |||
| + | {| class="wikitable" style="vertical-align:top;" valign="top" |
||
| + | |- |
||
| + | ! colspan="2" scope="col" |Category |
||
| + | ! scope="col" |Modification |
||
| + | ! scope="col" |Price |
||
| + | ! scope="col" |Image |
||
| + | |- |
||
| + | | colspan="2" rowspan="6" |Armor |
||
| + | |No Armor |
||
| + | | colspan="2" style="text-align: center;" |$1,000 |
||
| + | |- |
||
| + | |Armor Upgrade 20% |
||
| + | | colspan="2" style="text-align: center;" |$7,500 |
||
| + | |- |
||
| + | |Armor Upgrade 40% |
||
| + | | colspan="2" style="text-align: center;" |$12,000 |
||
| + | |- |
||
| + | |Armor Upgrade 60% |
||
| + | | colspan="2" style="text-align: center;" |$20,000 |
||
| + | |- |
||
| + | |Armor Upgrade 80% |
||
| + | | colspan="2" style="text-align: center;" |$35,000 |
||
| + | |- |
||
| + | |Armor Upgrade 100% |
||
| + | | colspan="2" style="text-align: center;" |$50,000 |
||
| + | |- |
||
| + | | colspan="2" rowspan="4" |Brakes |
||
| + | |Stock Brakes |
||
| + | | colspan="2" style="text-align: center;" |$1,000 |
||
| + | |- |
||
| + | |Street Brakes |
||
| + | | colspan="2" style="text-align: center;" |$20,000 |
||
| + | |- |
||
| + | |Sport Brakes |
||
| + | | colspan="2" style="text-align: center;" |$27,000 |
||
| + | |- |
||
| + | |Race Brakes |
||
| + | | colspan="2" style="text-align: center;" |$35,000 |
||
| + | |- |
||
| + | | rowspan="24" |Bumpers |
||
| + | | rowspan="15" |Front Bumpers |
||
| + | |Stock Front Bumper |
||
| + | | style="text-align: center;" |$2,200 |
||
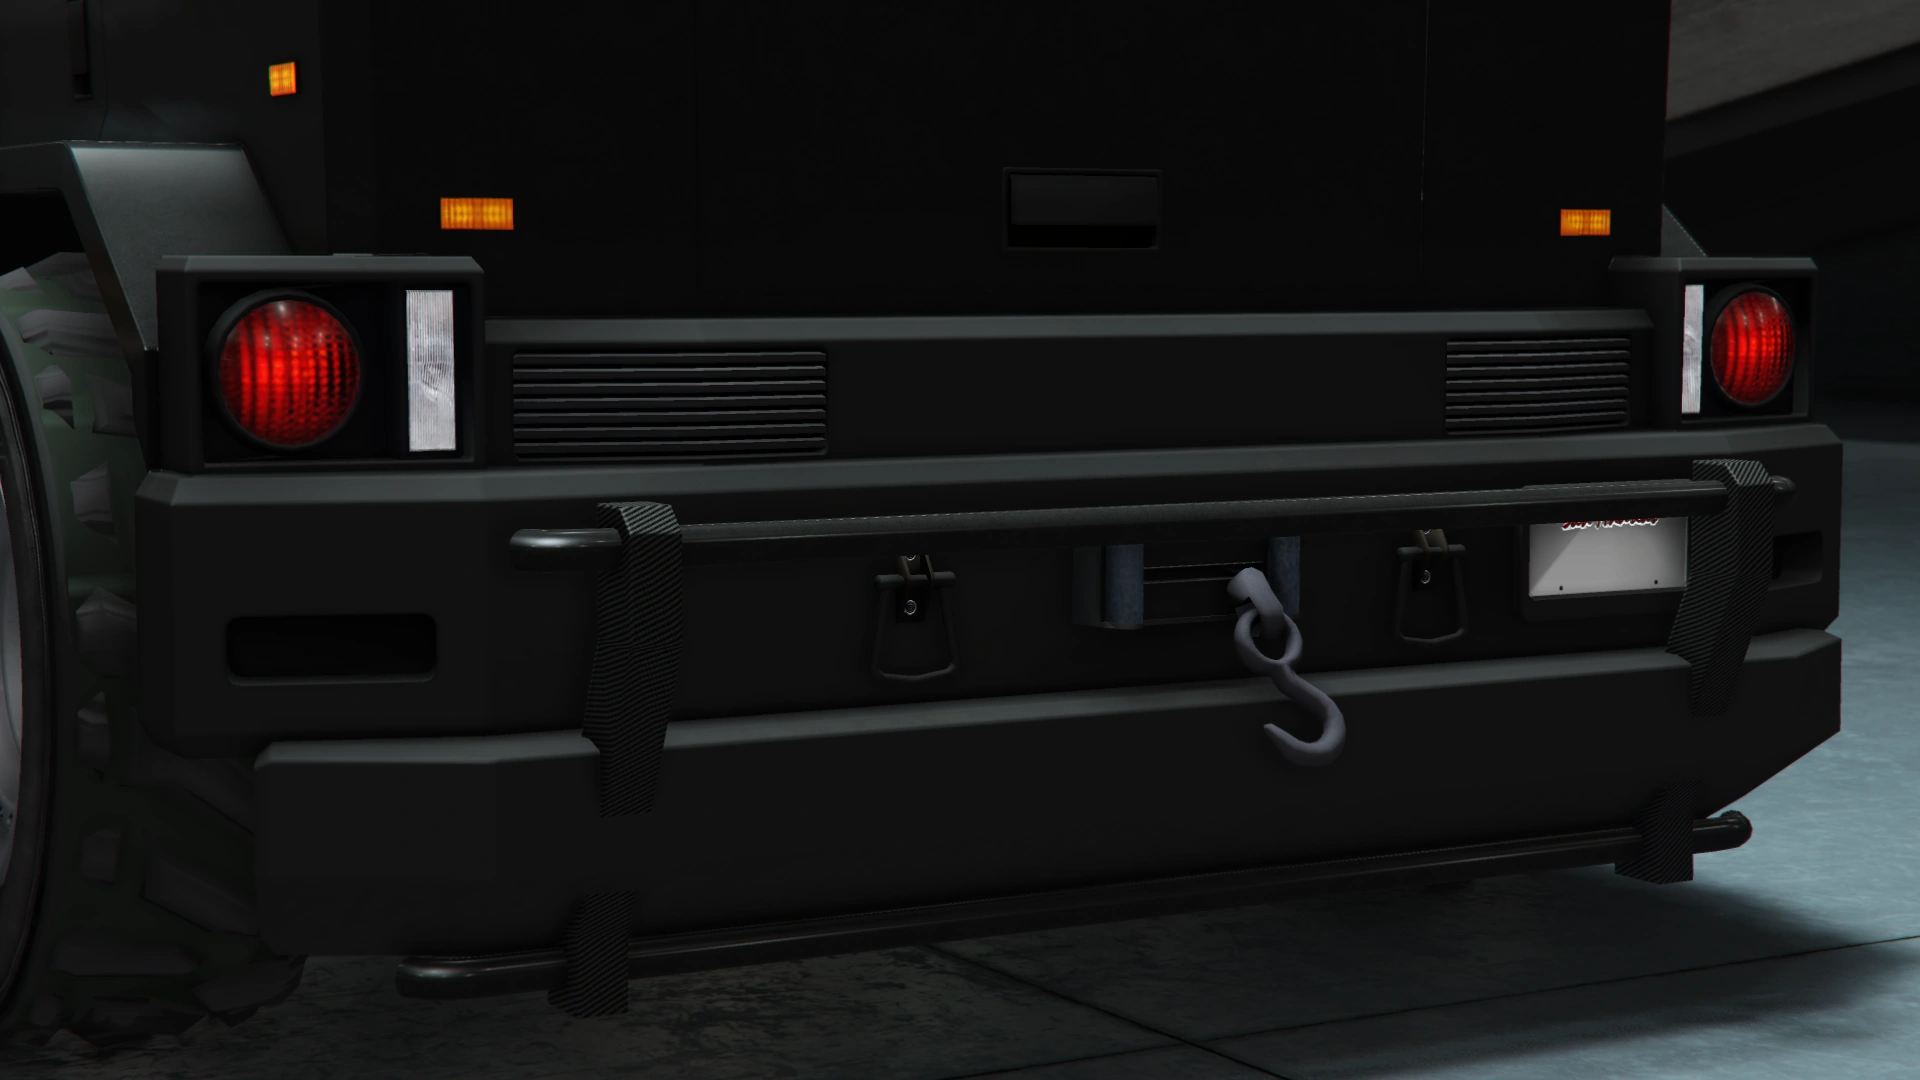
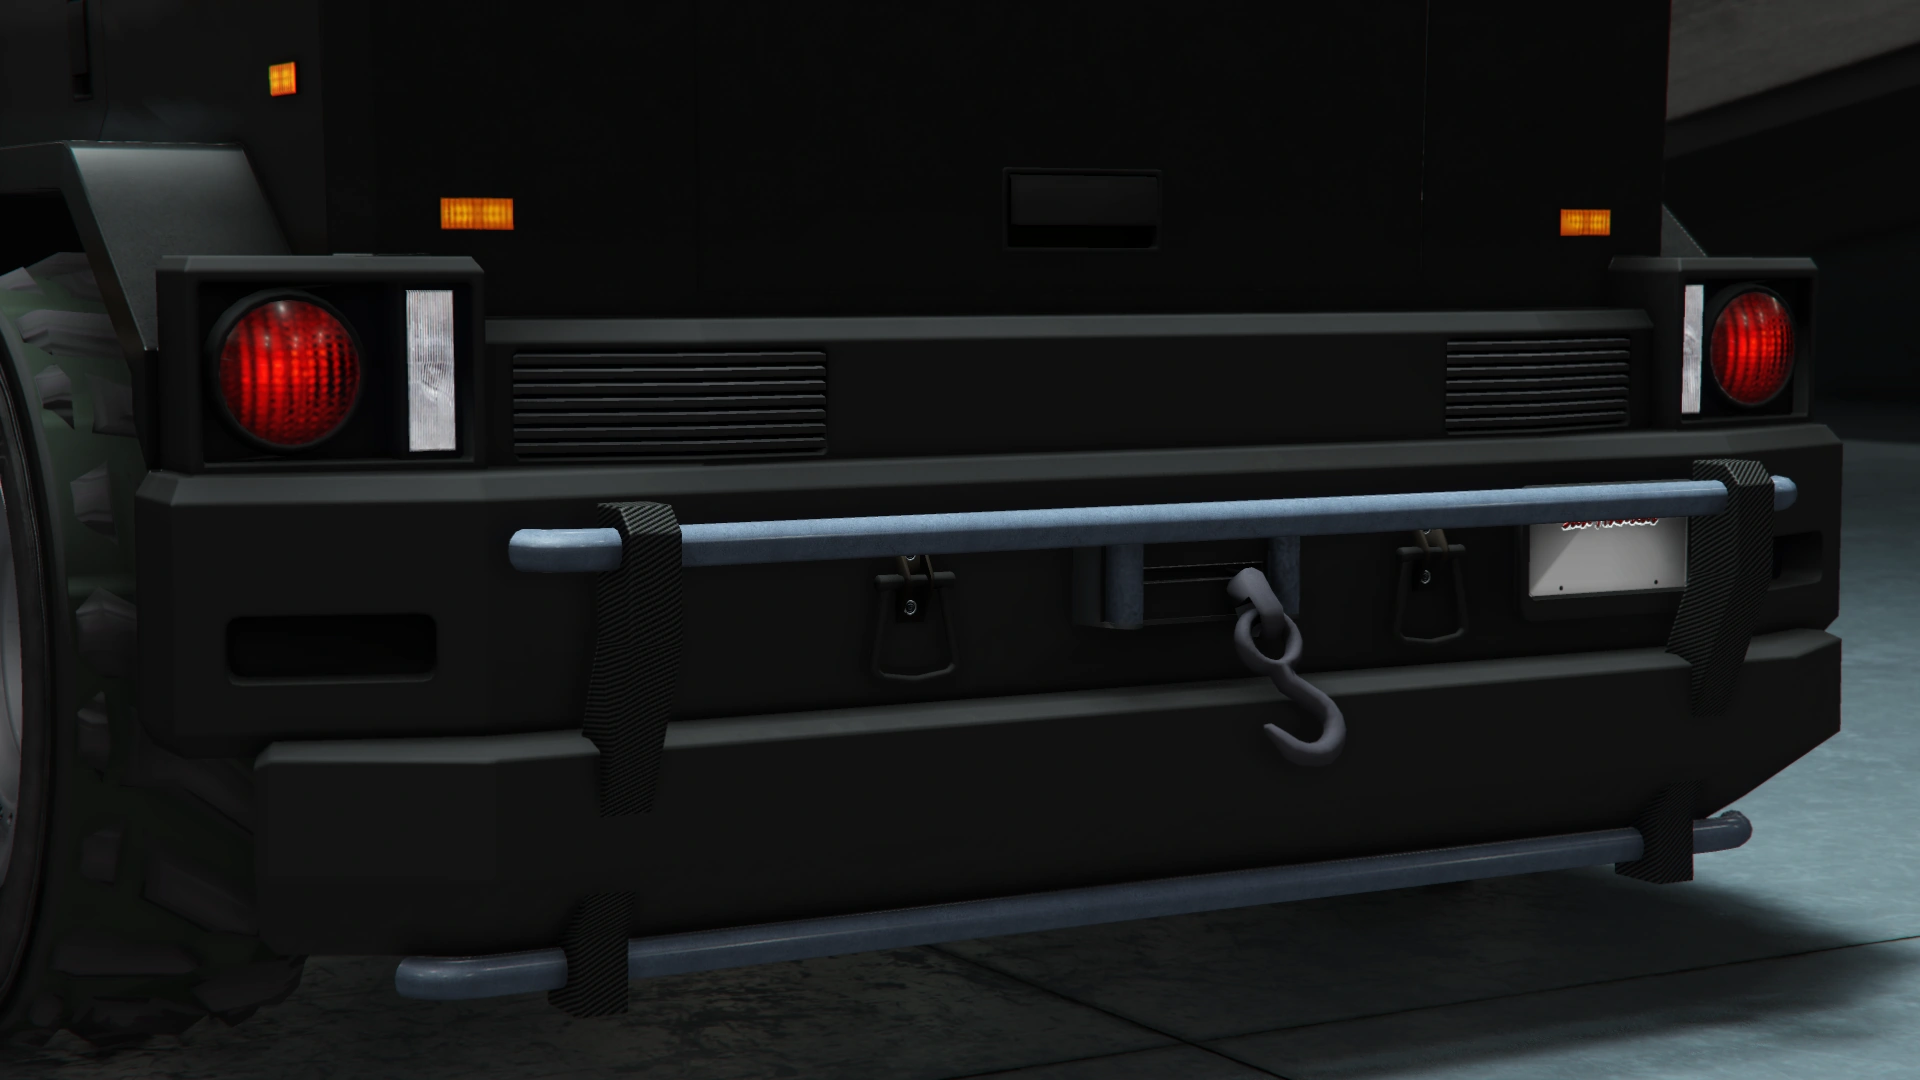
| + | |[[File:Menacer-GTAO-StockFrontBumper.png|thumb|center|220px]] |
||
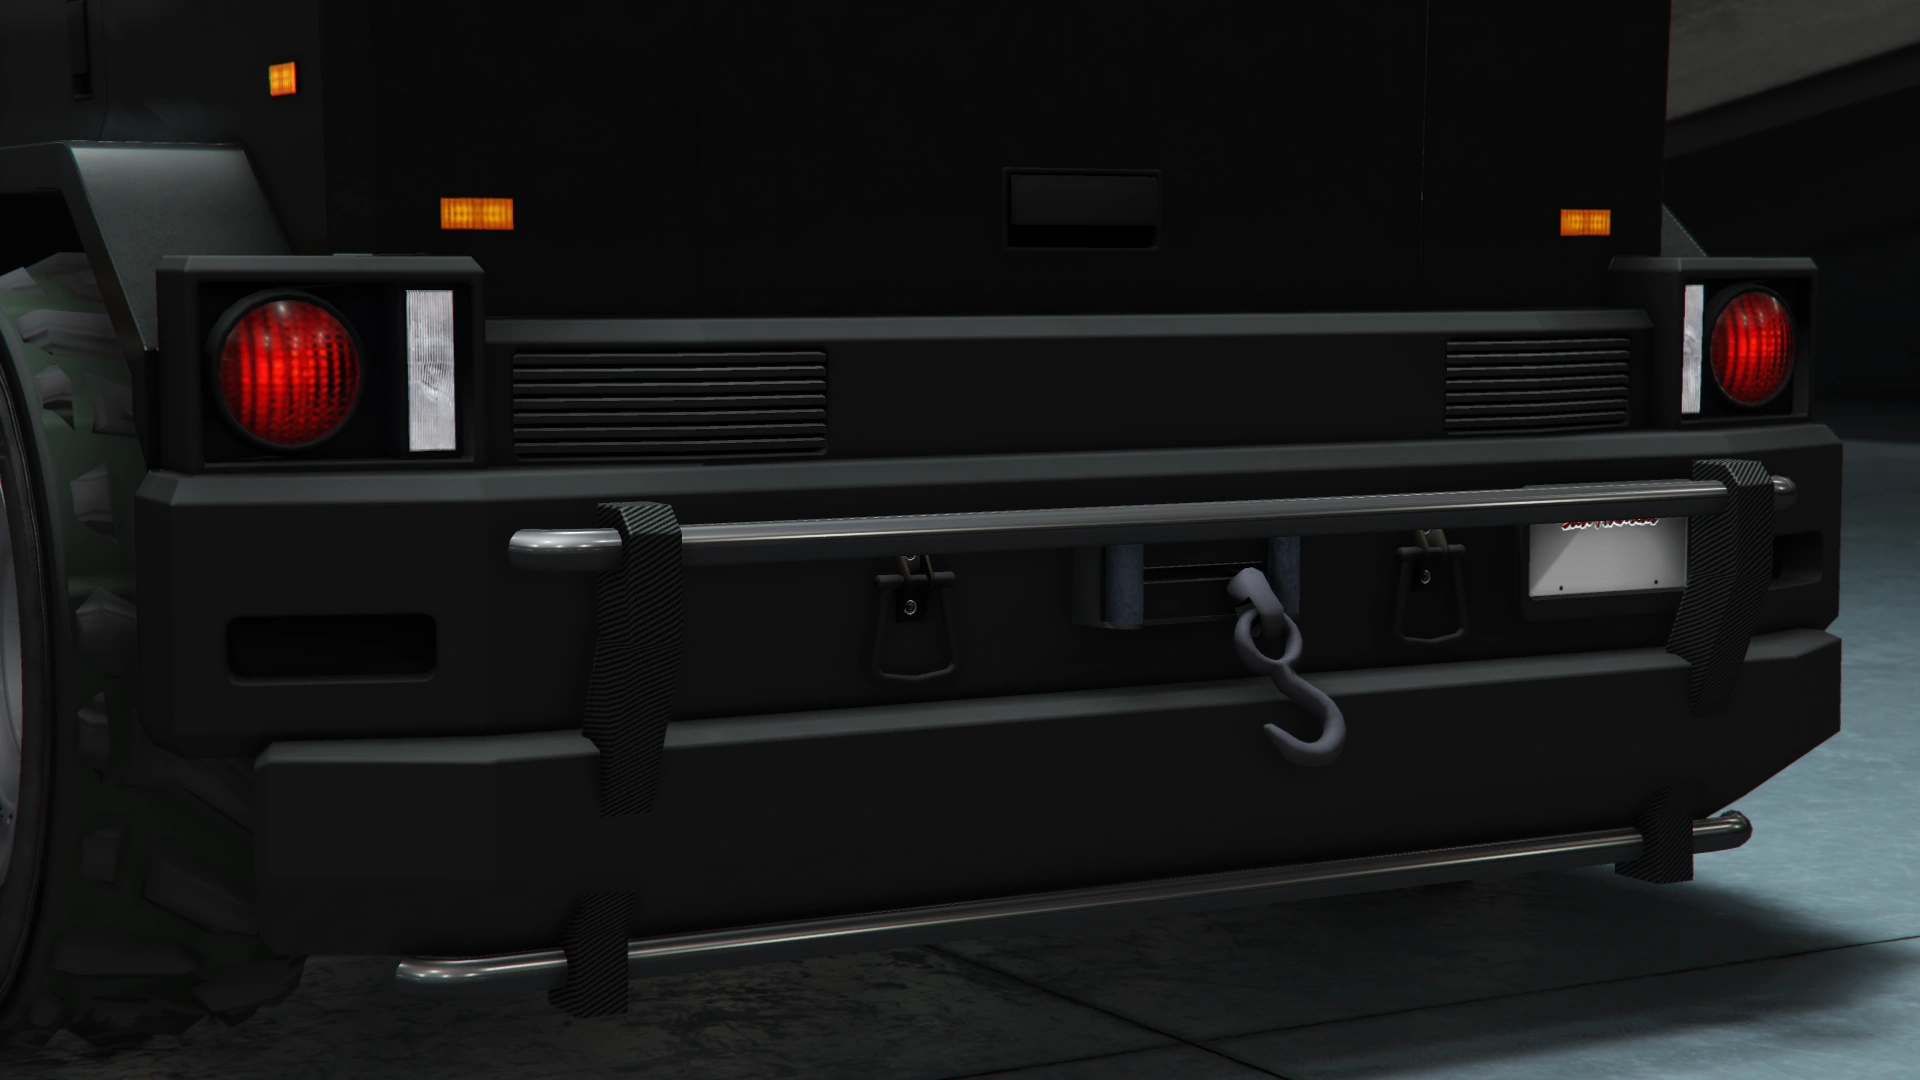
| + | |- |
||
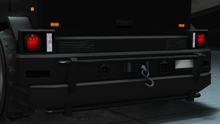
| + | |Rail Bar |
||
| + | | style="text-align: center;" |$4,600 |
||
| + | |[[File:Menacer-GTAO-RailBar.png|thumb|center|220px]] |
||
| + | |- |
||
| + | |Secondary Rail Bar |
||
| + | | style="text-align: center;" |$7,400 |
||
| + | |[[File:Menacer-GTAO-SecondaryRailBar.png|thumb|center|220px]] |
||
| + | |- |
||
| + | |XL Rail Bar |
||
| + | | style="text-align: center;" |$11,700 |
||
| + | |[[File:Menacer-GTAO-XLRailBar.png|thumb|center|220px]] |
||
| + | |- |
||
| + | |Secondary XL Rail Bar |
||
| + | | style="text-align: center;" |$14,500 |
||
| + | |[[File:Menacer-GTAO-SecondaryXLRailBar.png|thumb|center|220px]] |
||
| + | |- |
||
| + | |Reinforced Ram Bar |
||
| + | | style="text-align: center;" |$14,700 |
||
| + | |[[File:Menacer-GTAO-ReinforcedRamBar.png|thumb|center|220px]] |
||
| + | |- |
||
| + | |Secondary Reinforced Ram Bar |
||
| + | | style="text-align: center;" |$14,900 |
||
| + | |[[File:Menacer-GTAO-SecondaryReinforcedRamBar.png|thumb|center|220px]] |
||
| + | |- |
||
| + | |Bull Bar |
||
| + | | style="text-align: center;" |$15,100 |
||
| + | |[[File:Menacer-GTAO-BullBar.png|thumb|center|220px]] |
||
| + | |- |
||
| + | |Secondary Bull Bar |
||
| + | | style="text-align: center;" |$15,300 |
||
| + | |[[File:Menacer-GTAO-SecondaryBullBar.png|thumb|center|220px]] |
||
| + | |- |
||
| + | |Bulked Extender |
||
| + | | style="text-align: center;" |$15,500 |
||
| + | |[[File:Menacer-GTAO-FrontBulkedExtender.png|thumb|center|220px]] |
||
| + | |- |
||
| + | |Primary Bulked Extender |
||
| + | | style="text-align: center;" |$15,700 |
||
| + | |[[File:Menacer-GTAO-PrimaryFrontBulkedExtender.png|thumb|center|220px]] |
||
| + | |- |
||
| + | |Secondary Bulked Extender |
||
| + | | style="text-align: center;" |$15,900 |
||
| + | |[[File:Menacer-GTAO-SecondaryFrontBulkedExtender.png|thumb|center|220px]] |
||
| + | |- |
||
| + | |Primary Front Barricade |
||
| + | | style="text-align: center;" |$16,100 |
||
| + | |[[File:Menacer-GTAO-PrimaryFrontBarricade.png|thumb|center|220px]] |
||
| + | |- |
||
| + | |Secondary Front Barricade |
||
| + | | style="text-align: center;" |$16,300 |
||
| + | |[[File:Menacer-GTAO-SecondaryFrontBarricade.png|thumb|center|220px]] |
||
| + | |- |
||
| + | |Chrome Front Barricade |
||
| + | | style="text-align: center;" |$16,500 |
||
| + | |[[File:Menacer-GTAO-ChromeFrontBarricade.png|thumb|center|220px]] |
||
| + | |- |
||
| + | | rowspan="9" |Rear Bumpers |
||
| + | |Stock Rear Bumper |
||
| + | | style="text-align: center;" |$2,200 |
||
| + | |[[File:Menacer-GTAO-StockRearBumper.png|thumb|center|220px]] |
||
| + | |- |
||
| + | |Bulked Extender |
||
| + | | style="text-align: center;" |$4,600 |
||
| + | |[[File:Menacer-GTAO-RearBulkedExtender.png|thumb|center|220px]] |
||
| + | |- |
||
| + | |Primary Bulked Extender |
||
| + | | style="text-align: center;" |$7,400 |
||
| + | |[[File:Menacer-GTAO-PrimaryRearBulkedExtender.png|thumb|center|220px]] |
||
| + | |- |
||
| + | |Secondary Bulked Extender |
||
| + | | style="text-align: center;" |$11,700 |
||
| + | |[[File:Menacer-GTAO-SecondaryRearBulkedExtender.png|thumb|center|220px]] |
||
| + | |- |
||
| + | |Primary Bull Panel |
||
| + | | style="text-align: center;" |$14,500 |
||
| + | |[[File:Menacer-GTAO-PrimaryBullPanel.png|thumb|center|220px]] |
||
| + | |- |
||
| + | |Secondary Bull Panel |
||
| + | | style="text-align: center;" |$14,700 |
||
| + | |[[File:Menacer-GTAO-SecondaryBullPanel.png|thumb|center|220px]] |
||
| + | |- |
||
| + | |Primary Rear Barricade |
||
| + | | style="text-align: center;" |$14,900 |
||
| + | |[[File:Menacer-GTAO-PrimaryRearBarricade.png|thumb|center|220px]] |
||
| + | |- |
||
| + | |Secondary Rear Barricade |
||
| + | | style="text-align: center;" |$15,100 |
||
| + | |[[File:Menacer-GTAO-SecondaryRearBarricade.png|thumb|center|220px]] |
||
| + | |- |
||
| + | |Chrome Rear Barricade |
||
| + | | style="text-align: center;" |$15,300 |
||
| + | |[[File:Menacer-GTAO-ChromeRearBarricade.png|thumb|center|220px]] |
||
| + | |- |
||
| + | | colspan="2" rowspan="4" |Engine |
||
| + | |EMS Upgrade, Level 1 |
||
| + | | colspan="2" style="text-align: center;" |$9,000 |
||
| + | |- |
||
| + | |EMS Upgrade, Level 2 |
||
| + | | colspan="2" style="text-align: center;" |$12,500 |
||
| + | |- |
||
| + | |EMS Upgrade, Level 3 |
||
| + | | colspan="2" style="text-align: center;" |$18,000 |
||
| + | |- |
||
| + | |EMS Upgrade, Level 4 |
||
| + | | colspan="2" style="text-align: center;" |$33,500 |
||
| + | |- |
||
| + | | colspan="2" rowspan="13" |Exhausts |
||
| + | |Stock Exhaust |
||
| + | | style="text-align: center;" |$260 |
||
| + | |[[File:Menacer-GTAO-StockExhaust.png|thumb|center|220px]] |
||
| + | |- |
||
| + | |Exposed Stock |
||
| + | | style="text-align: center;" |$750 |
||
| + | |[[File:Menacer-GTAO-ExposedStock.png|thumb|center|220px]] |
||
| + | |- |
||
| + | |Right Triple-Stack |
||
| + | | style="text-align: center;" |$1,800 |
||
| + | |[[File:Menacer-GTAO-RightTripleStack.png|thumb|center|220px]] |
||
| + | |- |
||
| + | |Carbon Right Triple-Stack |
||
| + | | style="text-align: center;" |$3,000 |
||
| + | |[[File:Menacer-GTAO-CarbonRightTripleStack.png|thumb|center|220px]] |
||
| + | |- |
||
| + | |Left Triple-Stack |
||
| + | | style="text-align: center;" |$9,550 |
||
| + | |[[File:Menacer-GTAO-LeftTripleStack.png|thumb|center|220px]] |
||
| + | |- |
||
| + | |Carbon Left Triple-Stack |
||
| + | | style="text-align: center;" |$9,750 |
||
| + | |[[File:Menacer-GTAO-CarbonLeftTripleStack.png|thumb|center|220px]] |
||
| + | |- |
||
| + | |Right Angled Triple-Stack |
||
| + | | style="text-align: center;" |$10,500 |
||
| + | |[[File:Menacer-GTAO-RightAngledTripleStack.png|thumb|center|220px]] |
||
| + | |- |
||
| + | |Carbon Right Angled Triple |
||
| + | | style="text-align: center;" |$12,000 |
||
| + | |[[File:Menacer-GTAO-CarbonRightAngledTriple.png|thumb|center|220px]] |
||
| + | |- |
||
| + | |Left Angled Triple-Stack |
||
| + | | style="text-align: center;" |$13,750 |
||
| + | |[[File:Menacer-GTAO-LeftAngledTripleStack.png|thumb|center|220px]] |
||
| + | |- |
||
| + | |Carbon Left Angled Triple |
||
| + | | style="text-align: center;" |$14,625 |
||
| + | |[[File:Menacer-GTAO-CarbonLeftAngledTriple.png|thumb|center|220px]] |
||
| + | |- |
||
| + | |Right Flushed Exhausts |
||
| + | | style="text-align: center;" |$15,500 |
||
| + | |[[File:Menacer-GTAO-RightFlushedExhausts.png|thumb|center|220px]] |
||
| + | |- |
||
| + | |Left Flushed Exhausts |
||
| + | | style="text-align: center;" |$16,475 |
||
| + | |[[File:Menacer-GTAO-LeftFlushedExhausts.png|thumb|center|220px]] |
||
| + | |- |
||
| + | |Flexed Exhausts |
||
| + | | style="text-align: center;" |$17,250 |
||
| + | |[[File:Menacer-GTAO-FlexedExhausts.png|thumb|center|220px]] |
||
| + | |- |
||
| + | | colspan="2" rowspan="10" |Grilles |
||
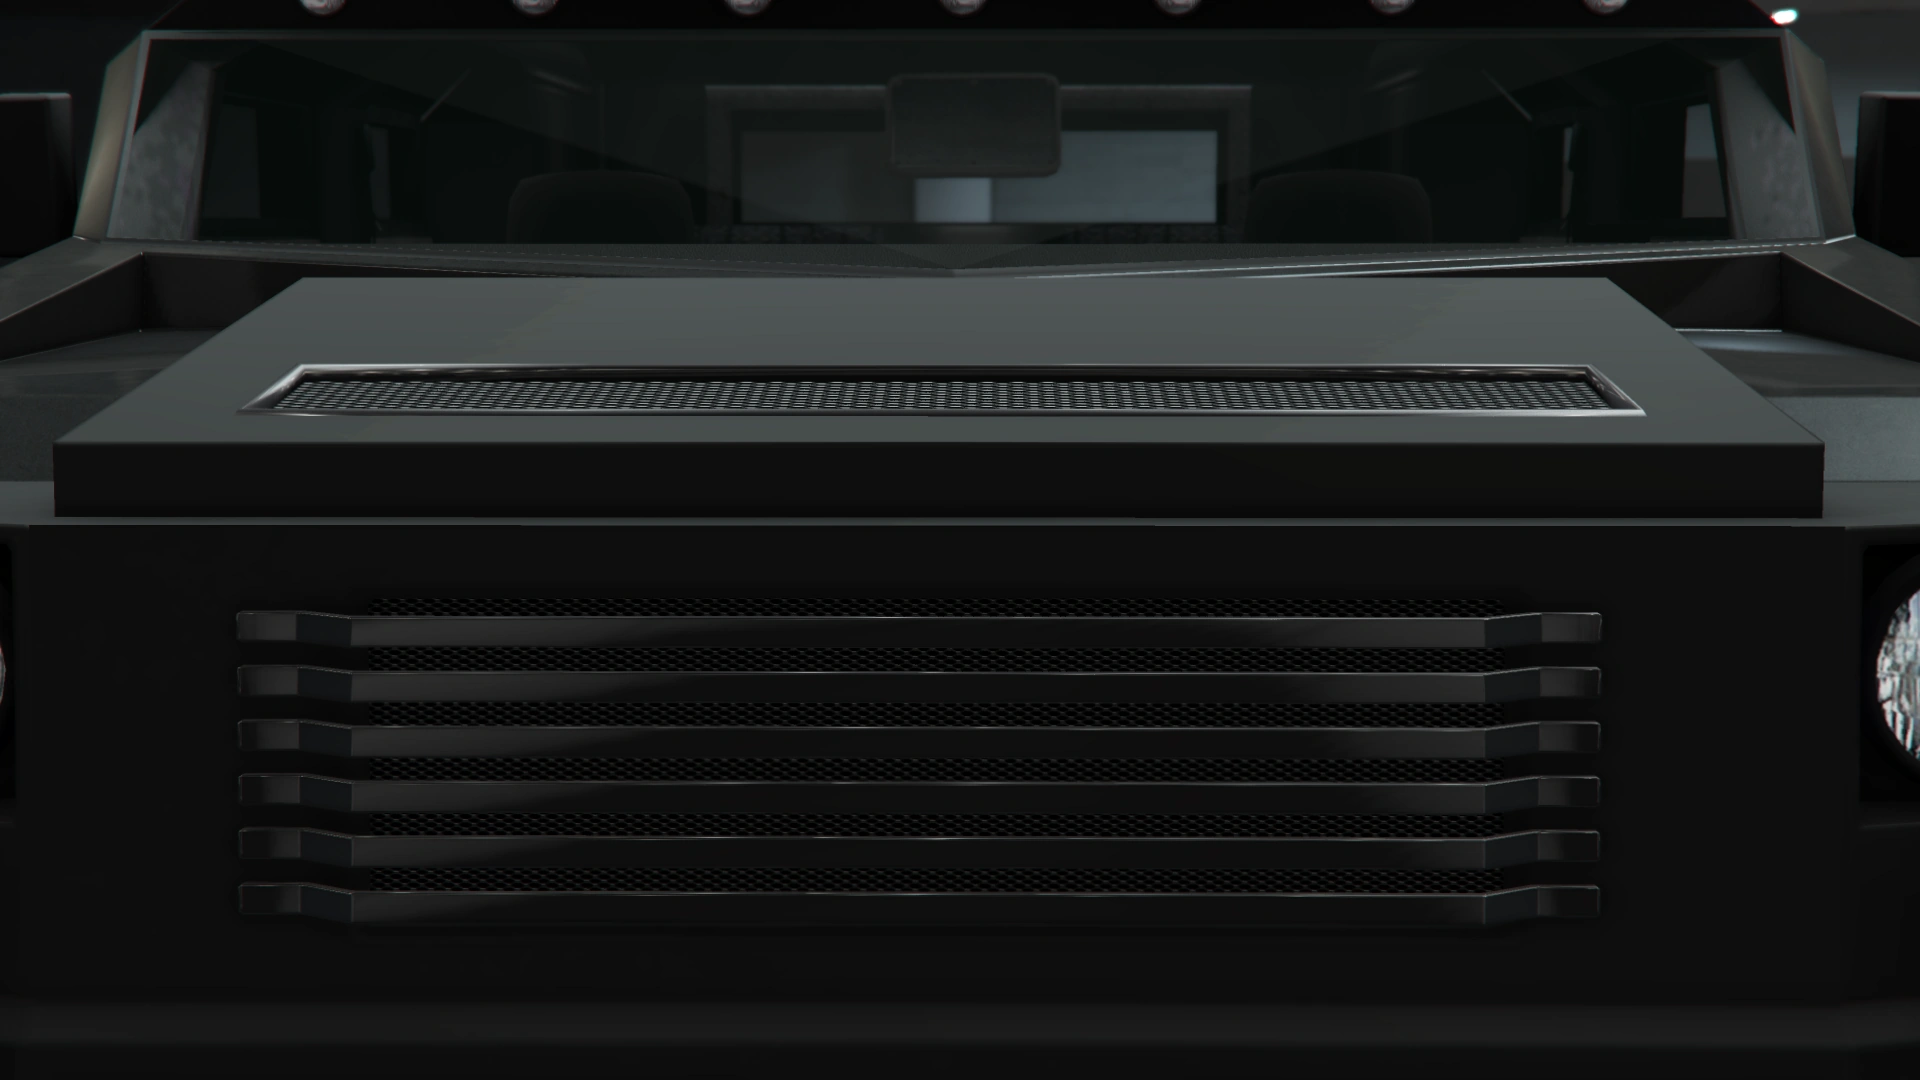
| + | |Stock Grille |
||
| + | | style="text-align: center;" |$200 |
||
| + | |[[File:Menacer-GTAO-StockGrille.png|thumb|center|220px]] |
||
| + | |- |
||
| + | |Stripped Grille |
||
| + | | style="text-align: center;" |$750 |
||
| + | |[[File:Menacer-GTAO-StrippedGrille.png|thumb|center|220px]] |
||
| + | |- |
||
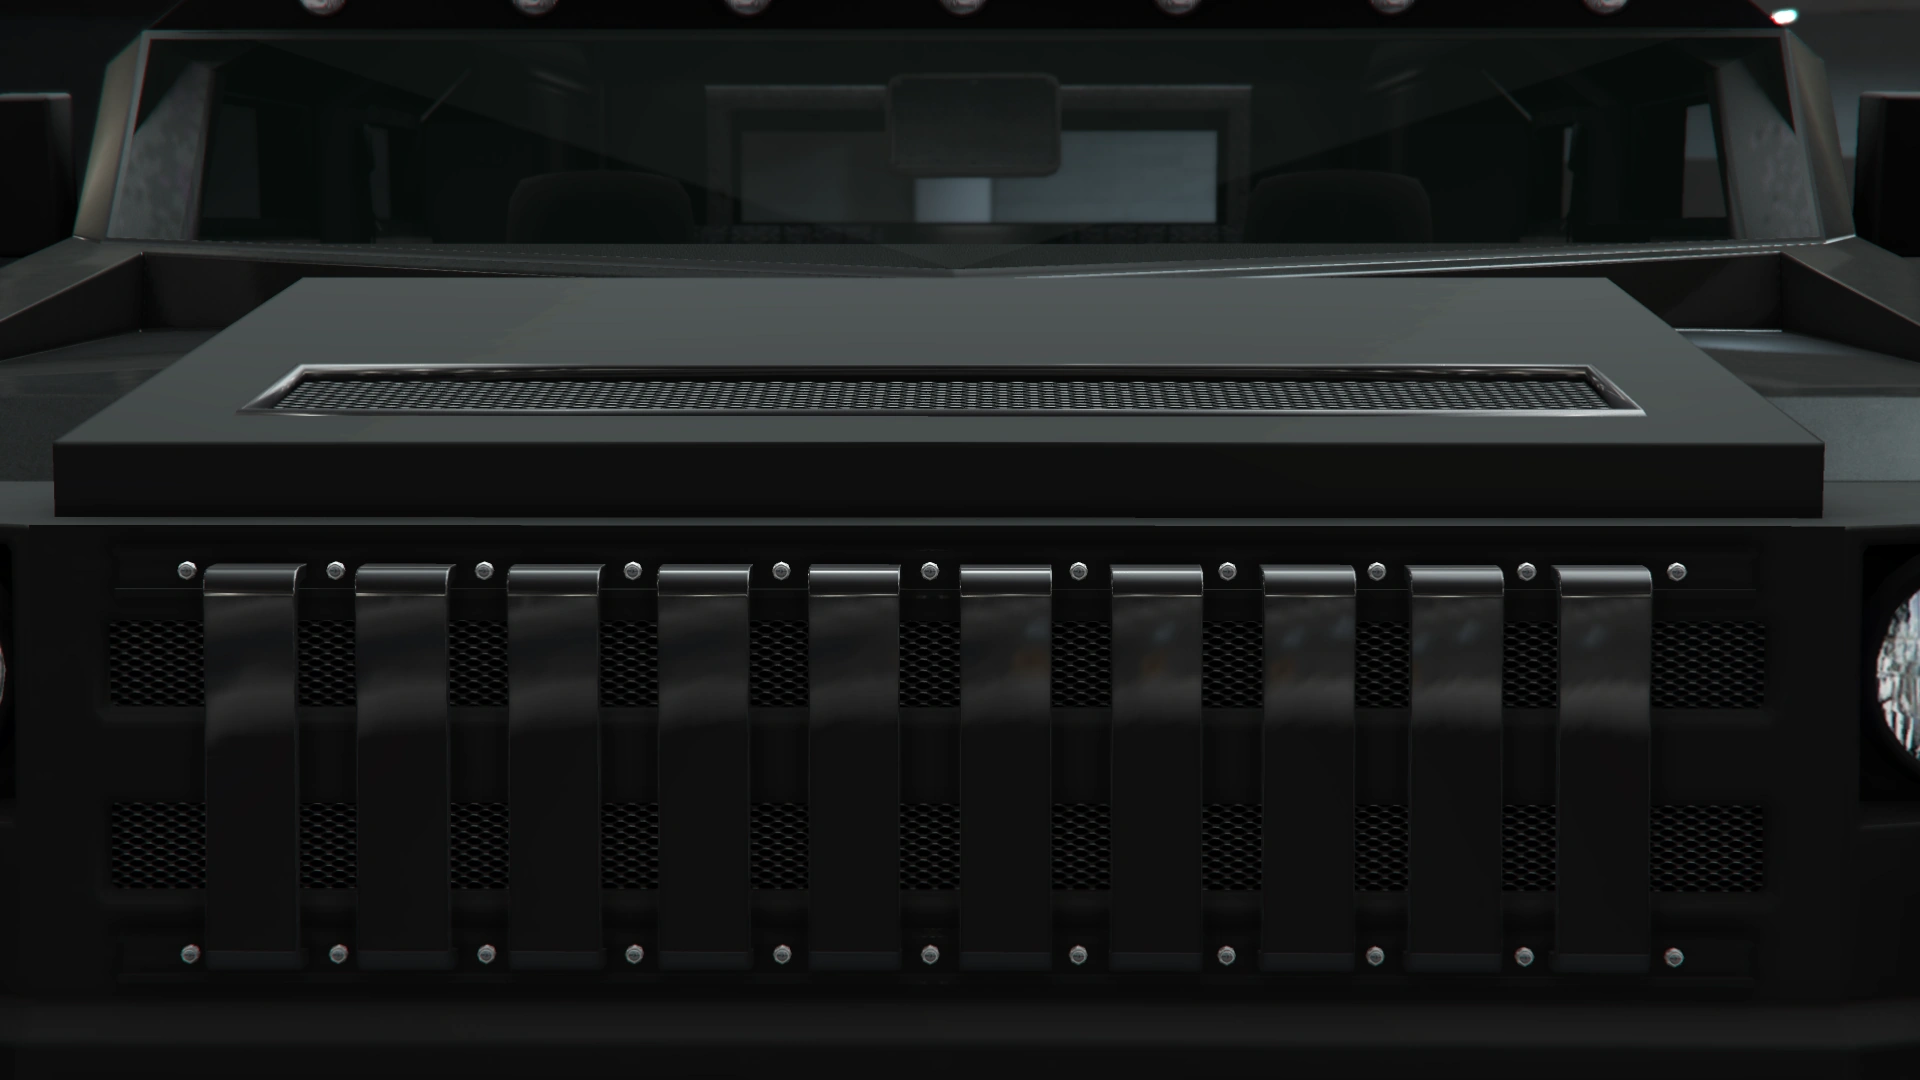
| + | |Geo Grille |
||
| + | | style="text-align: center;" |$1,340 |
||
| + | |[[File:Menacer-GTAO-GeoGrille.png|thumb|center|220px]] |
||
| + | |- |
||
| + | |Exposed Grille |
||
| + | | style="text-align: center;" |$1,650 |
||
| + | |[[File:Menacer-GTAO-ExposedGrille.png|thumb|center|220px]] |
||
| + | |- |
||
| + | |Cross-Barred Grille |
||
| + | | style="text-align: center;" |$3,000 |
||
| + | |[[File:Menacer-GTAO-CrossBarredGrille.png|thumb|center|220px]] |
||
| + | |- |
||
| + | |Combination Grille |
||
| + | | style="text-align: center;" |$3,200 |
||
| + | |[[File:Menacer-GTAO-CombinationGrille.png|thumb|center|220px]] |
||
| + | |- |
||
| + | |Upgraded Combination Grille |
||
| + | | style="text-align: center;" |$3,650 |
||
| + | |[[File:Menacer-GTAO-UpgradedCombinationGrille.png|thumb|center|220px]] |
||
| + | |- |
||
| + | |Intake Grille |
||
| + | | style="text-align: center;" |$4,100 |
||
| + | |[[File:Menacer-GTAO-IntakeGrille.png|thumb|center|220px]] |
||
| + | |- |
||
| + | |Chrome Intake Grille |
||
| + | | style="text-align: center;" |$4,550 |
||
| + | |[[File:Menacer-GTAO-ChromeIntakeGrille.png|thumb|center|220px]] |
||
| + | |- |
||
| + | |Carbon Intake Grille |
||
| + | | style="text-align: center;" |$5,000 |
||
| + | |[[File:Menacer-GTAO-CarbonIntakeGrille.png|thumb|center|220px]] |
||
| + | |- |
||
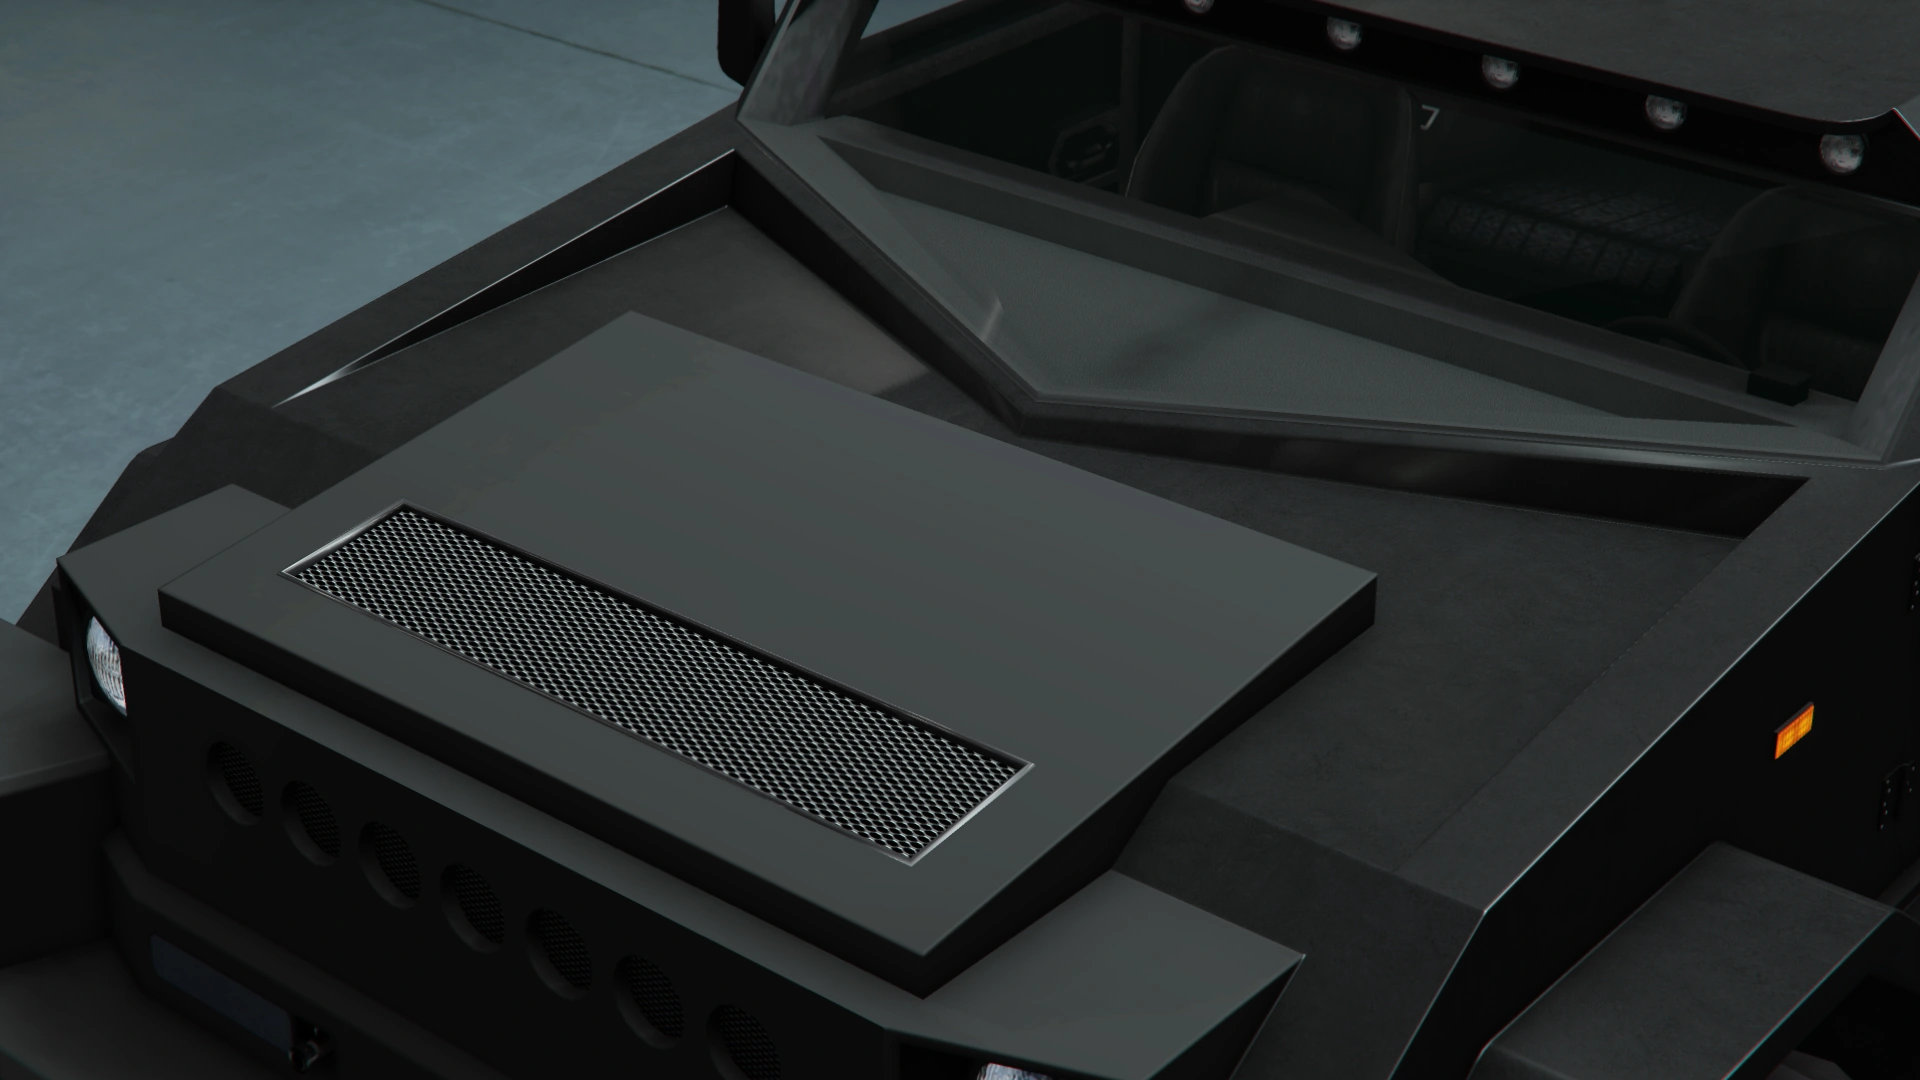
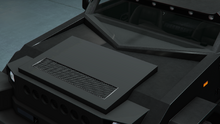
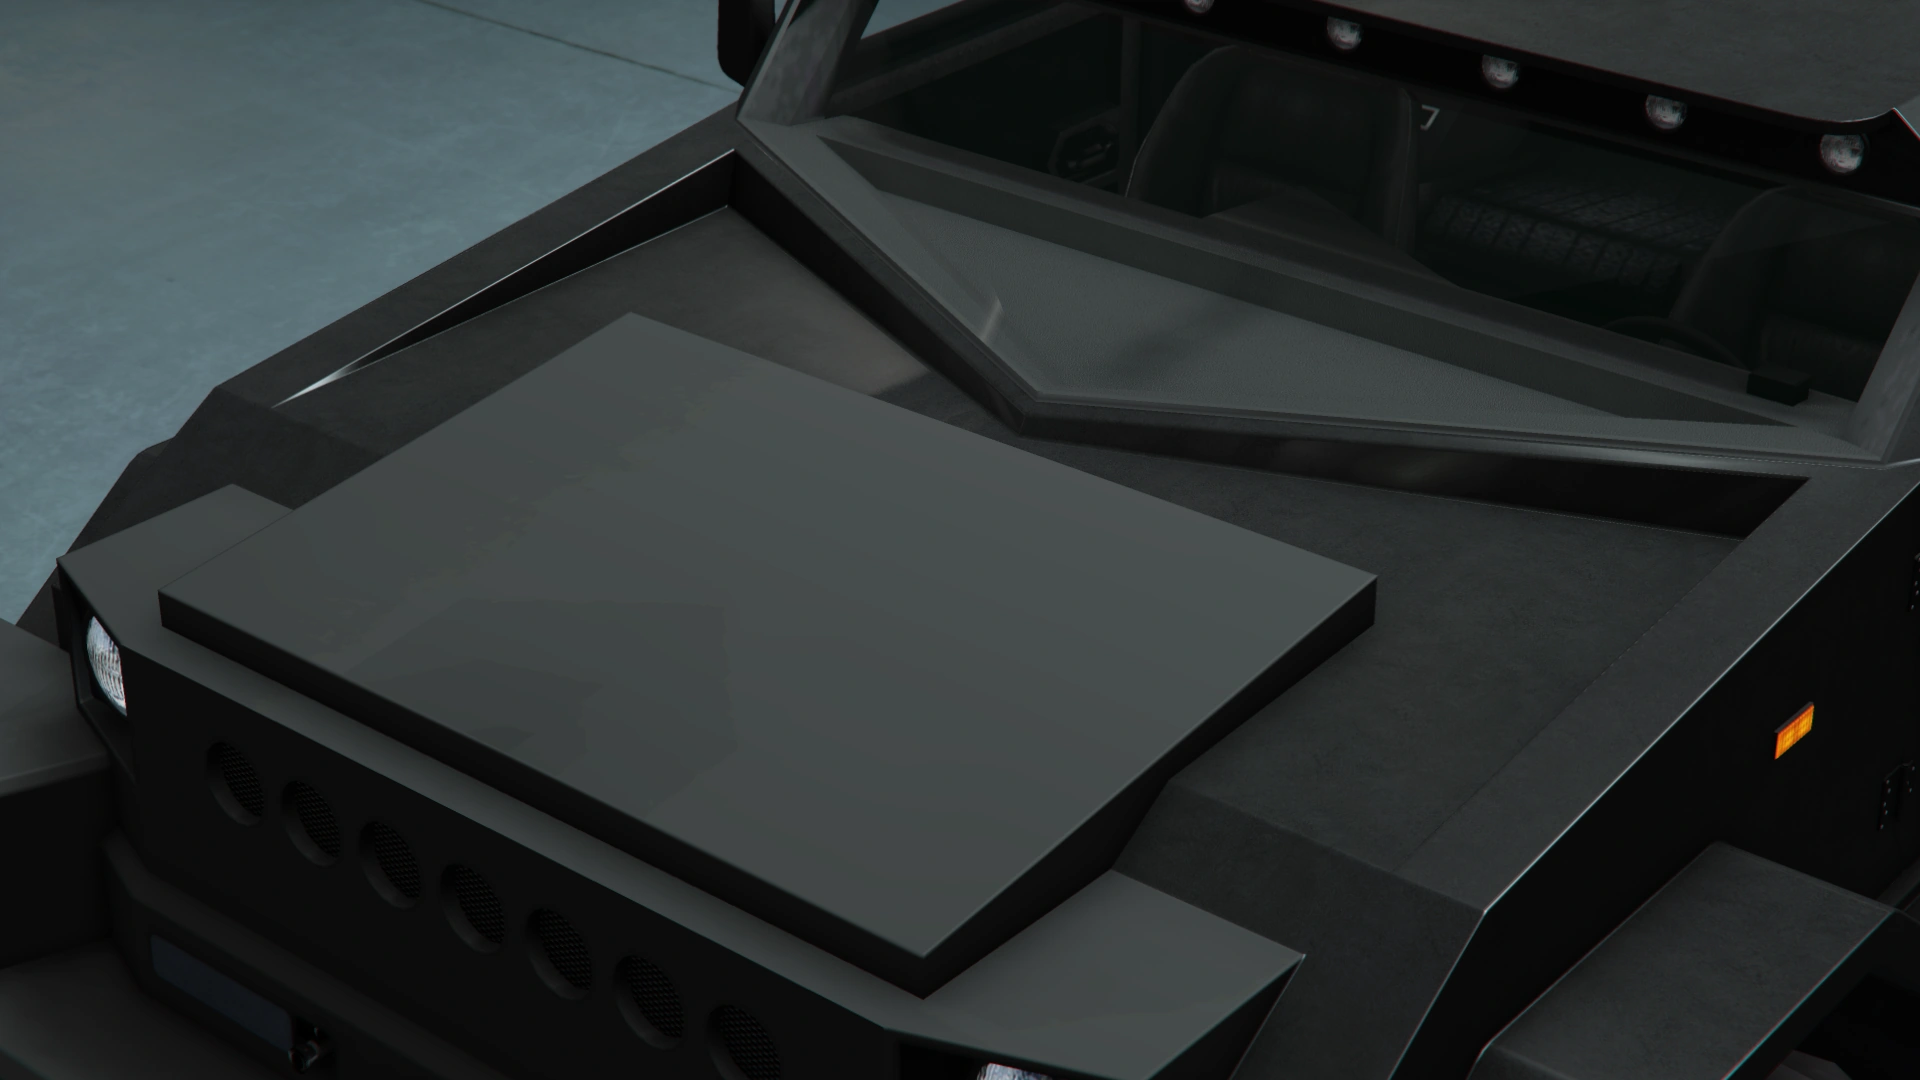
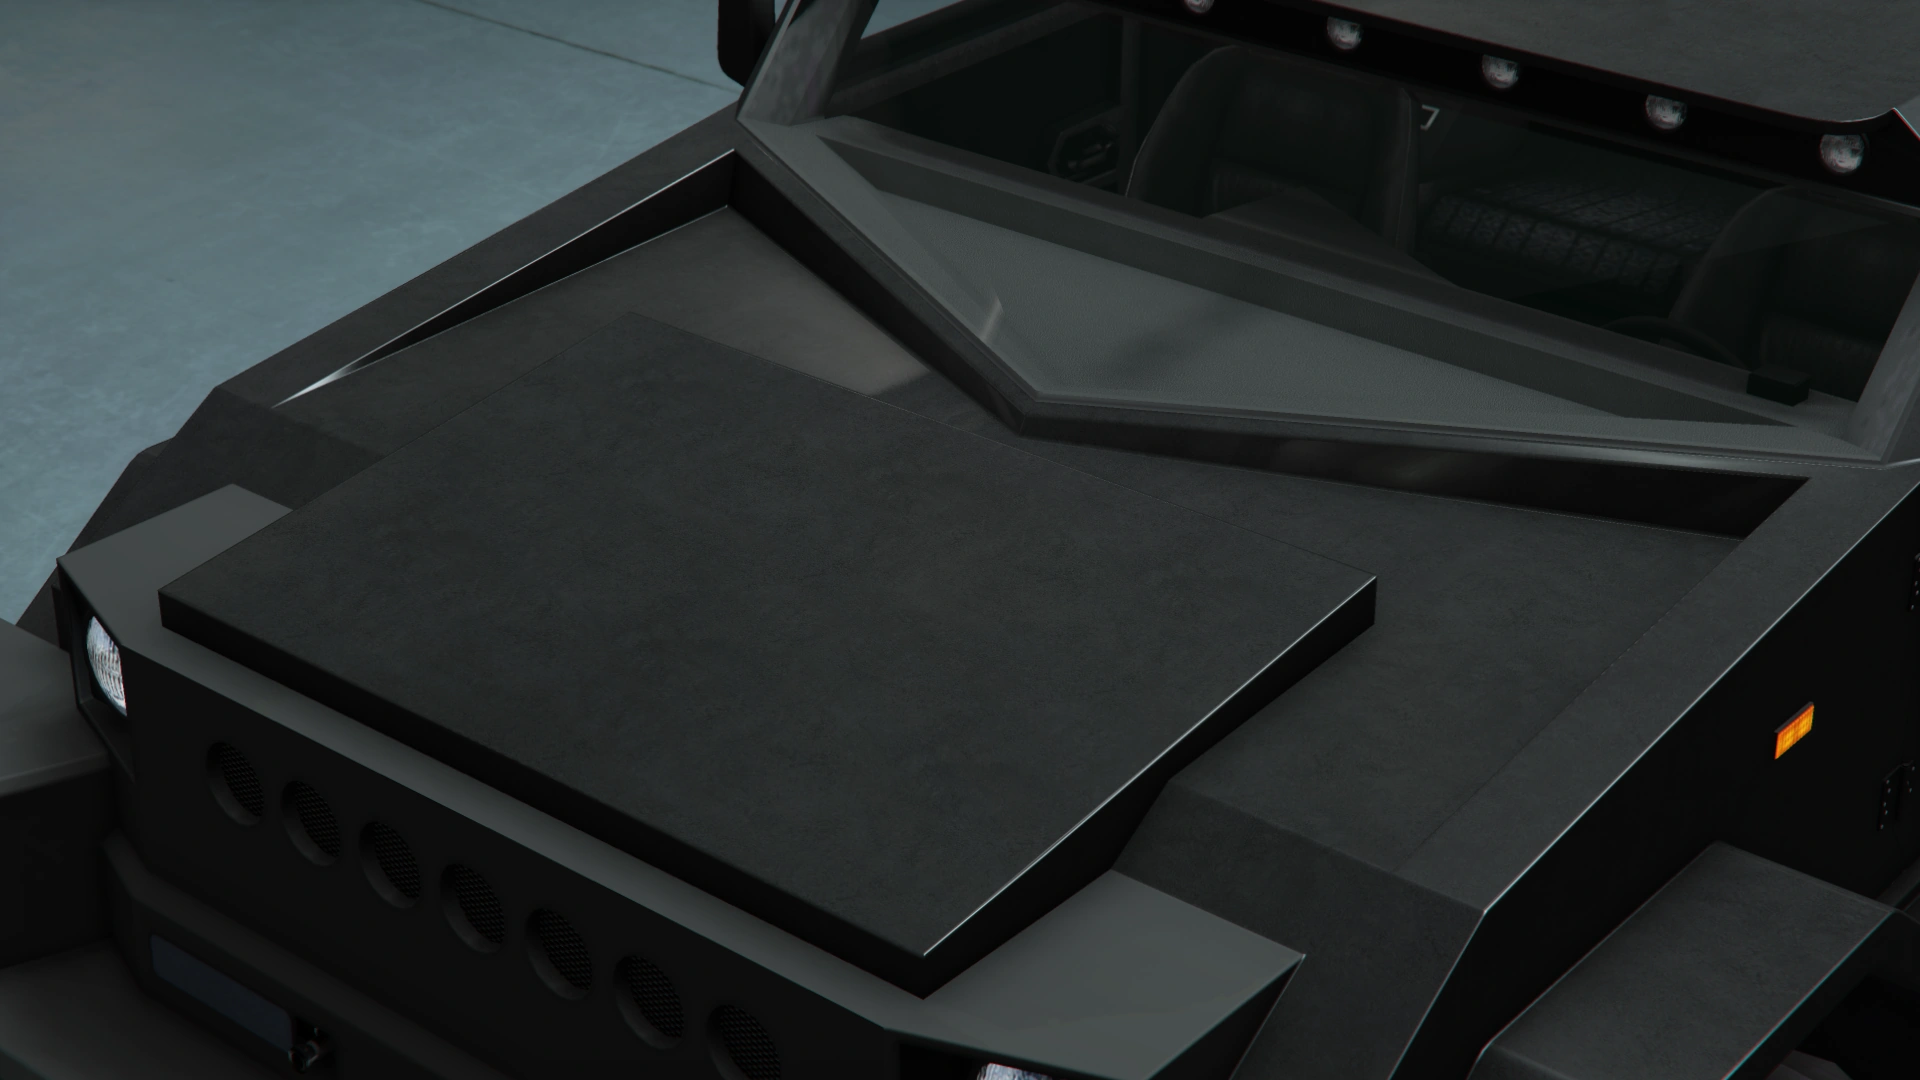
| + | | colspan="2" rowspan="22" |Hoods |
||
| + | |Stock Hood |
||
| + | | style="text-align: center;" |$1,600 |
||
| + | |[[File:Menacer-GTAO-StockHood.png|thumb|center|220px]] |
||
| + | |- |
||
| + | |Striped Hood |
||
| + | | style="text-align: center;" |$3,000 |
||
| + | |[[File:Menacer-GTAO-StrippedHood.png|thumb|center|220px]] |
||
| + | |- |
||
| + | |Primary Striped Hood |
||
| + | | style="text-align: center;" |$5,000 |
||
| + | |[[File:Menacer-GTAO-PrimaryStrippedHood.png|thumb|center|220px]] |
||
| + | |- |
||
| + | |Carbon Striped Hood |
||
| + | | style="text-align: center;" |$8,000 |
||
| + | |[[File:Menacer-GTAO-CarbonStrippedHood.png|thumb|center|220px]] |
||
| + | |- |
||
| + | |Vented Hood |
||
| + | | style="text-align: center;" |$9,600 |
||
| + | |[[File:Menacer-GTAO-VentedHood.png|thumb|center|220px]] |
||
| + | |- |
||
| + | |Primary Vented Hood |
||
| + | | style="text-align: center;" |$11,000 |
||
| + | |[[File:Menacer-GTAO-PrimaryVentedHood.png|thumb|center|220px]] |
||
| + | |- |
||
| + | |Carbon Vented Hood |
||
| + | | style="text-align: center;" |$11,600 |
||
| + | |[[File:Menacer-GTAO-CarbonVentedHood.png|thumb|center|220px]] |
||
| + | |- |
||
| + | |Durbar Bulkhead |
||
| + | | style="text-align: center;" |$12,000 |
||
| + | |[[File:Menacer-GTAO-DurbarBulkhead.png|thumb|center|220px]] |
||
| + | |- |
||
| + | |Primary Durbar Bulkhead |
||
| + | | style="text-align: center;" |$12,400 |
||
| + | |[[File:Menacer-GTAO-PrimaryDurbarBulkhead.png|thumb|center|220px]] |
||
| + | |- |
||
| + | |Carbon Durbar Bulkhead |
||
| + | | style="text-align: center;" |$12,400 |
||
| + | |[[File:Menacer-GTAO-CarbonDurbarBulkhead.png|thumb|center|220px]] |
||
| + | |- |
||
| + | |Bevel Hatch |
||
| + | | style="text-align: center;" |$12,500 |
||
| + | |[[File:Menacer-GTAO-BevelHatch.png|thumb|center|220px]] |
||
| + | |- |
||
| + | |Primary Bevel Hatch |
||
| + | | style="text-align: center;" |$12,900 |
||
| + | |[[File:Menacer-GTAO-PrimaryBevelHatch.png|thumb|center|220px]] |
||
| + | |- |
||
| + | |Carbon Bevel Hatch |
||
| + | | style="text-align: center;" |$13,250 |
||
| + | |[[File:Menacer-GTAO-CarbonBevelHatch.png|thumb|center|220px]] |
||
| + | |- |
||
| + | |Panel Guards |
||
| + | | style="text-align: center;" |$13,600 |
||
| + | |[[File:Menacer-GTAO-PanelGuards.png|thumb|center|220px]] |
||
| + | |- |
||
| + | |Primary Panel Guards |
||
| + | | style="text-align: center;" |$13,900 |
||
| + | |[[File:Menacer-GTAO-PrimaryPanelGuards.png|thumb|center|220px]] |
||
| + | |- |
||
| + | |Carbon Panel Guards |
||
| + | | style="text-align: center;" |$14,150 |
||
| + | |[[File:Menacer-GTAO-CarbonPanelGuards.png|thumb|center|220px]] |
||
| + | |- |
||
| + | |Vent Scoop |
||
| + | | style="text-align: center;" |$14,400 |
||
| + | |[[File:Menacer-GTAO-VentScoop.png|thumb|center|220px]] |
||
| + | |- |
||
| + | |Primary Vent Scoop |
||
| + | | style="text-align: center;" |$14,650 |
||
| + | |[[File:Menacer-GTAO-PrimaryVentScoop.png|thumb|center|220px]] |
||
| + | |- |
||
| + | |Carbon Vent Scoop |
||
| + | | style="text-align: center;" |$14,850 |
||
| + | |[[File:Menacer-GTAO-CarbonVentScoop.png|thumb|center|220px]] |
||
| + | |- |
||
| + | |Utility Hood |
||
| + | | style="text-align: center;" |$15,050 |
||
| + | |[[File:Menacer-GTAO-UtilityHood.png|thumb|center|220px]] |
||
| + | |- |
||
| + | |Primary Utility Hood |
||
| + | | style="text-align: center;" |$15,250 |
||
| + | |[[File:Menacer-GTAO-PrimaryUtilityHood.png|thumb|center|220px]] |
||
| + | |- |
||
| + | |Carbon Utility Hood |
||
| + | | style="text-align: center;" |$15,450 |
||
| + | |[[File:Menacer-GTAO-CarbonUtilityHood.png|thumb|center|220px]] |
||
| + | |- |
||
| + | | colspan="2" |Horns |
||
| + | |''Main article: [[Los Santos Customs/Horns]]'' |
||
| + | | colspan="2" style="text-align: center;" | - |
||
| + | |- |
||
| + | | rowspan="3" |Lights |
||
| + | | rowspan="2" |Headlights |
||
| + | |Stock Lights |
||
| + | | colspan="2" style="text-align: center;" |$600 |
||
| + | |- |
||
| + | |Xenon Lights |
||
| + | | colspan="2" style="text-align: center;" |$7,500 |
||
| + | |- |
||
| + | |Neon Kits |
||
| + | |''Main article: [[Los Santos Customs/Lights]]'' |
||
| + | | colspan="2" style="text-align: center;" | - |
||
| + | |- |
||
| + | | colspan="2" rowspan="25" |Livery |
||
| + | |None |
||
| + | | style="text-align: center;" |$11,400 |
||
| + | | |
||
| + | |- |
||
| + | |Basic Camo |
||
| + | | style="text-align: center;" |$18,240 |
||
| + | | |
||
| + | |- |
||
| + | |Zancudo Camo |
||
| + | | style="text-align: center;" |$19,380 |
||
| + | | |
||
| + | |- |
||
| + | |Sprayed Camo |
||
| + | | style="text-align: center;" |$20,520 |
||
| + | | |
||
| + | |- |
||
| + | |3 Color Outline |
||
| + | | style="text-align: center;" |$21,660 |
||
| + | | |
||
| + | |- |
||
| + | |90s Sandbox |
||
| + | | style="text-align: center;" |$22,800 |
||
| + | | |
||
| + | |- |
||
| + | |Modern 5 Color |
||
| + | | style="text-align: center;" |$23,370 |
||
| + | | |
||
| + | |- |
||
| + | |Arid Theater |
||
| + | | style="text-align: center;" |$23,939 |
||
| + | | |
||
| + | |- |
||
| + | |Winter Camo |
||
| + | | style="text-align: center;" |$24,510 |
||
| + | | |
||
| + | |- |
||
| + | |Urban Warrior |
||
| + | | style="text-align: center;" |$25,080 |
||
| + | | |
||
| + | |- |
||
| + | |Nature Reserve* |
||
| + | | style="text-align: center;" |$25,650 |
||
| + | | |
||
| + | |- |
||
| + | |Naval Battle* |
||
| + | | style="text-align: center;" |$26,220 |
||
| + | | |
||
| + | |- |
||
| + | |Urban Geometric* |
||
| + | | style="text-align: center;" |$26,789 |
||
| + | | |
||
| + | |- |
||
| + | |Coyote Geometric* |
||
| + | | style="text-align: center;" |$27,360 |
||
| + | | |
||
| + | |- |
||
| + | |Large Geometric* |
||
| + | | style="text-align: center;" |$27,930 |
||
| + | | |
||
| + | |- |
||
| + | |Naval Geometric* |
||
| + | | style="text-align: center;" |$28,500 |
||
| + | | |
||
| + | |- |
||
| + | |Desert Fractal* |
||
| + | | style="text-align: center;" |$29,070 |
||
| + | | |
||
| + | |- |
||
| + | |Urban Fractal* |
||
| + | | style="text-align: center;" |$29,639 |
||
| + | | |
||
| + | |- |
||
| + | |Large Digital* |
||
| + | | style="text-align: center;" |$30,210 |
||
| + | | |
||
| + | |- |
||
| + | |Medium Digital* |
||
| + | | style="text-align: center;" |$30,780 |
||
| + | | |
||
| + | |- |
||
| + | |Small Digital* |
||
| + | | style="text-align: center;" |$31,350 |
||
| + | | |
||
| + | |- |
||
| + | | colspan="3" style="text-align: center;" |Released as part of the [[GTA Online: After Hours|After Hours]] update. |
||
| + | |- |
||
| + | |Orange Shade Camo<ref name="menacer_week">Awarded for players who logged during the [[Menacer Week]] event (August 28st, [[2018]] - September 3rd, 2018).</ref> |
||
| + | | style="text-align: center;" |FREE |
||
| + | | |
||
| + | |- |
||
| + | |Blue Tartan<ref name="menacer_week"></ref> |
||
| + | | style="text-align: center;" |FREE |
||
| + | | |
||
| + | |- |
||
| + | |[[Santo Capra]] Coins<ref>Awarded for players who logged during the [[Running Back (Remix) Week]] event (September 18th, [[2018]] - September 24th, 2018).</ref> |
||
| + | | style="text-align: center;" |FREE |
||
| + | | |
||
| + | |- |
||
| + | | colspan="2" rowspan="2" |Loss/Theft Prevention |
||
| + | |Tracker |
||
| + | | colspan="2" style="text-align: center;" | |
||
| + | |- |
||
| + | |Full Coverage |
||
| + | | colspan="2" style="text-align: center;" | |
||
| + | |- |
||
| + | | colspan="2" rowspan="5" |Plates |
||
| + | |Blue on White 1 |
||
| + | | colspan="2" style="text-align: center;" |$200 |
||
| + | |- |
||
| + | |Blue on White 2 |
||
| + | | colspan="2" style="text-align: center;" |$200 |
||
| + | |- |
||
| + | |Blue on White 3 |
||
| + | | colspan="2" style="text-align: center;" |$200 |
||
| + | |- |
||
| + | |Yellow on Blue |
||
| + | | colspan="2" style="text-align: center;" |$300 |
||
| + | |- |
||
| + | |Yellow on Black |
||
| + | | colspan="2" style="text-align: center;" |$600 |
||
| + | |- |
||
| + | | colspan="2" |Respray |
||
| + | |''Main article: [[Los Santos Customs/Respray Colors]]'' |
||
| + | | colspan="2" style="text-align: center;" | - |
||
| + | |- |
||
| + | | colspan="2" |Sell |
||
| + | |Sell Vehicle |
||
| + | | colspan="2" style="text-align: center;" | |
||
| + | |- |
||
| + | | colspan="2" rowspan="5" |Roofs |
||
| + | |Stock Roof |
||
| + | | style="text-align: center;" |$200 |
||
| + | |[[File:Menacer-GTAO-StockRoof.png|thumb|center|220px]] |
||
| + | |- |
||
| + | |Durbar Armor Panel |
||
| + | | style="text-align: center;" |$700 |
||
| + | |[[File:Menacer-GTAO-DurbarArmorPanel.png|thumb|center|220px]] |
||
| + | |- |
||
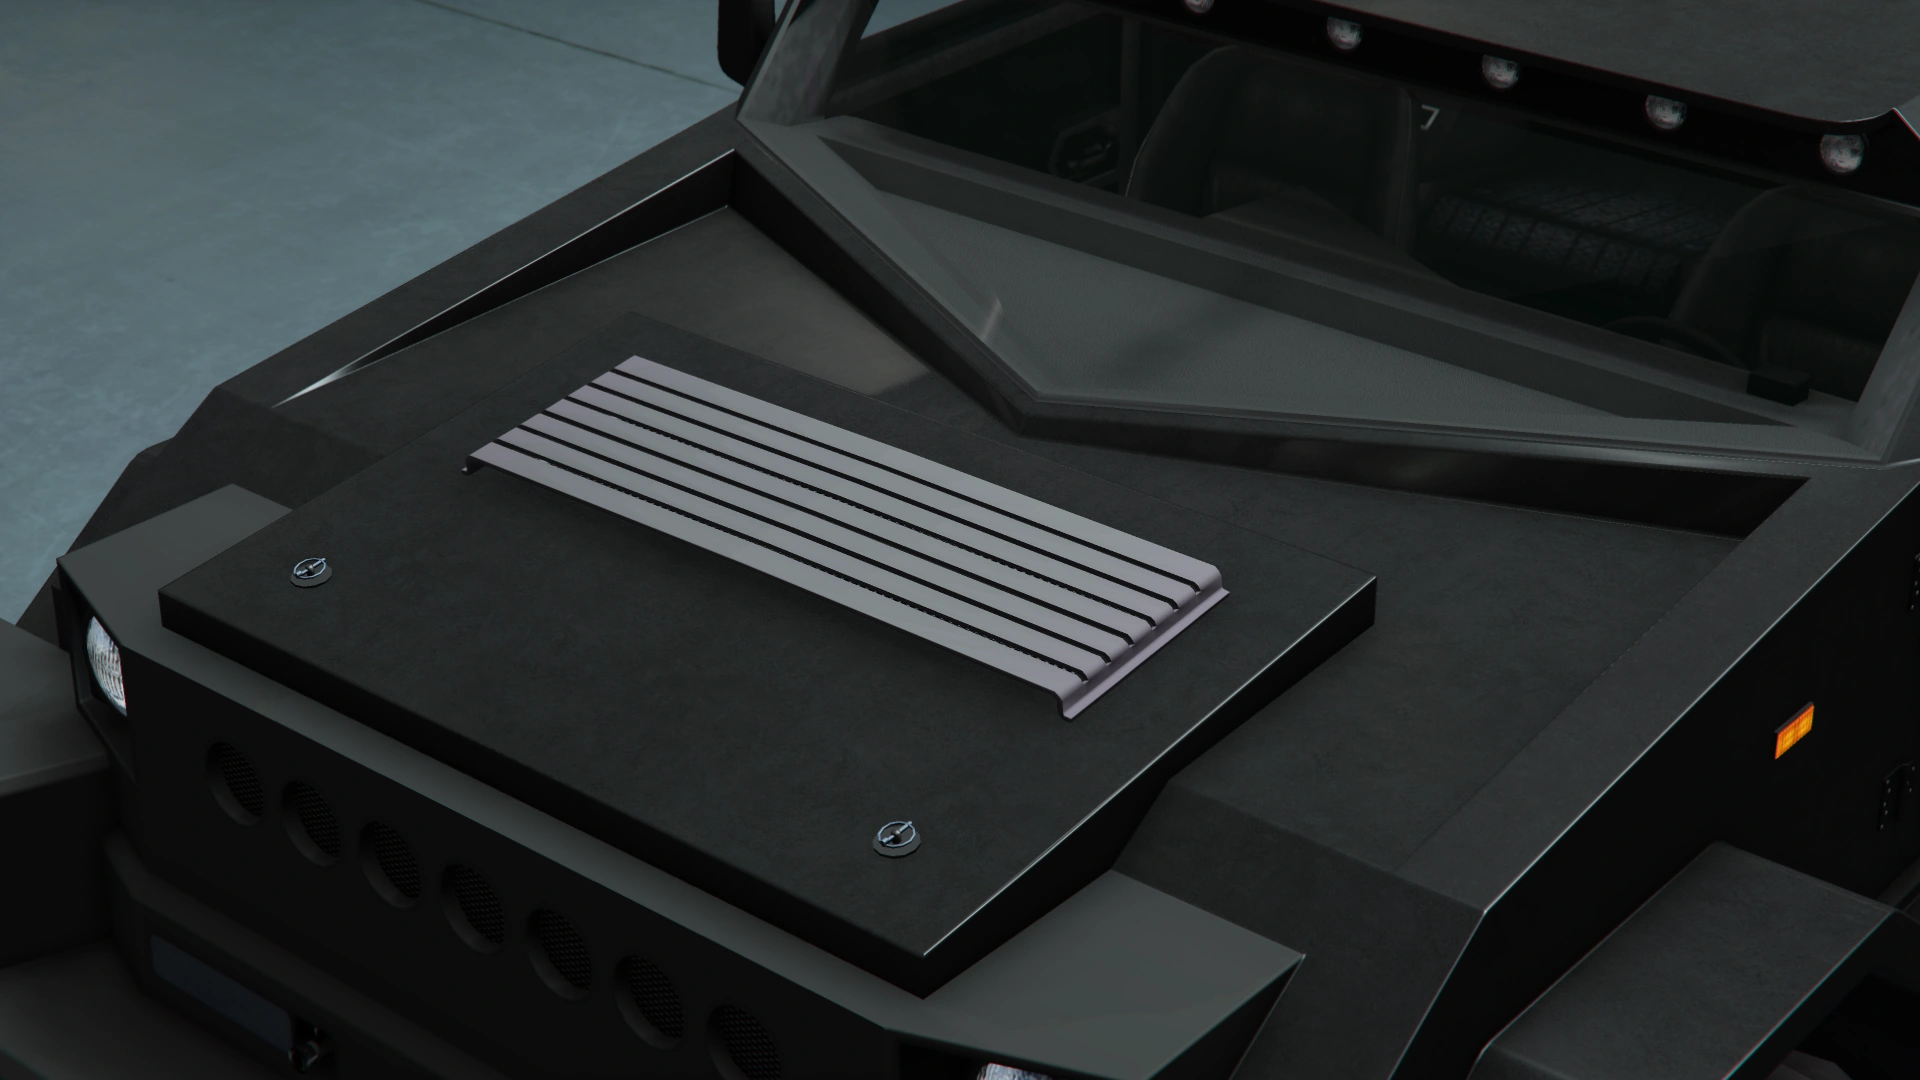
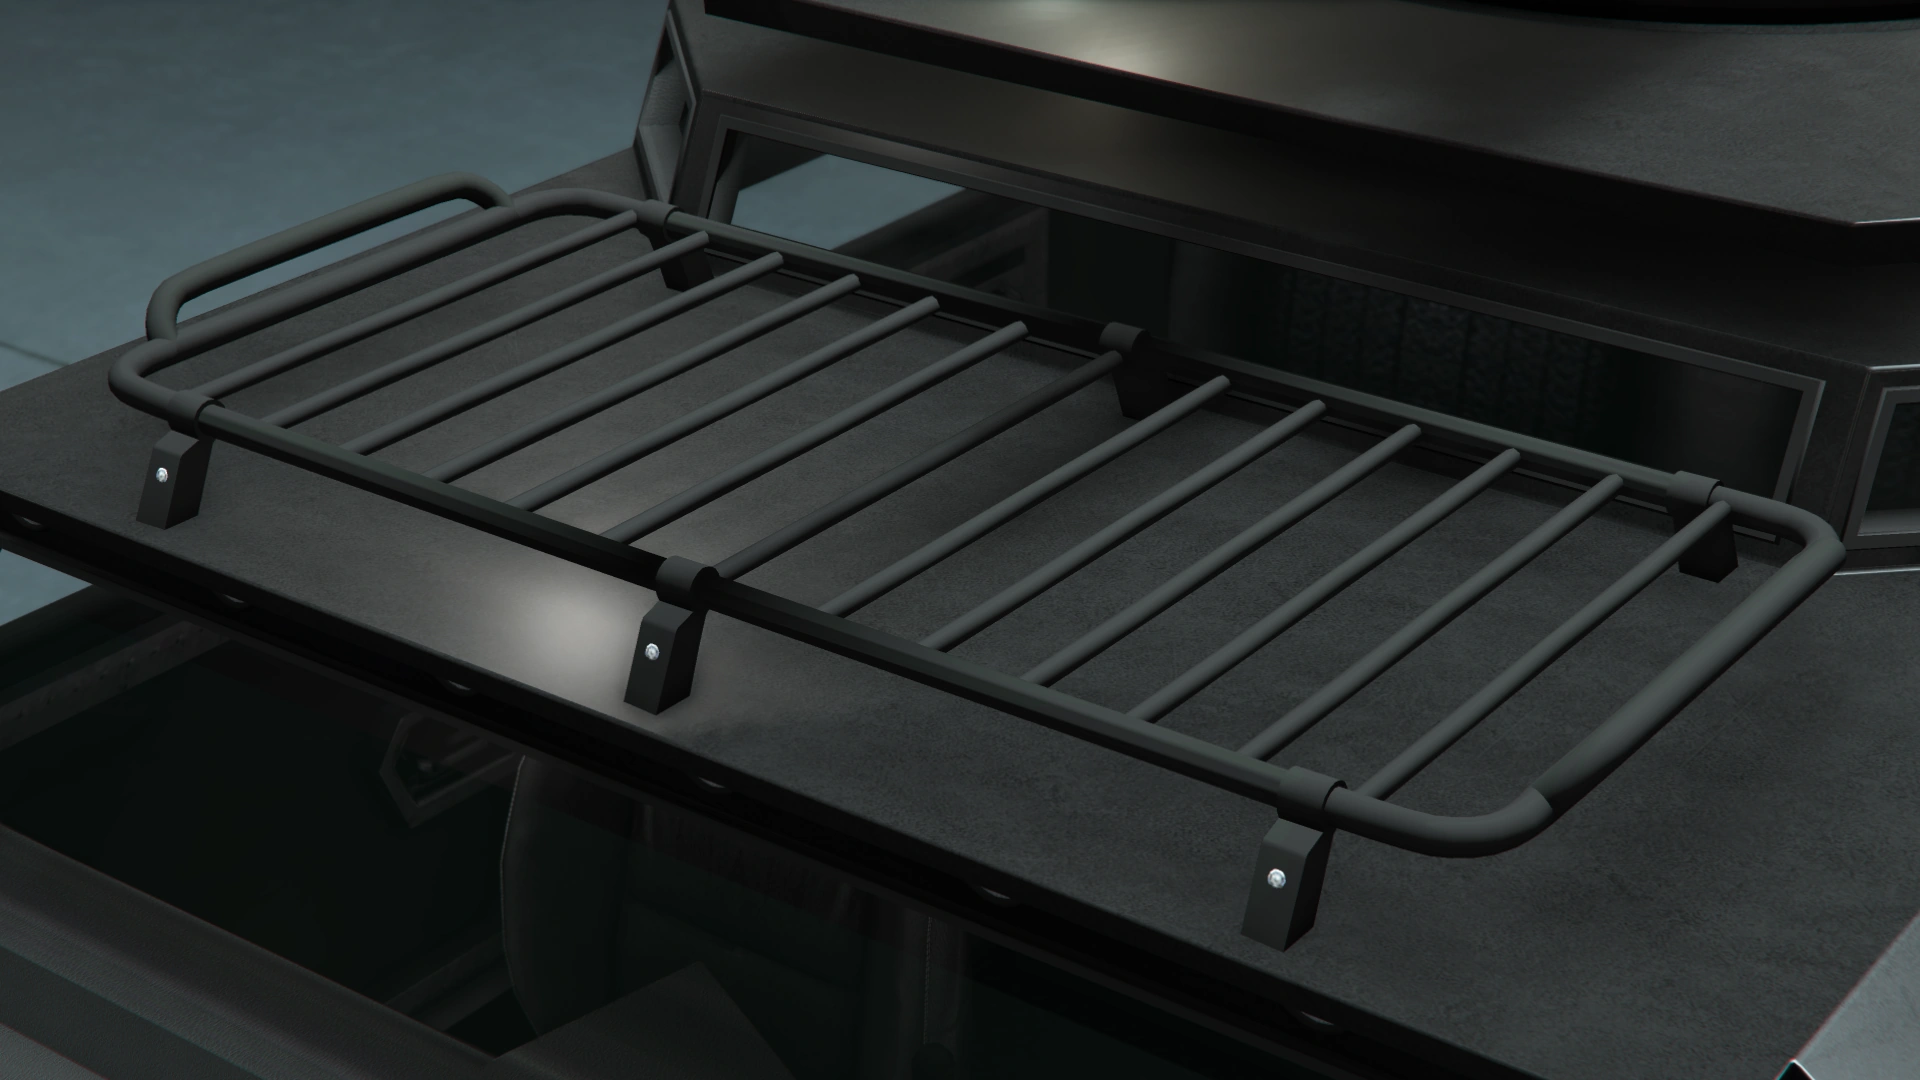
| + | |Military Support Slats |
||
| + | | style="text-align: center;" |$1,150 |
||
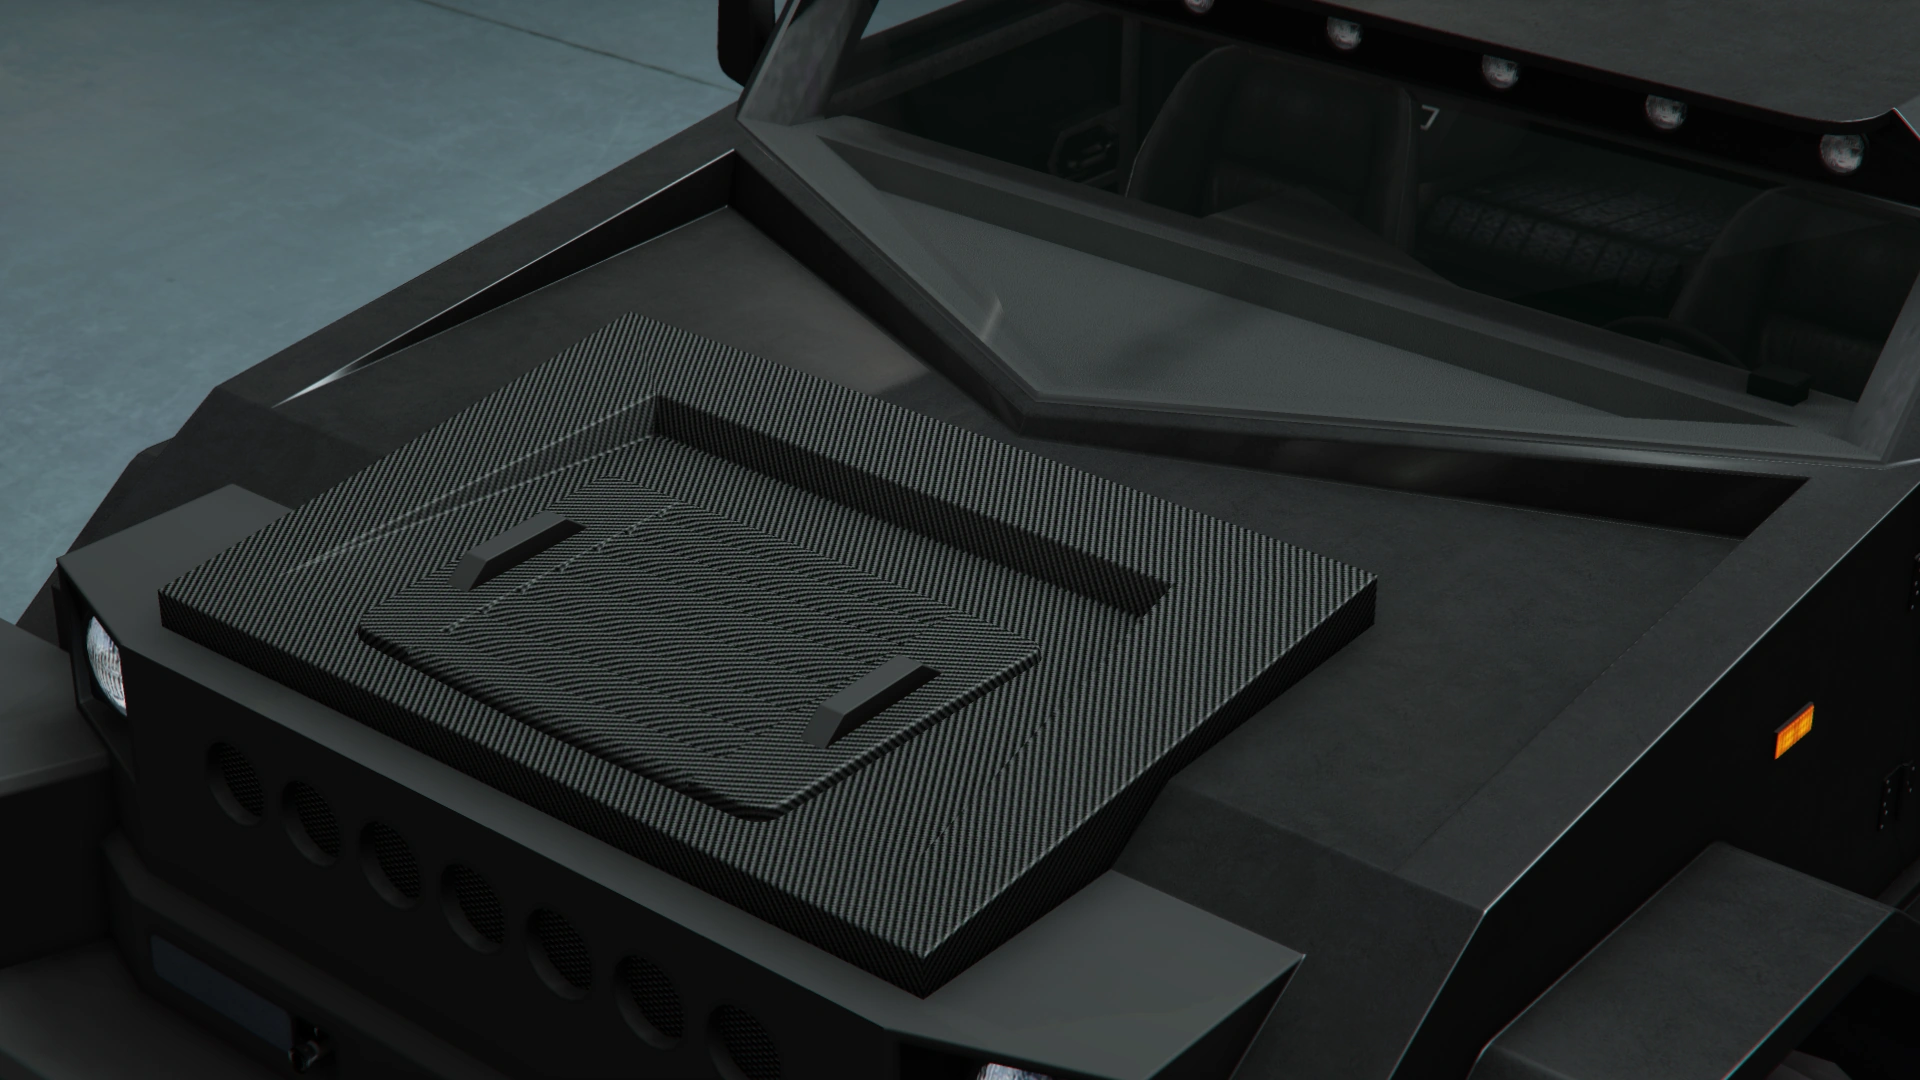
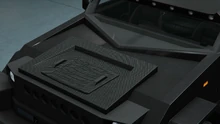
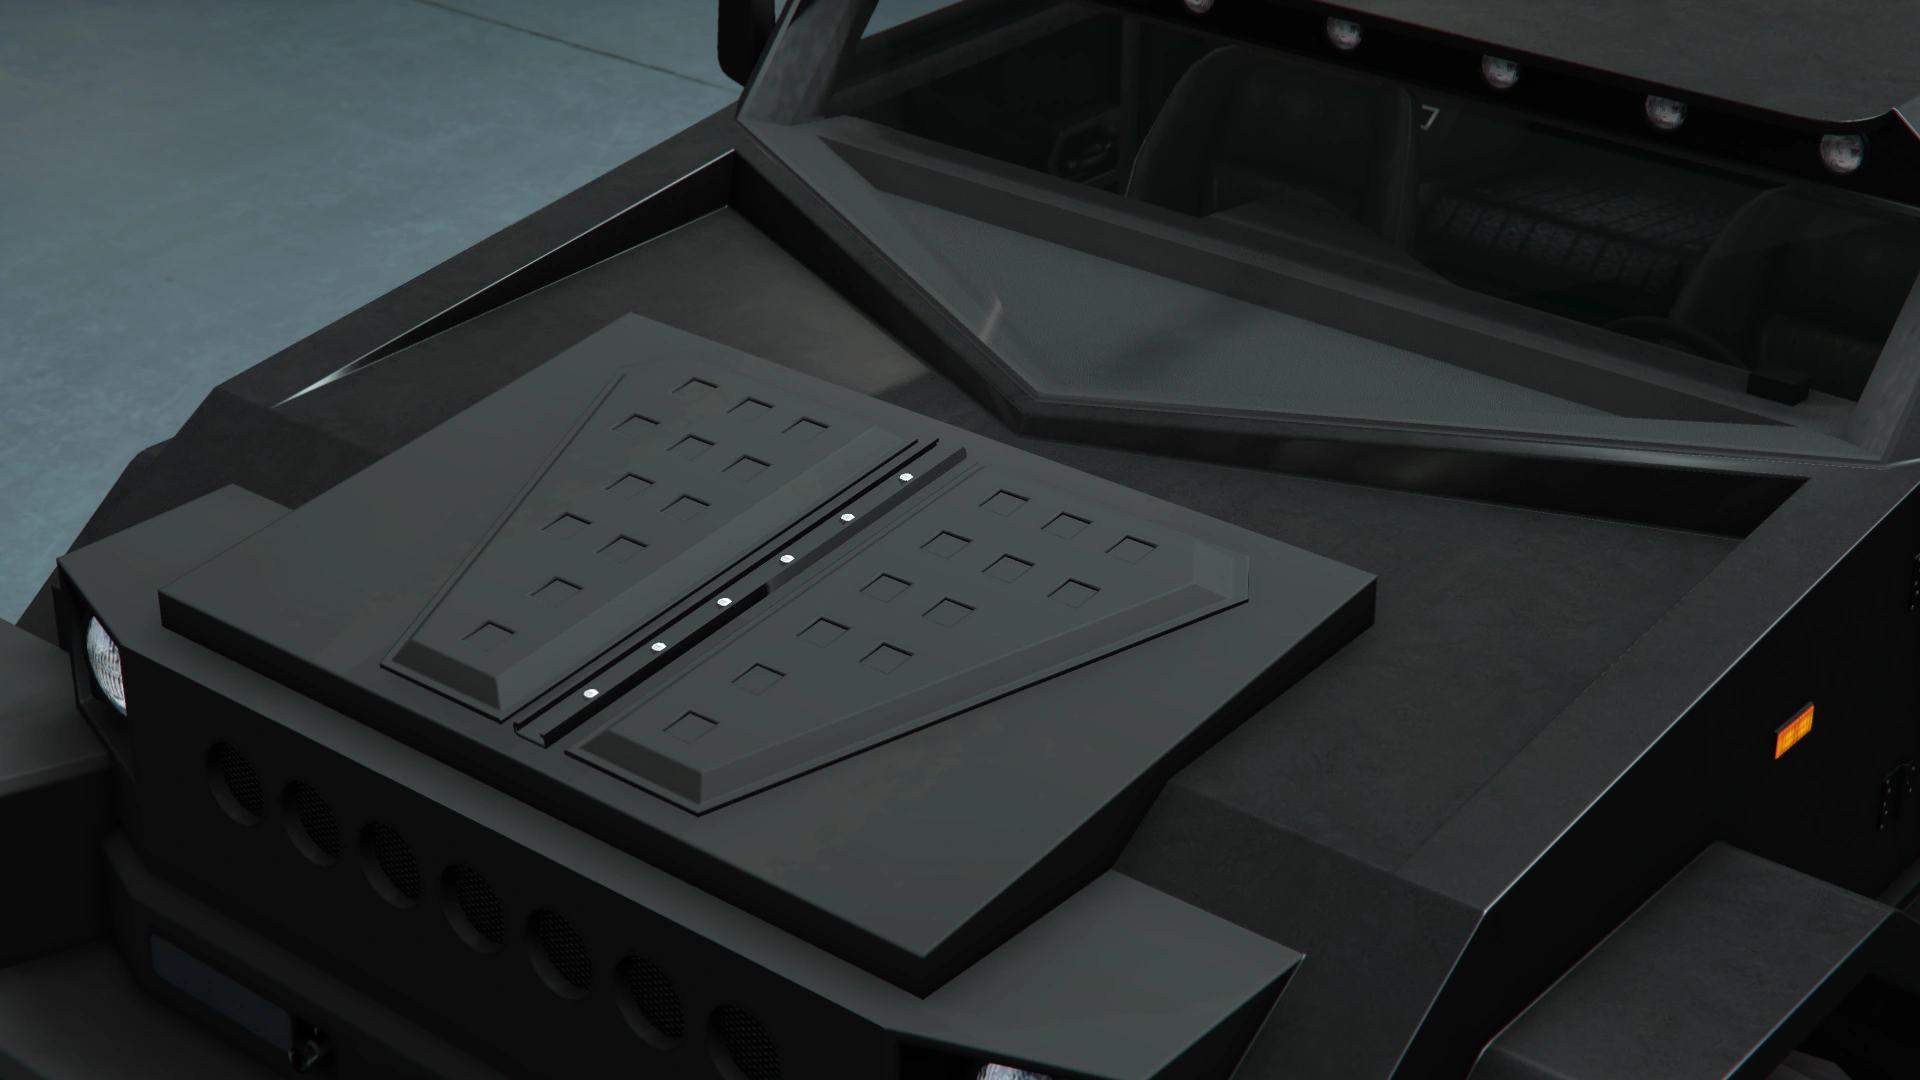
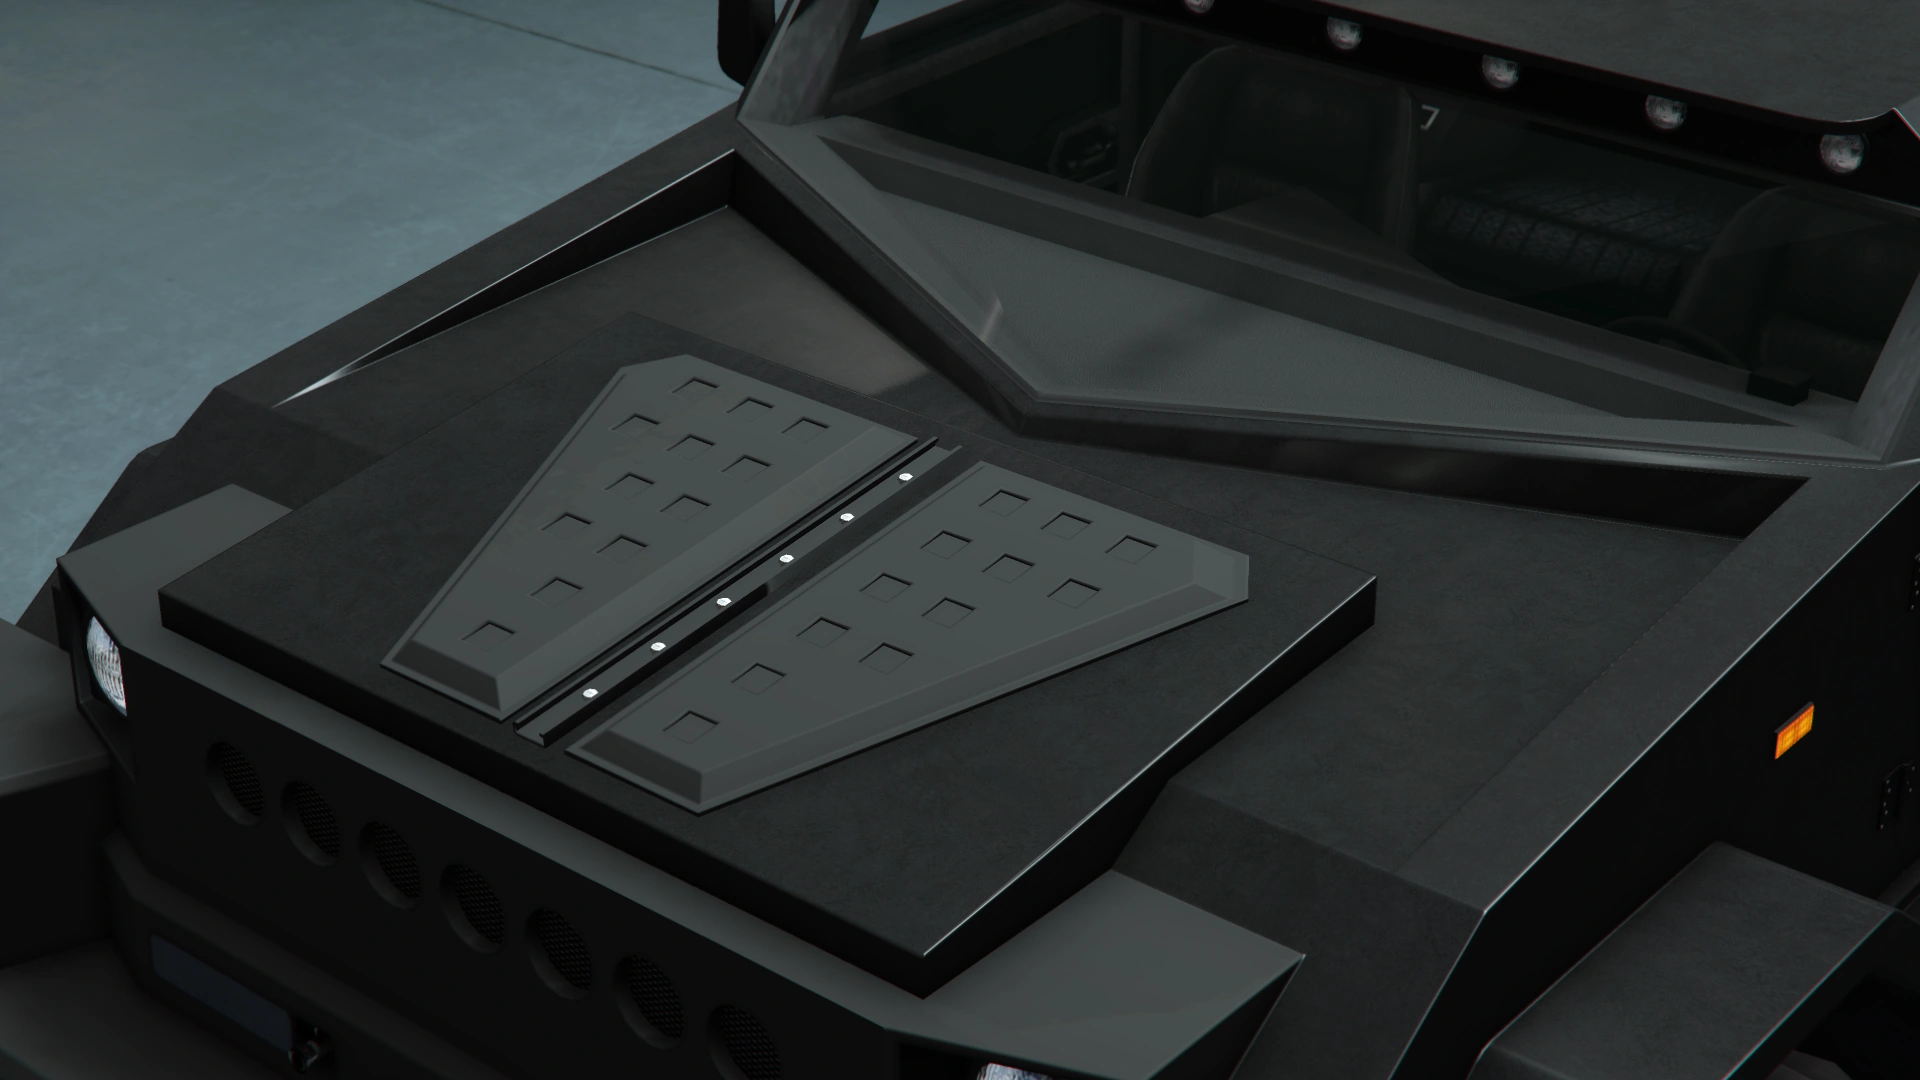
| + | |[[File:Menacer-GTAO-MilitarySupportSlats.png|thumb|center|220px]] |
||
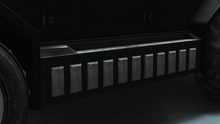
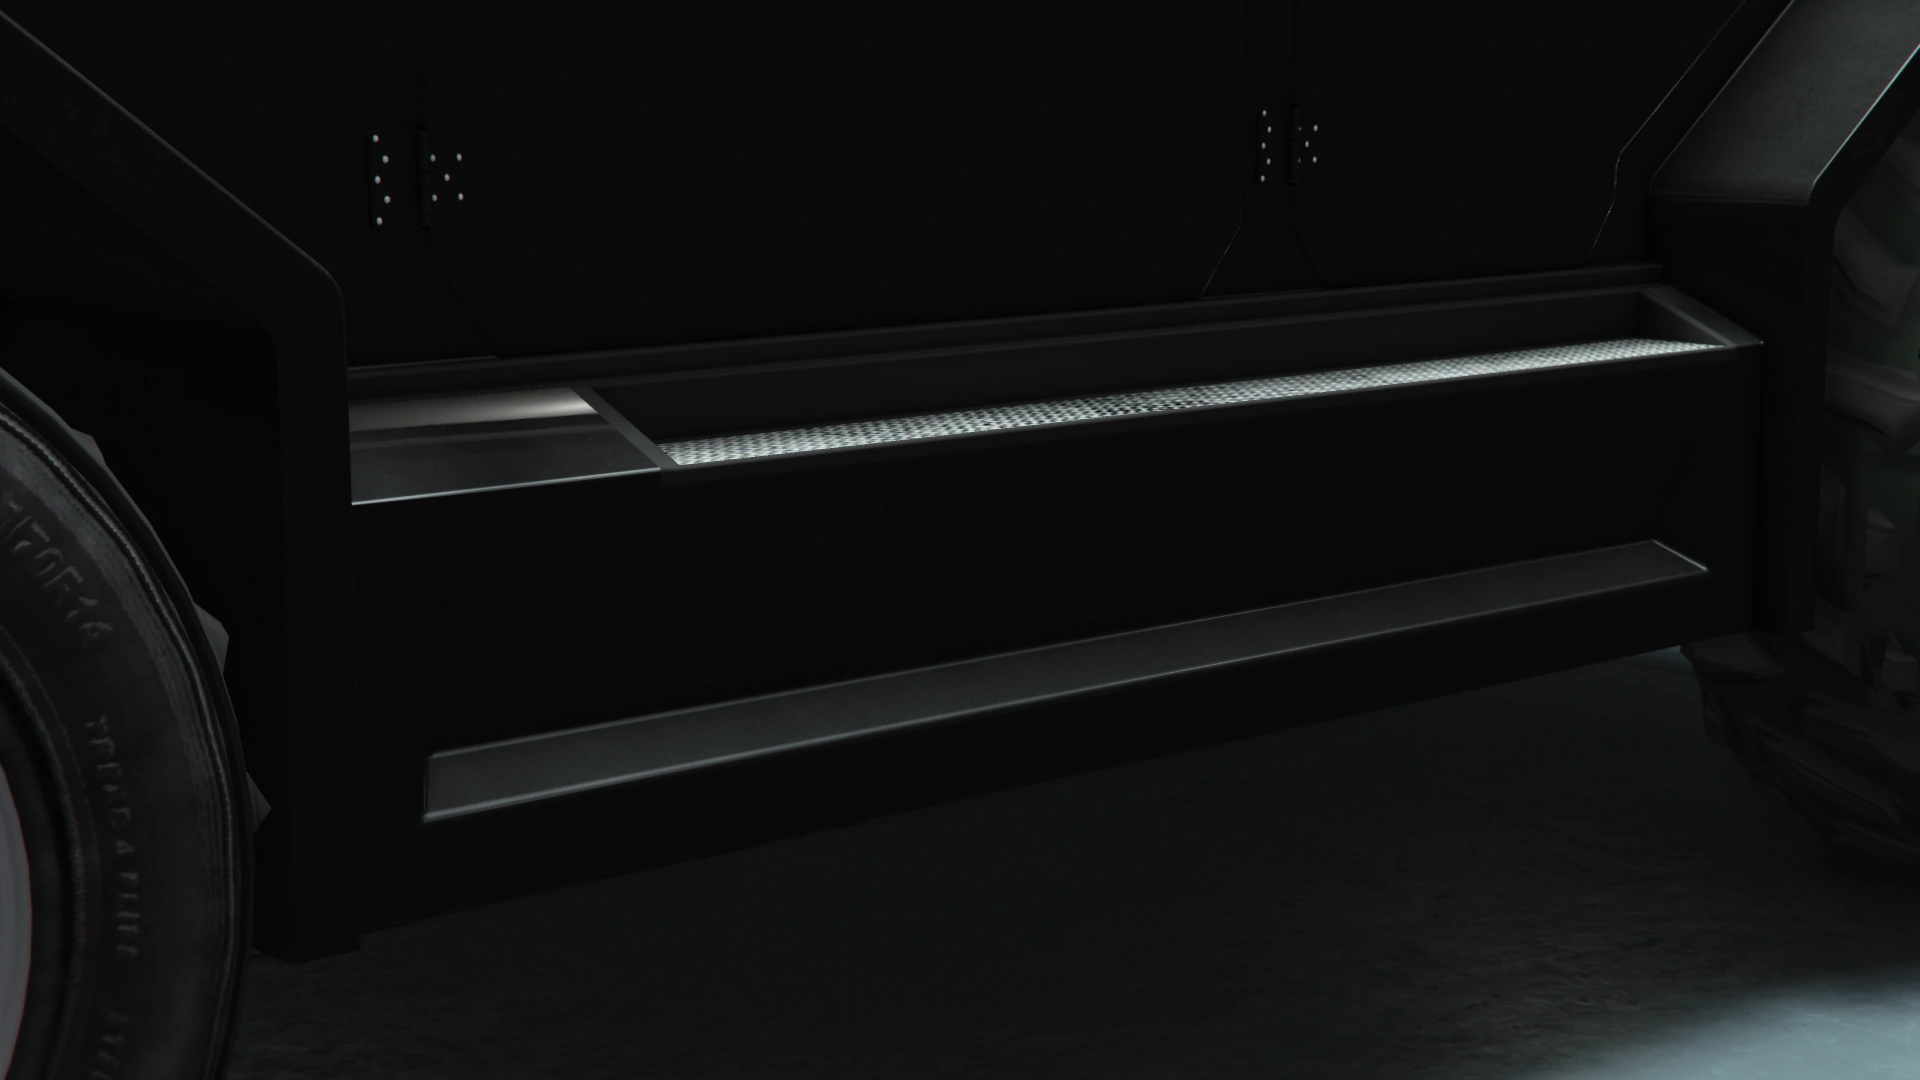
| + | |- |
||
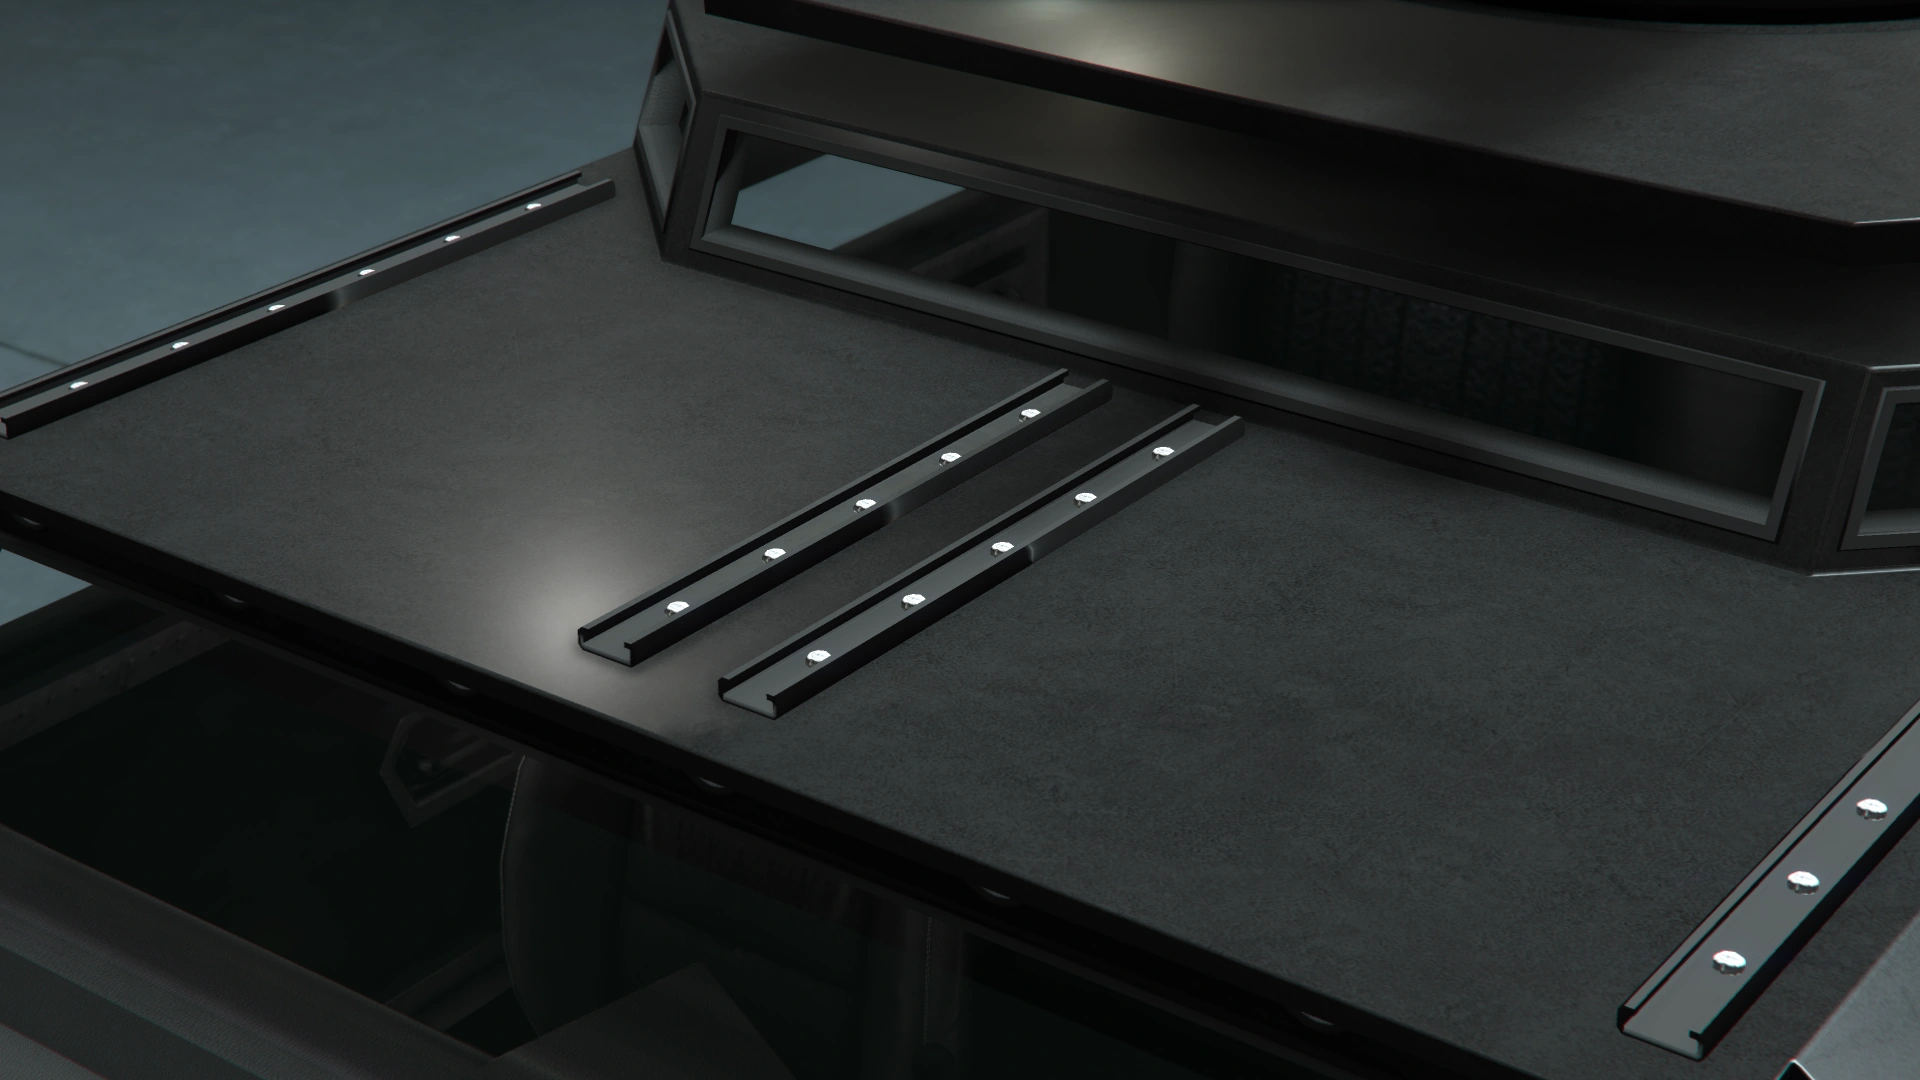
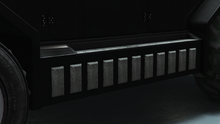
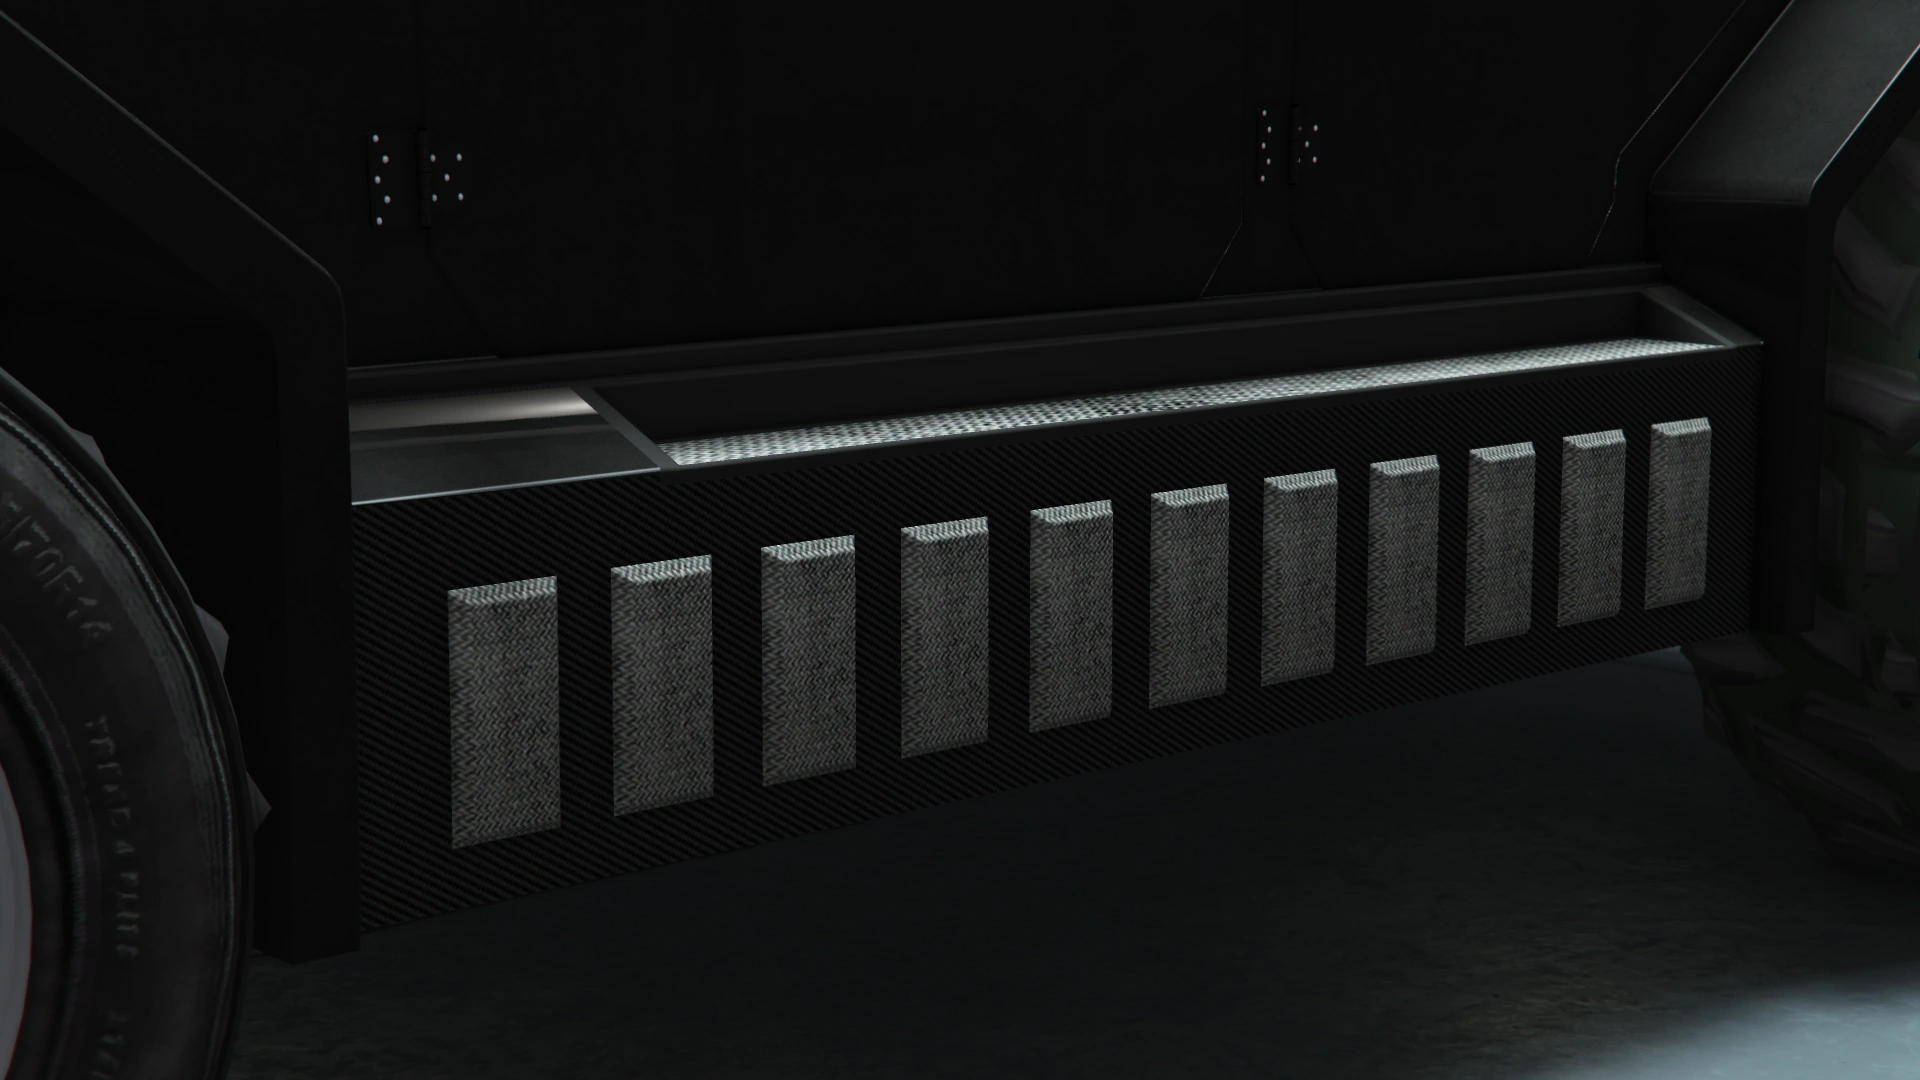
| + | |Roof Brace |
||
| + | | style="text-align: center;" |$1,600 |
||
| + | |[[File:Menacer-GTAO-RoofBrace.png|thumb|center|220px]] |
||
| + | |- |
||
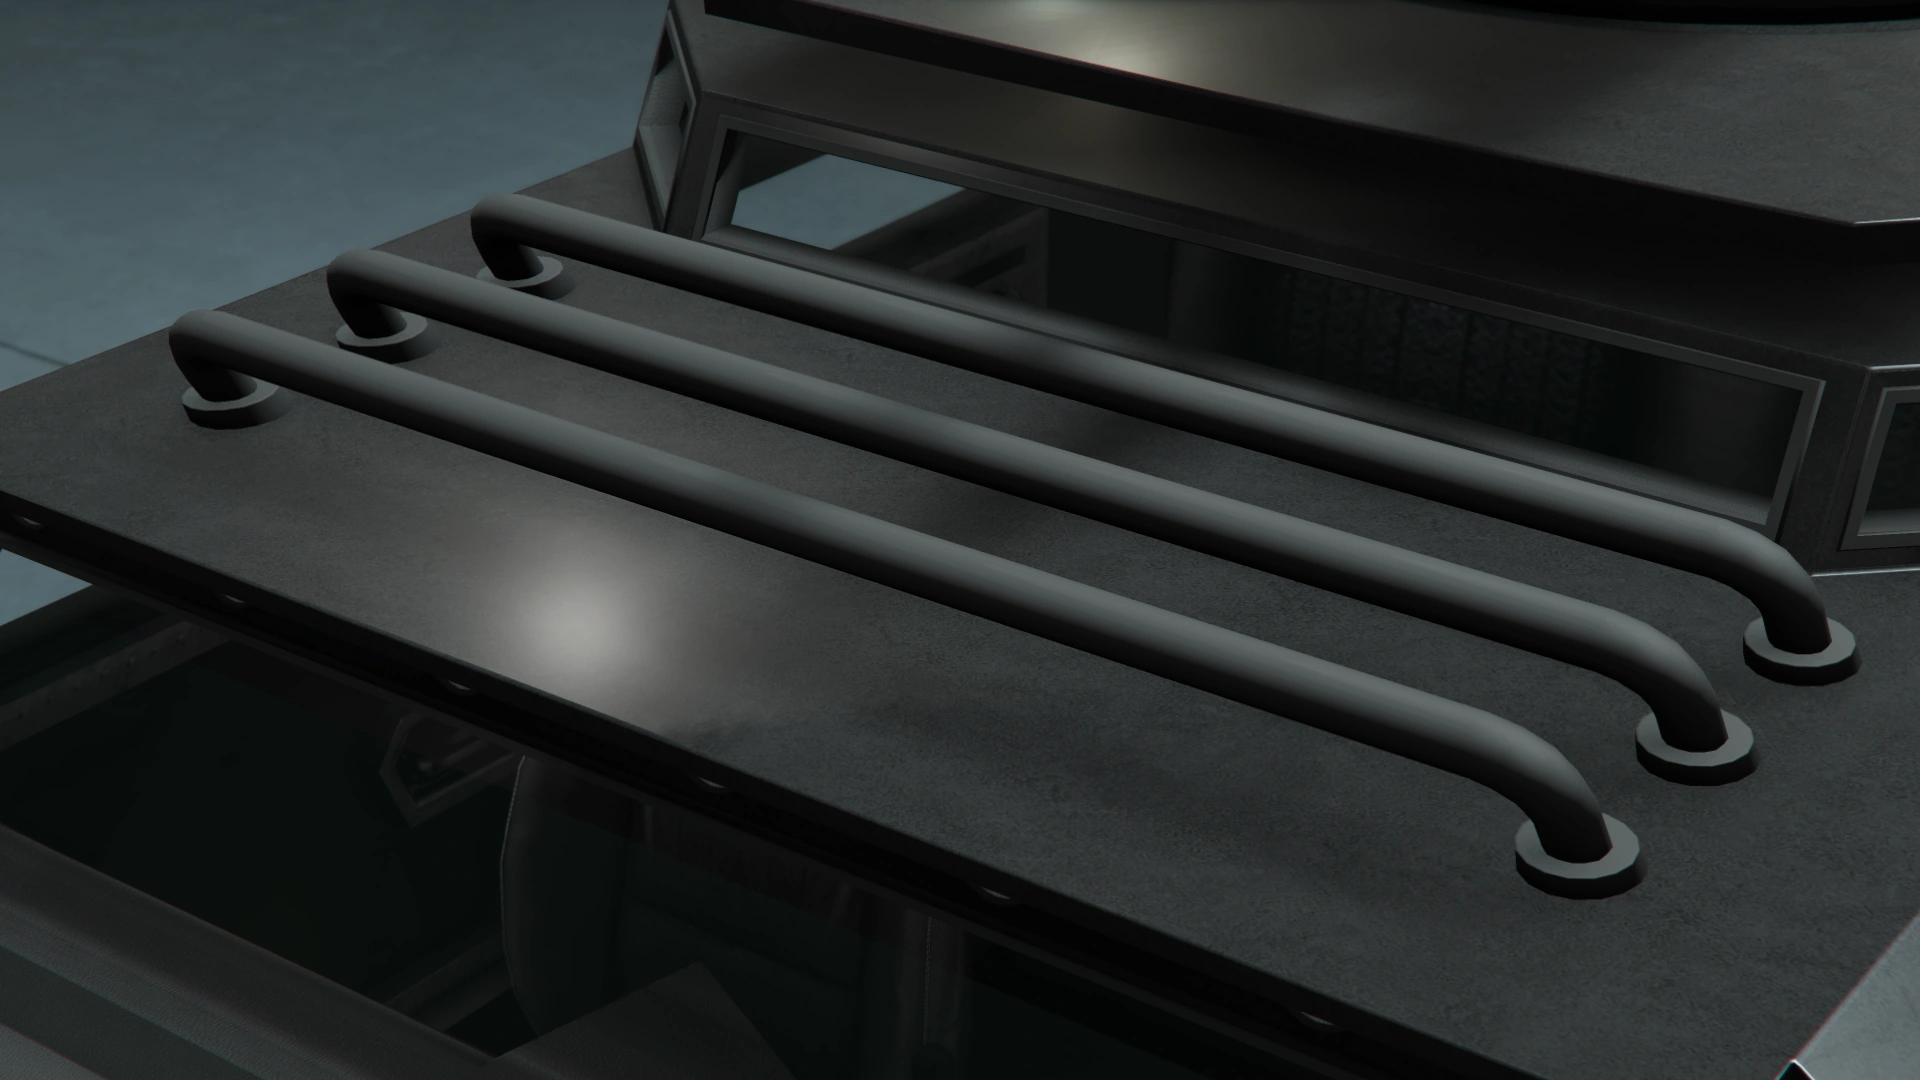
| + | |Military Rack |
||
| + | | style="text-align: center;" |$1,950 |
||
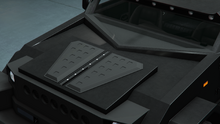
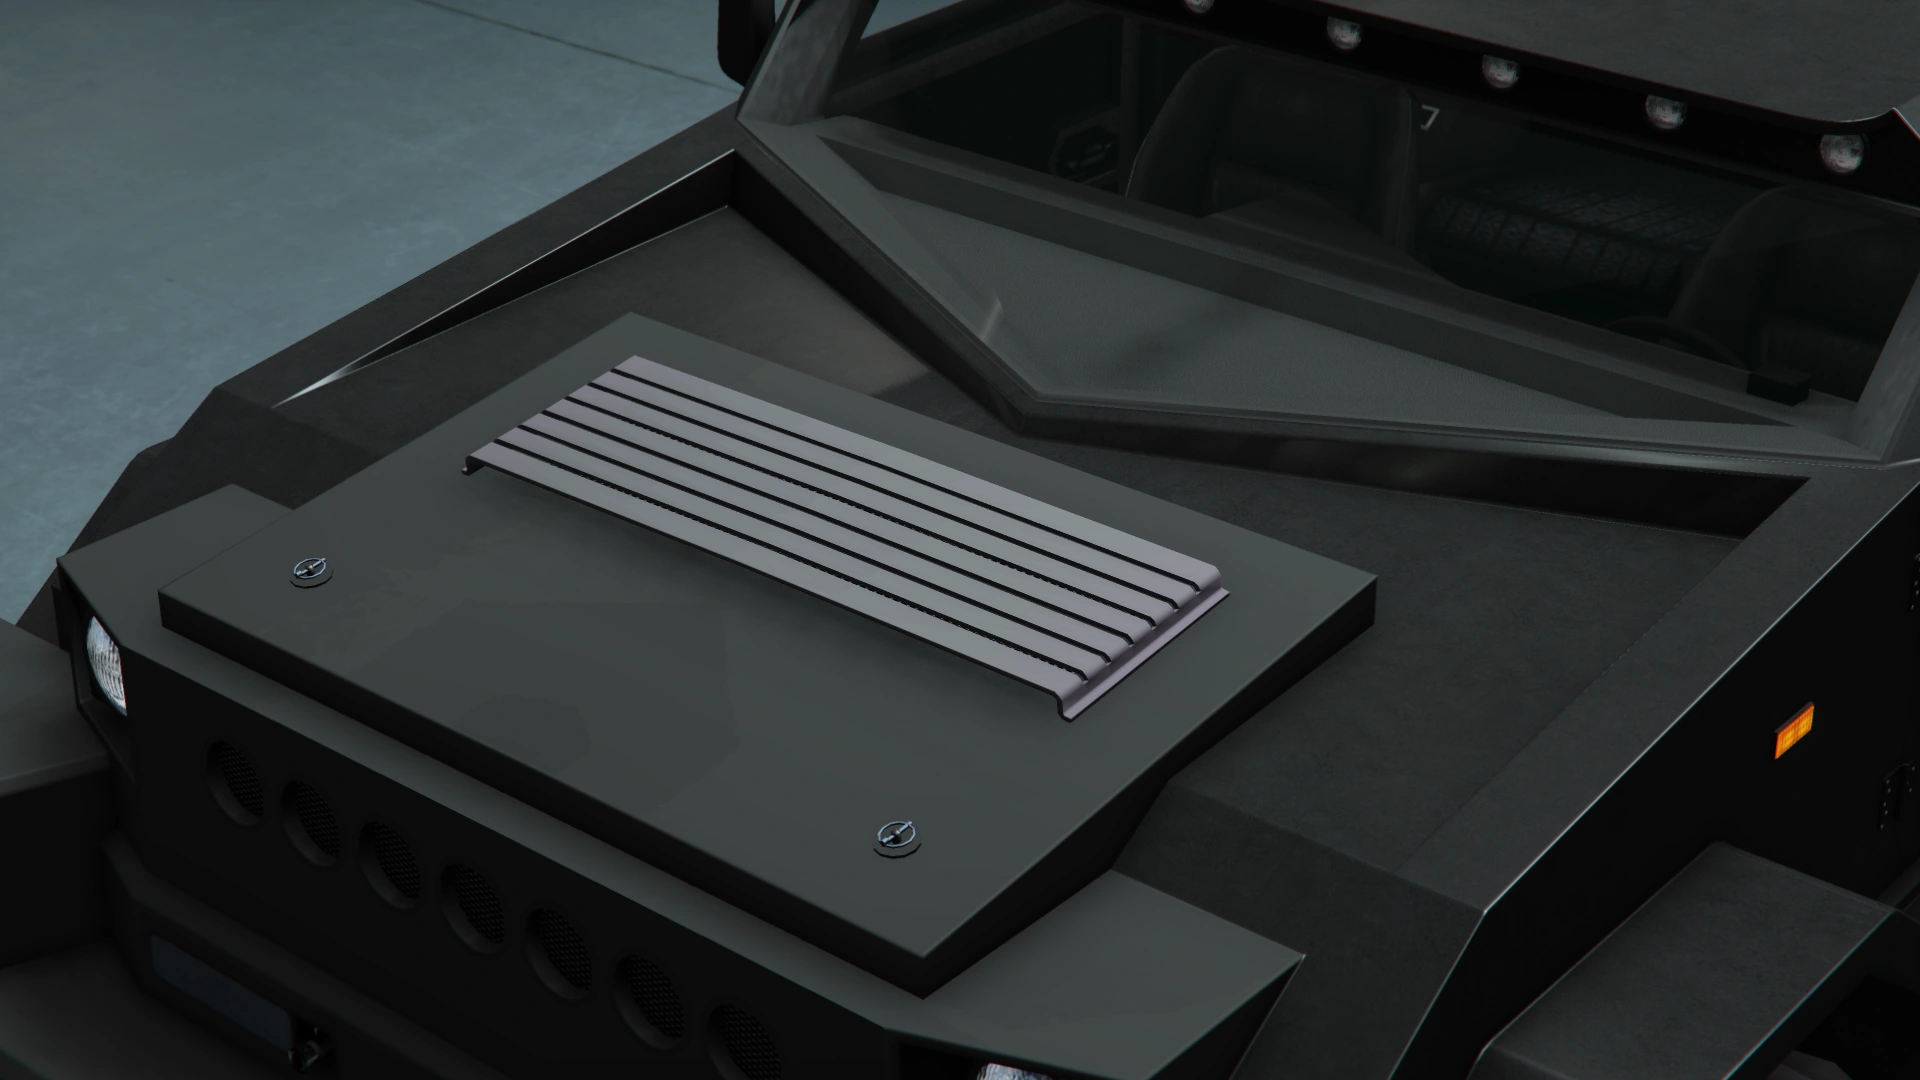
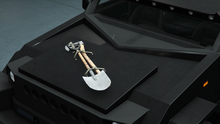
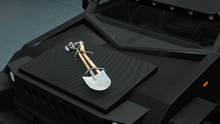
| + | |[[File:Menacer-GTAO-MilitaryRack.png|thumb|center|220px]] |
||
| + | |- |
||
| + | | colspan="2" rowspan="2" |Secondary Weapons |
||
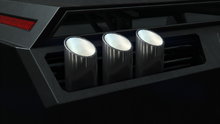
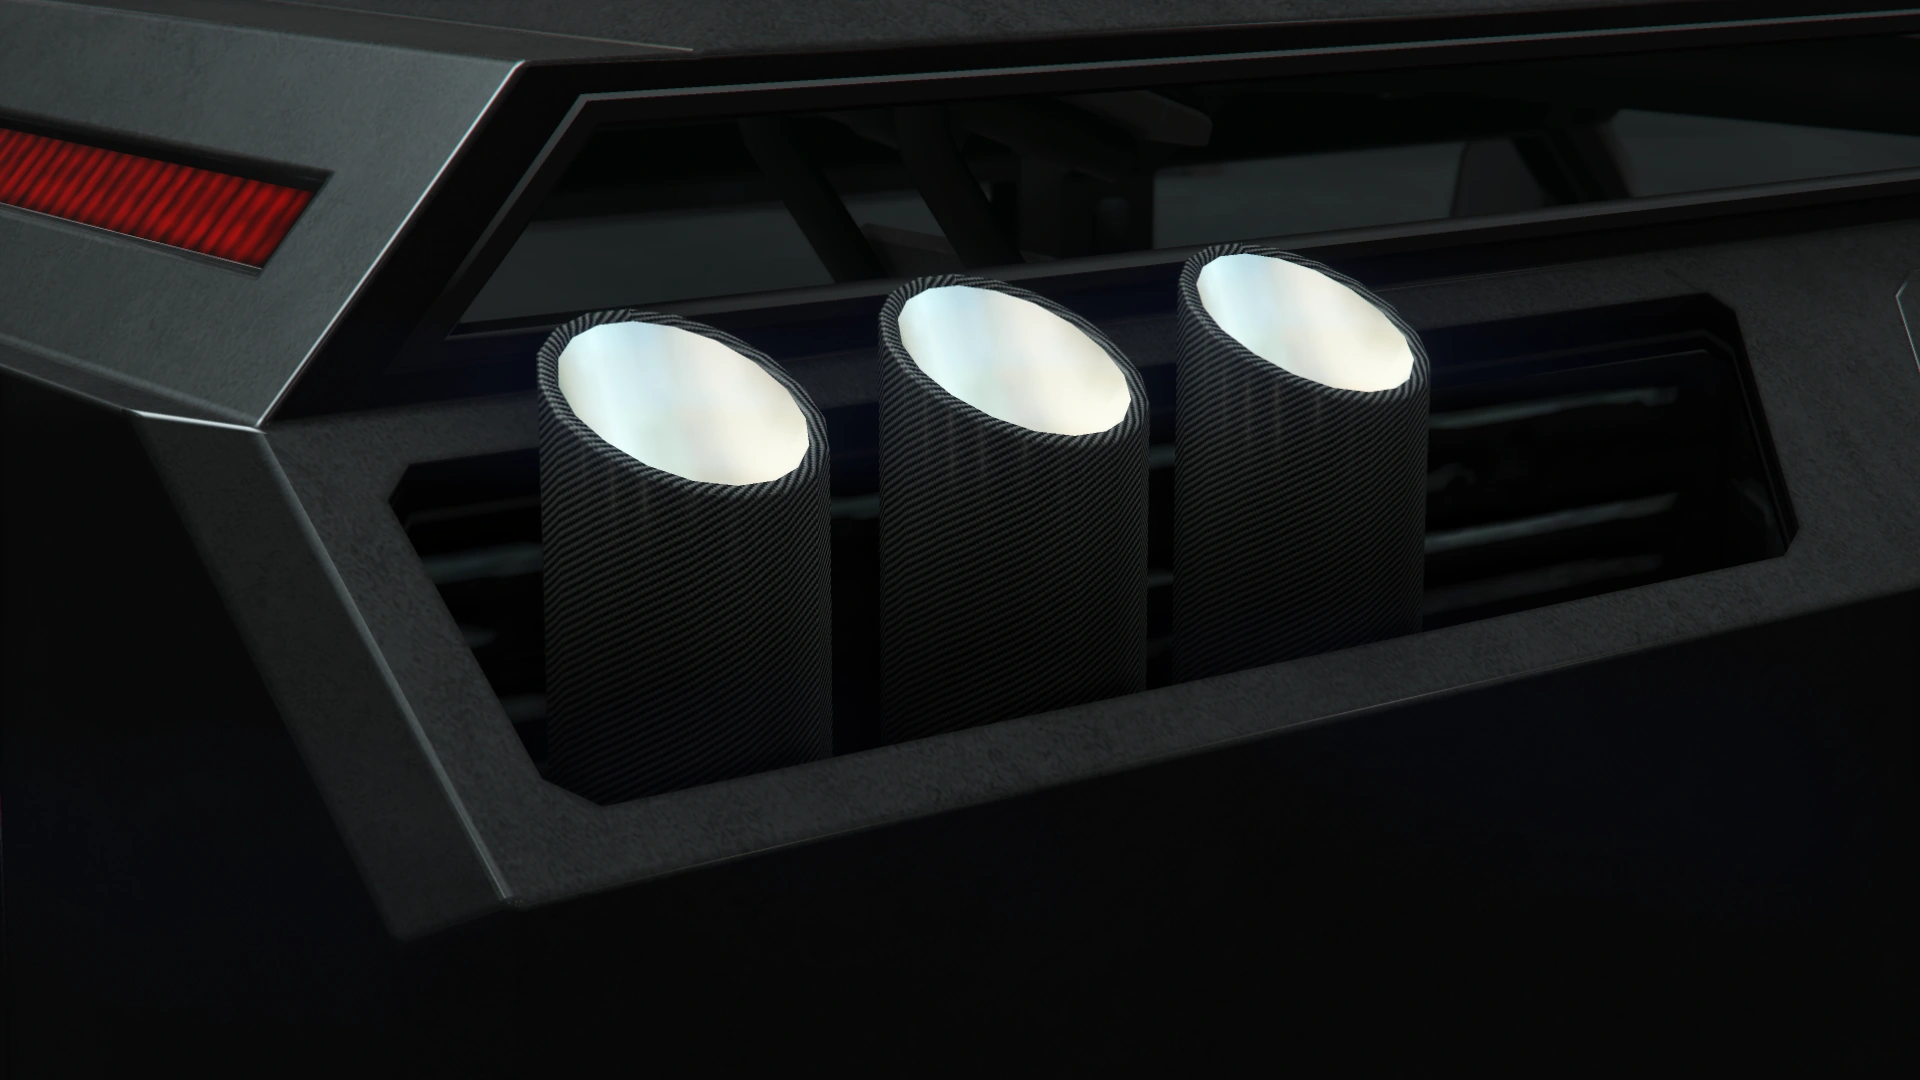
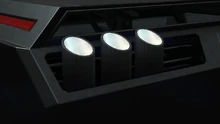
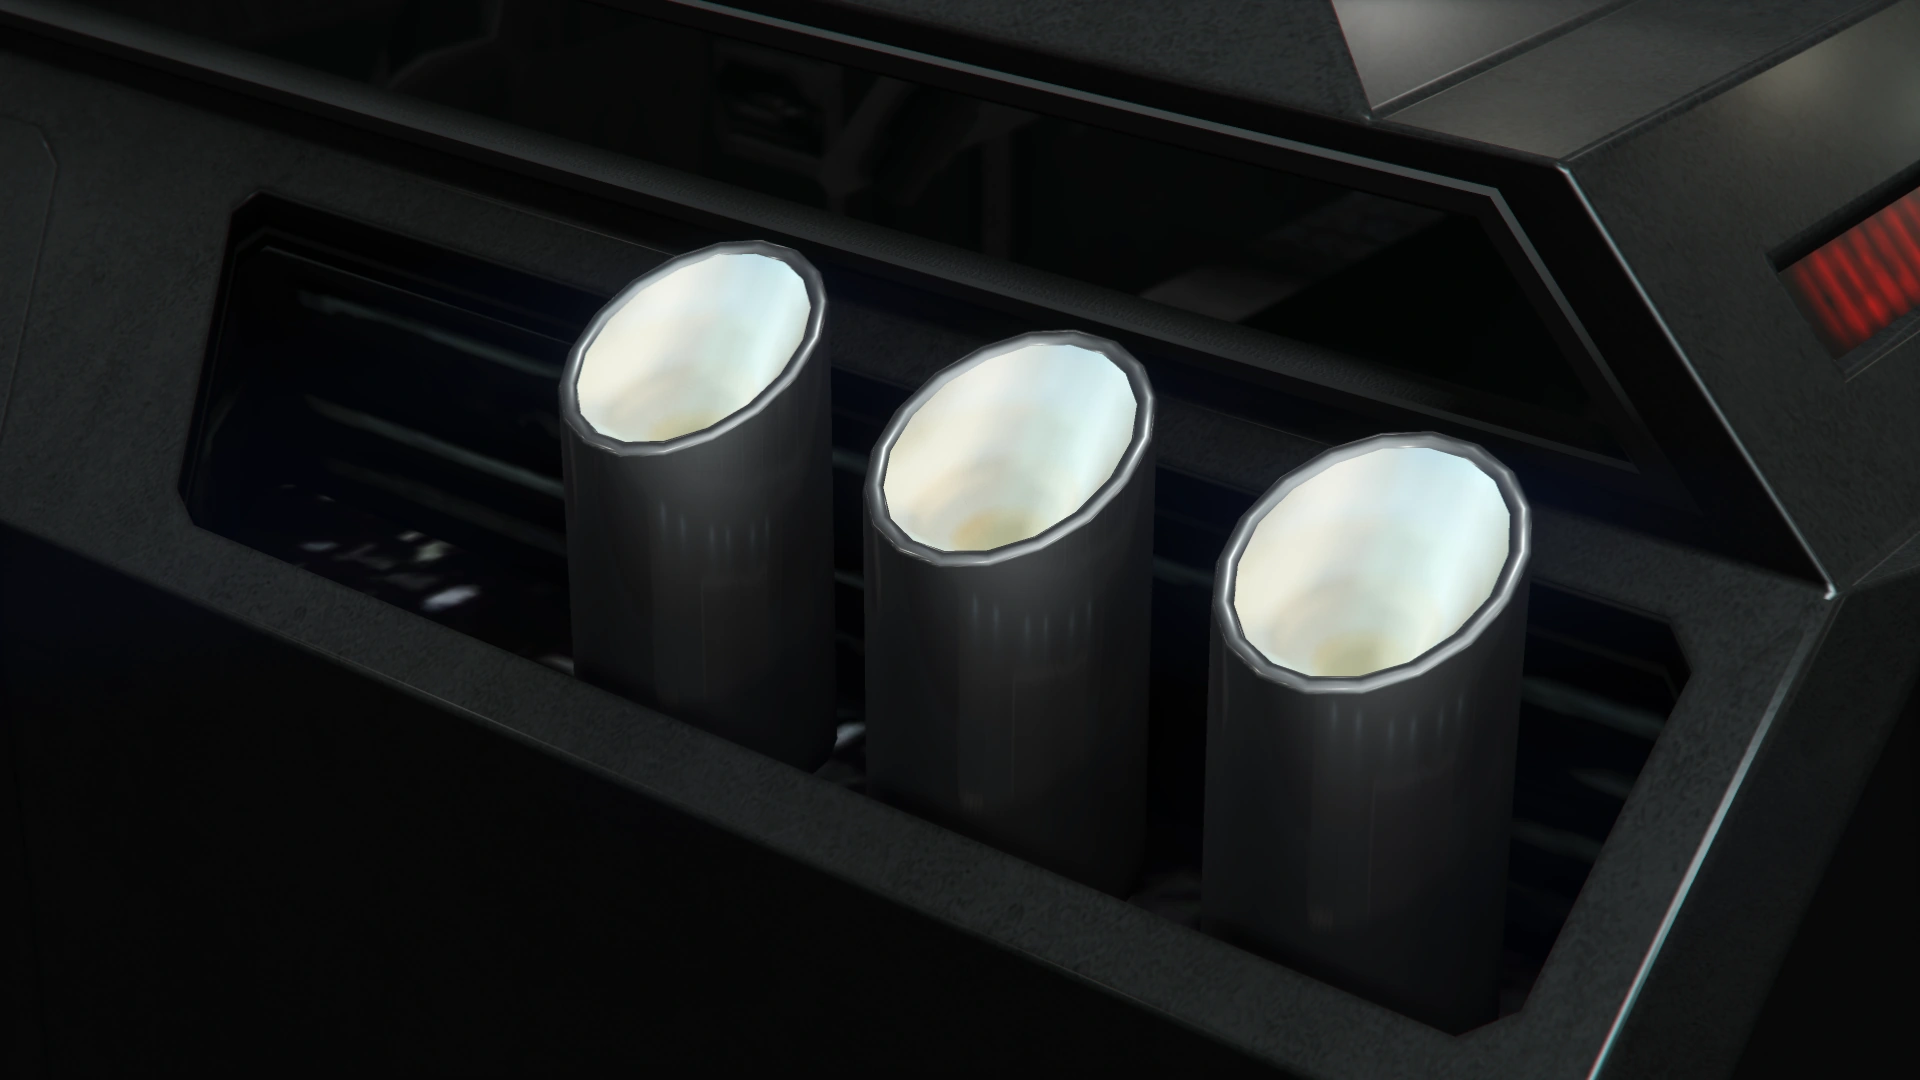
| + | |Top .50 Cal Machine Gun |
||
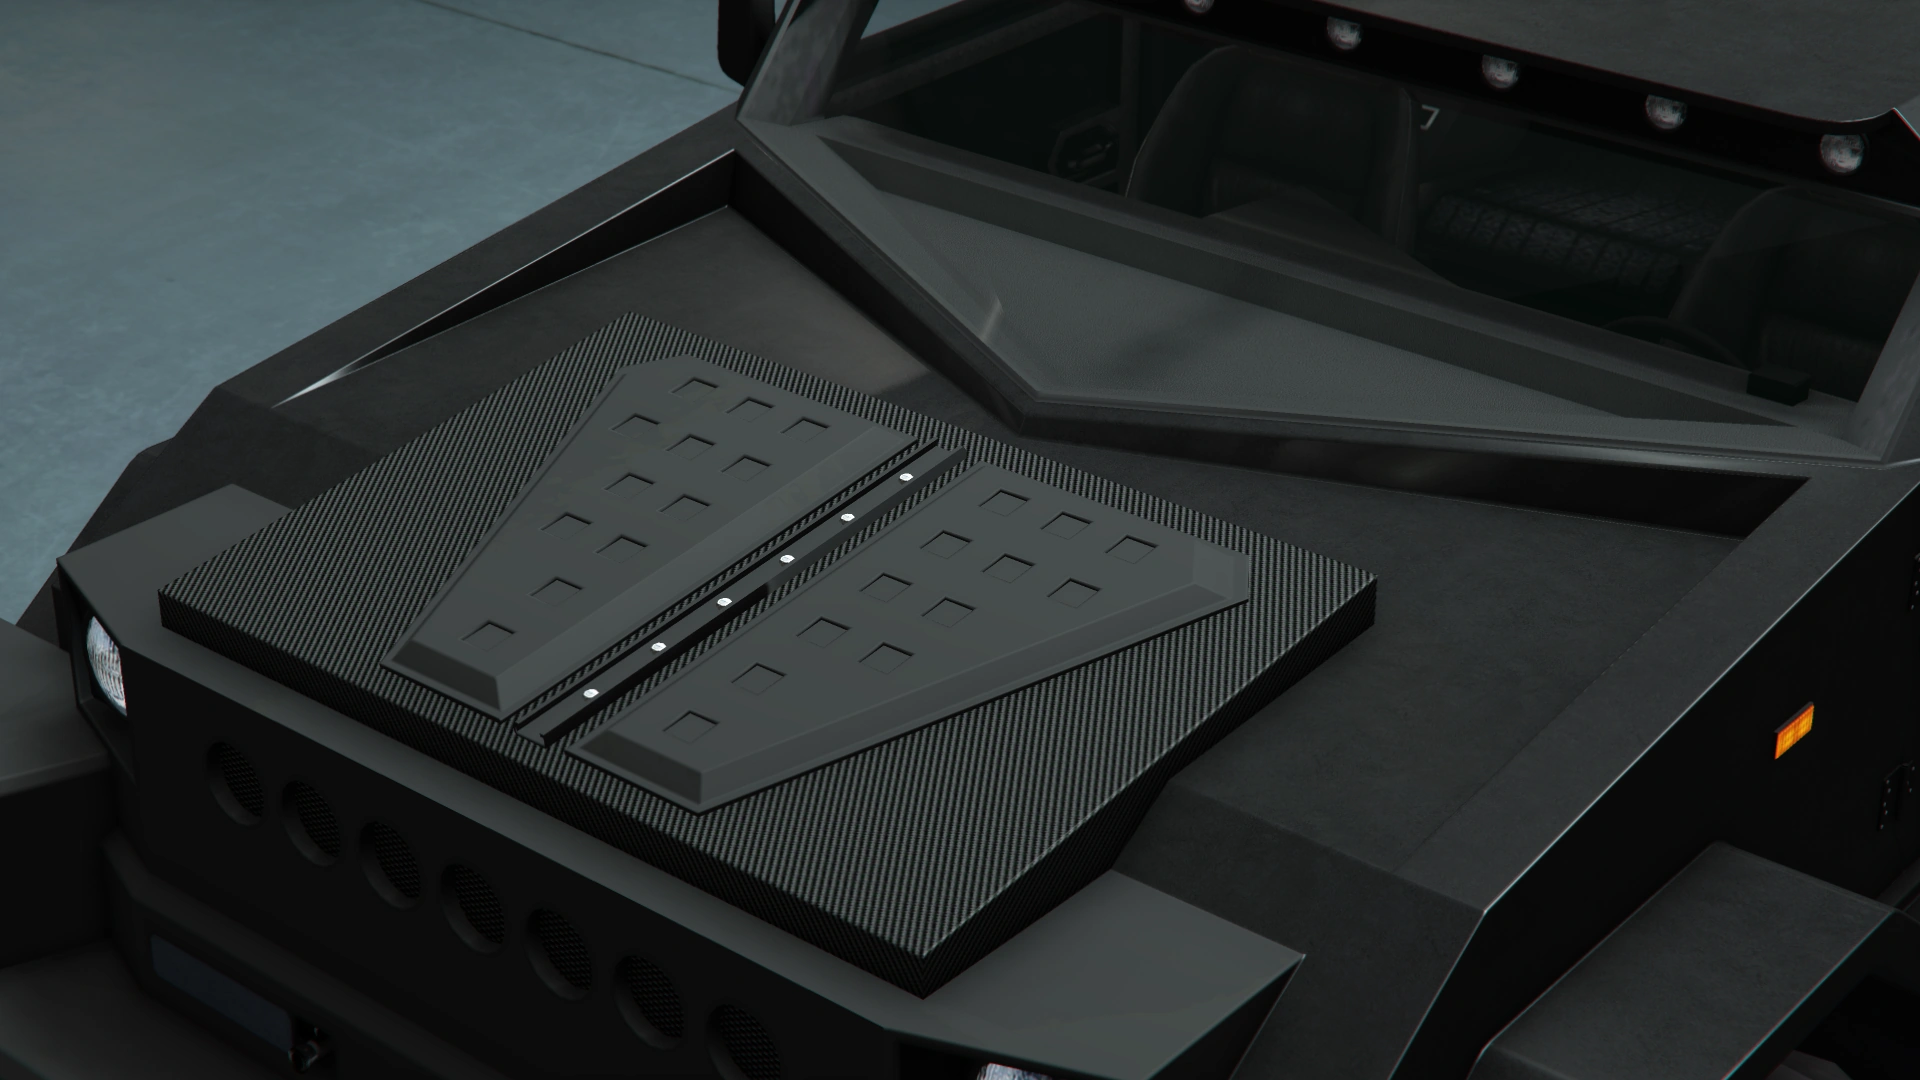
| + | | style="text-align: center;" |$55,000 |
||
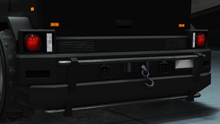
| + | |[[File:Menacer-GTAO-front.png|thumb|center|220px|(<small>[[:File:Menacer-GTAO-rear.png|Rear quarter view]]</small>)]] |
||
| + | |- |
||
| + | |Top .50 Cal Minigun |
||
| + | | style="text-align: center;" |$205,000 |
||
| + | |[[File:Menacer-GTAO-front-Top.50CalMinigun.png|thumb|center|220px|(<small>[[:File:Menacer-GTAO-rear-Top.50CalMinigun.png|Rear quarter view]]</small>)]] |
||
| + | |- |
||
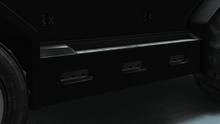
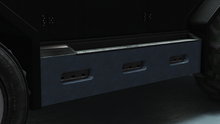
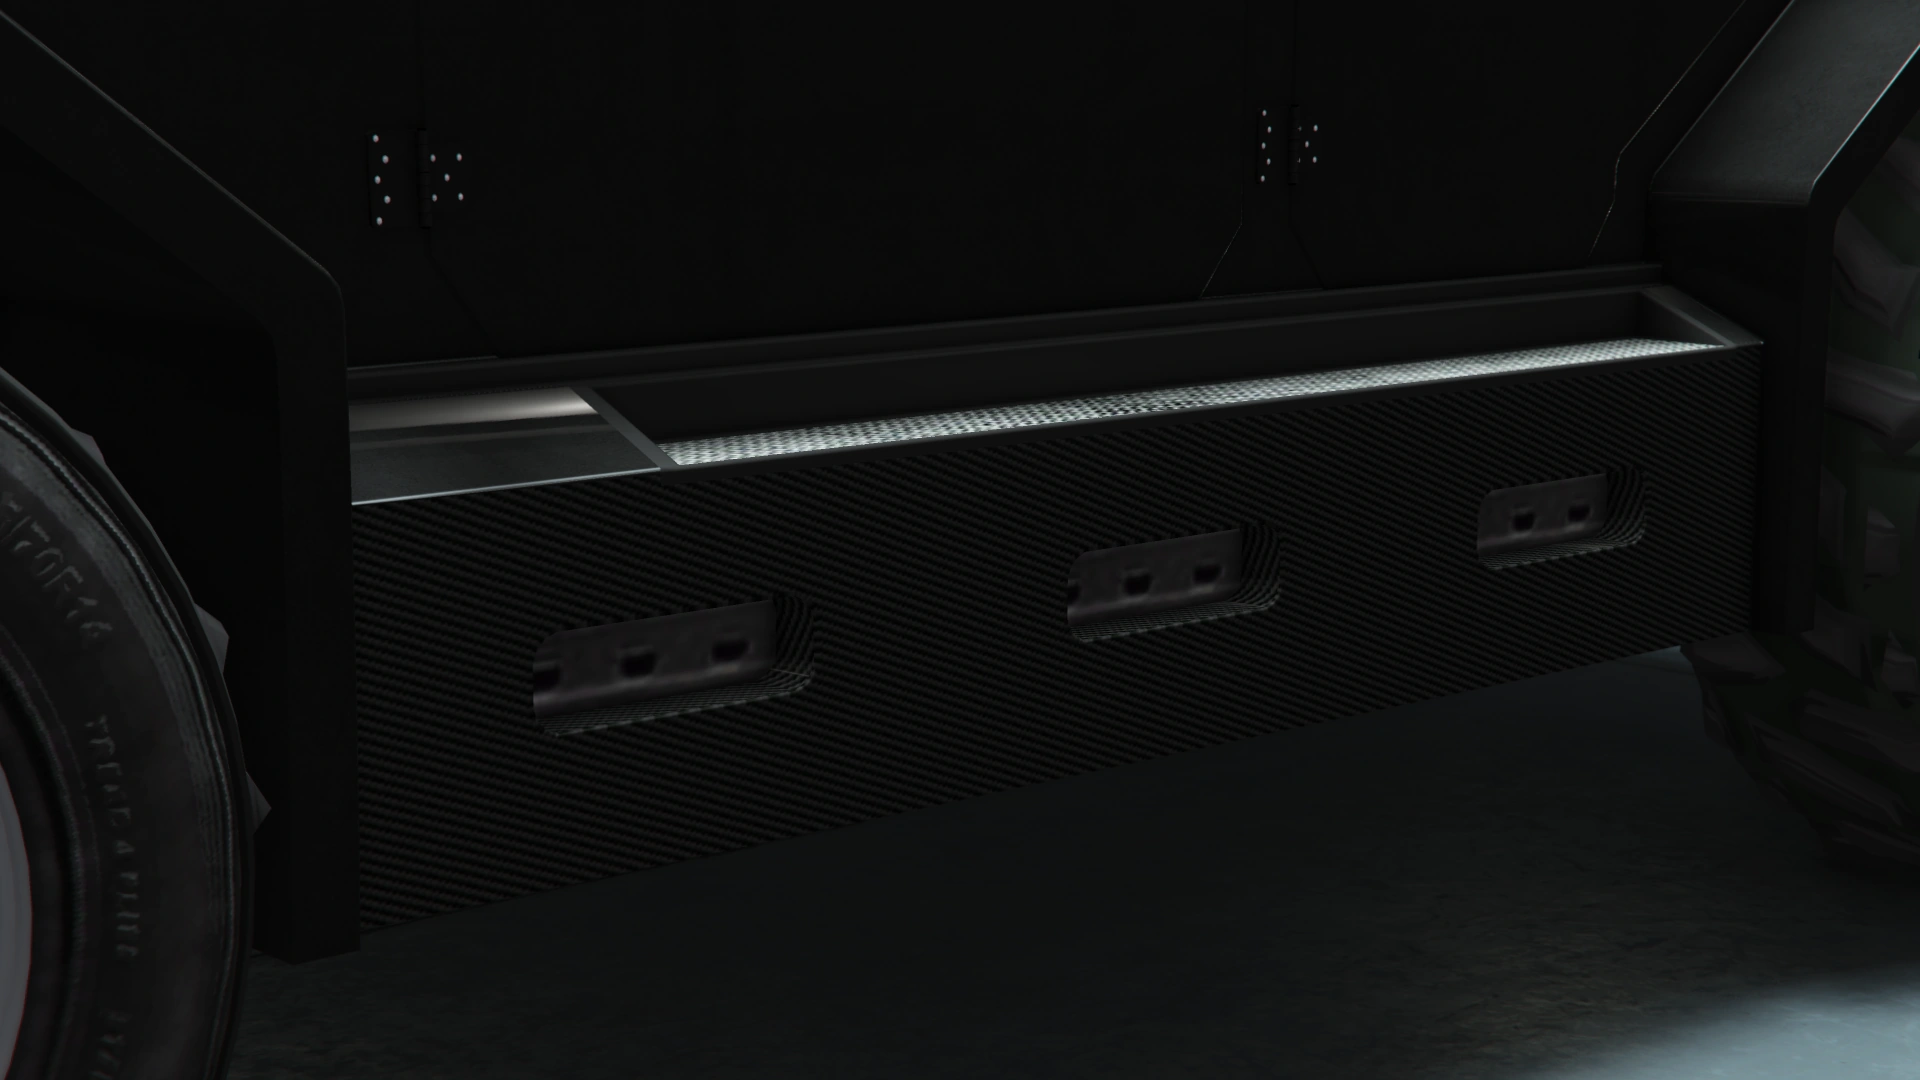
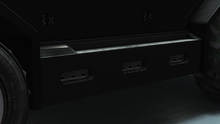
| + | | colspan="2" rowspan="17" |Skirts |
||
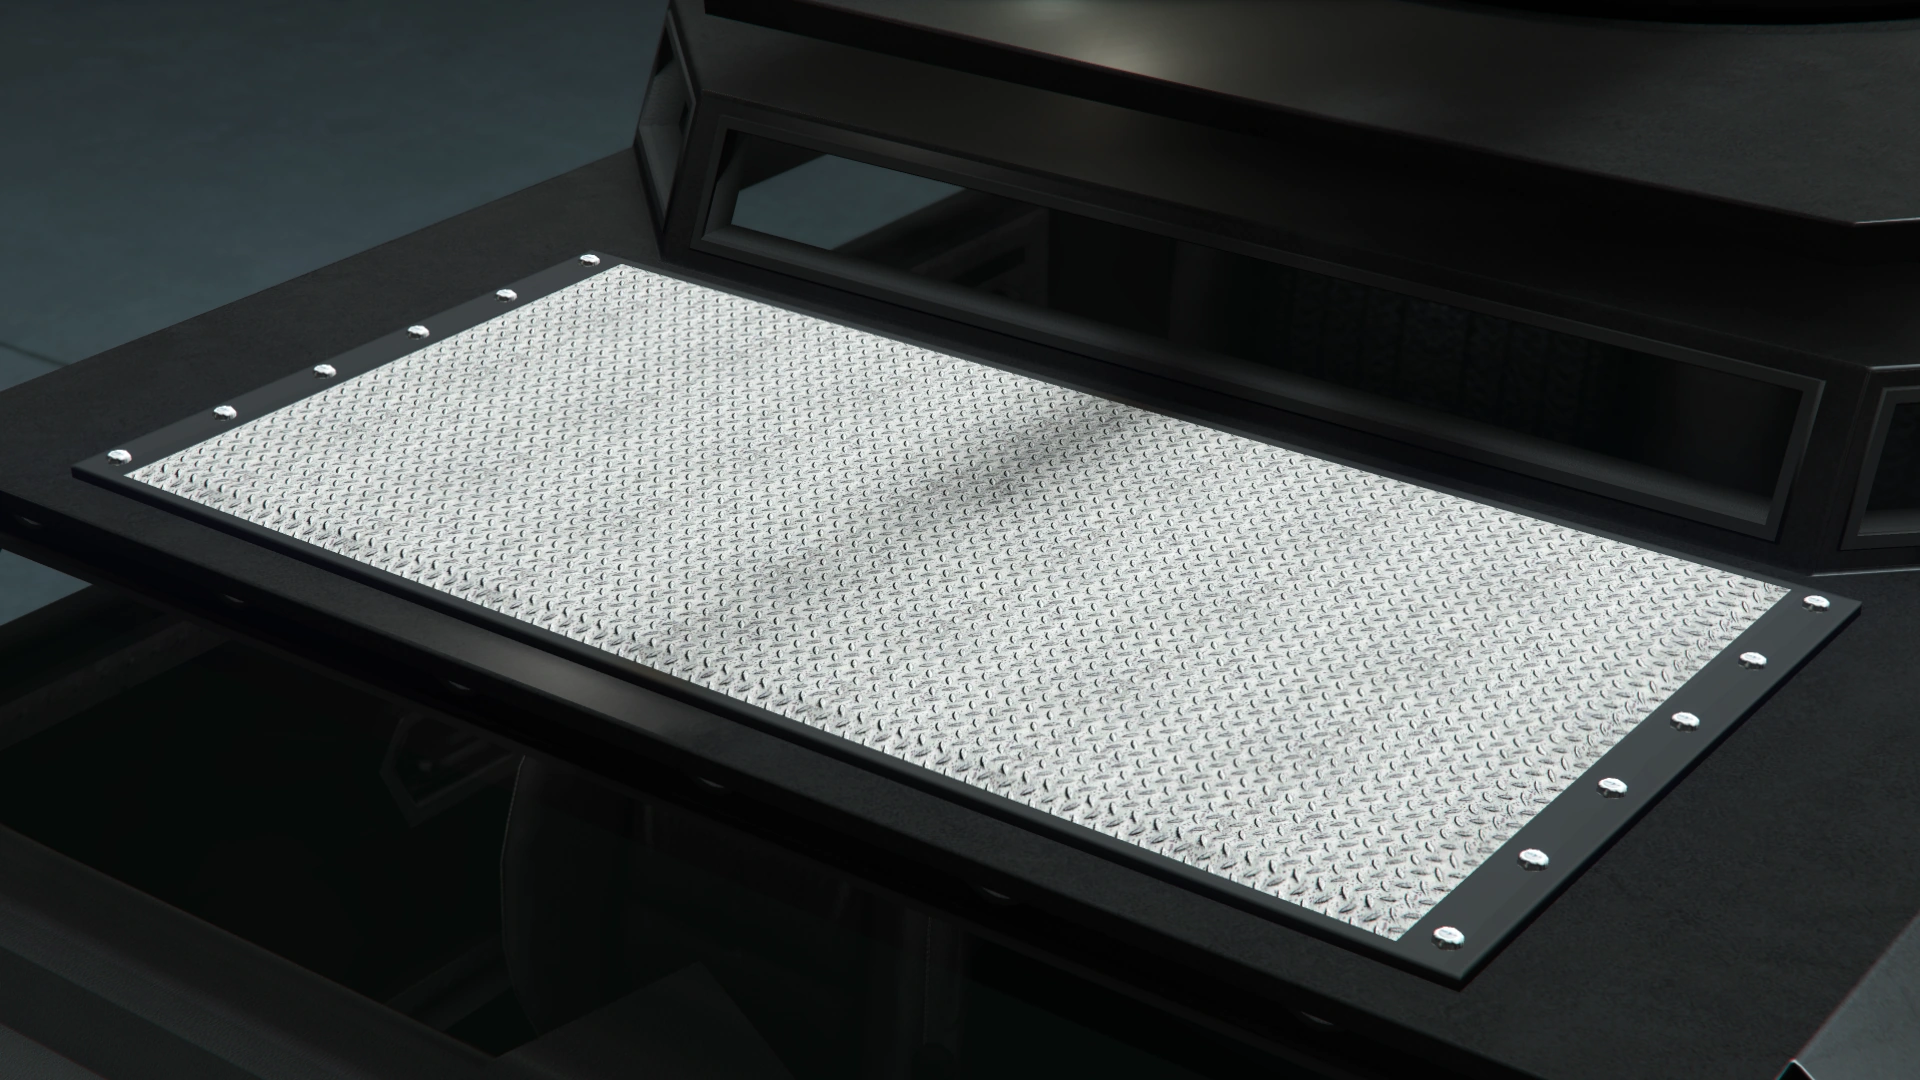
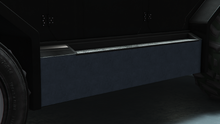
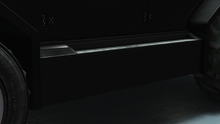
| + | |Stock Skirts |
||
| + | | style="text-align: center;" |$2,500 |
||
| + | |[[File:Menacer-GTAO-StockSkirts.png|thumb|center|220px]] |
||
| + | |- |
||
| + | |Stripped Skirts |
||
| + | | style="text-align: center;" |$5,500 |
||
| + | |[[File:Menacer-GTAO-StrippedSkirts.png|thumb|center|220px]] |
||
| + | |- |
||
| + | |Secondary Stripped Skirts |
||
| + | | style="text-align: center;" |$8,000 |
||
| + | |[[File:Menacer-GTAO-SecondaryStrippedSkirts.png|thumb|center|220px]] |
||
| + | |- |
||
| + | |Carbon Stripped Skirts |
||
| + | | style="text-align: center;" |$10,500 |
||
| + | |[[File:Menacer-GTAO-CarbonStrippedSkirts.png|thumb|center|220px]] |
||
| + | |- |
||
| + | |Blacked Stripped Skirts |
||
| + | | style="text-align: center;" |$14,000 |
||
| + | |[[File:Menacer-GTAO-BlackedStrippedSkirts.png|thumb|center|220px]] |
||
| + | |- |
||
| + | |Ridged Skirts |
||
| + | | style="text-align: center;" |$14,500 |
||
| + | |[[File:Menacer-GTAO-RidgedSkirts.png|thumb|center|220px]] |
||
| + | |- |
||
| + | |Durbar Ridged Skirts |
||
| + | | style="text-align: center;" |$15,000 |
||
| + | |[[File:Menacer-GTAO-DurbarRidgedSkirts.png|thumb|center|220px]] |
||
| + | |- |
||
| + | |Carbon Durbar Ridged Skirts |
||
| + | | style="text-align: center;" |$15,500 |
||
| + | |[[File:Menacer-GTAO-CarbonDurbarRidgedSkirts.png|thumb|center|220px]] |
||
| + | |- |
||
| + | |Sport Skirts |
||
| + | | style="text-align: center;" |$16,000 |
||
| + | |[[File:Menacer-GTAO-SportSkirts.png|thumb|center|220px]] |
||
| + | |- |
||
| + | |Secondary Sport Skirts |
||
| + | | style="text-align: center;" |$16,500 |
||
| + | |[[File:Menacer-GTAO-SecondarySportSkirts.png|thumb|center|220px]] |
||
| + | |- |
||
| + | |Carbon Sport Skirts |
||
| + | | style="text-align: center;" |$17,000 |
||
| + | |[[File:Menacer-GTAO-CarbonSportSkirts.png|thumb|center|220px]] |
||
| + | |- |
||
| + | |Double Indents |
||
| + | | style="text-align: center;" |$17,400 |
||
| + | |[[File:Menacer-GTAO-DoubleIndents.png|thumb|center|220px]] |
||
| + | |- |
||
| + | |Secondary Double Indents |
||
| + | | style="text-align: center;" |$18,300 |
||
| + | |[[File:Menacer-GTAO-SecondaryDoubleIndents.png|thumb|center|220px]] |
||
| + | |- |
||
| + | |Carbon Double Indents |
||
| + | | style="text-align: center;" |$19,000 |
||
| + | |[[File:Menacer-GTAO-CarbonDoubleIndents.png|thumb|center|220px]] |
||
| + | |- |
||
| + | |Triple Indents |
||
| + | | style="text-align: center;" |$20,425 |
||
| + | |[[File:Menacer-GTAO-TripleIndents.png|thumb|center|220px]] |
||
| + | |- |
||
| + | |Secondary Triple Indents |
||
| + | | style="text-align: center;" |$21,025 |
||
| + | |[[File:Menacer-GTAO-SecondaryTripleIndents.png|thumb|center|220px]] |
||
| + | |- |
||
| + | |Carbon Triple Indents |
||
| + | | style="text-align: center;" |$21,425 |
||
| + | |[[File:Menacer-GTAO-CarbonTripleIndents.png|thumb|center|220px]] |
||
| + | |- |
||
| + | | colspan="2" rowspan="4" |Transmission |
||
| + | |Stock Transmission |
||
| + | | colspan="2" style="text-align: center;" |$1,000 |
||
| + | |- |
||
| + | |Street Transmission |
||
| + | | colspan="2" style="text-align: center;" |$29,500 |
||
| + | |- |
||
| + | |Sports Transmission |
||
| + | | colspan="2" style="text-align: center;" |$32,500 |
||
| + | |- |
||
| + | |Race Transmission |
||
| + | | colspan="2" style="text-align: center;" |$40,000 |
||
| + | |- |
||
| + | | colspan="2" rowspan="2" |Turbo |
||
| + | |None |
||
| + | | colspan="2" style="text-align: center;" |$5,000 |
||
| + | |- |
||
| + | |Turbo Tuning |
||
| + | | colspan="2" style="text-align: center;" |$50,000 |
||
| + | |- |
||
| + | | colspan="2" |Wheels |
||
| + | |''Main article: [[Los Santos Customs/Wheels]]'' |
||
| + | | colspan="2" style="text-align: center;" | - |
||
| + | |- |
||
| + | | colspan="2" rowspan="4" |Windows |
||
| + | |None |
||
| + | | colspan="2" style="text-align: center;" |$500 |
||
| + | |- |
||
| + | |Light Smoke |
||
| + | | colspan="2" style="text-align: center;" |$1,500 |
||
| + | |- |
||
| + | |Dark Smoke |
||
| + | | colspan="2" style="text-align: center;" |$3,500 |
||
| + | |- |
||
| + | |Limo |
||
| + | | colspan="2" style="text-align: center;" |$5,000 |
||
| + | |} |
||
| + | :''*'' Denotes items that can only be unlocked for purchase via [[research]] in the [[Bunkers|Bunker]] property. |
||
| + | |||
| + | When purchased, the Menacer comes painted in the following colors by default: |
||
| + | |||
| + | {| class="wikitable" |
||
| + | !colspan="6"|Applied Colors |
||
| + | |- |
||
| + | !Primary Color |
||
| + | !Secondary Color |
||
| + | !Pearlescent |
||
| + | !Wheel Color |
||
| + | !Trim Color |
||
| + | !Dial Color |
||
| + | |- |
||
| + | |style="text-align: center; background-color: #706656; color: #FFFFFF;"|'''Matte Desert Tan'''<!--154--> |
||
| + | |style="text-align: center; background:#050505; color:#FFF"|'''Matte Black'''<!--12--> |
||
| + | | |
||
| + | |style="text-align: center; background-color: #414347; color: #FFFFFF;"|'''Alloy'''<!--156--> |
||
| + | |style="text-align: center; background:#080808; color:#FFFFFF"|'''Black'''<!--0--> |
||
| + | |style="text-align: center; background:#f0f0f0; color:#000"|'''Worn White'''<!--132--> |
||
| + | |} |
||
==Image Gallery== |
==Image Gallery== |
||
===''Grand Theft Auto Online''=== |
===''Grand Theft Auto Online''=== |
||
| − | <gallery position="center" spacing="small"> |
+ | <gallery position="center" spacing="small" hideaddbutton="true"> |
| + | Menacer-GTAO-PromotionalPoster.jpg|Promotional screenshot of the '''Menacer'''. |
||
| + | MenacerWeek-GTAO-Advertisement.gif|The '''Menacer''' with the "Blue Tartan" and "Orange Shade Camo" liveries. |
||
| + | Menacer-GTAO-Badge.png|Alternate badge, used in advert. |
||
| + | SantoCapraCoinsLivery-GTAO-Advertisement.jpg|The '''Menacer''' and the [[Oppressor Mk II]] with the "Santo Capra Coins" livery. |
||
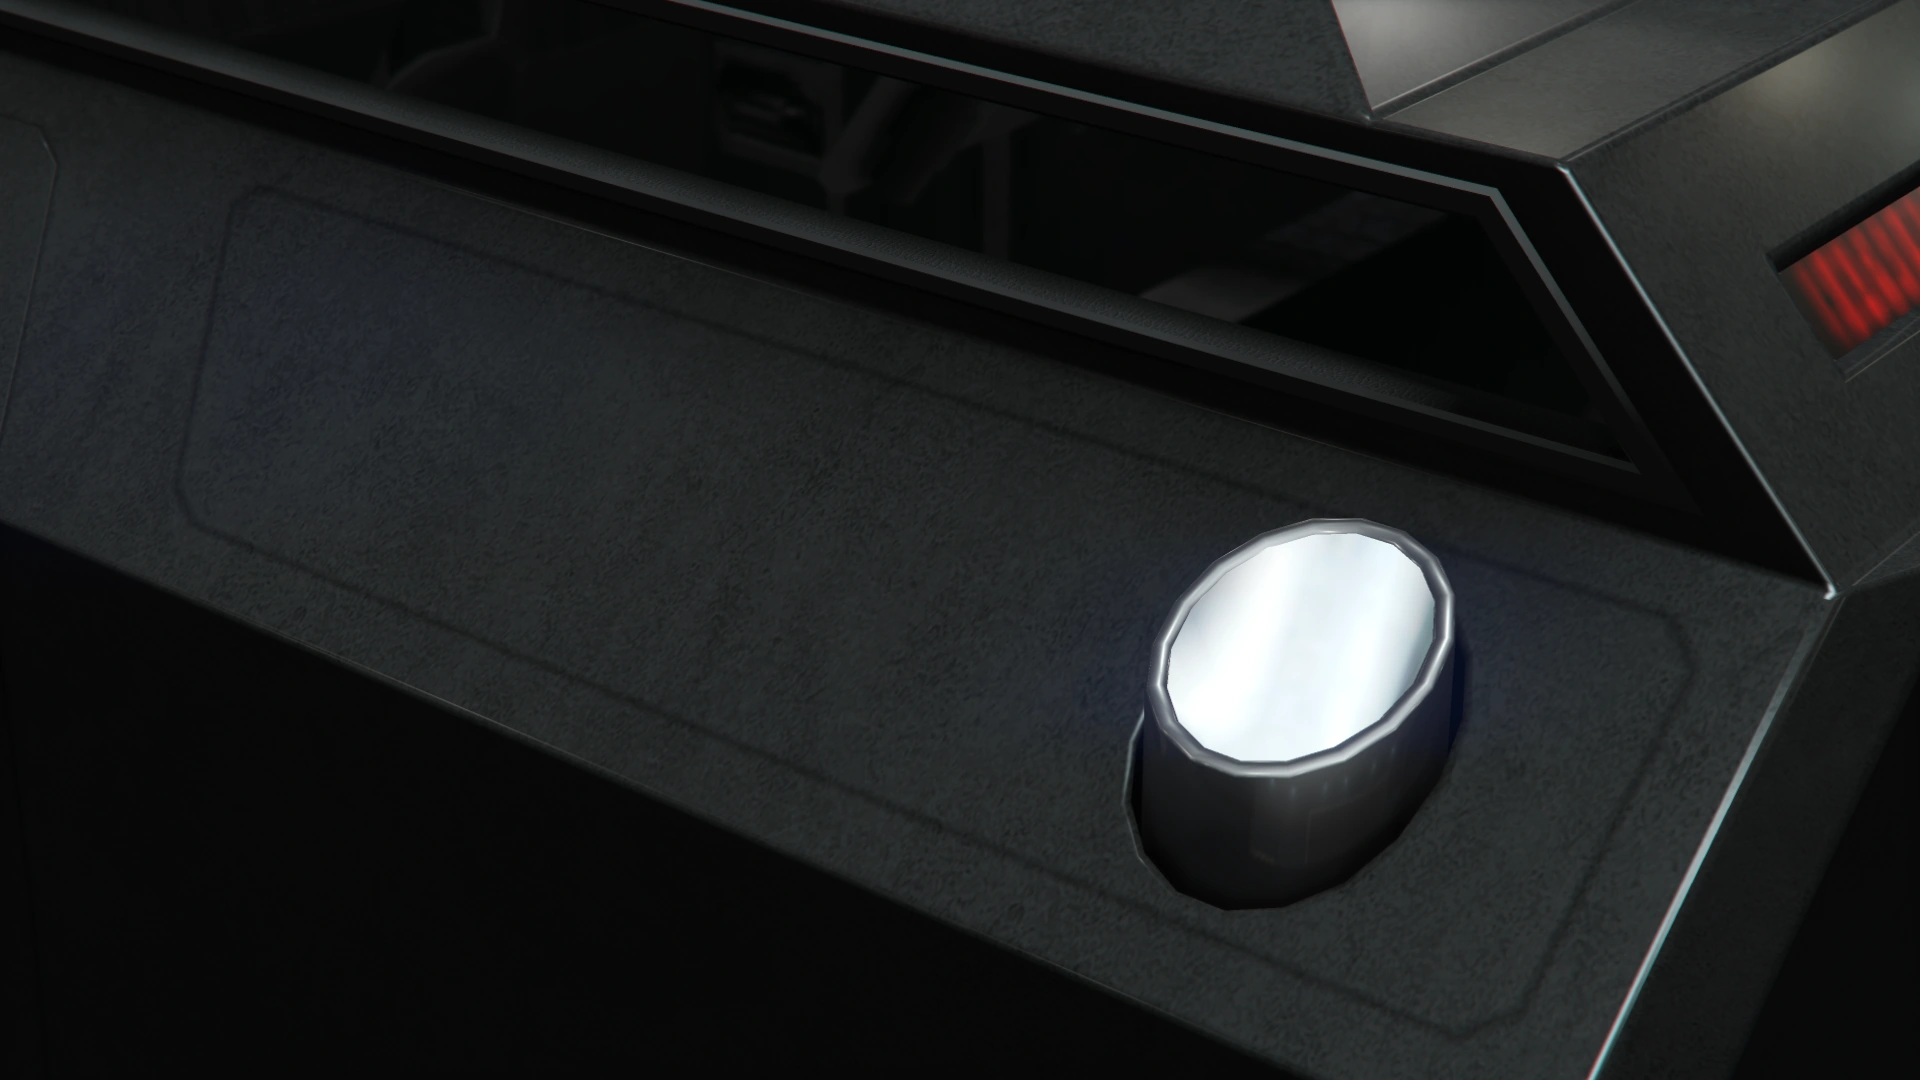
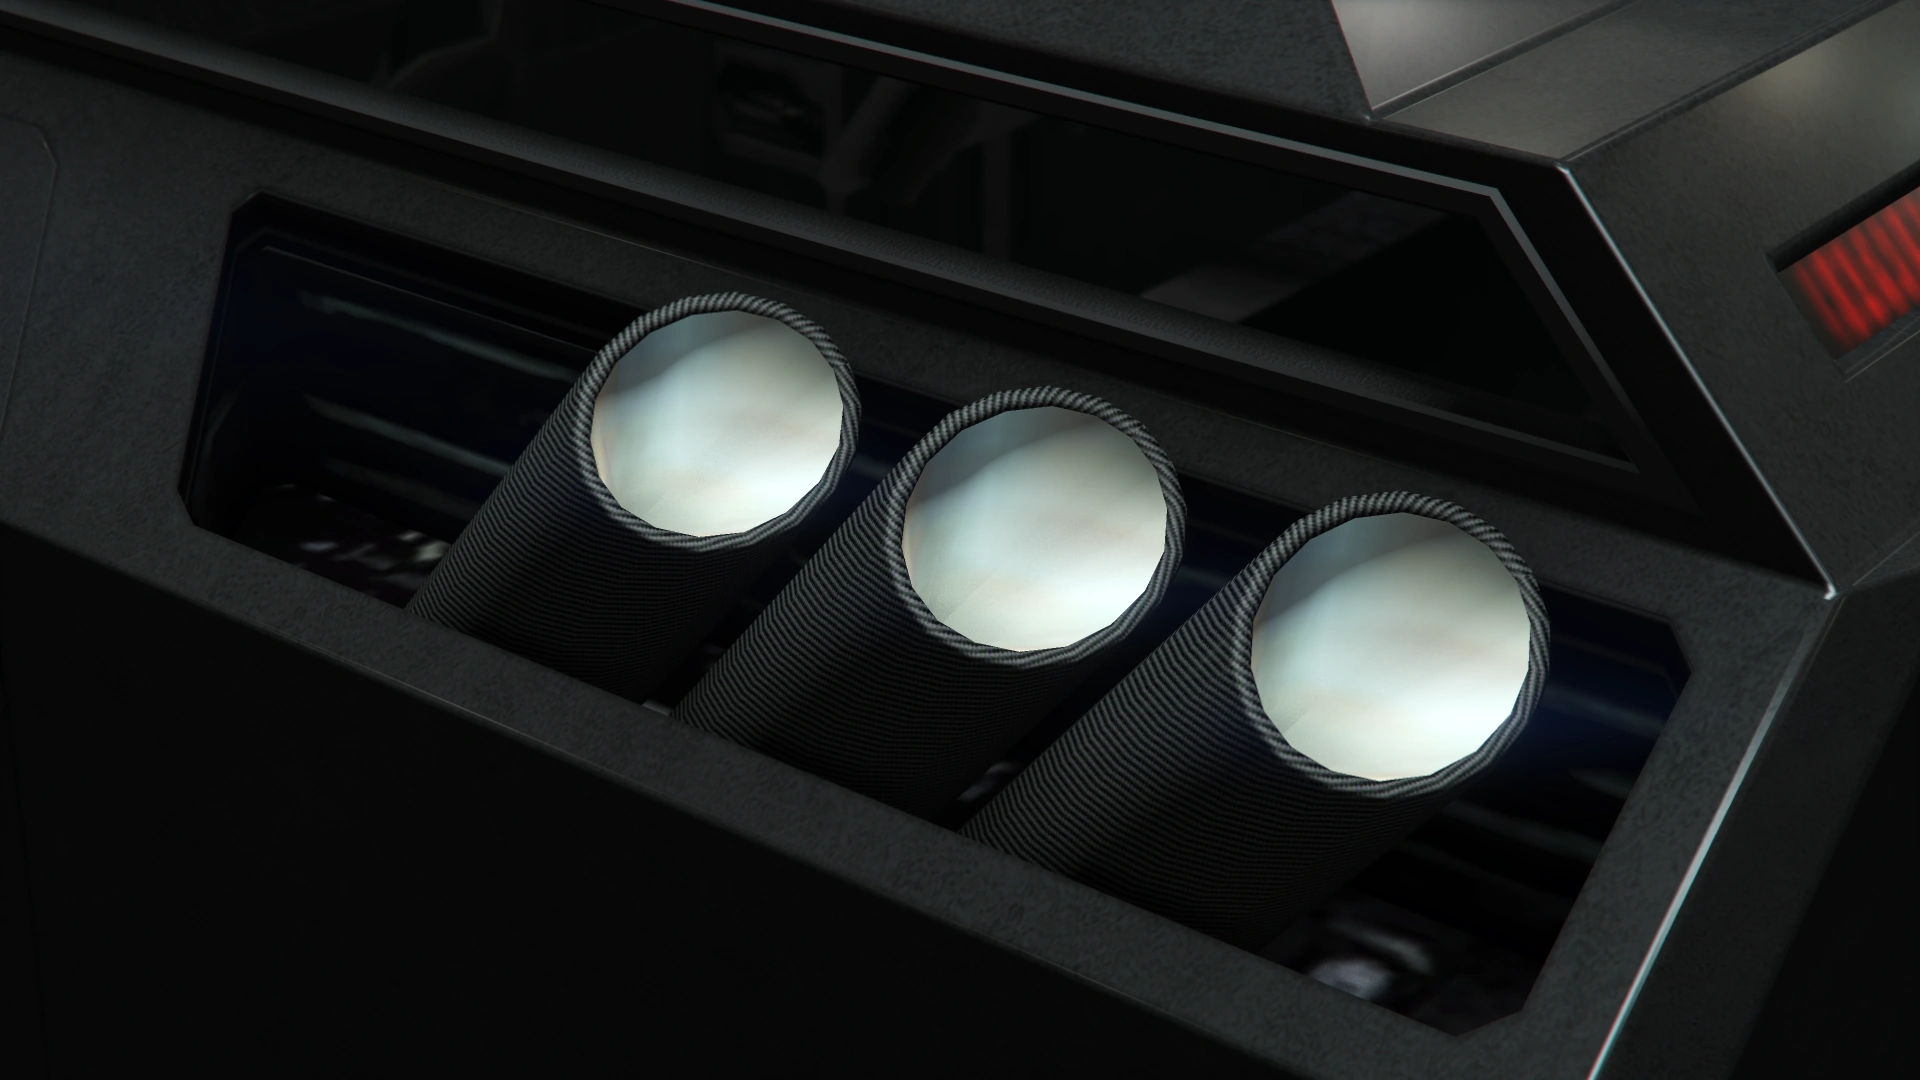
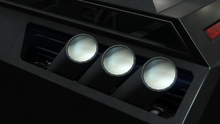
| + | Menacer-GTAO-Detail.png|Close-up on the '''Top .50 Cal Machine Gun'''. |
||
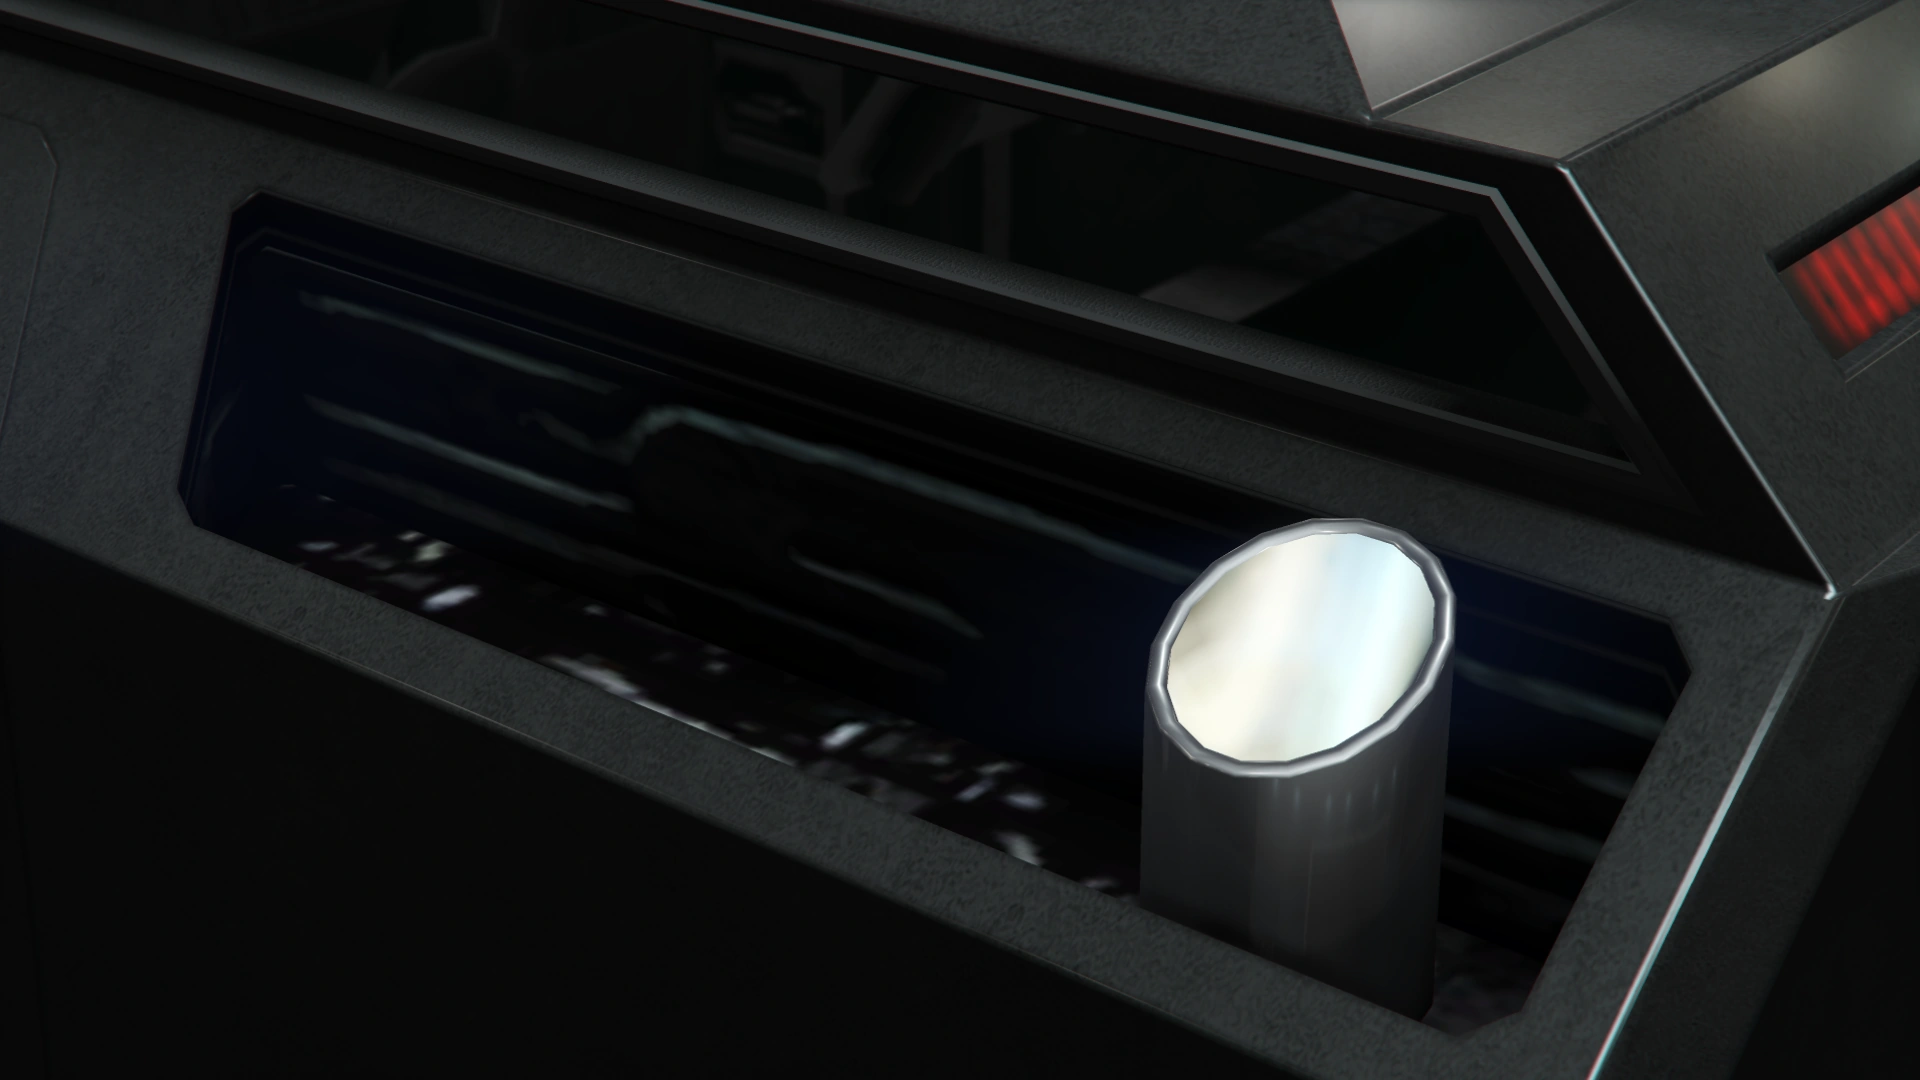
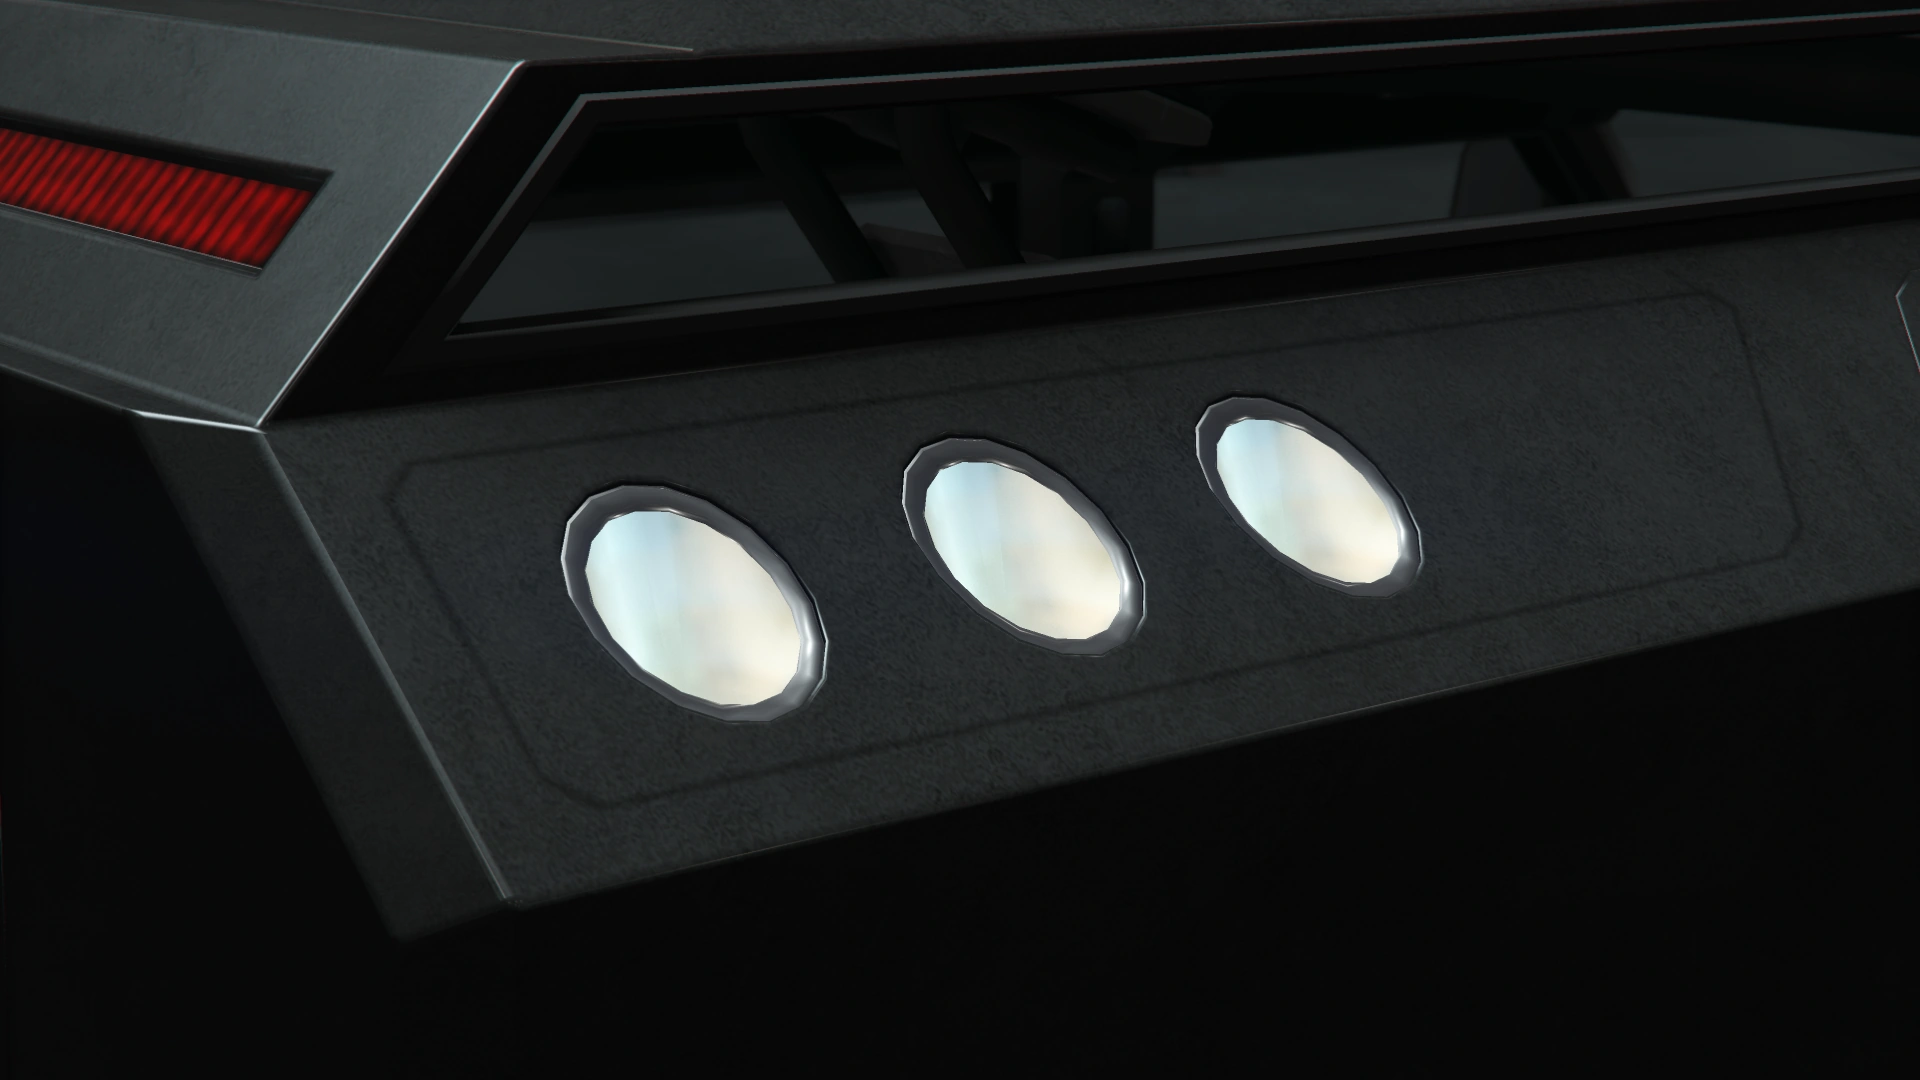
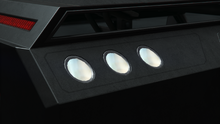
| + | Menacer-GTAO-Top.50CalMinigun-CloseUp.png|Close-up on the '''Top .50 Cal Minigun'''. |
||
Warstock-GTAO-Menacer.png|The '''Menacer''' on [[Warstock Cache & Carry]]. |
Warstock-GTAO-Menacer.png|The '''Menacer''' on [[Warstock Cache & Carry]]. |
||
Menacer-GTAO-RGSC.jpg|The '''Menacer''' on [[Rockstar Games Social Club]]. |
Menacer-GTAO-RGSC.jpg|The '''Menacer''' on [[Rockstar Games Social Club]]. |
||
| − | Menacer-GTAO-front-Top.50CalMinigun.png|The '''Menacer''' with Top .50 Cal Minigun upgrade. <small>([[:File:Menacer-GTAO-rear-Top.50CalMinigun.png|Rear quarter view]])</small> |
||
| − | Menacer-GTAO-Top.50CalMinigun-CloseUp.png|Close-up on the Top .50 Cal Minigun. |
||
</gallery> |
</gallery> |
||
| + | |||
| + | |||
===Video=== |
===Video=== |
||
[[File:GTA Online After Hours - HVY Menacer|center|350x350px]] |
[[File:GTA Online After Hours - HVY Menacer|center|350x350px]] |
||
| − | == |
+ | ==Locations== |
| + | ===''Grand Theft Auto Online''=== |
||
| − | *Available for purchase from [[Warstock Cache & Carry]] for [[$]]1,775,000. |
||
| + | *Can be purchased from [[Warstock Cache & Carry]] for [[Money|$]]1,775,000. |
||
| + | |||
| + | ==Trivia== |
||
| + | ===General=== |
||
| + | *The default radio stations for the Menacer are [[Radio Los Santos]], [[West Coast Classics]], and [[The Lab]]. |
||
| + | |||
| + | ==References== |
||
| + | {{reflist}} |
||
==Navigation== |
==Navigation== |
||
{{Navboxes |
{{Navboxes |
||
| − | |title=Navigation |
+ | |title = Navigation |
|list1 = |
|list1 = |
||
{{vehicles|state=collapsed}} |
{{vehicles|state=collapsed}} |
||
{{gtav vehicles|state=collapsed}} |
{{gtav vehicles|state=collapsed}} |
||
}} |
}} |
||
| − | [[Category:Unreleased]] |
||
| − | [[Category:Exclusive Enhanced Version Content in GTA V]] |
||
[[Category:Vehicles]] |
[[Category:Vehicles]] |
||
[[Category:Vehicles in GTA Online]] |
[[Category:Vehicles in GTA Online]] |
||
| − | [[Category: |
+ | [[Category:Vehicles in GTA Online: After Hours]] |
| + | [[Category:Vehicles manufactured by HVY]] |
||
[[Category:DLC Vehicles]] |
[[Category:DLC Vehicles]] |
||
| + | [[Category:DLC Vehicles in GTA Online]] |
||
[[Category:Event Vehicles in GTA Online]] |
[[Category:Event Vehicles in GTA Online]] |
||
| − | [[Category: |
+ | [[Category:Exclusive Enhanced Version Content in GTA V]] |
| + | [[Category:Exclusive Enhanced Version Vehicles in GTA Online]] |
||
[[Category:Armed Vehicles]] |
[[Category:Armed Vehicles]] |
||
| − | [[Category:Vehicles |
+ | [[Category:Armored Vehicles]] |
| − | [[Category:Vehicles in GTA Online: After Hours]] |
||
[[Category:Off-Road Vehicles]] |
[[Category:Off-Road Vehicles]] |
||
[[Category:Off-Road Vehicle Class]] |
[[Category:Off-Road Vehicle Class]] |
||
Revision as of 09:17, 3 February 2020
Template:Next-Gen Template:Infobox vehicles
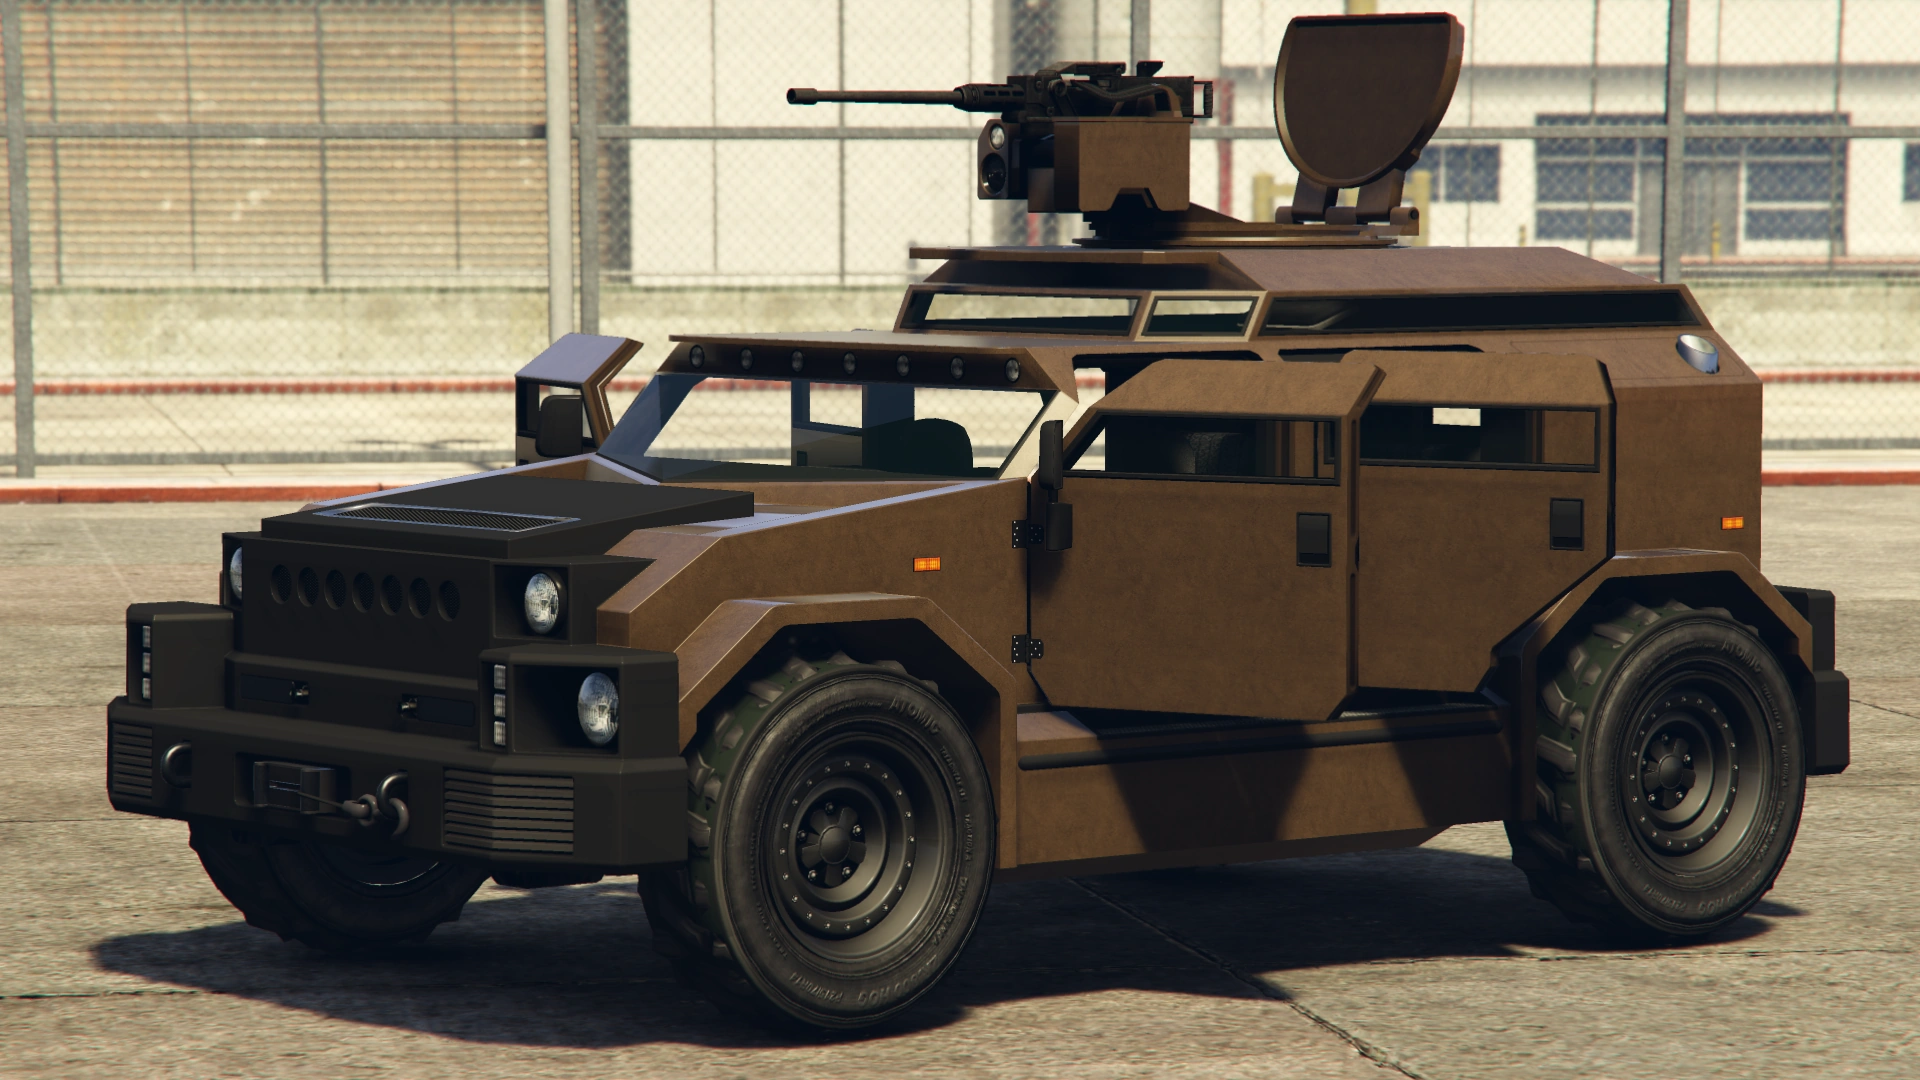
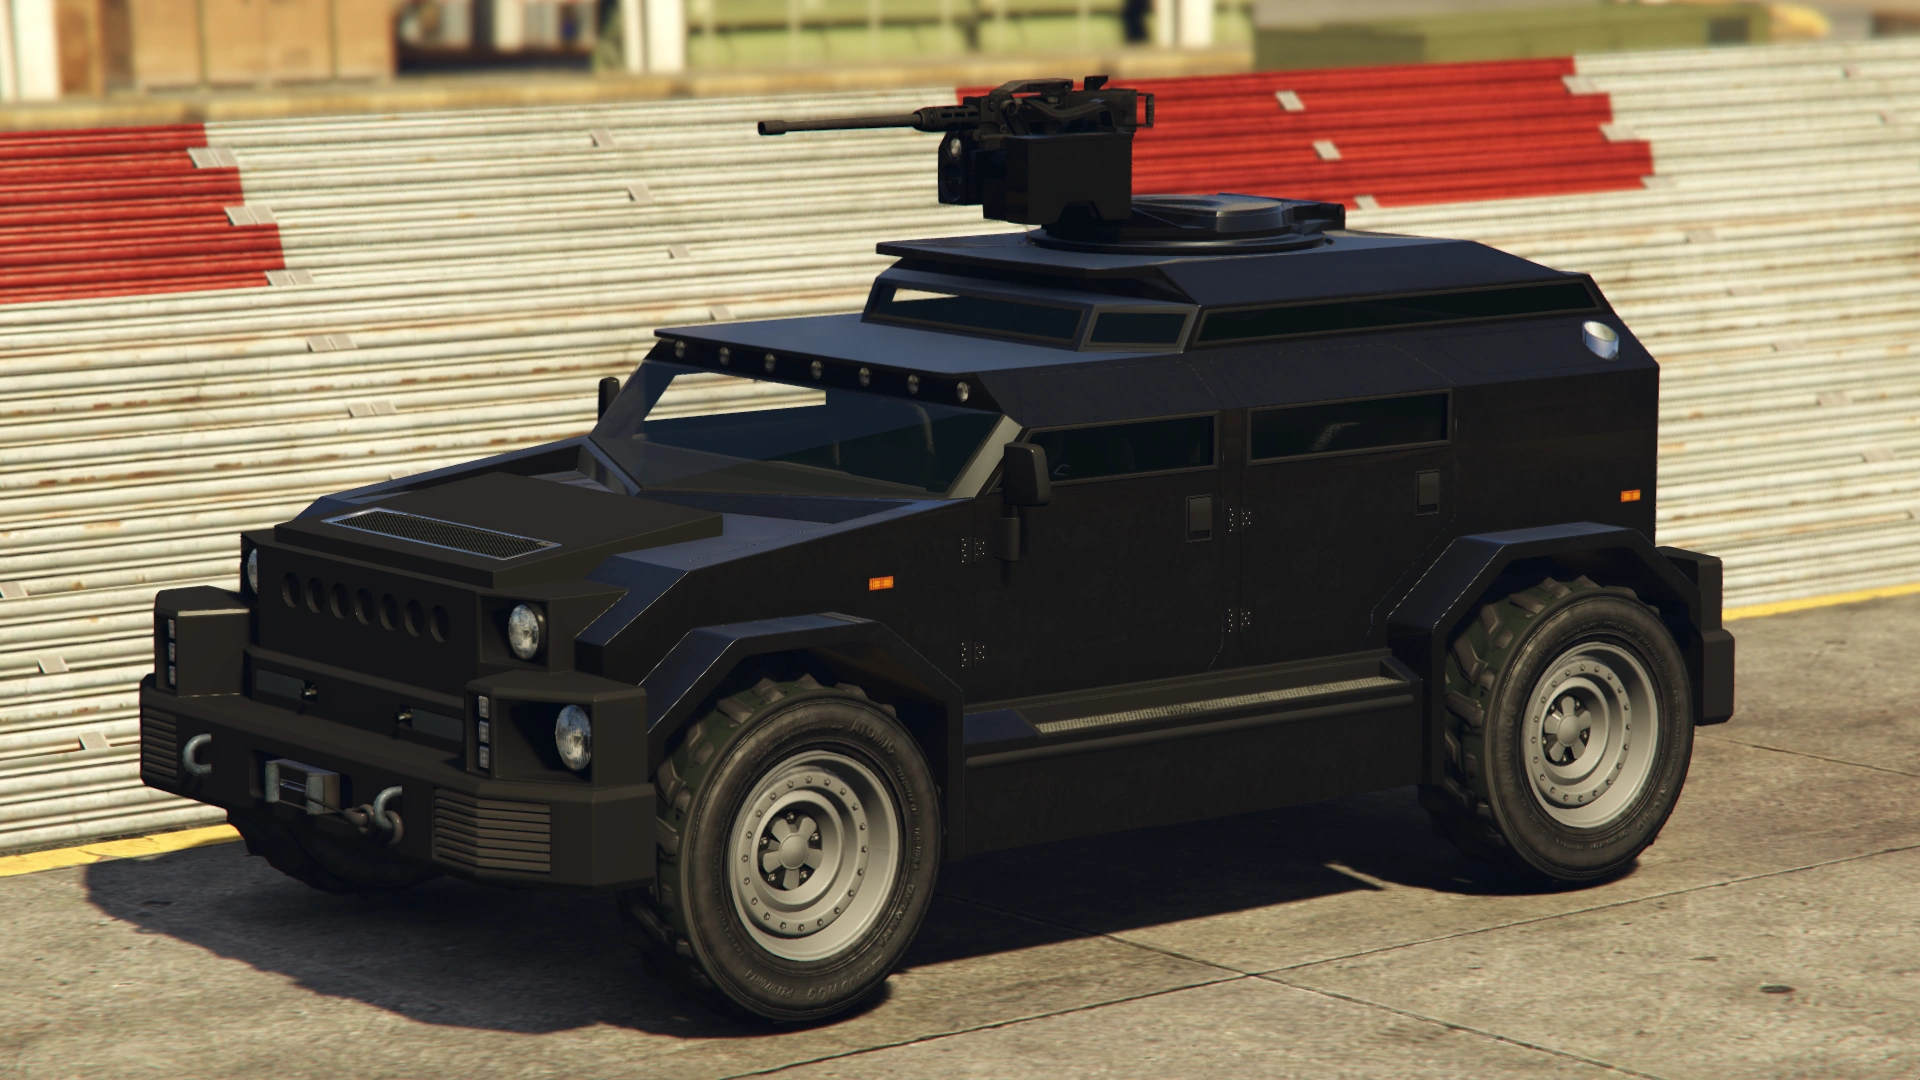
The HVY Menacer is an armored SUV featured in Grand Theft Auto Online as part of the After Hours update, released on August 28th, 2018, during the Menacer Week event.
Design
Grand Theft Auto Online
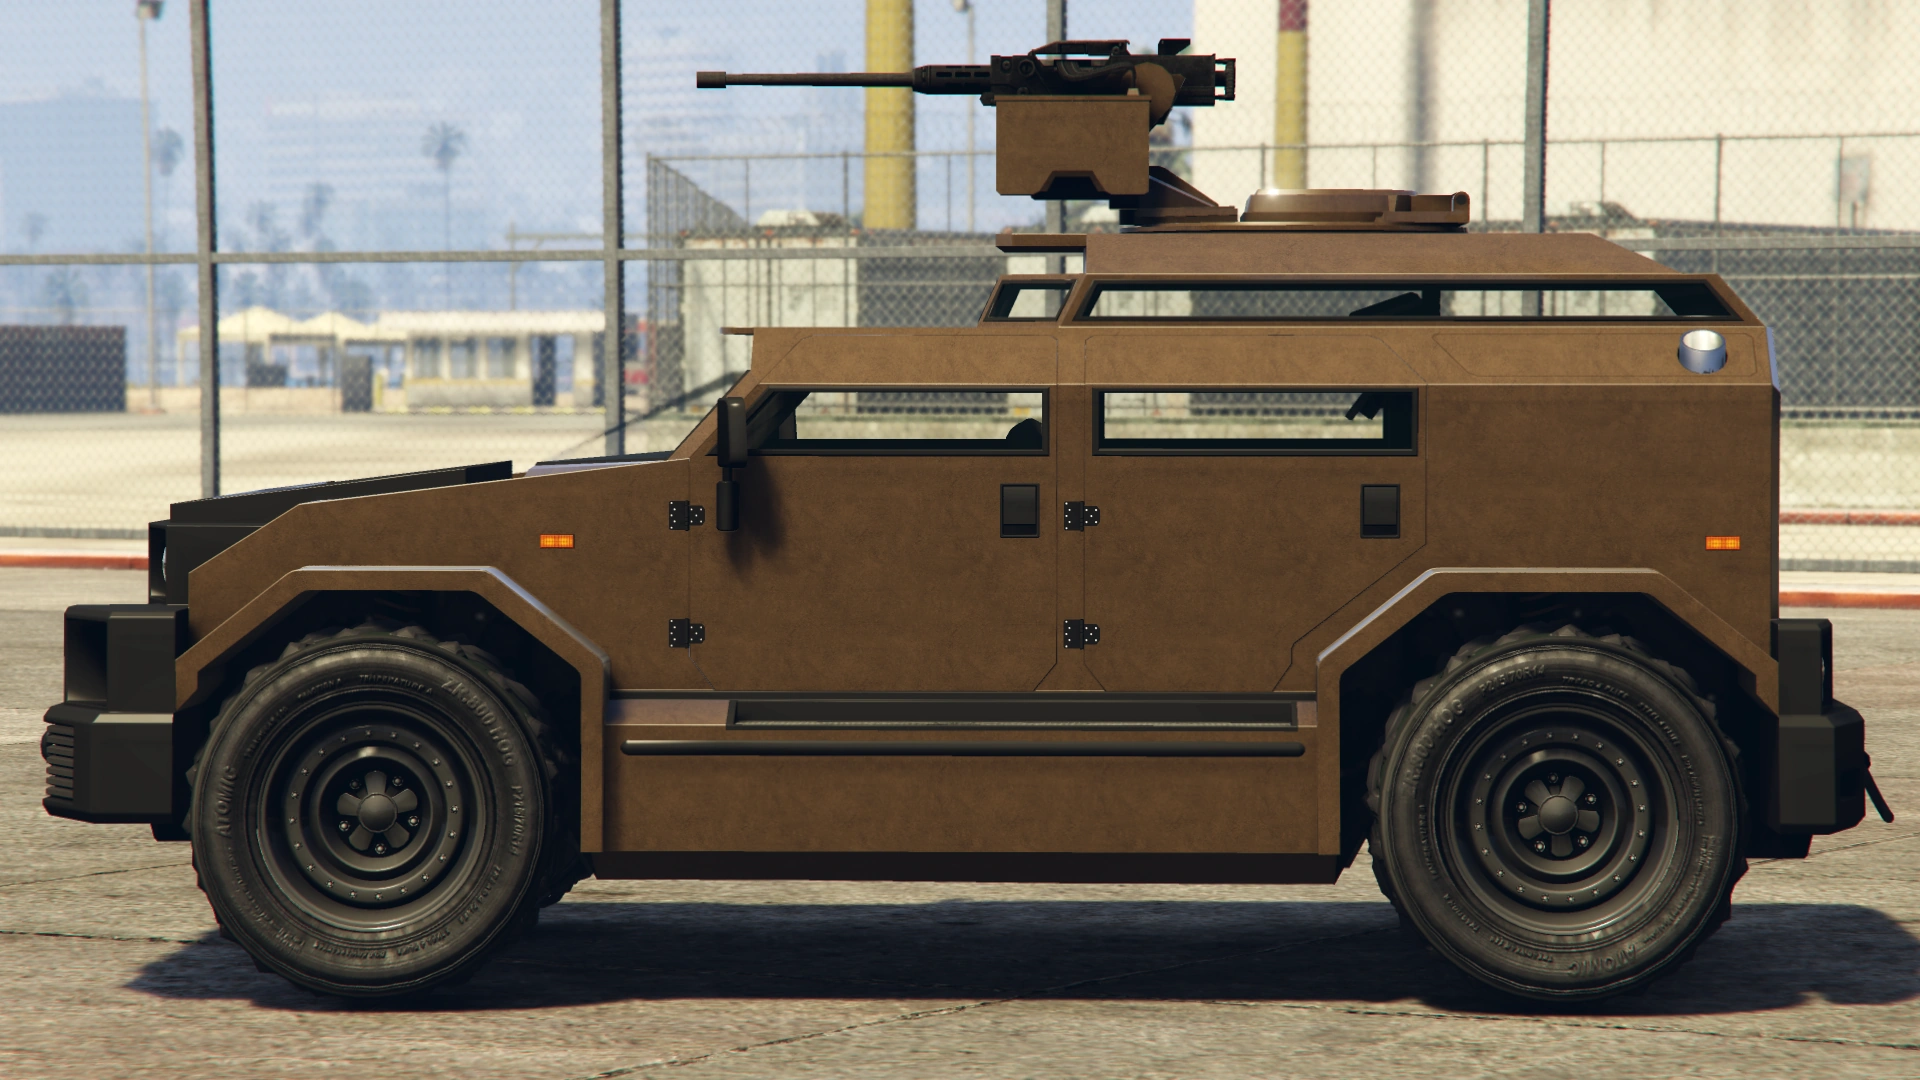
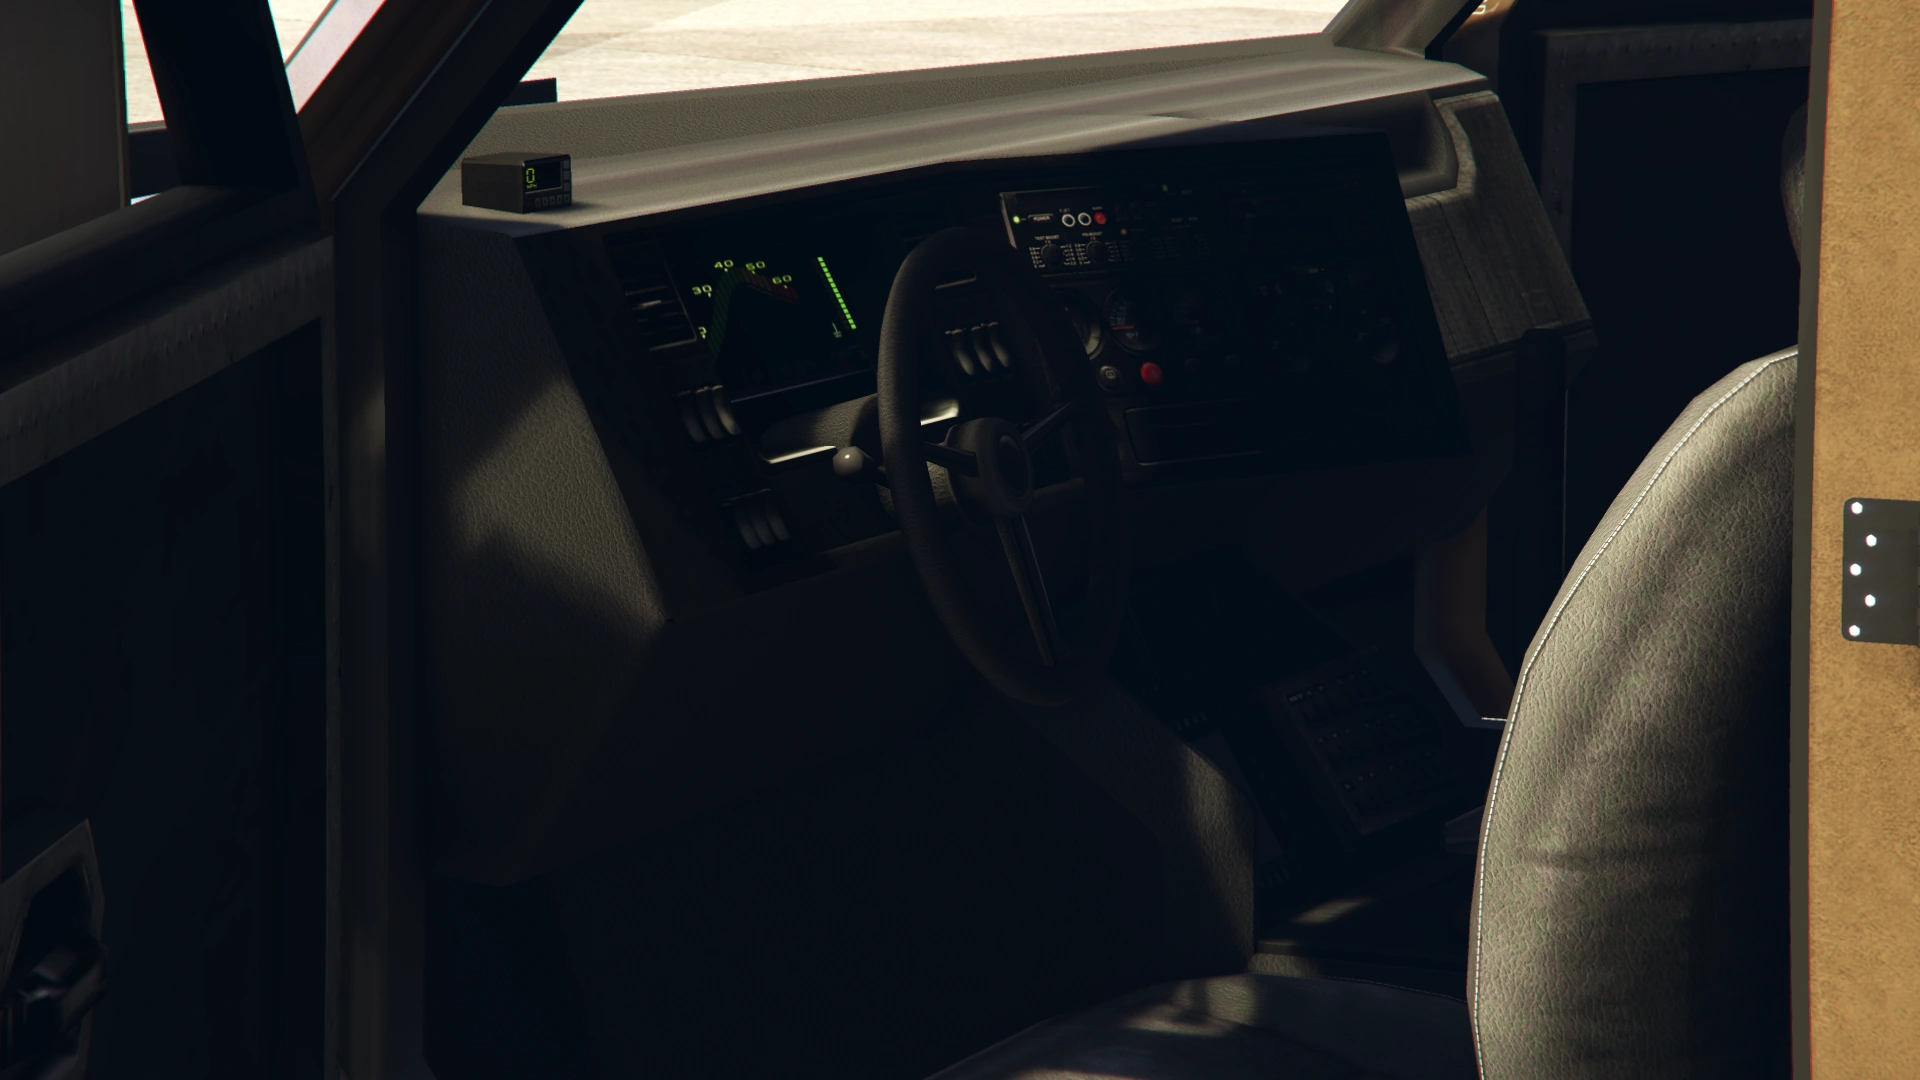
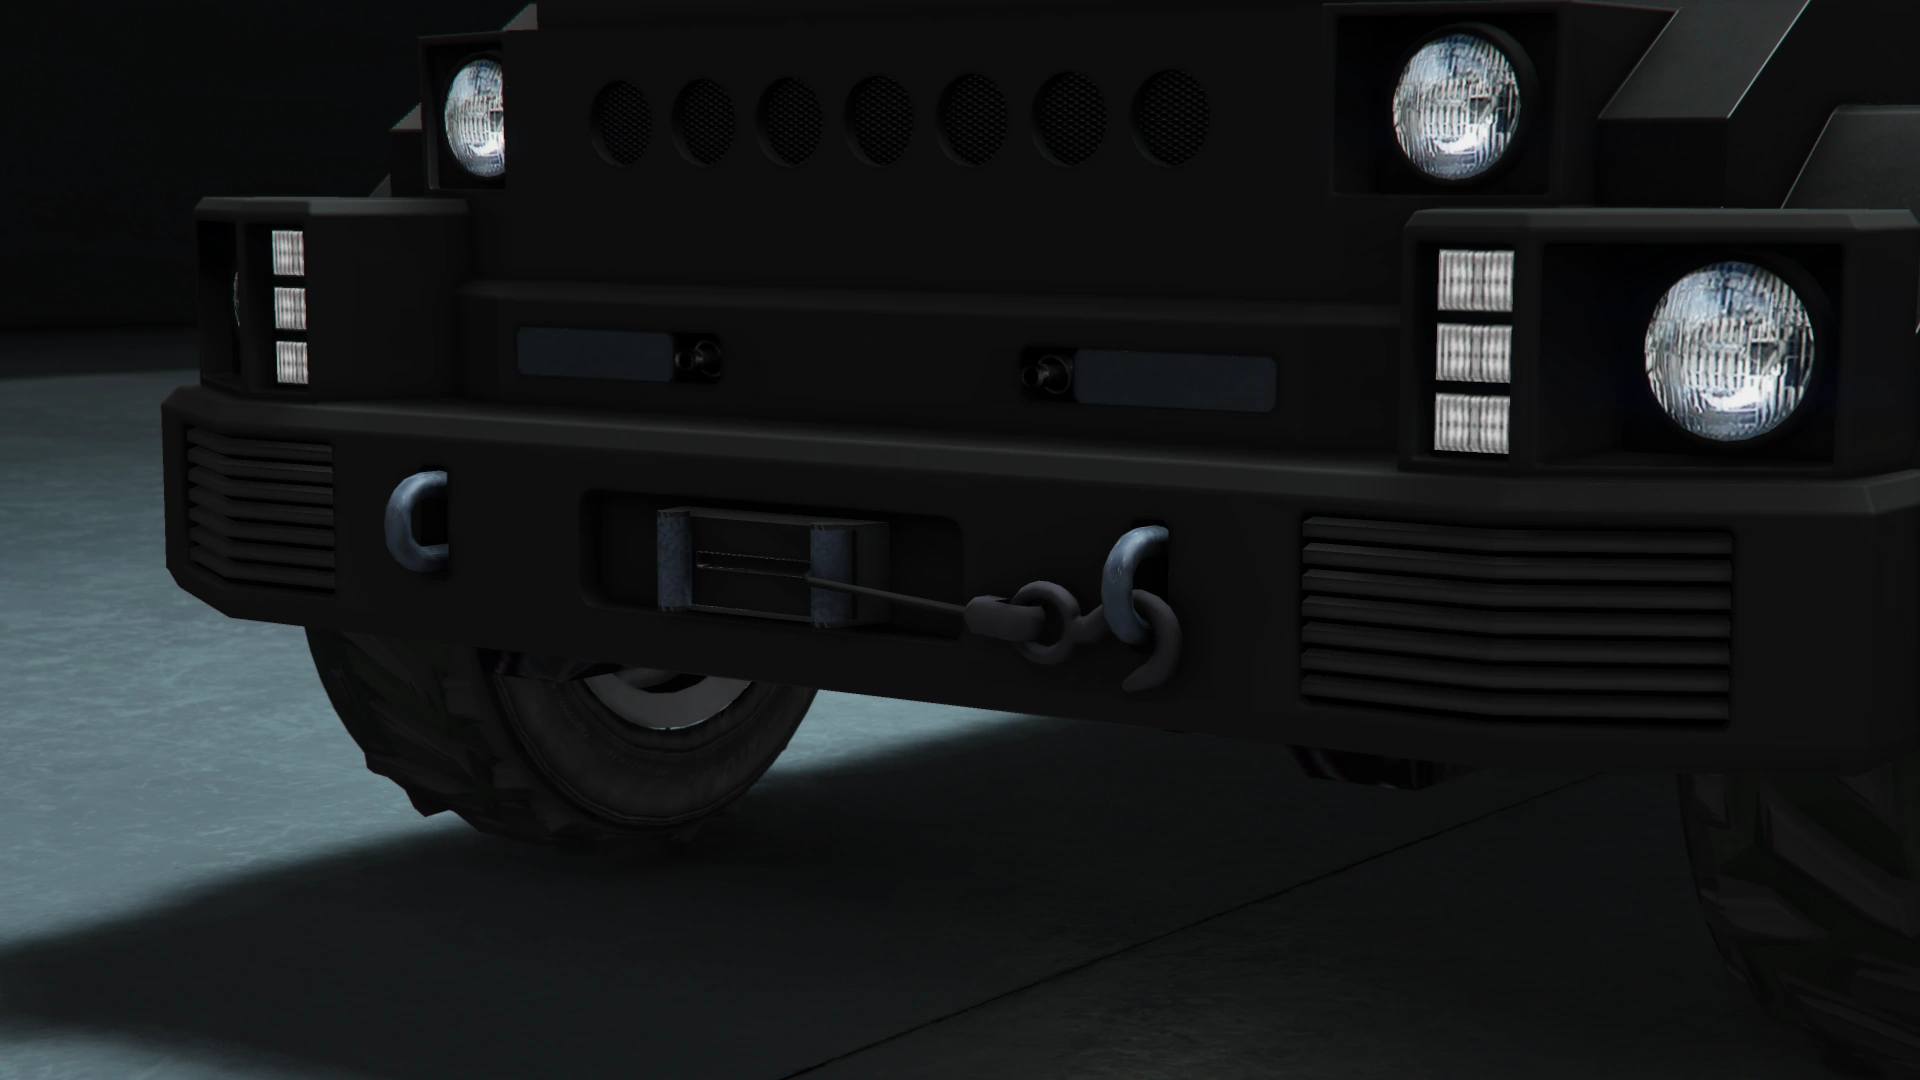
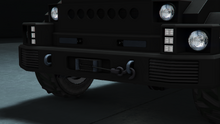
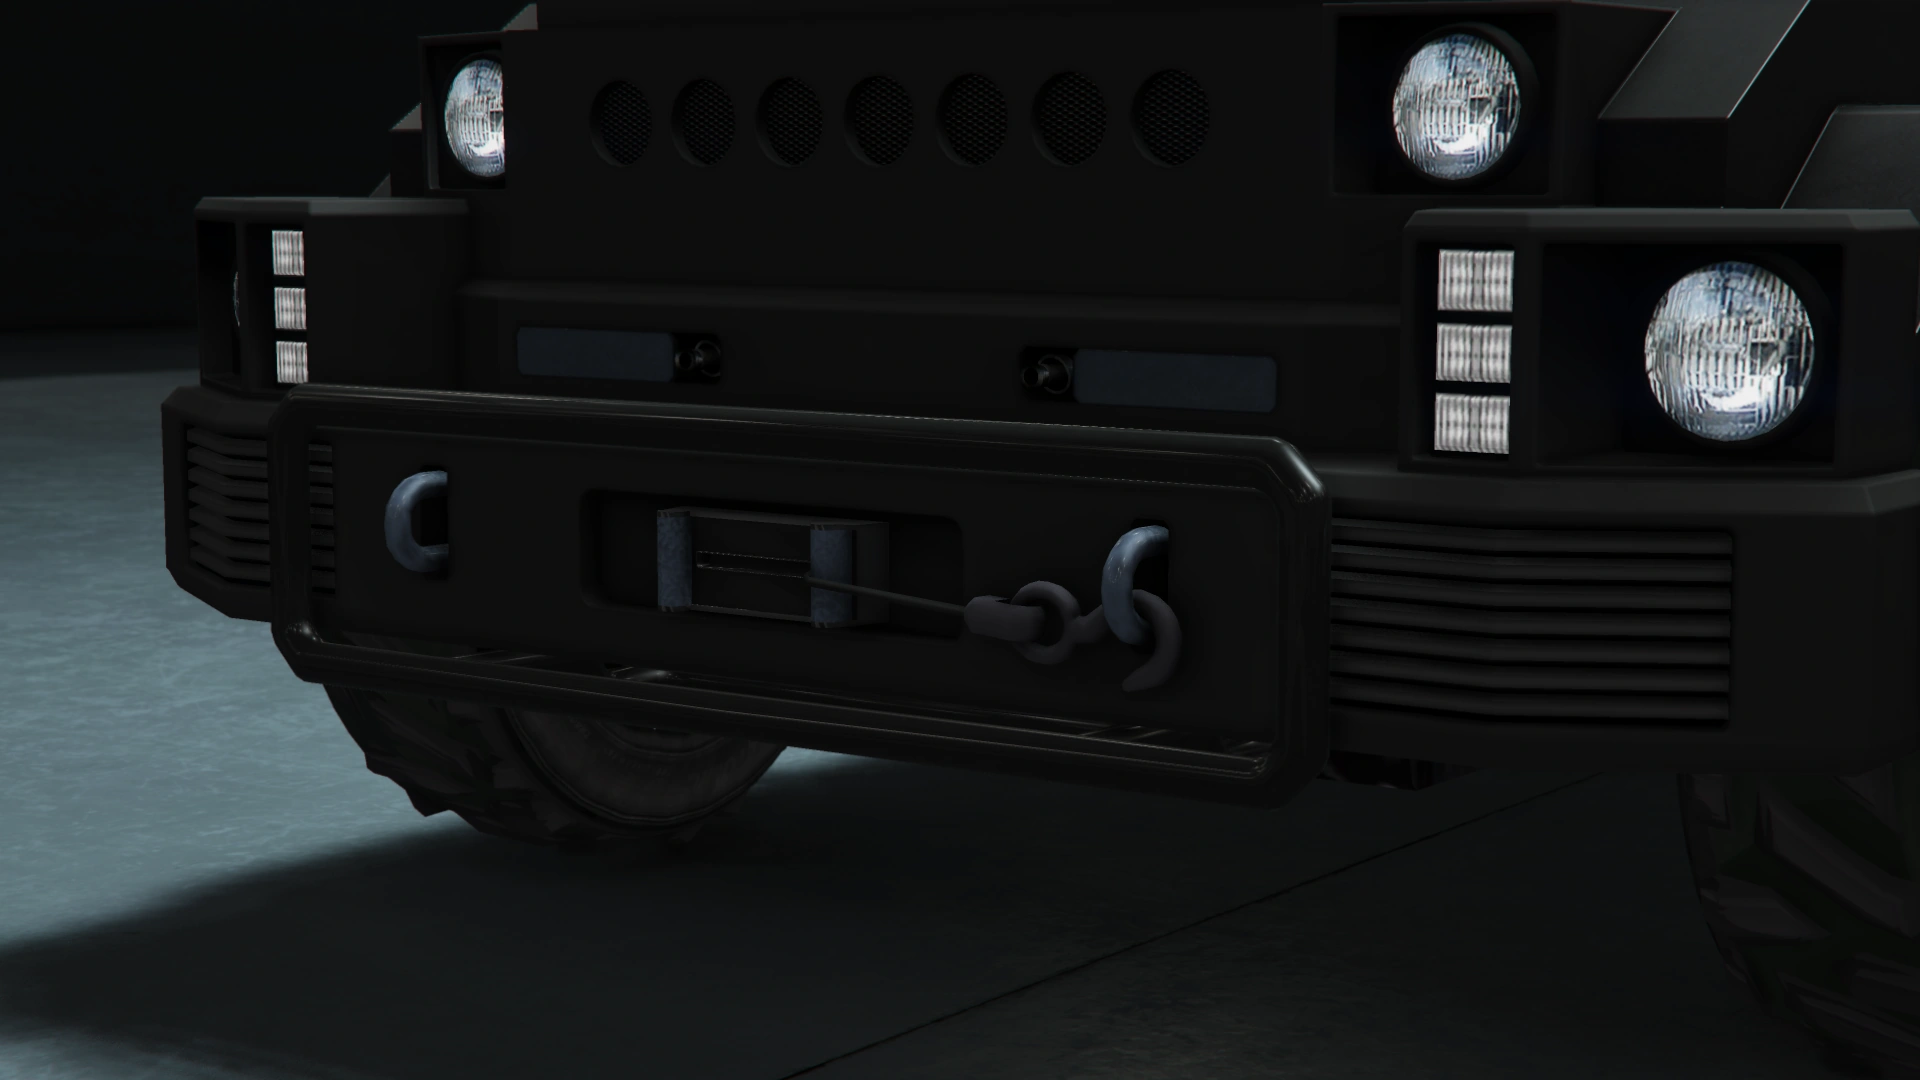
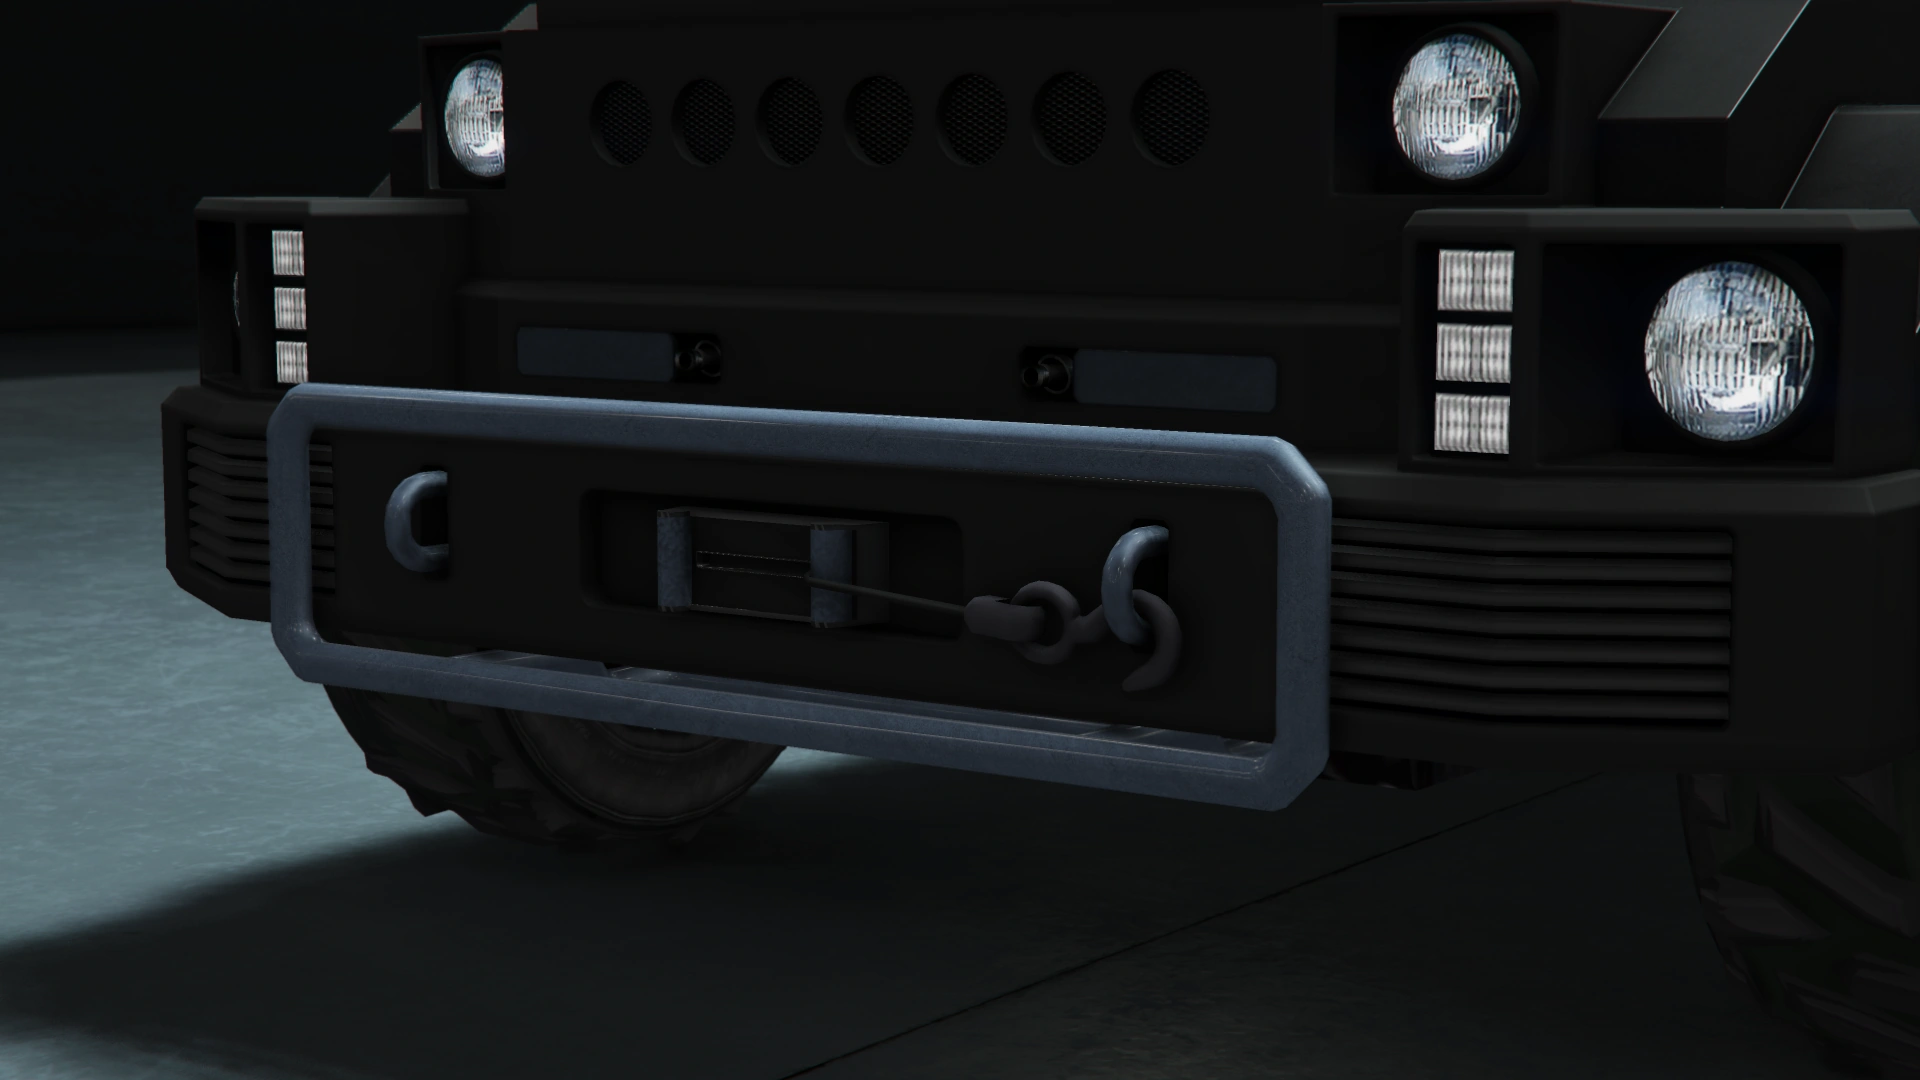
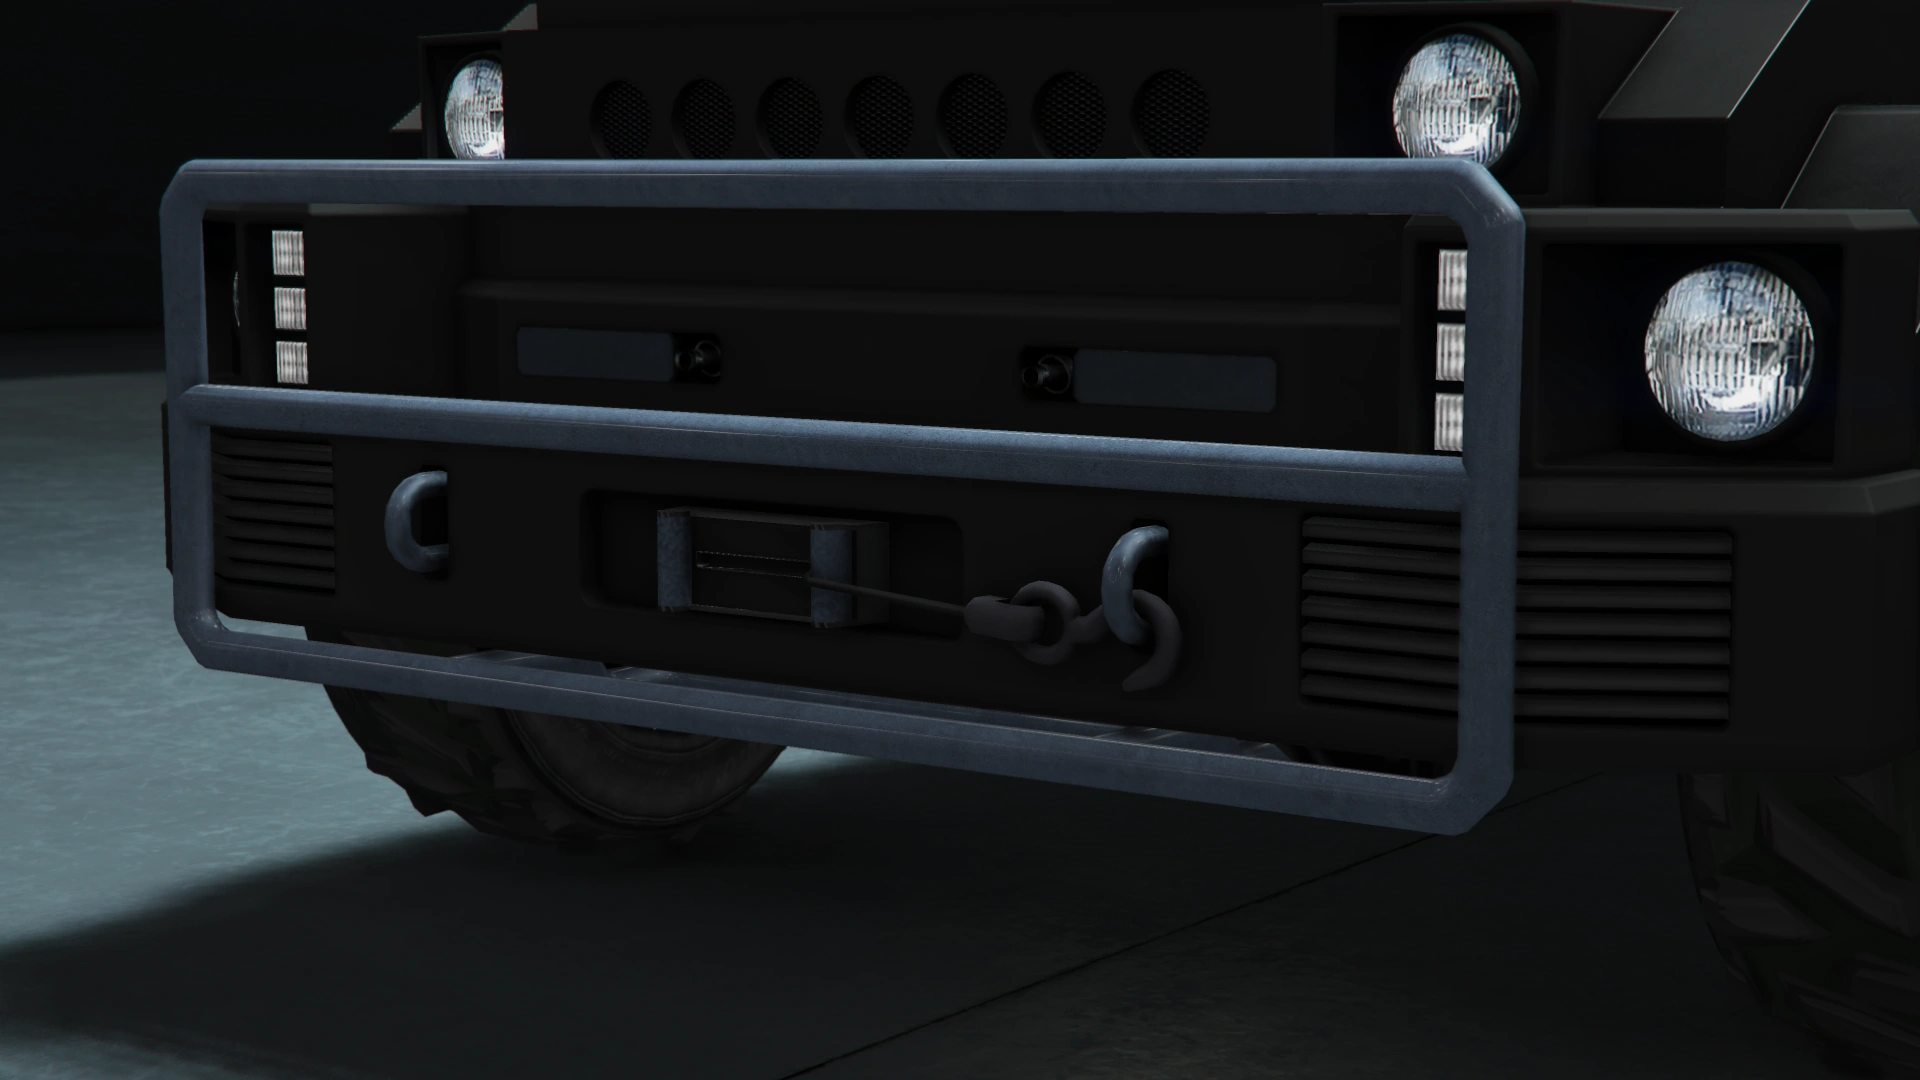
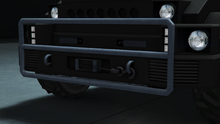
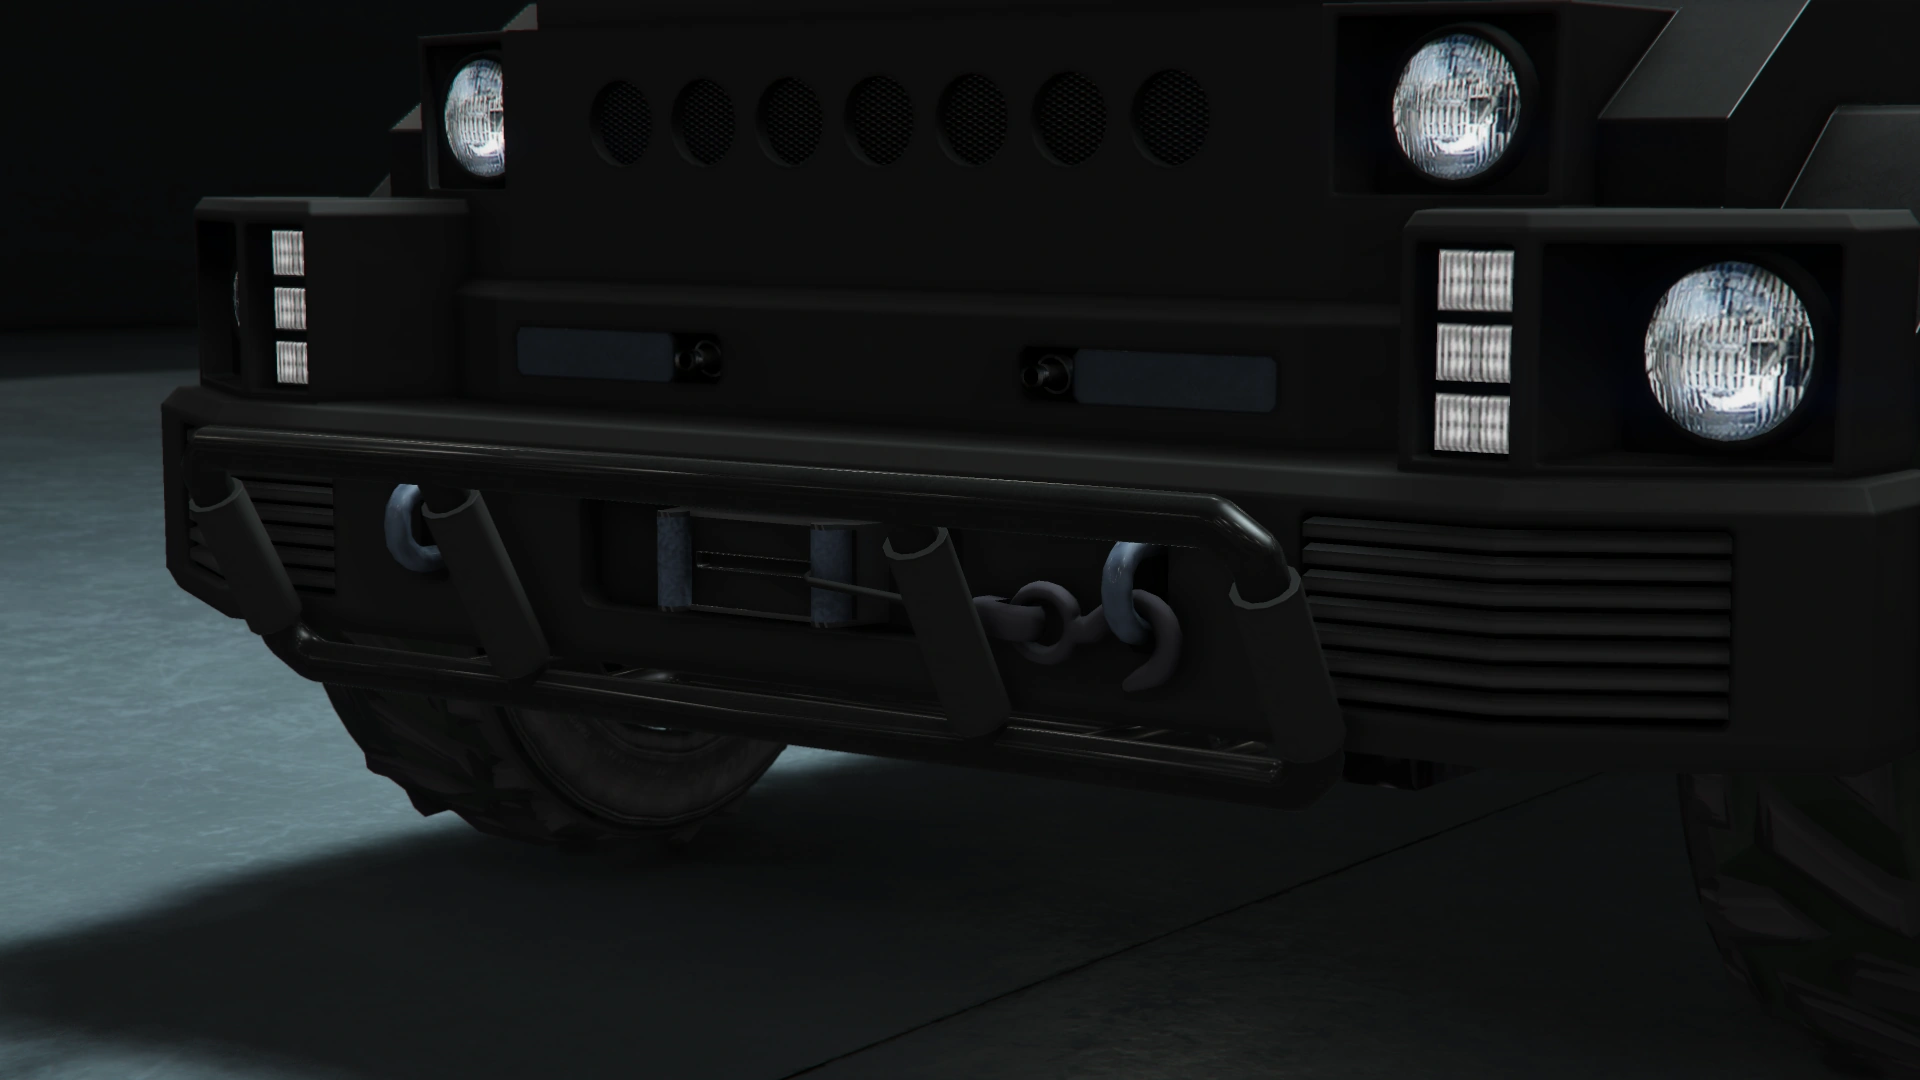
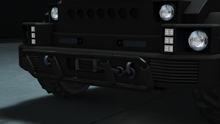
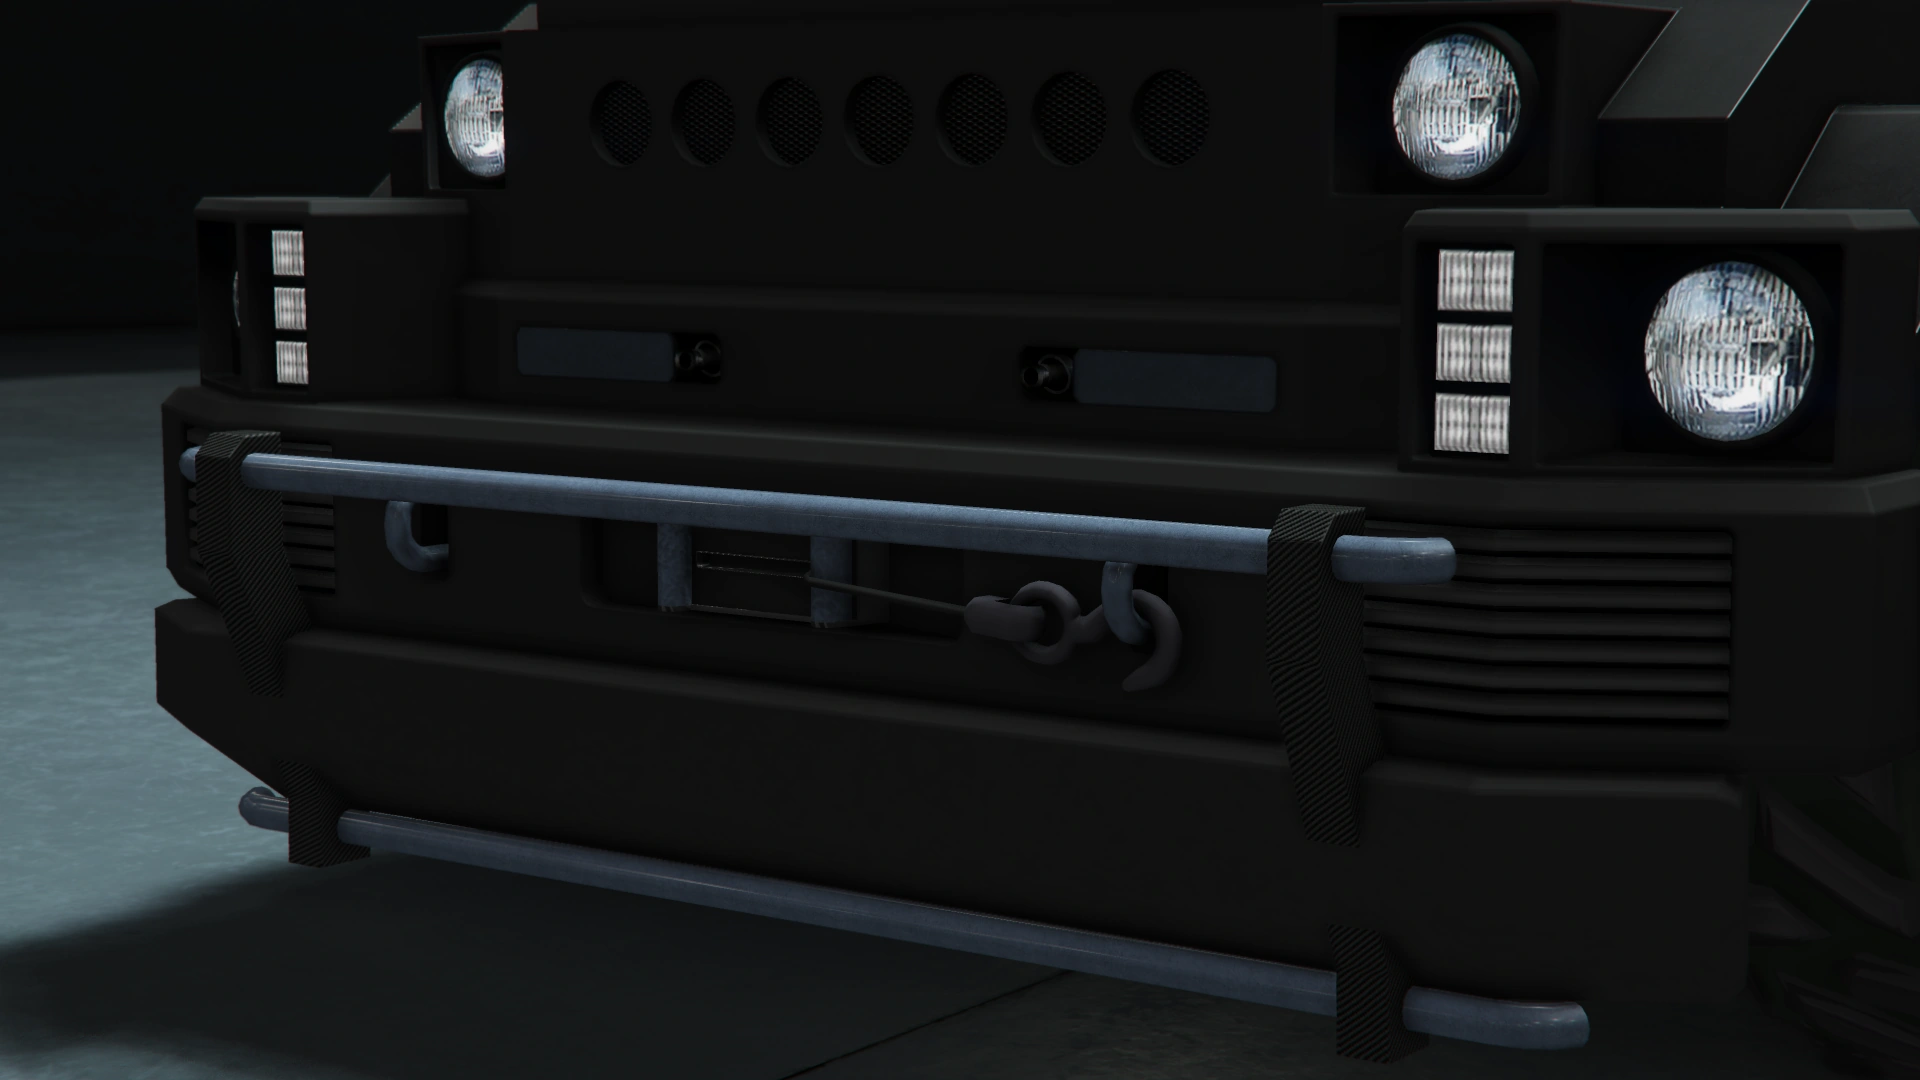
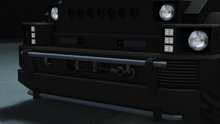
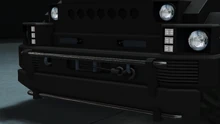
The Menacer appears to be based on the Boss Hunting Truck, a custom Hummer based on the H1 K10 Series. The upper side of the front, judging by the grille and the rounded lamps, seems to take elements from the aforementioned Hummer H1.
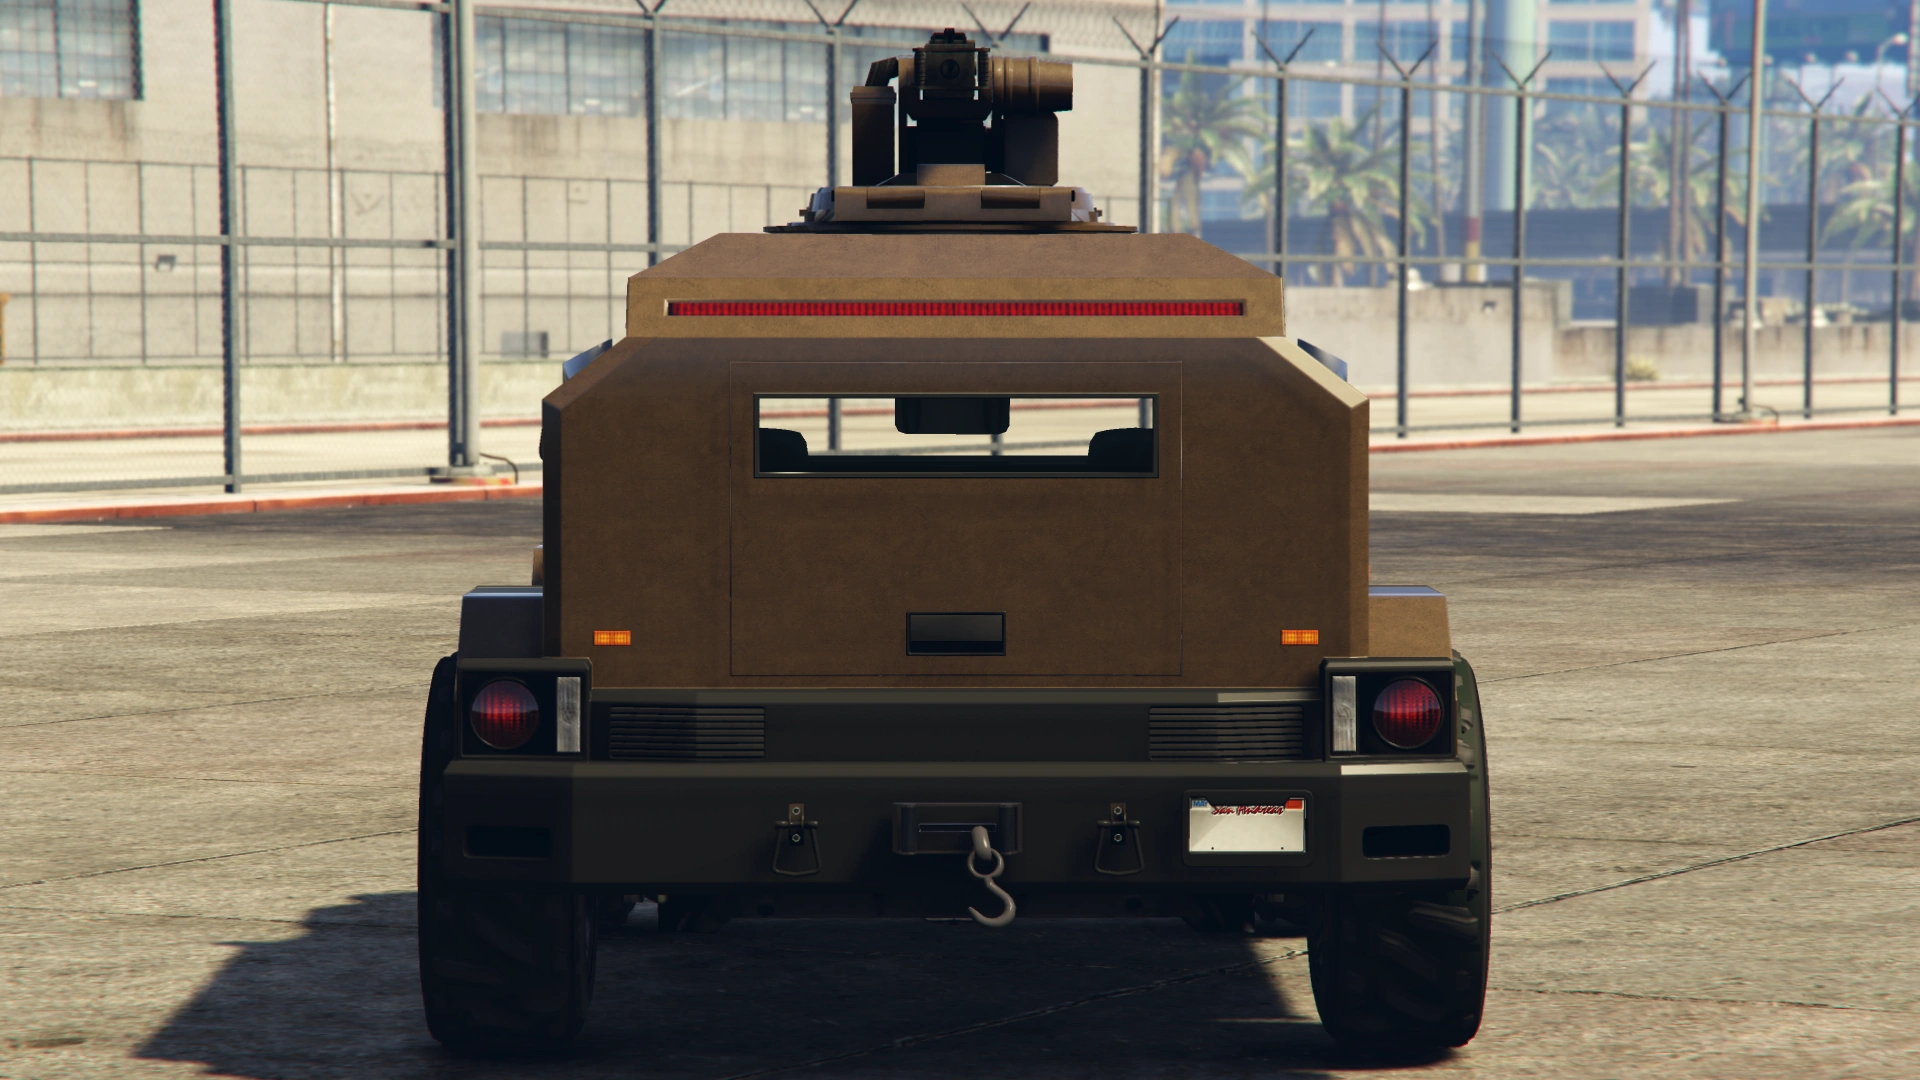
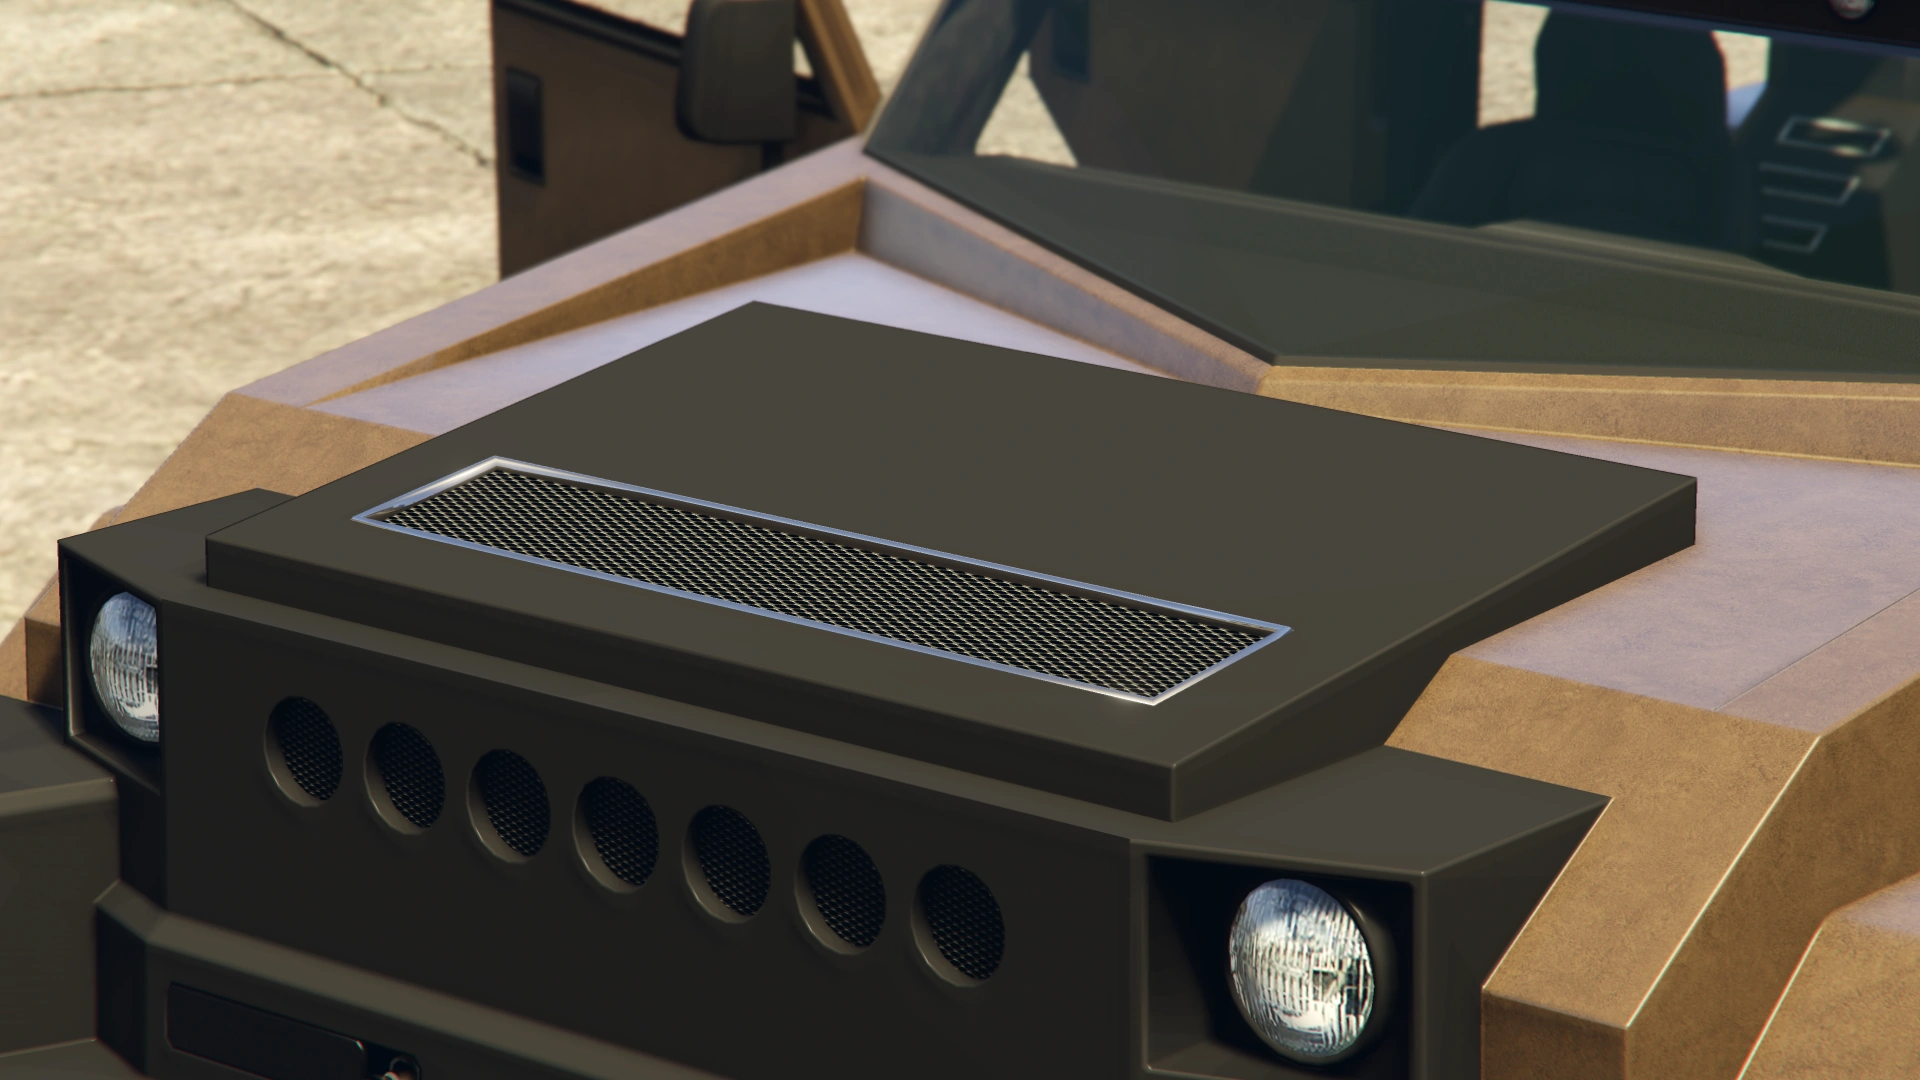
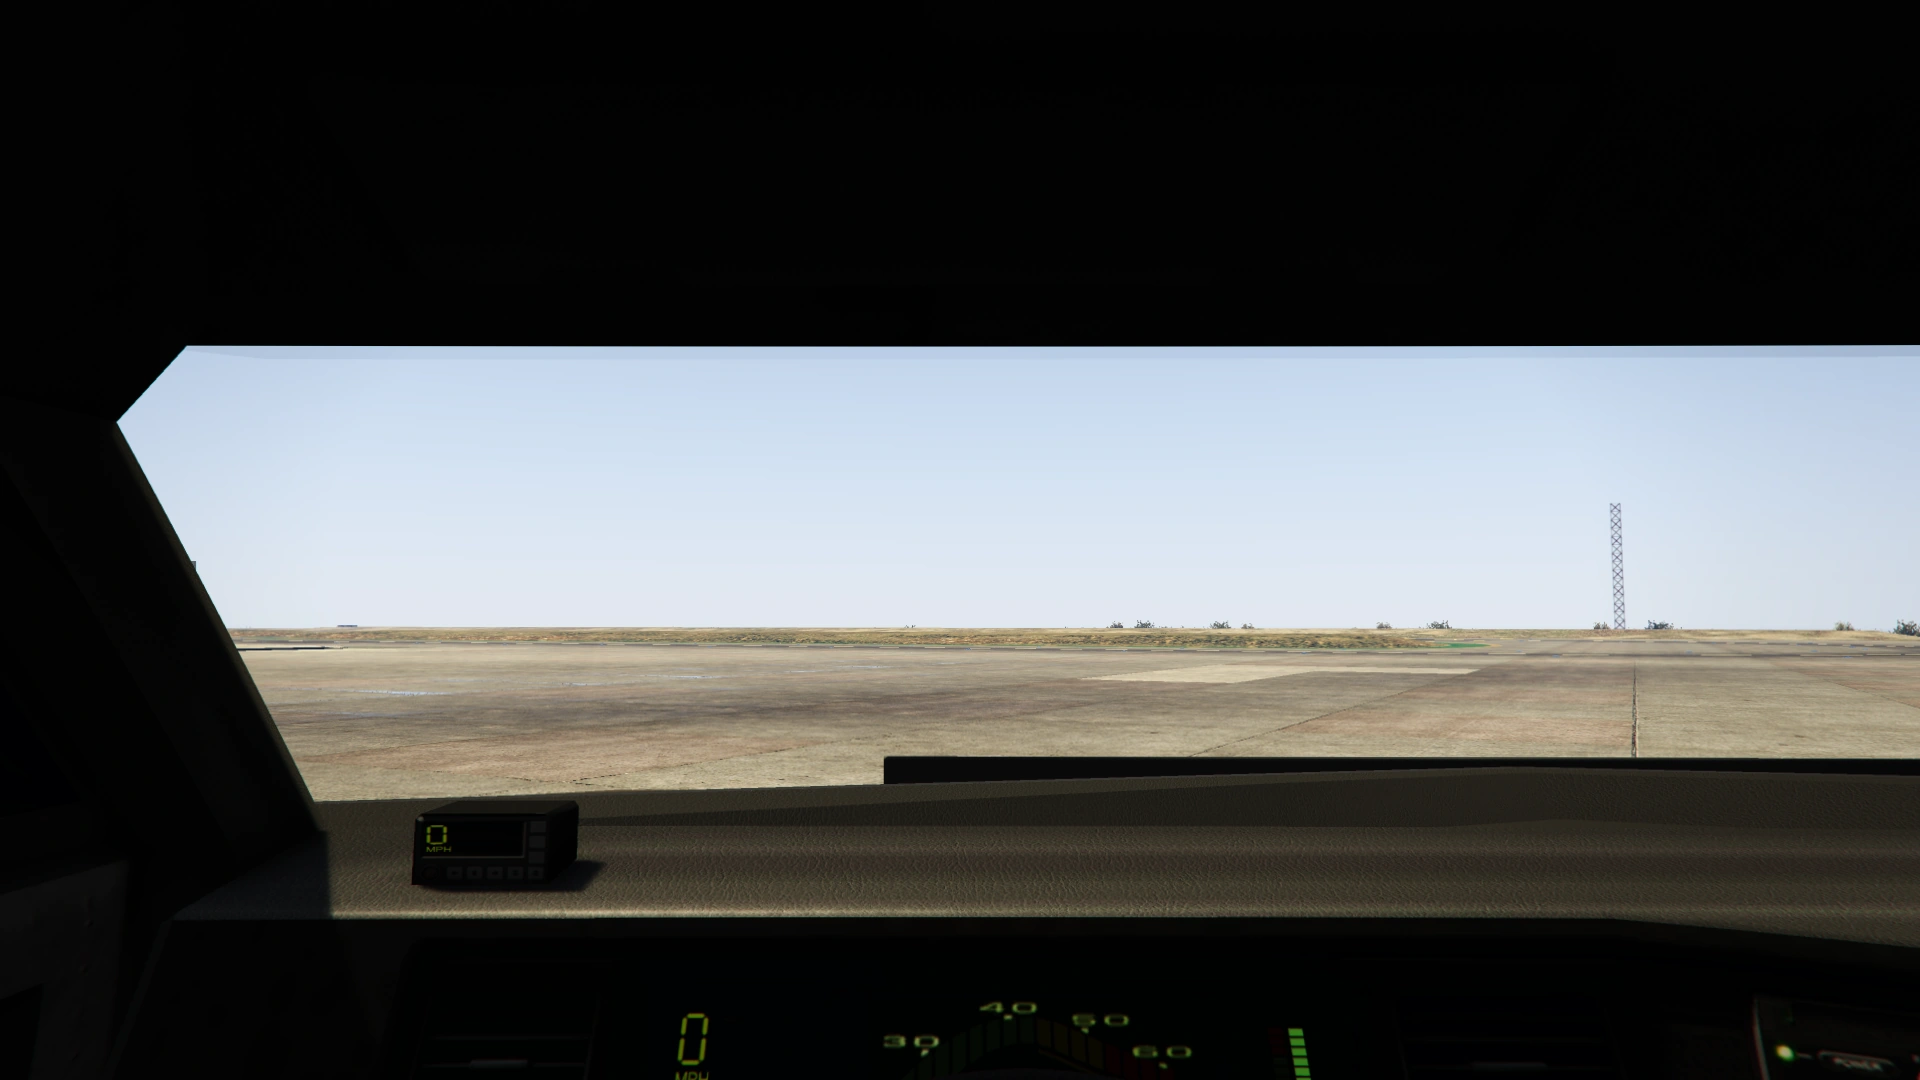
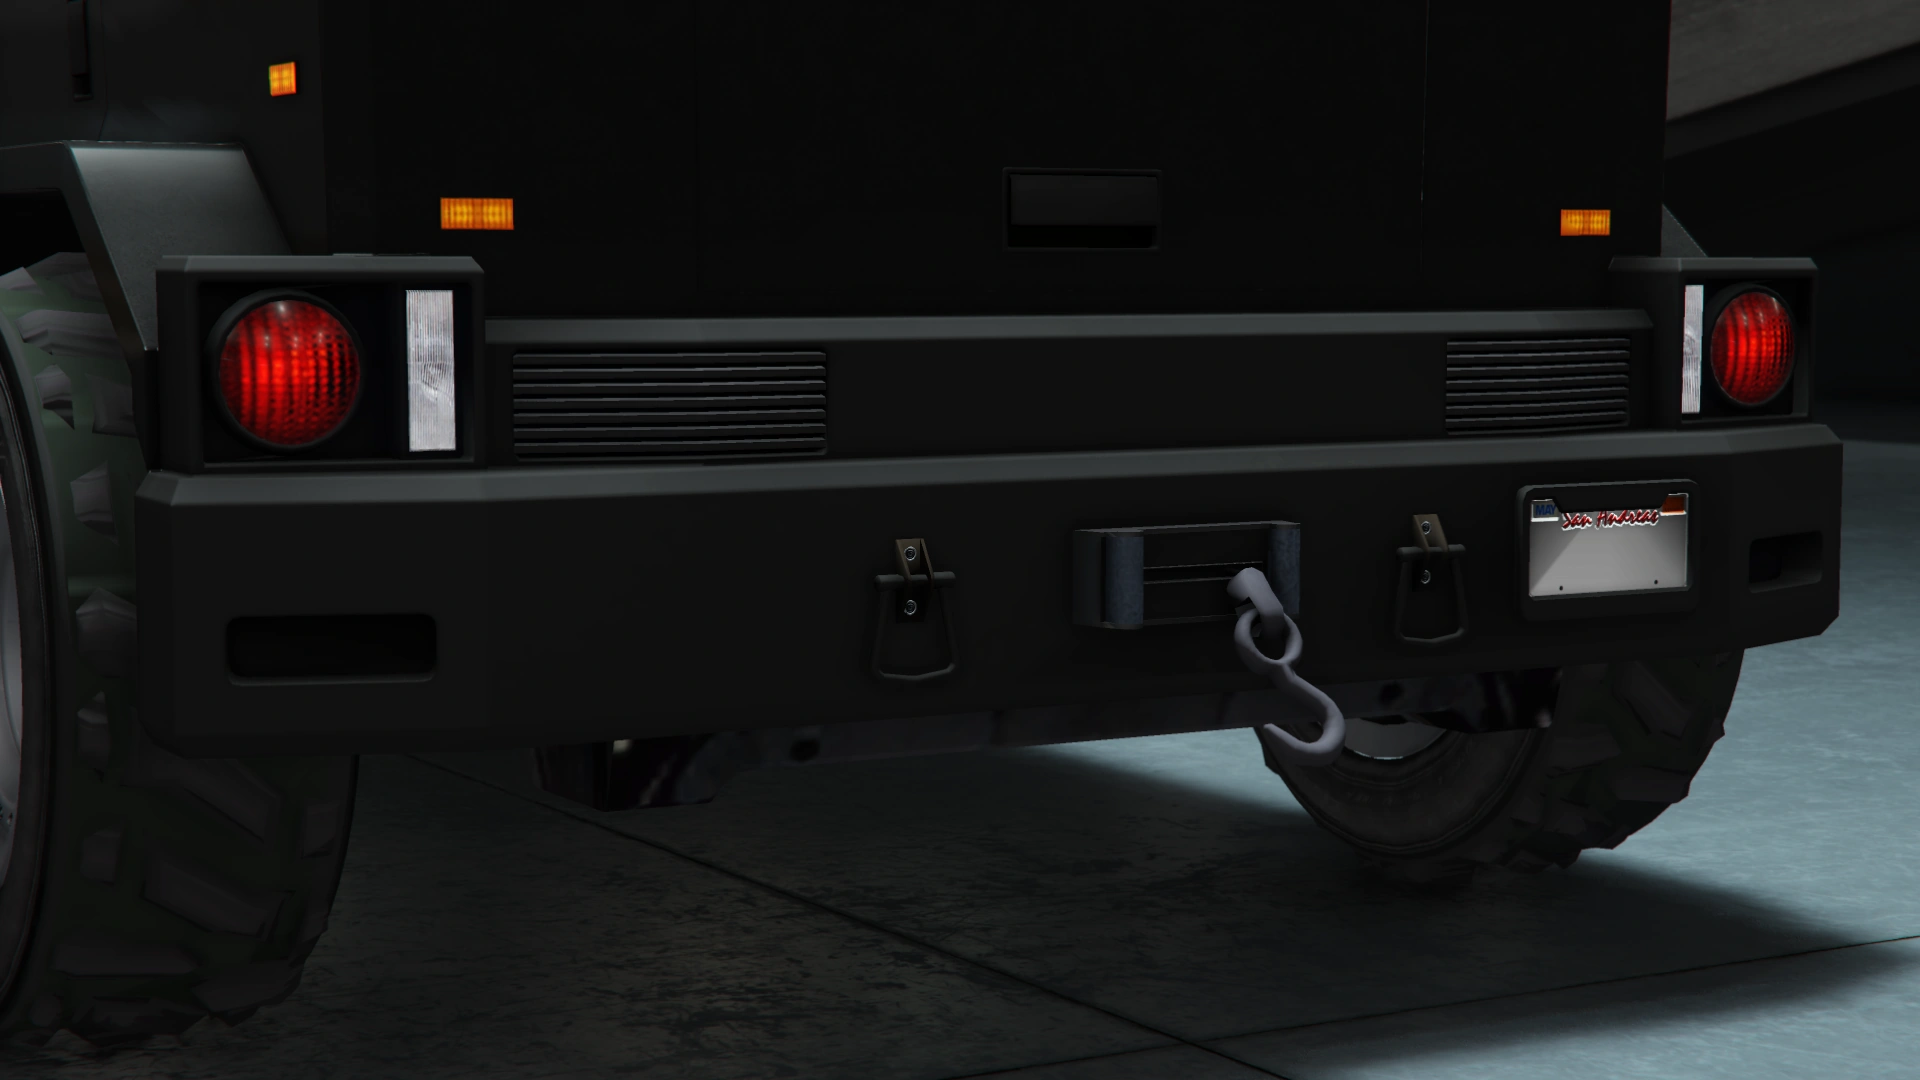
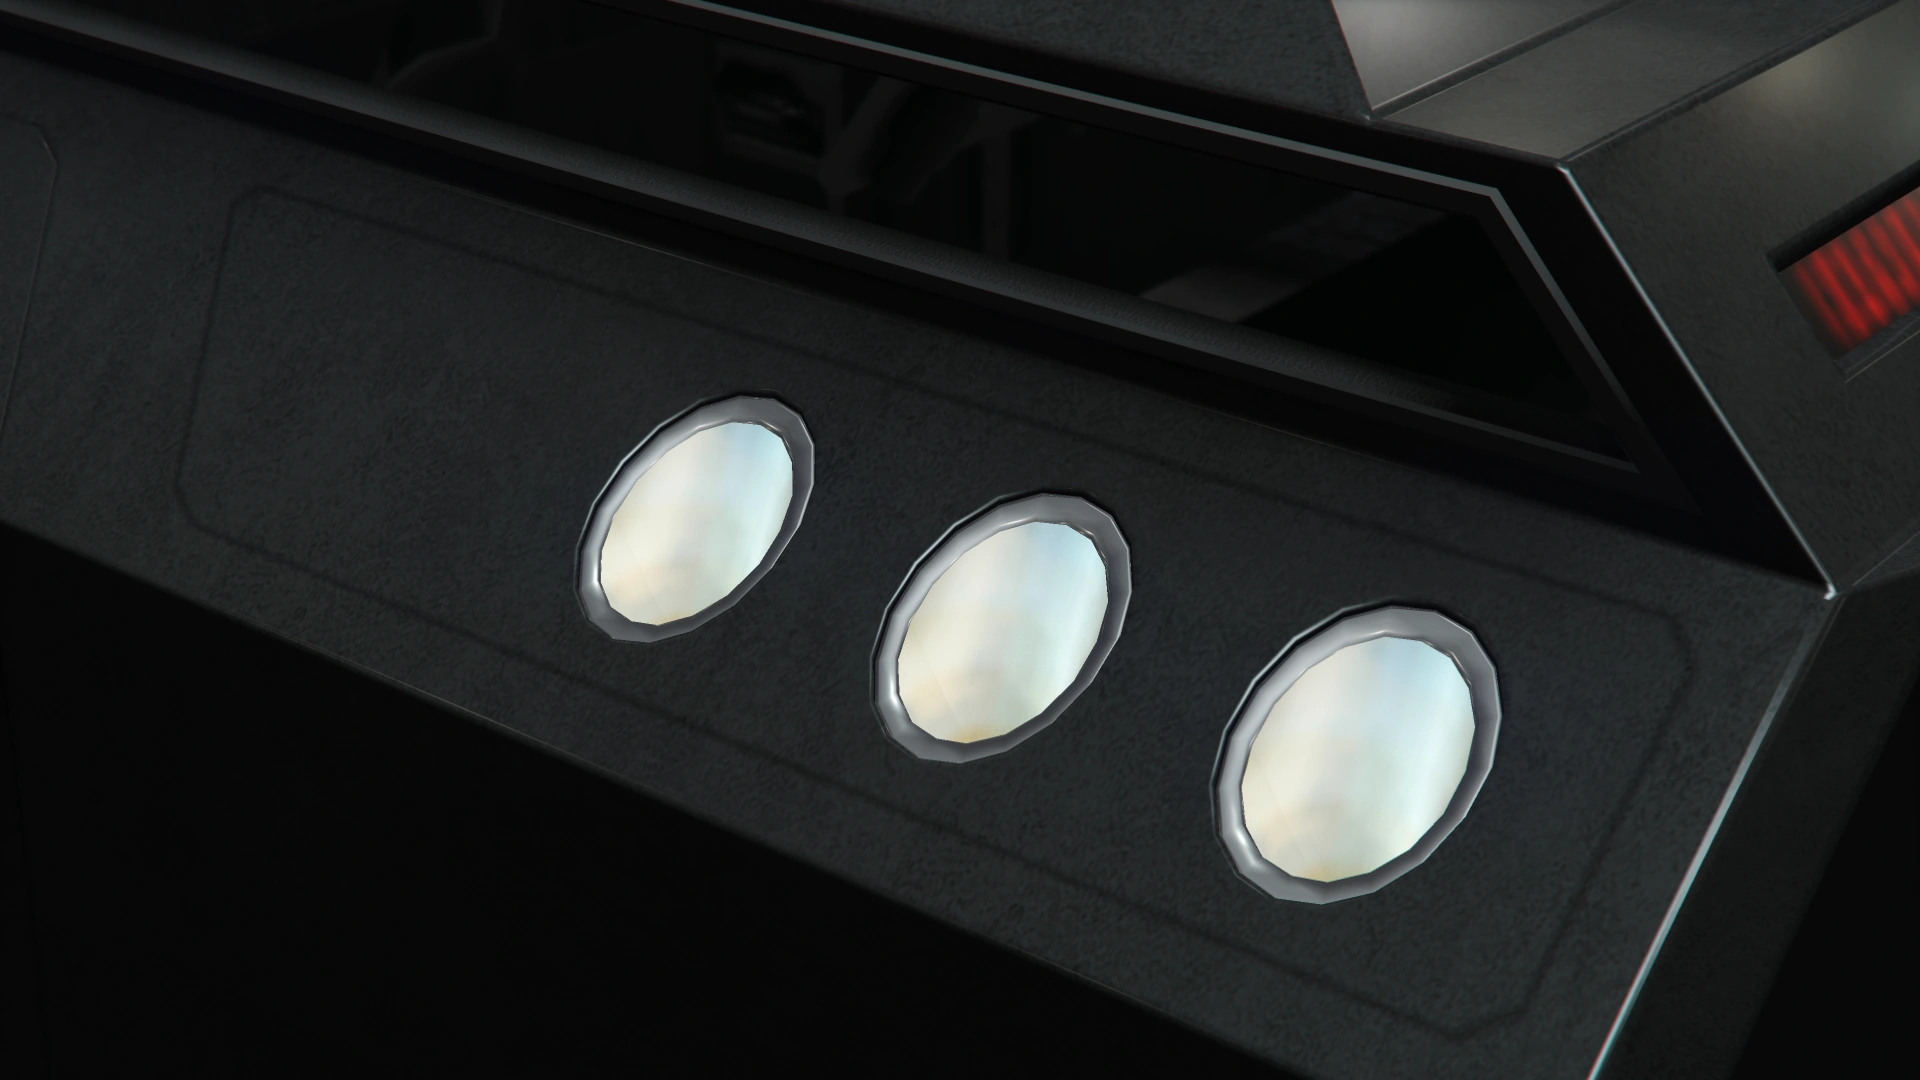
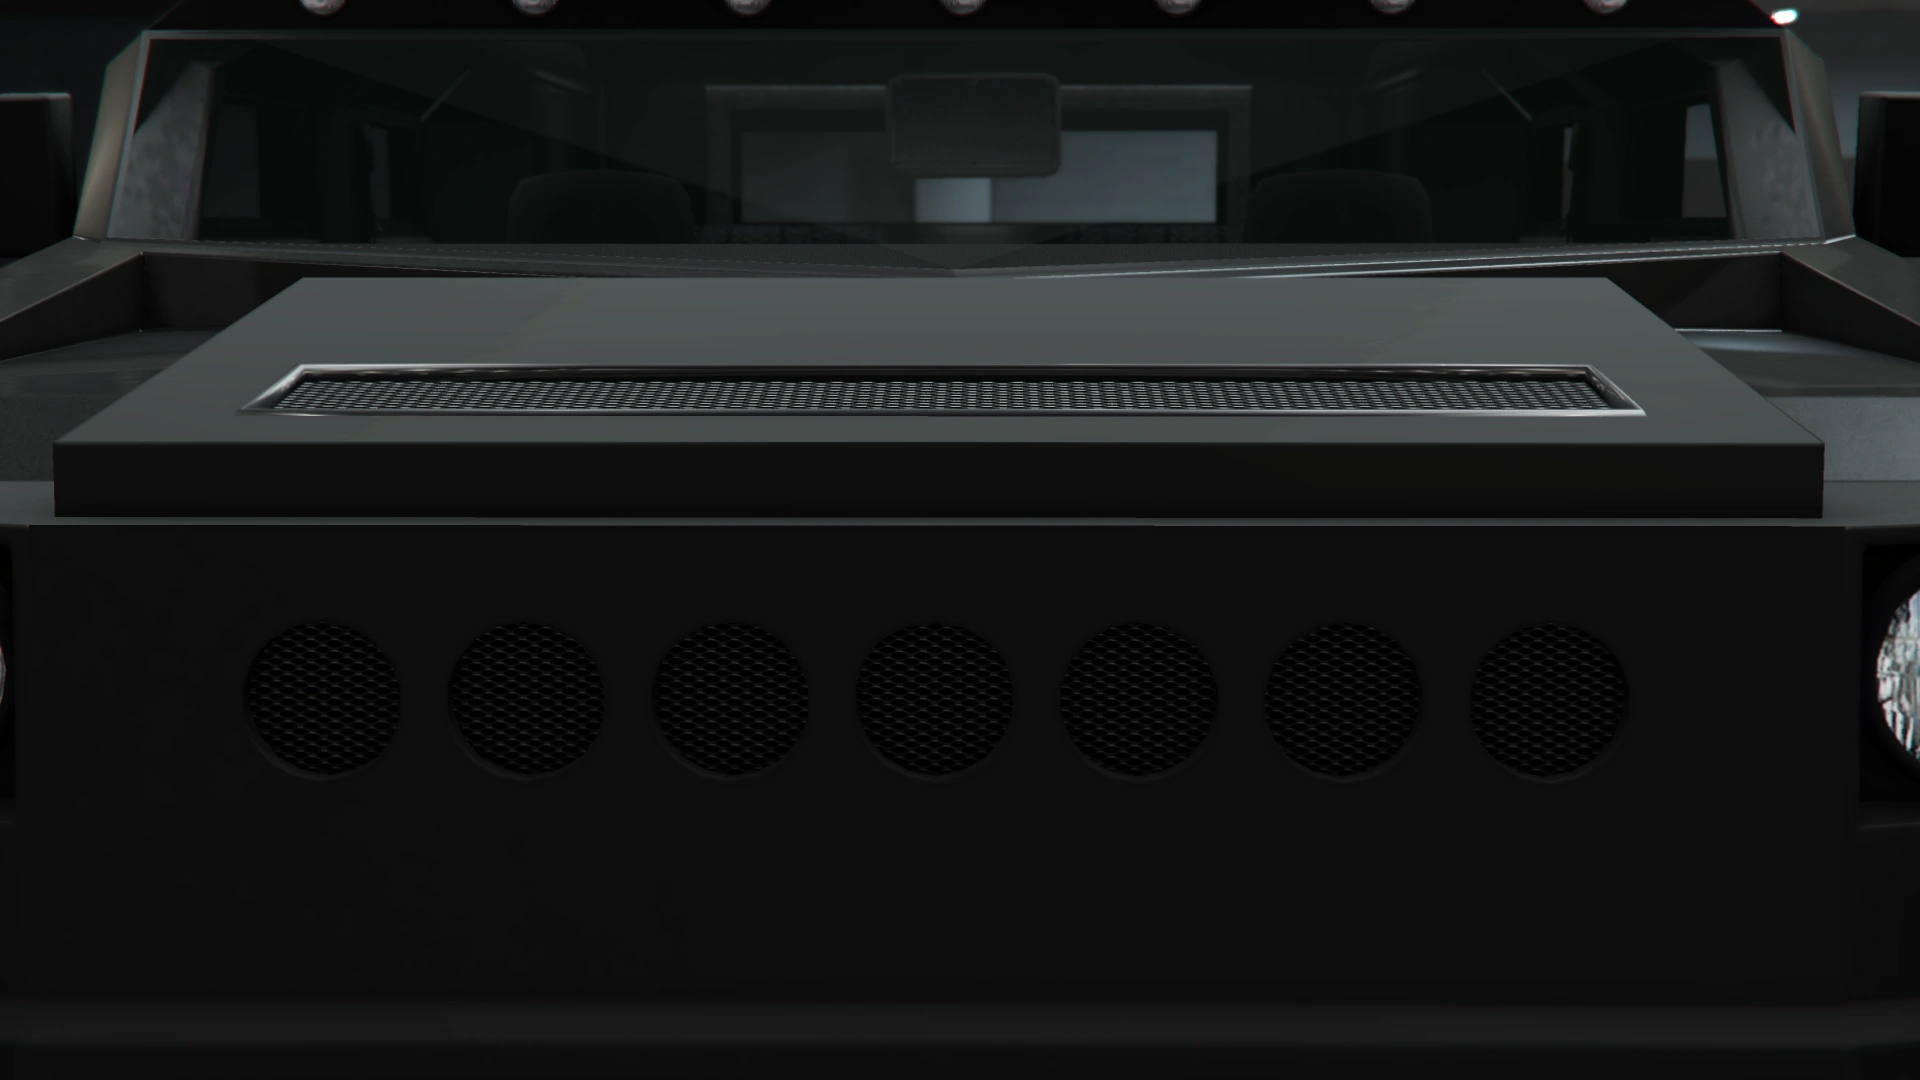
The vehicle appears with a very wide body and low profile, featuring a large front bumper and grille cover. The truck also features a mounted turret on the roof which can be operated by another player in an identical manner to the Insurgent Pick-Up. Several non-functional lamps can be seen above the triangle-shaped windshield.
Current Design Gallery


Detailing


Performance
Grand Theft Auto Online
- Vehicle
The Menacer is far slower than the Nightshark or the Insurgent Pick-Up Custom. However, the Menacer has enough torque and inital acceleration to propel the driver up on steep hills. Handling is somewhat difficult and the low speed does not allow it to push other vehicles or run them over with ease. It still has a strong chassis, preventing most type of physical collisions. Overall it has the features of both vehicles, but does not have a lot of modifications compared to the two.
- Defense
The Menacer has a strong armor like the Insurgent and its variants, as it is able to survive up to eight rockets, nineteen missiles or explosive ammo before being destroyed with a player inside, and full armor upgrades. However, the armor is still inferior compared to the Insurgent Pick-Up Custom. The side windows are of a low profile, meaning the occupants would hardly receive damage by bullets. The rear window is also small enough to block most bullets from behind. However, the windshield is pretty large, exposing the front occupants. The gunner is also very exposed, having only the turret hatch as a protection against targets from the back and below the gunner's level.
- Weaponry
The Menacer has two different weapons that can be used separately by a different occupant:
- The driver can use two machine guns mounted on the front of the car, which perform similarly to machine guns found on other land vehicles.
- The gunner can use a Browning M2HB .50 caliber machine gun turret, which has devastating power against pedestrians and unarmored vehicles, making it a good choice for an escort vehicle. The turret is able to kill most NPCs and players in one to two hits and take down most unarmored vehicles in less than twenty. The turret also has an option for a GAU-19 three-barreled .50 caliber Minigun, which behaves like many mounted miniguns found on other vehicles, with lower damage but a higher fire rate, making it suitable for sustained fire against vehicles and larger targets.
GTA Online Overview
| Acceleration (0-60 mph in Seconds) |
Top Speed (mph / kmh) |
Gears | Engine | Drivetrain (FWD / RWD / AWD) |
Mass (kg / lbs) |
Fuel Tank Size (litres) |
|---|---|---|---|---|---|---|
| N/A | 81 / 130 | 6 | N/A | AWD 40% FWD 60% RWD |
5600 / 12346 | 80 |
| N/A | N/A | N/A | N/A | N/A | N/A | N/A |
| N/A | N/A | 6 | N/A | AWD | Cannot be observed | Cannot be observed |
Modifications
Grand Theft Auto Online
The Menacer can only be modified at a vehicle workshop inside a Mobile Operations Center or Avenger.
| Category | Modification | Price | Image | |
|---|---|---|---|---|
| Armor | No Armor | $1,000 | ||
| Armor Upgrade 20% | $7,500 | |||
| Armor Upgrade 40% | $12,000 | |||
| Armor Upgrade 60% | $20,000 | |||
| Armor Upgrade 80% | $35,000 | |||
| Armor Upgrade 100% | $50,000 | |||
| Brakes | Stock Brakes | $1,000 | ||
| Street Brakes | $20,000 | |||
| Sport Brakes | $27,000 | |||
| Race Brakes | $35,000 | |||
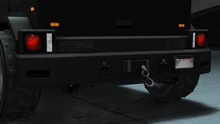
| Bumpers | Front Bumpers | Stock Front Bumper | $2,200 | |
| Rail Bar | $4,600 | |||
| Secondary Rail Bar | $7,400 | |||
| XL Rail Bar | $11,700 | |||
| Secondary XL Rail Bar | $14,500 | |||
| Reinforced Ram Bar | $14,700 | |||
| Secondary Reinforced Ram Bar | $14,900 | |||
| Bull Bar | $15,100 | |||
| Secondary Bull Bar | $15,300 | |||
| Bulked Extender | $15,500 | |||
| Primary Bulked Extender | $15,700 | |||
| Secondary Bulked Extender | $15,900 | |||
| Primary Front Barricade | $16,100 | |||
| Secondary Front Barricade | $16,300 | |||
| Chrome Front Barricade | $16,500 | |||
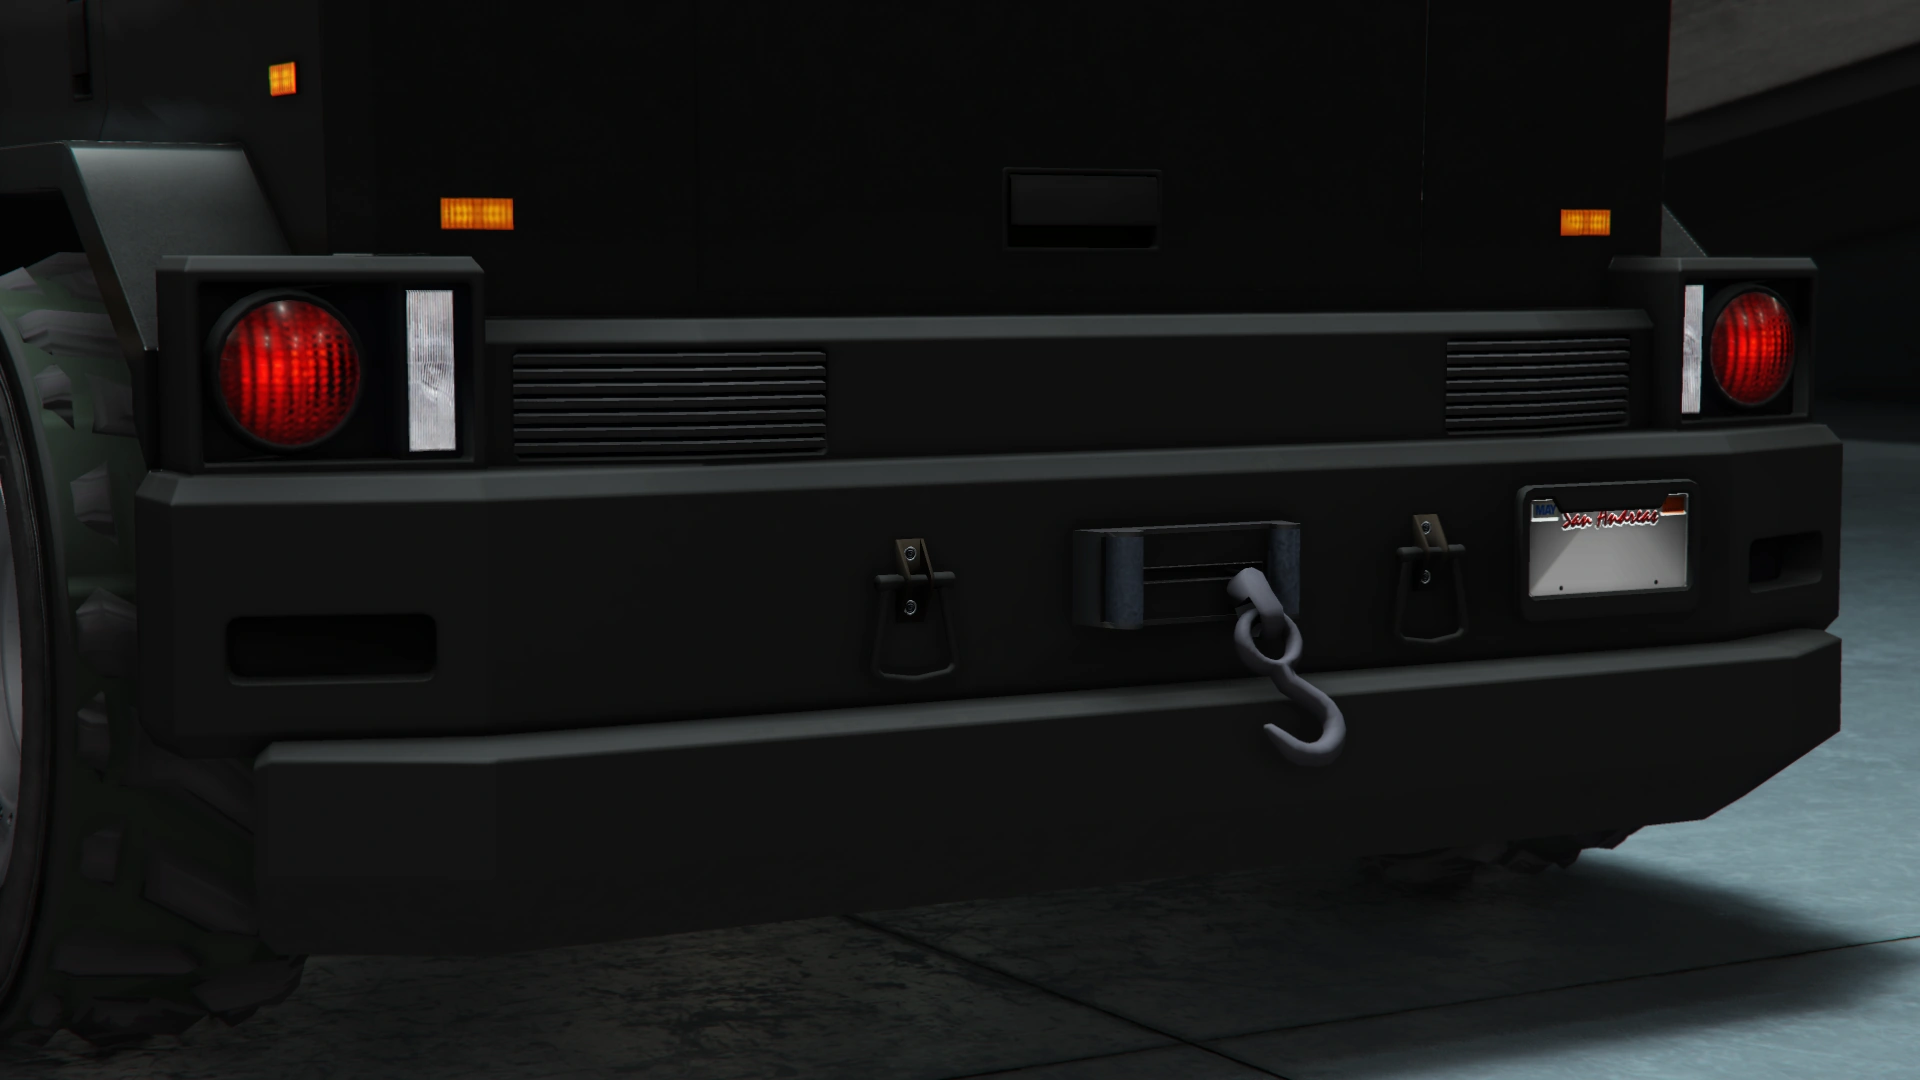
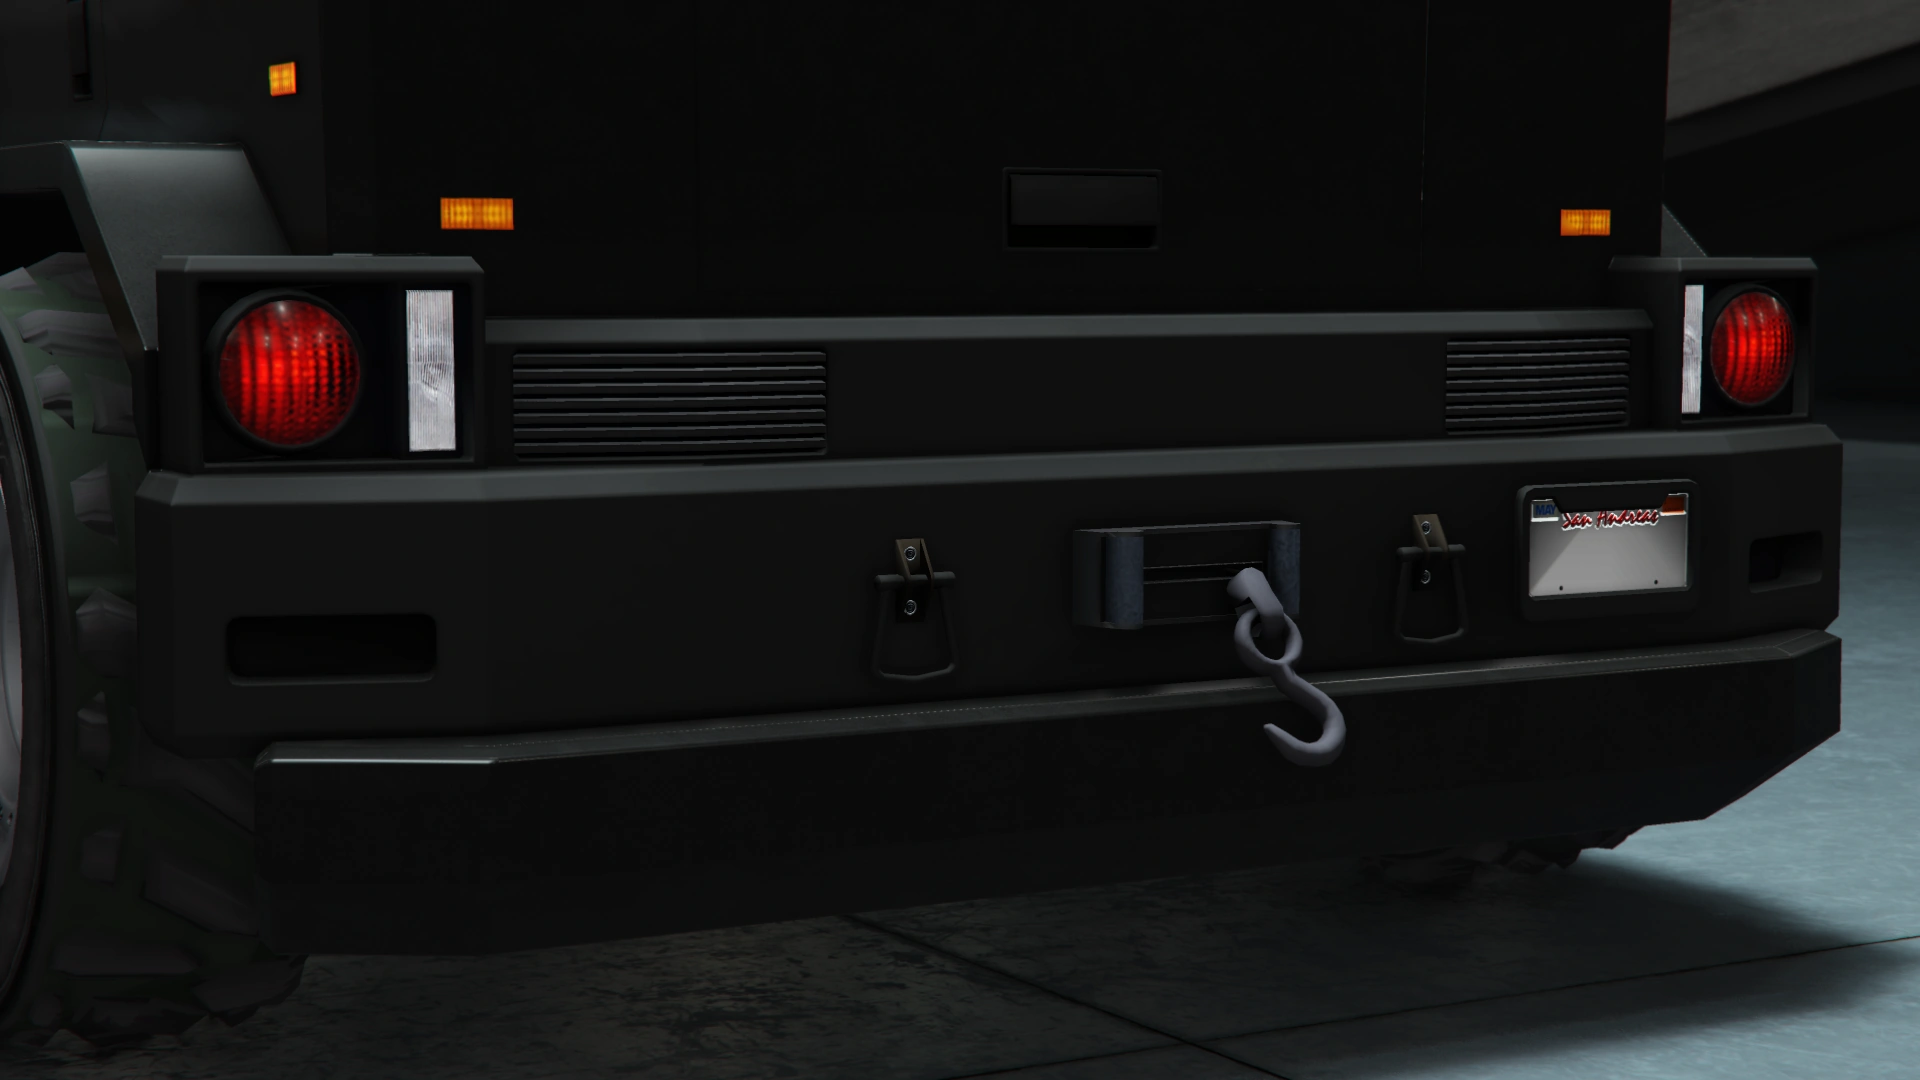
| Rear Bumpers | Stock Rear Bumper | $2,200 | ||
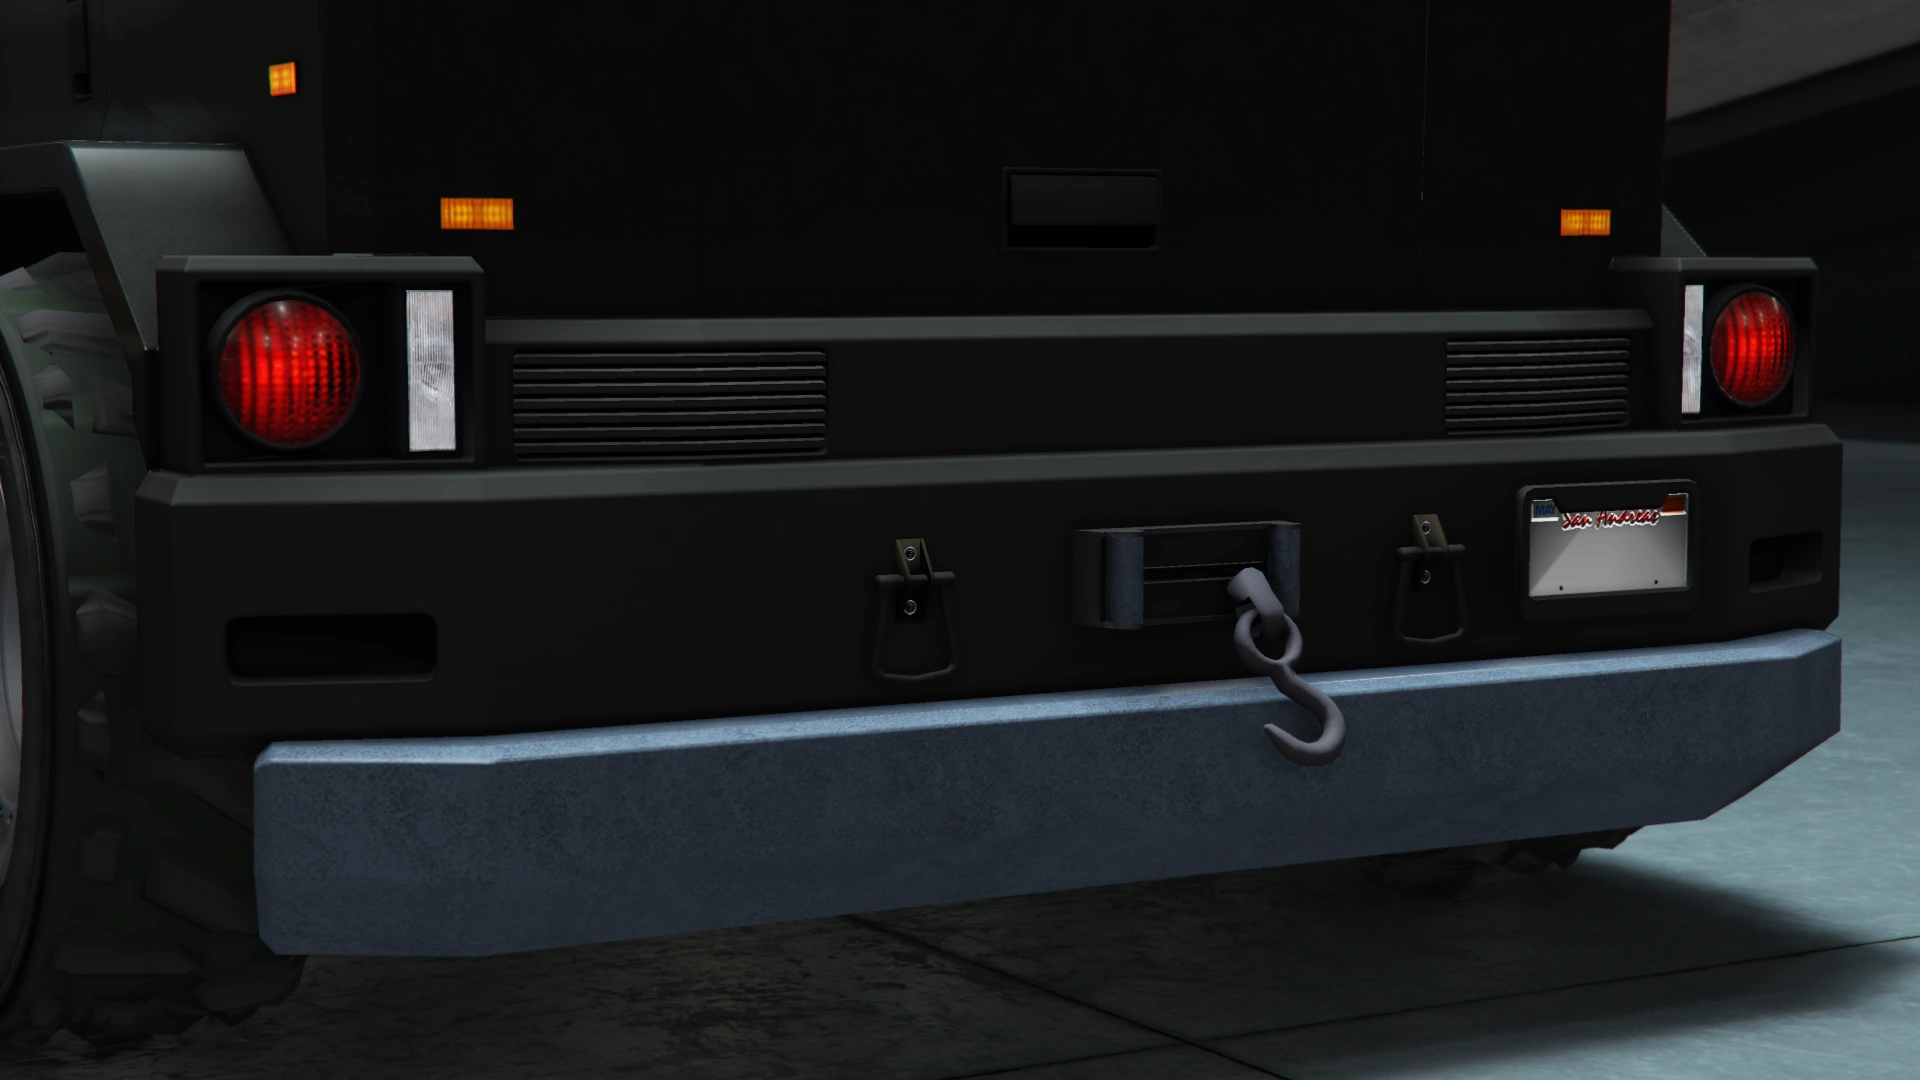
| Bulked Extender | $4,600 | |||
| Primary Bulked Extender | $7,400 | |||
| Secondary Bulked Extender | $11,700 | |||
| Primary Bull Panel | $14,500 | |||
| Secondary Bull Panel | $14,700 | |||
| Primary Rear Barricade | $14,900 | |||
| Secondary Rear Barricade | $15,100 | |||
| Chrome Rear Barricade | $15,300 | |||
| Engine | EMS Upgrade, Level 1 | $9,000 | ||
| EMS Upgrade, Level 2 | $12,500 | |||
| EMS Upgrade, Level 3 | $18,000 | |||
| EMS Upgrade, Level 4 | $33,500 | |||
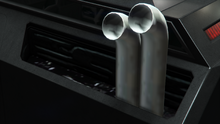
| Exhausts | Stock Exhaust | $260 | ||
| Exposed Stock | $750 | |||
| Right Triple-Stack | $1,800 | |||
| Carbon Right Triple-Stack | $3,000 | |||
| Left Triple-Stack | $9,550 | |||
| Carbon Left Triple-Stack | $9,750 | |||
| Right Angled Triple-Stack | $10,500 | |||
| Carbon Right Angled Triple | $12,000 | |||
| Left Angled Triple-Stack | $13,750 | |||
| Carbon Left Angled Triple | $14,625 | |||
| Right Flushed Exhausts | $15,500 | |||
| Left Flushed Exhausts | $16,475 | |||
| Flexed Exhausts | $17,250 | |||
| Grilles | Stock Grille | $200 | ||
| Stripped Grille | $750 | |||
| Geo Grille | $1,340 | |||
| Exposed Grille | $1,650 | |||
| Cross-Barred Grille | $3,000 | |||
| Combination Grille | $3,200 | |||
| Upgraded Combination Grille | $3,650 | |||
| Intake Grille | $4,100 | |||
| Chrome Intake Grille | $4,550 | |||
| Carbon Intake Grille | $5,000 | |||
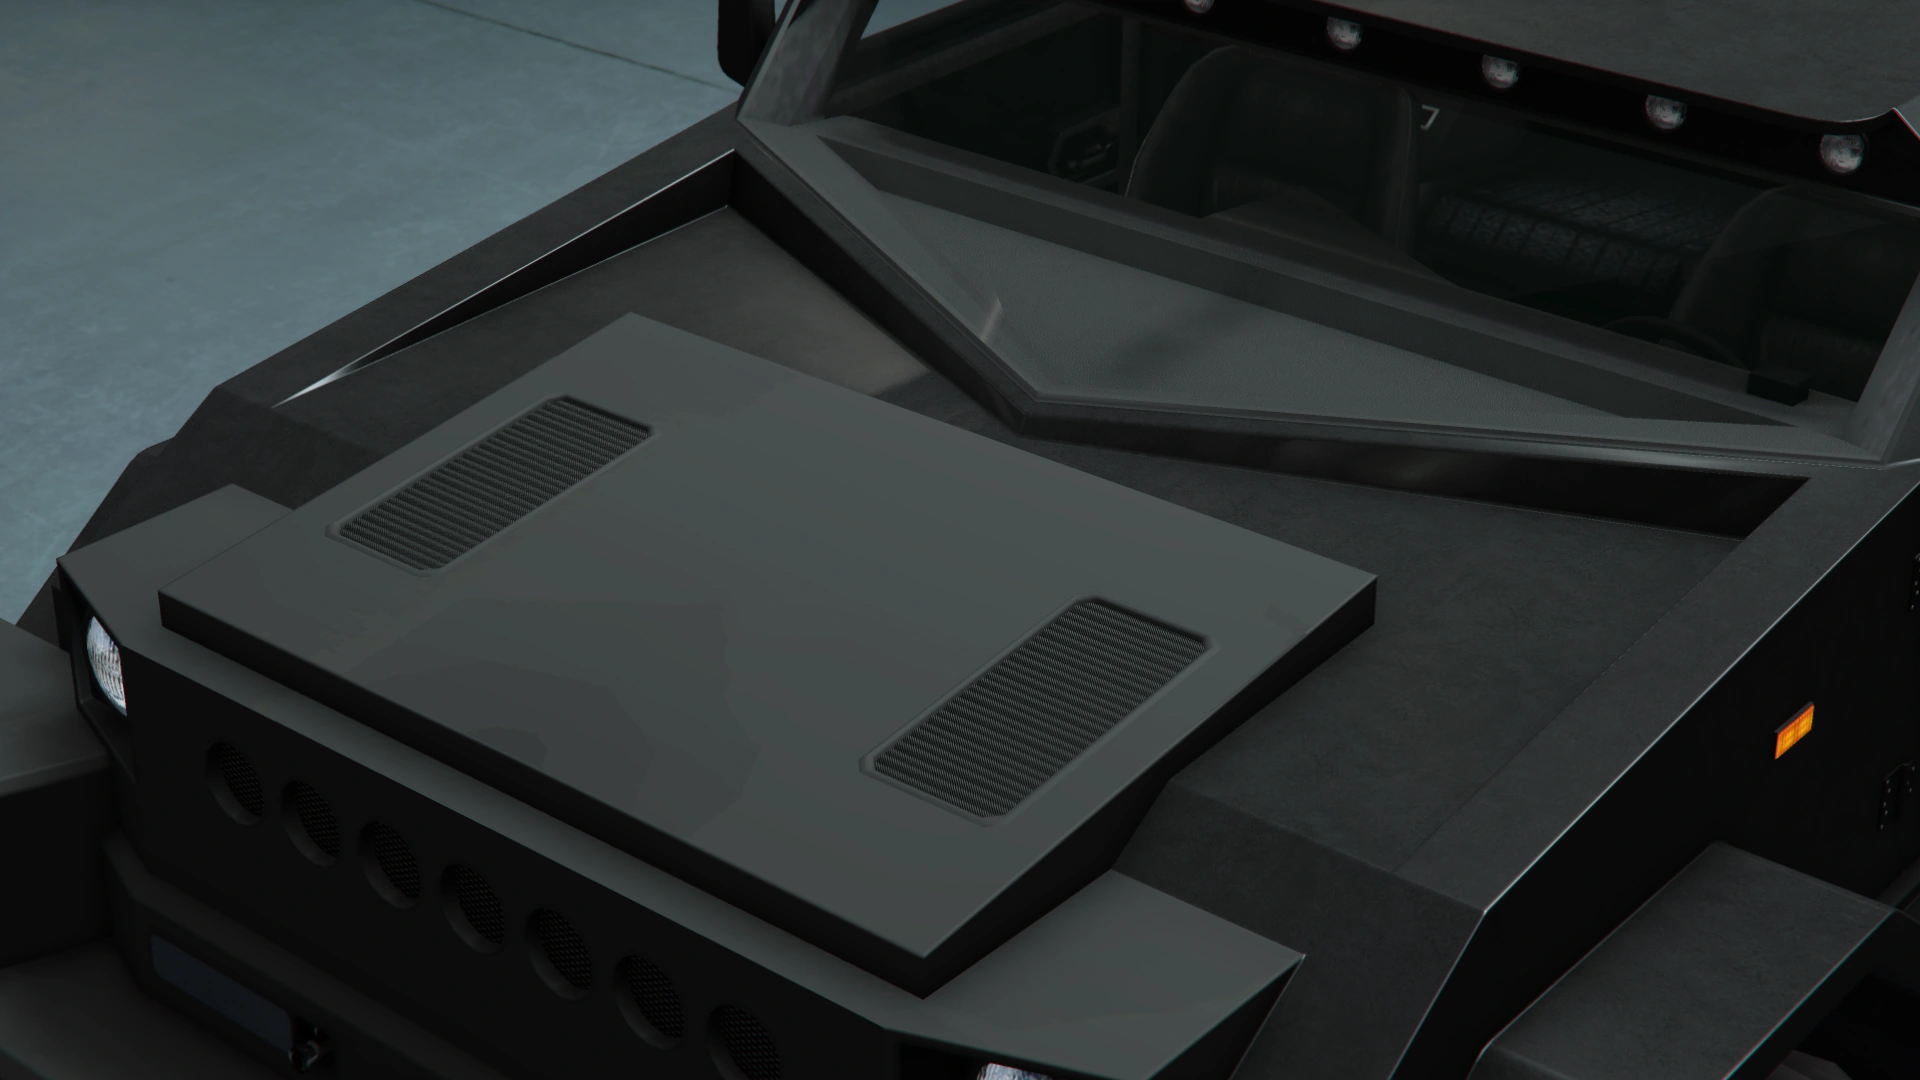
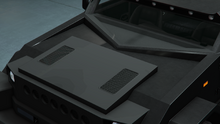
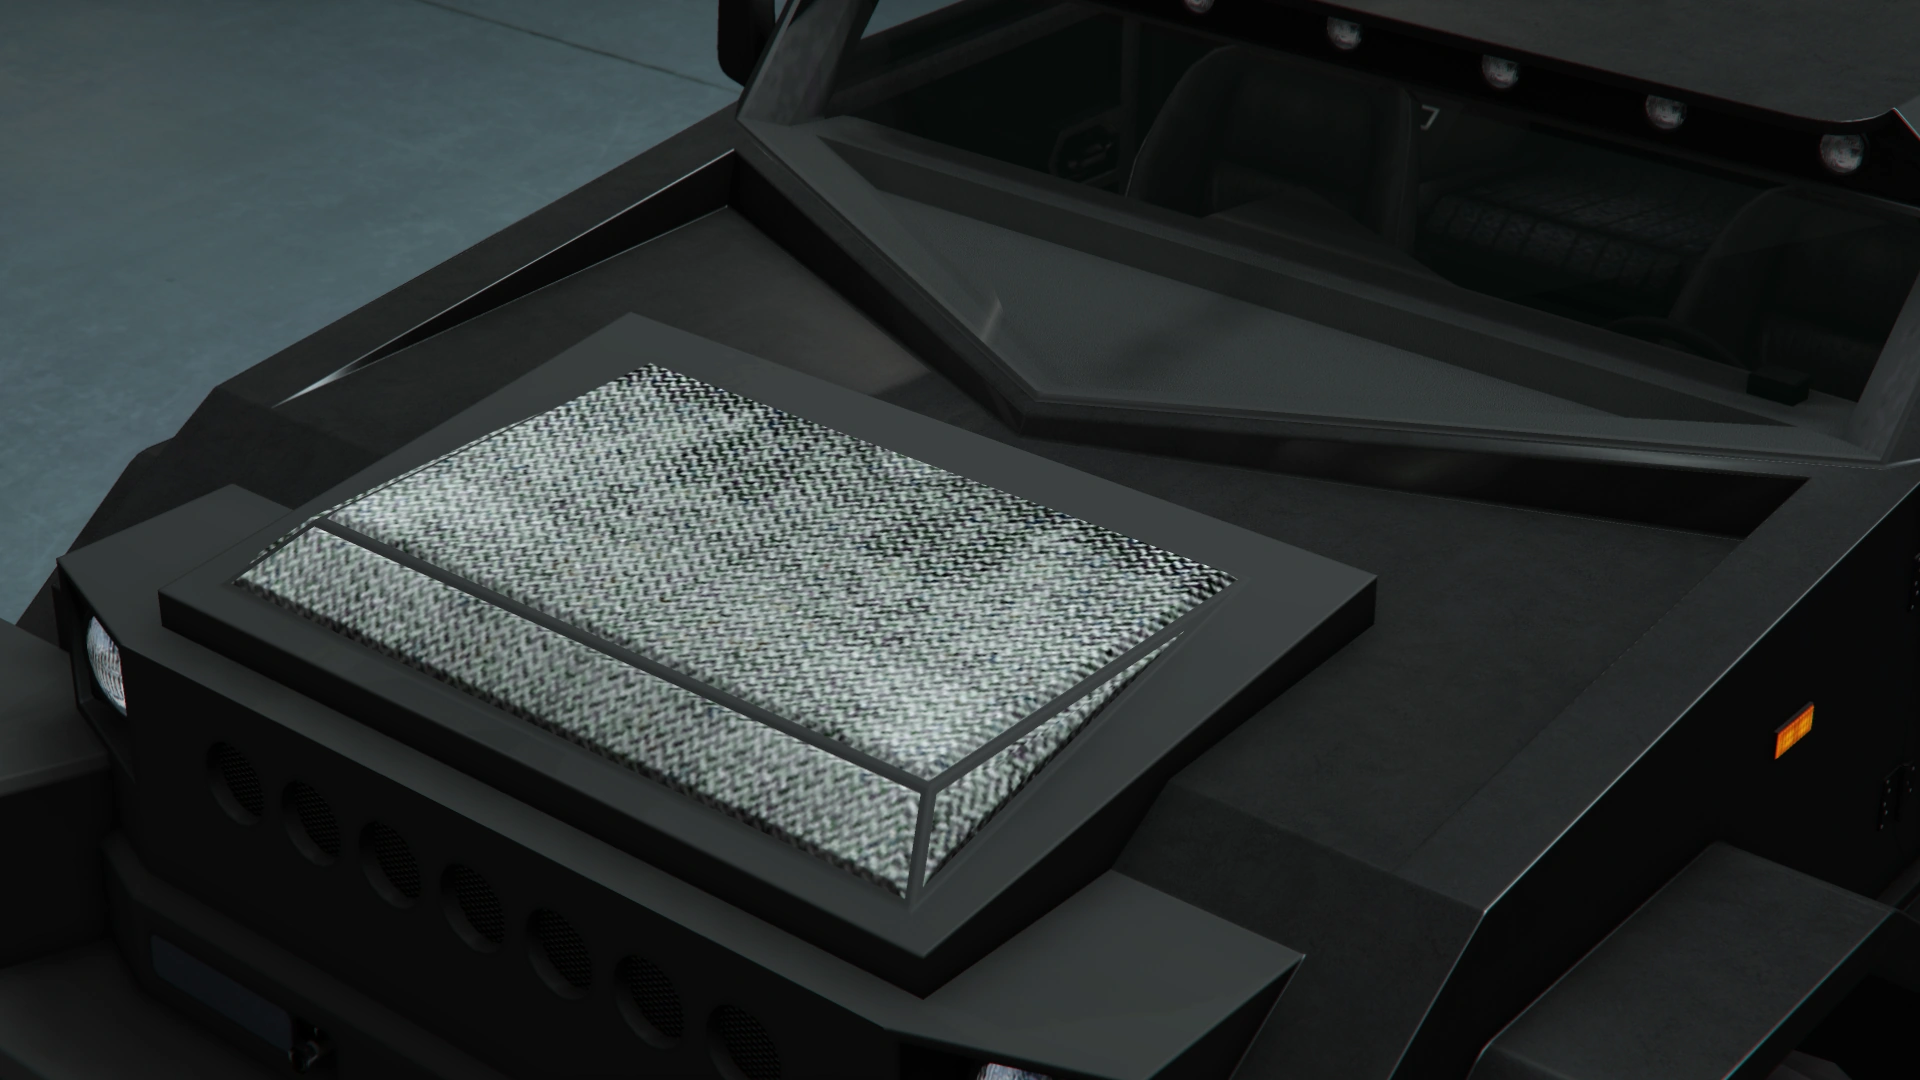
| Hoods | Stock Hood | $1,600 | ||
| Striped Hood | $3,000 | |||
| Primary Striped Hood | $5,000 | |||
| Carbon Striped Hood | $8,000 | |||
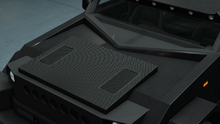
| Vented Hood | $9,600 | |||
| Primary Vented Hood | $11,000 | |||
| Carbon Vented Hood | $11,600 | |||
| Durbar Bulkhead | $12,000 | |||
| Primary Durbar Bulkhead | $12,400 | |||
| Carbon Durbar Bulkhead | $12,400 | |||
| Bevel Hatch | $12,500 | |||
| Primary Bevel Hatch | $12,900 | |||
| Carbon Bevel Hatch | $13,250 | |||
| Panel Guards | $13,600 | |||
| Primary Panel Guards | $13,900 | |||
| Carbon Panel Guards | $14,150 | |||
| Vent Scoop | $14,400 | |||
| Primary Vent Scoop | $14,650 | |||
| Carbon Vent Scoop | $14,850 | |||
| Utility Hood | $15,050 | |||
| Primary Utility Hood | $15,250 | |||
| Carbon Utility Hood | $15,450 | |||
| Horns | Main article: Los Santos Customs/Horns | - | ||
| Lights | Headlights | Stock Lights | $600 | |
| Xenon Lights | $7,500 | |||
| Neon Kits | Main article: Los Santos Customs/Lights | - | ||
| Livery | None | $11,400 | ||
| Basic Camo | $18,240 | |||
| Zancudo Camo | $19,380 | |||
| Sprayed Camo | $20,520 | |||
| 3 Color Outline | $21,660 | |||
| 90s Sandbox | $22,800 | |||
| Modern 5 Color | $23,370 | |||
| Arid Theater | $23,939 | |||
| Winter Camo | $24,510 | |||
| Urban Warrior | $25,080 | |||
| Nature Reserve* | $25,650 | |||
| Naval Battle* | $26,220 | |||
| Urban Geometric* | $26,789 | |||
| Coyote Geometric* | $27,360 | |||
| Large Geometric* | $27,930 | |||
| Naval Geometric* | $28,500 | |||
| Desert Fractal* | $29,070 | |||
| Urban Fractal* | $29,639 | |||
| Large Digital* | $30,210 | |||
| Medium Digital* | $30,780 | |||
| Small Digital* | $31,350 | |||
| Released as part of the After Hours update. | ||||
| Orange Shade Camo[1] | FREE | |||
| Blue Tartan[1] | FREE | |||
| Santo Capra Coins[2] | FREE | |||
| Loss/Theft Prevention | Tracker | |||
| Full Coverage | ||||
| Plates | Blue on White 1 | $200 | ||
| Blue on White 2 | $200 | |||
| Blue on White 3 | $200 | |||
| Yellow on Blue | $300 | |||
| Yellow on Black | $600 | |||
| Respray | Main article: Los Santos Customs/Respray Colors | - | ||
| Sell | Sell Vehicle | |||
| Roofs | Stock Roof | $200 | ||
| Durbar Armor Panel | $700 | |||
| Military Support Slats | $1,150 | |||
| Roof Brace | $1,600 | |||
| Military Rack | $1,950 | |||
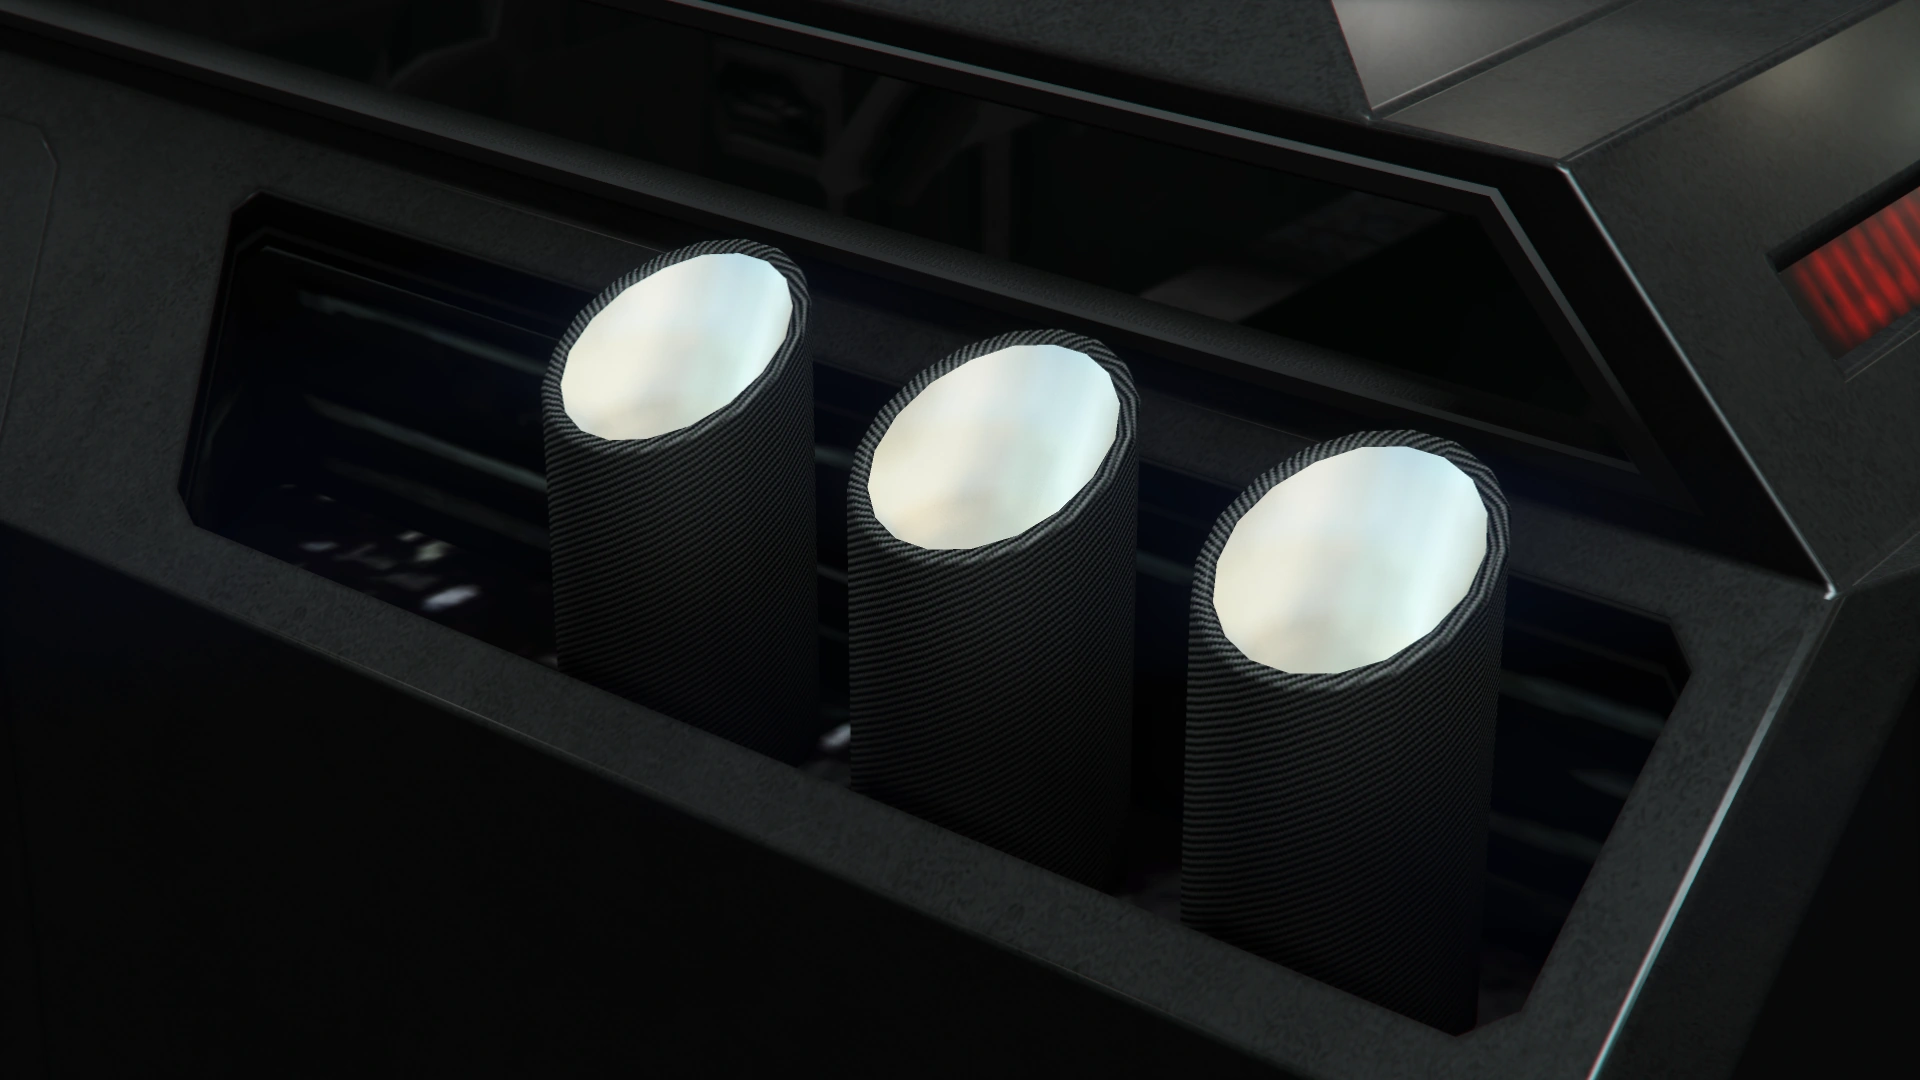
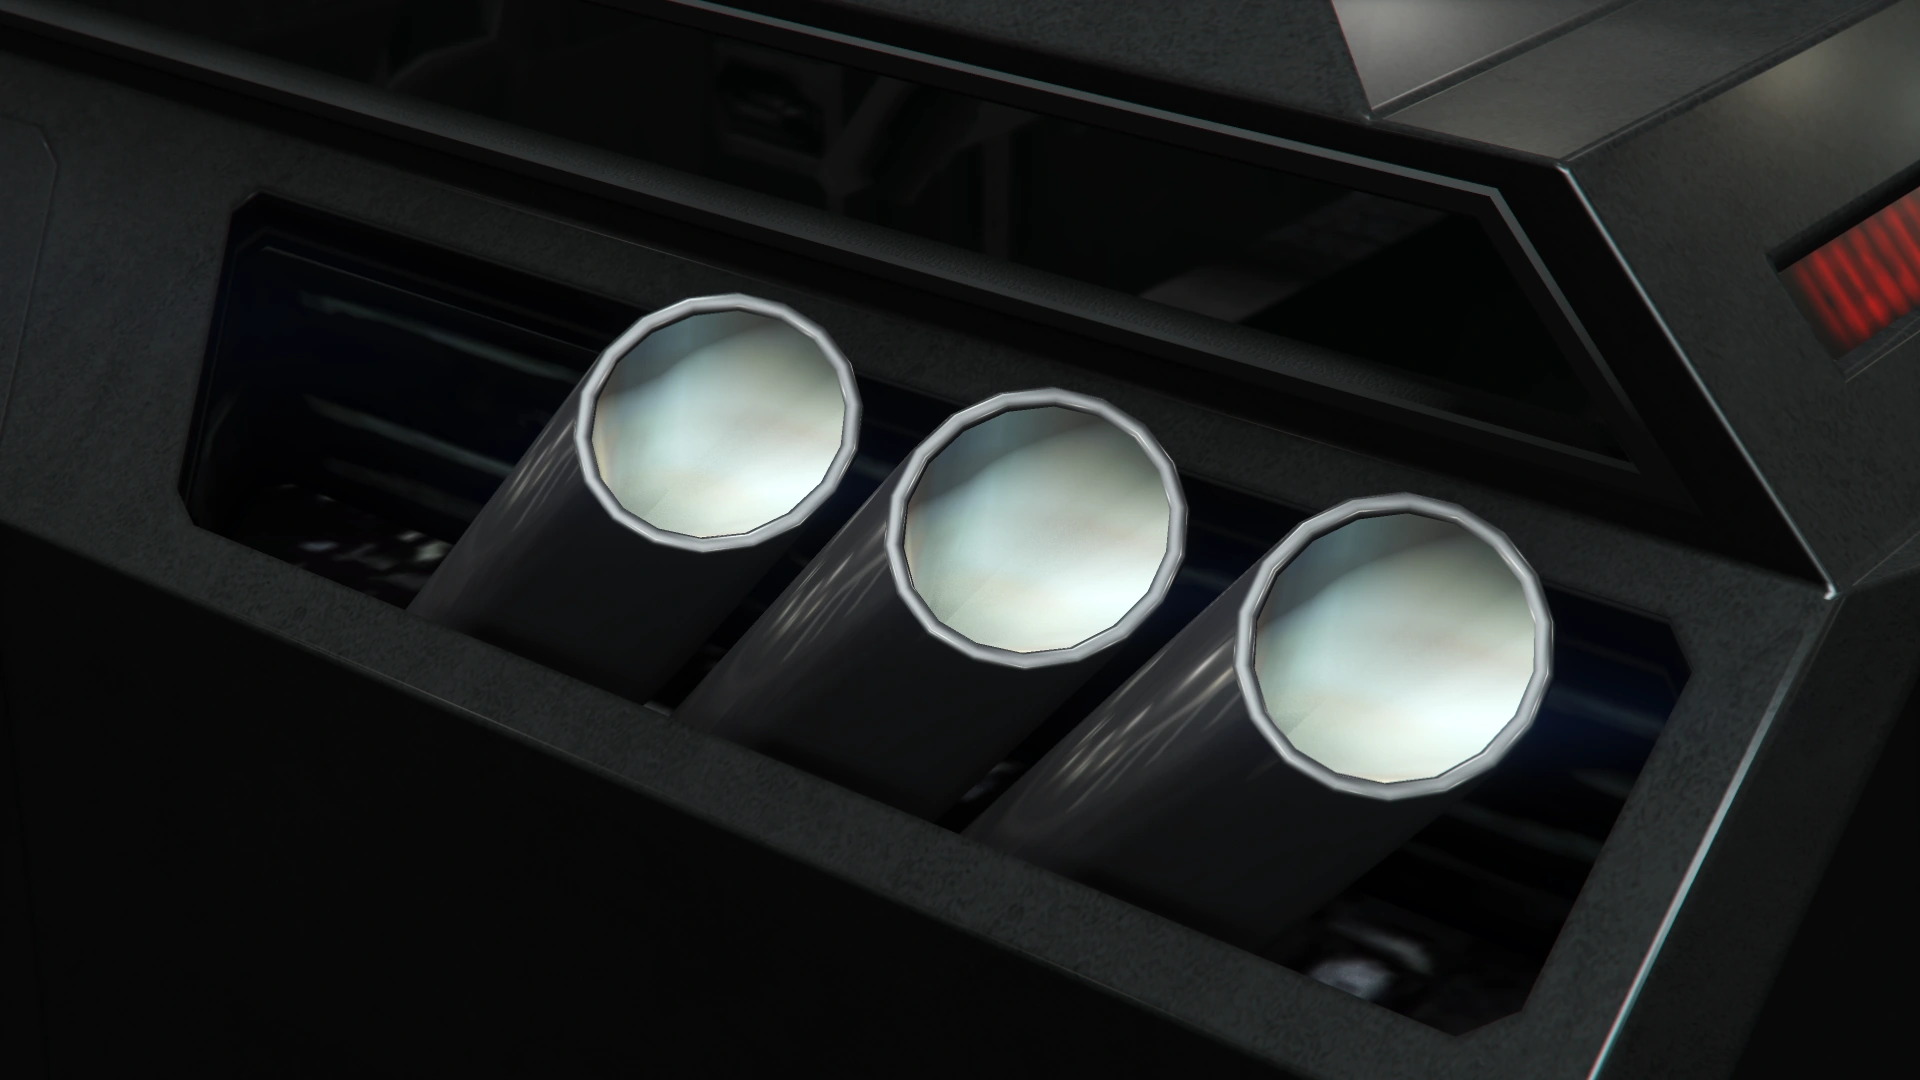
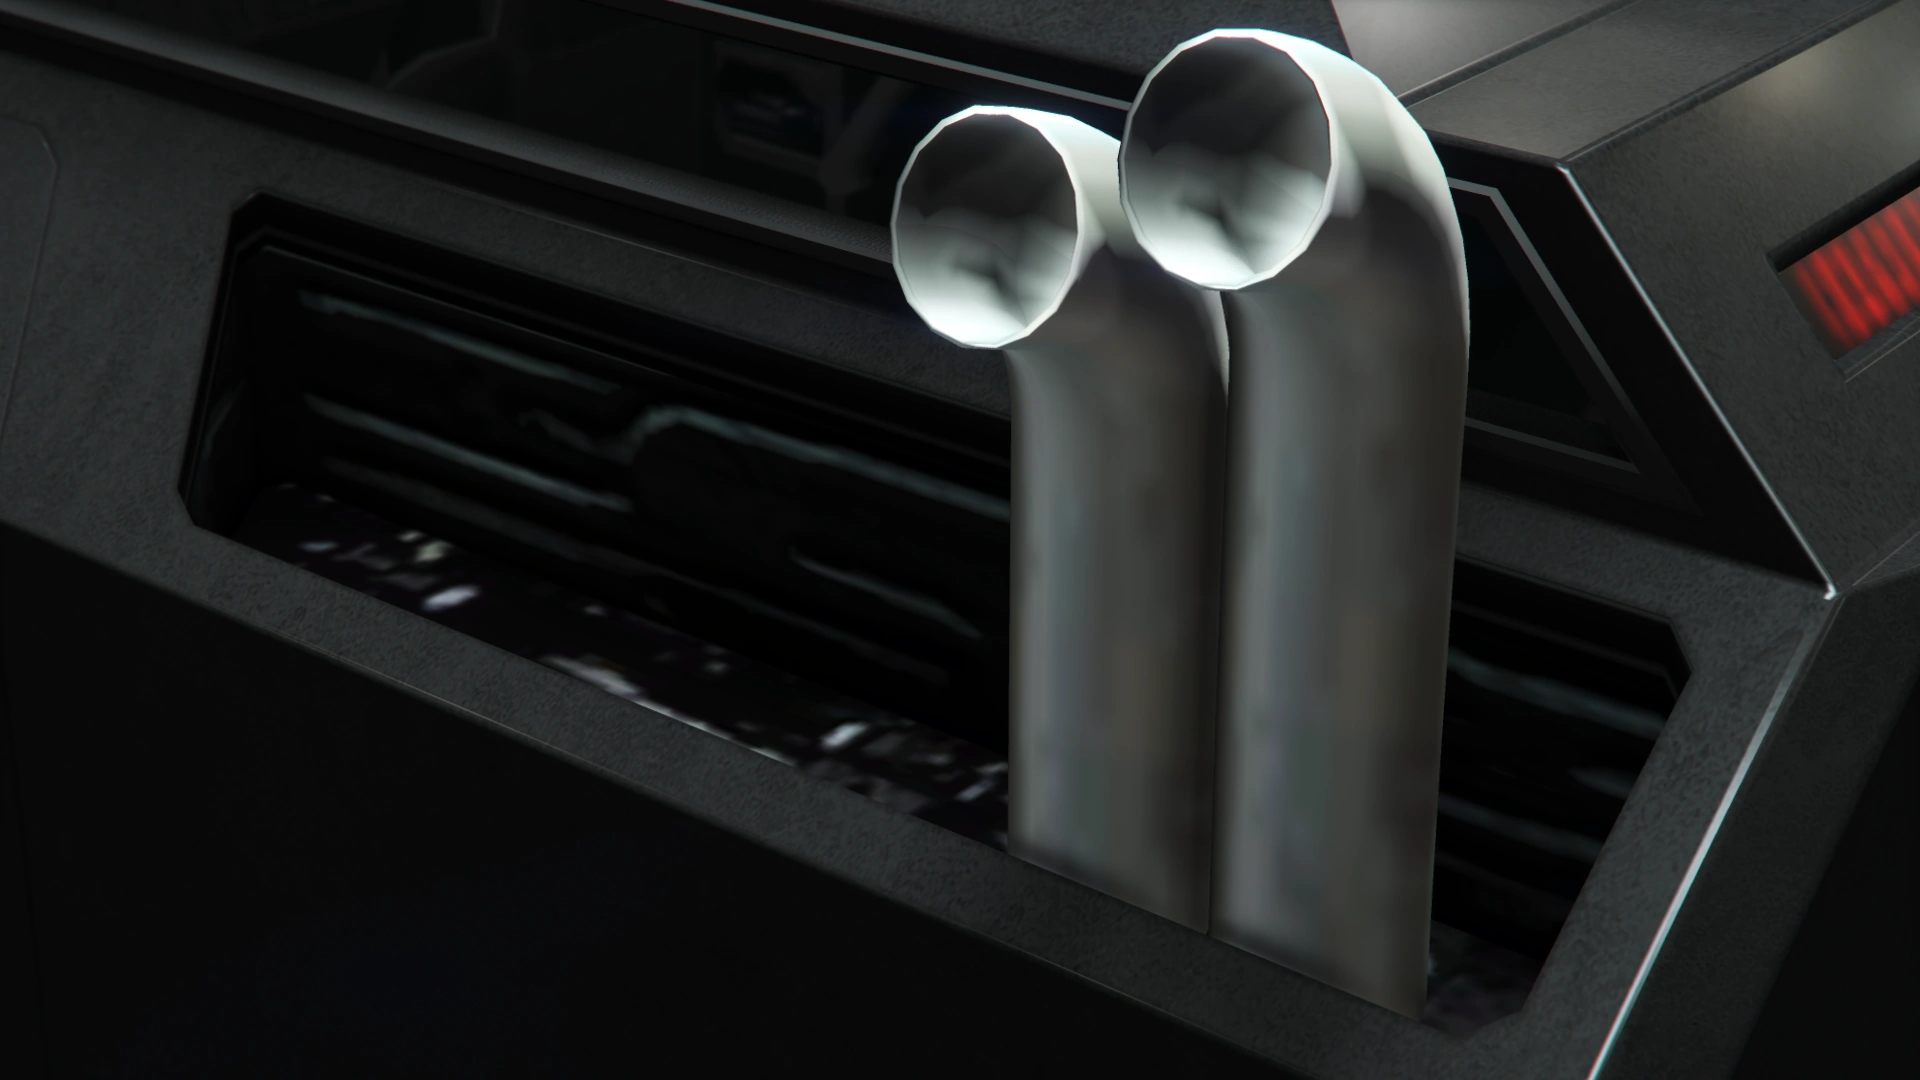
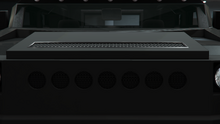
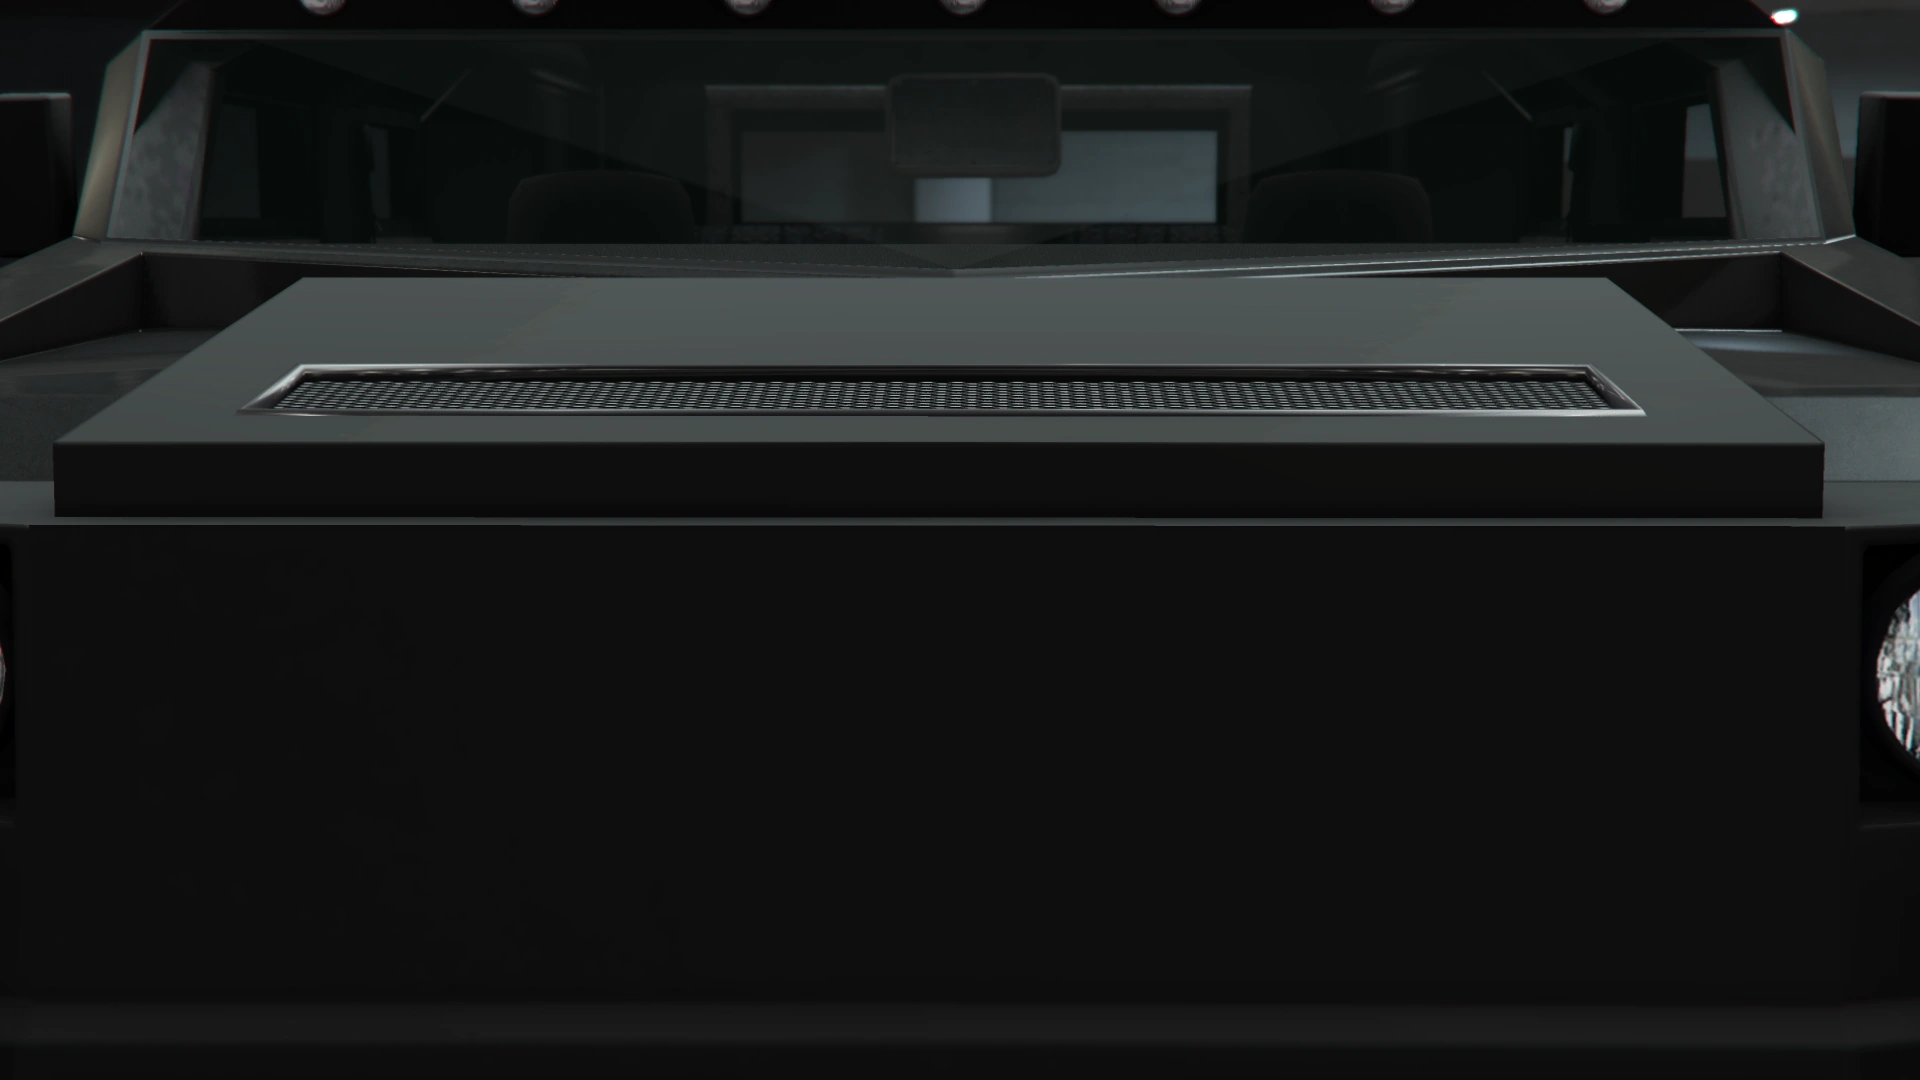
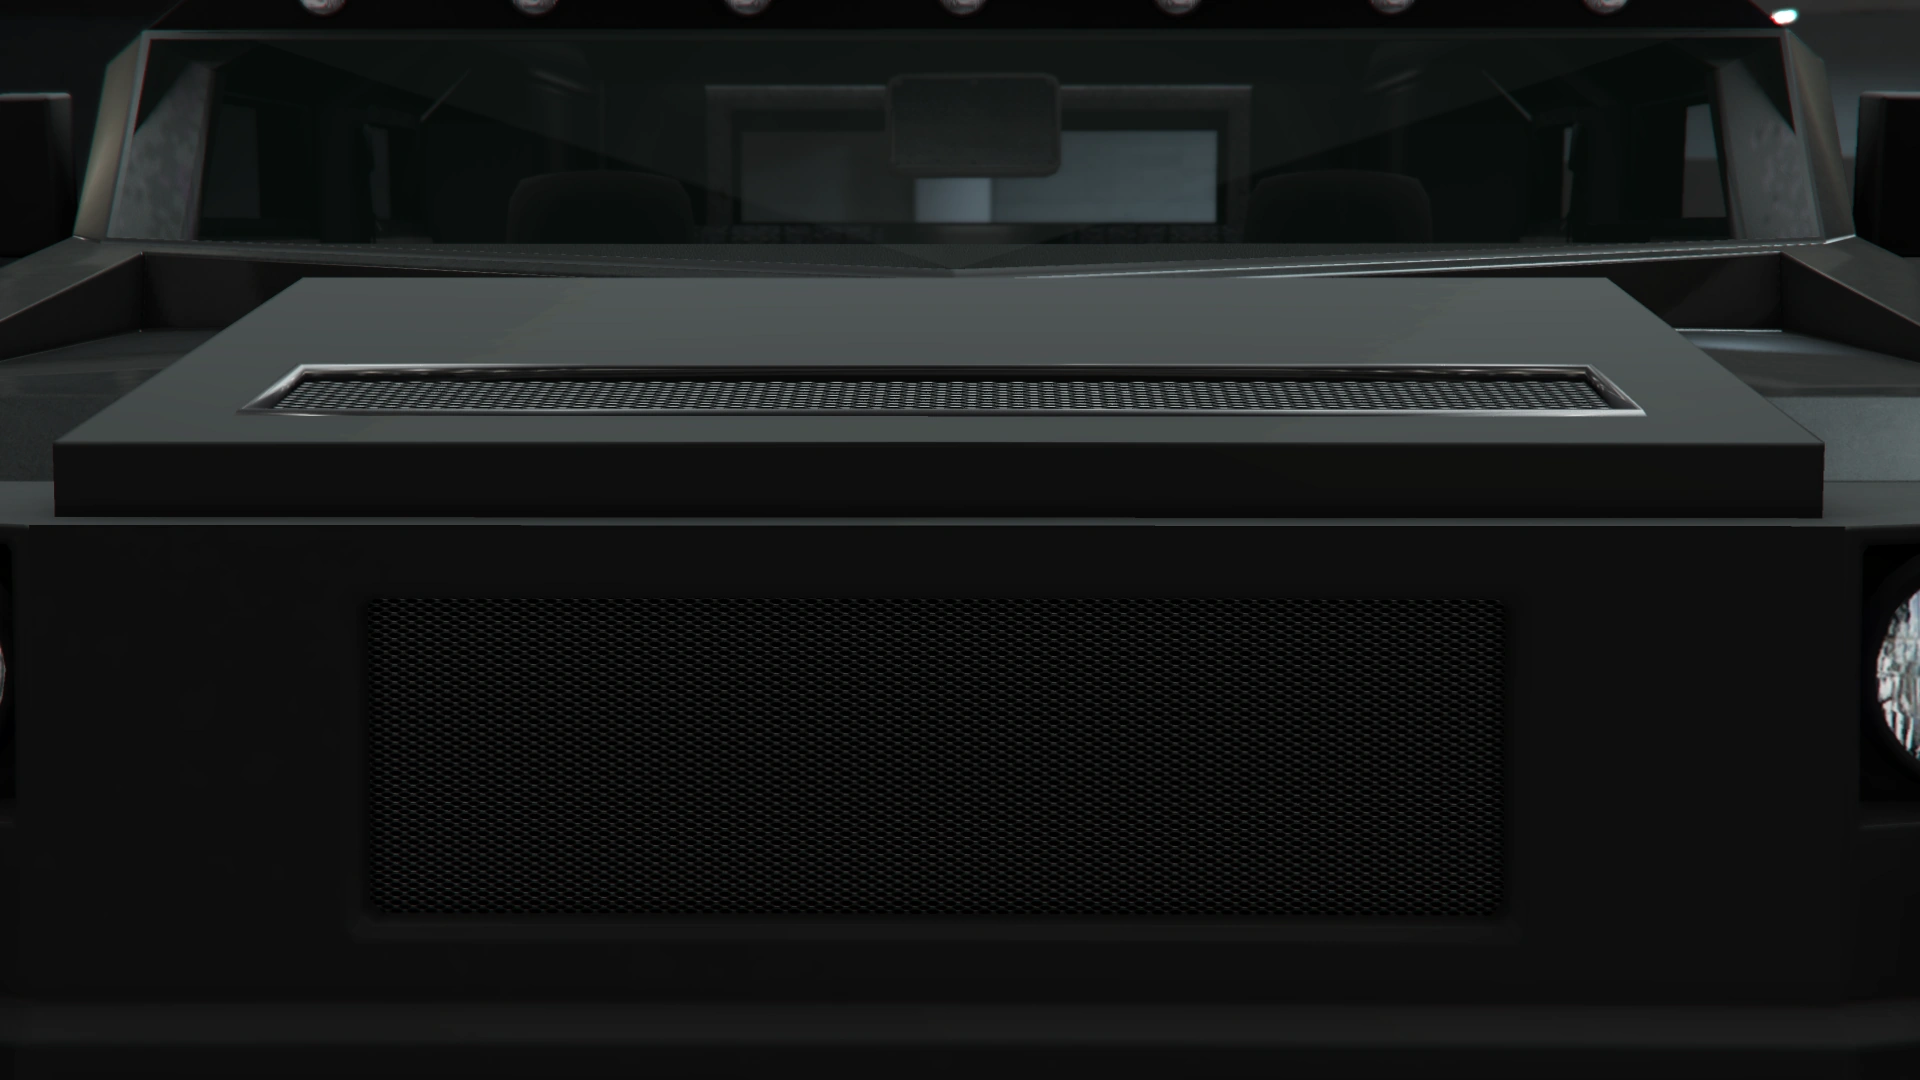
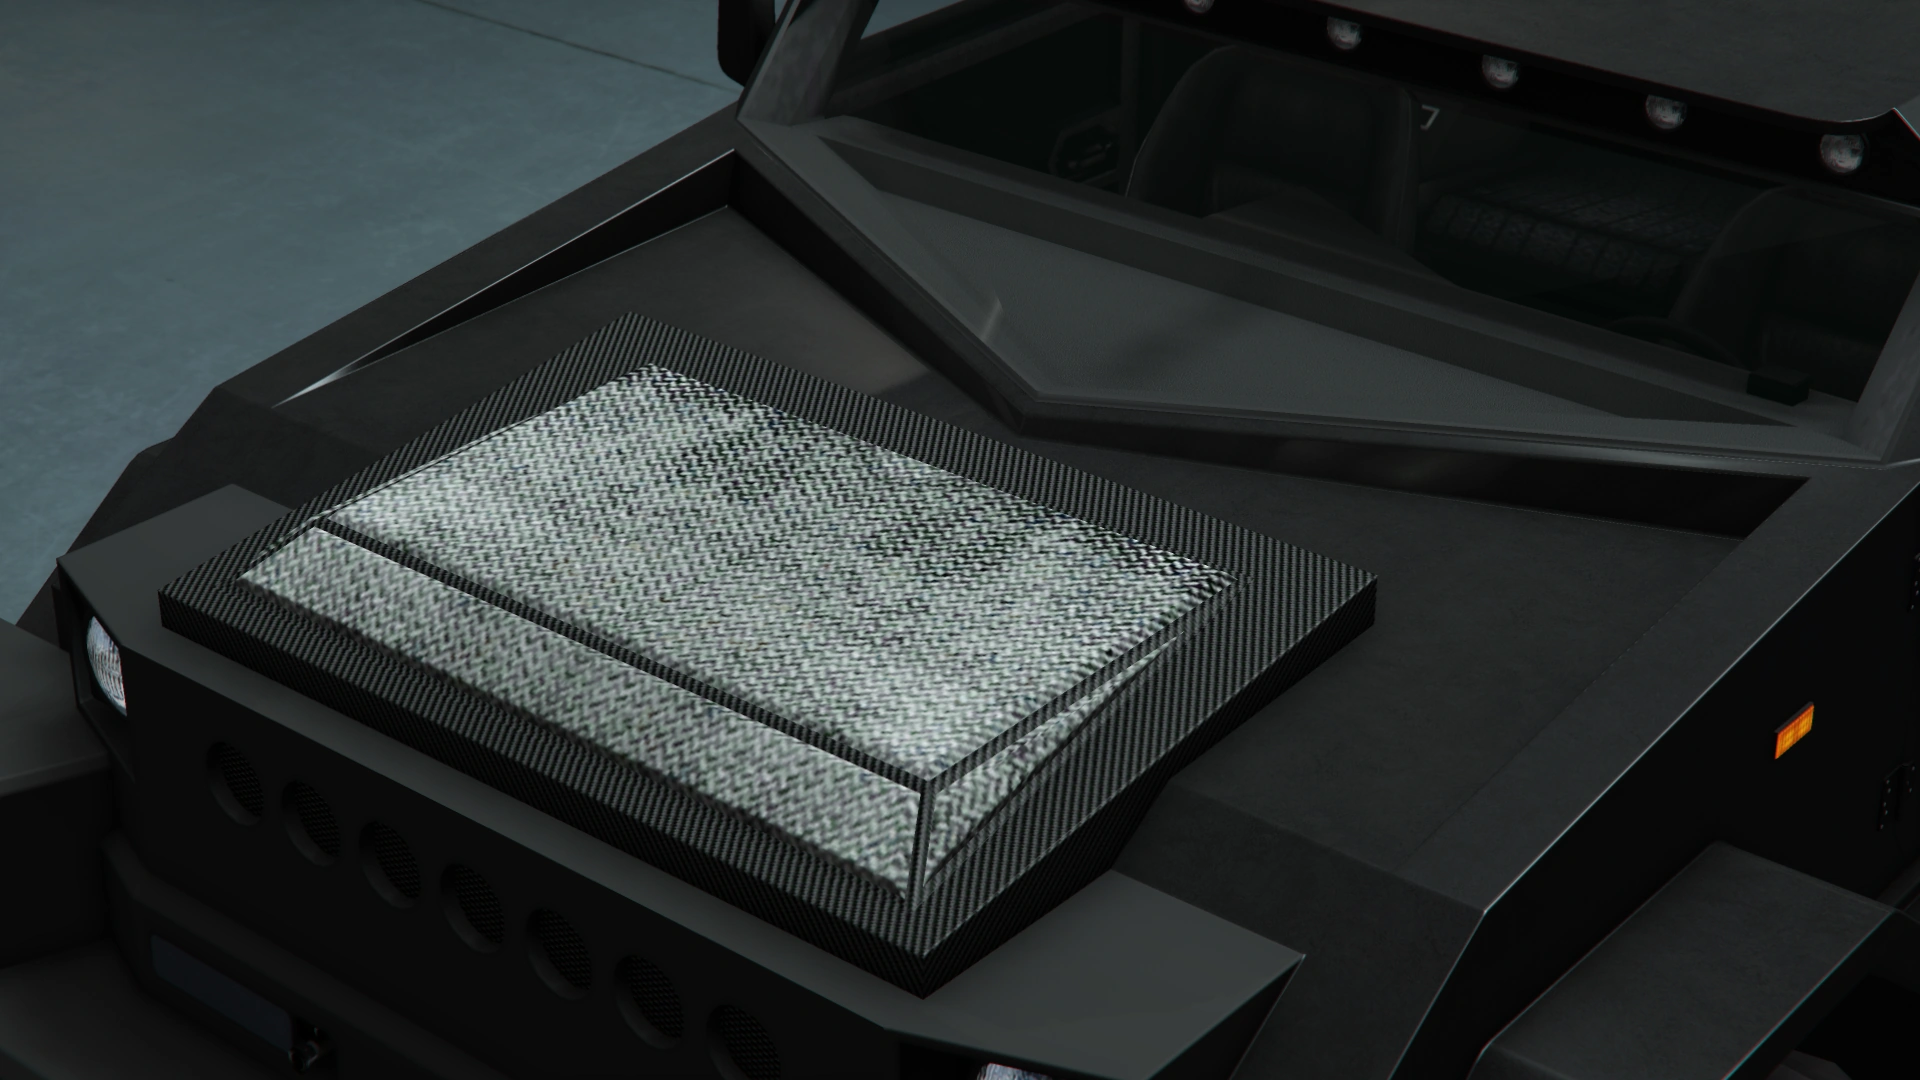
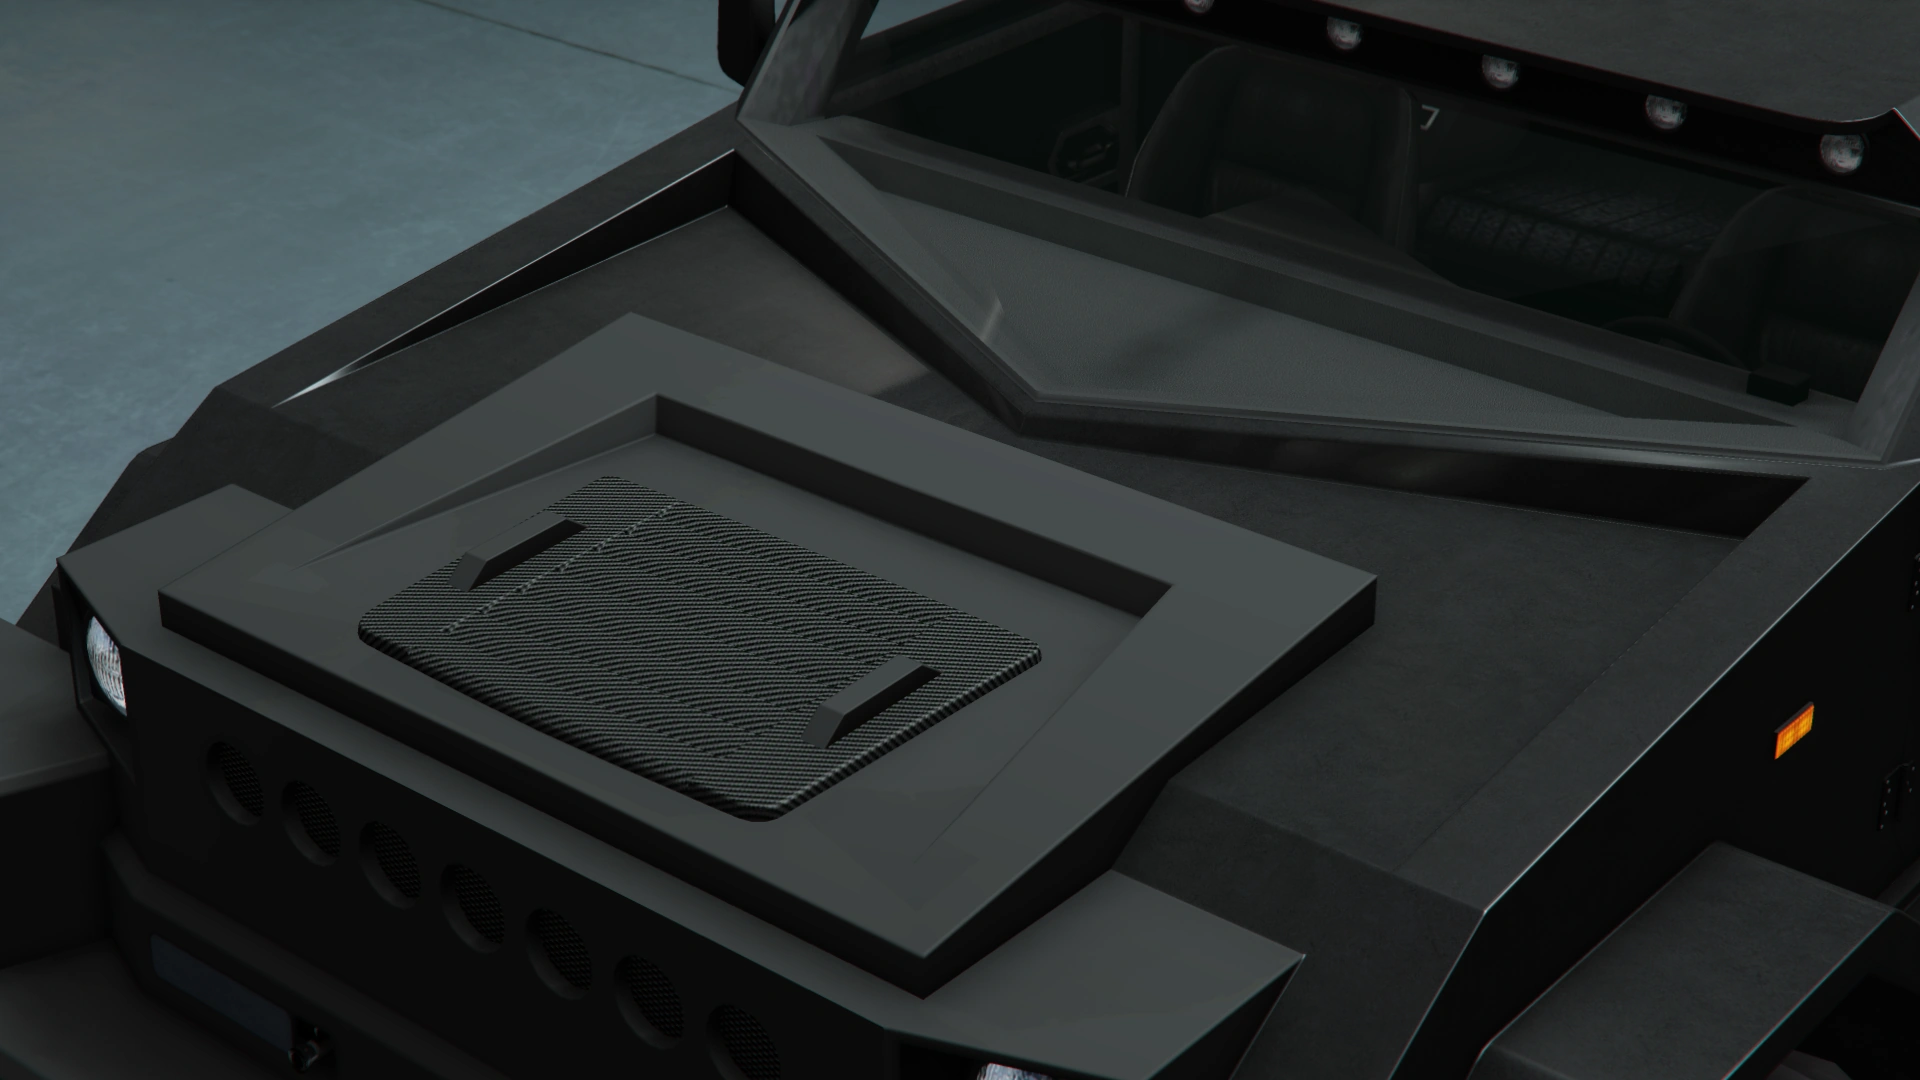
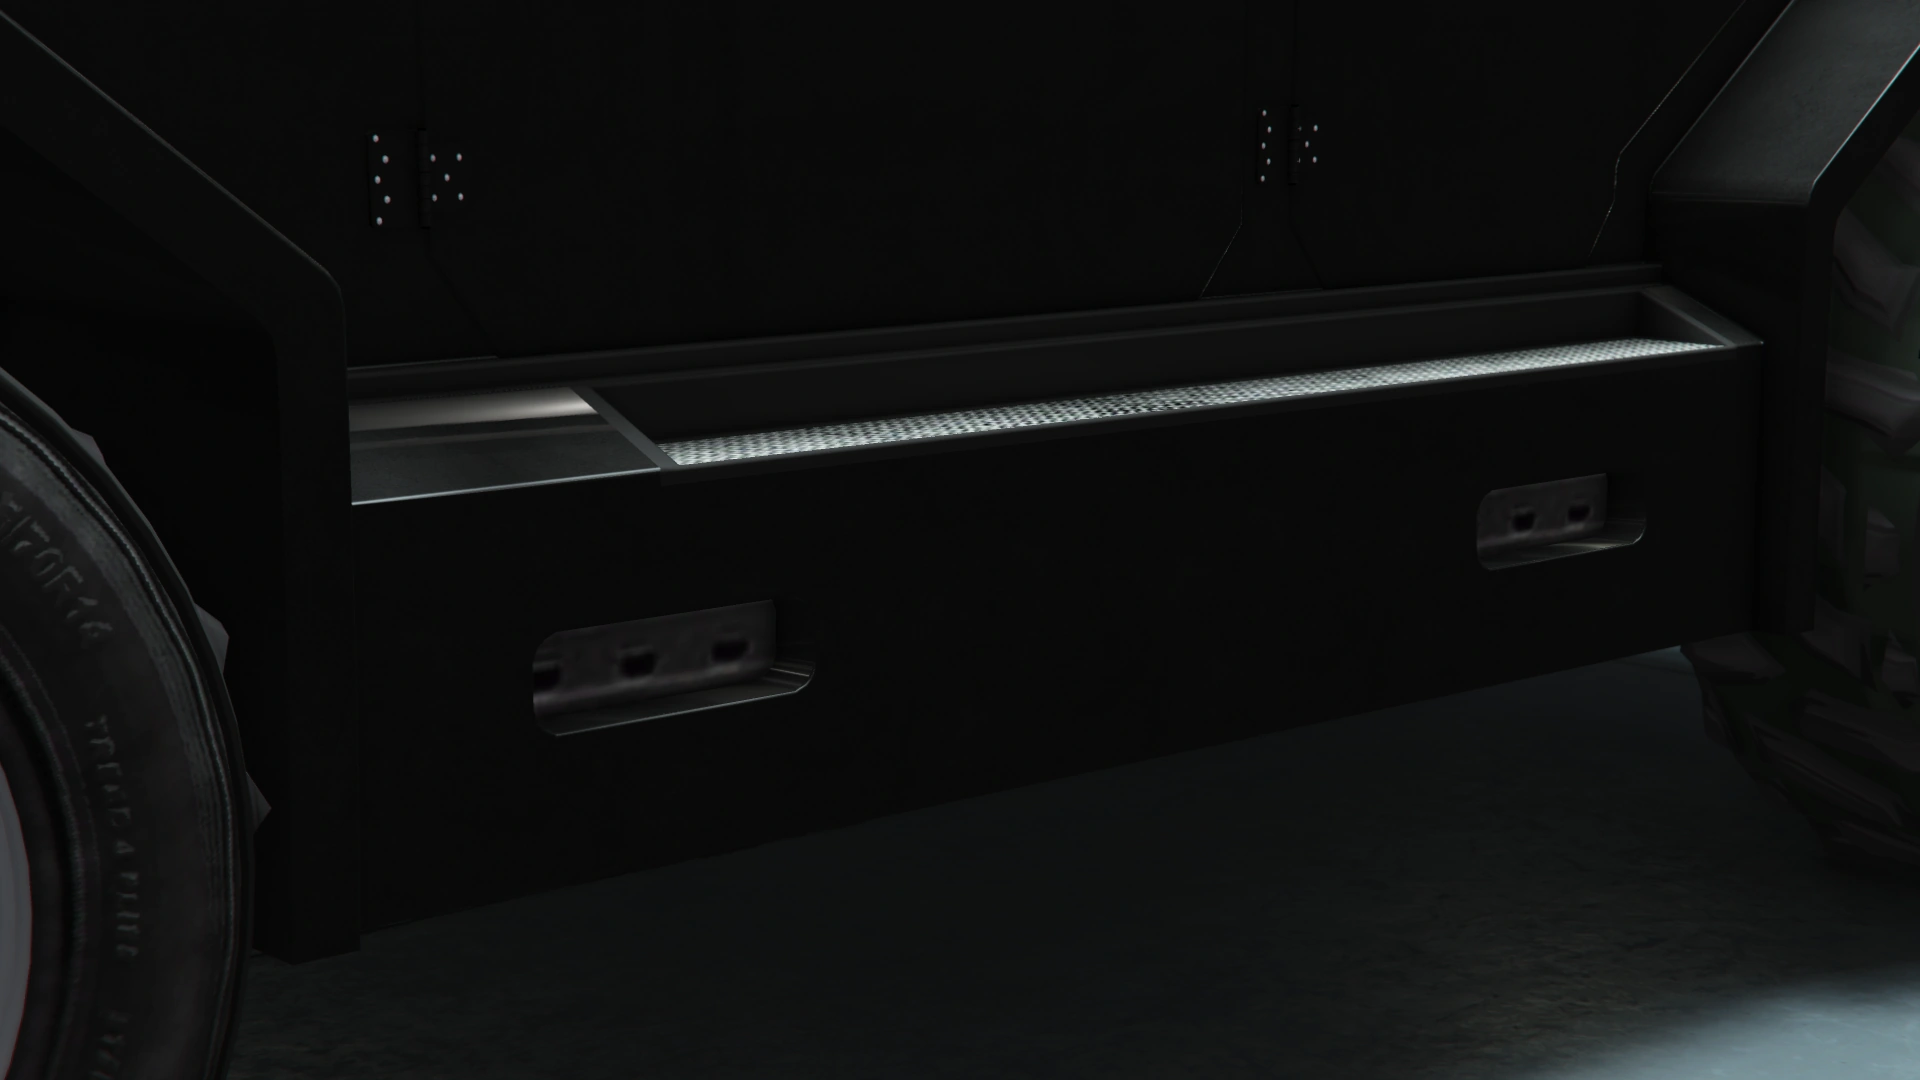
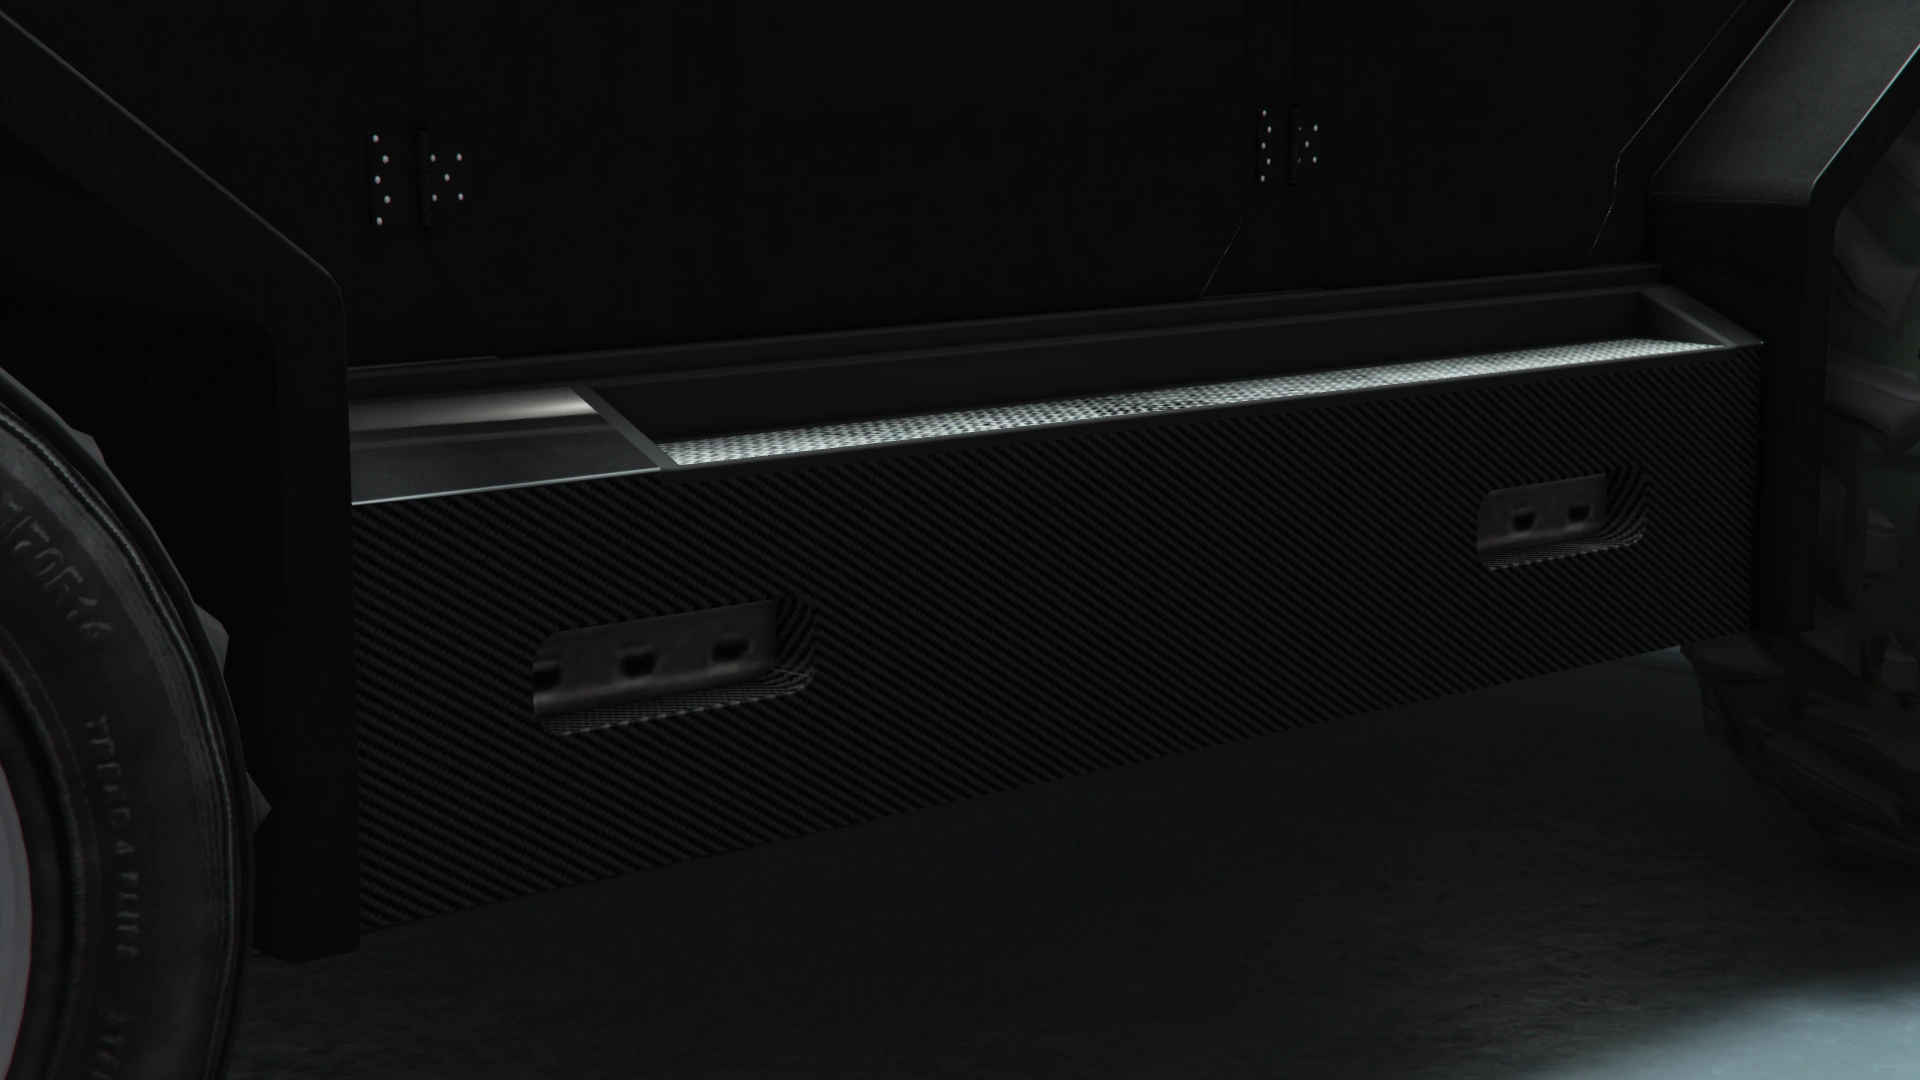
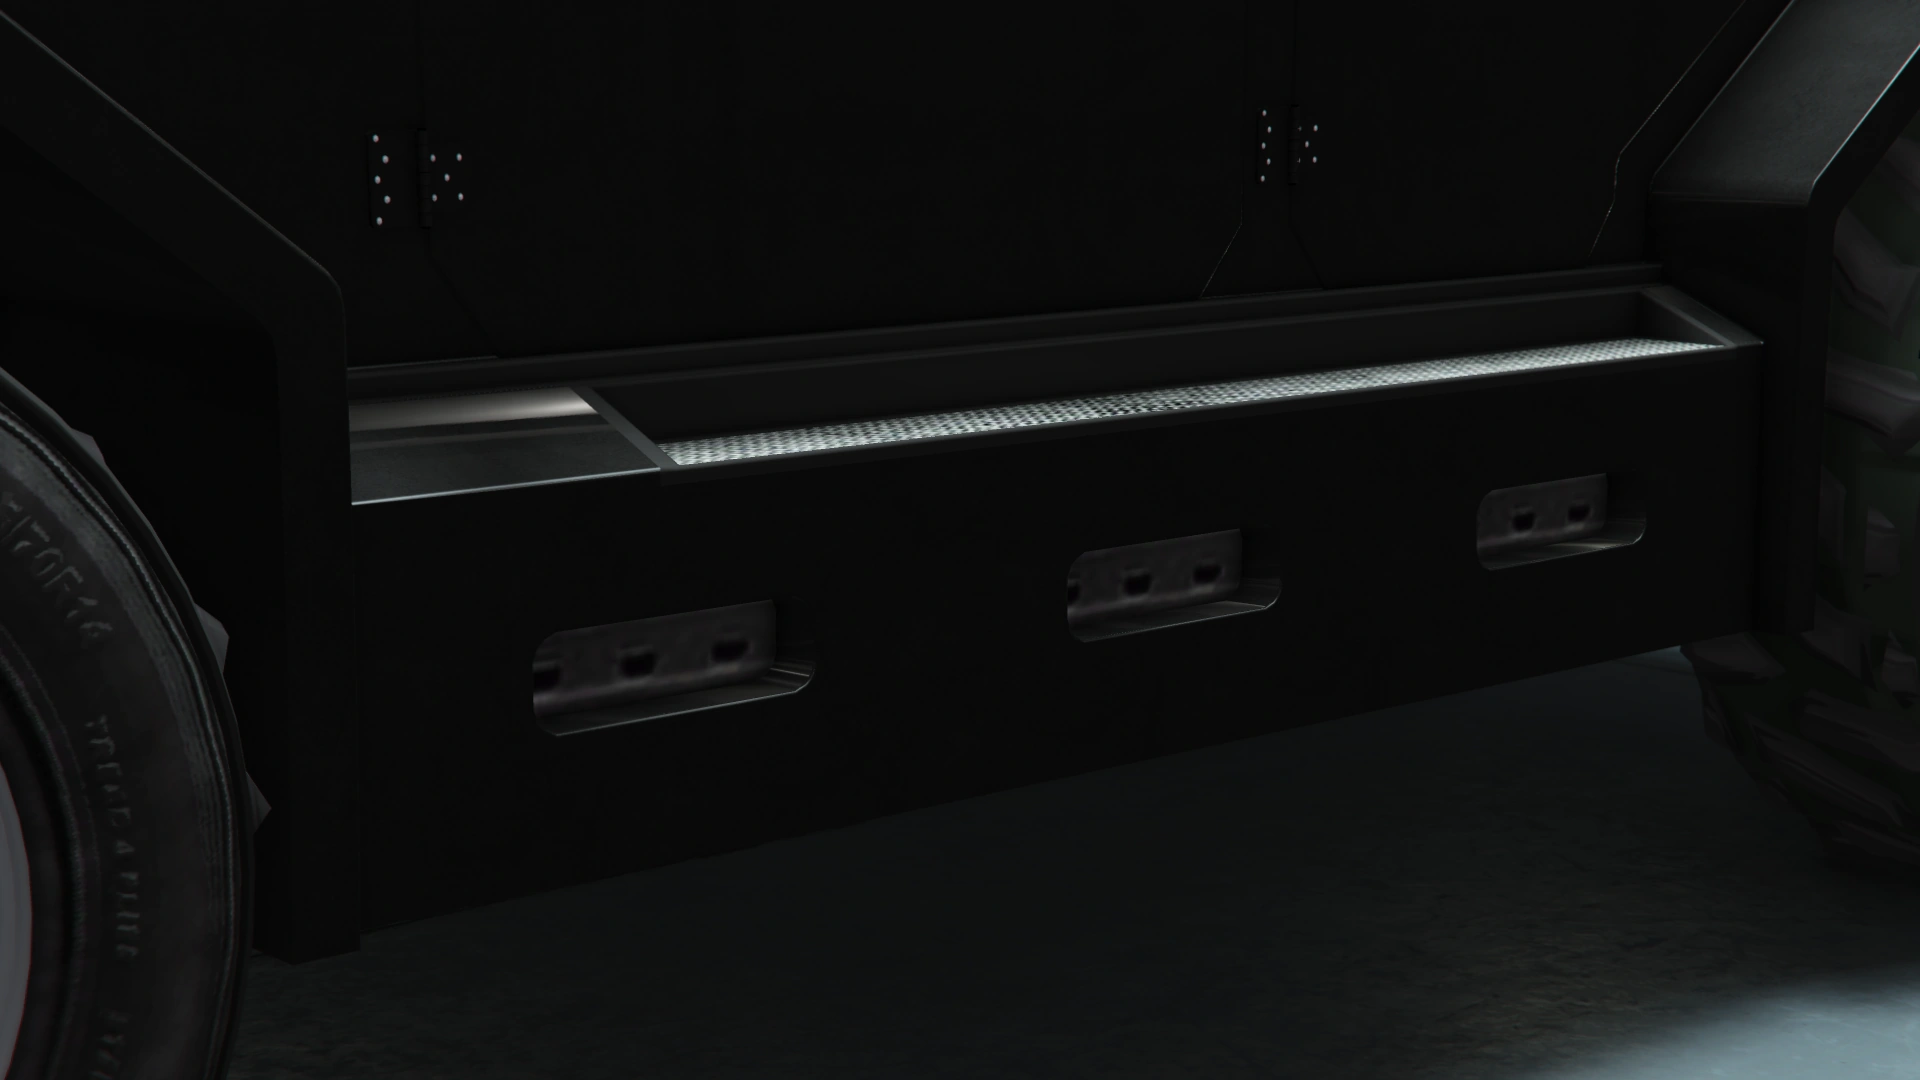
| Secondary Weapons | Top .50 Cal Machine Gun | $55,000 | ||
| Top .50 Cal Minigun | $205,000 | |||
| Skirts | Stock Skirts | $2,500 | ||
| Stripped Skirts | $5,500 | |||
| Secondary Stripped Skirts | $8,000 | |||
| Carbon Stripped Skirts | $10,500 | |||
| Blacked Stripped Skirts | $14,000 | |||
| Ridged Skirts | $14,500 | |||
| Durbar Ridged Skirts | $15,000 | |||
| Carbon Durbar Ridged Skirts | $15,500 | |||
| Sport Skirts | $16,000 | |||
| Secondary Sport Skirts | $16,500 | |||
| Carbon Sport Skirts | $17,000 | |||
| Double Indents | $17,400 | |||
| Secondary Double Indents | $18,300 | |||
| Carbon Double Indents | $19,000 | |||
| Triple Indents | $20,425 | |||
| Secondary Triple Indents | $21,025 | |||
| Carbon Triple Indents | $21,425 | |||
| Transmission | Stock Transmission | $1,000 | ||
| Street Transmission | $29,500 | |||
| Sports Transmission | $32,500 | |||
| Race Transmission | $40,000 | |||
| Turbo | None | $5,000 | ||
| Turbo Tuning | $50,000 | |||
| Wheels | Main article: Los Santos Customs/Wheels | - | ||
| Windows | None | $500 | ||
| Light Smoke | $1,500 | |||
| Dark Smoke | $3,500 | |||
| Limo | $5,000 | |||


When purchased, the Menacer comes painted in the following colors by default:
| Applied Colors | |||||
|---|---|---|---|---|---|
| Primary Color | Secondary Color | Pearlescent | Wheel Color | Trim Color | Dial Color |
| Matte Desert Tan | Matte Black | Alloy | Black | Worn White | |
Image Gallery
Grand Theft Auto Online
")
")
")
")
")
Video

Locations
Grand Theft Auto Online
- Can be purchased from Warstock Cache & Carry for $1,775,000.
Trivia
General
- The default radio stations for the Menacer are Radio Los Santos, West Coast Classics, and The Lab.
References
- ↑ 1.0 1.1 Awarded for players who logged during the Menacer Week event (August 28st, 2018 - September 3rd, 2018).
- ↑ Awarded for players who logged during the Running Back (Remix) Week event (September 18th, 2018 - September 24th, 2018).