

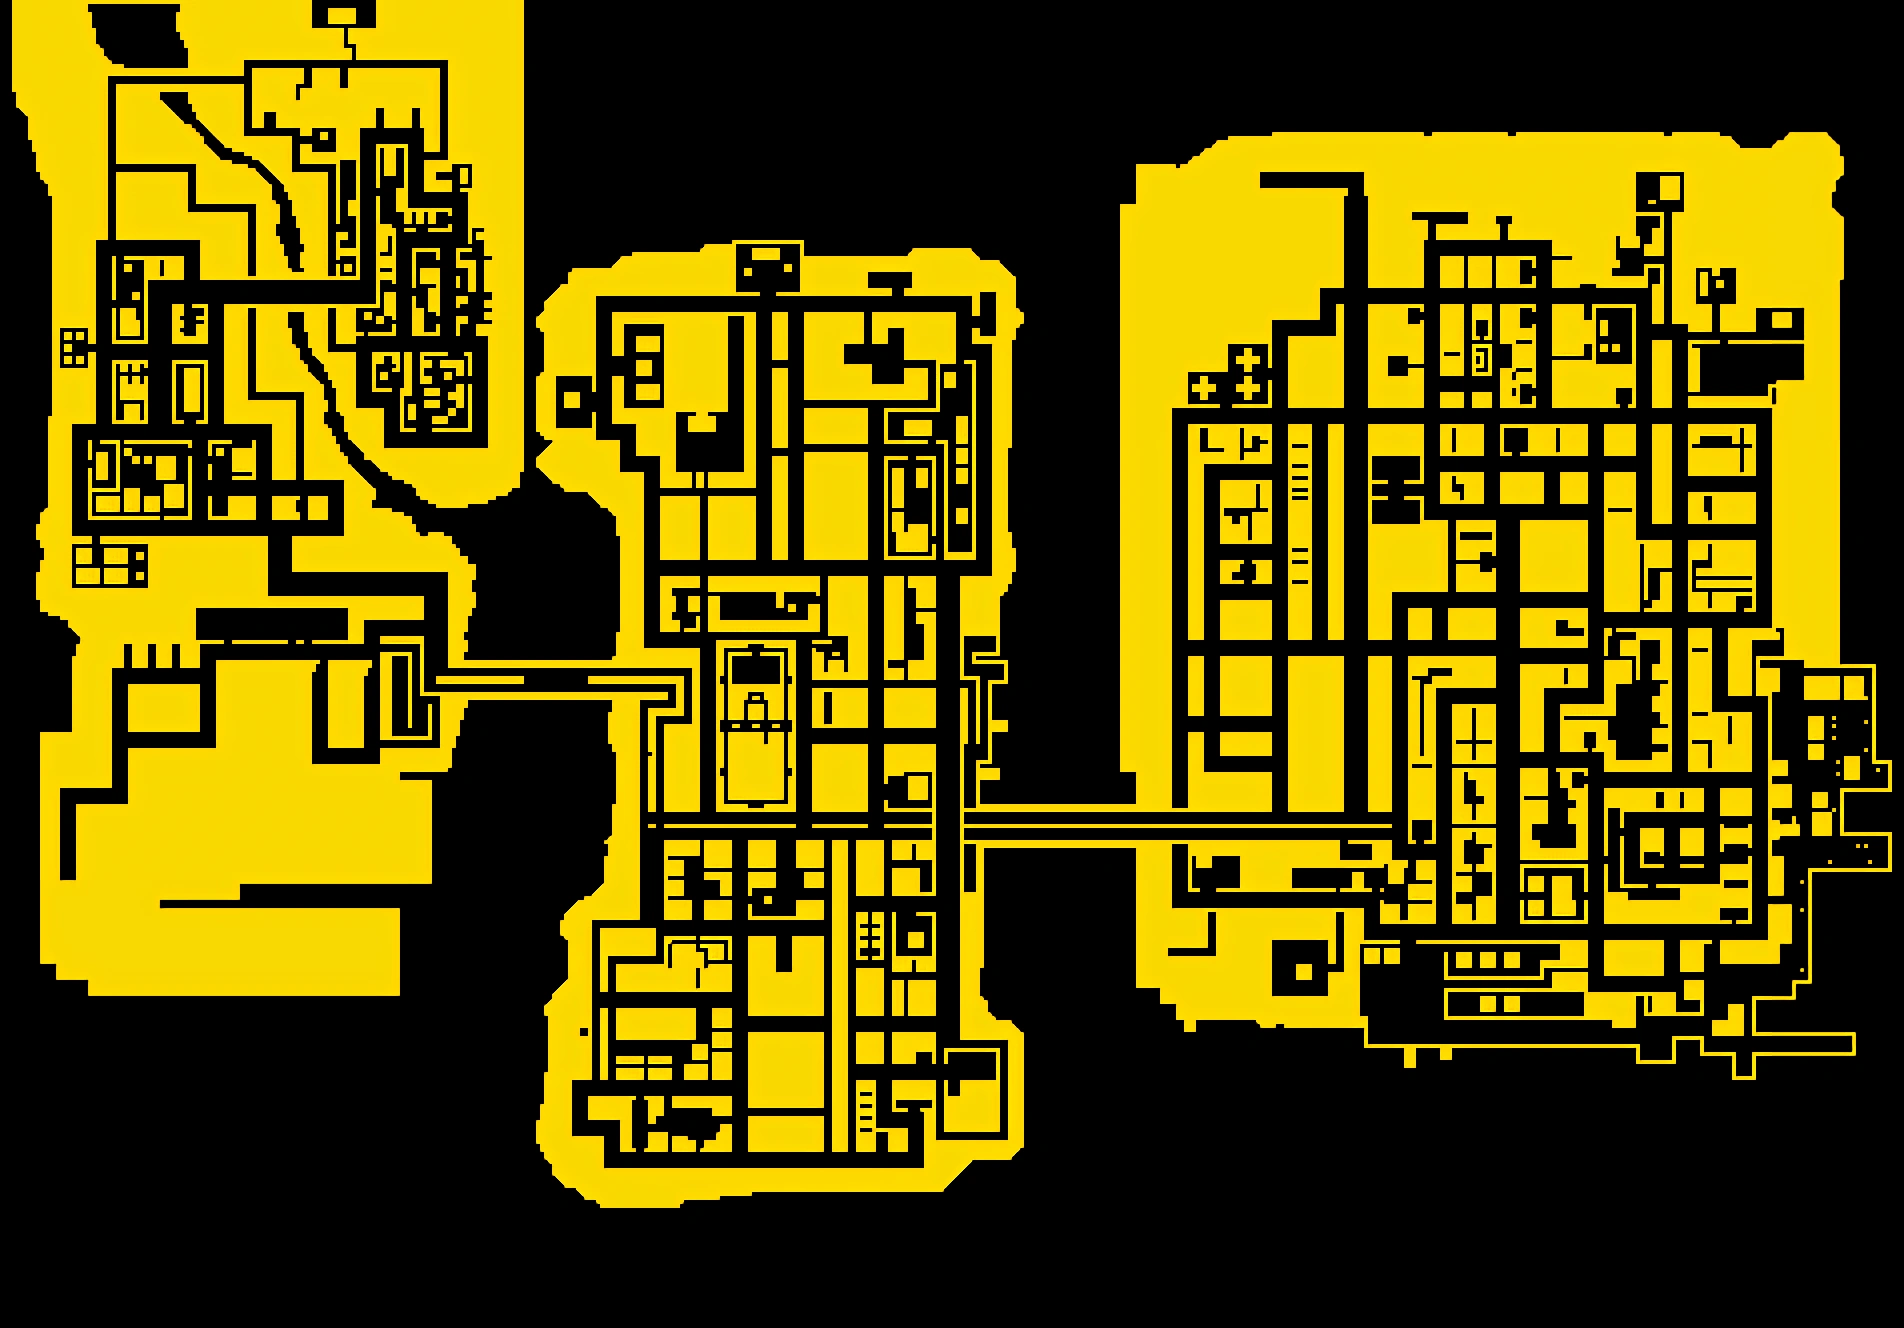
Liberty City map in GTA Advance.
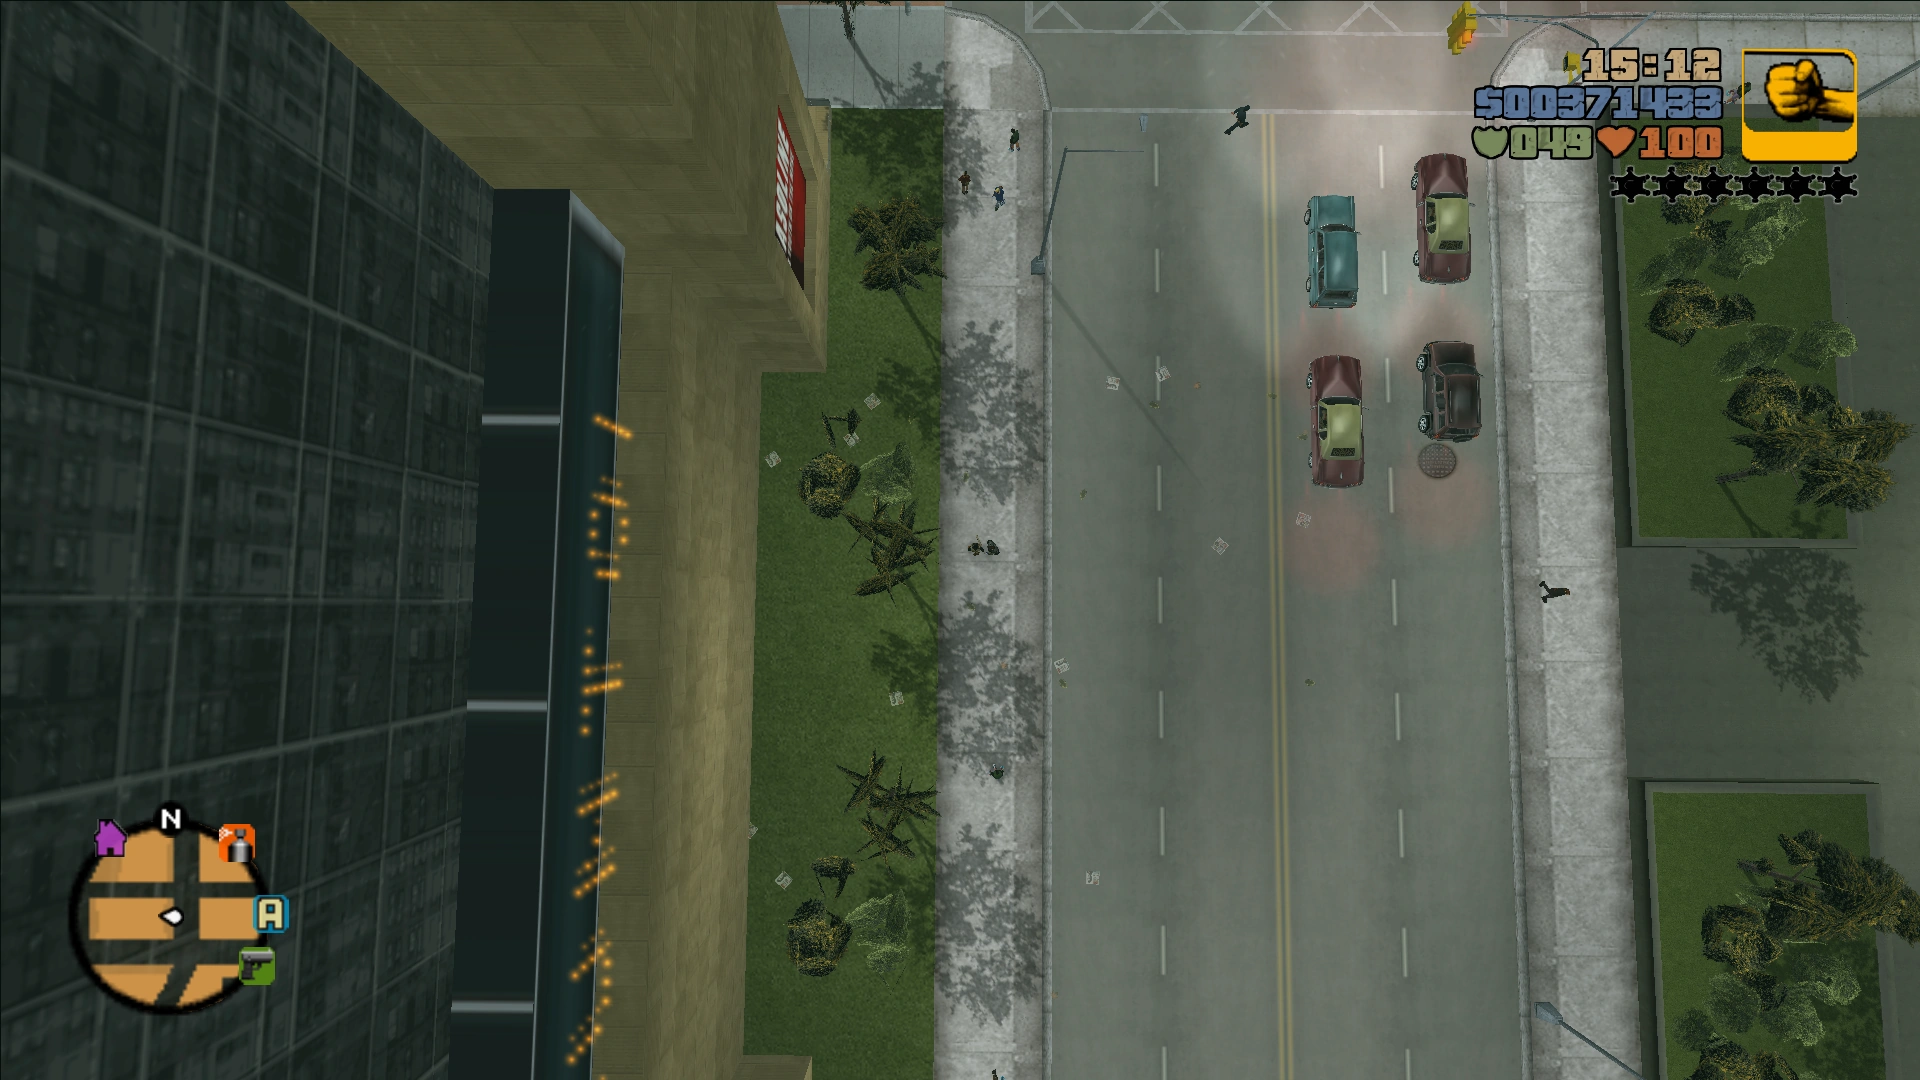
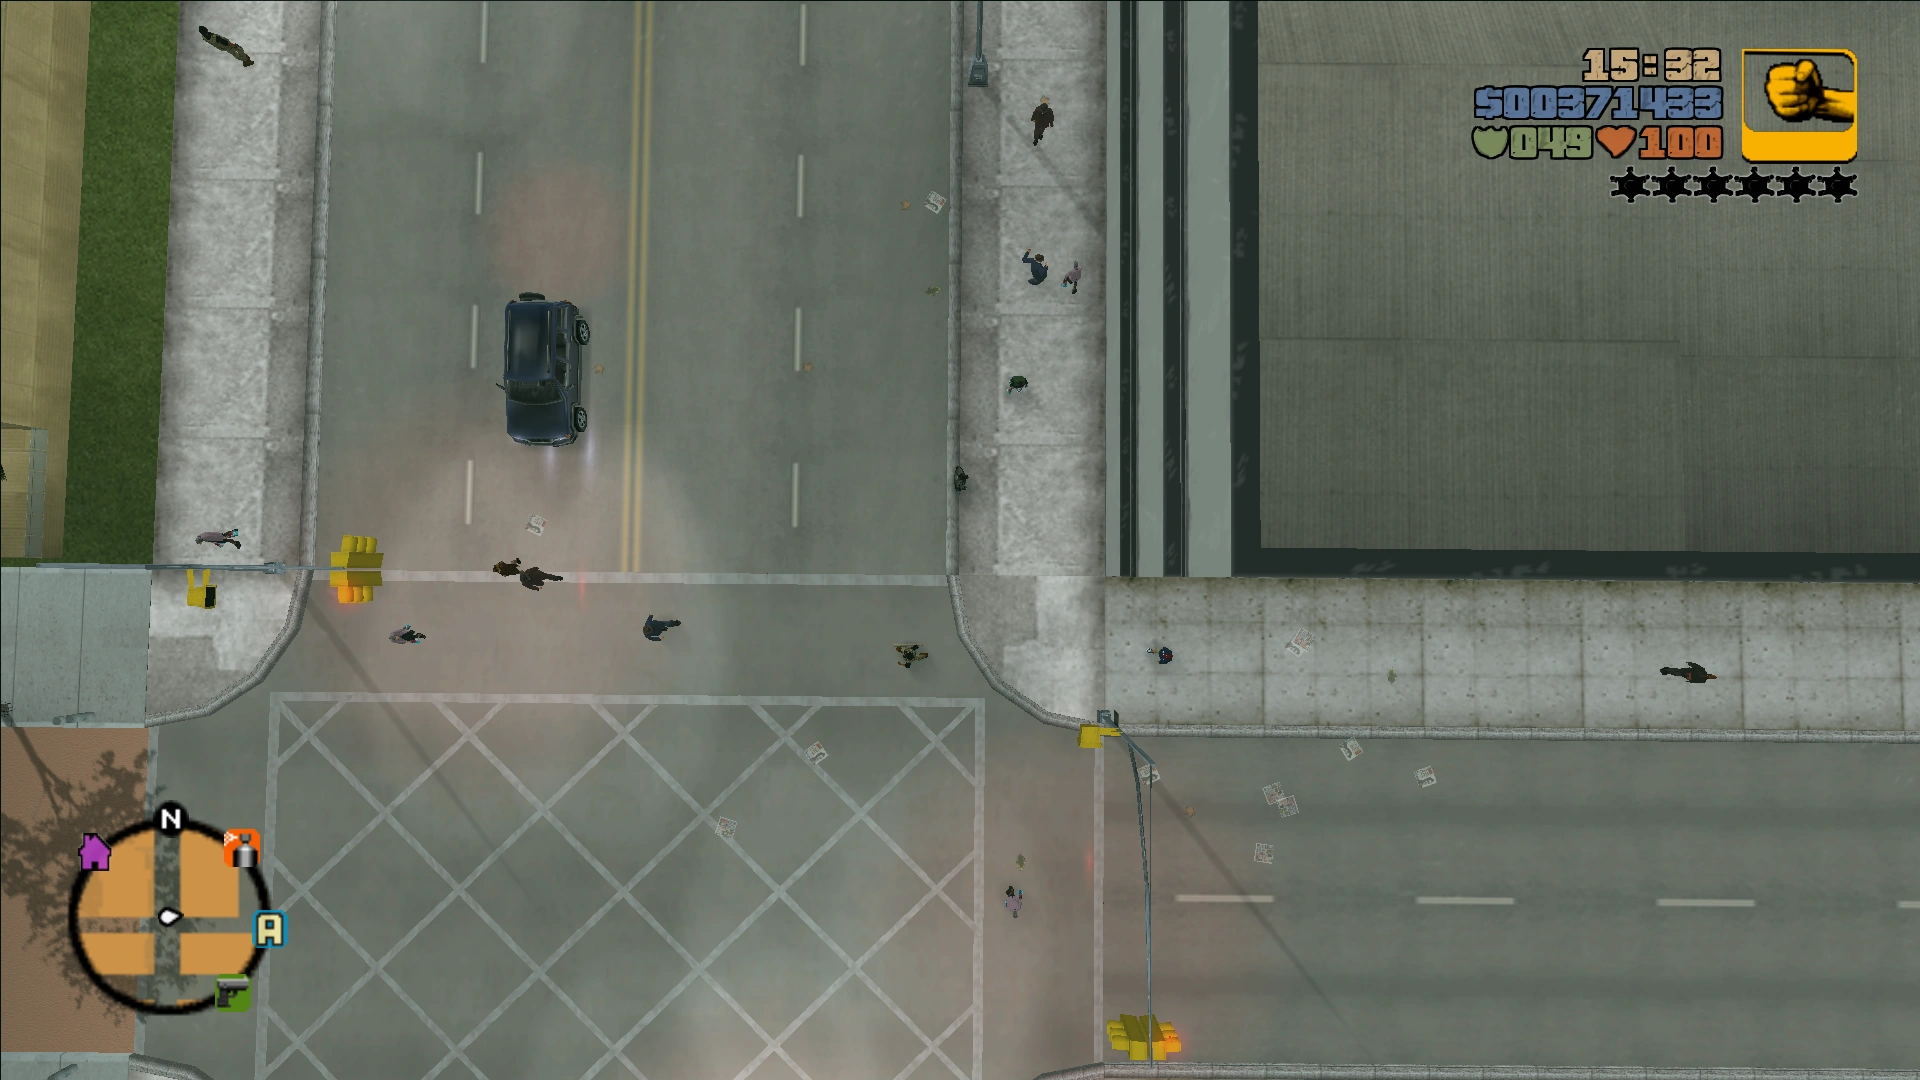
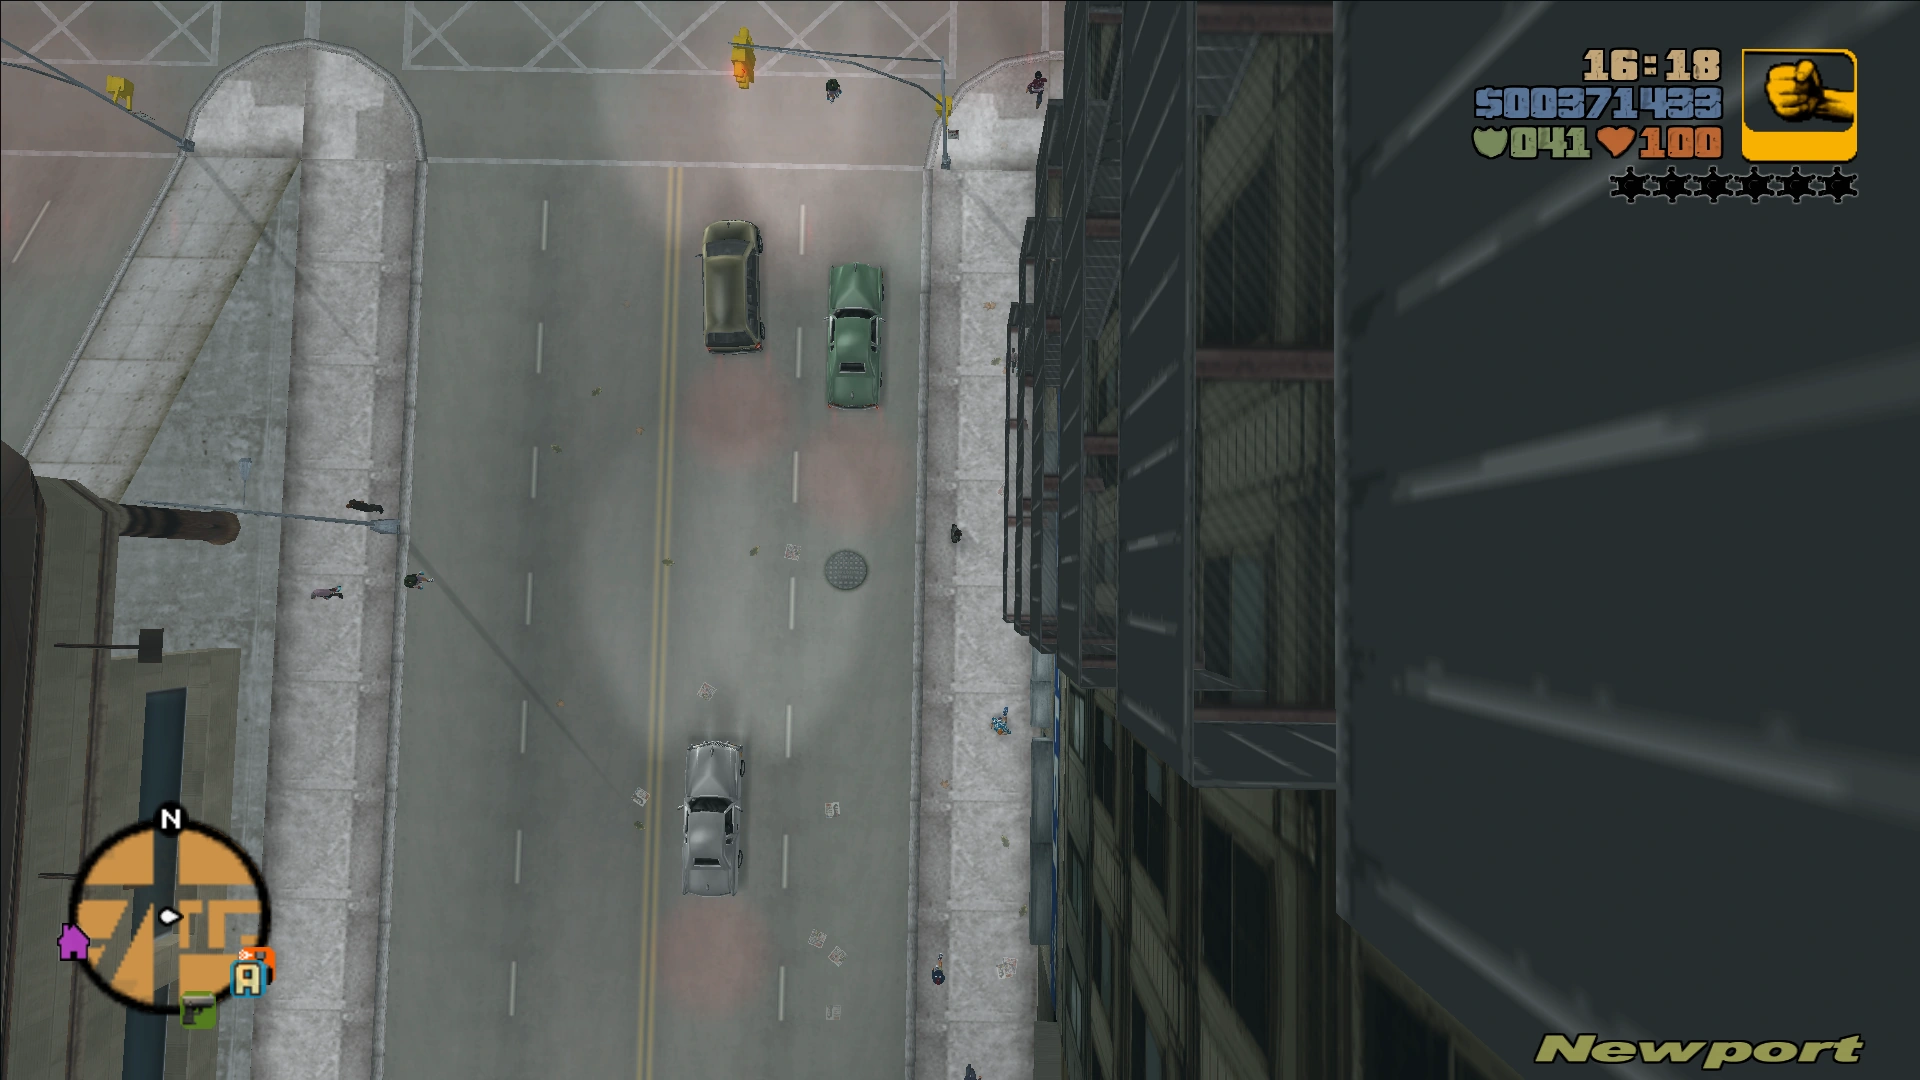
Liberty City in Grand Theft Auto Advance is an adapted version of the 3D Universe's Liberty City seen in Grand Theft Auto III to the Game Boy Advance hardware.
Description[]
As part of the 3D Universe timeline of the Grand Theft Auto series, Grand Theft Auto Advance serves as an one year prologue to the events seen in Grand Theft Auto III, also set in Liberty City.
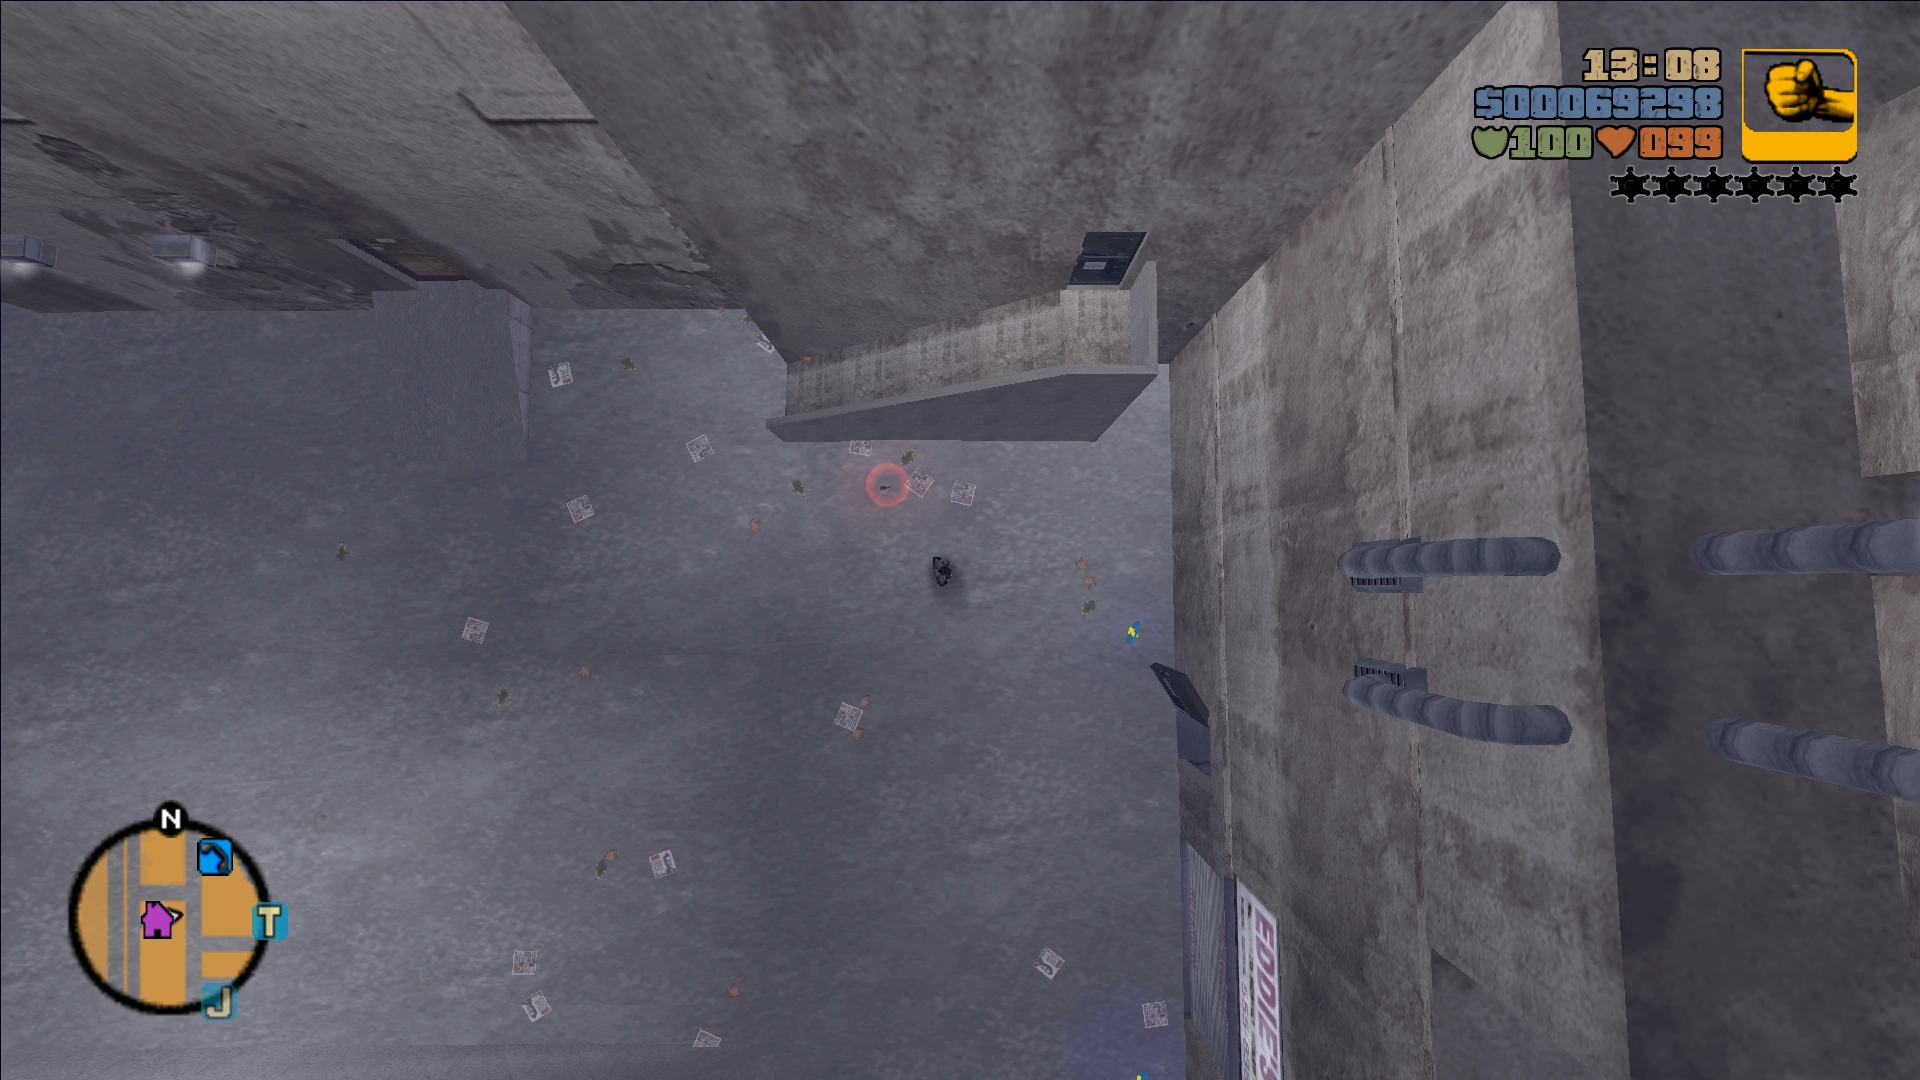
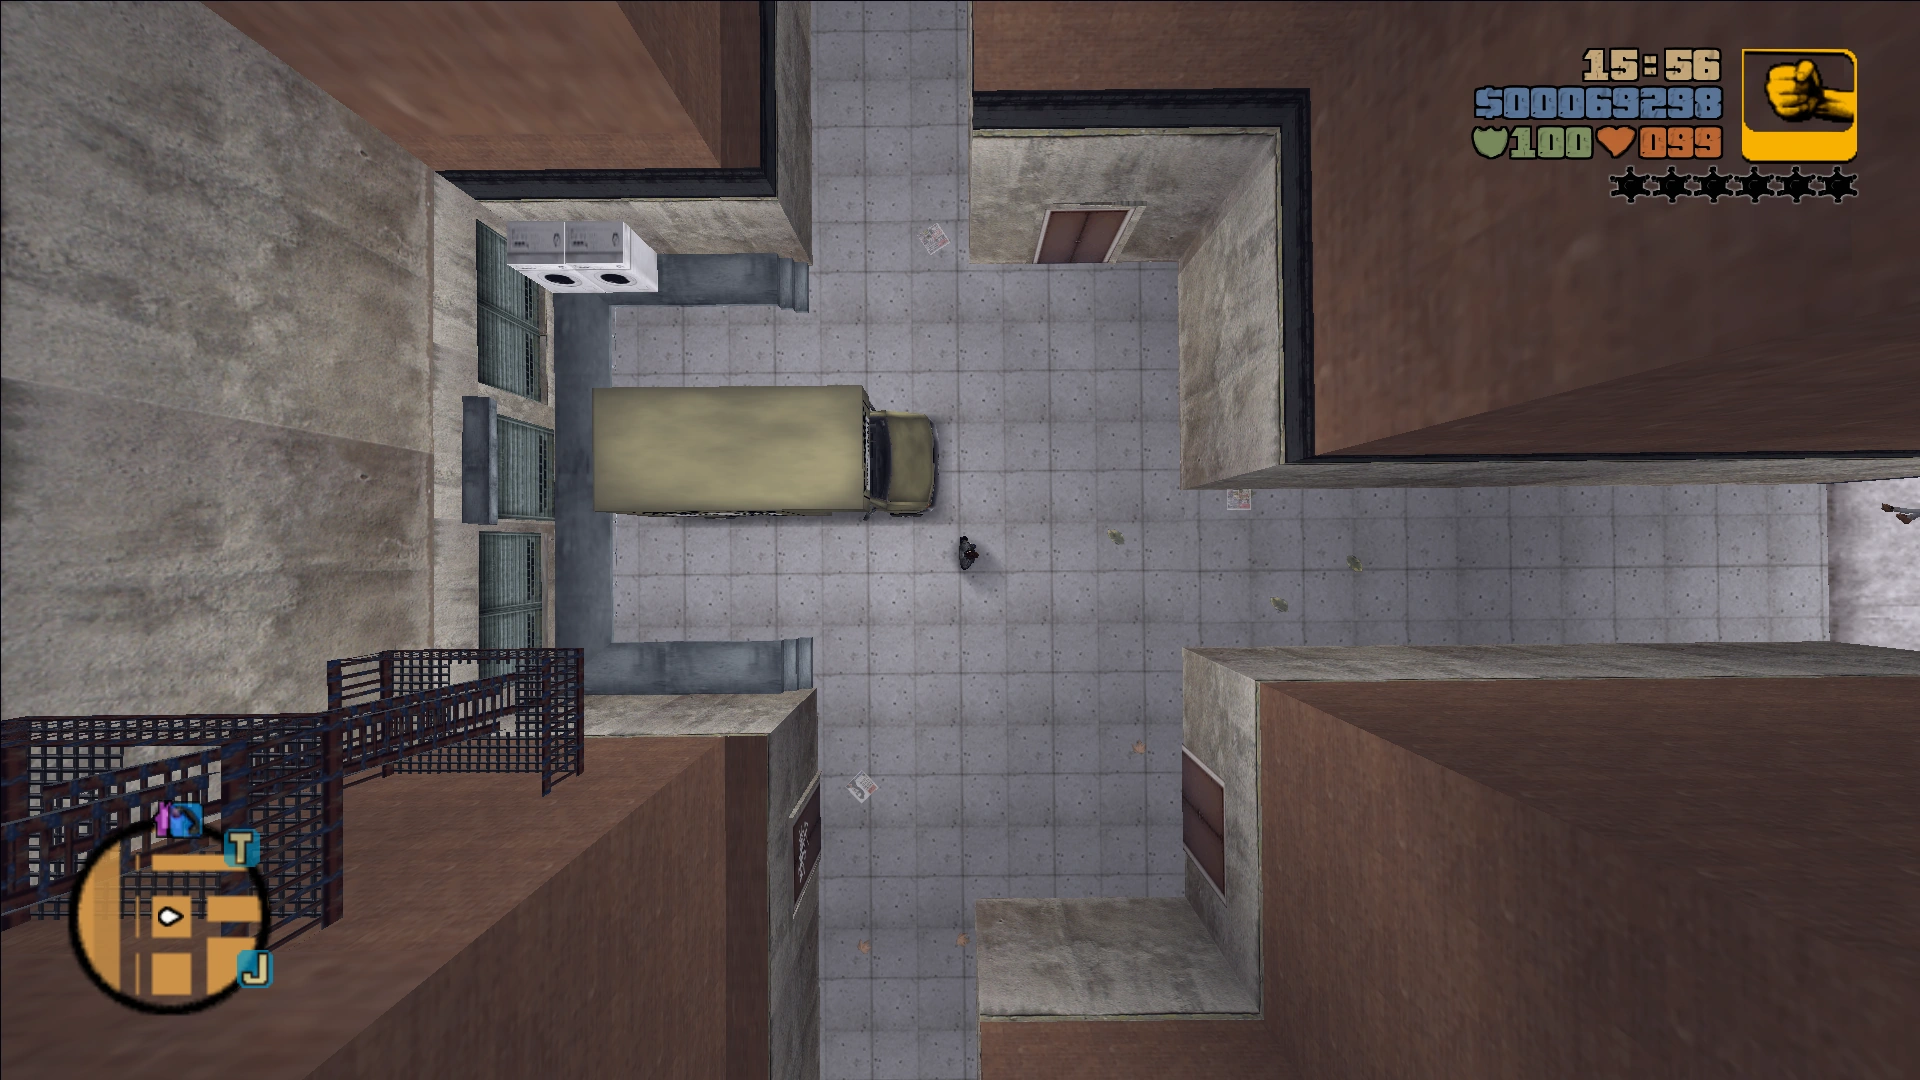
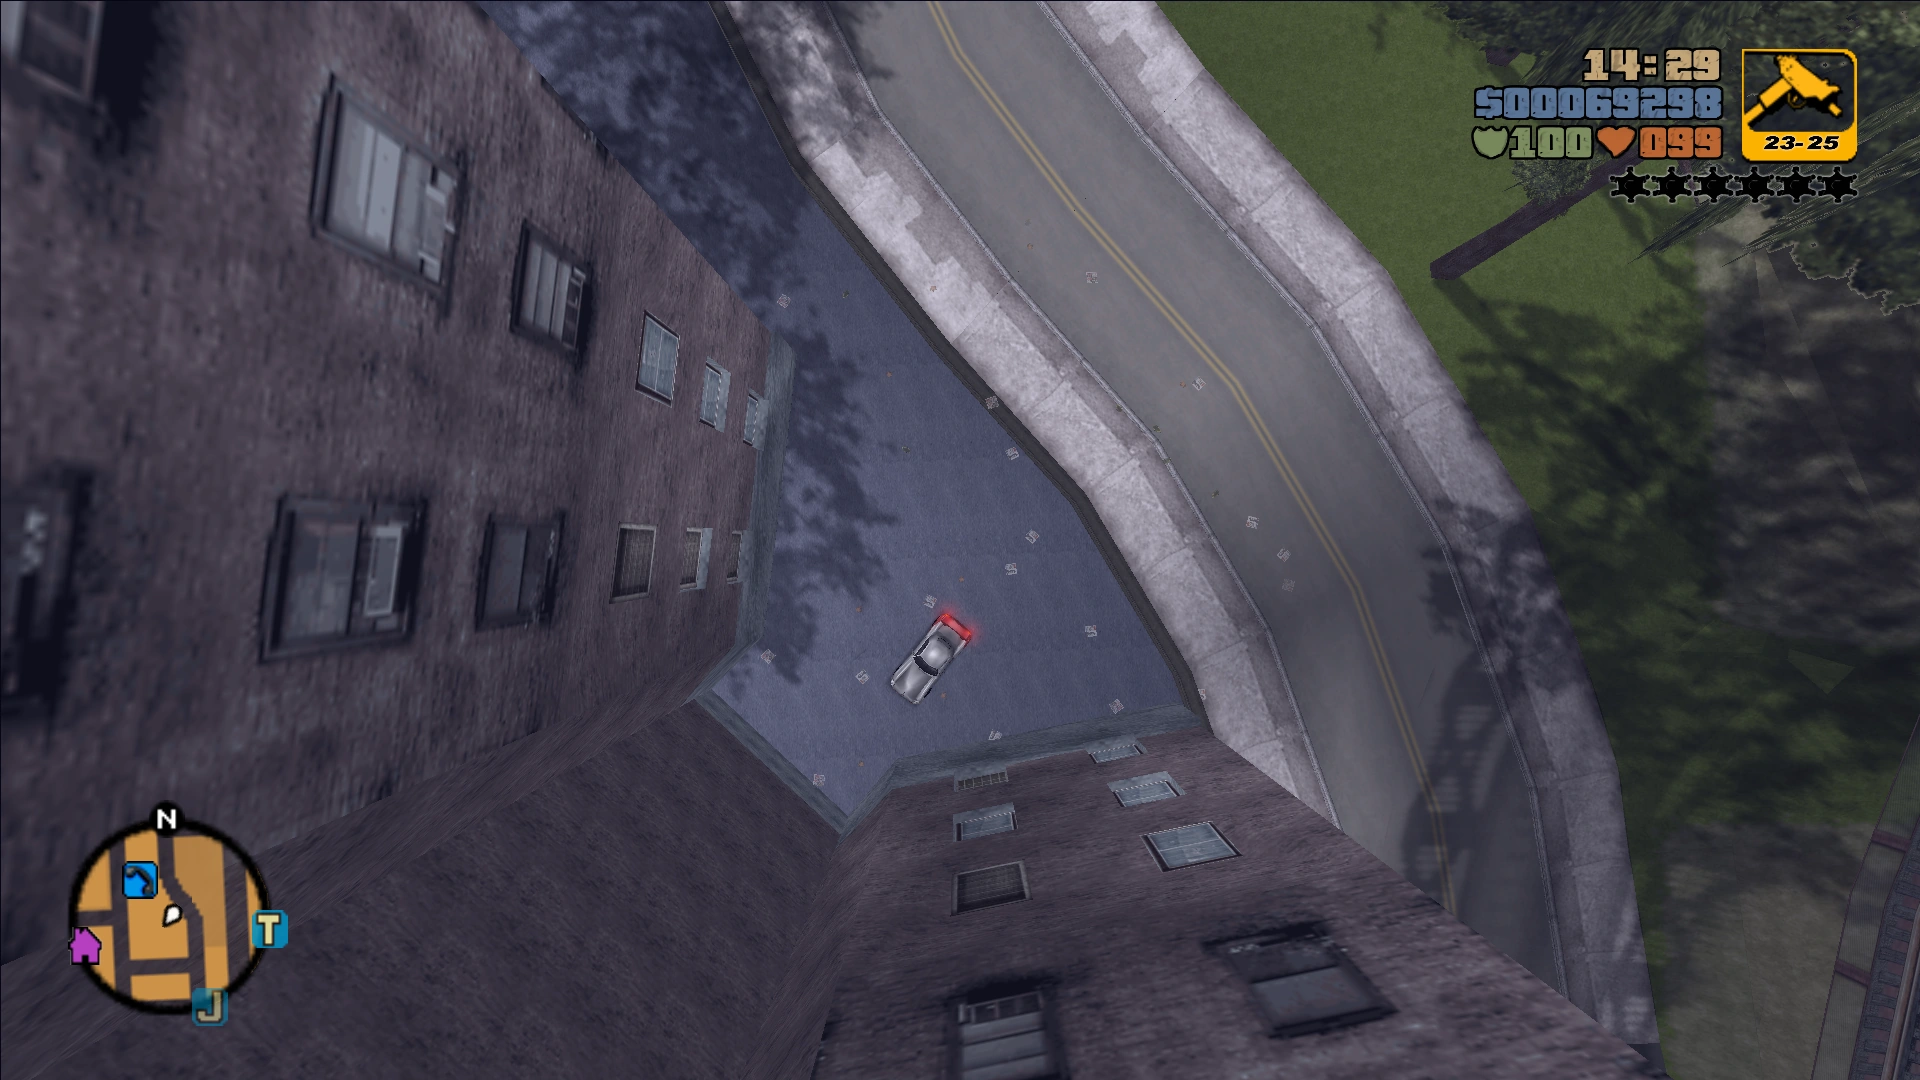
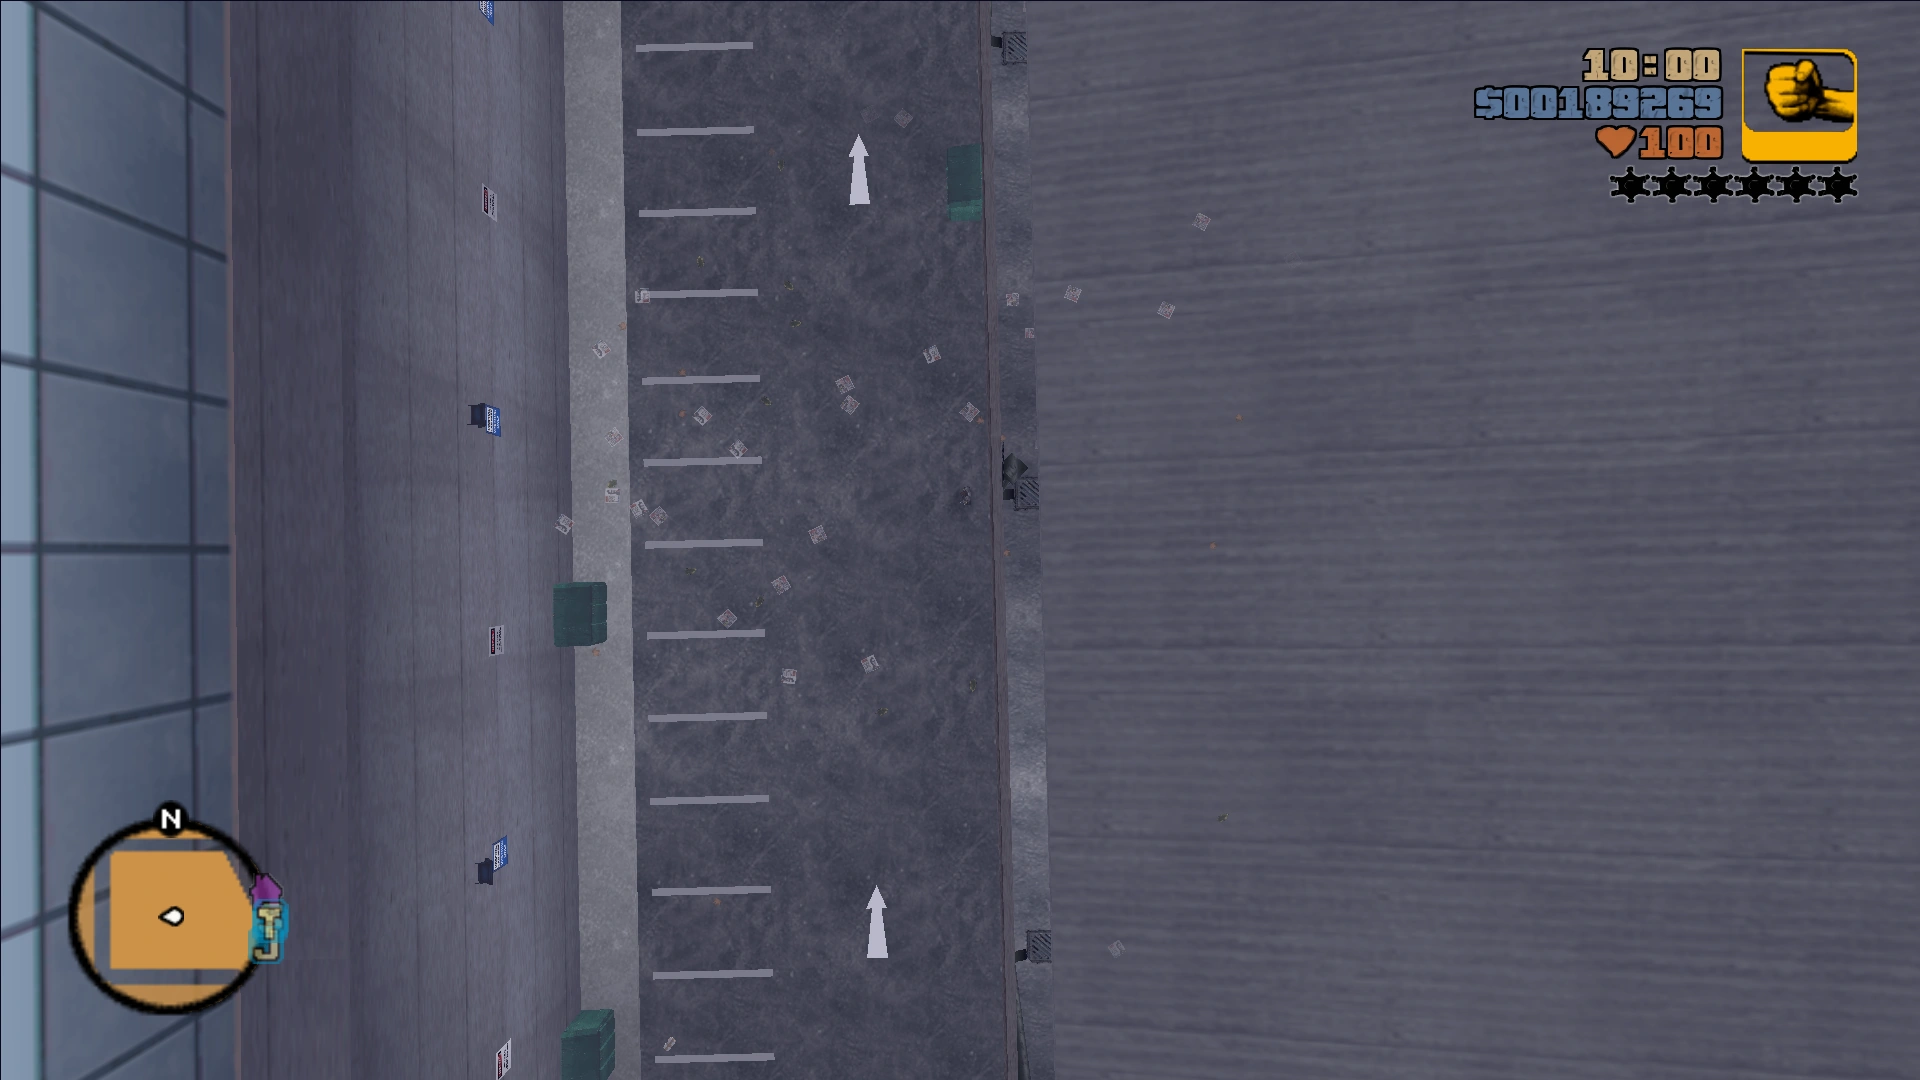
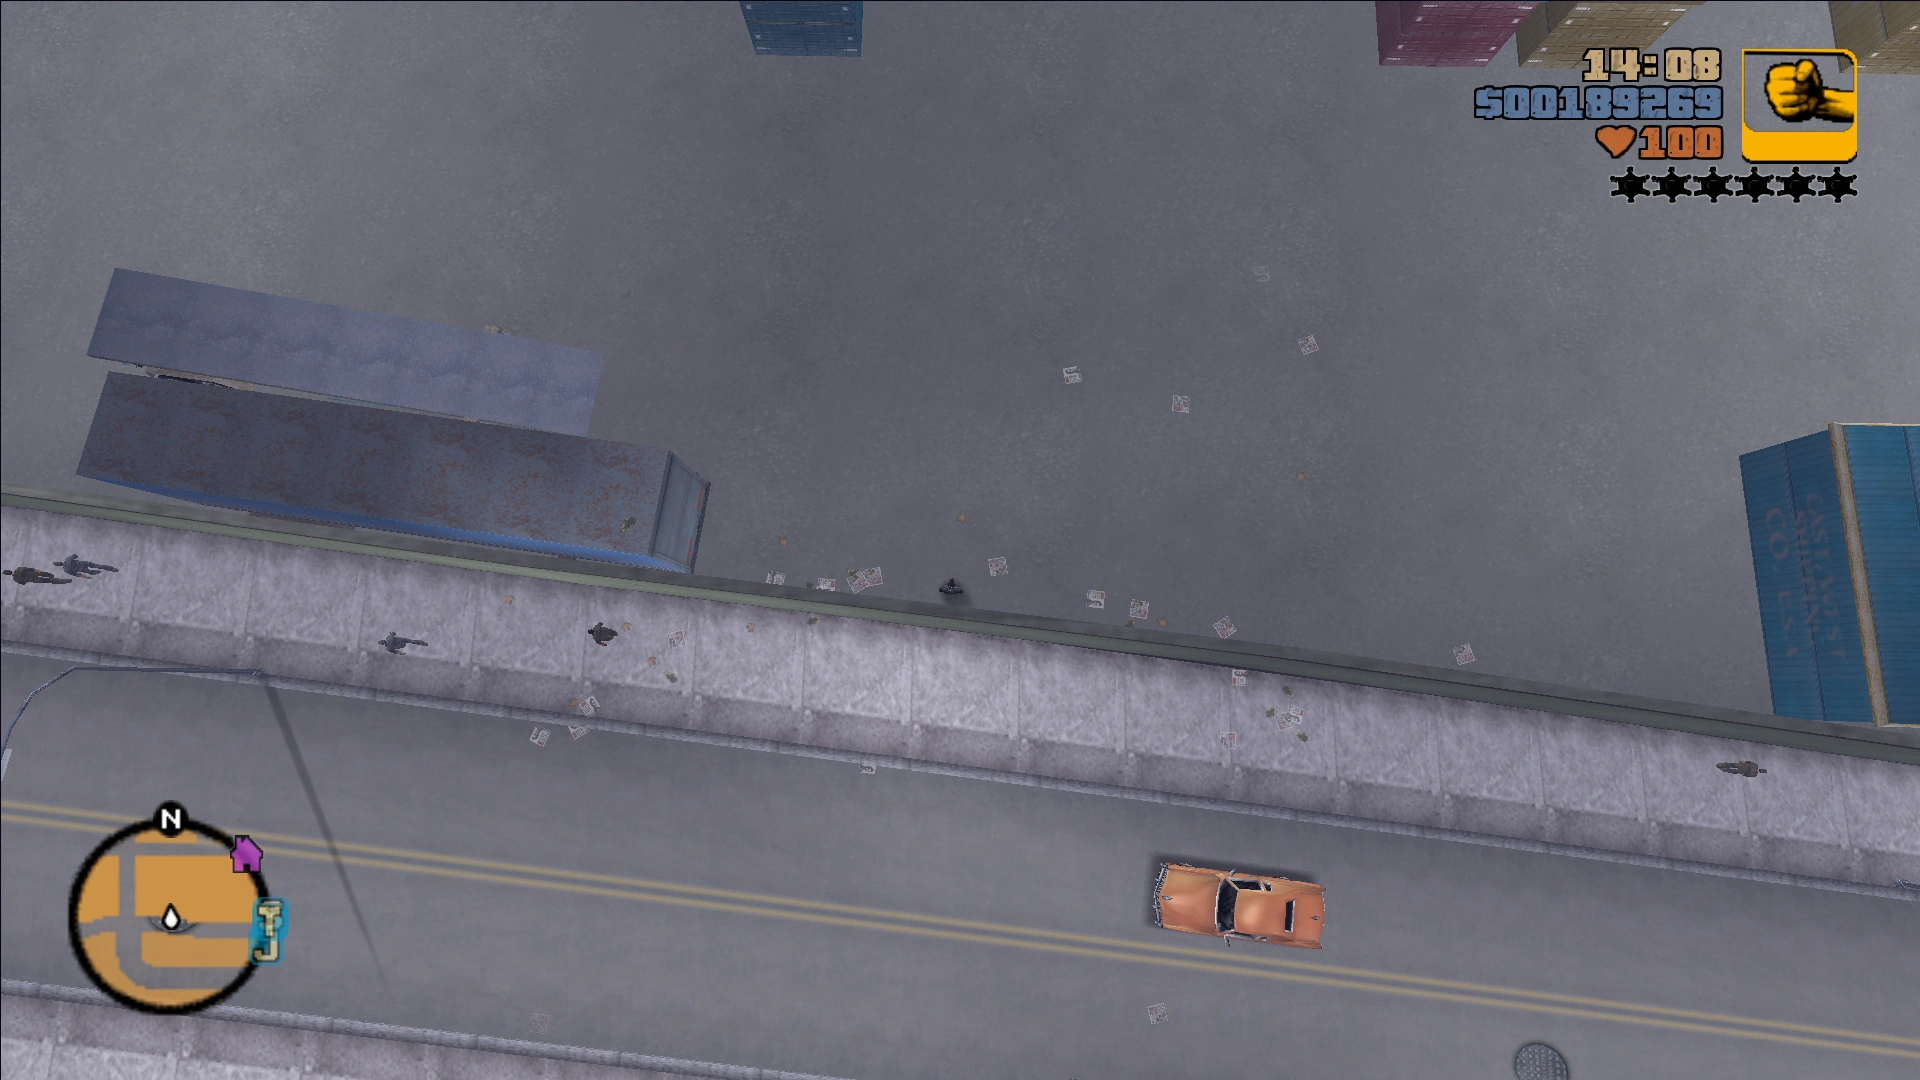
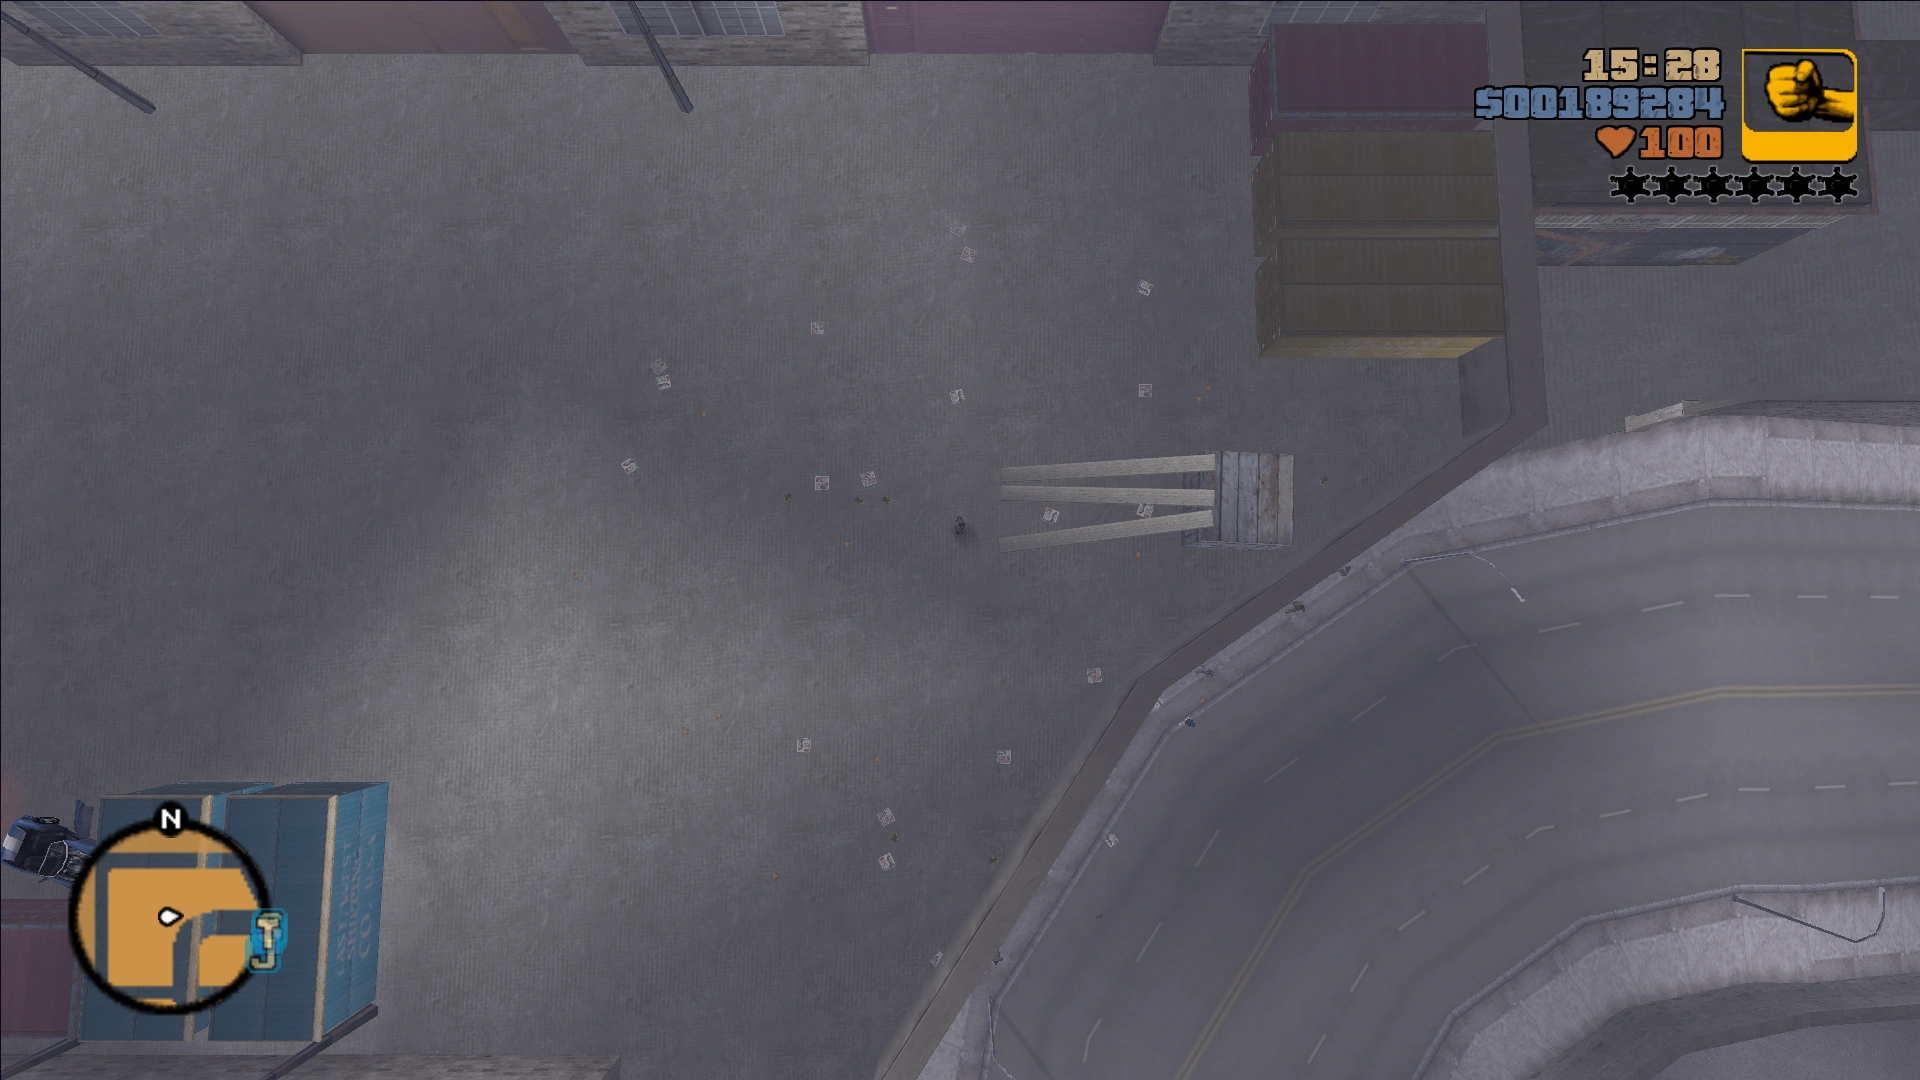
The layout of the streets in the portable Liberty City is the same as the original map, albeit adapted due to some hardware limitations. However, there are some differences in terms of content, for example, the island of Portland is somewhat larger and the neighborhoods of Shoreside Vale are denser than in the Liberty City from GTA III. There are also no road curves, as is usual in the 2D Grand Theft Auto games. Other notable differences is the absence of the Portland El or the Subway.

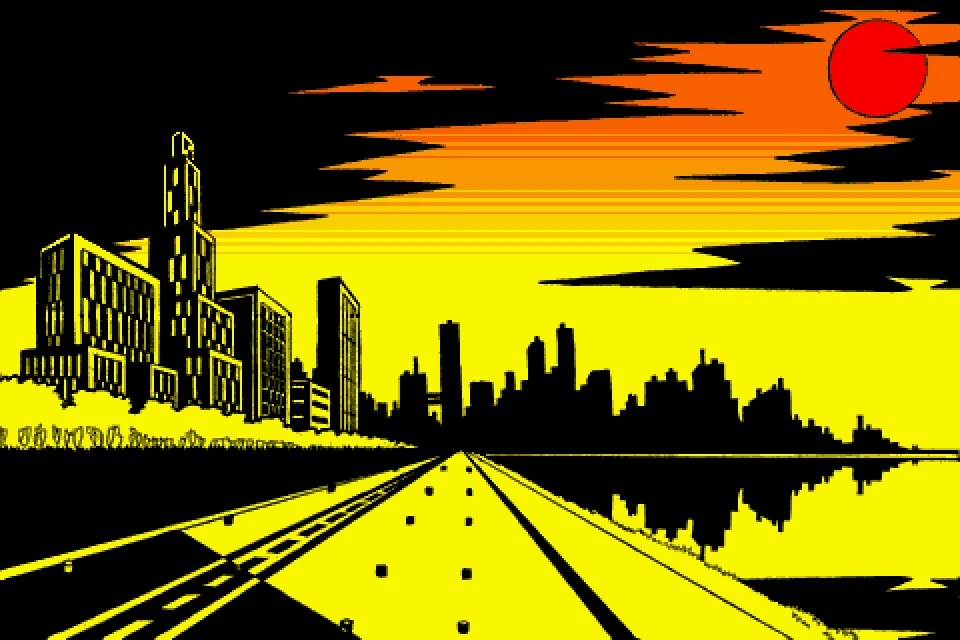
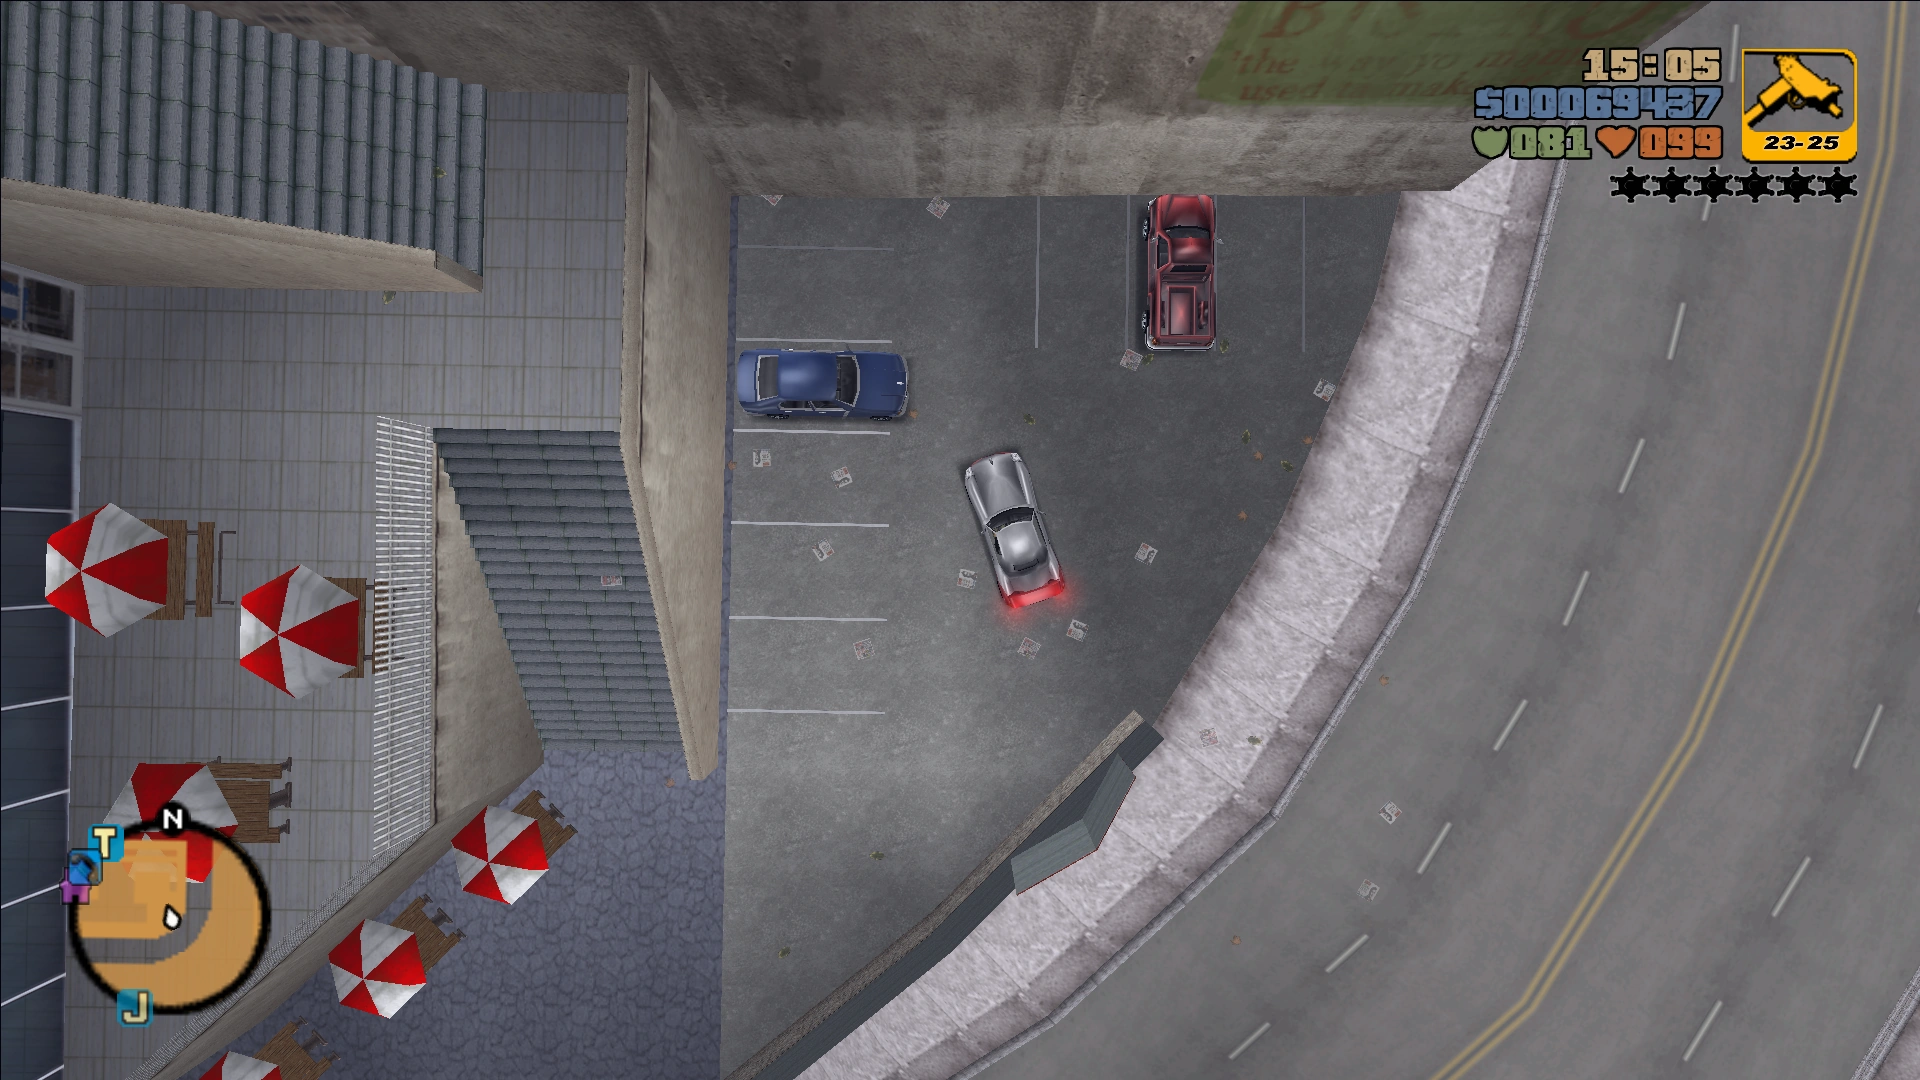
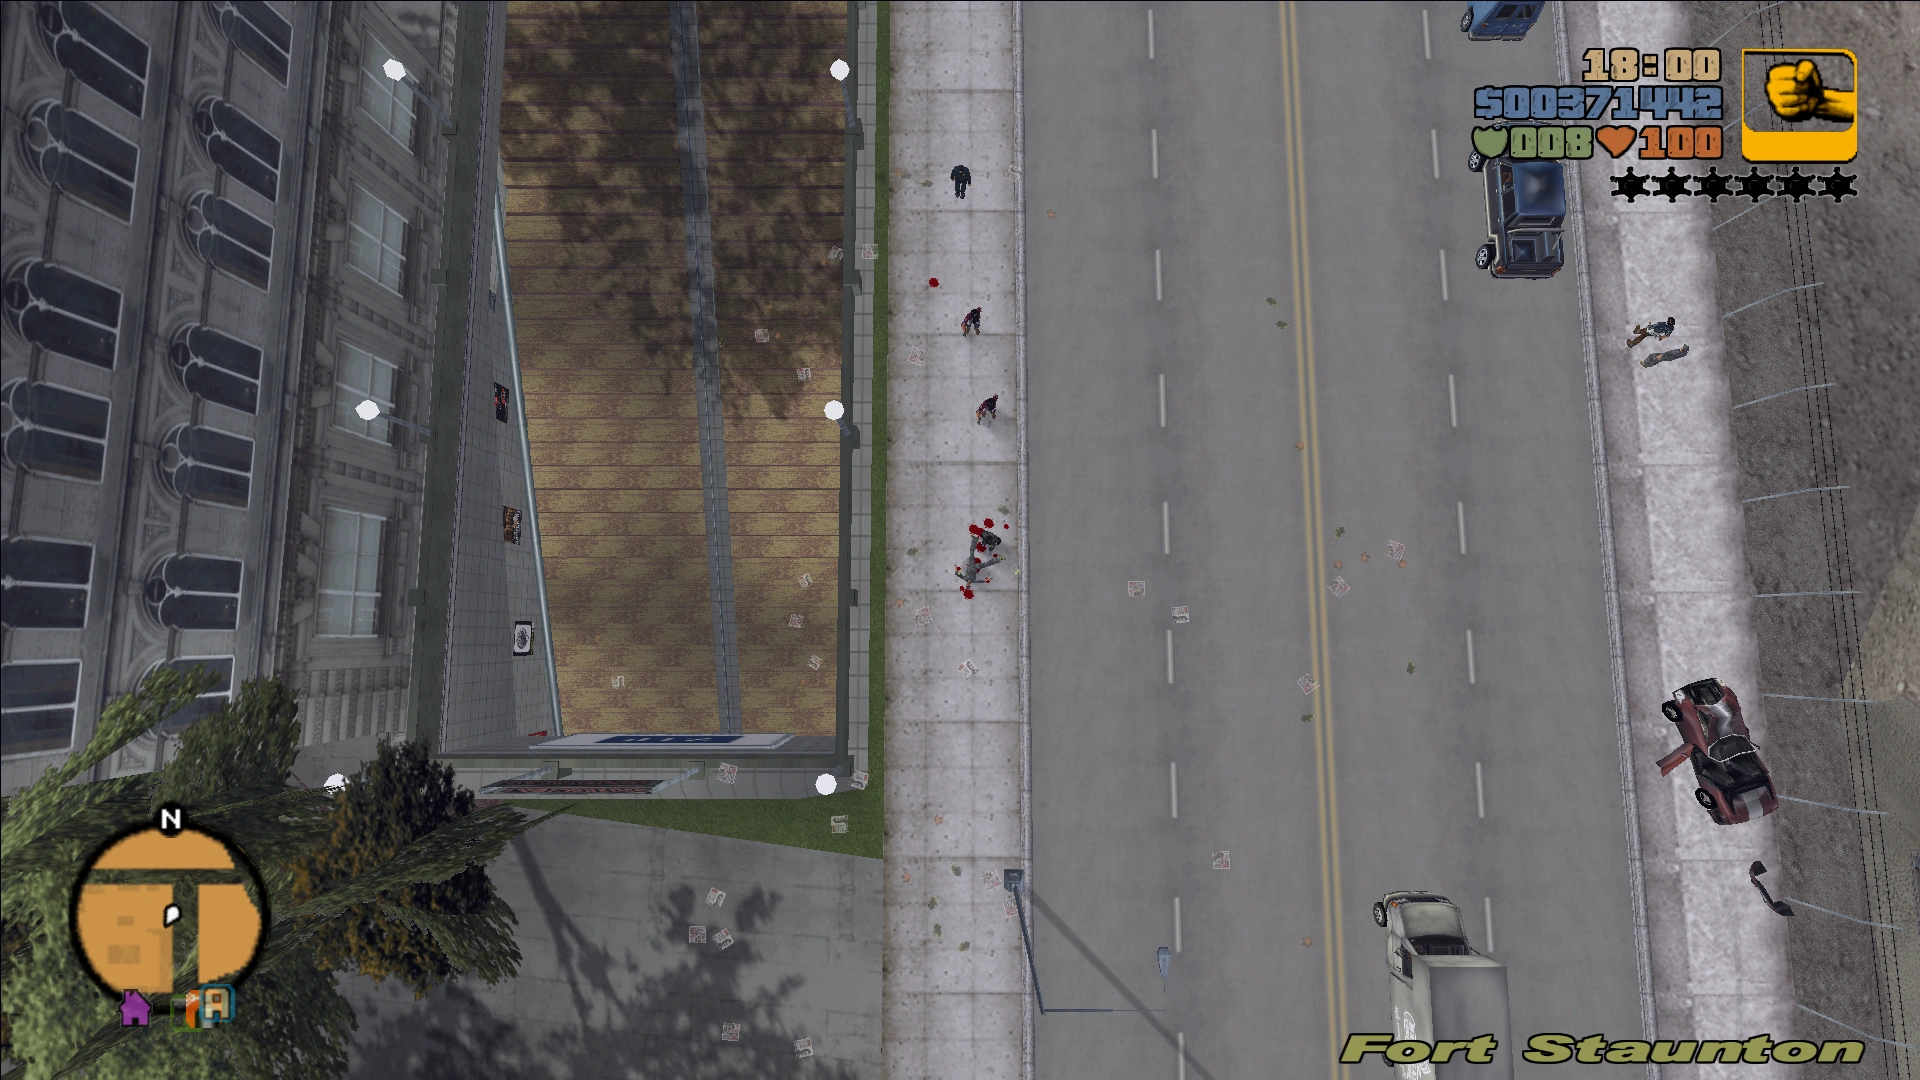
Staunton Island as it appears in the final cutscene of the game. The city looks completely different from the GTAIII rendition.
Inconsistencies with the original Liberty City map[]
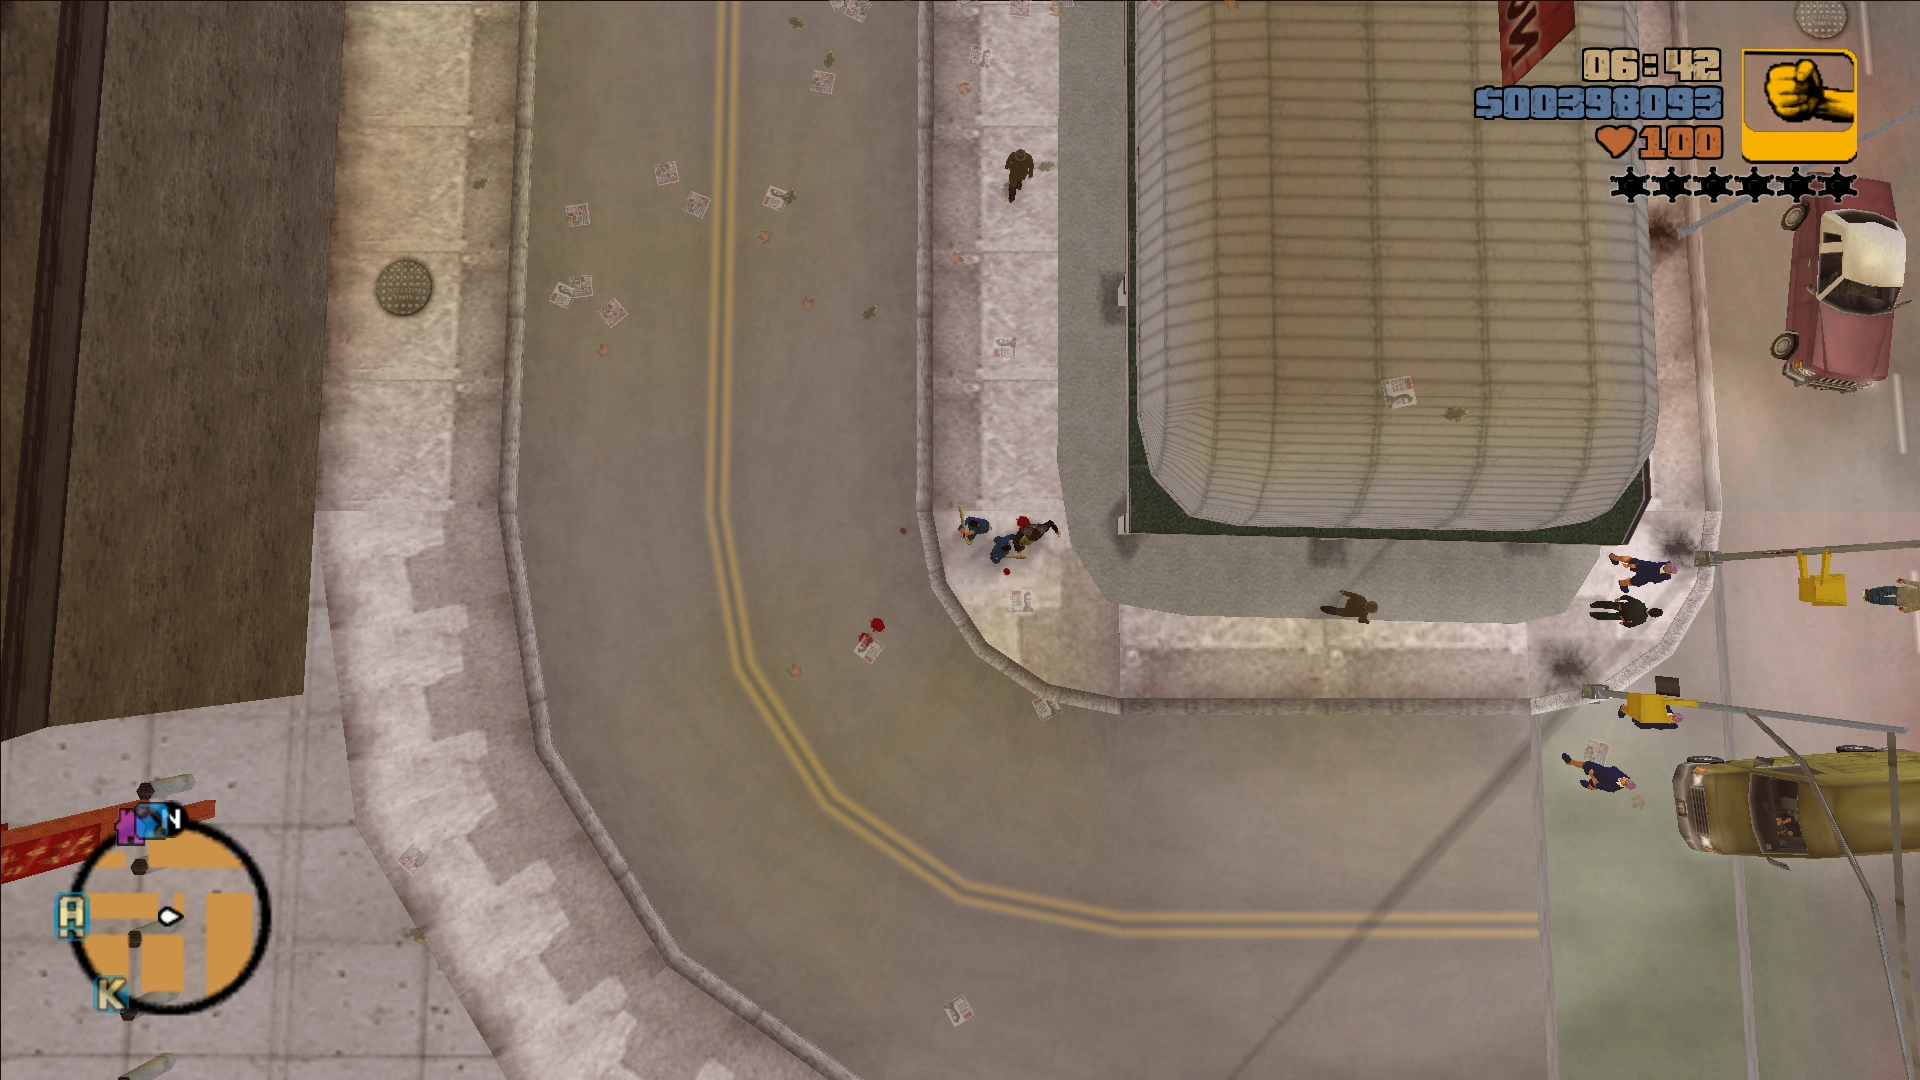
In GTA Advance, there are many locations and businesses that are absent in both GTA III or GTA Liberty City Stories. Various brands seen around the city are unique to this game, rather than the well-known recurring brands across the series.
Many prominent locations and landmarks from GTA III are either replaced with generic buildings or stores, while others are moved to the other side of the island. In some cases, some of the landmarks are replaced with another location which makes no sense to exist. The most notable examples are Asuka Kasen's Condo in Newport being replaced by an Aerial Surveillance Equipment Factory (while the original building is moved to Bedford Point and renamed "Asuka's Mansion"), and the Cedar Ridge Observatory being replaced by warehouse owned by the Uptown Yardies.
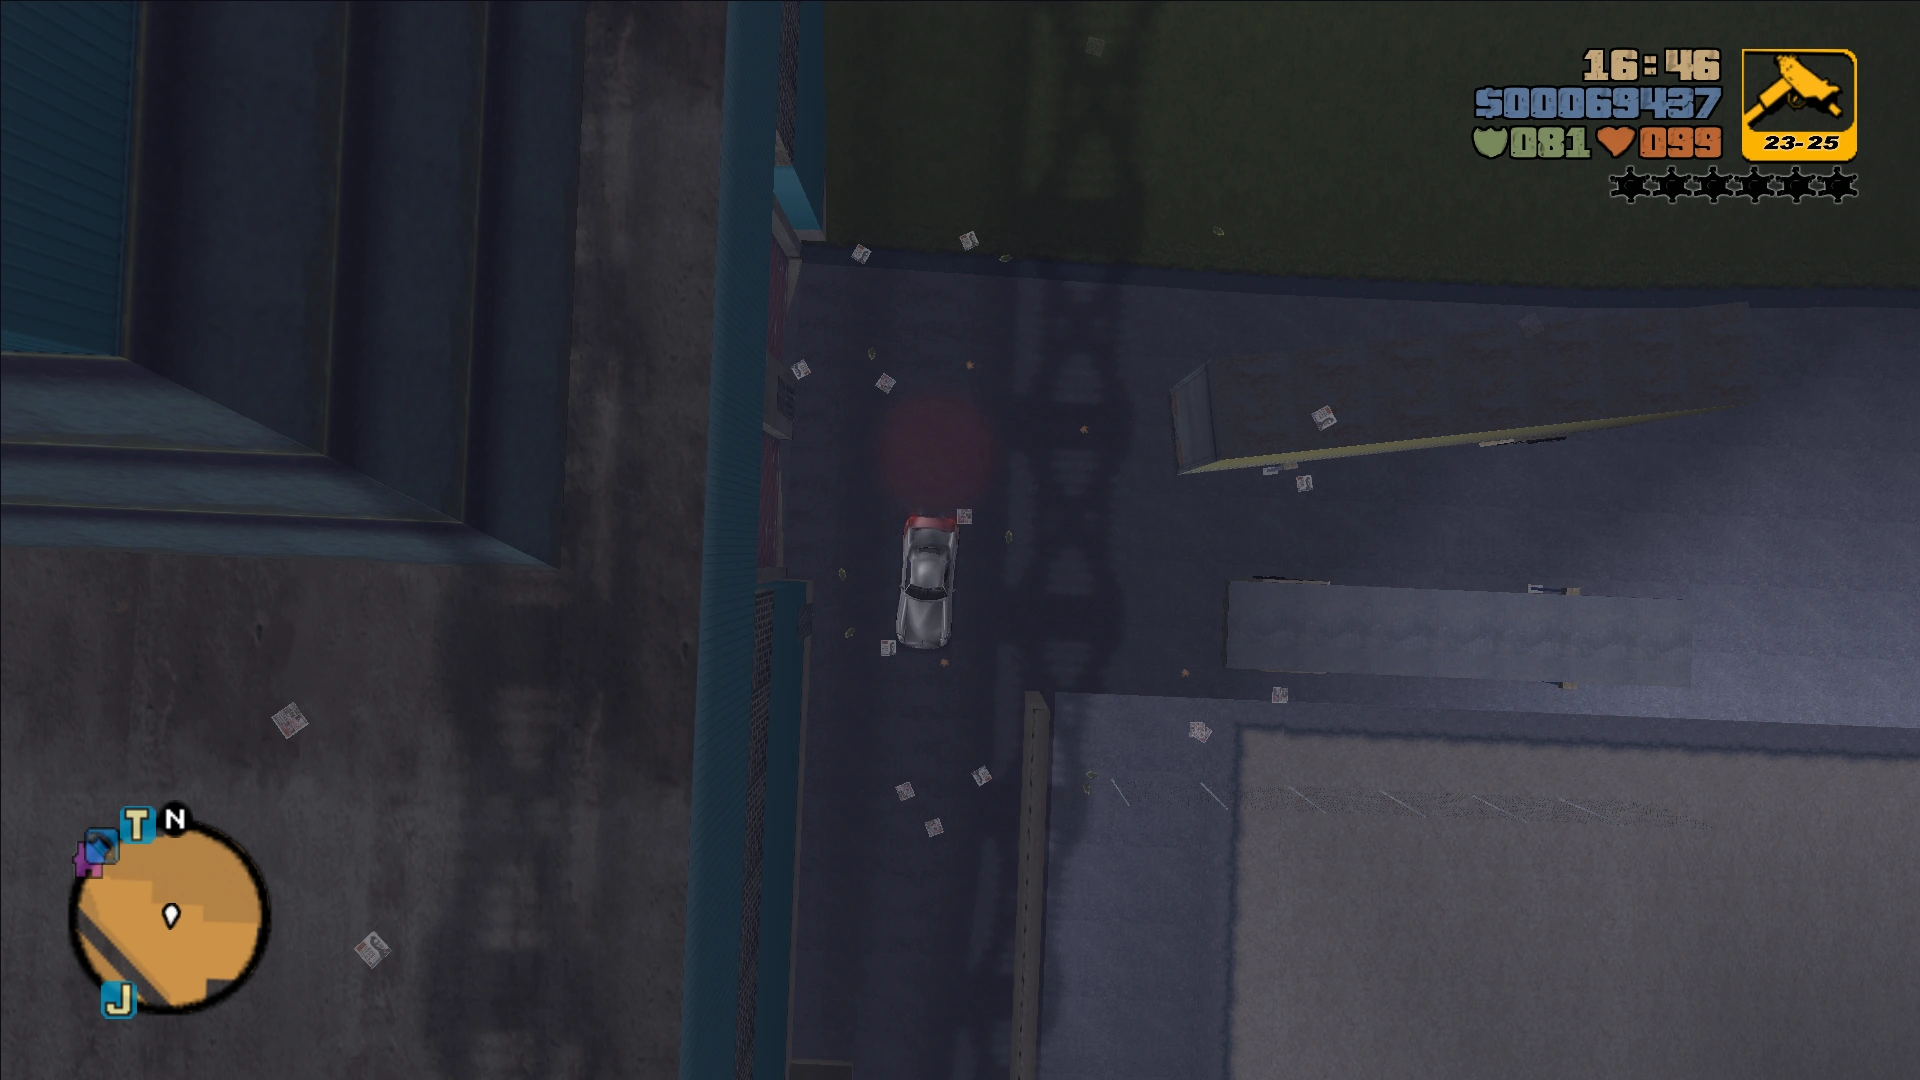
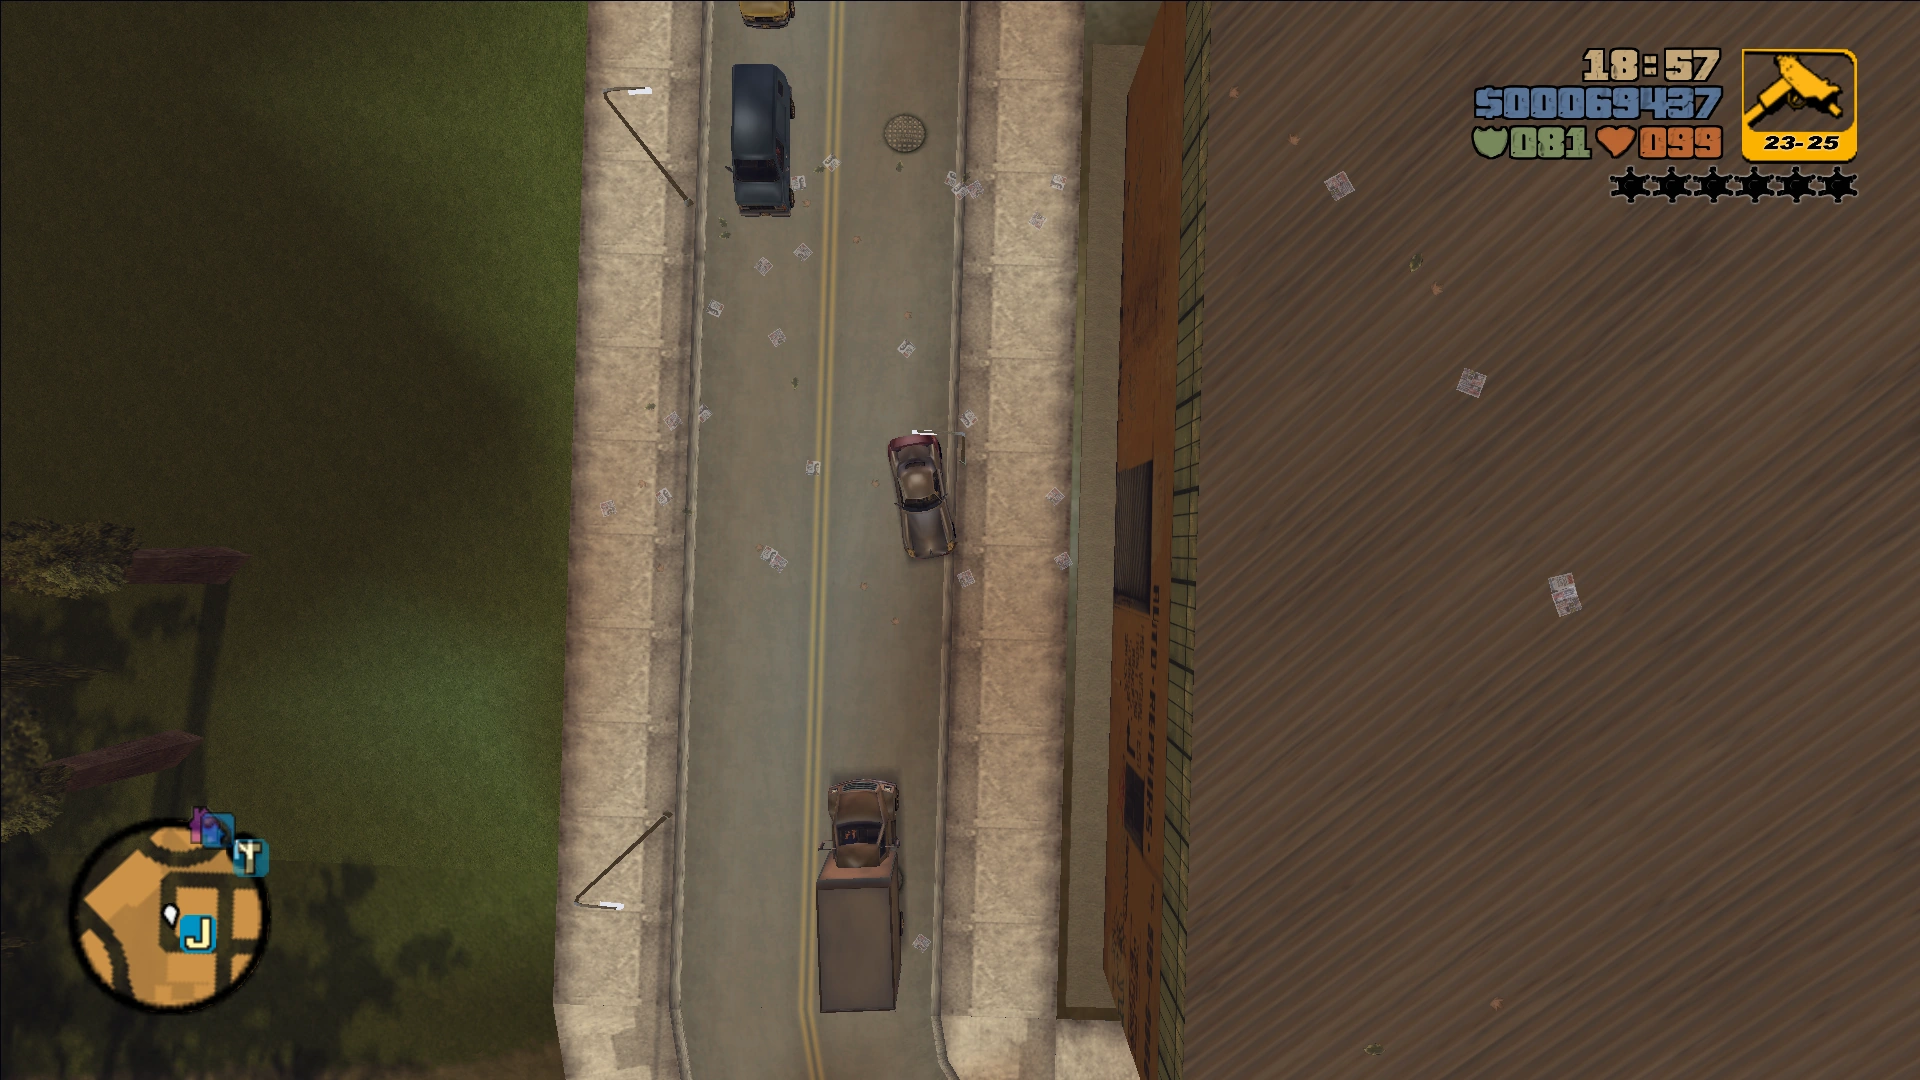
Portland[]
Major Changes[]
| Grand Theft Auto III (Original map)  |
Grand Theft Auto Advance (Adapted map)  | ||
|---|---|---|---|
| Image | Description | Description | Image |
|
Dirt track leading to Harwood Autocrusher and Junkyard. | Parking lot in front of apartment buildings and supermarkets. | 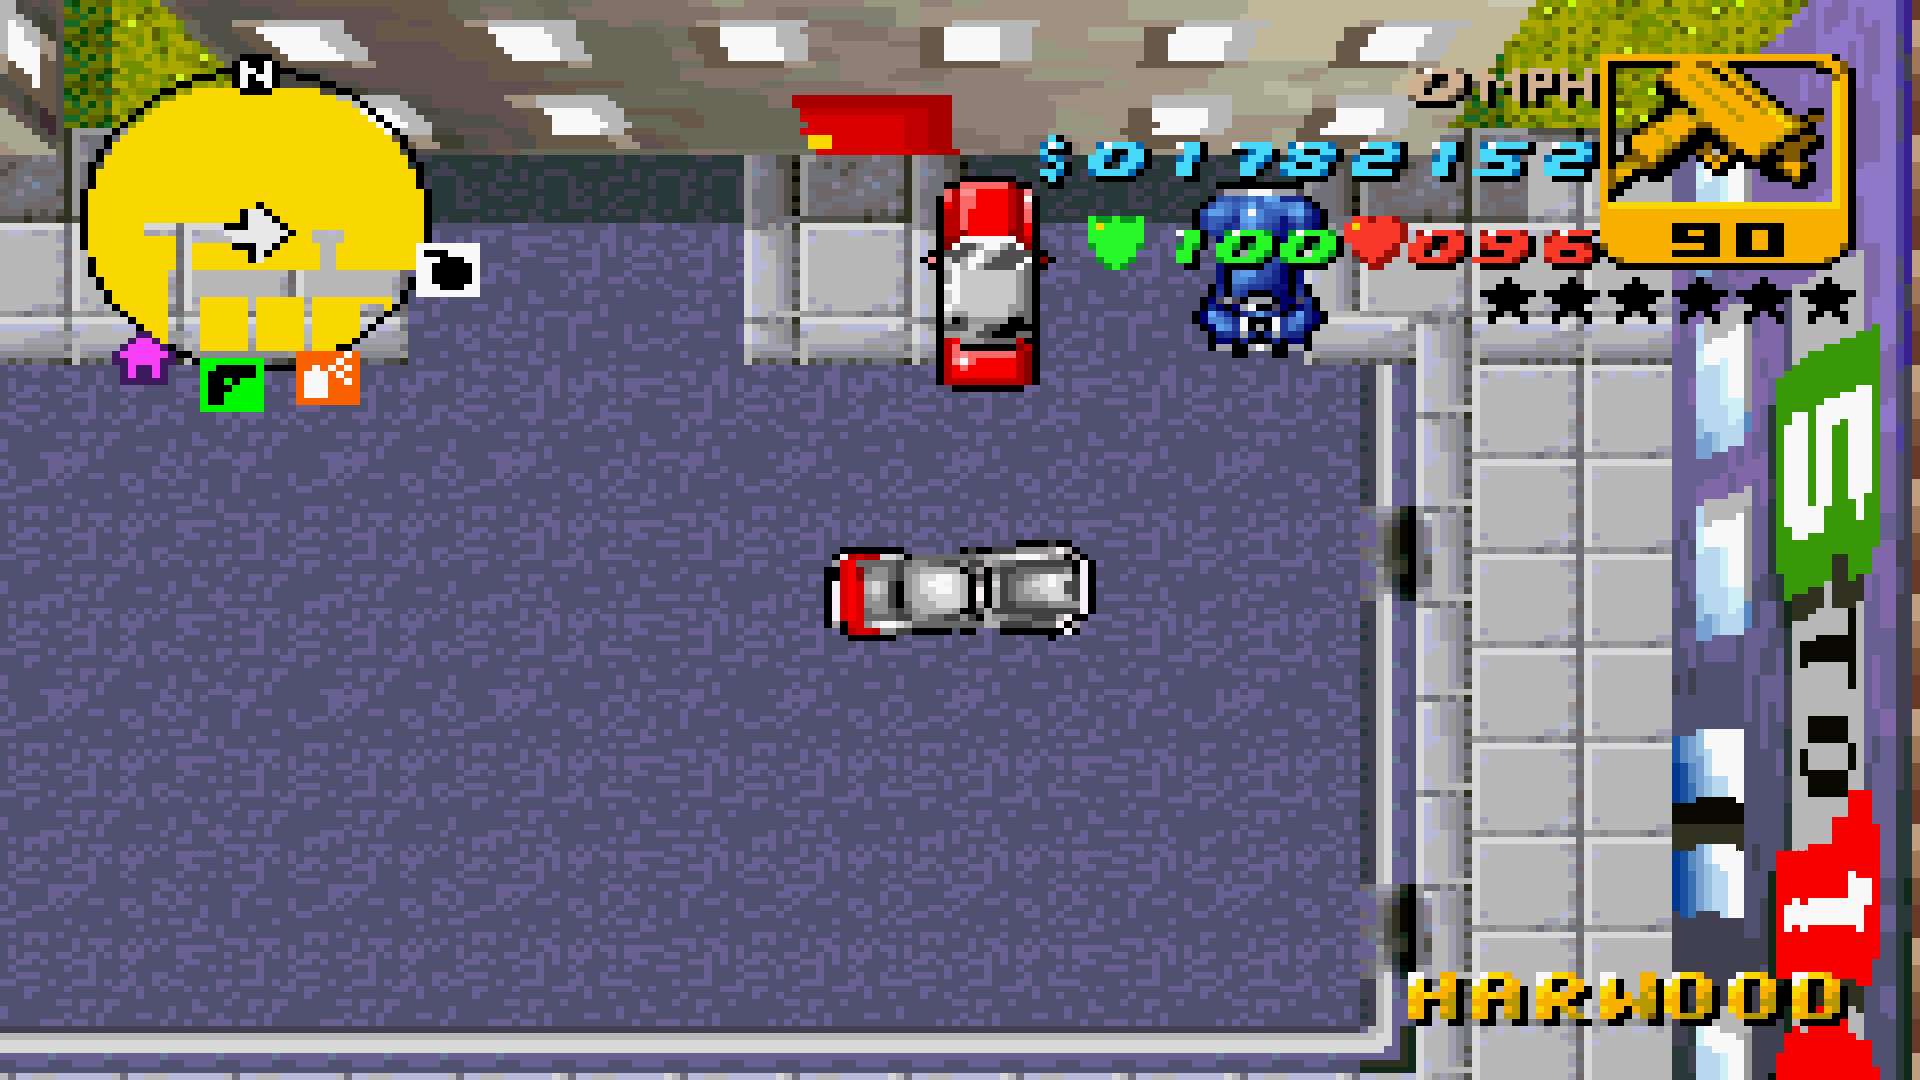
|
|
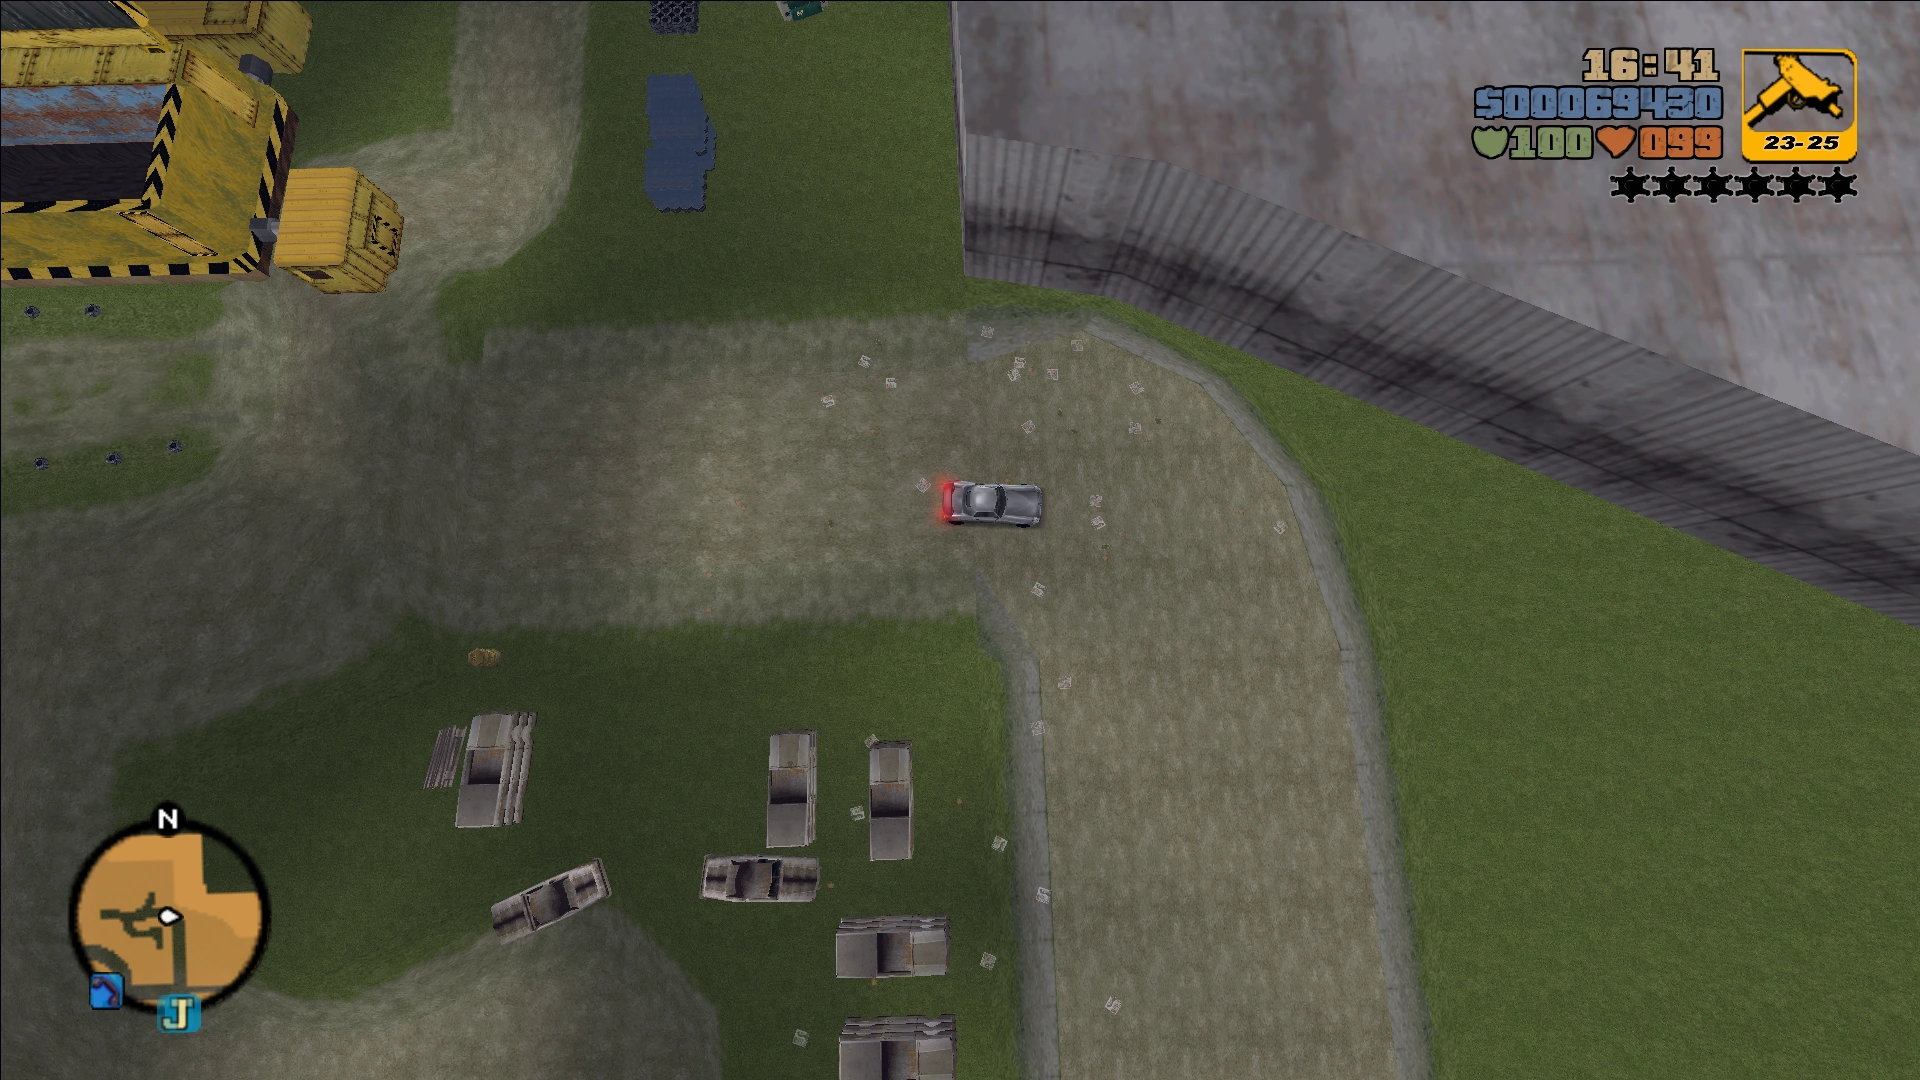
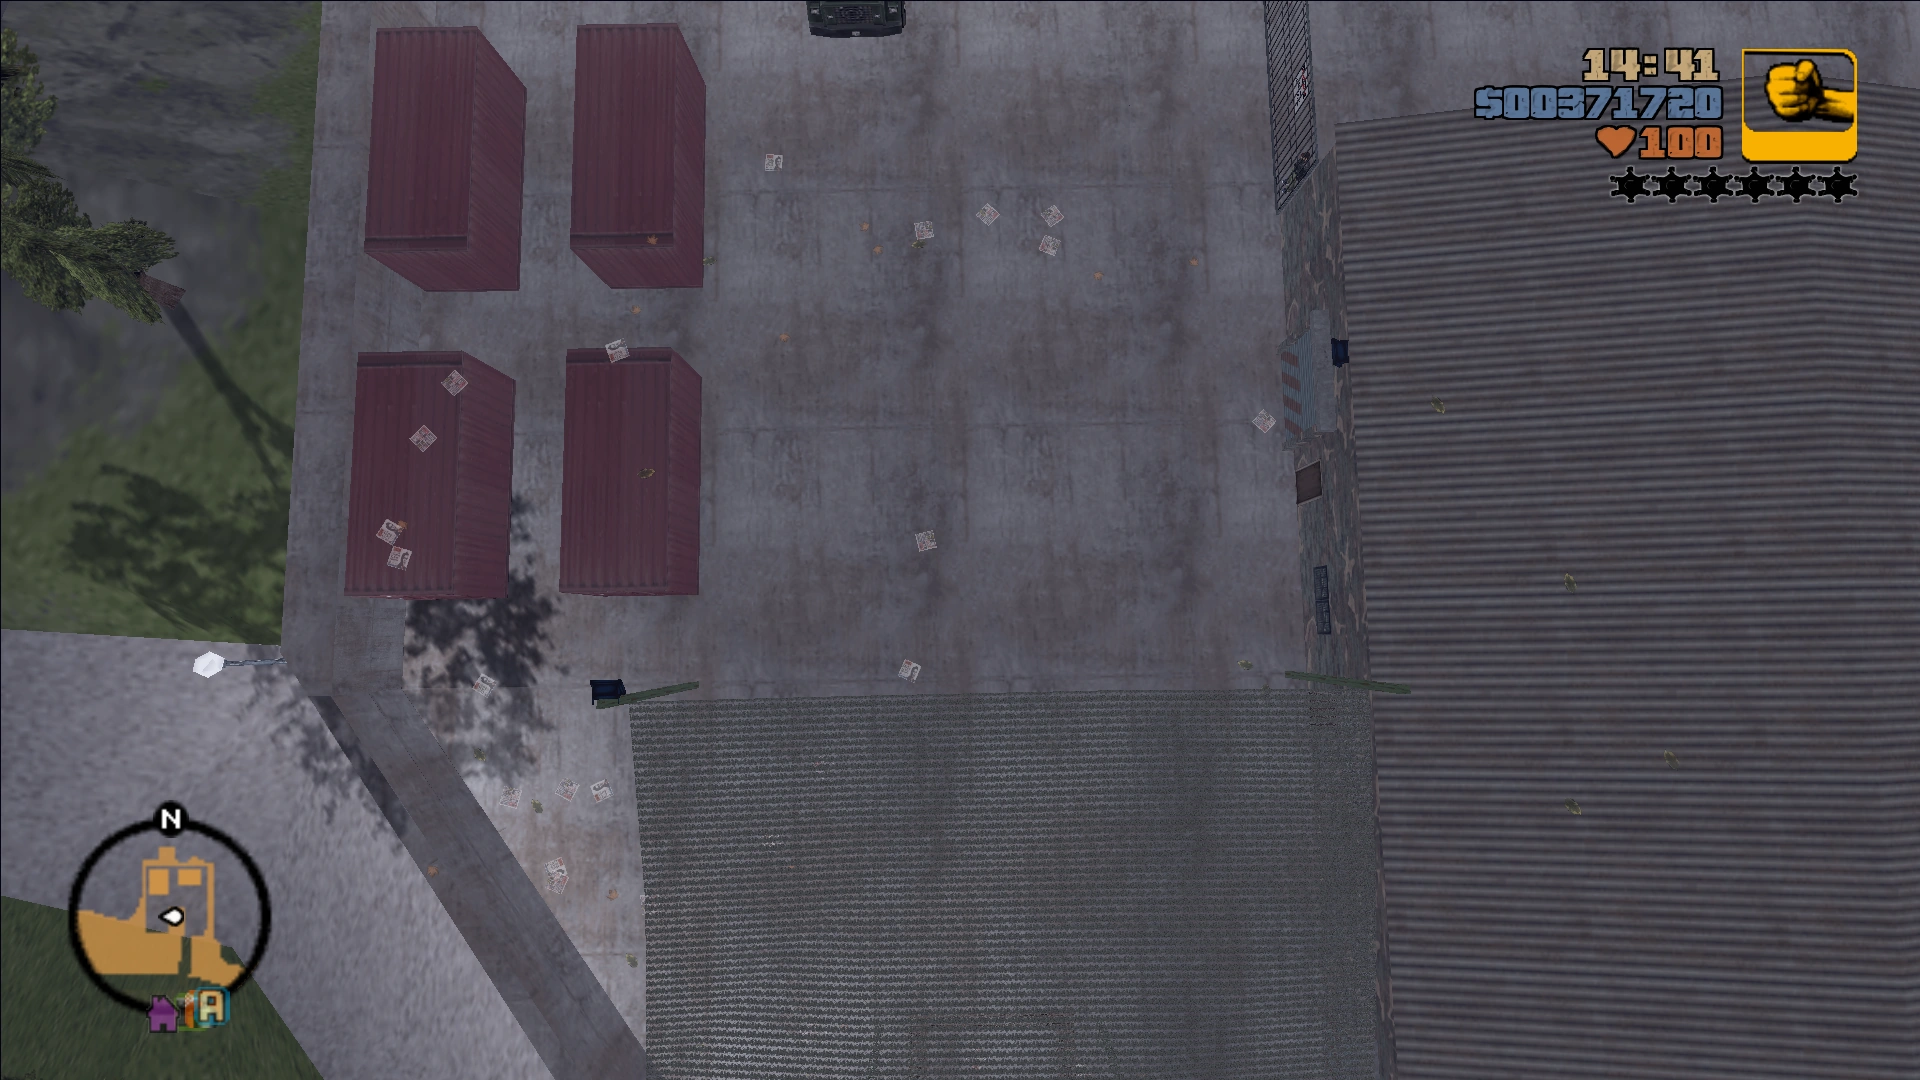
Empty lot near 8-Balls Bomb Shop. | Harwood Autocrusher and Junkyard (moved). | 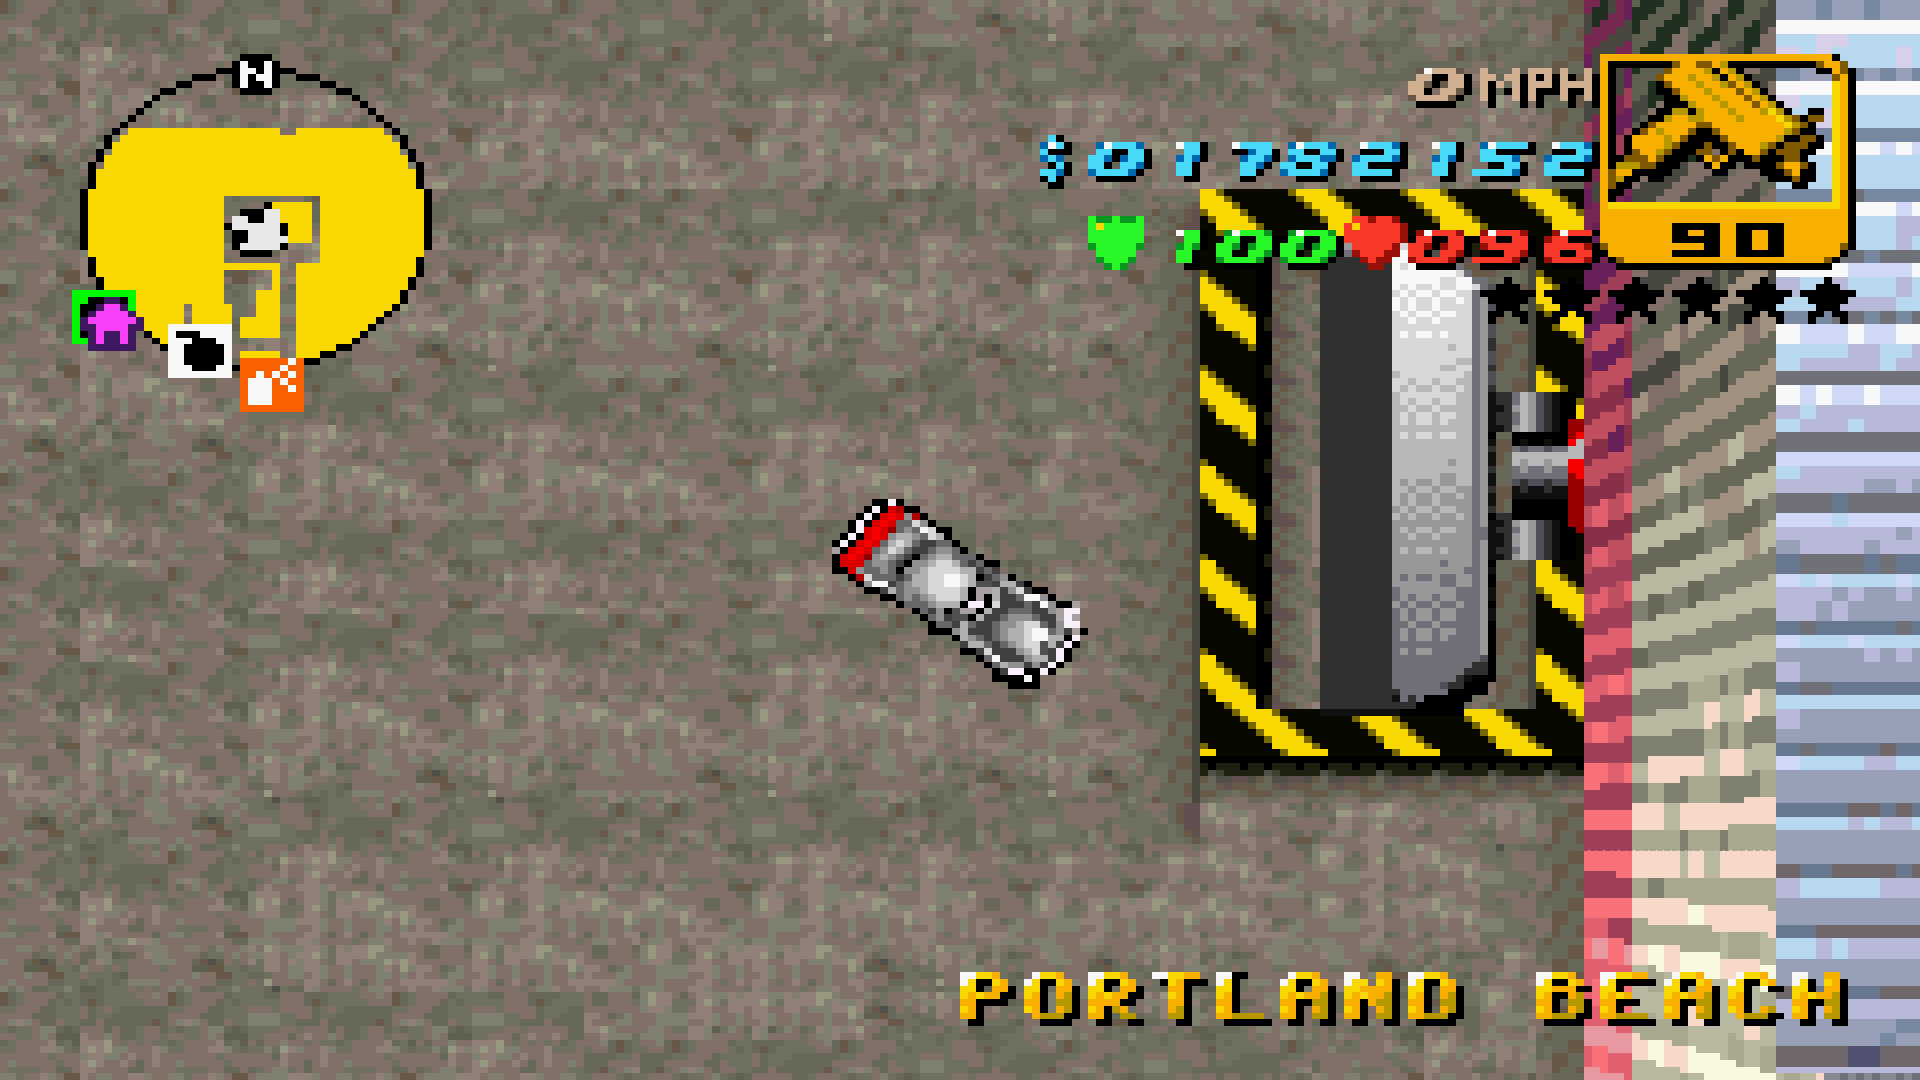
|
|
Harwood Train Yard | Empty green space. | 
|
|
Baillie Station. | Row of buildings. | 
|
|
Supa Save! | Unnamed warehouse. | 
|
|
Unnamed warehouse (used as a vantage point in Bomb Da Base: Act II. | Nicholas Storage branch. |  
|
|
Alleyway near Marco's Bistro. | Row of shops, including a Mexican restaurant. | 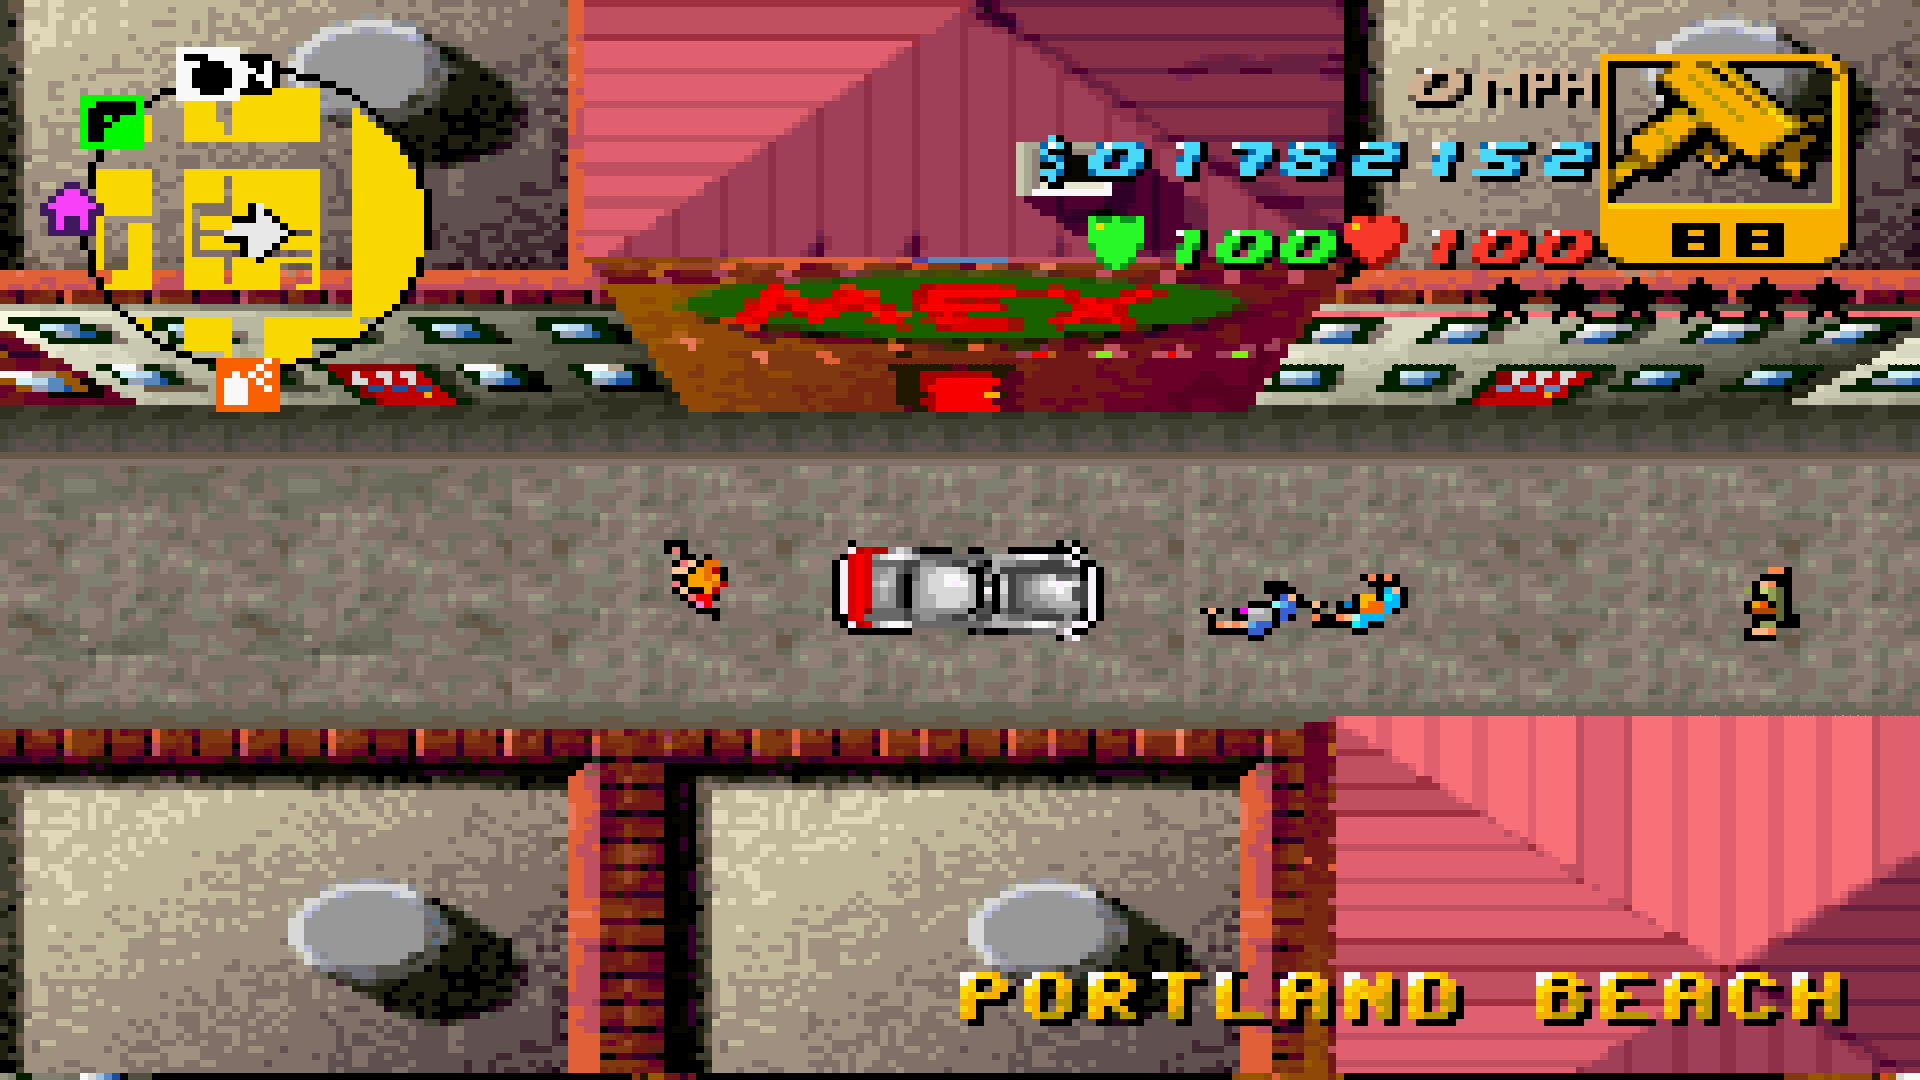
|
|
Bitch'n' Dog Food factory. | Unnamed warehouse. Includes a Pay 'n' Spray garage. | 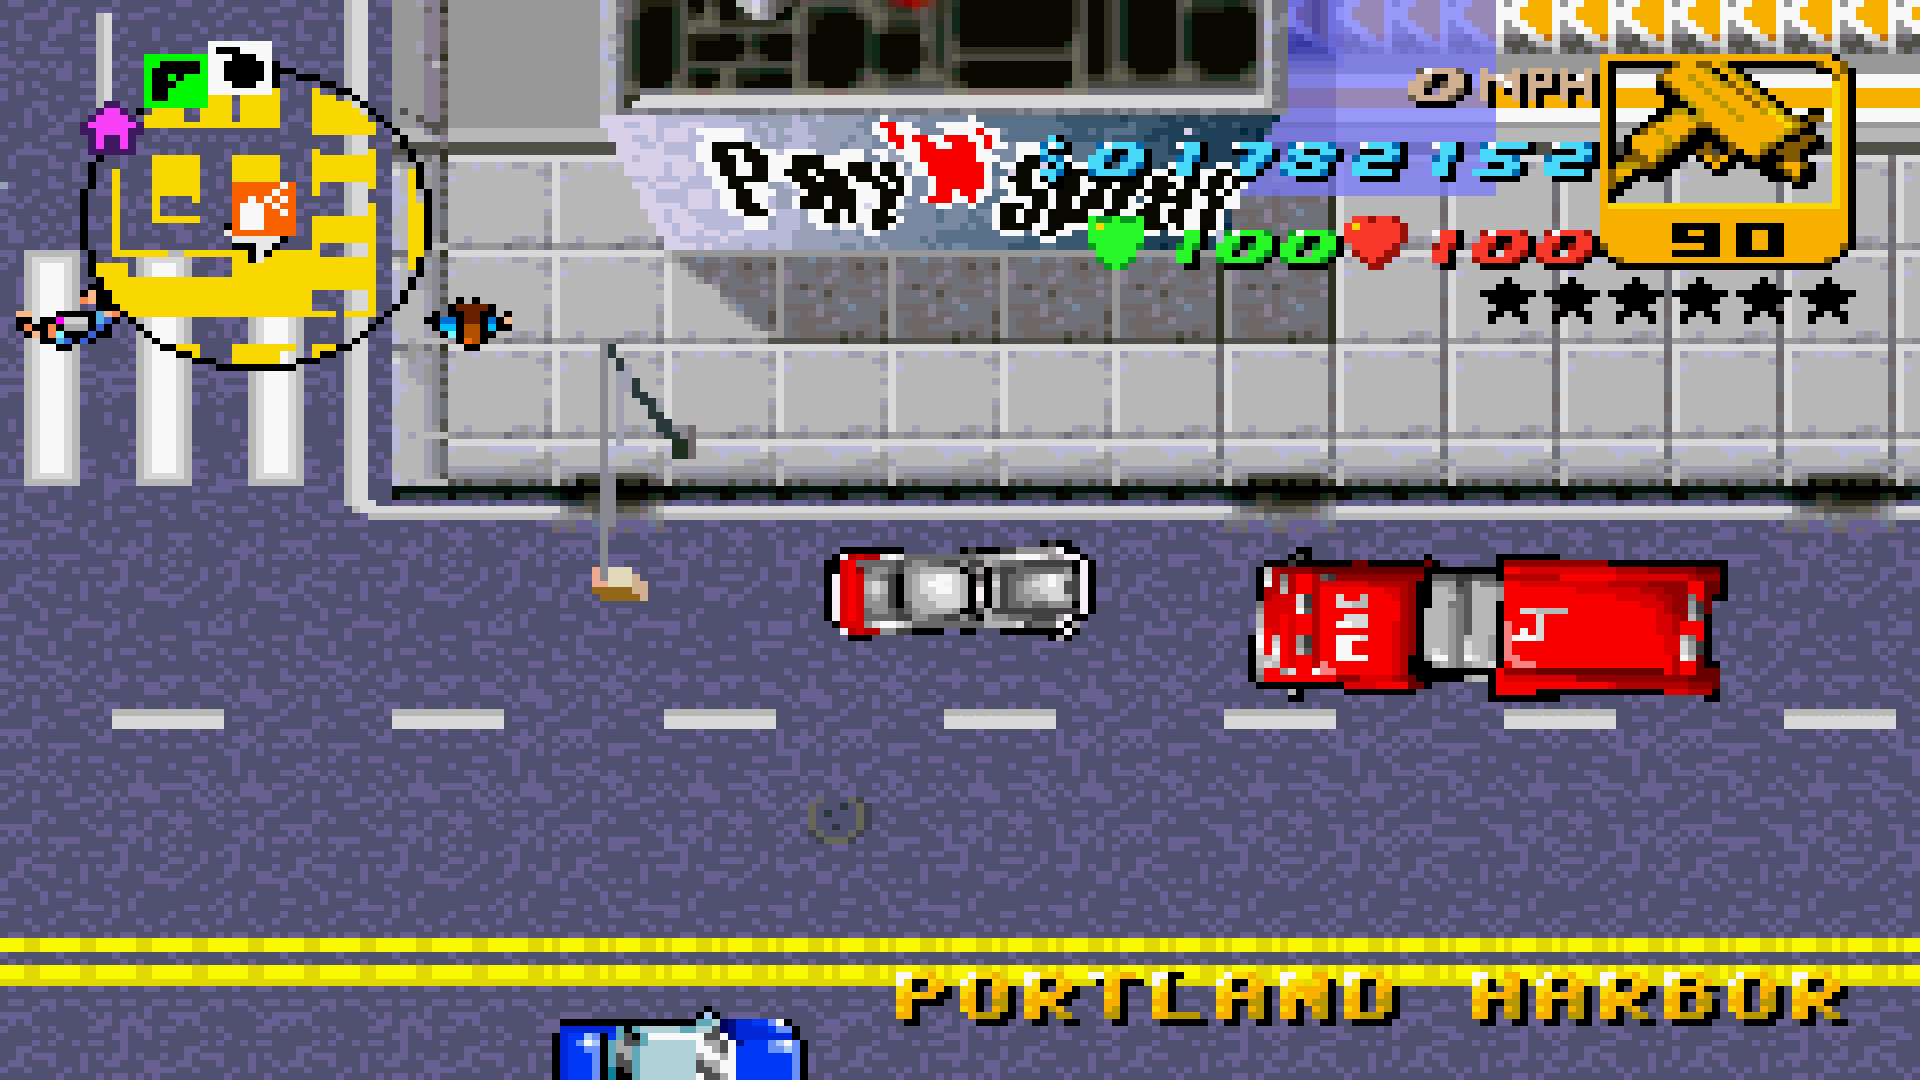 
|
|
Empty green area in Trenton. | Row of warehouses and supermarkets. | 
|
|
Liberty Pharmaceuticals. | Row of unnamed warehouses. | 
|
|
Mean Street Taxis. | Nicholas Storage branch. | 
|
|
Vincenzo Cilli's lock-up and a empty green area. | Apartment buildings and an alleyway used during the mission Show the Money. |  
|
|
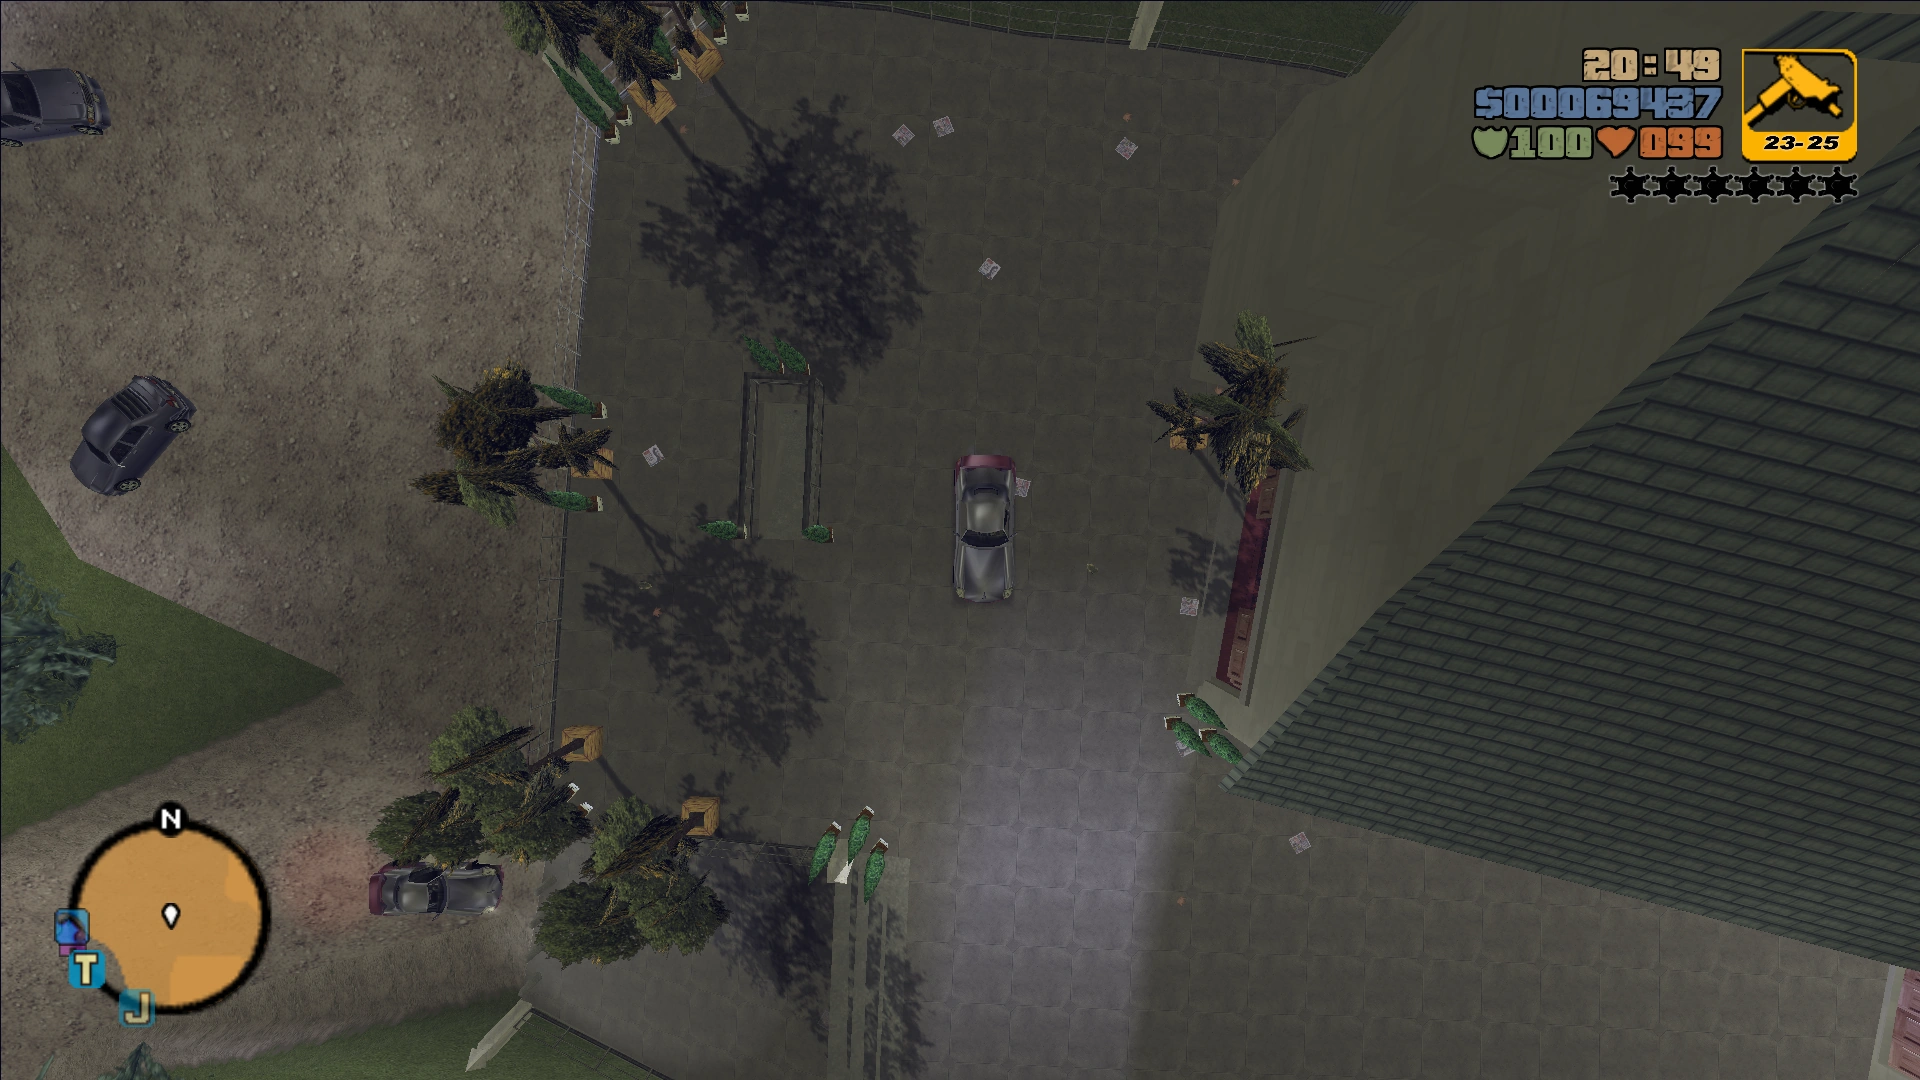
Dirt track leading to Salvatore's Gentlemen's Club. | Original entrace replaced with a building. Dirt track replaced by a large basketball court. |  
|
|
Easy Credit Autos | Apartment buildings. | 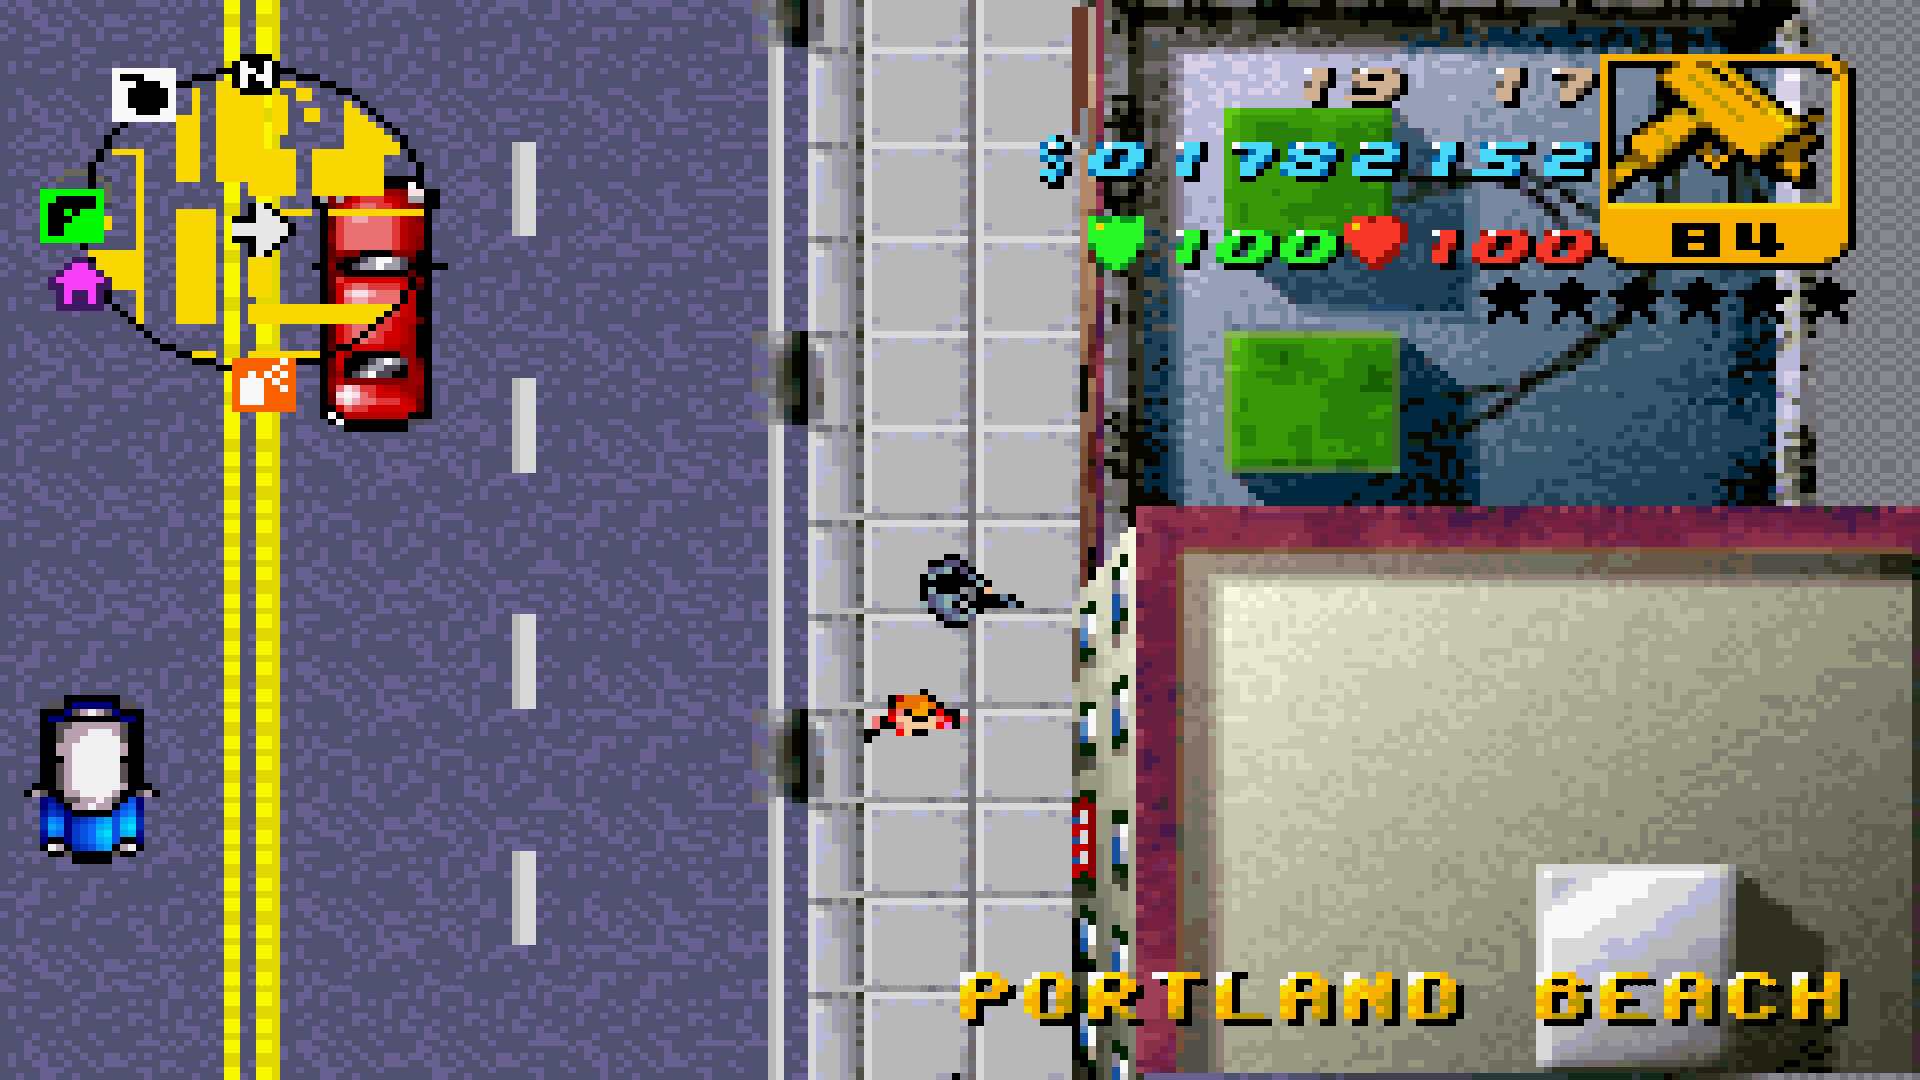
|
|
AMCo. Gas Station. | Gas n Go Gas Station. | 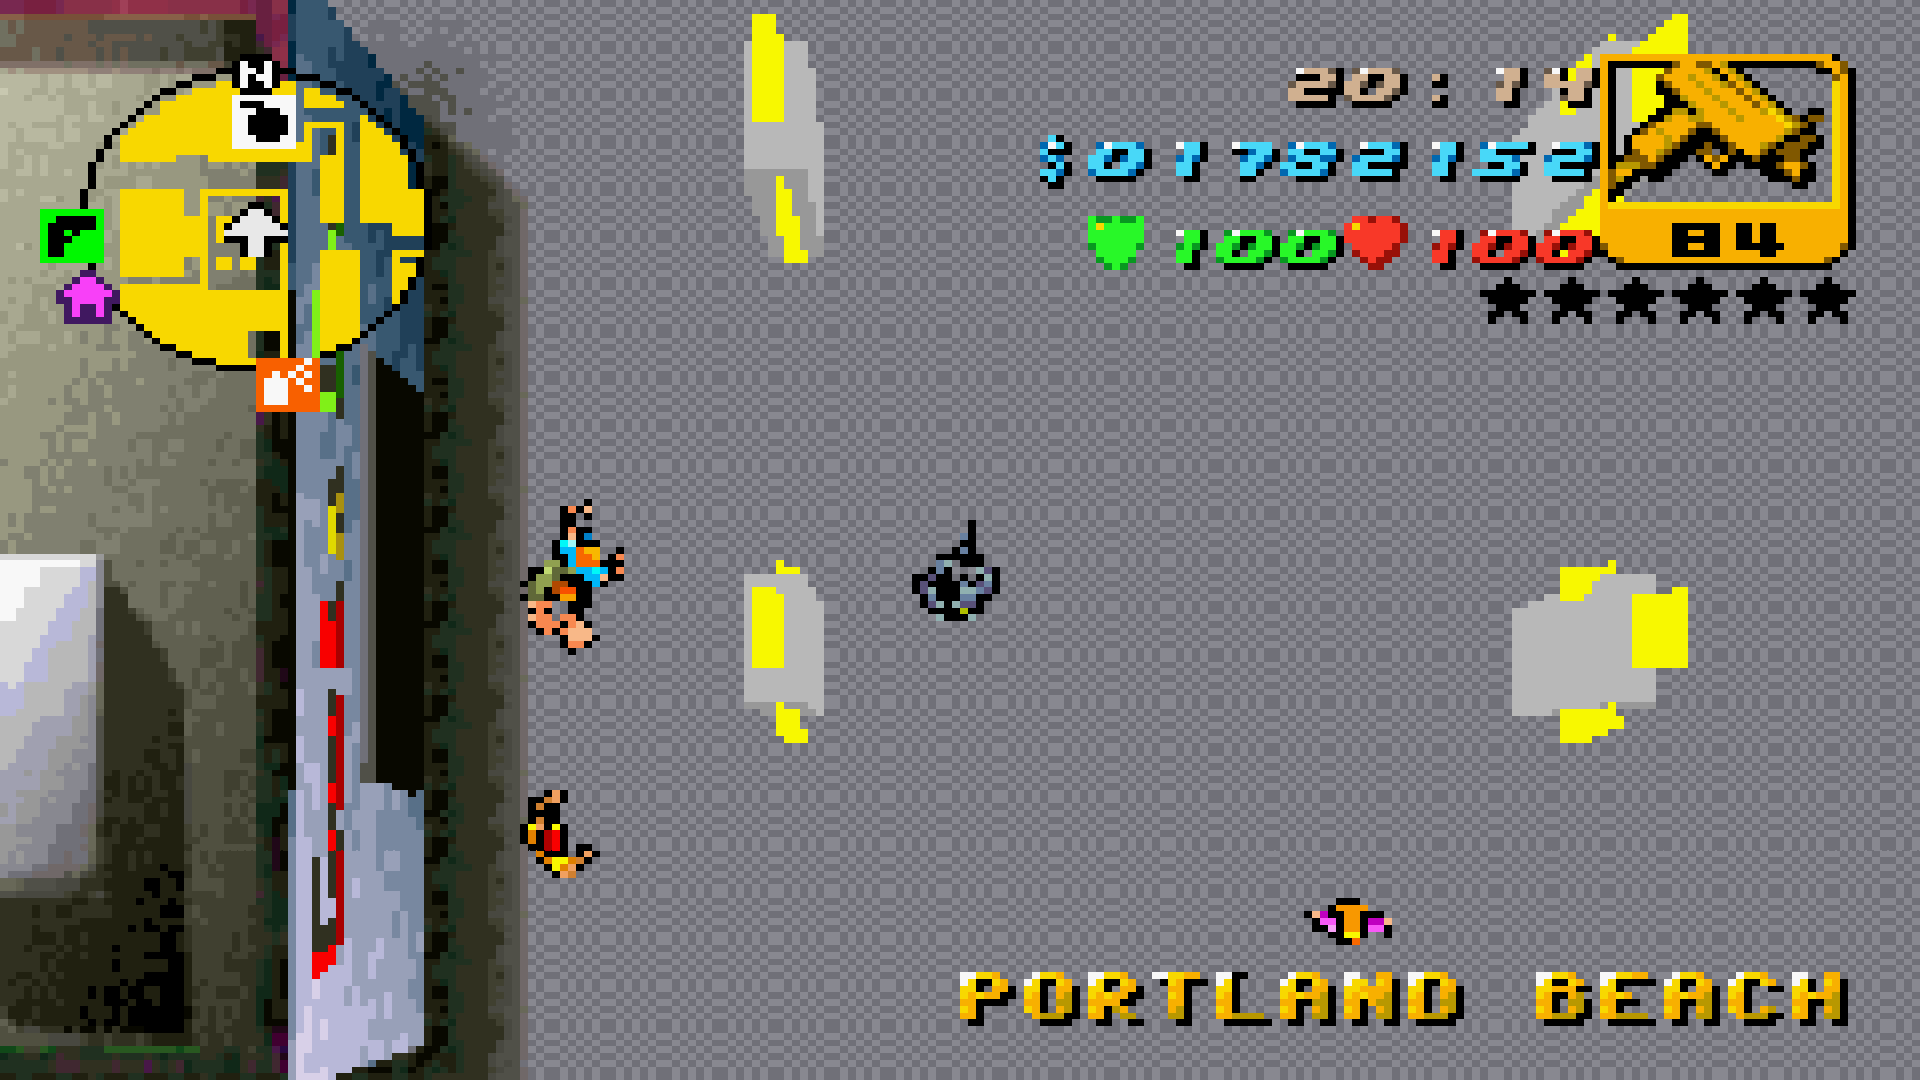
|
|
Claude's Safehouse. | Mike's Safehouse. The area has a different layout, many strip club entrances faces the alley, which is also connected to the area where originally Luigi's missions are given to Claude. | 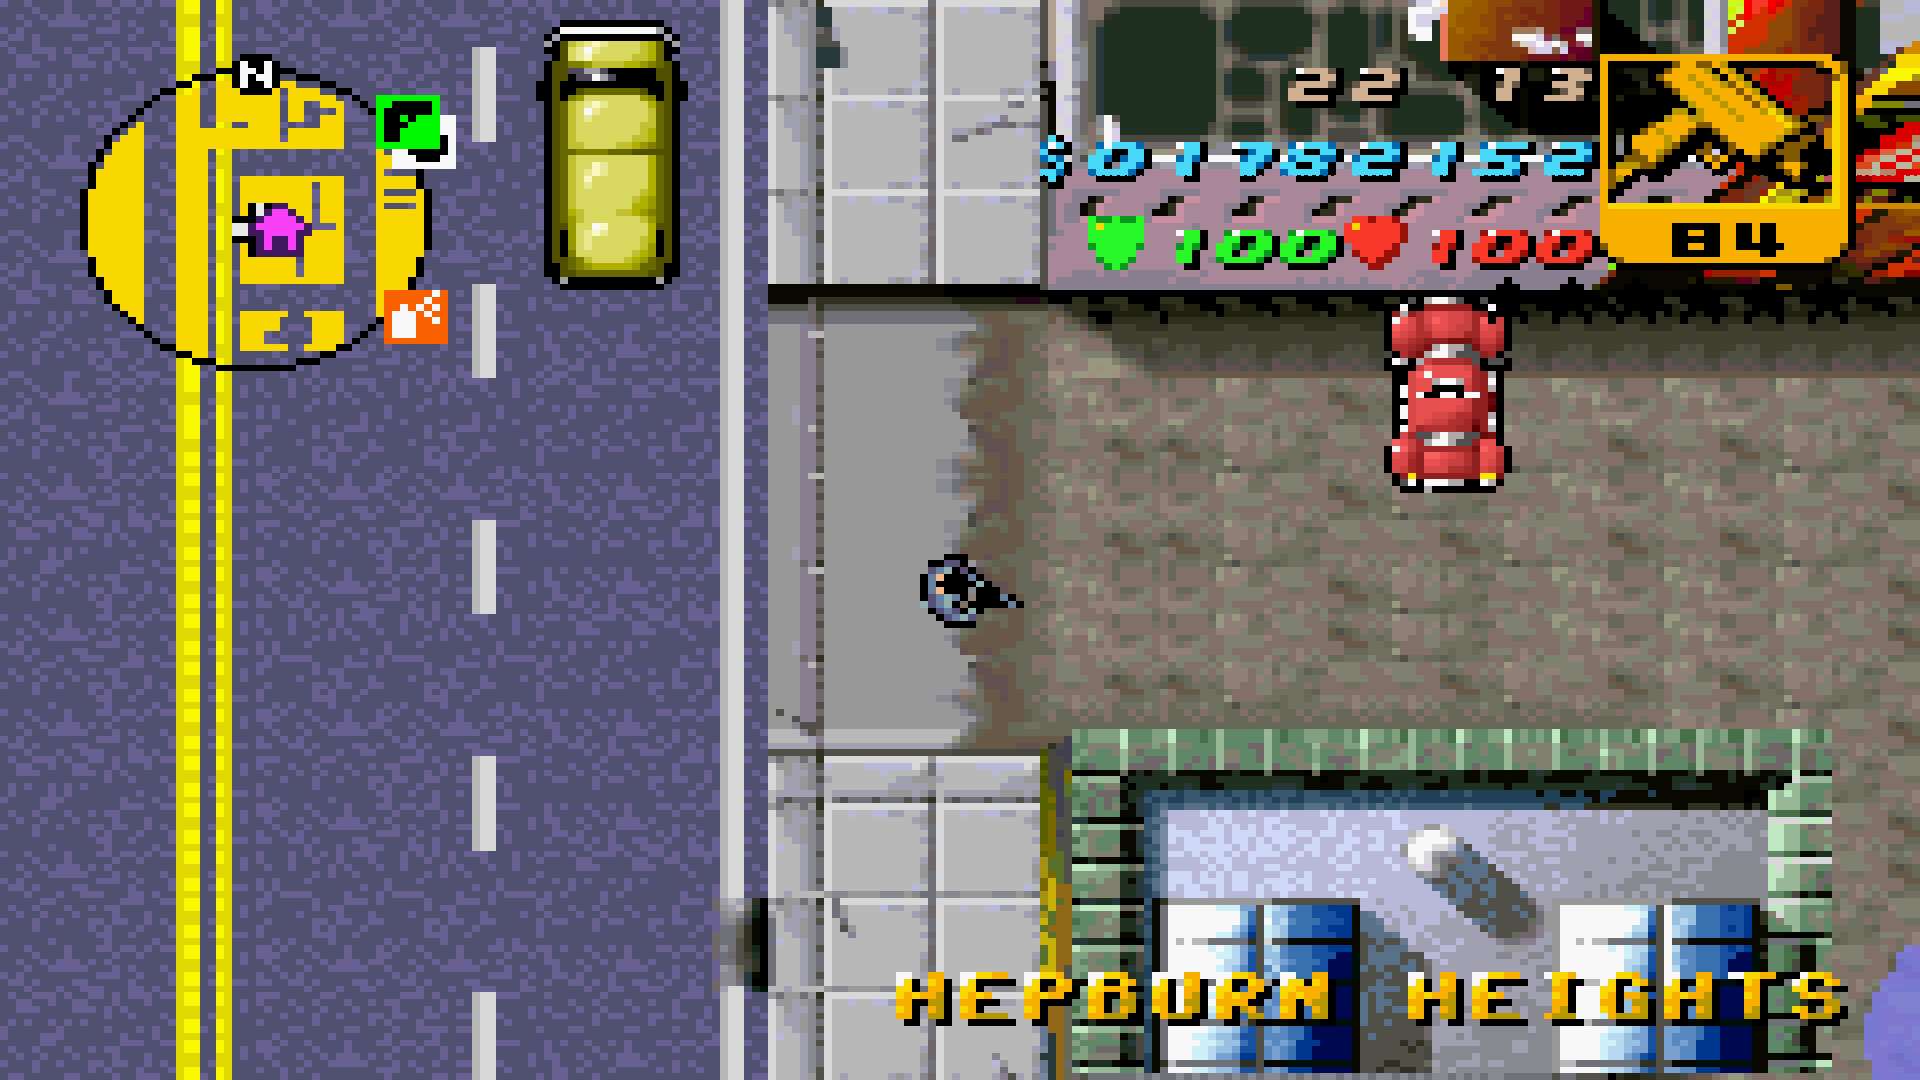 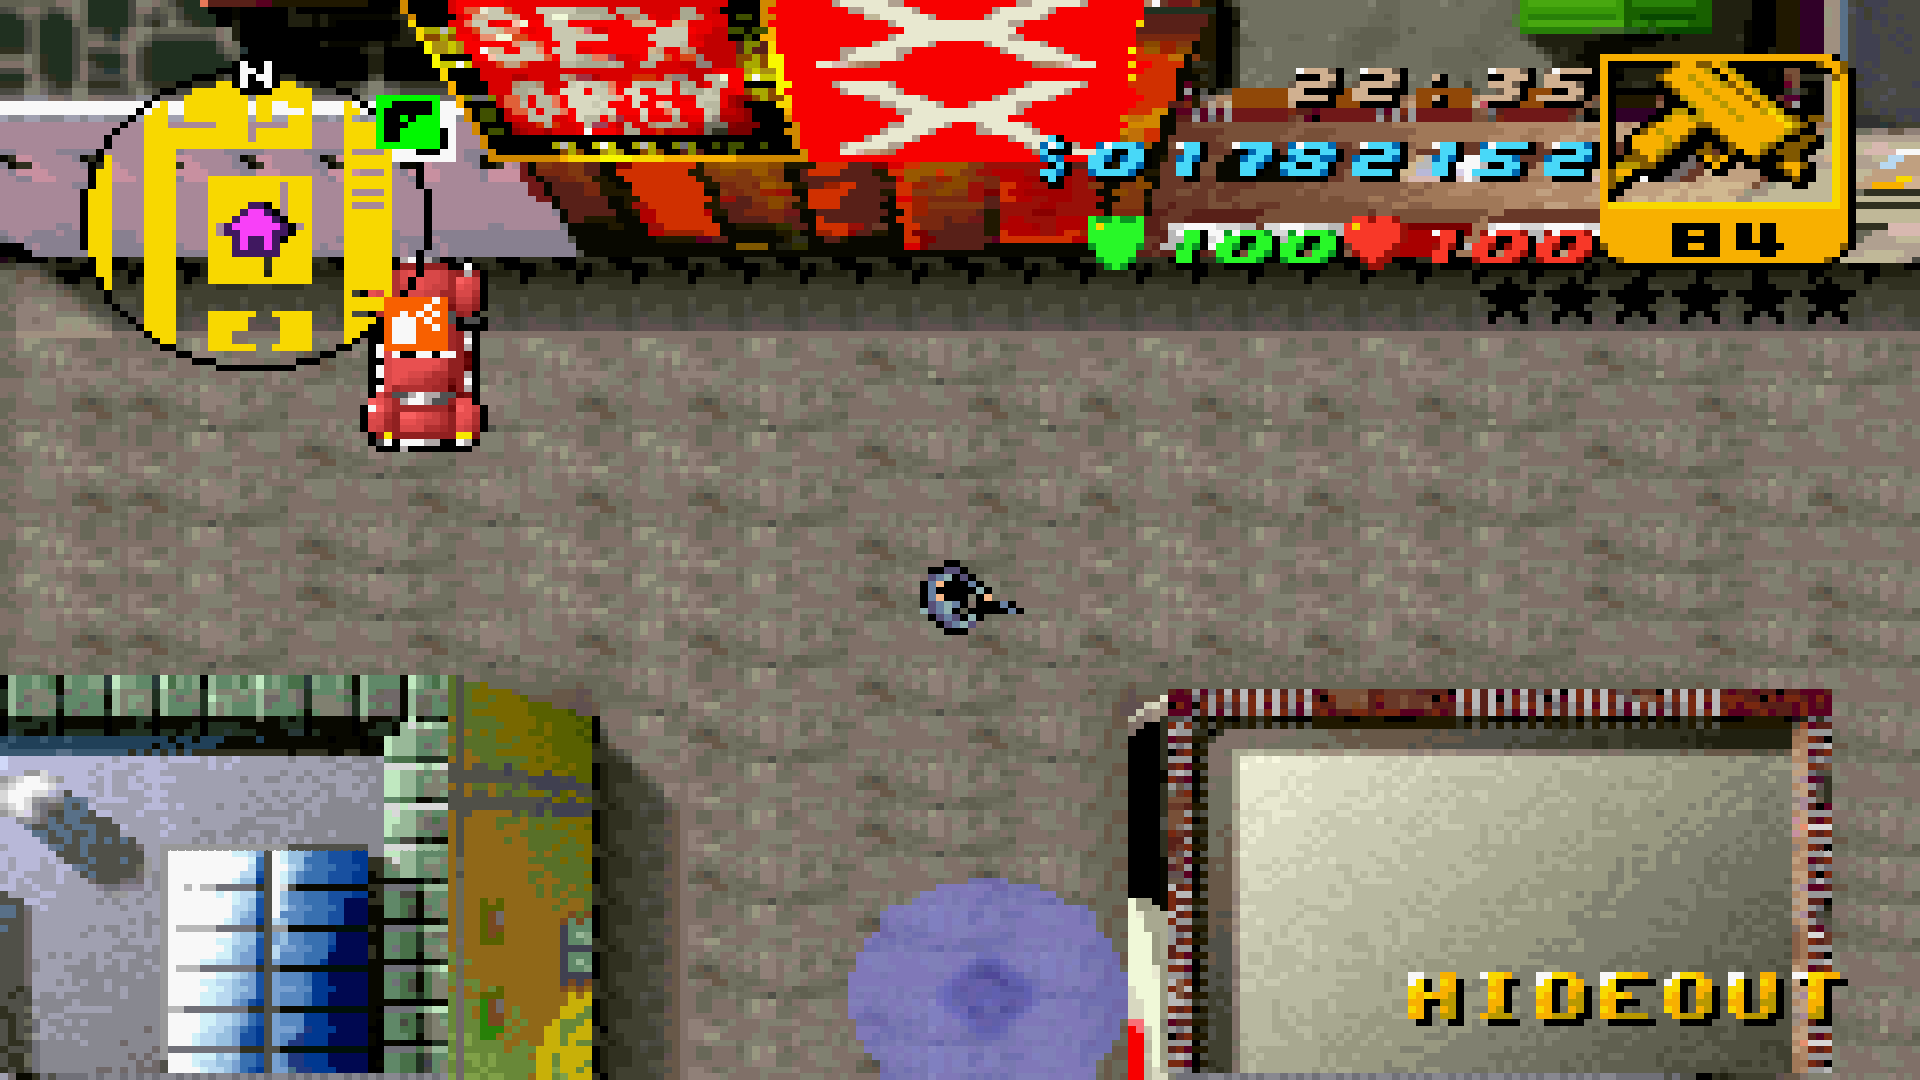
|
|
Luigi's Sex Club 7. | 24 Hour Sex Orgy (many businesses in Red Light District are replaced with this business). | 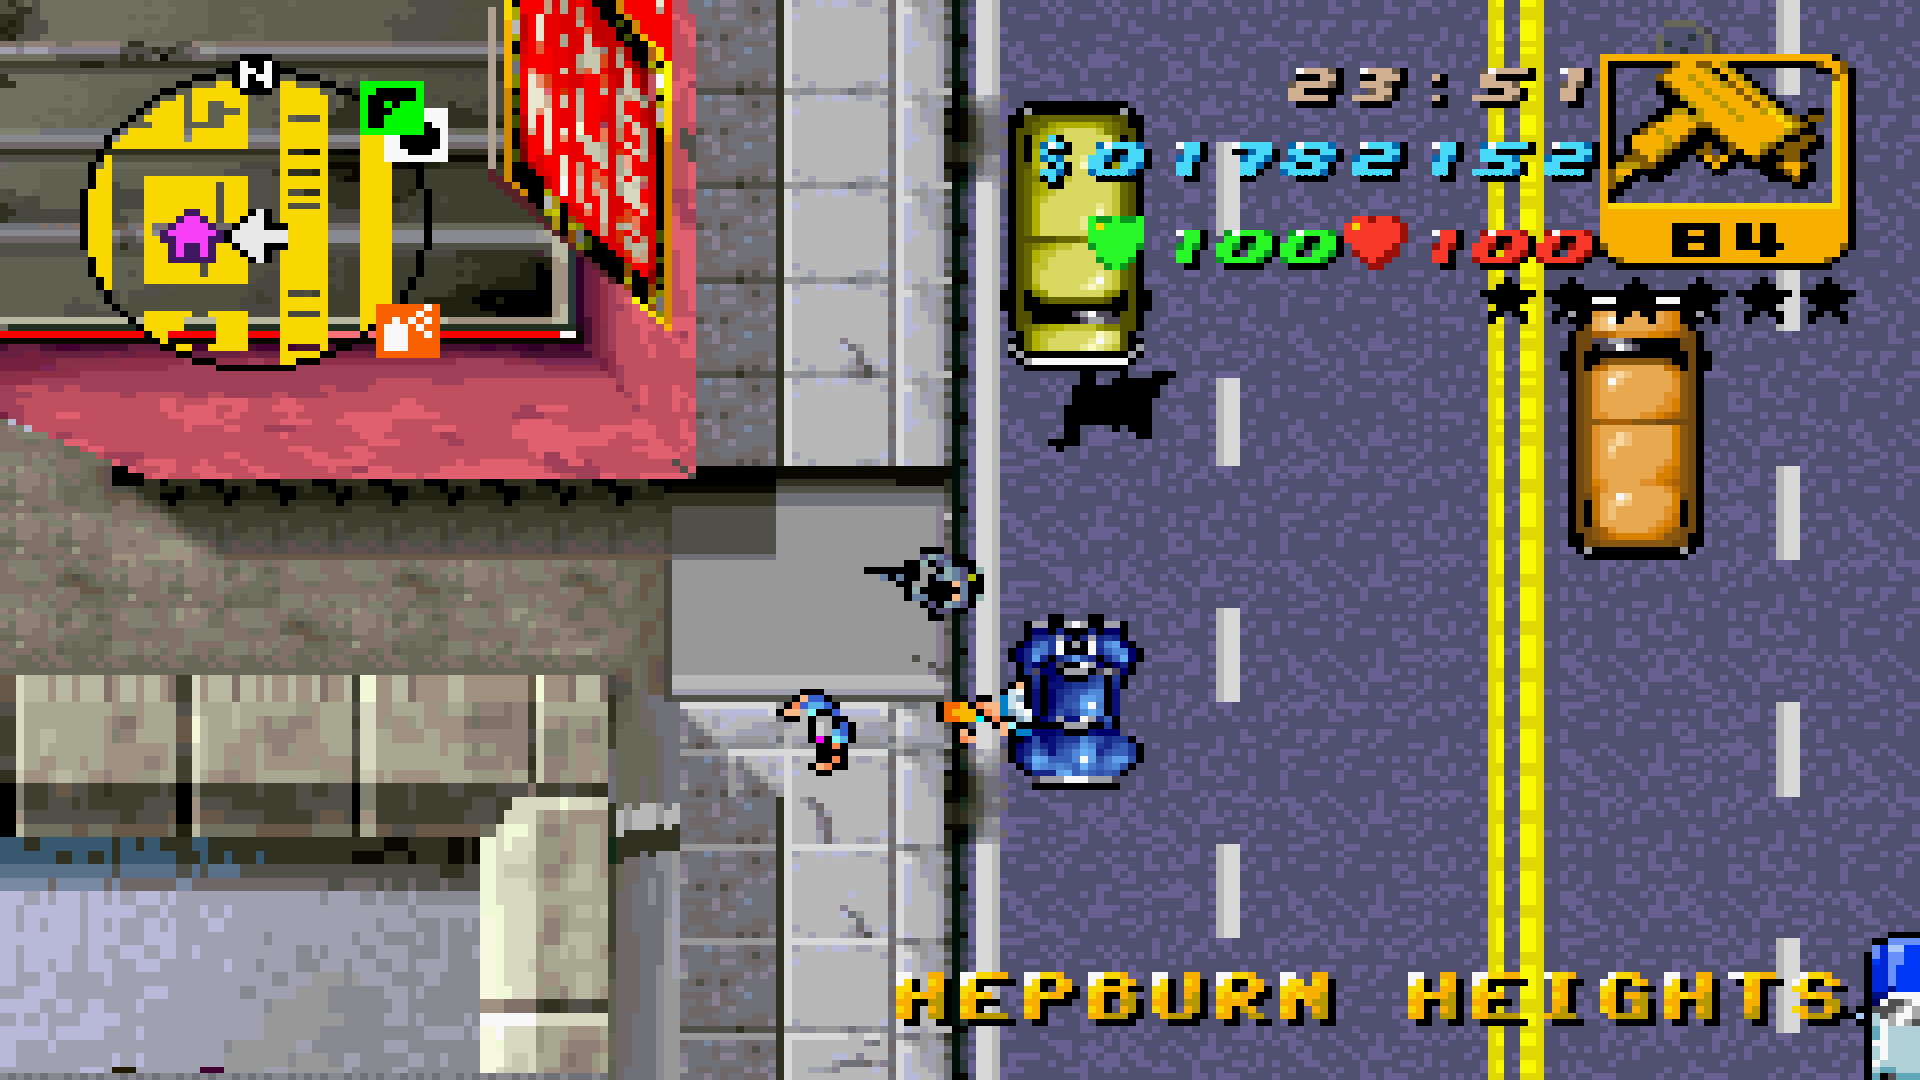 
|

|
Woody's Topless Bar. | Unnamed building, featuring a Kenji's Casino billboard. | 
|
|
Mr. Wong's Laundrette. | Pizza in Da House. |  
|
|
Punk Noodles. | Row of Chinese stores. Road is replaced by a walkway where the mission, Jump Start, begins. |  
|
|
Alley from the mission Trial By Fire. | Different layout and different buildings. | 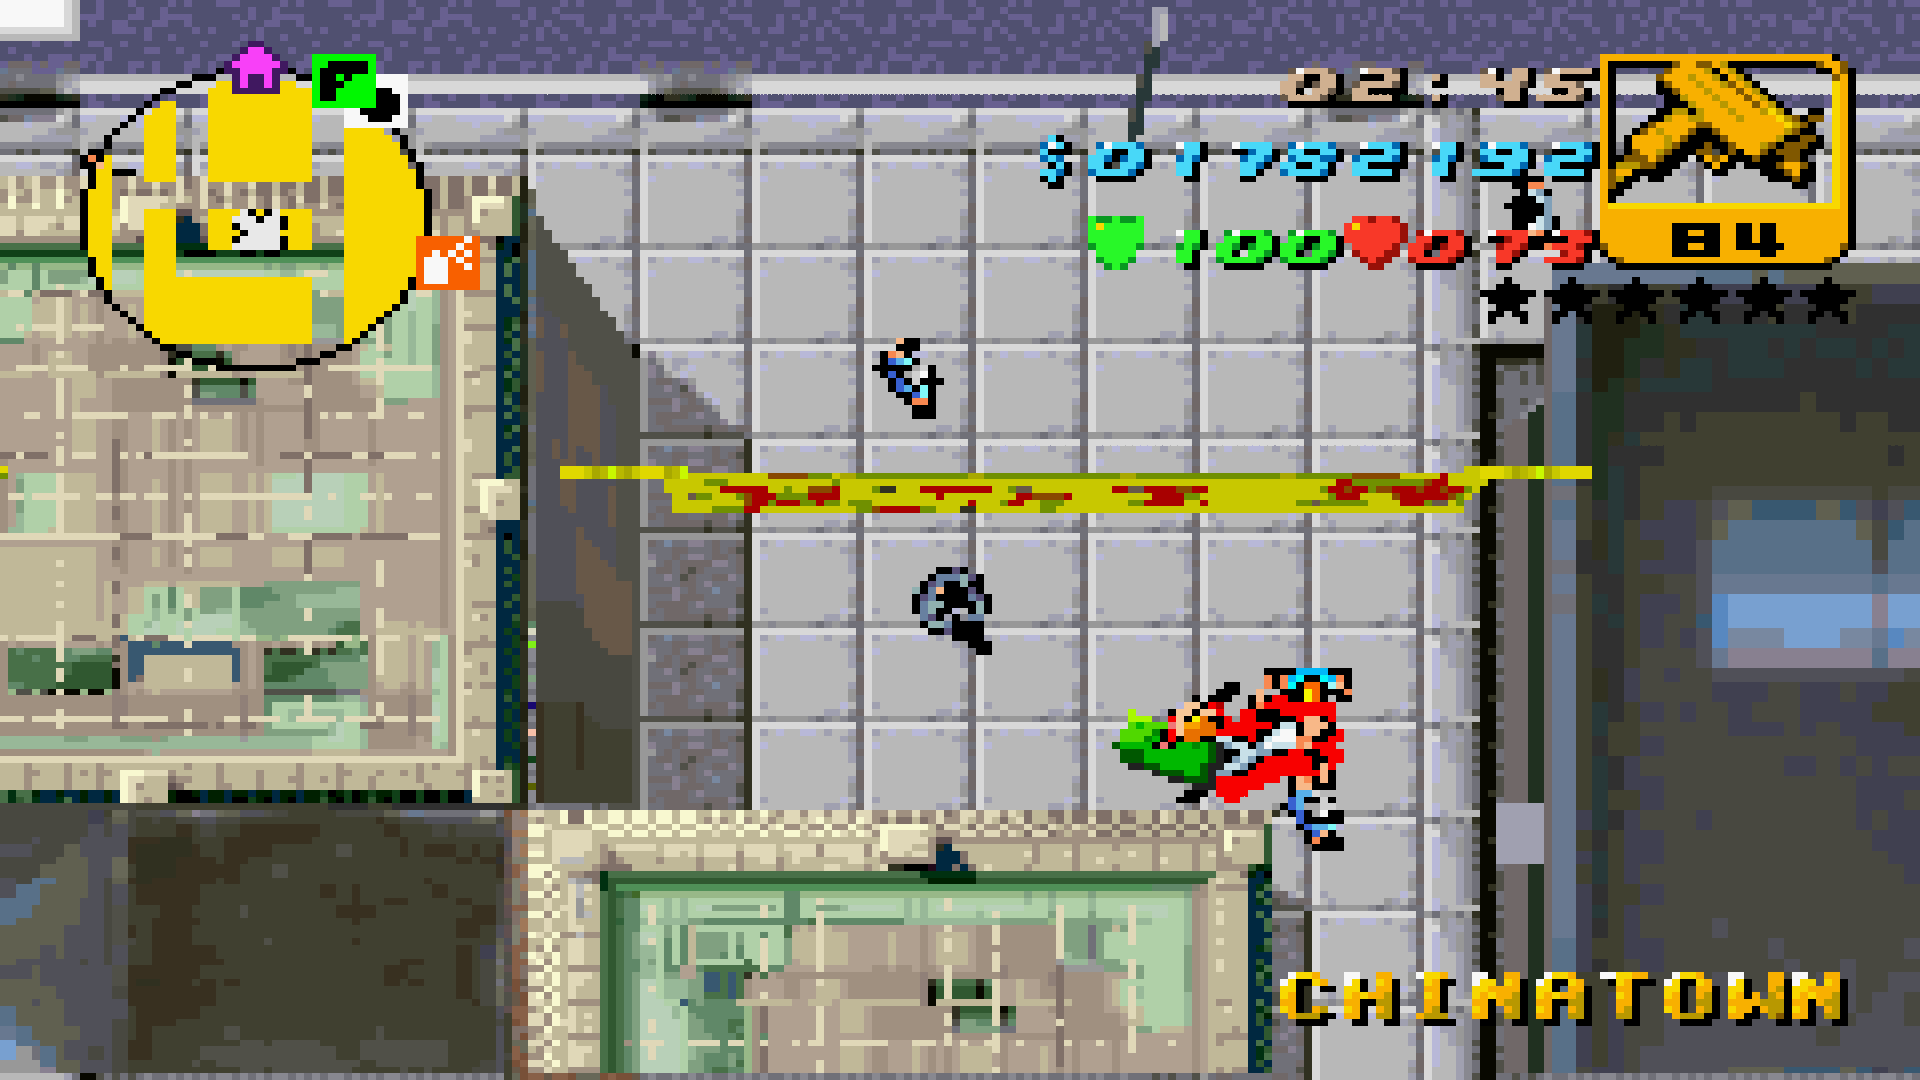
|
|
Old School Hall. | Empty green space. | 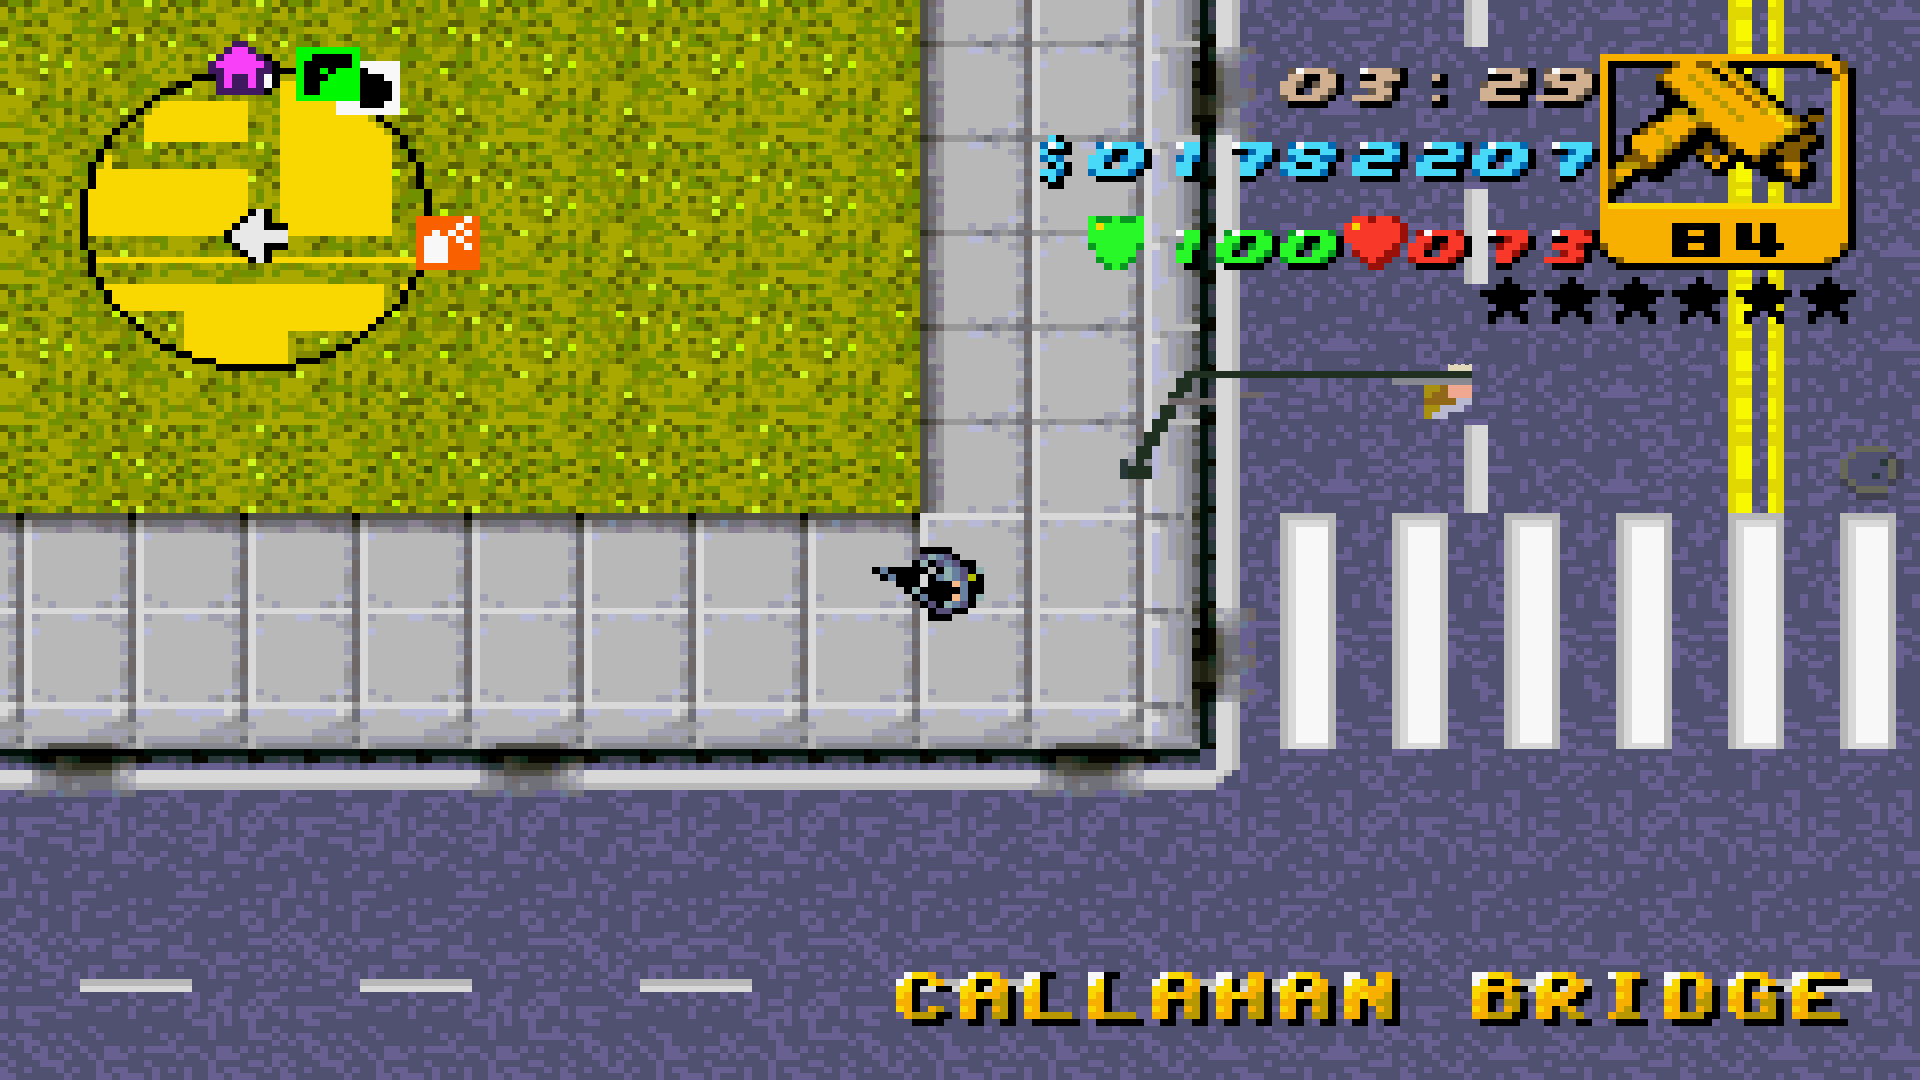 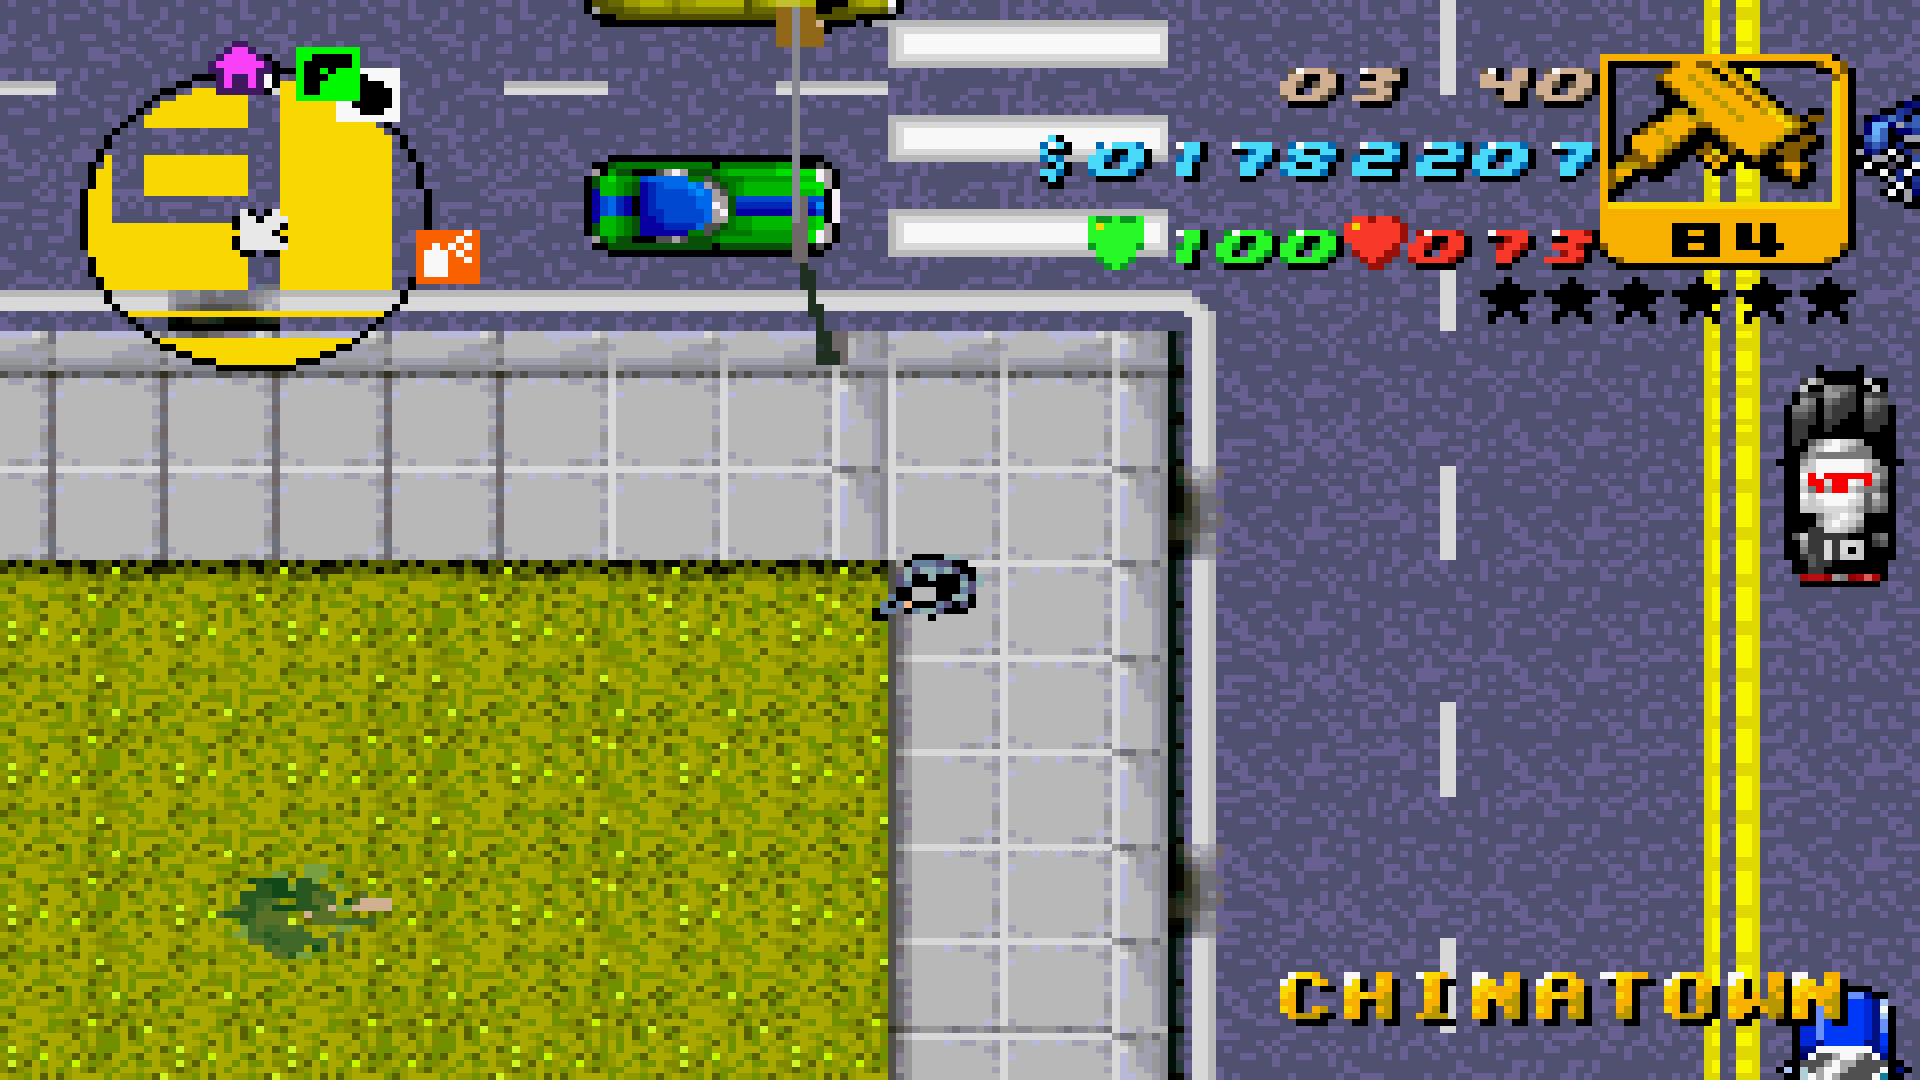
|
|
Little China Park. | Empty green space. | 
|
Minor Changes[]
| Grand Theft Auto III (Original map) |
Grand Theft Auto Advance (Adapted map) | ||
|---|---|---|---|
| Image | Description | Description | Image |
| Image | Description | Description | Image |
|
Hepburn Heights projects (including Misty's apartment building). | Buildings are placed in the different positions. |  
|
|
Porter Tunnel entrance. | Under construction. Road is darker to simulate height. | 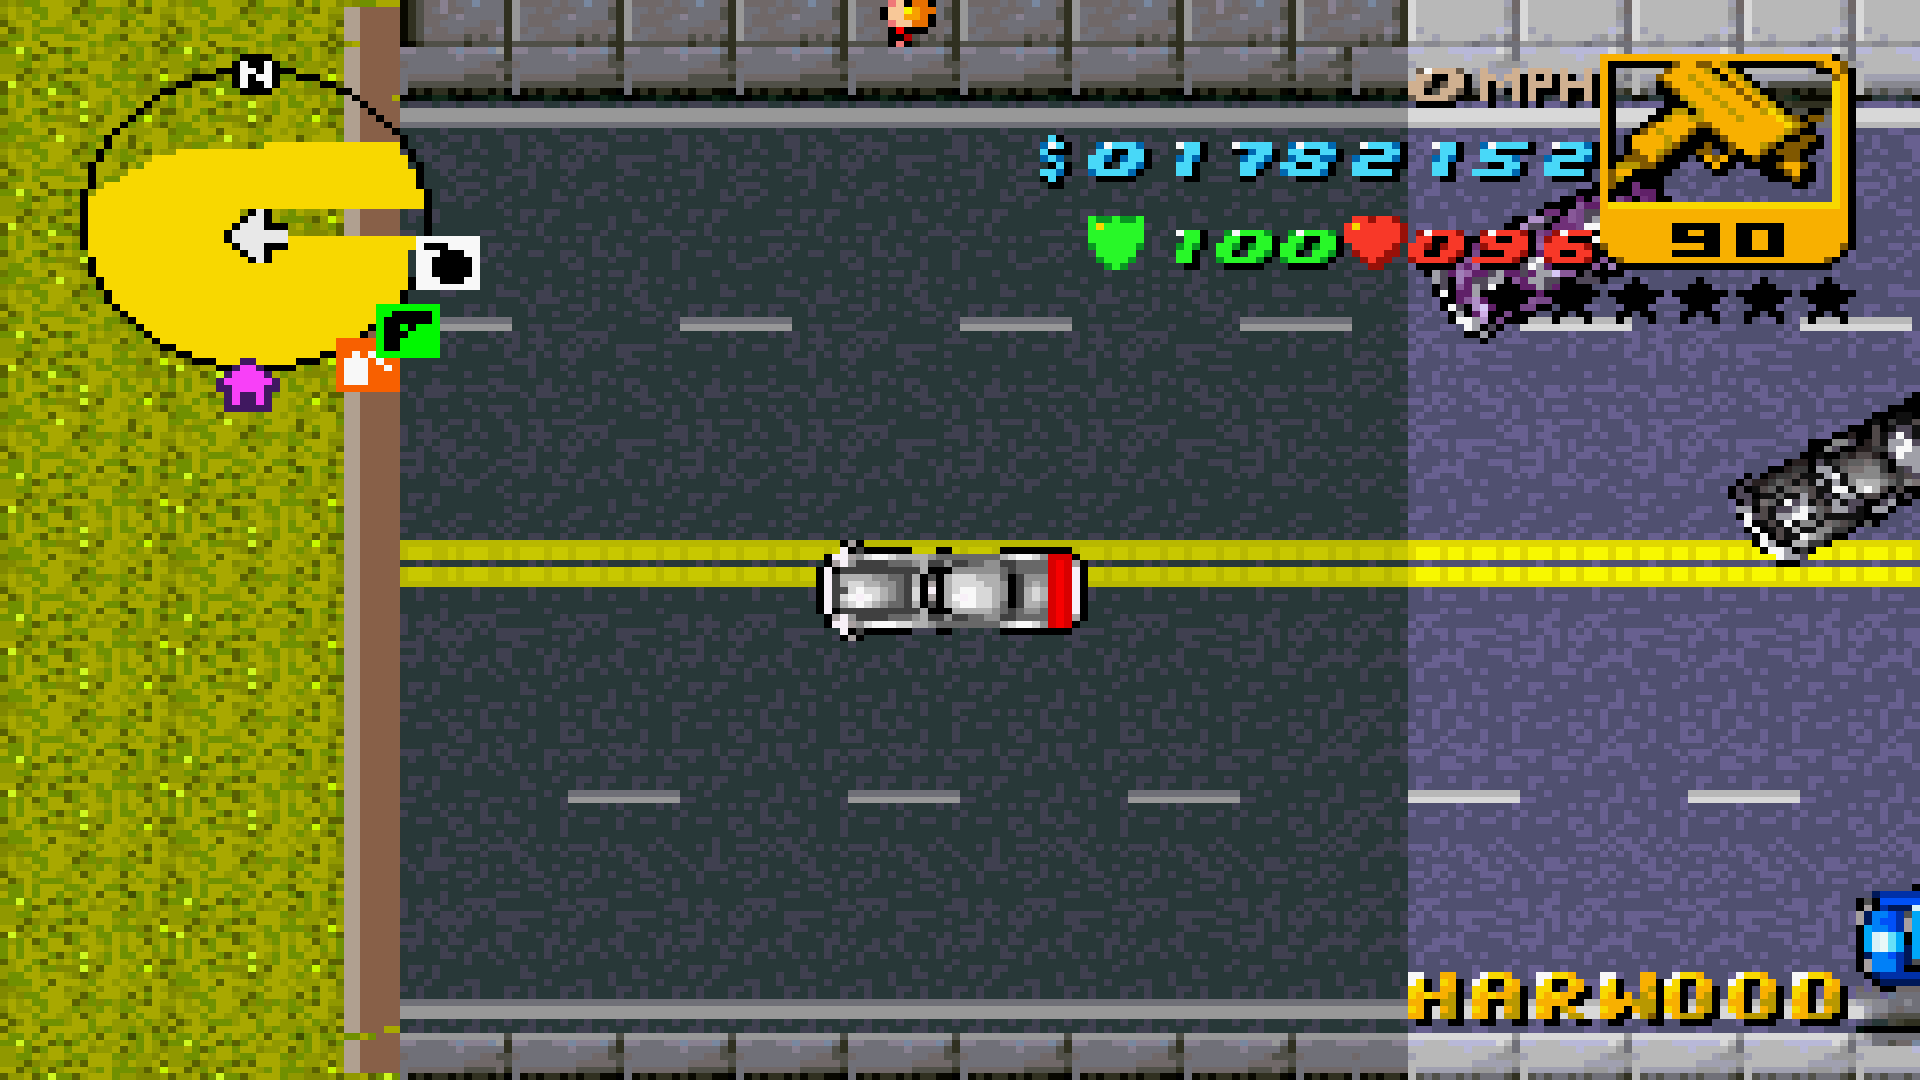
|
|
8-Ball's Bomb Shop. | Similar layout. | 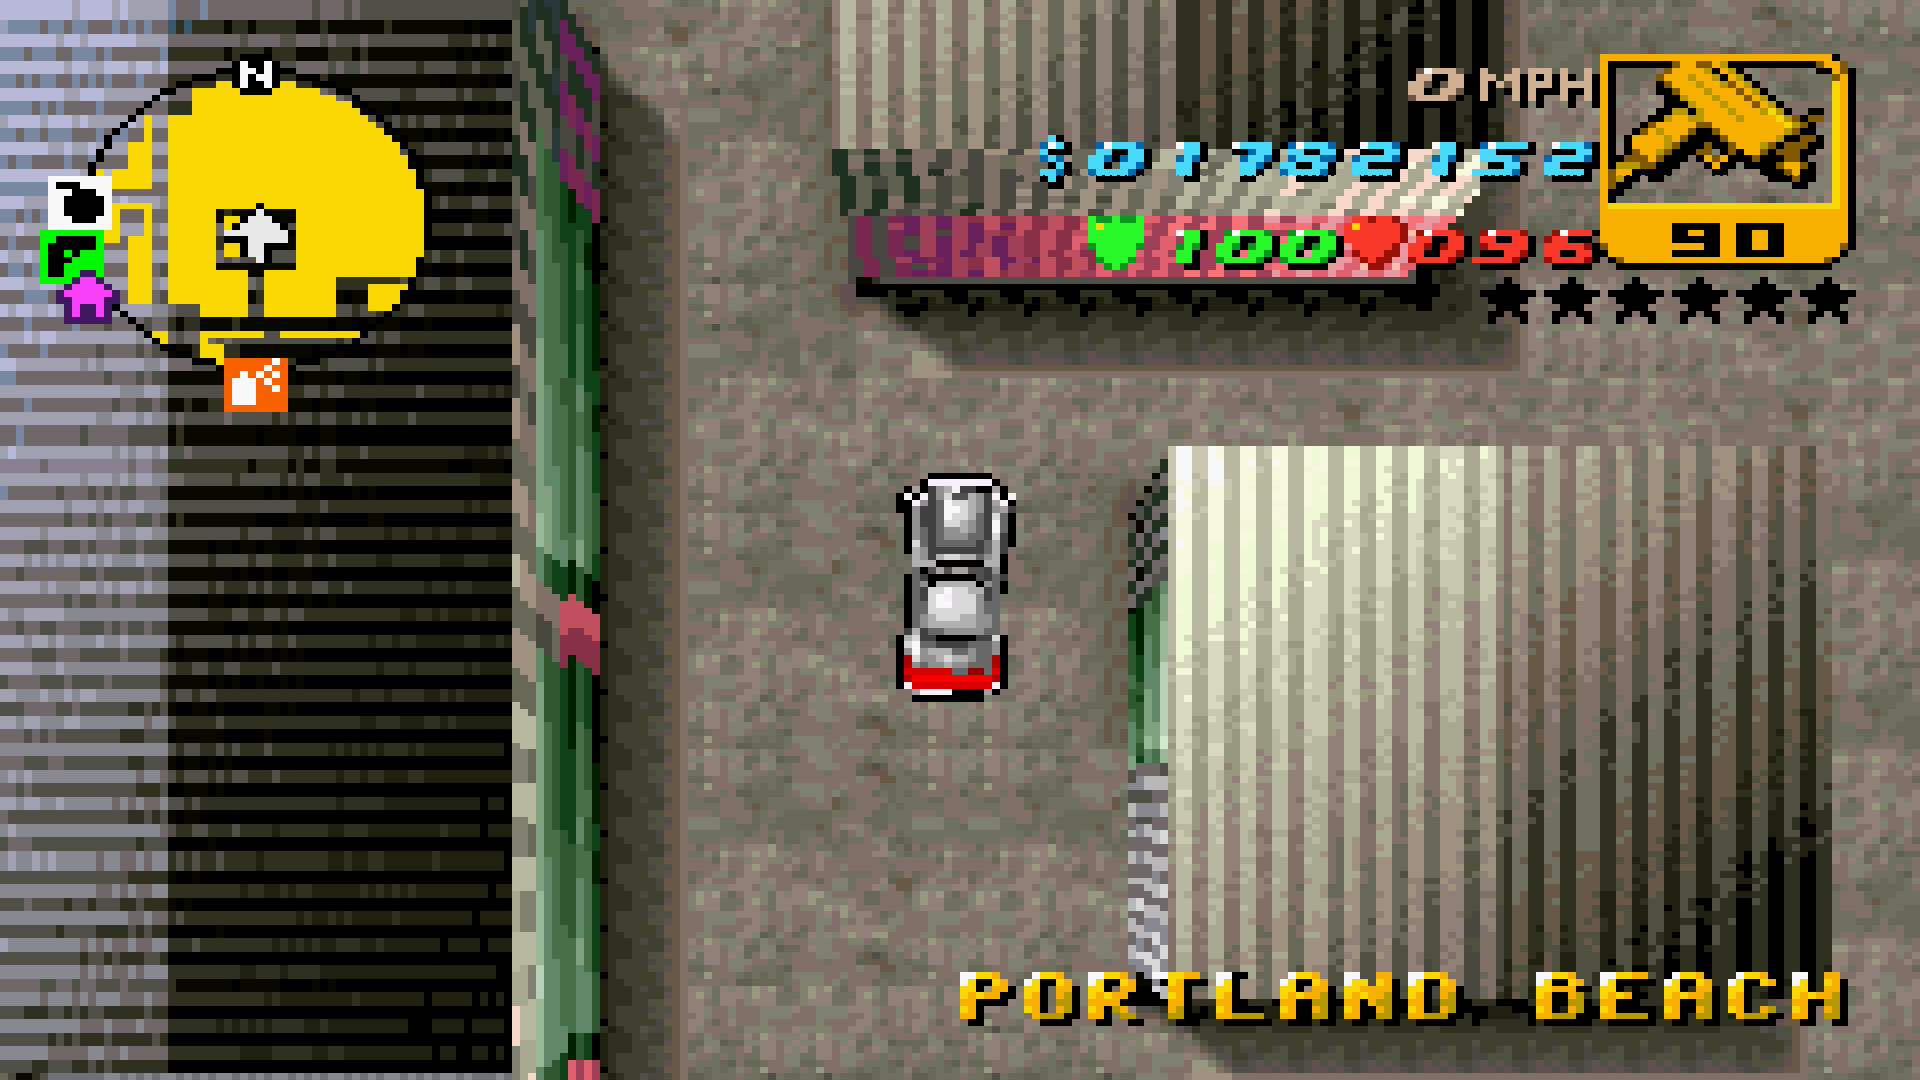
|
|
Salvatore's Gentlemen's Club. | Similar layout. Accessed via a walkway connected to 8-Ball's Bomb Shop road entrance. A pool is located in front of the mansion. |  
|
|
Natural arch behind Salvatore's Gentlemen's Club. | Flat terrain due to hardware limitations. | 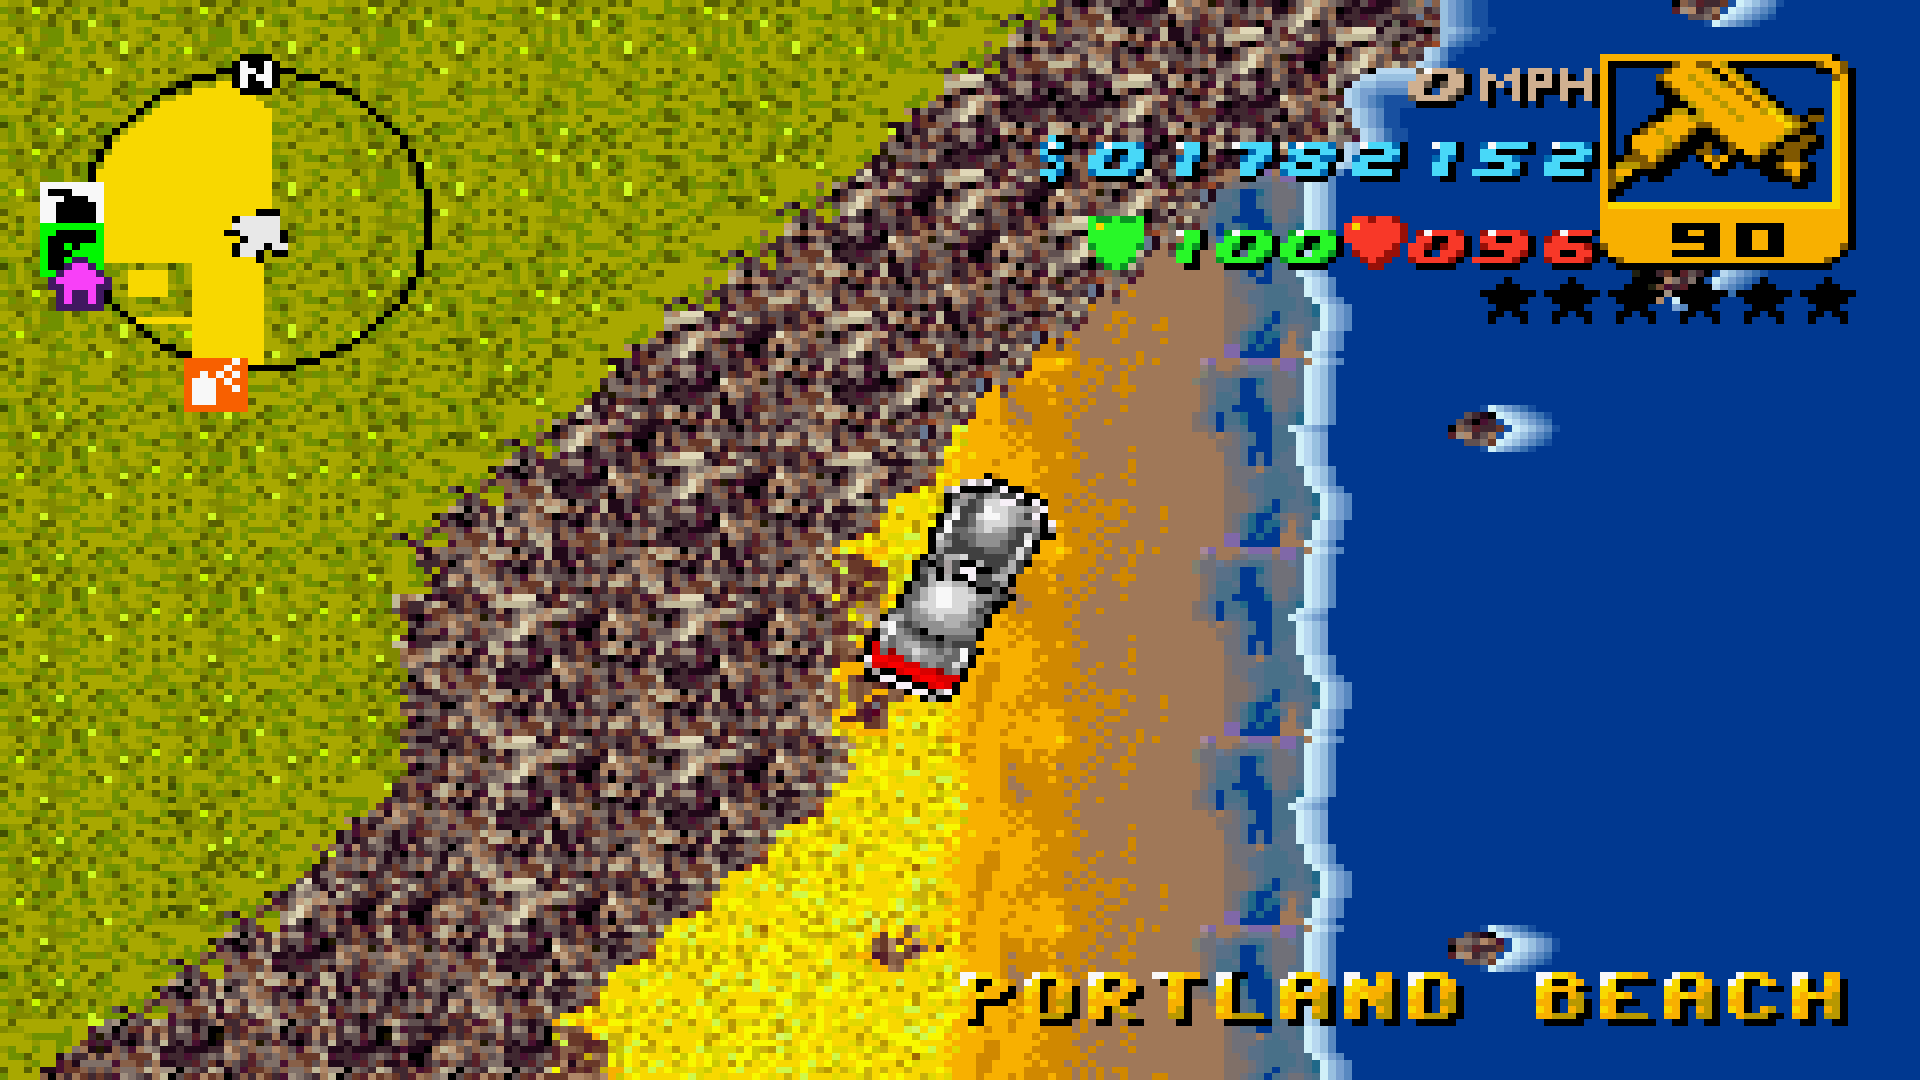
|
|
Marco's Bistro. | Different layout but still referred as being Marco's Bistro. |  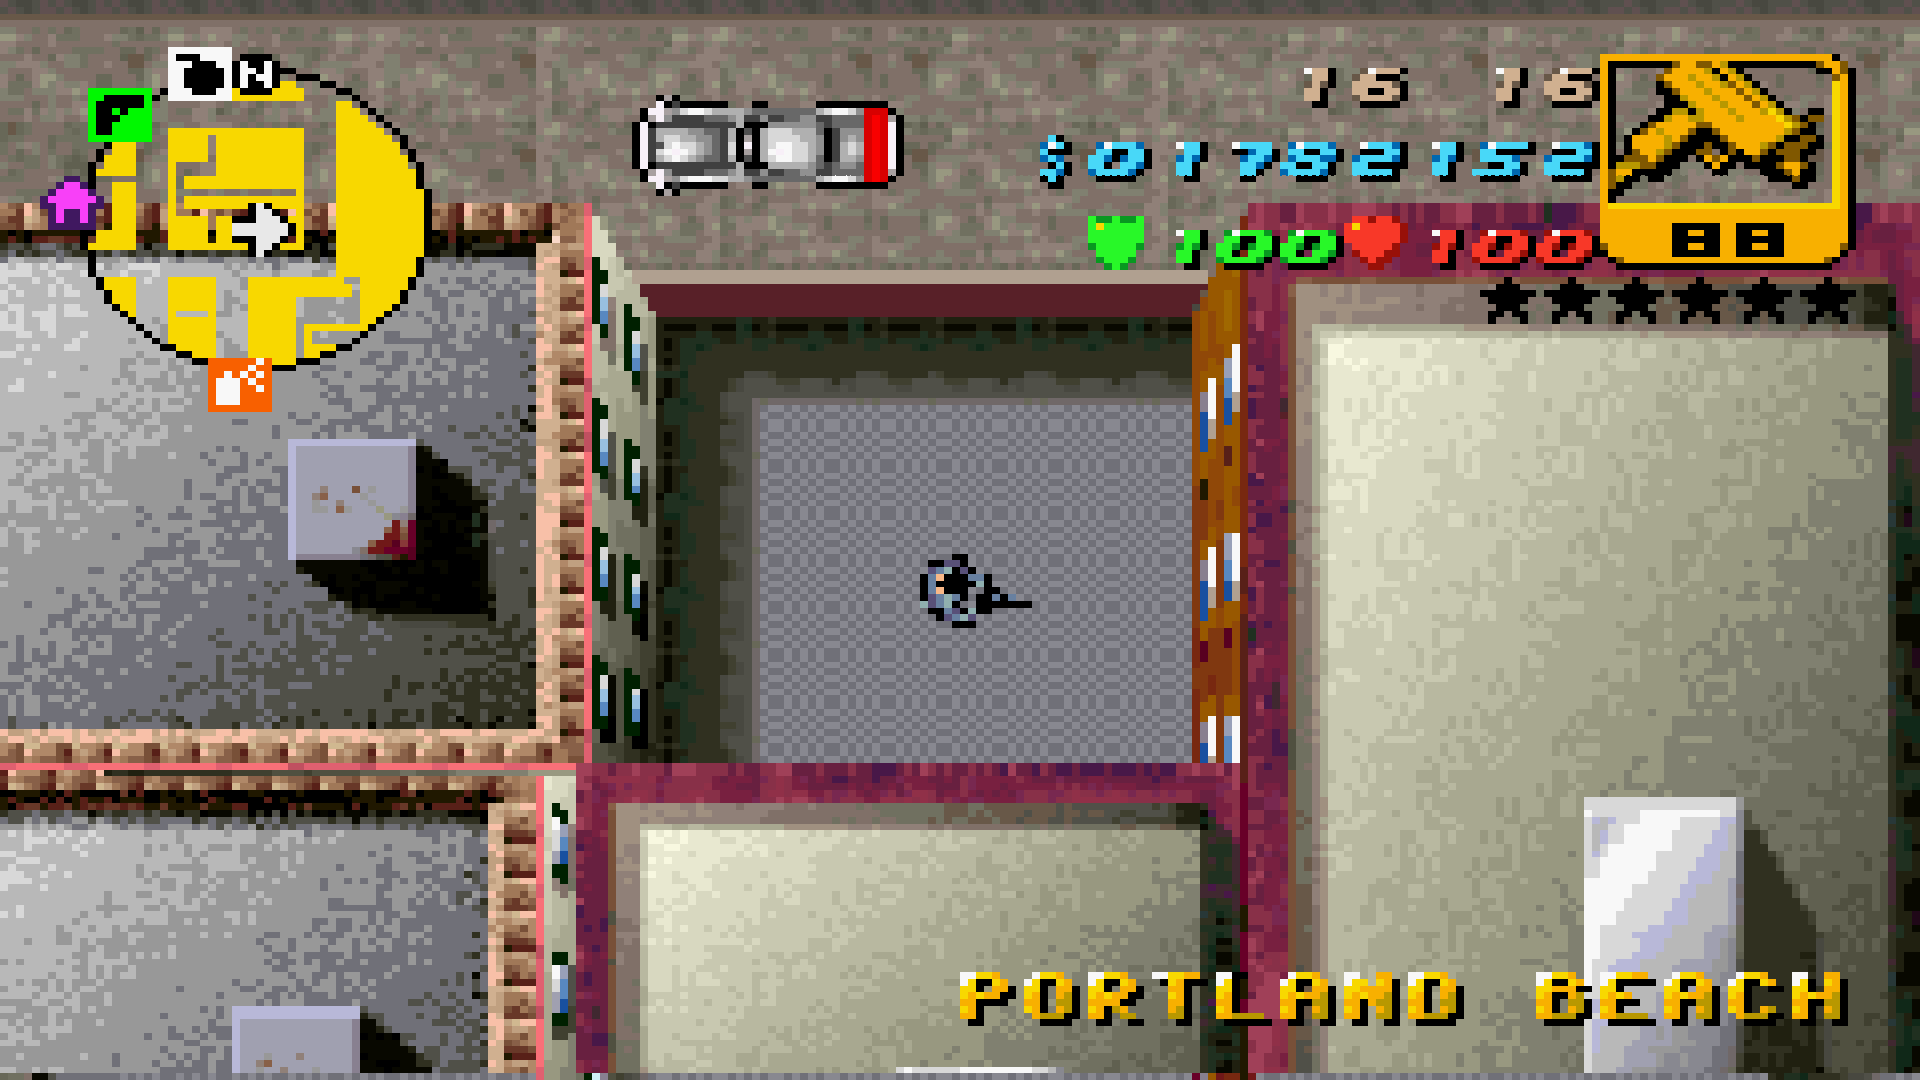
|
 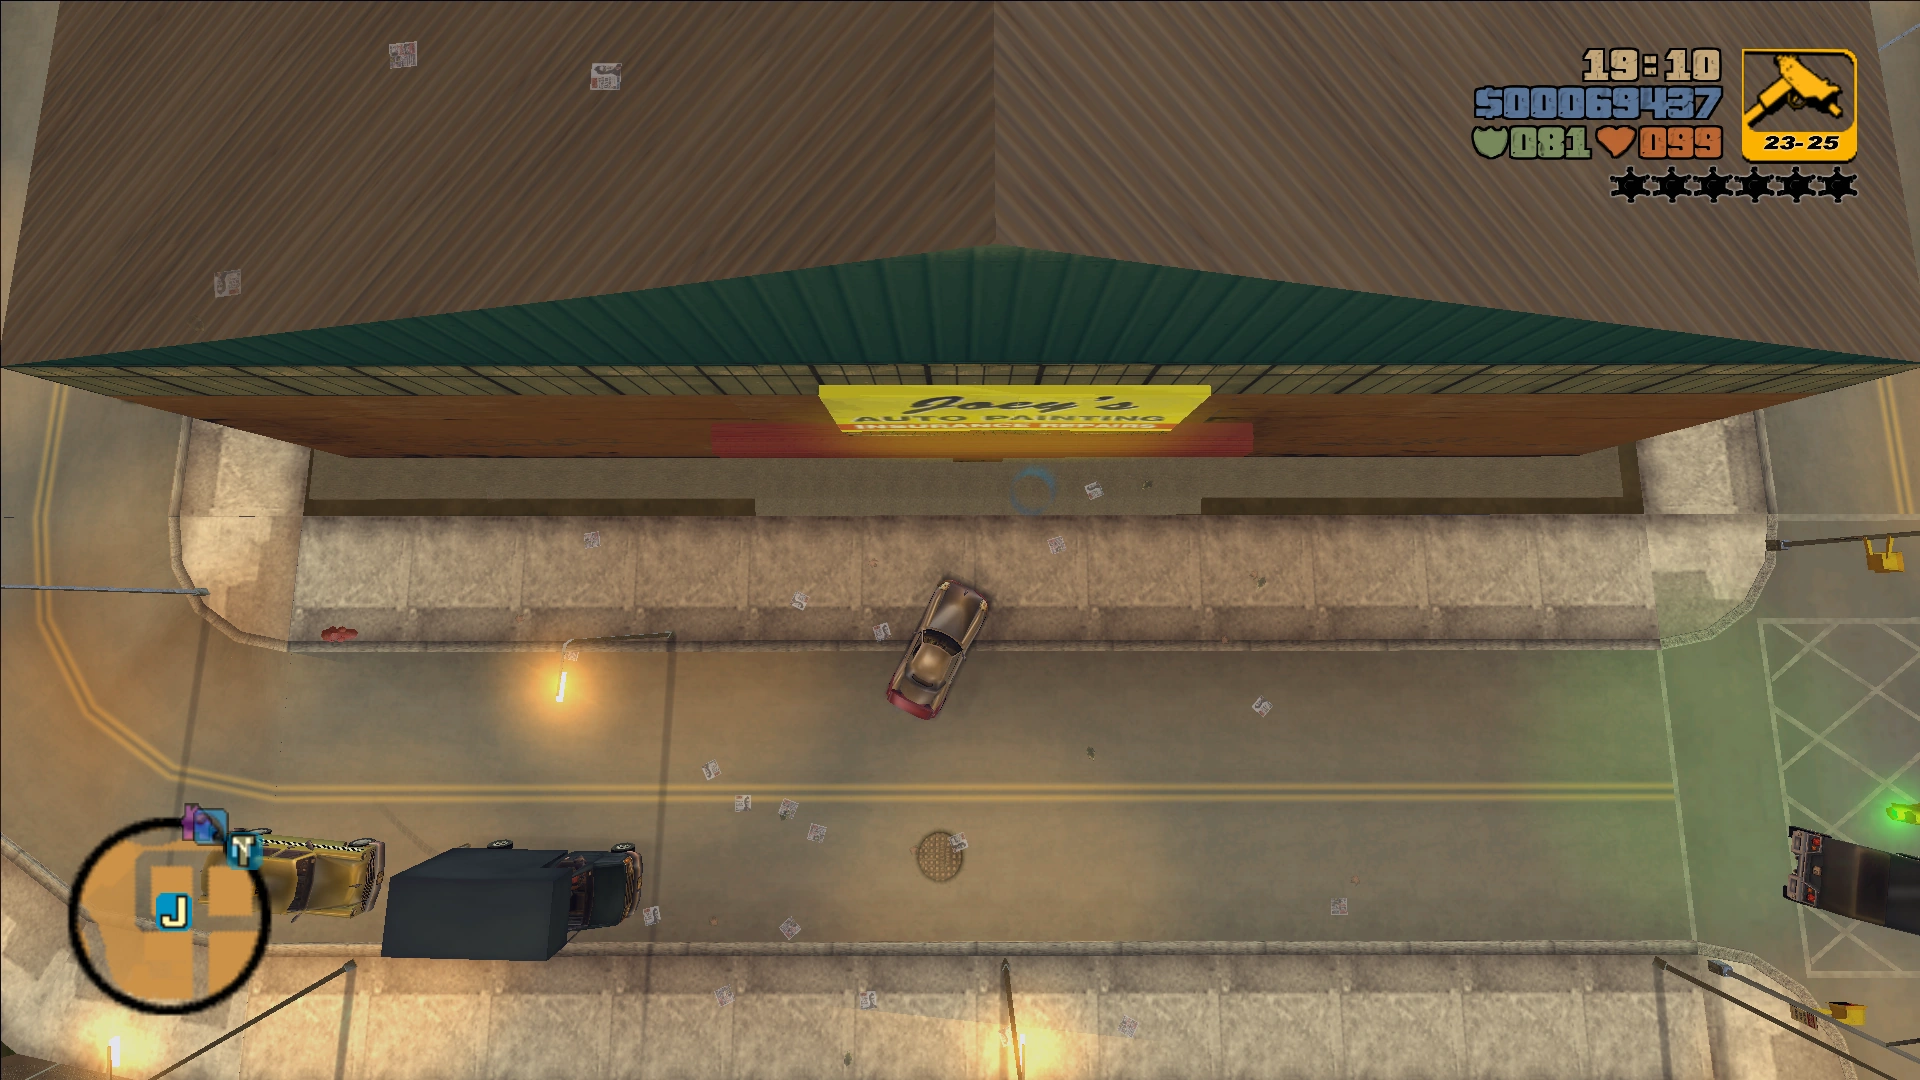
|
Joey's Auto Painting. | Similar warehouse, featuring a parking space to the south, where the garage's main entrance should be. Originally a mission contact point for Joey Leone. |  
|

|
Callahan Point jetty. | Different layout. | 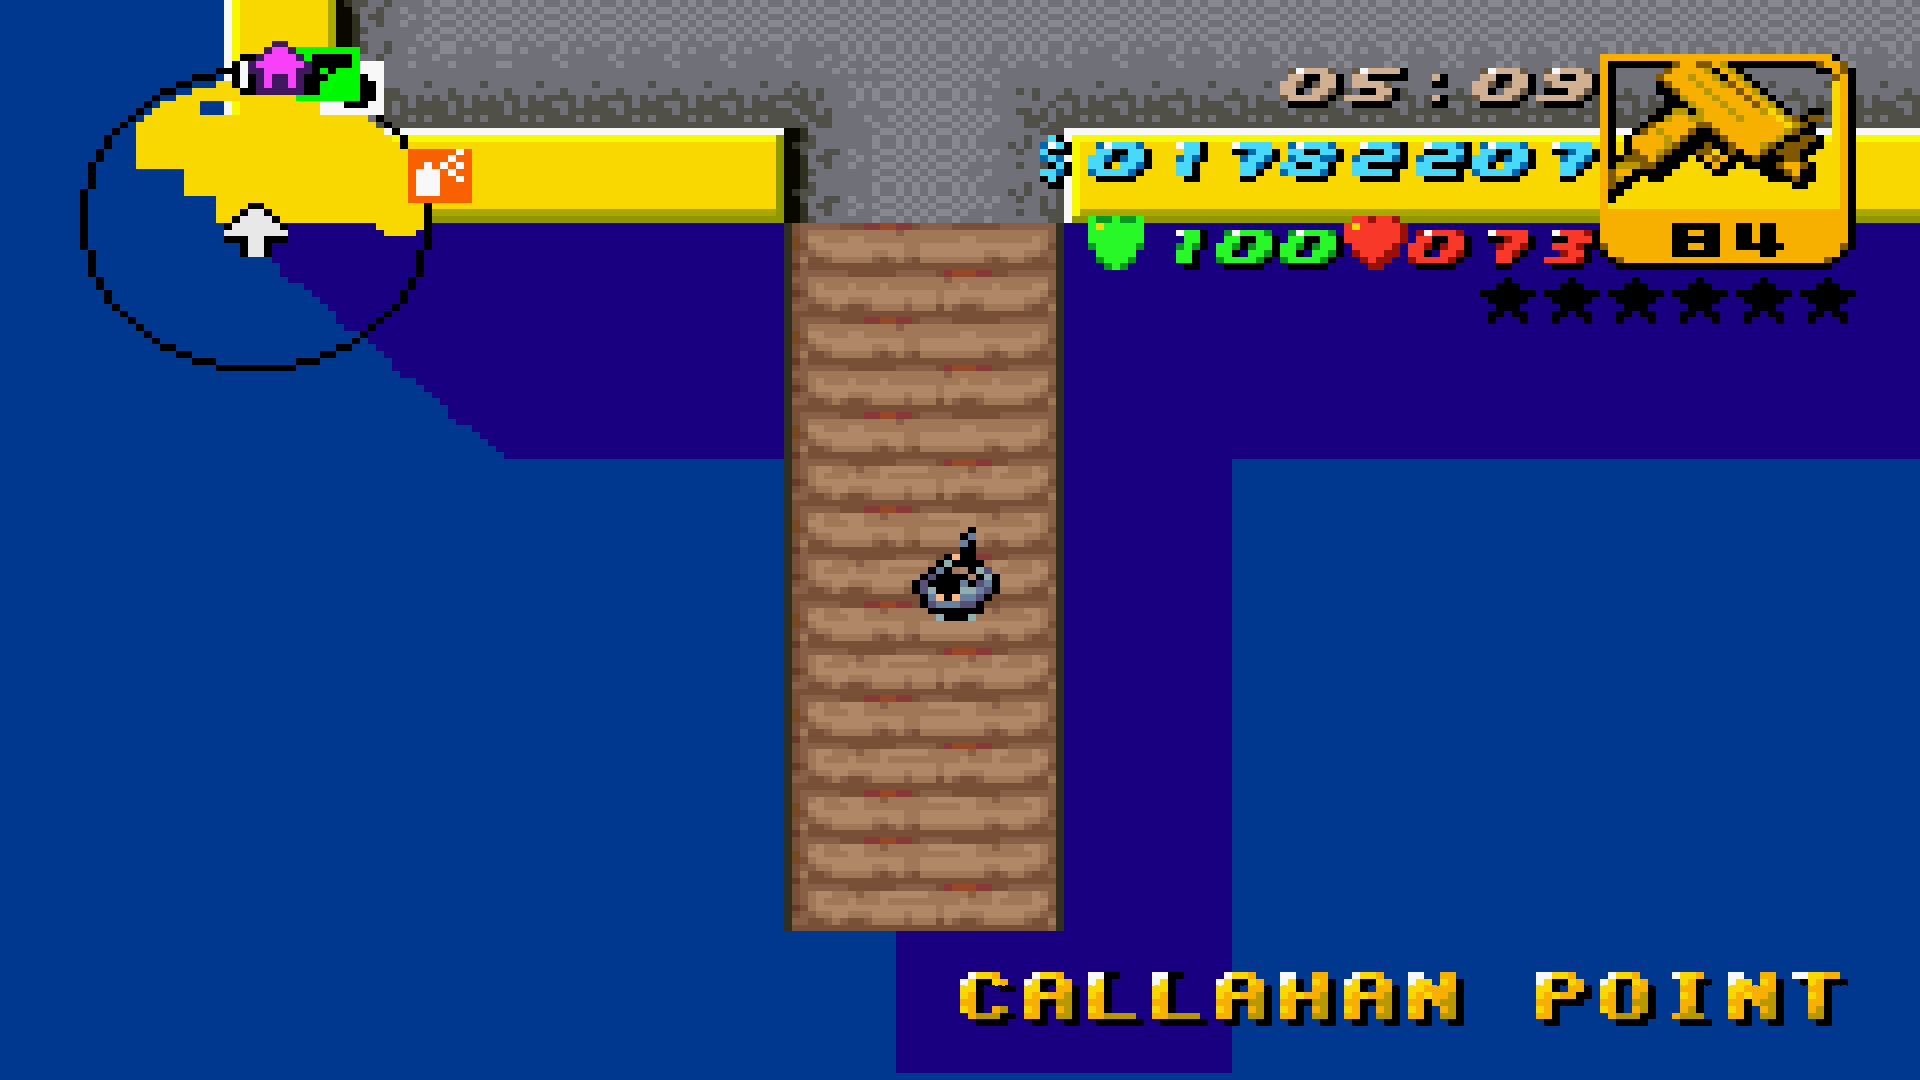
|
|
Dirt track in a forested area in Callahan Point. | Paved. | 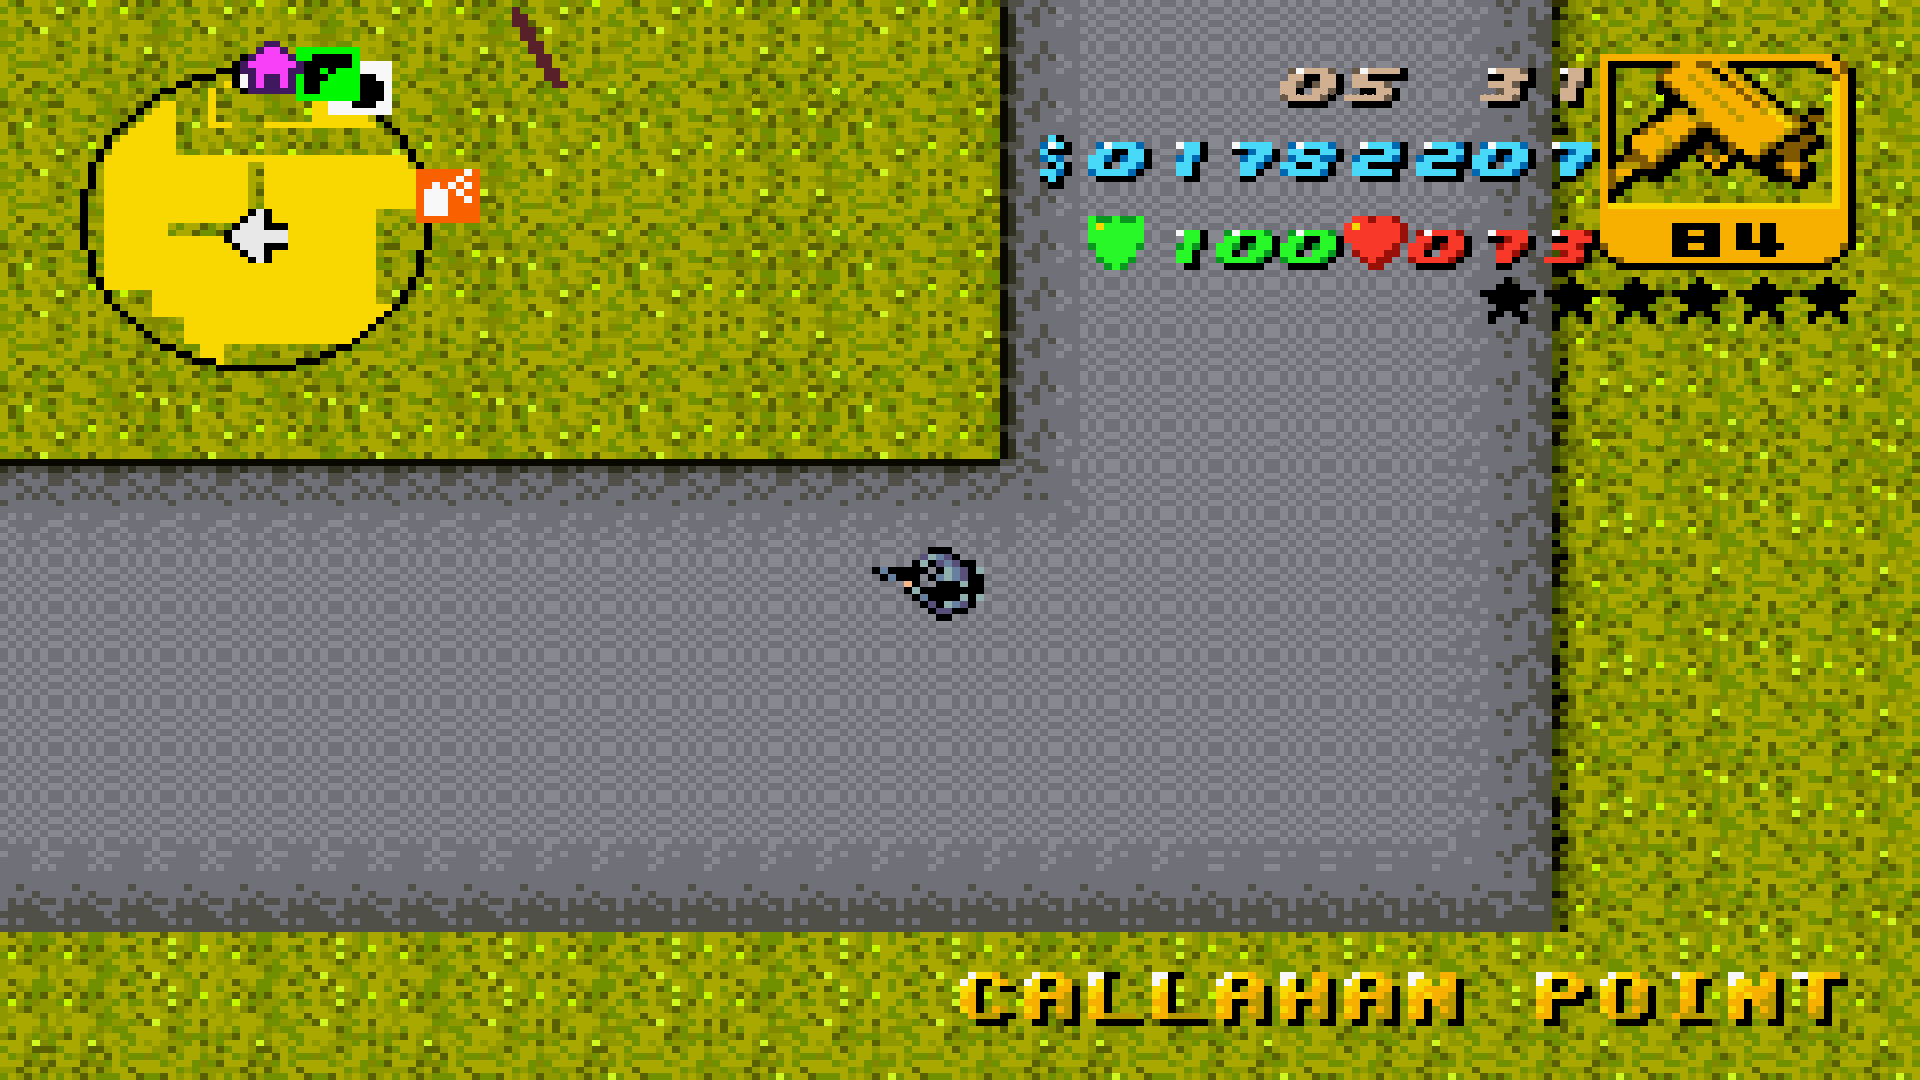
|
|
Turtle Head Fishing Company warehouse. | Different building, same layout. | 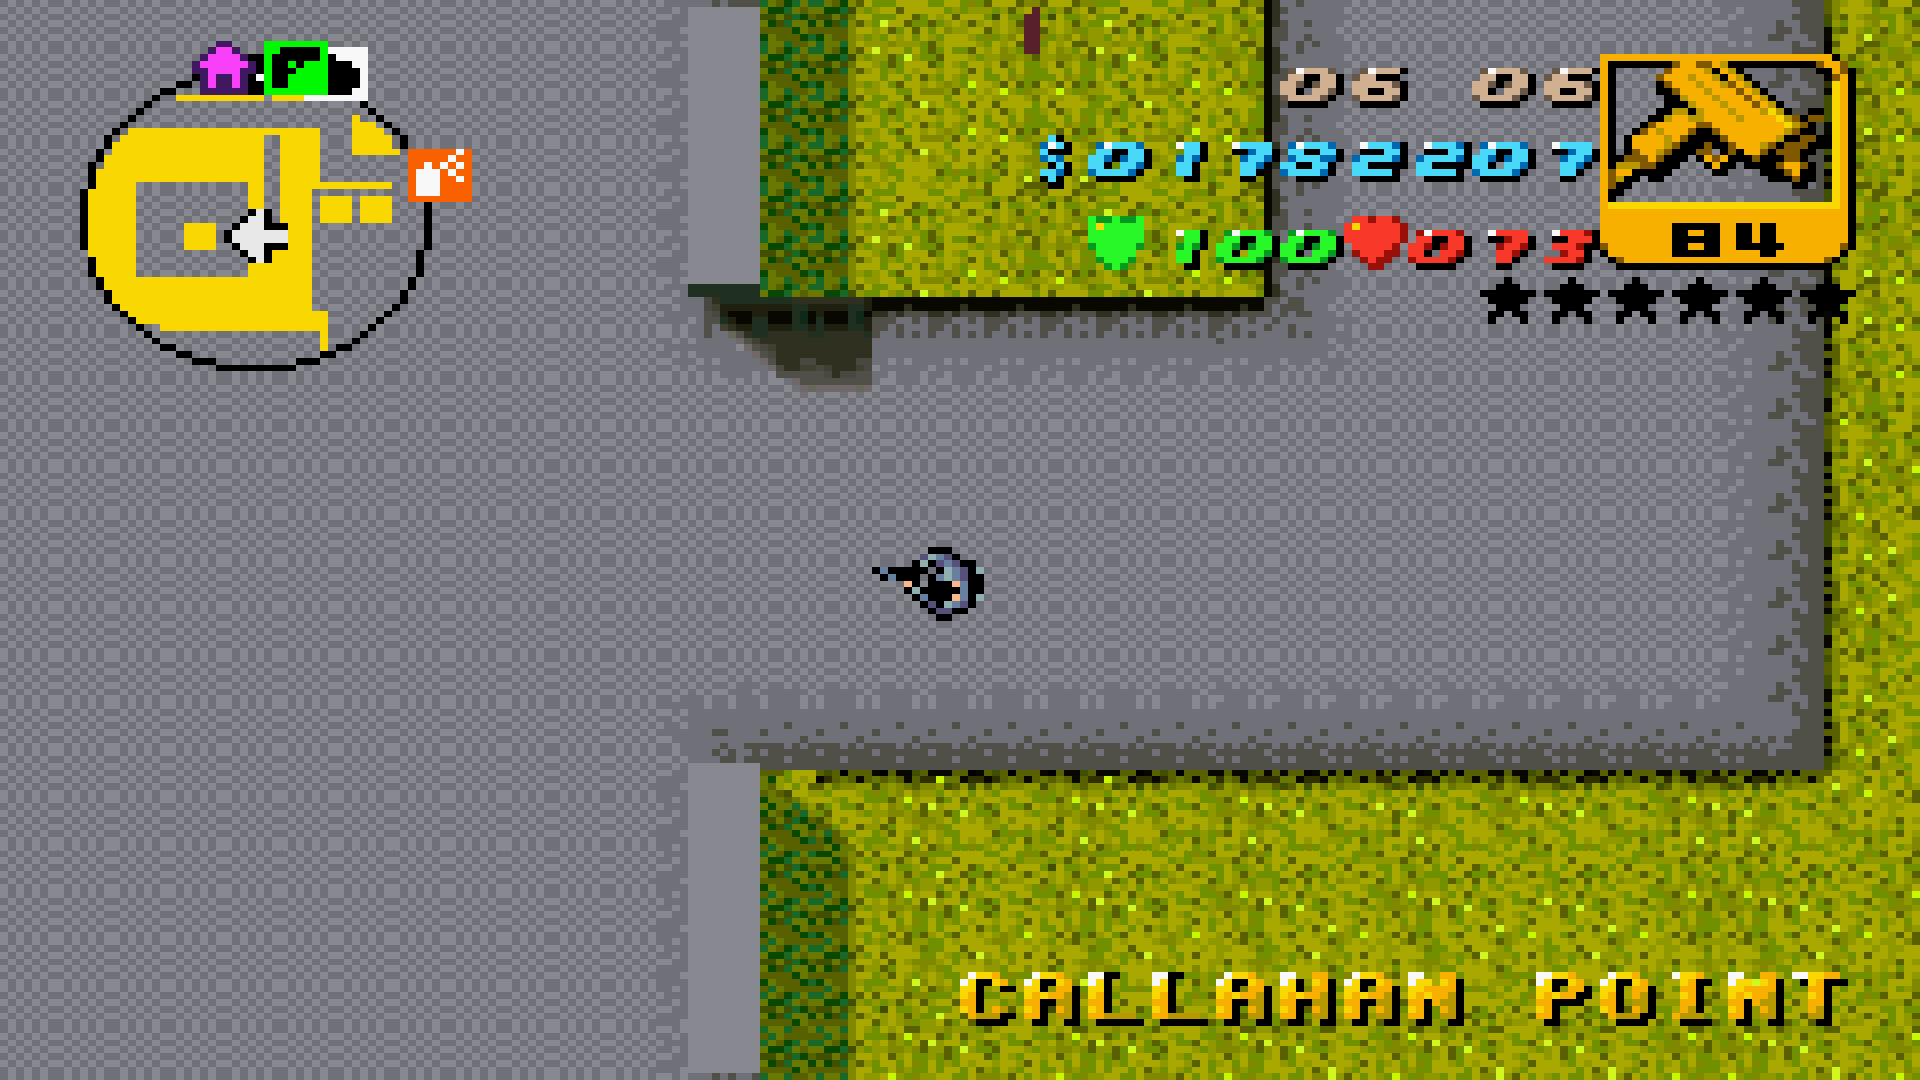 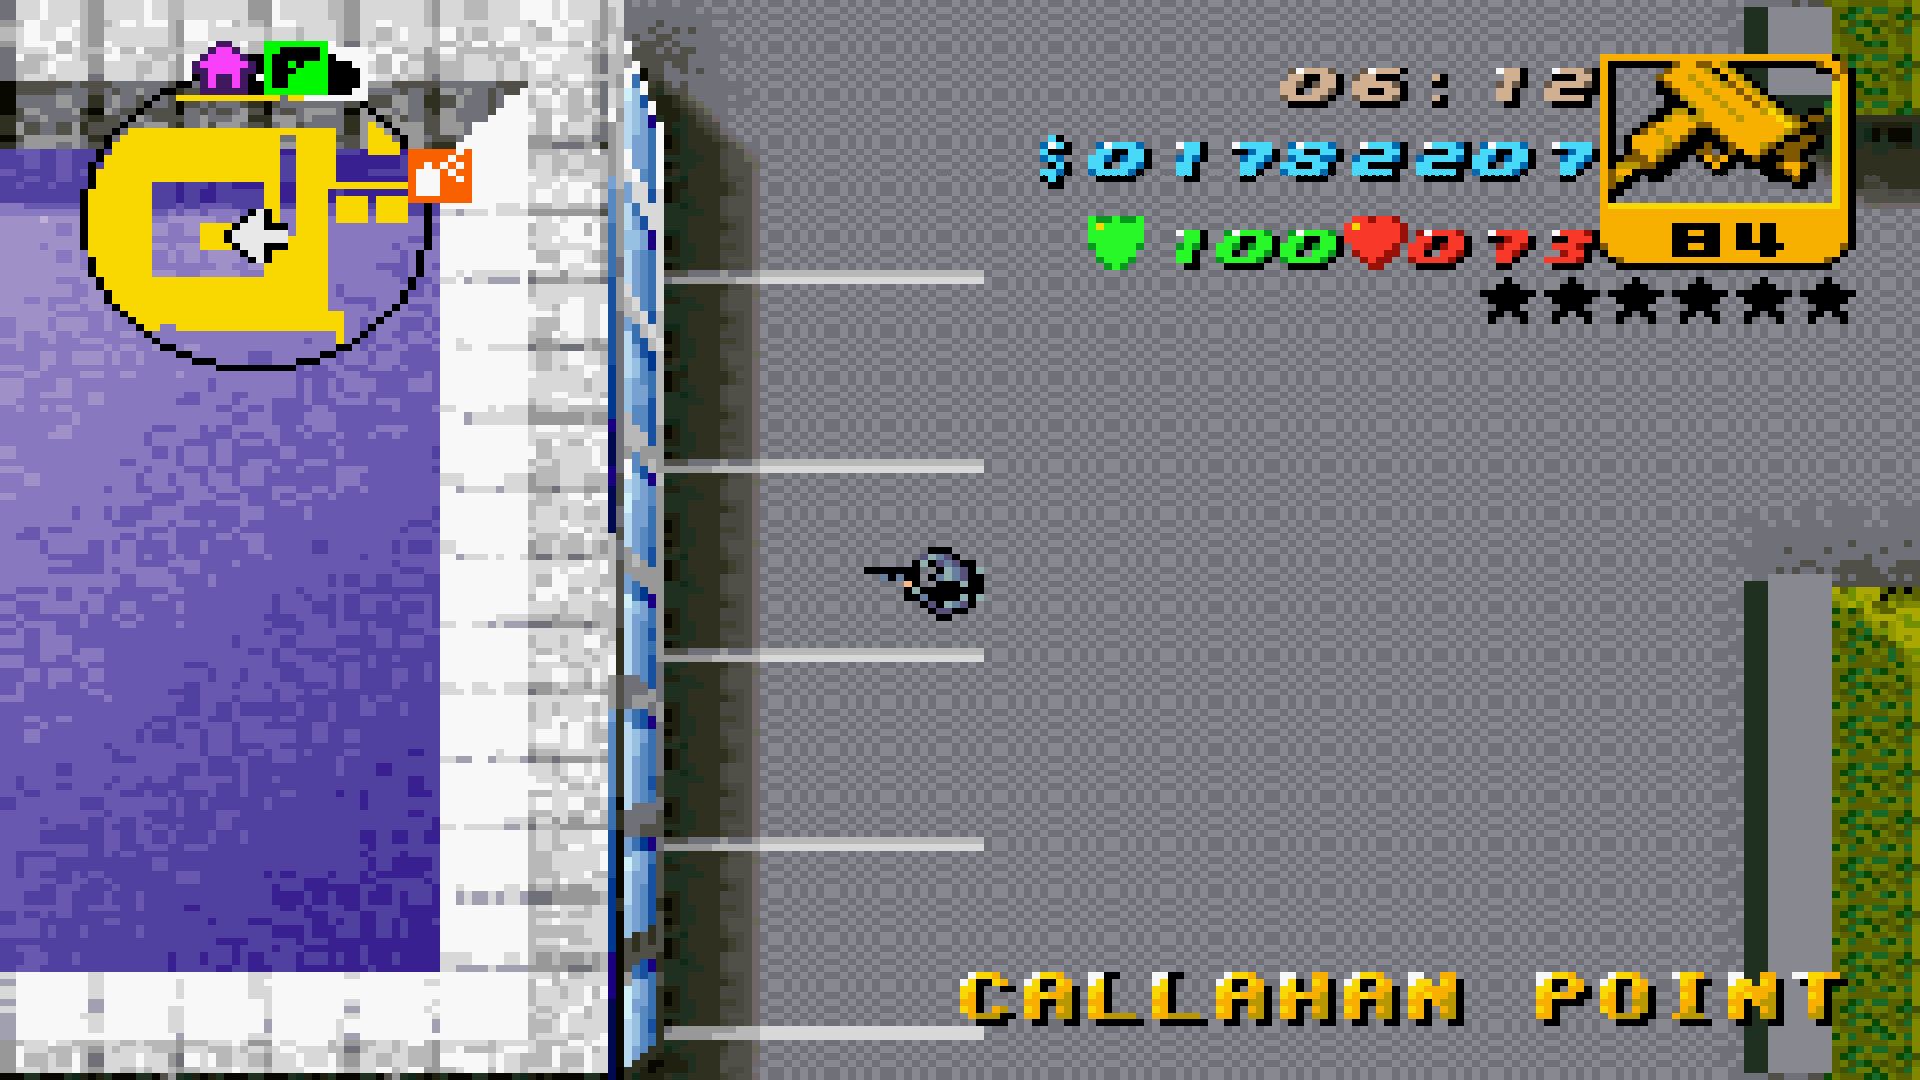
|
|
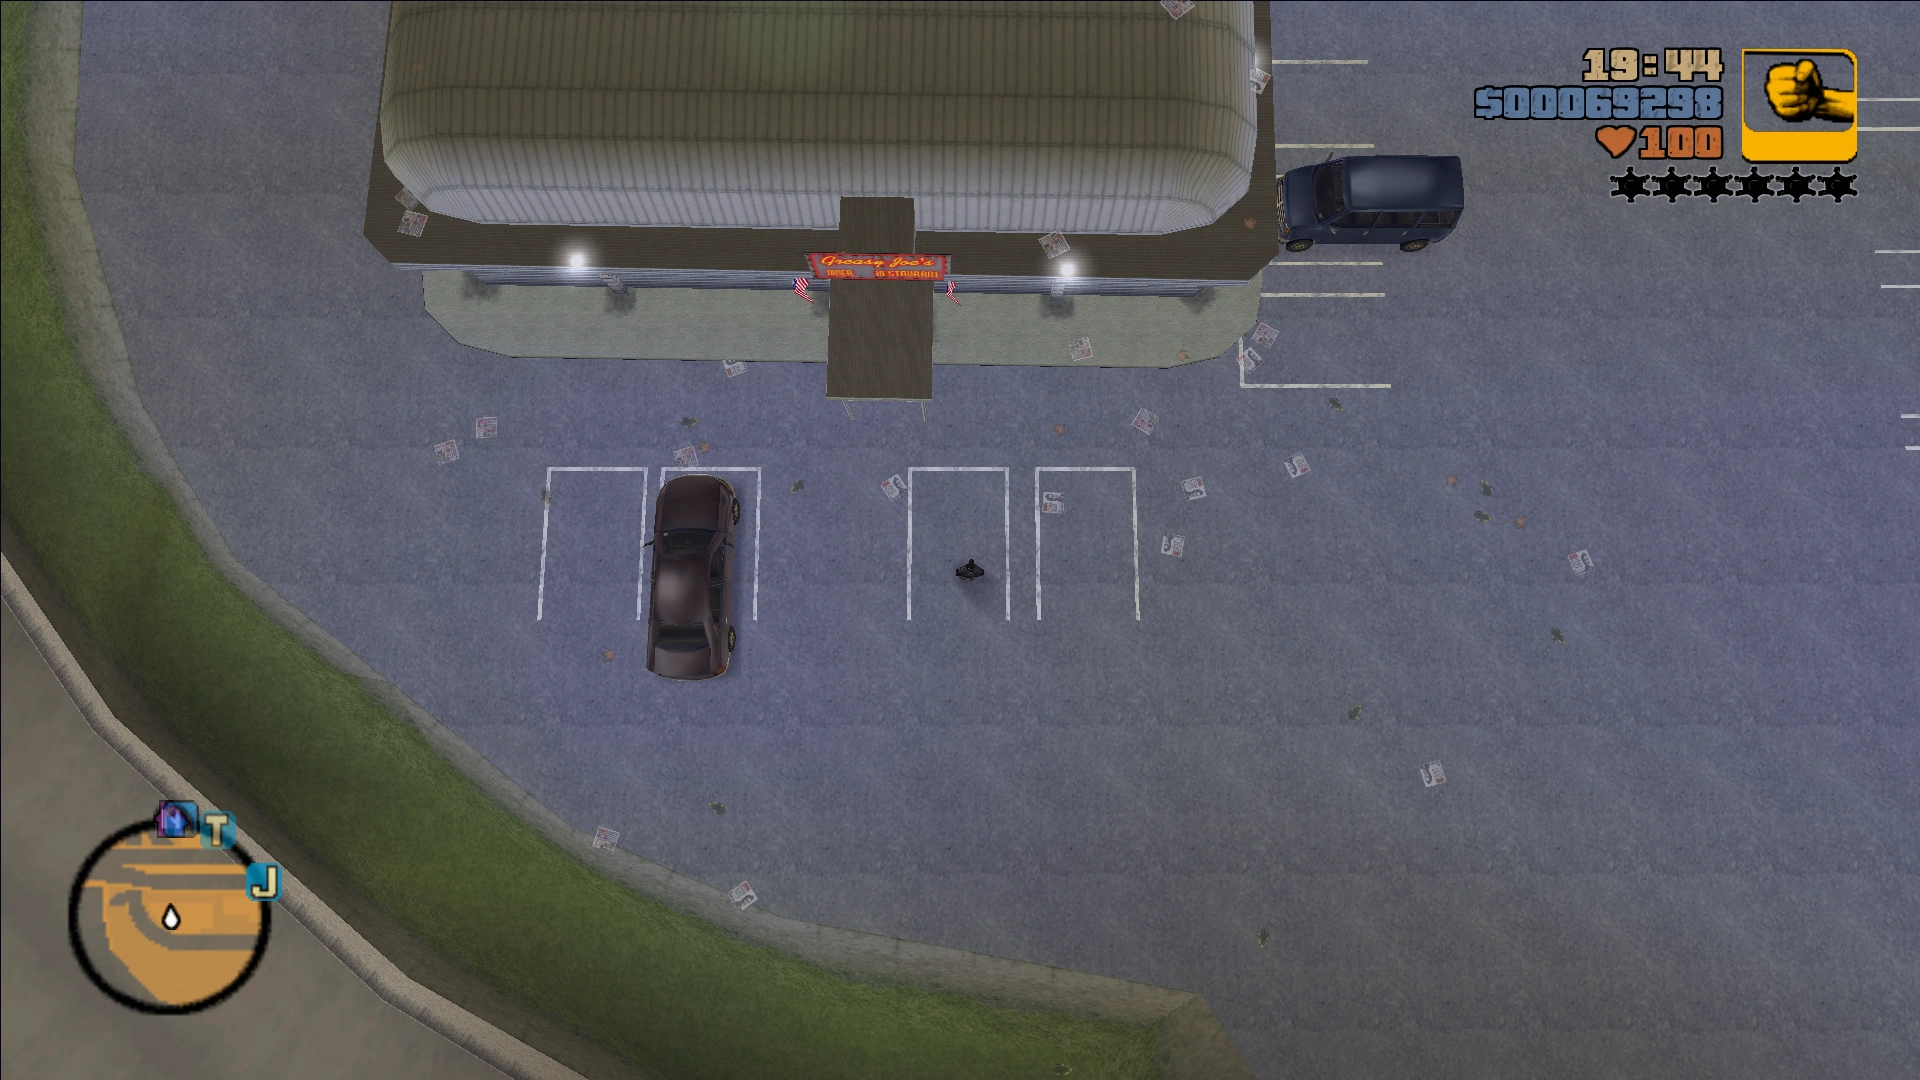
Greasy Joe's diner. | Replaced by a warehouse but still referred to as Greasy Joe's diner. The size of the sign is reduced. Also plays a prominent role in GTA Advance storyline. | 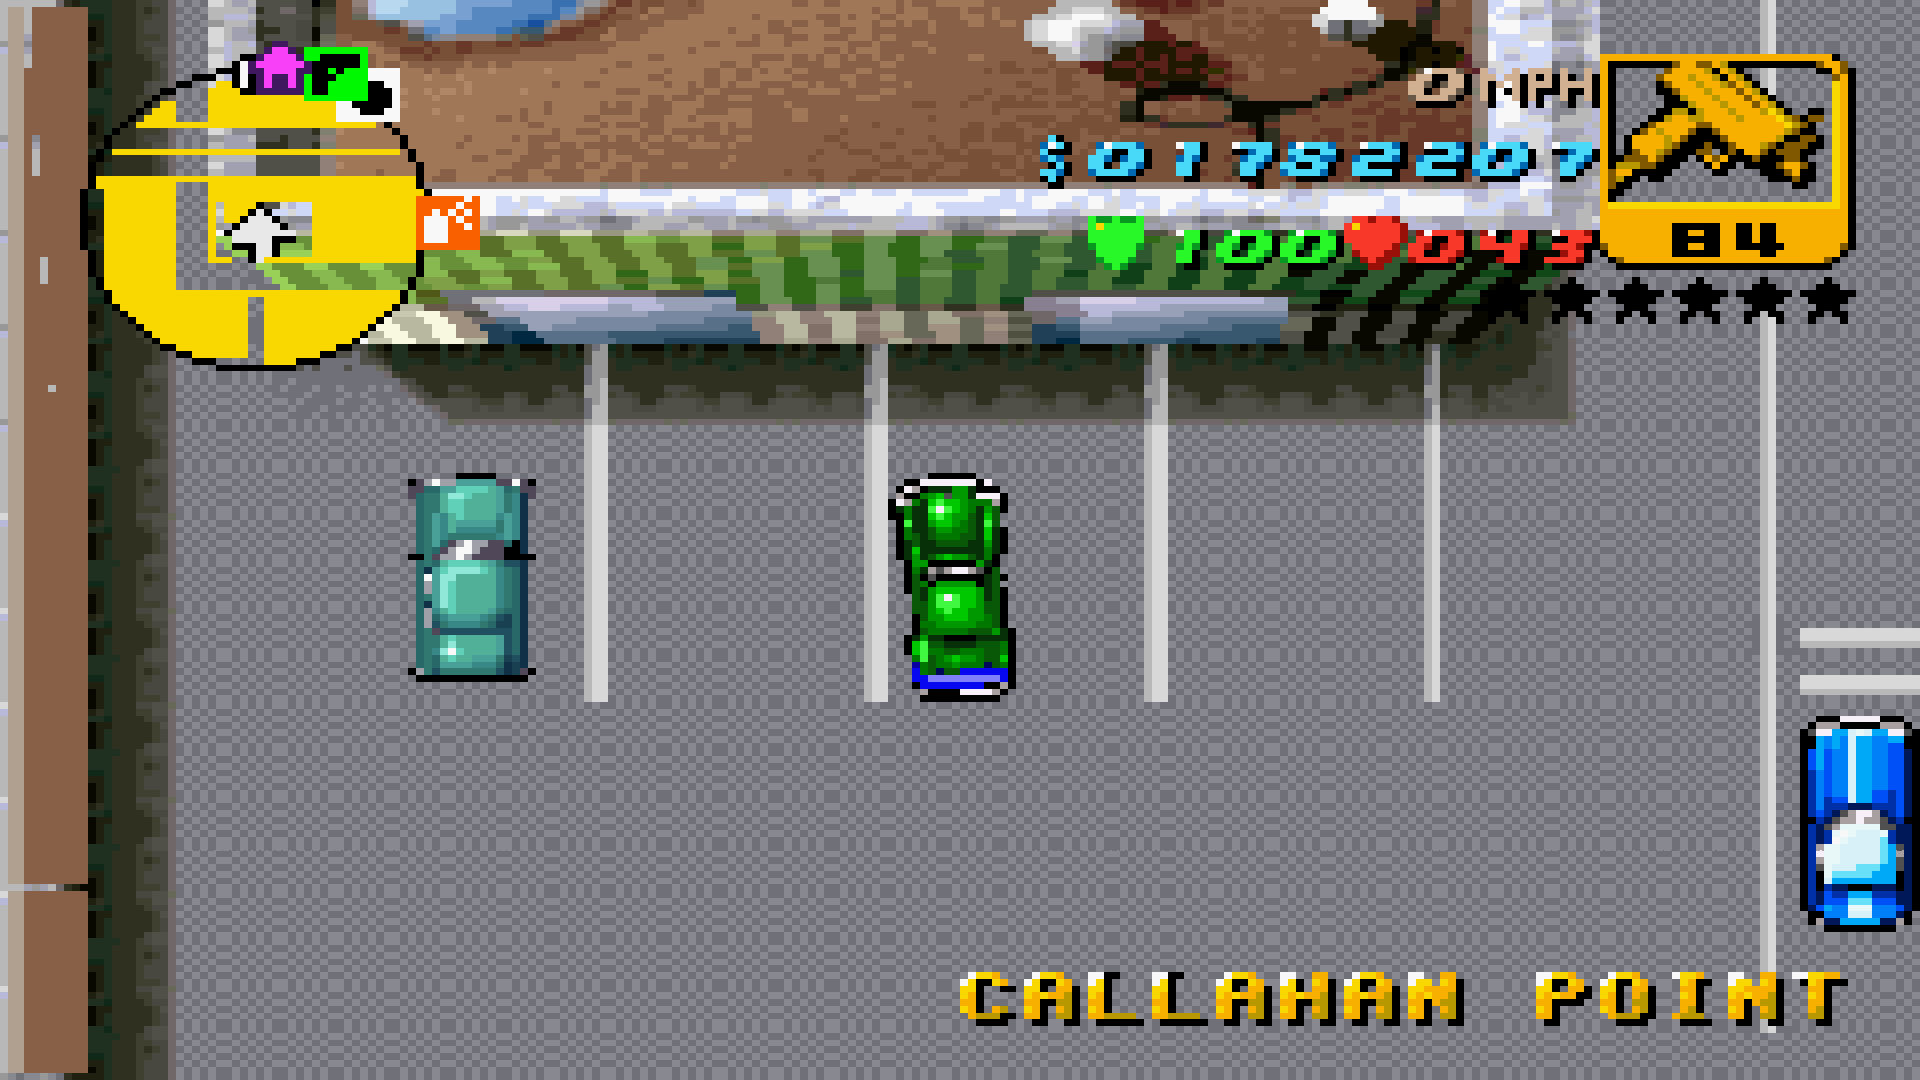 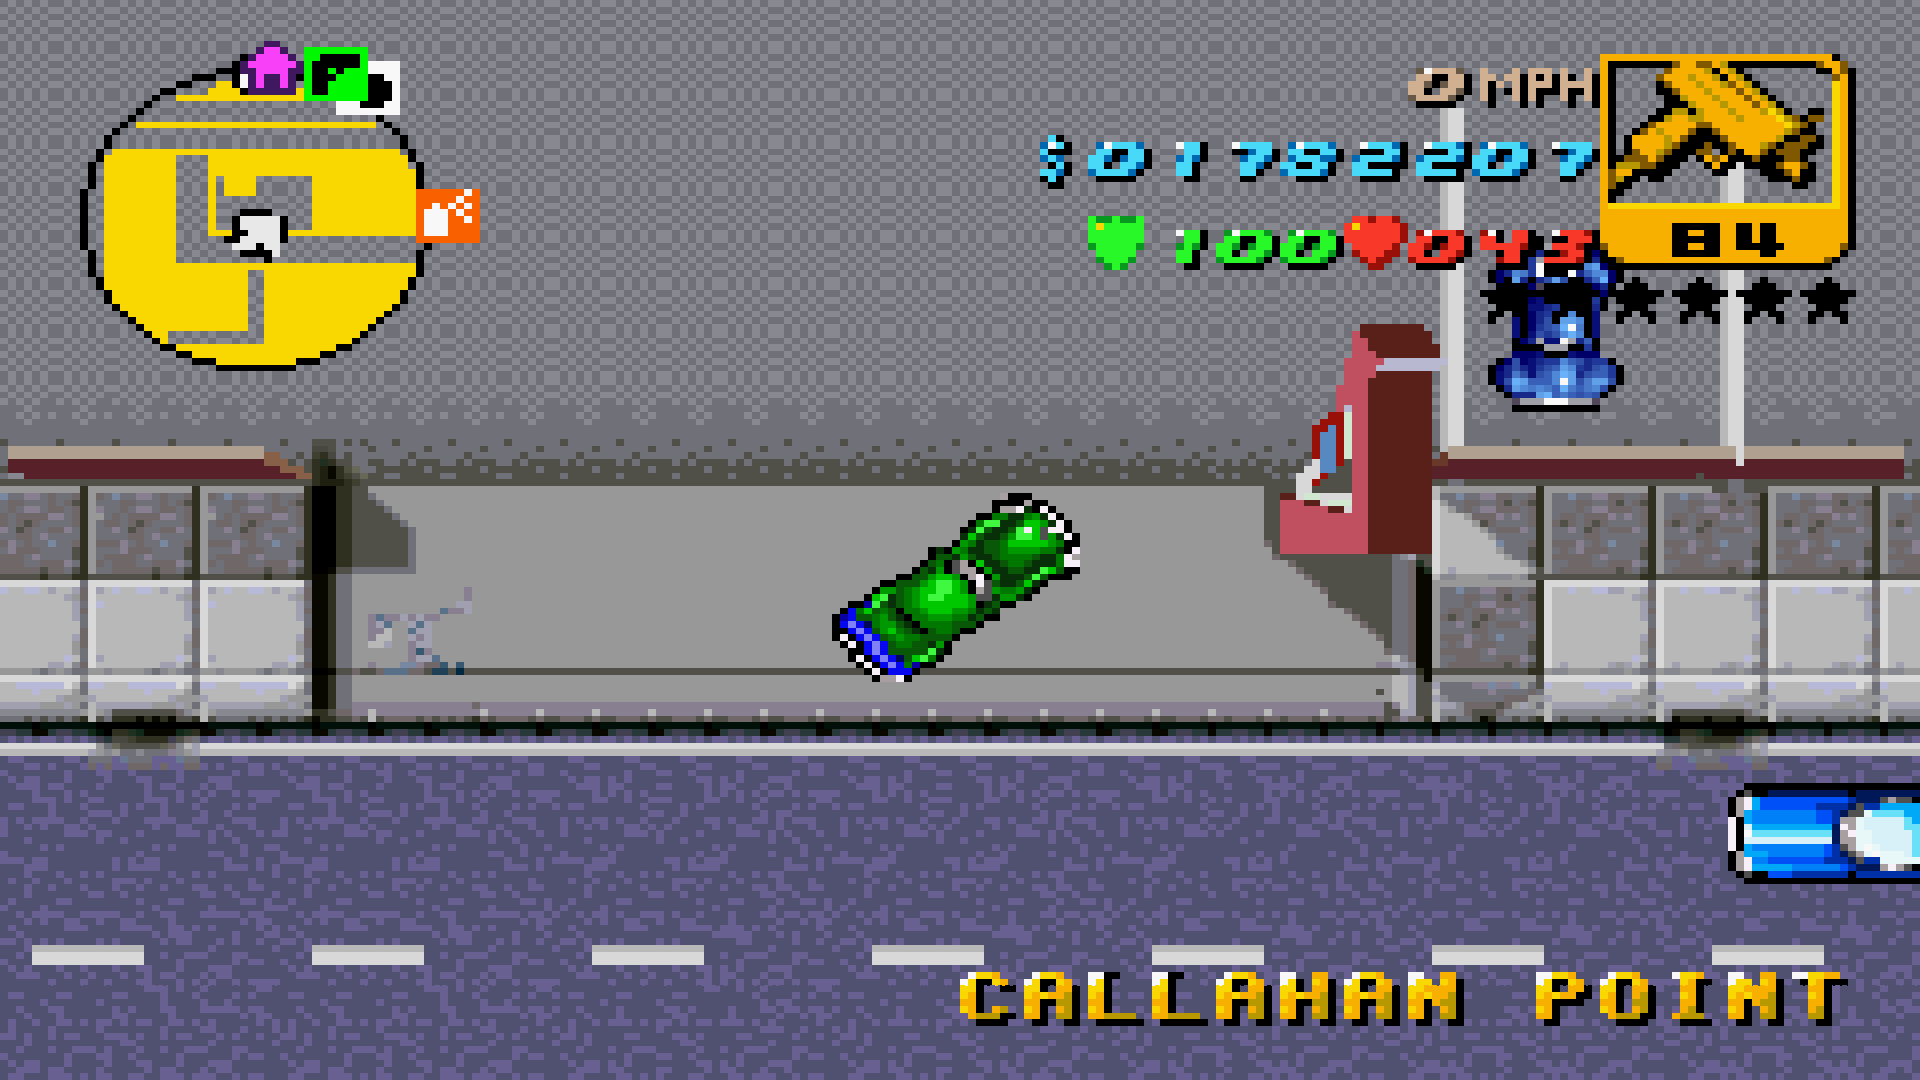
|

|
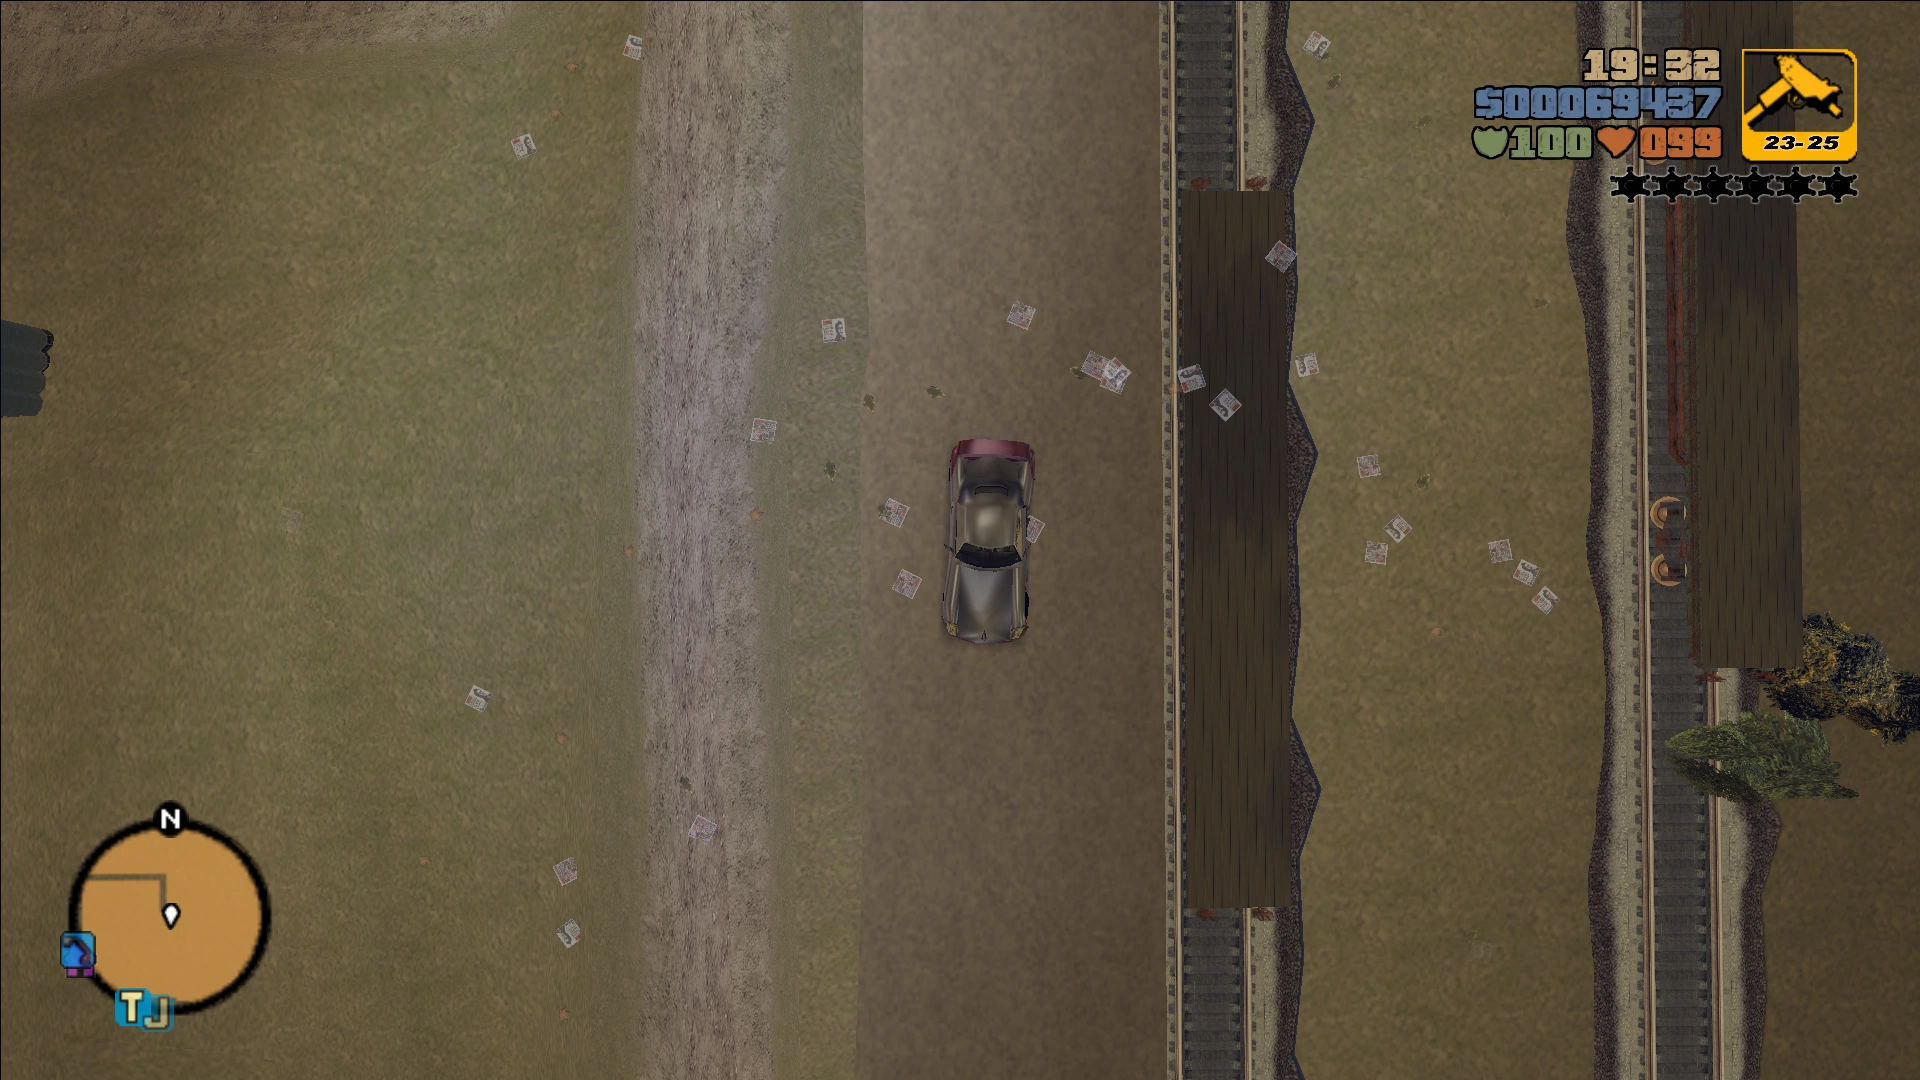
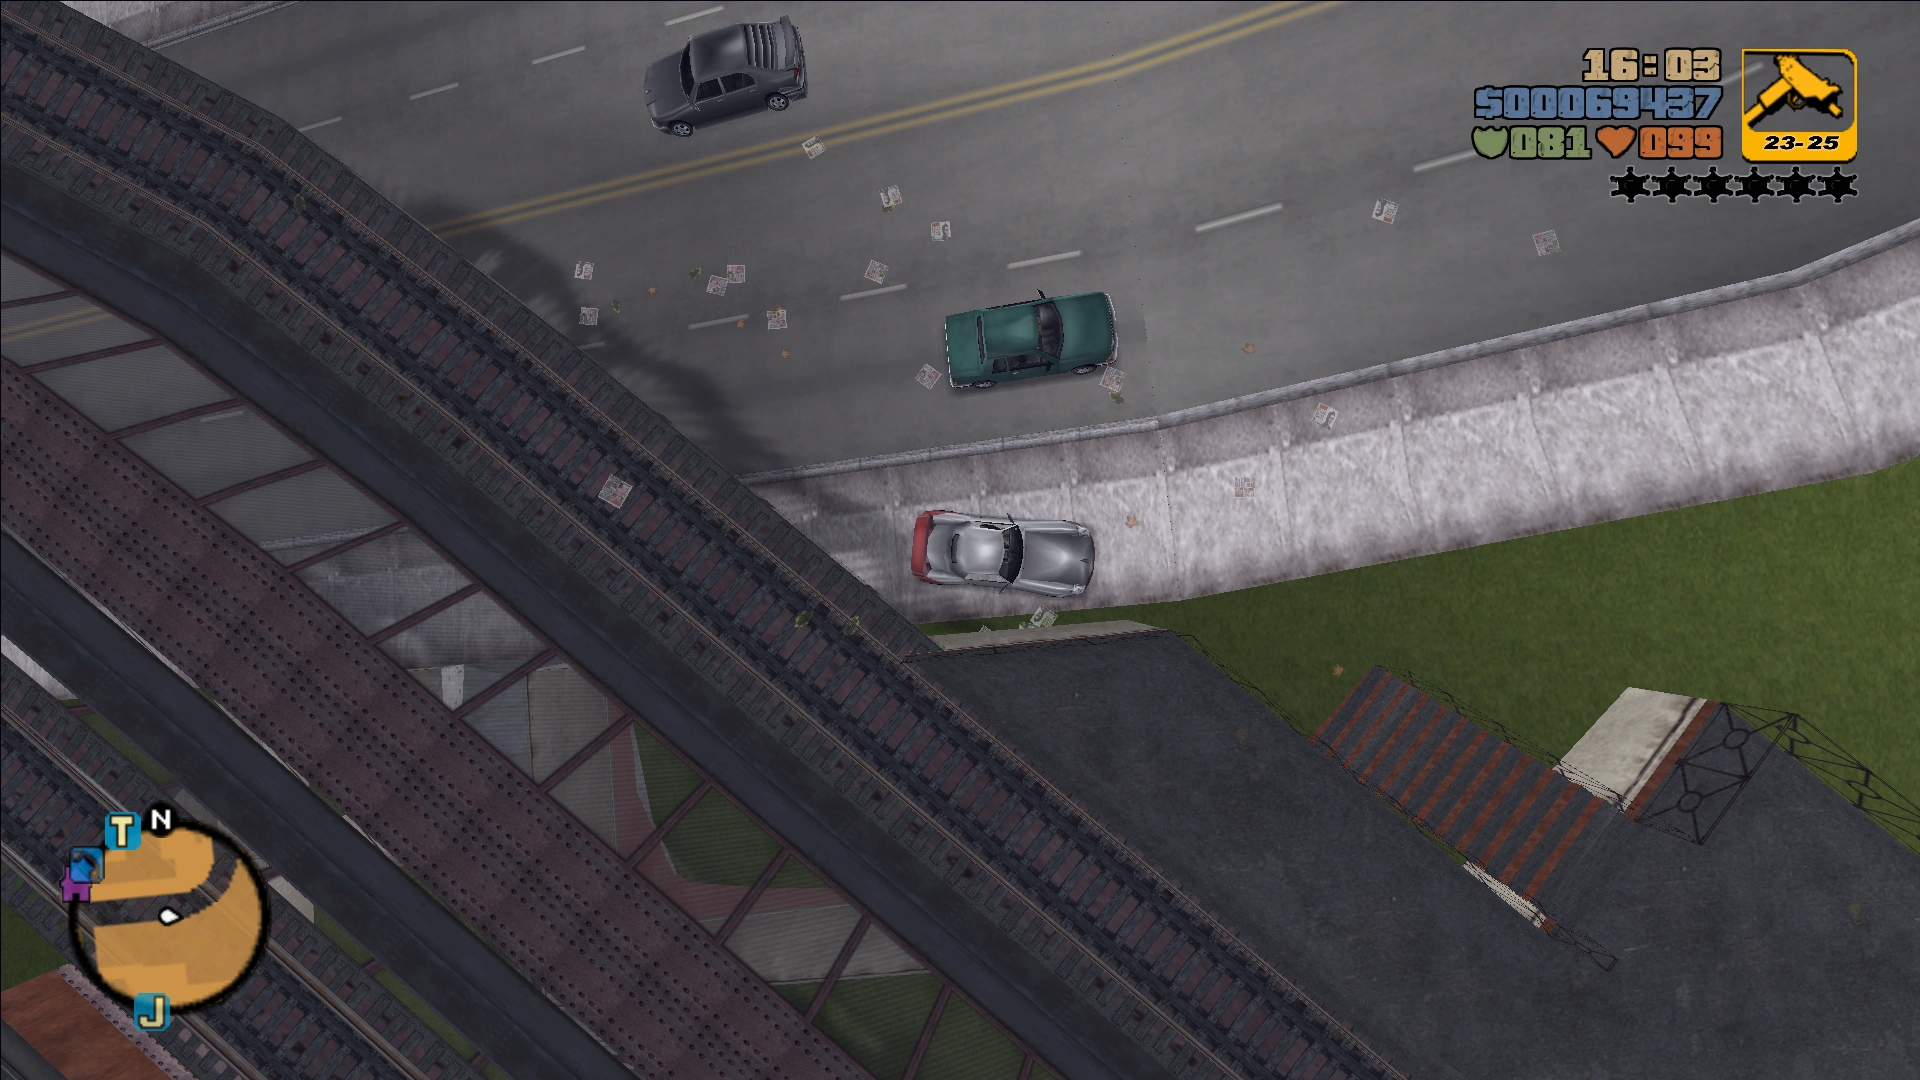
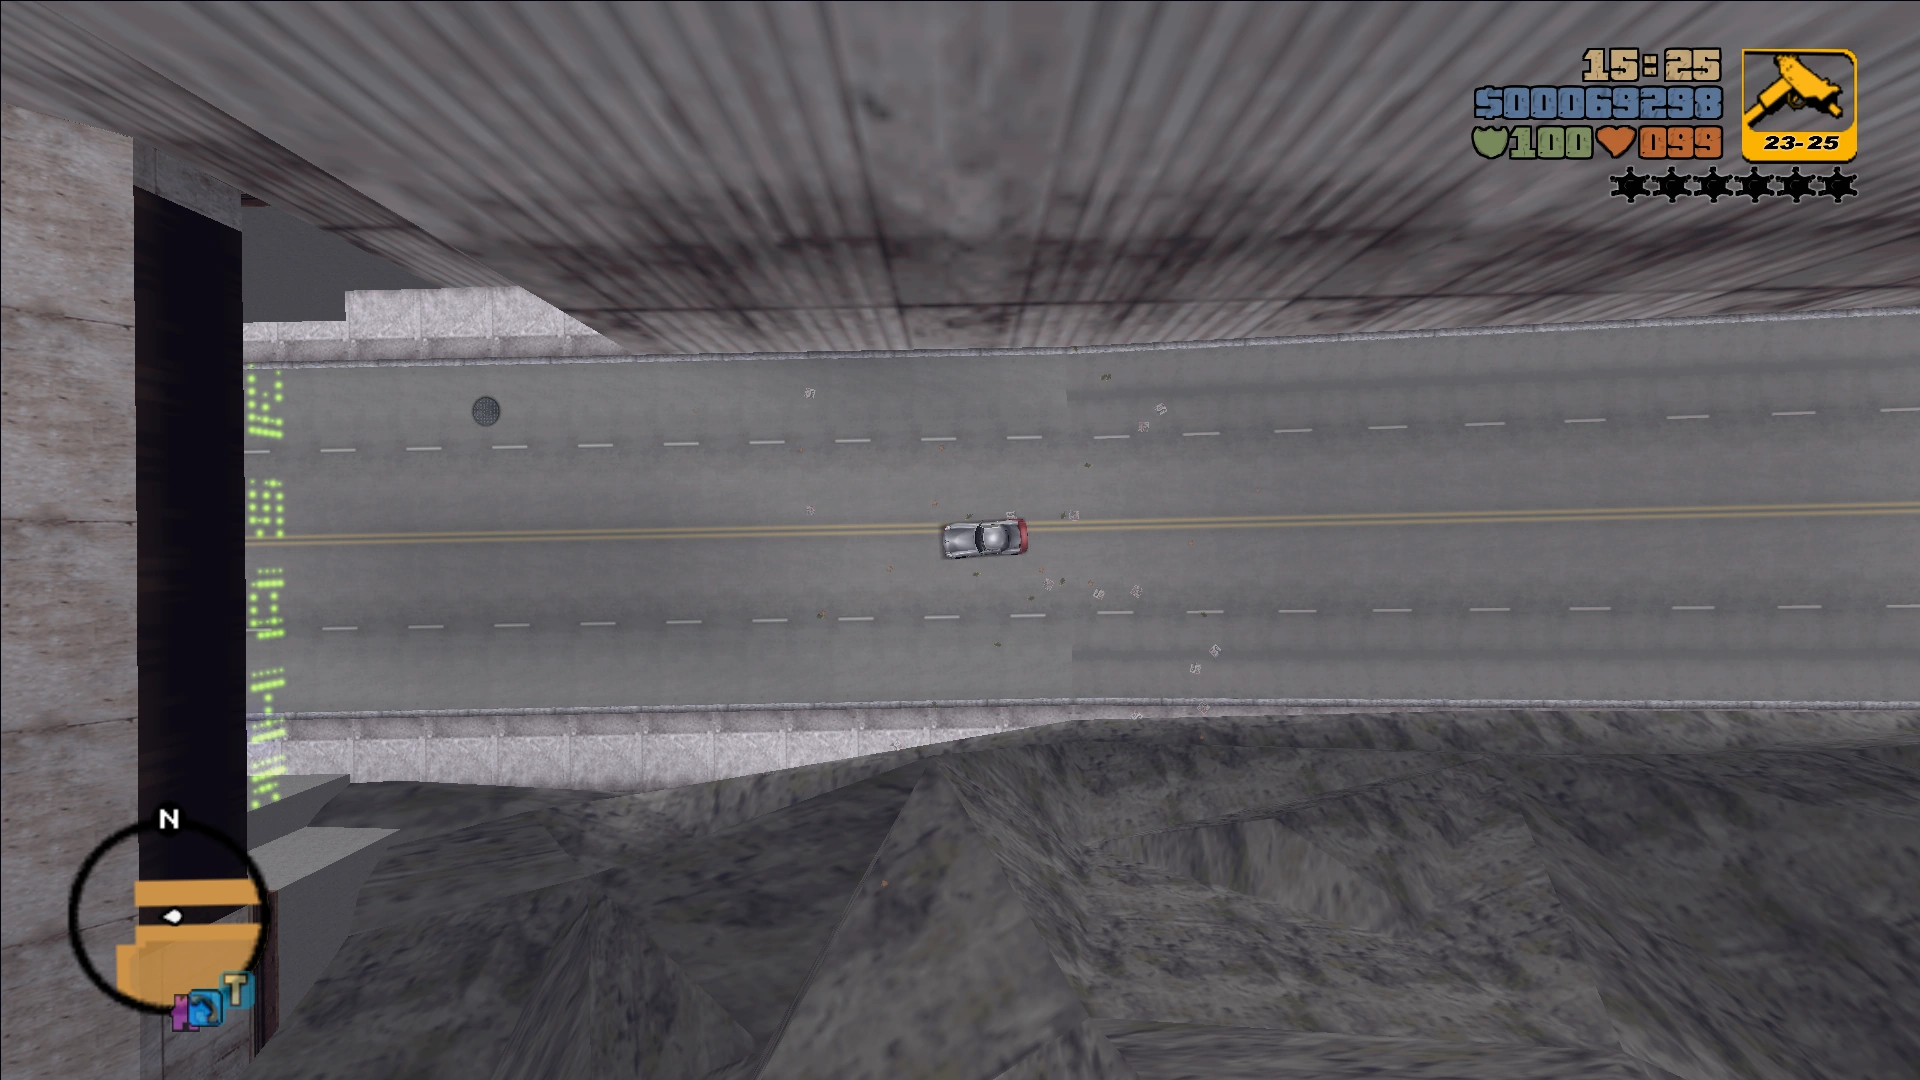
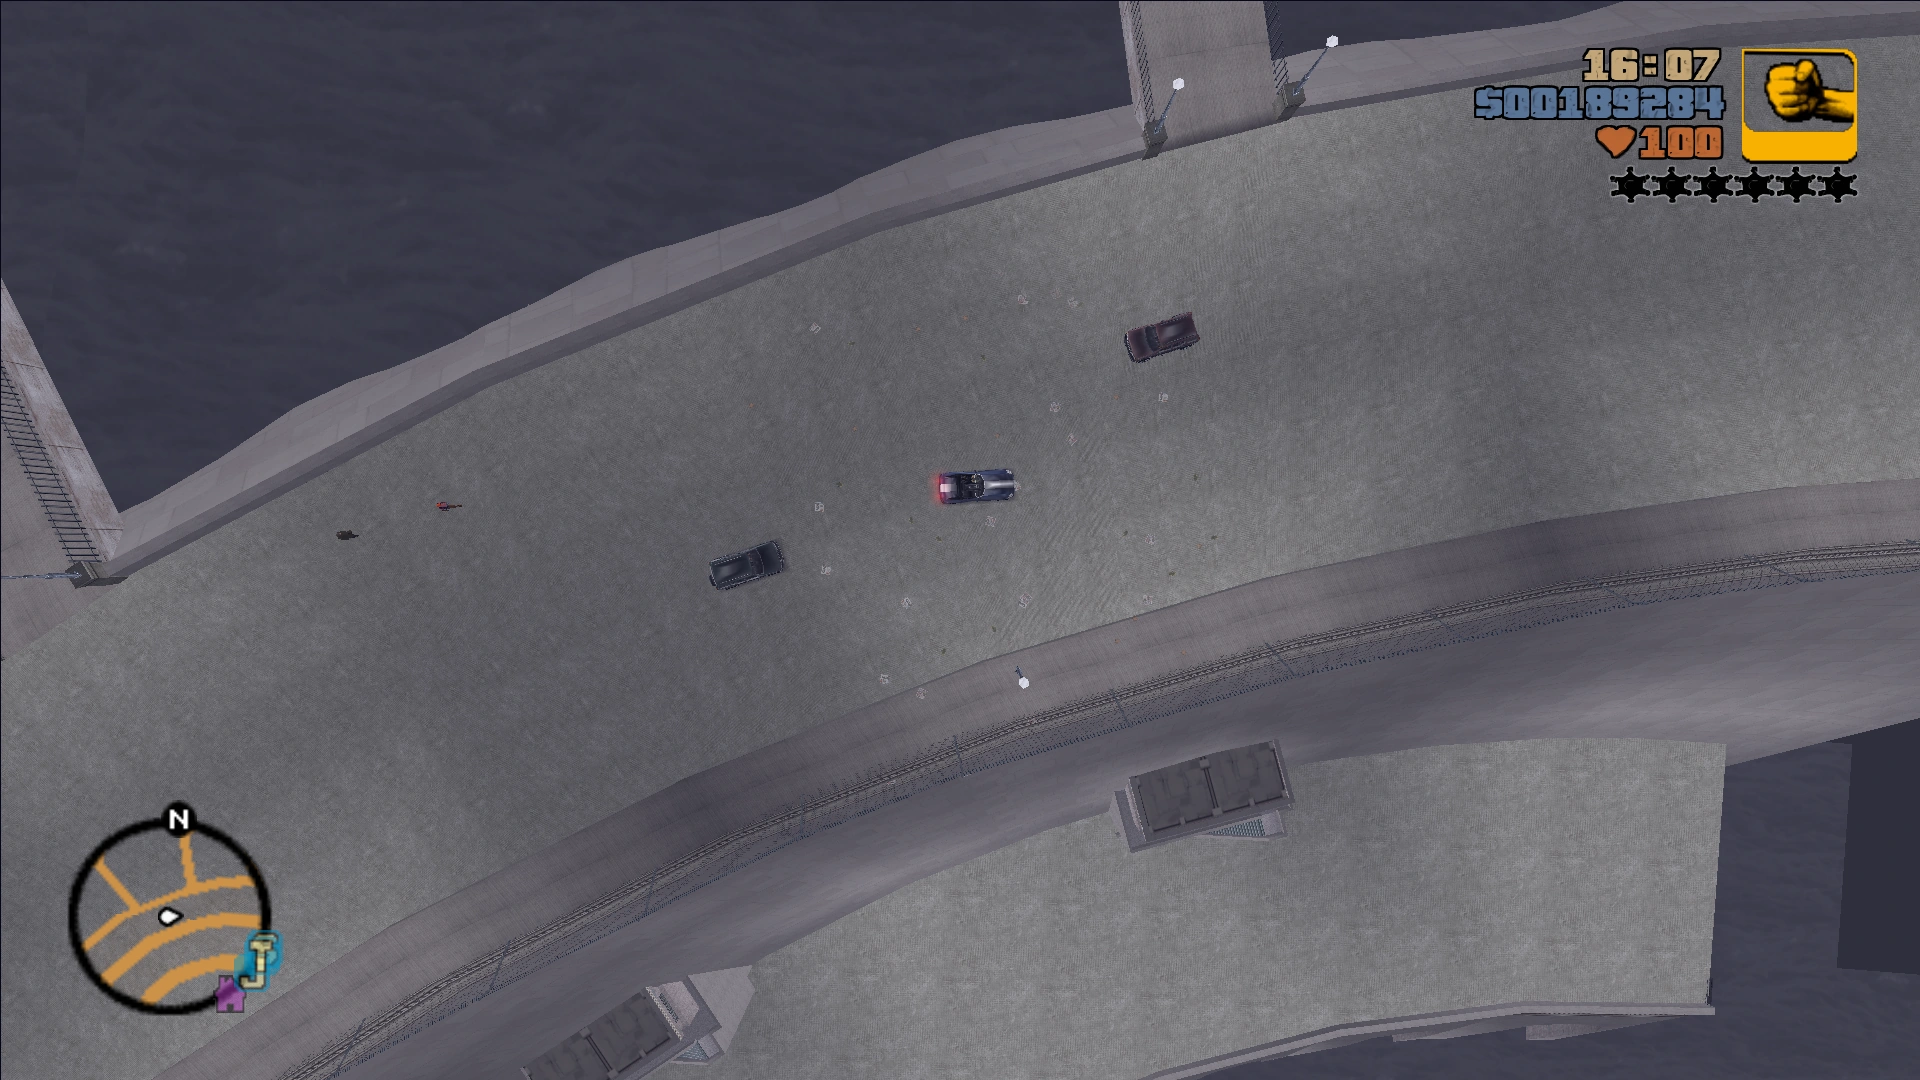
Callahan Bridge. | Both roads are separated by a gap. Suspension towers are placed closely compared with the GTA III rendition. This is the only detailed bridge in GTA Advance. | 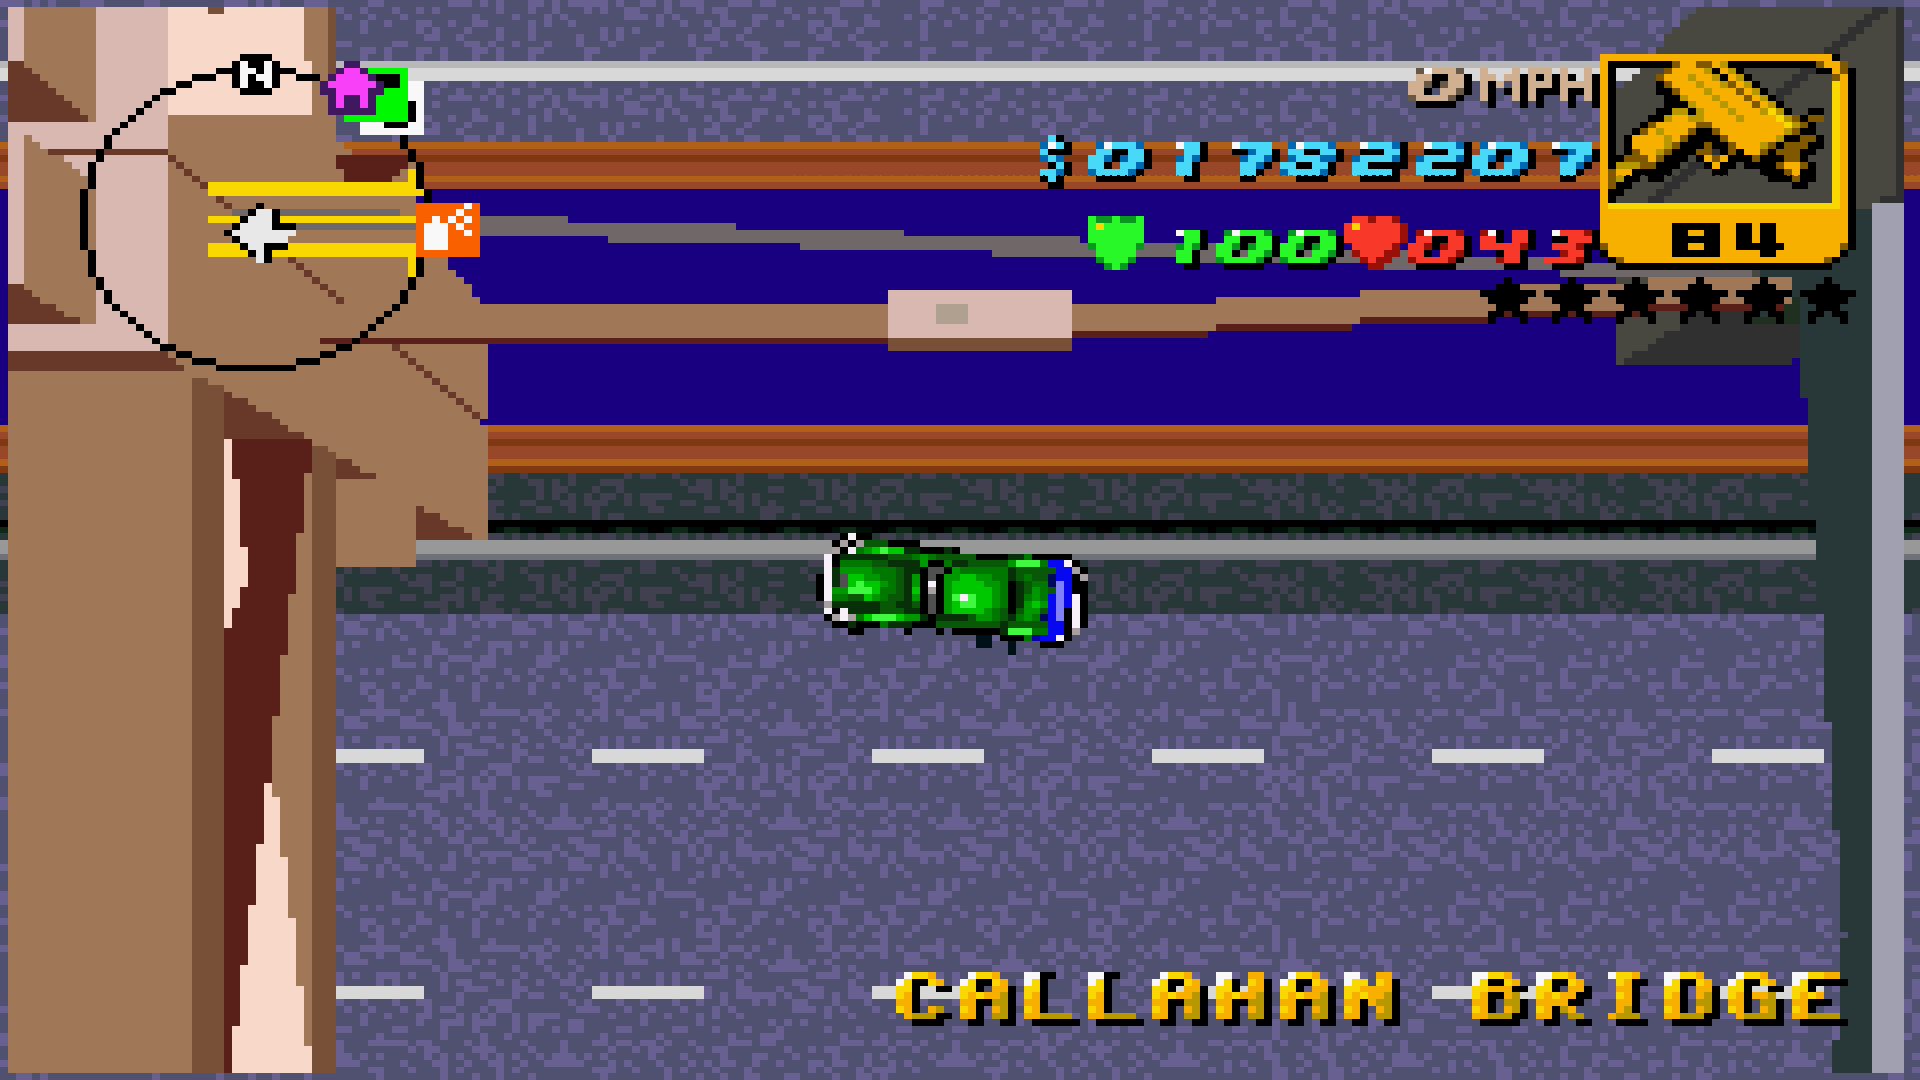
|
Staunton Island[]
Major Changes[]
| Grand Theft Auto III (Original map) 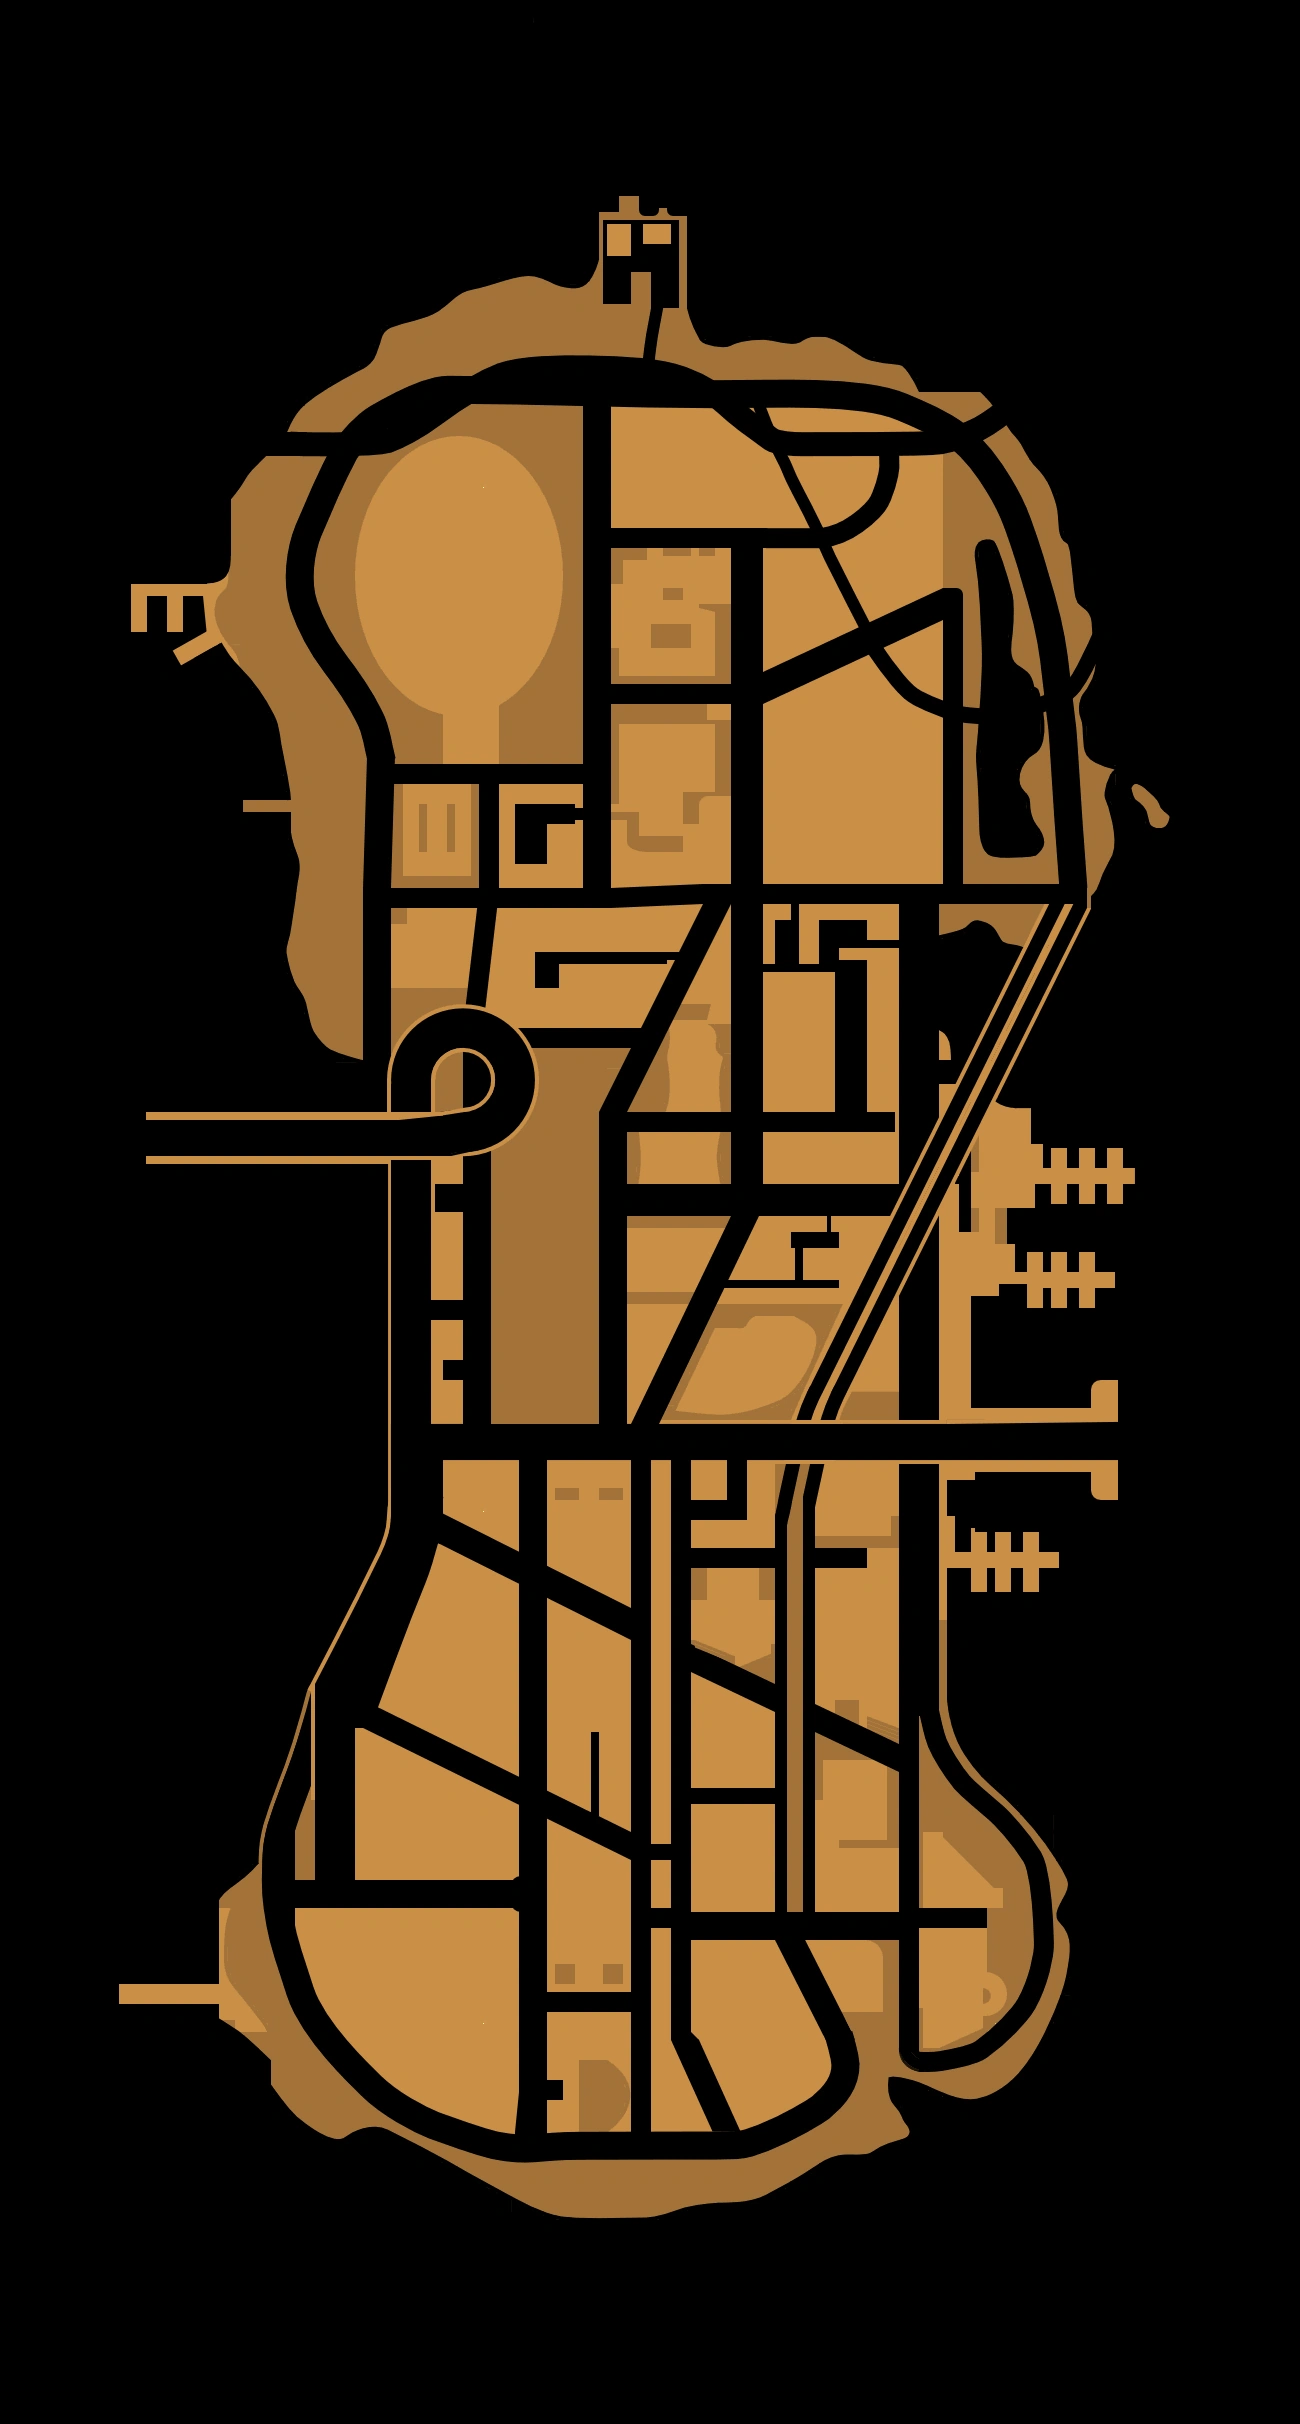 |
Grand Theft Auto Advance (Adapted map) 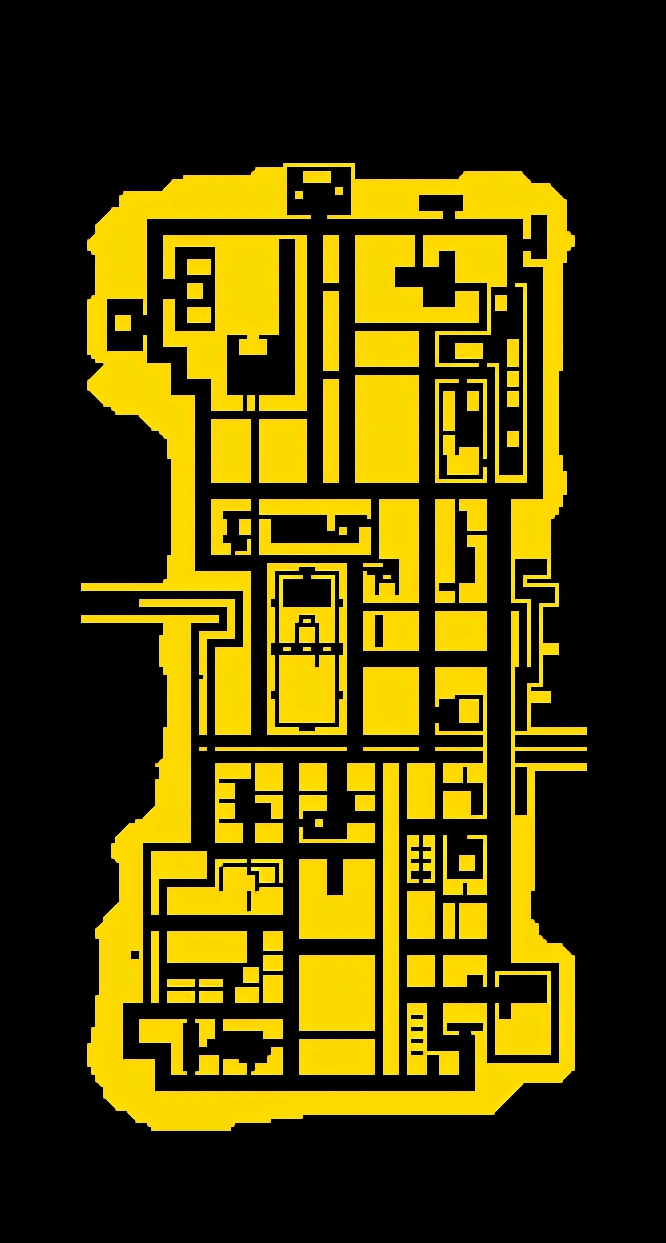 | ||
|---|---|---|---|
|
Asuka Kasen's Condo | Aerial Surveillance Equipment Factory | 
|

|
Bedford Point Docks. | Asuka Kasen's Condo (Moved). Known as "Asuka's Mansion" in the official map poster. | 
|
|
Aspatria Car Park. | Two buildings, including Cisco's place. | 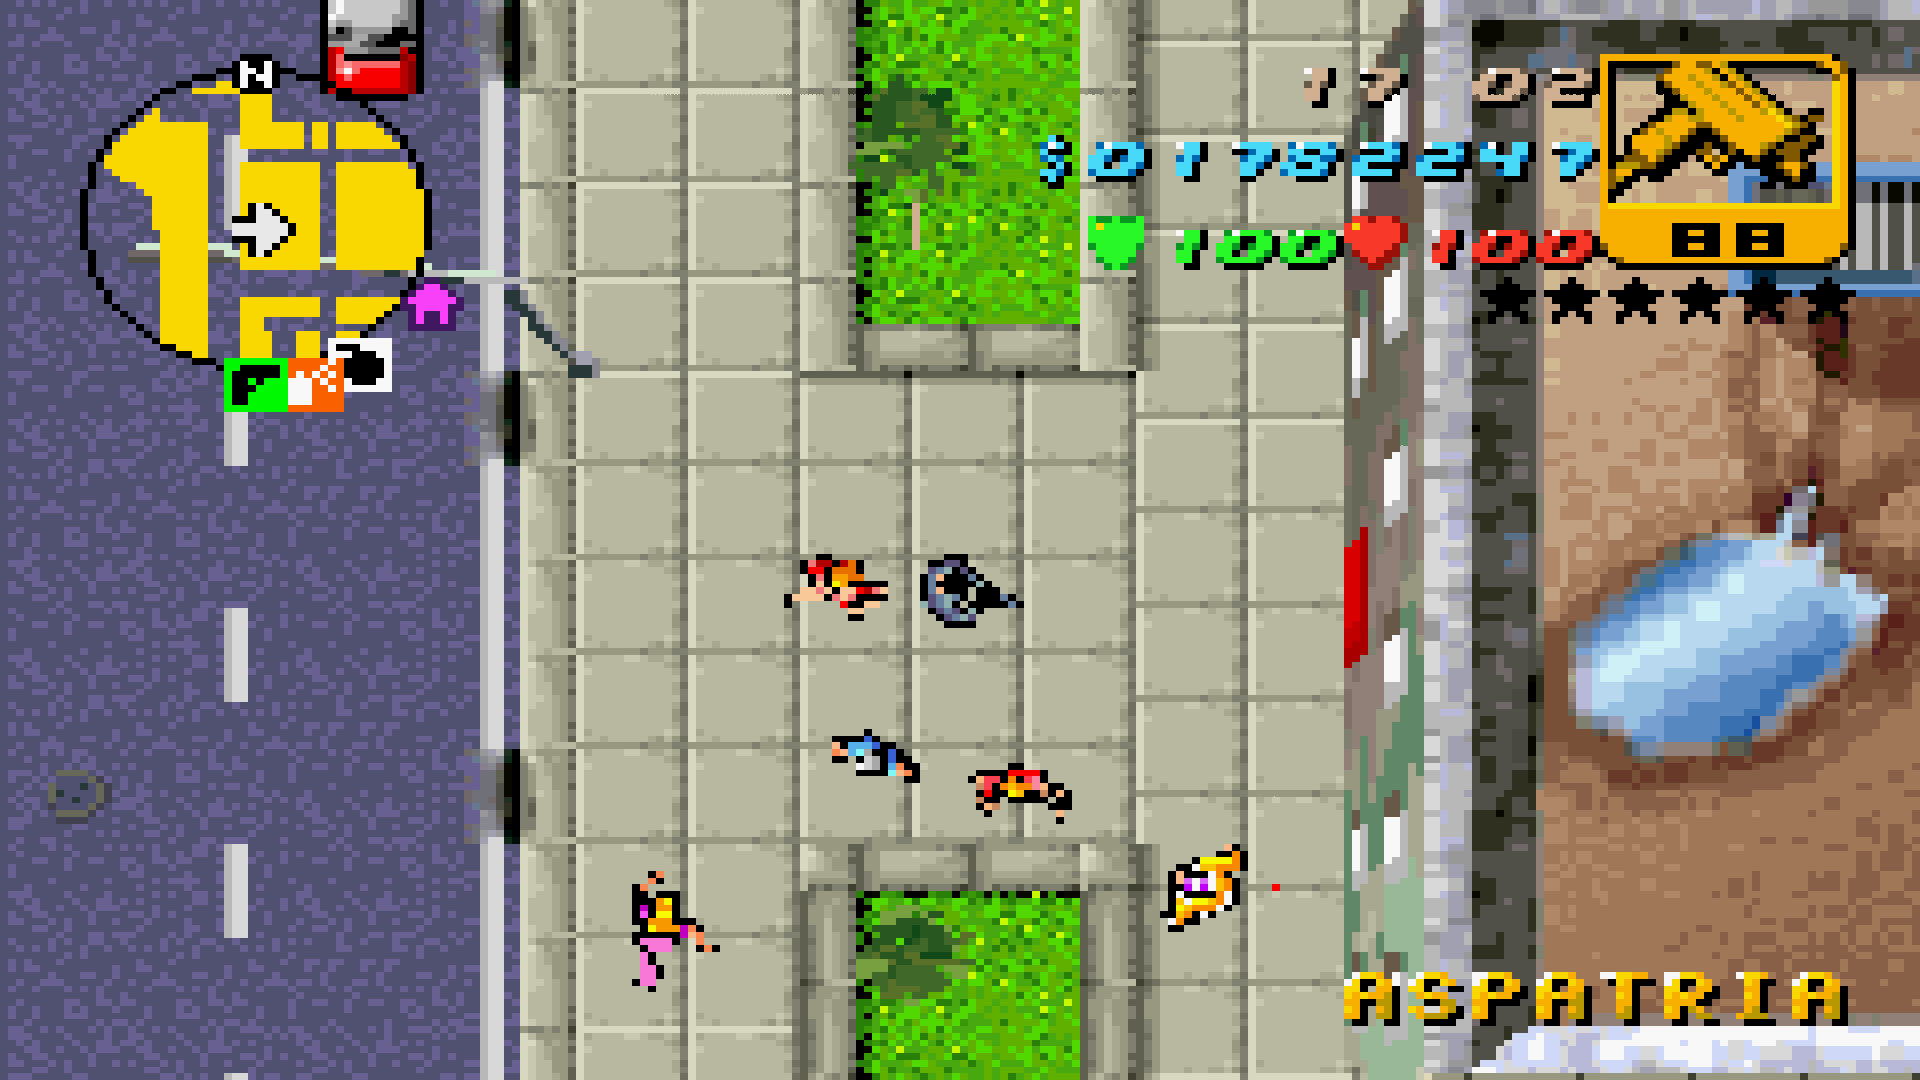
|
|
Staunton Island City Hall. | Parking lot surrounded by stores. | 
|
|
Ray Machowski's lock-up. | Empty green space. | 
|
|
TW@ Internet Cafe and other businesses. | Empty green space. | 
|
|
Town Hall. | Parking lot. A music store behind the Town Hall is replaced by a Pay 'n' Spray. |  
|
|
Lips 106 Headquarters. | Unnamed warehouse. | 
|
|
Ammu-Nation in Newport. | Empty green space. | 
|
|
Newport Condominium. | Different buildings. | 
|
|
Shopping Mall. | Several buildings and stores, including a Deli. |  
|
|
Multistorey Car Park. | Small alley and row of buildings. |  
|
|
Toni Cipriani's Safehouse. | Different building. | 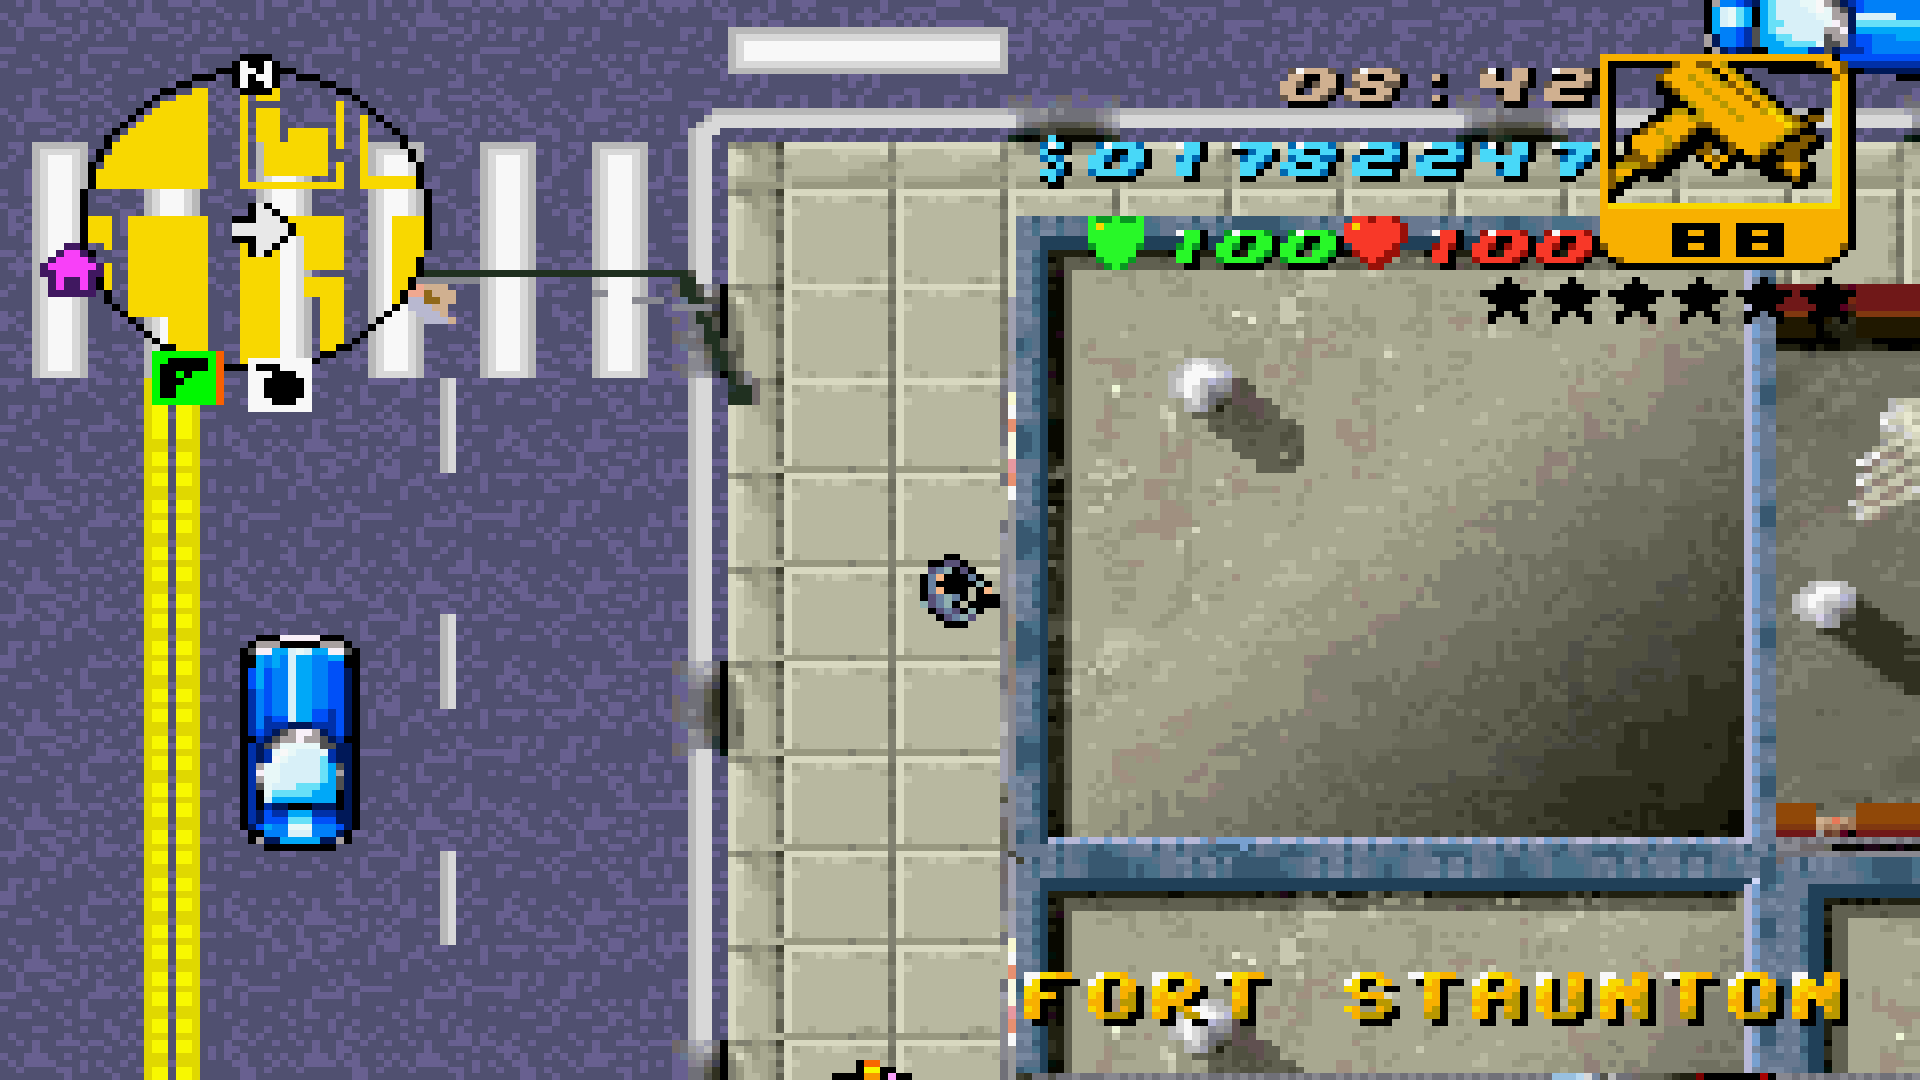
|
|
Leon McAffrey's Apartment. | Different building. | 
|
|
Pay 'n' Spray in Newport. | Parking lot with a small warehouse in the middle. | 
|
|
Northside of Liberty Campus, including a subway entrance. | Large empty green space. | 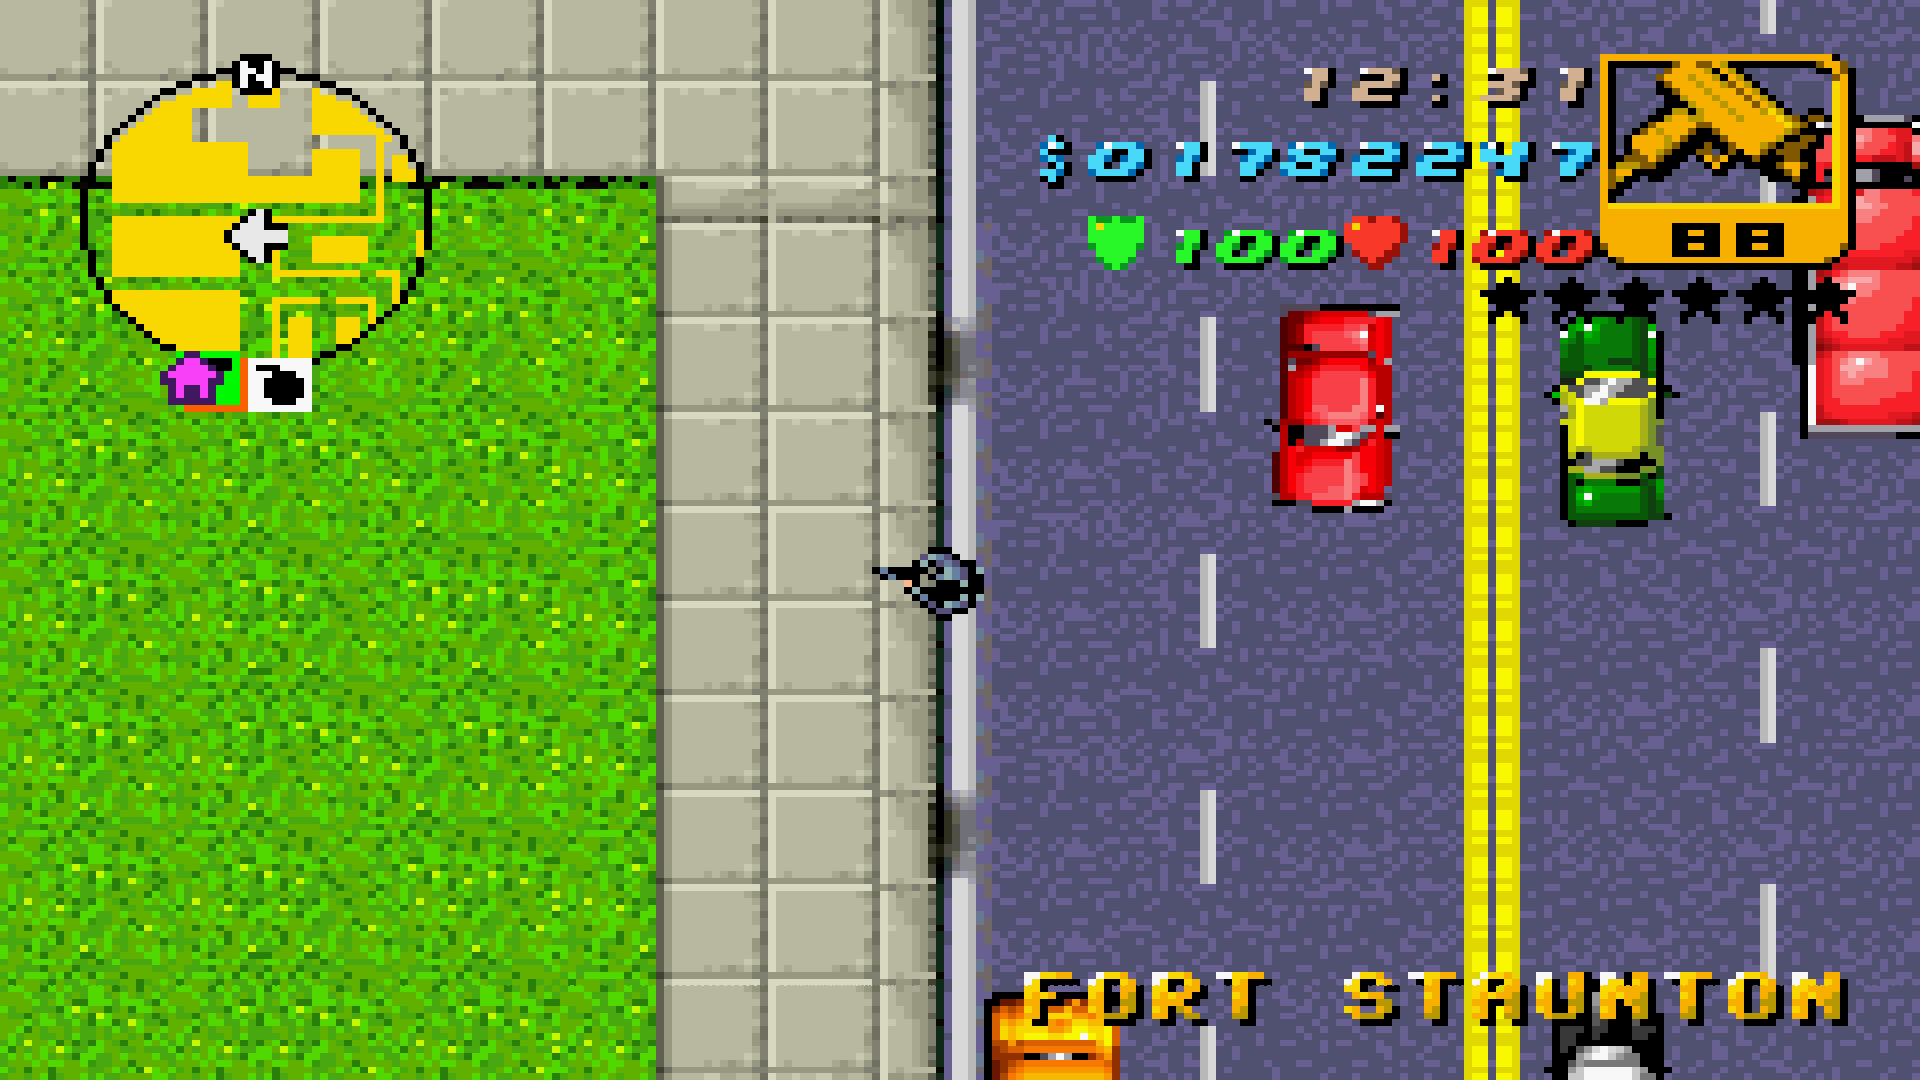 
|
|
Liberty City Community College in Liberty Campus. | Several different buildings, including a cinema. Still used as a school in-game. | 
|
|
Claude's Safehouse. | Mike's Safehouse. Different layout, alley replaced by a parking lot. | 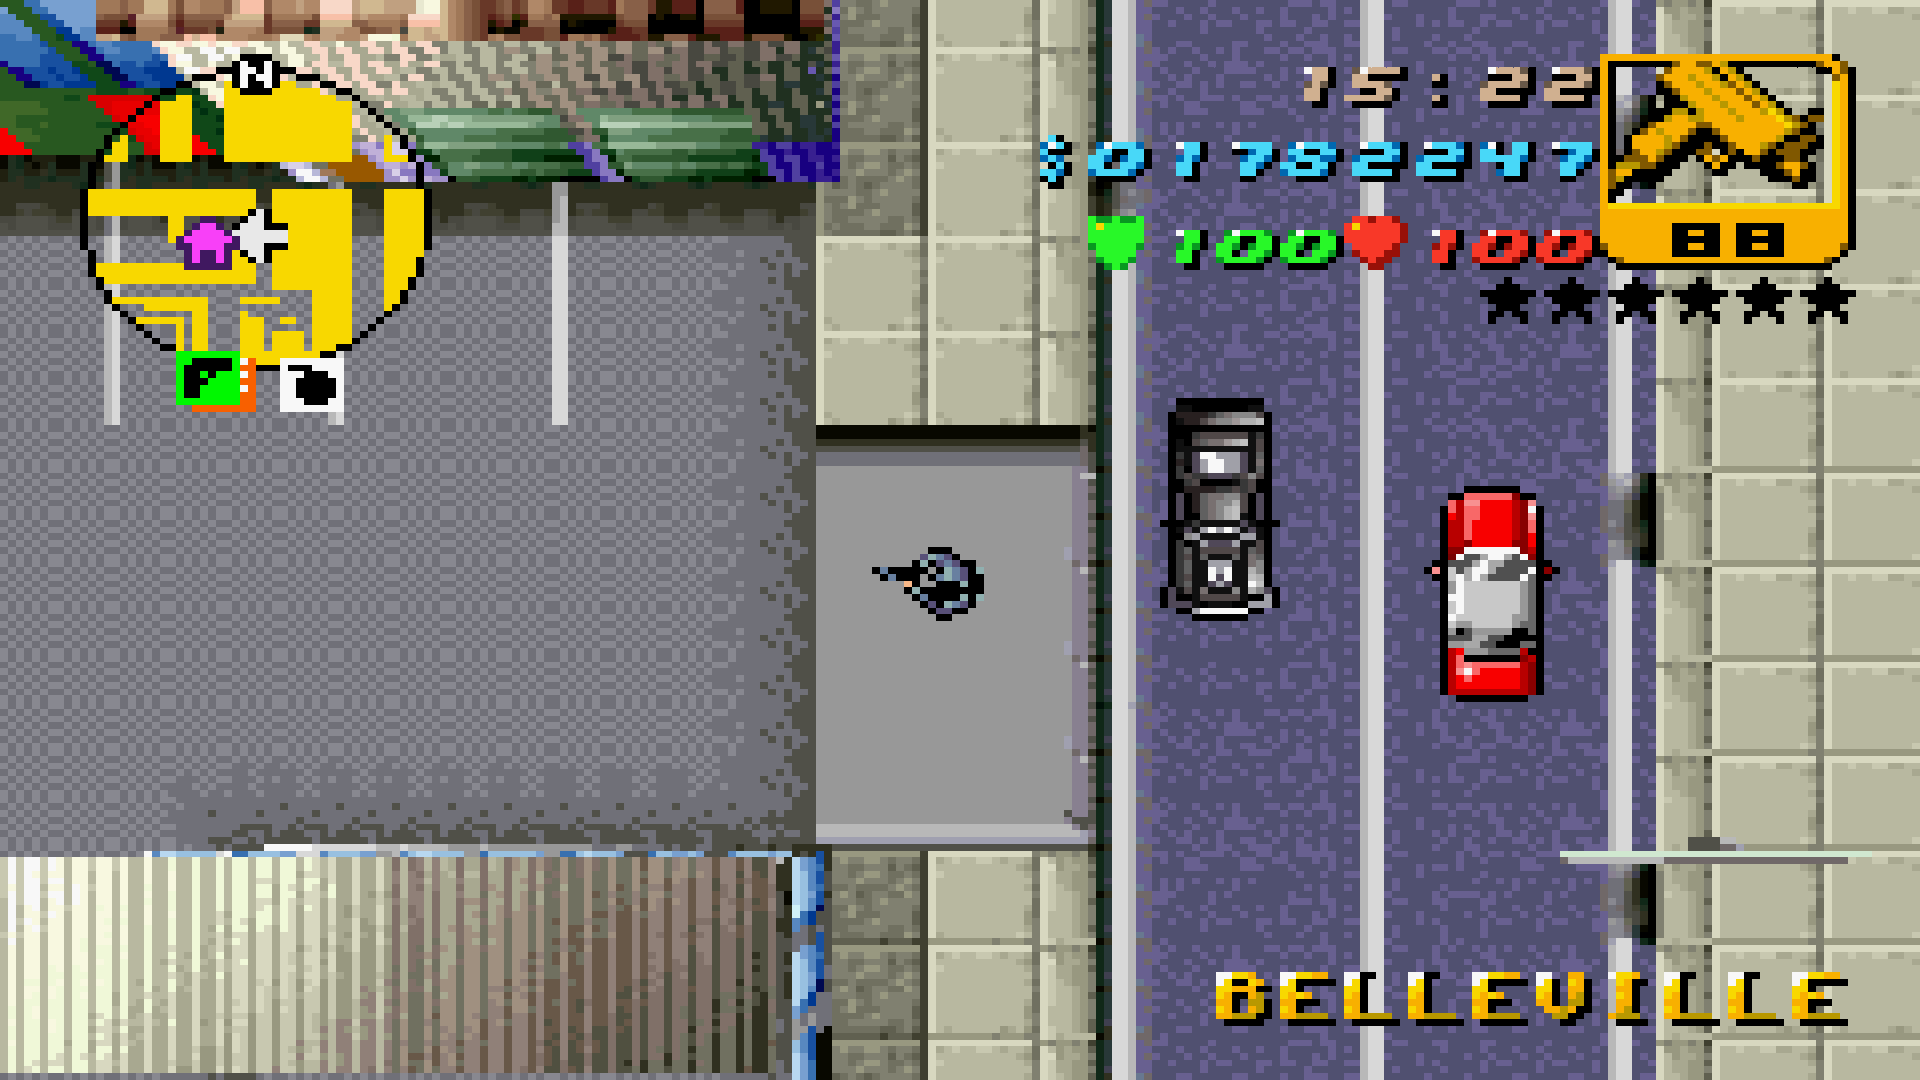 
|

|
Uncle BJ's Deli & Groceries. | Different building. | 
|
|
Staunton Island Fire Station. | Two different buildings. | 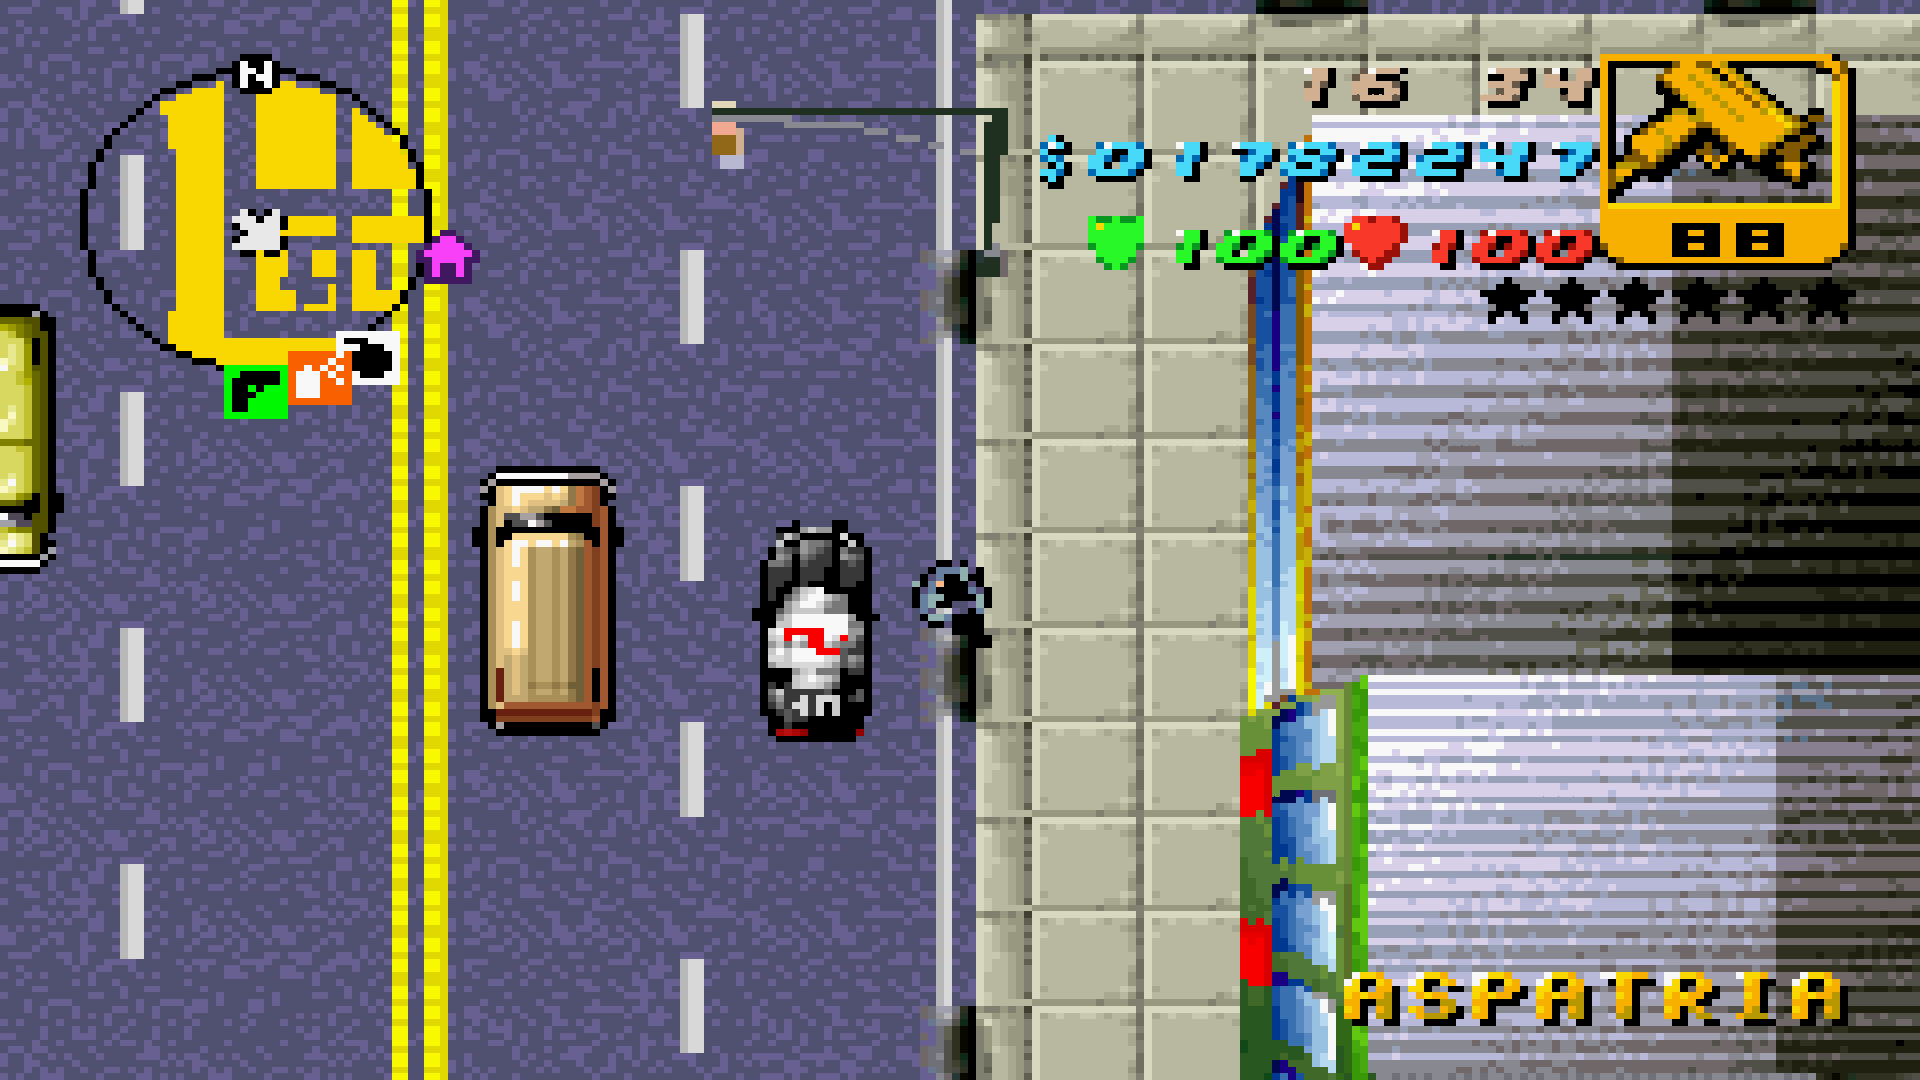
|
|
Leon McAffrey's contact point at the Aspatria Waterfront Park. | Empty space. | 
|
|
Phil's Army Surplus. | Carson General Hospital. | 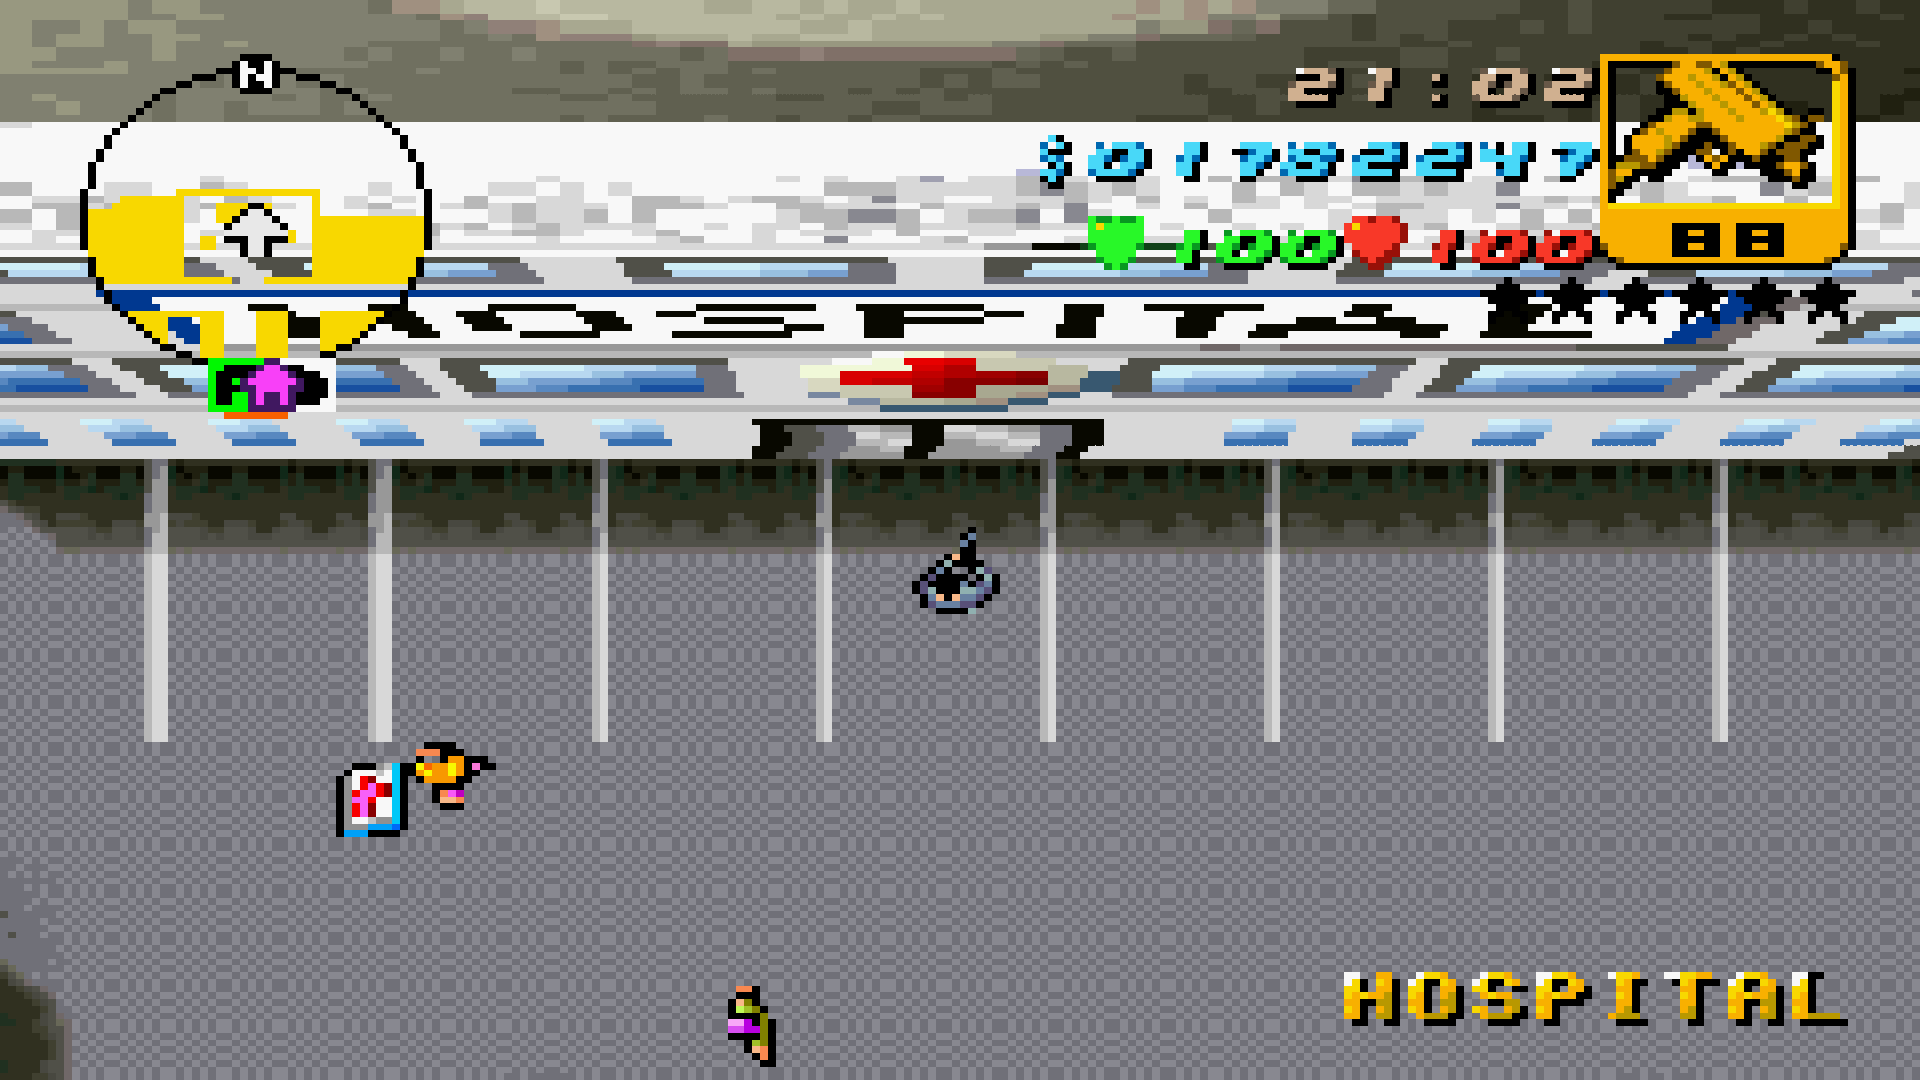 
|

|
Carson General Hospital. | Unnamed building. A Fire Truck spawns here, implying that the Staunton Island Fire Station has been moved to this location. | 
|
|
Jefferson Street Credit Union Building. | Two different buildings. | 
|
|
Love Media Building | Different building. | 
|
|
Morningstar Building and the Morningstar Plaza star sculpture. | Two different buildings, while the Plaza is replaced by a empty green space. Ironically, a Police Bribe star can be found in the same spot where the star sculpture was originally located. | 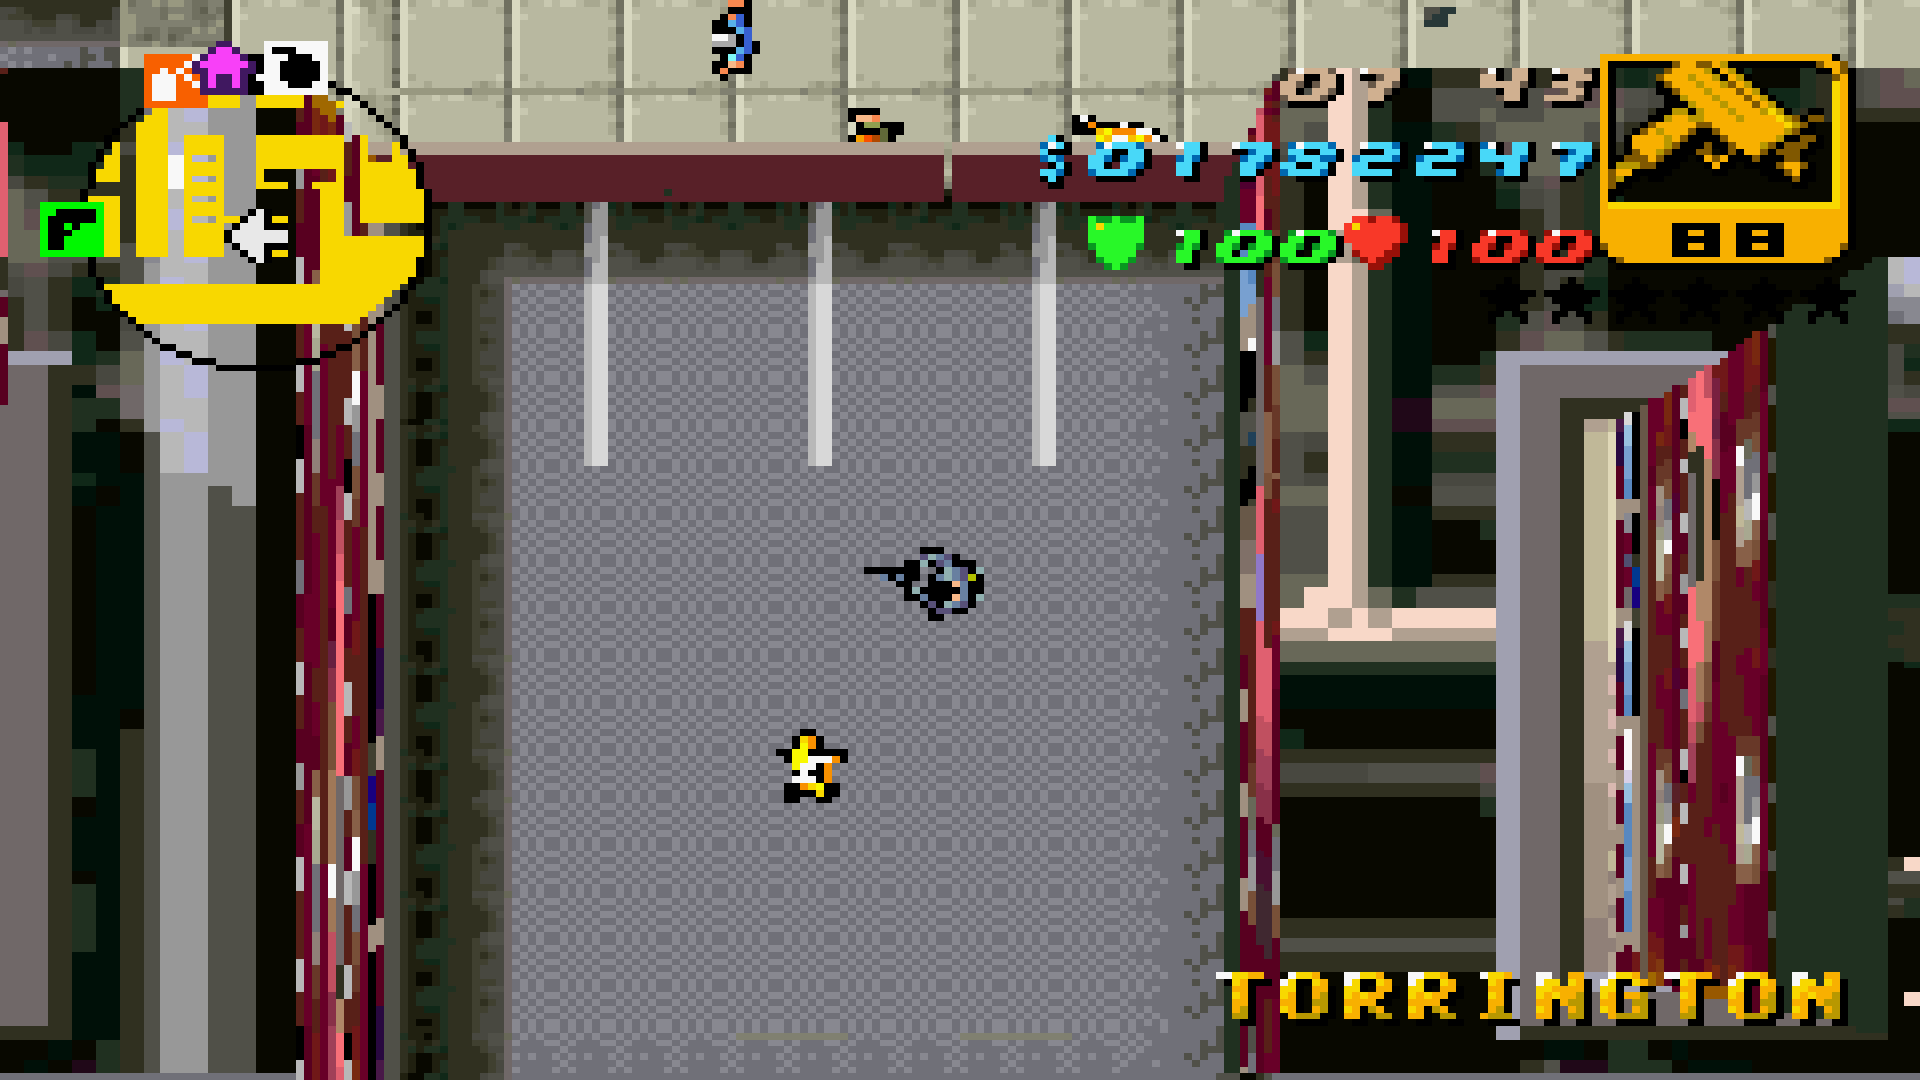
|
|
Liberty Tree Offices. | Deli. | 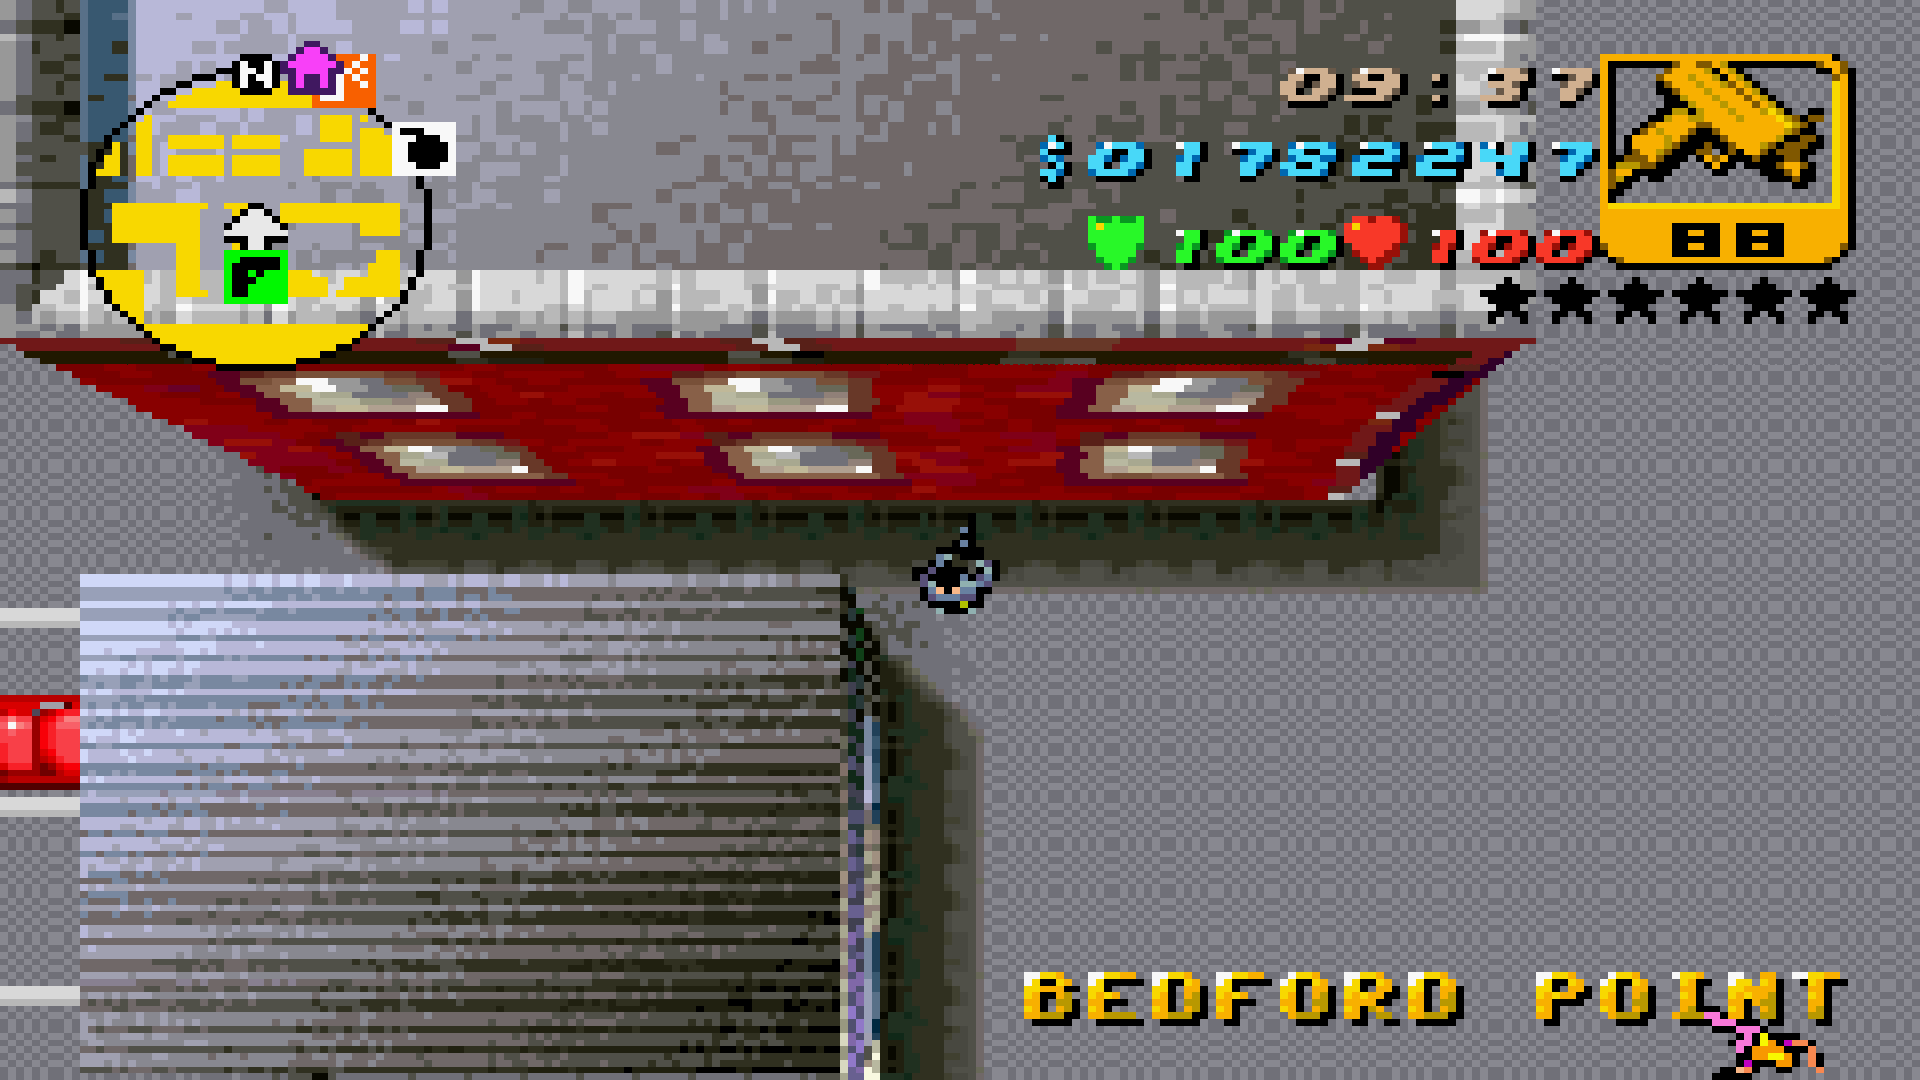
|
Minor Changes[]
| Grand Theft Auto III (Original map) |
Grand Theft Auto Advance (Adapted map) | ||
|---|---|---|---|
|
Porter Tunnel | Connected to the parking lot above it, as the game has no height differences. |  
|
|
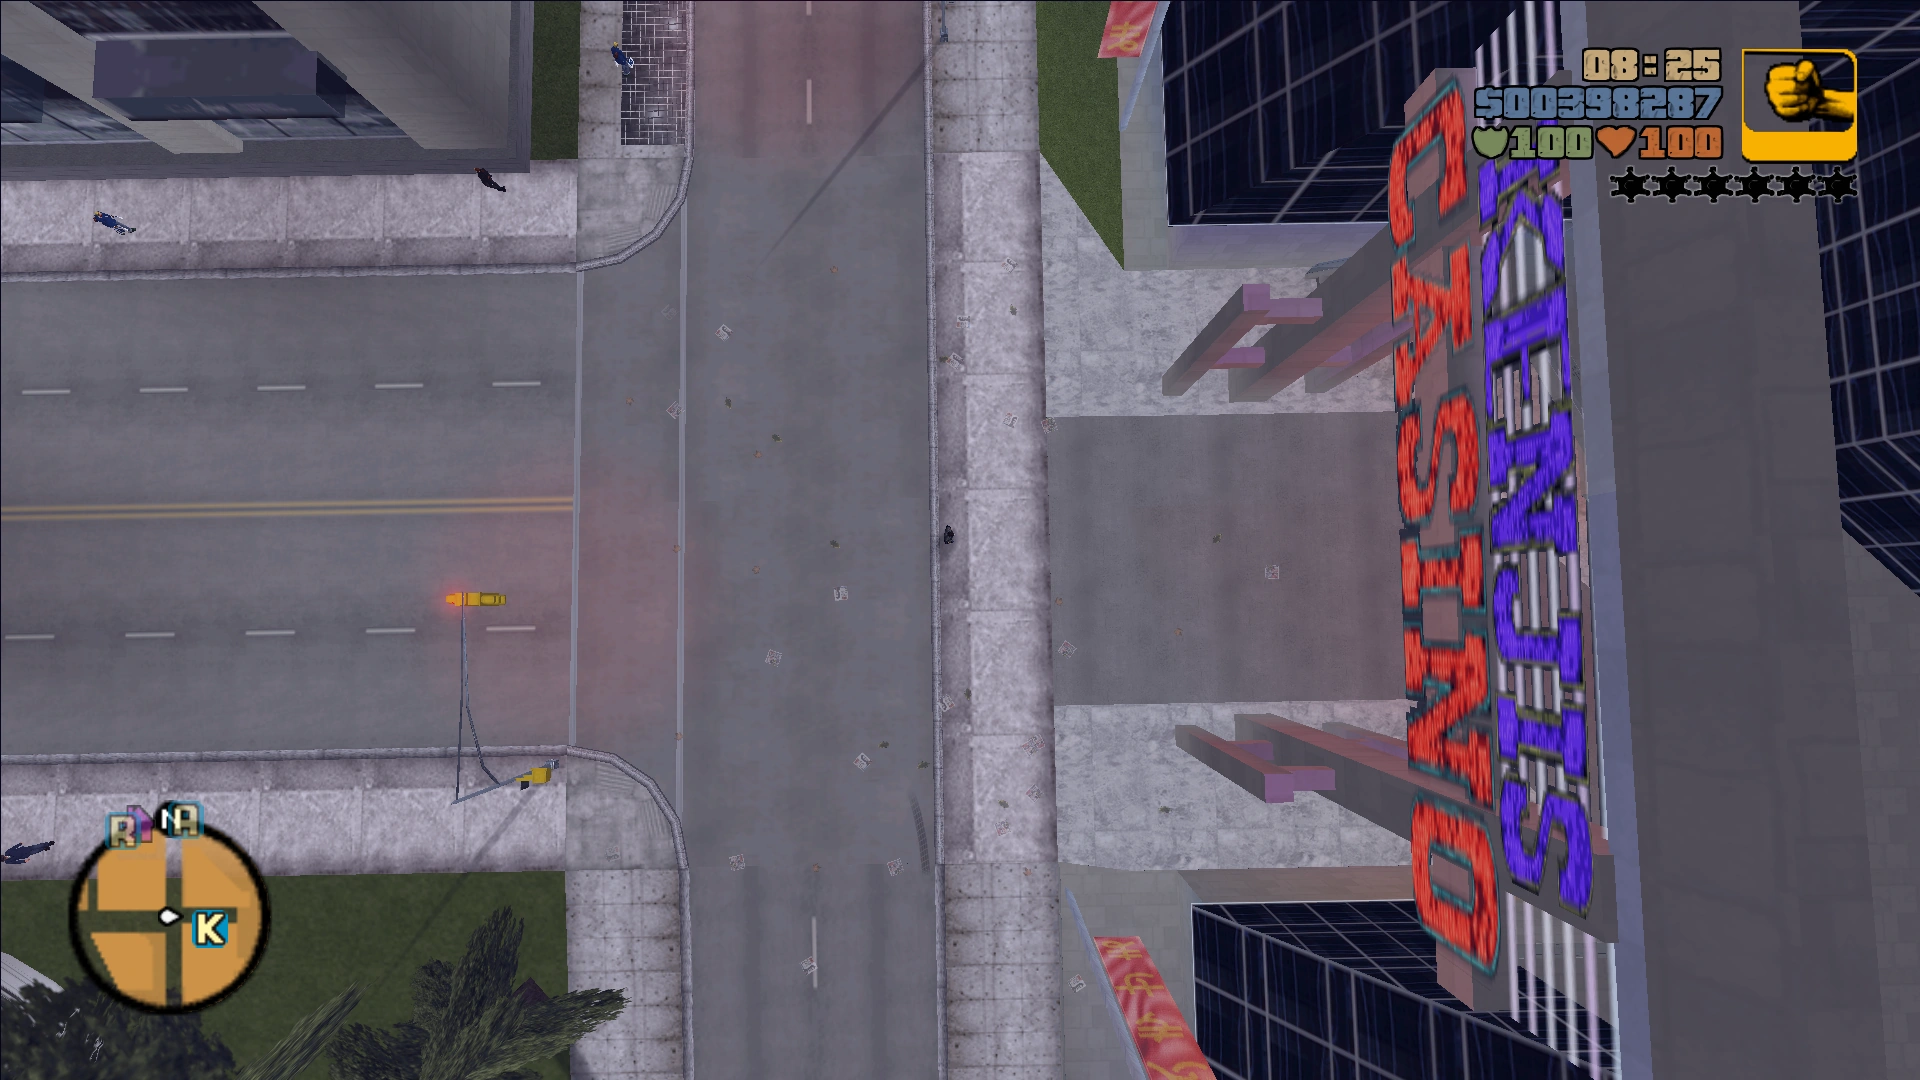
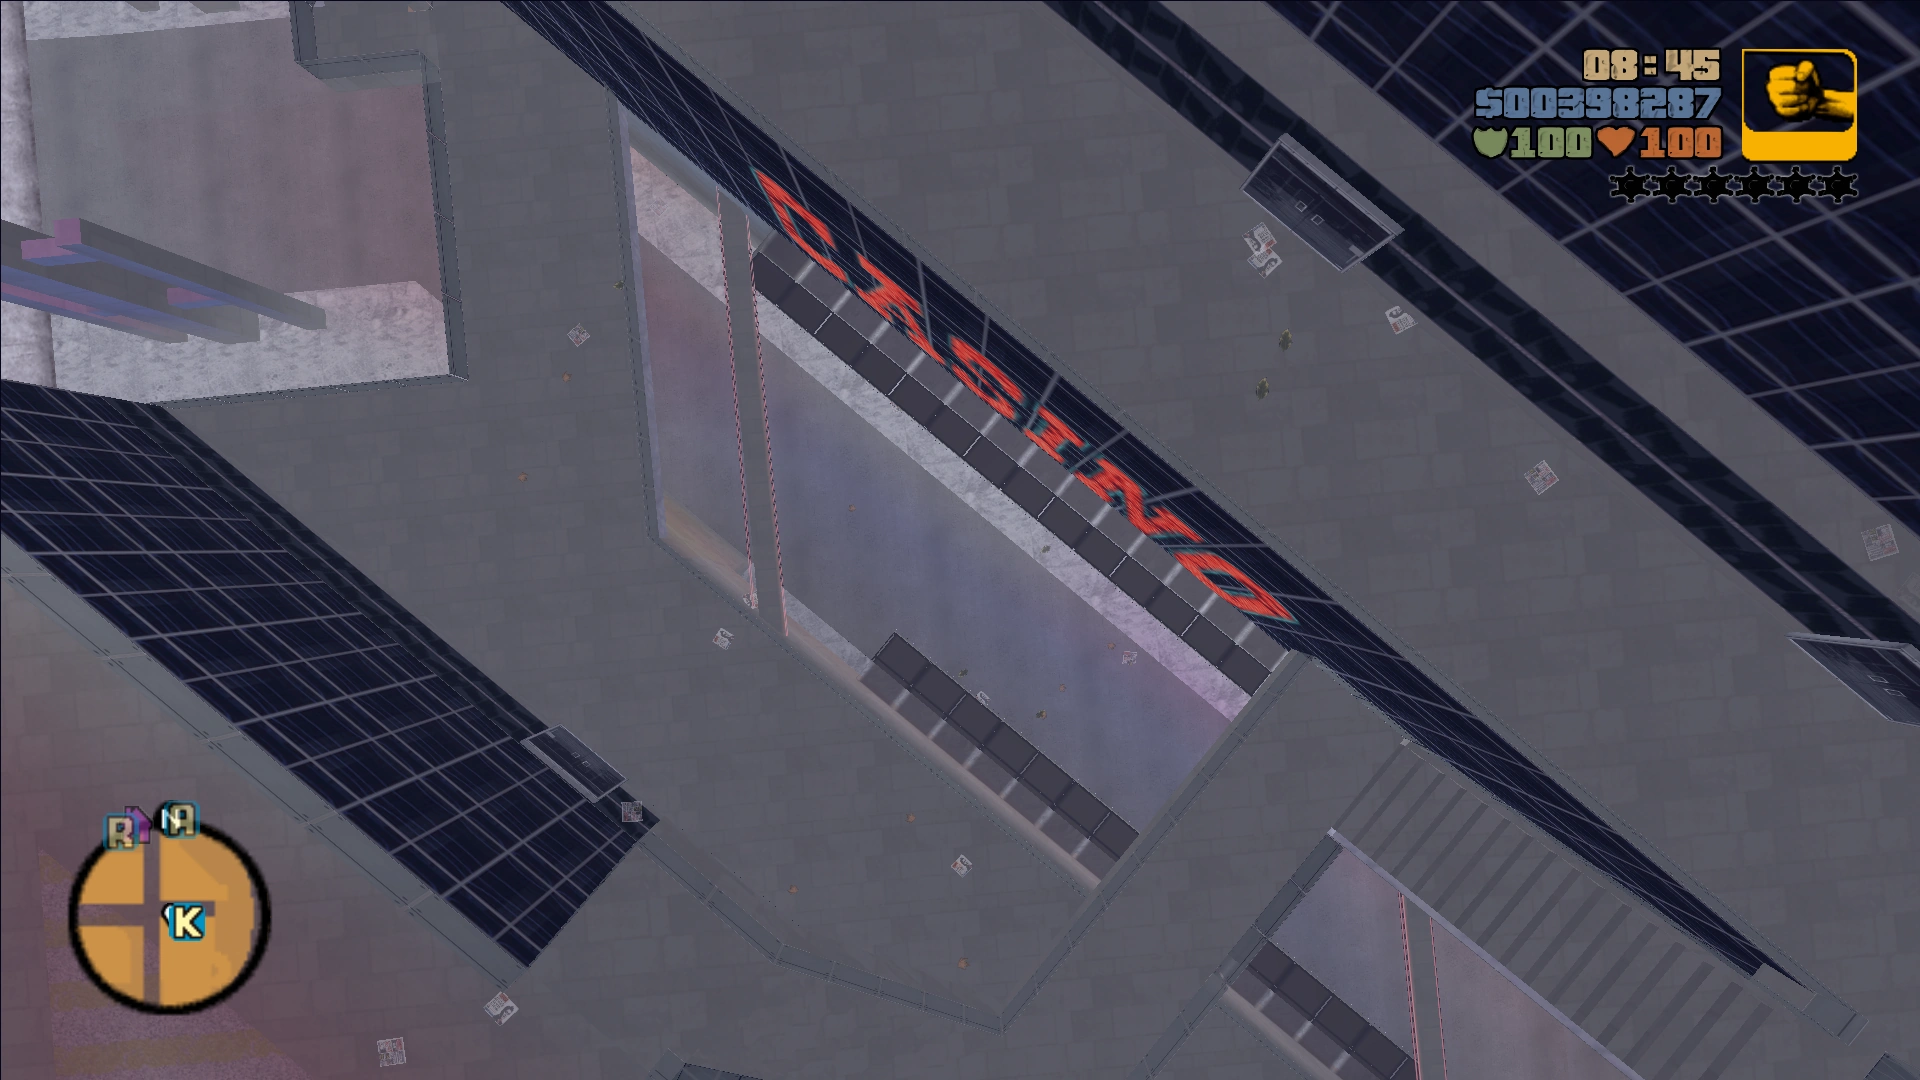
Kenji's Casino owned by the Yakuza. | Pachinko World casino, under protection by the Yakuza. The parking lot is absent. |   
|
|
Liberty City Cathedral and Cemetery. | Different size to be visible on the top-down perspective. The cemetery has more gravestones than the original GTA III cemetery, and is similar to the former cemetery seen in GTA Liberty City Stories. | 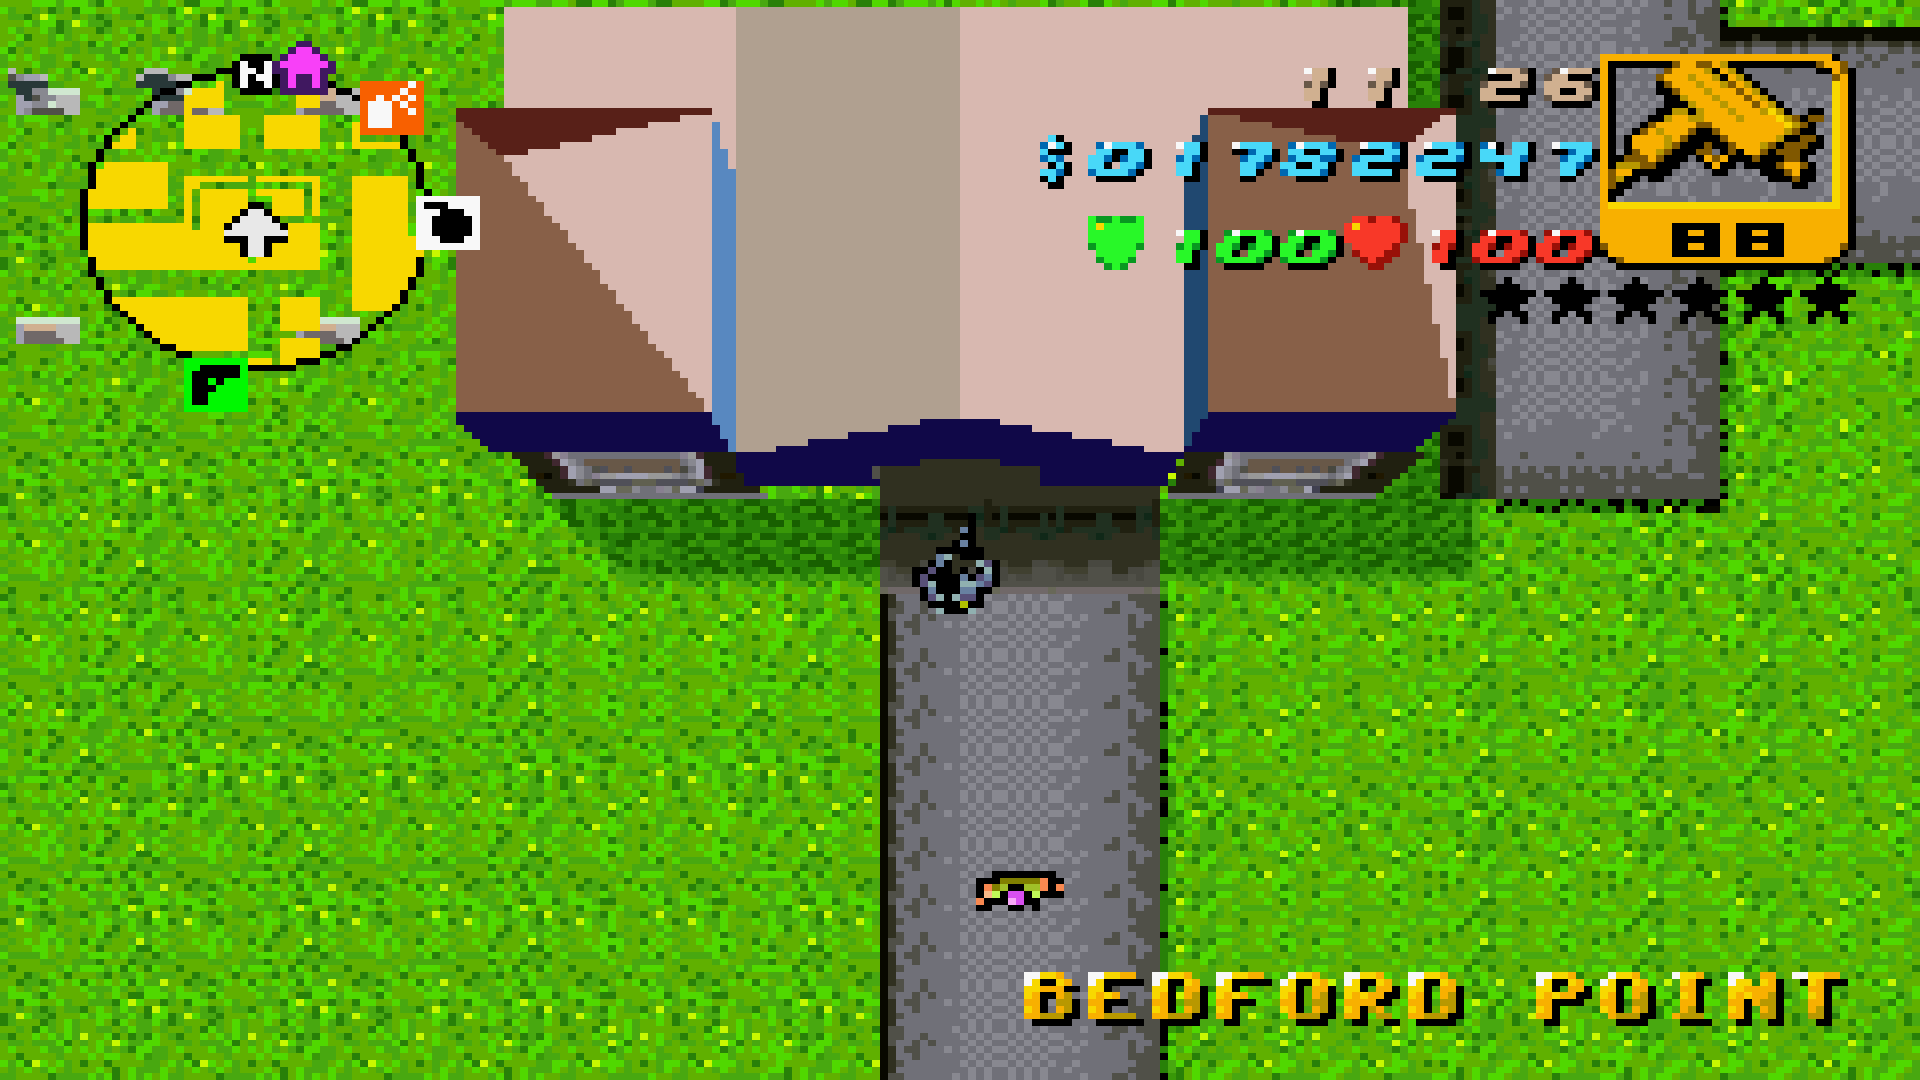 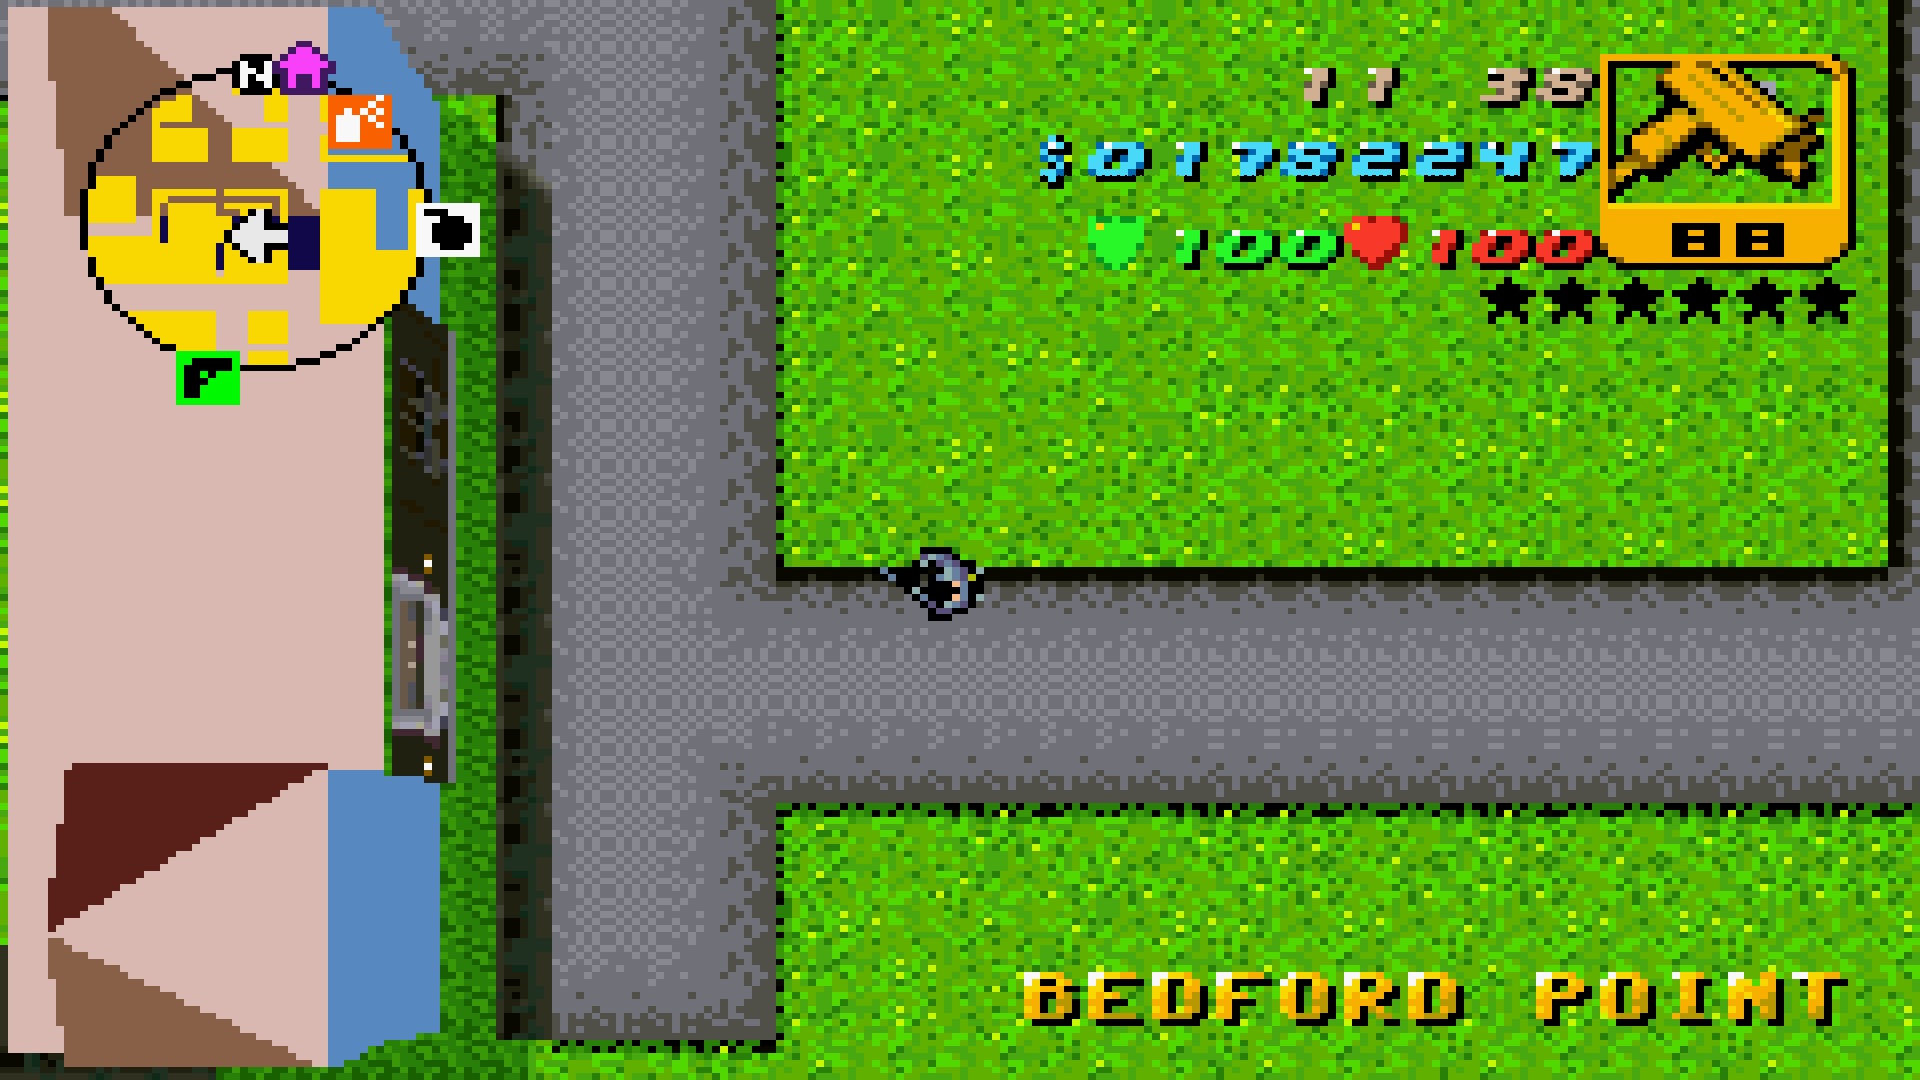 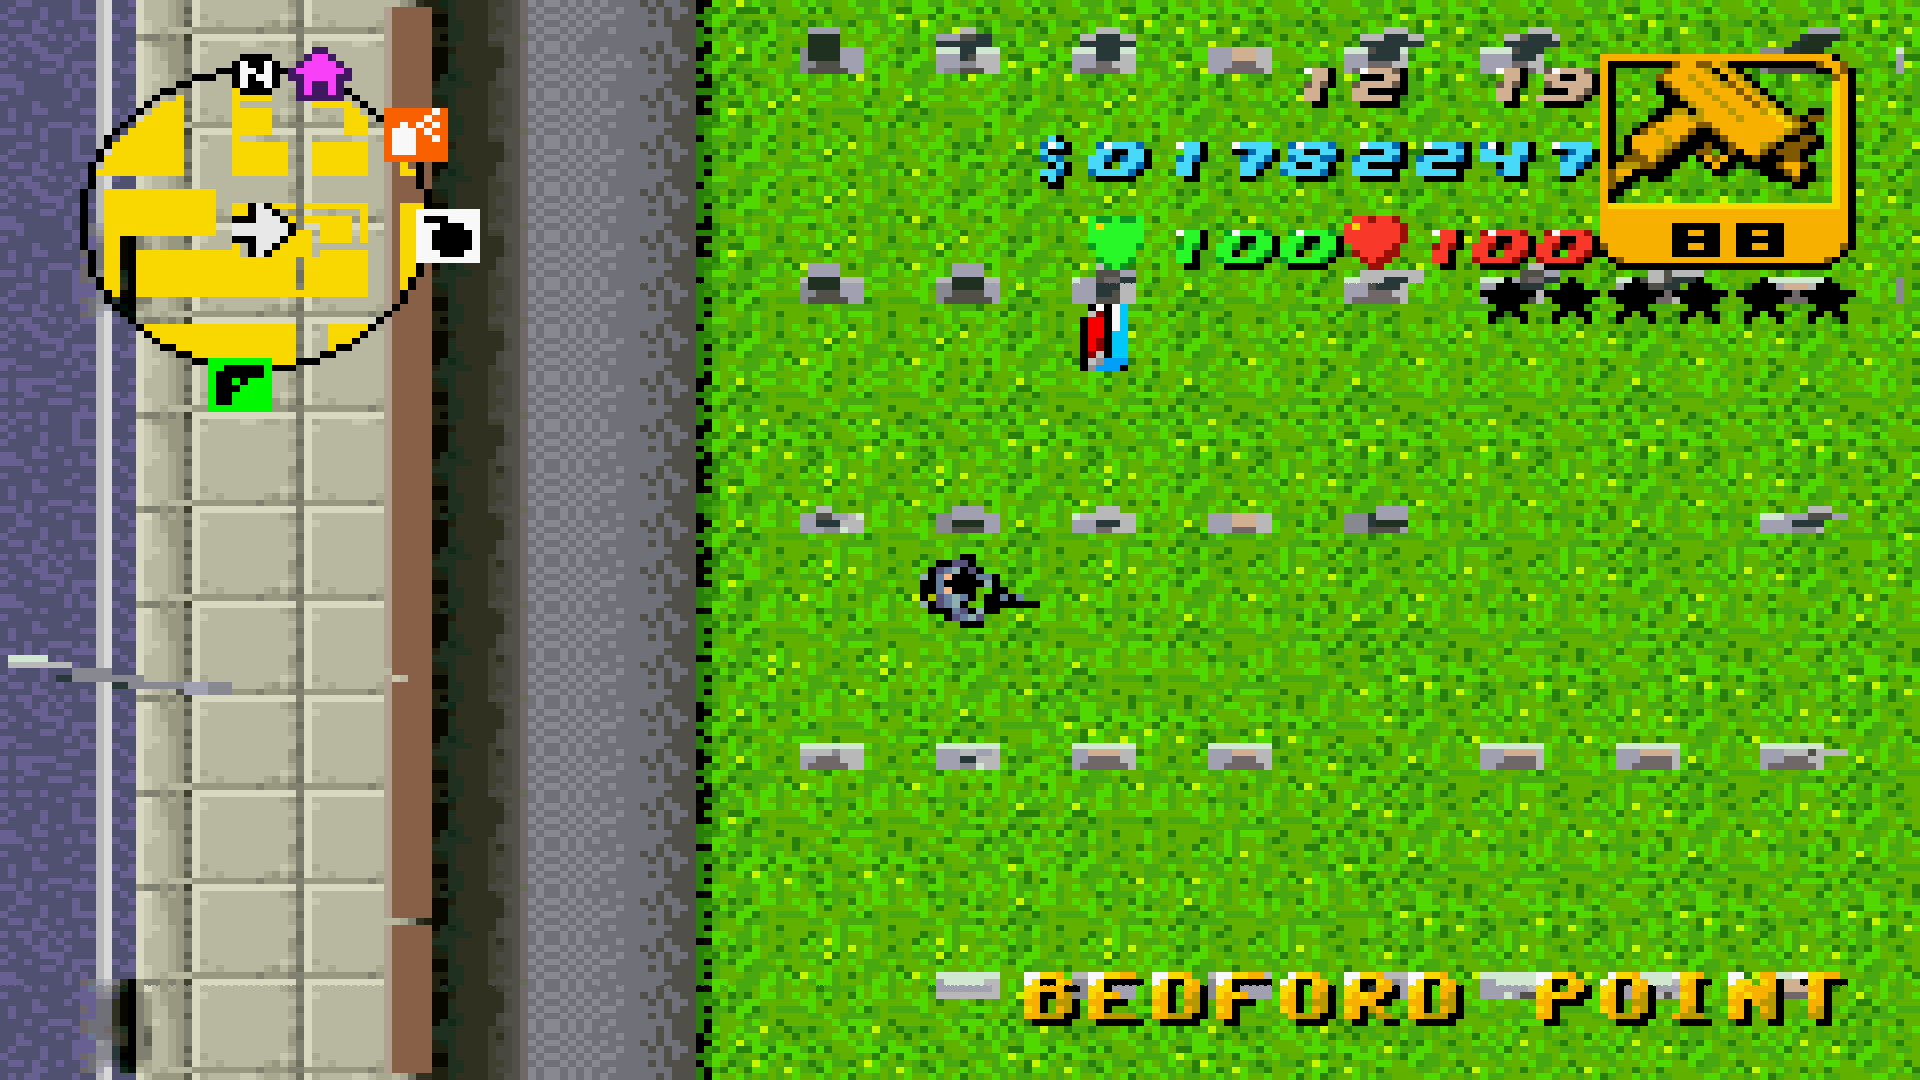
|
Shoreside Vale[]
Major Changes[]
| Grand Theft Auto III (Original map)  |
Grand Theft Auto Advance (Adapted map)  | ||
|---|---|---|---|
|
Cedar Ridge Observatory. | King Courtney's Warehouse. | 
|
|
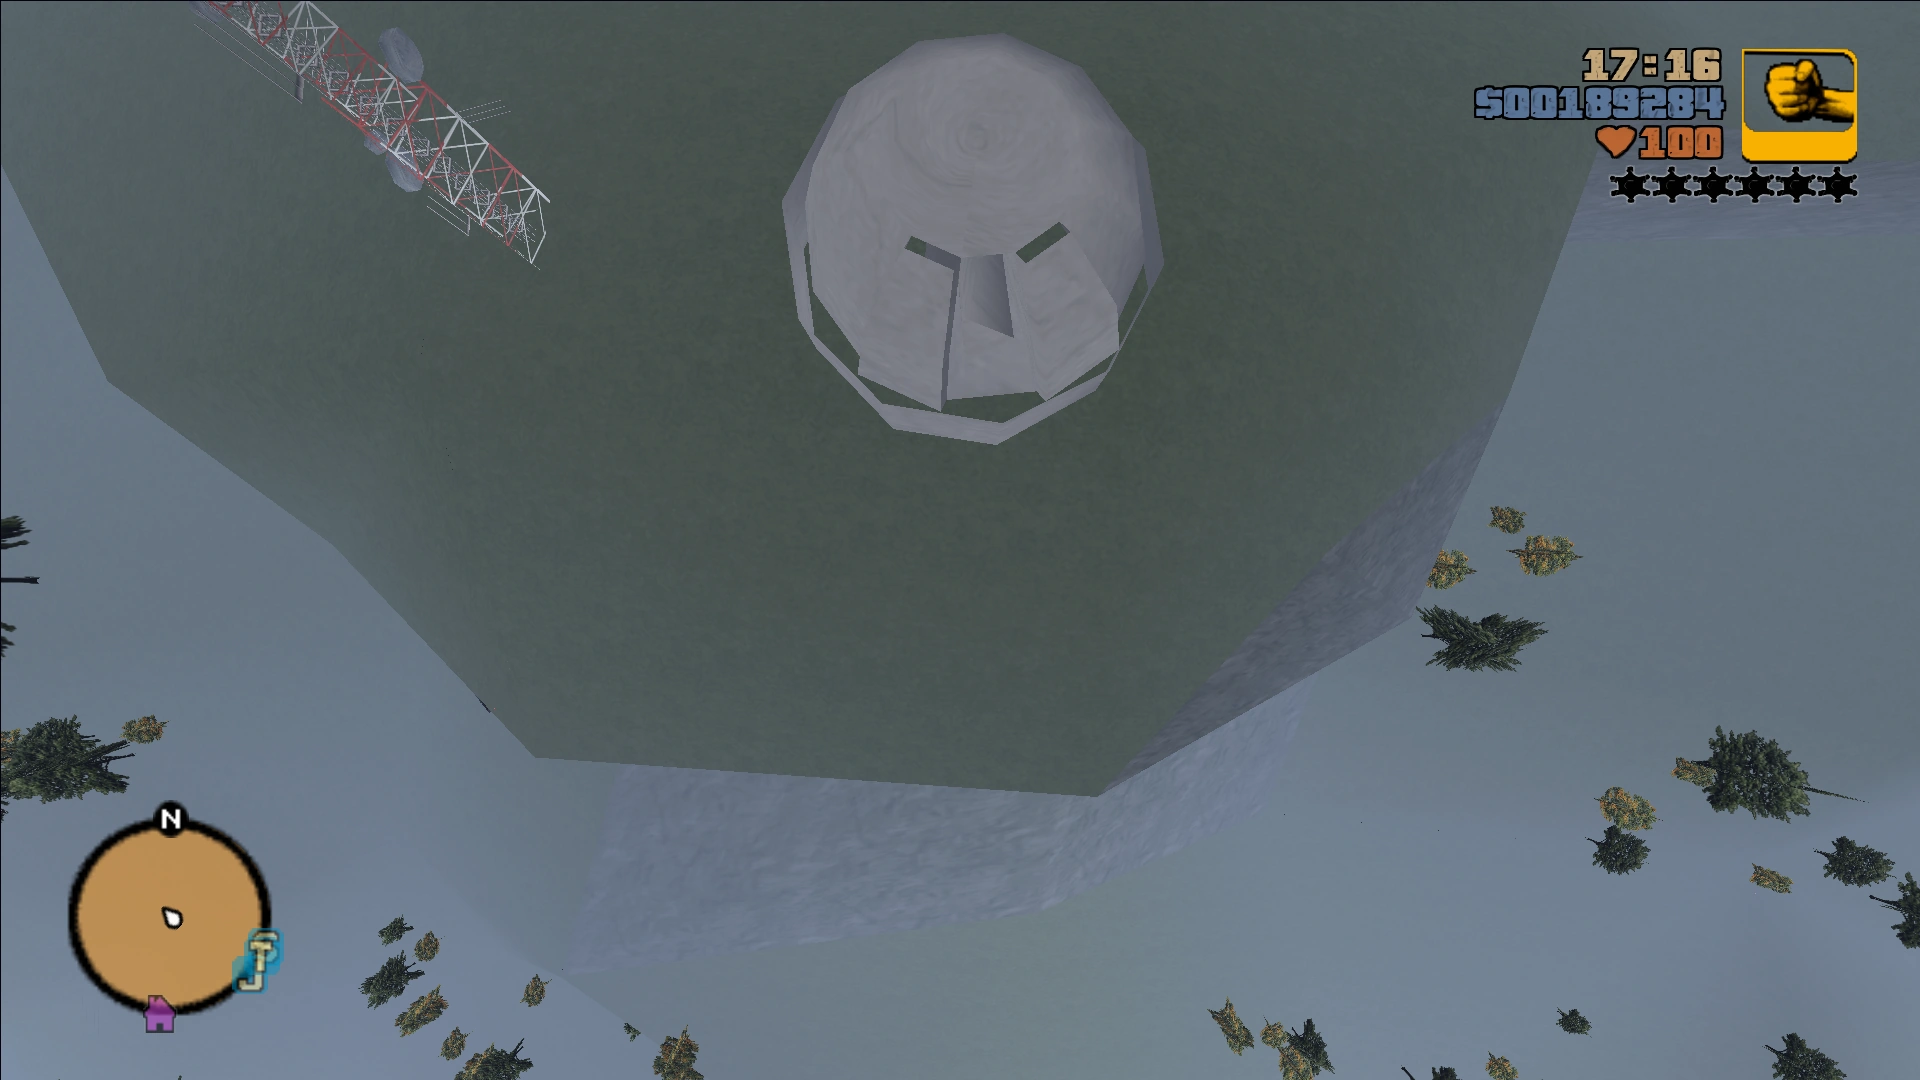
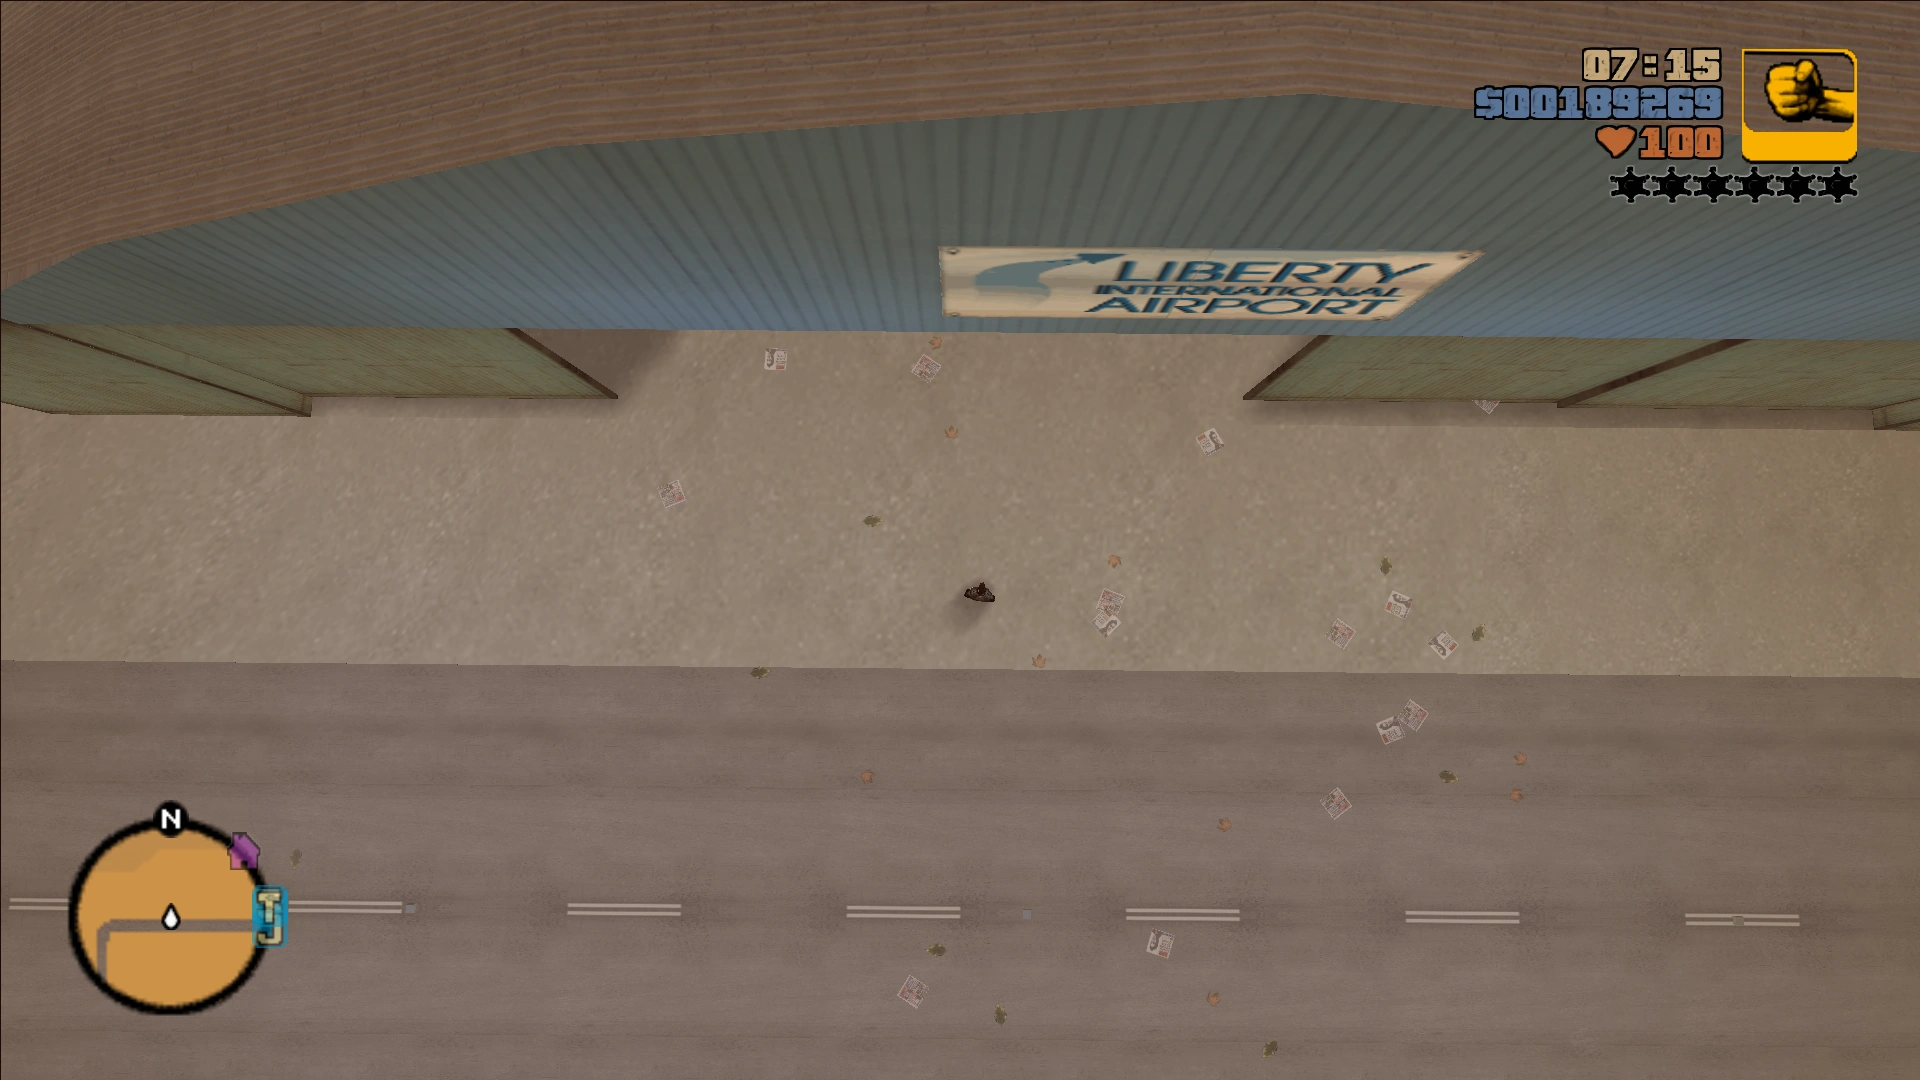
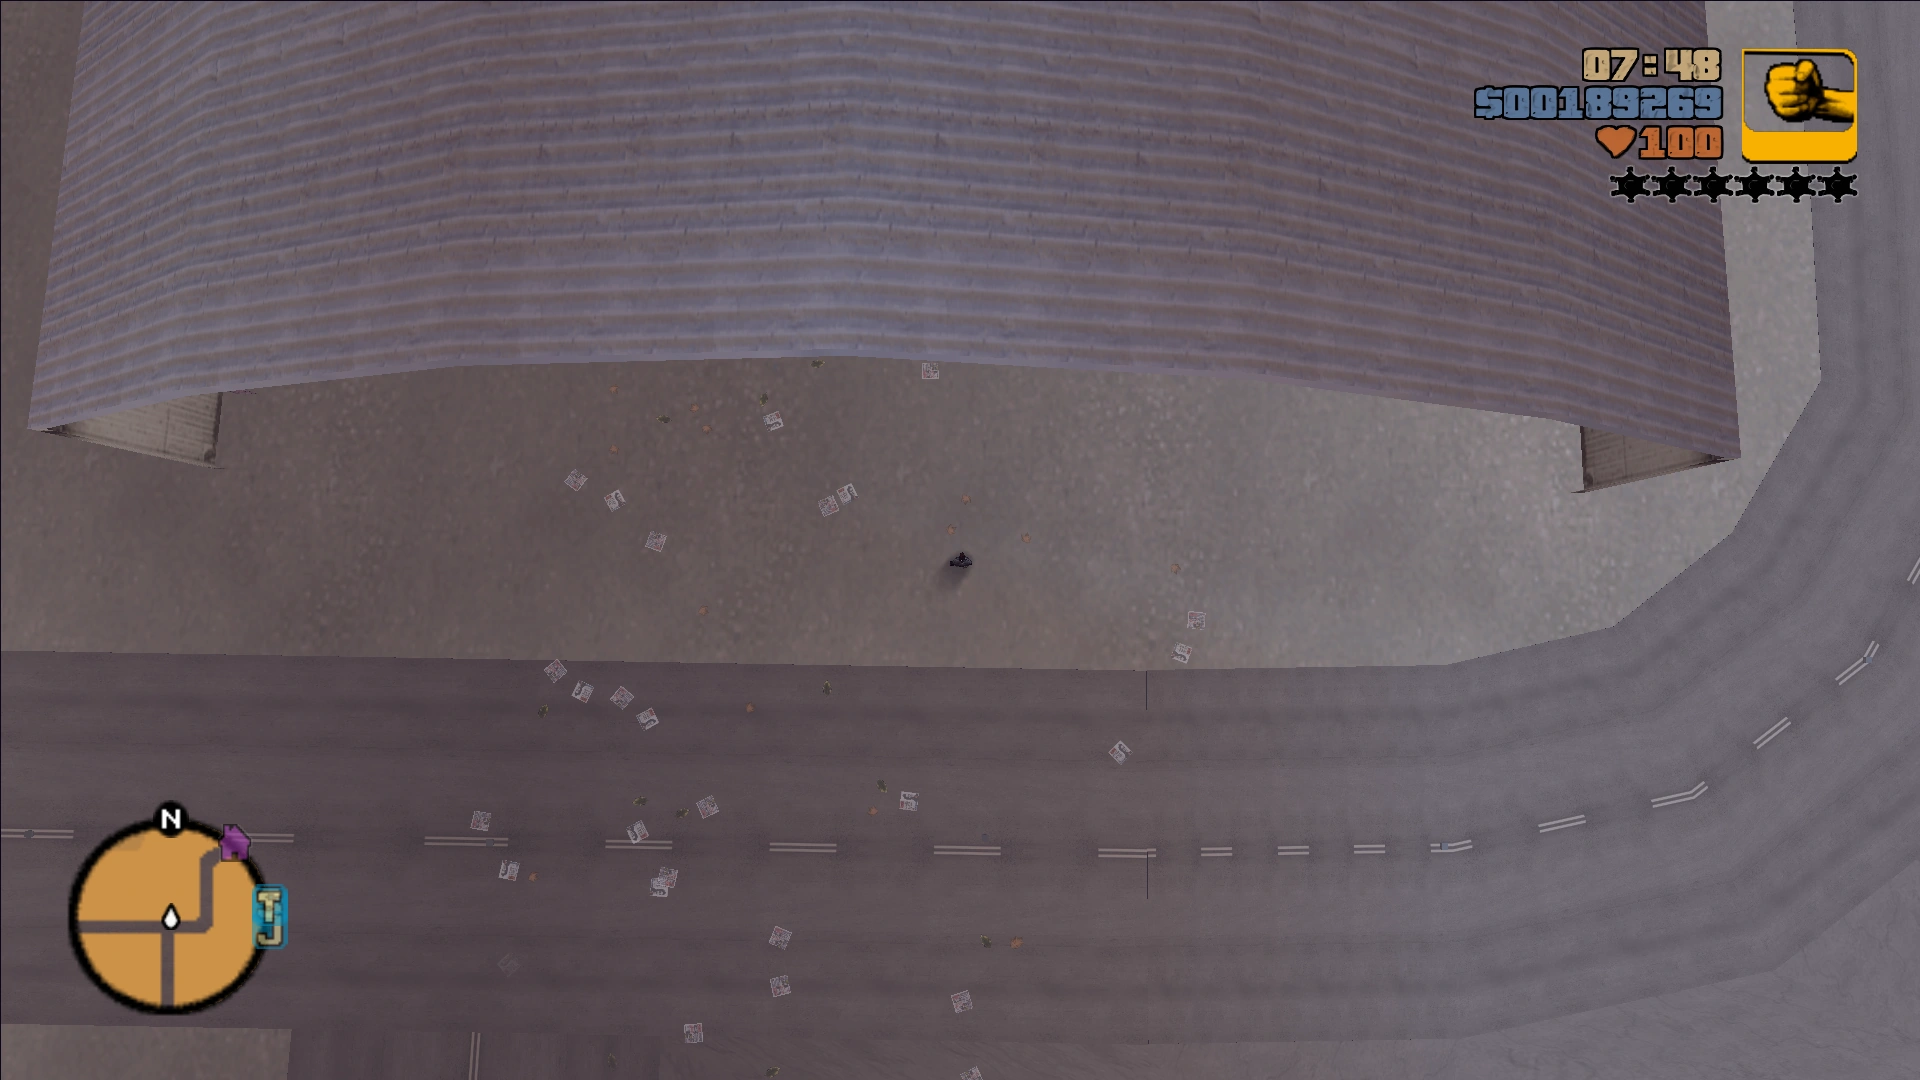
Francis International Airport terminal building. | Green space with the airport name on it. The terminal was moved to the place where the spherical building was originally located, and using generic warehouse textures. | 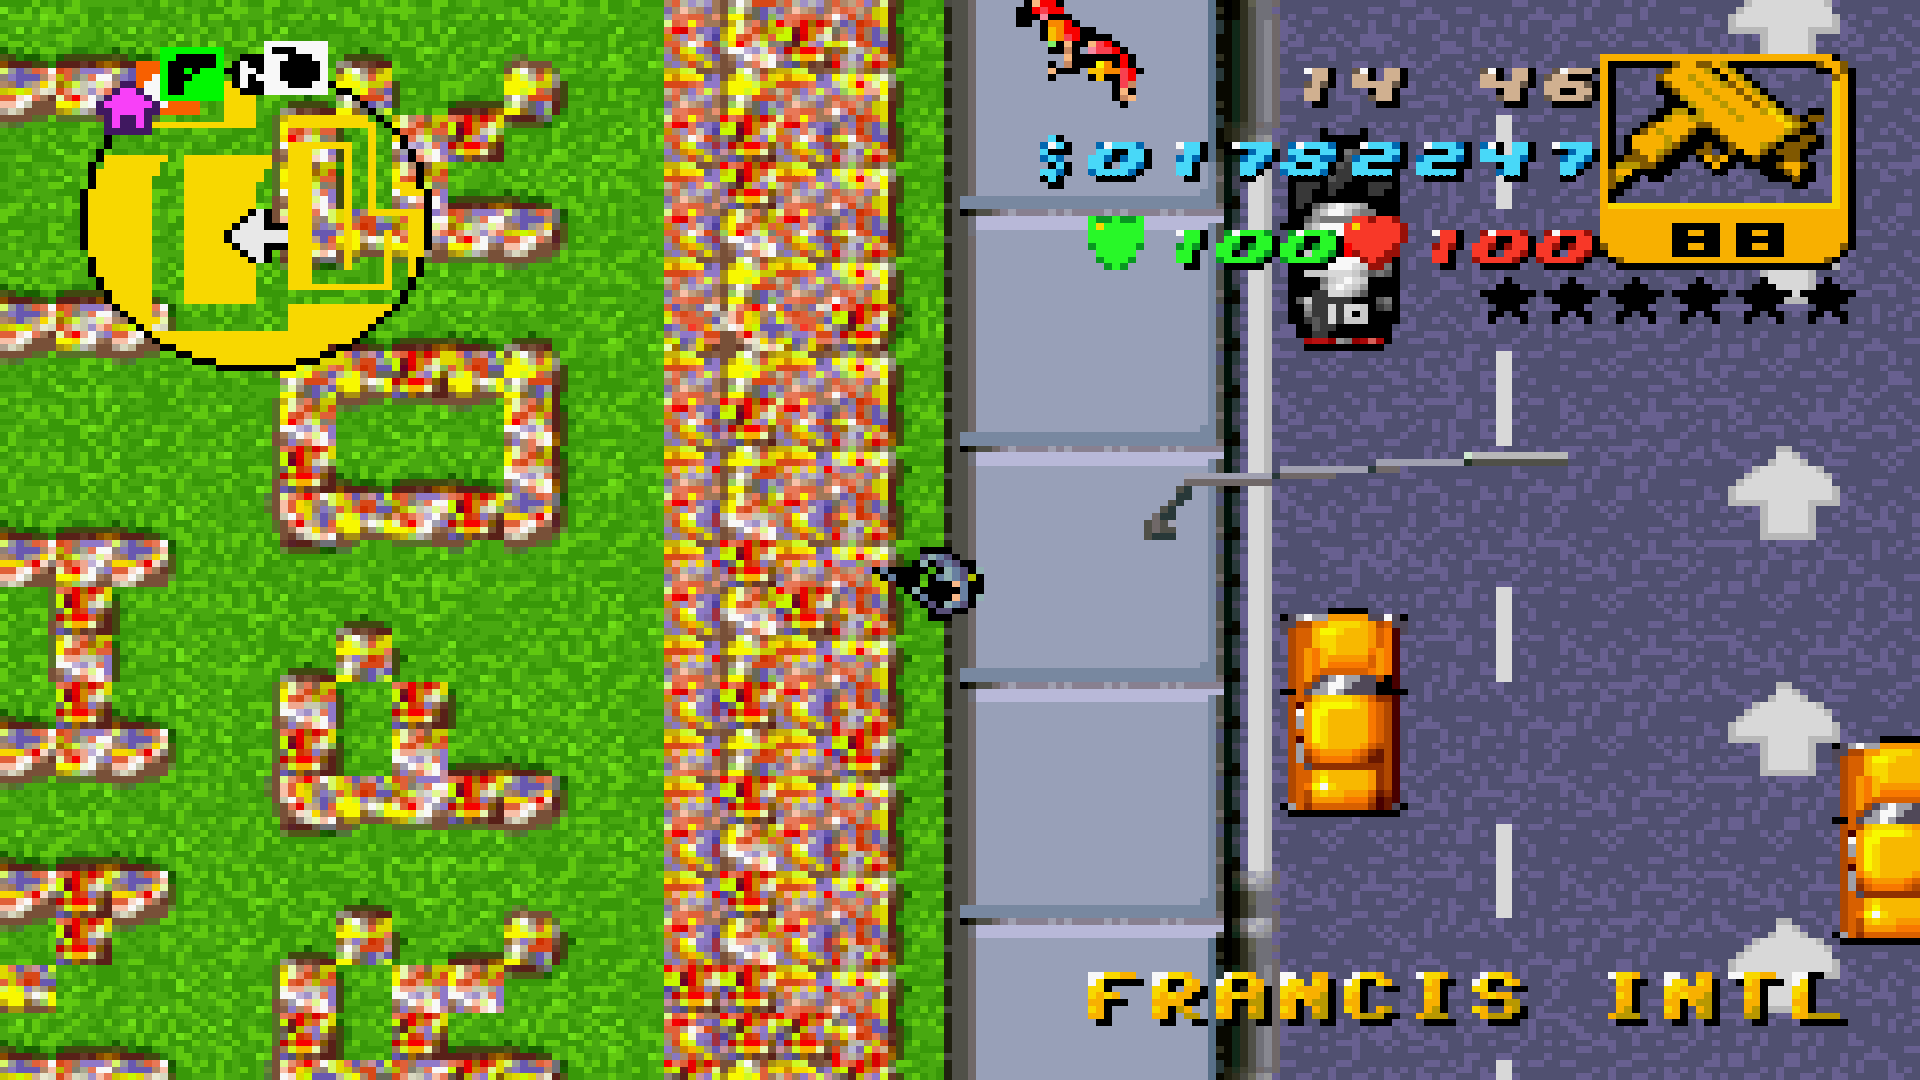
|
|
A hangar used by the Colombian Cartel during the mission Grand Theft Aero. This is a spawn location for the Dodo. | Warehouse. | 
|
|
A hangar with a Airtrain parked inside. | A tattoo parlor. | 
|
|
Shoreside Vale Fire Station. | Empty space. | 
|
|
Forested hills between the Francis International Airport and Pike Creek. | Shoreside Vale Fire Station (Moved). | 
|
|
Hope Medical College. | Mexican restaurant. Hospital moved to Wichita Gardens. | 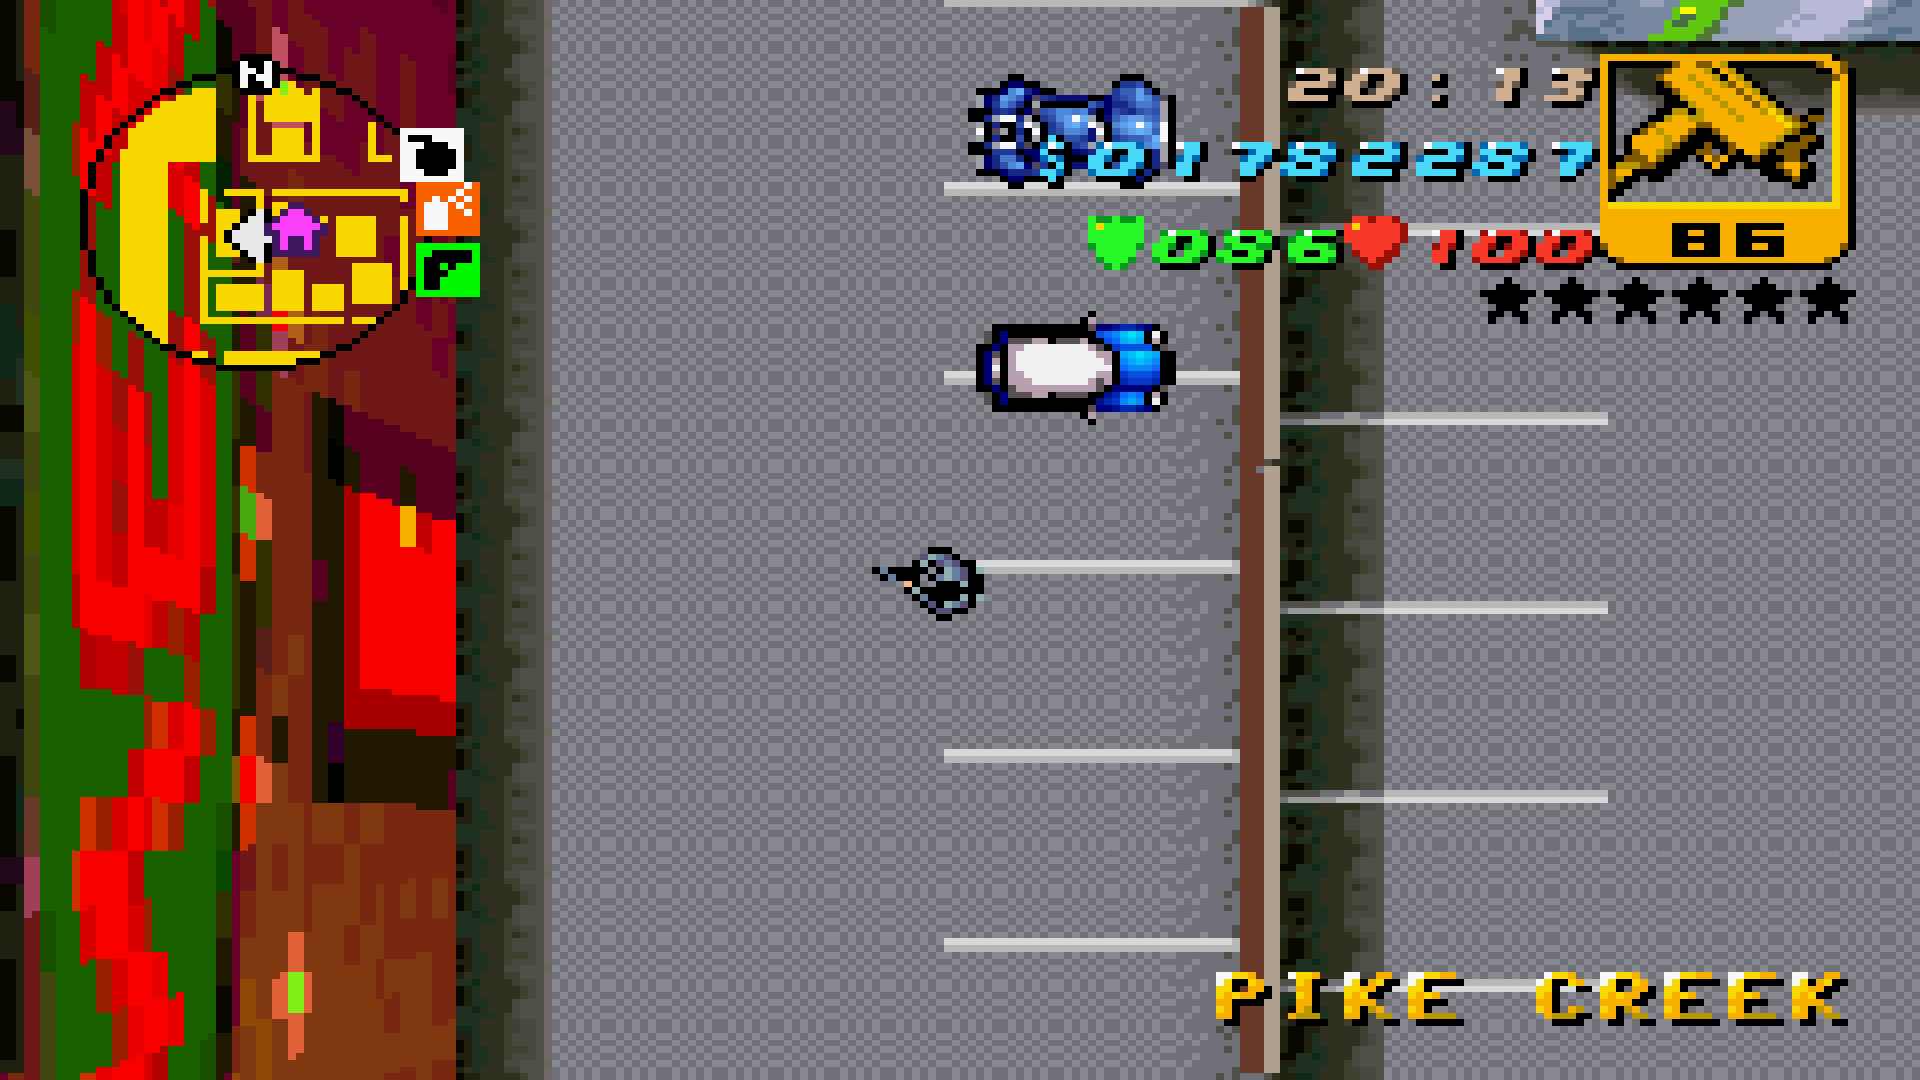 Moved to Wichita Gardens: 
|
|
Shoreside Vale Police Station. | Unnamed warehouse. Police Station moved to Wichita Gardens. |  Moved to Wichita Gardens: 
|
|
Parking lot in front of the Turtle Head Fishing Company branch of Pike Creek. | Ammu-Nation. There are no Ammu-Nations in Shoreside Vale in the original map. | 
|
Minor Changes[]
| Grand Theft Auto III (Original map) |
Grand Theft Auto Advance (Adapted map) | ||
|---|---|---|---|
|
Cochrane Dam. | Replaced by a generic bridge as the game has no height differences. Still referred as a dam in-game. | 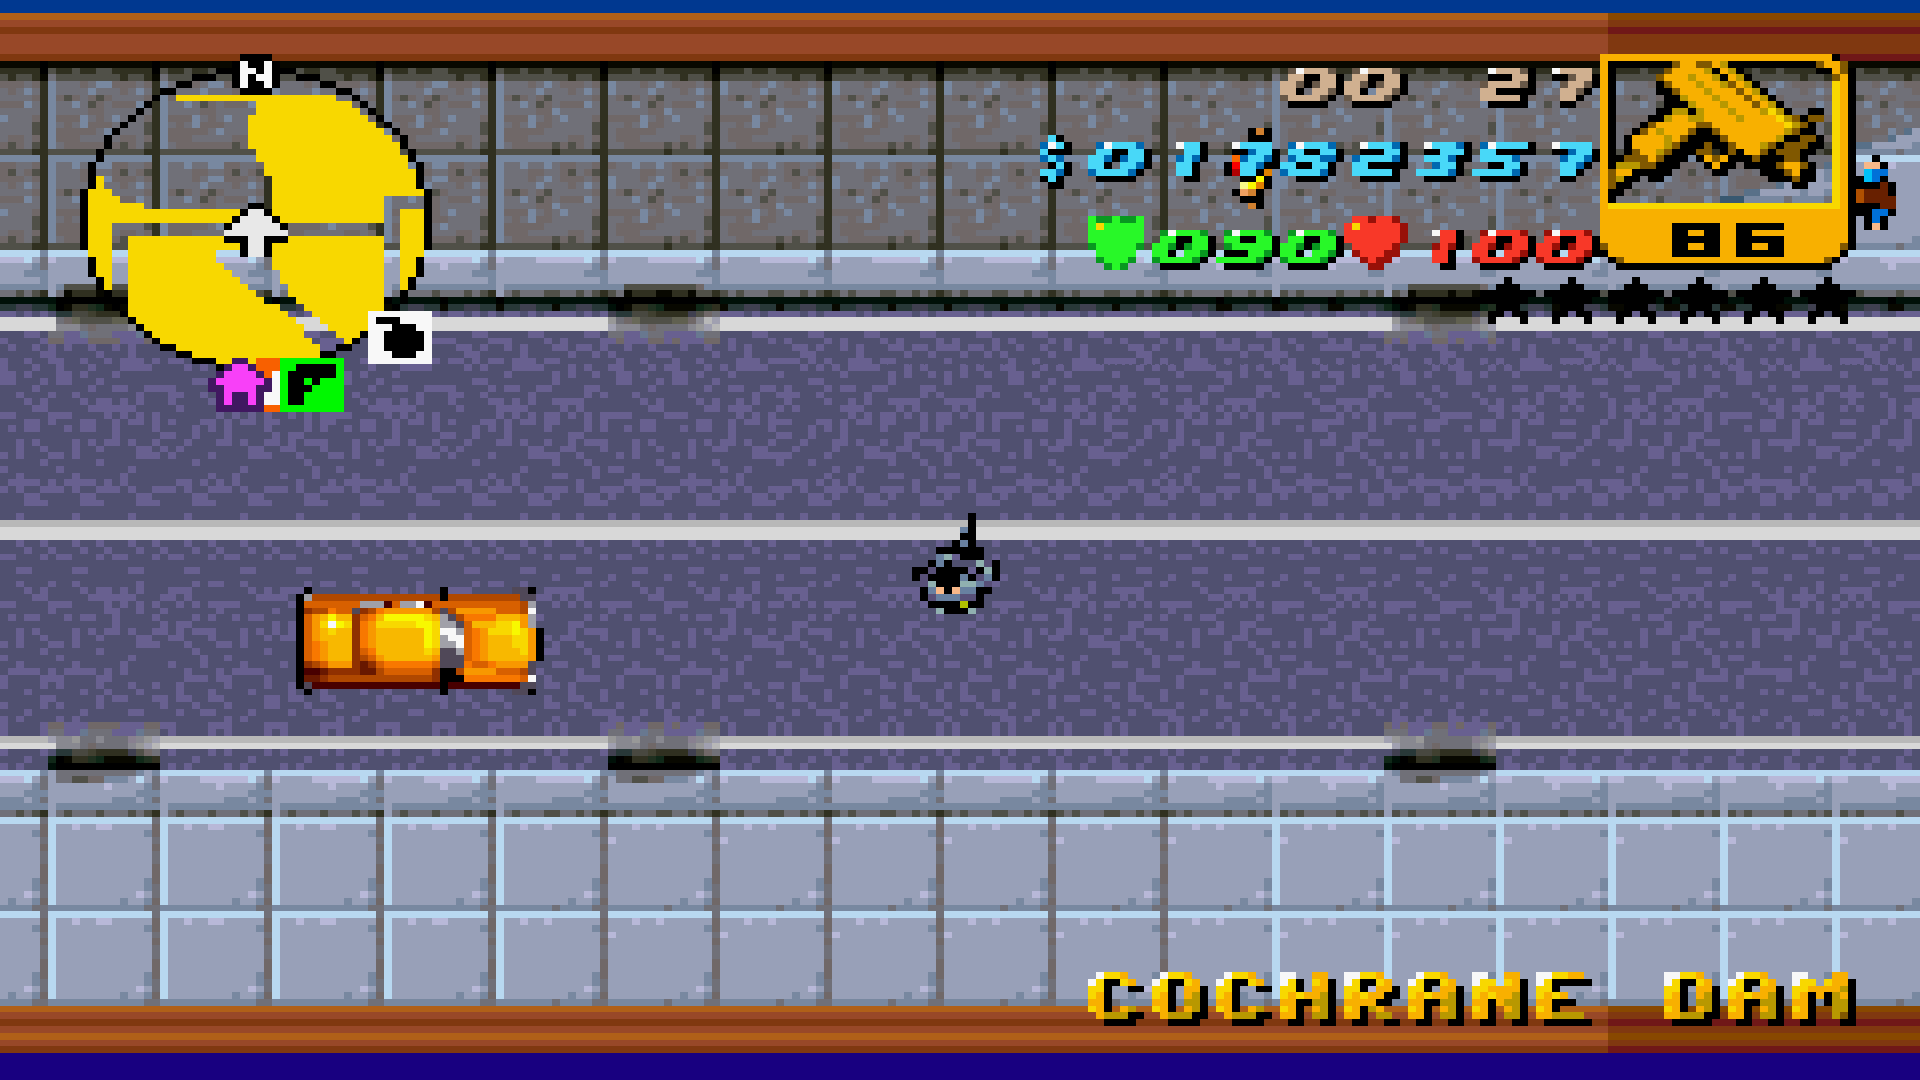
|
|
Empty area used by the Yakuza to ambush the Colombian Cartel during the mission Bait. | Parking lot. Same height as the road to Shoreside Vale Arch Bridge (on the right) as the game has no height differences. | 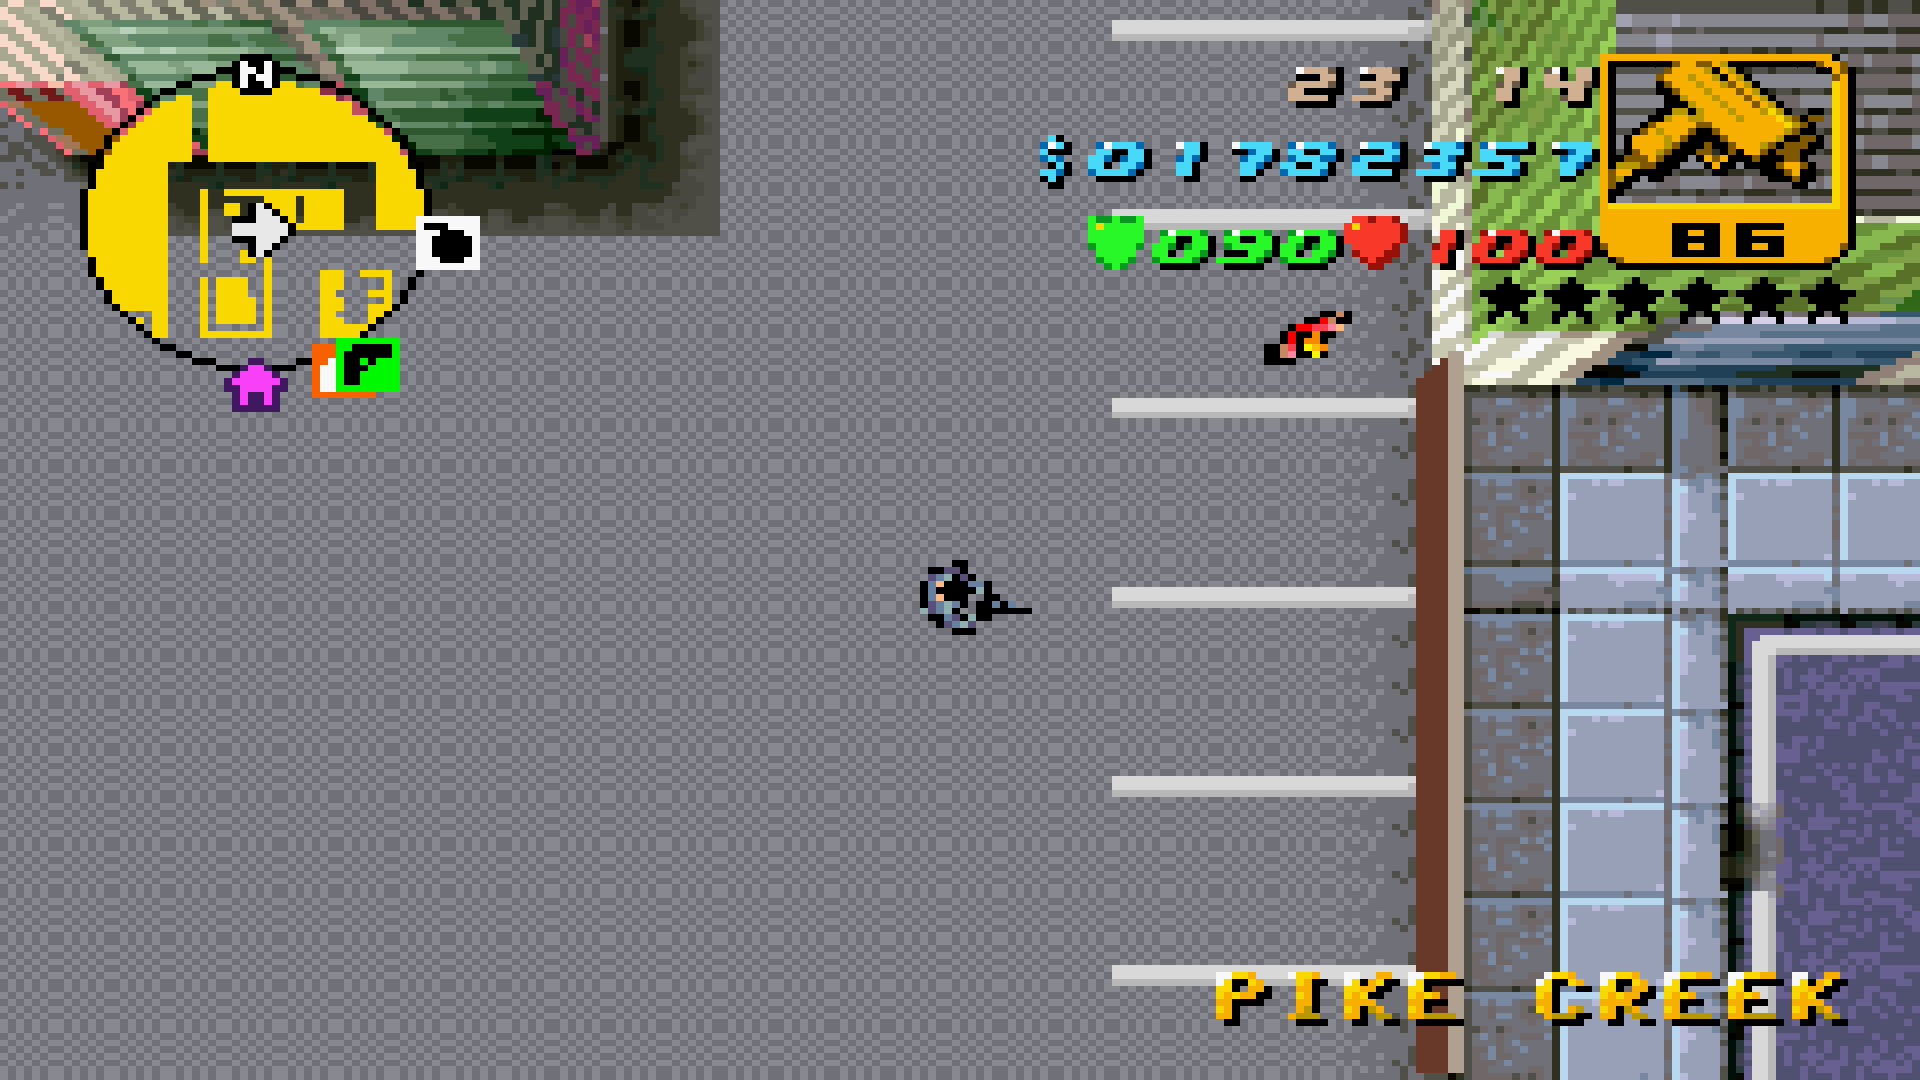
|