ChiefMokum (talk | contribs) (→2024) Tag: Source edit |
|||
| (276 intermediate revisions by 20 users not shown) | |||
| Line 1: | Line 1: | ||
| − | {{Next-Gen}} |
||
{{infobox location |
{{infobox location |
||
|image = <gallery> |
|image = <gallery> |
||
| Line 6: | Line 5: | ||
</gallery> |
</gallery> |
||
|caption = The LS Car Meet warehouse exterior. |
|caption = The LS Car Meet warehouse exterior. |
||
| − | |name = {{ |
+ | |name = {{HUDIcons|game=O|carmeet|size=35px}} LS Car Meet |
|type = Warehouse |
|type = Warehouse |
||
|founded = [[2021|July 20th, 2021]] |
|founded = [[2021|July 20th, 2021]] |
||
|founder = [[Mimi]] <small>(Head of the meet)</small> |
|founder = [[Mimi]] <small>(Head of the meet)</small> |
||
|games = ''[[Grand Theft Auto Online]]'' |
|games = ''[[Grand Theft Auto Online]]'' |
||
| − | |location = [[Popular Street]], [[Cypress Flats]], [[East Los Santos (HD Universe)|East Los Santos]] |
+ | |location = [[Popular Street]], [[Cypress Flats]], [[East Los Santos (HD Universe)|East Los Santos]] |
|map = |
|map = |
||
<gallery> |
<gallery> |
||
| Line 17: | Line 16: | ||
</gallery> |
</gallery> |
||
}} |
}} |
||
| − | {{Dialogue|Hao|Hey, that's what this place is all about, be who you wanna be. Tuner, modder, stock car racer, obnoxious as a motherfucker. Express yourself. We got the fastest cars, bikes, trucks, burnouts, donuts, straight lines, all of it. One thing we don't got is... beef. We leave that shit at the door.|Mimi|Dude talks some shit, but he right, only gunshots you gonna hear in here be some fool's burble tune.|[[Hao]] and [[Mimi]] to the [[GTA Online Protagonist|''GTA Online'' Protagonist]].|sound=LSCarMeet-GTAO-Quote.ogg}} |
+ | {{Dialogue|Hao|Hey, that's what this place is all about, be who you wanna be. Tuner, modder, stock car racer, obnoxious as a motherfucker. Express yourself. We got the fastest cars, bikes, trucks, burnouts, donuts, straight lines, all of it. One thing we don't got is... beef. We leave that shit at the door.|Mimi|Dude talks some shit, but he right, only gunshots you gonna hear in here... be some fool's burble tune.|[[Hao]] and [[Mimi]] to the [[GTA Online Protagonist|''GTA Online'' Protagonist]].|sound=LSCarMeet-GTAO-Quote.ogg}} |
The '''LS Car Meet''' ('''Los Santos Car Meet''', '''LSCM''') is an underground indoor facility in ''[[Grand Theft Auto Online]]'' added in the [[GTA Online: Los Santos Tuners|Los Santos Tuners]] update. |
The '''LS Car Meet''' ('''Los Santos Car Meet''', '''LSCM''') is an underground indoor facility in ''[[Grand Theft Auto Online]]'' added in the [[GTA Online: Los Santos Tuners|Los Santos Tuners]] update. |
||
==Description== |
==Description== |
||
| + | {{Quote|hey babe,<br/>few guys I know say youre a driver. you heard of the LS Car Meet? its a little something takin over this town. you want in on it, you hit us up in cypress flats.<br/>mimi|LS Car Meet}} |
||
| − | ===Exterior Location=== |
||
| + | |||
| + | ==Exterior== |
||
The meet occupies the basement interior and roof of the dis-used [[Pißwasser]] warehouse opposite the [[Pißwasser Factory]] on [[Popular Street]] in [[La Mesa]], [[Los Santos (HD Universe)|Los Santos]]. [[Corona]]s are present at multiple garage doors for vehicular access and several pedestrian access doors. |
The meet occupies the basement interior and roof of the dis-used [[Pißwasser]] warehouse opposite the [[Pißwasser Factory]] on [[Popular Street]] in [[La Mesa]], [[Los Santos (HD Universe)|Los Santos]]. [[Corona]]s are present at multiple garage doors for vehicular access and several pedestrian access doors. |
||
| − | As the player approaches the building, ambient sound effects can be heard of revving engines. |
+ | As the player approaches the building, ambient sound effects can be heard of revving engines and cars drifting. |
| − | A makeshift checkered start-finish line is painted on Popular Street outside the building and the building has been graffiti-tagged with markings indicating it has been taken over by the LSCM with a ''Stance Andreas'' catch-phrase prominent. |
+ | A makeshift checkered start-finish line is painted on Popular Street outside the building and the building has been graffiti-tagged with markings indicating it has been taken over by the LSCM with a ''Stance Andreas'' catch-phrase prominent. Outside the building, numerous cars can now spawn: |
| + | {{Col-begin}} |
||
| + | {{Col-2}} |
||
| + | '''Front exterior''' |
||
| + | *[[Penumbra]] |
||
| + | *[[Gauntlet]] |
||
| + | *[[Fusilade]] |
||
| + | *[[Fugitive]] |
||
| + | *[[Futo]] |
||
| + | *[[Dominator]] |
||
| + | *[[Buffalo]] |
||
| + | *[[Vigero]] |
||
| + | *[[Sultan]] |
||
| + | *[[Buccaneer]] |
||
| + | *Up to 5 random population vehicles |
||
| + | {{Col-2}} |
||
| + | '''Rear exterior''' |
||
| + | *Ruiner |
||
| + | *[[Sabre Turbo]] |
||
| + | *Buccaneer |
||
| + | *Sultan |
||
| + | {{Col-end}} |
||
| − | The rooftop now has several tables set up and is an outdoor congregational area. |
+ | The rooftop now has several tables set up and is an outdoor congregational area (including some chairs in which the player can sit). |
| − | All players can select the LS Car Meet as a session spawn location to load into the interior of the meet every time they start playing Online or switch sessions. |
+ | All players can select the LS Car Meet as a session spawn location to load into the interior of the meet every time they start playing Online or switch sessions. It is one of the only locations that is not a) an owned property and/or b) has living quarters that allows this. |
Players can enter the meet without being members, but to take advantage of any of the features, a one-off $50,000 membership must be purchased from [[Mimi]]. |
Players can enter the meet without being members, but to take advantage of any of the features, a one-off $50,000 membership must be purchased from [[Mimi]]. |
||
While inside the meet, members will automatically accrue [[Reputation (LS Car Meet)|Reputation points]] to level up their membership and unlock clothing, vehicle mods, vehicle trade prices and discounts and gameplay job features. |
While inside the meet, members will automatically accrue [[Reputation (LS Car Meet)|Reputation points]] to level up their membership and unlock clothing, vehicle mods, vehicle trade prices and discounts and gameplay job features. |
||
| + | |||
| − | ===Interior=== |
||
| + | ==Interior== |
||
| − | Players can enter the meet on foot or in a [[Personal Vehicles|Personal Vehicle]]. [[Weapon Wheel]] access is completely disabled inside the car meet. Some [[Weaponized Vehicles]] and ones with various special abilities can enter, but their weapons and functions are also rendered inaccessible. There is no prohibition on parking flying vehicles such as the [[Thruster]] or [[Oppressor Mk II]] on the roof. Players cannot enter with a [[Prostitutes|prostitute]] in their vehicle. |
||
| + | Players can enter the meet on foot or in a [[Personal Vehicles|Personal Vehicle]] (including most motorcycles). [[Weapon Wheel]] access is completely disabled inside the car meet. Some [[Weaponized Vehicles]] and ones with various special abilities can enter, but their weapons and functions are also rendered inaccessible. There is no prohibition on parking flying vehicles such as the [[Thruster]] or [[Oppressor Mk II]] on the roof. Players cannot enter with a [[Prostitutes|prostitute]] in their vehicle. The music that plays inside the meet is always the "[[CircoLoco Records|CLR]] Launch Party (Seth Troxler)" tracklist from the [[Media Player]], and the player's vehicle [[Radio Station Wheel]] will automatically set to the Player when exiting the meet in a vehicle, specifically continuing the currently playing track where it left off. |
||
;Weaponized/Special Vehicles: |
;Weaponized/Special Vehicles: |
||
| Line 46: | Line 69: | ||
|- |
|- |
||
|style="border: 1px solid green;"| |
|style="border: 1px solid green;"| |
||
| + | *[[300R]] |
||
| + | *[[Aleutian]] |
||
*[[Ardent]] |
*[[Ardent]] |
||
| + | *[[Baller ST-D]] |
||
| + | *[[Buffalo EVX]] |
||
| + | *[[Buffalo STX]] |
||
| + | *[[Champion]] |
||
*[[Comet Safari]] |
*[[Comet Safari]] |
||
| + | *[[Deity]] |
||
*[[Deluxo]] |
*[[Deluxo]] |
||
| + | *[[Granger 3600LX]] |
||
| + | *[[Greenwood]] |
||
*[[JB 700W]] |
*[[JB 700W]] |
||
| + | *[[Jubilee]] |
||
| + | *[[La Coureuse]] |
||
| + | *[[MonstroCiti]] |
||
*[[Nightshark]] |
*[[Nightshark]] |
||
*[[Oppressor]] |
*[[Oppressor]] |
||
| + | *[[Omnis e-GT]] |
||
*[[Paragon R (Armored)]] |
*[[Paragon R (Armored)]] |
||
| + | *[[Patriot Mil-Spec]] |
||
*[[Revolter]] |
*[[Revolter]] |
||
*[[Savestra]] |
*[[Savestra]] |
||
*[[Scramjet]] |
*[[Scramjet]] |
||
| + | *[[Speedo Custom (personal vehicle)|Speedo Custom]] <small>(Personal Vehicle variant)</small> |
||
| + | *[[Itali GTO Stinger TT|Stinger TT]] |
||
*[[Stromberg (car)|Stromberg]] |
*[[Stromberg (car)|Stromberg]] |
||
| + | *[[Terminus]] |
||
*[[Toreador]] |
*[[Toreador]] |
||
| + | *[[Turismo Omaggio]] |
||
*[[Vigilante (car)|Vigilante]] |
*[[Vigilante (car)|Vigilante]] |
||
| + | *[[Virtue]] |
||
*[[Viseris]] |
*[[Viseris]] |
||
| + | *[[Weaponized Ignus]] |
||
|style="border: 1px solid red;"| |
|style="border: 1px solid red;"| |
||
*[[APC]] |
*[[APC]] |
||
| Line 71: | Line 114: | ||
*[[Oppressor Mk II]] |
*[[Oppressor Mk II]] |
||
*[[Technical Custom]] |
*[[Technical Custom]] |
||
| − | *[[Thruster]] |
+ | *[[Thruster]] <small>(PV/Avenger Thruster)</small> |
*[[TM-02 Khanjali]] |
*[[TM-02 Khanjali]] |
||
*[[Weaponized Tampa]] |
*[[Weaponized Tampa]] |
||
*[[Zhaba]] |
*[[Zhaba]] |
||
| + | |- |
||
| + | !colspan=2|Personal Emergency Vehicles |
||
| + | |- |
||
| + | |style="border: 1px solid green;"| |
||
| + | *[[Blazer Lifeguard]] |
||
| + | *[[Gauntlet Interceptor]] <small>(Unmodifiable)</small> |
||
| + | *[[Lifeguard]] <small>(Unmodifiable)</small> |
||
| + | *[[Park Ranger]] <small>(Unmodifiable)</small> |
||
| + | *[[Stanier LE Cruiser]] <small>(Unmodifiable)</small> |
||
| + | *[[Unmarked Cruiser]] <small>(Unmodifiable)</small> |
||
| + | |style="border: 1px solid red;"| |
||
| + | *[[RCV]] |
||
|- |
|- |
||
!colspan=2|[[Arena War]] Vehicles |
!colspan=2|[[Arena War]] Vehicles |
||
|- |
|- |
||
|style="border: 1px solid green;"| |
|style="border: 1px solid green;"| |
||
| − | *[[Brutus]] variants |
+ | *[[Brutus]] variants |
| − | *[[Deathbike]] variants |
+ | *[[Deathbike]] variants |
| − | *[[Dominator]] variants |
+ | *[[Dominator]] variants |
| − | *[[Impaler]] variants |
+ | *[[Impaler]] variants |
| − | *[[Imperator]] variants |
+ | *[[Imperator]] variants |
| − | *[[ |
+ | *[[Issi]] variants |
| − | *[[ |
+ | *[[Slamvan]] variants |
| + | *[[ZR380]] variants |
||
|style="border: 1px solid red;"| |
|style="border: 1px solid red;"| |
||
| − | *[[Bruiser]] variants |
+ | *[[Bruiser]] variants |
| − | *[[Cerberus]] variants |
+ | *[[Cerberus]] variants |
| − | *[[Sasquatch]] variants |
+ | *[[Sasquatch]] variants |
| − | *[[Scarab]] variants |
+ | *[[Scarab]] variants |
|- |
|- |
||
!colspan=2|All [[Special Vehicles]] are disallowed: |
!colspan=2|All [[Special Vehicles]] are disallowed: |
||
| Line 109: | Line 165: | ||
**[[Pounder Custom]] |
**[[Pounder Custom]] |
||
**[[Speedo Custom]] |
**[[Speedo Custom]] |
||
| + | *Maze Bank Arena |
||
| + | **[[RC Bandito]] |
||
| + | *Bunker |
||
| + | **[[Anti-Aircraft Trailer]] |
||
| + | *Acid Lab |
||
| + | **[[Manchez Scout C]] |
||
| + | *Salvage Yard |
||
| + | **[[Towtruck (Chop Shop)|Towtruck]] |
||
| + | **[[Towtruck (Chop Shop beater)|Towtruck (Beater)]] |
||
| + | *Other |
||
| + | **[[Invade and Persuade Tank]] |
||
| + | |||
|- |
|- |
||
!colspan=2|All [[Pegasus Lifestyle Management]] Vehicles are disallowed |
!colspan=2|All [[Pegasus Lifestyle Management]] Vehicles are disallowed |
||
| Line 123: | Line 191: | ||
*[[Cruiser (bike)|Cruiser]] |
*[[Cruiser (bike)|Cruiser]] |
||
*[[Endurex Race Bike]] |
*[[Endurex Race Bike]] |
||
| + | *[[Inductor]] |
||
| + | *[[Junk Energy Inductor]] |
||
*[[Scorcher]] |
*[[Scorcher]] |
||
*[[Tri-Cycles Race Bike]] |
*[[Tri-Cycles Race Bike]] |
||
*[[Whippet Race Bike]] |
*[[Whippet Race Bike]] |
||
| + | |- |
||
| + | !colspan=2|All Vehicular Properties are disallowed |
||
| + | |- |
||
| + | |style="border: 1px solid green;"| |
||
| + | |style="border: 1px solid red;"| |
||
| + | *[[Brickade 6x6]] |
||
| + | *[[Hauler Custom]] |
||
| + | *[[Mobile Operations Center]] |
||
| + | *[[Phantom Custom]] |
||
| + | *[[Terrorbyte]] |
||
|- |
|- |
||
|} |
|} |
||
The interior consists of two instanced zones. |
The interior consists of two instanced zones. |
||
| − | + | ===LS Car Meet=== |
|
The main car meet parking lot, where all player vehicles will intermingle with randomly spawned NPC-Modified vehicles on display in a large parking lot. |
The main car meet parking lot, where all player vehicles will intermingle with randomly spawned NPC-Modified vehicles on display in a large parking lot. |
||
| − | + | ====People==== |
|
The meet is "staffed" by 5 permanent inhabitants and several other known characters may also appear randomly. |
The meet is "staffed" by 5 permanent inhabitants and several other known characters may also appear randomly. |
||
| − | + | *Permanent "staff" |
|
| − | *{{ |
+ | **{{HUDIcons|game=O|casinoconcierge}} [[Mimi]] - The head of the meet |
| − | *{{ |
+ | **{{HUDIcons|game=O|raceorganiser}} [[Race Organizer]] |
| − | *{{ |
+ | **{{HUDIcons|game=V|clothesstore}} [[Merch Store Owner]] |
| − | *{{ |
+ | **{{HUDIcons|game=V|tattoo}} [[LSCM Tattooist]] |
| − | *{{ |
+ | **{{HUDIcons|game=V|carmodshop}} [[LSCM Mechanic]] |
| + | ***Replaced by [[Hao]] in [[Grand Theft Auto Online/Editions|E&E version]] |
||
| − | |||
| − | + | *Random attendees - any two of: |
|
| − | *[[Moodymann]] |
+ | **[[Moodymann]] |
| − | *[[Hao]] |
+ | **[[Hao]] |
| − | *[[Benny (GTA Online)|Benny]] |
+ | **[[Benny (GTA Online)|Benny]] |
| − | *[[Garage Mechanic]] |
+ | **[[Garage Mechanic]] |
| − | *[[Los Santos Customs Mechanic]] |
+ | **[[Los Santos Customs Mechanic]] |
| − | *[[Warehouse Mechanic]] |
+ | **[[Warehouse Mechanic]] |
| − | *[[Benny's OMW Mechanic]] |
+ | **[[Benny's OMW Mechanic]] |
When the player gets near any of the random attendees (except the Garage Mechanic), they will greet the player and farewell them when the player walks away. |
When the player gets near any of the random attendees (except the Garage Mechanic), they will greet the player and farewell them when the player walks away. |
||
| + | |||
| − | =====Vehicles===== |
||
| + | ====Vehicles==== |
||
{{Main|/Vehicles}} |
{{Main|/Vehicles}} |
||
| − | + | There are a total of 50 different vehicles (not tied to a named NPC) that may spawn within the car meet, each with 3-5 customization variations. The game will randomly choose approximately 9-11 different modified vehicles to spawn parked in the car meet. |
|
Along with the randomly generated vehicles, certain pre-defined and/or constant vehicles will be found: |
Along with the randomly generated vehicles, certain pre-defined and/or constant vehicles will be found: |
||
| − | + | *Constant |
|
| − | *Mimi's [[Minivan Custom]] '''68HYO893''' |
+ | **Mimi's [[Minivan Custom]] '''68HYO893''' |
| − | *Race Organizer's [[ZR350]] '''01KQX761''' |
+ | **Race Organizer's [[ZR350]] '''01KQX761''' |
| − | *[[Los Santos Customs]] [[Slamtruck]] '''LSC''' (holding a Prize Ride on the back) |
+ | **[[Los Santos Customs]] [[Slamtruck]] '''LSC''' (holding a Prize Ride on the back) |
| − | *Merch shop [[Mule]] - a prop, no licence plate. |
+ | **Merch shop [[Mule]] - a prop, no licence plate. |
| − | *Mod Shop "Mobile Auto Repairs" [[Mule]] - a prop, no licence plate. |
+ | **Mod Shop "Mobile Auto Repairs" [[Mule]] - a prop, no licence plate. |
| − | *Tattoo shop [[Boxville]] - a prop, no licence plate. |
+ | **Tattoo shop [[Boxville]] - a prop, no licence plate. |
| − | + | *Can spawn - any two of: |
|
| − | *Will always spawn when their owner is in the meet: |
+ | **Will always spawn when their owner is in the meet: |
| − | **Moodymann's [[Gauntlet Hellfire]] '''MOODYMAN''' |
+ | ***Moodymann's [[Gauntlet Hellfire]] '''MOODYMAN''' |
| − | **Benny's [[Hermes]] '''B3NNY''' |
+ | ***Benny's [[Hermes]] '''B3NNY''' |
| − | **Garage Mechanic's [[Futo]] '''ONDASPOT''' |
+ | ***Garage Mechanic's [[Futo]] '''ONDASPOT''' |
| − | **Los Santos Customs Mechanic's [[Drift Yosemite]] '''LSC2''' |
+ | ***Los Santos Customs Mechanic's [[Drift Yosemite]] '''LSC2''' |
| − | **Hao's [[Penumbra]] '''60HSW264''' |
+ | ***Hao's [[Penumbra]] '''60HSW264''' |
| − | **Benny's OMW Mechanic's [[Peyote Custom]] '''09AIO297''' |
+ | ***Benny's OMW Mechanic's [[Peyote Custom]] '''09AIO297''' |
| − | **Warehouse Mechanic's [[Impaler]] '''62CSB145''' |
+ | ***Warehouse Mechanic's [[Impaler]] '''62CSB145''' |
| − | *Spawn as [[Secrets and Easter Eggs in GTA Online|Easter Eggs]] without their owner: |
+ | **Spawn as [[Secrets and Easter Eggs in GTA Online|Easter Eggs]] without their owner: |
| − | **An unknown owner's [[Winky]] '''42OYK235''' |
+ | ***An unknown owner's [[Winky]] '''42OYK235''' |
| − | **[[Lamar Davis]]' [[Emperor (car)|Emperor]] '''LAMAR G''' |
+ | ***[[Lamar Davis]]' [[Emperor (car)|Emperor]] '''LAMAR G''' |
| − | **[[Yung Ancestor]]'s [[Furia]] '''ANCESTOR''' |
+ | ***[[Yung Ancestor]]'s [[Furia]] '''ANCESTOR''' |
| − | **[[Miguel Madrazo]]'s [[Tyrant]] '''MADRA20''' |
+ | ***[[Miguel Madrazo]]'s [[Tyrant]] '''MADRA20''' |
| − | **[[Brucie Kibbutz]]'s [[Banshee]] '''D481TCH''' |
+ | ***[[Brucie Kibbutz]]'s [[Banshee]] '''D481TCH''' |
| + | ***[[Yusuf Amir]]'s [[Windsor Drop]] '''L1BERTY''' (as of [[GTA Online: The Chop Shop|The Chop Shop]] update) |
||
| − | ;Test Rides |
||
| + | *Test Rides |
||
| − | {{GTAOHUDIcons|testride}} Three tuner vehicles available for test driving on the Test Track. |
||
| + | {{HUDIcons|game=O|testcar}} Three tuner vehicles available for test driving on the Test Track. |
||
| − | |||
| − | Holding the zoom button (''z'' on Keyboard, D-Pad Down on a controller) will display vehicle information including an "Owner" field which will be populated for all player-owned vehicles in the Meet. NPC-owned vehicles, including the static ones above, will have the owner field left blank. The Test Rides have the website where that vehicle can be purchased listed as "Owner". |
+ | :Holding the zoom button (''z'' on Keyboard, D-Pad Down on a controller) will display vehicle information including an "Owner" field which will be populated for all player-owned vehicles in the Meet. NPC-owned vehicles, including the static ones above, will have the owner field left blank. The Test Rides have the website where that vehicle can be purchased listed as "Owner". |
| + | {{HUDIcons|game=O|hswtestvehicle}} With the release of the [[Grand Theft Auto Online/Editions|Expanded & Enhanced]] Edition of ''GTA Online'', A [[Hao's Special Works]]-modified vehicle was added for test driving on the Test Track. |
||
| − | + | ===Test Track=== |
|
| − | {{ |
+ | {{HUDIcons|game=O|cartestarea}} Visible from inside the Meet zone, the Test track is populated by two low-poly prop [[Drift Tampa]]s with the Hotring Racer livery. They are coded to loop around a few columns and create burnouts within the vicinity of the entrance. |
Players can enter the zone by getting in one of the Test Rides or from the special Vehicle Options Menu while inside any player's [[Personal Vehicles]]. |
Players can enter the zone by getting in one of the Test Rides or from the special Vehicle Options Menu while inside any player's [[Personal Vehicles]]. |
||
| Line 193: | Line 275: | ||
Players can not exit their vehicle inside the Test Track. Holding down the key/button for vehicle exit will allow the player to exit the Test Track back to the main Meet space or outside. Otherwise, the player can drive back to the marked gate where they can choose to enter the Meet space or exit the building. If testing a Test Ride vehicle, players can only return to the Meet space, they may not take the Test Ride outside. |
Players can not exit their vehicle inside the Test Track. Holding down the key/button for vehicle exit will allow the player to exit the Test Track back to the main Meet space or outside. Otherwise, the player can drive back to the marked gate where they can choose to enter the Meet space or exit the building. If testing a Test Ride vehicle, players can only return to the Meet space, they may not take the Test Ride outside. |
||
| − | + | ====Spectator Zone==== |
|
Pedestrian access to the Test Track is disallowed except for two secure raised areas. These are accessible from doorways near the Tattoo Parlor and Mod Shop, and allows the player to access small alcove areas overlooking the track to view any other players using the shared test track session instead of the NPC controlled action visible from within the meet area. If there are no players in the Test Track shared session, the track will be empty, even if there is a player conducting a solo session. Players in the spectator zone can see new players entering the shared test track. |
Pedestrian access to the Test Track is disallowed except for two secure raised areas. These are accessible from doorways near the Tattoo Parlor and Mod Shop, and allows the player to access small alcove areas overlooking the track to view any other players using the shared test track session instead of the NPC controlled action visible from within the meet area. If there are no players in the Test Track shared session, the track will be empty, even if there is a player conducting a solo session. Players in the spectator zone can see new players entering the shared test track. |
||
| − | + | ====Races==== |
|
Three race types are available in the test track, although two can not be accessed in solo instances. A player launches each race mode from the LS Car Meet Interaction menu. |
Three race types are available in the test track, although two can not be accessed in solo instances. A player launches each race mode from the LS Car Meet Interaction menu. |
||
| − | + | ====Time Trial==== |
|
Set a personal best time around the marked LS Car Meet Test Track (1 player - all other cars will turn to non-contact ghost-mode). |
Set a personal best time around the marked LS Car Meet Test Track (1 player - all other cars will turn to non-contact ghost-mode). |
||
<div class="stretch-img" style="width:75%; margin: auto;">[[File:TestTrack-GTAO-Map.png]]</div> |
<div class="stretch-img" style="width:75%; margin: auto;">[[File:TestTrack-GTAO-Map.png]]</div> |
||
| − | + | ====Head-to-Head==== |
|
Challenge another player to a 5 leg there-and-back drag race across the LS Car Meet Test Track space (2 players - contact on. All other non-competing cars will turn to non-contact ghost-mode). All other players in the Test Track instance will be invited to join. As soon as another player accepts the challenge, a timer will count down and both attendees will be automatically positioned at the start point. Each player has their own turn marker corona. |
Challenge another player to a 5 leg there-and-back drag race across the LS Car Meet Test Track space (2 players - contact on. All other non-competing cars will turn to non-contact ghost-mode). All other players in the Test Track instance will be invited to join. As soon as another player accepts the challenge, a timer will count down and both attendees will be automatically positioned at the start point. Each player has their own turn marker corona. |
||
| − | + | ====Scramble==== |
|
A randomized race around the LS Car Meet Test Track space where players compete to be the first to reach 20 checkpoints (2-4 players - contact on. All other non-competing cars will turn to non-contact ghost-mode). All other players in the Test Track instance will be invited to join. As soon as the minimum number of player accept the challenge, a timer will count down and attendees will be automatically positioned at the start point. All players share the same corona markers. Each checkpoint corona has a direction arrow pointing towards the location of the next checkpoint. |
A randomized race around the LS Car Meet Test Track space where players compete to be the first to reach 20 checkpoints (2-4 players - contact on. All other non-competing cars will turn to non-contact ghost-mode). All other players in the Test Track instance will be invited to join. As soon as the minimum number of player accept the challenge, a timer will count down and attendees will be automatically positioned at the start point. All players share the same corona markers. Each checkpoint corona has a direction arrow pointing towards the location of the next checkpoint. |
||
<div class="stretch-img" style="width:75%; margin: auto;">[[File:Scramble-GTAO-Map.png]]<br/>A random example of the 20 Scramble checkpoints distributed around the Test Track</div> |
<div class="stretch-img" style="width:75%; margin: auto;">[[File:Scramble-GTAO-Map.png]]<br/>A random example of the 20 Scramble checkpoints distributed around the Test Track</div> |
||
| + | |||
==Functionality== |
==Functionality== |
||
===Interaction Menu=== |
===Interaction Menu=== |
||
An '''LS Car Meet''' menu item has been added to the [[Interaction Menu]] when inside the meet. |
An '''LS Car Meet''' menu item has been added to the [[Interaction Menu]] when inside the meet. |
||
| − | *Invite to LS Car Meet - brings players in the [[Free Mode]] lobby into the meet building |
+ | *Invite to LS Car Meet - brings players in the [[Free Mode]] lobby into the meet building. |
| − | *Request Personal Vehicle - Get the [[Garage Mechanic]] to deliver an active [[Personal Vehicles|vehicle]] into the meet |
+ | *Request Personal Vehicle - Get the [[Garage Mechanic]] to deliver an active [[Personal Vehicles|vehicle]] into the meet (if the vehicle is allowed). Specific vehicles can also be requested by phoning the mechanic as usual. Delivery time is noticeably quicker than outside. |
| − | *Prize Ride Challenge - View the current challenge and progress towards completion and claim the prize if it is achieved |
+ | *Prize Ride Challenge - View the current challenge and progress towards completion and claim the prize if it is achieved. |
**Claim Prize Ride |
**Claim Prize Ride |
||
*Sprint - Invites all other members in the meet (not in the Test Track) to a [[Sprint (race)|Sprint race]]. |
*Sprint - Invites all other members in the meet (not in the Test Track) to a [[Sprint (race)|Sprint race]]. |
||
| − | *Vehicle Options - remote vehicle options |
+ | *Vehicle Options - remote vehicle options. |
| − | *Takeover Options - View customization options when hosting a private takeover |
+ | *Takeover Options - View customization options when hosting a private takeover. |
*Test Track Access - restrict who can join the player in their shared test track instance. |
*Test Track Access - restrict who can join the player in their shared test track instance. |
||
====While on the Test Track==== |
====While on the Test Track==== |
||
| Line 225: | Line 308: | ||
====In-car Vehicle Options==== |
====In-car Vehicle Options==== |
||
*Rev engine |
*Rev engine |
||
| − | *Mod Vehicle |
+ | *Mod Vehicle (not available with some vehicles) |
*Test Track |
*Test Track |
||
*Exit LS Car Meet |
*Exit LS Car Meet |
||
*Hide Vehicle Options |
*Hide Vehicle Options |
||
| + | |||
===Mimi=== |
===Mimi=== |
||
Talking to Mimi allows the player to purchase a membership, move their personal vehicle to a different spot ([[:File:LSCarMeet-GTAO-InteriorMap-PublicParkingSpaces.png|32 available spots]] in a public session) or host a Private Takeover of the meet space. |
Talking to Mimi allows the player to purchase a membership, move their personal vehicle to a different spot ([[:File:LSCarMeet-GTAO-InteriorMap-PublicParkingSpaces.png|32 available spots]] in a public session) or host a Private Takeover of the meet space. |
||
| Line 235: | Line 319: | ||
===Private Takeover=== |
===Private Takeover=== |
||
| − | {{ |
+ | {{HUDInstruction|LS Car Meet Feature Unlocked: Private Takeover}}{{clr}} |
| − | {{ |
+ | {{HUDInstruction|Your increased reputation with the LS Car Meet now allows you to use the space to host private gatherings by speaking to Mimi {{HUDIcons|game=O|casinoconcierge}}.}} |
{{Quote|hey babe. youre a regular name now. if you want you can use the LSCM for your own meets any time. speak to me and will sort it. mimi x|LS Car Meet}} |
{{Quote|hey babe. youre a regular name now. if you want you can use the LSCM for your own meets any time. speak to me and will sort it. mimi x|LS Car Meet}} |
||
Once the player has reached Reputation Level 20, they can pay Mimi $50,000 to have the entire Meet space to themselves with access granted to other players in the Free Roam lobby by invitation from the Interaction Menu only. |
Once the player has reached Reputation Level 20, they can pay Mimi $50,000 to have the entire Meet space to themselves with access granted to other players in the Free Roam lobby by invitation from the Interaction Menu only. |
||
| Line 246: | Line 330: | ||
From the interaction menu, players can set some customization options (banner and light colours). The player's active [[Crews|Crew logo]] will be shown on the banners. |
From the interaction menu, players can set some customization options (banner and light colours). The player's active [[Crews|Crew logo]] will be shown on the banners. |
||
| − | An {{ |
+ | An {{HUDIcons|game=O|casinoconcierge}} marks a vehicle management panel on a pillar in front of where Mimi is usually positioned which allows every player in the Private Meet to move their personal vehicle to any of the 76 parking spots. |
<div class="stretch-img" style="margin: auto; width:75%">[[File:LSCarMeet-GTAO-InteriorMap-TakeoverParkingSpaces.png]]</div> |
<div class="stretch-img" style="margin: auto; width:75%">[[File:LSCarMeet-GTAO-InteriorMap-TakeoverParkingSpaces.png]]</div> |
||
| Line 255: | Line 339: | ||
If a guest leaves the meet (to the ground or onto the building roof) they must be invited back to the Takeover Meet. Simply re-entering will take them back into a Public LS Car Meet session. |
If a guest leaves the meet (to the ground or onto the building roof) they must be invited back to the Takeover Meet. Simply re-entering will take them back into a Public LS Car Meet session. |
||
| − | If the host leaves the Online session, guests will be kicked out of the takeover and re-load into the Public LS Car Meet session. |
+ | If the host leaves the Online session, guests will be kicked out of the takeover with any Personal Vehicles in there returned automatically and re-load into the Public LS Car Meet session. |
===Prize Ride Challenge=== |
===Prize Ride Challenge=== |
||
{{Main|Prize Ride Challenge}} |
{{Main|Prize Ride Challenge}} |
||
| + | {{HUDIcons|game=O|prizecar}} |
||
| − | {{GTAOHUDIcons|prizeride}} |
||
Every week, [[Los Santos Customs]] provides a prize vehicle which will be on display on the back of their [[Slamtruck]] in the Car Meet. Varying challenges will be set for players to achieve in order to win the prize car for free. These challenges may take several days to complete. |
Every week, [[Los Santos Customs]] provides a prize vehicle which will be on display on the back of their [[Slamtruck]] in the Car Meet. Varying challenges will be set for players to achieve in order to win the prize car for free. These challenges may take several days to complete. |
||
| Line 268: | Line 352: | ||
===Mod Shop=== |
===Mod Shop=== |
||
A four bay vehicle Mod Shop is available. Access for modifying any [[Personal Vehicles]] is from the Vehicle Menu while sitting in the vehicle. The shop is open to view by all players in the meet and they can watch the modifications being undertaken in real time. This is the only mod shop capable of applying the Low Grip Tires to the vehicles added in the Tuners update. |
A four bay vehicle Mod Shop is available. Access for modifying any [[Personal Vehicles]] is from the Vehicle Menu while sitting in the vehicle. The shop is open to view by all players in the meet and they can watch the modifications being undertaken in real time. This is the only mod shop capable of applying the Low Grip Tires to the vehicles added in the Tuners update. |
||
| + | ====Hao's Special Works==== |
||
| + | {{Version|game=O|version=ee}} |
||
| + | {{Main|Hao’s Special Works}} |
||
| + | {{Quote|This new generation of GTA Online includes a range of new vehicles and a new addition to the Los Santos Car Meet: Hao’s Special Works.<br/>Hao’s Special Works encompasses best-in-class vehicle upgrades, a new class of Races using specially modified vehicles, and a weekly rotation of Hao’s Special Works Time Trials, along with a Premium Test Ride, where you can get behind the wheel of these newly modified vehicles for free.|[https://www.rockstargames.com/newswire/article/172872k8a375k8/gtav-and-gta-online-coming-march-15-for-playstation-5-and-xbox-series Newswire]}} |
||
| + | {{Quote|Exclusive to the latest generation consoles, Hao has taken over the LS Car Meet’s Mod Shop to offer his services as a specialist customizer with Hao’s Special Works. First, unlock Hao’s Special Works by taking his phone call and completing a time trial using a high-performing, HSW-modified vehicle. Once you beat the par time, Hao’s shop will be unlocked for business, allowing you to purchase an HSW upgrade for eligible vehicles and then add a new range of modifications including groundbreaking acceleration, Chameleon Paint, and more.|[https://www.rockstargames.com/newswire/article/4ka18ao8a4o227/grand-theft-auto-v-and-gta-online-out-now-on-playstation-5-and-xbox-se Newswire]}} |
||
| + | In the [[Expanded & Enhanced Edition]], the generic mod shop is replaced by [[Hao's Special Works]]. |
||
===Test Rides=== |
===Test Rides=== |
||
[[File:LSCarMeet-GTAO-TestRideLogo.png|thumb|300px]] |
[[File:LSCarMeet-GTAO-TestRideLogo.png|thumb|300px]] |
||
| + | [[File:LSCarMeet-GTAOe-TestRideLogo2.png|thumb|300px]] |
||
| − | Three tuner cars are parked outside the entrance to the Test Track. These are available for any player to test. They are in stock form mechanically, usually with a livery applied. These are changed every week with the new [[Events|Event Week]] tunables update. However, unlike the Prize Ride, the Test Ride vehicles would not change if any player kept a pre-update session open and stayed inside the Meet, even for players freshly joining the session with an updated tunables set. |
||
| + | Three cars are parked outside the entrance to the Test Track. These are available for any player to test. They are in stock form mechanically, usually with a livery applied. These are changed every week with the new [[Events|Event Week]] tunables update. However, unlike the Prize Ride, the Test Ride vehicles would not change if any player kept a pre-update session open and stayed inside the Meet, even for players freshly joining the session with an updated tunables set. |
||
| + | For the first seven weeks after the update, one of the vehicles would be a car that had not yet been made available for purchase by players, meaning the Test Ride was a sneak preview of that particular vehicle which would be made available the following week. |
||
| + | For the first fourteen weeks, all test rides were tuner DLC vehicles, the [[Pariah]] appearance from 28 October 2021 in [[Halloween Week 2021]], was the first non-DLC vehicle to appear. |
||
| − | For the first<!--number of weeks?-->several weeks after the update, one of the vehicles would be a car that had not yet been made available for purchase by players, meaning the Test Ride was a sneak preview of that particular vehicle. Test Rides that are available for purchase can be purchased directly from within the LS Car Meet by interacting with them, with whatever Test Ride livery option already applied on delivery. |
||
| + | |||
| − | {| class="wikitable mw-collapsible <!--mw-collapsed-->" style="width: 100%" |
||
| + | Test Rides that are available for purchase can be purchased directly from within the LS Car Meet by interacting with them, with whatever Test Ride livery option already applied on delivery. |
||
| − | !{{H:title|Commenement date|Week}} |
||
| + | |||
| + | ====2024==== |
||
| + | {| class="wikitable mw-collapsible sortable" style="width: 100%" |
||
| + | !{{H:title|Commencement date|Week}} |
||
!Image |
!Image |
||
| − | !colspan=3|Test Rides<br/><nowiki>*</nowiki> Denotes a vehicle not yet available to purchase |
+ | !colspan=3|Test Rides<br/><nowiki>*</nowiki> Denotes a vehicle not yet available to purchase<br /><sup><nowiki>!</nowiki></sup> Denotes a non-Tuners DLC vehicle |
| + | !colspan="2"|{{HUDIcons|game=O|hswtestvehicle}} HSW Premium Test Ride<br/>{{EEV}} |
||
|- |
|- |
||
| − | | |
+ | |18 April 2024 |
| − | |[[File: |
+ | |[[File:420Week-GTAOee-TestRides-NoAd.jpg|175px|center]] |
| − | |[[Pfister]]<br />[[ |
+ | |[[Pfister]]<br />[[Neon]]<sup><nowiki>!</nowiki></sup> |
| + | |[[Obey]]<br />[[I-Wagen]]<sup><nowiki>!</nowiki></sup> |
||
| + | |[[Pegassi]]<br />[[Tezeract]]<sup><nowiki>!</nowiki></sup> |
||
| + | |[[File:420Week-GTAOee-HaosPremiumTestRide-NoAd.jpg|175px|center]] |
||
| + | |[[Coil]]<br />[[Cyclone II]] |
||
| + | |- |
||
| + | |11 April 2024 |
||
| + | |[[File:ExecutiveBonusesWeekApril2024-GTAOee-TestRides-NoAd.jpg|175px|center]] |
||
| + | |[[Dinka]]<br />[[Jester Classic]]<sup><nowiki>!</nowiki></sup> |
||
| + | |[[Progen]]<br />[[Itali GTB]]<sup><nowiki>!</nowiki></sup> |
||
| + | |[[Grotti]]<br />[[Itali GTO]]<sup><nowiki>!</nowiki></sup> |
||
| + | |[[File:ExecutiveBonusesWeekApril2024-GTAOee-HaosPremiumTestRide-NoAd.jpg|175px|center]] |
||
| + | |[[Maibatsu Corporation|Maibatsu]]<br />[[MonstroCiti]] |
||
| + | |- |
||
| + | |4 April 2024 |
||
| + | |[[File:TransformRacesWeek-GTAOee-TestRides-NoAd.jpg|175px|center]] |
||
| + | |[[Grotti]]<br />[[Cheetah Classic]]<sup><nowiki>!</nowiki></sup> |
||
| + | |[[Bravado]]<br />[[Greenwood]]<sup><nowiki>!</nowiki></sup> |
||
| + | |[[Pfister]]<br />[[Comet S2]] |
||
| + | |[[File:TransformRacesWeek-GTAOee-HaosPremiumTestRide-NoAd.jpg|175px|center]] |
||
| + | |[[Karin]]<br />[[S95]] |
||
| + | |- |
||
| + | |28 March 2024 |
||
| + | |[[File:FreemodeChallengesAndEventsWeek-GTAOee-TestRides-NoAd.jpg|175px|center]] |
||
| + | |[[Albany]]<br />[[Alpha]]<sup><nowiki>!</nowiki></sup> |
||
| + | |[[Progen]]<br />[[GP1]]<sup><nowiki>!</nowiki></sup> |
||
| + | |[[Överflöd]]<br />[[Entity XF]]<sup><nowiki>!</nowiki></sup> |
||
| + | |[[File:FreemodeChallengesAndEventsWeek-GTAOee-HaosPremiumTestRide-NoAd.jpg|175px|center]] |
||
| + | |[[Bravado]]<br />[[Buffalo EVX]] |
||
| + | |- |
||
| + | |21 March 2024 |
||
| + | |[[File:MotorWarsWeek-GTAOee-TestRides-NoAd.jpg|175px|center]] |
||
| + | |[[Grotti]]<br />[[Cheetah]]<sup><nowiki>!</nowiki></sup> |
||
| + | |[[Benefactor]]<br />[[Schafter LWB]]<sup><nowiki>!</nowiki></sup> |
||
| + | |[[Annis]]<br />[[S80RR]]<sup><nowiki>!</nowiki></sup> |
||
| + | |[[File:MotorWarsWeek-GTAOee-HaosPremiumTestRide-NoAd.jpg|175px|center]] |
||
| + | |[[Pegassi]]<br />[[Weaponized Ignus]] |
||
| + | |- |
||
| + | |14 March 2024 |
||
| + | |[[File:TheCluckinBellFarmRaidMissionsWeek-GTAOee-TestRides-NoAd.jpg|175px|center]] |
||
| + | |[[Pfister]]<br />[[Comet SR]]<sup><nowiki>!</nowiki></sup> |
||
| + | |[[Emperor]]<br />[[ETR1]]<sup><nowiki>!</nowiki></sup> |
||
| + | |[[Annis]]<br />[[RE-7B]]<sup><nowiki>!</nowiki></sup> |
||
| + | |[[File:TheCluckinBellFarmRaidMissionsWeek-GTAOee-HaosPremiumTestRide-NoAd.jpg|175px|center]] |
||
| + | |[[Declasse]]<br />[[Vigero ZX Convertible]] |
||
| + | |- |
||
| + | |7 March 2024 |
||
| + | |[[File:TheCluckinBellFarmRaidWeek-GTAOee-TestRides-NoAd.jpg|175px|center]] |
||
| + | |[[Pfister]]<br />[[811]]<sup><nowiki>!</nowiki></sup> |
||
| + | |[[Vapid]]<br />[[FMJ]]<sup><nowiki>!</nowiki></sup> |
||
| + | |[[Lampadati]]<br />[[Furore GT]]<sup><nowiki>!</nowiki></sup> |
||
| + | |[[File:TheCluckinBellFarmRaidWeek-GTAOee-HaosPremiumTestRide-NoAd.jpg|175px|center]] |
||
| + | |[[Karin]]<br />[[Vivanite]] |
||
| + | |- |
||
| + | |29 February 2024 |
||
| + | |[[File:DriftandDragRacesWeek-GTAOe-TestRidesAdvert.jpg|175px|center]] |
||
| + | |[[Karin]]<br />[[Boor]]<sup><nowiki>!</nowiki></sup> |
||
| + | |[[Emperor]]<br />[[Vectre]] |
||
| + | |[[Ocelot]]<br />[[Virtue]]<sup><nowiki>!</nowiki></sup> |
||
| + | |[[File:DriftandDragRacesWeek-GTAOee-HaosPremiumTestRide-NoAd.jpg|175px|center]] |
||
| + | |[[Pfister]]<br />[[Astron Custom]] |
||
| + | |- |
||
| + | |22 February 2024 |
||
| + | |[[File:ImpalerSZWeek-GTAOee-TestRides-NoAd.jpg|175px|center]] |
||
| + | |[[Invetero]]<br />[[Coquette]]<sup><nowiki>!</nowiki></sup> |
||
| + | |[[Vapid]]<br />[[Bullet]]<sup><nowiki>!</nowiki></sup> |
||
| + | |[[Declasse]]<br />[[Vigero]]<sup><nowiki>!</nowiki></sup> |
||
| + | |[[File:ImpalerSZWeek-GTAOee-HaosPremiumTestRide-NoAd.jpg|175px|center]] |
||
| + | |[[Declasse]]<br />[[Vigero ZX]] |
||
| + | |- |
||
| + | |15 February 2024 |
||
| + | |[[File:BallerST-DWeek-GTAOee-TestRides-NoAd.jpg|175px|center]] |
||
| + | |[[Dinka]]<br />[[Double T]]<sup><nowiki>!</nowiki></sup> |
||
| + | |[[Cheval]]<br />[[Fugitive]]<sup><nowiki>!</nowiki></sup> |
||
| + | |[[Bravado]]<br />[[Buffalo]]<sup><nowiki>!</nowiki></sup> |
||
| + | |[[File:BallerST-DWeek-GTAOee-HaosPremiumTestRide-NoAd.jpg|175px|center]] |
||
| + | |[[Weeny]]<br />[[Issi Rally]] |
||
| + | |- |
||
| + | |8 February 2024 |
||
| + | |[[File:YearOfTheDragonWeek-GTAOee-TestRides-NoAd.jpg|175px|center]] |
||
| + | |[[Coil]]<br />[[Brawler]]<sup><nowiki>!</nowiki></sup> |
||
| + | |[[Ocelot]]<br />[[Swinger]]<sup><nowiki>!</nowiki></sup> |
||
| + | |[[Lampadati]]<br />[[Tigon]]<sup><nowiki>!</nowiki></sup> |
||
| + | |[[File:YearOfTheDragonWeek-GTAOee-HaosPremiumTestRide-NoAd.jpg|175px|center]] |
||
| + | |[[Grotti]]<br />[[Turismo Classic]] |
||
| + | |- |
||
| + | |1 February 2024 |
||
| + | |[[File:PremiumDeluxeRepoWorkWeek-GTAOee-TestRides-NoAd.jpg|175px|center]] |
||
| + | |[[Schyster]]<br />[[Deviant]]<sup><nowiki>!</nowiki></sup> |
||
| + | |[[Ocelot]]<br />[[Lynx]]<sup><nowiki>!</nowiki></sup> |
||
| + | |[[Weeny]]<br />[[Issi Sport]]<sup><nowiki>!</nowiki></sup> |
||
| + | |[[File:PremiumDeluxeRepoWorkWeek-GTAOee-HaosPremiumTestRide-NoAd.jpg|175px|center]] |
||
| + | |[[Übermacht]]<br />[[Sentinel XS]] |
||
| + | |- |
||
| + | |25 January 2024 |
||
| + | |[[File:DragRacesWeek-GTAOee-TestRides-NoAd.jpg|175px|center]] |
||
| + | |[[Emperor]]<br />[[Vectre]] |
||
| + | |[[Karin]]<br />[[Sultan RS Classic]] |
||
| + | |[[Vapid]]<br />[[Dominator ASP]] |
||
| + | |[[File:DragRacesWeek-GTAOee-HaosPremiumTestRide-NoAd.jpg|175px|center]] |
||
| + | |[[Bravado]]<br />[[Banshee]] |
||
| + | |- |
||
| + | |18 January 2024 |
||
| + | |[[File:TowTruckServicesWeek-GTAOee-TestRides-NoAd.jpg|175px|center]] |
||
| + | |[[Grotti]]<br />[[Stinger]]<sup><nowiki>!</nowiki></sup> |
||
| + | |[[Enus]]<br />[[Stafford]]<sup><nowiki>!</nowiki></sup> |
||
| + | |[[Progen]]<br />[[Tyrus]]<sup><nowiki>!</nowiki></sup> |
||
| + | |[[File:TowTruckServicesWeek-GTAOee-HaosPremiumTestRide-NoAd.jpg|175px|center]] |
||
| + | |[[Grotti]]<br />[[Brioso R/A]] |
||
| + | |- |
||
| + | |11 January 2024 |
||
| + | |[[File:CavalcadeXLWeek-GTAOee-TestRides-NoAd.jpg|175px|center]] |
||
| + | |[[Ocelot]]<br />[[Locust]]<sup><nowiki>!</nowiki></sup> |
||
| + | |[[Vysser]]<br />[[Neo]]<sup><nowiki>!</nowiki></sup> |
||
| + | |[[Dinka]]<br />[[Jester]]<sup><nowiki>!</nowiki></sup> |
||
| + | |[[File:CavalcadeXLWeek-GTAOee-HaosPremiumTestRide-NoAd.jpg|175px|center]] |
||
| + | |[[Shitzu]]<br />[[Hakuchou Custom|Hakuchou Drag]] |
||
| + | |- |
||
| + | |4 January 2024 |
||
| + | |[[File:ParkRangerWeek-GTAOee-TestRides-NoAd.jpg|175px|center]] |
||
| + | |[[Grotti]]<br />[[GT500]]<sup><nowiki>!</nowiki></sup> |
||
| + | |[[Dewbauchee]]<br />[[Seven-70]]<sup><nowiki>!</nowiki></sup> |
||
| + | |[[Übermacht]]<br />[[SC1]]<sup><nowiki>!</nowiki></sup> |
||
| + | |[[File:ParkRangerWeek-GTAOee-HaosPremiumTestRide-NoAd.jpg|175px|center]] |
||
| + | |[[Pfister]]<br />[[Astron Custom]] |
||
| + | |} |
||
| + | |||
| + | ====2023==== |
||
| + | {| class="wikitable mw-collapsible sortable mw-collapsed" style="width: 100%" |
||
| + | !{{H:title|Commencement date|Week}} |
||
| + | !Image |
||
| + | !colspan=3|Test Rides<br/><nowiki>*</nowiki> Denotes a vehicle not yet available to purchase<br /><sup><nowiki>!</nowiki></sup> Denotes a non-Tuners DLC vehicle |
||
| + | !colspan="2"|{{HUDIcons|game=O|hswtestvehicle}} HSW Premium Test Ride<br/>{{EEV}} |
||
| + | |- |
||
| + | |21 December 2023 |
||
| + | |[[File:FestiveSurprise2023-GTAOee-TestRides-NoAd.jpg|175px|center]] |
||
| + | |[[Karin]]<br />[[Calico GTF]]<sup><nowiki>!</nowiki></sup> |
||
| + | |[[Pfister]]<br />[[Comet Safari]]<sup><nowiki>!</nowiki></sup> |
||
| + | |[[Pfister]]<br />[[Comet S2 Cabrio]]<sup><nowiki>!</nowiki></sup> |
||
| + | |[[File:FestiveSurprise2023-GTAOee-HaosPremiumTestRide-NoAd.jpg|175px|center]] |
||
| + | |[[Karin]]<br />[[Vivanite]] |
||
| + | |- |
||
| + | |12 December 2023 |
||
| + | |[[File:TheChopShop-GTAOee-TestRides-NoAd.jpg|175px|center]] |
||
| + | |[[Karin]]<br />[[Hotring Everon]]<sup><nowiki>!</nowiki></sup> |
||
| + | |[[Vapid]]<br />[[Dominator GT]]<sup><nowiki>!</nowiki></sup> |
||
| + | |[[Fathom]]<br />[[FR36]]<sup><nowiki>!</nowiki></sup> |
||
| + | |[[File:TheChopShop-GTAOee-HaosPremiumTestRide-NoAd.jpg|175px|center]] |
||
| + | |[[Declasse]]<br />[[Vigero ZX Convertible]] |
||
| + | |- |
||
| + | |30 November 2023 |
||
| + | |[[File:ProjectOverthrowWeekNovember2023-GTAOee-TestRides-NoAd.jpg|175px|center]] |
||
| + | |[[Coil]]<br />[[Cyclone]]<sup><nowiki>!</nowiki></sup> |
||
| + | |[[Enus]]<br />[[Stafford]]<sup><nowiki>!</nowiki></sup> |
||
| + | |[[Lampadati]]<br />[[Viseris]]<sup><nowiki>!</nowiki></sup> |
||
| + | |[[File:ProjectOverthrowWeekNovember2023-GTAOee-HaosPremiumTestRide-NoAd.jpg|175px|center]] |
||
| + | |[[Principe]]<br />[[Deveste Eight]] |
||
| + | |- |
||
| + | |23 November 2023 |
||
| + | |[[File:DiamondCasinoBonusesWeek-GTAOee-TestRides-NoAd.jpg|175px|center]] |
||
| + | |[[Ocelot]]<br />[[Swinger]]<sup><nowiki>!</nowiki></sup> |
||
| + | |[[Vapid]]<br />[[Retinue]]<sup><nowiki>!</nowiki></sup> |
||
| + | |[[Dinka]]<br />[[Verus]]<sup><nowiki>!</nowiki></sup> |
||
| + | |[[File:DiamondCasinoBonusesWeek-GTAOee-HaosPremiumTestRide-NoAd.jpg|175px|center]] |
||
| + | |[[Bravado]]<br />[[Buffalo EVX]] |
||
| + | |- |
||
| + | |16 November 2023 |
||
| + | |[[File:TheDoomsdayHeistWeek-GTAOee-TestRides-NoAd.jpg|175px|center]] |
||
| + | |[[Albany]]<br />[[Hermes]]<sup><nowiki>!</nowiki></sup> |
||
| + | |[[Truffade]]<br />[[Z-Type]]<sup><nowiki>!</nowiki></sup> |
||
| + | |[[Declasse]]<br />[[Mamba]]<sup><nowiki>!</nowiki></sup> |
||
| + | |[[File:TheDoomsdayHeistWeek-GTAOee-HaosPremiumTestRide-NoAd.jpg|175px|center]] |
||
| + | |[[Maibatsu]]<br />[[MonstroCiti]] |
||
| + | |- |
||
| + | |9 November 2023 |
||
| + | |[[File:Sprunk&eColaWeek-GTAOee-TestRides-NoAd.jpg|175px|center]] |
||
| + | |[[Pfister]]<br />[[811]]<sup><nowiki>!</nowiki></sup> |
||
| + | |[[Progen]]<br />[[GP1]]<sup><nowiki>!</nowiki></sup> |
||
| + | |[[Obey]]<br />[[9F Cabrio]]<sup><nowiki>!</nowiki></sup> |
||
| + | |[[File:Sprunk&eColaWeek-GTAOee-HaosPremiumTestRide-NoAd.jpg|175px|center]] |
||
| + | |[[Principe]]<br />[[Deveste Eight]] |
||
| + | |- |
||
| + | |2 November 2023 |
||
| + | |[[File:ShortTripsWeek-GTAOe-TestRidesAdvert.jpg|175px|center]] |
||
| + | |[[Coil]]<br />[[Voltic]]<sup><nowiki>!</nowiki></sup> |
||
| + | |[[Ocelot]]<br />[[Jackal]]<sup><nowiki>!</nowiki></sup> |
||
| + | |[[Schyster]]<br />[[Fusilade]]<sup><nowiki>!</nowiki></sup> |
||
| + | |[[File:ShortTripsWeek-GTAOee-HaosPremiumTestRide.jpg|175px|center]] |
||
| + | |[[Coil]]<br />[[Cyclone II]] |
||
| + | |- |
||
| + | |26 October 2023 |
||
| + | |[[File:Halloween2023Week4-GTAOee-TestRides-NoAd.jpg|175px|center]] |
||
| + | |[[Albany]]<br />[[Lurcher]]<sup><nowiki>!</nowiki></sup> |
||
| + | |[[Western Motorcycle Company|Western]]<br />[[Zombie|Zombie Chopper]]<sup><nowiki>!</nowiki></sup> |
||
| + | |[[Bravado]]<br />[[Rat-Loader]]<sup><nowiki>!</nowiki></sup> |
||
| + | |[[File:Halloween2023Week4-GTAOee-HaosPremiumTestRide.jpg|175px|center]] |
||
| + | |[[Penaud]]<br />[[La Coureuse]] |
||
| + | |- |
||
| + | |19 October 2023 |
||
| + | |[[File:Halloween2023Week3-GTAOee-TestRides-NoAd.jpg|175px|center]] |
||
| + | |[[Obey]]<br />[[8F Drafter]]<sup><nowiki>!</nowiki></sup> |
||
| + | |[[Declasse]]<br />[[Hotring Sabre]]<sup><nowiki>!</nowiki></sup> |
||
| + | |[[Grotti]]<br />[[Bestia GTS]]<sup><nowiki>!</nowiki></sup> |
||
| + | |[[File:Halloween2023Week3-GTAOee-HaosPremiumTestRide.jpg|175px|center]] |
||
| + | |[[Imponte]]<br />[[Arbiter GT]] |
||
| + | |- |
||
| + | |12 October 2023 |
||
| + | |[[File:Halloween2023Week2-GTAOee-TestRides-NoAd.jpg|175px|center]] |
||
| + | |[[Vapid]]<br />[[Peyote Gasser]]<sup><nowiki>!</nowiki></sup> |
||
| + | |[[Grotti]]<br />[[GT500]]<sup><nowiki>!</nowiki></sup> |
||
| + | |[[Declasse]]<br />[[Vamos]]<sup><nowiki>!</nowiki></sup> |
||
| + | |[[File:Halloween2023Week2-GTAOee-HaosPremiumTestRide-NoAd.jpg|175px|center]] |
||
| + | |[[Karin]]<br />[[S95]] |
||
| + | |- |
||
| + | |5 October 2023 |
||
| + | |[[File:Halloween2023Week1-GTAOee-TestRides-NoAd.jpg|175px|center]] |
||
| + | |[[Dewbauchee]]<br />[[Massacro]]<sup><nowiki>!</nowiki></sup> |
||
| + | |[[Albany]]<br />[[Alpha]]<sup><nowiki>!</nowiki></sup> |
||
| + | |[[Maibatsu]]<br />[[Penumbra]]<sup><nowiki>!</nowiki></sup> |
||
| + | |[[File:Halloween2023Week1-GTAOee-HaosPremiumTestRide.jpg|175px|center]] |
||
| + | |[[Principe]]<br />[[Deveste Eight]] |
||
| + | |- |
||
| + | |28 September 2023 |
||
| + | |[[File:BusinessProductionBoostsWeek-GTAOee-TestRides-NoAd.jpg|175px|center]] |
||
| + | |[[Dewbauchee]]<br />[[Rapid GT]]<sup><nowiki>!</nowiki></sup> |
||
| + | |[[Dewbauchee]]<br />[[Seven-70]]<sup><nowiki>!</nowiki></sup> |
||
| + | |[[Dinka]]<br />[[Jester Classic]]<sup><nowiki>!</nowiki></sup> |
||
| + | |[[File:BusinessProductionBoostsWeek-GTAOee-HaosPremiumTestRide.jpg|175px|center]] |
||
| + | |[[Maibatsu]]<br />[[MonstroCiti]] |
||
| + | |- |
||
| + | |21 September 2023 |
||
| + | |[[File:AutoShopBonusesWeek-GTAOe-TestRidesAdvert.jpg|175px|center]] |
||
| + | |[[Hijak]]<br />[[Ruston]]<sup><nowiki>!</nowiki></sup> |
||
| + | |[[Dinka]]<br />[[Jester]]<sup><nowiki>!</nowiki></sup> |
||
| + | |[[Vapid]]<br />[[Contender]]<sup><nowiki>!</nowiki></sup> |
||
| + | |[[File:AutoShopBonusesWeek-GTAOee-HaosPremiumTestRide.jpg|175px|center]] |
||
| + | |[[Grotti]]<br />[[Turismo Classic]] |
||
| + | |- |
||
| + | |14 September 2023 |
||
| + | |[[File:GTAVAnniversaryWeek-GTAOee-TestRides-NoAd.jpg|175px|center]] |
||
| + | |[[Pegassi]]<br />[[Osiris]]<sup><nowiki>!</nowiki></sup> |
||
| + | |[[Progen]]<br />[[T20]]<sup><nowiki>!</nowiki></sup> |
||
| + | |[[Pegassi]]<br />[[Zentorno]]<sup><nowiki>!</nowiki></sup> |
||
| + | |[[File:GTAVAnniversaryWeek-GTAOee-HaosPremiumTestRide.jpg|175px|center]] |
||
| + | |[[Coil]]<br />[[Cyclone II]] |
||
| + | |- |
||
| + | |7 September 2023 |
||
| + | |[[File:AcidLabMissionBonusesWeek-GTAOe-TestRides-NoAd.png|175px|center]] |
||
| + | |[[Enus]]<br />[[Super Diamond]]<sup><nowiki>!</nowiki></sup> |
||
| + | |[[Weeny]]<br />[[Dynasty]]<sup><nowiki>!</nowiki></sup> |
||
| + | |[[Överflöd]]<br />[[Entity XF]]<sup><nowiki>!</nowiki></sup> |
||
| + | |[[File:AcidLabMissionBonusesWeek-GTAOee-HaosPremiumTestRideAdvert.jpg|175px|center]] |
||
| + | |[[Pegassi]]<br />[[Weaponized Ignus]] |
||
| + | |- |
||
| + | |31 August 2023 |
||
| + | |[[File:NightclubBonusesWeekAugust2023-GTAOe-TestRides-NoAd.png|175px|center]] |
||
| + | |[[Grotti]]<br />[[Brioso 300]]<sup><nowiki>!</nowiki></sup> |
||
| + | |[[Grotti]]<br />[[Visione]]<sup><nowiki>!</nowiki></sup> |
||
| + | |[[Vapid]]<br />[[GB200]]<sup><nowiki>!</nowiki></sup> |
||
| + | |[[File:NightclubBonusesWeekAugust2023-GTAOee-HaosPremiumTestRide.jpg|175px|center]] |
||
| + | |[[Declasse]]<br />[[Vigero ZX]] |
||
| + | |- |
||
| + | |24 August 2023 |
||
| + | |[[File:BikerBonusesWeek-GTAOe-TestRideAdvert.jpg|175px|center]] |
||
| + | |[[Pegassi]]<br />[[Esskey]]<sup><nowiki>!</nowiki></sup> |
||
| + | |[[Grotti]]<br />[[Cheetah]]<sup><nowiki>!</nowiki></sup> |
||
| + | |[[Western Motorcycle Company|Western]]<br />[[Reever]]<sup><nowiki>!</nowiki></sup> |
||
| + | |[[File:BikerBonusesWeek-GTAOee-HaosPremiumTestRide.jpg|175px|center]] |
||
| + | |[[Shitzu]]<br />[[Hakuchou Custom|Hakuchou Drag]] |
||
| + | |- |
||
| + | |17 August 2023 |
||
| + | |[[File:ExecutiveBonusesWeek-GTAOe-TestRides-NoAd.png|175px|center]] |
||
| + | |[[Pegassi]]<br />[[Tempesta]]<sup><nowiki>!</nowiki></sup> |
||
| + | |[[Enus]]<br />[[Windsor Drop]]<sup><nowiki>!</nowiki></sup> |
||
| + | |[[Emperor]]<br />[[Vectre]]<sup><nowiki>!</nowiki></sup> |
||
| + | |[[File:ExecutiveBonusesWeek-GTAOee-HaosPremiumTestRide.jpg|175px|center]] |
||
| + | |[[Imponte]]<br />[[Arbiter GT]] |
||
| + | |- |
||
| + | |10 August 2023 |
||
| + | |[[File:AssaultOnCayoPericoWeek-GTAOe-TestRides-NoAd.png|175px|center]] |
||
|[[Annis]]<br />[[Euros]] |
|[[Annis]]<br />[[Euros]] |
||
| + | |[[Pegassi]]<br />[[Reaper]]<sup><nowiki>!</nowiki></sup> |
||
| + | |[[Dinka]]<br />[[Veto Classic]]<sup><nowiki>!</nowiki></sup> |
||
| + | |[[File:AssaultOnCayoPericoWeek-GTAOee-HaosPremiumTestRide.jpg|175px|center]] |
||
| + | |[[Pegassi]]<br />[[Weaponized Ignus]] |
||
| + | |- |
||
| + | |3 August 2023 |
||
| + | |[[File:GTAOnlineBonusesAugust2023-GTAOe-TestRideAdvert.jpg|175px|center]] |
||
|[[Karin]]<br />[[Calico GTF]] |
|[[Karin]]<br />[[Calico GTF]] |
||
| + | |[[Pfister]]<br />[[Comet SR]]<sup><nowiki>!</nowiki></sup> |
||
| + | |[[Bravado]]<br />[[Greenwood]]<sup><nowiki>!</nowiki></sup> |
||
| + | |[[File:GTAOnlineBonusesAugust2023-GTAOee-HaosPremiumTestRideAdvert.jpg|100px|center]] |
||
| + | |[[Coil]]<br />[[Cyclone II]] |
||
|- |
|- |
||
| − | | |
+ | |27 July 2023 |
| − | |[[File: |
+ | |[[File:2023SummerRacingEventWeek2-GTAOe-TestRides-NoAd.png|175px|center]] |
| − | |[[ |
+ | |[[Coil]]<br />[[Raiden]]<sup><nowiki>!</nowiki></sup> |
| − | |[[ |
+ | |[[Progen]]<br />[[GP1]]<sup><nowiki>!</nowiki></sup> |
| − | |[[ |
+ | |[[Benefactor]]<br />[[Streiter]]<sup><nowiki>!</nowiki></sup> |
| + | |[[File:2023SummerRacingEventWeek2-GTAOee-HaosPremiumTestRideAdvert.jpg|100px|center]] |
||
| + | |[[Principe]]<br />[[Deveste Eight]] |
||
|- |
|- |
||
| + | |20 July 2023 |
||
| − | |5 August 2021 |
||
| − | |[[File: |
+ | |[[File:LaCoureuseWeek-GTAOe-TestRides-NoAd.png|175px|center]] |
| + | |[[Pfister]]<br />[[811]]<sup><nowiki>!</nowiki></sup> |
||
| − | |[[Emperor (manufacturer)|Emperor]]<br />[[Vectre]] * |
||
| + | |[[Bravado]]<br />[[Verlierer]]<sup><nowiki>!</nowiki></sup> |
||
| + | |[[Obey]]<br />[[Tailgater S]] |
||
| + | |[[File:LaCoureuseWeek-GTAOee-HaosPremiumTestRideAdvert.jpg|100px|center]] |
||
| + | |[[Pfister]]<br />[[Astron Custom]] |
||
| + | |- |
||
| + | |13 July 2023 |
||
| + | |[[File:ArmoredTrucksWeek-GTAOe-TestRideAdvert.jpg|175px|center]] |
||
| + | |[[Übermacht]]<br />[[Revolter]]<sup><nowiki>!</nowiki></sup> |
||
| + | |[[Coil]]<br />[[Brawler]]<sup><nowiki>!</nowiki></sup> |
||
| + | |[[Invetero]]<br />[[Coquette BlackFin]]<sup><nowiki>!</nowiki></sup> |
||
| + | |[[File:ArmoredTrucksWeek-GTAOee-HaosPremiumTestRideAdvert.jpg|100px|center]] |
||
| + | |[[Grotti]]<br />[[Turismo Classic]] |
||
| + | |- |
||
| + | |6 July 2023 |
||
| + | |[[File:ProjectOverthrowWeek-GTAOe-TestRides-NoAd.png|175px|center]] |
||
| + | |[[Pegassi]]<br />[[Vacca]]<sup><nowiki>!</nowiki></sup> |
||
| + | |[[Pegassi]]<br />[[Infernus]]<sup><nowiki>!</nowiki></sup> |
||
| + | |[[Ocelot]]<br />[[XA-21]]<sup><nowiki>!</nowiki></sup> |
||
| + | |[[File:ProjectOverthrowWeek-GTAOee-HaosPremiumTestRideAdvert.jpg|100px|center]] |
||
| + | |[[Karin]]<br />[[S95]] |
||
| + | |- |
||
| + | |29 June 2023 |
||
| + | |[[File:IndependenceDay2023-GTAOe-TestRides-NoAd.png|175px|center]] |
||
| + | |[[Pfister]]<br />[[Neon]]<sup><nowiki>!</nowiki></sup> |
||
| + | |[[Invetero]]<br />[[Coquette D10]]<sup><nowiki>!</nowiki></sup> |
||
| + | |[[Annis]]<br />[[ZR-350]] |
||
| + | |[[File:IndependenceDay2023-GTAOee-HaosPremiumTestRideAdvert.jpg|100px|center]] |
||
| + | |[[Imponte]]<br />[[Arbiter GT]] |
||
| + | |- |
||
| + | |22 June 2023 |
||
| + | |[[File:BuffaloEVXWeek-GTAOe-TestRideAdvert.jpg|175px|center]] |
||
| + | |[[Vapid]]<br />[[FMJ]]<sup><nowiki>!</nowiki></sup> |
||
| + | |[[Grotti]]<br />[[Itali RSX]]<sup><nowiki>!</nowiki></sup> |
||
| + | |[[Bravado]]<br />[[Gauntlet Classic]]<sup><nowiki>!</nowiki></sup> |
||
| + | |[[File:BuffaloEVXWeek-GTAOee-HaosPremiumTestRideAdvert.jpg|100px|center]] |
||
| + | |[[Överflöd]]<br />[[Entity MT]] |
||
| + | |- |
||
| + | |13 June 2023 |
||
| + | |[[File:SanAndreasMercenaries-GTAOee-TestRides-NoAd.jpg|175px|center]] |
||
| + | |[[Bravado]]<br />[[Verlierer]]<sup><nowiki>!</nowiki></sup> |
||
| + | |[[Progen]]<br />[[GP1]]<sup><nowiki>!</nowiki></sup> |
||
| + | |[[Vapid]]<br />[[Dominator GTX]]<sup><nowiki>!</nowiki></sup> |
||
| + | |[[File:SanAndreasMercenaries-GTAOee-HaosPremiumTestRide-NoAd.jpg|100px|center]] |
||
| + | |[[Maibatsu]]<br />[[MonstroCiti]] |
||
| + | |- |
||
| + | |8 June 2023 |
||
| + | |[[File:FlightBonusesWeek2-GTAOe-TestRides-NoAd.png|175px|center]] |
||
| + | |[[Annis]]<br />[[Remus]] |
||
| + | |[[Lampadati]]<br />[[Cinquemila]]<sup><nowiki>!</nowiki></sup> |
||
| + | |[[Vapid]]<br />[[GB200]]<sup><nowiki>!</nowiki></sup> |
||
| + | |[[File:FlightBonusesWeek2-GTAOee-HaosPremiumTestRideAdvert.jpg|100px|center]] |
||
| + | |[[Karin]]<br />[[S95]] |
||
| + | |- |
||
| + | |1 June 2023 |
||
| + | |[[File:FlightBonusesWeek-GTAOe-TestRides-NoAd.png|175px|center]] |
||
| + | |[[Dewbauchee]]<br />[[Specter]]<sup><nowiki>!</nowiki></sup> |
||
| + | |[[Karin]]<br />[[Calico GTF]] |
||
| + | |[[Übermacht]]<br />[[Sentinel Classic]]<sup><nowiki>!</nowiki></sup> |
||
| + | |[[File:FlightBonusesWeek-GTAOee-HaosPremiumTestRideAdvert.jpg|100px|center]] |
||
| + | |[[Grotti]]<br />[[Brioso R/A]] |
||
| + | |- |
||
| + | |25 May 2023 |
||
| + | |[[File:FreemodeEventBonusesWeek-GTAOe-TestRideAdvert.jpg|175px|center]] |
||
| + | |[[Vapid]]<br />[[Chino]]<sup><nowiki>!</nowiki></sup> |
||
| + | |[[Bravado]]<br />[[Gauntlet Hellfire]]<sup><nowiki>!</nowiki></sup> |
||
| + | |[[Grotti]]<br />[[Turismo Classic]]<sup><nowiki>!</nowiki></sup> |
||
| + | |[[File:FreemodeEventBonusesWeek-GTAOee-HaosPremiumTestRideAdvert.jpg|100px|center]] |
||
| + | |[[Principe]]<br />[[Deveste Eight]] |
||
| + | |- |
||
| + | |18 May 2023 |
||
| + | |[[File:LosSantosTunersBonusesWeekMay2023-GTAOe-TestRides-NoAd.png|175px|center]] |
||
|[[Vapid]]<br />[[Dominator ASP]] |
|[[Vapid]]<br />[[Dominator ASP]] |
||
| − | |[[ |
+ | |[[Bravado]]<br />[[Banshee]]<sup><nowiki>!</nowiki></sup> |
| + | |[[Karin]]<br />[[Calico GTF]] |
||
| + | |[[File:LosSantosTunersBonusesWeekMay2023-GTAOee-HaosPremiumTestRideAdvert.jpg|100px|center]] |
||
| + | |[[Pfister]]<br />[[Astron Custom]] |
||
|- |
|- |
||
| + | |11 May 2023 |
||
| − | |12 August 2021 |
||
| − | |[[File: |
+ | |[[File:GTAOnlineBonusesMay2023-GTAOe-TestRides-NoAd.png|175px|center]] |
| + | |[[Dinka]]<br />[[Jester Classic]]<sup><nowiki>!</nowiki></sup> |
||
| − | |[[Emperor (manufacturer)|Emperor]]<br />[[Vectre]] |
||
| − | |[[ |
+ | |[[Albany]]<br />[[V-STR]]<sup><nowiki>!</nowiki></sup> |
| − | |[[ |
+ | |[[Överflöd]]<br />[[Entity MT]]<sup><nowiki>!</nowiki></sup> |
| + | |[[File:GTAOnlineBonusesMay2023-GTAOee-HaosPremiumTestRideAdvert.jpg|100px|center]] |
||
| + | |[[Grotti]]<br />[[Brioso R/A]] |
||
|- |
|- |
||
| + | |4 May 2023 |
||
| − | |19 August 2021 |
||
| − | |[[File: |
+ | |[[File:AirFreightCargoWeek-GTAOe-TestRideAdvert.jpg|175px|center]] |
| + | |[[Lampadati]]<br />[[Furore GT]]<sup><nowiki>!</nowiki></sup> |
||
| + | |[[Bravado]]<br />[[Greenwood]]<sup><nowiki>!</nowiki></sup> |
||
| + | |[[Dewbauchee]]<br />[[Rapid GT Classic]]<sup><nowiki>!</nowiki></sup> |
||
| + | {{H:title|The ad shows the Rapid GT instead of the Rapid GT Classic|Note}} |
||
| + | |[[File:AirFreightCargoWeek-GTAOee-HaosPremiumTestRideAdvert.jpg|100px|center]] |
||
| + | |[[Pegassi]]<br />[[Weaponized Ignus]] |
||
| + | |- |
||
| + | |27 April 2023 |
||
| + | |[[File:LastDoseHardModeWeek-GTAOe-TestRides-NoAd.png|175px|center]] |
||
| + | |[[Vapid]]<br />[[Peyote Gasser]]<sup><nowiki>!</nowiki></sup> |
||
| + | |[[Dinka]]<br />[[Kanjo SJ]]<sup><nowiki>!</nowiki></sup> |
||
| + | |[[Declasse]]<br />[[Tulip]]<sup><nowiki>!</nowiki></sup> |
||
| + | |[[File:LastDoseHardModeWeek-GTAOee-HaosPremiumTestRideAdvert.jpg|100px|center]] |
||
| + | |[[Declasse]]<br />[[Vigero ZX]] |
||
| + | |- |
||
| + | |20 April 2023 |
||
| + | |[[File:ShakeUpAndTopMarksWeek-GTAOe-TestRides-NoAd.png|175px|center]] |
||
| + | |[[Karin]]<br />[[Previon]] |
||
| + | |[[Übermacht]]<br />[[Cypher]] |
||
| + | |[[Pfister]]<br />[[Neon]]<sup><nowiki>!</nowiki></sup> |
||
| + | |[[File:SentinelXS-GTAOee-HaosPremiumTestRide-NoAd.jpg|100px|center]] |
||
| + | |[[Übermacht]]<br />[[Sentinel XS]] |
||
| + | |- |
||
| + | |13 April 2023 |
||
| + | |[[File:BoorWeek-GTAOe-TestRideAdvert.jpg|175px|center]] |
||
|[[Vulcar]]<br />[[Warrener HKR]] |
|[[Vulcar]]<br />[[Warrener HKR]] |
||
| + | |[[Albany]]<br />[[V-STR]]<sup><nowiki>!</nowiki></sup> |
||
|[[Pfister]]<br />[[Growler]] |
|[[Pfister]]<br />[[Growler]] |
||
| + | |[[File:HakuchouDrag-GTAOee-HaosPremiumTestRide-NoAd.jpg|100px|center]] |
||
| − | |[[Karin]]<br />[[Sultan RS Classic]] * |
||
| + | |[[Shitzu]]<br />[[Hakuchou Custom|Hakuchou Drag]] |
||
|- |
|- |
||
| + | |06 April 2023 |
||
| − | |26 August 2021 |
||
| − | |[[File: |
+ | |[[File:GunrunningBonusesWeek-GTAOe-TestRides-NoAd.png|175px|center]] |
| − | |[[ |
+ | |[[Vapid]]<br />[[Dominator ASP]] |
| − | |[[ |
+ | |[[Pfister]]<br />[[Comet S2]] |
| − | |[[ |
+ | |[[Ocelot]]<br />[[Ardent]]<sup><nowiki>!</nowiki></sup> |
| + | |[[File:GunrunningBonusesWeek-GTAOee-HaosPremiumTestRideAdvert.jpg|100px|center]] |
||
| + | |[[Imponte]]<br />[[Arbiter GT]] |
||
|- |
|- |
||
| + | |30 March 2023 |
||
| − | |02 September 2021 |
||
| − | |[[File: |
+ | |[[File:GTAOnlineBonusesMarch2023-GTAOe-TestRides-NoAd.png|175px|center]] |
| − | |[[ |
+ | |[[Ocelot]]<br />[[Swinger]]<sup><nowiki>!</nowiki></sup> |
| − | |[[ |
+ | |[[Bravado]]<br />[[Gauntlet Hellfire]]<sup><nowiki>!</nowiki></sup> |
| + | |[[Enus]]<br />[[Jubilee]]<sup><nowiki>!</nowiki></sup> |
||
| + | |[[File:GTAOnlineBonusesMarch2023-GTAOee-HaosPremiumTestRideAdvert.jpg|100px|center]] |
||
| + | |[[Karin]]<br />[[S95]] |
||
| + | |- |
||
| + | |23 March 2023 |
||
| + | |[[File:DrugWarsBonusesWeek-GTAOe-TestRides-NoAd.png|175px|center]] |
||
| + | |[[Bravado]]<br />[[Gauntlet Classic]]<sup><nowiki>!</nowiki></sup> |
||
| + | |[[Enus]]<br />[[Deity]]<sup><nowiki>!</nowiki></sup> |
||
| + | |[[Ocelot]]<br />[[Pariah]]<sup><nowiki>!</nowiki></sup> |
||
| + | |[[File:DrugWarsBonusesWeek-GTAOee-HaosPremiumTestRideAdvert.jpg|100px|center]] |
||
| + | |[[Grotti]]<br />[[Turismo Classic]] |
||
| + | |- |
||
| + | |16 March 2023 |
||
| + | |[[File:LastDoseWeek-GTAOe-TestRides-NoAd.png|175px|center]] |
||
| + | |[[Cheval]]<br />[[Taipan]]<sup><nowiki>!</nowiki></sup> |
||
| + | |[[Imponte]]<br />[[Beater Dukes]]<sup><nowiki>!</nowiki></sup> |
||
| + | |[[Maibatsu Corporation|Maibatsu]]<br />[[Penumbra FF]]<sup><nowiki>!</nowiki></sup> |
||
| + | | |
||
| + | |[[Principe]]<br />[[Deveste Eight]] |
||
| + | |- |
||
| + | |09 March 2023 |
||
| + | |[[File:HotringEveronWeek-GTAOe-TestRideAdvert.jpg|175px|center]] |
||
| + | |[[Progen]]<br />[[PR4]]<sup><nowiki>!</nowiki></sup> |
||
| + | |[[Ocelot]]<br />[[R88]]<sup><nowiki>!</nowiki></sup> |
||
| + | |[[Benefactor]]<br />[[BR8]]<sup><nowiki>!</nowiki></sup> |
||
| + | |[[File:HotringEveronWeek-GTAOee-HaosPremiumTestRideAdvert.jpg|100px|center]] |
||
| + | |[[Coil]]<br />[[Cyclone II]] |
||
| + | |- |
||
| + | |03 March 2023 |
||
| + | |[[File:TheContractBonusesWeek-GTAOe-TestRides-NoAd.png|175px|center]] |
||
| + | |[[Invetero]]<br />[[Coquette BlackFin]]<sup><nowiki>!</nowiki></sup> |
||
| + | |[[Karin]]<br />[[Futo GTX]] |
||
| + | |[[Dinka]]<br />[[Jester Classic]]<sup><nowiki>!</nowiki></sup> |
||
| + | |[[File:TheContractBonusesWeek-GTAOee-HaosPremiumTestRideAdvert.jpg|100px|center]] |
||
| + | |[[Grotti]]<br />[[Brioso R/A]] |
||
| + | |- |
||
| + | |23 February 2023 |
||
| + | |[[File:NightclubBonusesWeekFebruary2023-GTAOe-TestRides-NoAd.png|175px|center]] |
||
| + | |[[Vapid]]<br />[[Chino]]<sup><nowiki>!</nowiki></sup> |
||
| + | |[[Lampadati]]<br />[[Komoda]]<sup><nowiki>!</nowiki></sup> |
||
| + | |[[Dinka]]<br />[[Blista Kanjo]]<sup><nowiki>!</nowiki></sup> |
||
| + | |[[File:NightclubBonusesWeekFebruary2023-GTAOee-HaosPremiumTestRideAdvert.jpg|100px|center]] |
||
| + | |[[Bravado]]<br />[[Banshee]] |
||
| + | |- |
||
| + | |16 February 2023 |
||
| + | |[[File:EclipseBlvdGarageWeek-GTAOe-TestRides-NoAd.png|175px|center]] |
||
| + | |[[Übermacht]]<br />[[Cypher]] |
||
|[[Vapid]]<br />[[Dominator GTT]] |
|[[Vapid]]<br />[[Dominator GTT]] |
||
| + | |[[Annis]]<br />[[Euros]] |
||
| + | |[[File:EclipseBlvdGarageWeek-GTAOee-HaosPremiumTestRideAdvert.jpg|100px|center]] |
||
| + | |[[Pegassi]]<br />[[Weaponized Ignus]] |
||
|- |
|- |
||
| − | |09 |
+ | |09 February 2023 |
| − | |[[File: |
+ | |[[File:BroadwayWeek-GTAOe-TestRideAdvert.jpg|175px|center]] |
| − | |[[ |
+ | |[[Annis]]<br />[[Remus]] |
| + | |[[Vapid]]<br />[[Dominator ASP]] |
||
| + | |[[Emperor (manufacturer)|Emperor]]<br />[[Vectre]] |
||
| + | |[[File:BroadwayWeek-GTAOee-HaosPremiumTestRideAdvert.jpg|100px|center]] |
||
| + | |[[Pfister]]<br />[[Astron Custom]] |
||
| + | |- |
||
| + | |02 February 2023 |
||
| + | |[[File:GTAOnlineBonusesFebruary2023-GTAOe-TestRides-NoAd.png|175px|center]] |
||
| + | |[[Übermacht]]<br />[[Sentinel Classic]]<sup><nowiki>!</nowiki></sup> |
||
| + | |[[Pegassi]]<br />[[Monroe]]<sup><nowiki>!</nowiki></sup> |
||
| + | |[[Lampadati]]<br />[[Tropos Rallye]]<sup><nowiki>!</nowiki></sup> |
||
| + | |[[File:GTAOnlineBonusesFebruary2023-GTAOee-HaosPremiumTestRideAdvert.jpg|100px|center]] |
||
| + | |[[Übermacht]]<br />[[Sentinel XS]] |
||
| + | |- |
||
| + | |26 January 2023 |
||
| + | |[[File:IssiRallyWeek-GTAOe-TestRides-NoAd.png|175px|center]] |
||
| + | |[[Grotti]]<br />[[Itali GTO]]<sup><nowiki>!</nowiki></sup> |
||
| + | |[[Annis]]<br />[[Remus]] |
||
| + | |[[Obey]]<br />[[Tailgater S]] |
||
| + | |[[File:IssiRallyWeek-GTAOee-HaosPremiumTestRideAdvert.jpg|100px|center]] |
||
| + | |[[Weeny]]<br />[[Issi Rally]] |
||
| + | |- |
||
| + | |19 January 2023 |
||
| + | |[[File:TaxiWorkWeek-GTAOe-TestRides-NoAd.png|175px|center]] |
||
| + | |[[Karin]]<br />[[Calico GTF]] |
||
| + | |[[Karin]]<br />[[Futo GTX]] |
||
| + | |[[Pfister]]<br />[[Growler]] |
||
| + | | |
||
| + | |[[Shitzu]]<br />[[Hakuchou Custom|Hakuchou Drag]] |
||
| + | |- |
||
| + | |12 January 2023 |
||
| + | |[[File:GunVanWeek-GTAOe-TestRideAdvert.jpg|175px|center]] |
||
| + | |[[Pfister]]<br />[[Comet S2]] |
||
| + | |[[Obey]]<br />[[10F Widebody]]<sup><nowiki>!</nowiki></sup> |
||
| + | |[[Annis]]<br />[[ZR-350|ZR350]] |
||
| + | |[[File:GunVanWeek-GTAOee-HaosPremiumTestRideAdvert.jpg|100px|center]] |
||
| + | |[[Grotti]]<br />[[Brioso R/A]] |
||
| + | |- |
||
| + | |5 January 2023 |
||
| + | |[[File:GTAOnlineBonusesJanuary2023-GTAOe-TestRides-NoAd.png|175px|center]] |
||
| + | |[[Karin]]<br />[[Kuruma (Armored)]]<sup><nowiki>!</nowiki></sup> |
||
| + | |[[Bravado]]<br />[[Buffalo STX]]<sup><nowiki>!</nowiki></sup> |
||
| + | |[[Annis]]<br />[[Euros]] |
||
| + | |[[File:GTAOnlineBonusesJanuary2023-GTAOee-HaosPremiumTestRideAdvert.jpg|100px|center]] |
||
| + | |[[Imponte]]<br />[[Arbiter GT]] |
||
| + | |} |
||
| + | |||
| + | ====2021-2022==== |
||
| + | {| class="wikitable mw-collapsible sortable mw-collapsed" style="width: 100%" |
||
| + | !{{H:title|Commencement date|Week}} |
||
| + | !Image |
||
| + | !colspan=3|Test Rides<br/><nowiki>*</nowiki> Denotes a vehicle not yet available to purchase<br /><sup><nowiki>!</nowiki></sup> Denotes a non-Tuners DLC vehicle |
||
| + | !colspan="2"|{{HUDIcons|game=O|hswtestvehicle}} HSW Premium Test Ride<br/>{{EEV}} |
||
| + | |- |
||
| + | |29 December 2022 |
||
| + | |[[File:PowersurgeWeek-GTAOe-TestRides-NoAd.png|175px|center]] |
||
|[[Karin]]<br />[[Previon]] |
|[[Karin]]<br />[[Previon]] |
||
| + | |[[Vapid]]<br />[[Dominator GTX]]<sup><nowiki>!</nowiki></sup> |
||
| + | |[[Annis]]<br />[[Remus]] |
||
| + | |[[File:PowersurgeWeek-GTAOee-HaosPremiumTestRideAdvert.jpg|100px|center]] |
||
| + | |[[Shitzu]]<br />[[Hakuchou Custom|Hakuchou Drag]] |
||
| + | |- |
||
| + | |22 December 2022 |
||
| + | |[[File:FestiveSurprise2022-GTAOe-TestRides-NoAd.png|175px|center]] |
||
| + | |[[Declasse]]<br />[[Drift Tampa]]<sup><nowiki>!</nowiki></sup> |
||
| + | |[[Pegassi]]<br />[[Infernus Classic]]<sup><nowiki>!</nowiki></sup> |
||
| + | |[[Übermacht]]<br />[[Revolter]]<sup><nowiki>!</nowiki></sup> |
||
| + | |[[File:FestiveSurprise2022-GTAOee-HaosPremiumTestRideAdvert.jpg|100px|center]] |
||
| + | |[[Imponte]]<br />[[Arbiter GT]] |
||
| + | |- |
||
| + | |13 December 2022 |
||
| + | |[[File:LosSantosDrugWars-GTAOe-ReleaseEventWeek-TestRides-NoAd.png|175px|center]] |
||
| + | |[[Vapid]]<br />[[Dominator ASP]] |
||
| + | |[[Pfister]]<br />[[Growler]] |
||
| + | |[[Benefactor]]<br />[[Stirling GT]]<sup><nowiki>!</nowiki></sup> |
||
| + | |<!--No Image [[File:LosSantosDrugWars-GTAOee-ReleaseEventWeek-HaosPremiumTestRideAdvert.jpg|100px|center]]--> |
||
| + | |[[Överflöd]]<br />[[Entity MT]] |
||
| + | |- |
||
| + | |8 December 2022 |
||
| + | |[[File:GTAOnlineBonusesDecember2022Part2-GTAOe-TestRide-NoAd.png|175px|center]] |
||
| + | |[[Emperor (manufacturer)|Emperor]]<br />[[Vectre]] |
||
| + | |[[Karin]]<br />[[Sultan RS Classic]] |
||
| + | |[[Invetero]]<br />[[Coquette D10]]<sup><nowiki>!</nowiki></sup> |
||
| + | |[[File:GTAOnlineBonusesDecember2022Part2-GTAOee-HaosPremiumTestRideAdvert.jpg|100px|center]] |
||
| + | |[[Declasse]]<br />[[Vigero ZX]] |
||
| + | |- |
||
| + | |1 December 2022 |
||
| + | |[[File:GTAOnlineBonusesDecember2022Part1-GTAOe-TestRideAdvert.jpg|175px|center]] |
||
| + | |[[Obey]]<br />[[9F Cabrio]]<sup><nowiki>!</nowiki></sup> |
||
| + | |[[Dewbauchee]]<br />[[Rapid GT]]<sup><nowiki>!</nowiki></sup> |
||
| + | |[[Pegassi]]<br />[[Tezeract]]<sup><nowiki>!</nowiki></sup> |
||
| + | |[[File:GTAOnlineBonusesDecember2022Part1-GTAOee-HaosPremiumTestRideAdvert.jpg|100px|center]] |
||
| + | |[[Grotti]]<br />[[Turismo Classic]] |
||
| + | |- |
||
| + | |22 November 2022 |
||
| + | |[[File:TheHeistChallenge2022-GTAOe-TestRides-NoAd.png|175px|center]] |
||
| + | |[[Benefactor]]<br />[[LM87]]<sup><nowiki>!</nowiki></sup> |
||
| + | |[[Pegassi]]<br />[[Torero XO]]<sup><nowiki>!</nowiki></sup> |
||
| + | |[[Benefactor]]<br />[[SM722]]<sup><nowiki>!</nowiki></sup> |
||
| + | |[[File:TheHeistChallenge2022-GTAOee-HaosPremiumTestRideAdvert.jpg|100px|center]] |
||
| + | |[[Pfister]]<br />[[Astron Custom]] |
||
| + | |- |
||
| + | |17 November 2022 |
||
| + | |[[File:TheHeistsEventWeek3-GTAOe-TestRides-NoAd.png|175px|center]] |
||
| + | |[[Vulcar]]<br />[[Nebula Turbo]]<sup><nowiki>!</nowiki></sup> |
||
| + | |[[Vapid]]<br />[[Peyote Gasser]]<sup><nowiki>!</nowiki></sup> |
||
| + | |[[Declasse]]<br />[[Hotring Sabre]]<sup><nowiki>!</nowiki></sup> |
||
| + | |[[File:TheHeistsEventWeek3-GTAOee-HaosPremiumTestRideAdvert.jpg|100px|center]] |
||
| + | |[[Coil]]<br />[[Cyclone II]] |
||
| + | |- |
||
| + | |10 November 2022 |
||
| + | |[[File:TheHeistsEventWeek2-GTAOe-TestRideAdvert.jpg|175px|center]] |
||
| + | |[[Dinka]]<br />[[Sugoi]]<sup><nowiki>!</nowiki></sup> |
||
| + | |[[Dewbauchee]]<br />[[JB 700W]]<sup><nowiki>!</nowiki></sup> |
||
| + | |[[Grotti]]<br />[[Furia]]<sup><nowiki>!</nowiki></sup> |
||
| + | |[[File:TheHeistsEventWeek2-GTAOee-HaosPremiumTestRideAdvert.jpg|100px|center]] |
||
| + | |[[Grotti]]<br />[[Brioso R/A]] |
||
| + | |- |
||
| + | |3 November 2022 |
||
| + | |[[File:TheHeistsEventWeek1-GTAOe-TestRides-NoAd.png|175px|center]] |
||
| + | |[[Grotti]]<br />[[GT500]]<sup><nowiki>!</nowiki></sup> |
||
| + | |[[Överflöd]]<br />[[Autarch]]<sup><nowiki>!</nowiki></sup> |
||
| + | |[[Ocelot]]<br />[[Pariah]]<sup><nowiki>!</nowiki></sup> |
||
| + | |[[File:TheHeistsEventWeek1-GTAOee-HaosPremiumTestRideAdvert.jpg|100px|center]] |
||
| + | |[[Bravado]]<br />[[Banshee]] |
||
| + | |- |
||
| + | |27 October 2022 |
||
| + | |[[File:Halloween2022Week4-GTAOe-TestRides-NoAd.png|175px|center]] |
||
| + | |[[Ocelot]]<br />[[Penetrator]]<sup><nowiki>!</nowiki></sup> |
||
| + | |[[Coil]]<br />[[Raiden]]<sup><nowiki>!</nowiki></sup> |
||
| + | |[[Vapid]]<br />[[Blade]]<sup><nowiki>!</nowiki></sup> |
||
| + | |[[File:Halloween2022Week4-GTAOee-HaosPremiumTestRideAdvert.jpg|100px|center]] |
||
| + | |[[Übermacht]]<br />[[Sentinel XS]] |
||
| + | |- |
||
| + | |20 October 2022 |
||
| + | |[[File:Halloween2022Week3-GTAOe-TestRides-NoAd.png|175px|center]] |
||
| + | |[[Pfister]]<br />[[Comet Safari]]<sup><nowiki>!</nowiki></sup> |
||
| + | |[[Ocelot]]<br />[[Locust]]<sup><nowiki>!</nowiki></sup> |
||
| + | |[[Vapid]]<br />[[Bullet]]<sup><nowiki>!</nowiki></sup> |
||
| + | |[[File:Halloween2022Week3-GTAOee-HaosPremiumTestRideAdvert.jpg|100px|center]] |
||
| + | |[[Karin]]<br />[[S95]] |
||
| + | |- |
||
| + | |13 October 2022 |
||
| + | |[[File:Halloween2022Week2-GTAOe-TestRides-NoAd.png|175px|center]] |
||
| + | |[[Enus]]<br />[[Huntley S]]<sup><nowiki>!</nowiki></sup> |
||
| + | |[[Dewbauchee]]<br />[[Rapid GT]]<sup><nowiki>!</nowiki></sup> |
||
| + | |[[Pegassi]]<br />[[Monroe]]<sup><nowiki>!</nowiki></sup> |
||
| + | |[[File:Halloween2022Week2-GTAOee-HaosPremiumTestRideAdvert.jpg|100px|center]] |
||
| + | |[[Shitzu]]<br />[[Hakuchou Custom|Hakuchou Drag]] |
||
| + | |- |
||
| + | |06 October 2022 |
||
| + | |[[File:Halloween2022Week1-GTAOe-TestRideAdvert.jpg|175px|center]] |
||
| + | |[[Pegassi]]<br />[[Infernus]]<sup><nowiki>!</nowiki></sup> |
||
| + | |[[Emperor (manufacturer)|Emperor]]<br />[[Vectre]] |
||
| + | |[[Pfister]]<br />[[Growler]] |
||
| + | |[[File:Halloween2022Week1-GTAOee-HaosPremiumTestRideAdvert.jpg|100px|center]] |
||
| + | |[[Pegassi]]<br />[[Weaponized Ignus]] |
||
| + | |- |
||
| + | |29 September 2022 |
||
| + | |[[File:JunkEnergySkydivesWeek-GTAOe-TestRidesNoAdvert.png|175px|center]] |
||
| + | |[[Dewbauchee]]<br />[[JB 700]]<sup><nowiki>!</nowiki></sup> |
||
| + | |[[Dinka]]<br />[[Jester Classic]]<sup><nowiki>!</nowiki></sup> |
||
| + | |[[Annis]]<br />[[ZR-350|ZR350]] |
||
| + | |[[File:JunkEnergySkydivesWeek-GTAOee-HaosPremiumTestRideAdvert.jpg|100px|center]] |
||
| + | |[[Grotti]]<br />[[Brioso R/A]] |
||
| + | |- |
||
| + | |22 September 2022 |
||
| + | |[[File:KanjoSJ&PostludeWeek-GTAOe-TestRideAdvert.jpg|175px|center]] |
||
| + | |[[Karin]]<br />[[Futo GTX]] |
||
| + | |[[Obey]]<br />[[Tailgater S]] |
||
| + | |[[Vapid]]<br />[[GB200]]<sup><nowiki>!</nowiki></sup> |
||
| + | |[[File:KanjoSJ&PostludeWeek-GTAOee-HaosPremiumTestRideAdvert.jpg|100px|center]] |
||
| + | |[[Pfister]]<br />[[Astron Custom]] |
||
| + | |- |
||
| + | |15 September 2022 |
||
| + | |[[File:CommunitySeriesWeek-GTAOe-TestRideAdvert.jpg|175px|center]] |
||
| + | |[[Annis]]<br />[[Savestra]]<sup><nowiki>!</nowiki></sup> |
||
| + | |[[Pfister]]<br />[[Comet SR]]<sup><nowiki>!</nowiki></sup> |
||
| + | |[[Ocelot]]<br />[[Ardent]]<sup><nowiki>!</nowiki></sup> |
||
| + | |[[File:CommunitySeriesWeek-GTAOee-HaosPremiumTestRideAdvert.jpg|100px|center]] |
||
| + | |[[Principe]]<br />[[Deveste Eight]] |
||
| + | |- |
||
| + | |08 September 2022 |
||
| + | |[[File:NightclubBonusesWeek-GTAOe-TestRideAdvert.jpg|175px|center]] |
||
| + | |[[Declasse]]<br />[[Drift Tampa]]<sup><nowiki>!</nowiki></sup> |
||
| + | |[[Progen]]<br />[[GP1]]<sup><nowiki>!</nowiki></sup> |
||
| + | |[[Vulcar]]<br />[[Warrener HKR]] |
||
| + | |[[File:NightclubBonusesWeek-GTAOee-HaosPremiumTestRideAdvert.jpg|100px|center]] |
||
| + | |[[Imponte]]<br />[[Arbiter GT]] |
||
| + | |- |
||
| + | |01 September 2022 |
||
| + | |[[File:VigeroZXWeek-GTAOe-TestRideAdvert.jpg|175px|center]] |
||
| + | |[[Gallivanter]]<br />[[Baller ST]]<sup><nowiki>!</nowiki></sup> |
||
| + | |[[Mammoth]]<br />[[Patriot Mil-Spec]]<sup><nowiki>!</nowiki></sup> |
||
| + | |[[Pfister]]<br />[[Astron]]<sup><nowiki>!</nowiki></sup> |
||
| + | |[[File:VigeroZXWeek-GTAOee-HaosPremiumTestRideAdvert.jpg|100px|center]] |
||
| + | |[[Grotti]]<br />[[Turismo Classic]] |
||
| + | |- |
||
| + | |25 August 2022 |
||
| + | |[[File:Brioso300WidebodyWeek-GTAOe-TestRides-NoAd.png|175px|center]] |
||
| + | |[[Grotti]]<br />[[Bestia GTS]]<sup><nowiki>!</nowiki></sup> |
||
| + | |[[Annis]]<br />[[RE-7B]]<sup><nowiki>!</nowiki></sup> |
||
| + | |[[Vapid]]<br />[[Hustler]]<sup><nowiki>!</nowiki></sup> |
||
| + | |<!--[[File:Brioso300WidebodyWeek-GTAOe-HaosPremiumTestRide-NoAd.png|100px|center]]--> |
||
| + | |[[Coil]]<br />[[Cyclone II]] |
||
| + | |- |
||
| + | |18 August 2022 |
||
| + | |[[File:RuinerZZ8Week-GTAOe-TestRideAdvert.jpg|175px|center]] |
||
| + | |[[Pfister]]<br />[[Comet S2]] |
||
| + | |[[Emperor (manufacturer)|Emperor]]<br />[[ETR1]]<sup><nowiki>!</nowiki></sup> |
||
| + | |[[Coil]]<br />[[Cyclone]]<sup><nowiki>!</nowiki></sup> |
||
| + | |[[File:RuinerZZ8Week-GTAOee-HaosPremiumTestRideAdvert.jpg|100px|center]] |
||
| + | |[[Übermacht]]<br />[[Sentinel XS]] |
||
| + | |- |
||
| + | |11 August 2022 |
||
| + | |[[File:CayoPericoSeriesWeek-GTAOe-TestRides.png|175px|center]] |
||
| + | |[[Enus]]<br />[[Super Diamond]]<sup><nowiki>!</nowiki></sup> |
||
| + | |[[Lampadati]]<br />[[Pigalle]]<sup><nowiki>!</nowiki></sup> |
||
| + | |[[Enus]]<br />[[Windsor Drop]]<sup><nowiki>!</nowiki></sup> |
||
| + | |[[File:CayoPericoSeriesWeek-GTAOee-HaosPremiumTestRideAdvert.jpg|100px|center]] |
||
| + | |[[Karin]]<br />[[S95]] |
||
| + | |- |
||
| + | |04 August 2022 |
||
| + | |[[File:SM722Week-GTAOe-TestRides(NoAdvert).png|175px|center]] |
||
| + | |[[BF]]<br />[[Weevil]]<sup><nowiki>!</nowiki></sup> |
||
| + | |[[Dewbauchee]]<br />[[Rapid GT Classic]]<sup><nowiki>!</nowiki></sup> |
||
| + | |[[Maxwell]]<br />[[Asbo]]<sup><nowiki>!</nowiki></sup> |
||
| + | |[[File:SM722Week-GTAOee-HaosPremiumTestRideAdvert.jpg|150px|center]] |
||
| + | |[[Shitzu]]<br />[[Hakuchou Custom|Hakuchou Drag]] |
||
| + | |- |
||
| + | |26 July 2022 |
||
| + | |[[File:TheCriminalEnterprisesReleaseWeek-GTAOe-TestRides(NoAdvert).png|175px|center]] |
||
| + | |[[Lampadati]]<br />[[Furore GT]]<sup><nowiki>!</nowiki></sup> |
||
| + | |[[Declasse]]<br />[[Yosemite]]<sup><nowiki>!</nowiki></sup> |
||
| + | |[[Schyster]]<br />[[Deviant]]<sup><nowiki>!</nowiki></sup> |
||
| + | |<!--No image--> |
||
| + | |[[Pegassi]]<br />[[Weaponized Ignus]] |
||
| + | |- |
||
| + | |07 July 2022 |
||
| + | |[[File:GTAOnlineBonusesJuly2022-GTAOe-TestRideAdvert.jpg|175px|center]] |
||
| + | |[[Vysser]]<br />[[Neo]]<sup><nowiki>!</nowiki></sup> |
||
| + | |[[Truffade]]<br />[[Thrax]]<sup><nowiki>!</nowiki></sup> |
||
| + | |[[Progen]]<br />[[Emerus]]<sup><nowiki>!</nowiki></sup> |
||
| + | |[[File:GTAOnlineBonusesJuly2022-GTAOee-HaosPremiumTestRideAdvert.jpg|100px|center]] |
||
| + | |[[Pfister]]<br />[[Astron Custom]] |
||
| + | |- |
||
| + | |30 June 2022 |
||
| + | |[[File:IndependenceDay2022-GTAOe-TestRideAdvert.jpg|175px|center]] |
||
| + | |[[Pegassi]]<br />[[Tempesta]]<sup><nowiki>!</nowiki></sup> |
||
| + | |[[Pegassi]]<br />[[Zentorno]]<sup><nowiki>!</nowiki></sup> |
||
| + | |[[Pegassi]]<br />[[Ignus]]<sup><nowiki>!</nowiki></sup> |
||
| + | |[[File:IndependenceDay2022-GTAOee-HaosPremiumTestRideAdvert.jpg|100px|center]] |
||
| + | |[[Principe]]<br />[[Deveste Eight]] |
||
| + | |- |
||
| + | |23 June 2022 |
||
| + | |[[File:LosSantosTunersBonusesWeek-GTAOe-TestRideAdvert.jpg|175px|center]] |
||
| + | |[[Obey]]<br />[[Tailgater S]] |
||
| + | |[[Annis]]<br />[[ZR350]] |
||
| + | |[[Karin]]<br />[[Calico GTF]] |
||
| + | |[[File:LosSantosTunersBonusesWeek-GTAOee-HaosPremiumTestRideAdvert.jpg|100px|center]] |
||
| + | |[[Imponte]]<br/>[[Arbiter GT]] |
||
| + | |- |
||
| + | |16 June 2022 |
||
| + | |[[File:ImportExportBonusesWeek-GTAOe-TestRideAdvert.jpg|175px|center]] |
||
| + | |[[Grotti]]<br/>[[X80 Proto]]<sup><nowiki>!</nowiki></sup> |
||
| + | |[[Grotti]]<br/>[[Furia]]<sup><nowiki>!</nowiki></sup> |
||
| + | |[[Grotti]]<br/>[[Itali RSX]]<sup><nowiki>!</nowiki></sup> |
||
| + | |[[File:ImportExportBonusesWeek-GTAOee-HaosPremiumTestRideAdvert.jpg|100px|center]] |
||
| + | |[[Grotti]]<br/>[[Turismo Classic]] |
||
| + | |- |
||
| + | |09 June 2022 |
||
| + | |[[File:DewbaucheeOverflodSpotlightWeek-GTAOe-TestRideAdvert.jpg|175px|center]] |
||
| + | |[[Karin]]<br/>[[Sultan Classic]]<sup><nowiki>!</nowiki></sup> |
||
| + | |[[Överflöd]]<br/>[[Autarch]]<sup><nowiki>!</nowiki></sup> |
||
| + | |[[Överflöd]]<br/>[[Entity XF]]<sup><nowiki>!</nowiki></sup> |
||
| + | |[[File:DewbaucheeOverflodSpotlightWeek-GTAOee-HaosPremiumTestRideAdvert.jpg|100px|center]] |
||
| + | |[[Coil]]<br/>[[Cyclone II]] |
||
| + | |- |
||
| + | |02 June 2022 |
||
| + | |[[File:GTAOnlineBonusesJune2022Part1-GTAOe-TestRideAdvert.jpg|175px|center]] |
||
| + | |[[Pegassi]]<br/>[[Tezeract]]<sup><nowiki>!</nowiki></sup> |
||
| + | |[[Coil]]<br/>[[Cyclone]]<sup><nowiki>!</nowiki></sup> |
||
| + | |[[Pegassi]]<br/>[[Osiris]]<sup><nowiki>!</nowiki></sup> |
||
| + | |[[File:GTAOnlineBonusesJune2022Part1-GTAOee-HaosPremiumTestRideAdvert.jpg|100px|center]] |
||
| + | |[[Bravado]]<br/>[[Banshee]] |
||
| + | |- |
||
| + | |26 May 2022 |
||
| + | |[[File:TheVespucciJobRemixWeek-GTAOe-TestRideAdvert.jpg|175px|center]] |
||
| + | |[[Dinka]]<br/>[[Jester RR]] |
||
| + | |[[Declasse]]<br/>[[Vamos]]<sup><nowiki>!</nowiki></sup> |
||
| + | |[[Vulcar]]<br/>[[Fagaloa]]<sup><nowiki>!</nowiki></sup> |
||
| + | |[[File:TheVespucciJobRemixWeek-GTAOee-HaosPremiumTestRideAdvert.jpg|100px|center]] |
||
| + | |[[Übermacht]]<br/>[[Sentinel XS]] |
||
| + | |- |
||
| + | |19 May 2022 |
||
| + | |[[File:GTAOnlineBonusesMay2022Part3-GTAOe-TestRideAdvert.jpg|175px|center]] |
||
| + | |[[Lampadati]]<br/>[[Casco]]<sup><nowiki>!</nowiki></sup><!--roofless--> |
||
| + | |[[Bravado]]<br/>[[Gauntlet Classic]]<sup><nowiki>!</nowiki></sup> |
||
| + | |[[Imponte]]<br/>[[Beater Dukes]]<sup><nowiki>!</nowiki></sup> |
||
| + | |[[File:GTAOnlineBonusesMay2022Part3-GTAOee-HaosPremiumTestRideAdvert.jpg|100px|center]] |
||
| + | |[[Karin]]<br/>[[S95]] |
||
| + | |- |
||
| + | |12 May 2022 |
||
| + | |[[File:GTAOnlineBonusesMay2022Part2-GTAOe-TestRideAdvert.jpg|175px|center]] |
||
| + | |[[Pfister]]<br/>[[811]]<sup><nowiki>!</nowiki></sup> |
||
| + | |[[Declasse]]<br/>[[Mamba]]<sup><nowiki>!</nowiki></sup> |
||
| + | |[[Pegassi]]<br/>[[Toros]]<sup><nowiki>!</nowiki></sup> |
||
| + | |[[File:GTAOnlineBonusesMay2022Part2-GTAOee-HaosPremiumTestRideAdvert.jpg|150px|center]] |
||
| + | |[[Shitzu]]<br/>[[Hakuchou Custom|Hakuchou Drag]] |
||
| + | |- |
||
| + | |05 May 2022 |
||
| + | |[[File:GTAOnlineBonusesMay2022Part1-GTAOe-TestRideAdvert.jpg|175px|center]] |
||
| + | |[[Pegassi]]<br/>[[Reaper]]<sup><nowiki>!</nowiki></sup> |
||
| + | |[[Truffade]]<br/>[[Adder]]<sup><nowiki>!</nowiki></sup> |
||
| + | |[[Pegassi]]<br/>[[Infernus]]<sup><nowiki>!</nowiki></sup> |
||
| + | |[[File:GTAOnlineBonusesMay2022Part1-GTAOee-HaosPremiumTestRideAdvert.jpg|100px|center]] |
||
| + | |[[Grotti]]<br/>[[Brioso R/A]] |
||
| + | |- |
||
| + | |28 April 2022 |
||
| + | |[[File:GTAOnlineBonusesApril2022Part4-GTAOe-TestRideAdvert.jpg|175px|center]] |
||
| + | |[[Ocelot]]<br/>[[Jugular]]<sup><nowiki>!</nowiki></sup> |
||
| + | |[[Lampadati]]<br/>[[Tigon]]<sup><nowiki>!</nowiki></sup> |
||
| + | |[[Dewbauchee]]<br/>[[Champion]]<sup><nowiki>!</nowiki></sup> |
||
| + | |[[File:GTAOnlineBonusesApril2022Part4-GTAOee-HaosPremiumTestRideAdvert.jpg|100px|center]] |
||
| + | |[[Pegassi]]<br/>[[Weaponized Ignus]] |
||
| + | |- |
||
| + | |21 April 2022 |
||
| + | |[[File:GTAOnlineBonusesApril2022Part3-GTAOe-TestRideAdvert.jpg|175px|center]] |
||
| + | |[[Vulcar]]<br />[[Warrener HKR]] |
||
| + | |[[Enus]]<br />[[Jubilee]]<sup><nowiki>!</nowiki></sup> |
||
| + | |[[Übermacht]]<br />[[Revolter]]<sup><nowiki>!</nowiki></sup> |
||
| + | |[[File:GTAOnlineBonusesApril2022Part3-GTAOee-HaosPremiumTestRideAdvert.jpg|100px|center]] |
||
| + | |[[Pfister]]<br />[[Astron Custom]] |
||
| + | |- |
||
| + | |14 April 2022 |
||
| + | |[[File:GTAOnlineBonusesApril2022Part2-GTAOe-TestRideAdvert.jpg|175px|center]] |
||
|[[Dinka]]<br />[[RT3000]] |
|[[Dinka]]<br />[[RT3000]] |
||
| + | |[[Enus]]<br />[[Deity]]<sup><nowiki>!</nowiki></sup> |
||
| + | |[[Declasse]]<br />[[Granger 3600LX]]<sup><nowiki>!</nowiki></sup> |
||
| + | |[[File:GTAOnlineBonusesApril2022Part2-GTAOee-HaosPremiumTestRideAdvert.jpg|100px|center]] |
||
| + | |[[Principe]]<br />[[Deveste Eight]] |
||
|- |
|- |
||
| + | |06 April 2022 |
||
| − | |16 September 2021 |
||
| − | |[[File: |
+ | |[[File:GTAOnlineBonusesApril2022Part1-GTAOe-TestRideAdvert.jpg|175px|center]] |
| + | |[[Invetero]]<br />[[Coquette D10]]<sup><nowiki>!</nowiki></sup> |
||
| + | |[[Karin]]<br />[[Futo GTX]] |
||
| + | |[[Cheval]]<br />[[Taipan]]<sup><nowiki>!</nowiki></sup> |
||
| + | |[[File:GTAOnlineBonusesApril2022Part1-GTAOee-HaosPremiumTestRideAdvert.jpg|150px|center]] |
||
| + | |[[Imponte]]<br />[[Arbiter GT]] |
||
| + | |- |
||
| + | |31 March 2022 |
||
| + | |[[File:GTAOnlineBonusesMarch2022Part4-GTAOe-TestRideAdvert.jpg|175px|center]] |
||
| + | |[[Bravado]]<br />[[Buffalo S]]<sup><nowiki>!</nowiki></sup> |
||
| + | |[[Pfister]]<br />[[Growler]] |
||
| + | |[[Declasse]]<br />[[Stallion]]<sup><nowiki>!</nowiki></sup> |
||
| + | |[[File:GTAOnlineBonusesMarch2022Part4-GTAOee-HaosPremiumTestRideAdvert.jpg|100px|center]] |
||
| + | |[[Grotti]]<br />[[Turismo Classic]] |
||
| + | |- |
||
| + | |24 March 2022 |
||
| + | |[[File:GTAOnlineBonusesMarch2022Part3-GTAOe-TestRideAdvert.jpg|175px|center]] |
||
| + | |[[Pfister]]<br />[[Comet S2]] |
||
|[[Karin]]<br />[[Calico GTF]] |
|[[Karin]]<br />[[Calico GTF]] |
||
|[[Annis]]<br />[[ZR350]] |
|[[Annis]]<br />[[ZR350]] |
||
| + | |[[File:GTAOnlineBonusesMarch2022Part3-GTAOee-HaosPremiumTestRideAdvert.jpg|100px|center]] |
||
| − | |[[Vapid]]<br />[[Dominator GTT]] |
||
| + | |[[Coil]]<br />[[Cyclone II]] |
||
|- |
|- |
||
| + | |15 March 2022 |
||
| − | |23 September 2021 |
||
| + | | |
||
| − | |[[File:GTAOnlineBonusesSeptember2021Part2-GTAO-TestRideAdvert.jpg|175px|center]] |
||
| + | | |
||
| + | | |
||
| + | | |
||
| + | | |
||
| + | |[[Bravado]]<br />[[Banshee]] |
||
| + | |- |
||
| + | |10 March 2022 |
||
| + | |[[File:GTAOnlineBonusesMarch2022Part2-GTAOe-TestRideAdvert.jpg|175px|center]] |
||
| + | |[[Declasse]]<br/>[[Tulip]]<sup><nowiki>!</nowiki></sup> |
||
| + | |[[Benefactor]]<br/>[[Schlagen GT]]<sup><nowiki>!</nowiki></sup> |
||
| + | |[[Bravado]]<br/>[[Buffalo STX]]<sup><nowiki>!</nowiki></sup> |
||
| + | |- |
||
| + | |03 March 2022 |
||
| + | |[[File:GTAOnlineBonusesMarch2022-GTAOe-TestRideAdvert.jpg|175px|center]] |
||
| + | |[[Albany]]<br/>[[V-STR]]<sup><nowiki>!</nowiki></sup> |
||
| + | |[[Annis]]<br/>[[S80RR]]<sup><nowiki>!</nowiki></sup> |
||
| + | |[[Dinka]]<br/>[[Sugoi]]<sup><nowiki>!</nowiki></sup> |
||
| + | |- |
||
| + | |24 February 2022 |
||
| + | |[[File:GTAOnlineBonusesFebruary2022-GTAOe-TestRideAdvert.jpg|175px|center]] |
||
| + | |[[Lampadati]]<br/>[[Cinquemila]]<sup><nowiki>!</nowiki></sup> |
||
| + | |[[Grotti]]<br/>[[Visione]]<sup><nowiki>!</nowiki></sup> |
||
| + | |[[BF]]<br/>[[Weevil]]<sup><nowiki>!</nowiki></sup> |
||
| + | |- |
||
| + | |17 February 2022 |
||
| + | |[[File:ImaniTechWeek-GTAOe-TestRideAdvert.jpg|175px|center]] |
||
| + | |[[Weeny]]<br/>[[Issi Sport]]<sup><nowiki>!</nowiki></sup> |
||
| + | |[[Truffade]]<br/>[[Nero]]<sup><nowiki>!</nowiki></sup> |
||
| + | |[[Dewbauchee]]<br/>[[Specter]]<sup><nowiki>!</nowiki></sup> |
||
| + | |- |
||
| + | |10 February 2022 |
||
| + | |[[File:Valentine'sDay2022-GTAOe-TestRideAdvert.jpg|175px|center]] |
||
| + | |[[Declasse]]<br/>[[Impaler]]<sup><nowiki>!</nowiki></sup> |
||
| + | |[[Bravado]]<br/>[[Gauntlet Hellfire]]<sup><nowiki>!</nowiki></sup> |
||
| + | |[[Vapid]]<br />[[Dominator ASP]] |
||
| + | |- |
||
| + | |03 February 2022 |
||
| + | |[[File:ReeverWeek-GTAOe-TestRideAdvert.jpg|175px|center]] |
||
| + | |[[Dewbauchee]]<br />[[Vagner]]<sup><nowiki>!</nowiki></sup> |
||
| + | |[[Pfister]]<br />[[Astron]]<sup><nowiki>!</nowiki></sup> |
||
|[[Emperor (manufacturer)|Emperor]]<br />[[Vectre]] |
|[[Emperor (manufacturer)|Emperor]]<br />[[Vectre]] |
||
| + | |- |
||
| + | |27 January 2022 |
||
| + | |[[File:Granger3600LXWeek-GTAOe-TestRideAdvert.jpg|175px|center]] |
||
| + | |[[Annis]]<br />[[Euros]] |
||
| + | |[[Dinka]]<br />[[Jester RR]] |
||
| + | |[[Pfister]]<br />[[Growler]] |
||
| + | |- |
||
| + | |20 January 2022 |
||
| + | |[[File:I-WagenWeek-GTAOe-TestRideAdvert.jpg|175px|center]] |
||
| + | |[[Pfister]]<br />[[Comet S2]] |
||
| + | |[[Emperor (manufacturer)|Emperor]]<br />[[Vectre]] |
||
| + | |[[Karin]]<br />[[Previon]] |
||
| + | |- |
||
| + | |13 January 2022 |
||
| + | |[[File:DoubleDownWeek-GTAOe-TestRideAdvert.jpg|175px|center]] |
||
| + | |[[Karin]]<br />[[Sultan Classic]] |
||
| + | |[[Vulcar]]<br />[[Warrener HKR]] |
||
| + | |[[Obey]]<br />[[Tailgater S]] |
||
| + | |- |
||
| + | |06 January 2022 |
||
| + | |[[File:CometS2CabrioWeek-GTAOe-TestRideAdvert.jpg|175px|center]] |
||
| + | |[[Übermacht]]<br />[[Cypher]] |
||
| + | |[[Dinka]]<br />[[RT3000]] |
||
| + | |[[Vapid]]<br />[[Dominator ASP]] |
||
| + | |- |
||
| + | |29 December 2021 |
||
| + | |[[File:PatriotMil-SpecWeek-GTAOe-TestRides.jpg|175px|center]] |
||
| + | |[[Karin]]<br />[[Calico GTF]] |
||
|[[Karin]]<br />[[Futo GTX]] |
|[[Karin]]<br />[[Futo GTX]] |
||
| + | |[[Annis]]<br />[[Remus]] |
||
| + | |- |
||
| + | |23 December 2021 |
||
| + | |[[File:FestiveSurprise2021-GTAOe-TestRideAdvert.jpg|175px|center]] |
||
|[[Dinka]]<br />[[Jester RR]] |
|[[Dinka]]<br />[[Jester RR]] |
||
| + | |[[Annis]]<br />[[ZR350]] |
||
| + | |[[Pfister]]<br />[[Comet S2]] |
||
|- |
|- |
||
| − | | |
+ | |15 December 2021 |
| − | |[[File: |
+ | |[[File:TheContractReleaseWeek-GTAOe-TestRides.png|175px|center|(No advert available)]] |
| + | |[[Karin]]<br />[[Previon]] |
||
| + | |[[Vulcar]]<br />[[Warrener HKR]] |
||
| + | |[[Vapid]]<br />[[Dominator GTT]] |
||
| + | |- |
||
| + | |02 December 2021 |
||
| + | |[[File:GunrunningEvent-GTAOe-TestRideAdvert.jpg|175px|center]] |
||
| + | |[[Übermacht]]<br />[[Cypher]] |
||
| + | |[[Obey]]<br />[[Tailgater S]] |
||
| + | |[[Karin]]<br />[[Sultan Classic]] |
||
| + | |- |
||
| + | |25 November 2021 |
||
| + | |[[File:HeistMonthWeek4-GTAOe-TestRideAdvert.jpg|175px|center]] |
||
|[[Vapid]]<br />[[Dominator ASP]] |
|[[Vapid]]<br />[[Dominator ASP]] |
||
| − | |[[ |
+ | |[[Pfister]]<br />[[Comet S2]] |
| + | |[[Karin]]<br />[[Calico GTF]] |
||
| + | |- |
||
| + | |18 November 2021 |
||
| + | |[[File:HeistMonthWeek3-GTAOe-TestRideAdvert.jpg|175px|center]] |
||
| + | |[[Pfister]]<br />[[Growler]] |
||
|[[Dinka]]<br />[[Jester RR]] |
|[[Dinka]]<br />[[Jester RR]] |
||
| + | |[[Emperor (manufacturer)|Emperor]]<br />[[Vectre]] |
||
| + | |- |
||
| + | |11 November 2021 |
||
| + | |[[File:HeistMonthWeek2-GTAOe-TestRideAdvert.jpg|175px|center]] |
||
| + | |[[Annis]]<br />[[Remus]] |
||
| + | |[[Vulcar]]<br />[[Warrener HKR]] |
||
| + | |[[Dinka]]<br />[[RT3000]] |
||
| + | |- |
||
| + | |04 November 2021 |
||
| + | |[[File:HeistMonthWeek1-GTAO-TestRides(NoAdvert).png|175px|center]] |
||
| + | |[[Karin]]<br />[[Previon]] |
||
| + | |[[Annis]]<br />[[ZR350]] |
||
| + | |[[Karin]]<br />[[Futo GTX]] |
||
| + | |- |
||
| + | |28 October 2021 |
||
| + | |[[File:HalloweenWeek2021-GTAO-TestRideAdvert.jpg|175px|center]] |
||
| + | |[[Pfister]]<br />[[Comet S2]] |
||
| + | |[[Emperor (manufacturer)|Emperor]]<br />[[Vectre]] |
||
| + | |[[Ocelot]]<br/>[[Pariah]]<sup><nowiki>!</nowiki></sup> |
||
| + | |- |
||
| + | |21 October 2021 |
||
| + | |[[File:GTAOnlineBonusesOctober2021Part3-GTAO-TestRideAdvert.jpg|175px|center]] |
||
| + | |[[Vulcar]]<br />[[Warrener HKR]] |
||
| + | |[[Karin]]<br />[[Previon]] |
||
| + | |[[Annis]]<br />[[Remus]] |
||
| + | |- |
||
| + | |14 October 2021 |
||
| + | |[[File:GTAOnlineBonusesOctober2021Part2-GTAO-TestRideAdvert.jpg|175px|center]] |
||
| + | |[[Übermacht]]<br />[[Cypher]] |
||
| + | |[[Dinka]]<br />[[RT3000]] |
||
| + | |[[Karin]]<br />[[Sultan RS Classic]] |
||
|- |
|- |
||
|06 October 2021 |
|06 October 2021 |
||
| Line 350: | Line 1,372: | ||
|[[Vapid]]<br />[[Dominator GTT]] |
|[[Vapid]]<br />[[Dominator GTT]] |
||
|- |
|- |
||
| − | | |
+ | |30 September 2021 |
| − | |[[File: |
+ | |[[File:GTAOnlineBonusesSeptember2021Part3-GTAO-TestRideAdvert.jpg|175px|center]] |
| − | |[[ |
+ | |[[Vapid]]<br />[[Dominator ASP]] |
| + | |[[Annis]]<br />[[Euros]] |
||
| + | |[[Dinka]]<br />[[Jester RR]] |
||
| + | |- |
||
| + | |23 September 2021 |
||
| + | |[[File:GTAOnlineBonusesSeptember2021Part2-GTAO-TestRideAdvert.jpg|175px|center]] |
||
| + | |[[Emperor (manufacturer)|Emperor]]<br />[[Vectre]] |
||
| + | |[[Karin]]<br />[[Futo GTX]] |
||
| + | |[[Dinka]]<br />[[Jester RR]] |
||
| + | |- |
||
| + | |16 September 2021 |
||
| + | |[[File:GTAOnlineBonusesSeptember2021Part1-GTAO-TestRideAdvert.jpg|175px|center]] |
||
| + | |[[Karin]]<br />[[Calico GTF]] |
||
| + | |[[Annis]]<br />[[ZR350]] |
||
| + | |[[Vapid]]<br />[[Dominator GTT]] |
||
| + | |- |
||
| + | |09 September 2021 |
||
| + | |[[File:PrevionWeek-GTAO-TestRideAdvert.jpg|175px|center]] |
||
| + | |[[Pfister]]<br />[[Comet S2]] |
||
| + | |[[Karin]]<br />[[Previon]] |
||
|[[Dinka]]<br />[[RT3000]] |
|[[Dinka]]<br />[[RT3000]] |
||
| + | |- |
||
| + | |02 September 2021 |
||
| + | |[[File:CypherWeek-GTAO-TestRideAdvert.jpg|175px|center]] |
||
| + | |[[Übermacht]]<br />[[Cypher]] |
||
| + | |[[Karin]]<br />[[Previon]] * |
||
| + | |[[Vapid]]<br />[[Dominator GTT]] |
||
| + | |- |
||
| + | |26 August 2021 |
||
| + | |[[File:SultanRSClassicWeek-GTAO-TestRideAdvert.jpg|175px|center]] |
||
| + | |[[Übermacht]]<br />[[Cypher]] * |
||
| + | |[[Obey]]<br />[[Tailgater S]] |
||
|[[Karin]]<br />[[Sultan RS Classic]] |
|[[Karin]]<br />[[Sultan RS Classic]] |
||
|- |
|- |
||
| − | | |
+ | |19 August 2021 |
| − | |[[File: |
+ | |[[File:KartKrashFullAutoWeek-GTAO-TestRideAdvert.jpg|175px|center]] |
|[[Vulcar]]<br />[[Warrener HKR]] |
|[[Vulcar]]<br />[[Warrener HKR]] |
||
| − | |[[ |
+ | |[[Pfister]]<br />[[Growler]] |
| − | |[[ |
+ | |[[Karin]]<br />[[Sultan RS Classic]] * |
| + | |- |
||
| + | |12 August 2021 |
||
| + | |[[File:VectreWeek-GTAO-TestRideAdvert.jpg|175px|center]] |
||
| + | |[[Emperor (manufacturer)|Emperor]]<br />[[Vectre]] |
||
| + | |[[Pfister]]<br />[[Growler]] * |
||
| + | |[[Dinka]]<br />[[Jester RR]] |
||
| + | |- |
||
| + | |5 August 2021 |
||
| + | |[[File:DominatorASPWeek-GTAO-TestRideAdvert.jpg|175px|center]] |
||
| + | |[[Emperor (manufacturer)|Emperor]]<br />[[Vectre]] * |
||
| + | |[[Vapid]]<br />[[Dominator ASP]] |
||
| + | |[[Dinka]]<br />[[RT3000]] |
||
| + | |- |
||
| + | |29 July 2021 |
||
| + | |[[File:CometS2Week-GTAO-TestRideAdvert.jpg|175px|center]] |
||
| + | |[[Pfister]]<br />[[Comet S2]] |
||
| + | |[[Vapid]]<br />[[Dominator ASP]] * |
||
| + | |[[Dinka]]<br />[[Jester RR]] |
||
| + | |- |
||
| + | |20 July 2021 |
||
| + | |[[File:LSCM-GTAO-TestRides.png|175px|center]] |
||
| + | |[[Pfister]]<br />[[Comet S2]] * |
||
| + | |[[Annis]]<br />[[Euros]] |
||
| + | |[[Karin]]<br />[[Calico GTF]] |
||
| + | |- |
||
| + | |} |
||
| + | |||
| + | ====Rare Test Ride paint jobs==== |
||
| + | Some test rides may be painted in rare colors that cannot be applied in any mod shops. These paint jobs can be secured permanently by purchasing these vehicles directly from the Test Ride podium. These paint jobs are mostly derived from the traffic default colors of the cars themselves. |
||
| + | {| class="wikitable mw-collapsible sortable mw-collapsed" style="width: 100%" |
||
| + | !{{H:title|Commencement date|Week}} |
||
| + | !Test Ride<br/><nowiki>*</nowiki> Denotes a vehicle not yet available to purchase<br /><sup><nowiki>!</nowiki></sup> Denotes a non-Tuners DLC vehicle |
||
| + | !Color Set<br/>{{CarColV/Title|extended=y}} |
||
| + | !Ref. |
||
| + | !Notes |
||
| + | |- |
||
| + | |22 December 2022 |
||
| + | |[[Übermacht]] [[Revolter]]<sup><nowiki>!</nowiki></sup> |
||
| + | |{{CarColV|extended=y|112|29|134|0|1|132}} |
||
| + | |<ref>{{URL|https://web.archive.org/web/20221229102044/https://api.rdo.gg/tunables/gta/pcros/B2E0FB24E834E475670B921868368B56158698D5.json|Full tunables on 22 December 2022 (PC version)}}</ref> |
||
| + | | |
||
| + | |- |
||
| + | |22 November 2022 |
||
| + | |[[Benefactor]] [[SM722]]<sup><nowiki>!</nowiki></sup> |
||
| + | |{{CarColV|extended=y|19|0|4|0|1|132}} |
||
| + | |<ref>{{URL|http://web.archive.org/web/20221122103715/https://api.rdo.gg/tunables/gta/pcros/1BAF780570EC64B804DCFE7223F8286E1C0223A8.html|Full tunables on 22 November 2022 (PC version)}}</ref> |
||
| + | | |
||
| + | |- |
||
| + | |11 August 2022 |
||
| + | |[[Enus]] [[Windsor Drop]]<sup><nowiki>!</nowiki></sup> |
||
| + | |{{CarColV|extended=y|112|11|134|0|1|132}} |
||
| + | |<ref name="tunables081122">{{URL|http://web.archive.org/web/20220814065331/https://api.rdo.gg/tunables/gta/pcros/FD2F3FE25402FB8B591DA6C23E937325C8809627.json|Full tunables on 11 August 2022 (PC version)}}</ref> |
||
| + | | |
||
| + | |- |
||
| + | |11 August 2022 |
||
| + | |[[Lampadati]] [[Pigalle]]<sup><nowiki>!</nowiki></sup> |
||
| + | |{{CarColV|extended=y|93|95|0|156|1|132}} |
||
| + | |<ref name="tunables081122" /> |
||
| + | | |
||
| + | |- |
||
| + | |30 June 2022 |
||
| + | |[[Pegassi]] [[Ignus]]<sup><nowiki>!</nowiki></sup> |
||
| + | |{{CarColV|extended=y|59|88|94|158|1|132}} |
||
| + | |<ref>{{URL|http://web.archive.org/web/20220630171523/https://api.rdo.gg/tunables/gta/pcros/B2060DE6C75422C5976BE5FBA6EAF1CCDDC60973.json|Full tunables on 30 June 2022 (PC version)}}</ref> |
||
| + | |The wheel color will revert to default alloy color after switching sessions on PC version. |
||
| + | |- |
||
| + | |16 June 2022 |
||
| + | |[[Grotti]] [[X80 Proto]]<sup><nowiki>!</nowiki></sup> |
||
| + | |{{CarColV|extended=y|138|36|160|0|1|132}} |
||
| + | |<ref>{{URL|http://web.archive.org/web/20220712100748/https://api.rdo.gg/tunables/gta/ps4/2EAC3E4C5B0CDB7EF8A5F5EC2A6C6B3466141B4C.json|Full tunables on 16 June 2022 (PS4 version)}}</ref> |
||
| + | |Worn White as the accent color. |
||
| + | |- |
||
| + | |18 November 2021 |
||
| + | |[[Dinka]] [[Jester RR]] |
||
| + | |{{CarColV|extended=y|20|36|5|134|1|132}} |
||
| + | |<ref>{{URL|https://api.rdo.gg/tunables/gta/pcros/07719F2BDA05C2FDB790D6B5735E508B606F41C6.json|Full tunables on 18 November 2021 (PC version)}}</ref> |
||
| + | |The wheel color will revert to default alloy color after switching sessions on PC version. |
||
|} |
|} |
||
==Influence== |
==Influence== |
||
| − | The warehouse building that is home to the Car Meet is based on the buildings in {{WP|ROW_DTLA|Alameda Square}}, {{WP|Los Angeles}}, where the iconic scramble scene in ''{{WC|Fastandfurious|2 Fast 2 Furious|}}'' was filmed. |
+ | The warehouse building that is home to the Car Meet is based on the buildings in {{WP|ROW_DTLA|Alameda Square}}, {{WP|Los Angeles}}, where the iconic scramble scene in ''{{WC|Fastandfurious|2 Fast 2 Furious|}}'' was filmed. |
| + | |||
===Tribute cars=== |
===Tribute cars=== |
||
{{Main|/Vehicles#Tribute Cars}} |
{{Main|/Vehicles#Tribute Cars}} |
||
| Line 385: | Line 1,515: | ||
LSCM-GTAO-Takeover-ParkingManagement.png|Rearranging parking in a Private Takeover. |
LSCM-GTAO-Takeover-ParkingManagement.png|Rearranging parking in a Private Takeover. |
||
LSCM-GTAO-VehicleStats.png|Vehicle ownership stats. |
LSCM-GTAO-VehicleStats.png|Vehicle ownership stats. |
||
| − | LSCM-GTAO-SpecificVehicleSpawn-Pair.png|A pair of specific character vehicles. |
+ | LSCM-GTAO-SpecificVehicleSpawn-Pair.png|A pair of specific character vehicles ([[Yung Ancestor]]'s [[Furia]] and [[Benny (GTA Online)|Benny]]'s [[Hermes]]). |
</gallery> |
</gallery> |
||
===People=== |
===People=== |
||
| + | ===="Staff"==== |
||
<gallery position="center" spacing="small"> |
<gallery position="center" spacing="small"> |
||
| − | + | Mimi-GTAO-Portrait.png|[[Mimi]] |
|
| + | UnnamedLSCMRaceOrganizer-GTAO-Portrait.png|[[Race Organizer]] |
||
| + | UnnamedLSCMMercStoreWoman-GTAO-Portrait.png|[[Merch Store Owner]] |
||
| + | UnnamedLSCMTattooist-GTAO-Portrait.png|[[LSCM Tattooist]] |
||
| + | UnnamedLSCMModShopMechanic-GTAO-Portrait.png|Mechanic (Replaced by [[Hao]] in [[Grand Theft Auto Online/Editions|Expanded & Enhanced Editions]]) |
||
| + | </gallery> |
||
| + | |||
| + | ====Attendees==== |
||
| + | <gallery position="center" spacing="small"> |
||
| + | Hao-GTAO-AttendingLSCM.png|[[Hao]] ([[Grand Theft Auto V/Editions|Enhanced Editions]] Only) |
||
Moodymann-GTAO-AttendingLSCM.png|[[Moodymann]] |
Moodymann-GTAO-AttendingLSCM.png|[[Moodymann]] |
||
GarageMechanic-GTAO-AttendingLSCM.png|[[Garage Mechanic]] |
GarageMechanic-GTAO-AttendingLSCM.png|[[Garage Mechanic]] |
||
| Line 407: | Line 1,547: | ||
==Bugs/Glitches== |
==Bugs/Glitches== |
||
*Infrequently, a loud explosion can be heard inside. <!--may be intentional--> |
*Infrequently, a loud explosion can be heard inside. <!--may be intentional--> |
||
| + | *Some NPCs can still be heard during a Private Takeover. |
||
| − | *Some Test Ride vehicles may have the incorrect auto-dealer information displayed. |
||
| − | *Some NPCs can still be heard in a Private Takeover. |
||
*Sometimes the player will be seemingly unable to modify their vehicle, even with an empty slot available. |
*Sometimes the player will be seemingly unable to modify their vehicle, even with an empty slot available. |
||
*Players using low-spec PCs and previous-gen consoles may experience significant lag and lower frame rate while in the Car Meet and in the areas outside immediately after exiting from the Meet. Additionally, it is common for vehicles to use low-poly models when the player is customizing their car. |
*Players using low-spec PCs and previous-gen consoles may experience significant lag and lower frame rate while in the Car Meet and in the areas outside immediately after exiting from the Meet. Additionally, it is common for vehicles to use low-poly models when the player is customizing their car. |
||
| − | *Headlight Glitch: When leaving the meet in a personal vehicle at night, the vehicle's lights will appear to be switched off. Attempting to switch them on will immediately activate high-beam mode, as if the lights had already been on. The lights will function normally from then, cycling from off to low-beam to high-beam to off. |
+ | *Headlight Glitch: When leaving the meet in a personal vehicle at night, the vehicle's lights will appear to be switched off. Attempting to switch them on will immediately activate high-beam mode, as if the lights had already been on. The lights will function normally from then, cycling from off to low-beam to high-beam to off. |
| − | ==References== |
||
| + | ===Test Rides=== |
||
| + | {{Listdev}} |
||
| + | *Some non-tuner test rides during the event weeks may cause the player to get in and out of the car repeatedly, making them unable to enter the Test Track or simply exit. |
||
| + | *Some Test Ride vehicles may have the incorrect auto-dealer information displayed: |
||
| + | **The right side vehicle will always be marked as SOUTHERNSANADREASSUPERAUTOS.COM and the other two will be marked as LEGENDARYMOTORSPORT.NET, regardless of which dealership actually sells the vehicle.<ref>[[File:LSCarMeet-GTAOe-TestRidesDealershipNamesBug-10Weeks2022.png|thumb|270px|left]]{{clr}}</ref> |
||
| + | *From the release of [[GTA Online: The Contract|The Contract]] update in December 2021 until the [[Grand Theft Auto V/Title Update Notes/Update-2022-04-26|1.59 patch on 26 April 2022]], every vehicle parked in the middle spot would incorrectly be marked as an unreleased vehicle, with the words "COMING SOON" in place of the dealership name.<ref>[[File:LSCarMeet-GTAOe-TestRidesComingSoonBug-15Weeks2022.png|thumb|270px|left]]{{clr}}</ref> |
||
| + | *Similarly to the Lucky Wheel podium prize, vehicles may appear without <code>extras</code> parts. Unlike the Lucky Wheel issue, the missing parts are usually applied when the vehicle is purchased from the Car Meet. |
||
| + | **During the [[GTA Online Bonuses (May 2022 Part 2)|''GTA Online'' Bonuses (May 2022 Part 2)]] event week, the test [[Mamba]] came as a topless version; however, it lacked the windshield and chrome rollbars, which would still appear on the vehicle after the purchase. |
||
| + | ***Different from the podium Mamba, a hardtop version was featured on the [[:File:GTAOnlineBonusesMay2022Part2-GTAOe-TestRideAdvert.jpg|Test Ride advert]]. |
||
| + | **During the [[GTA Online Bonuses (May 2022 Part 3)|''GTA Online'' Bonuses (May 2022 Part 3)]] event week, although the [[Casco]] was displayed correctly on the [[:File:GTAOnlineBonusesMay2022Part3-GTAOe-TestRideAdvert.jpg|advert]], it has no roof on the podium. The roof would be added back after the purchase. |
||
| + | **During the July 2022 Week 1<!-- week name to be inserted-->, the test [[Progen]] [[Emerus]] lacked a rear spoiler. |
||
| + | |||
| + | ==References== |
||
| + | {{Reflist}} |
||
[[es:Club_de_coches_de_LS]] |
[[es:Club_de_coches_de_LS]] |
||
[[pl:Klub_samochodowy_LS_(misja)]] |
[[pl:Klub_samochodowy_LS_(misja)]] |
||
[[Category:Features in GTA Online]] |
[[Category:Features in GTA Online]] |
||
| − | [[Category:Locations]] |
||
| − | [[Category:Locations in GTA Online]] |
||
[[Category:Locations in GTA Online in Los Santos]] |
[[Category:Locations in GTA Online in Los Santos]] |
||
[[Category:Warehouses]] |
[[Category:Warehouses]] |
||
| + | [[Category:Exclusive Enhanced Version Content in GTA Online]] |
||
| + | [[Category:Exclusive Expanded & Enhanced Version Content in GTA Online]] |
||
Latest revision as of 14:53, 18 April 2024
- Hao: "Hey, that's what this place is all about, be who you wanna be. Tuner, modder, stock car racer, obnoxious as a motherfucker. Express yourself. We got the fastest cars, bikes, trucks, burnouts, donuts, straight lines, all of it. One thing we don't got is... beef. We leave that shit at the door."
- Mimi: "Dude talks some shit, but he right, only gunshots you gonna hear in here... be some fool's burble tune."
- ―Hao and Mimi to the GTA Online Protagonist.
The LS Car Meet (Los Santos Car Meet, LSCM) is an underground indoor facility in Grand Theft Auto Online added in the Los Santos Tuners update.
Description
few guys I know say youre a driver. you heard of the LS Car Meet? its a little something takin over this town. you want in on it, you hit us up in cypress flats.
mimi
Exterior
The meet occupies the basement interior and roof of the dis-used Pißwasser warehouse opposite the Pißwasser Factory on Popular Street in La Mesa, Los Santos. Coronas are present at multiple garage doors for vehicular access and several pedestrian access doors.
As the player approaches the building, ambient sound effects can be heard of revving engines and cars drifting.
A makeshift checkered start-finish line is painted on Popular Street outside the building and the building has been graffiti-tagged with markings indicating it has been taken over by the LSCM with a Stance Andreas catch-phrase prominent. Outside the building, numerous cars can now spawn:
|
Front exterior |
Rear exterior
|
The rooftop now has several tables set up and is an outdoor congregational area (including some chairs in which the player can sit).
All players can select the LS Car Meet as a session spawn location to load into the interior of the meet every time they start playing Online or switch sessions. It is one of the only locations that is not a) an owned property and/or b) has living quarters that allows this.
Players can enter the meet without being members, but to take advantage of any of the features, a one-off $50,000 membership must be purchased from Mimi.
While inside the meet, members will automatically accrue Reputation points to level up their membership and unlock clothing, vehicle mods, vehicle trade prices and discounts and gameplay job features.
Interior
Players can enter the meet on foot or in a Personal Vehicle (including most motorcycles). Weapon Wheel access is completely disabled inside the car meet. Some Weaponized Vehicles and ones with various special abilities can enter, but their weapons and functions are also rendered inaccessible. There is no prohibition on parking flying vehicles such as the Thruster or Oppressor Mk II on the roof. Players cannot enter with a prostitute in their vehicle. The music that plays inside the meet is always the "CLR Launch Party (Seth Troxler)" tracklist from the Media Player, and the player's vehicle Radio Station Wheel will automatically set to the Player when exiting the meet in a vehicle, specifically continuing the currently playing track where it left off.
- Weaponized/Special Vehicles
| Allowed | Disallowed |
|---|---|
| General Vehicles storable in personal garages | |
|
|
| Personal Emergency Vehicles | |
|
|
| Arena War Vehicles | |
| All Special Vehicles are disallowed: | |
| |
| All Pegasus Lifestyle Management Vehicles are disallowed | |
| |
| All bicycles are disallowed | |
| All Vehicular Properties are disallowed | |
The interior consists of two instanced zones.
LS Car Meet
The main car meet parking lot, where all player vehicles will intermingle with randomly spawned NPC-Modified vehicles on display in a large parking lot.
People
The meet is "staffed" by 5 permanent inhabitants and several other known characters may also appear randomly.
- Permanent "staff"
 Mimi - The head of the meet
- Race Organizer
- Merch Store Owner
- LSCM Tattooist
- LSCM Mechanic
- Replaced by Hao in E&E version
- Random attendees - any two of:
When the player gets near any of the random attendees (except the Garage Mechanic), they will greet the player and farewell them when the player walks away.
Vehicles
Main article: /Vehicles
There are a total of 50 different vehicles (not tied to a named NPC) that may spawn within the car meet, each with 3-5 customization variations. The game will randomly choose approximately 9-11 different modified vehicles to spawn parked in the car meet.
Along with the randomly generated vehicles, certain pre-defined and/or constant vehicles will be found:
- Constant
- Mimi's Minivan Custom 68HYO893
- Race Organizer's ZR350 01KQX761
- Los Santos Customs Slamtruck LSC (holding a Prize Ride on the back)
- Merch shop Mule - a prop, no licence plate.
- Mod Shop "Mobile Auto Repairs" Mule - a prop, no licence plate.
- Tattoo shop Boxville - a prop, no licence plate.
- Can spawn - any two of:
- Will always spawn when their owner is in the meet:
- Moodymann's Gauntlet Hellfire MOODYMAN
- Benny's Hermes B3NNY
- Garage Mechanic's Futo ONDASPOT
- Los Santos Customs Mechanic's Drift Yosemite LSC2
- Hao's Penumbra 60HSW264
- Benny's OMW Mechanic's Peyote Custom 09AIO297
- Warehouse Mechanic's Impaler 62CSB145
- Spawn as Easter Eggs without their owner:
- An unknown owner's Winky 42OYK235
- Lamar Davis' Emperor LAMAR G
- Yung Ancestor's Furia ANCESTOR
- Miguel Madrazo's Tyrant MADRA20
- Brucie Kibbutz's Banshee D481TCH
- Yusuf Amir's Windsor Drop L1BERTY (as of The Chop Shop update)
- Will always spawn when their owner is in the meet:
- Test Rides
![]() Three tuner vehicles available for test driving on the Test Track.
Three tuner vehicles available for test driving on the Test Track.
- Holding the zoom button (z on Keyboard, D-Pad Down on a controller) will display vehicle information including an "Owner" field which will be populated for all player-owned vehicles in the Meet. NPC-owned vehicles, including the static ones above, will have the owner field left blank. The Test Rides have the website where that vehicle can be purchased listed as "Owner".
![]() With the release of the Expanded & Enhanced Edition of GTA Online, A Hao's Special Works-modified vehicle was added for test driving on the Test Track.
With the release of the Expanded & Enhanced Edition of GTA Online, A Hao's Special Works-modified vehicle was added for test driving on the Test Track.
Test Track
![]() Visible from inside the Meet zone, the Test track is populated by two low-poly prop Drift Tampas with the Hotring Racer livery. They are coded to loop around a few columns and create burnouts within the vicinity of the entrance.
Visible from inside the Meet zone, the Test track is populated by two low-poly prop Drift Tampas with the Hotring Racer livery. They are coded to loop around a few columns and create burnouts within the vicinity of the entrance.
Players can enter the zone by getting in one of the Test Rides or from the special Vehicle Options Menu while inside any player's Personal Vehicles.
Players can choose to enter a shared instance of the test track with other players in the session able to join, or enter alone and have the arena to themselves. If hosting a Private Takeover Meet, Test Track access is automatically shared with others in the private meet and can not be entered in solo mode.
The Test Track can be accessed directly from outside at the river side of the building by using the northern garage doors marked by the test track icon on the Radar.
Players can not exit their vehicle inside the Test Track. Holding down the key/button for vehicle exit will allow the player to exit the Test Track back to the main Meet space or outside. Otherwise, the player can drive back to the marked gate where they can choose to enter the Meet space or exit the building. If testing a Test Ride vehicle, players can only return to the Meet space, they may not take the Test Ride outside.
Spectator Zone
Pedestrian access to the Test Track is disallowed except for two secure raised areas. These are accessible from doorways near the Tattoo Parlor and Mod Shop, and allows the player to access small alcove areas overlooking the track to view any other players using the shared test track session instead of the NPC controlled action visible from within the meet area. If there are no players in the Test Track shared session, the track will be empty, even if there is a player conducting a solo session. Players in the spectator zone can see new players entering the shared test track.
Races
Three race types are available in the test track, although two can not be accessed in solo instances. A player launches each race mode from the LS Car Meet Interaction menu.
Time Trial
Set a personal best time around the marked LS Car Meet Test Track (1 player - all other cars will turn to non-contact ghost-mode).
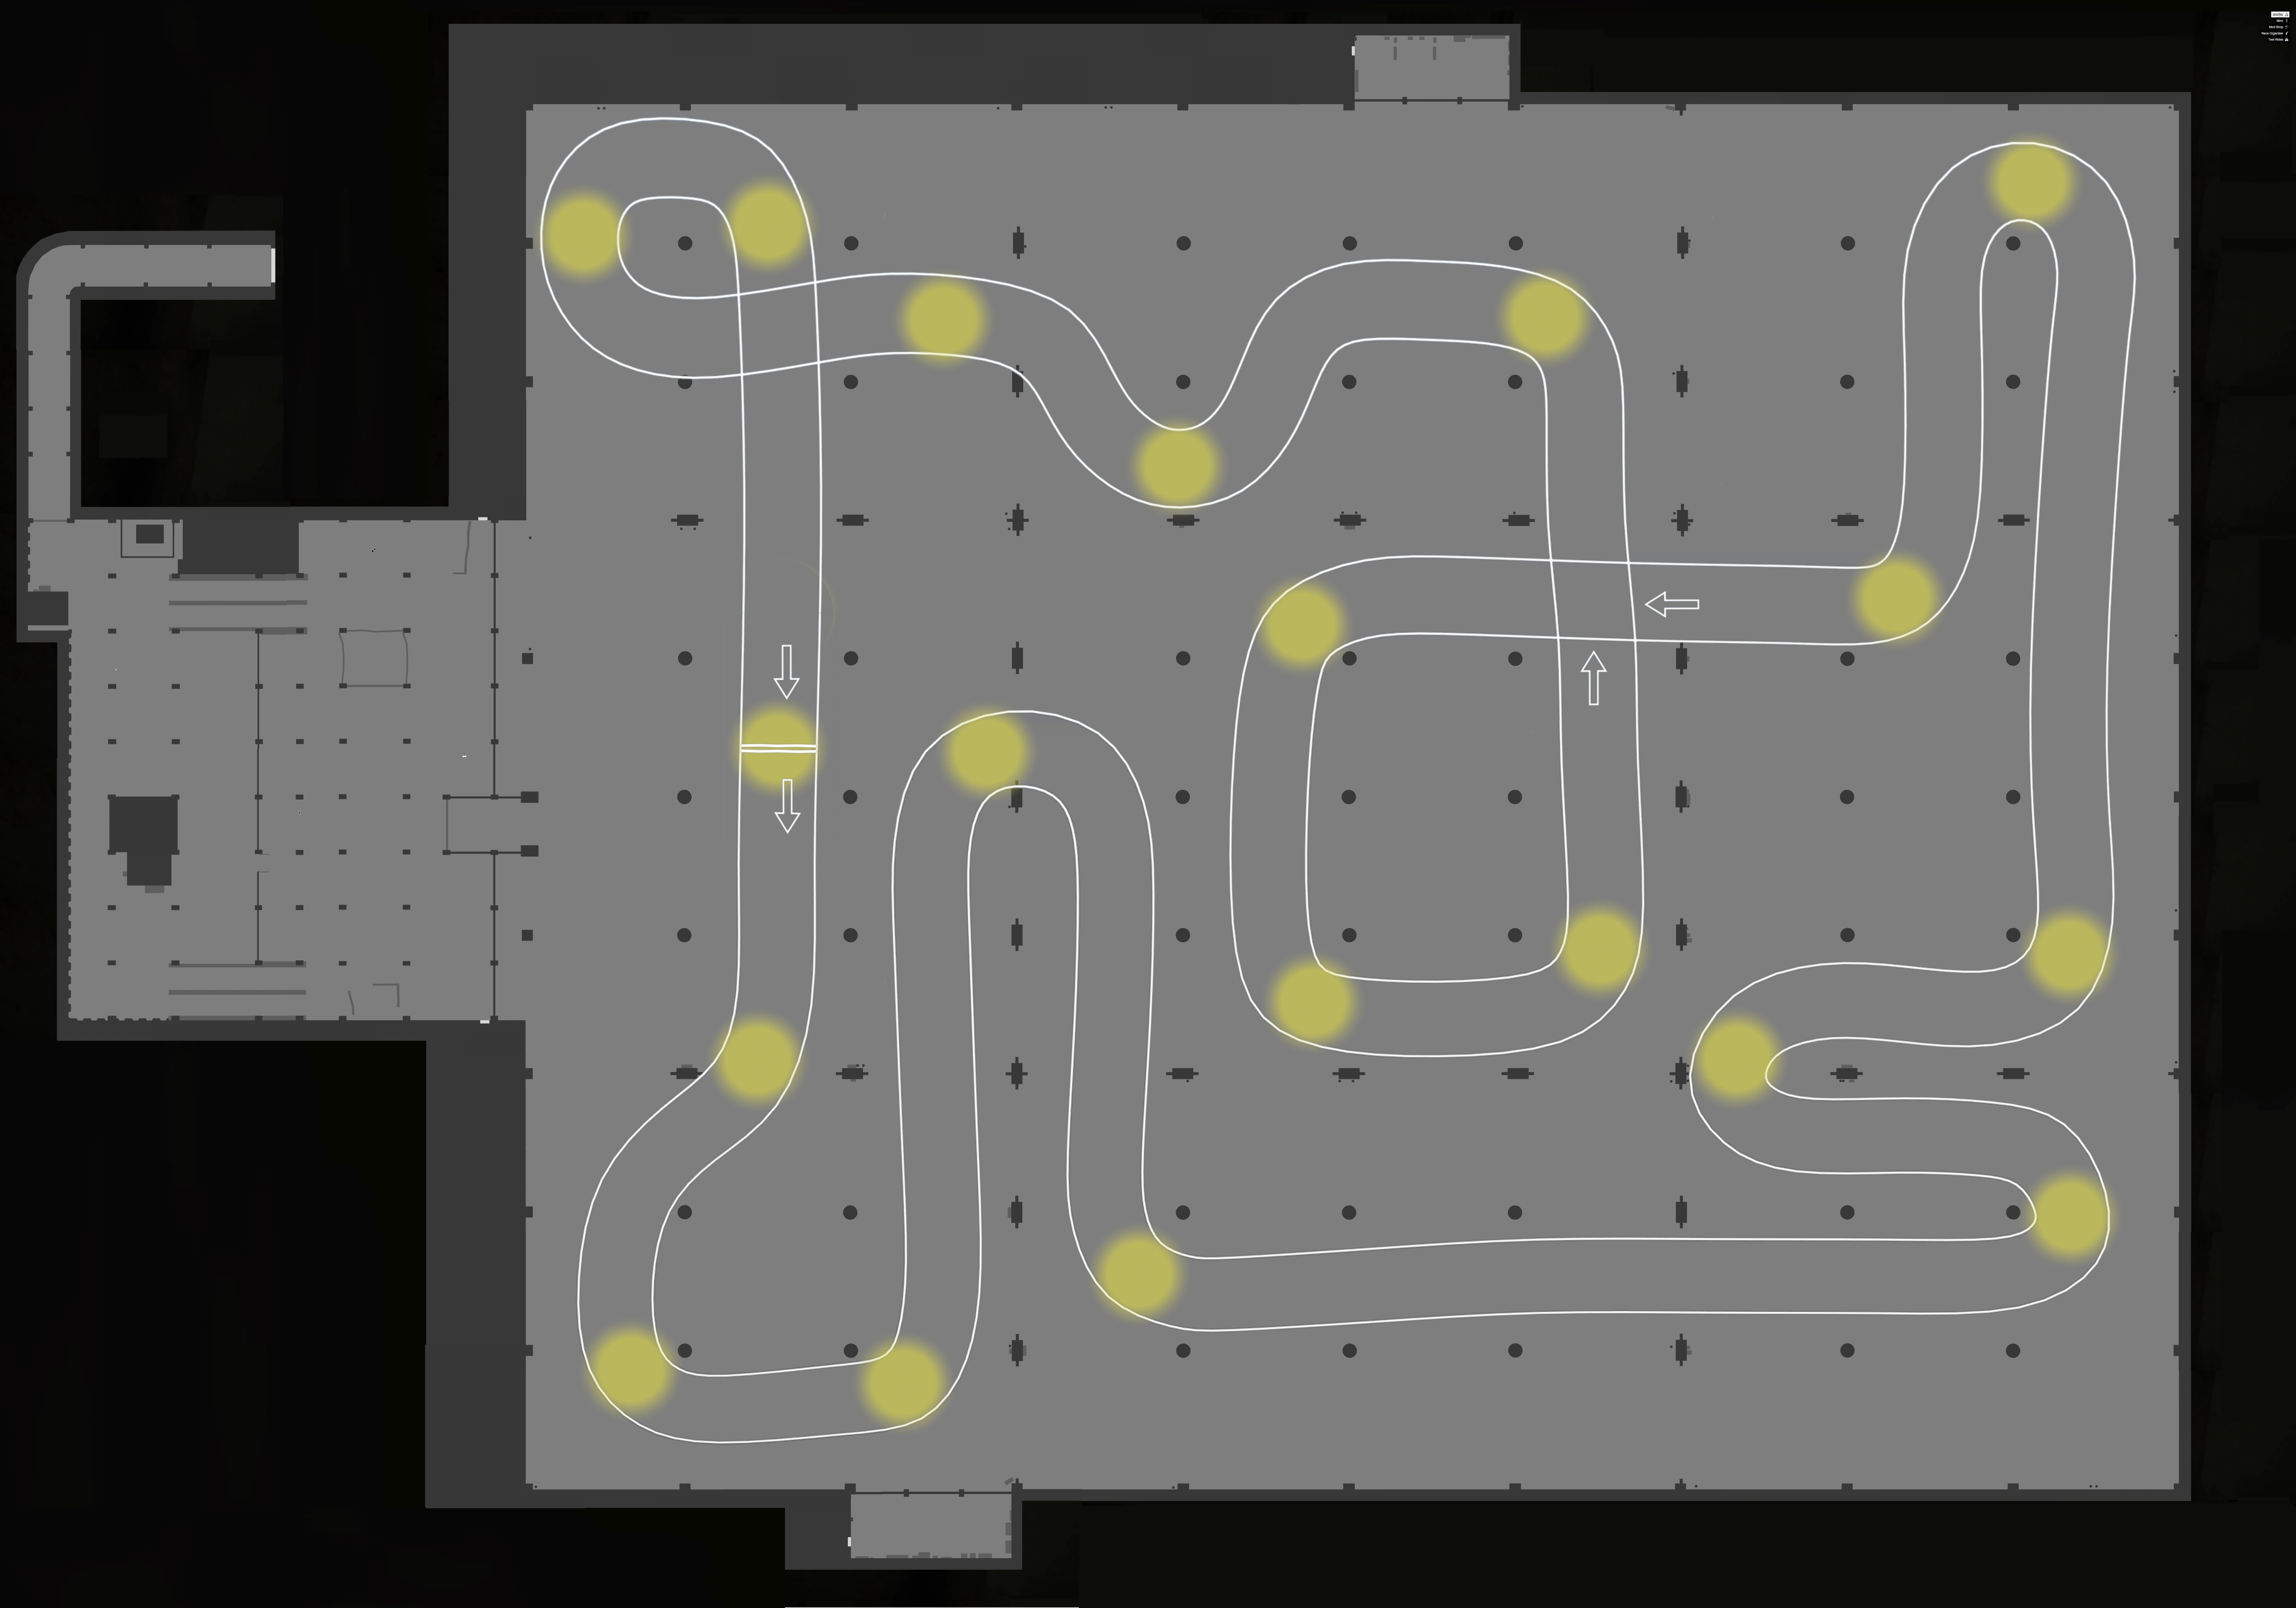
Head-to-Head
Challenge another player to a 5 leg there-and-back drag race across the LS Car Meet Test Track space (2 players - contact on. All other non-competing cars will turn to non-contact ghost-mode). All other players in the Test Track instance will be invited to join. As soon as another player accepts the challenge, a timer will count down and both attendees will be automatically positioned at the start point. Each player has their own turn marker corona.
Scramble
A randomized race around the LS Car Meet Test Track space where players compete to be the first to reach 20 checkpoints (2-4 players - contact on. All other non-competing cars will turn to non-contact ghost-mode). All other players in the Test Track instance will be invited to join. As soon as the minimum number of player accept the challenge, a timer will count down and attendees will be automatically positioned at the start point. All players share the same corona markers. Each checkpoint corona has a direction arrow pointing towards the location of the next checkpoint.
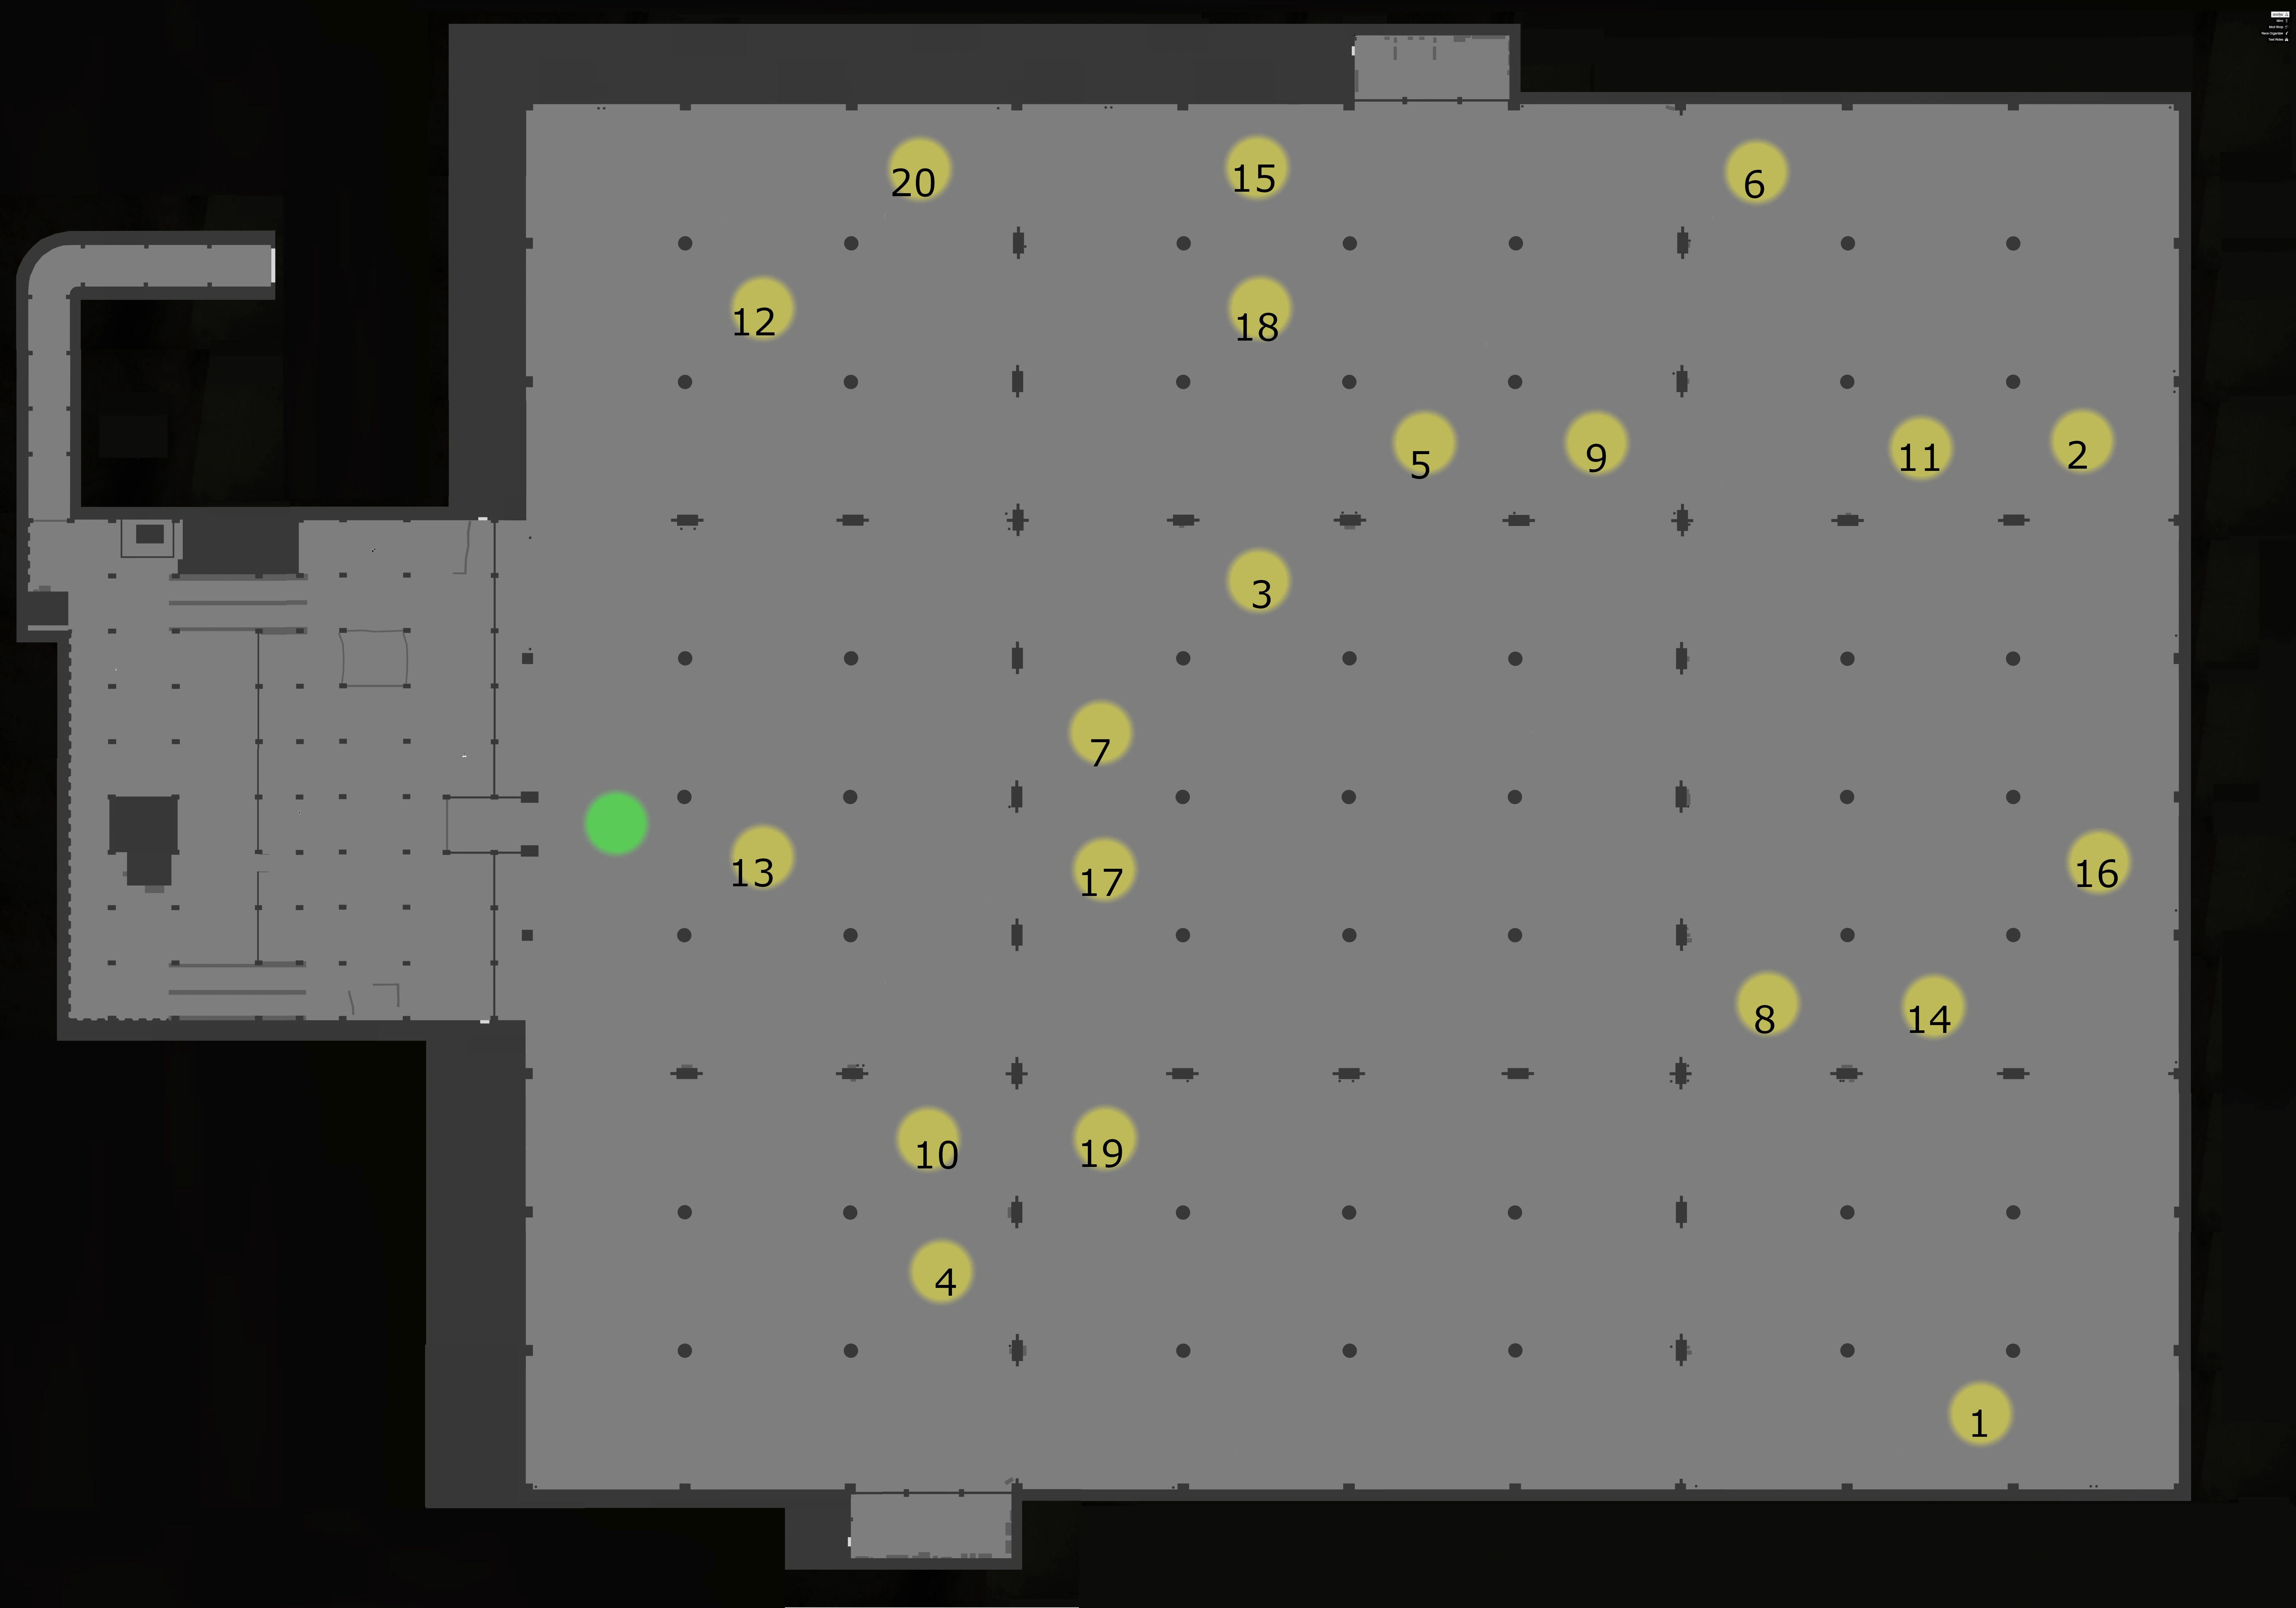
A random example of the 20 Scramble checkpoints distributed around the Test Track
Functionality
Interaction Menu
An LS Car Meet menu item has been added to the Interaction Menu when inside the meet.
- Invite to LS Car Meet - brings players in the Free Mode lobby into the meet building.
- Request Personal Vehicle - Get the Garage Mechanic to deliver an active vehicle into the meet (if the vehicle is allowed). Specific vehicles can also be requested by phoning the mechanic as usual. Delivery time is noticeably quicker than outside.
- Prize Ride Challenge - View the current challenge and progress towards completion and claim the prize if it is achieved.
- Claim Prize Ride
- Sprint - Invites all other members in the meet (not in the Test Track) to a Sprint race.
- Vehicle Options - remote vehicle options.
- Takeover Options - View customization options when hosting a private takeover.
- Test Track Access - restrict who can join the player in their shared test track instance.
While on the Test Track
- Invite to LS Car Meet
- Time Trial
- Head-to-Head
- Scramble
- Leaderboards - View leaderboards for the three Test Track races
- Test Track Access
In-car Vehicle Options
- Rev engine
- Mod Vehicle (not available with some vehicles)
- Test Track
- Exit LS Car Meet
- Hide Vehicle Options
Mimi
Talking to Mimi allows the player to purchase a membership, move their personal vehicle to a different spot (32 available spots in a public session) or host a Private Takeover of the meet space.
Membership stats are also available from Mimi, which allow the player to view the Leaderboards.
Private Takeover
Once the player has reached Reputation Level 20, they can pay Mimi $50,000 to have the entire Meet space to themselves with access granted to other players in the Free Roam lobby by invitation from the Interaction Menu only.
Once purchased, Private Takeovers are available indefinitely until the player exits their game; players are free to return to Grand Theft Auto V or switch lobby types as they see fit without having to repurchase a Takeover. Once the player closes the game, they will have to pay the fee again.
All staff are removed, and only the prop Mules and Boxville and Wrecks are left in the area. While the Mod Shop appears to be un-staffed during a Takeover, players can still access the Mod Shop and customize their vehicles using the in-car menu option.
From the interaction menu, players can set some customization options (banner and light colours). The player's active Crew logo will be shown on the banners.
An ![]() marks a vehicle management panel on a pillar in front of where Mimi is usually positioned which allows every player in the Private Meet to move their personal vehicle to any of the 76 parking spots.
marks a vehicle management panel on a pillar in front of where Mimi is usually positioned which allows every player in the Private Meet to move their personal vehicle to any of the 76 parking spots.
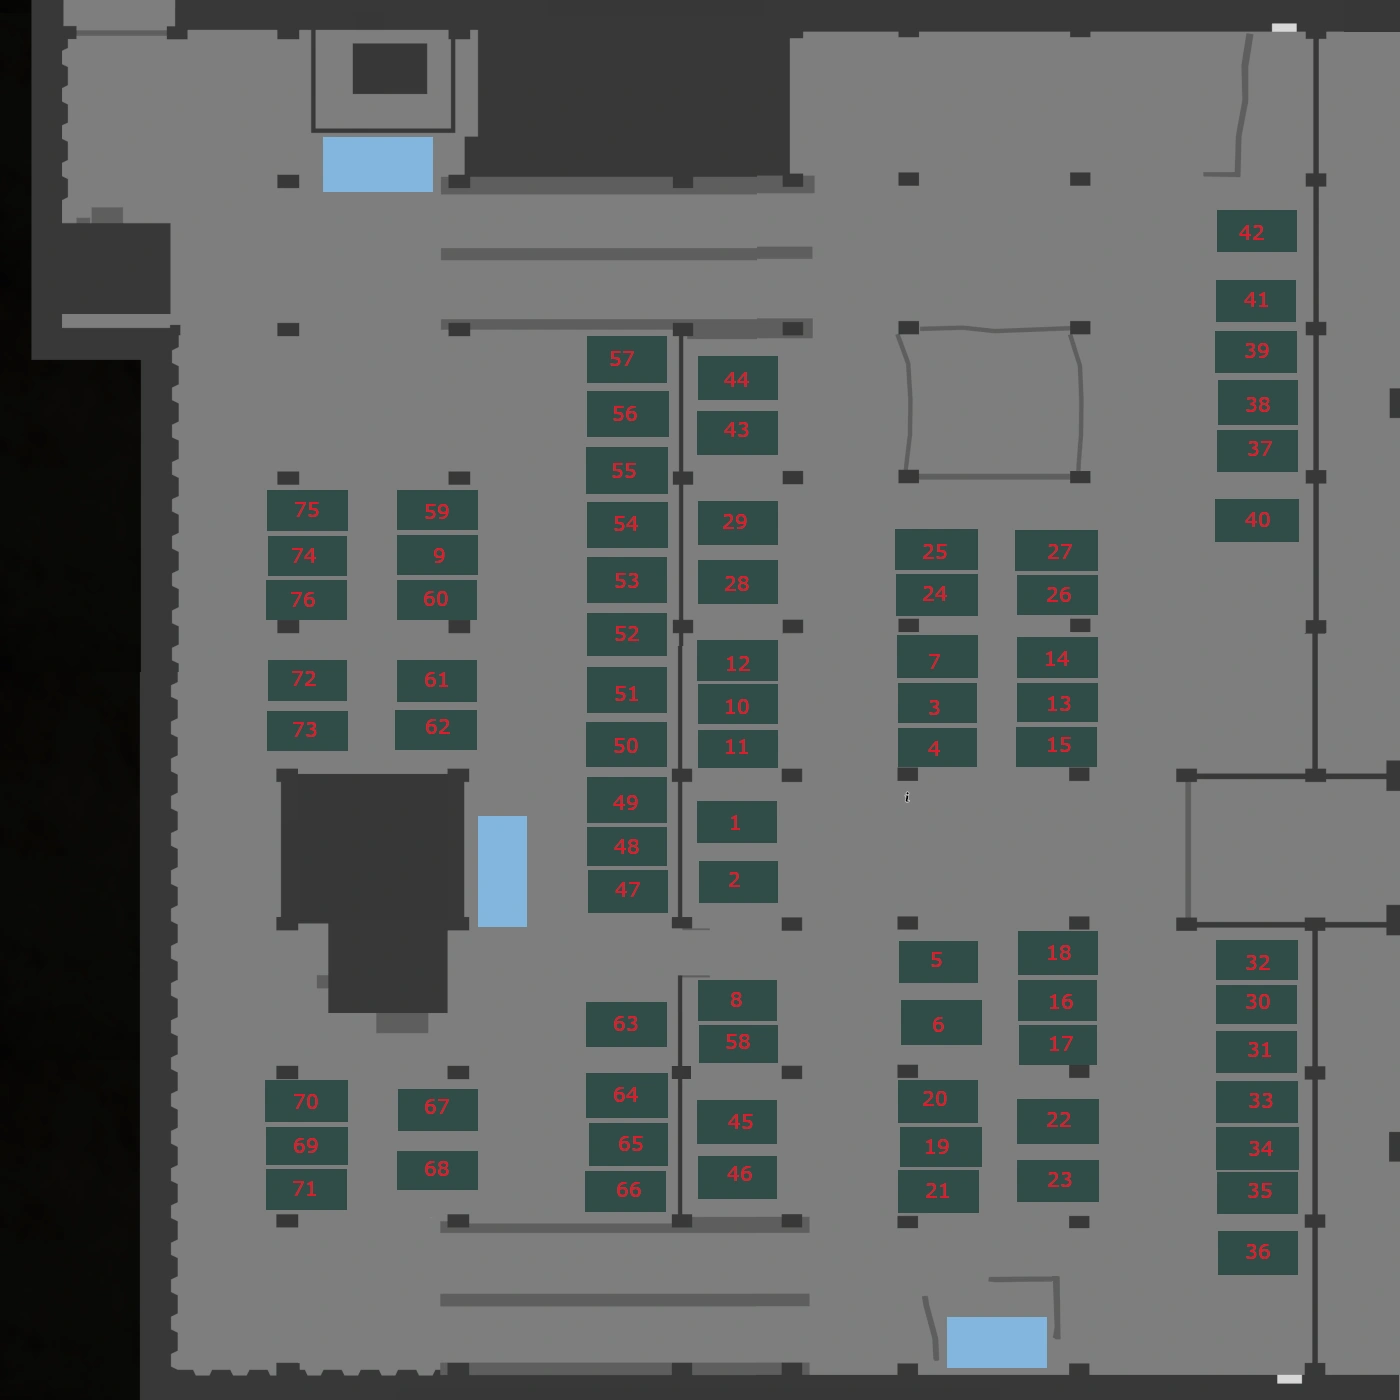
While in the Test Track, looking back into the Meet zone will show a full public meet in progress, not the private meet.
If the Takeover host leaves the meet, guests will remain inside in the Private Takeover. When the host returns to the meet, they are given the option to re-enter their Takeover session or re-join a public LS Car Meet.
If a guest leaves the meet (to the ground or onto the building roof) they must be invited back to the Takeover Meet. Simply re-entering will take them back into a Public LS Car Meet session.
If the host leaves the Online session, guests will be kicked out of the takeover with any Personal Vehicles in there returned automatically and re-load into the Public LS Car Meet session.
Prize Ride Challenge
Main article: Prize Ride Challenge
![]() Every week, Los Santos Customs provides a prize vehicle which will be on display on the back of their Slamtruck in the Car Meet. Varying challenges will be set for players to achieve in order to win the prize car for free. These challenges may take several days to complete.
Every week, Los Santos Customs provides a prize vehicle which will be on display on the back of their Slamtruck in the Car Meet. Varying challenges will be set for players to achieve in order to win the prize car for free. These challenges may take several days to complete.
Merch Shop
The merch shop is set up out of the back of a unique prop spray-painted Mule. The shop owner sells Outfits and there are stacks of shoes, hats and a garment rack for the tops. All clothing is locked behind Rep Level and can only be purchased when unlocked. Wearing Car Meet clothing inside the meet will double the earning rate of passive Rep.
Tattoo Parlor
A tattoo shop is set up from a unique prop Boxville. No new tattoos are available.
Mod Shop
A four bay vehicle Mod Shop is available. Access for modifying any Personal Vehicles is from the Vehicle Menu while sitting in the vehicle. The shop is open to view by all players in the meet and they can watch the modifications being undertaken in real time. This is the only mod shop capable of applying the Low Grip Tires to the vehicles added in the Tuners update.
Hao's Special Works
Main article: Hao’s Special Works
Hao’s Special Works encompasses best-in-class vehicle upgrades, a new class of Races using specially modified vehicles, and a weekly rotation of Hao’s Special Works Time Trials, along with a Premium Test Ride, where you can get behind the wheel of these newly modified vehicles for free.
In the Expanded & Enhanced Edition, the generic mod shop is replaced by Hao's Special Works.
Test Rides


Three cars are parked outside the entrance to the Test Track. These are available for any player to test. They are in stock form mechanically, usually with a livery applied. These are changed every week with the new Event Week tunables update. However, unlike the Prize Ride, the Test Ride vehicles would not change if any player kept a pre-update session open and stayed inside the Meet, even for players freshly joining the session with an updated tunables set. For the first seven weeks after the update, one of the vehicles would be a car that had not yet been made available for purchase by players, meaning the Test Ride was a sneak preview of that particular vehicle which would be made available the following week.
For the first fourteen weeks, all test rides were tuner DLC vehicles, the Pariah appearance from 28 October 2021 in Halloween Week 2021, was the first non-DLC vehicle to appear.
Test Rides that are available for purchase can be purchased directly from within the LS Car Meet by interacting with them, with whatever Test Ride livery option already applied on delivery.
2024
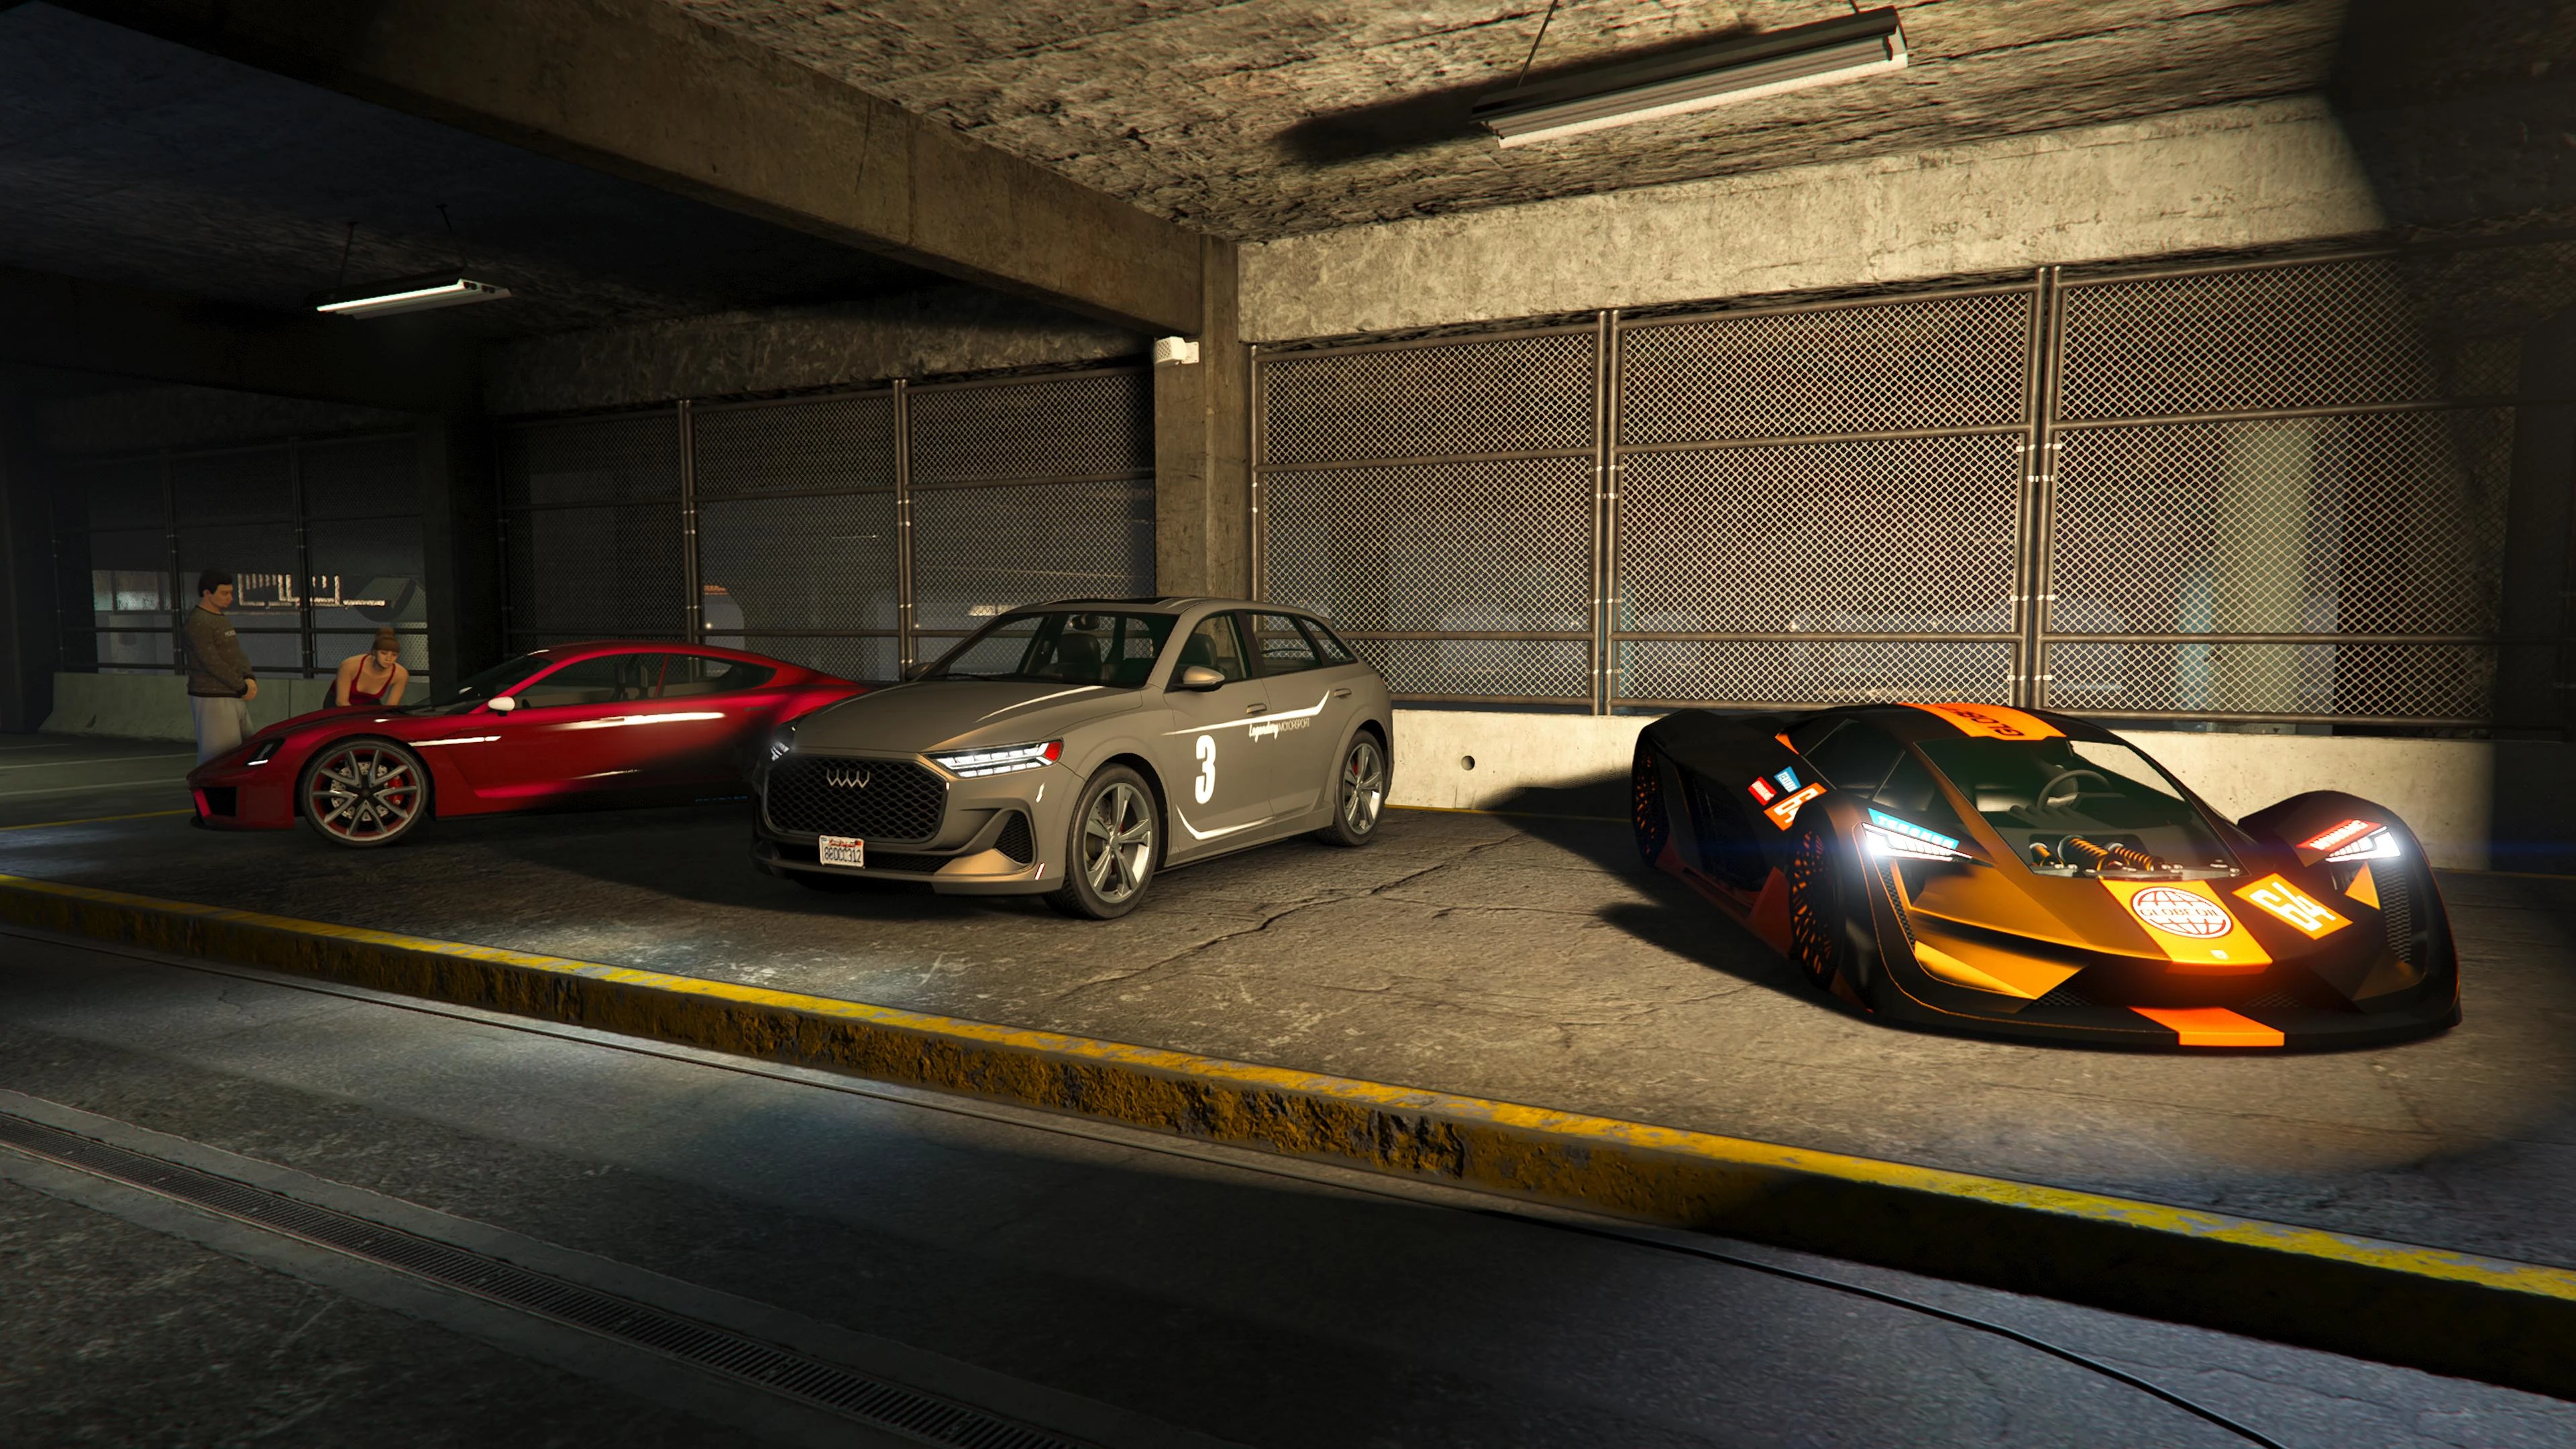
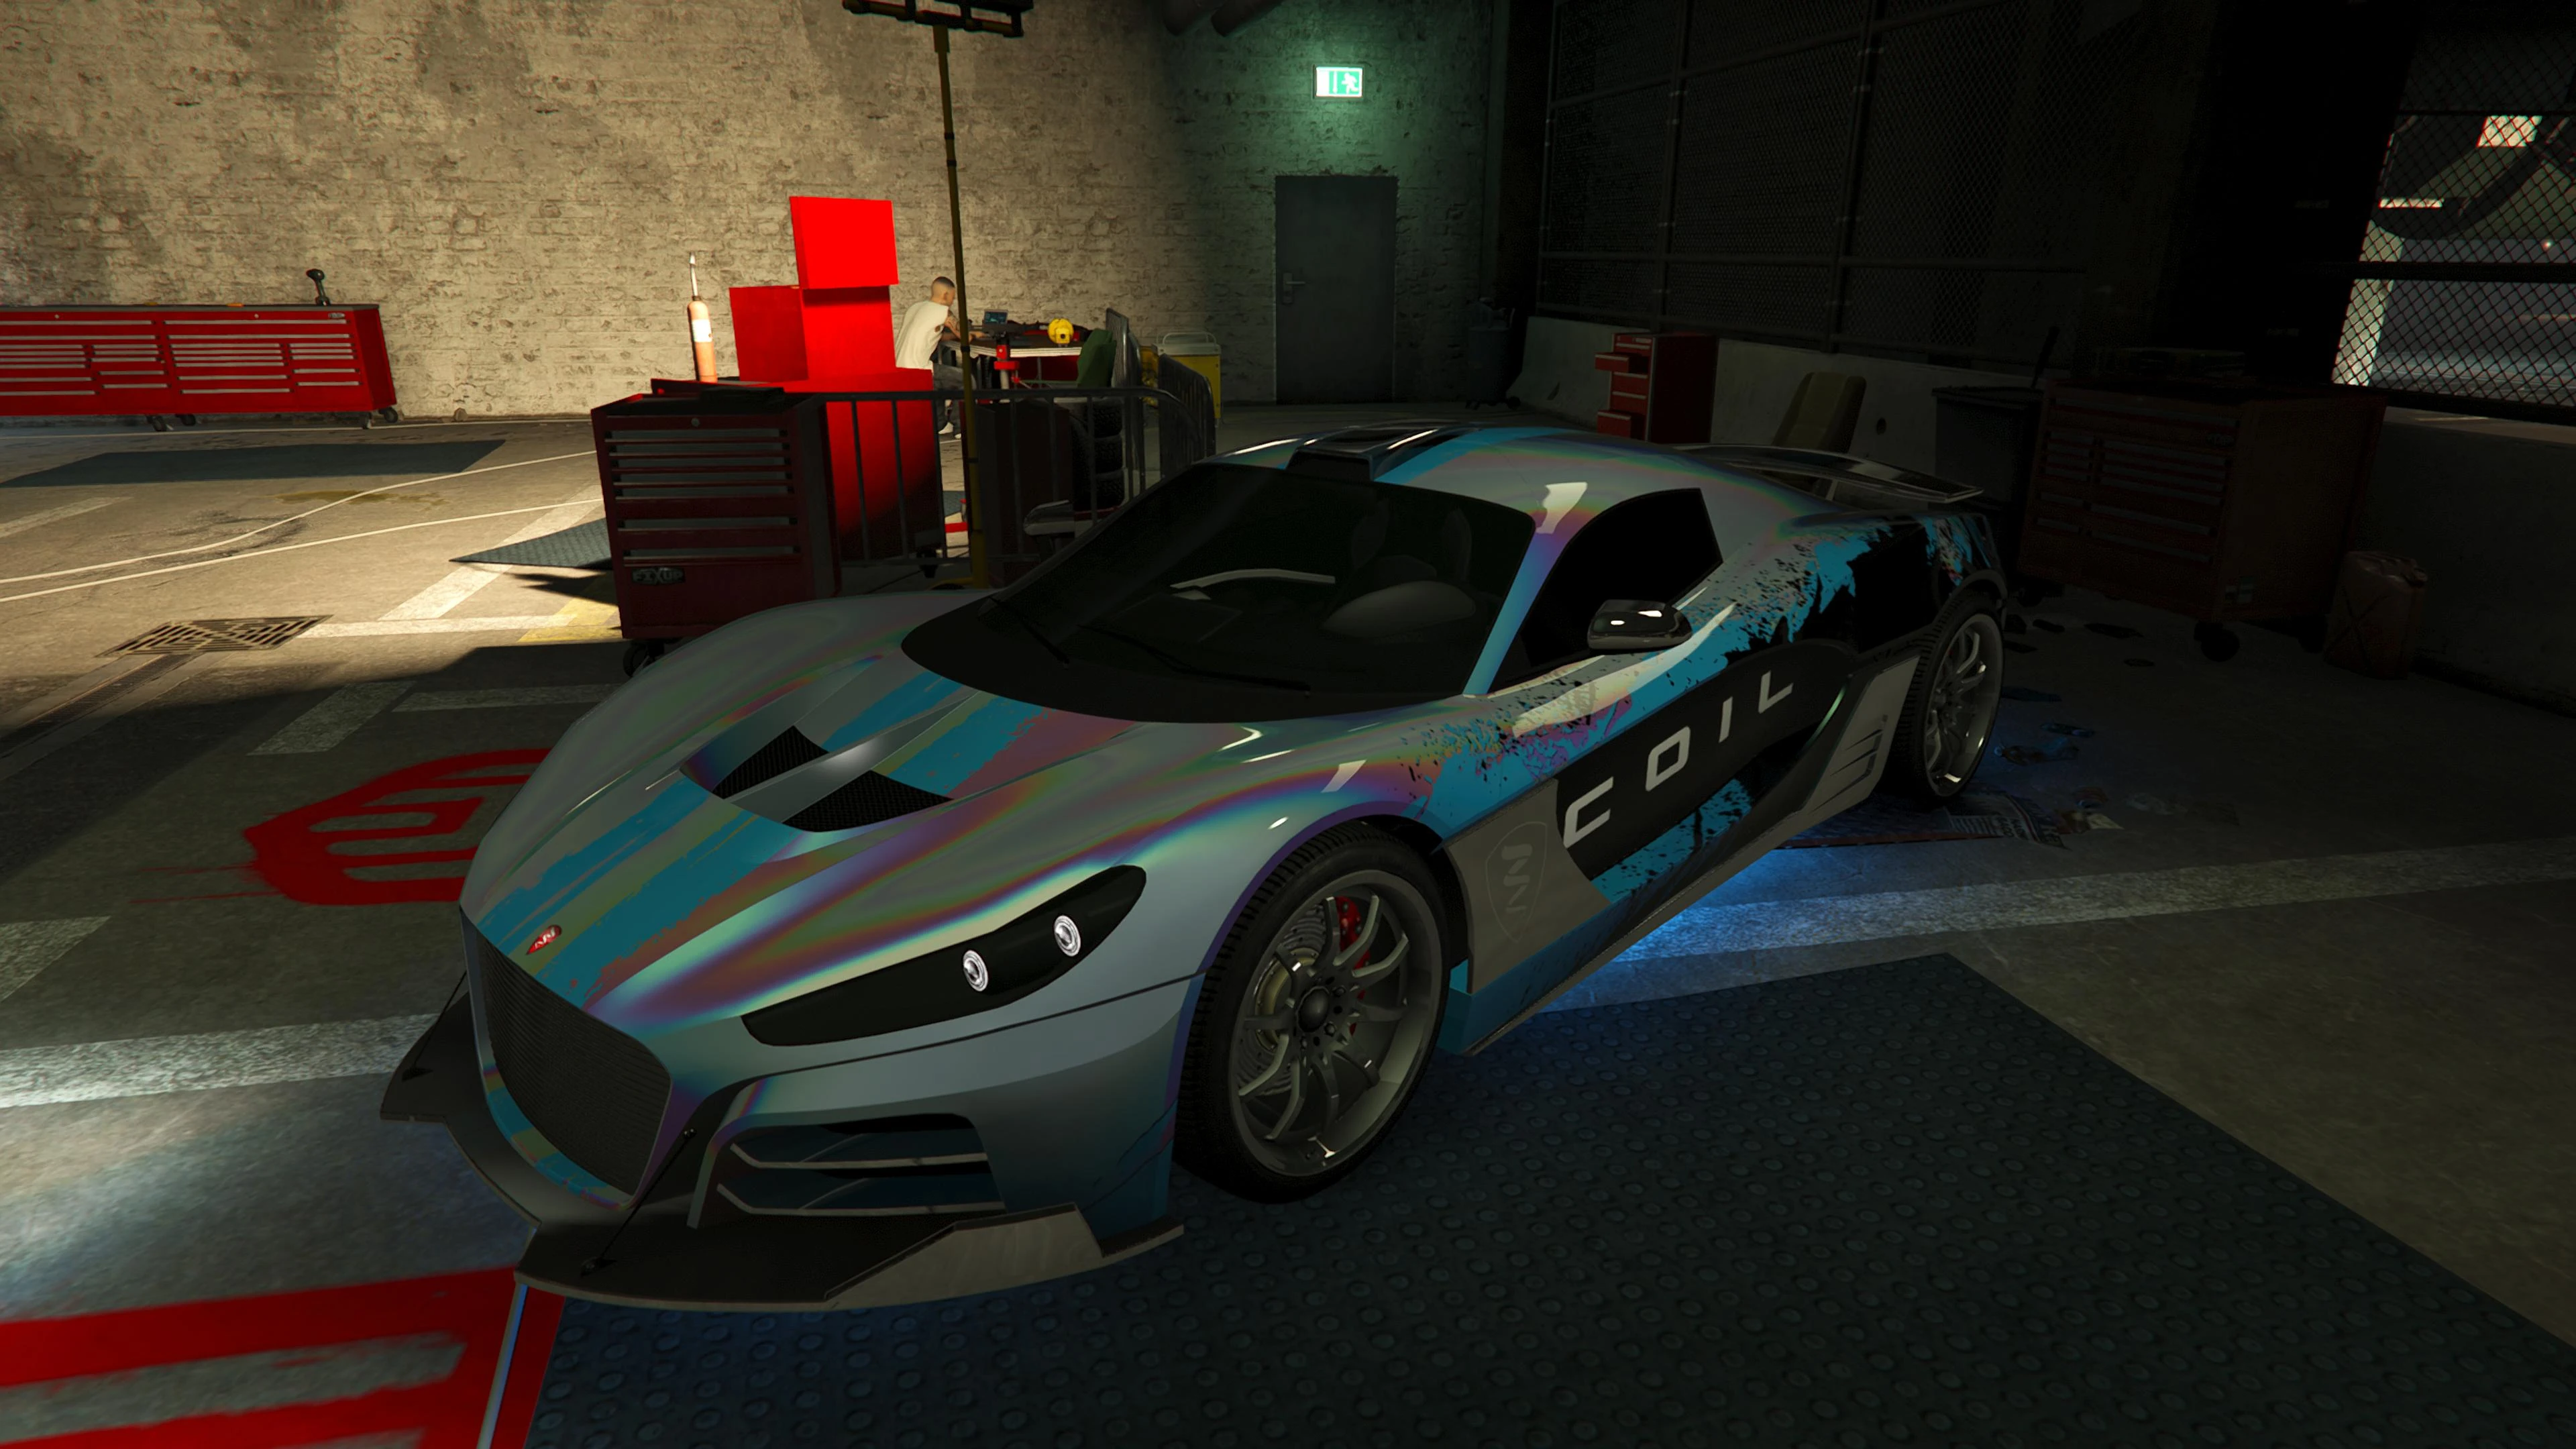
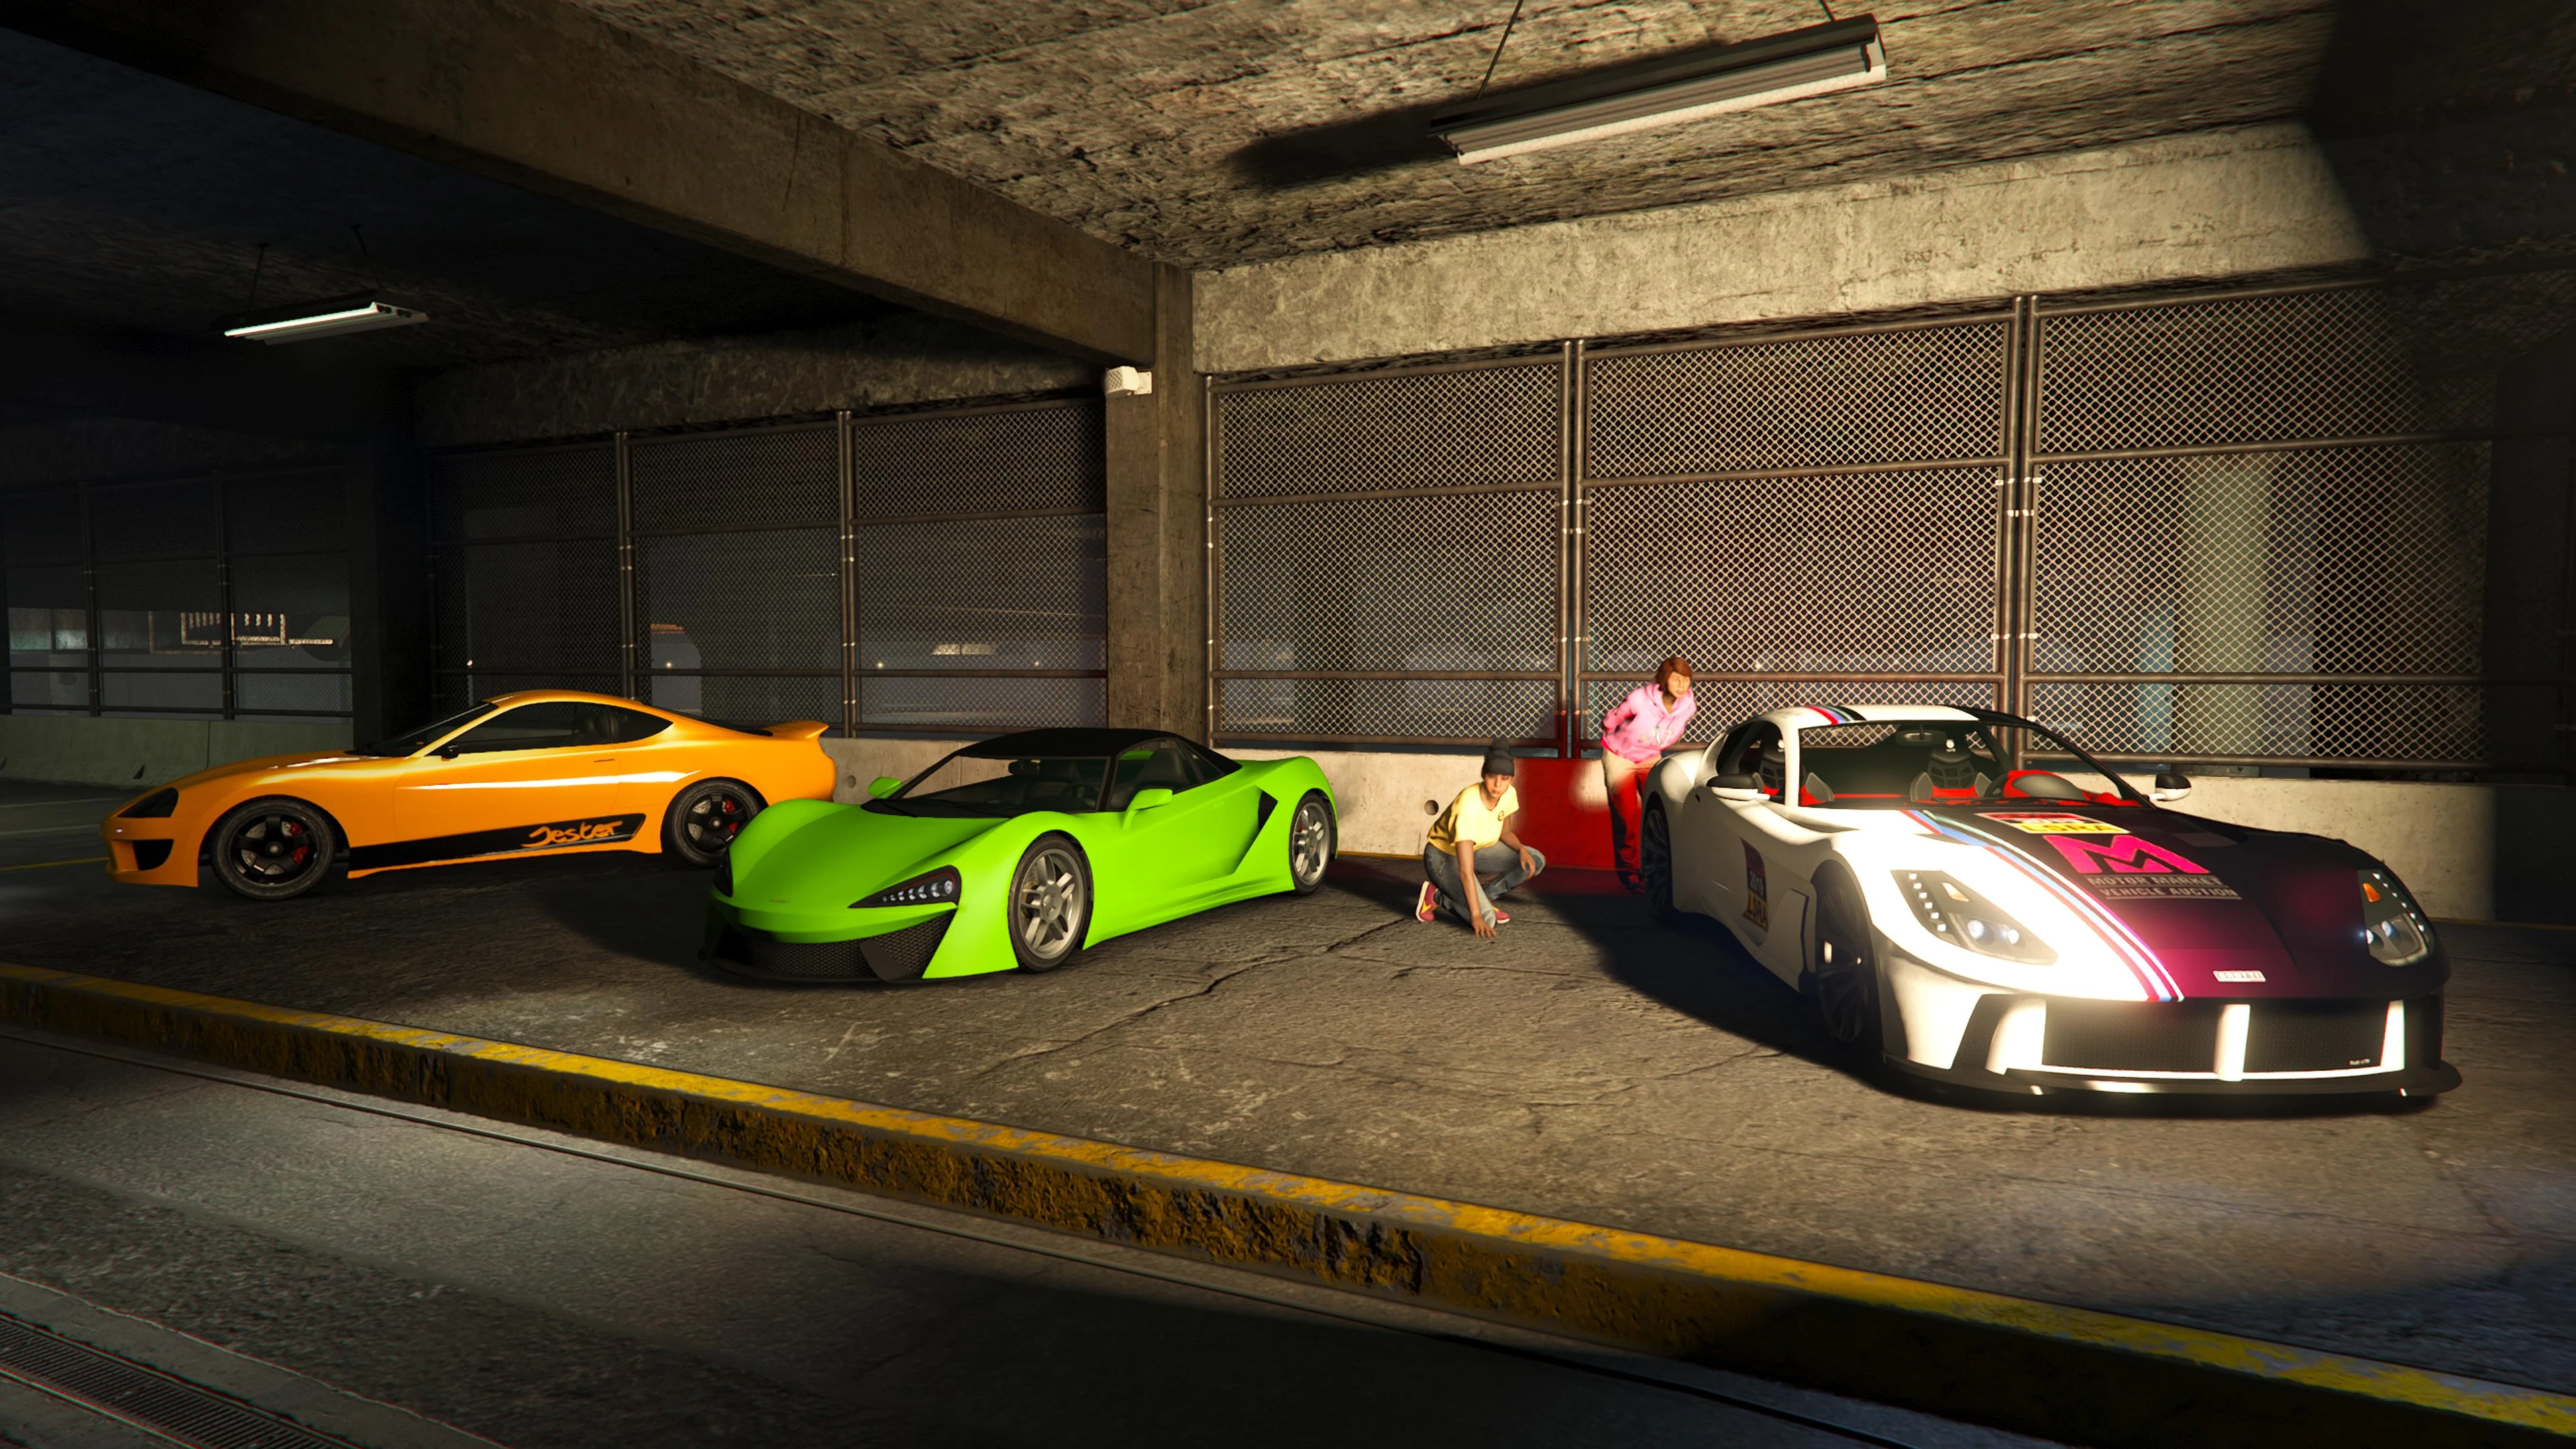
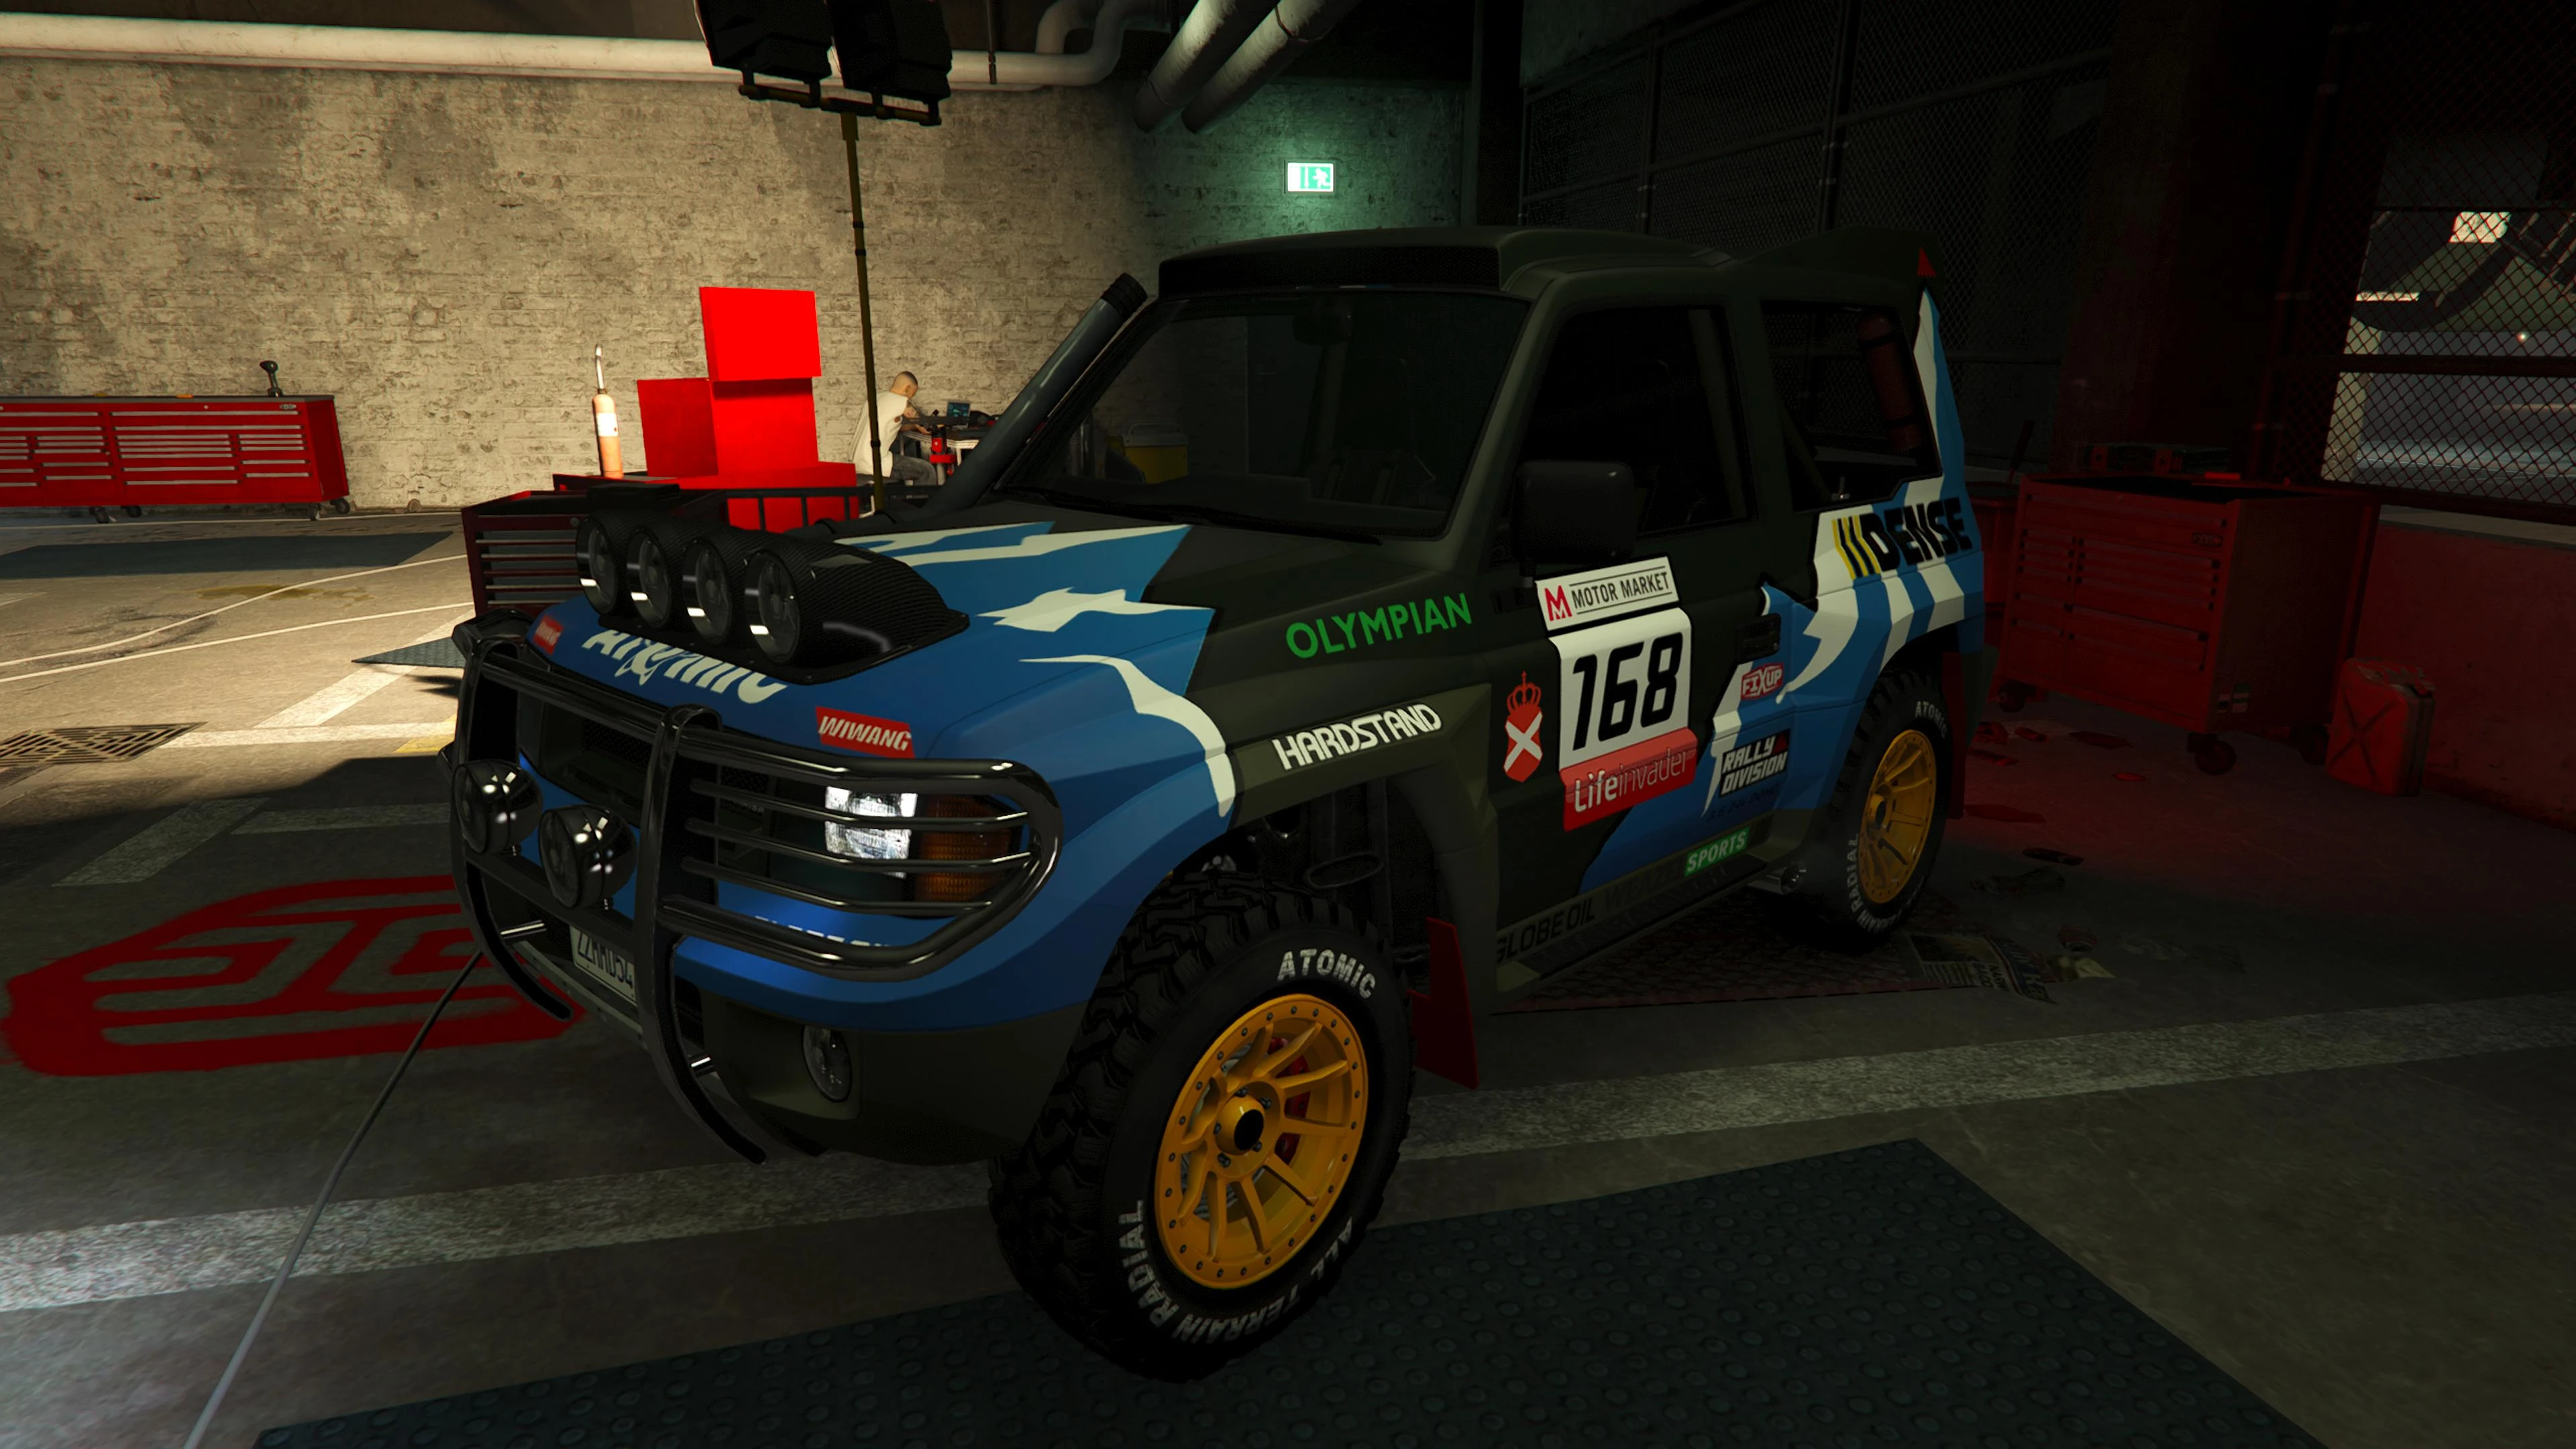
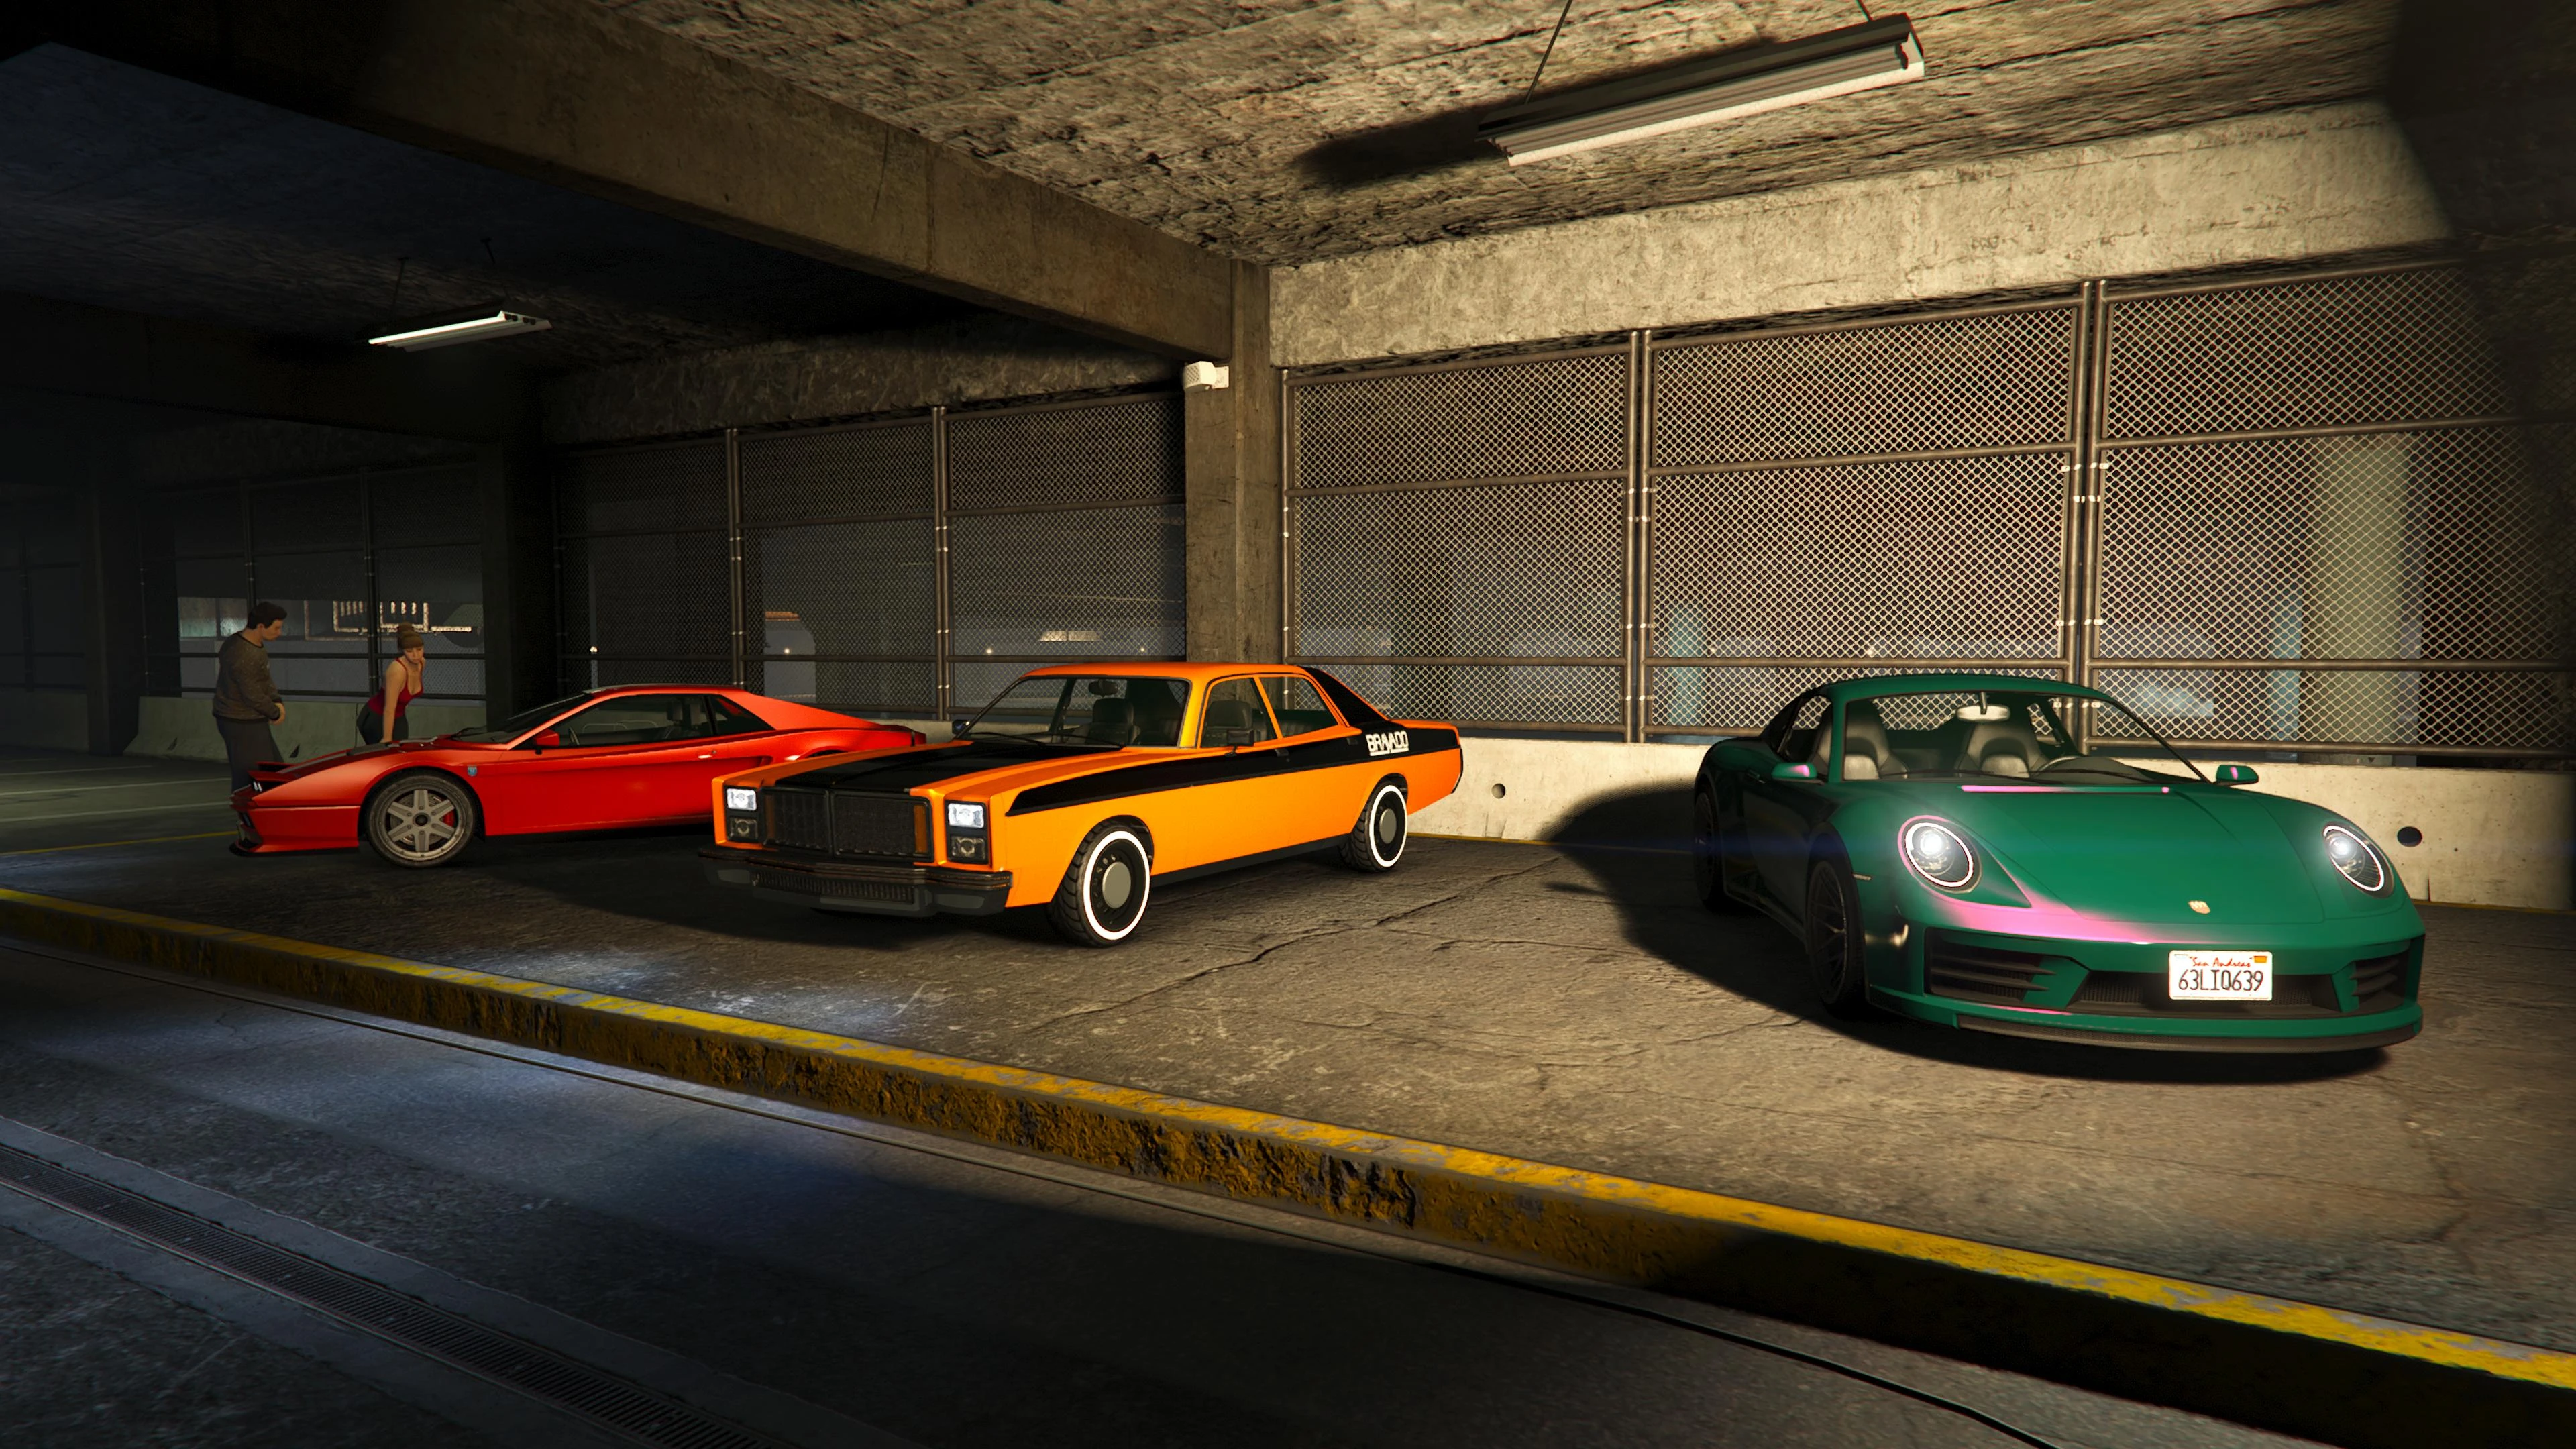
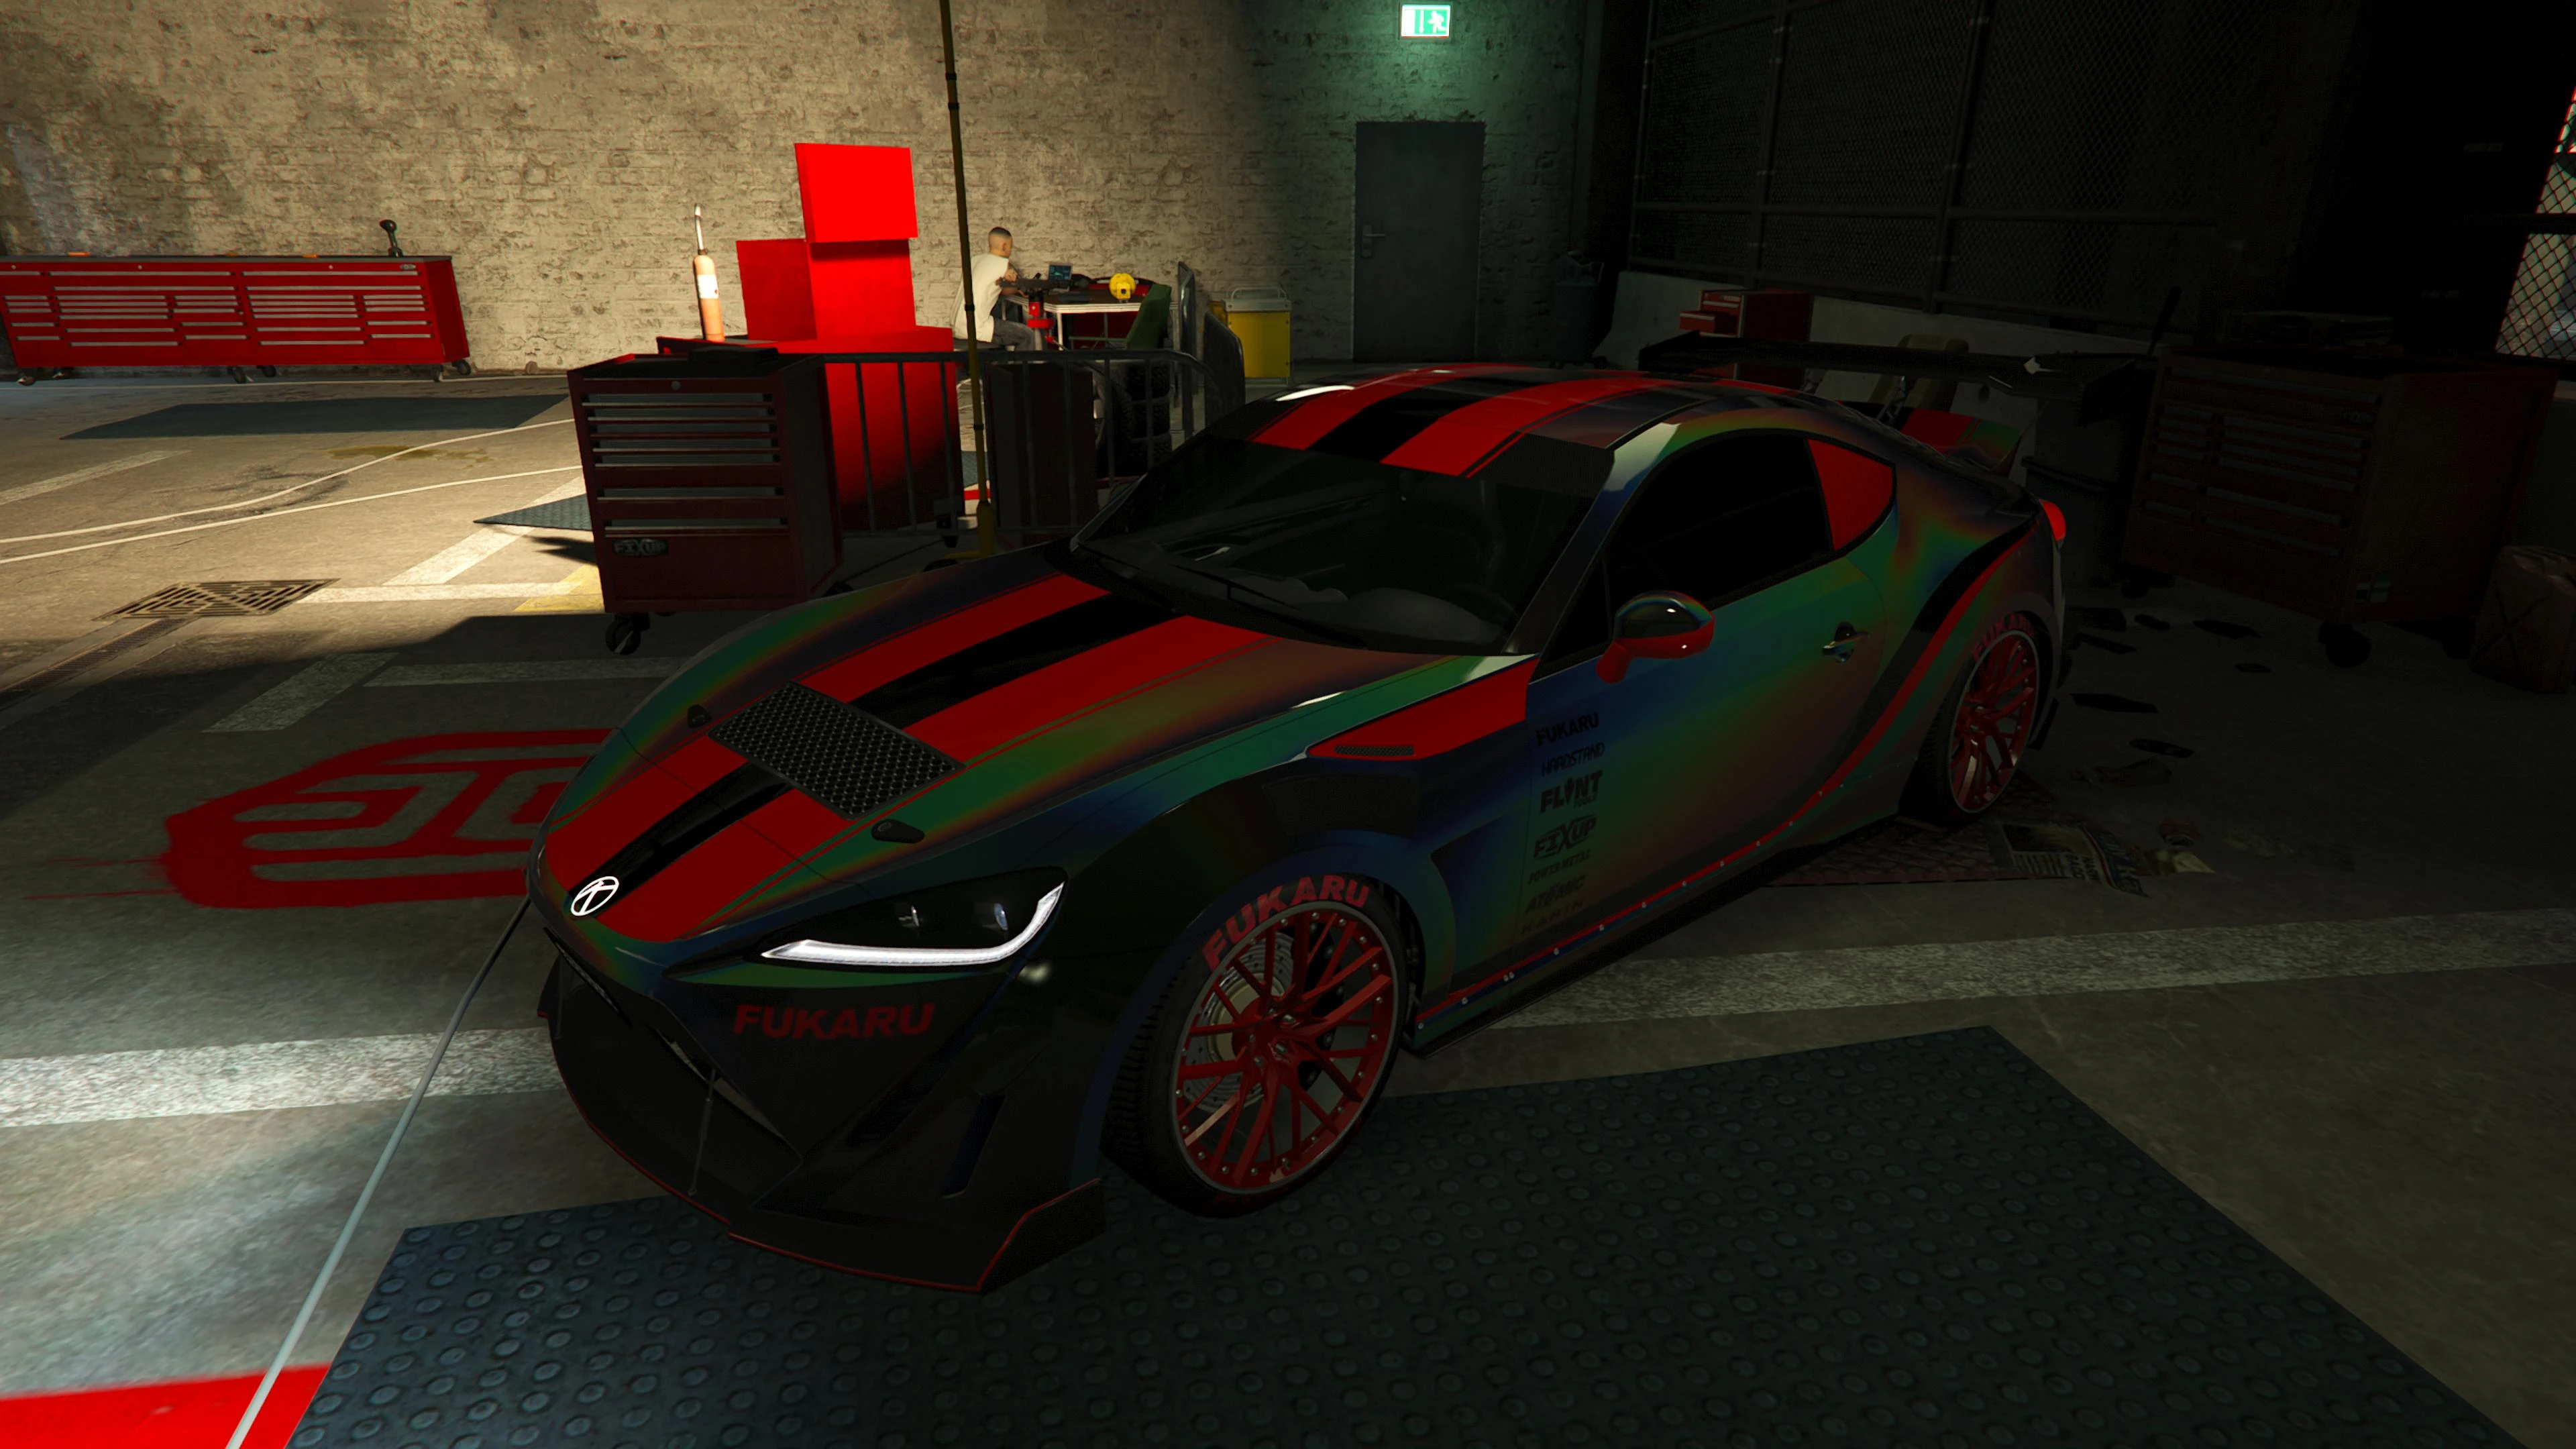
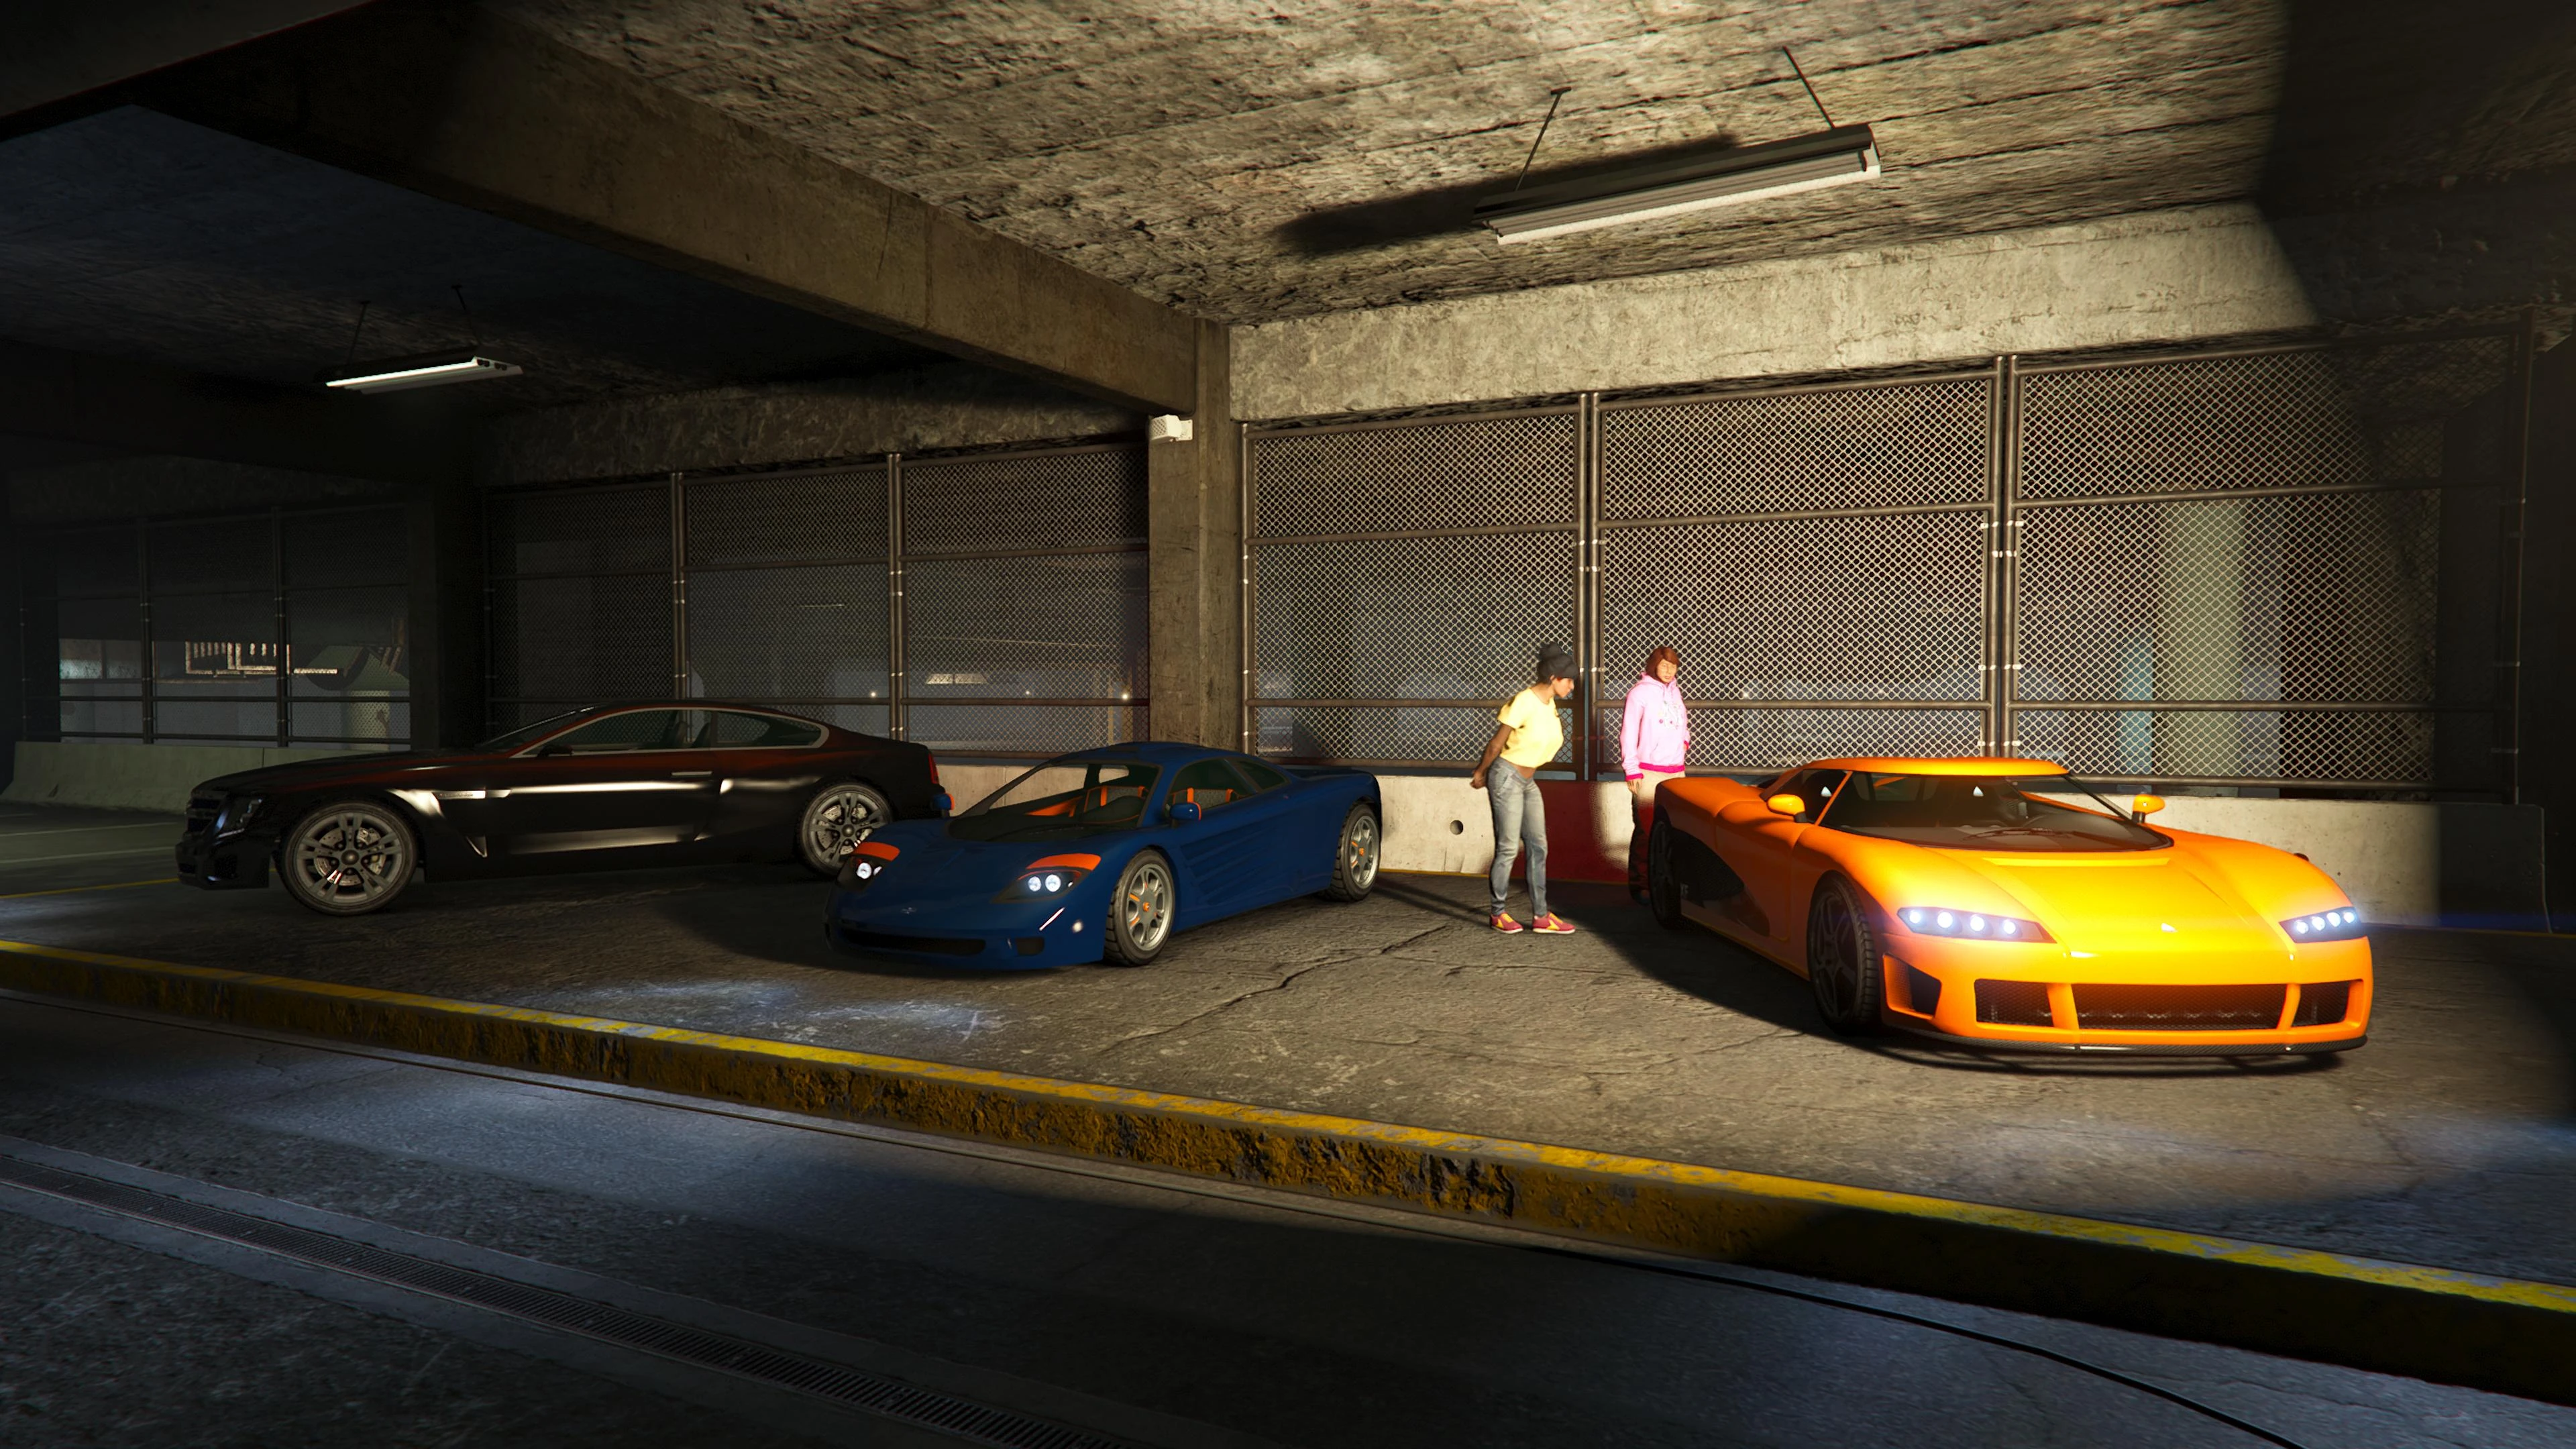
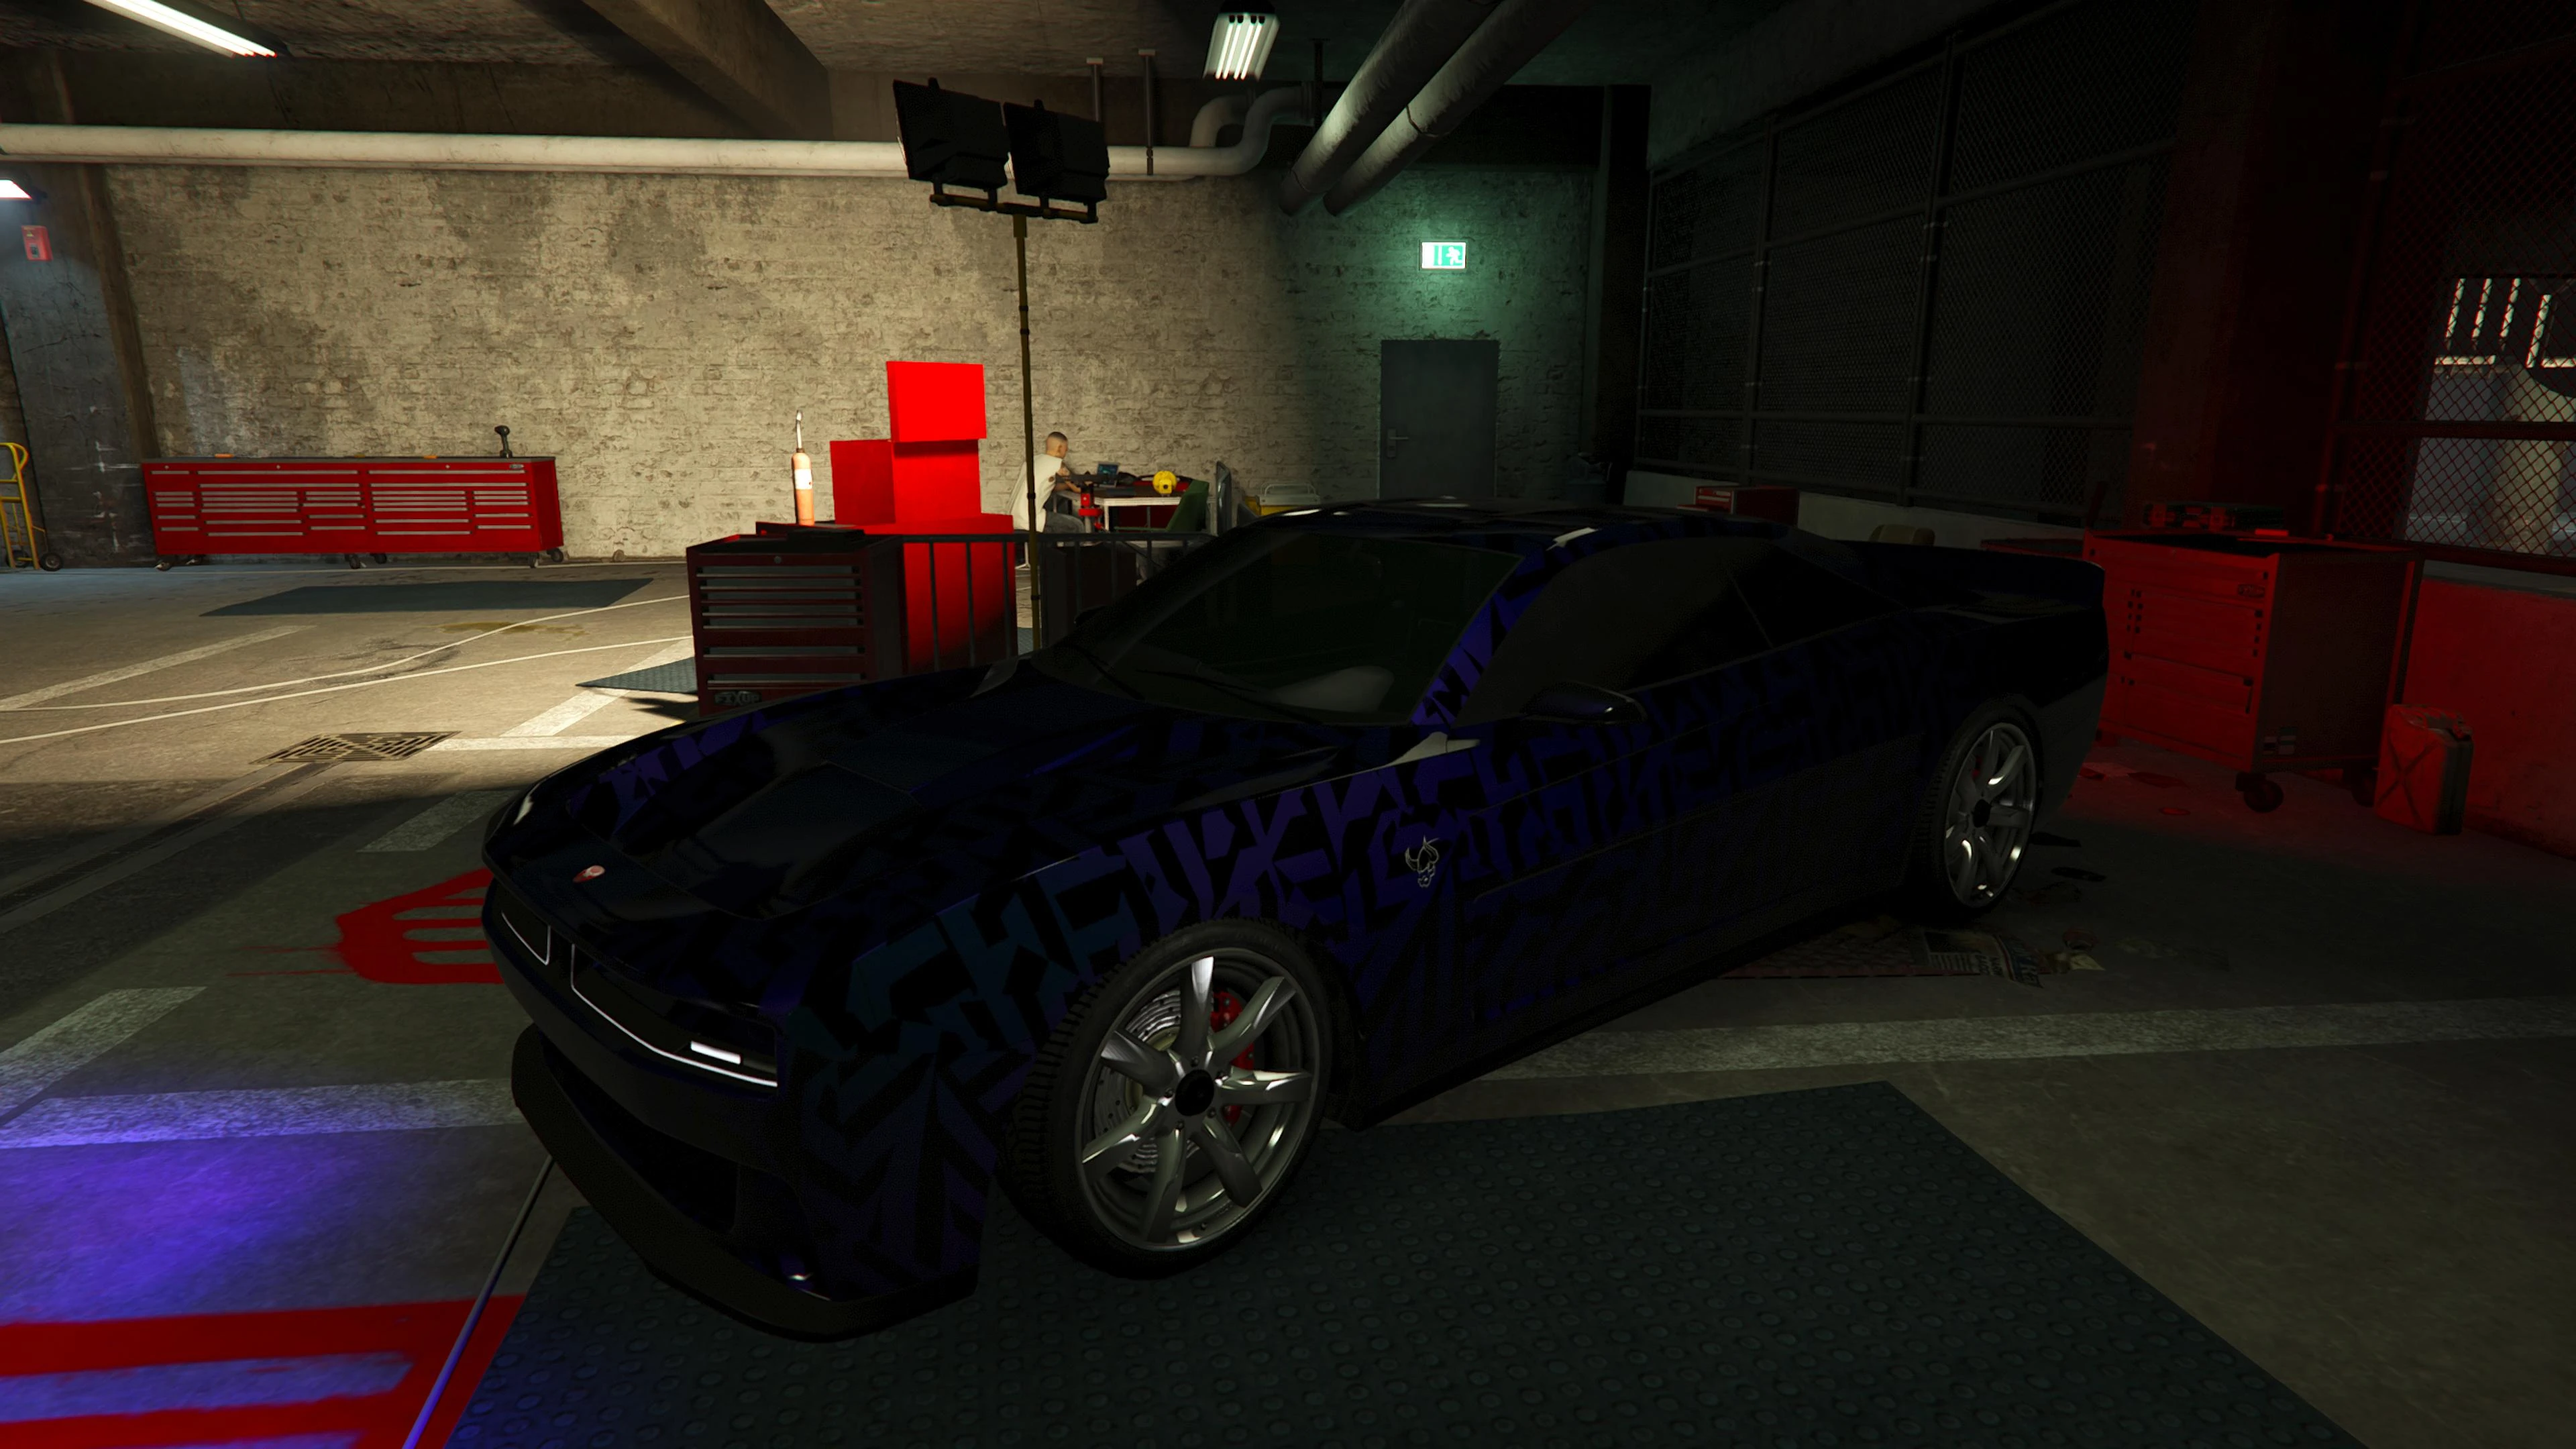
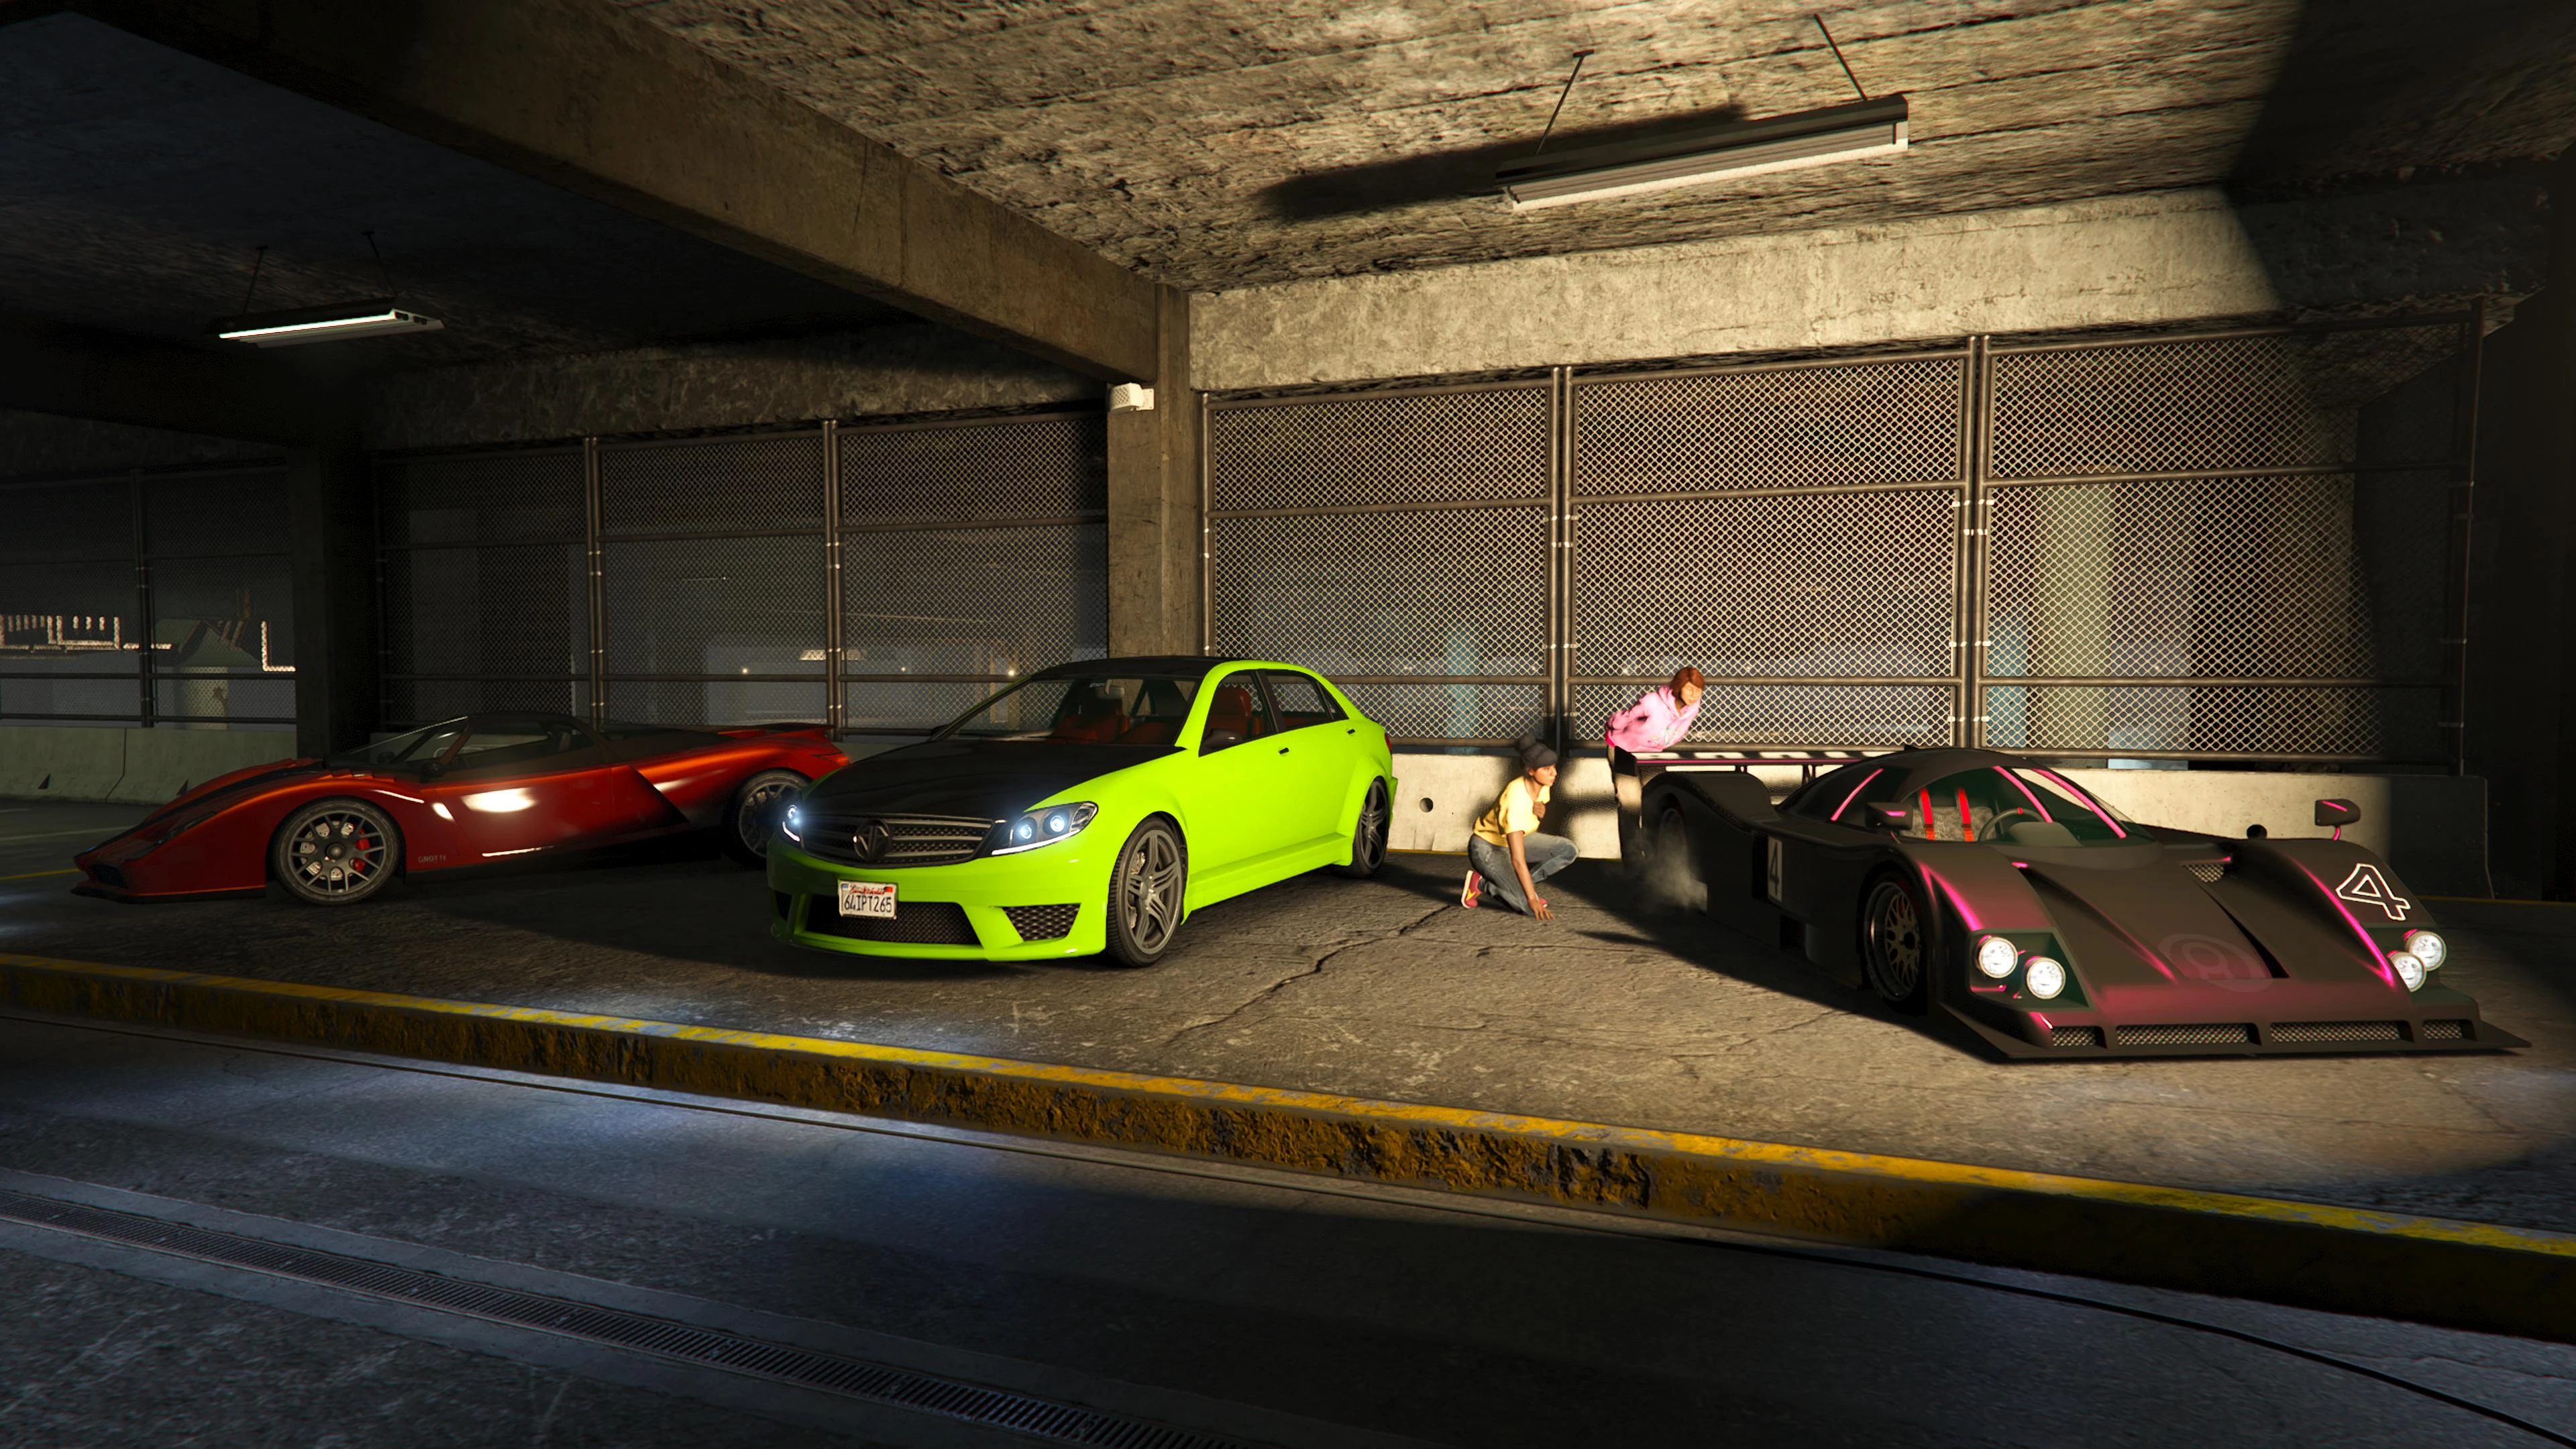
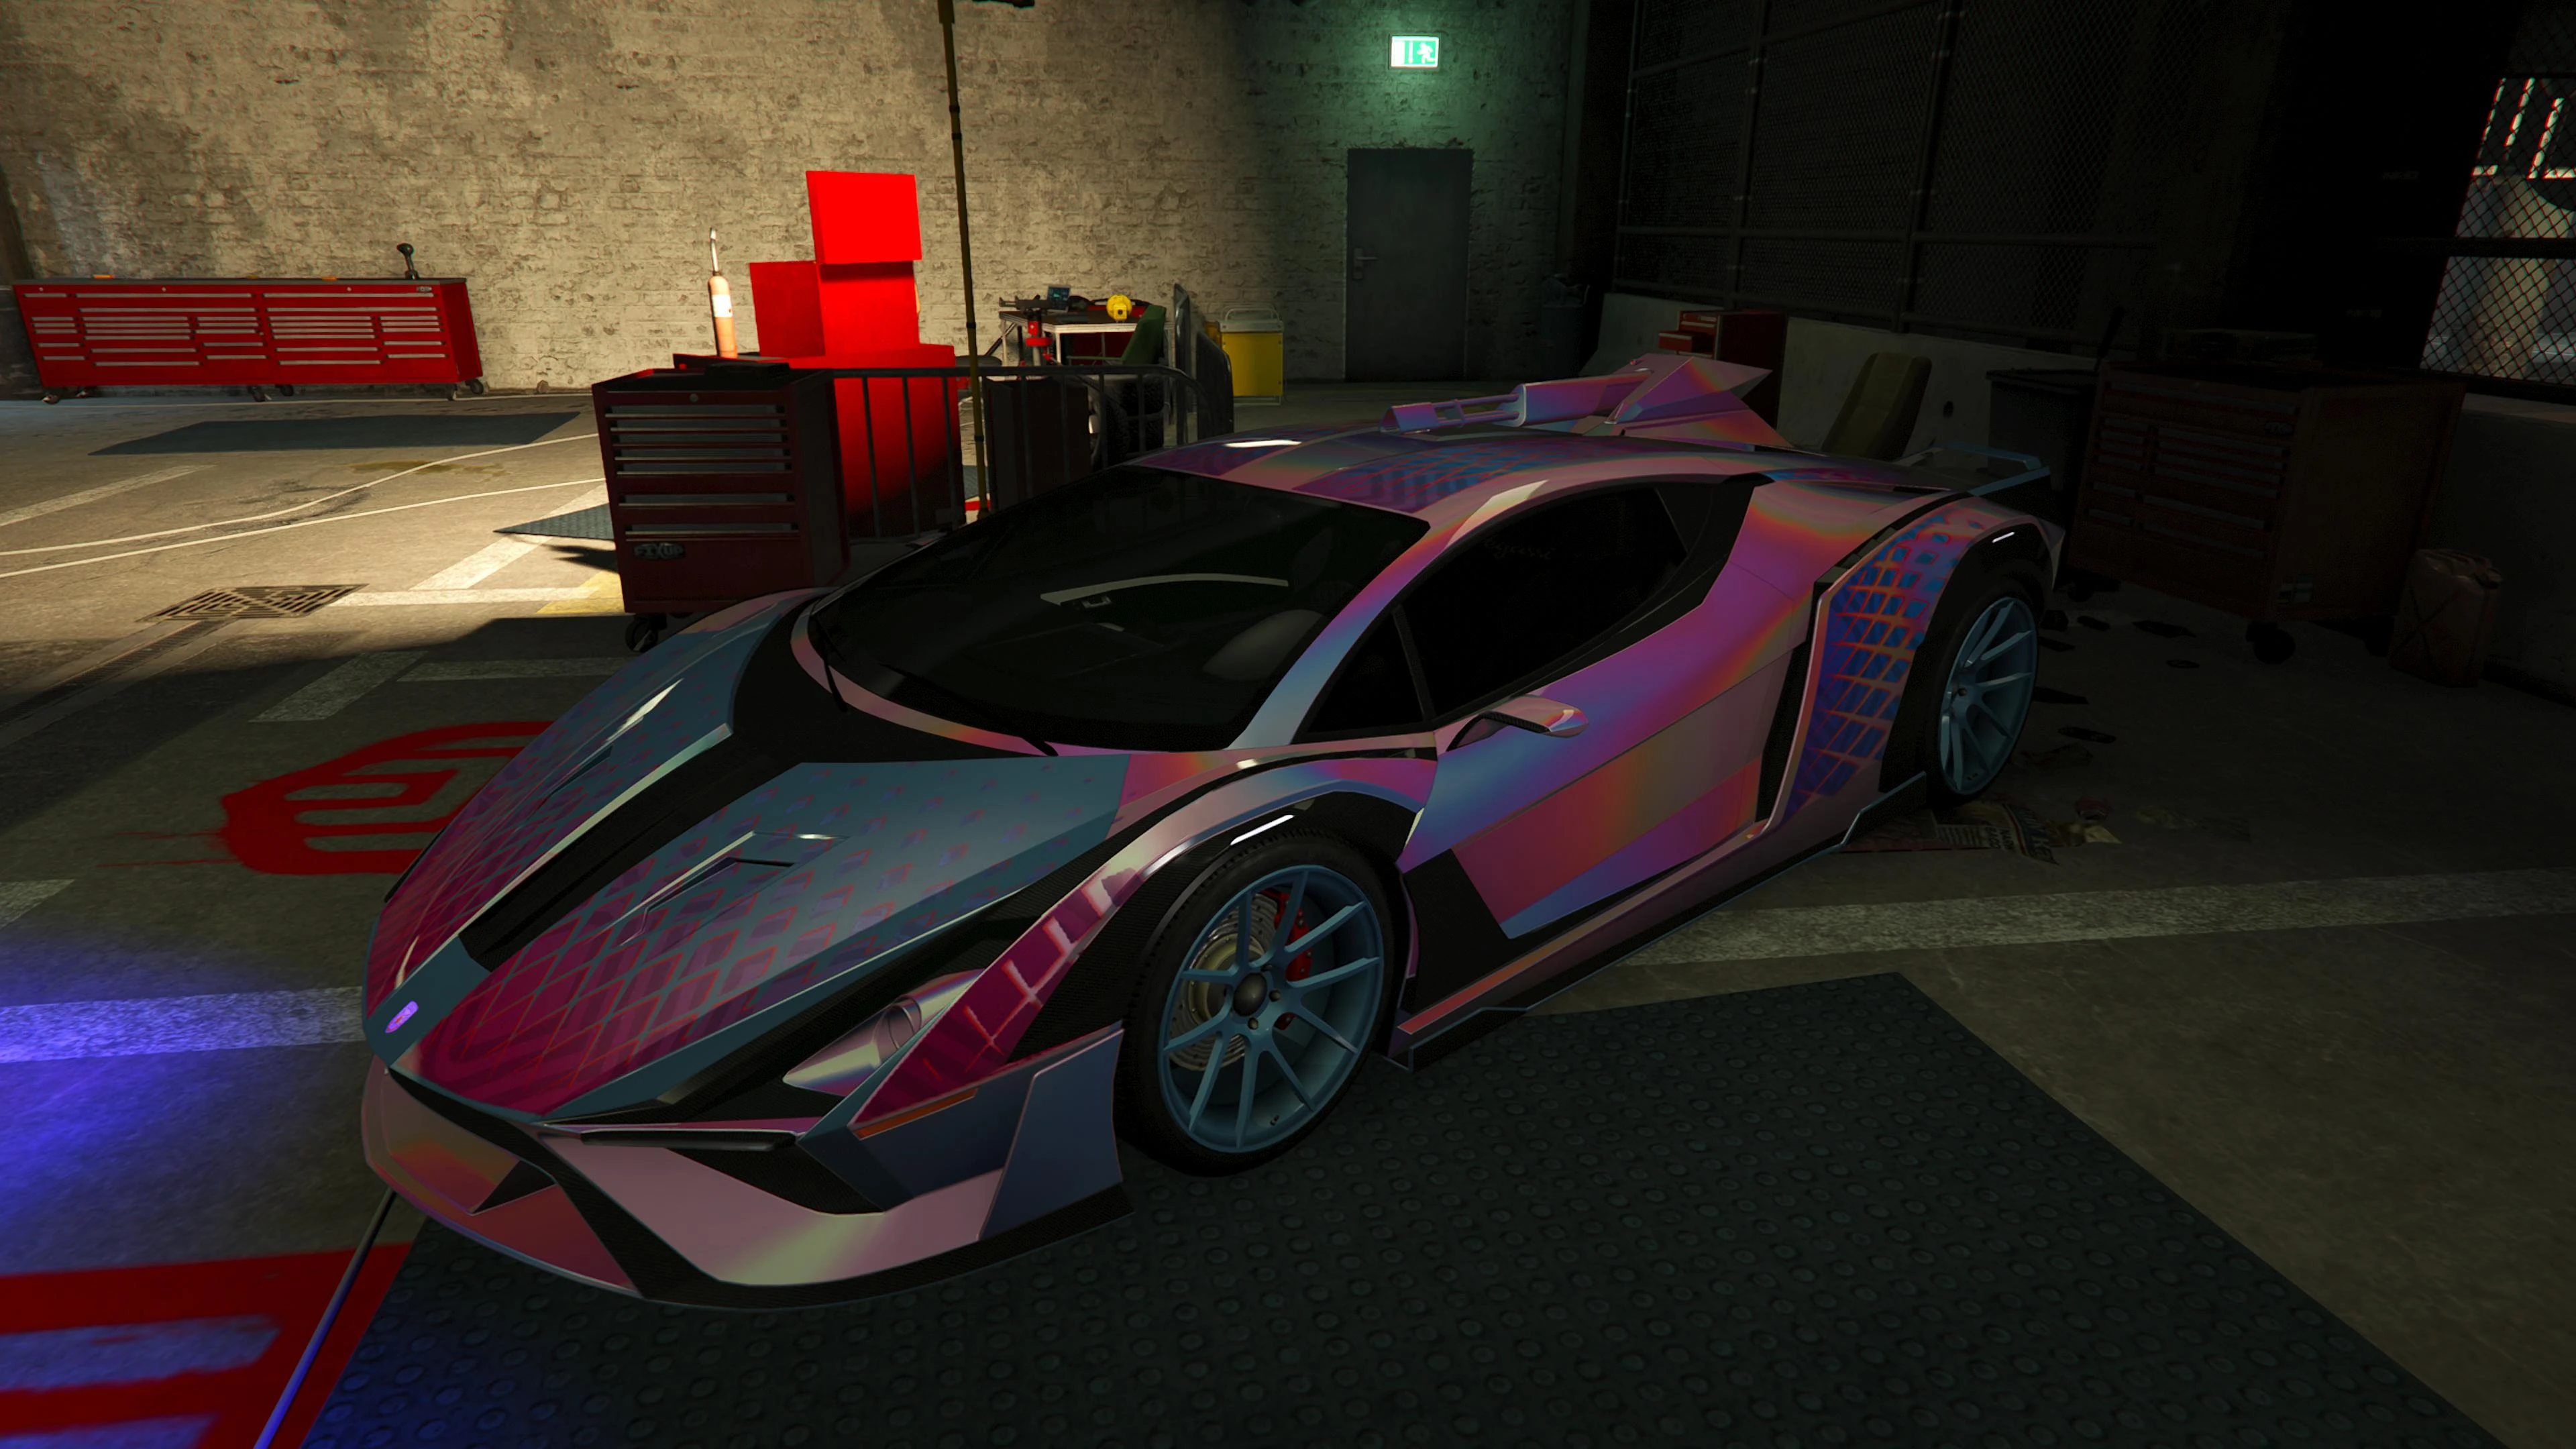
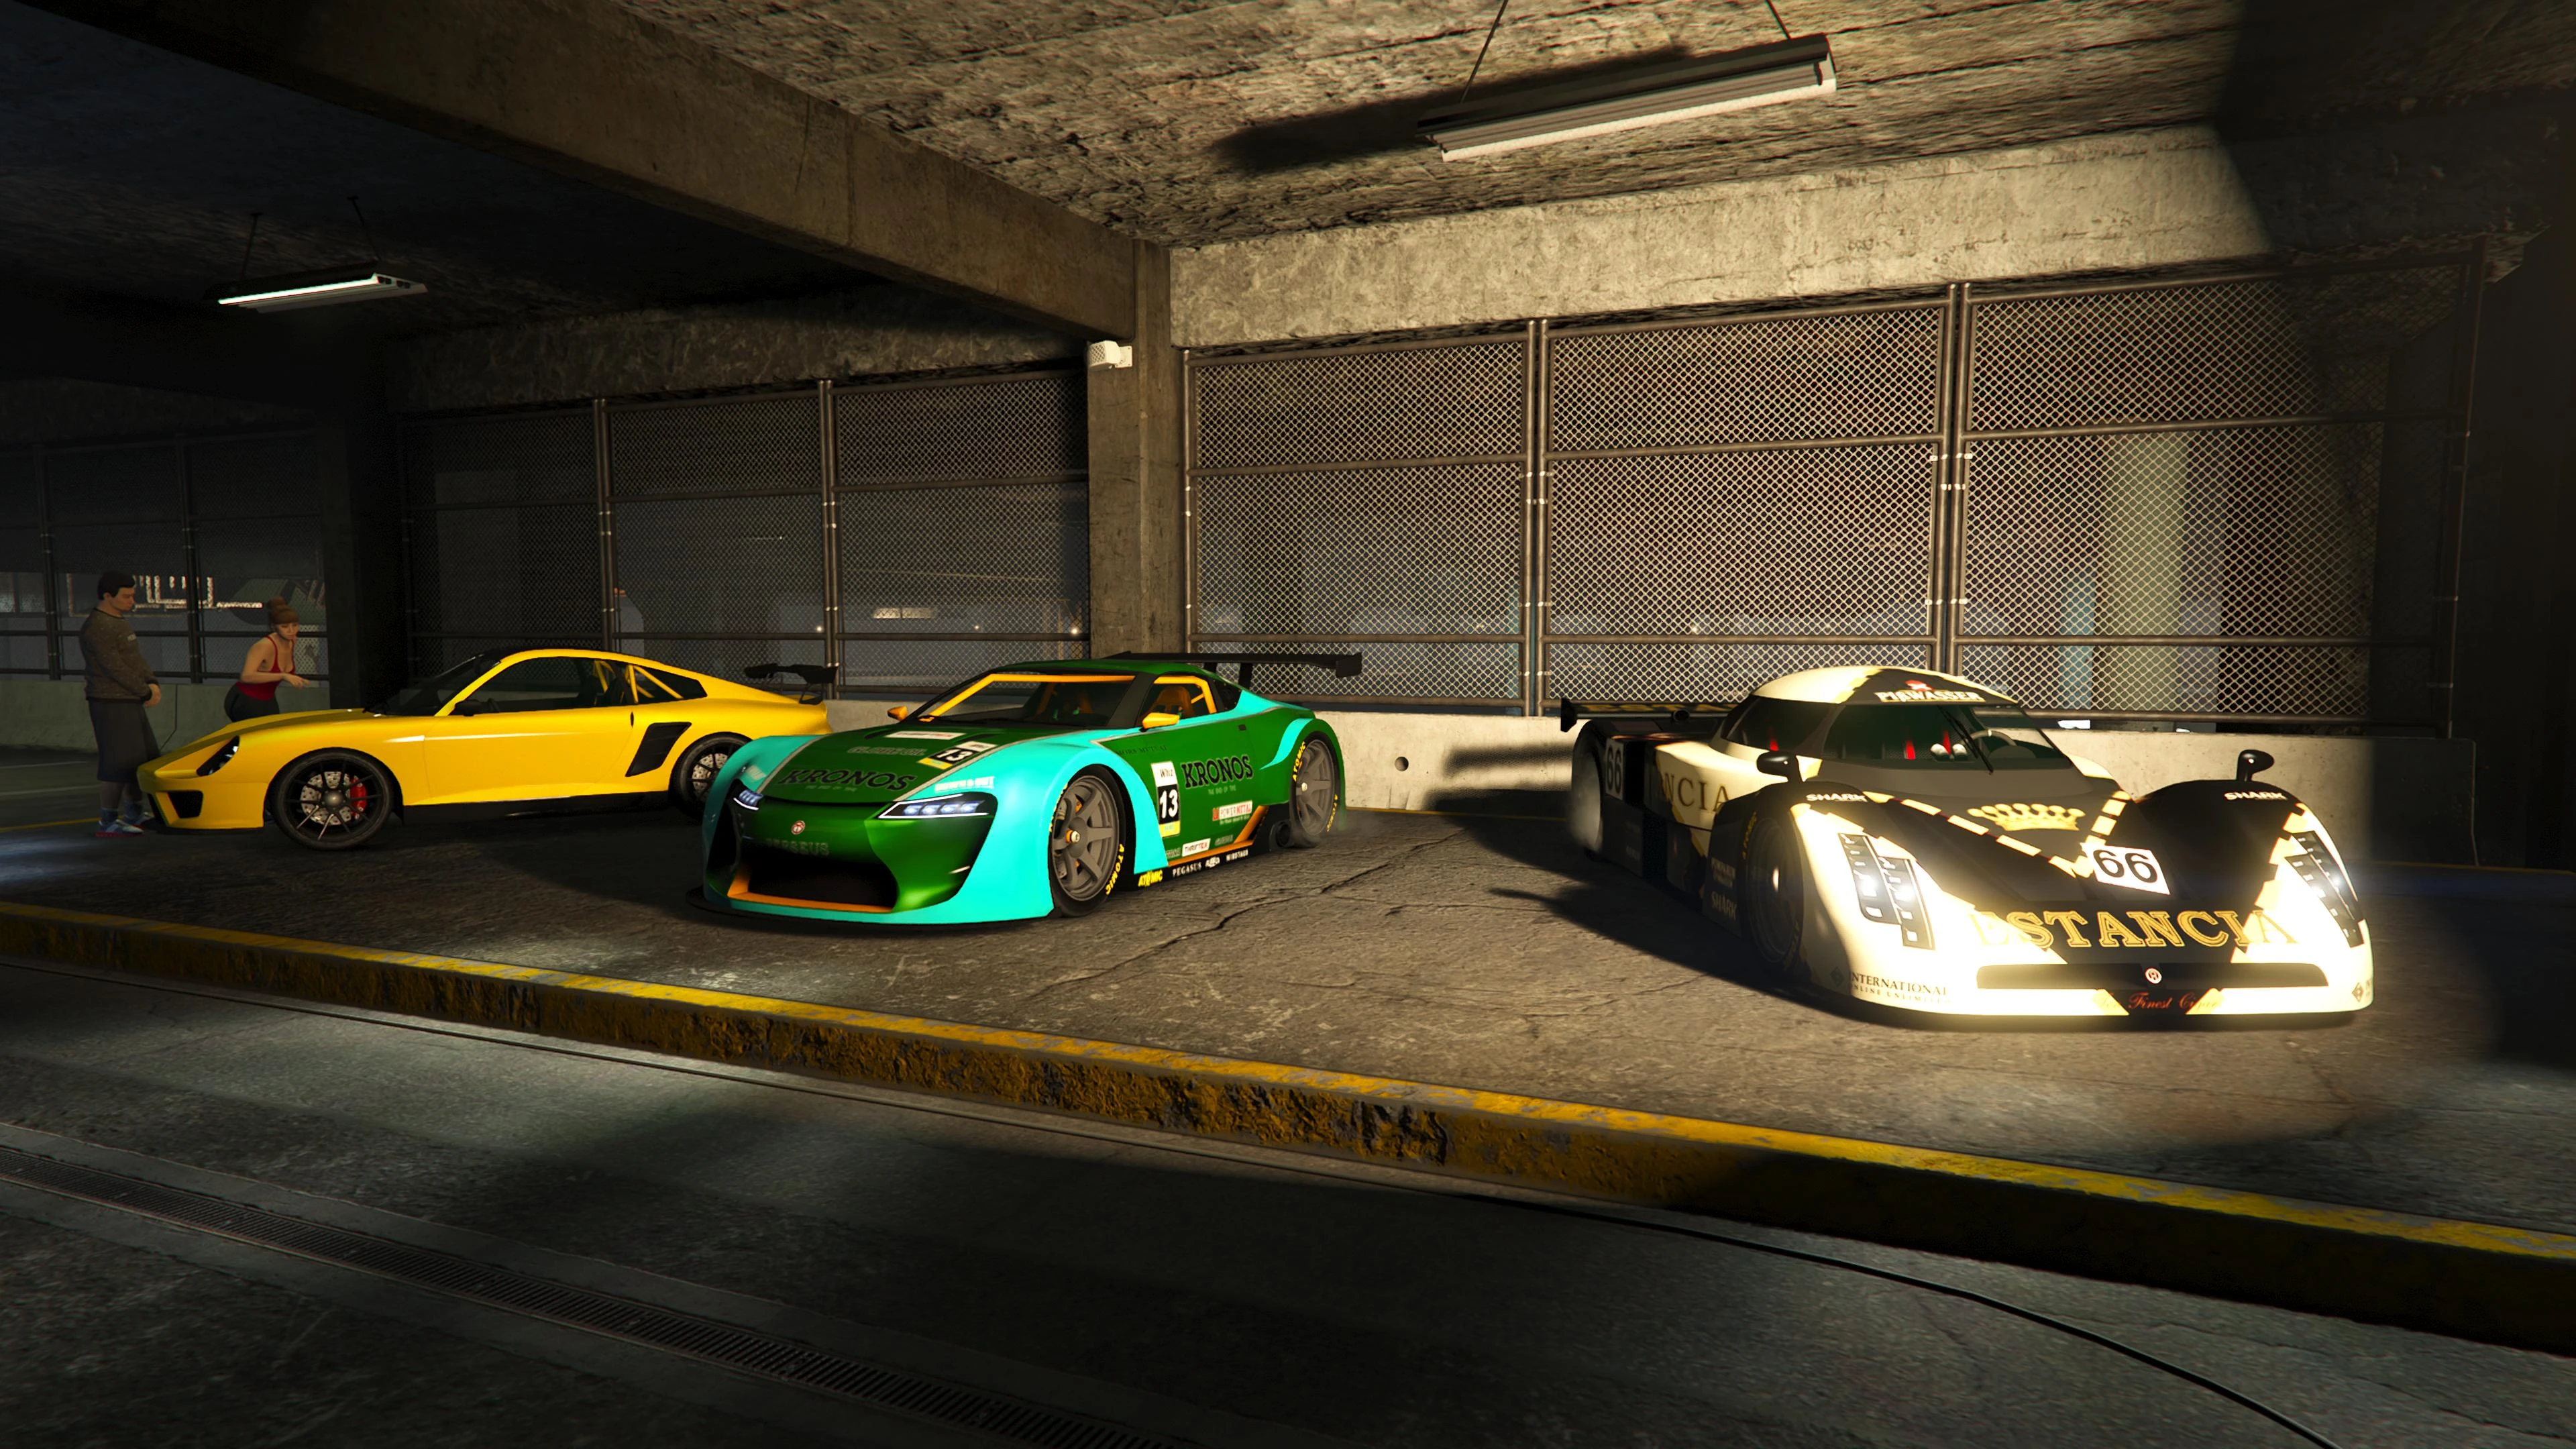
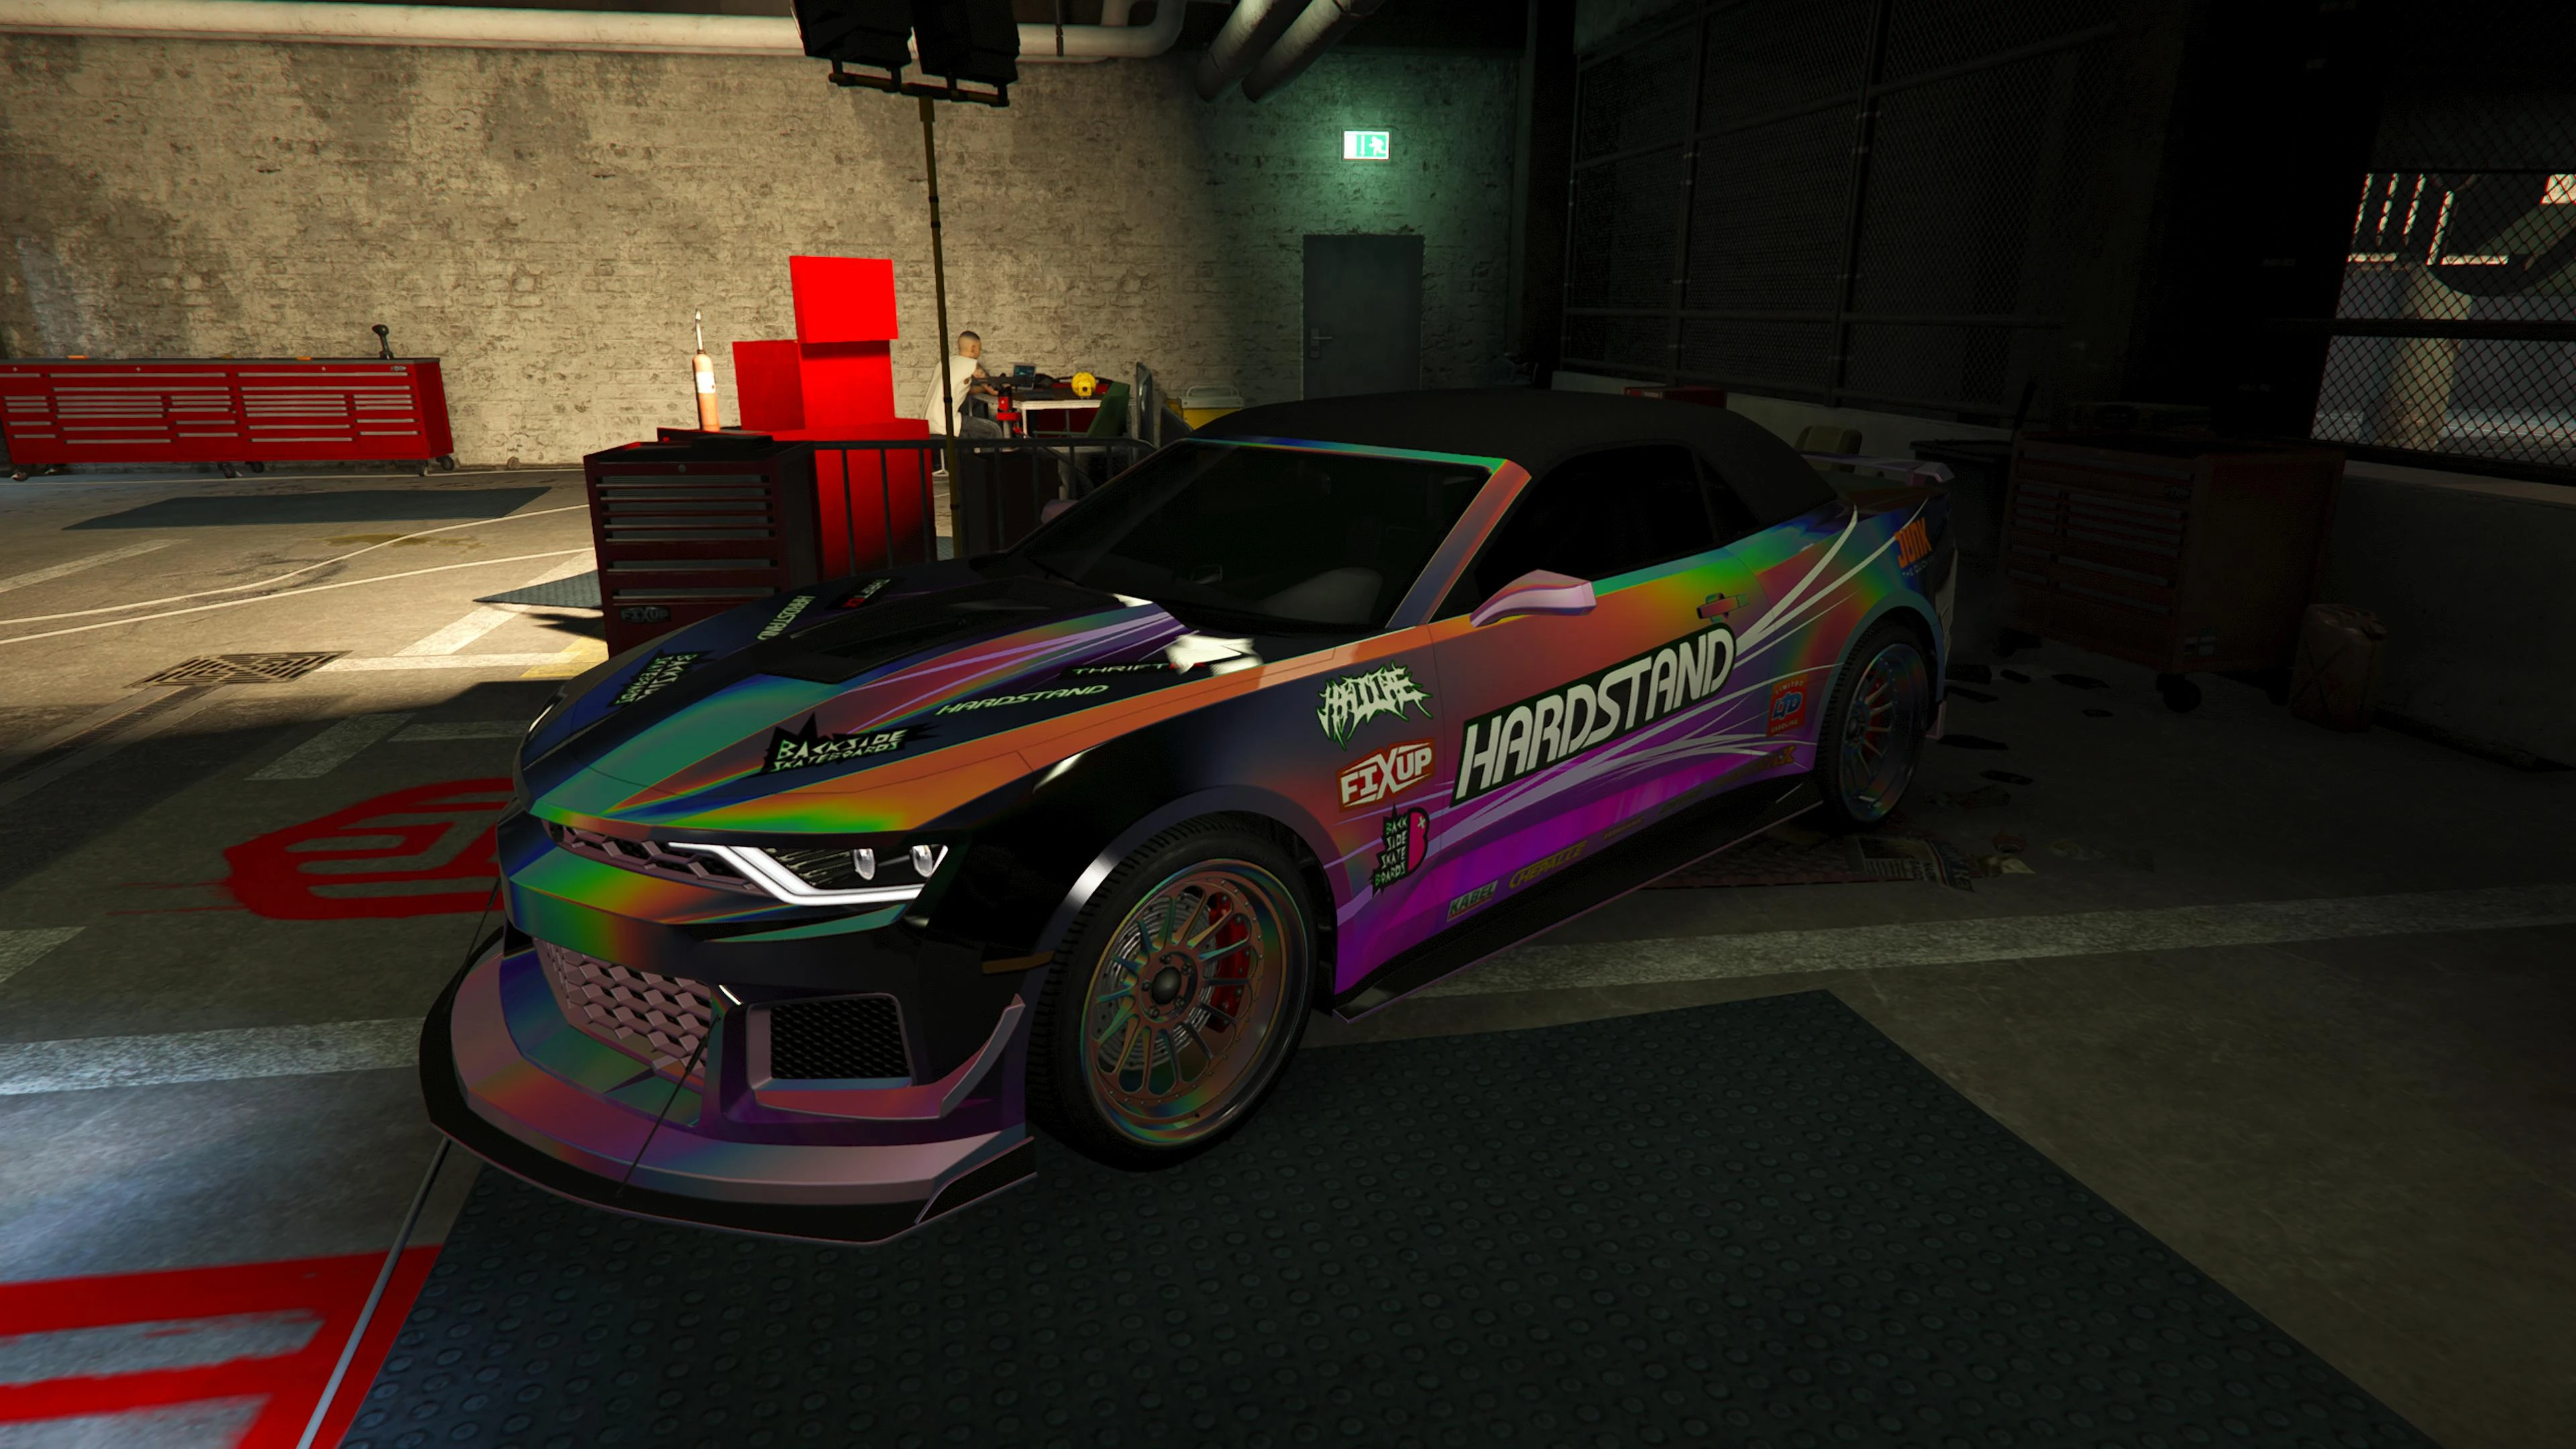
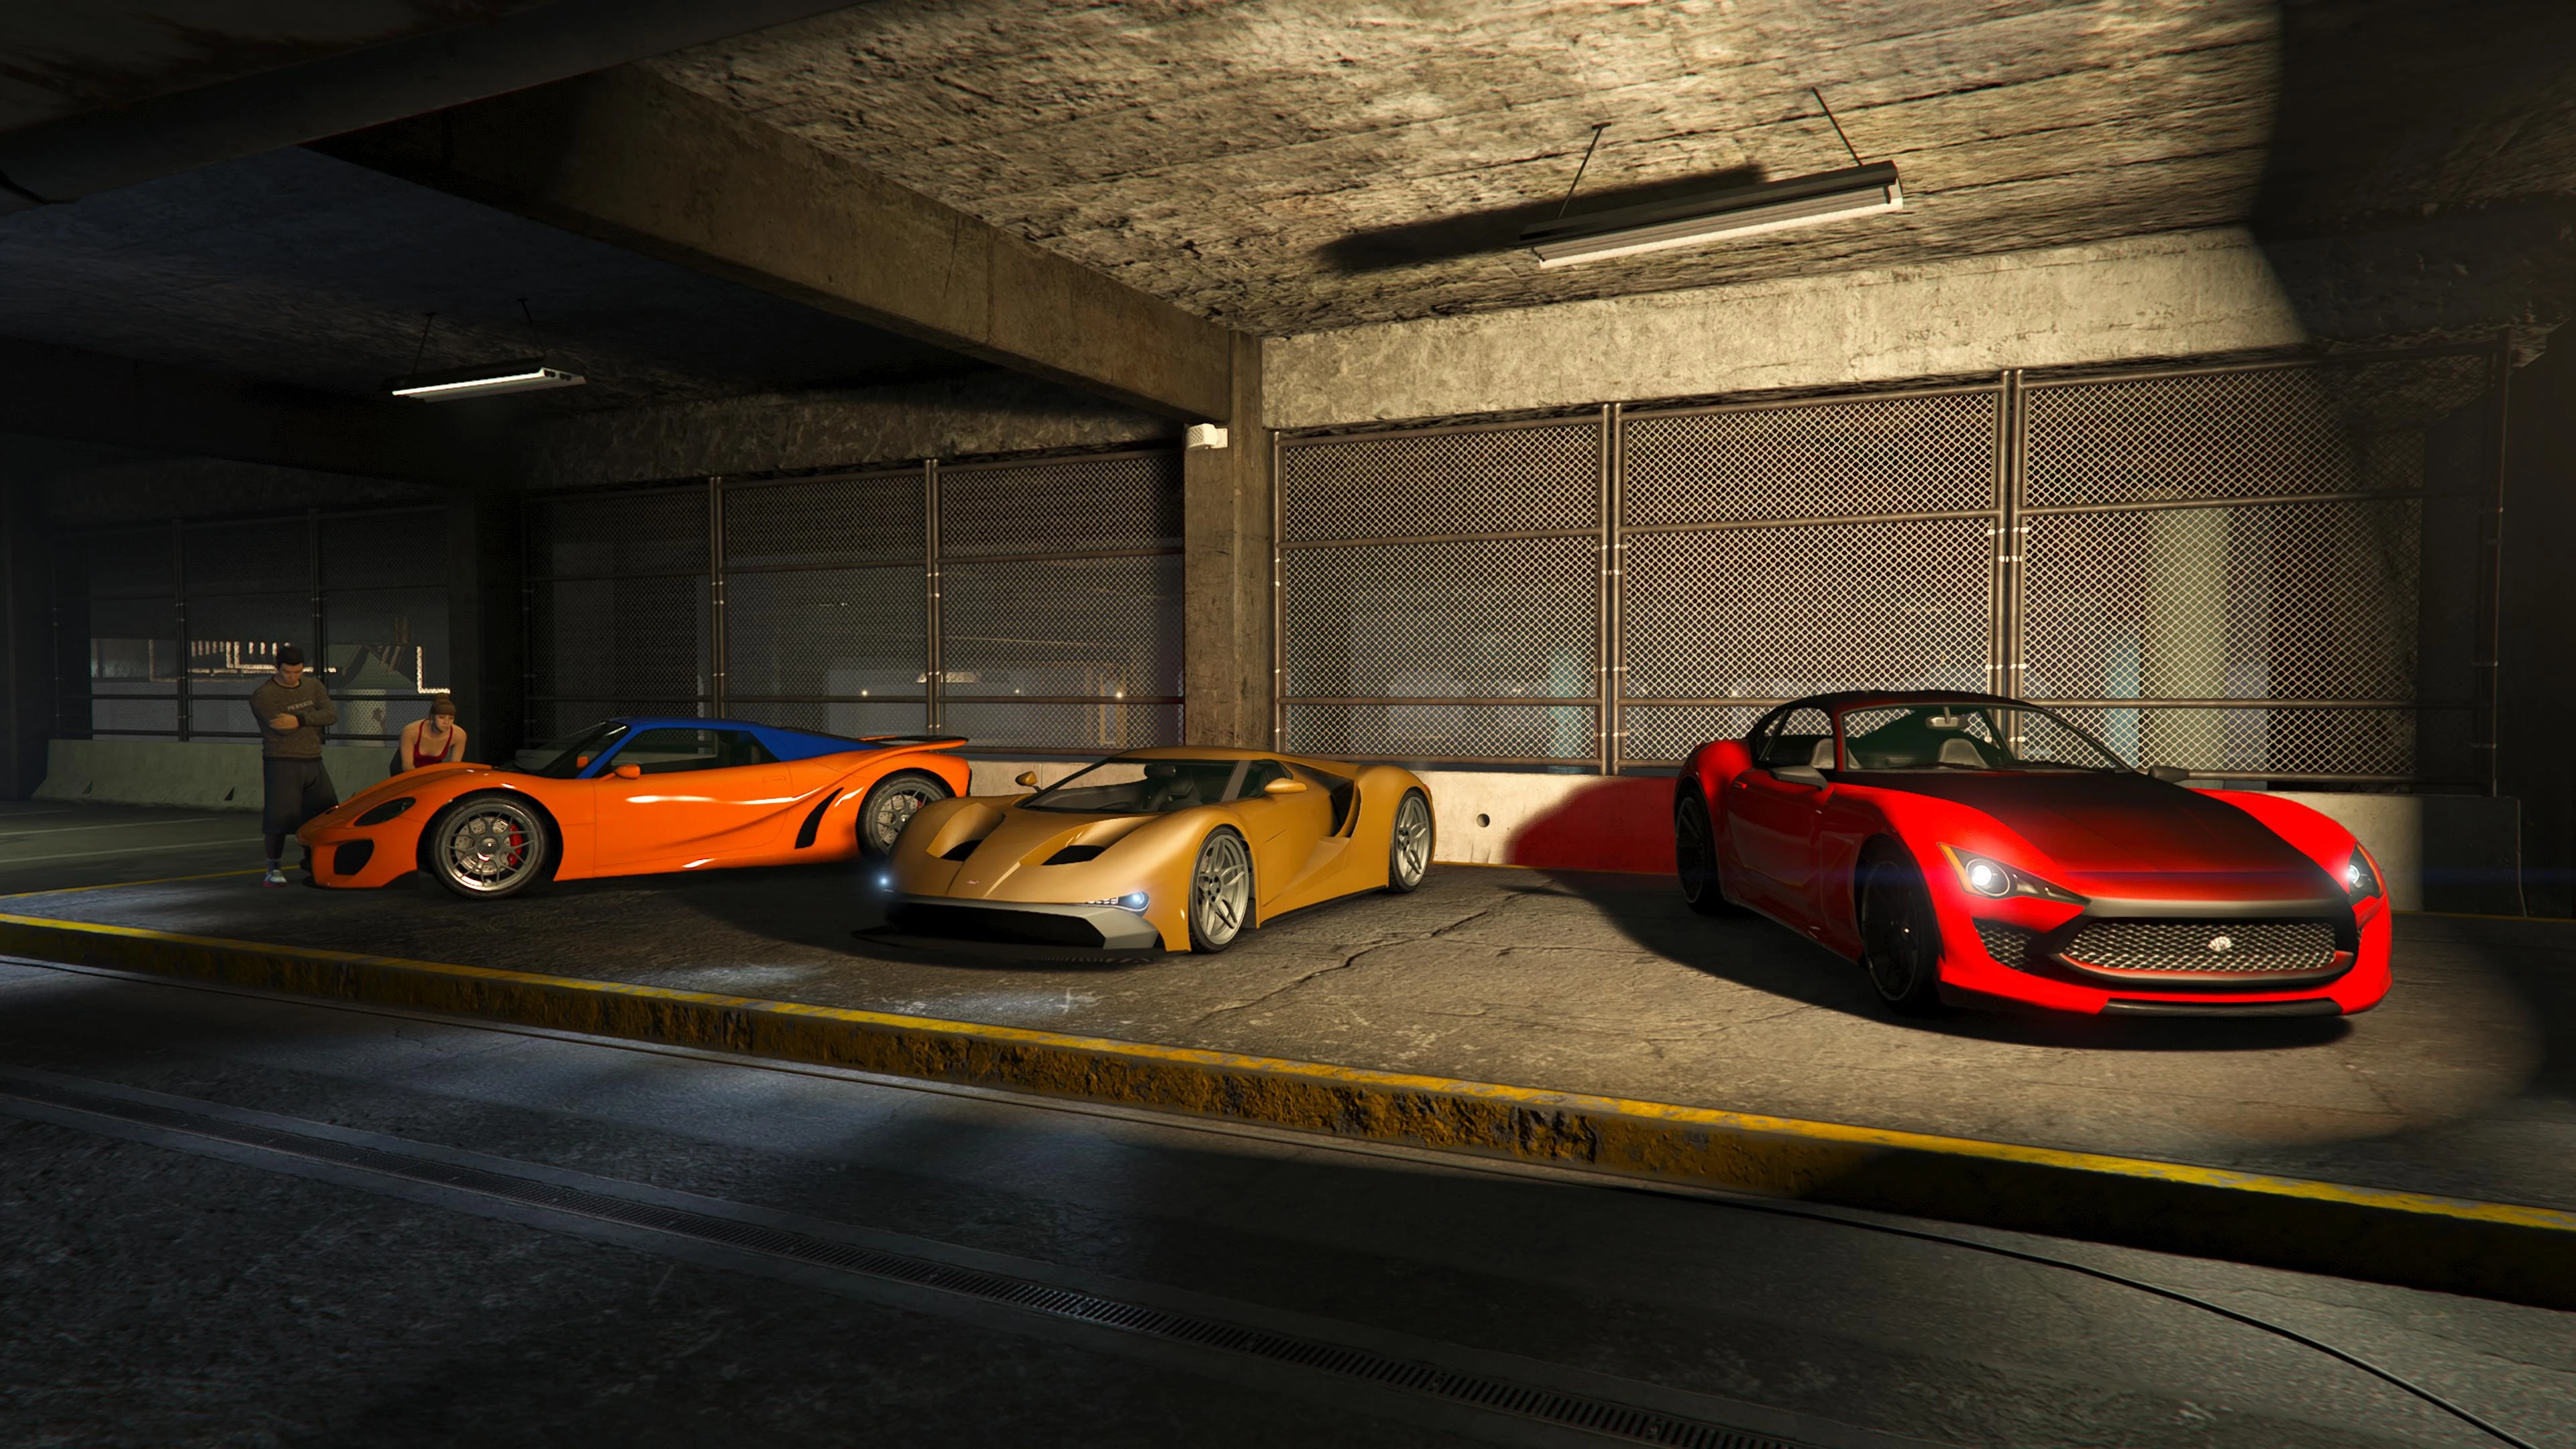
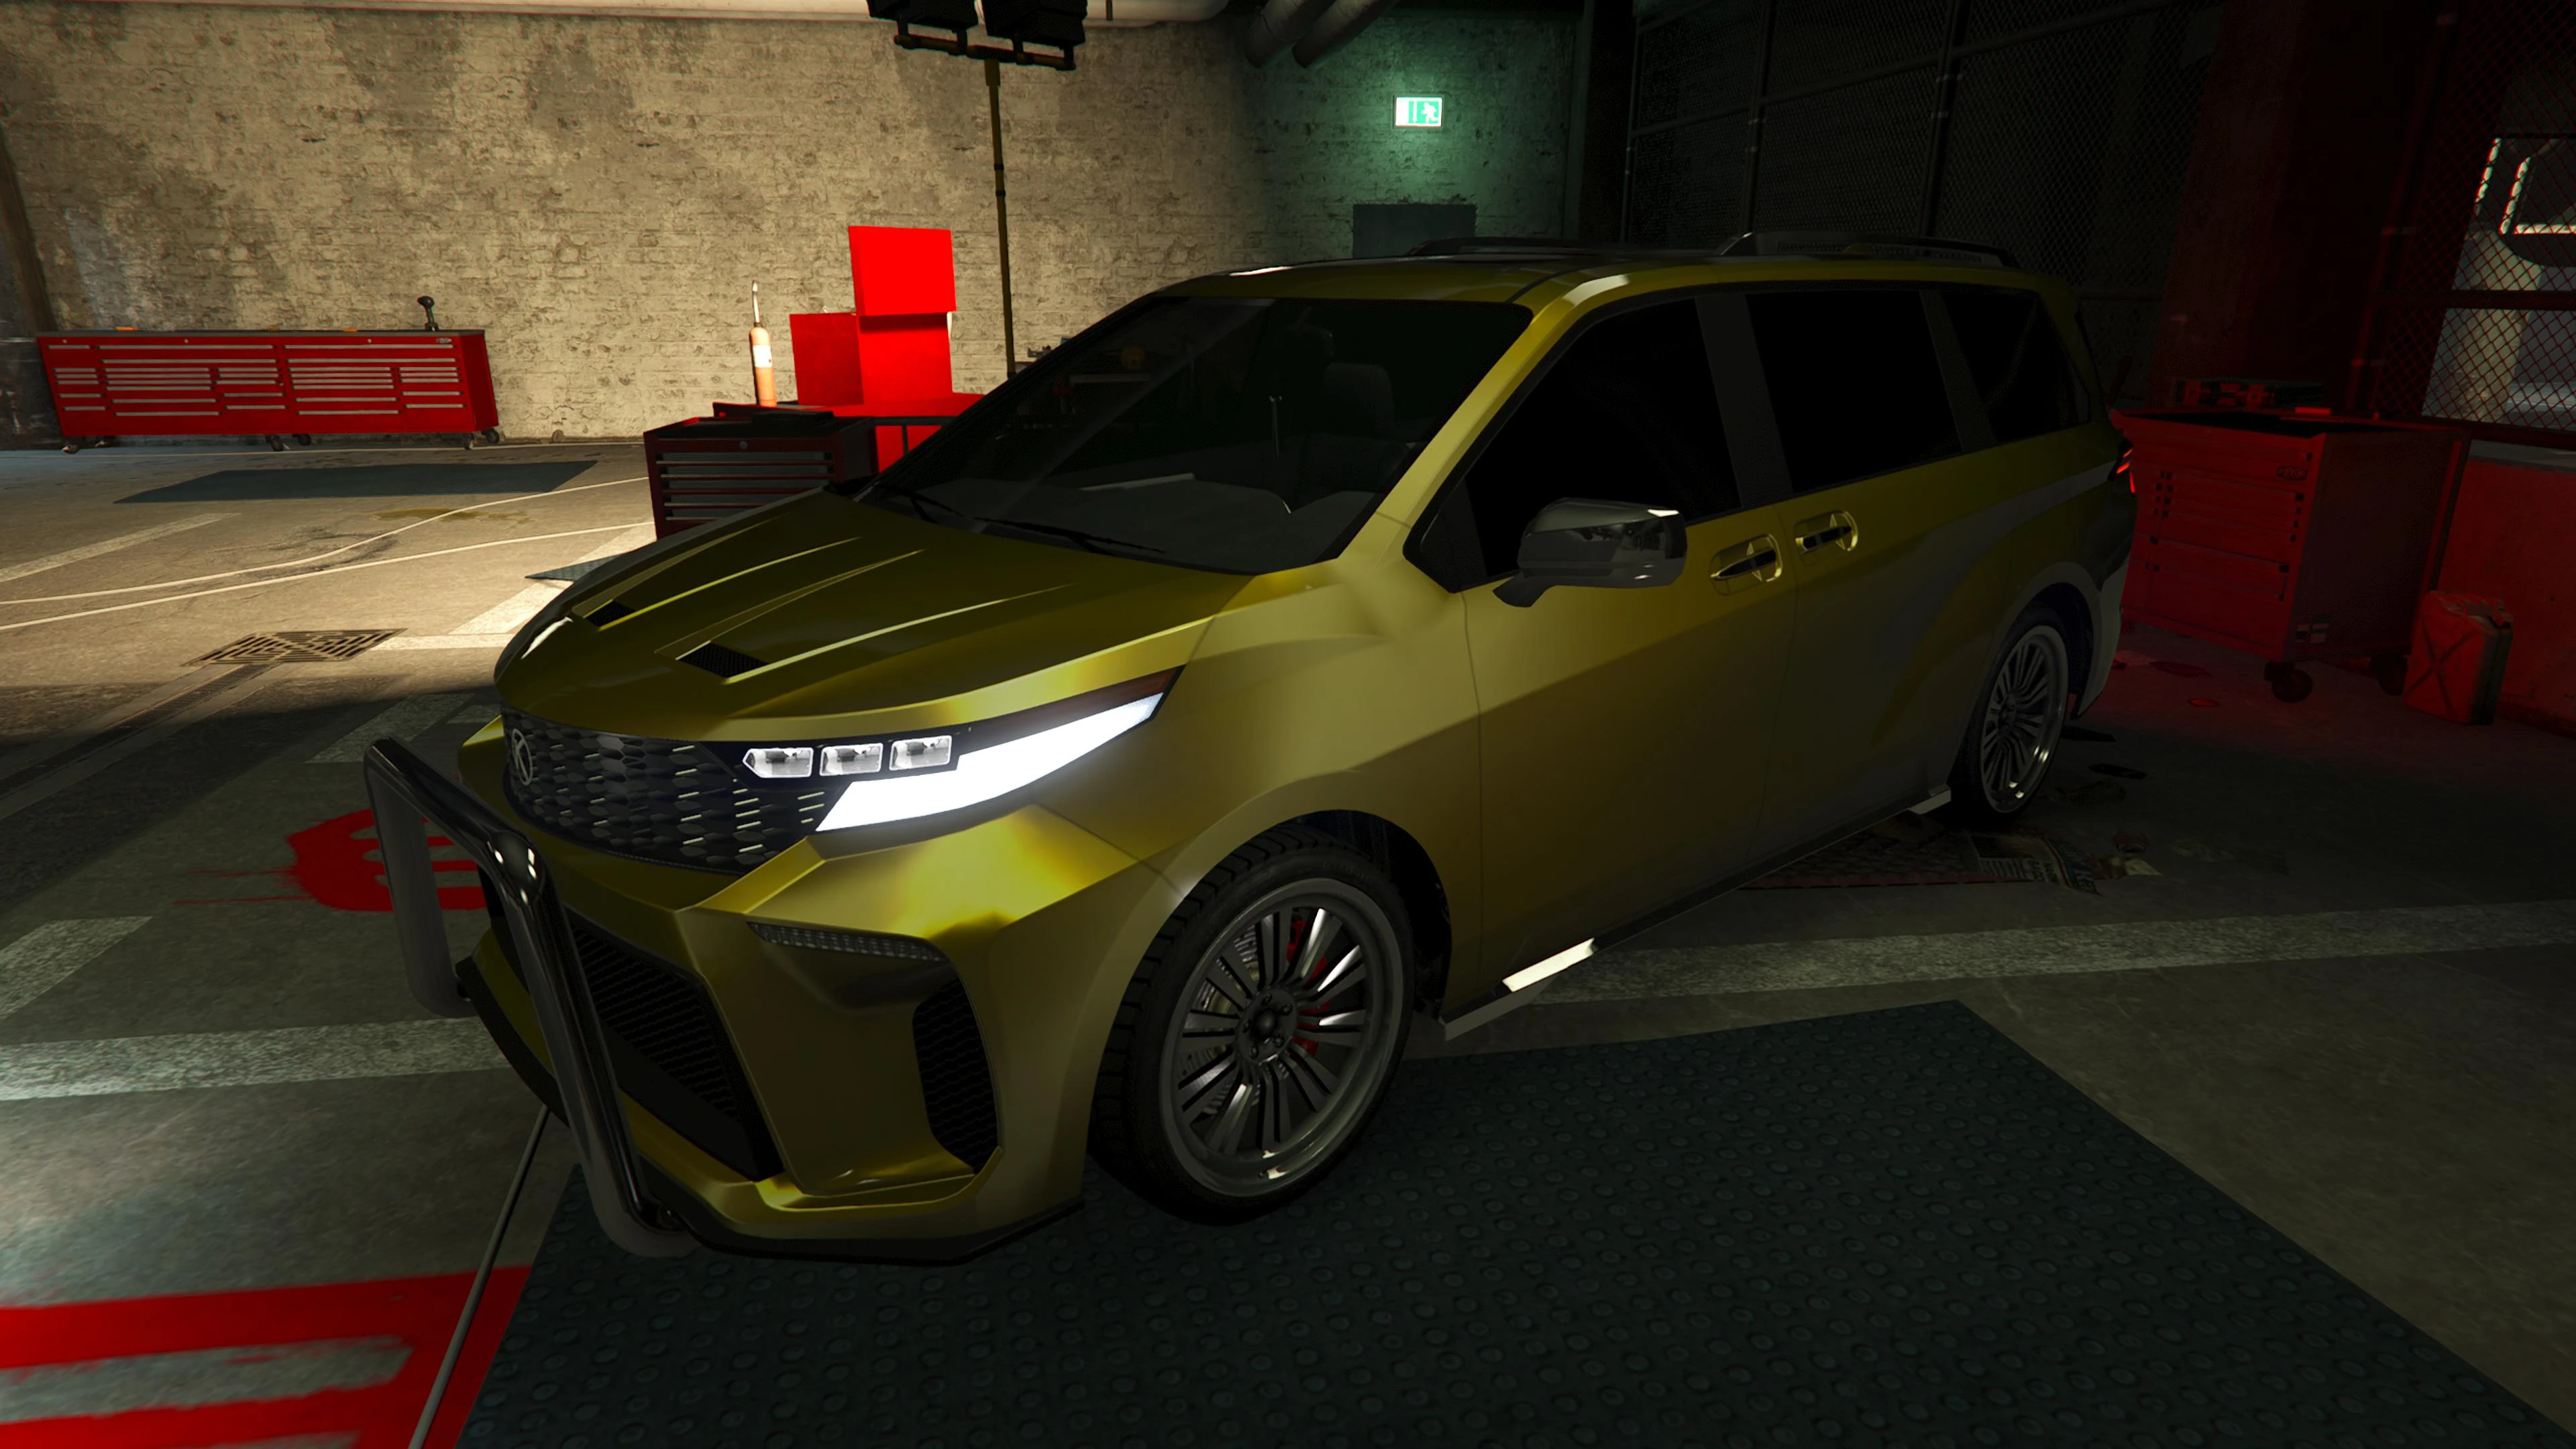
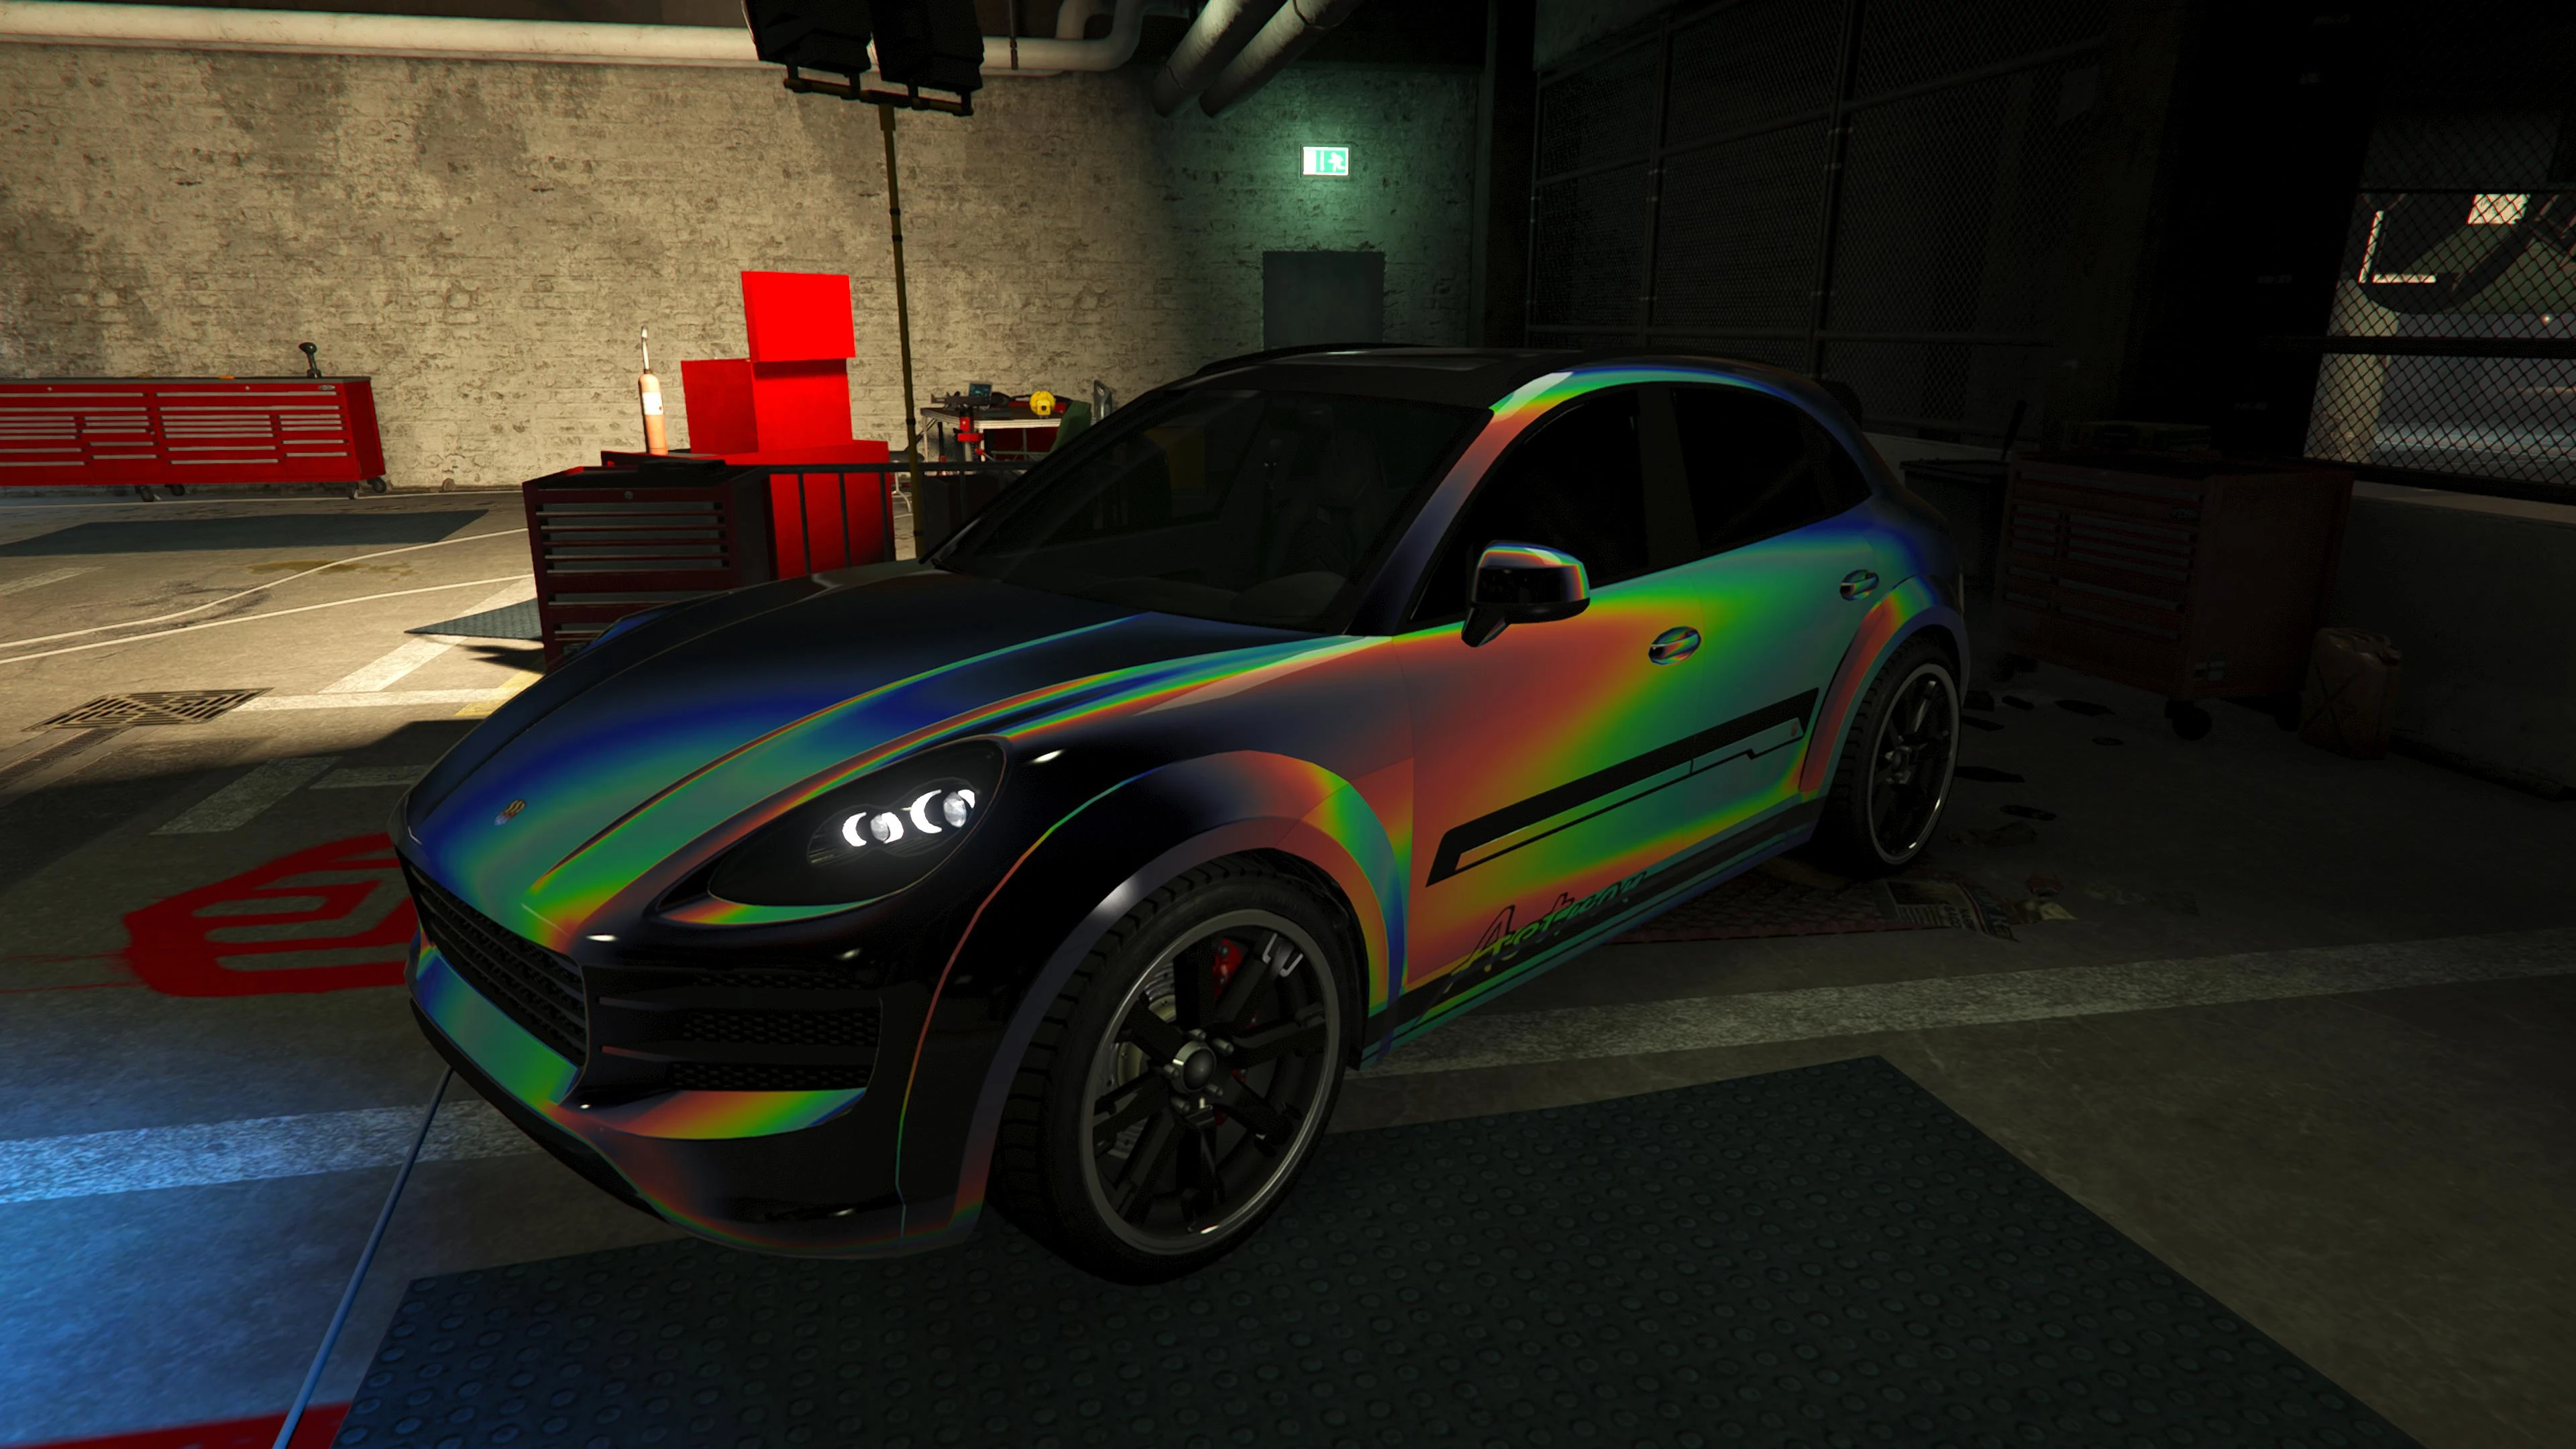
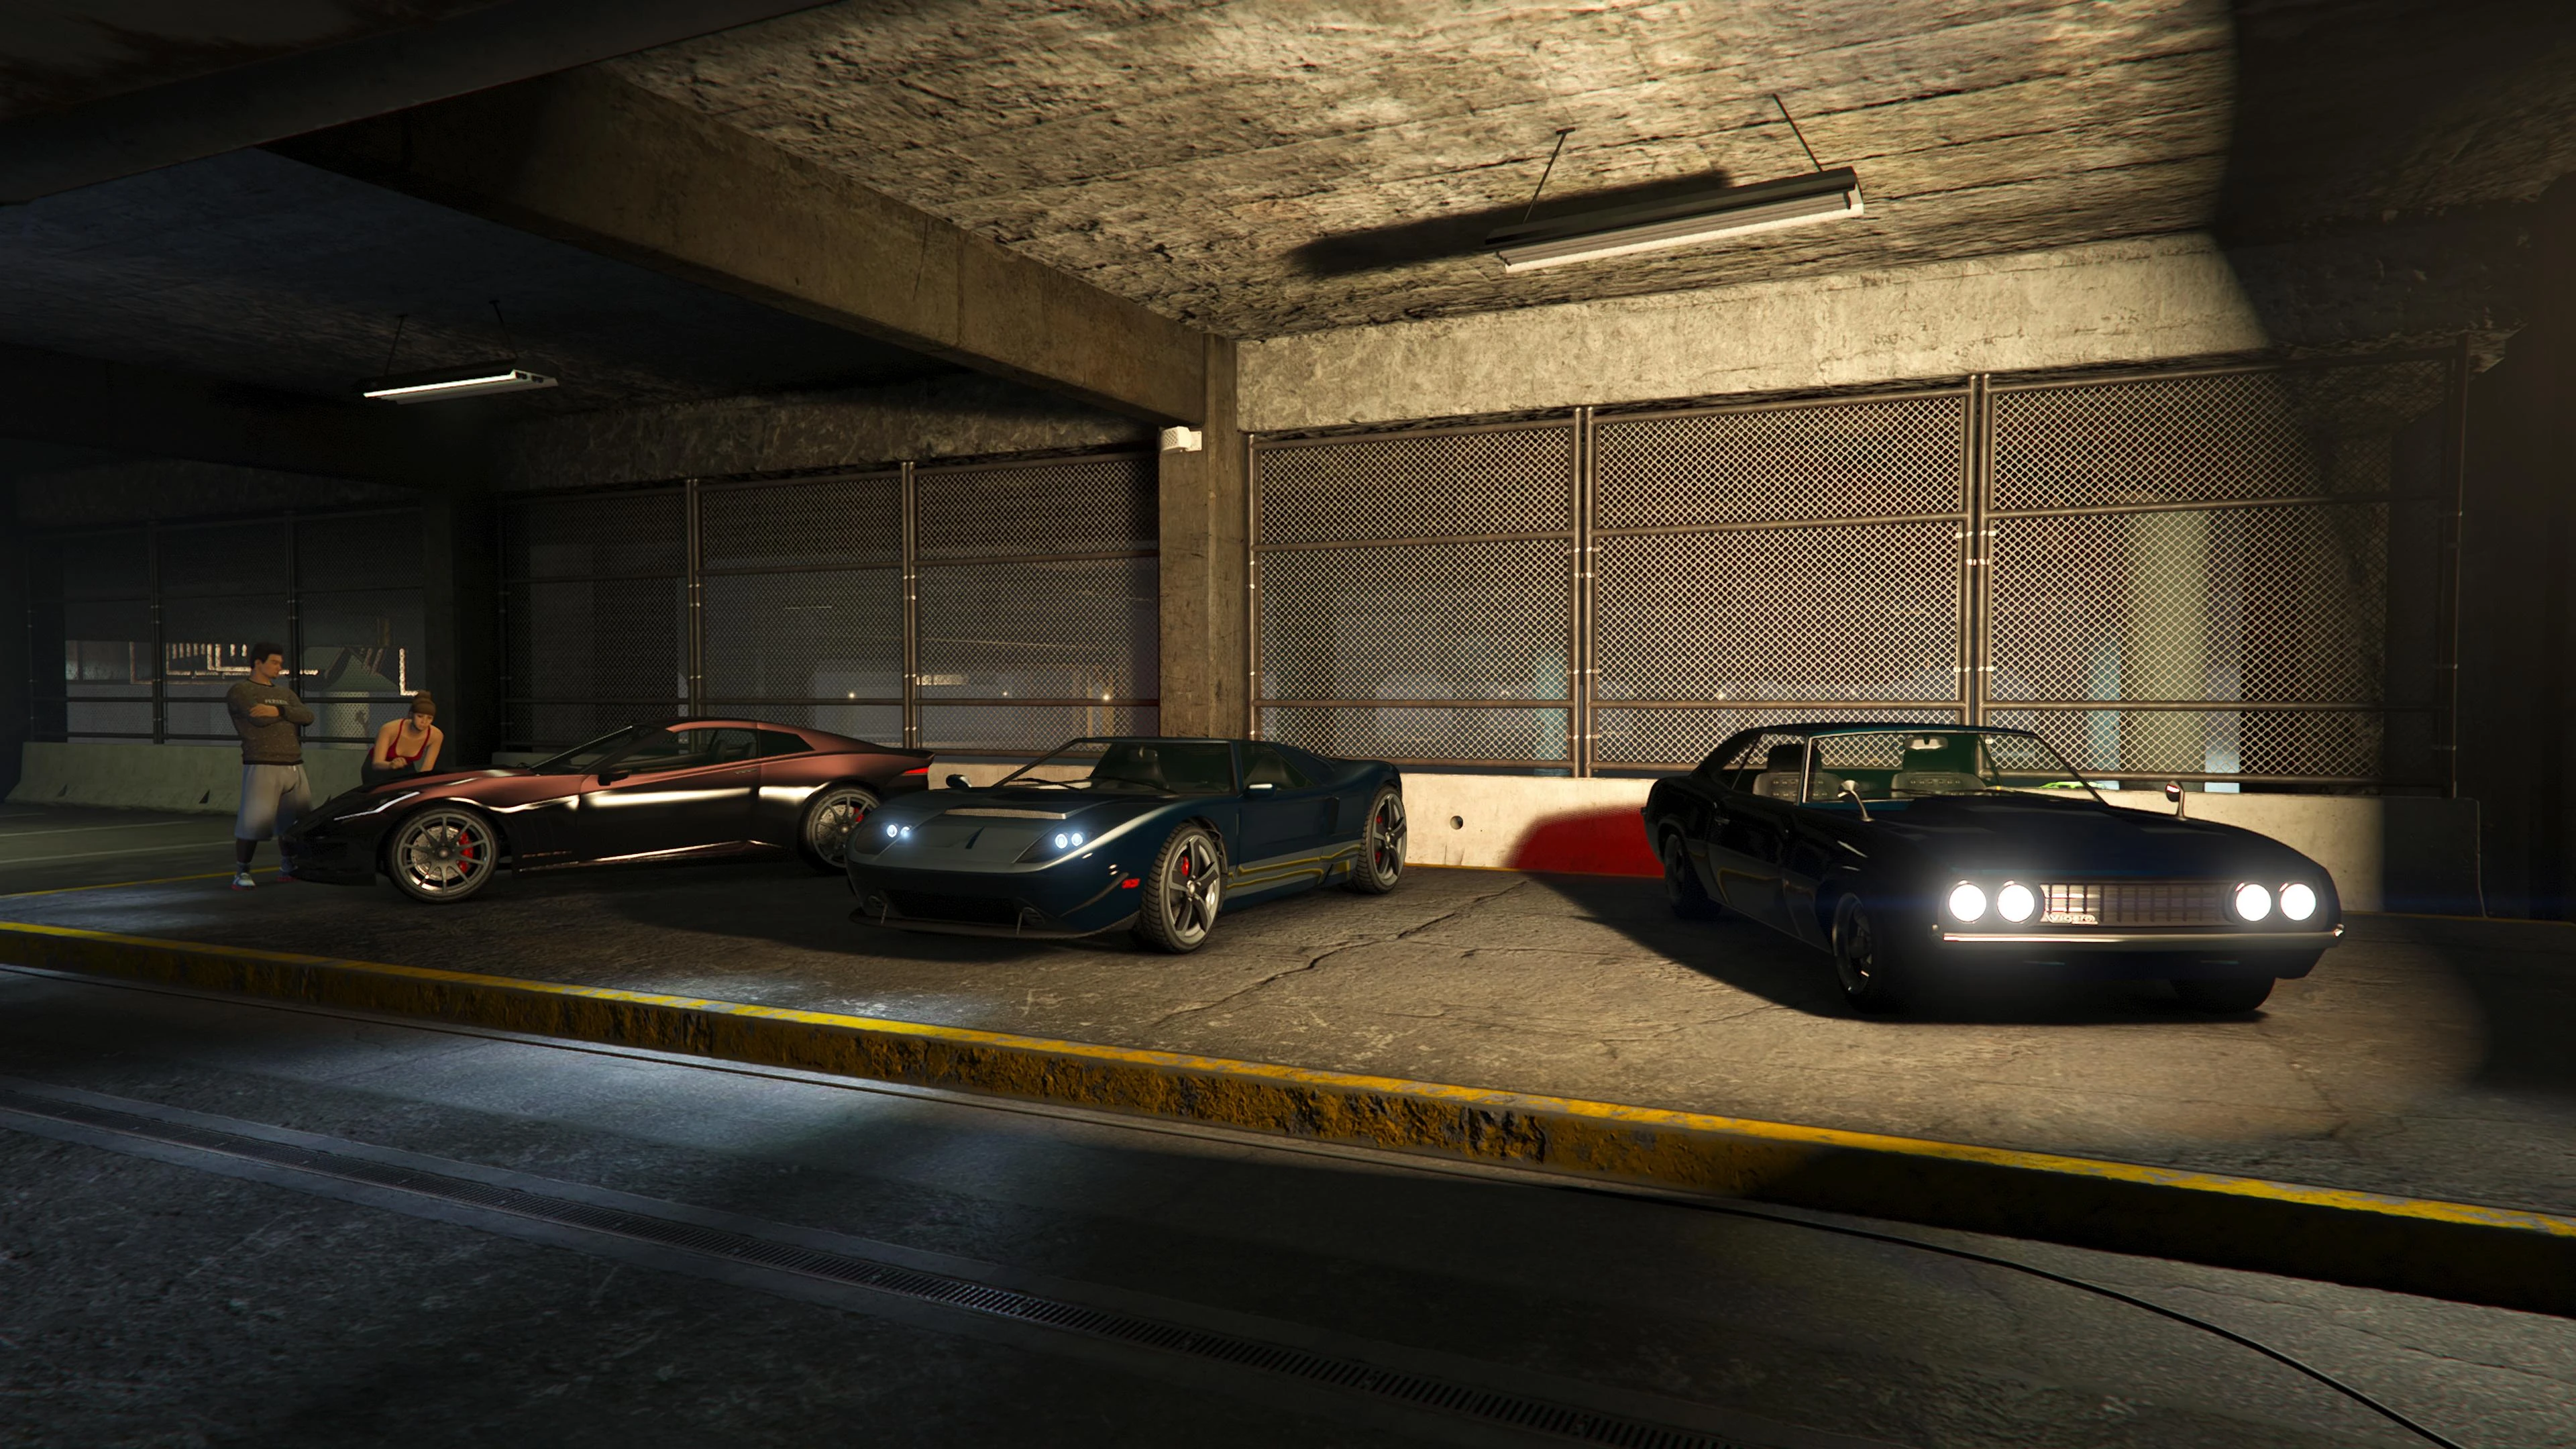
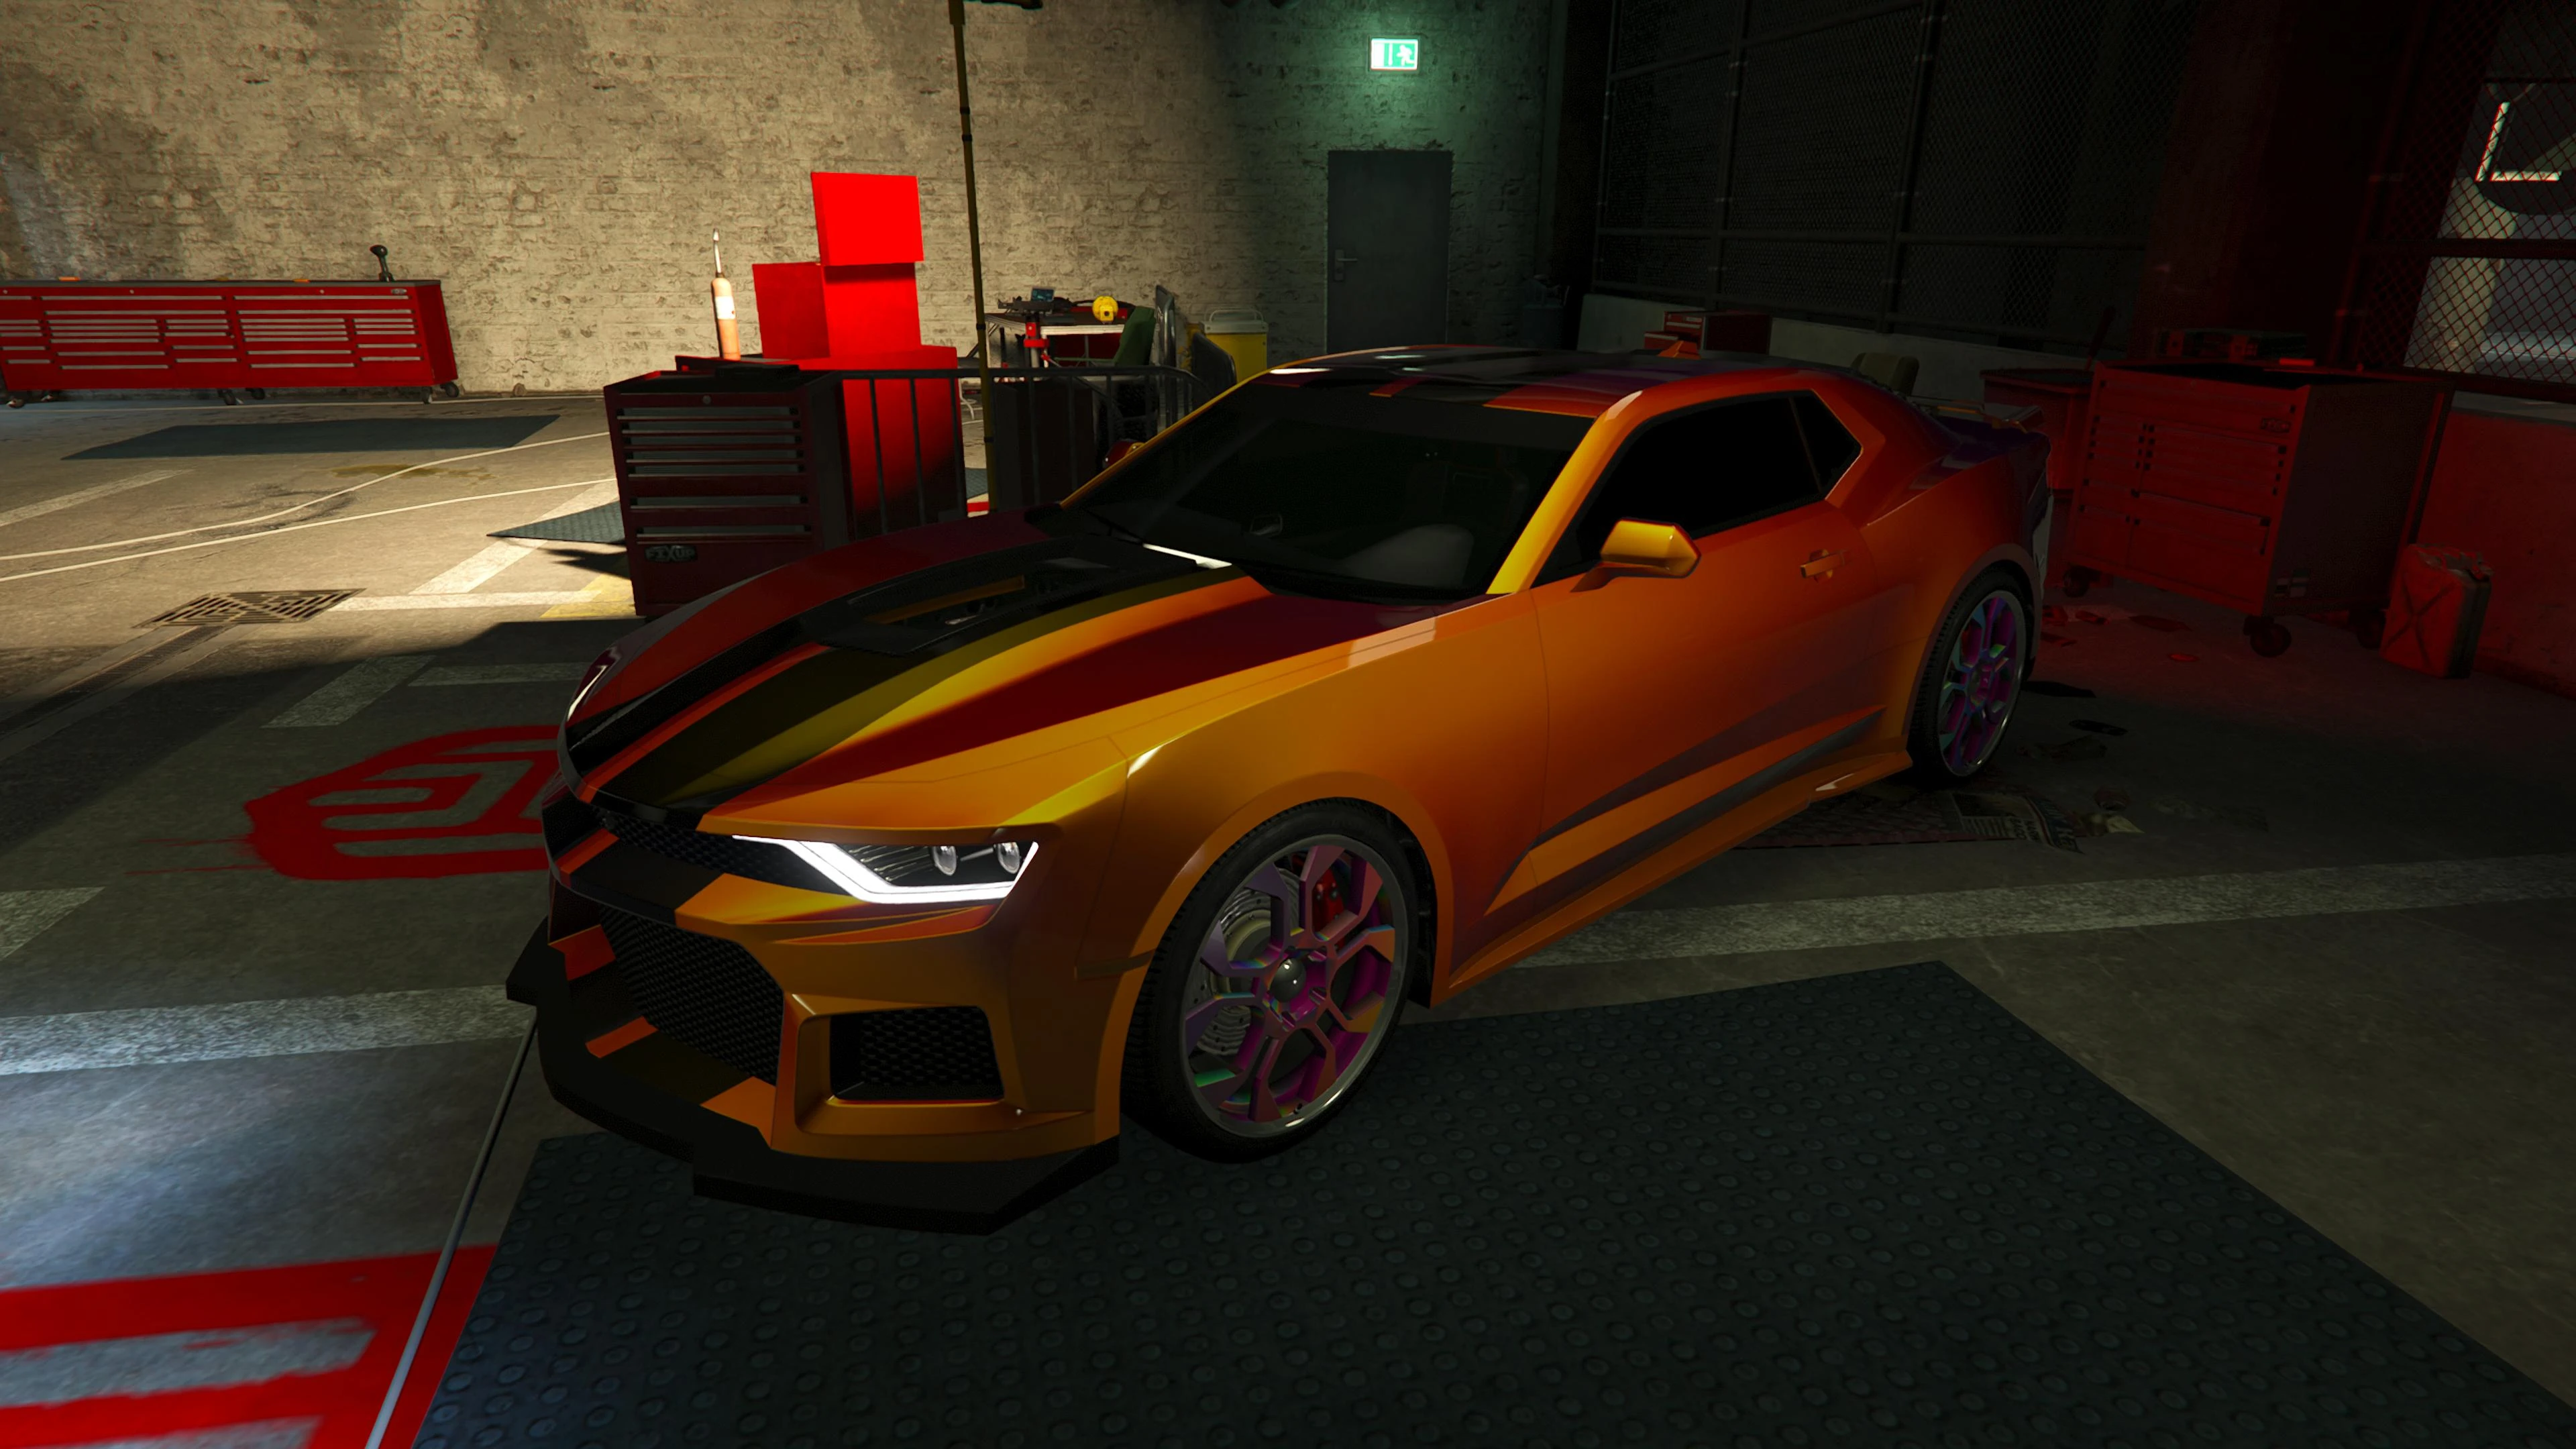
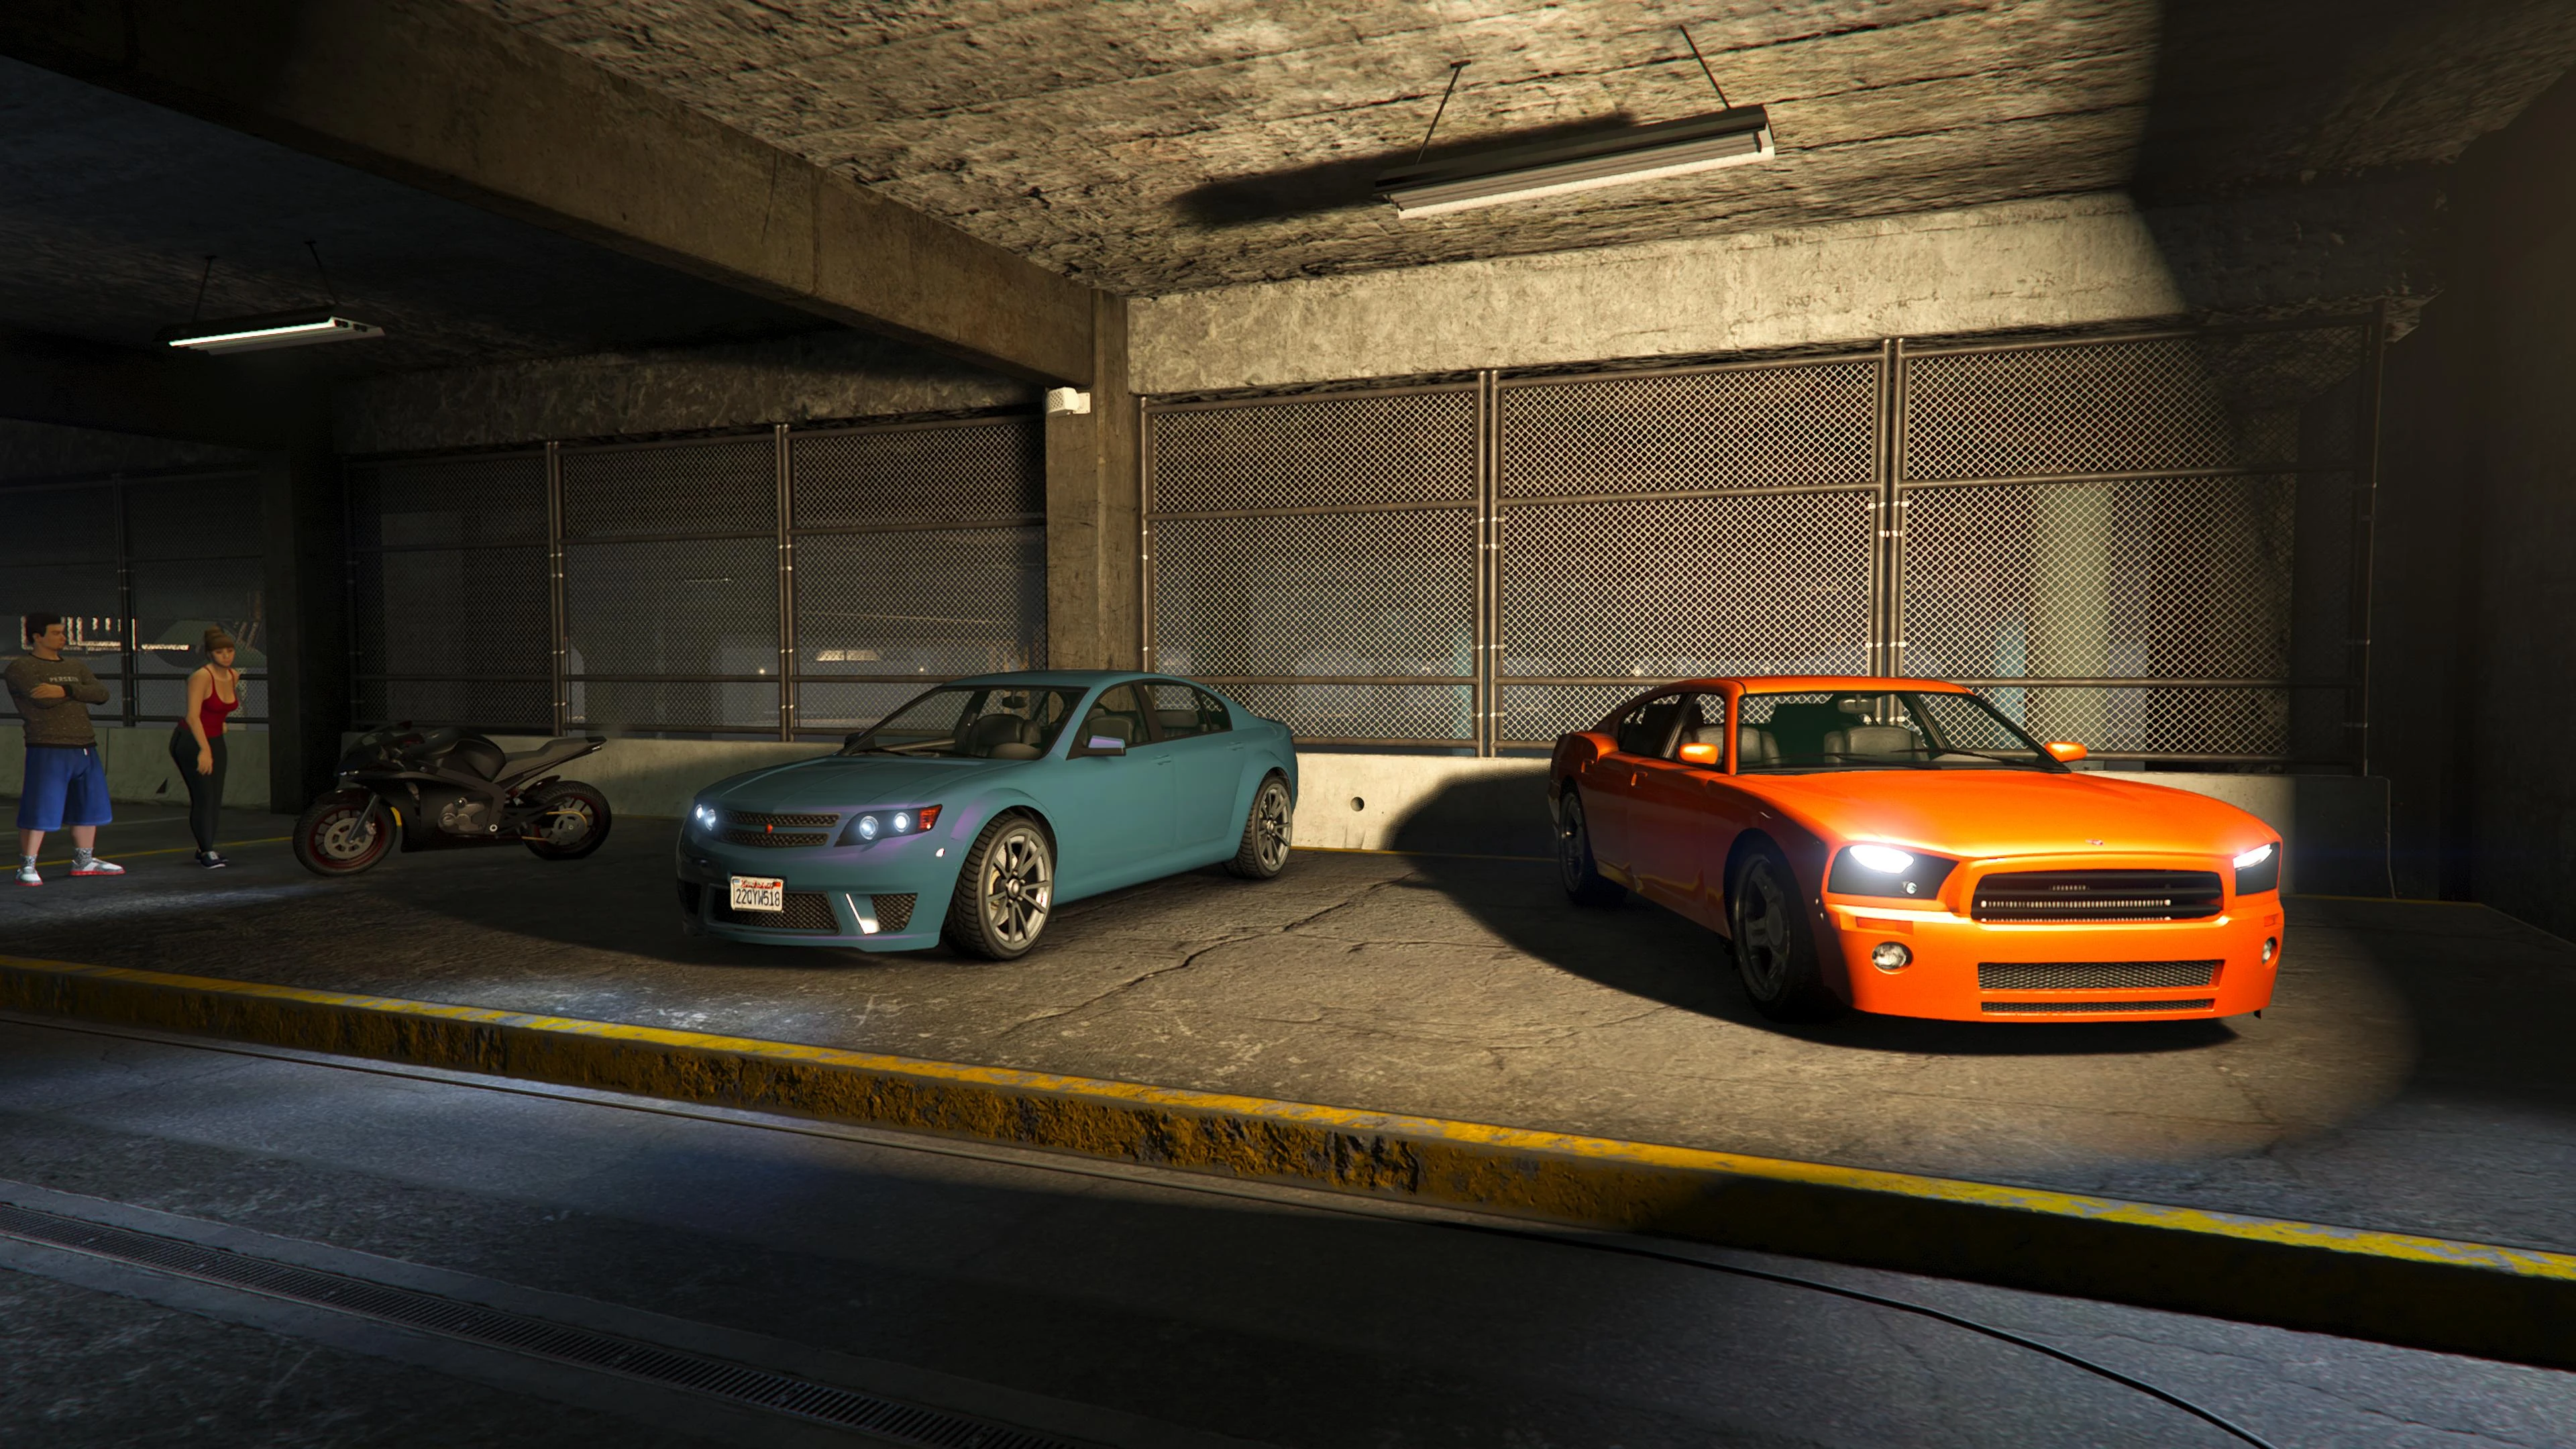
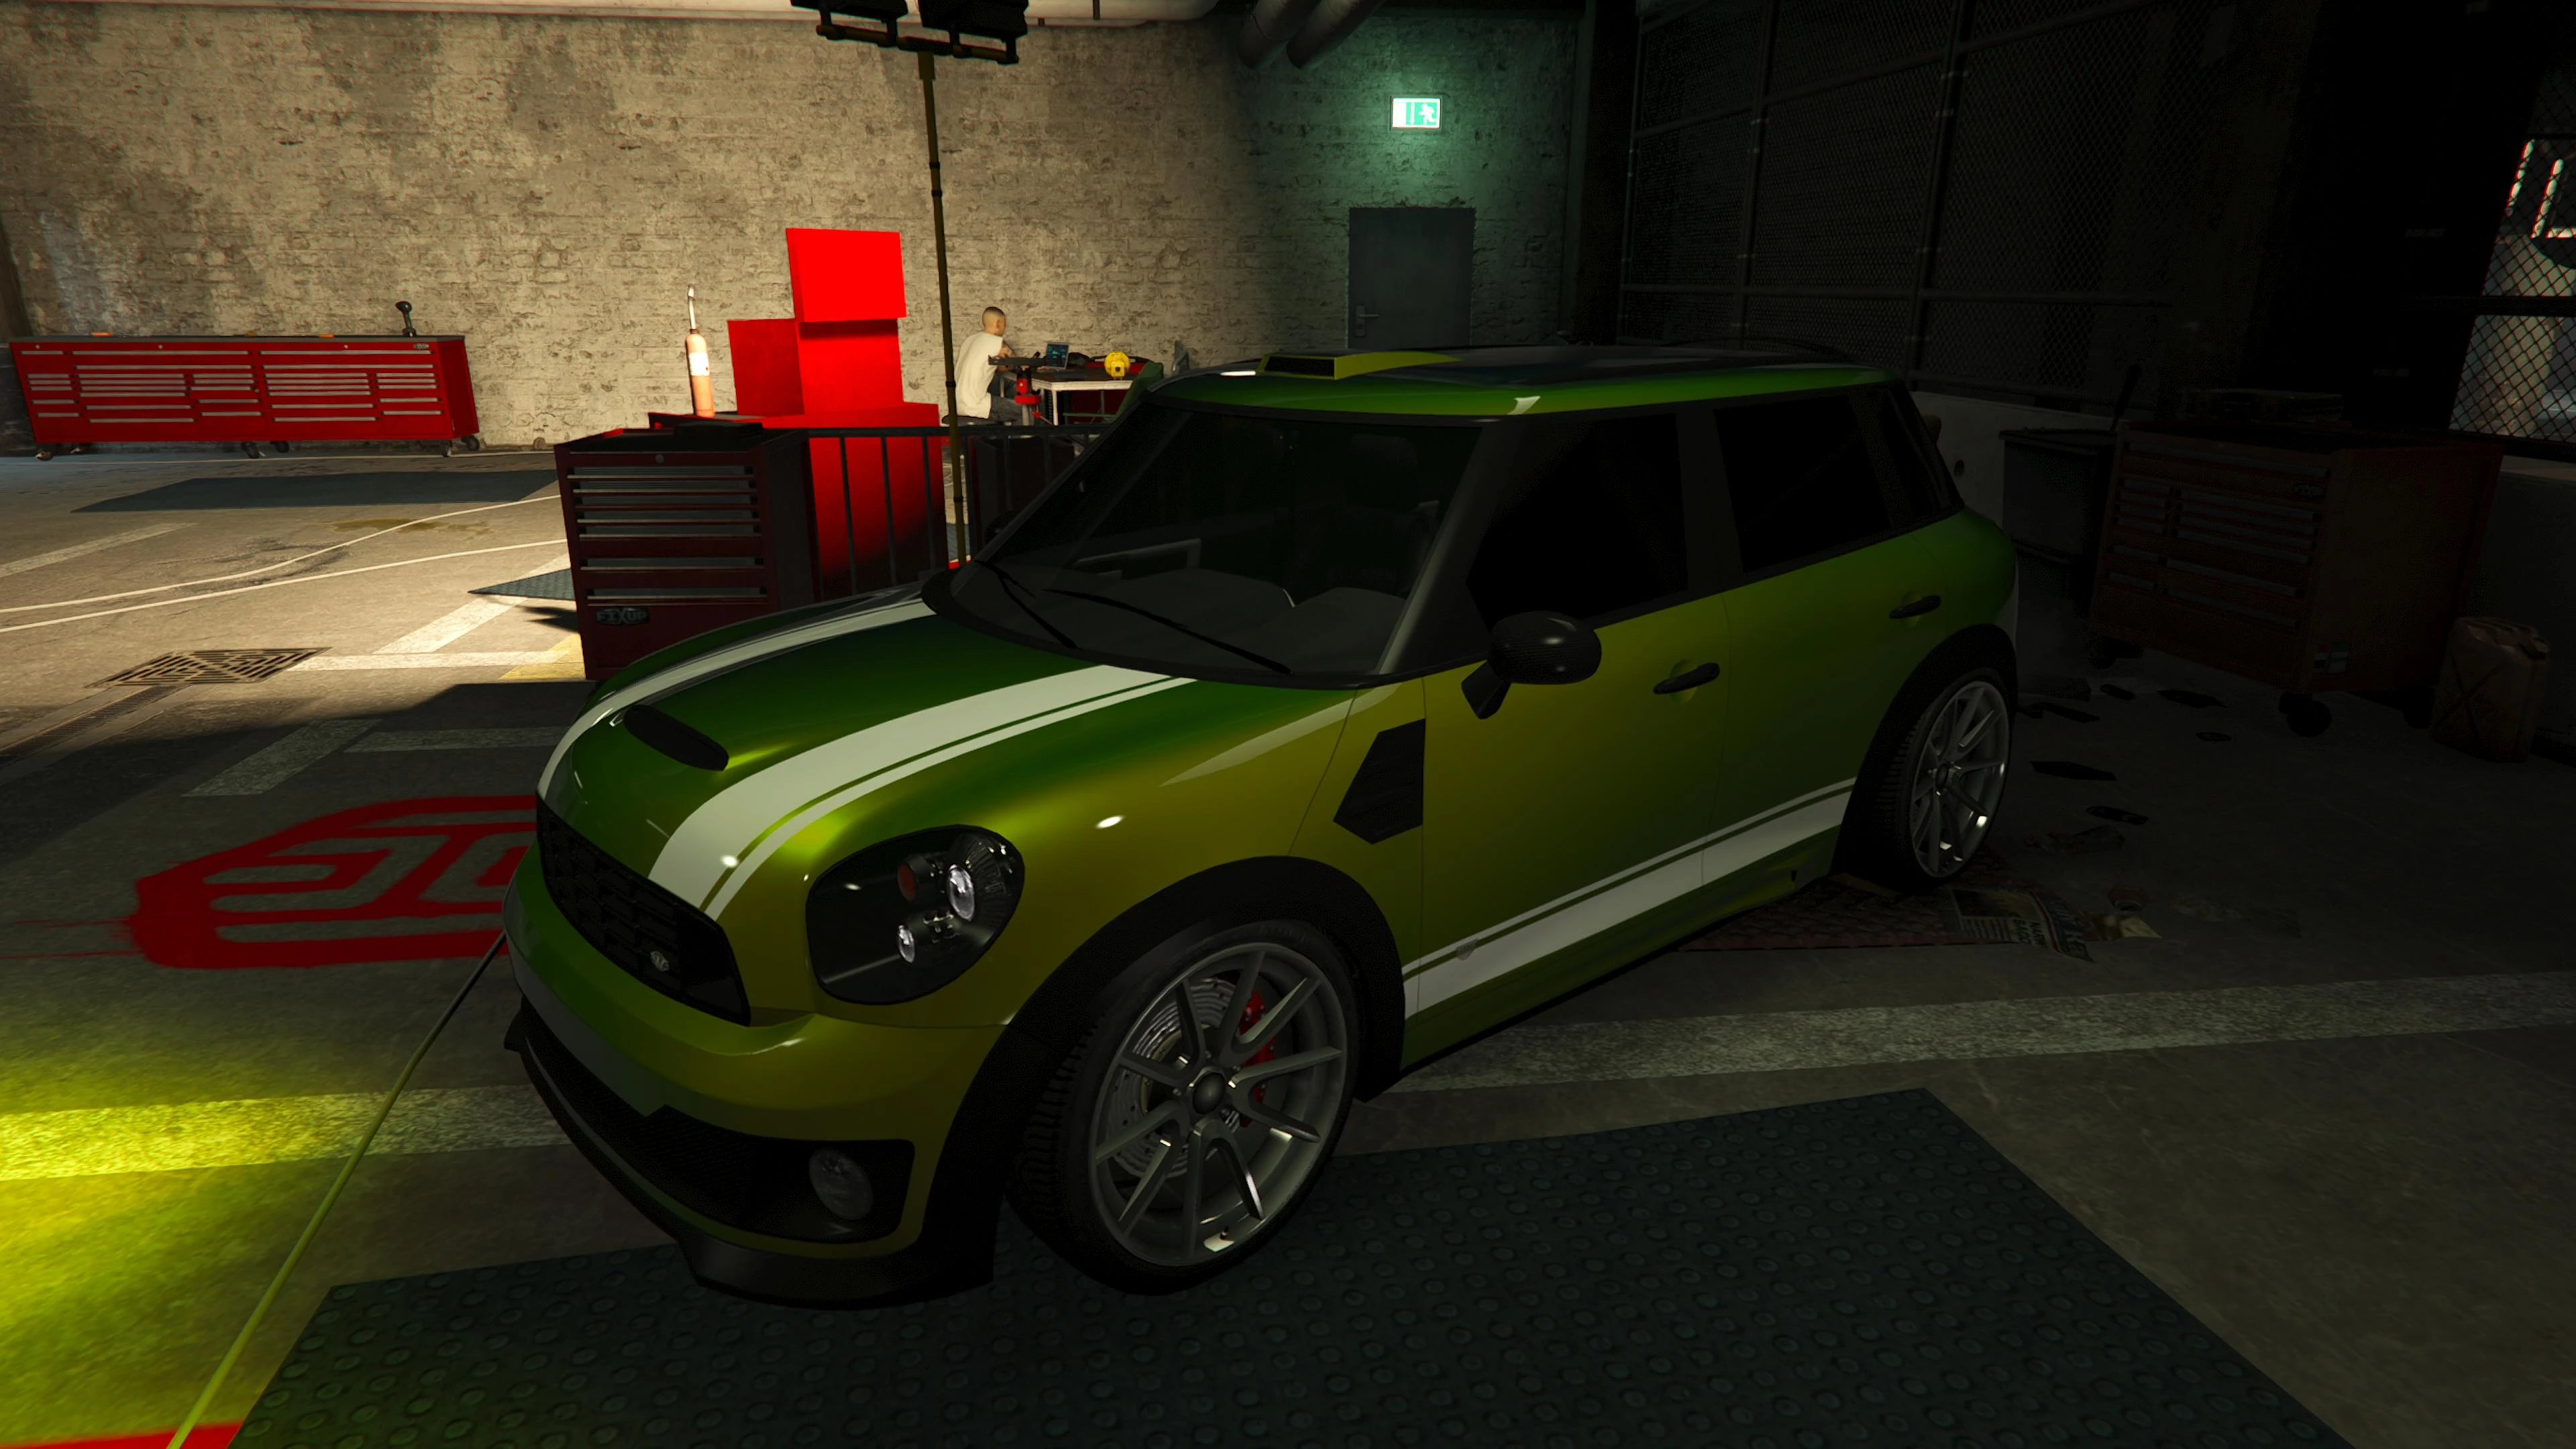
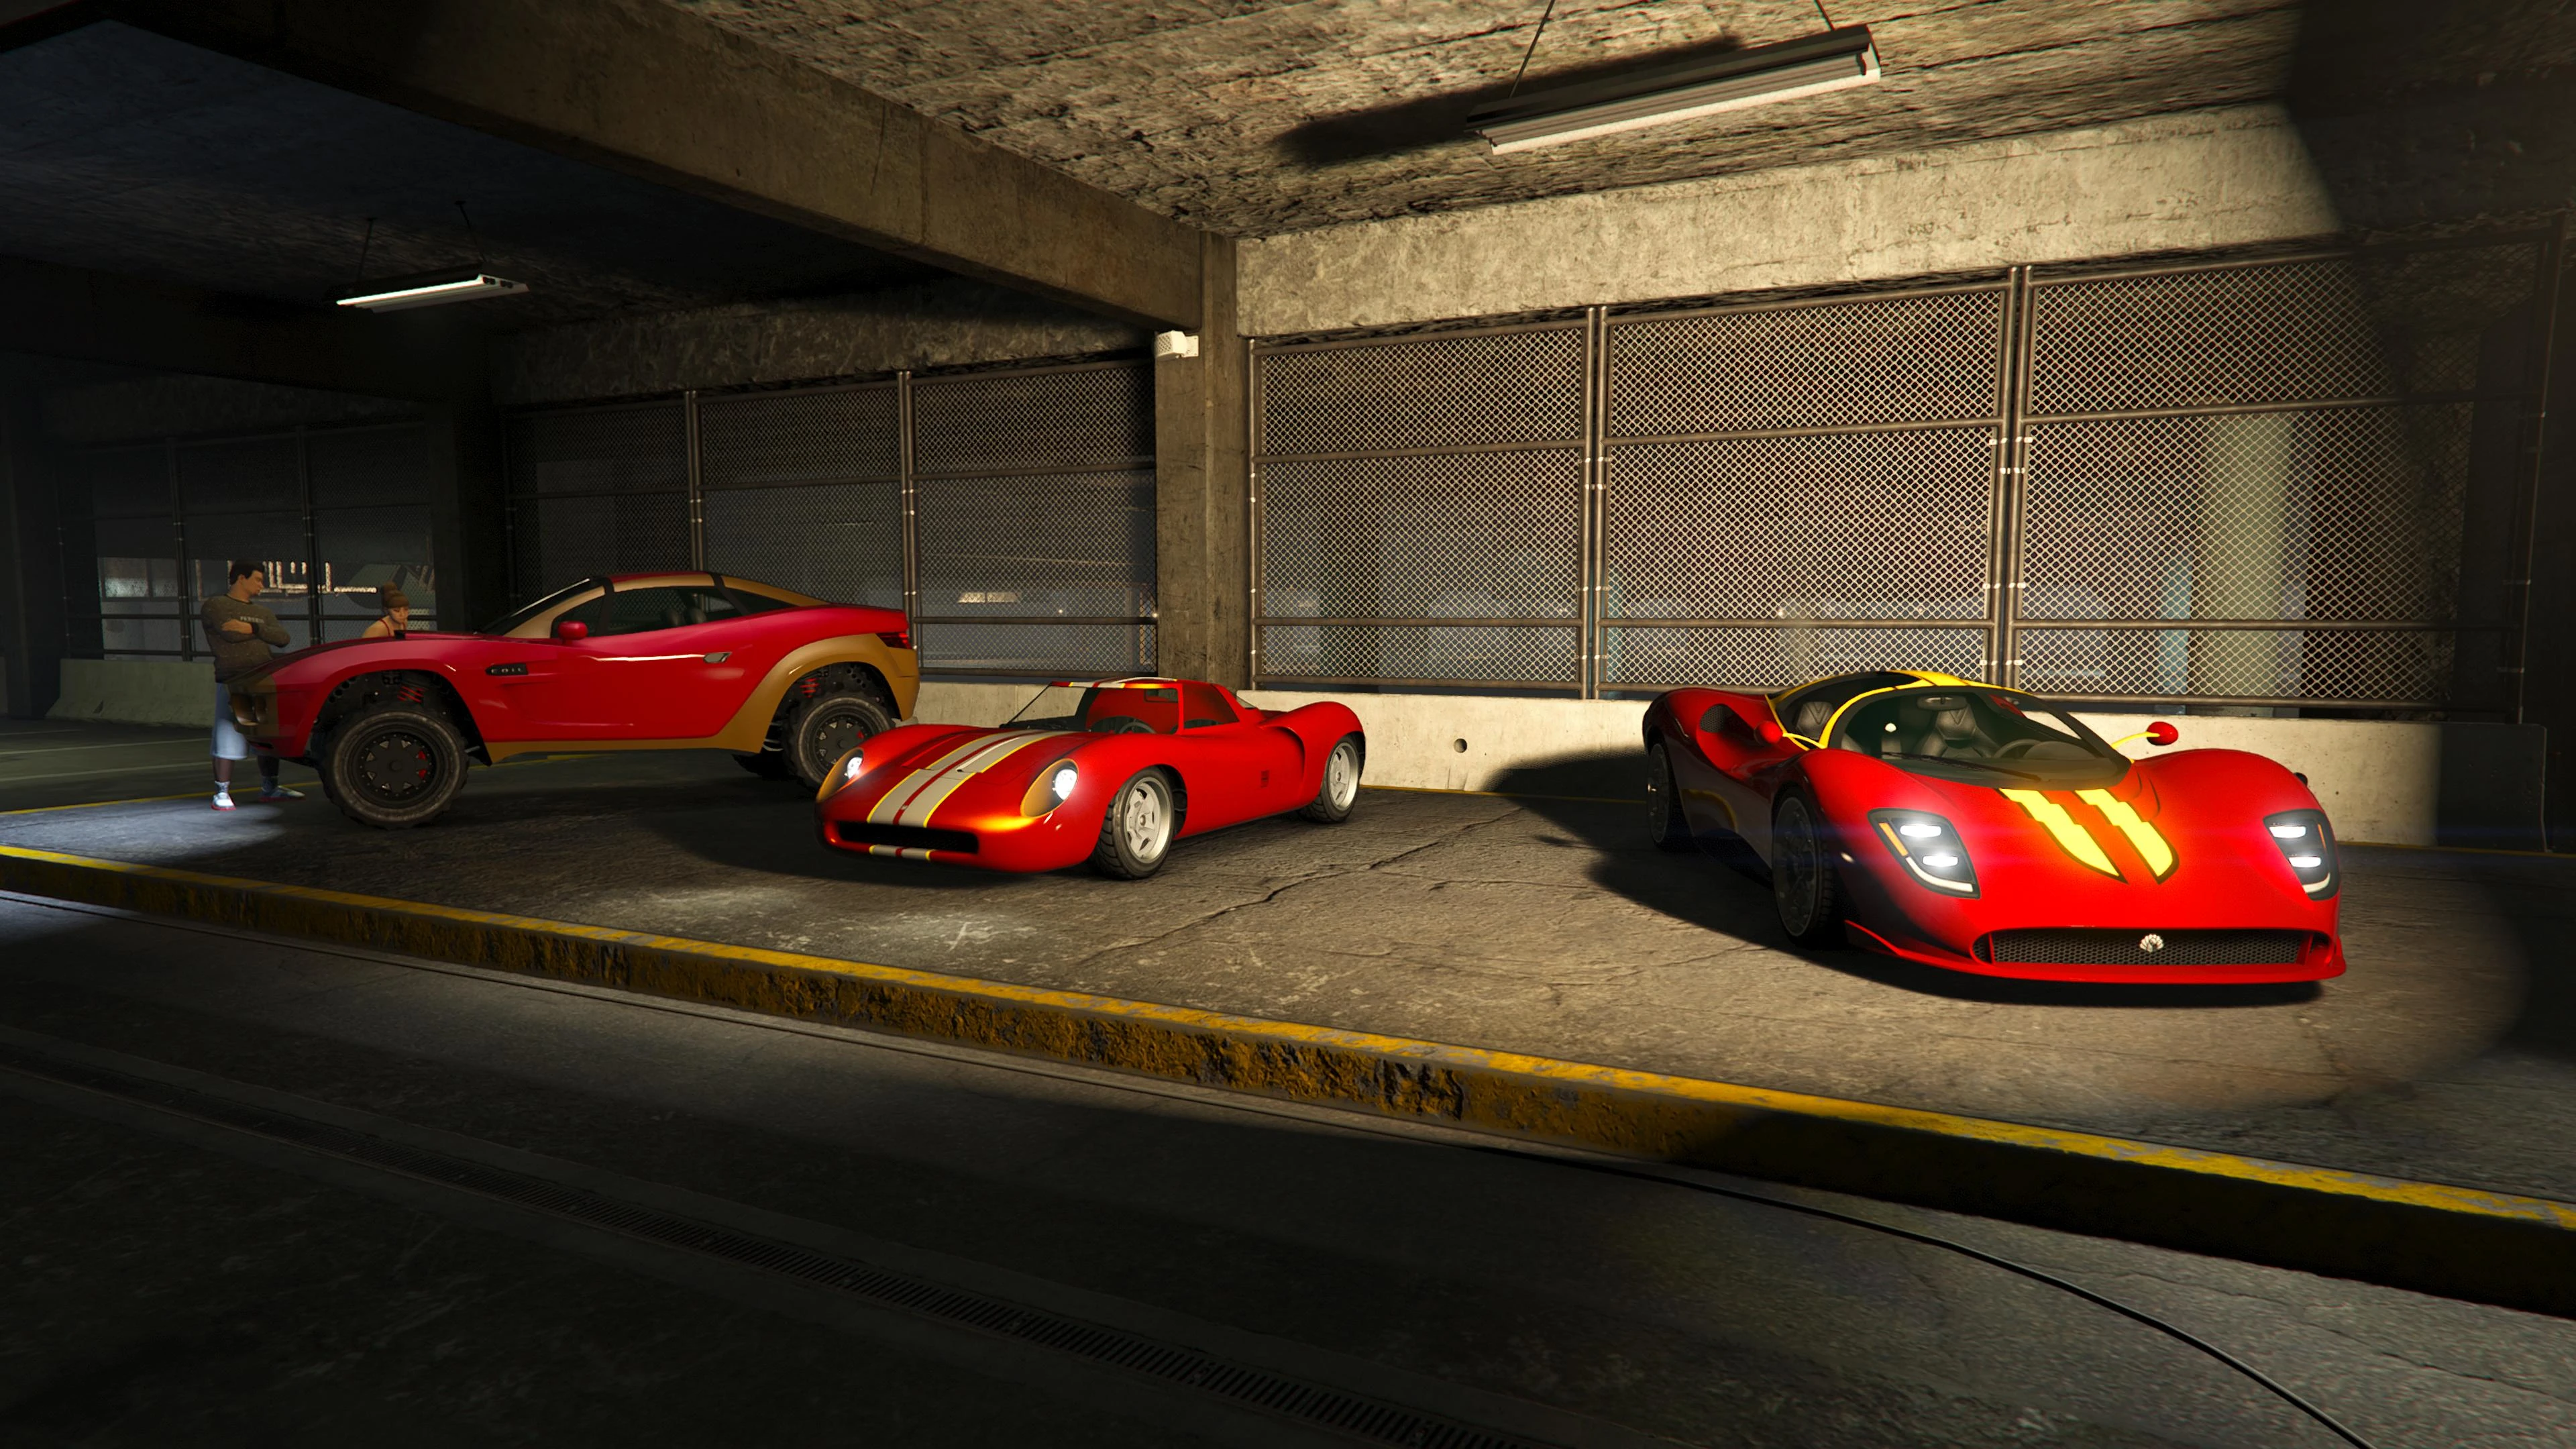

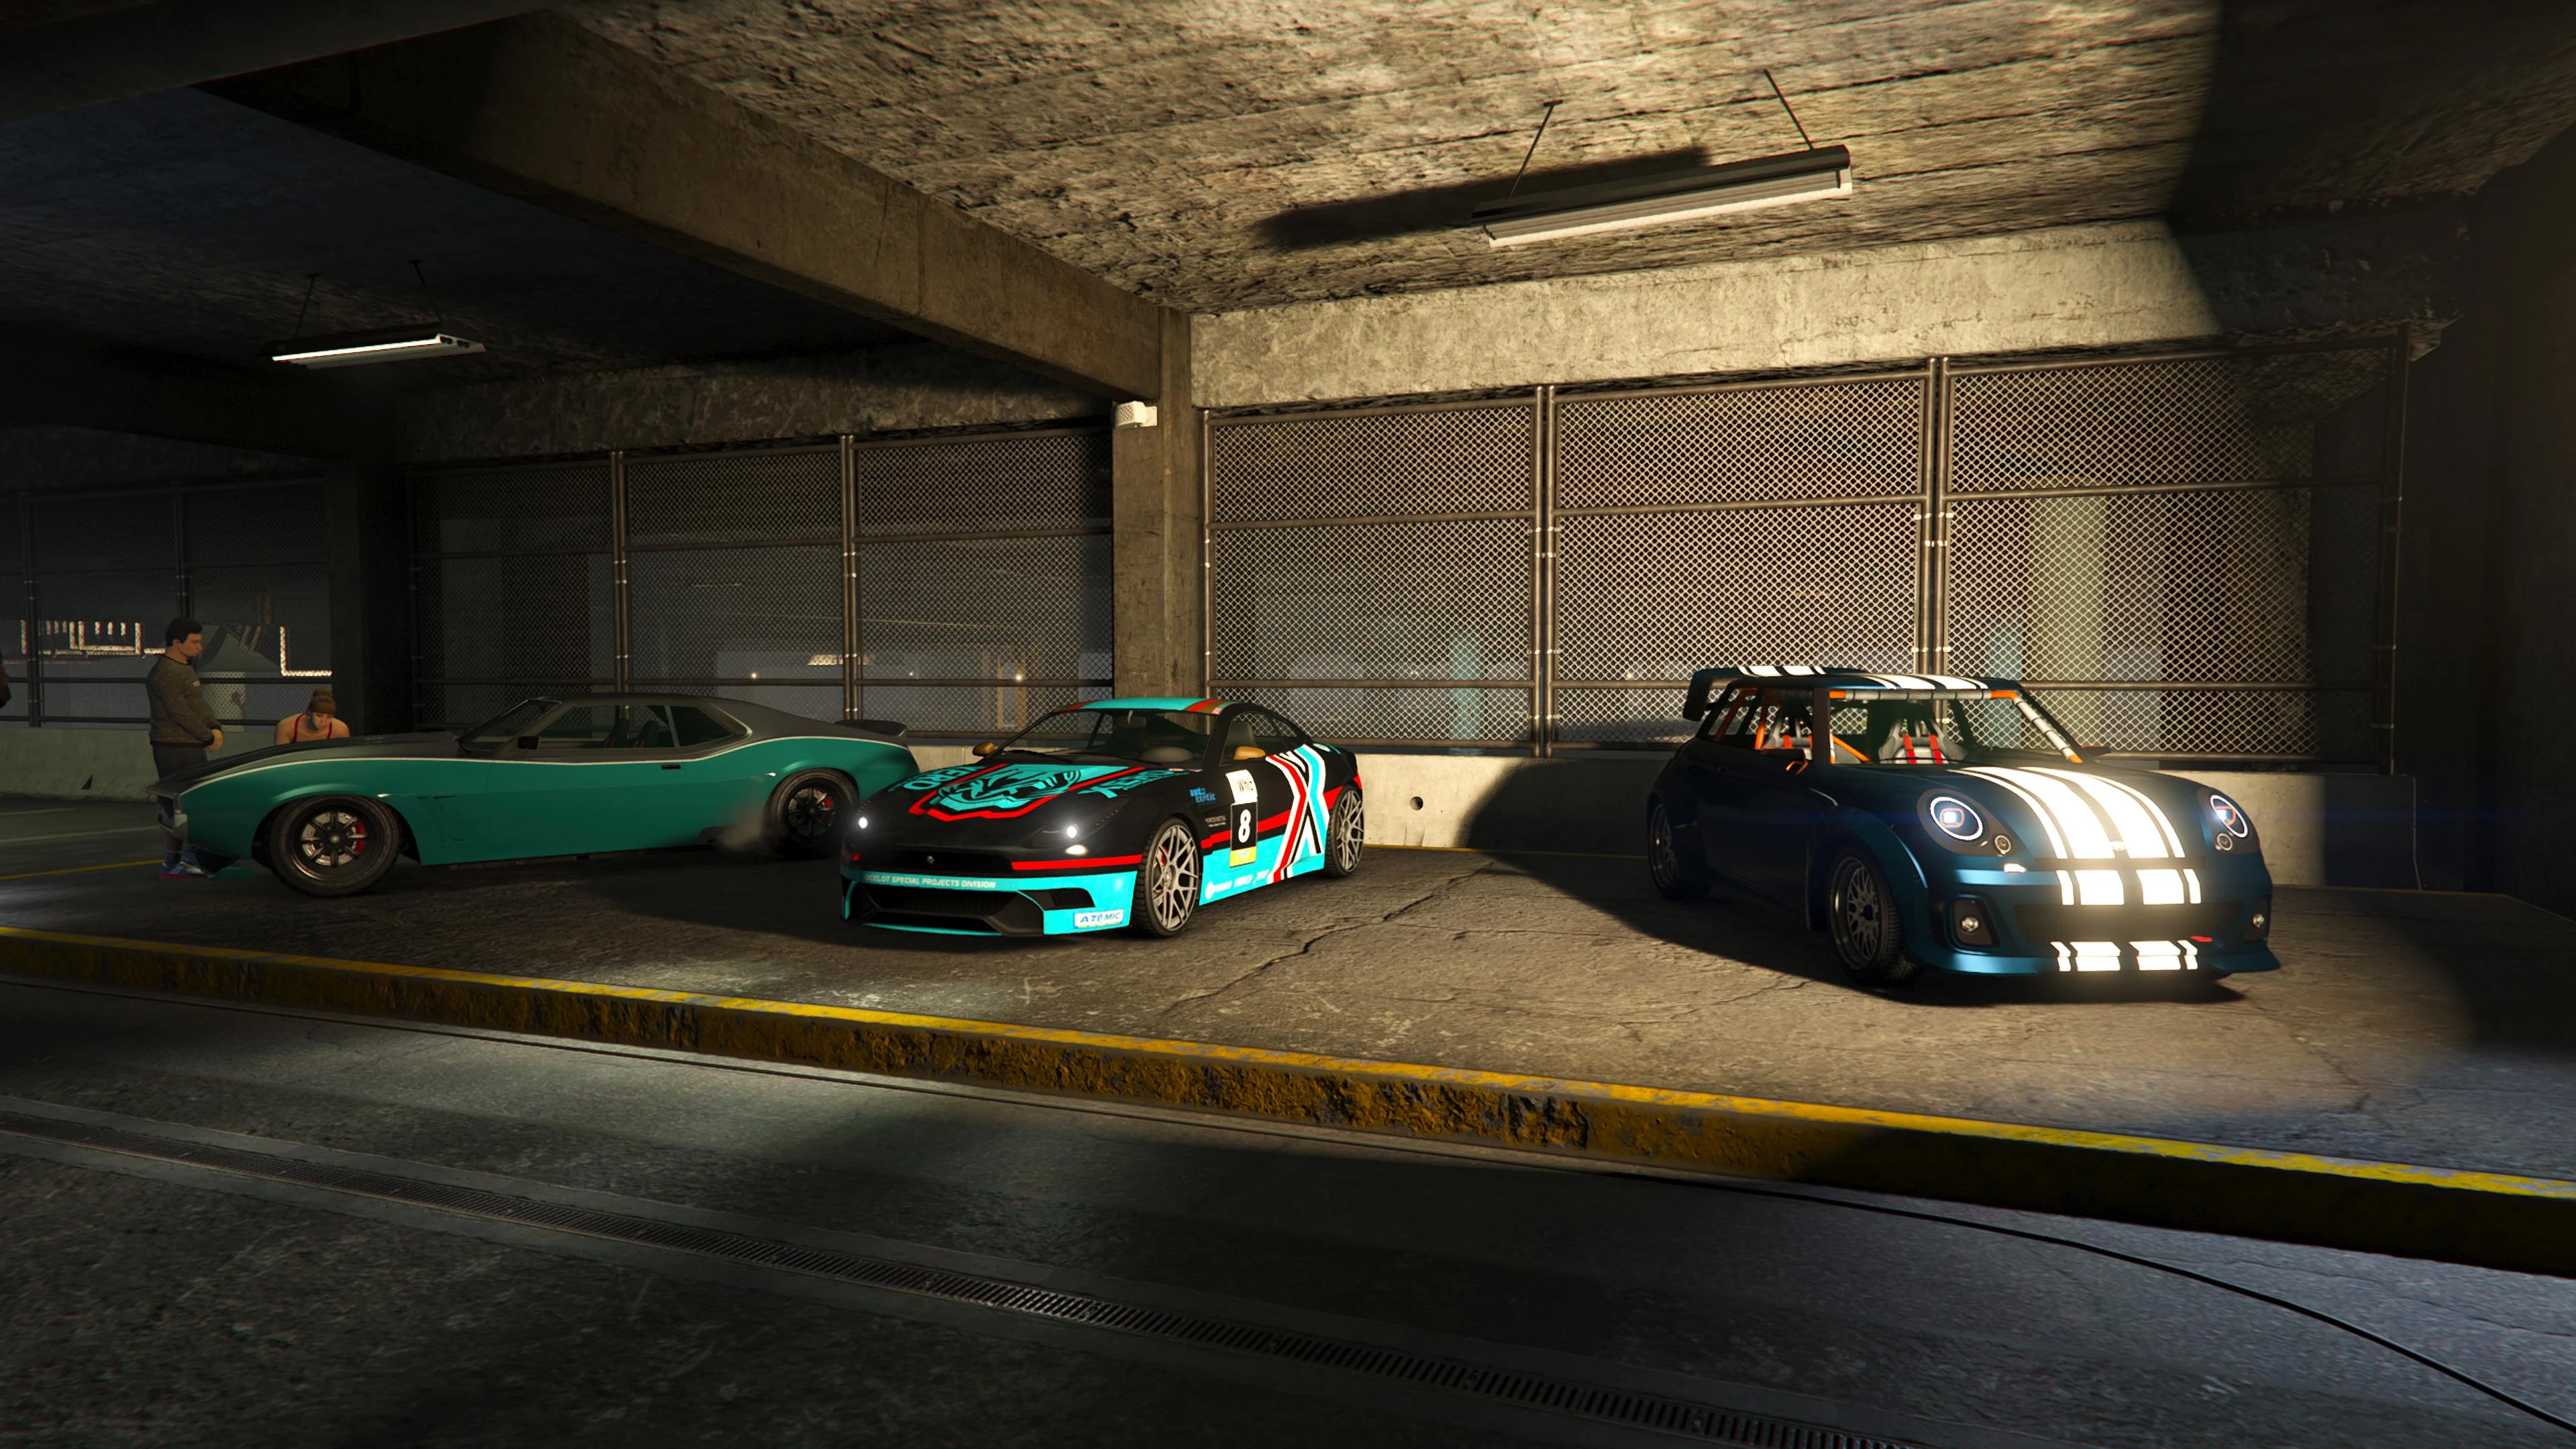
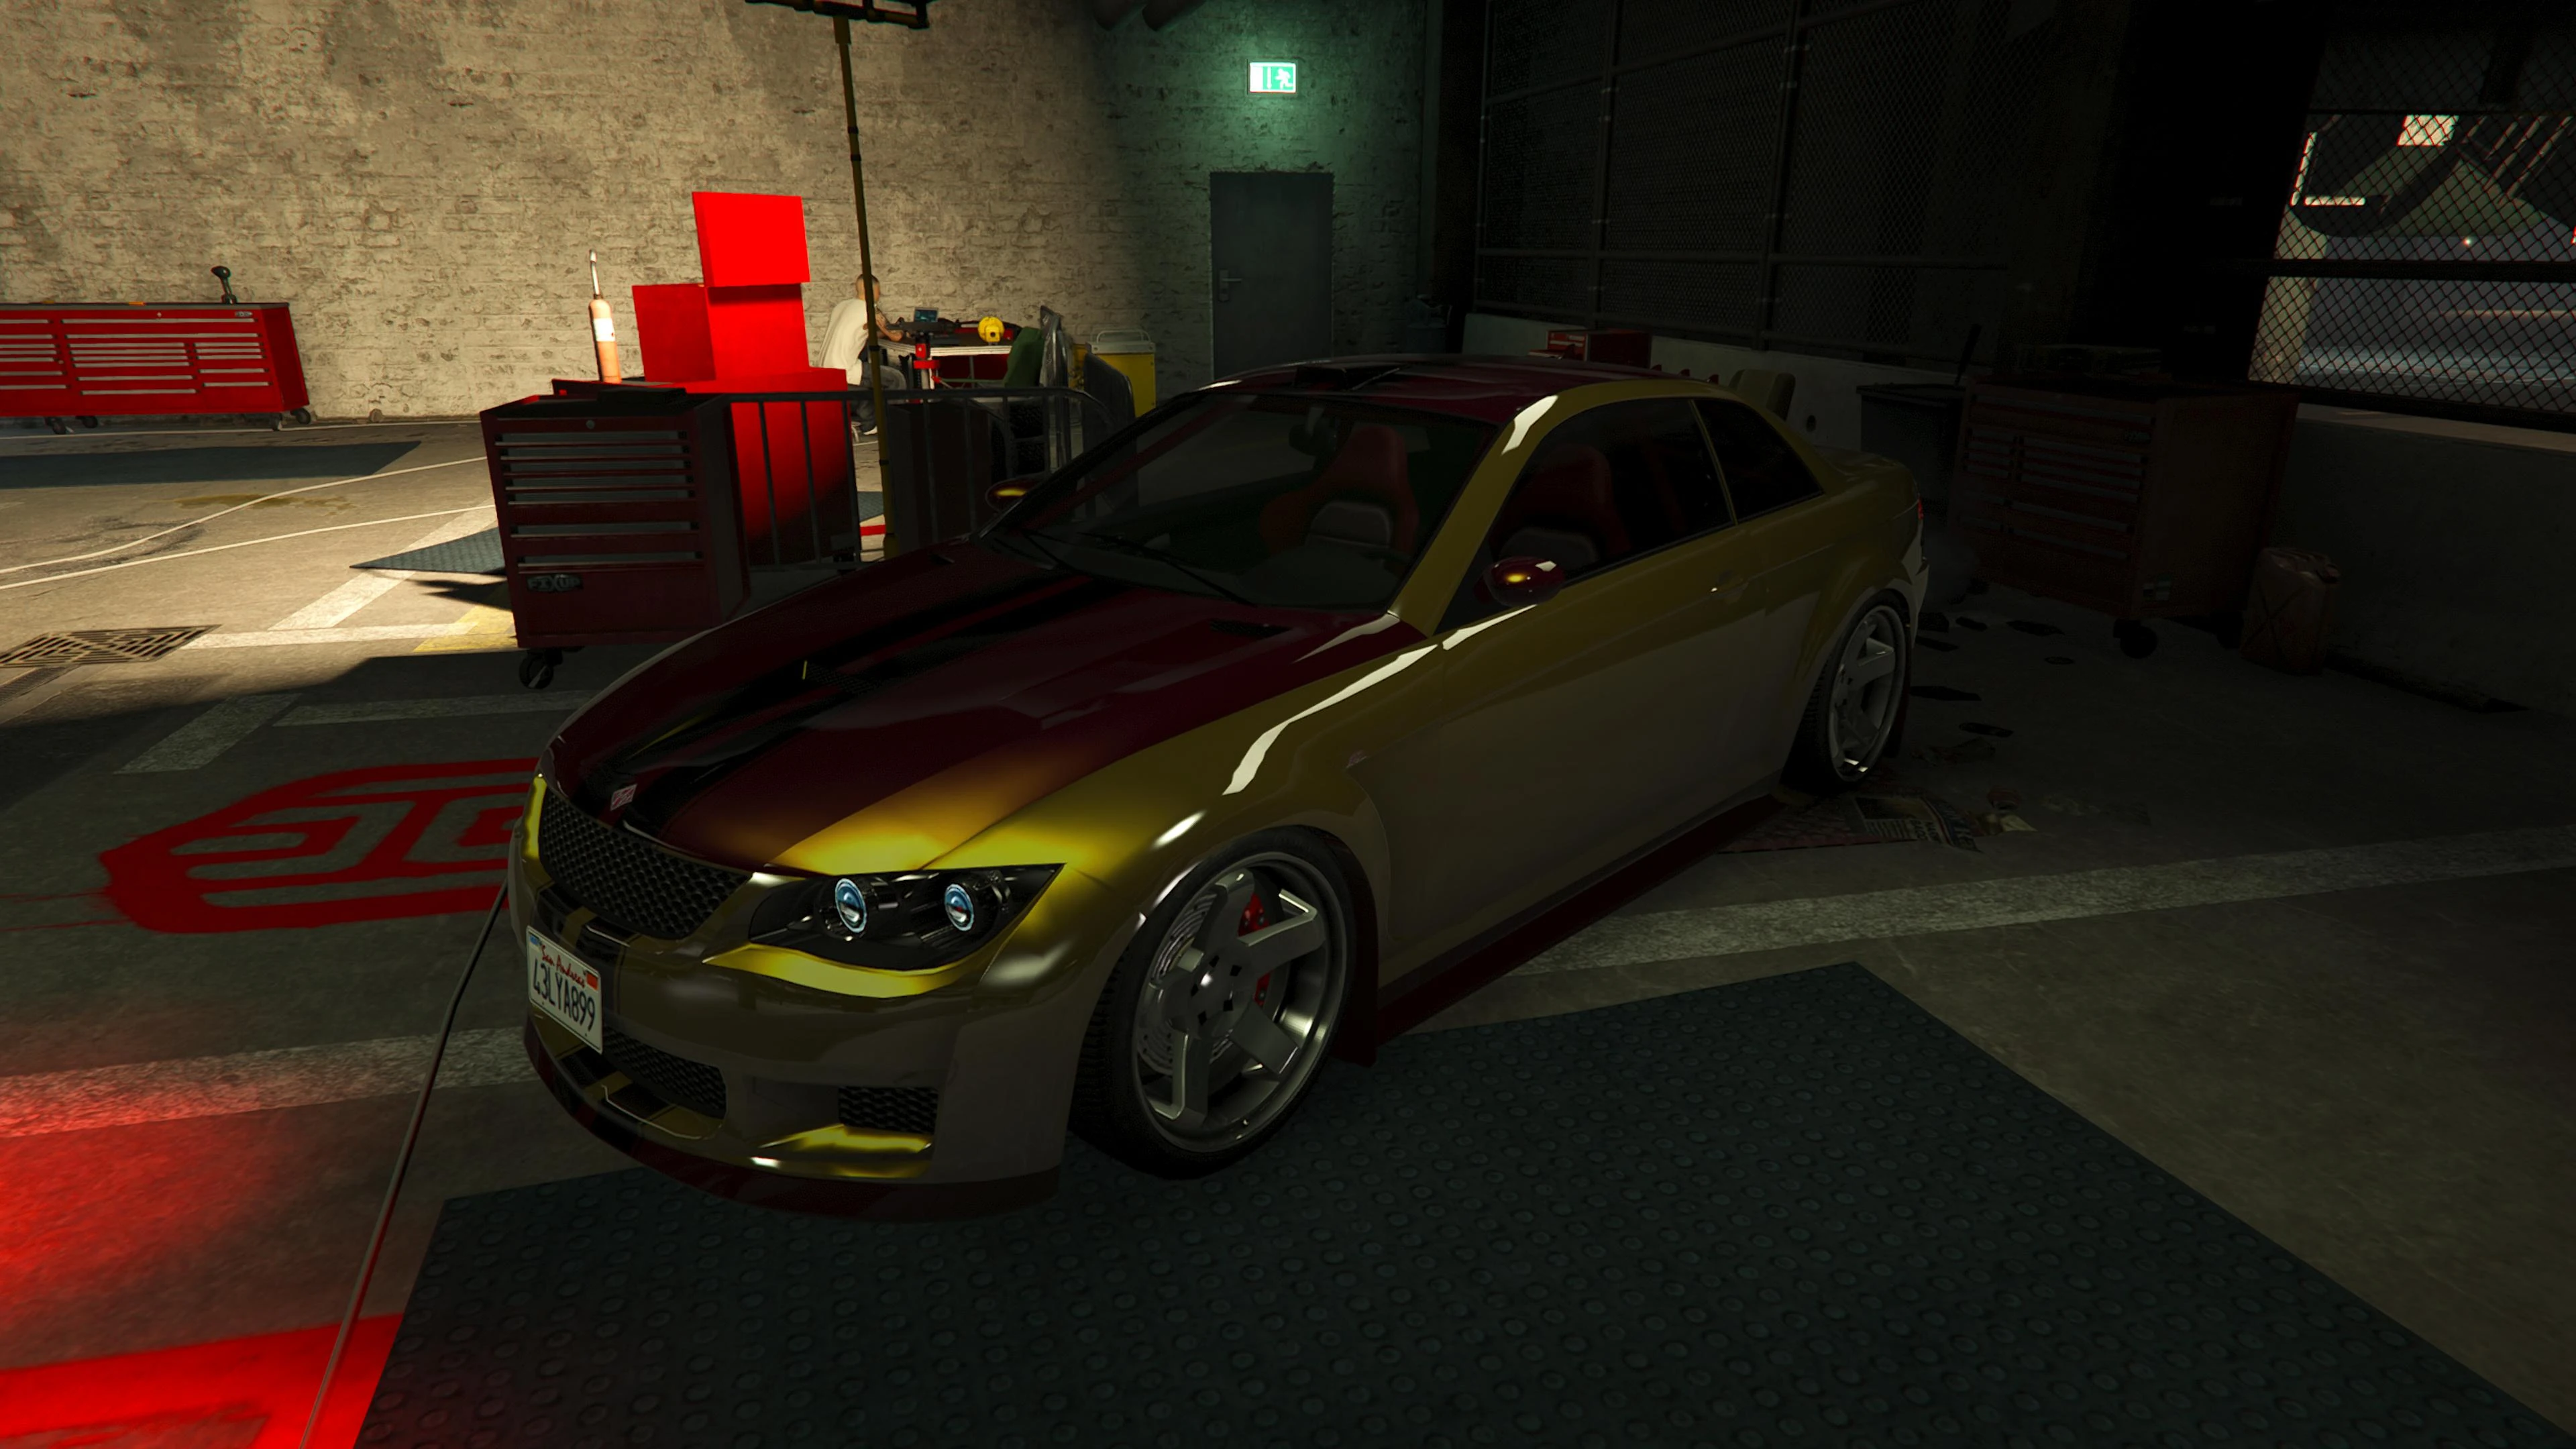
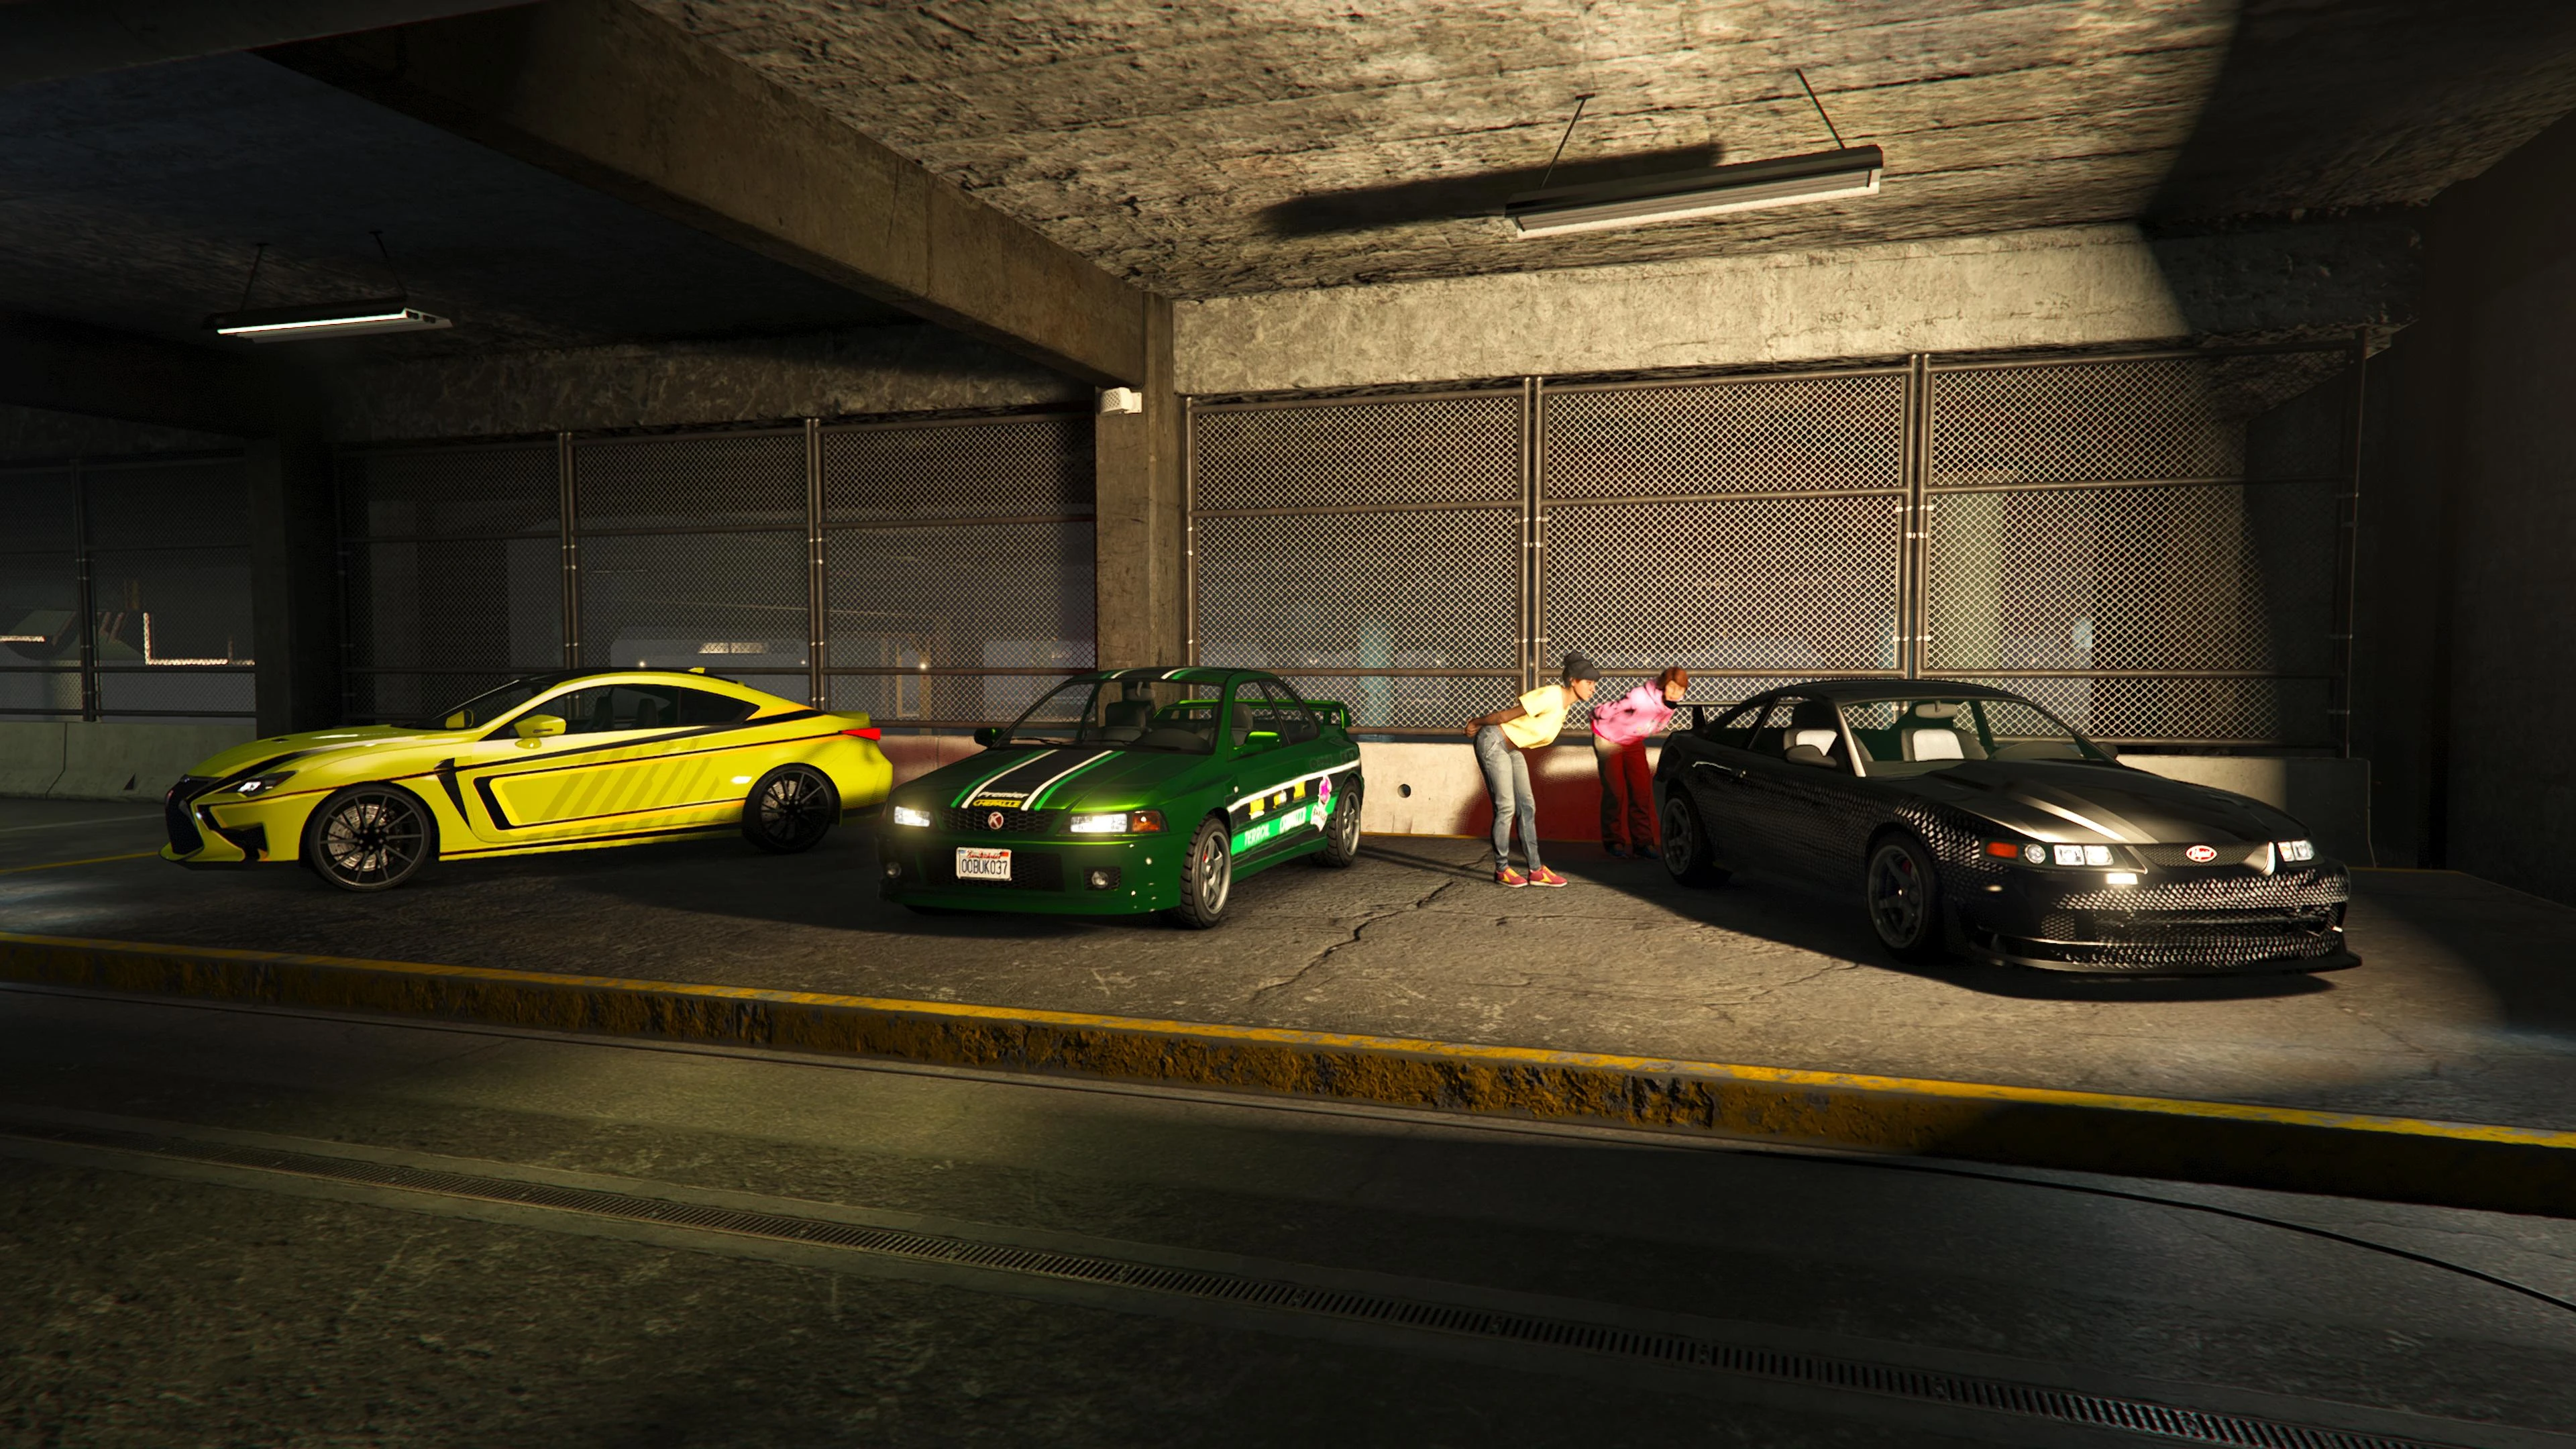
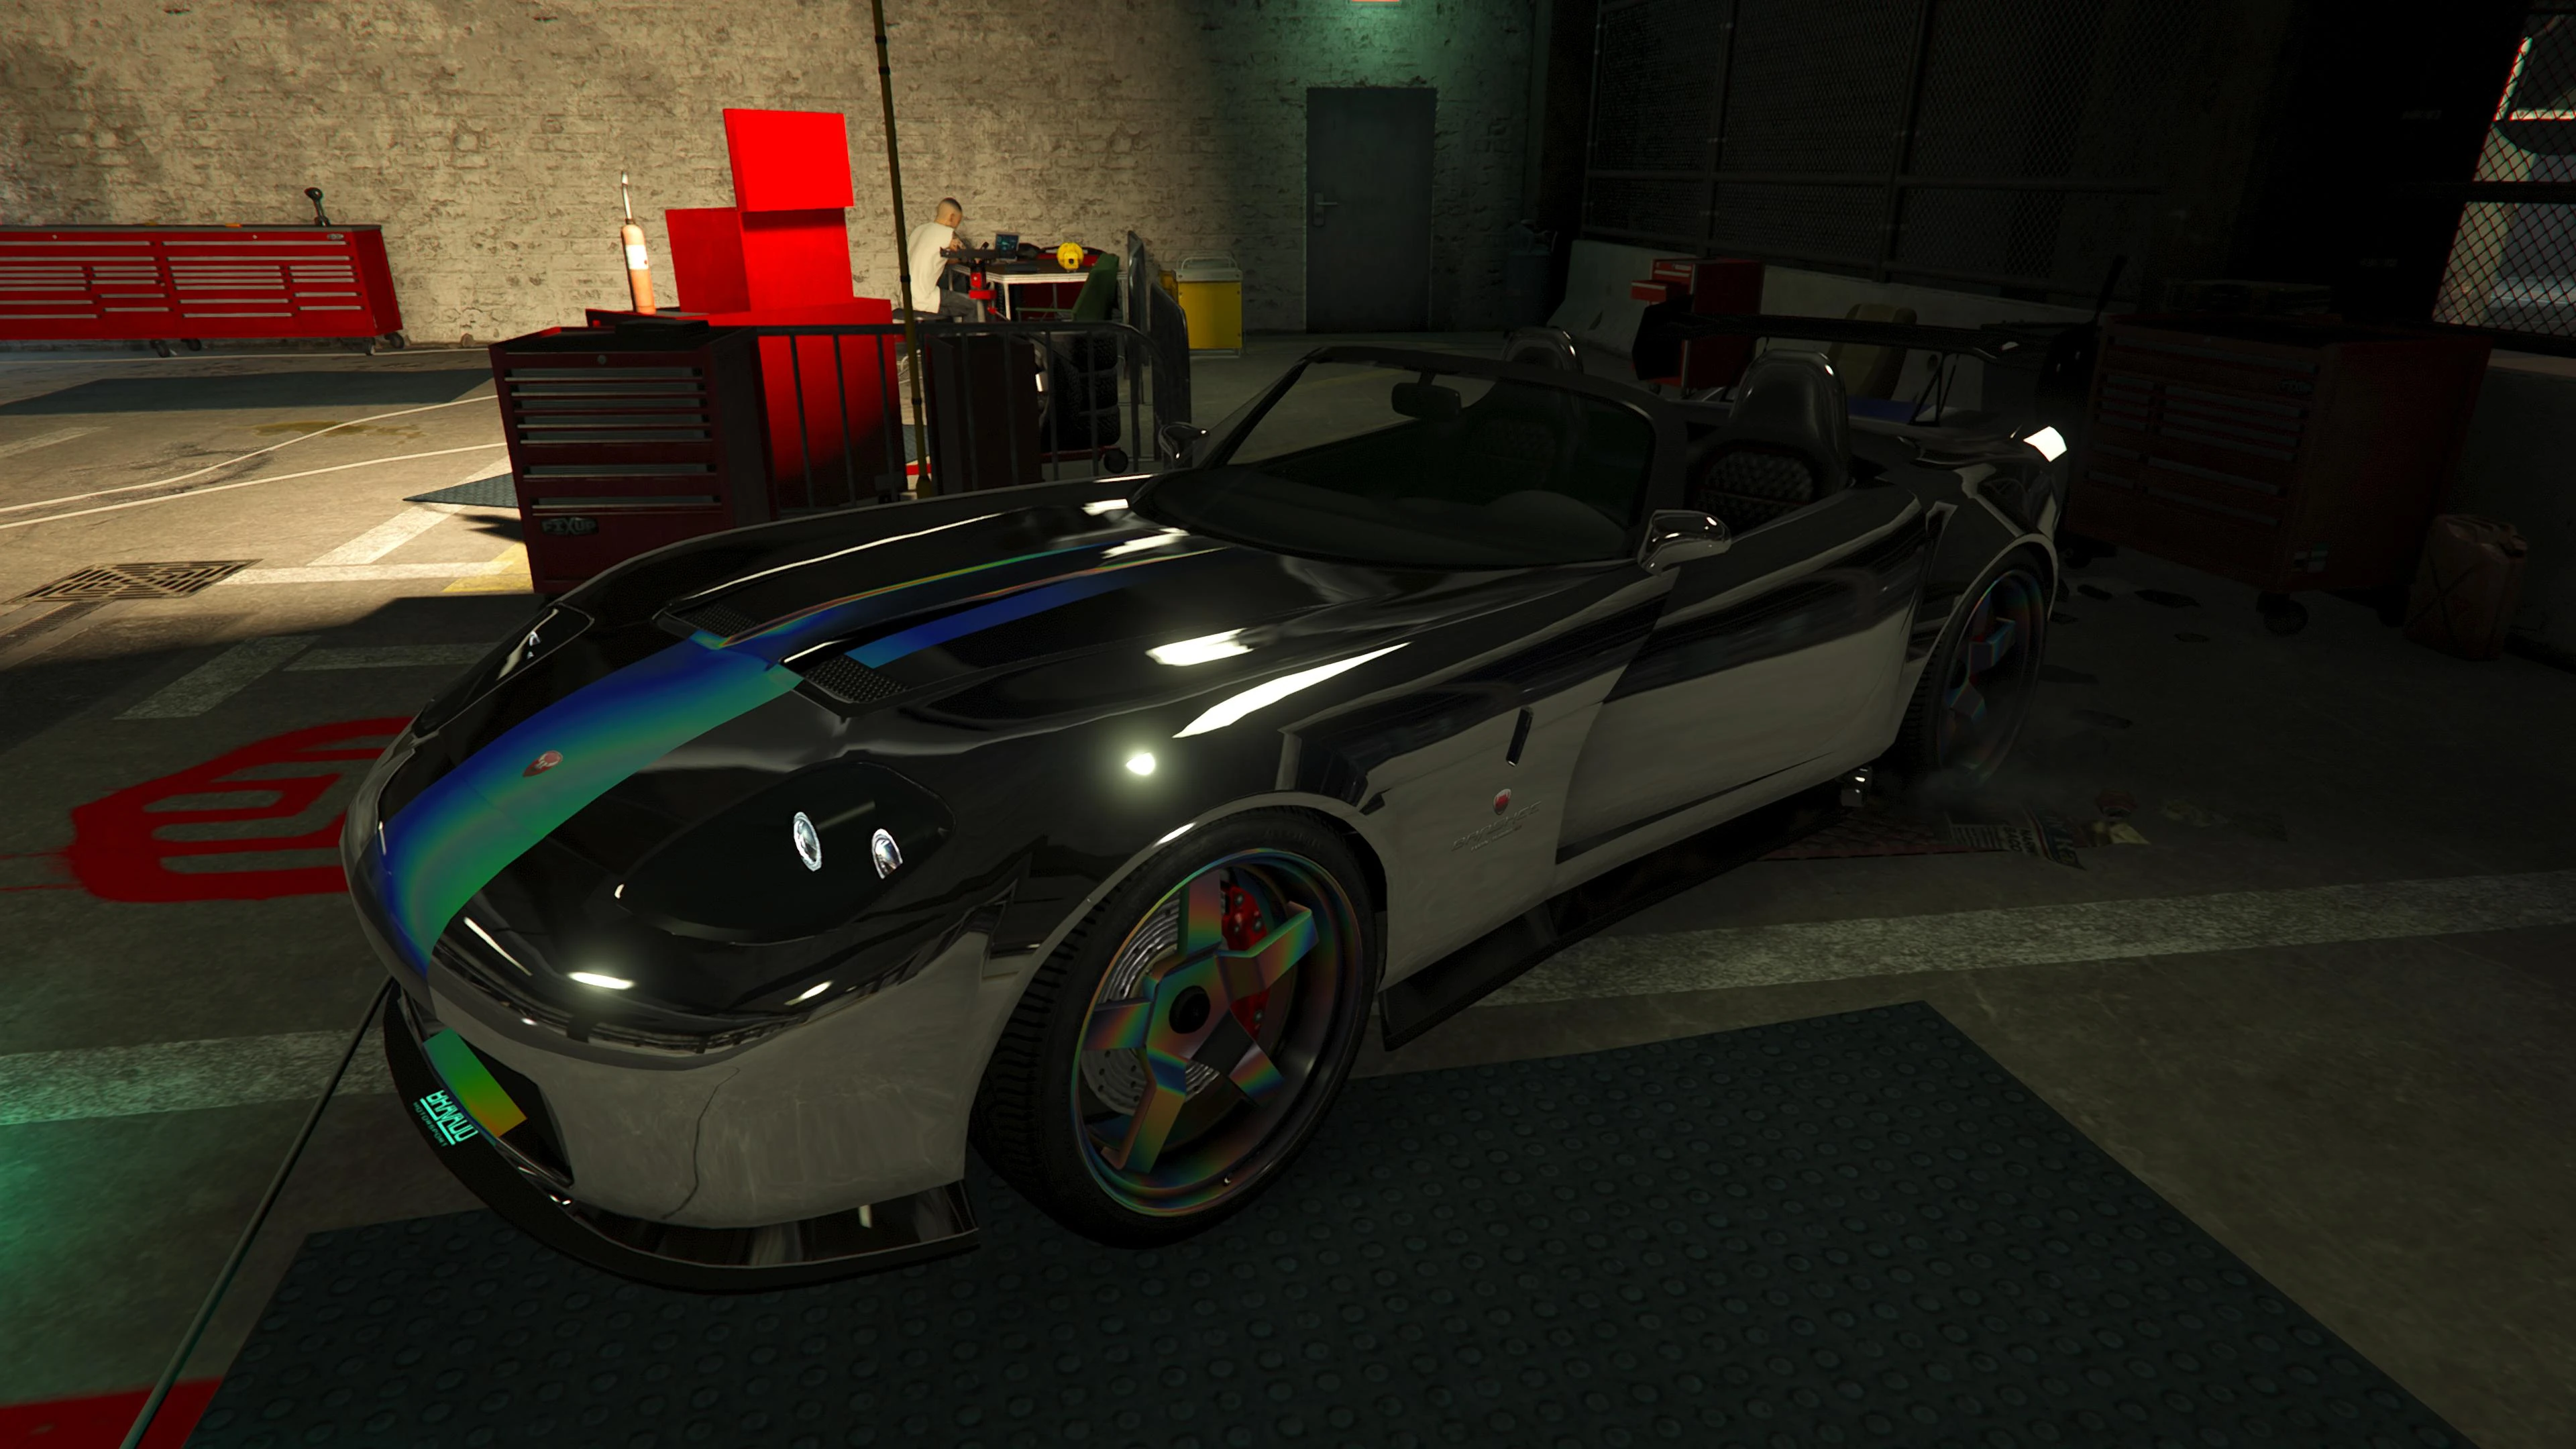
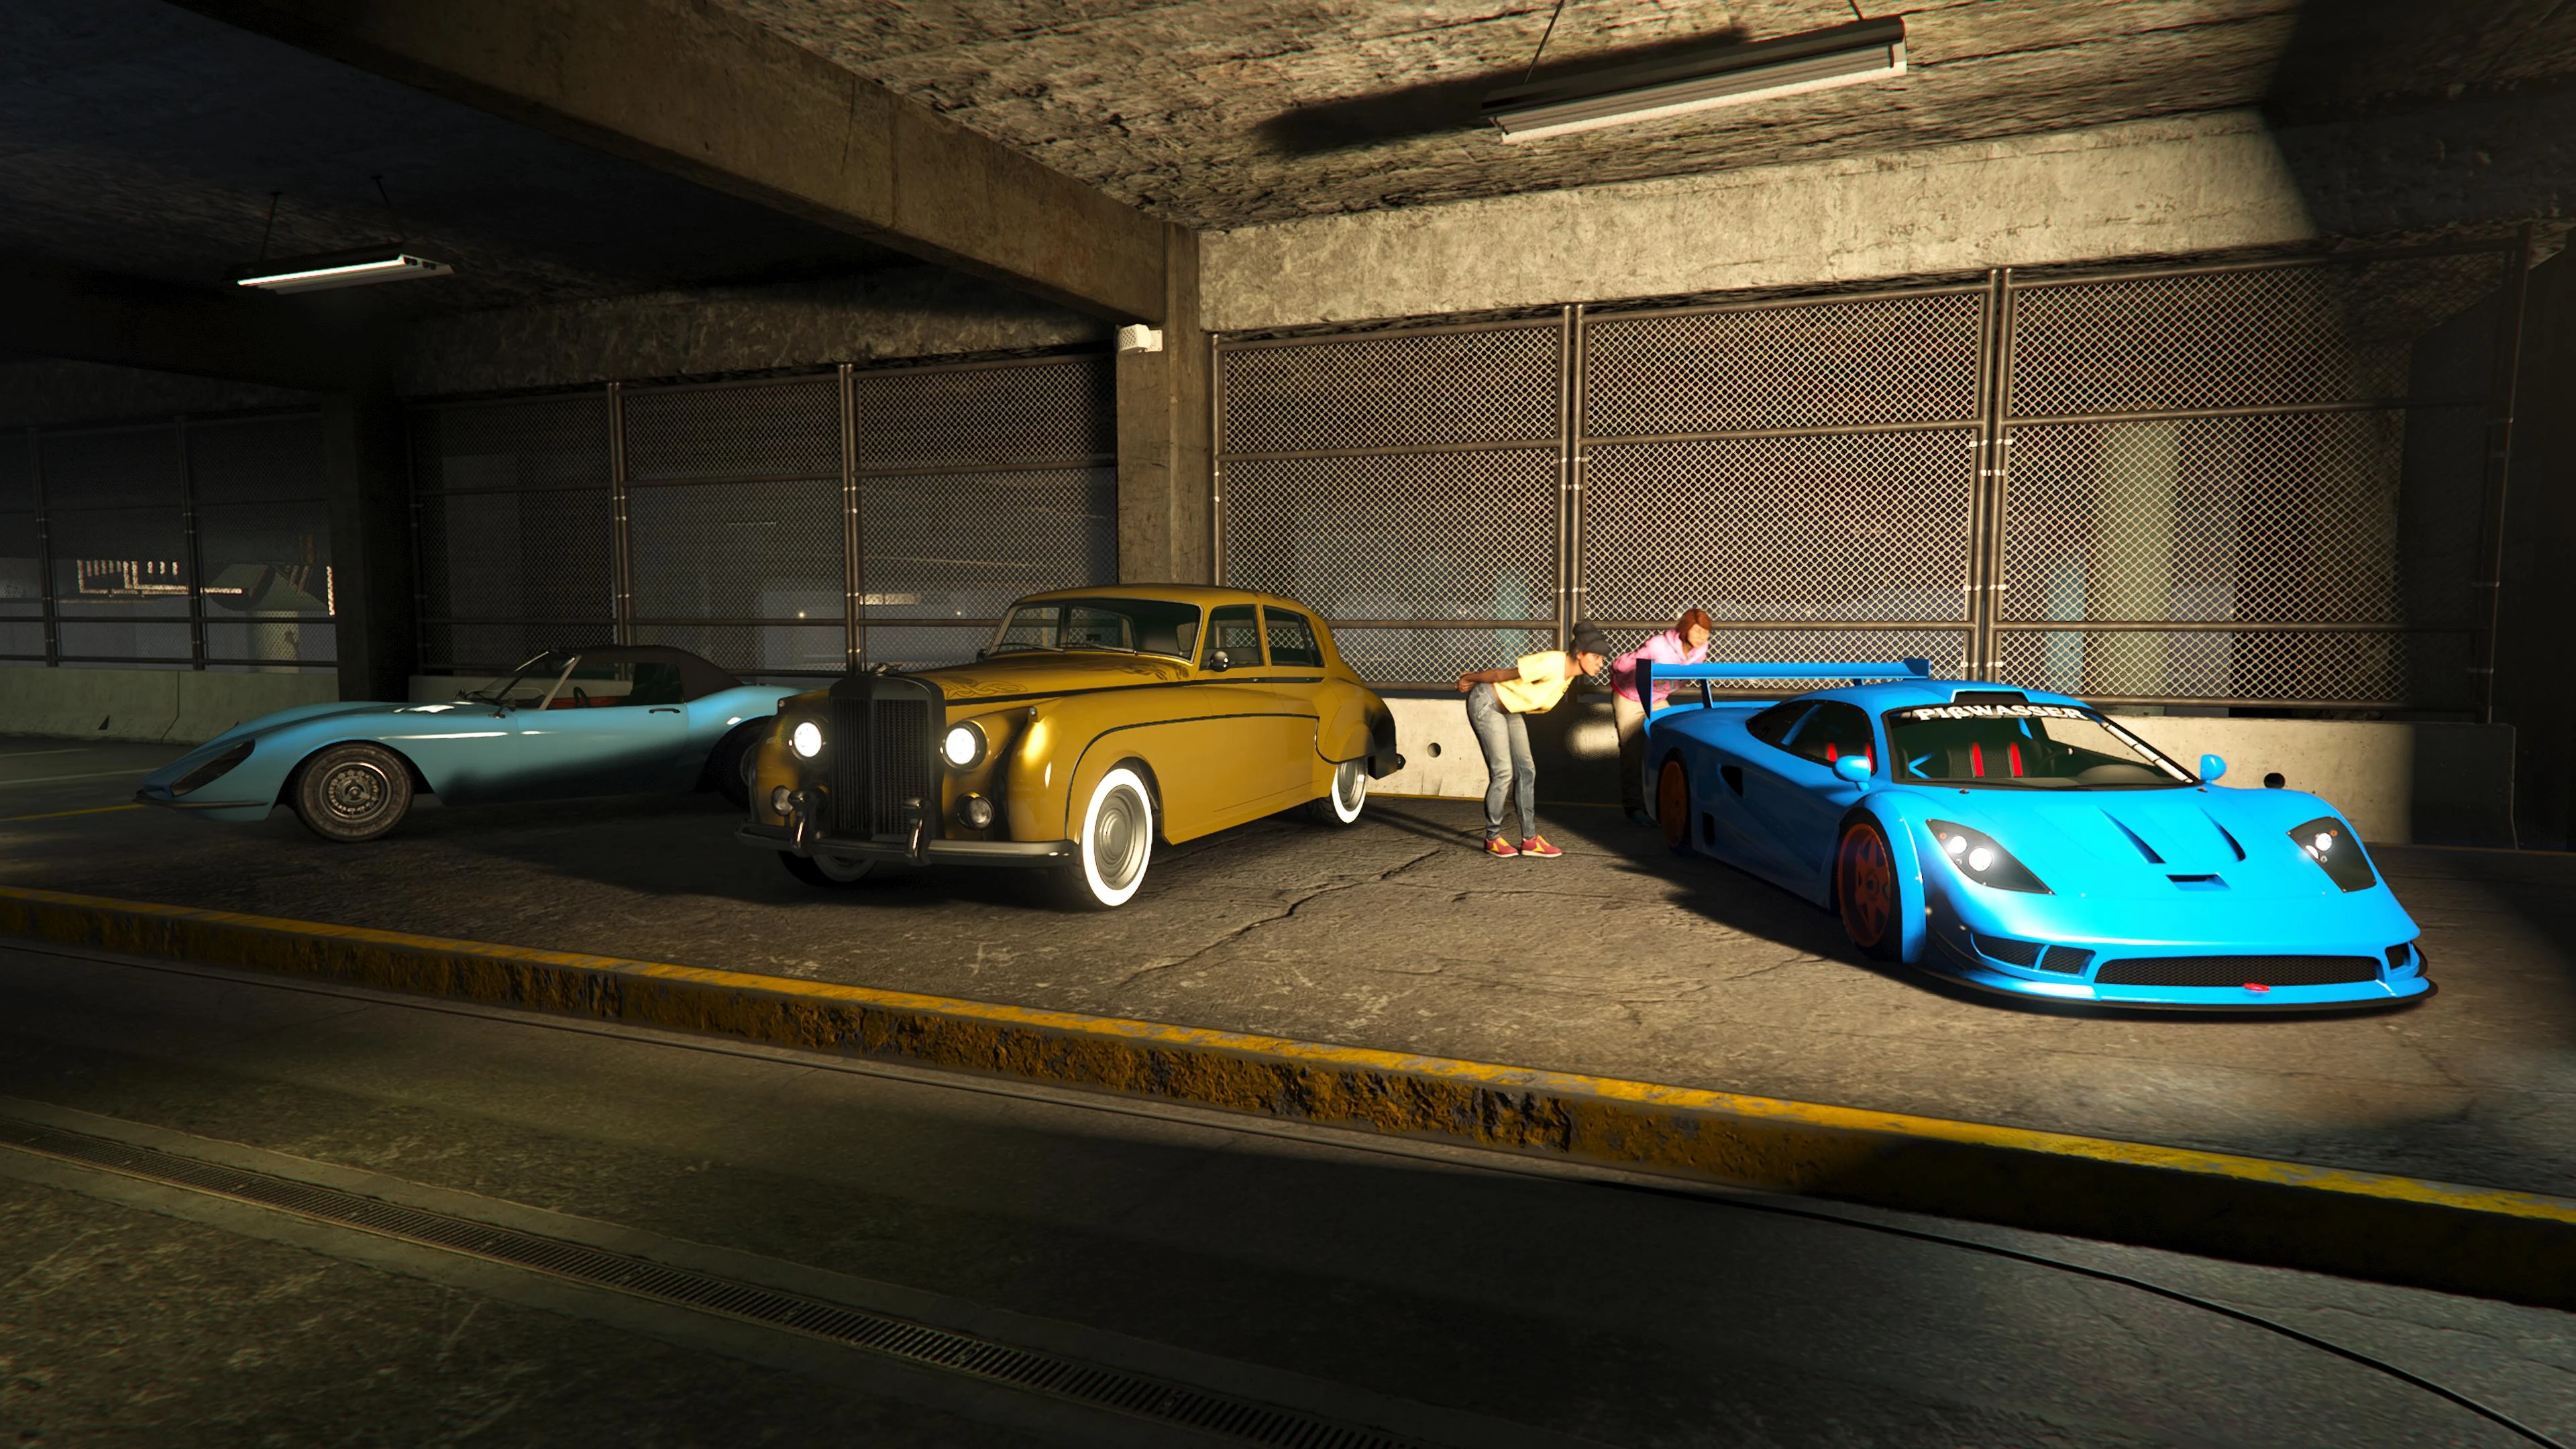
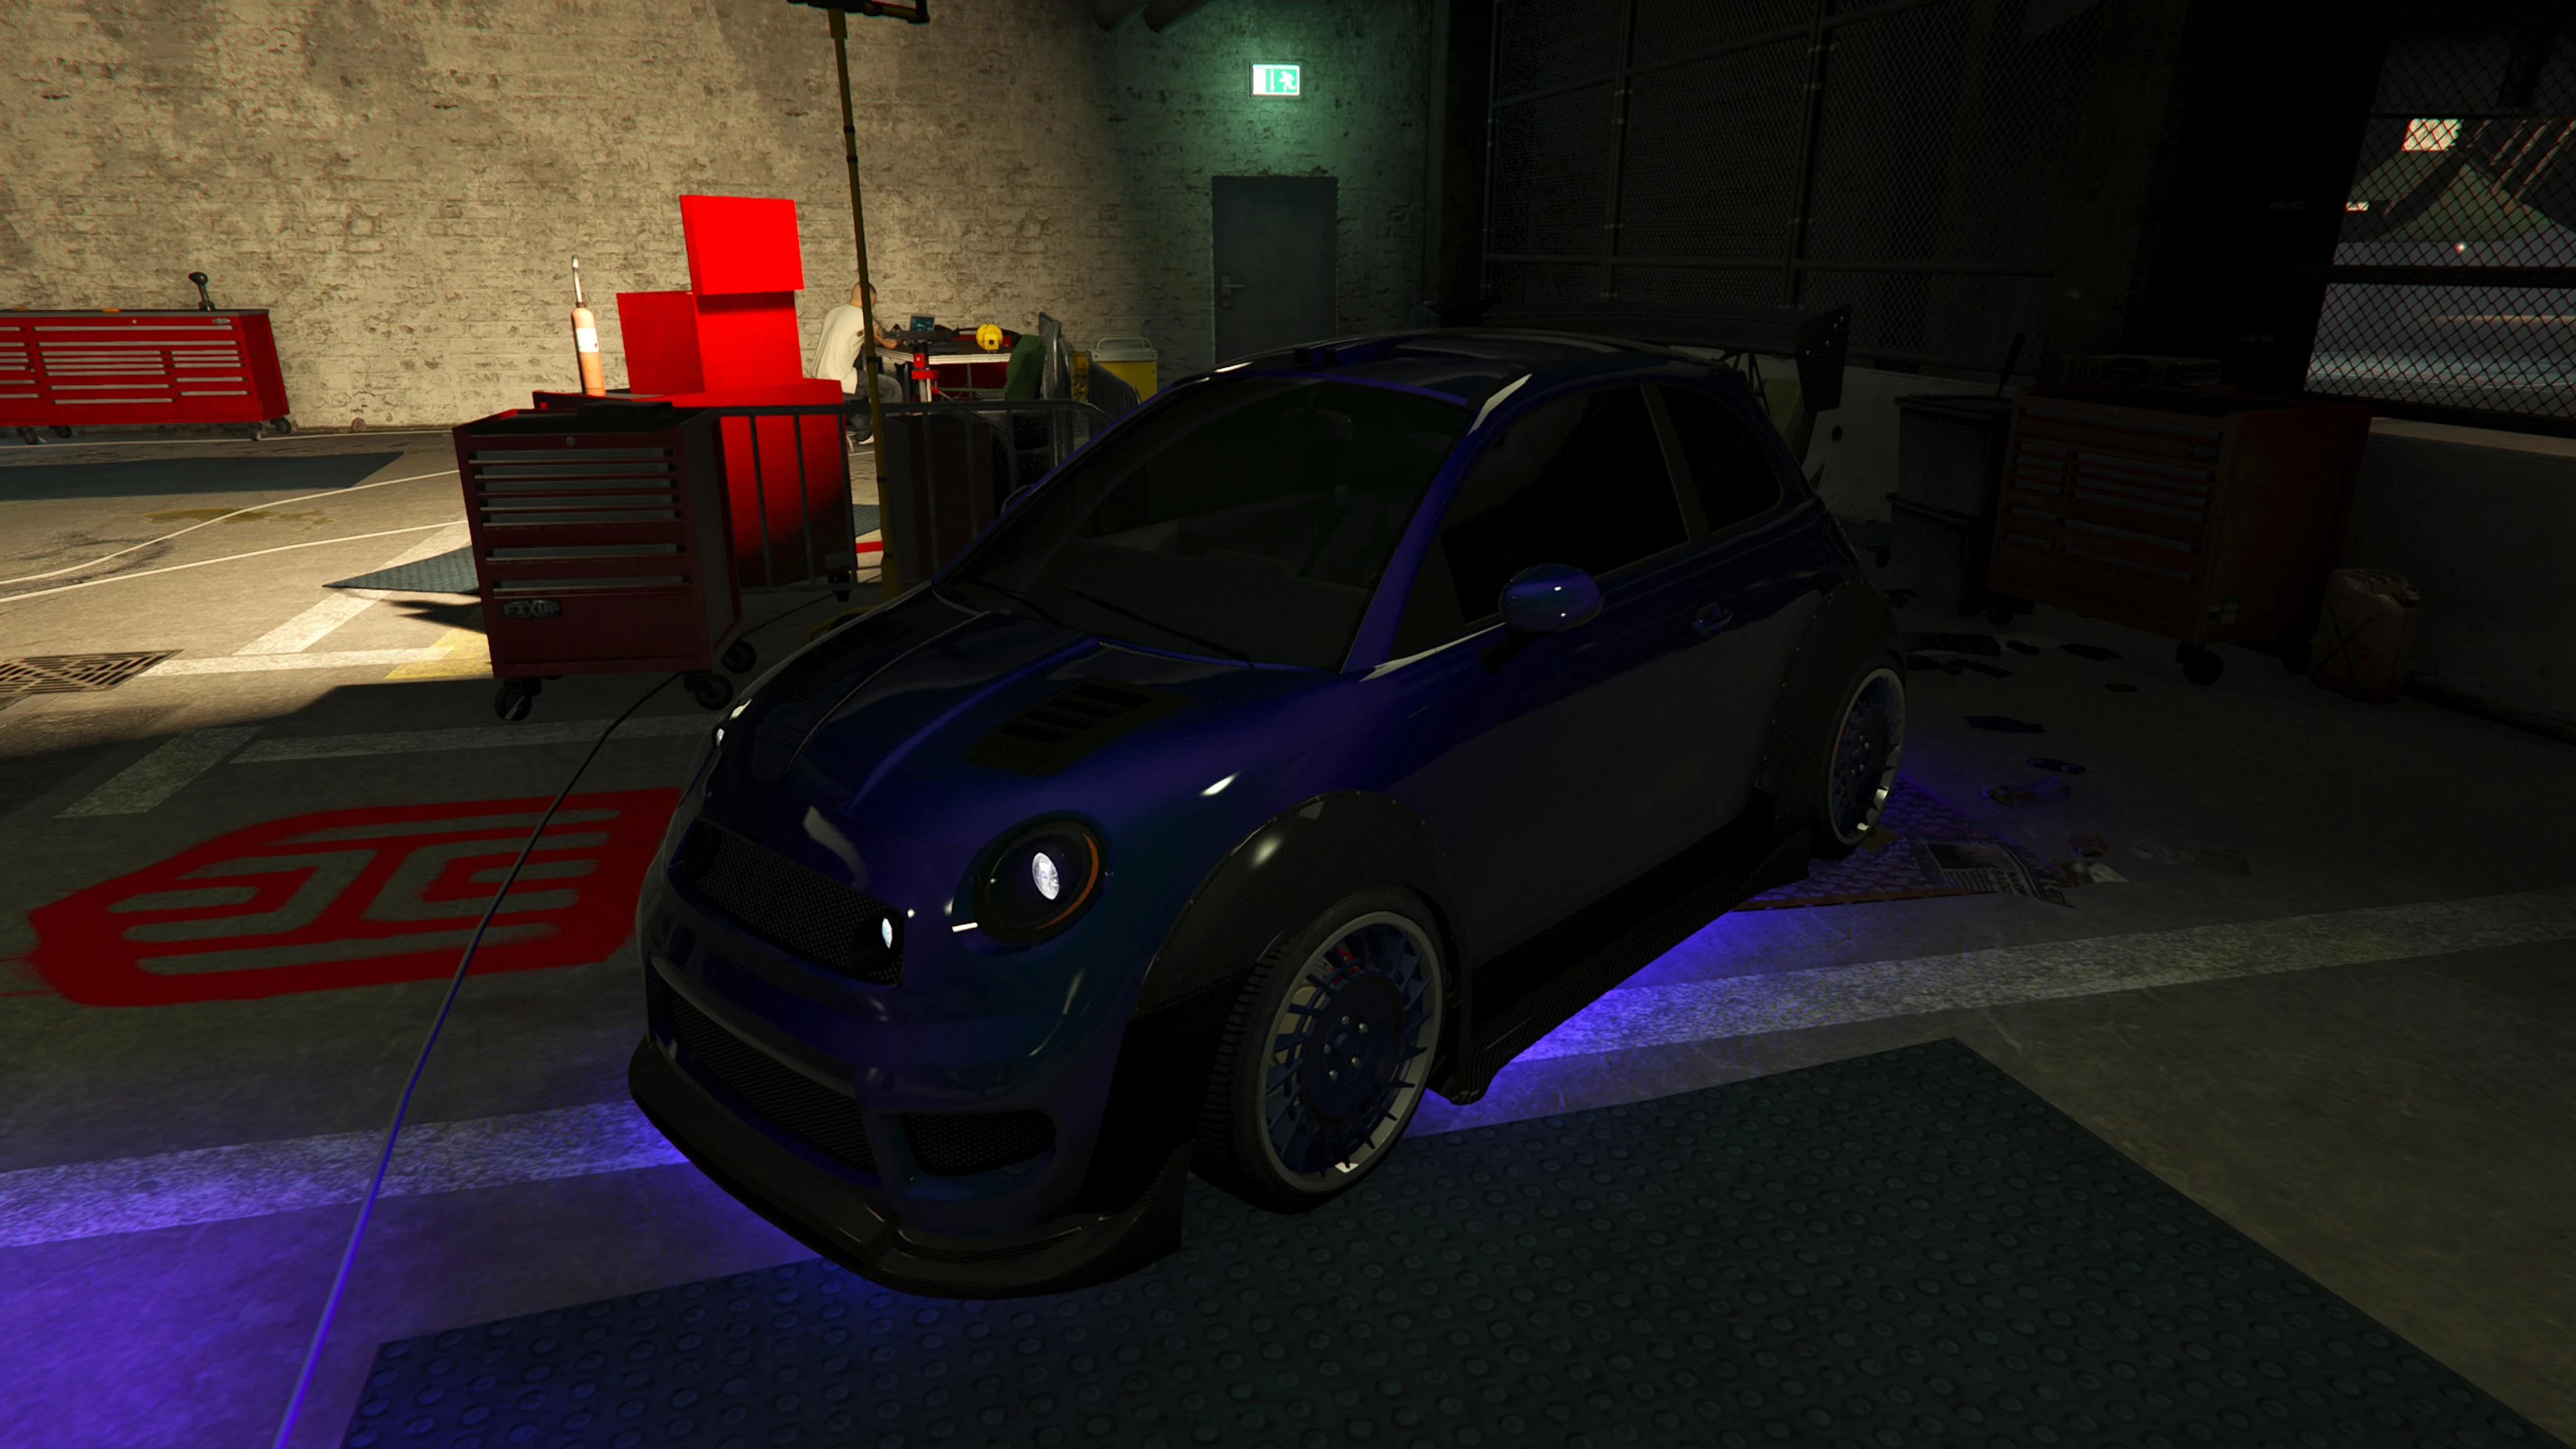
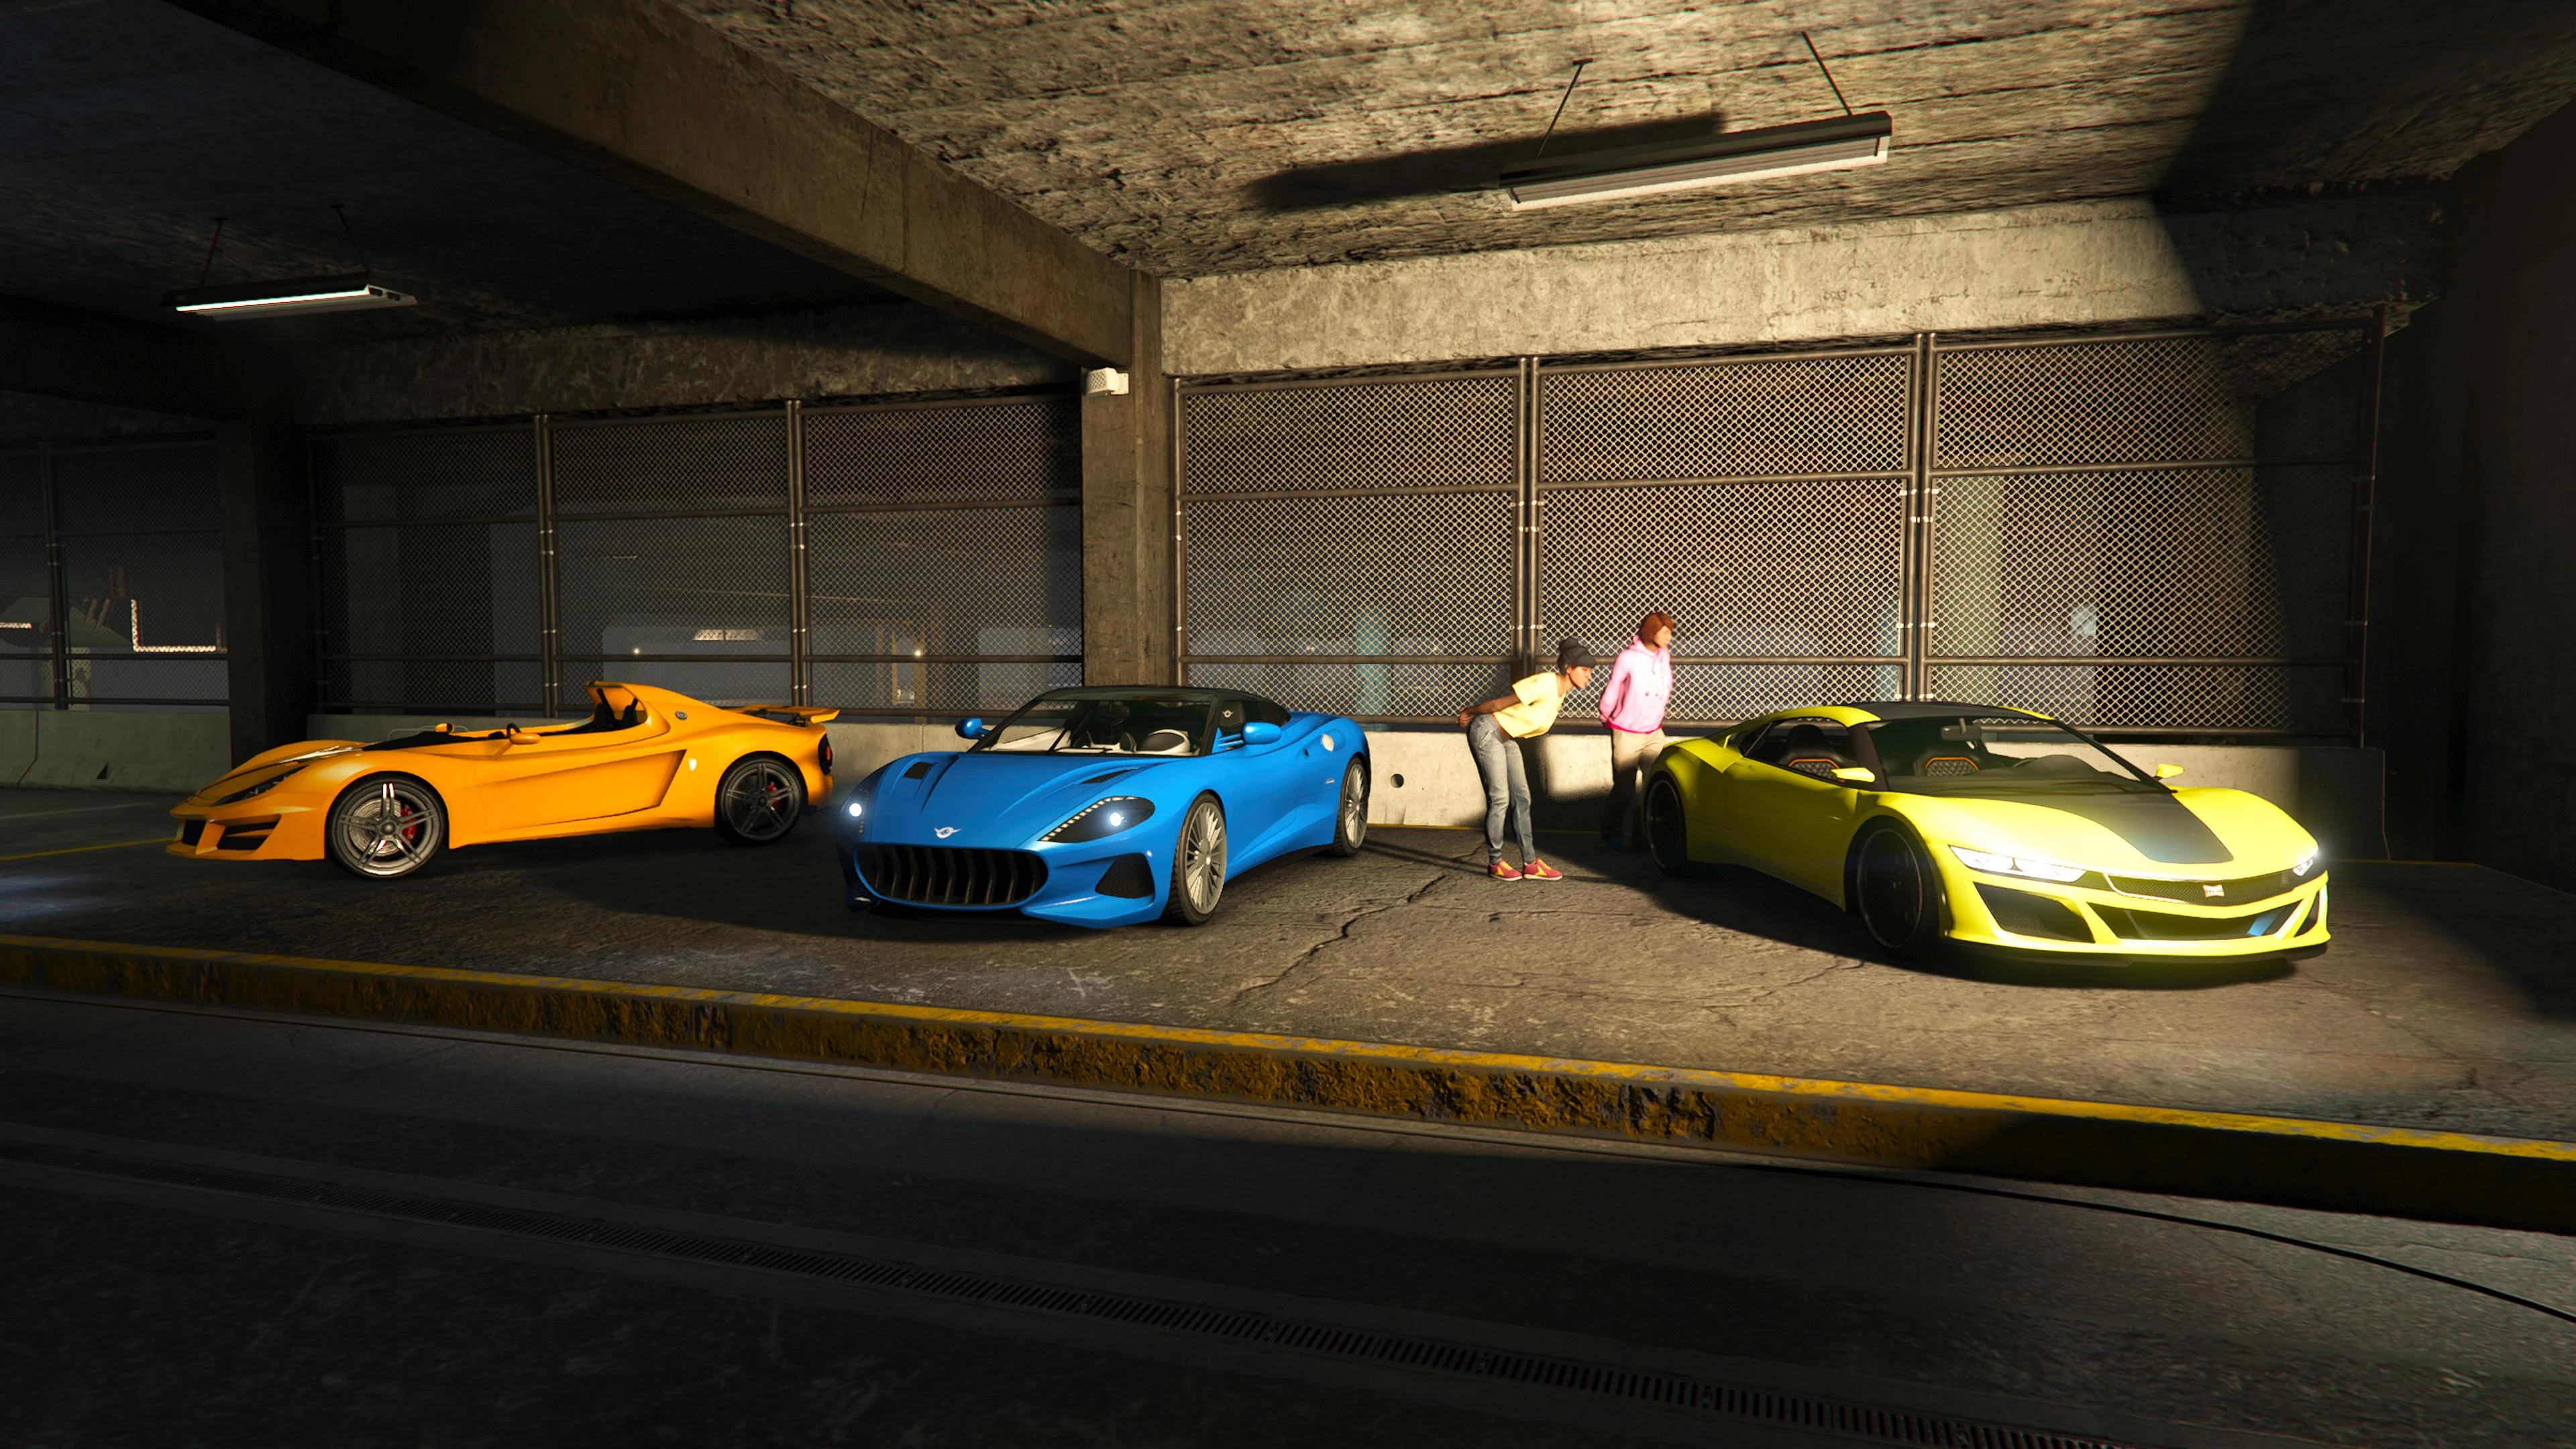
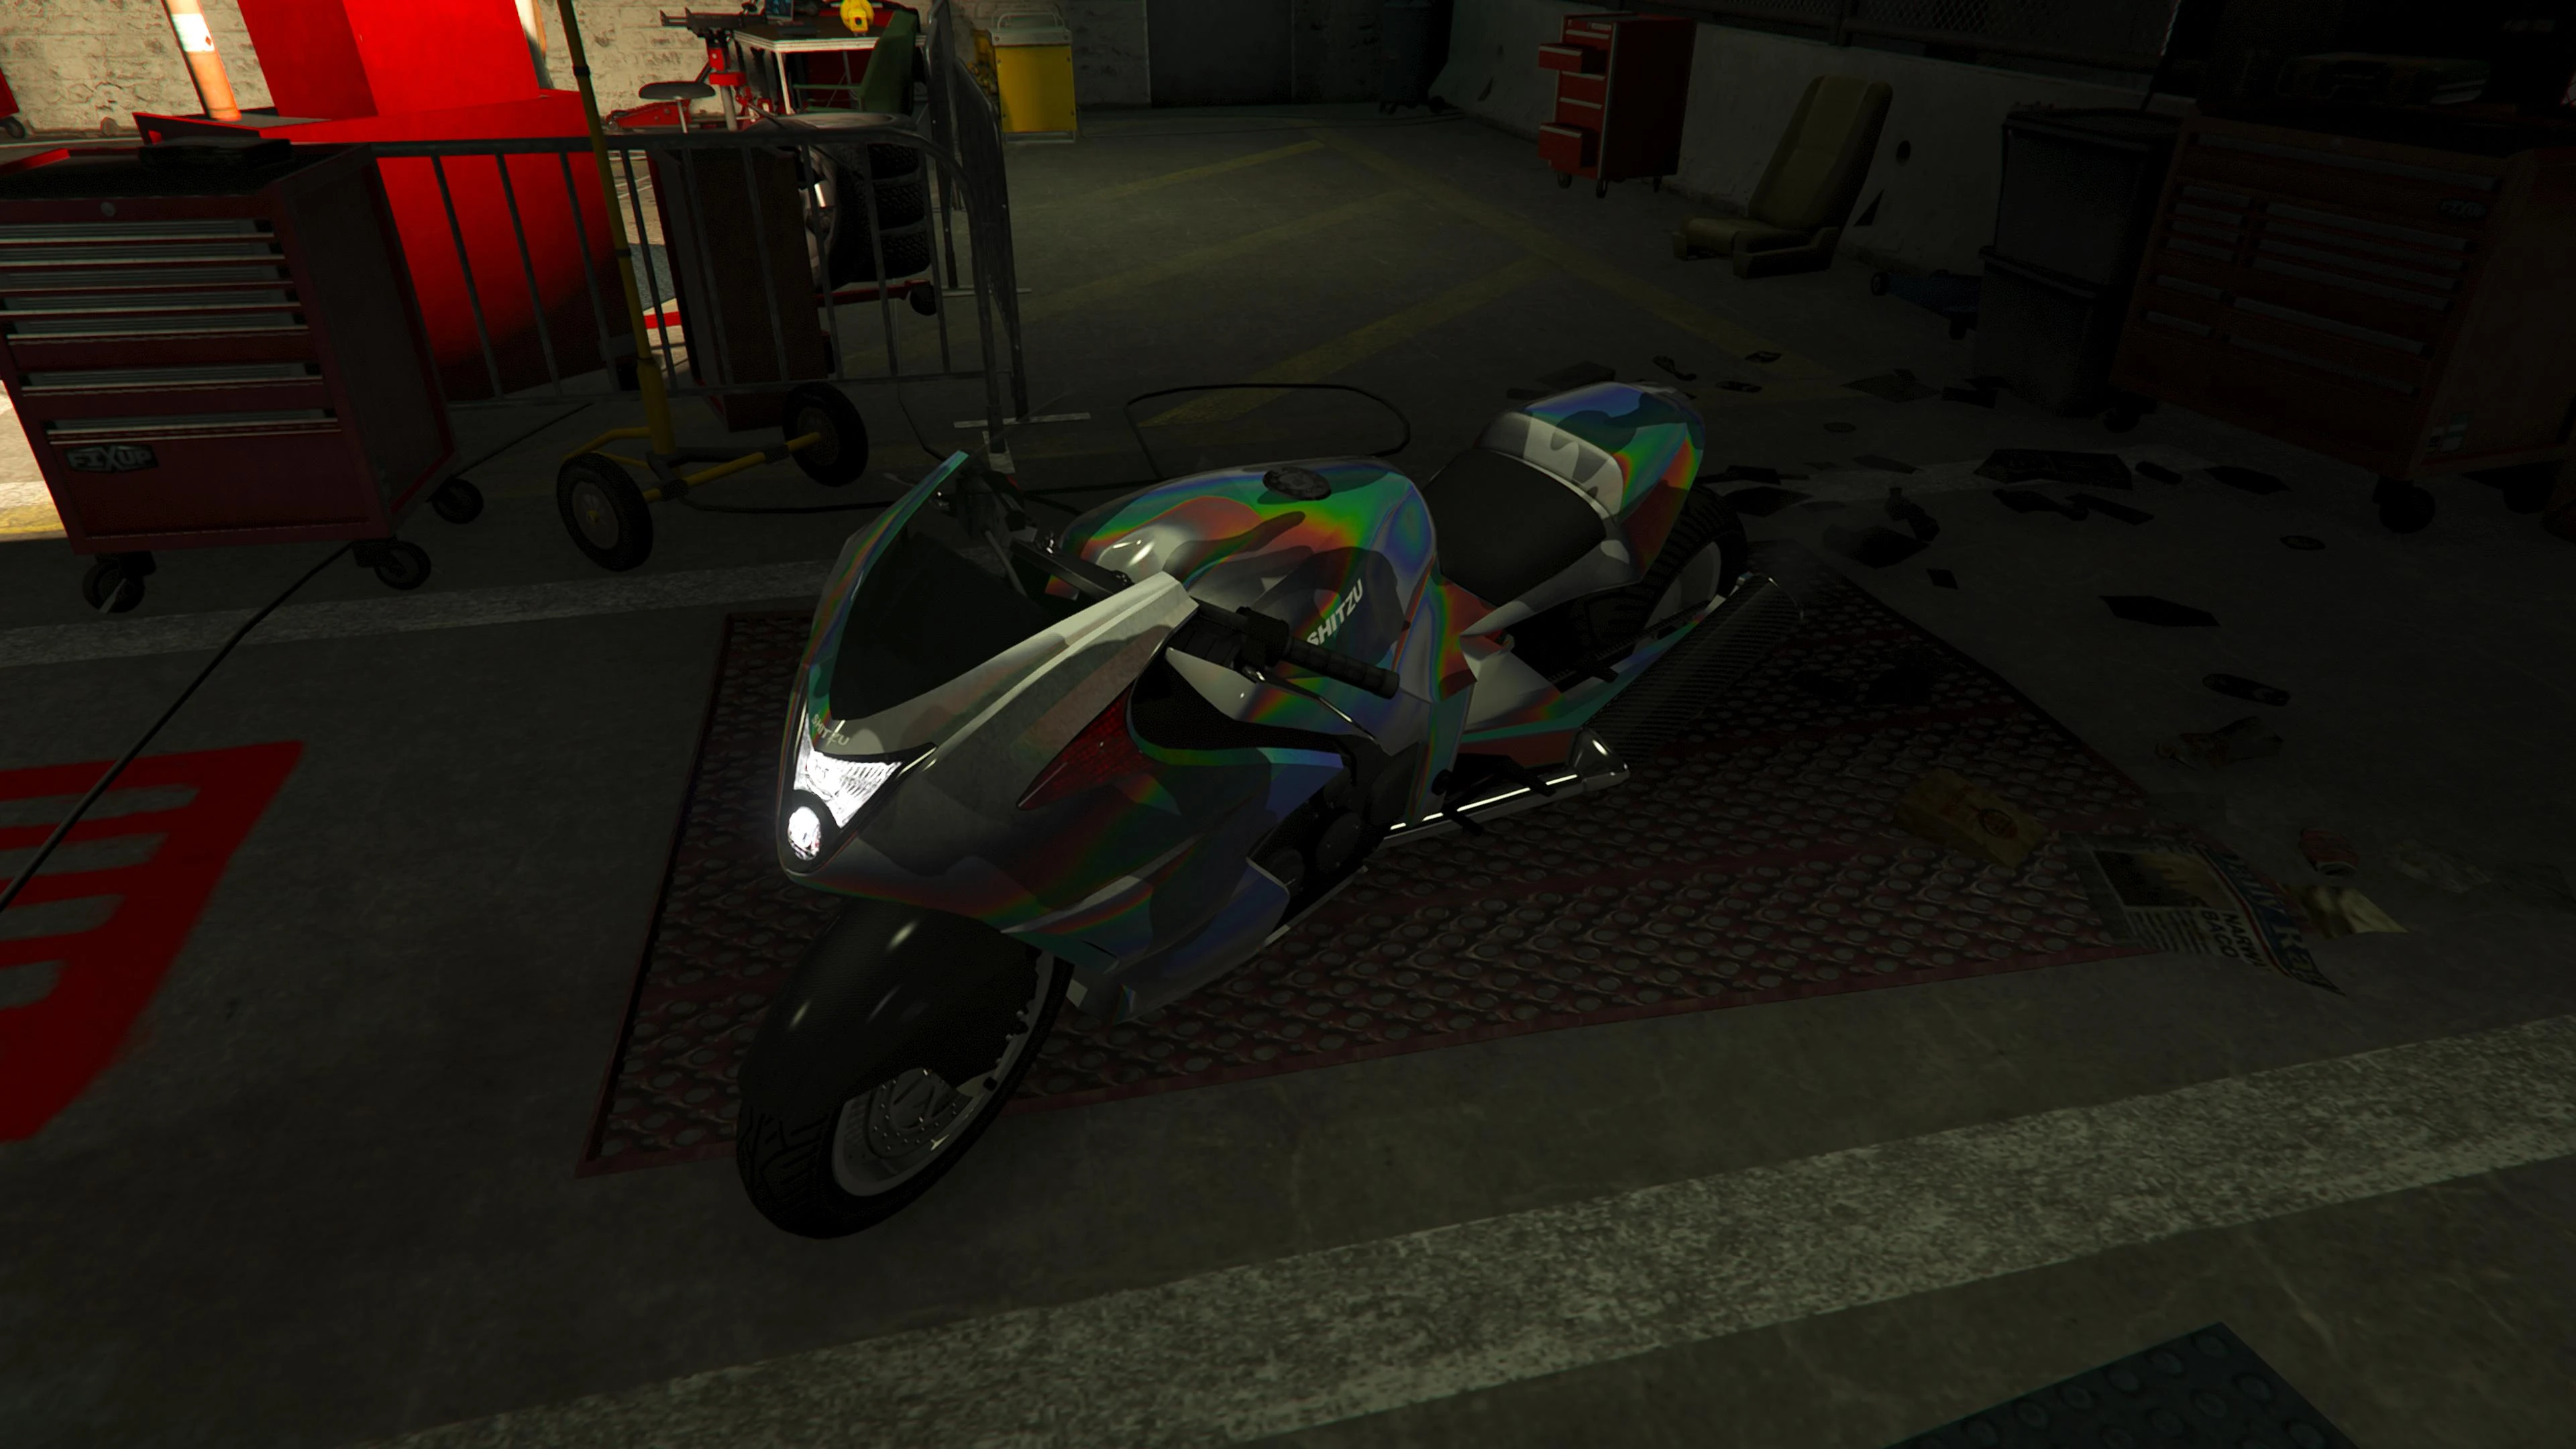
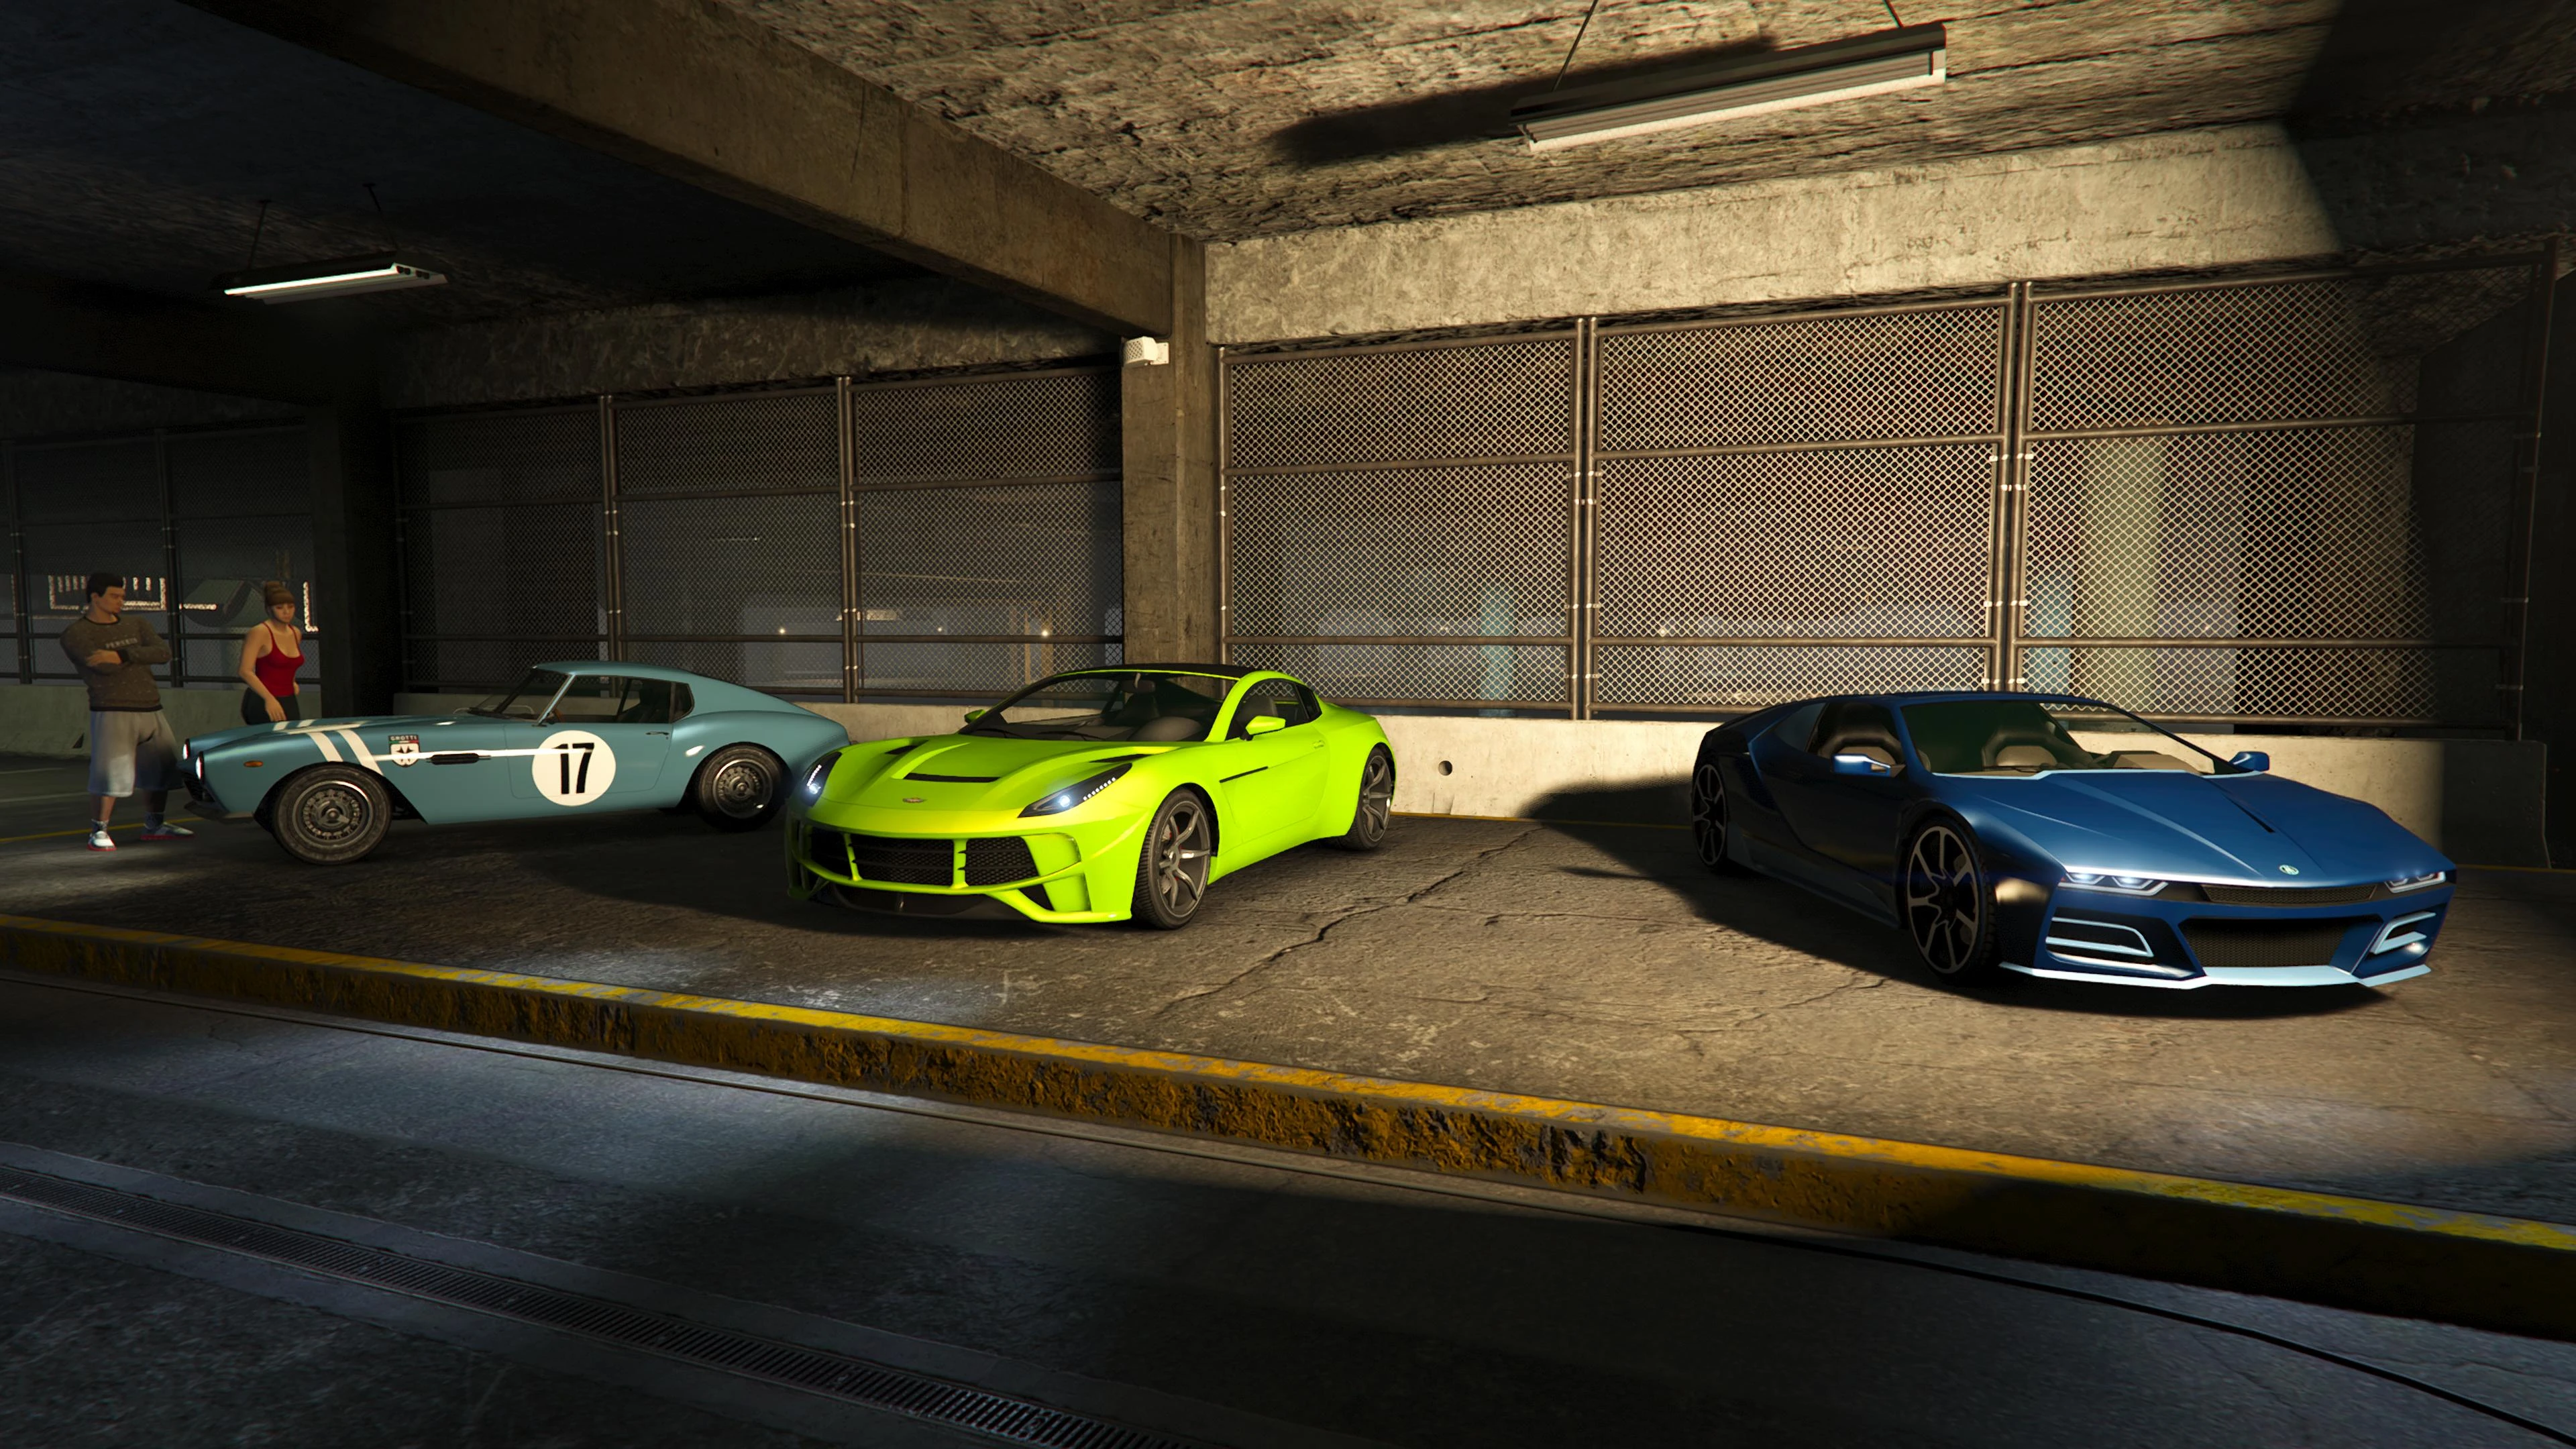
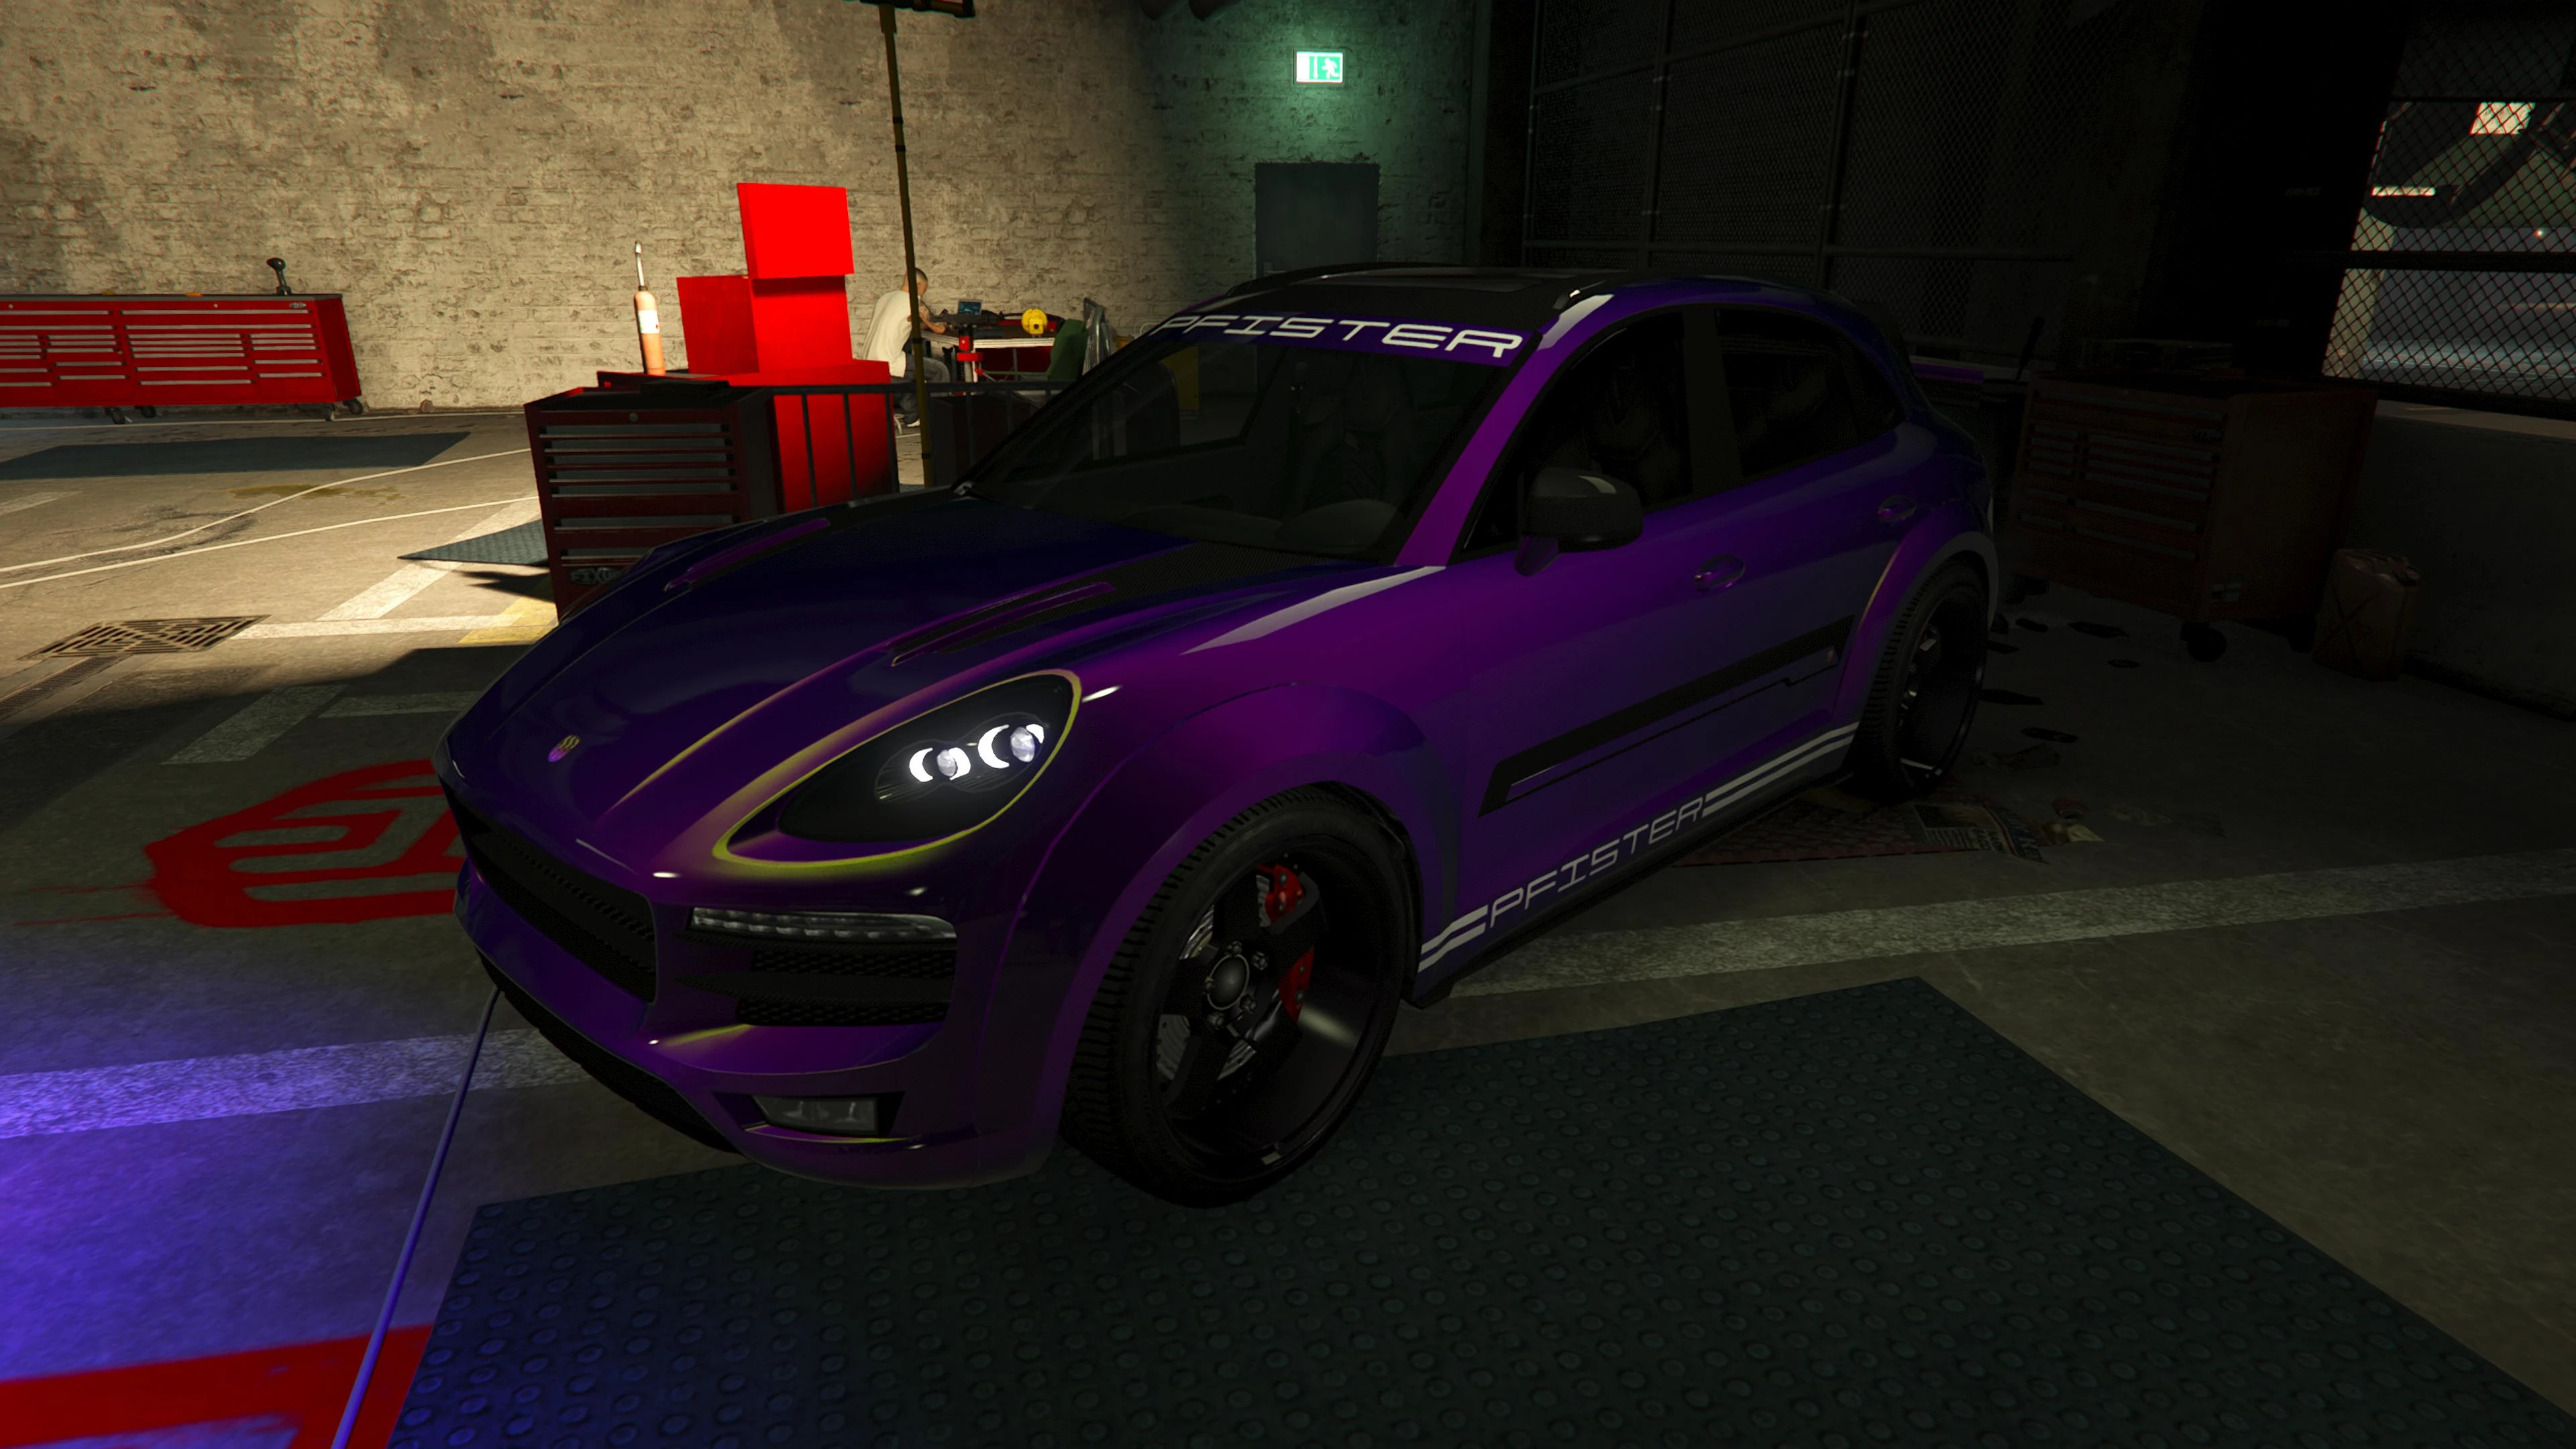
2023
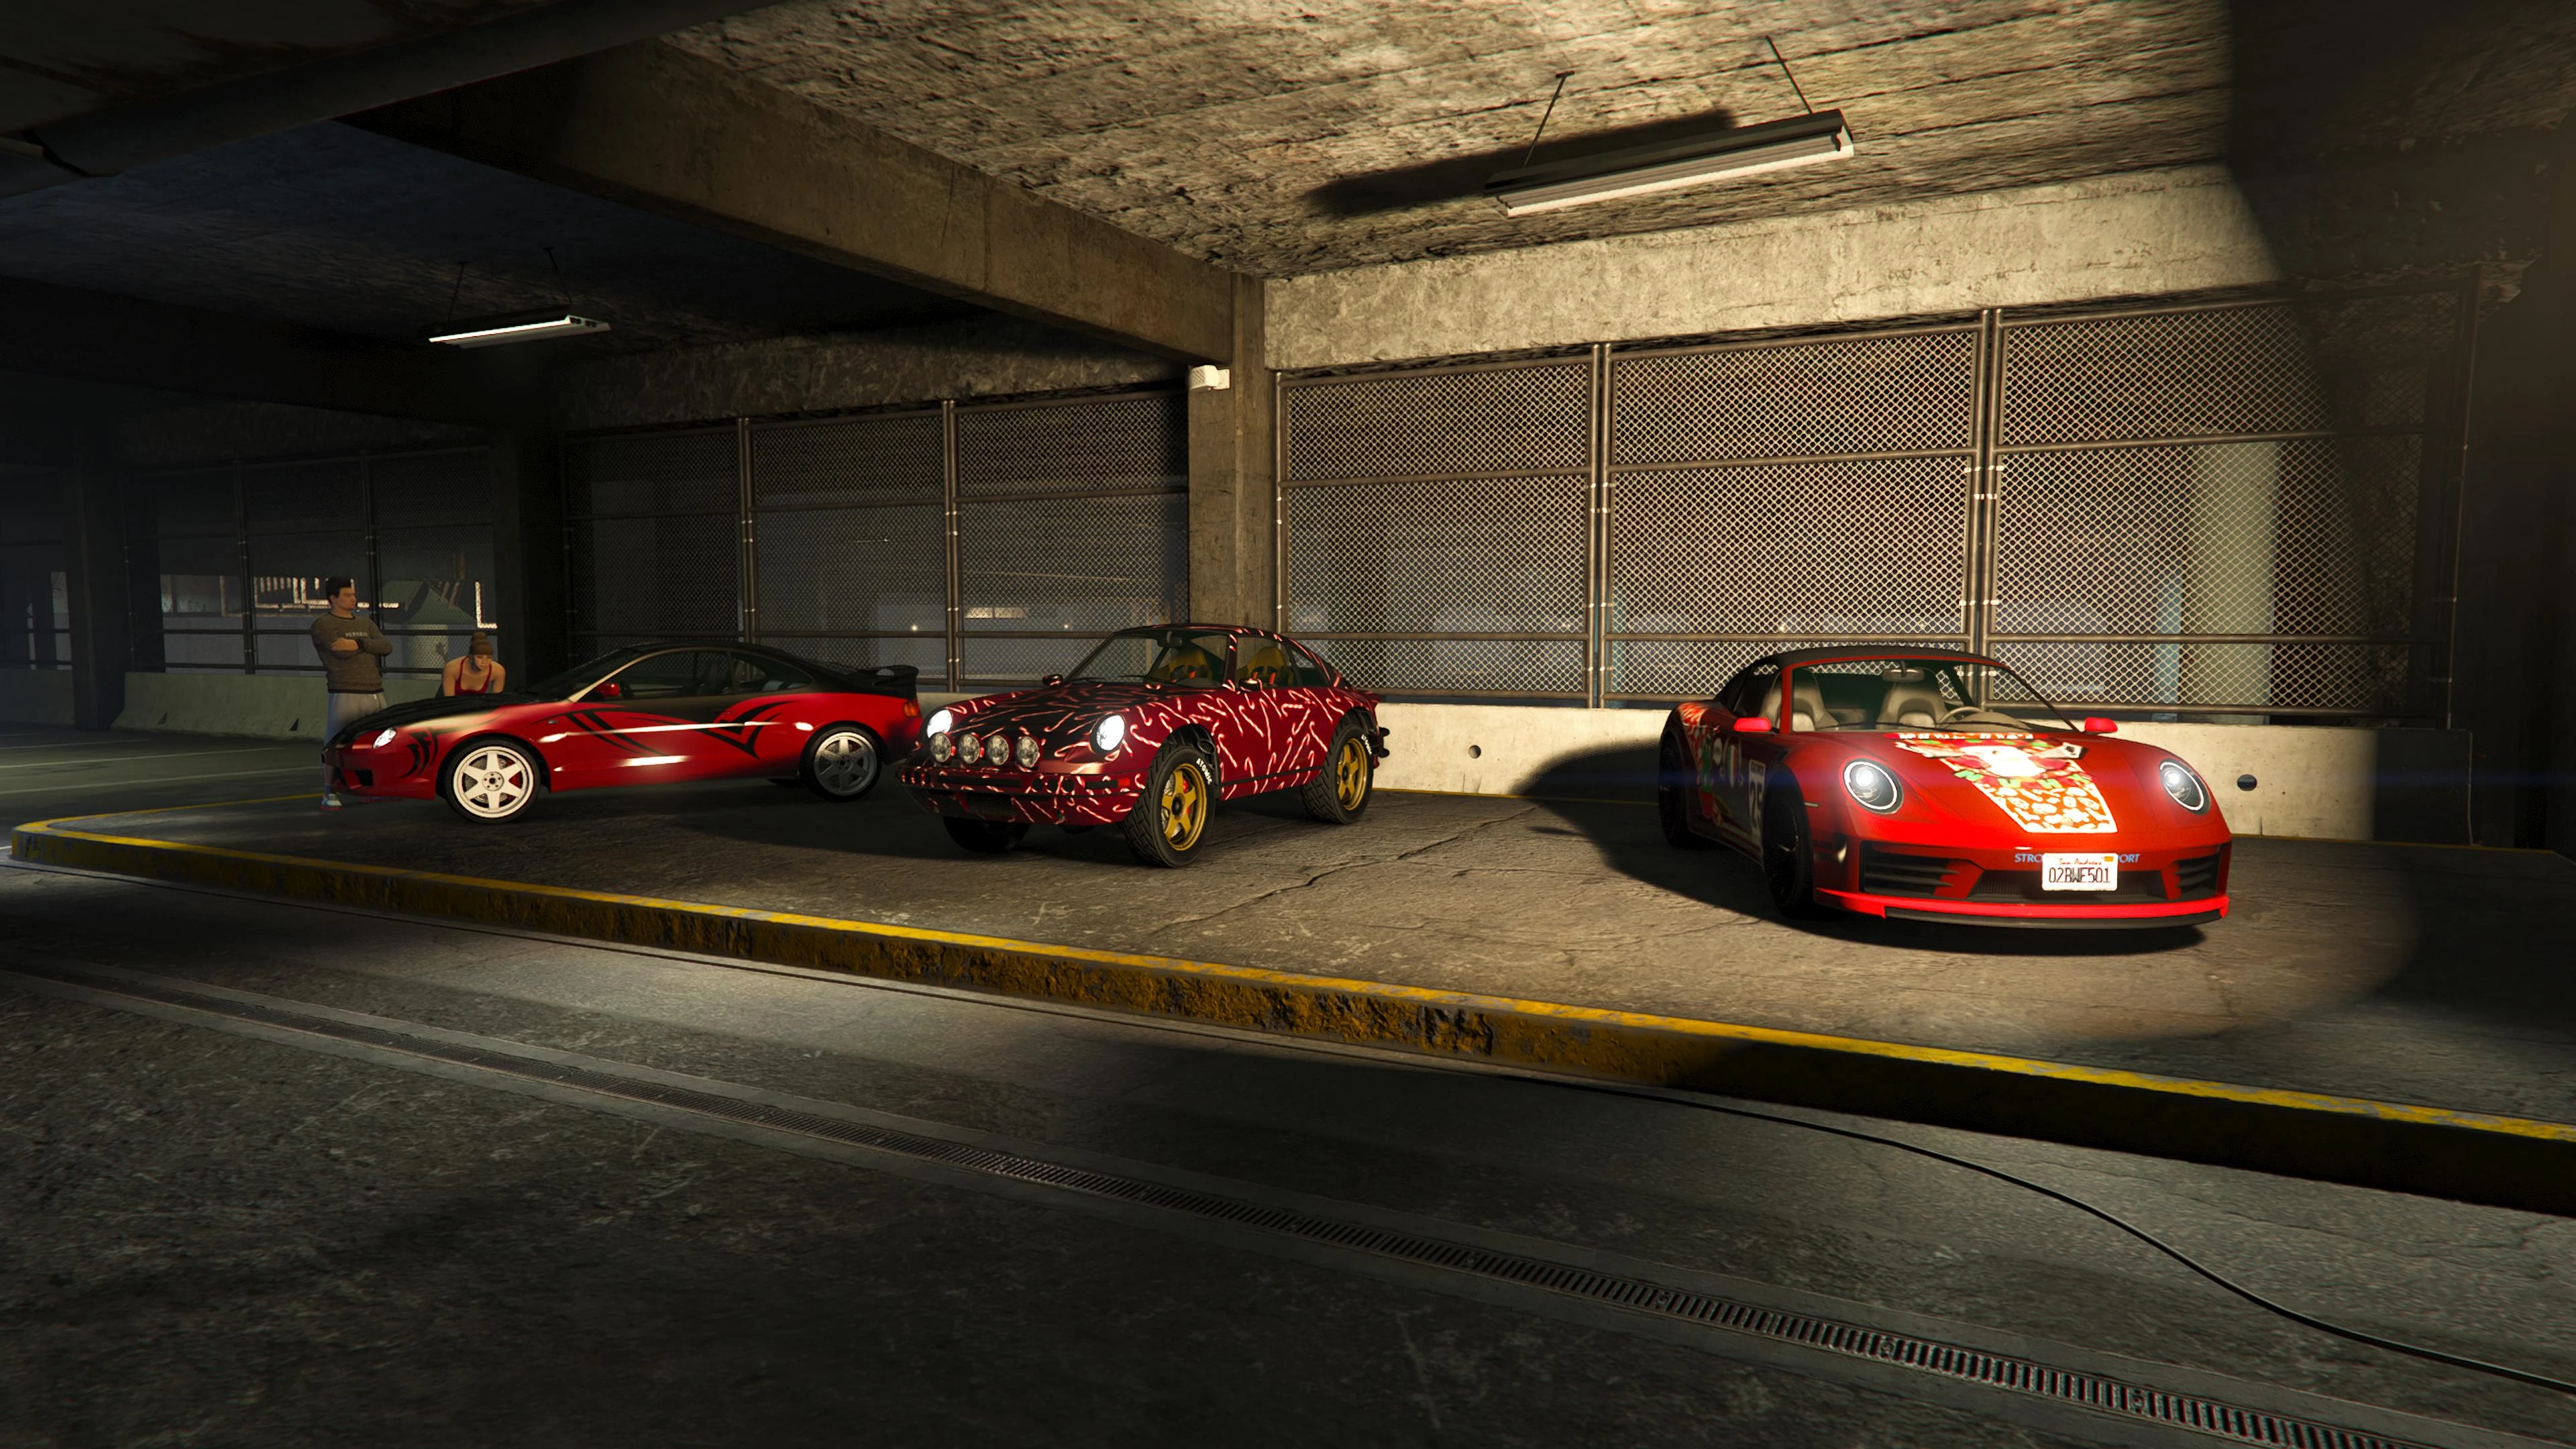
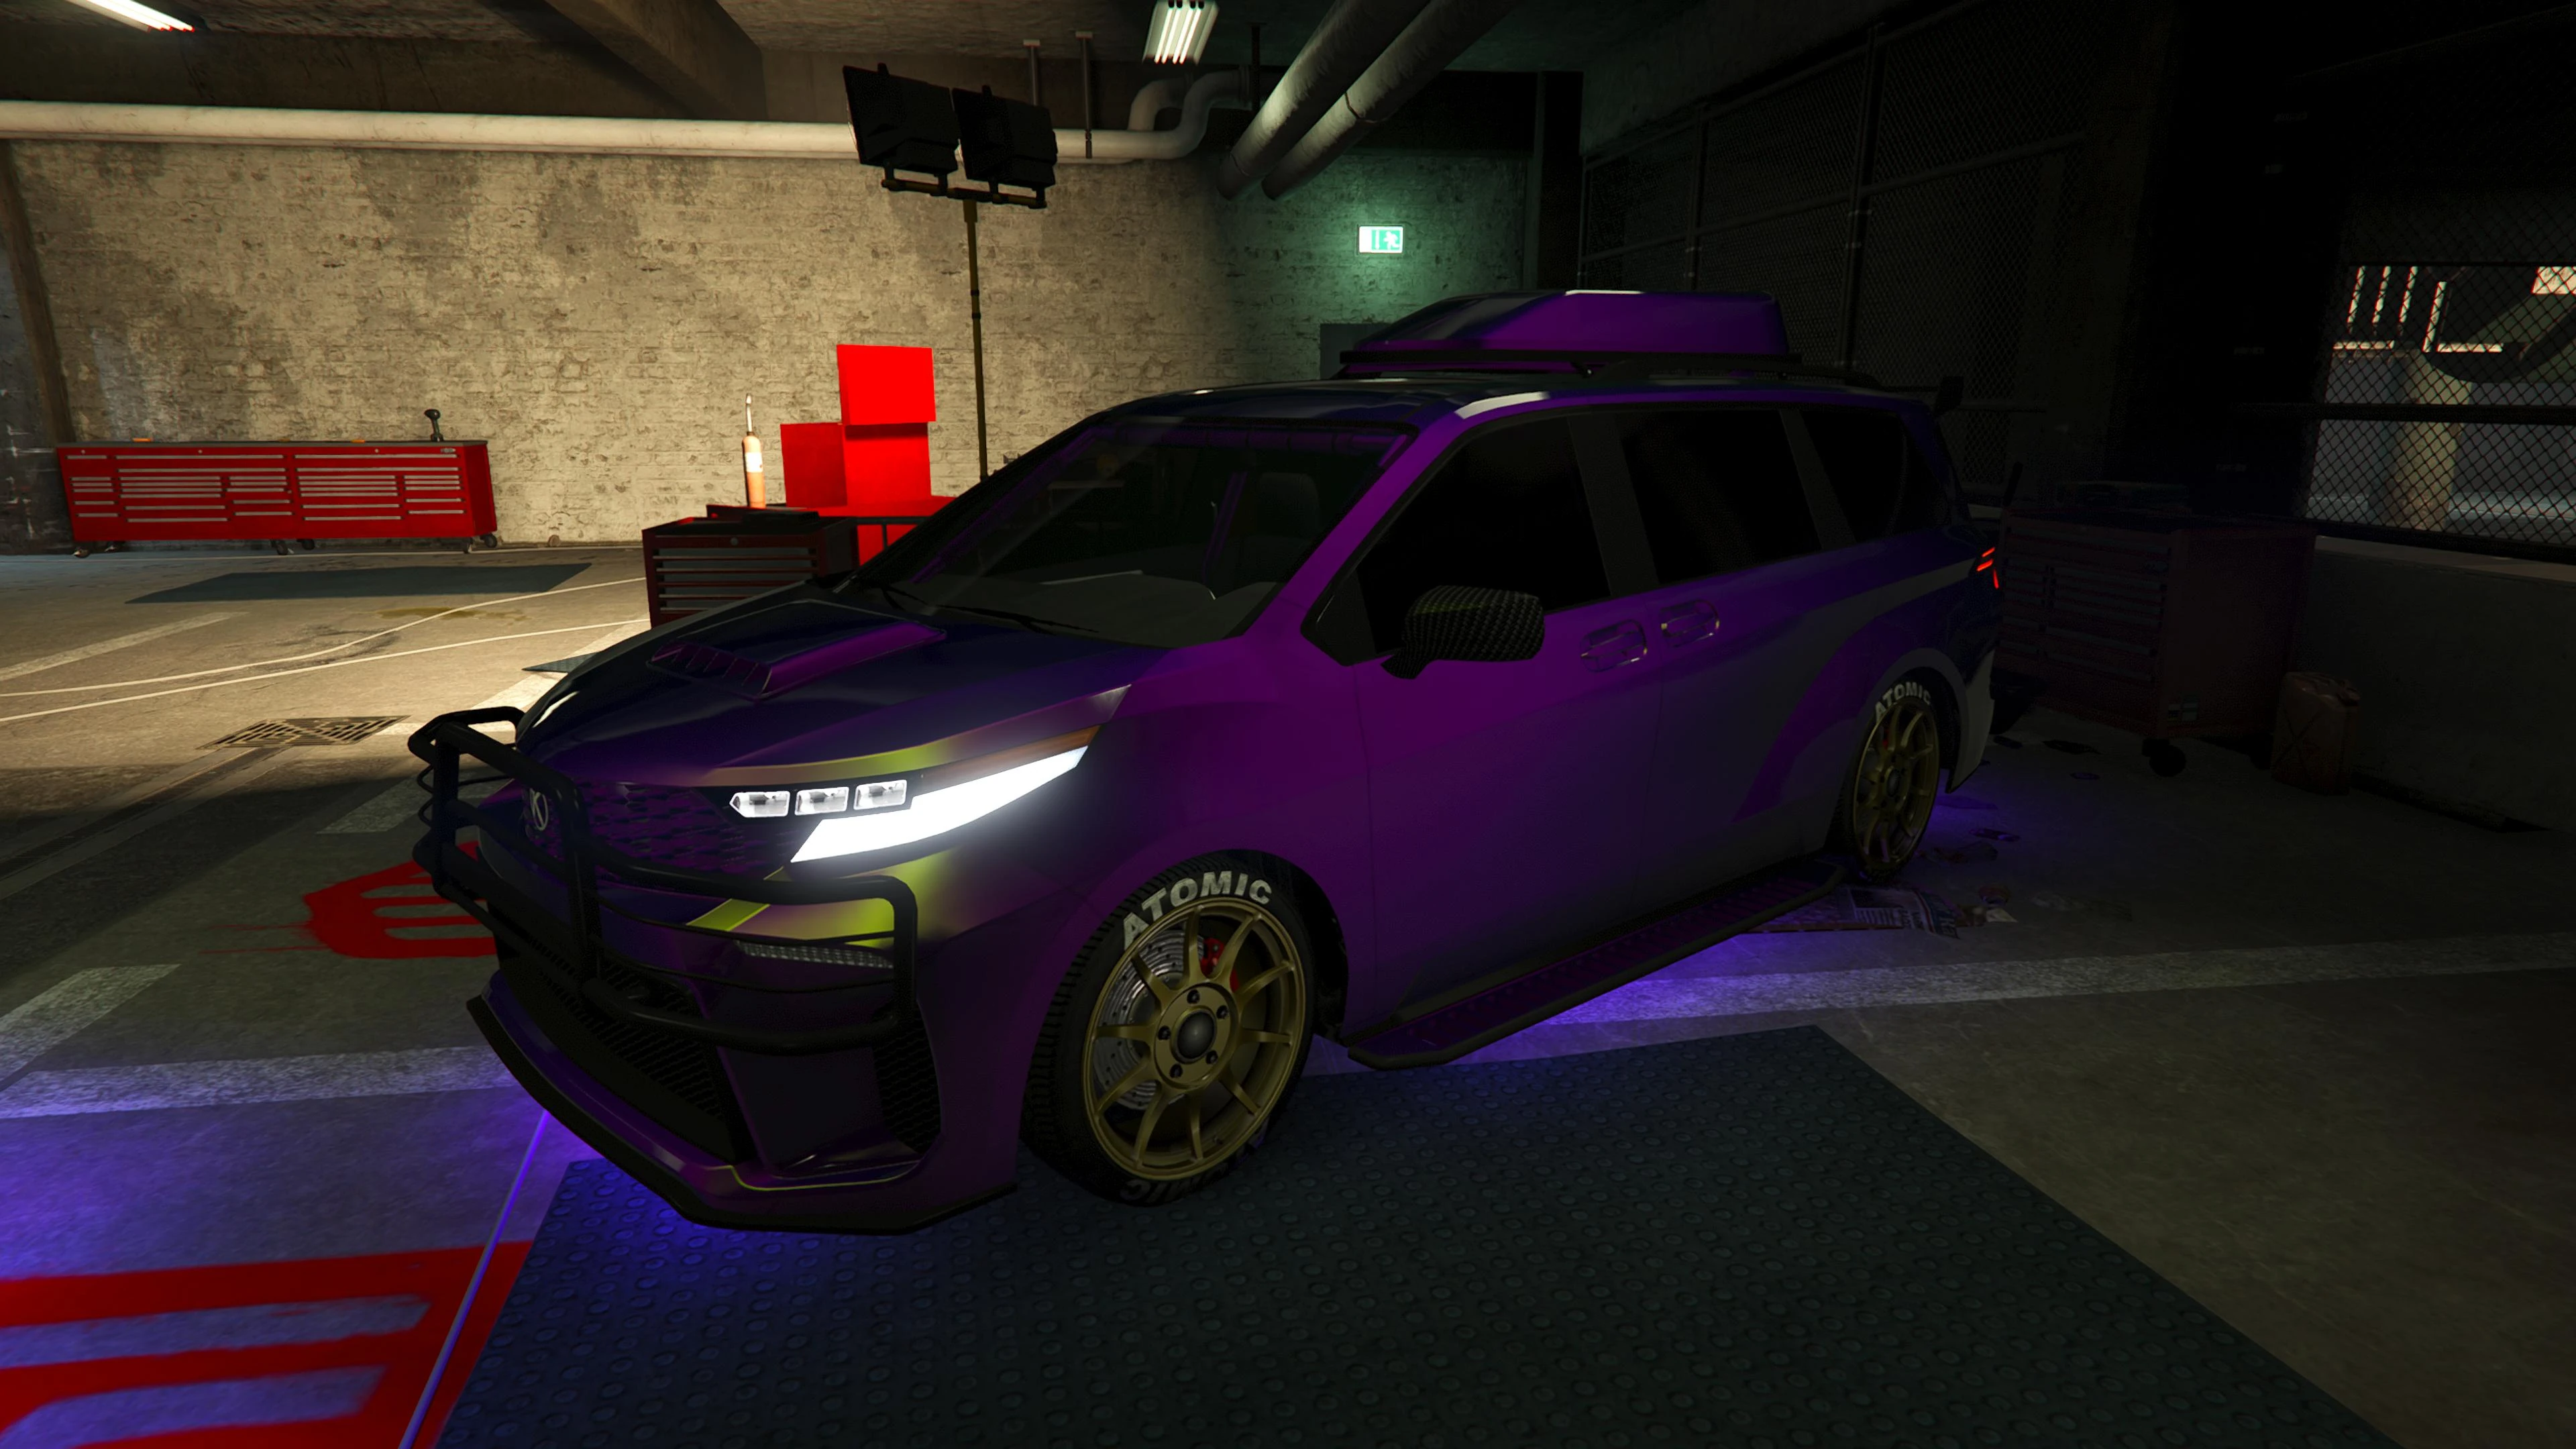
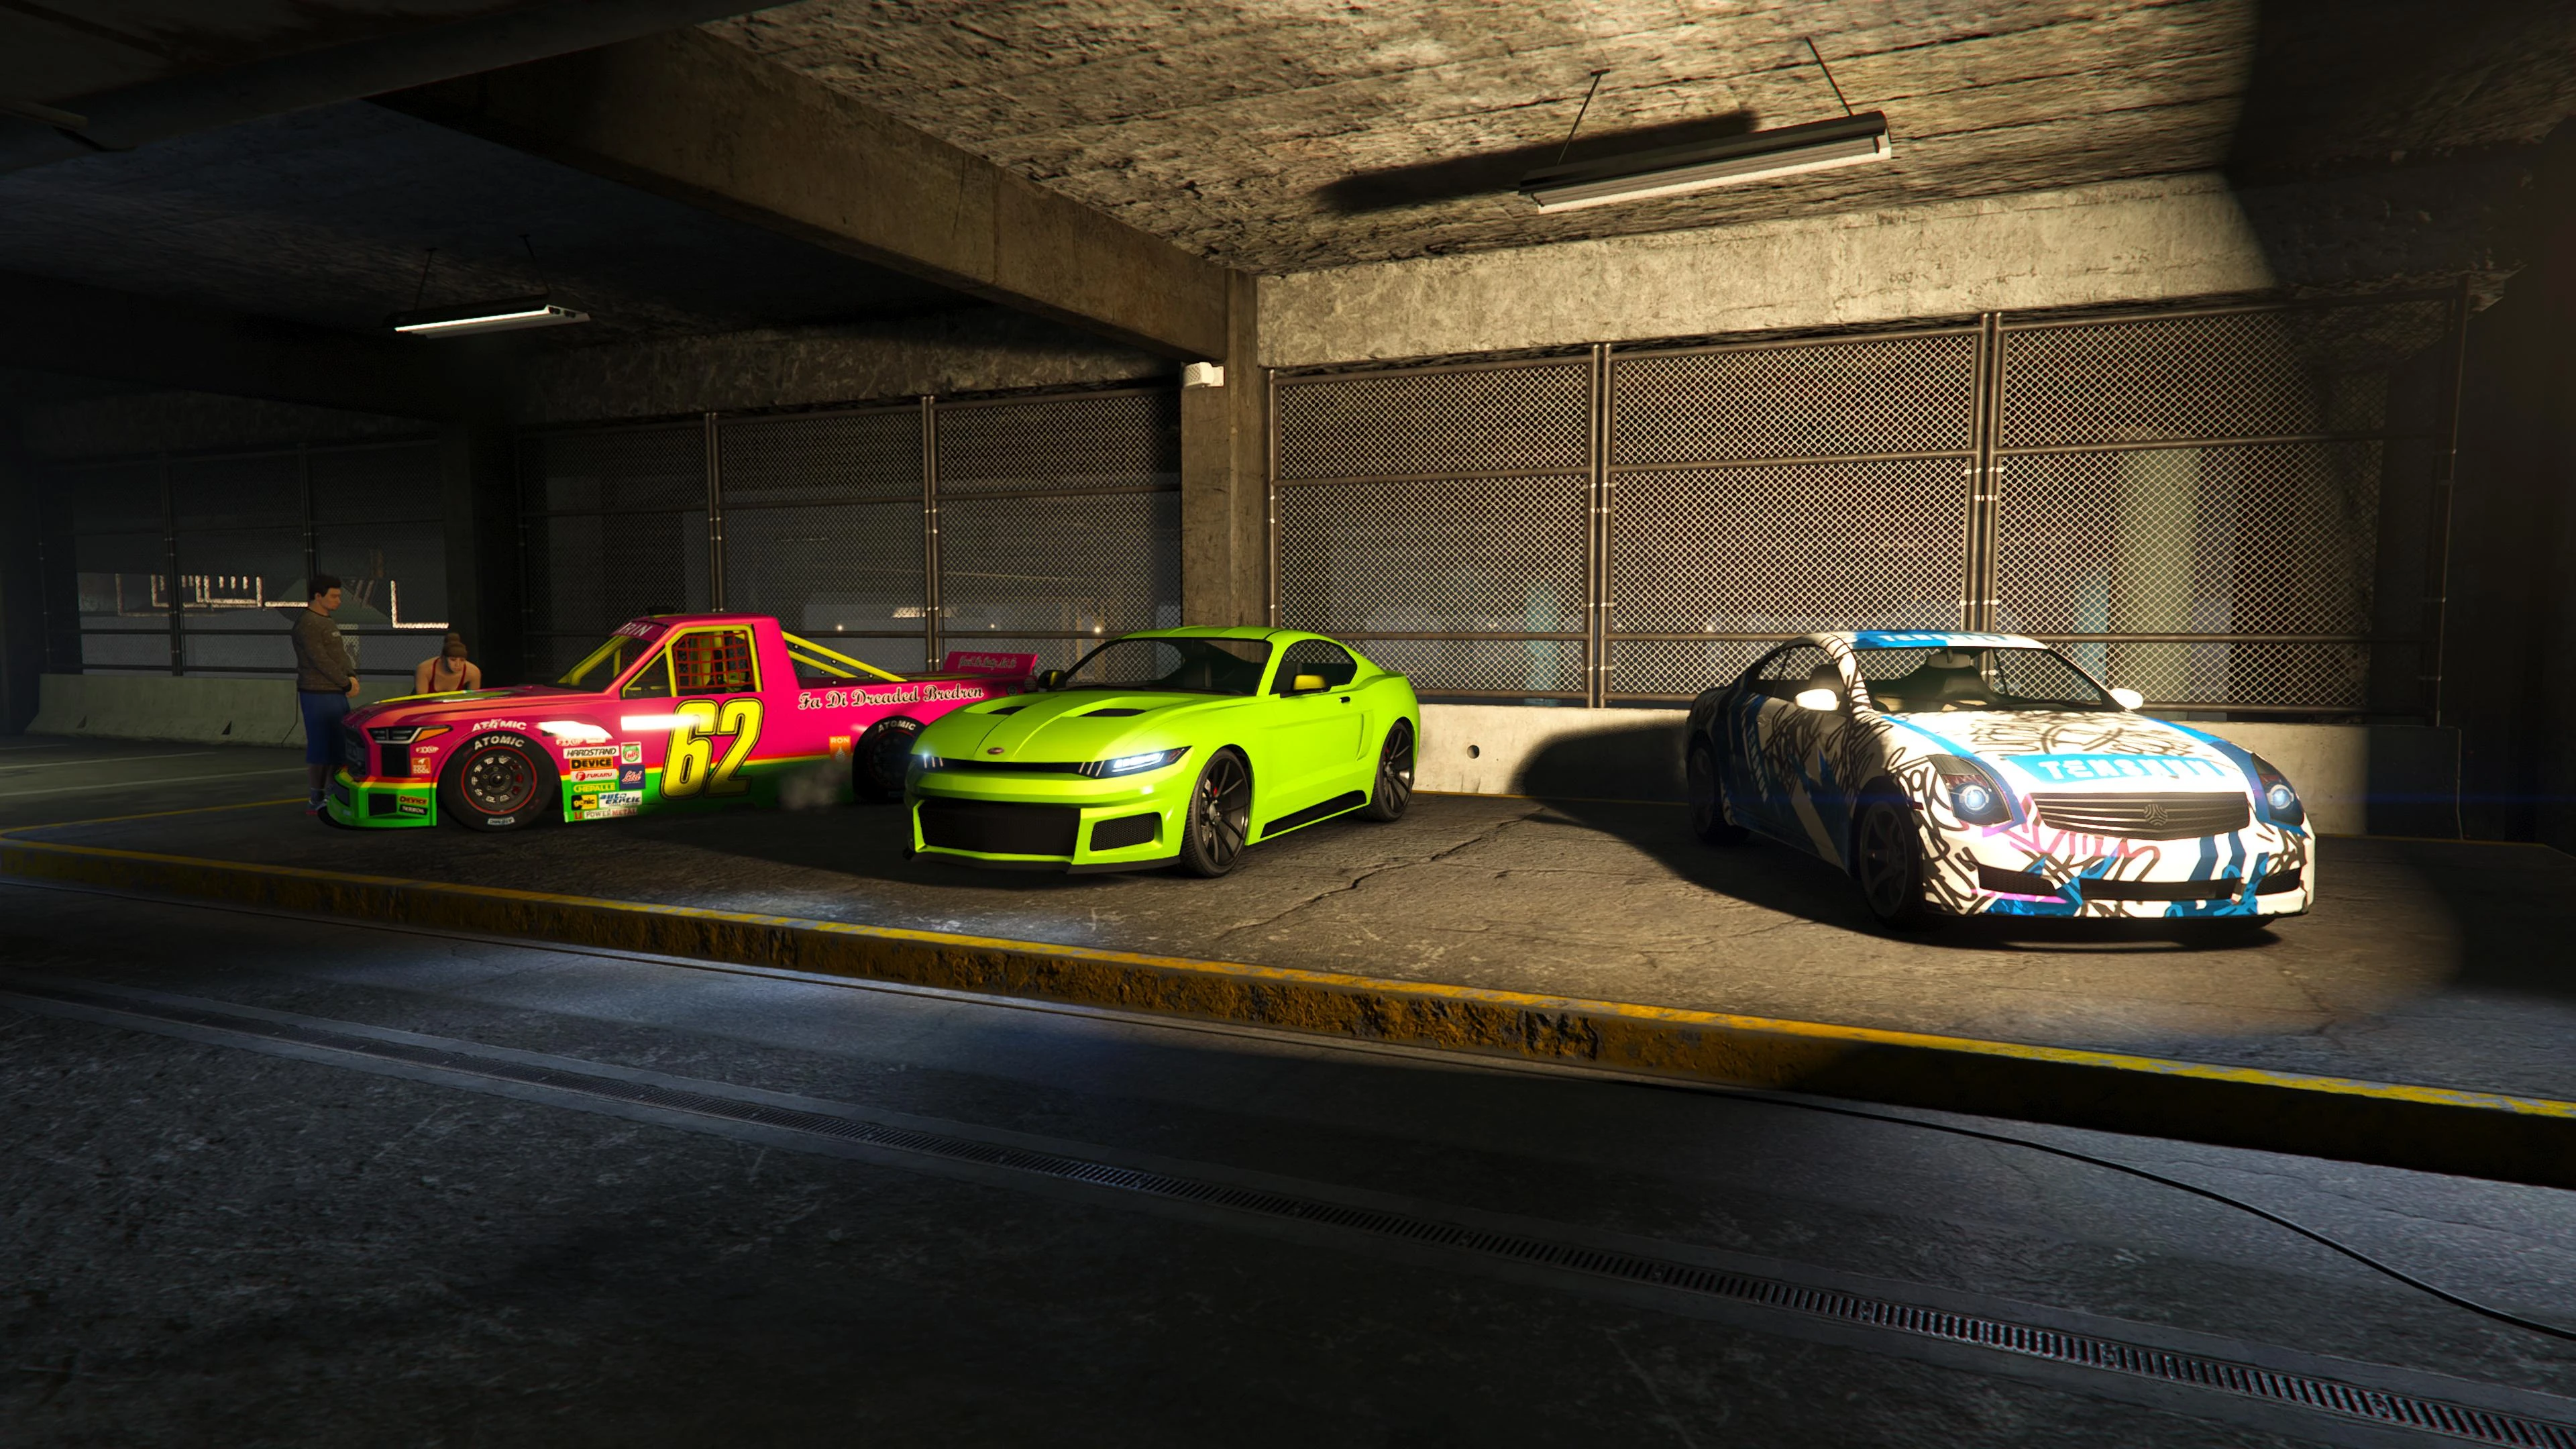
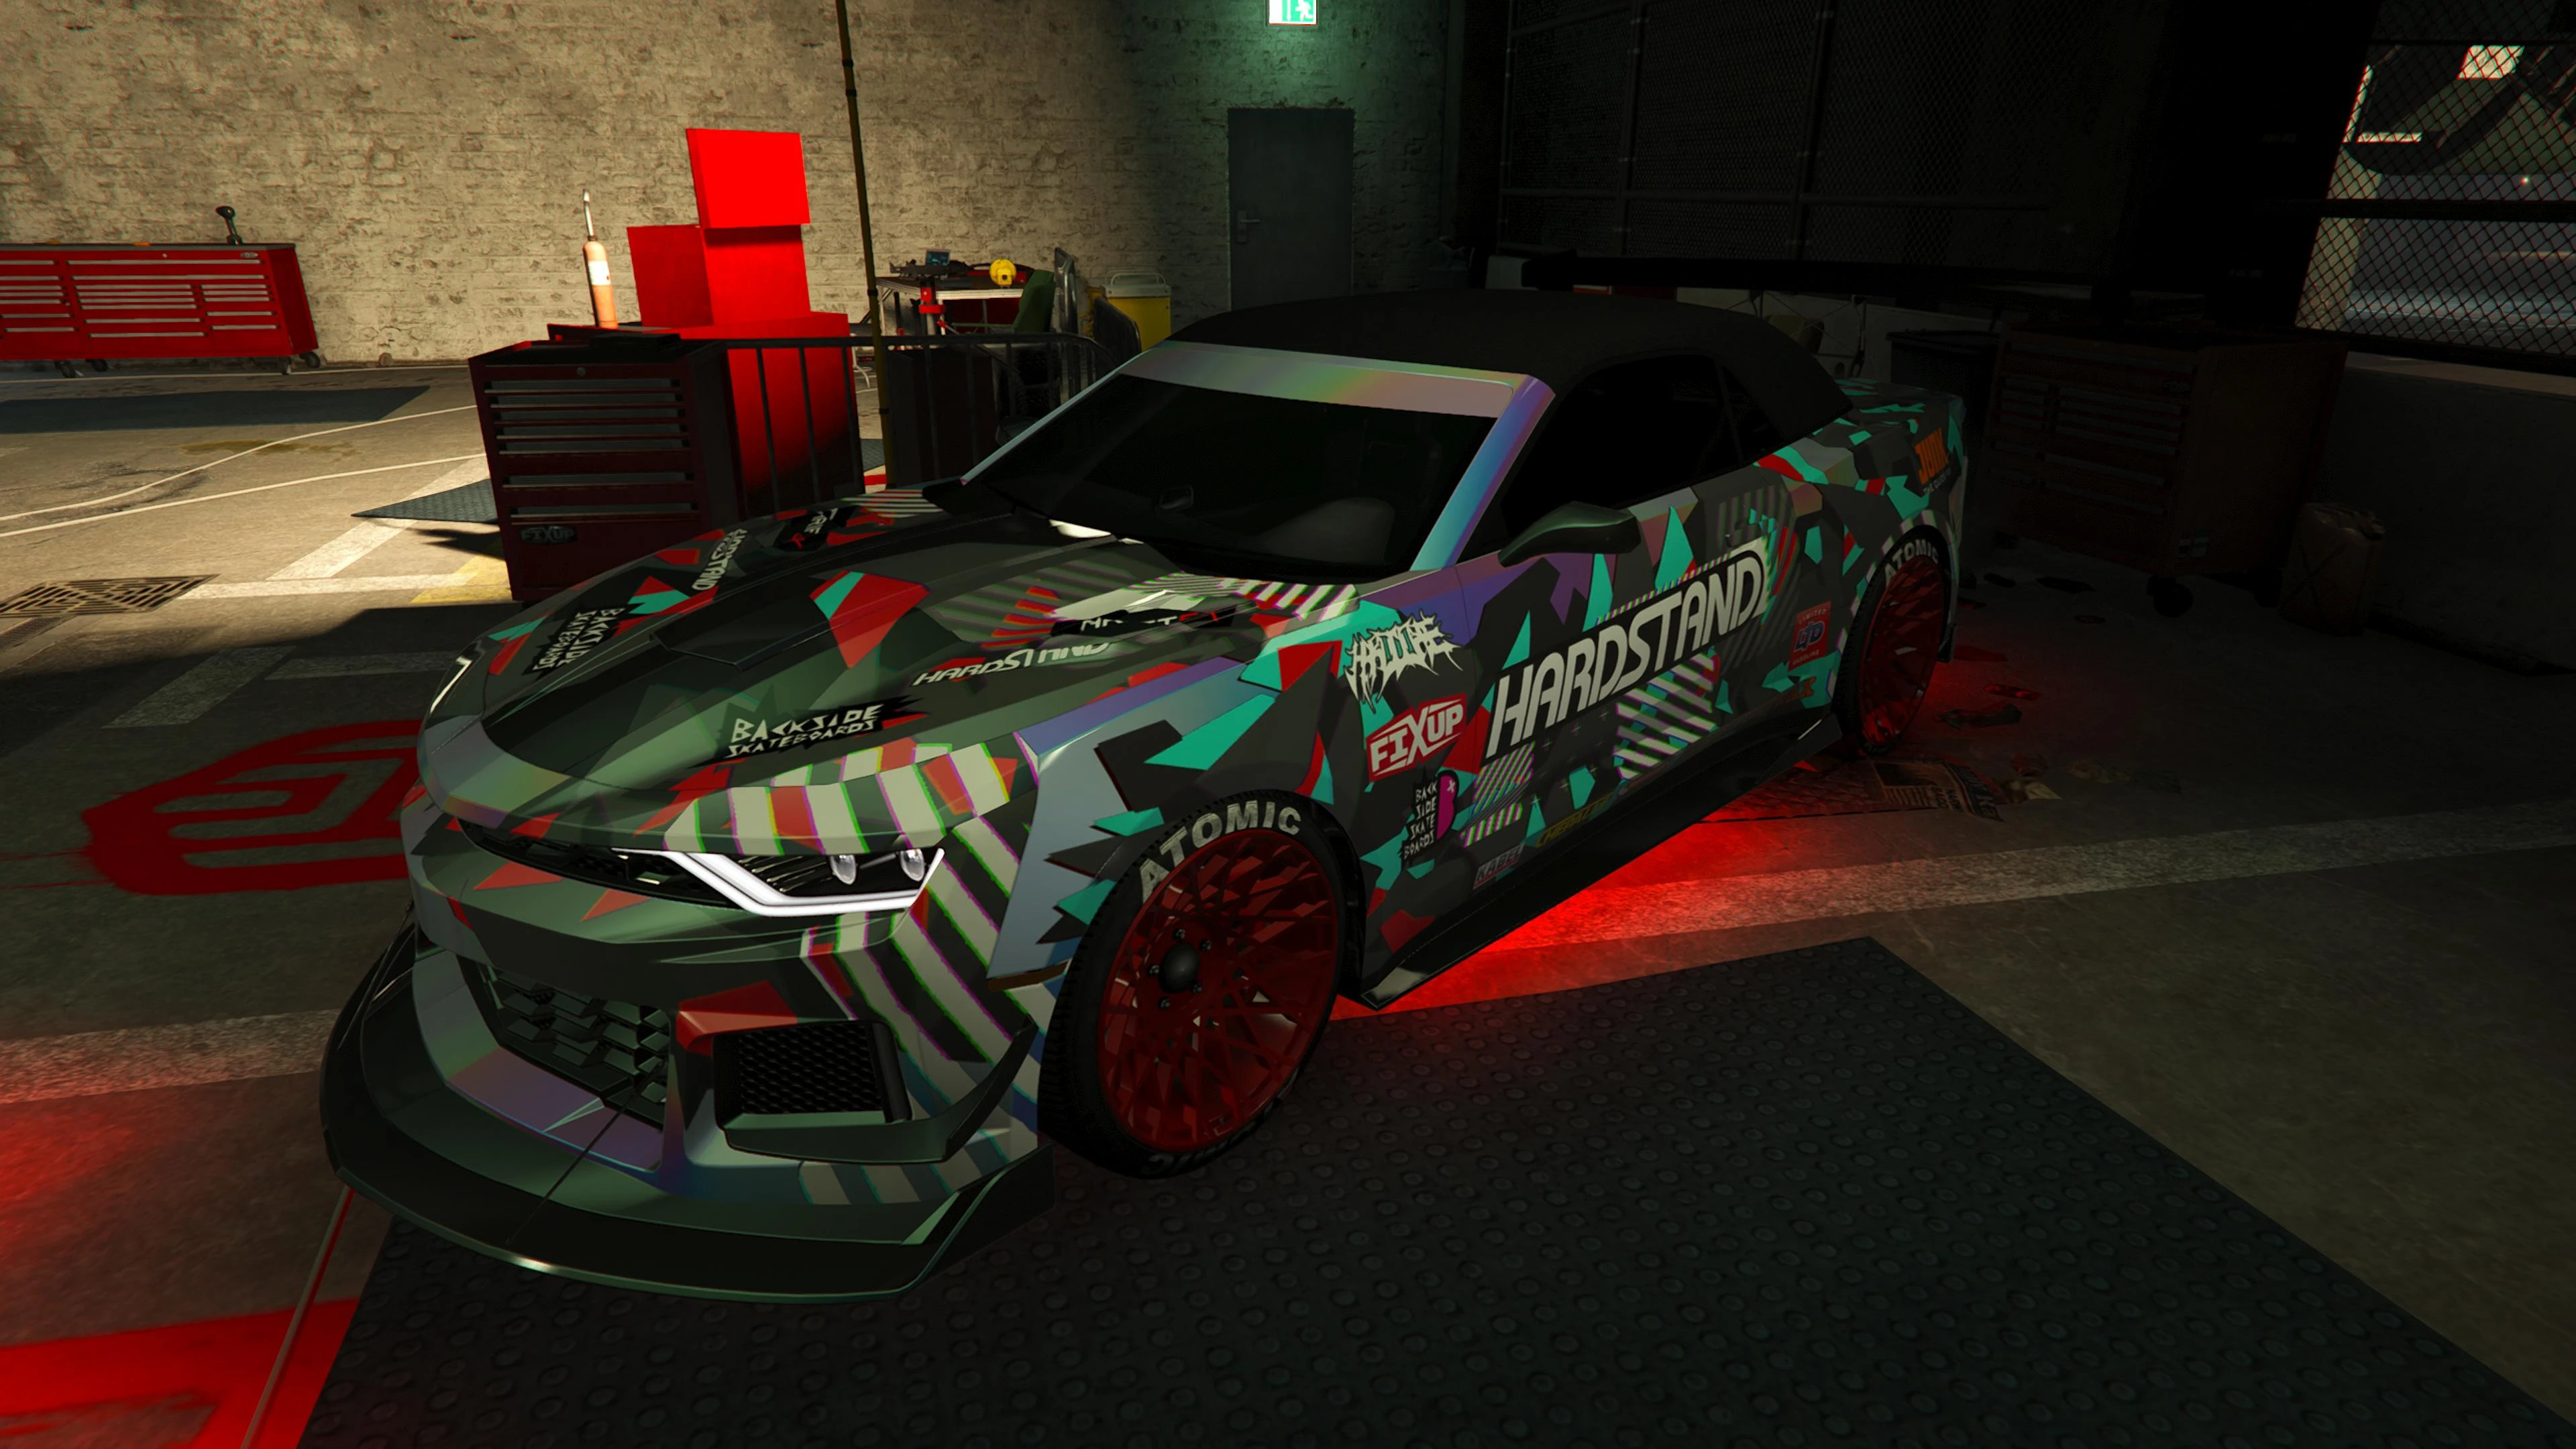
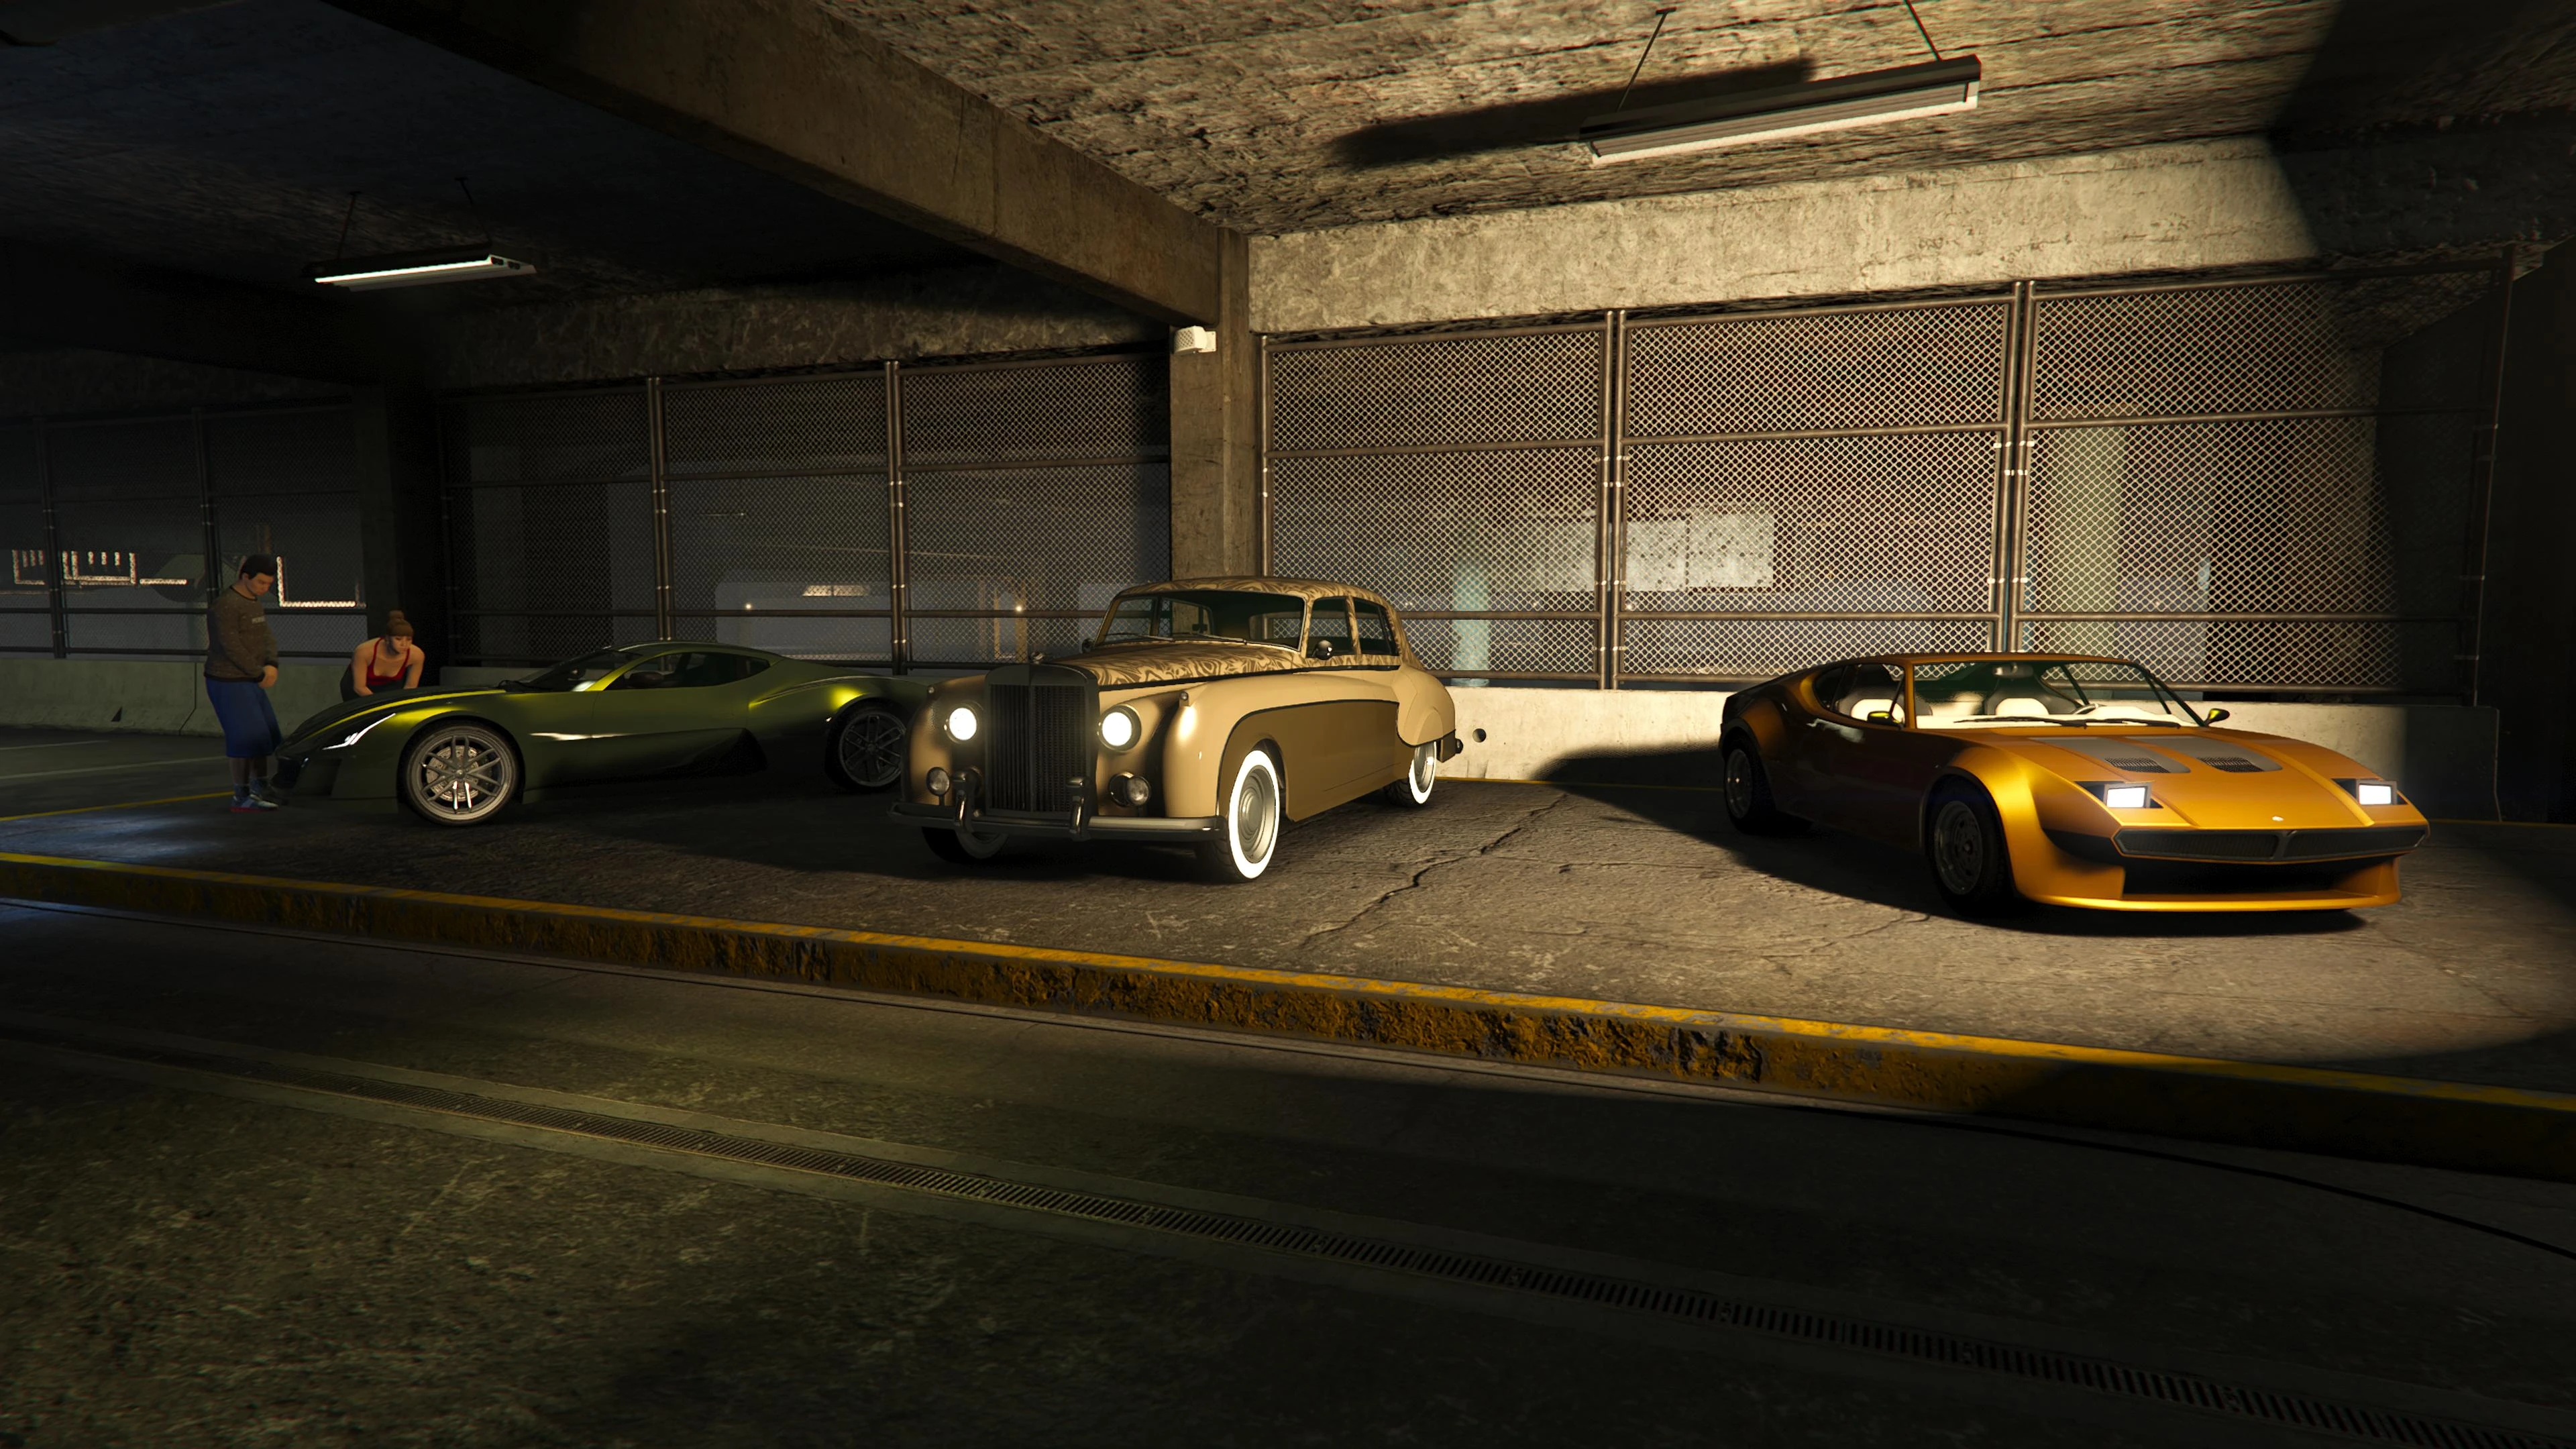

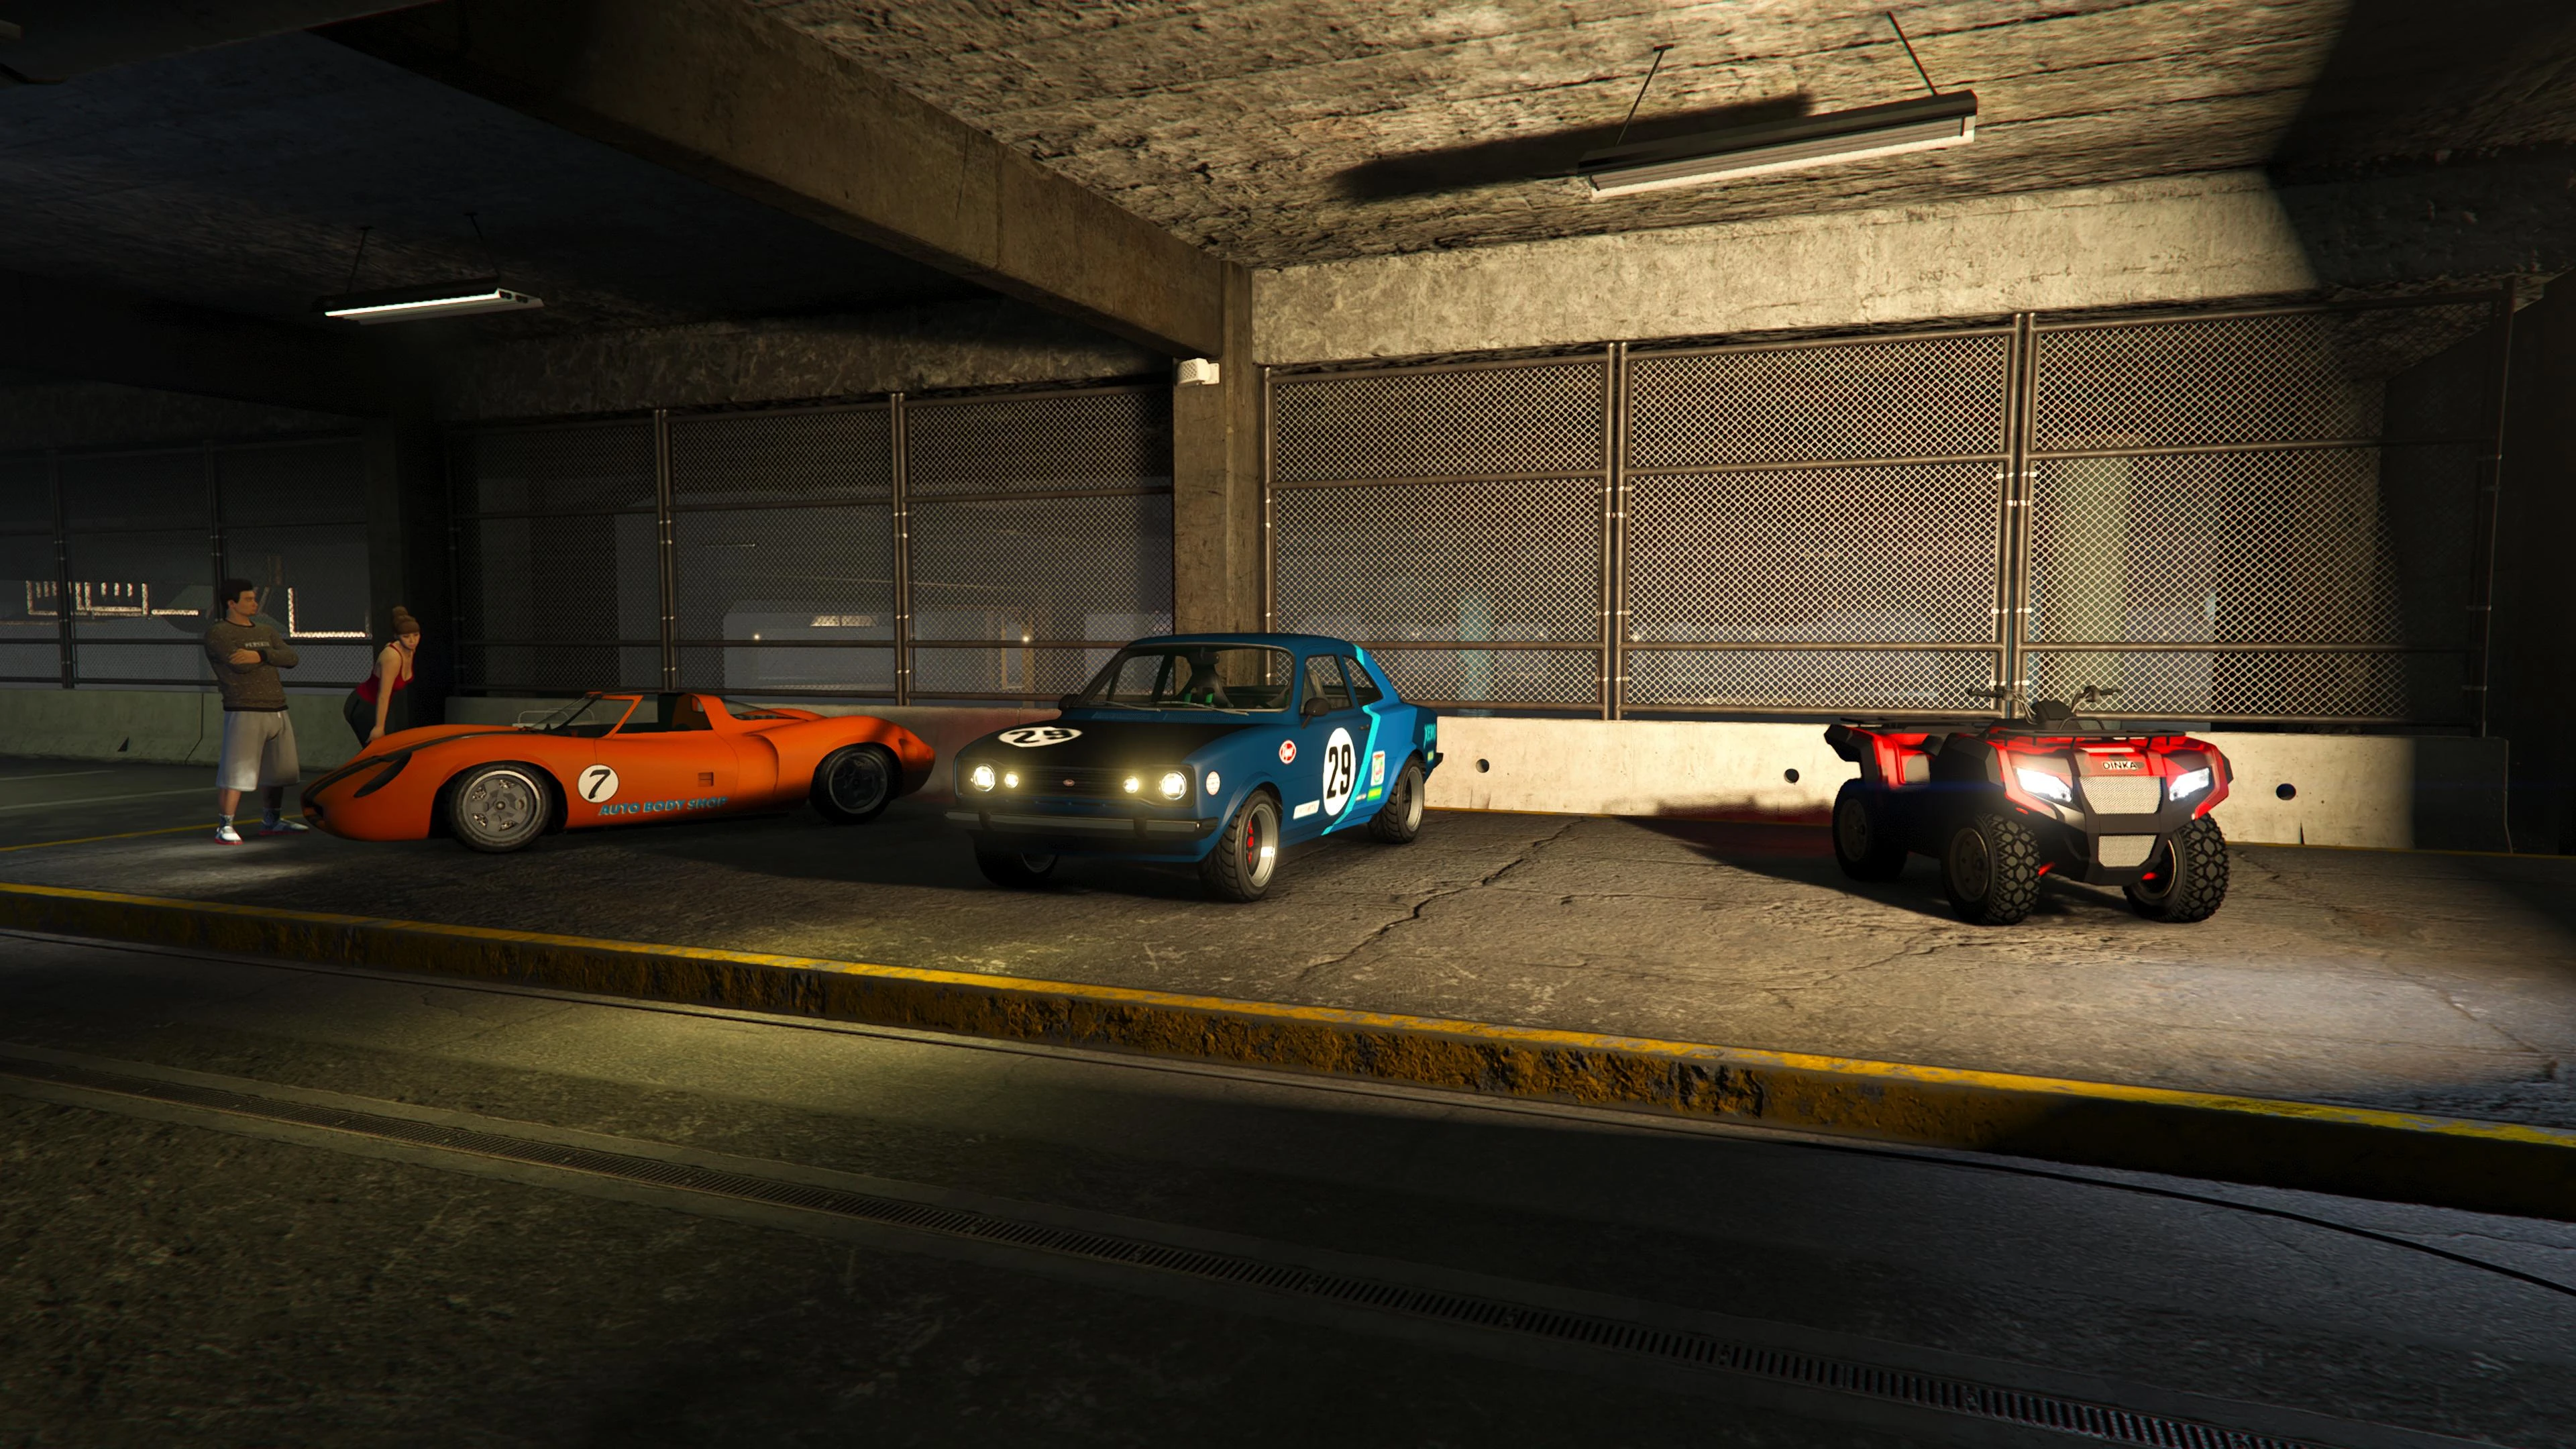
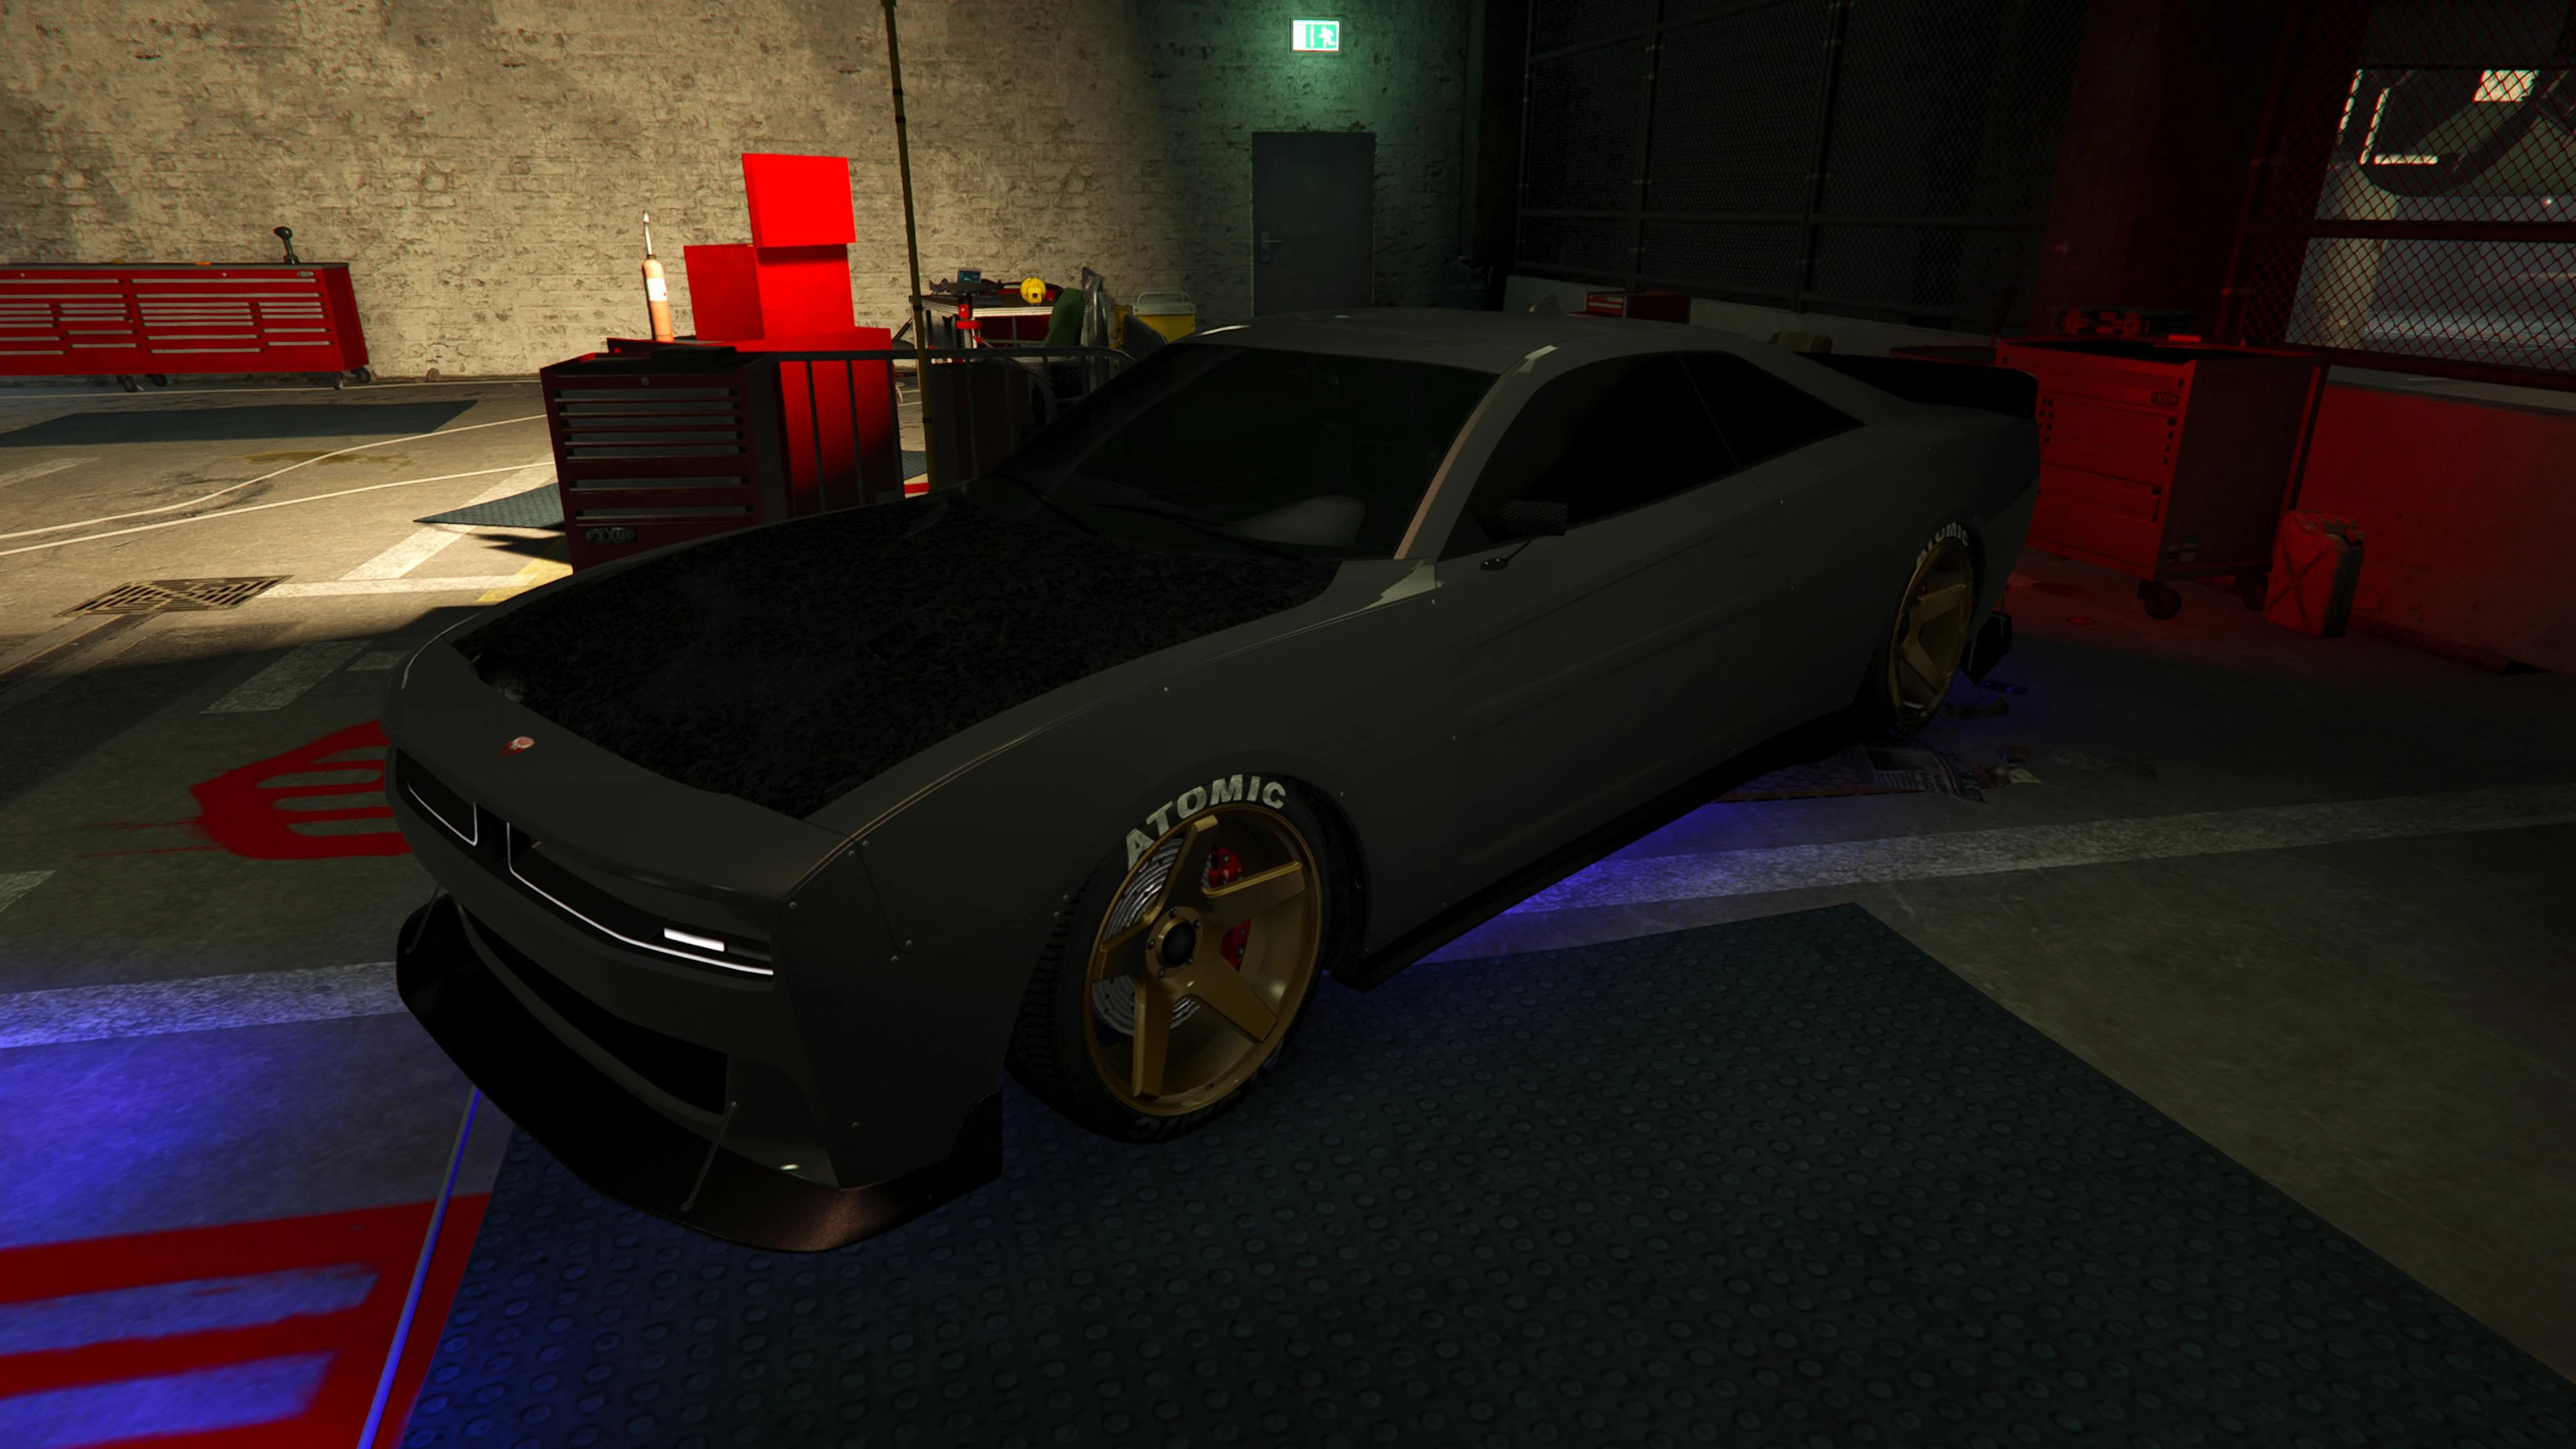
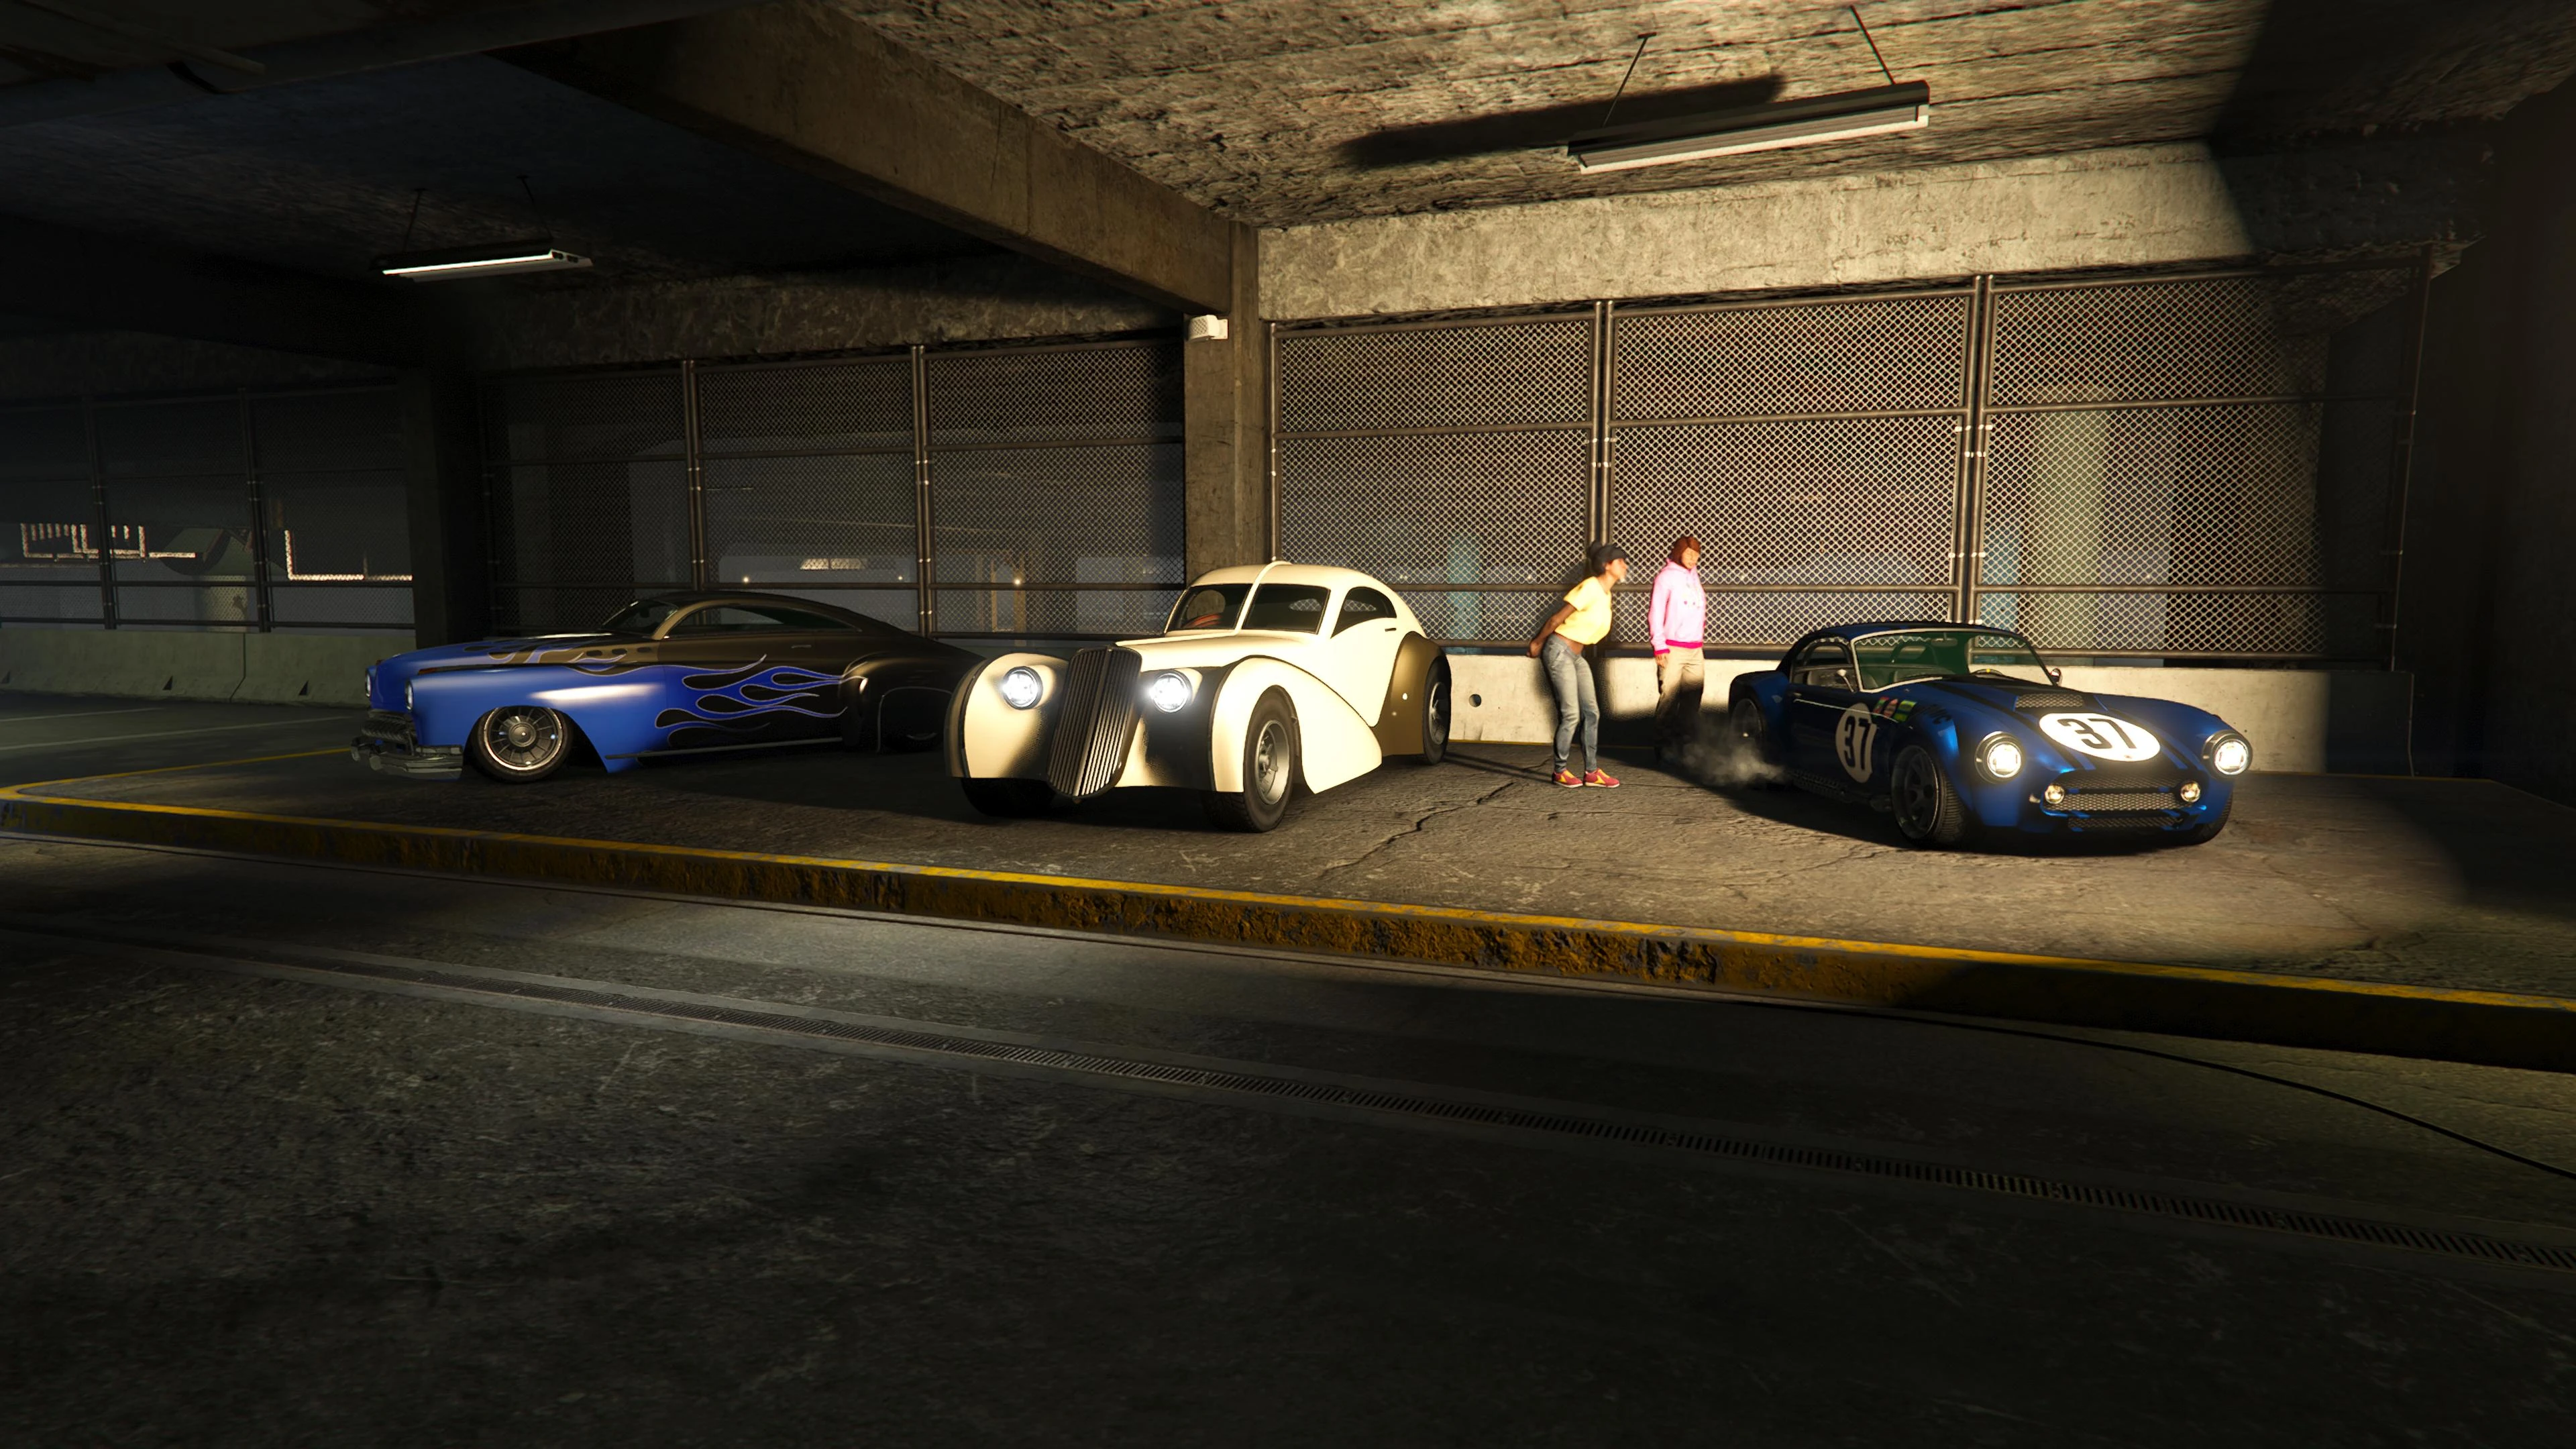
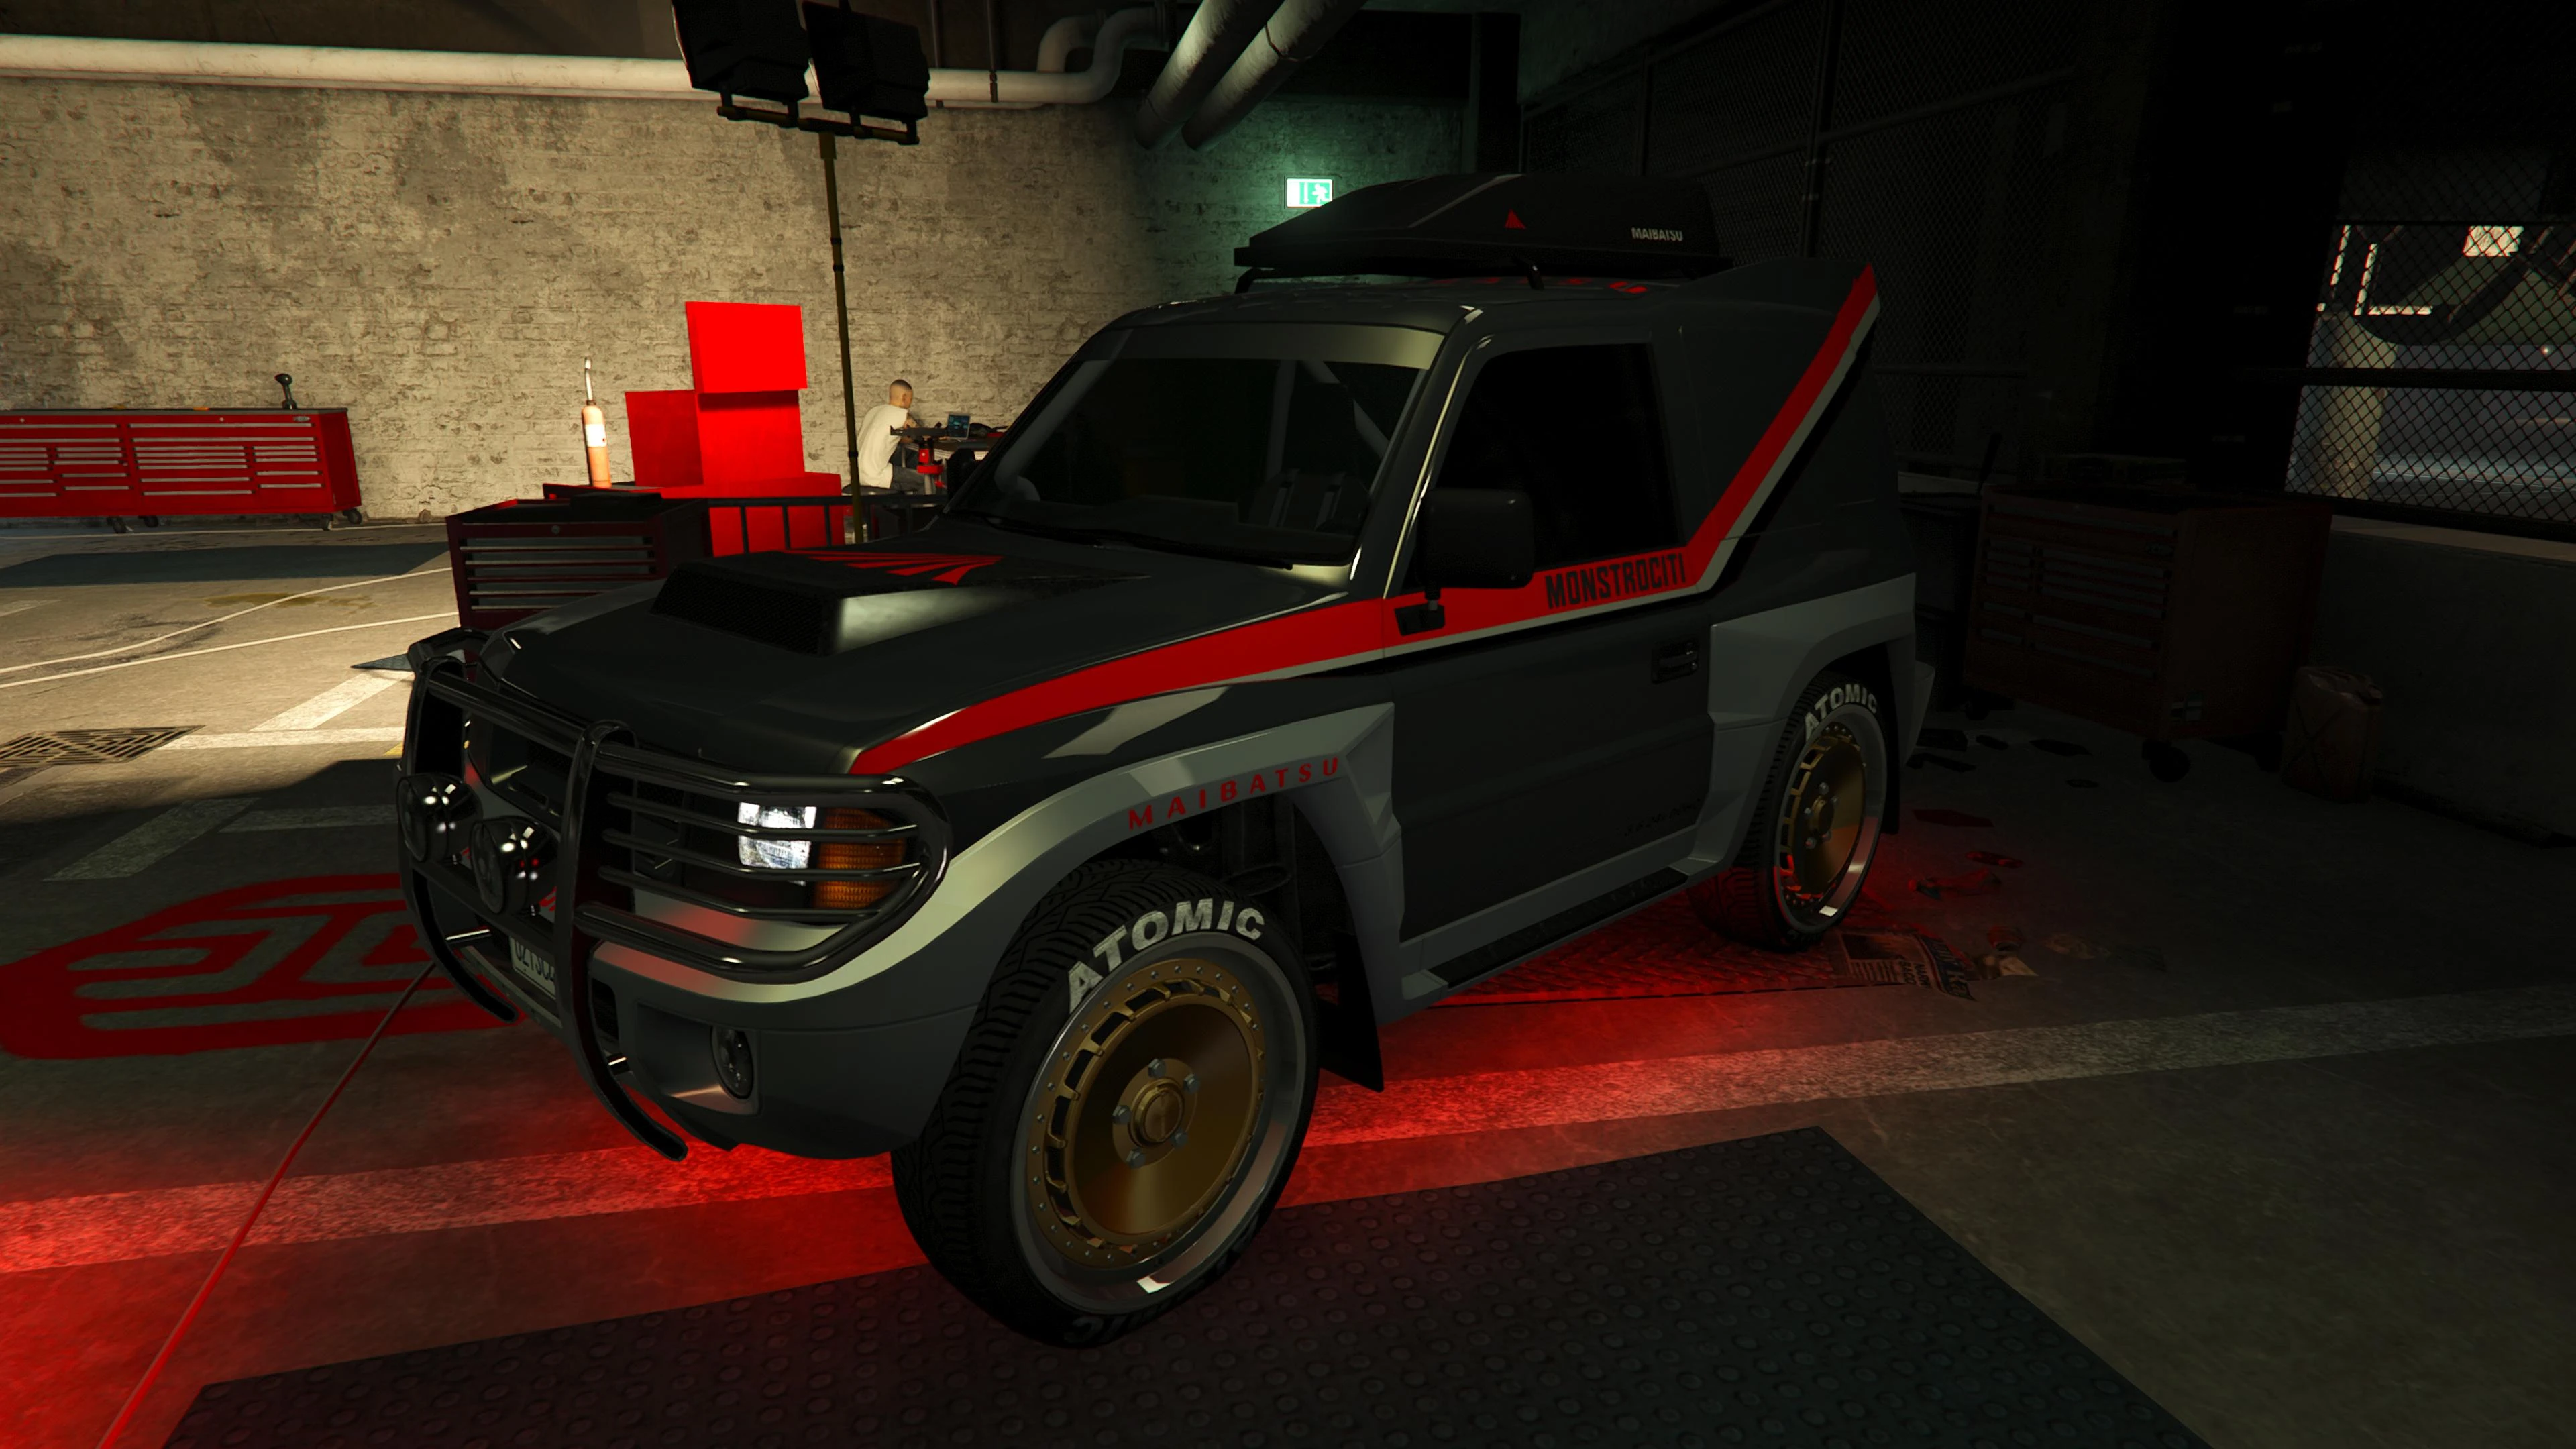
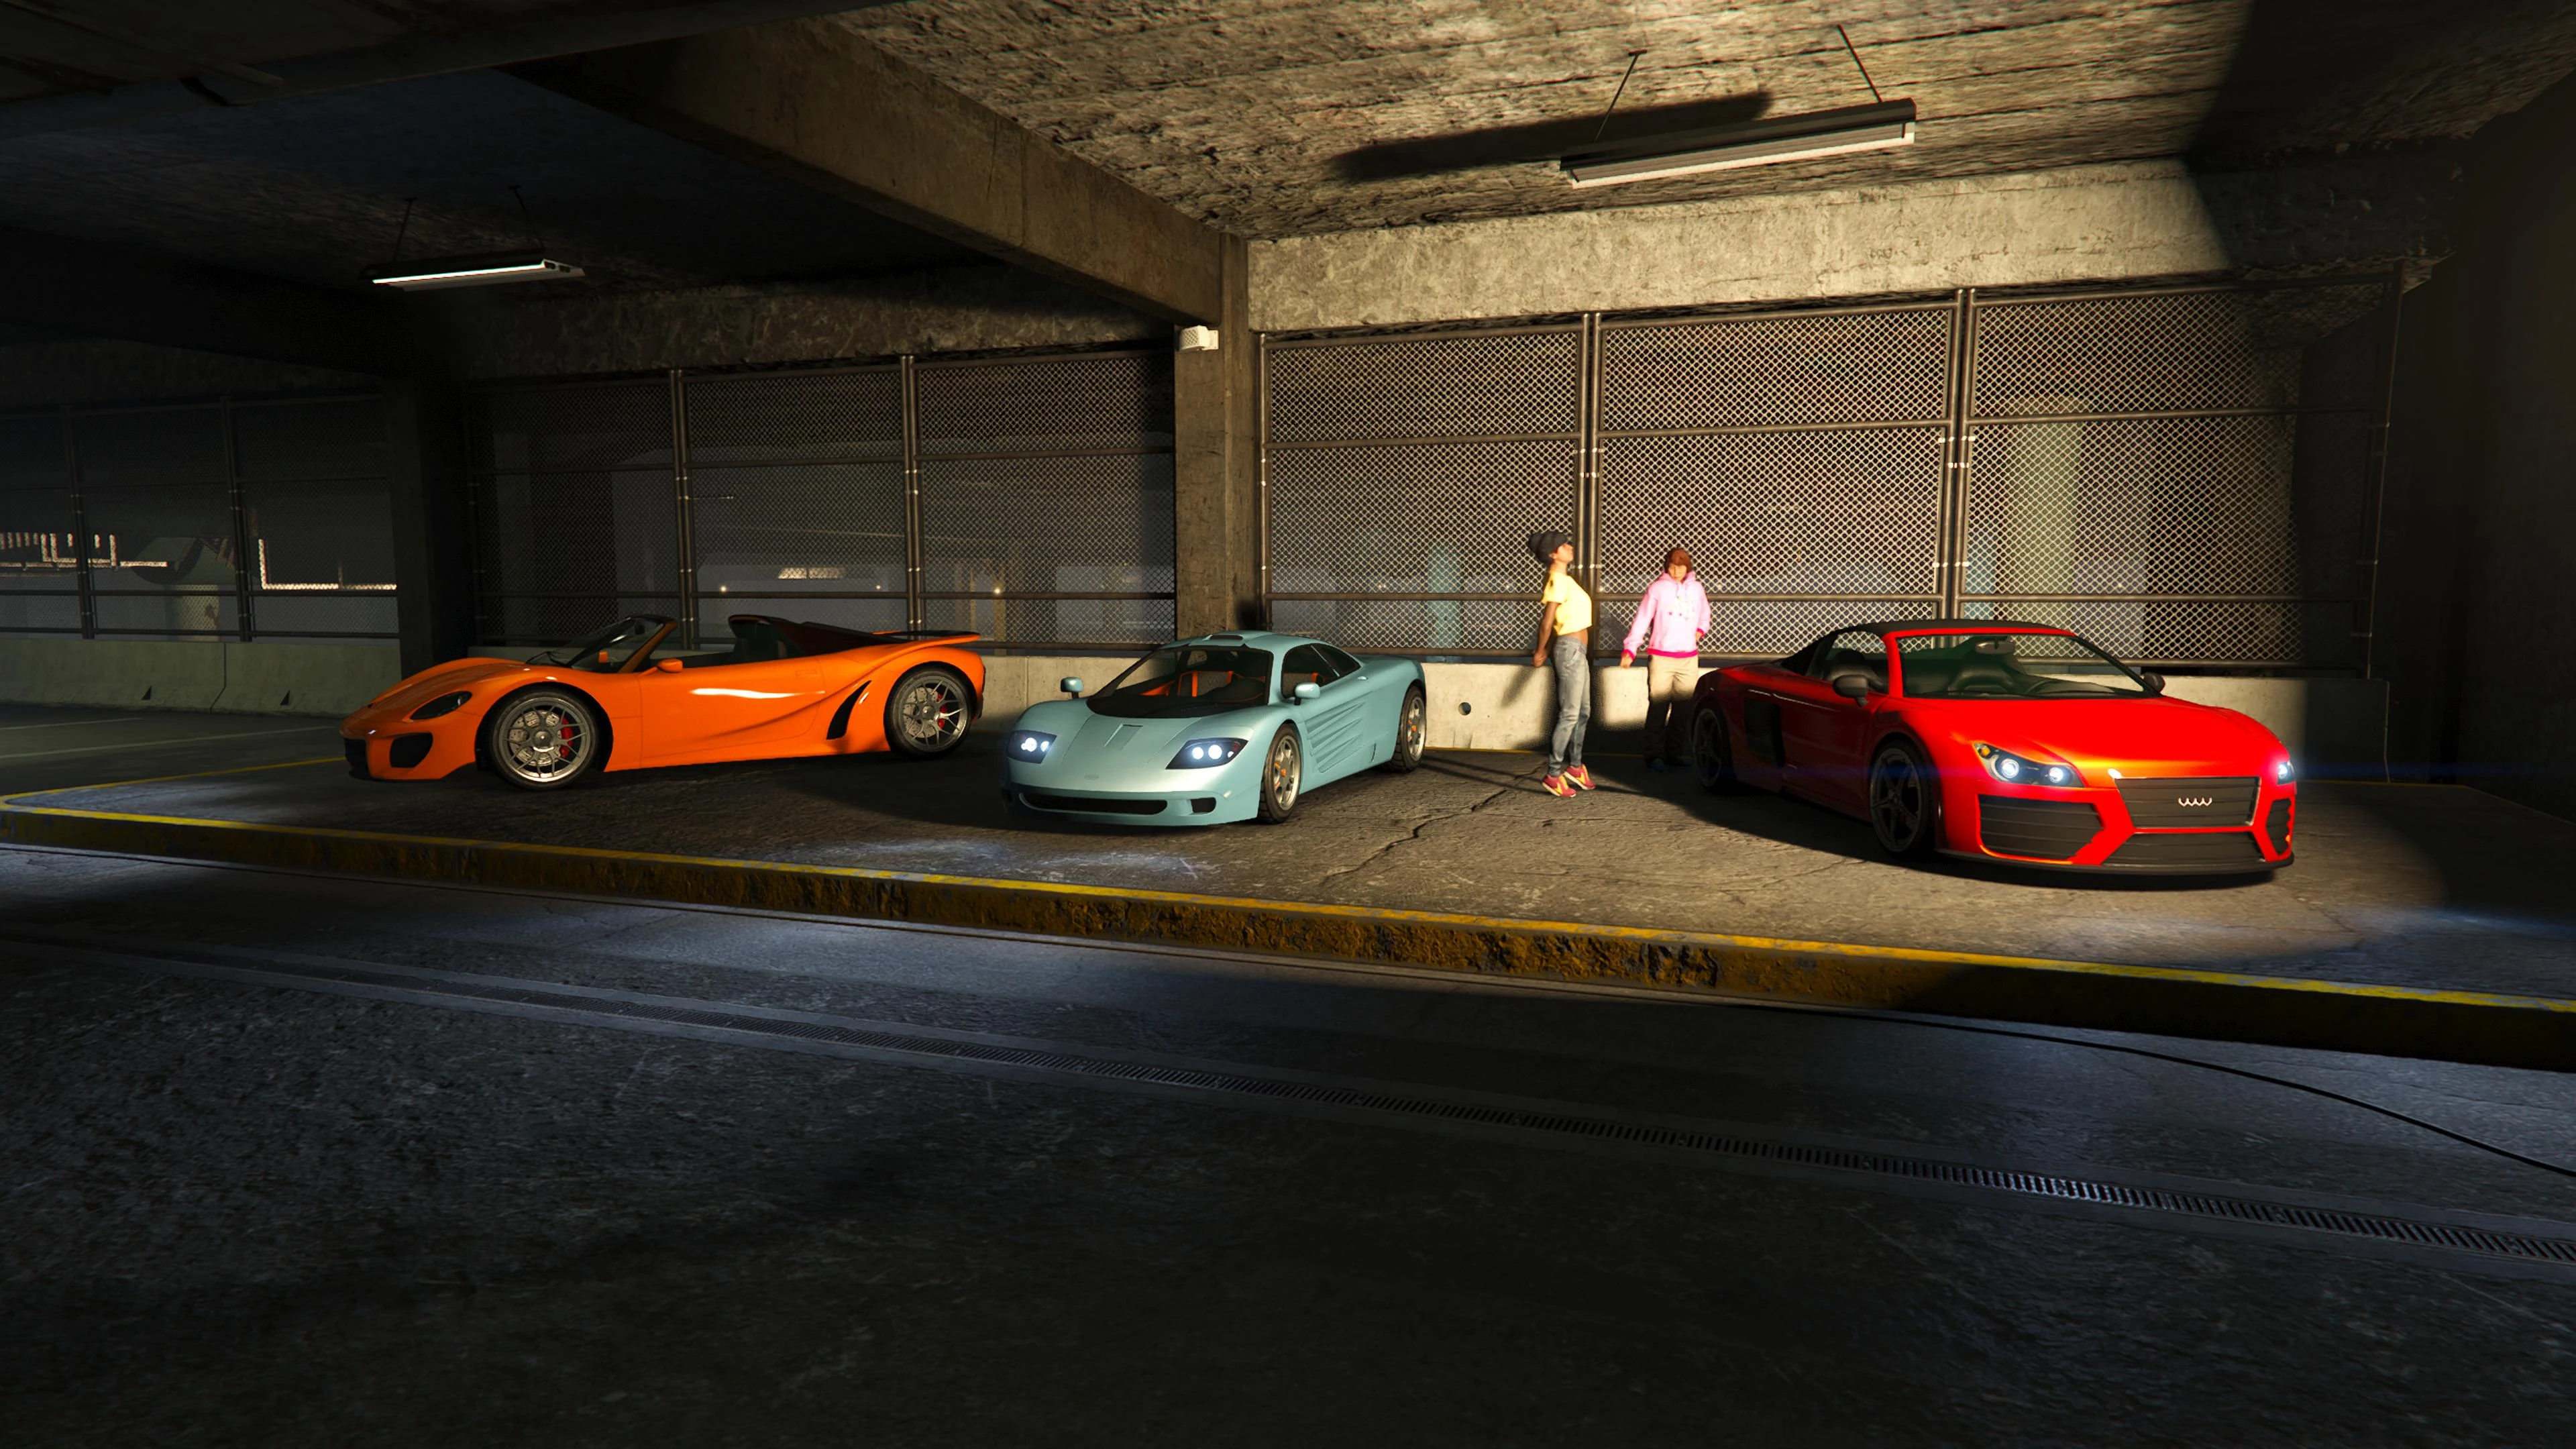
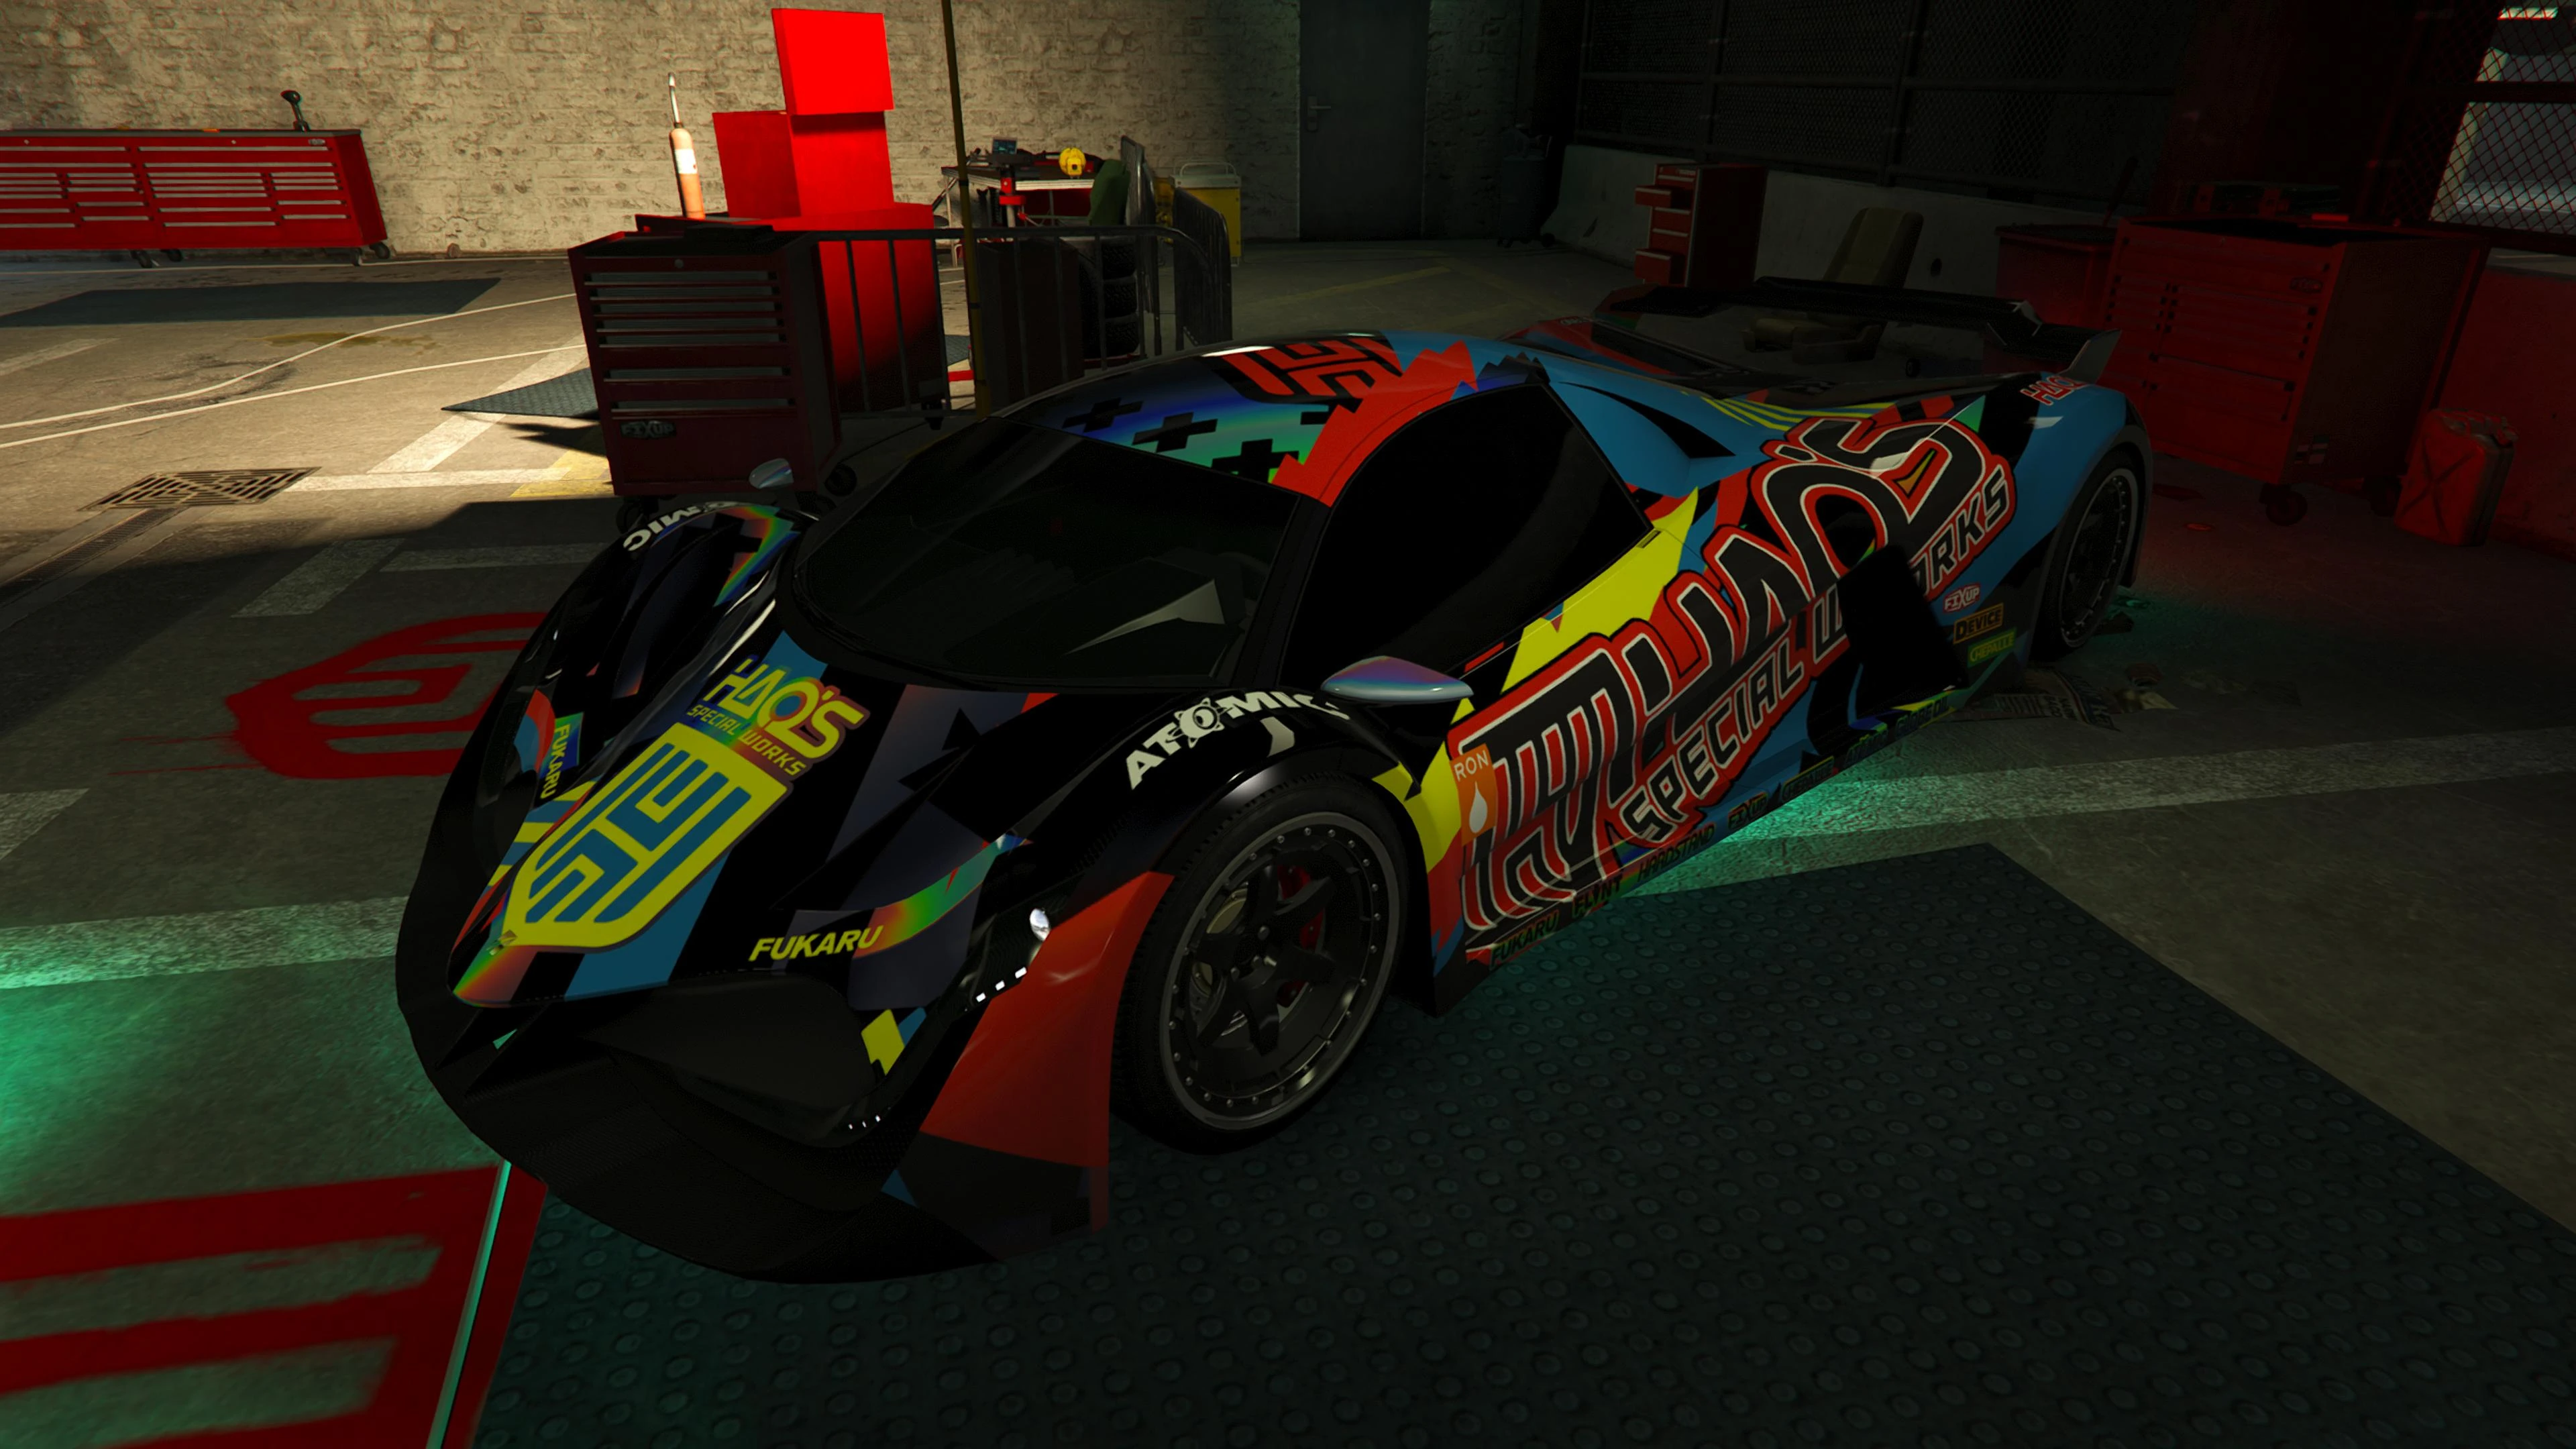

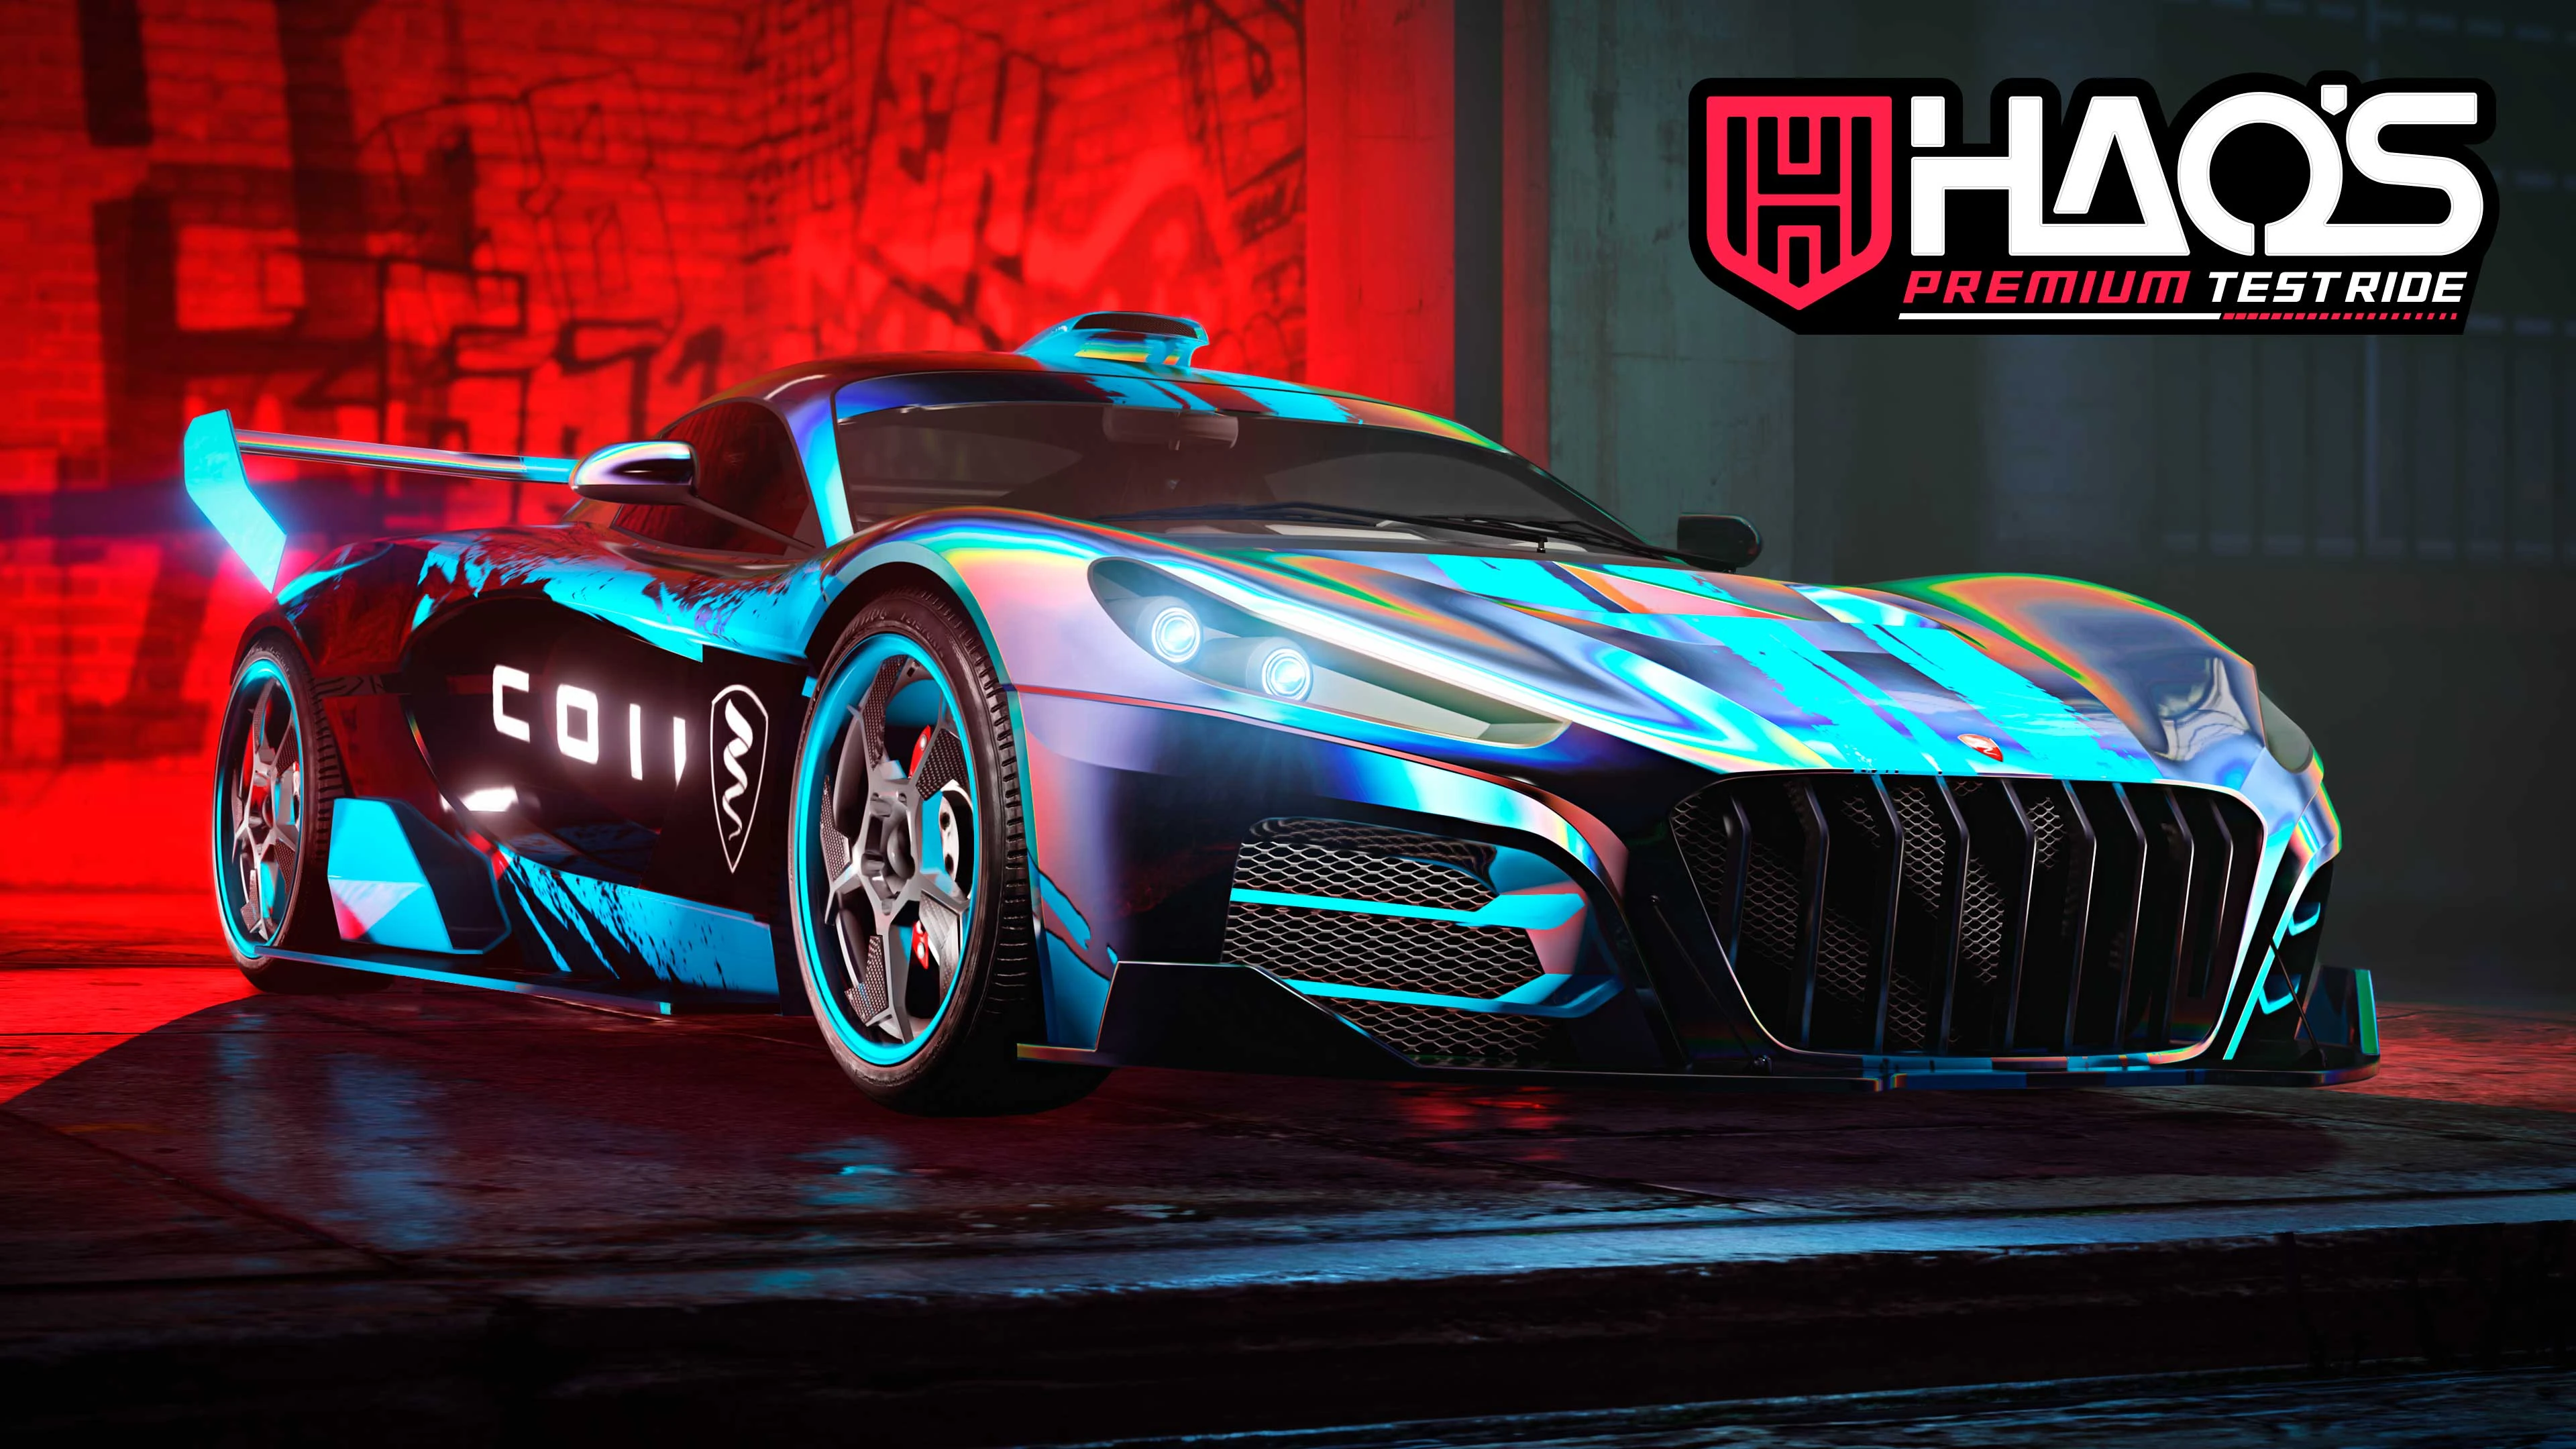
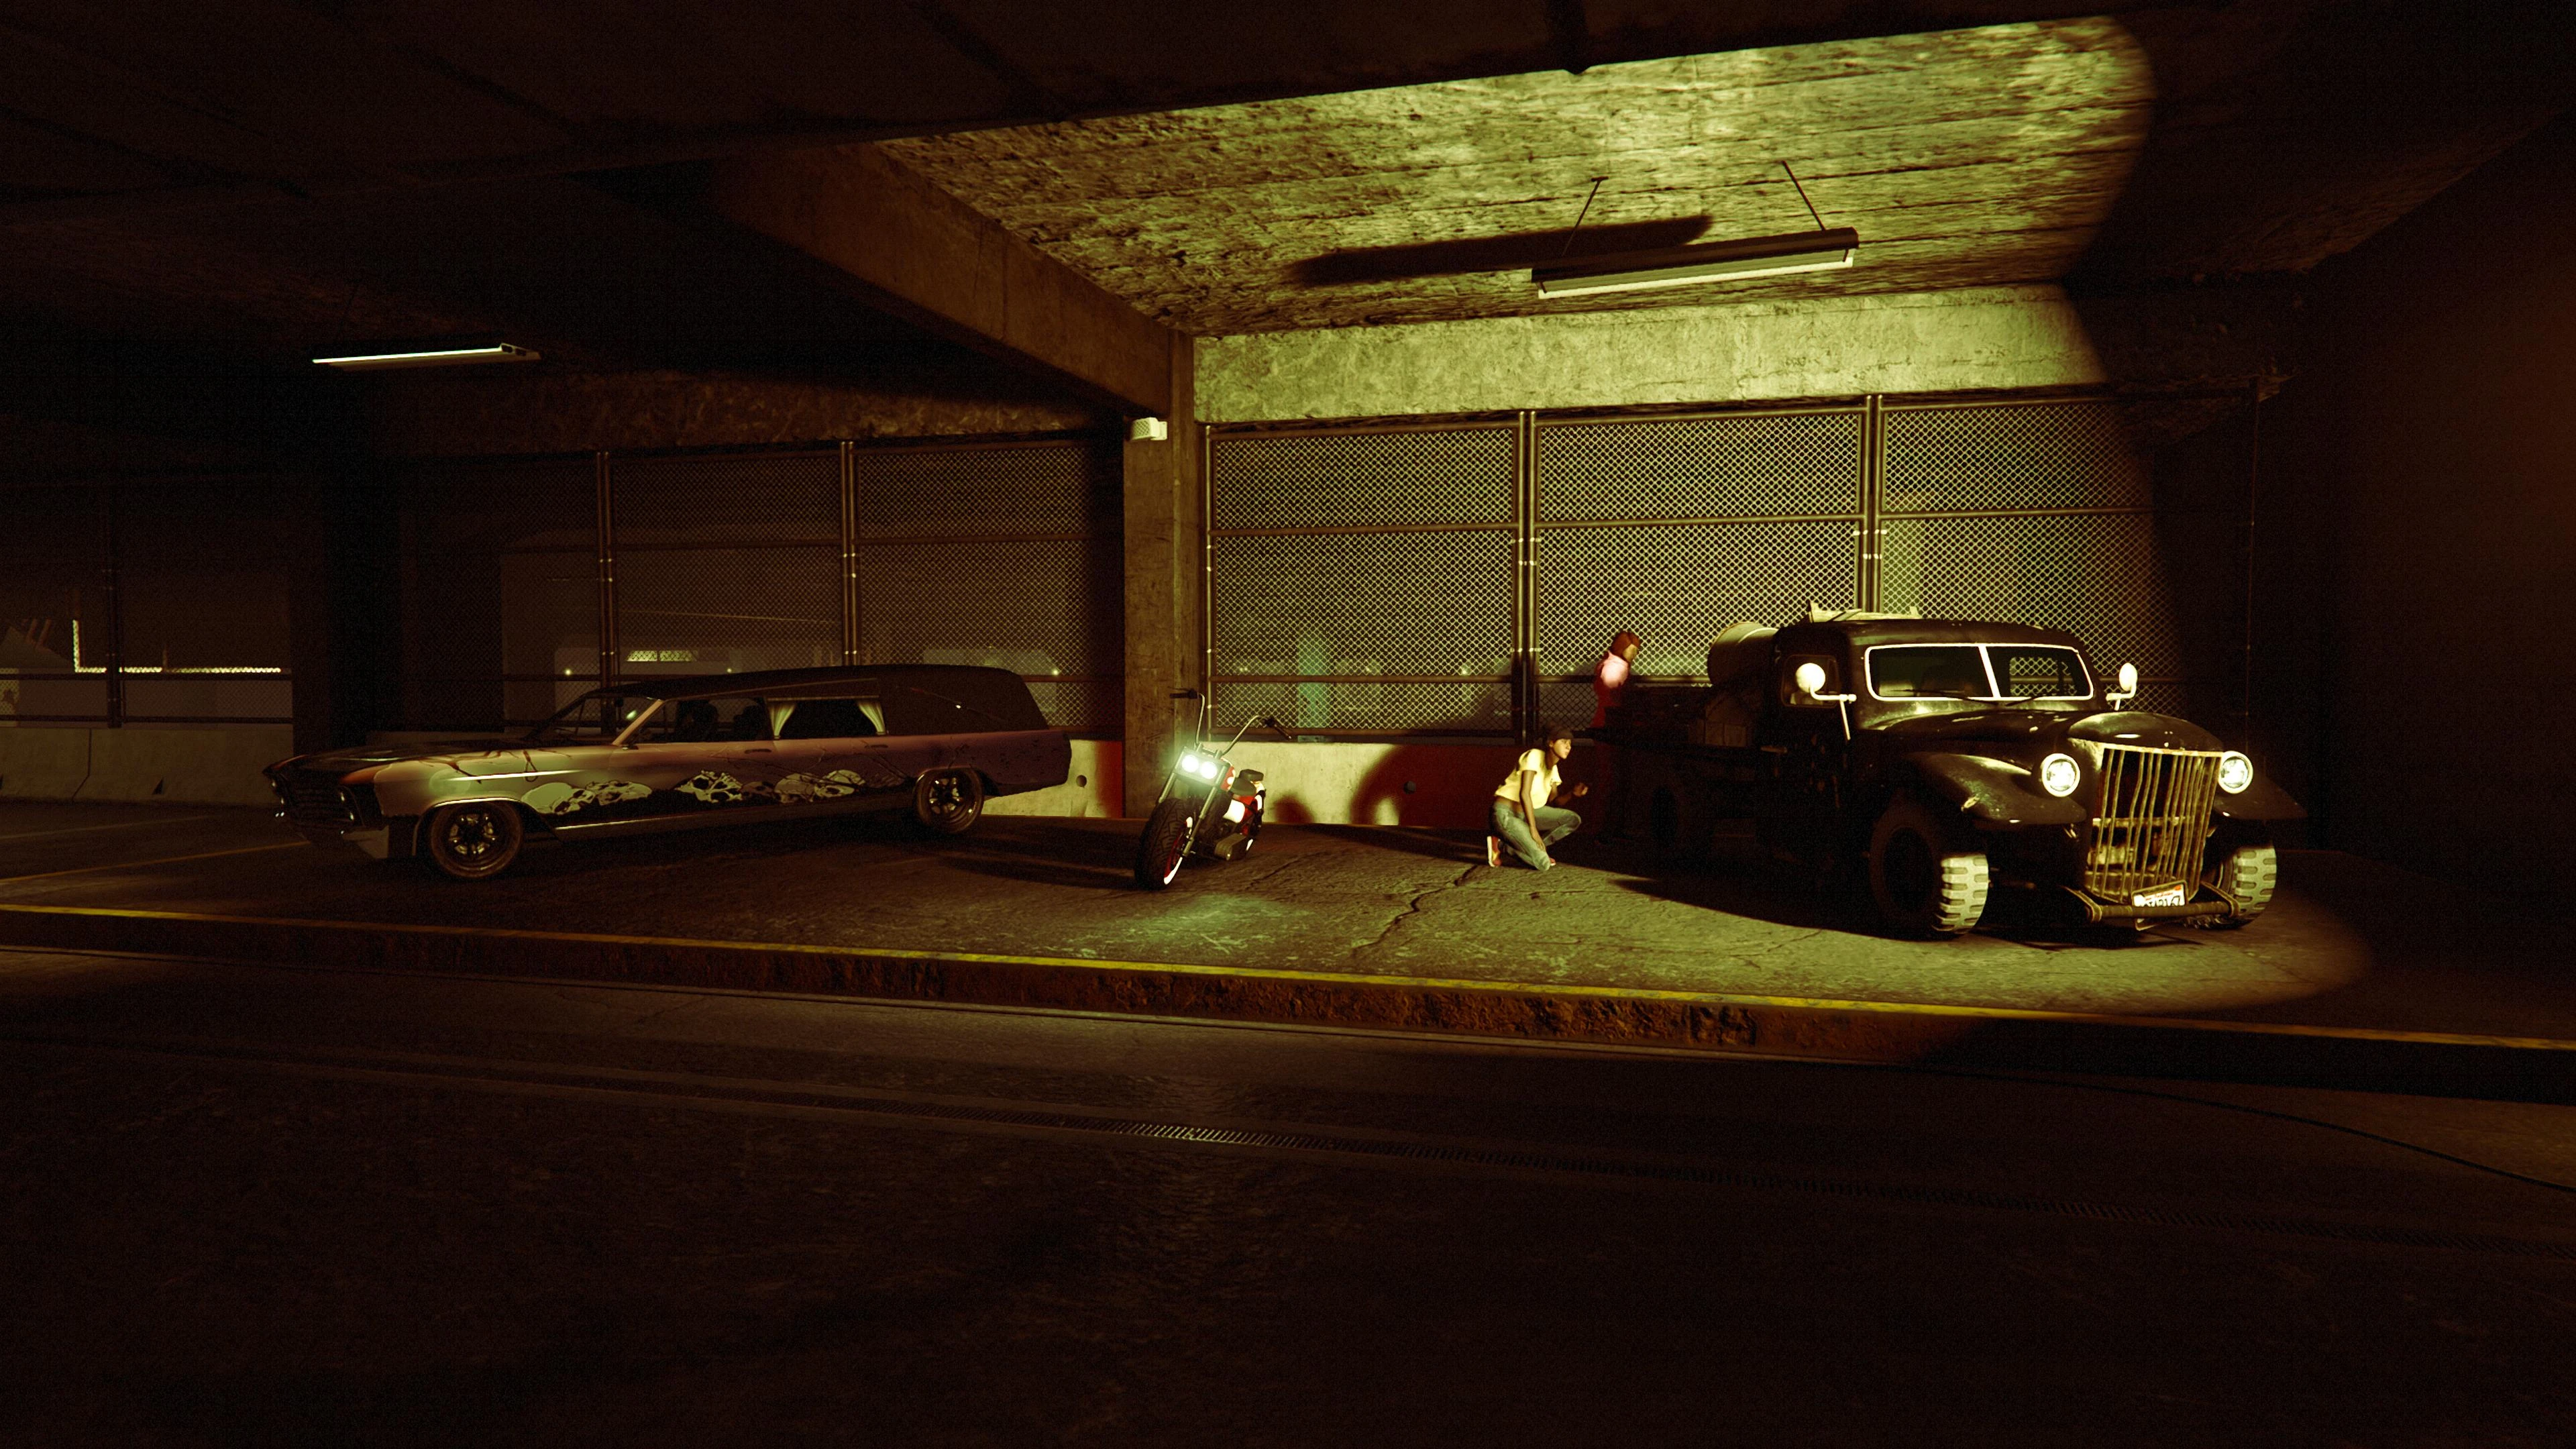


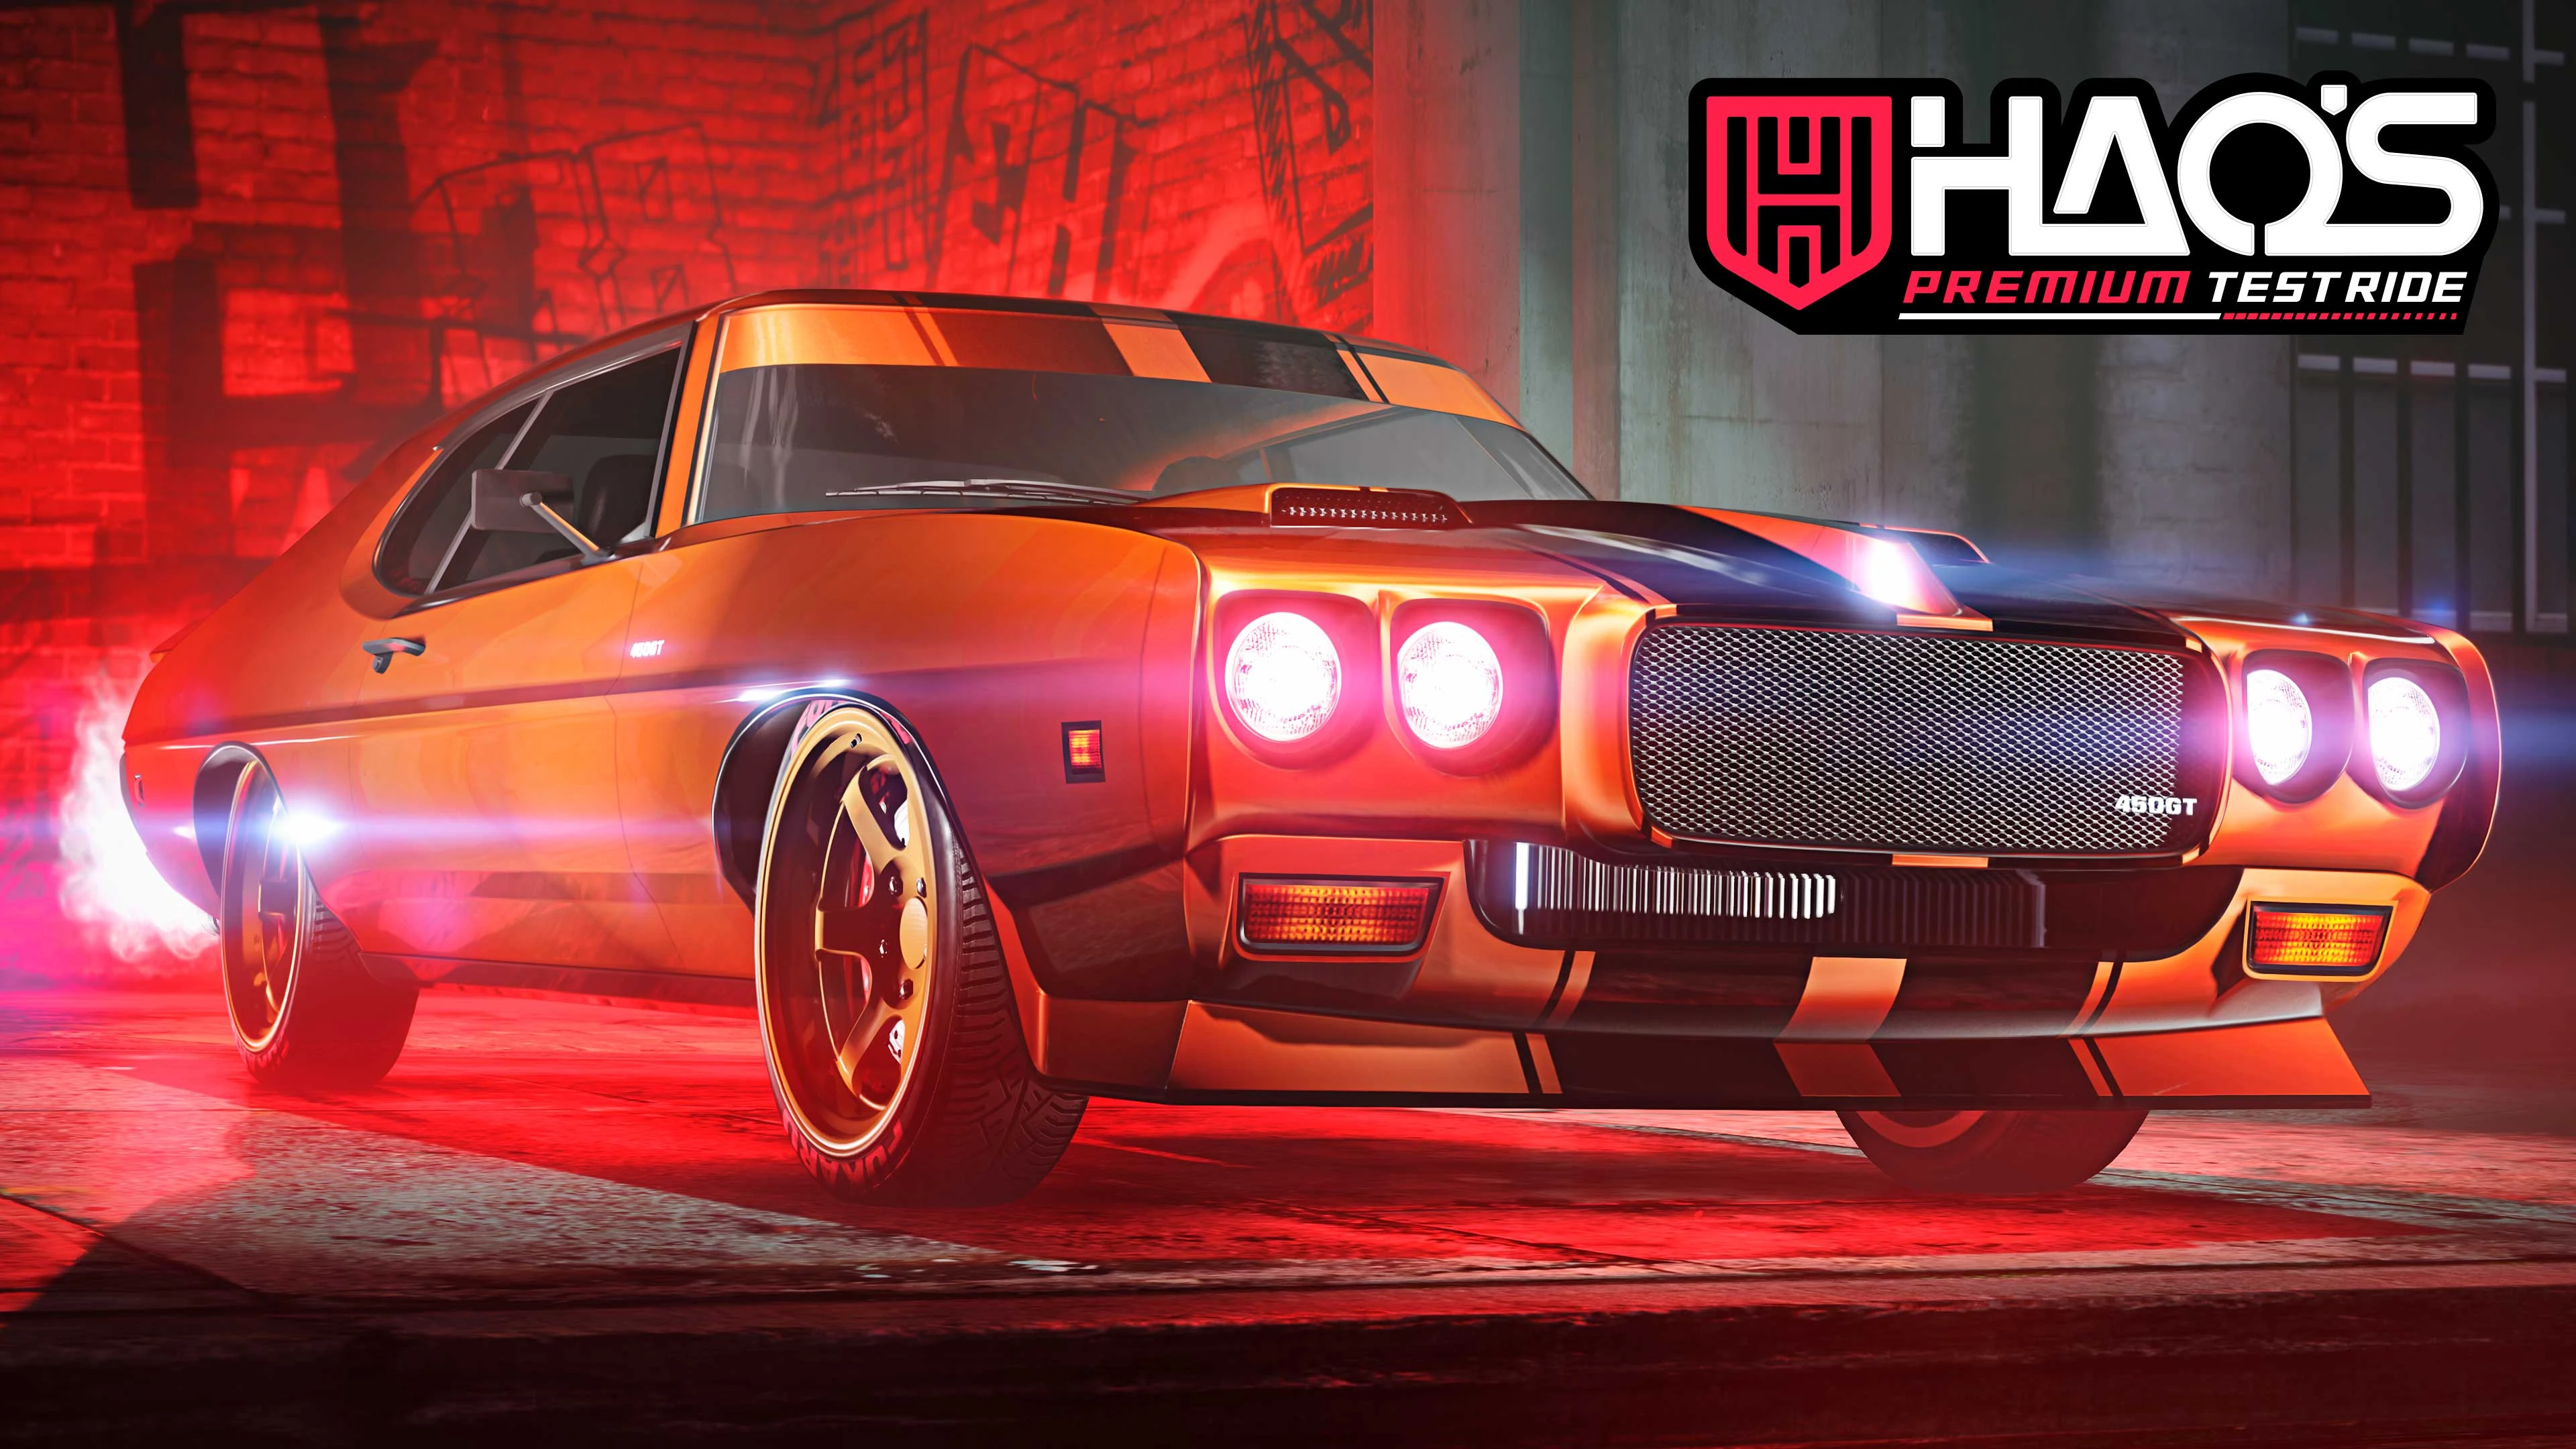
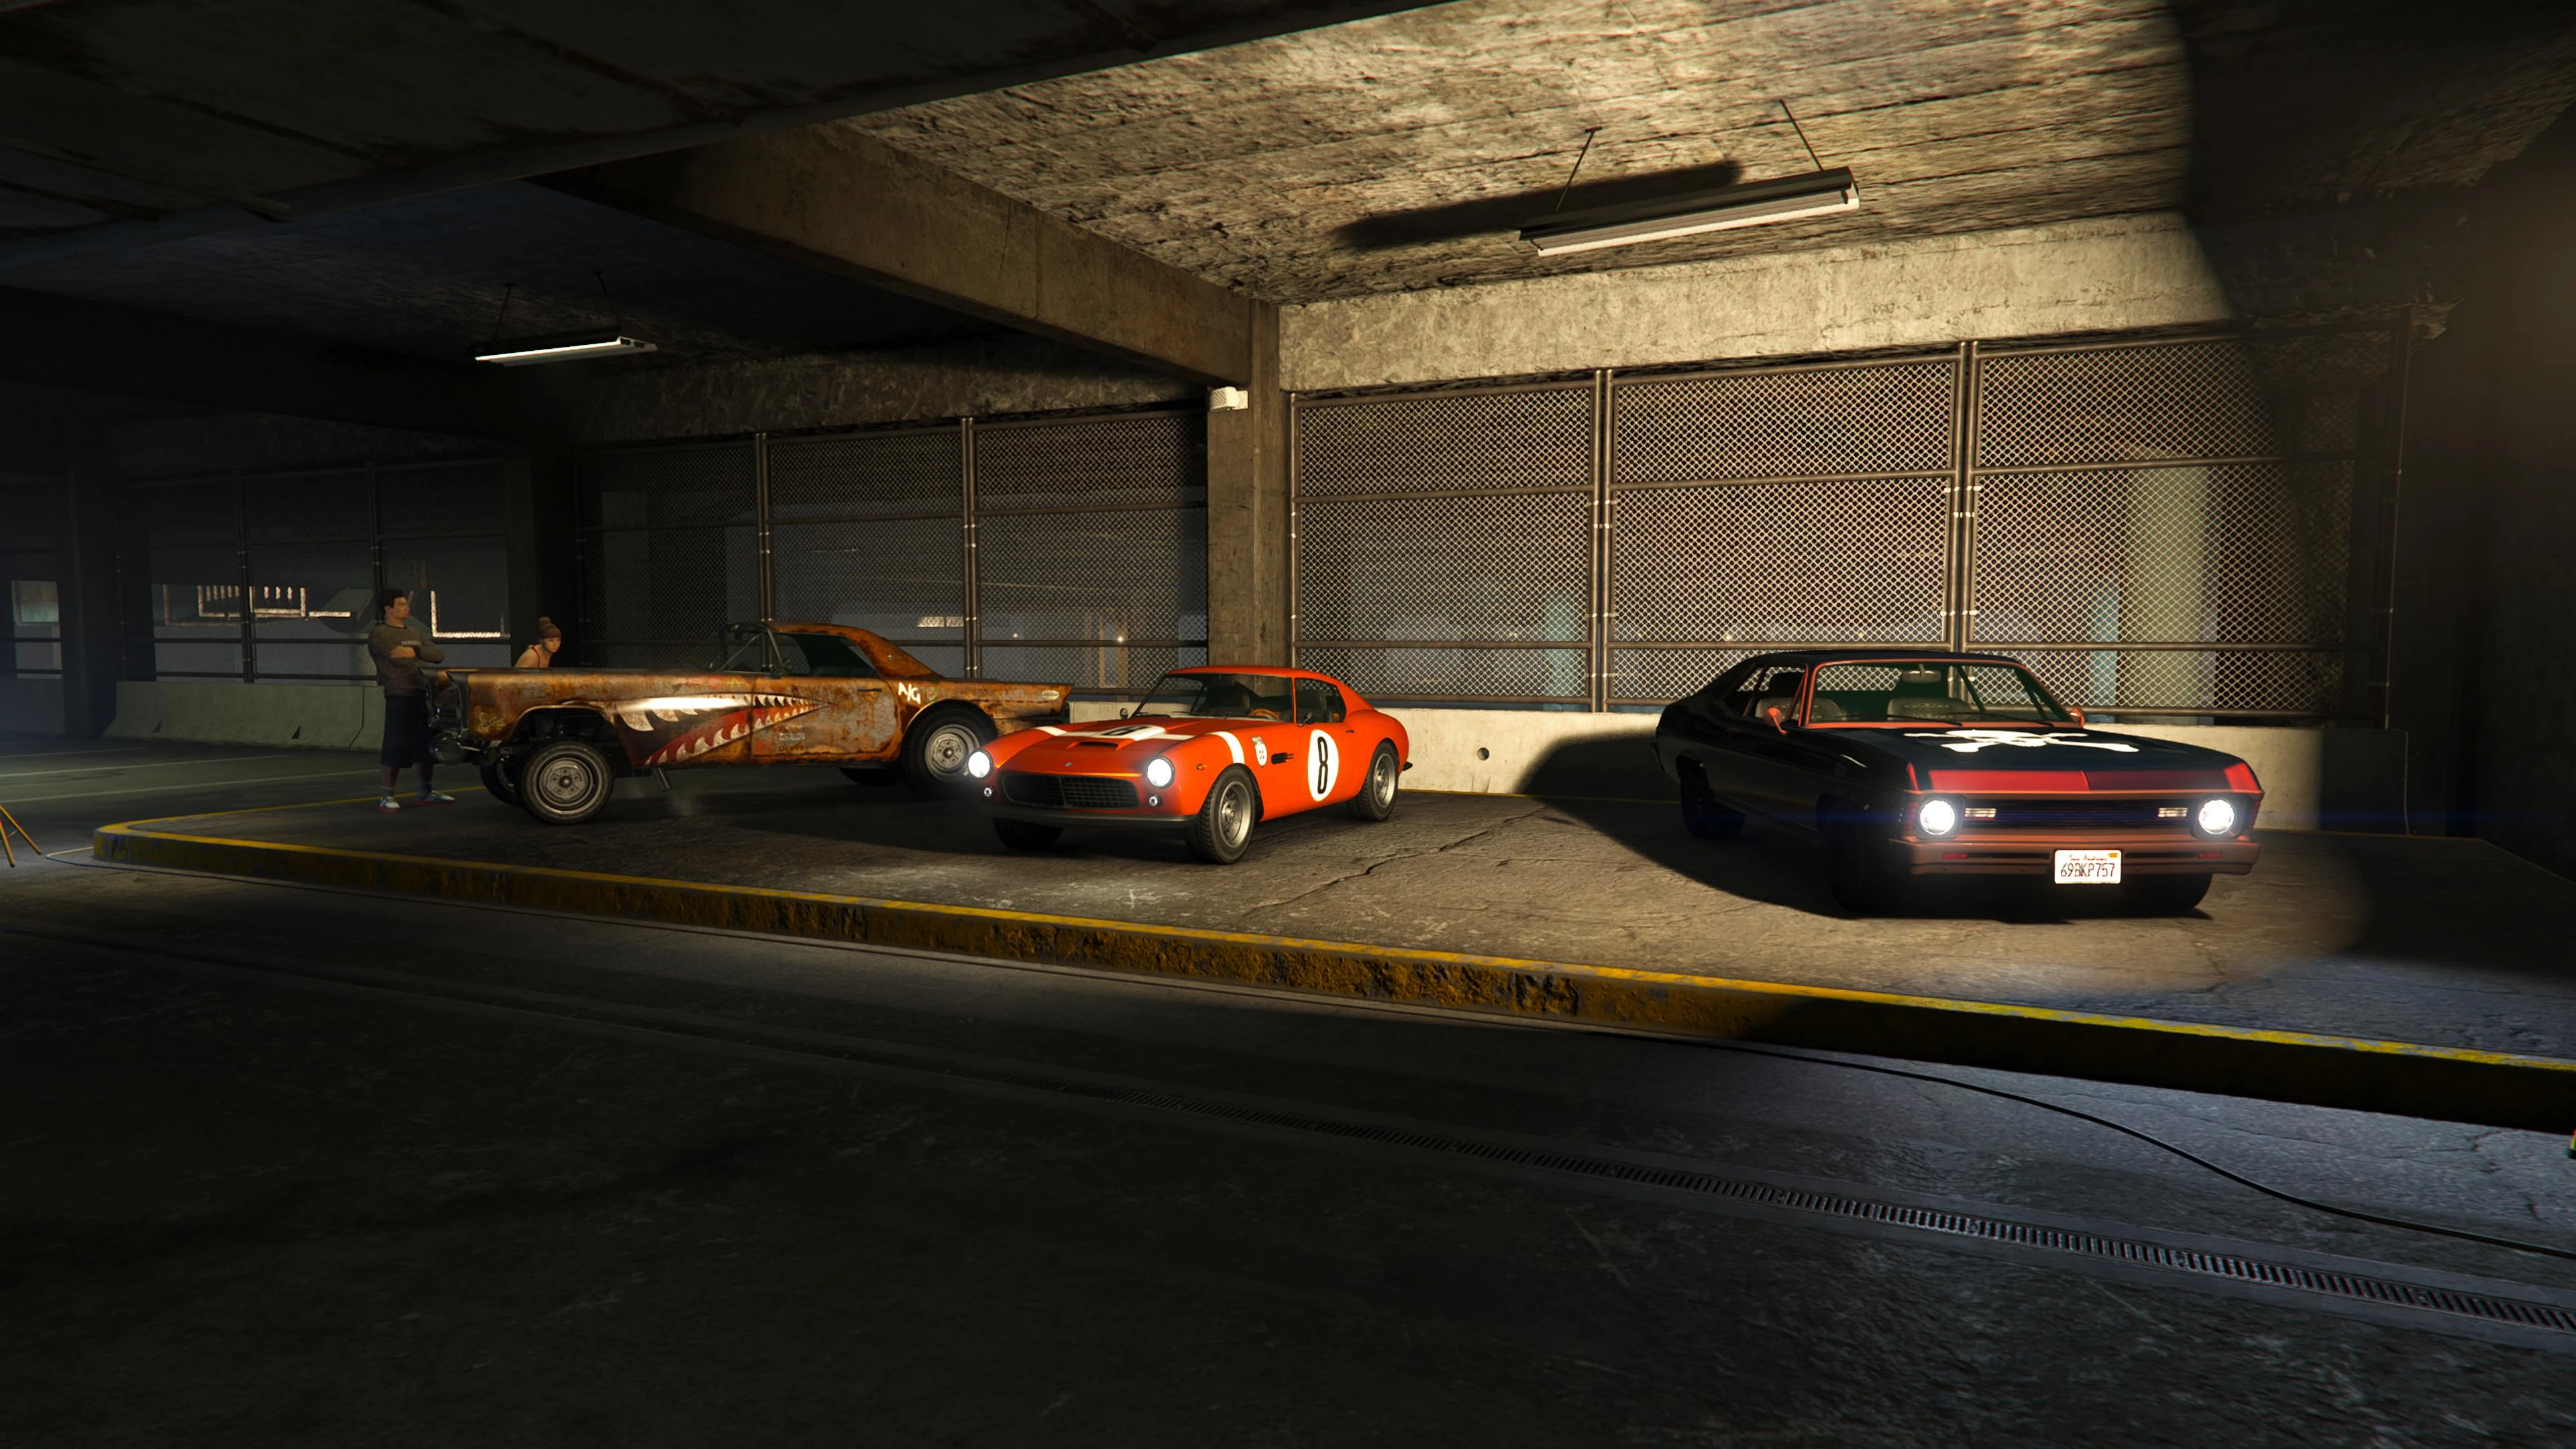
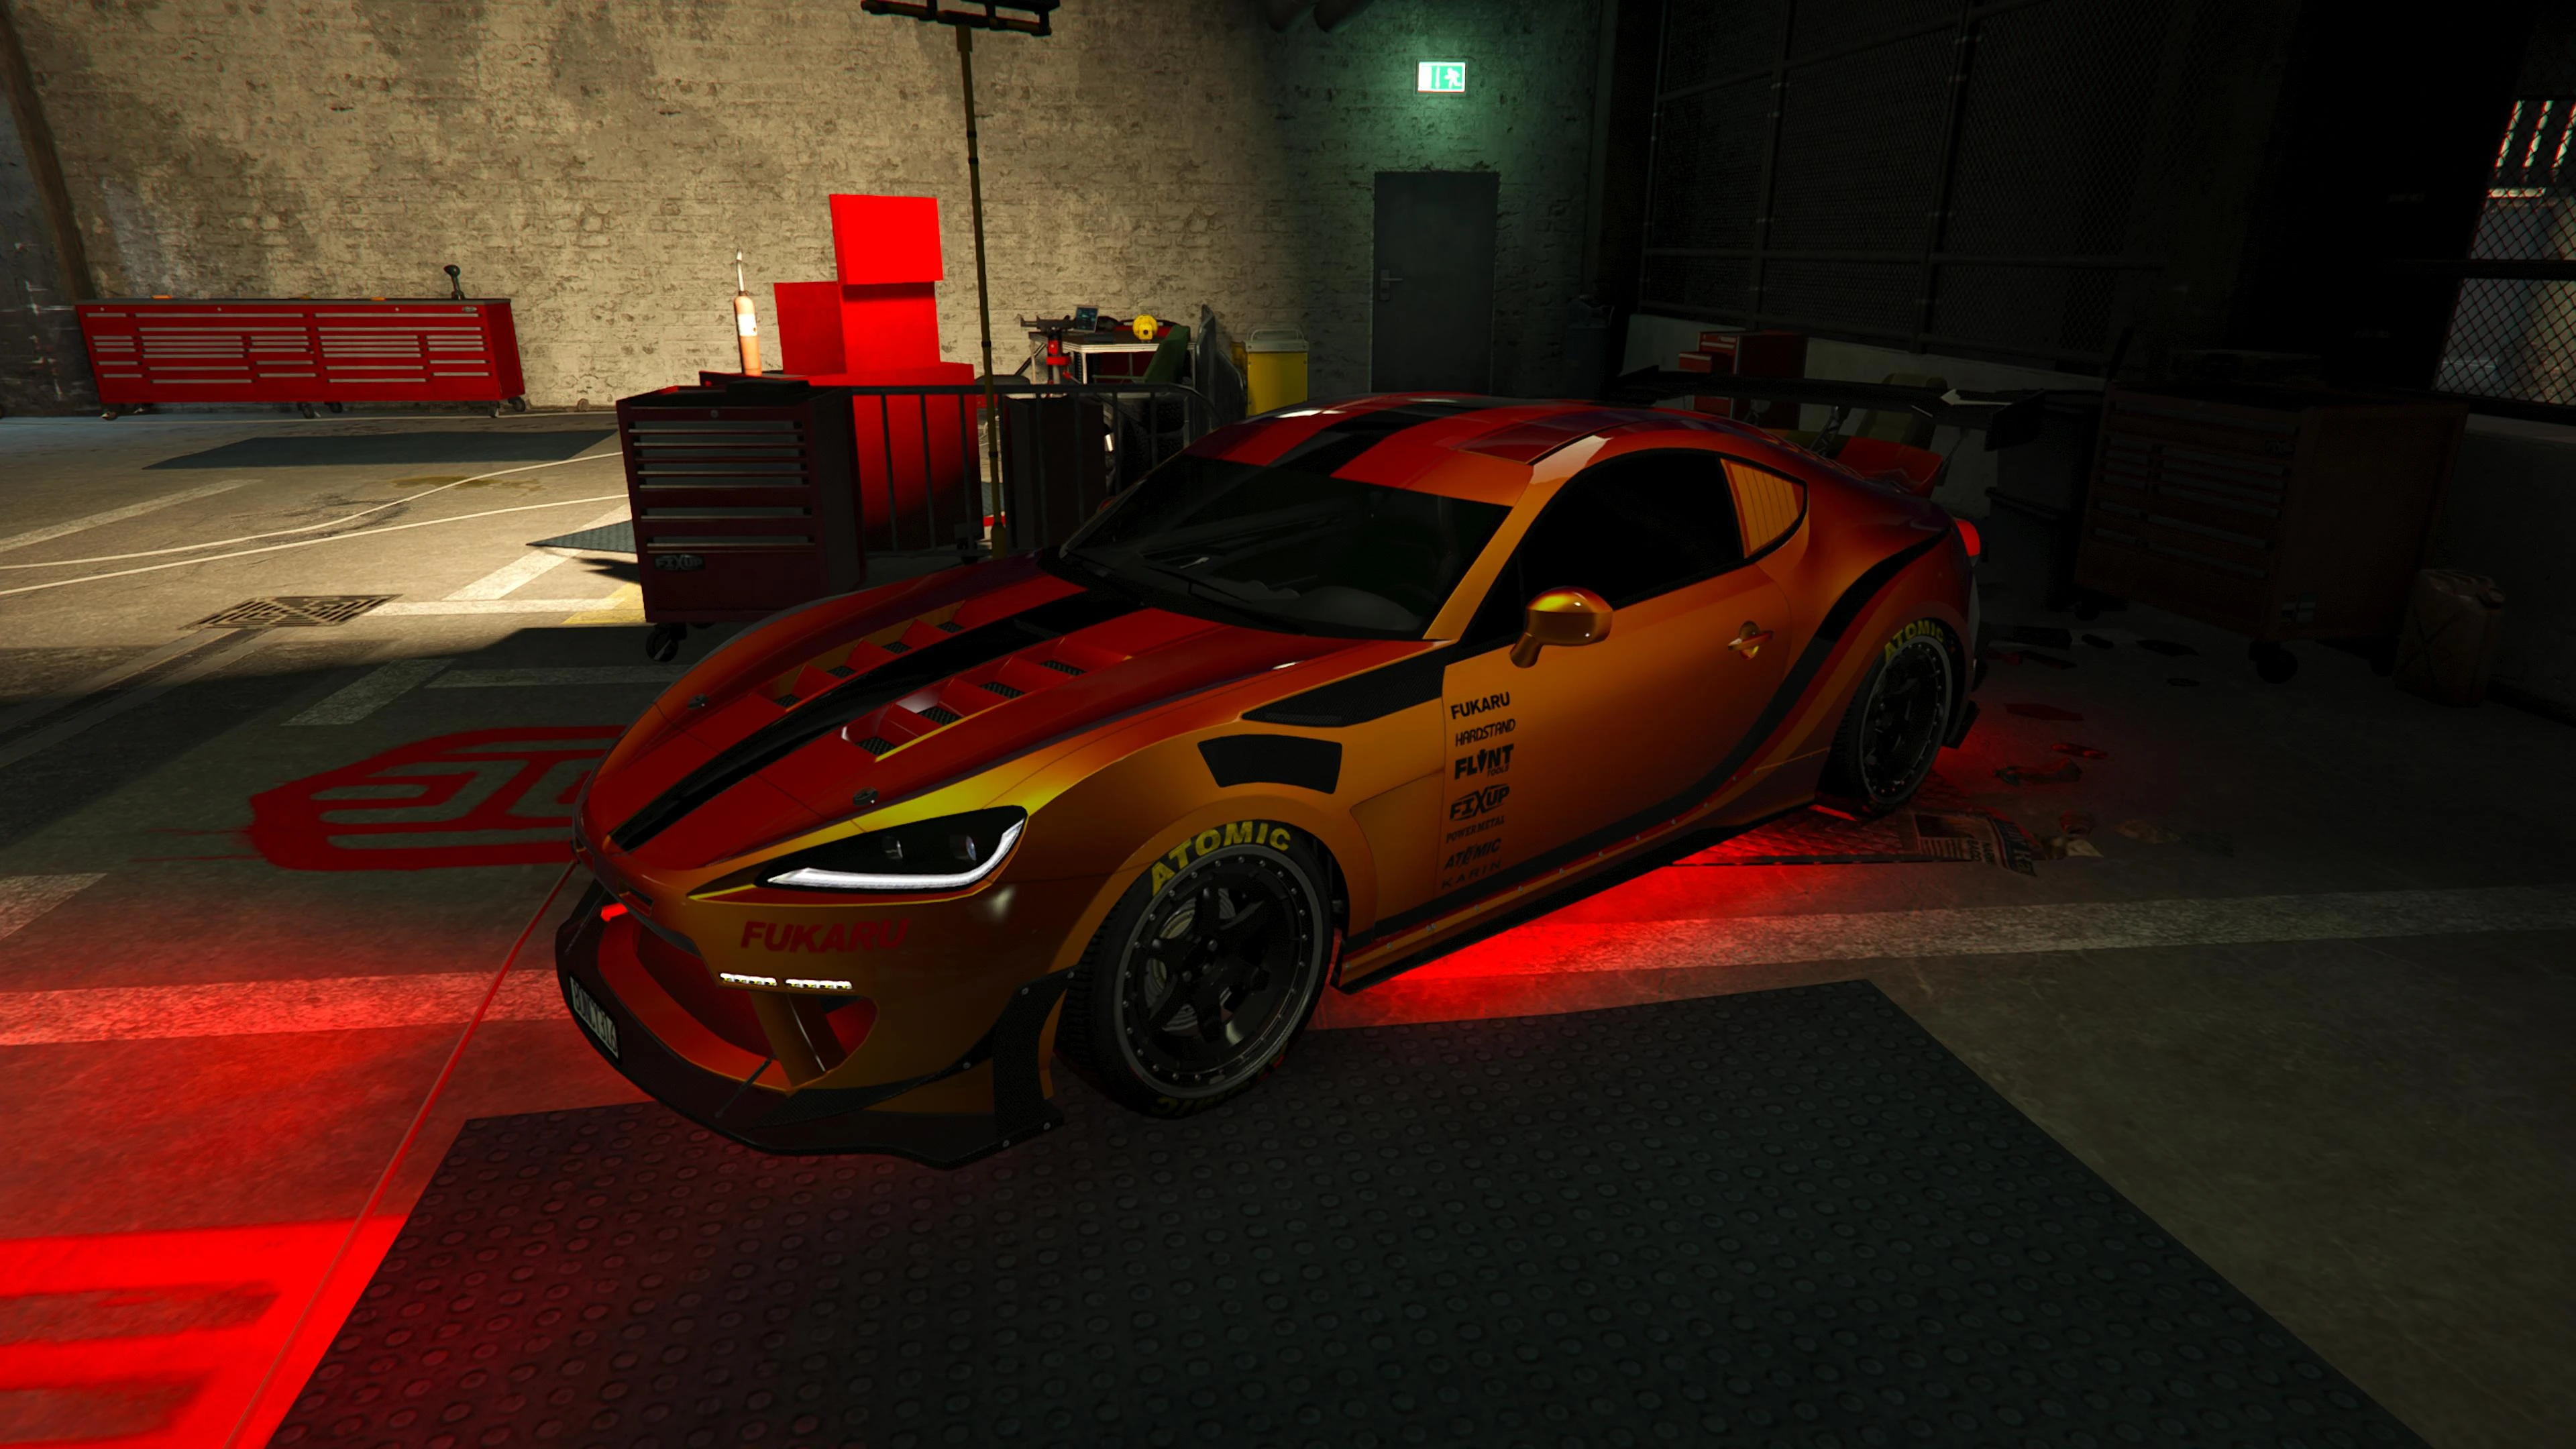
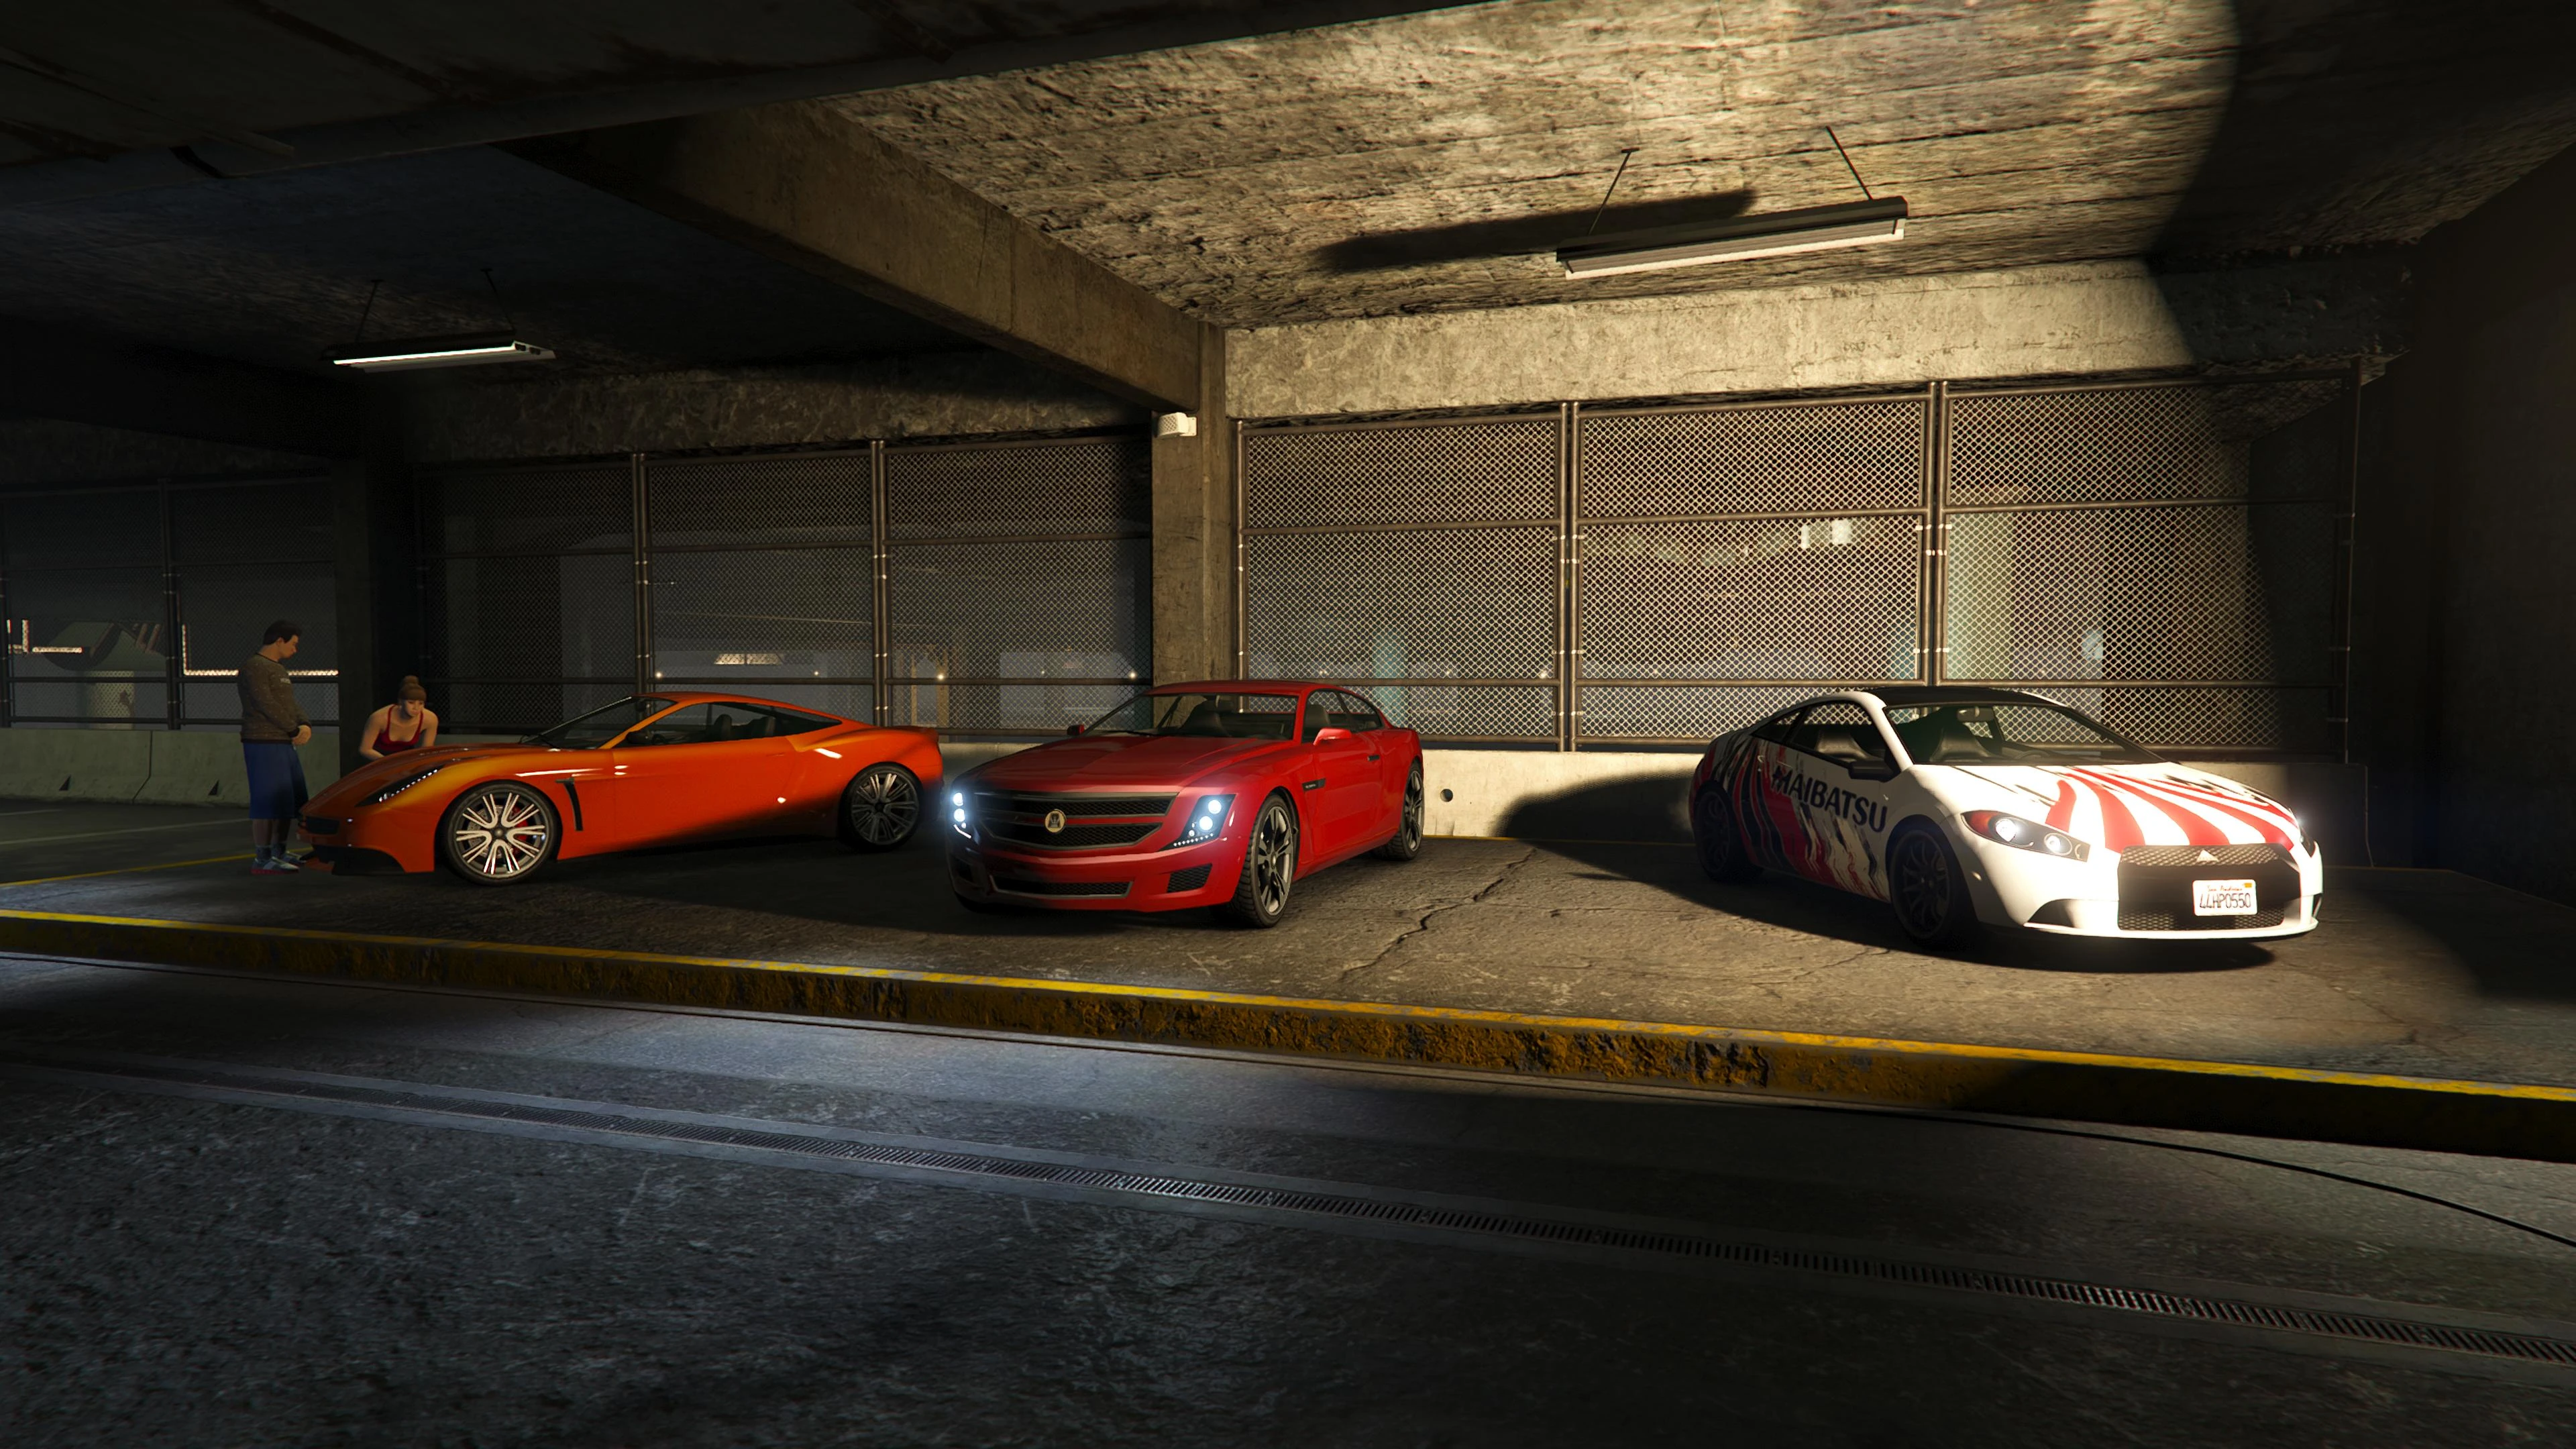

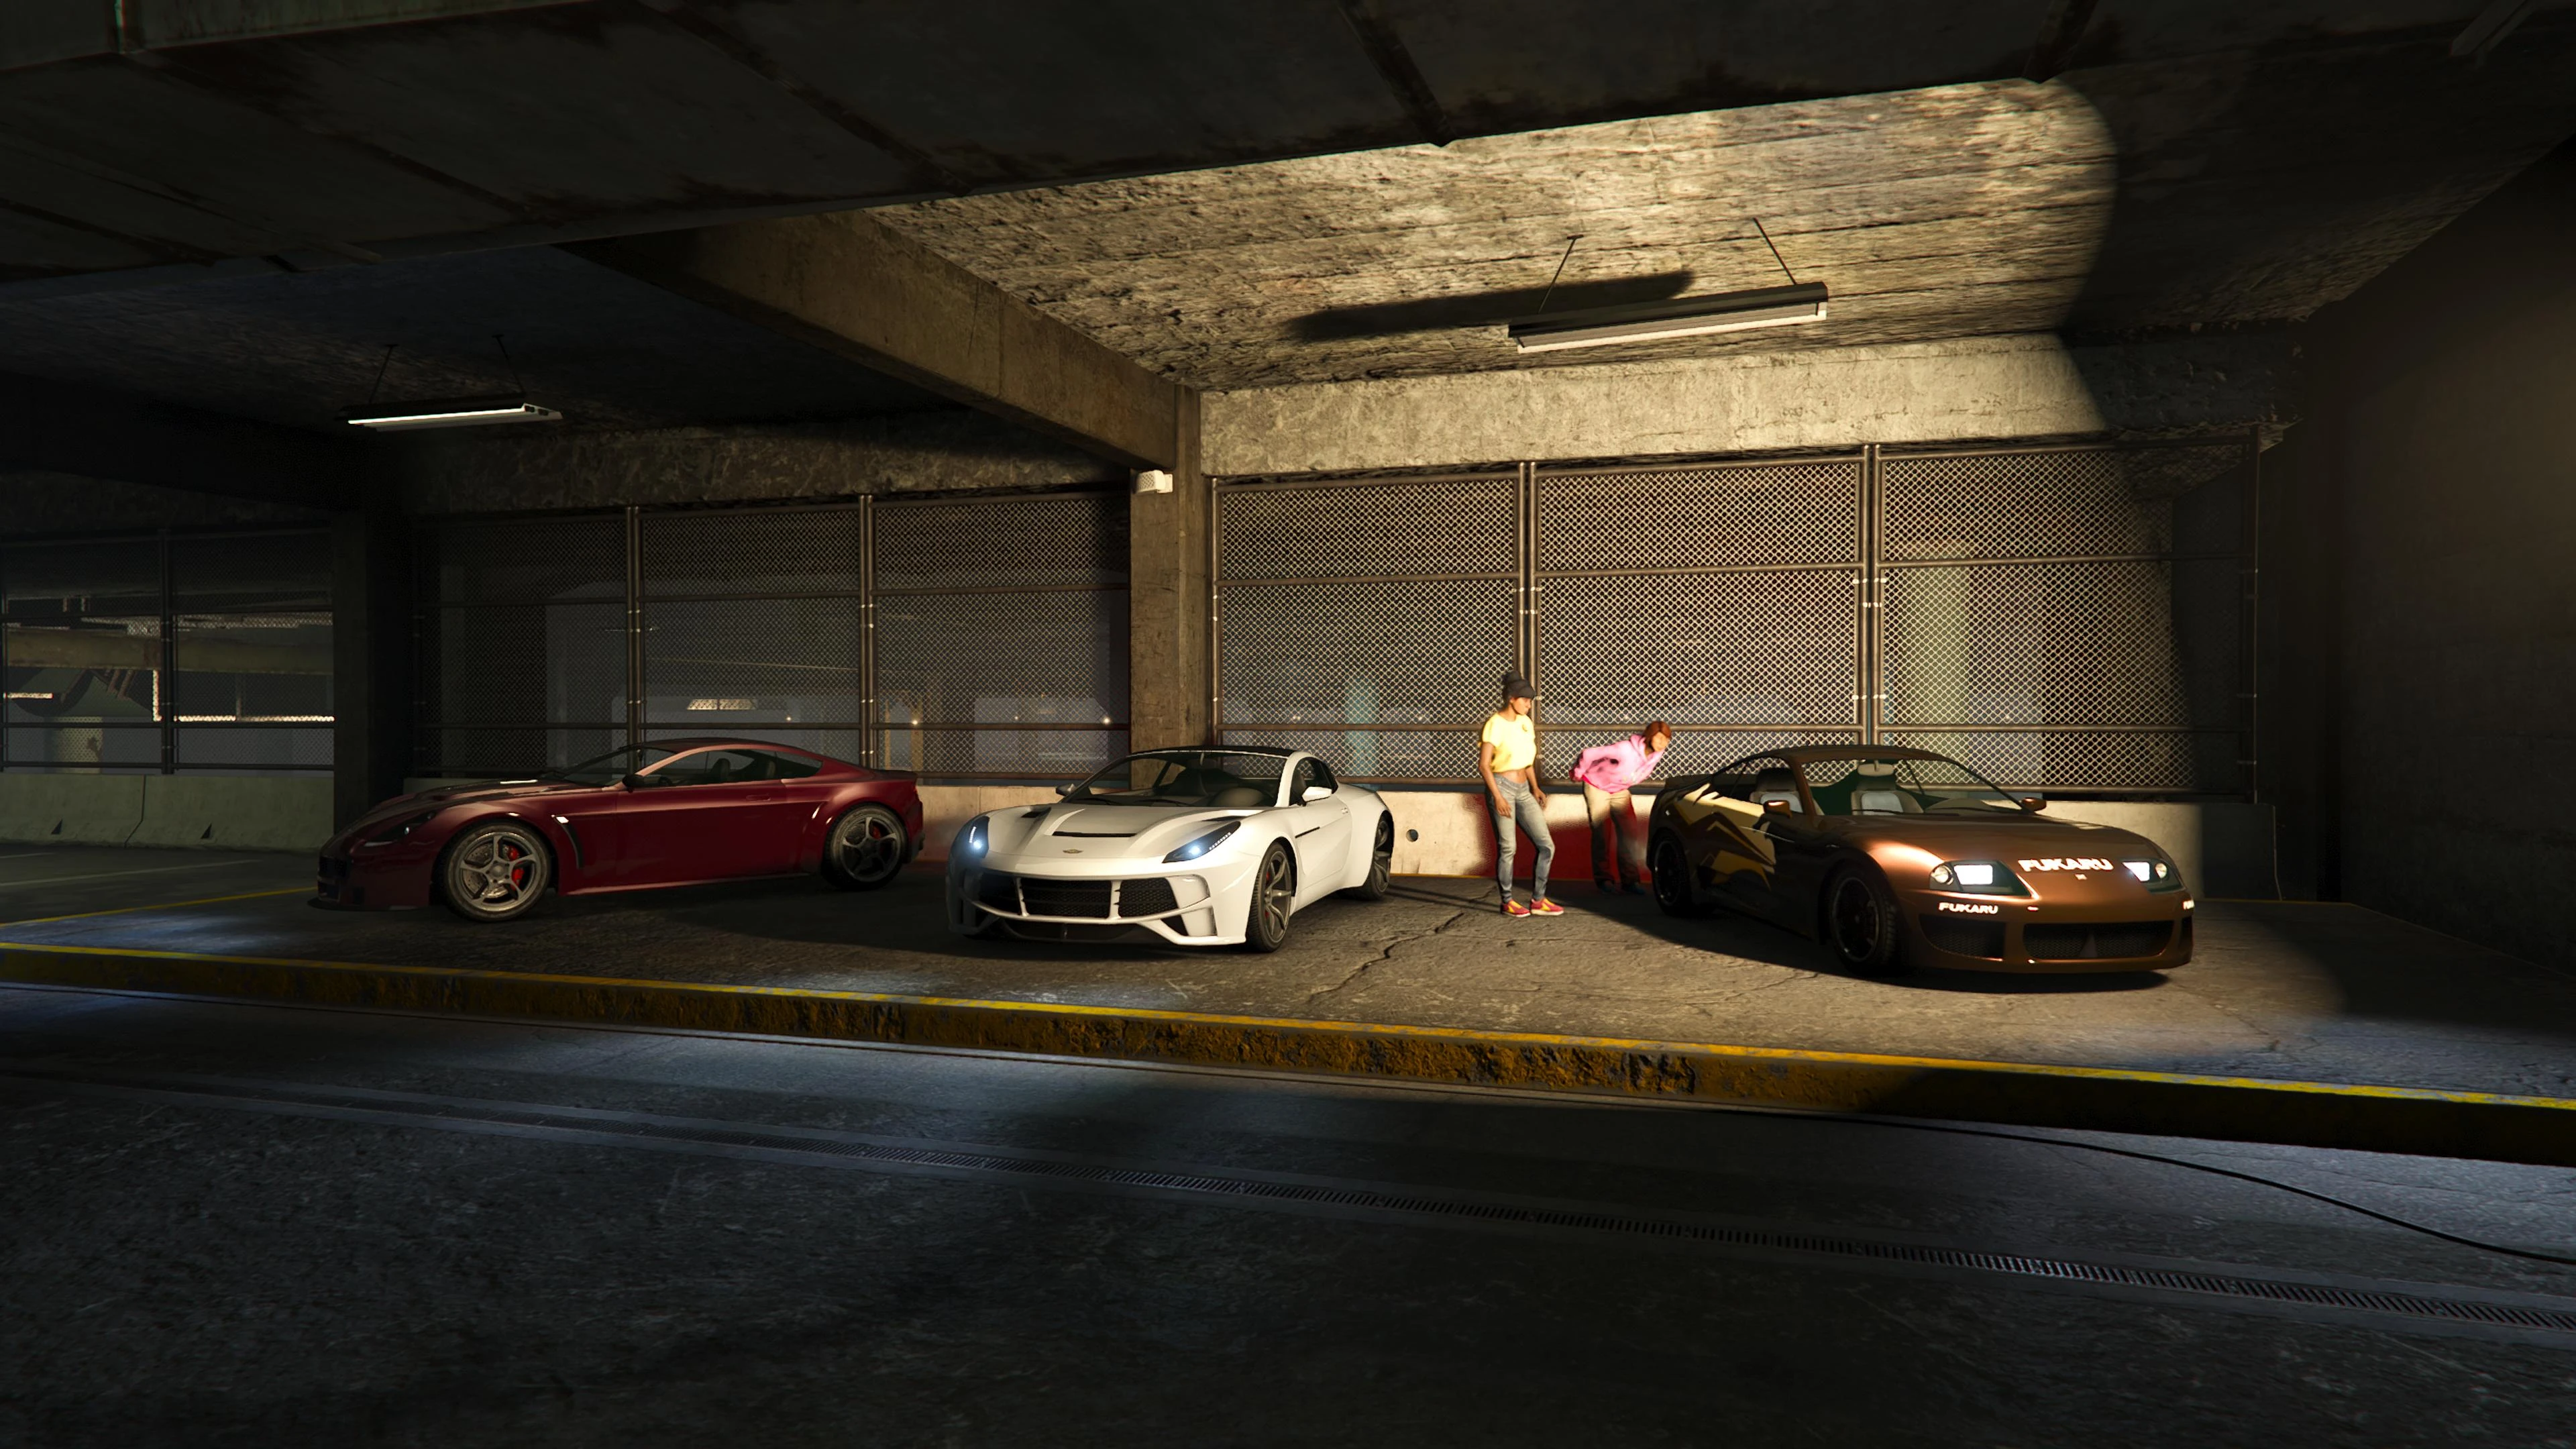

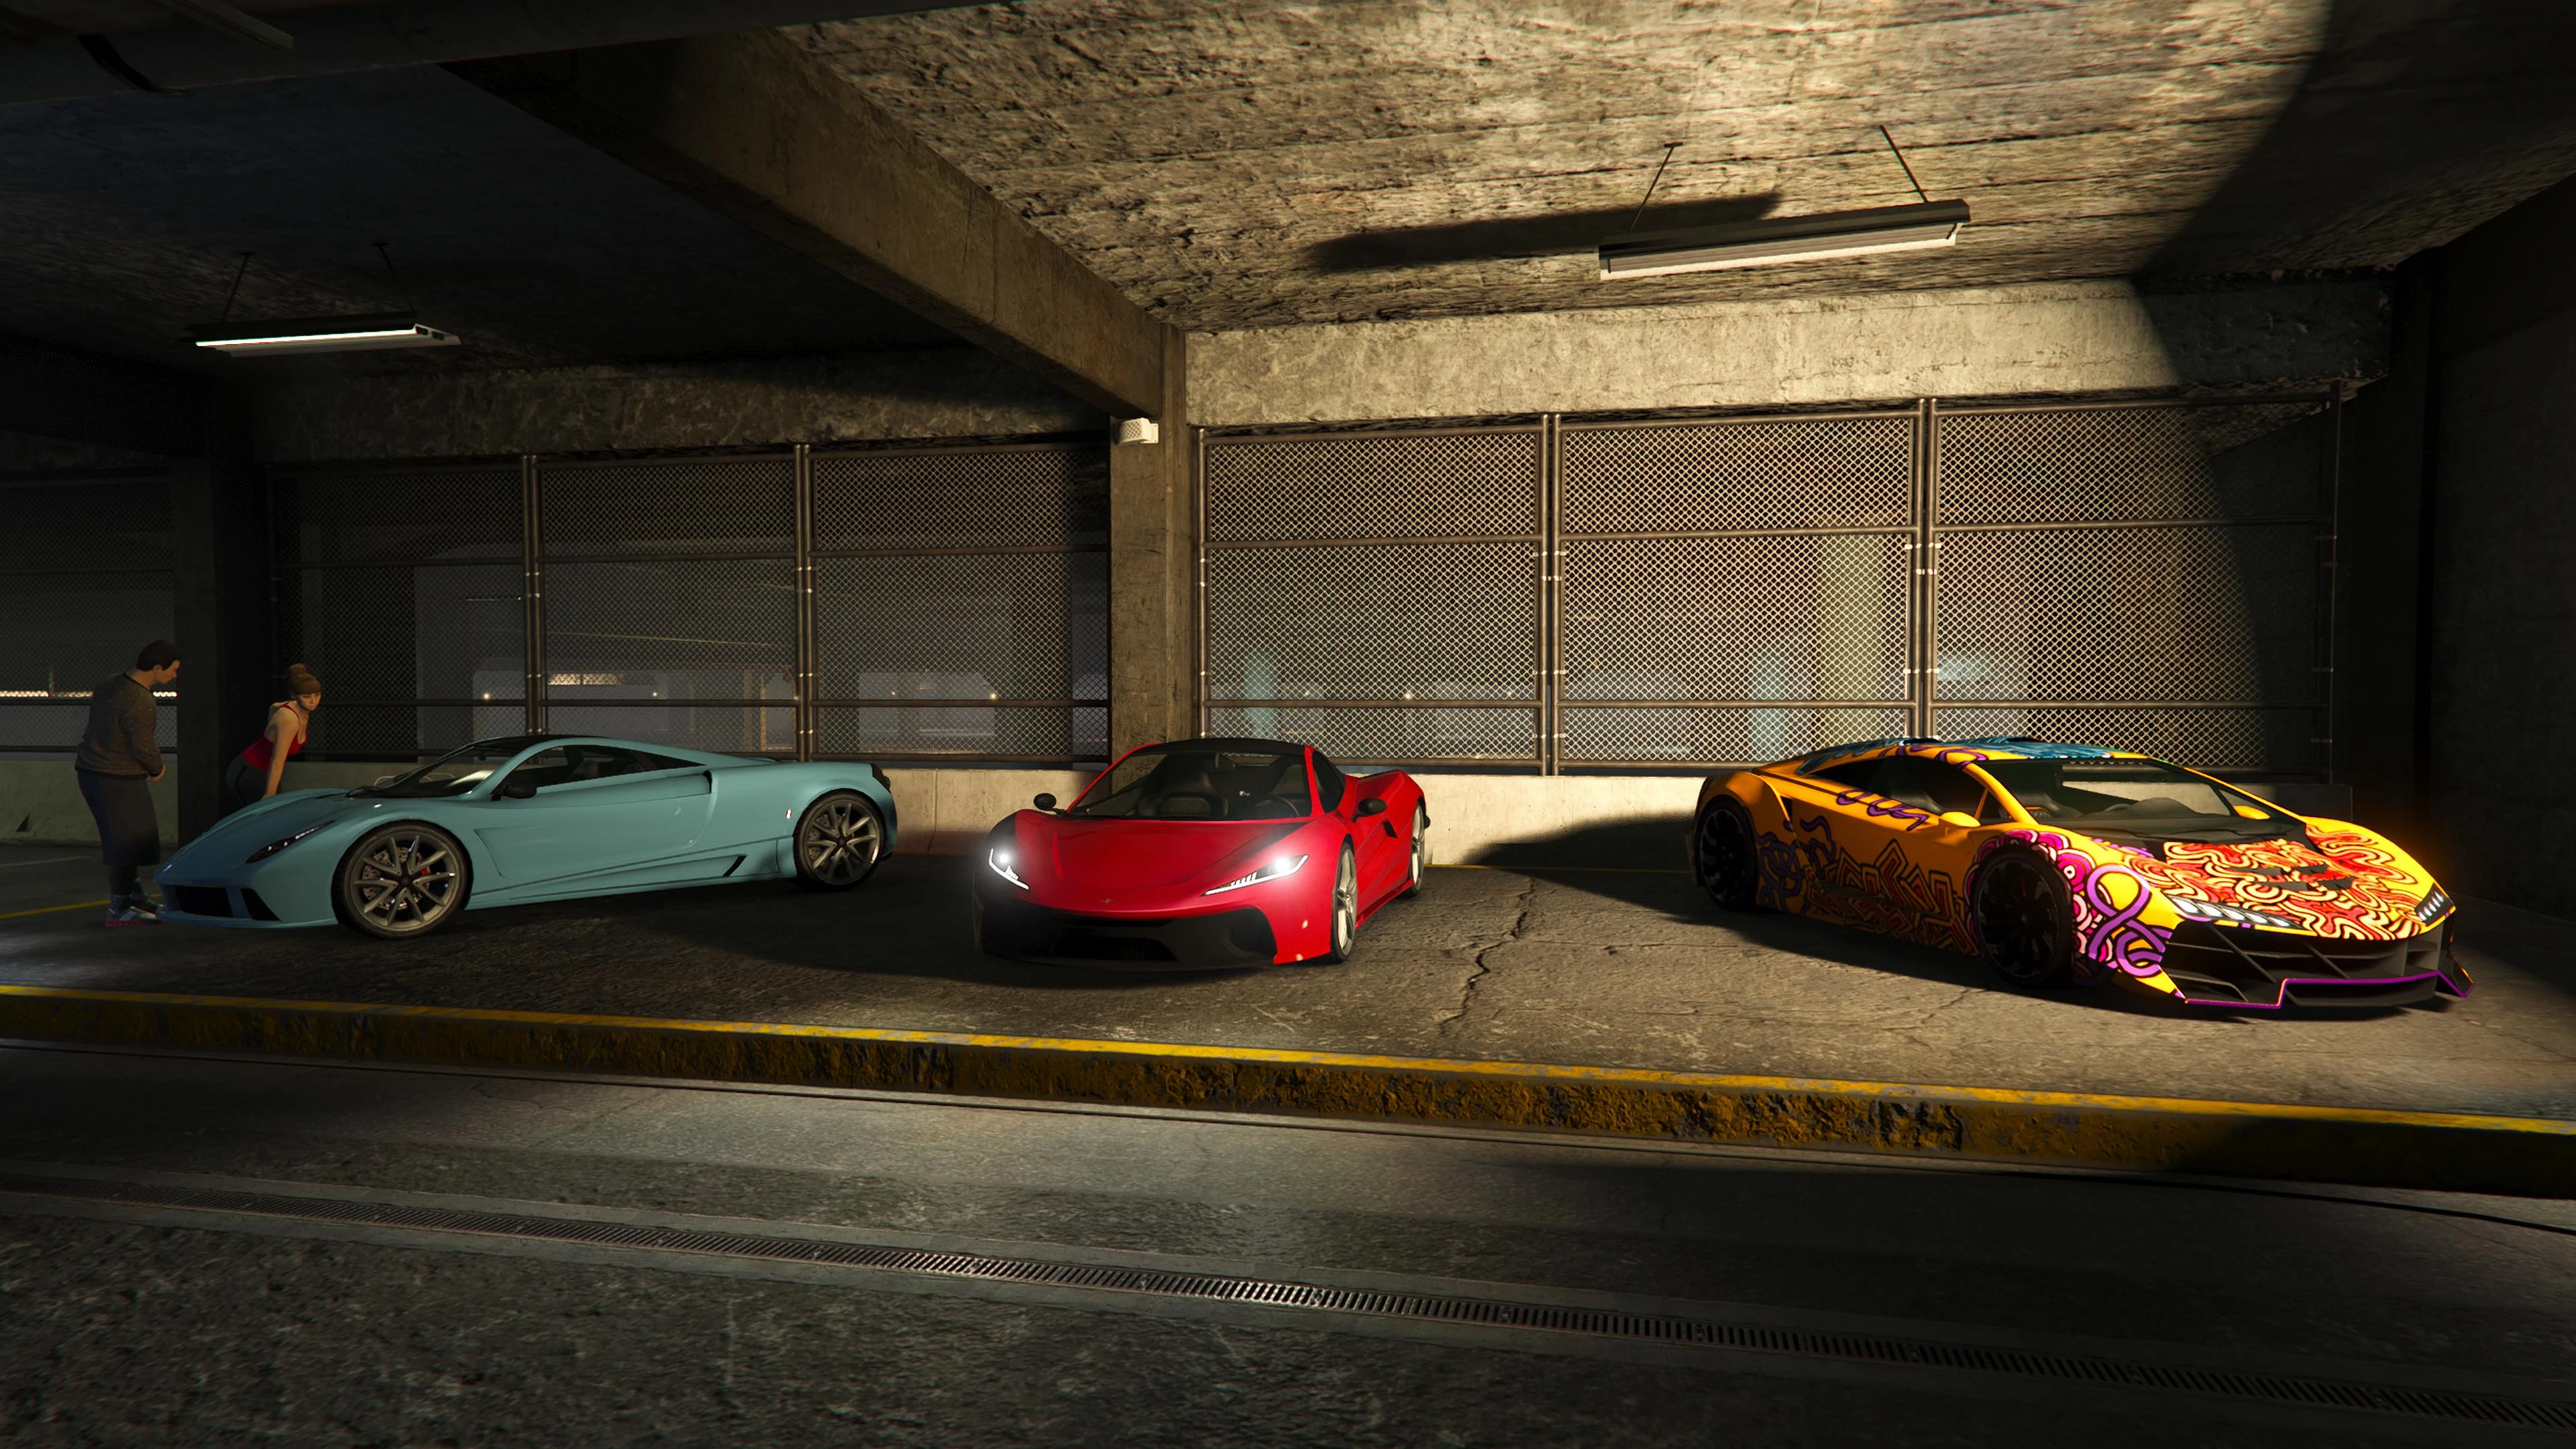

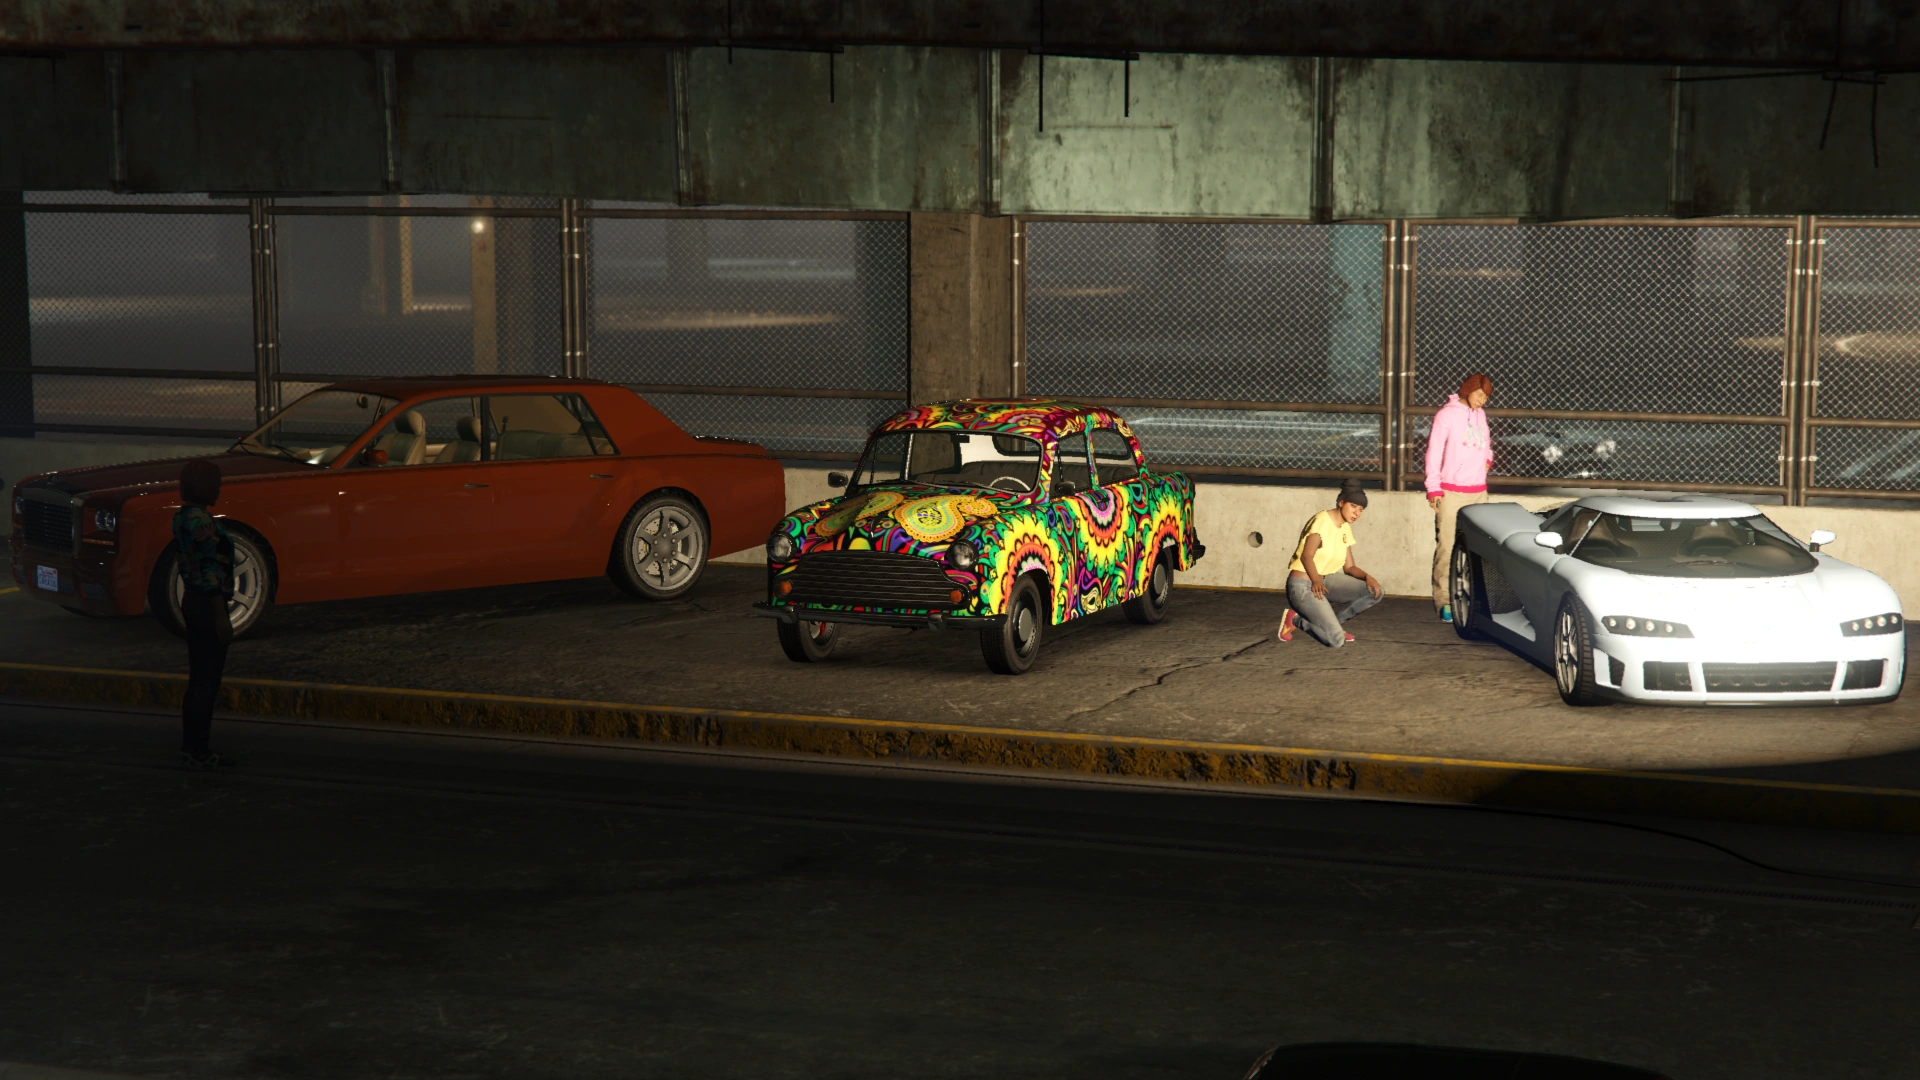

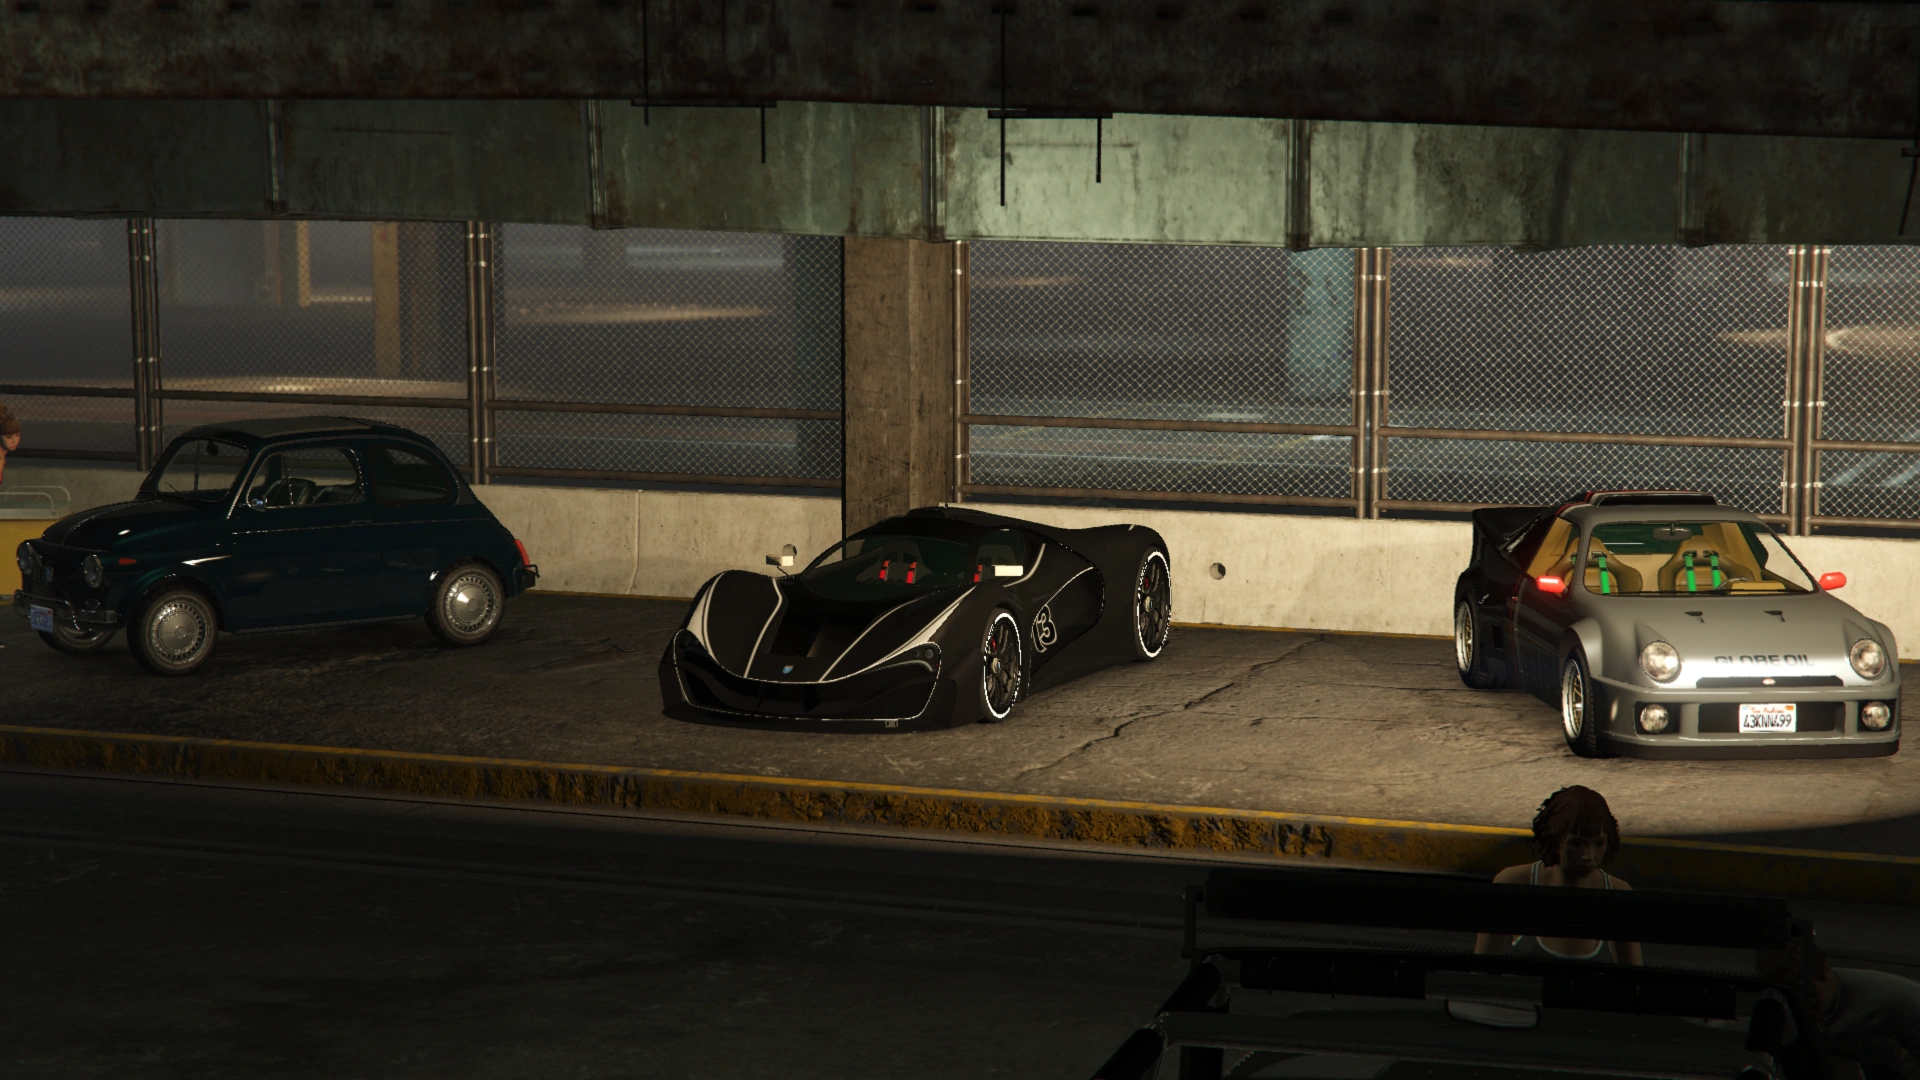

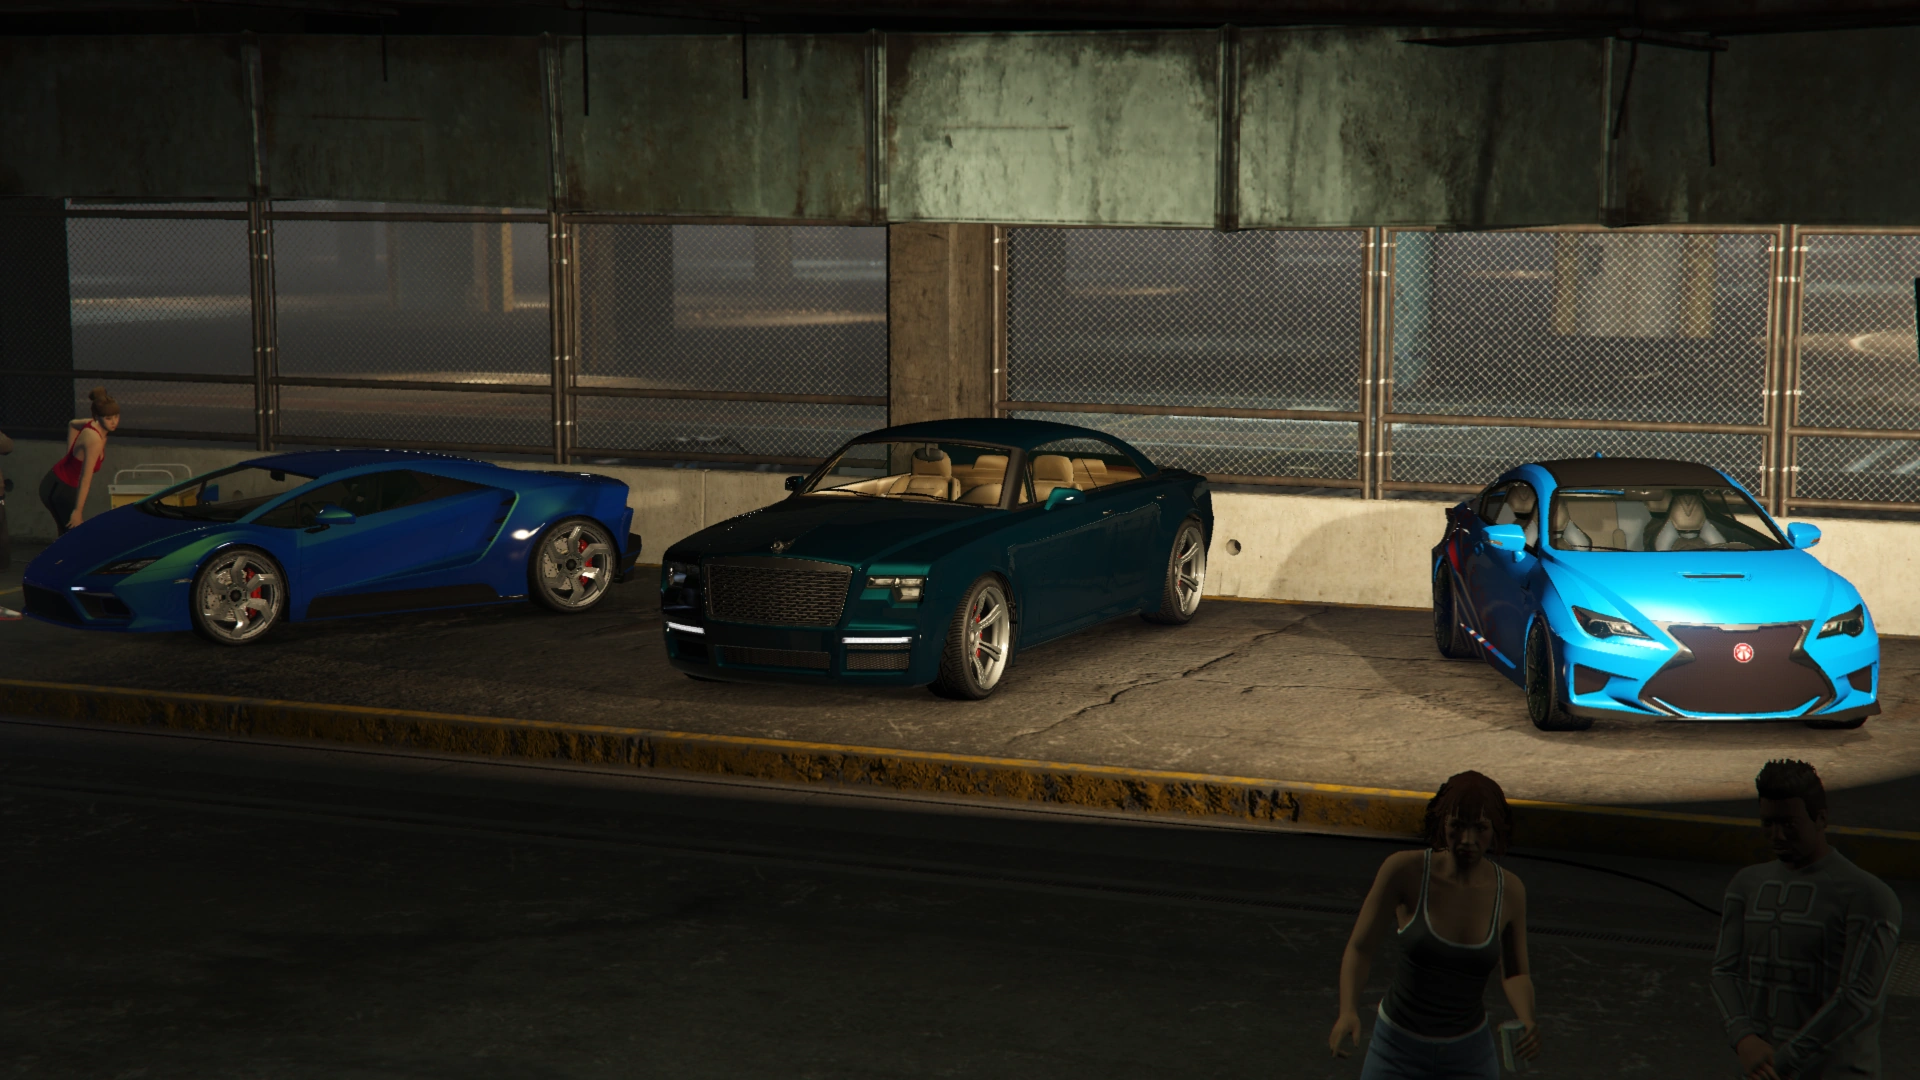

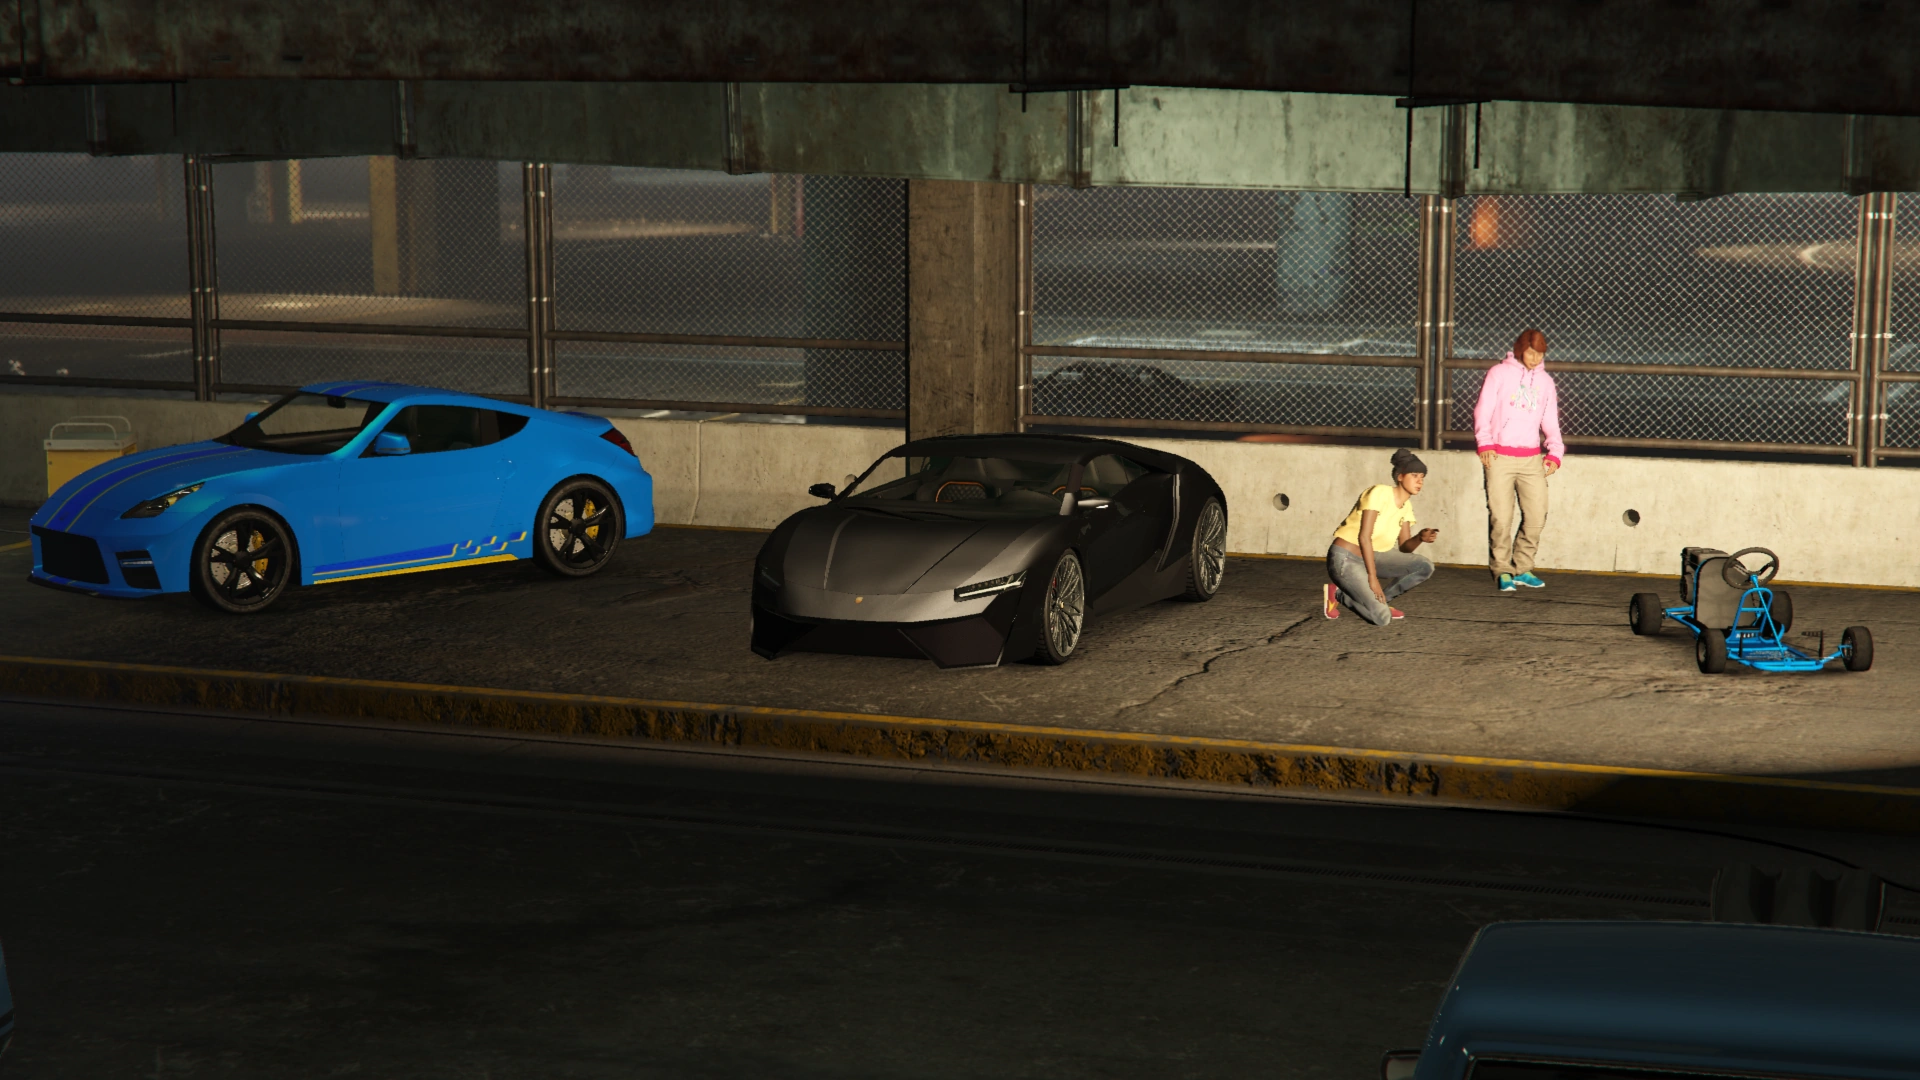


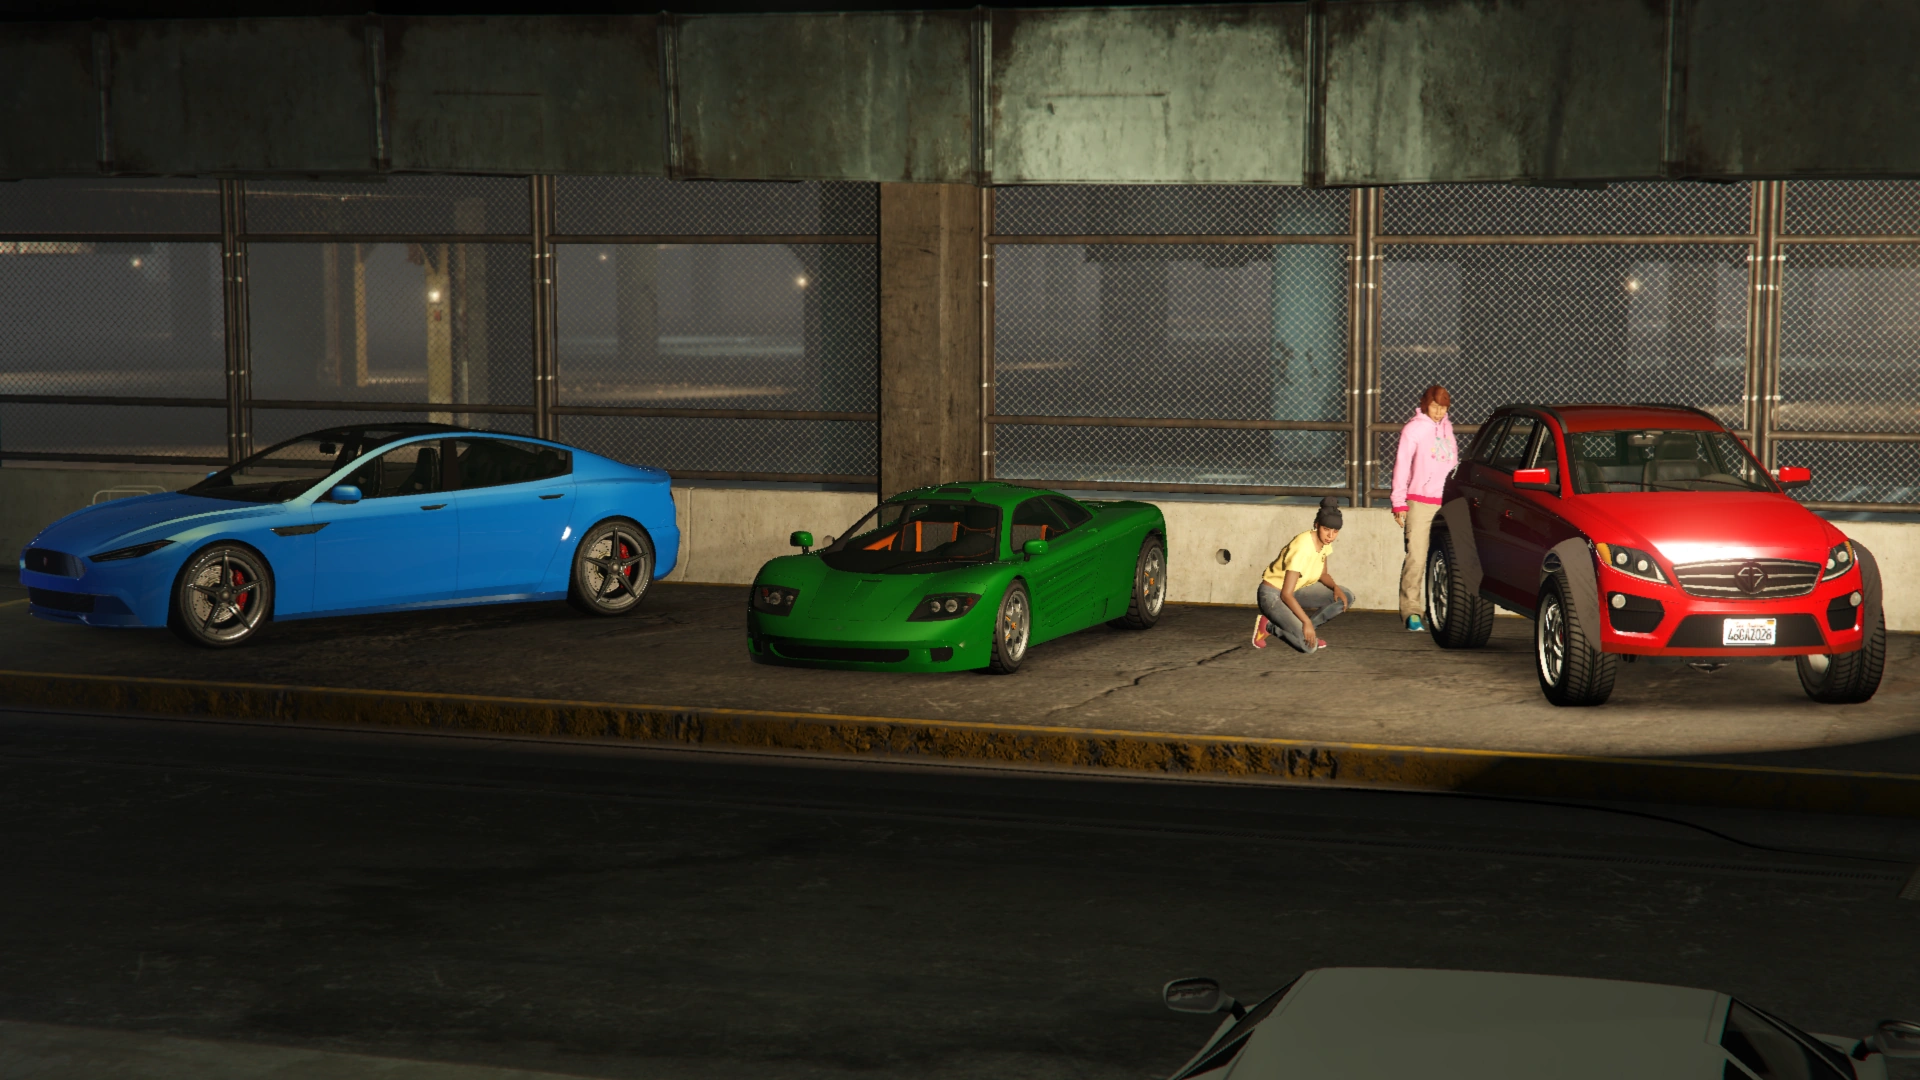

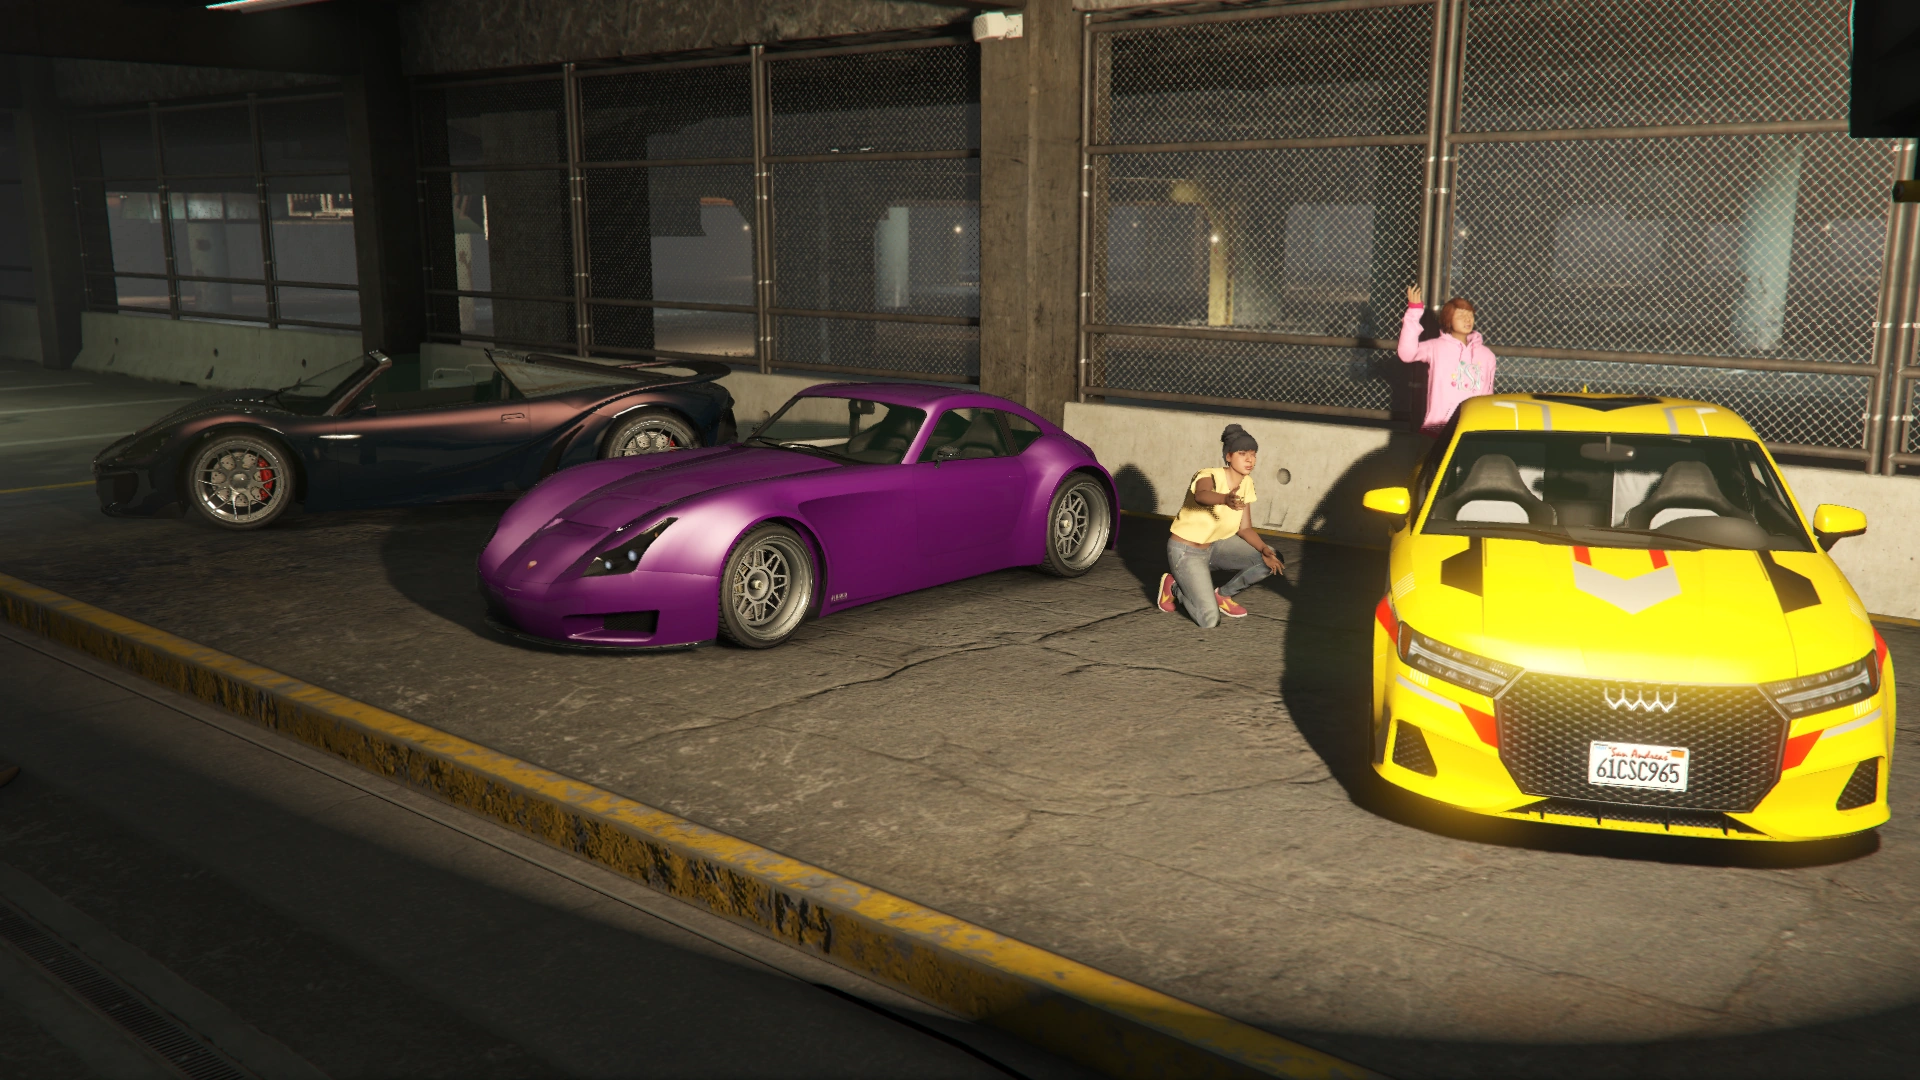


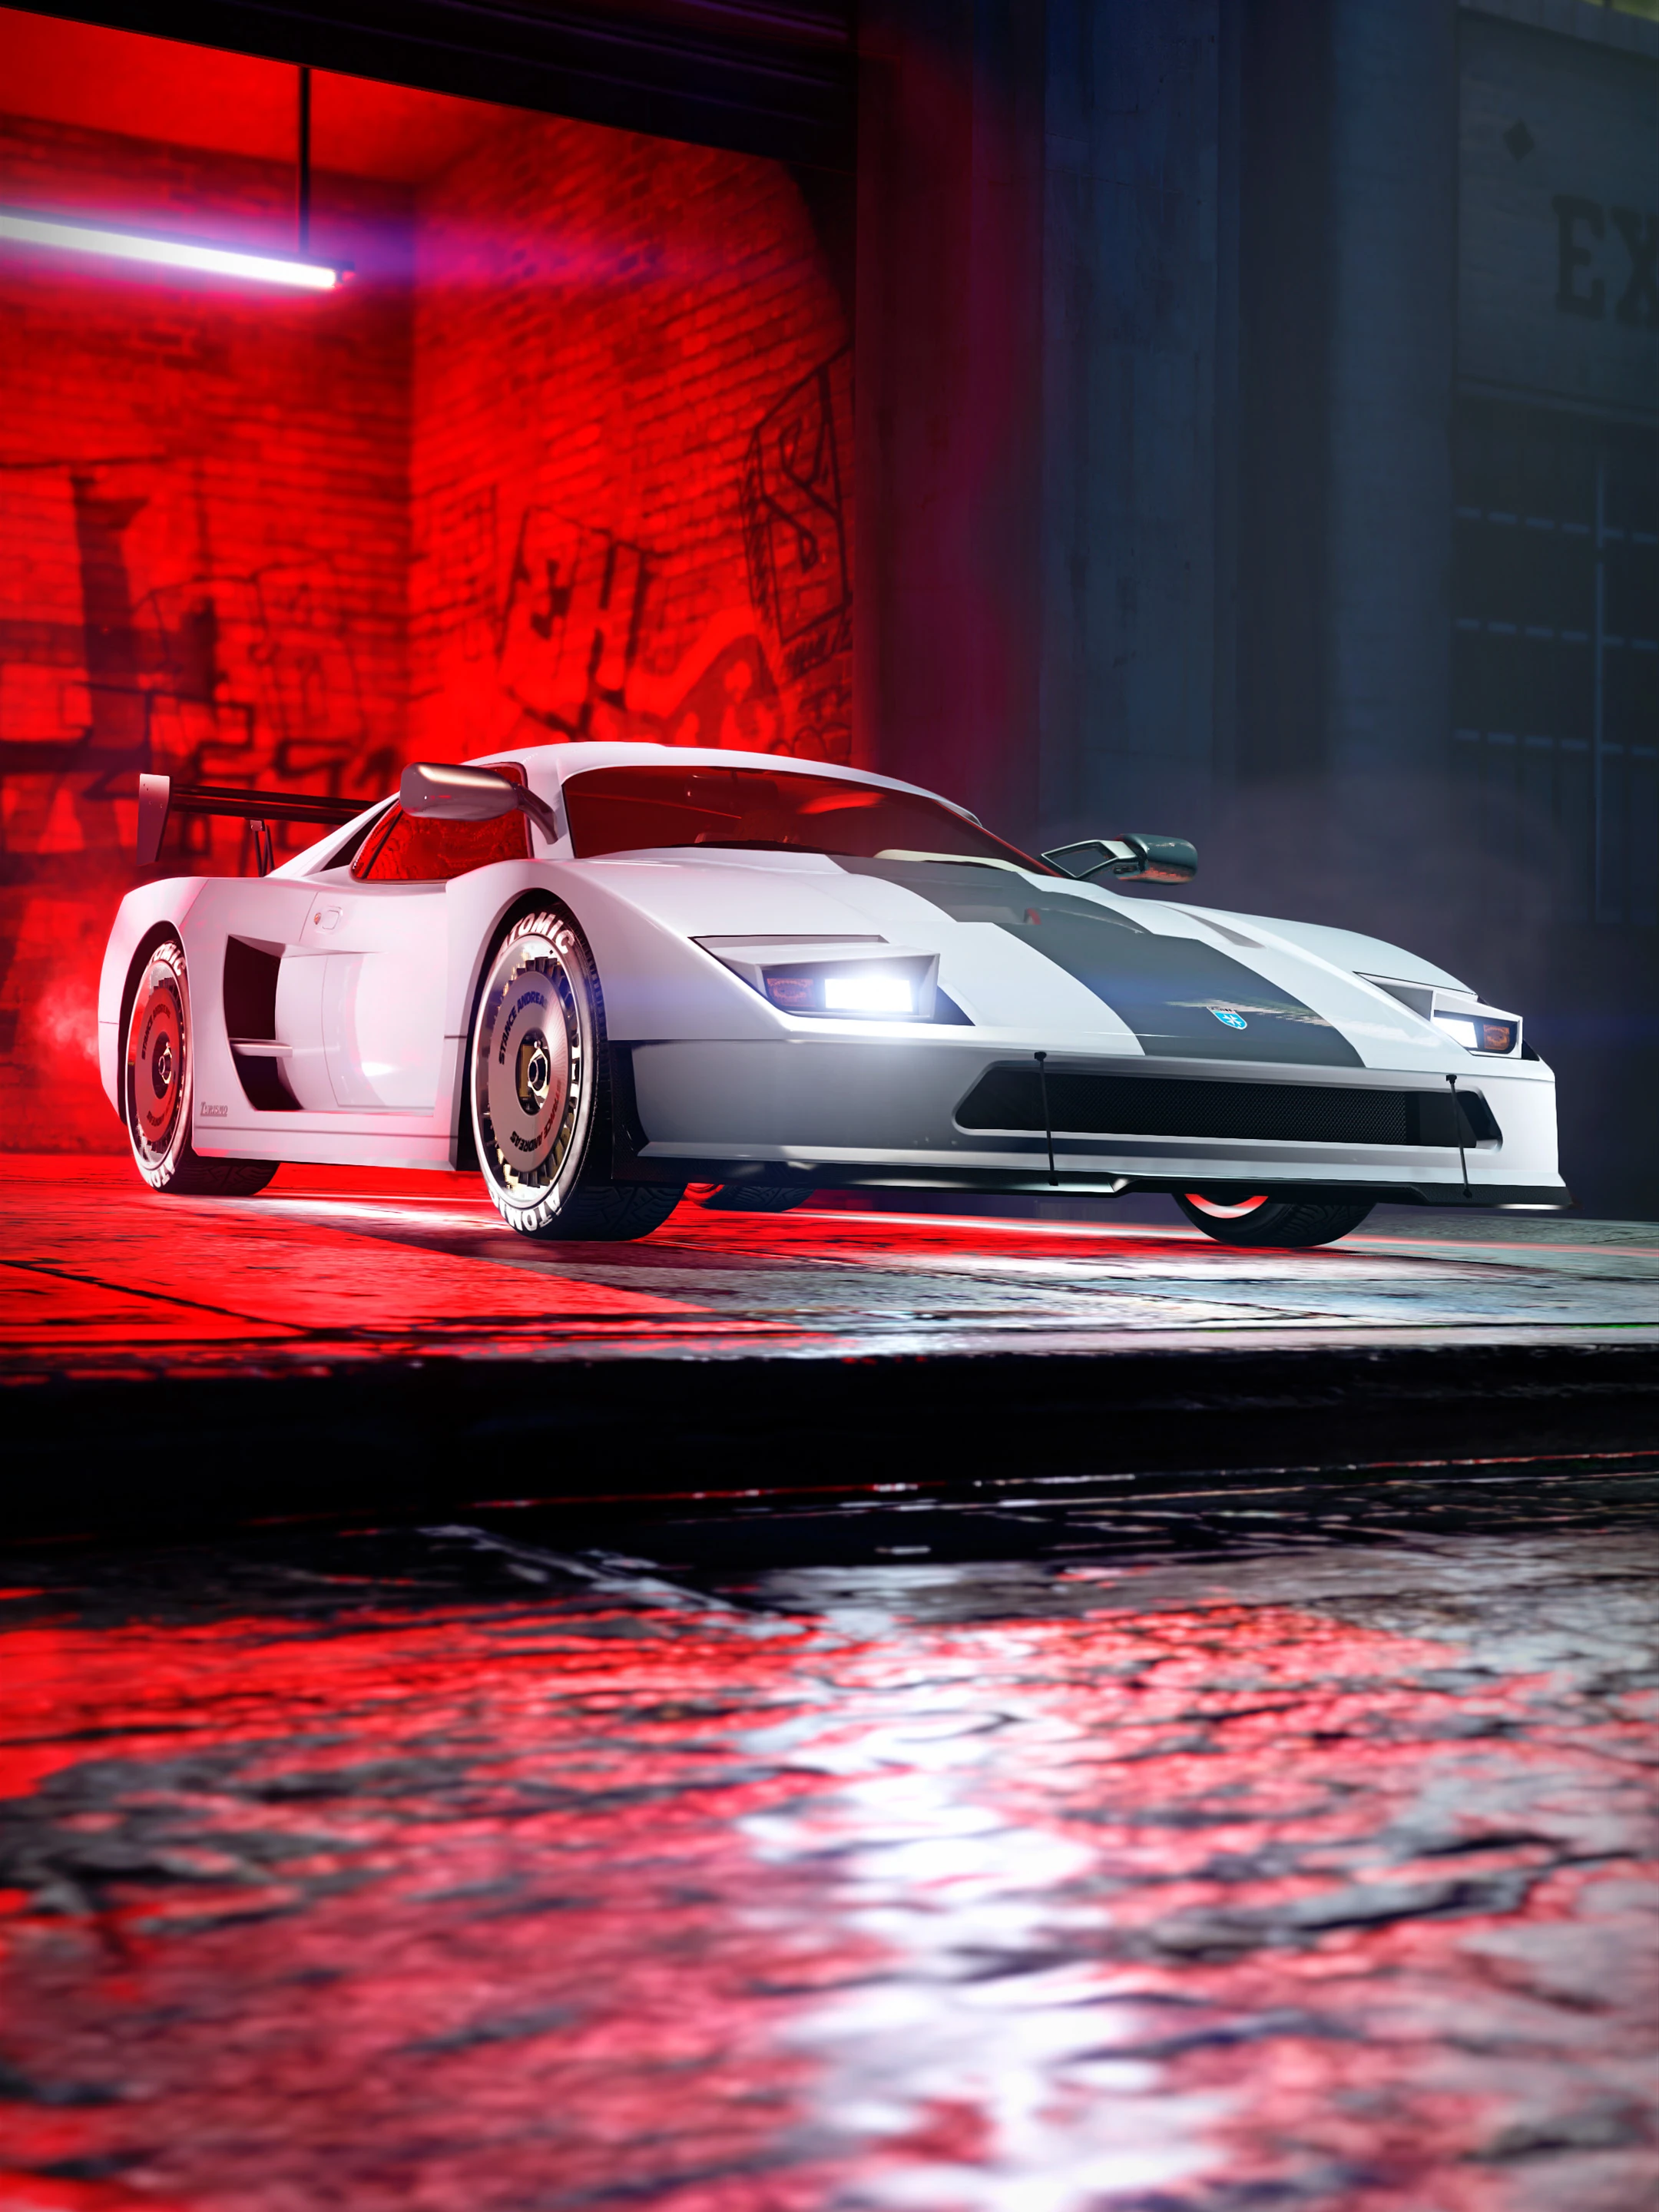
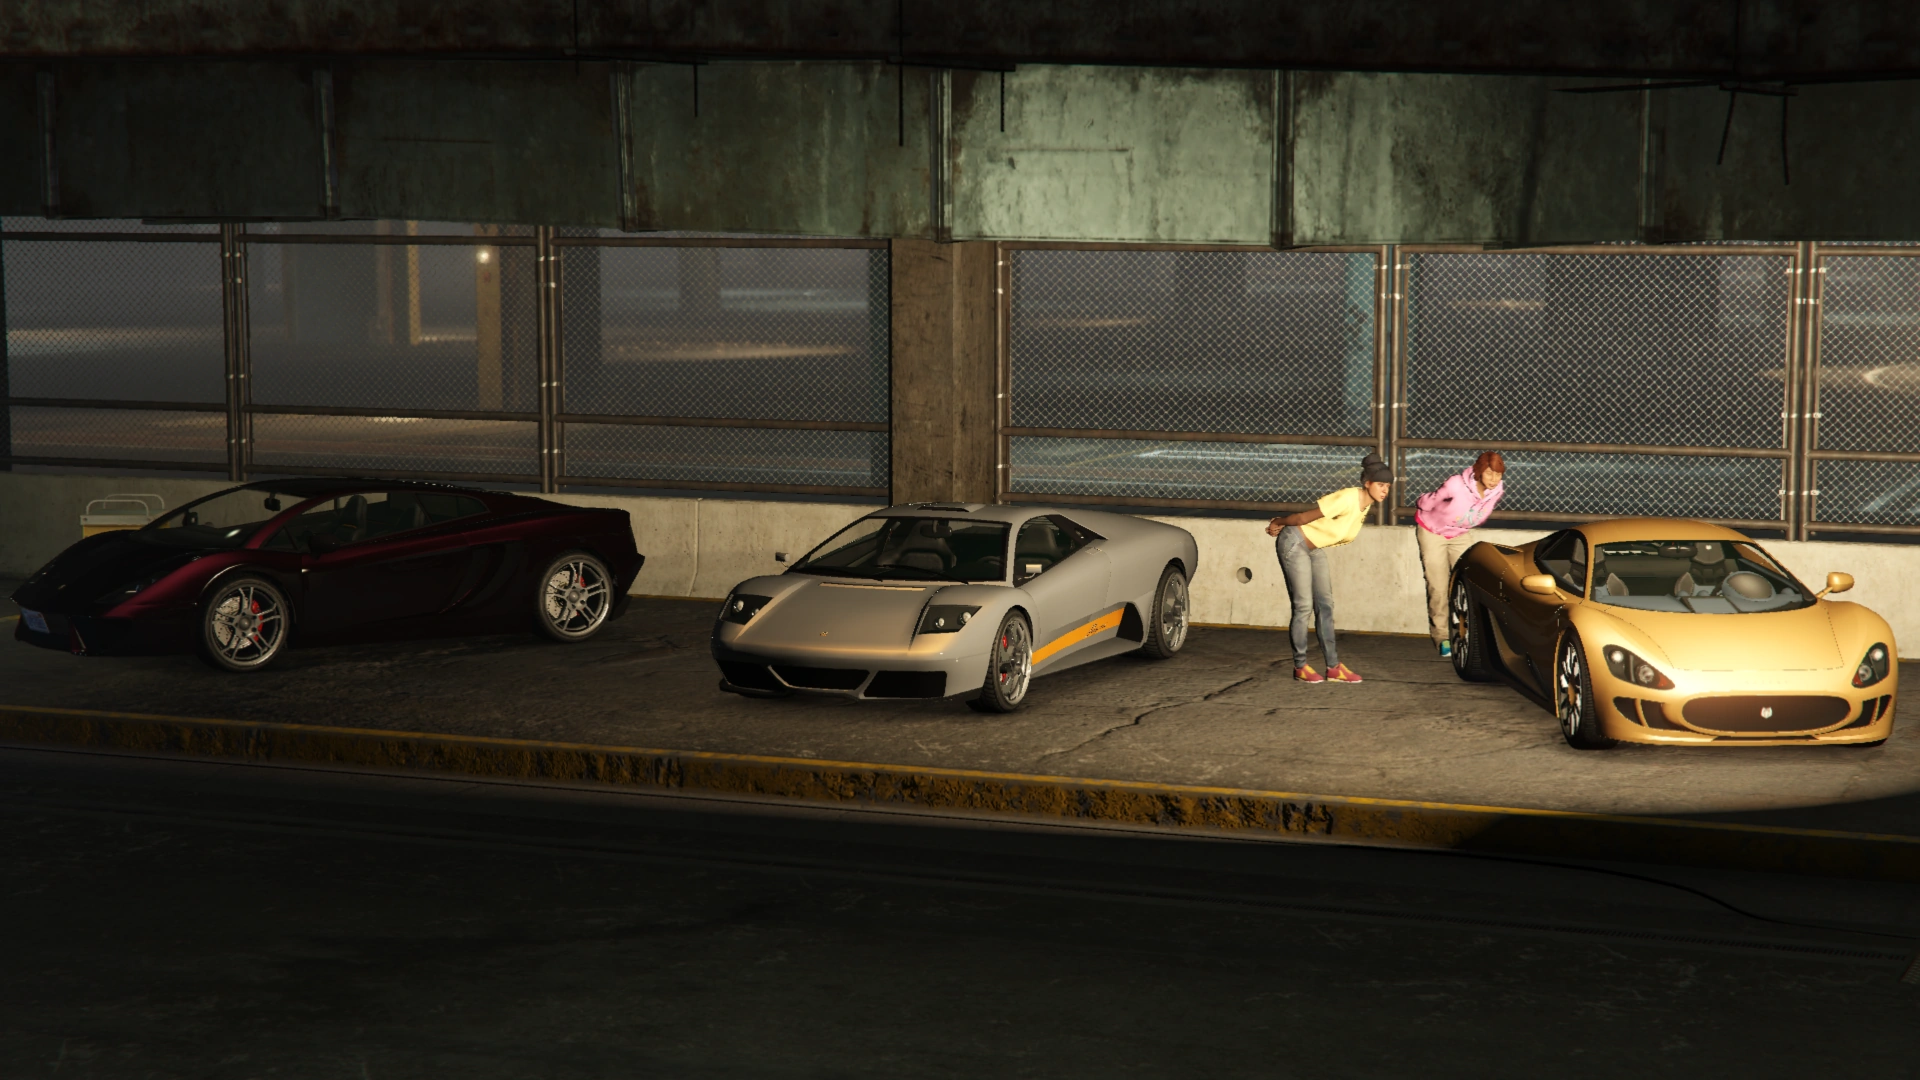
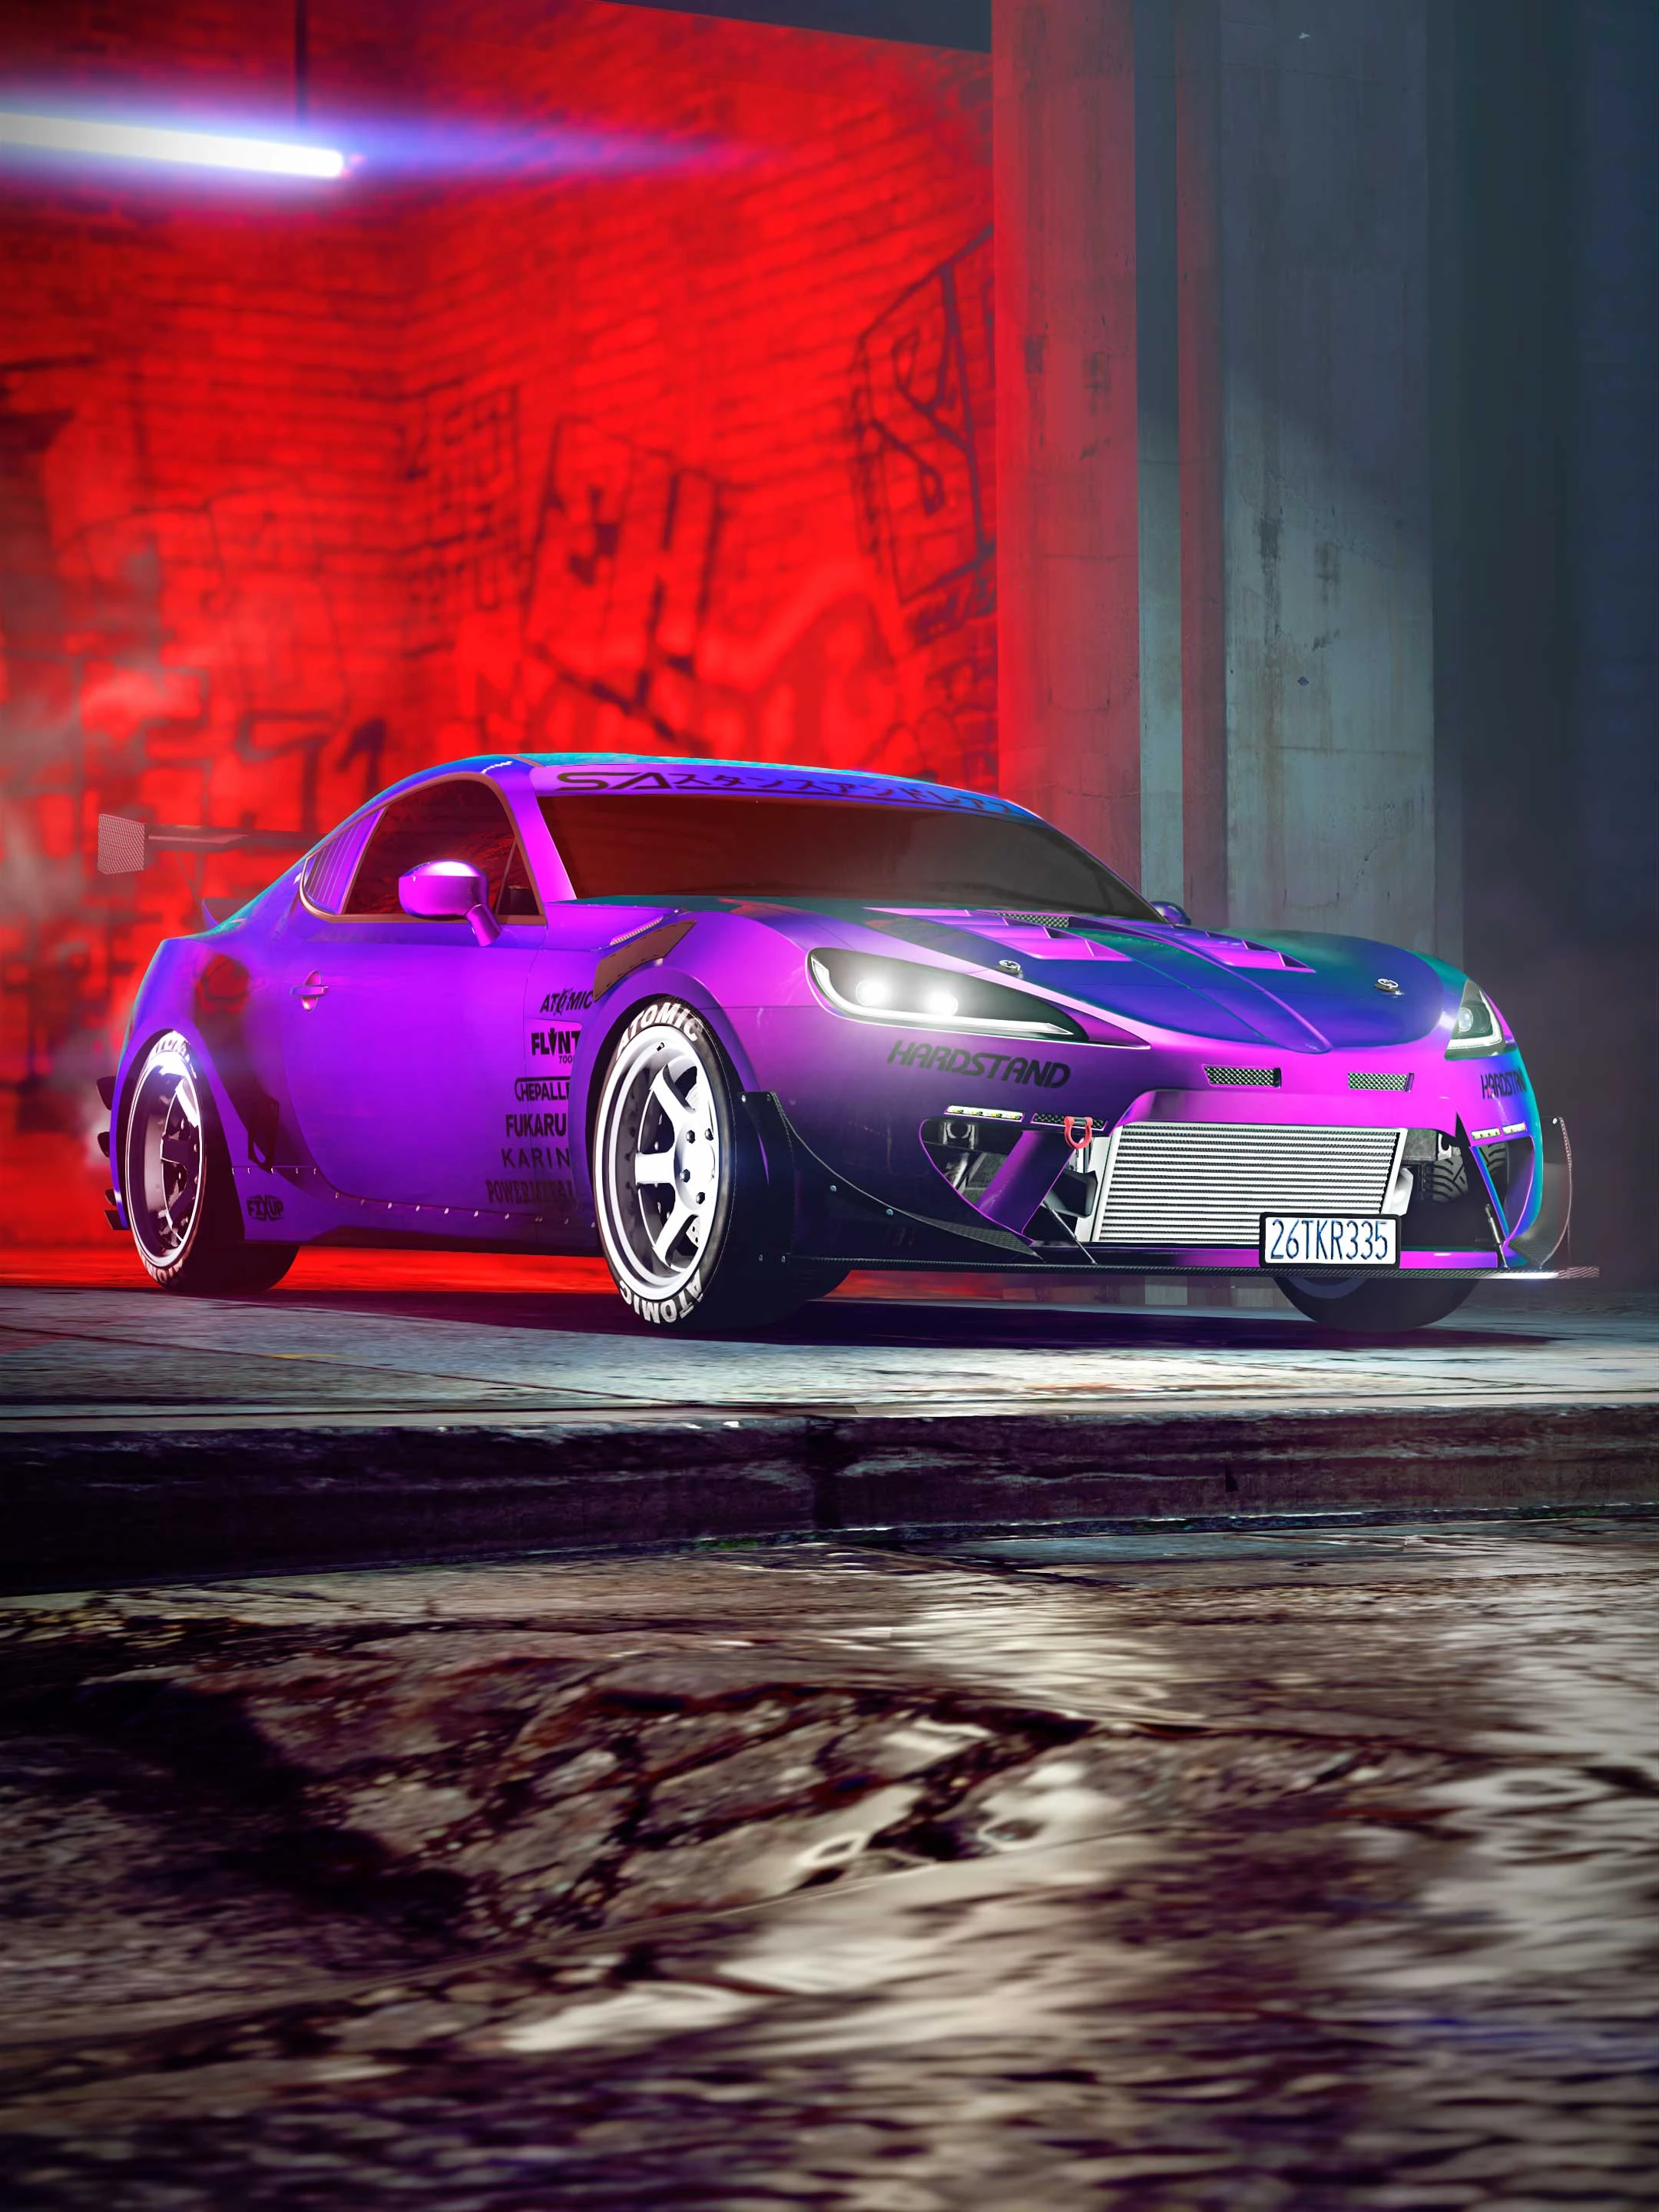
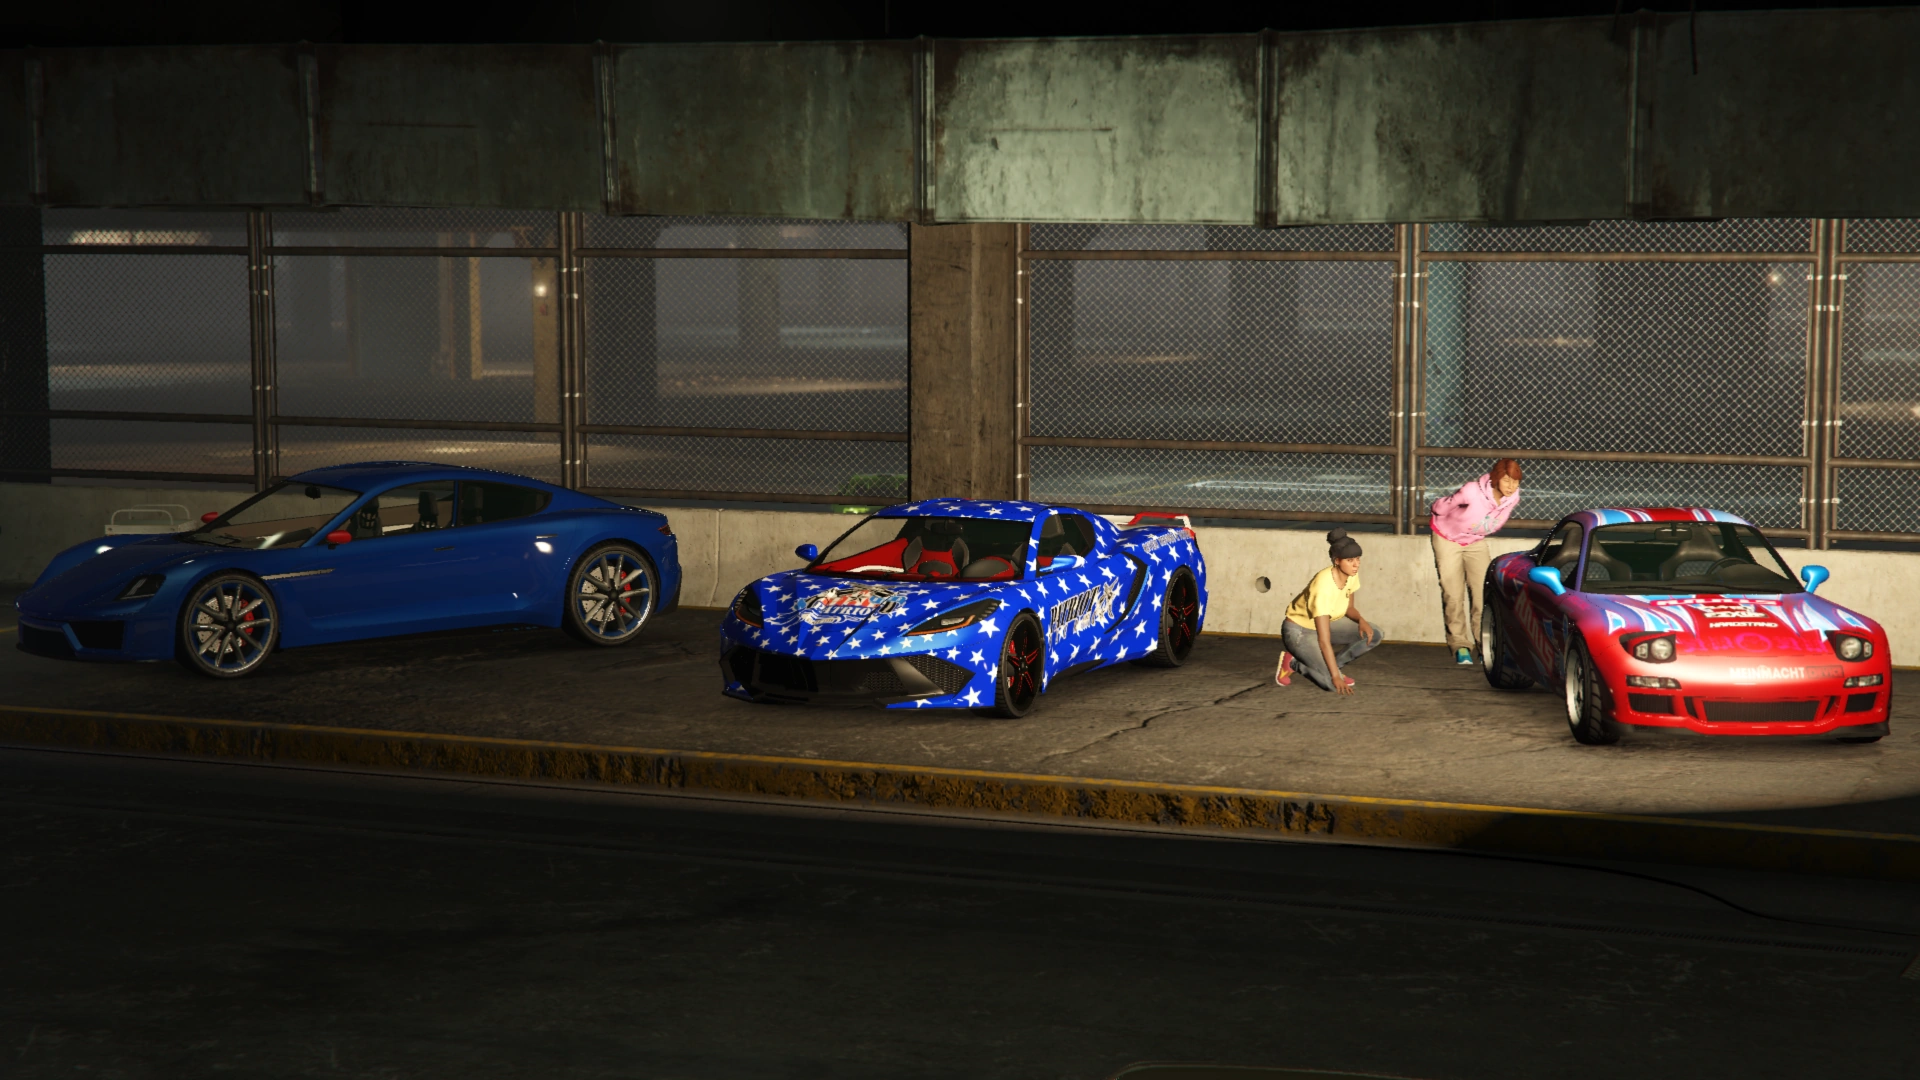
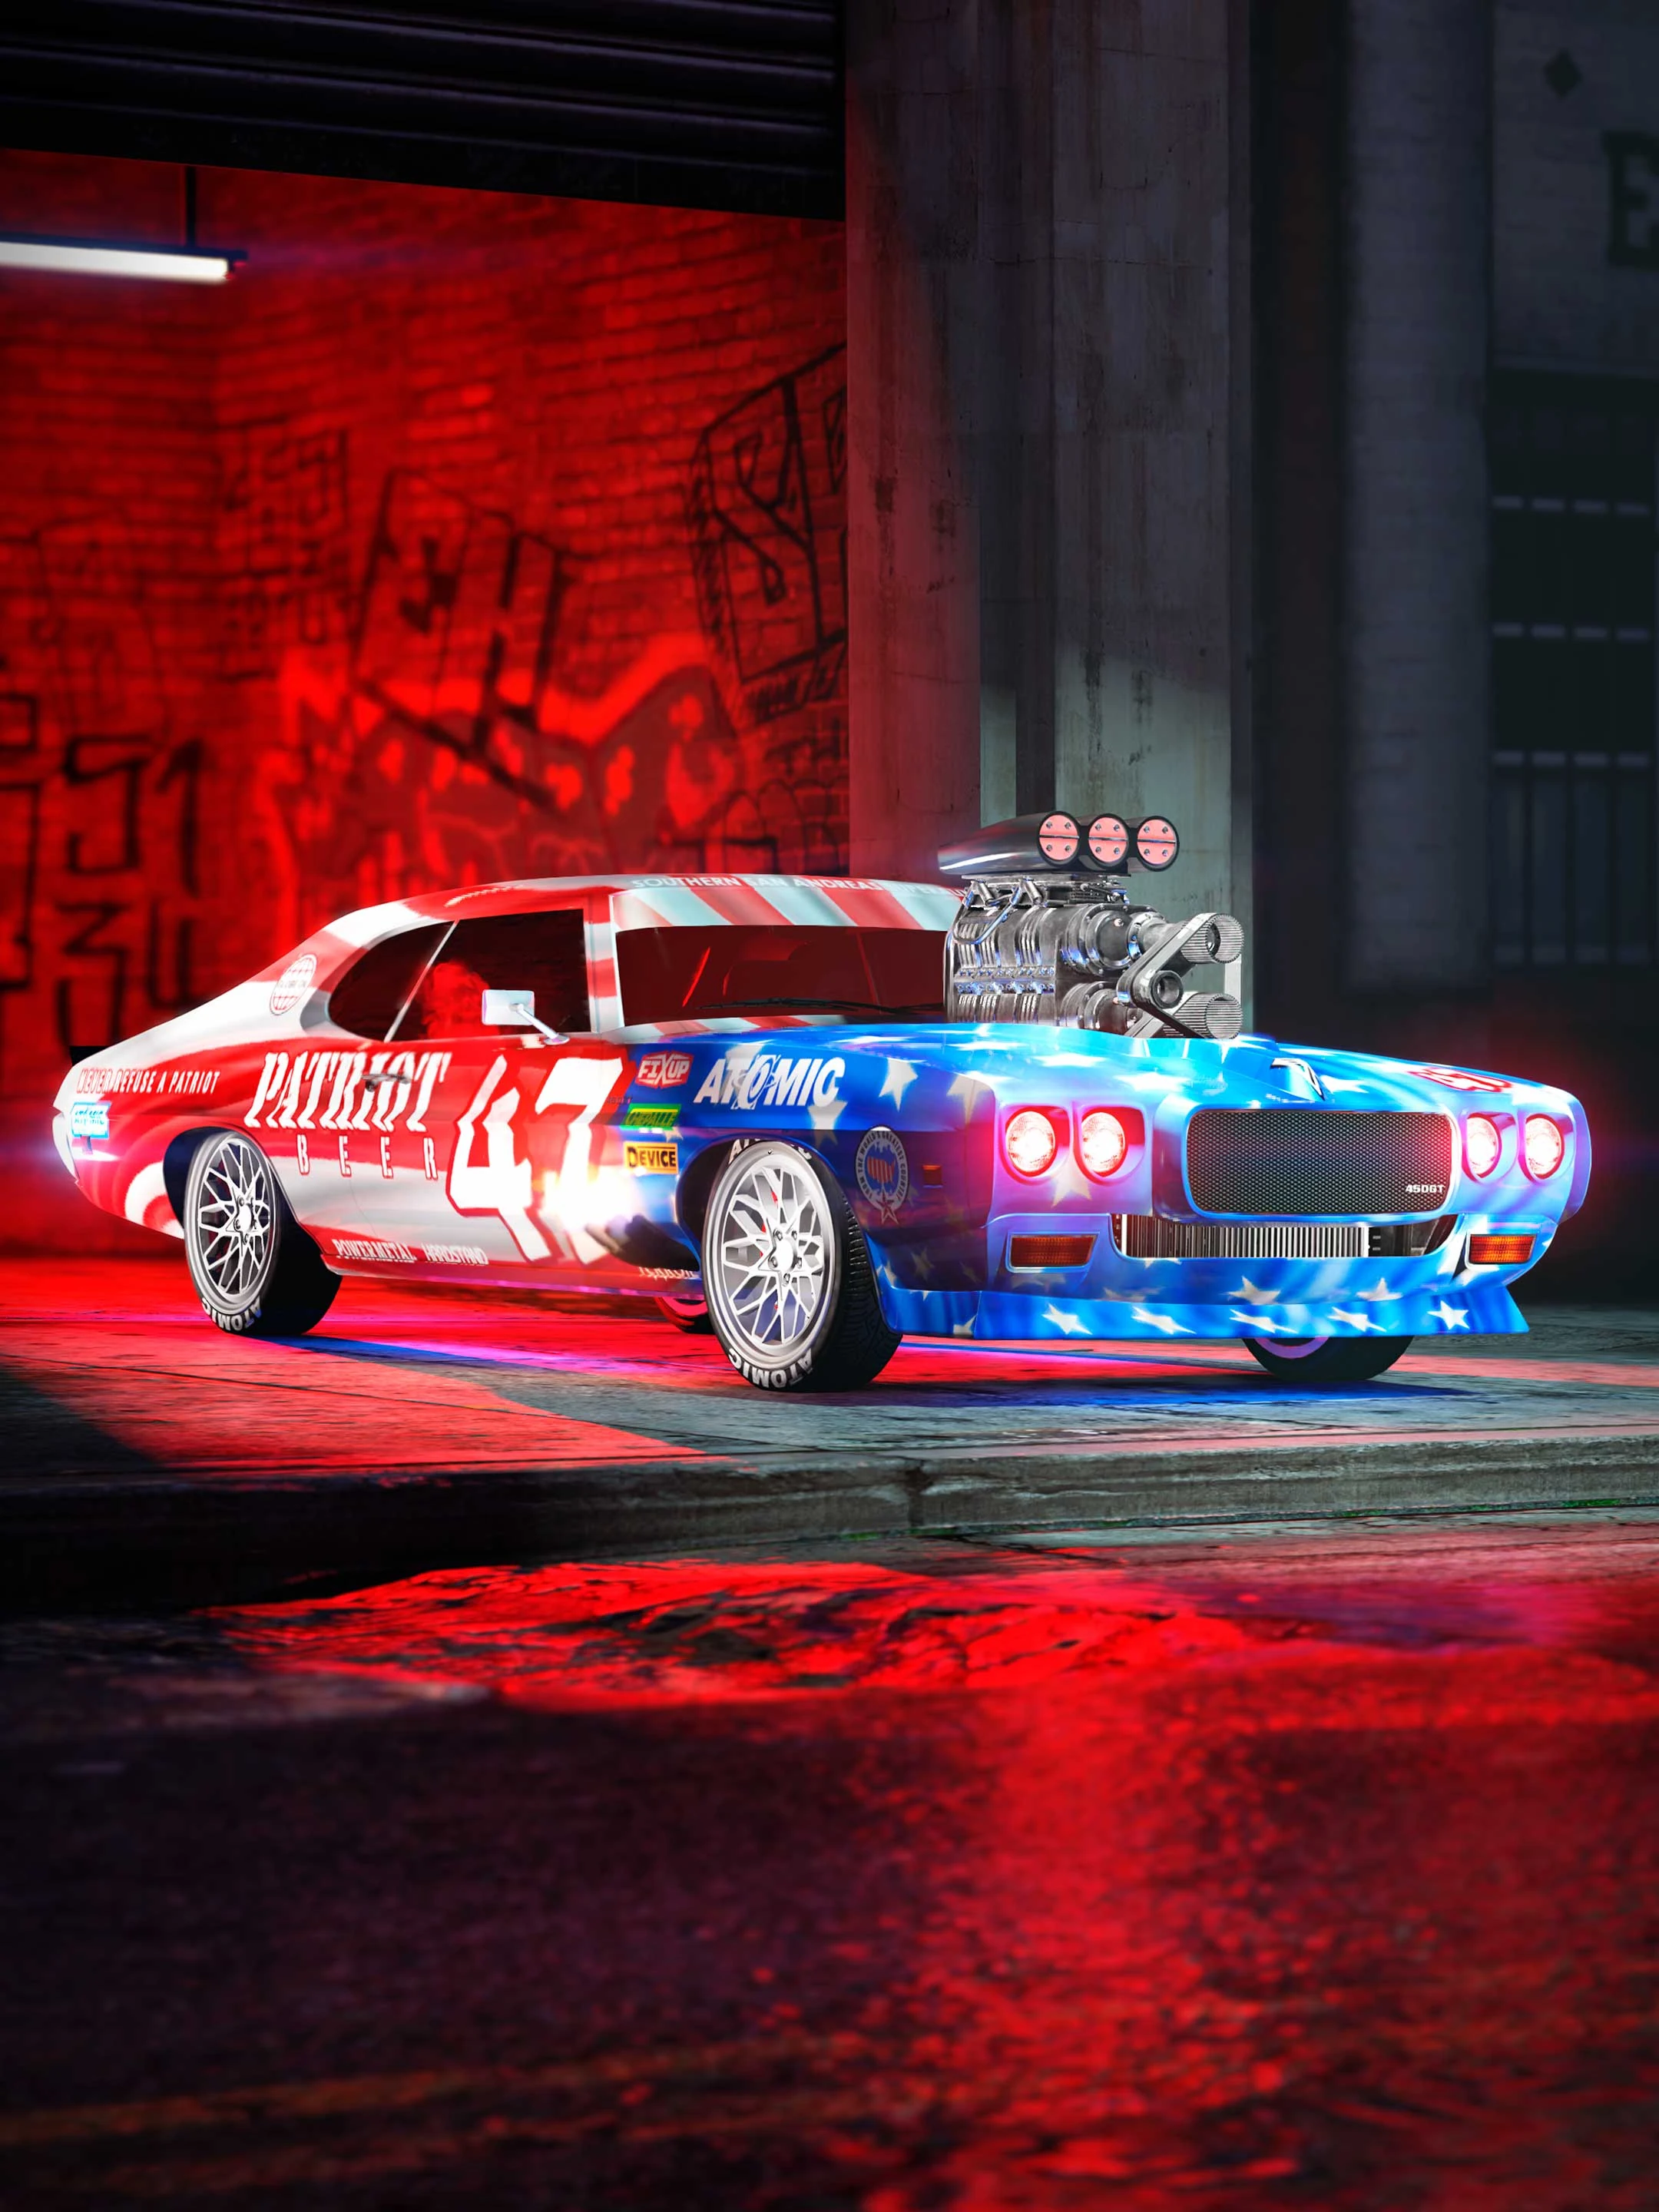


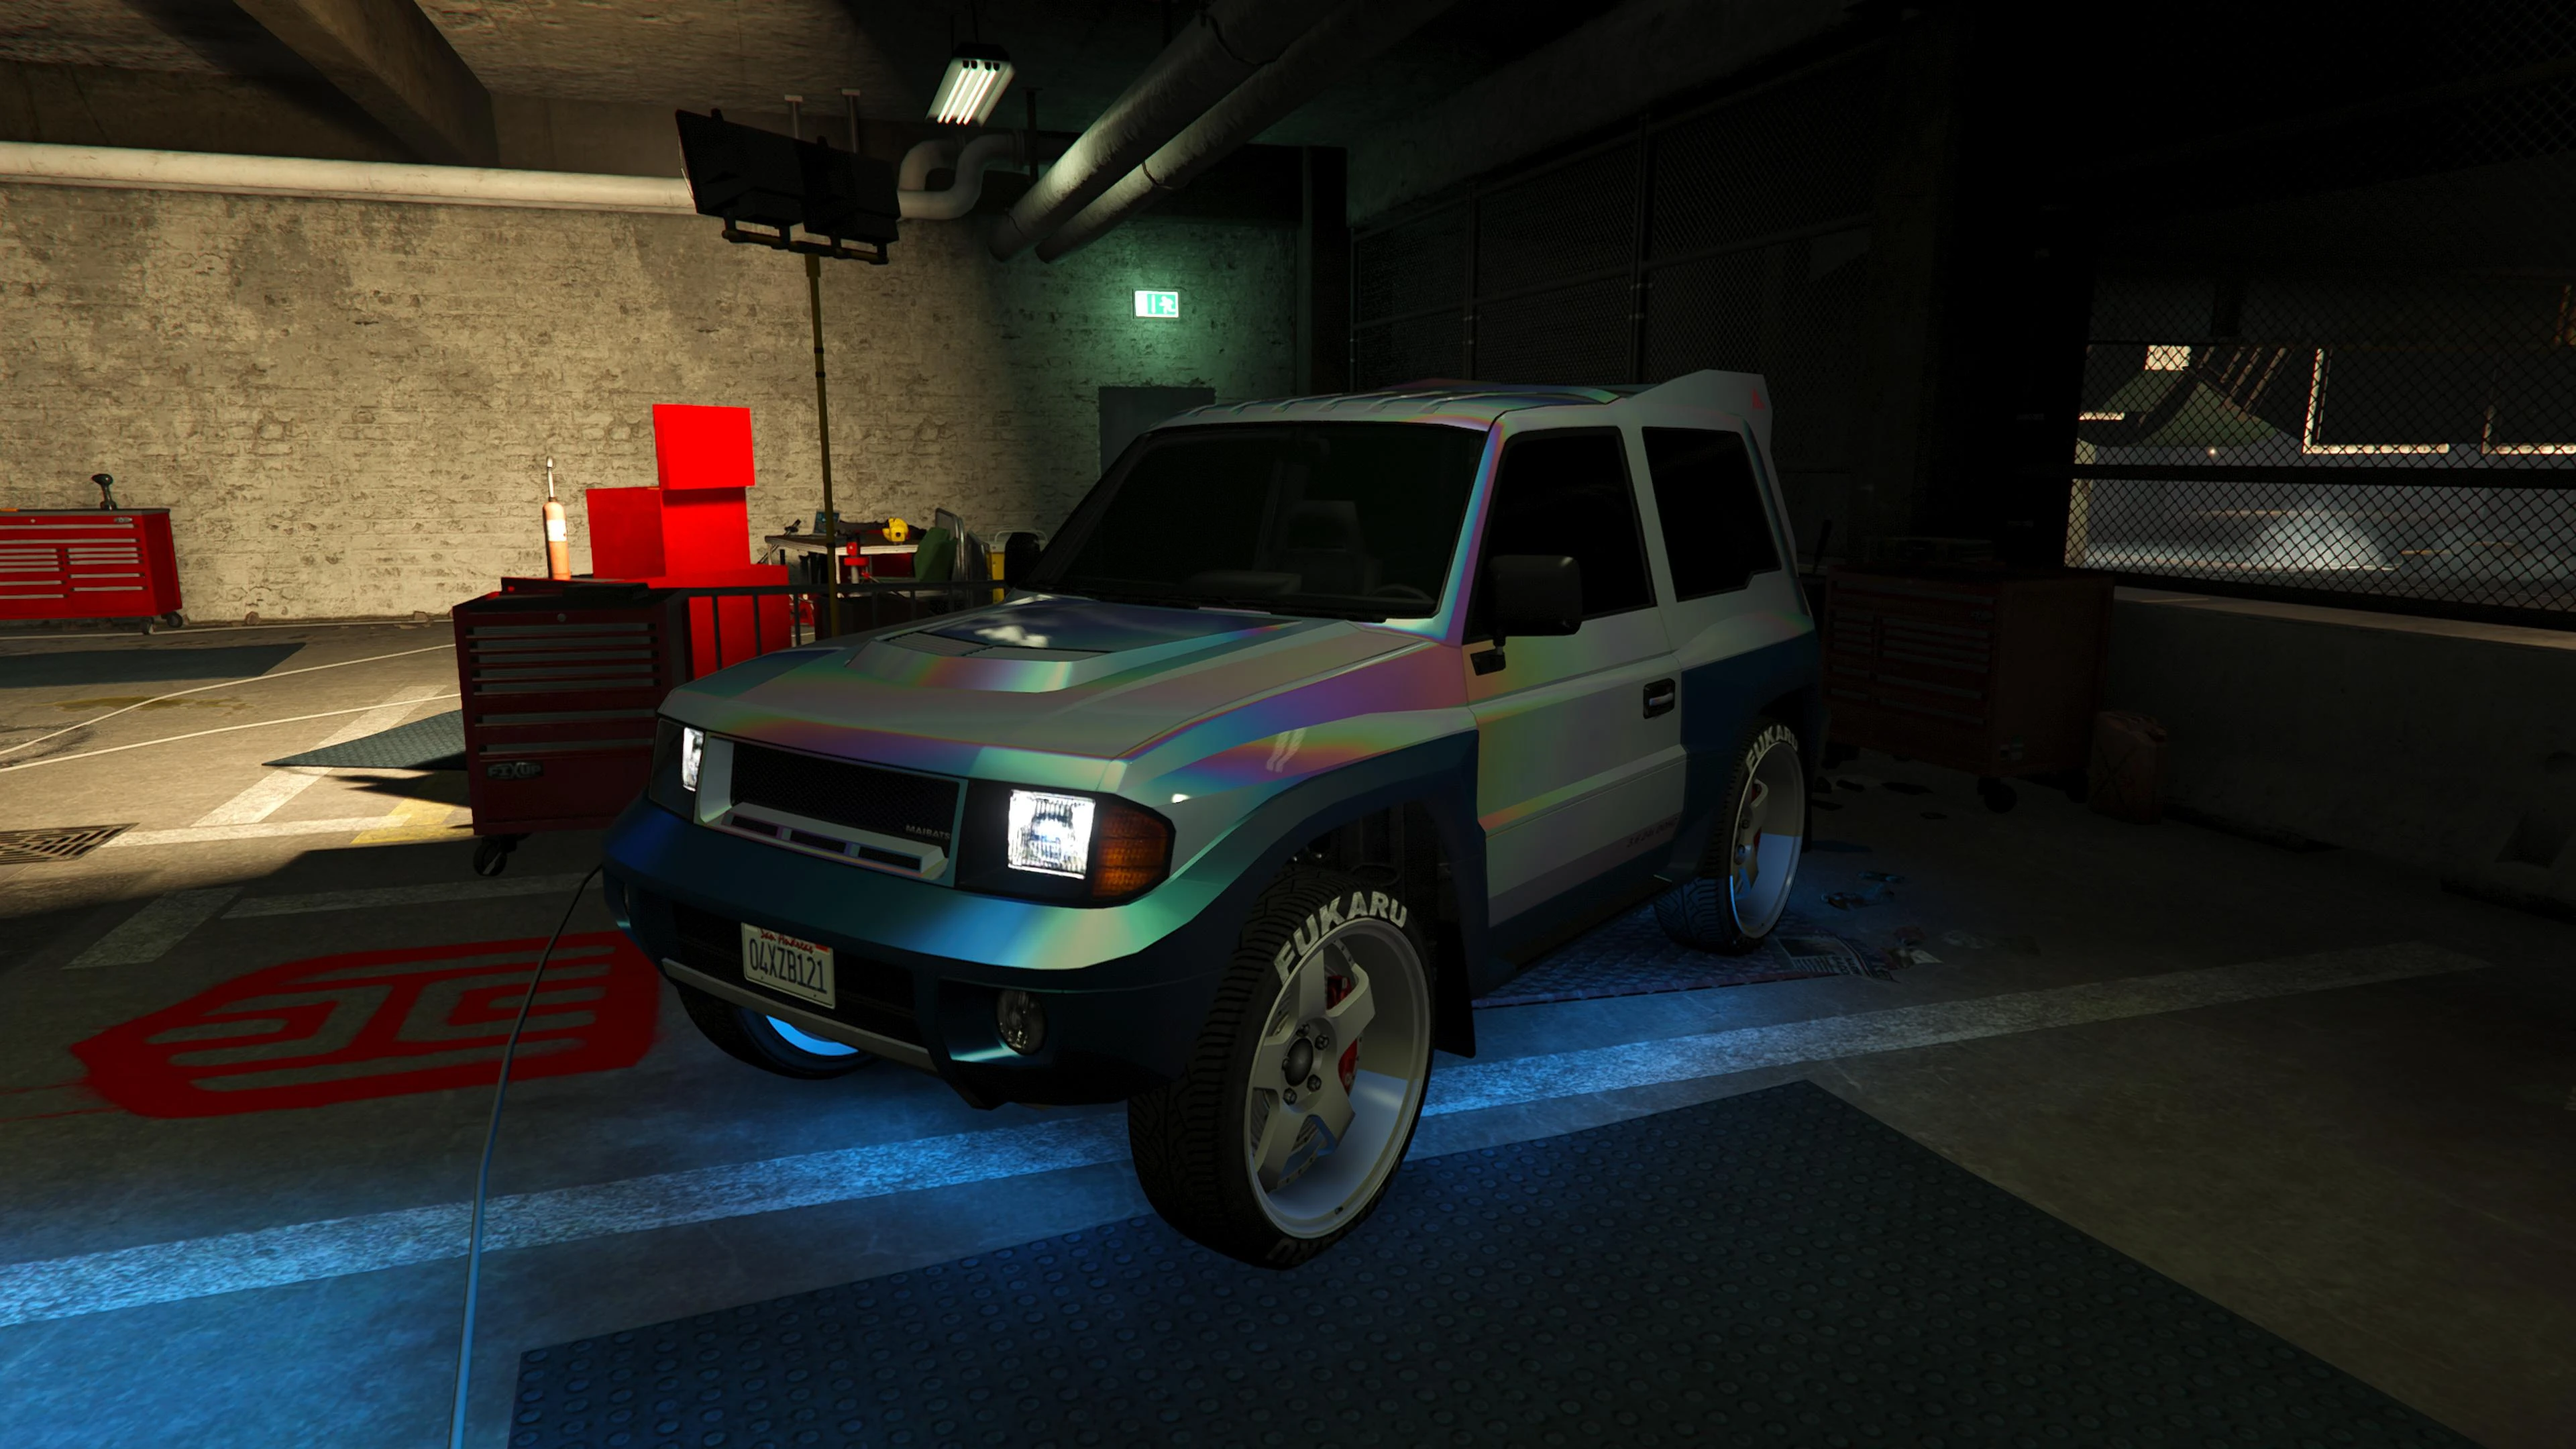
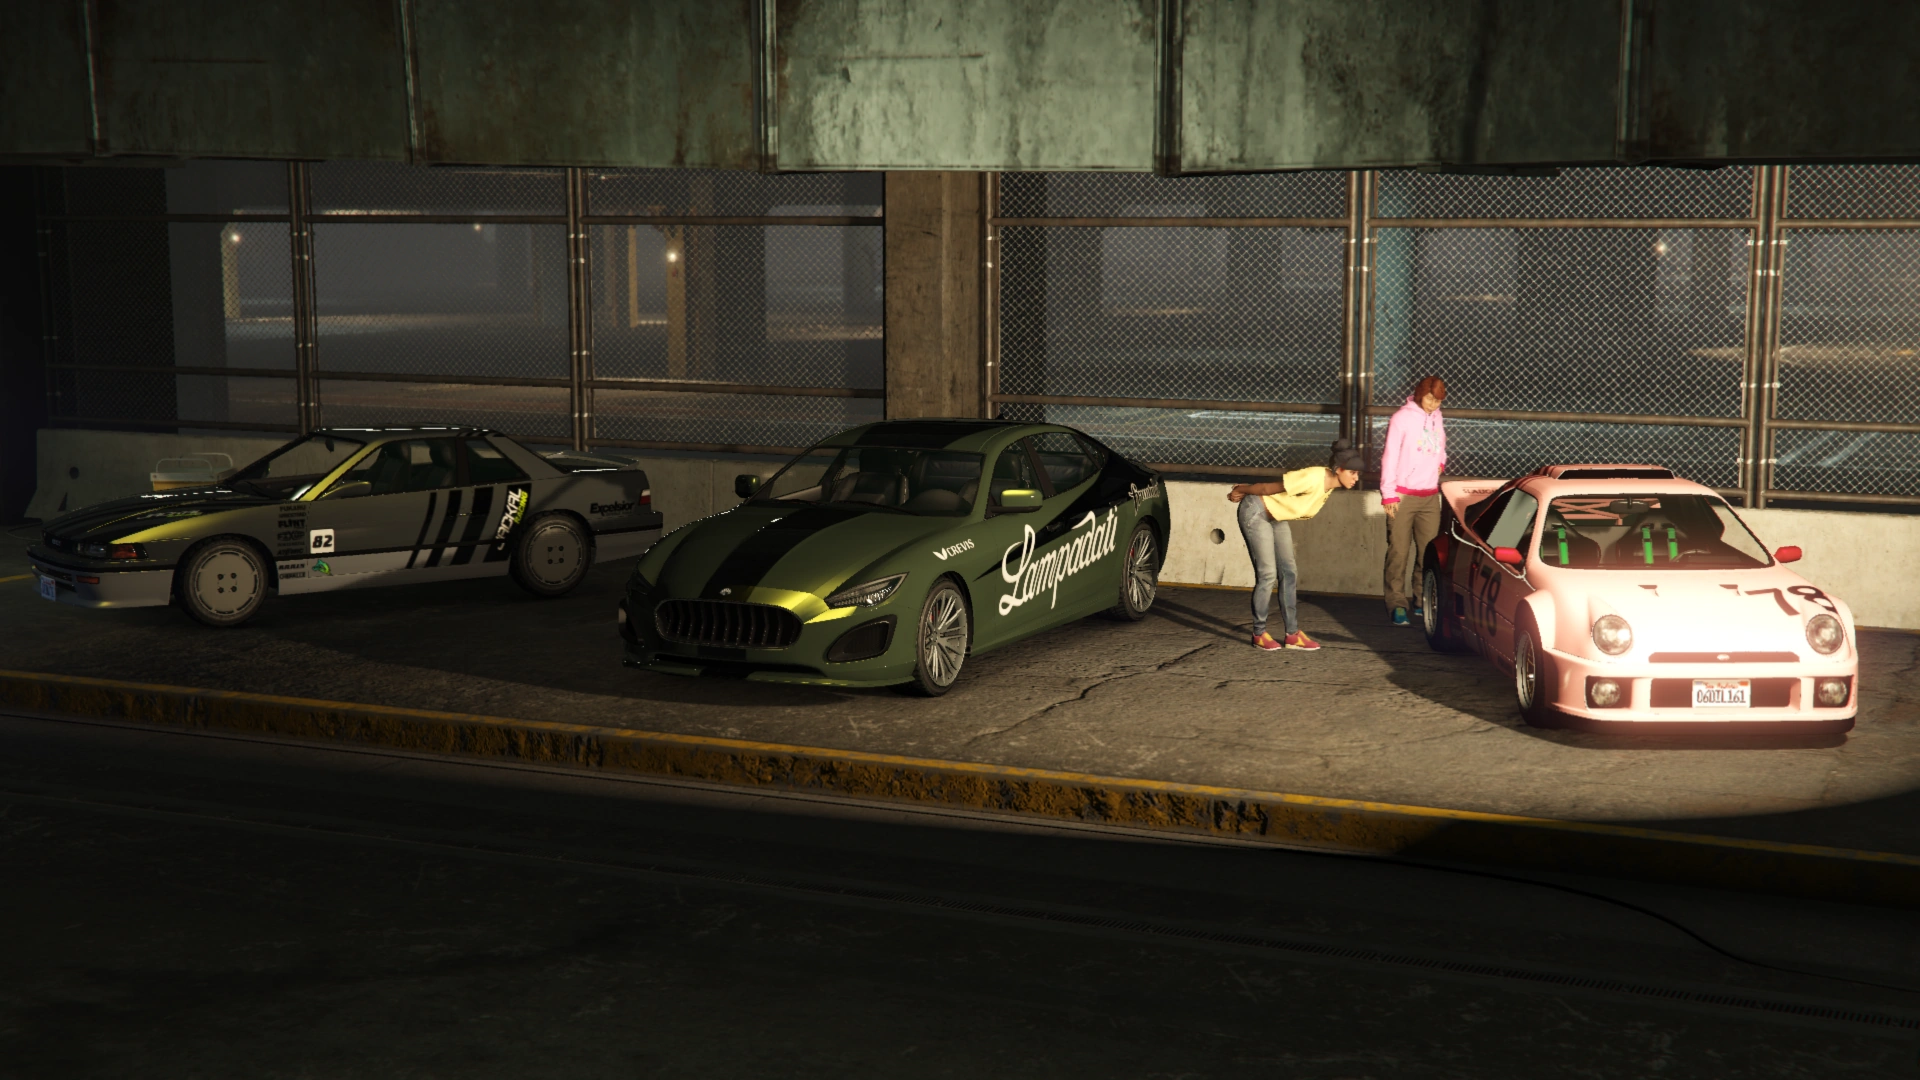

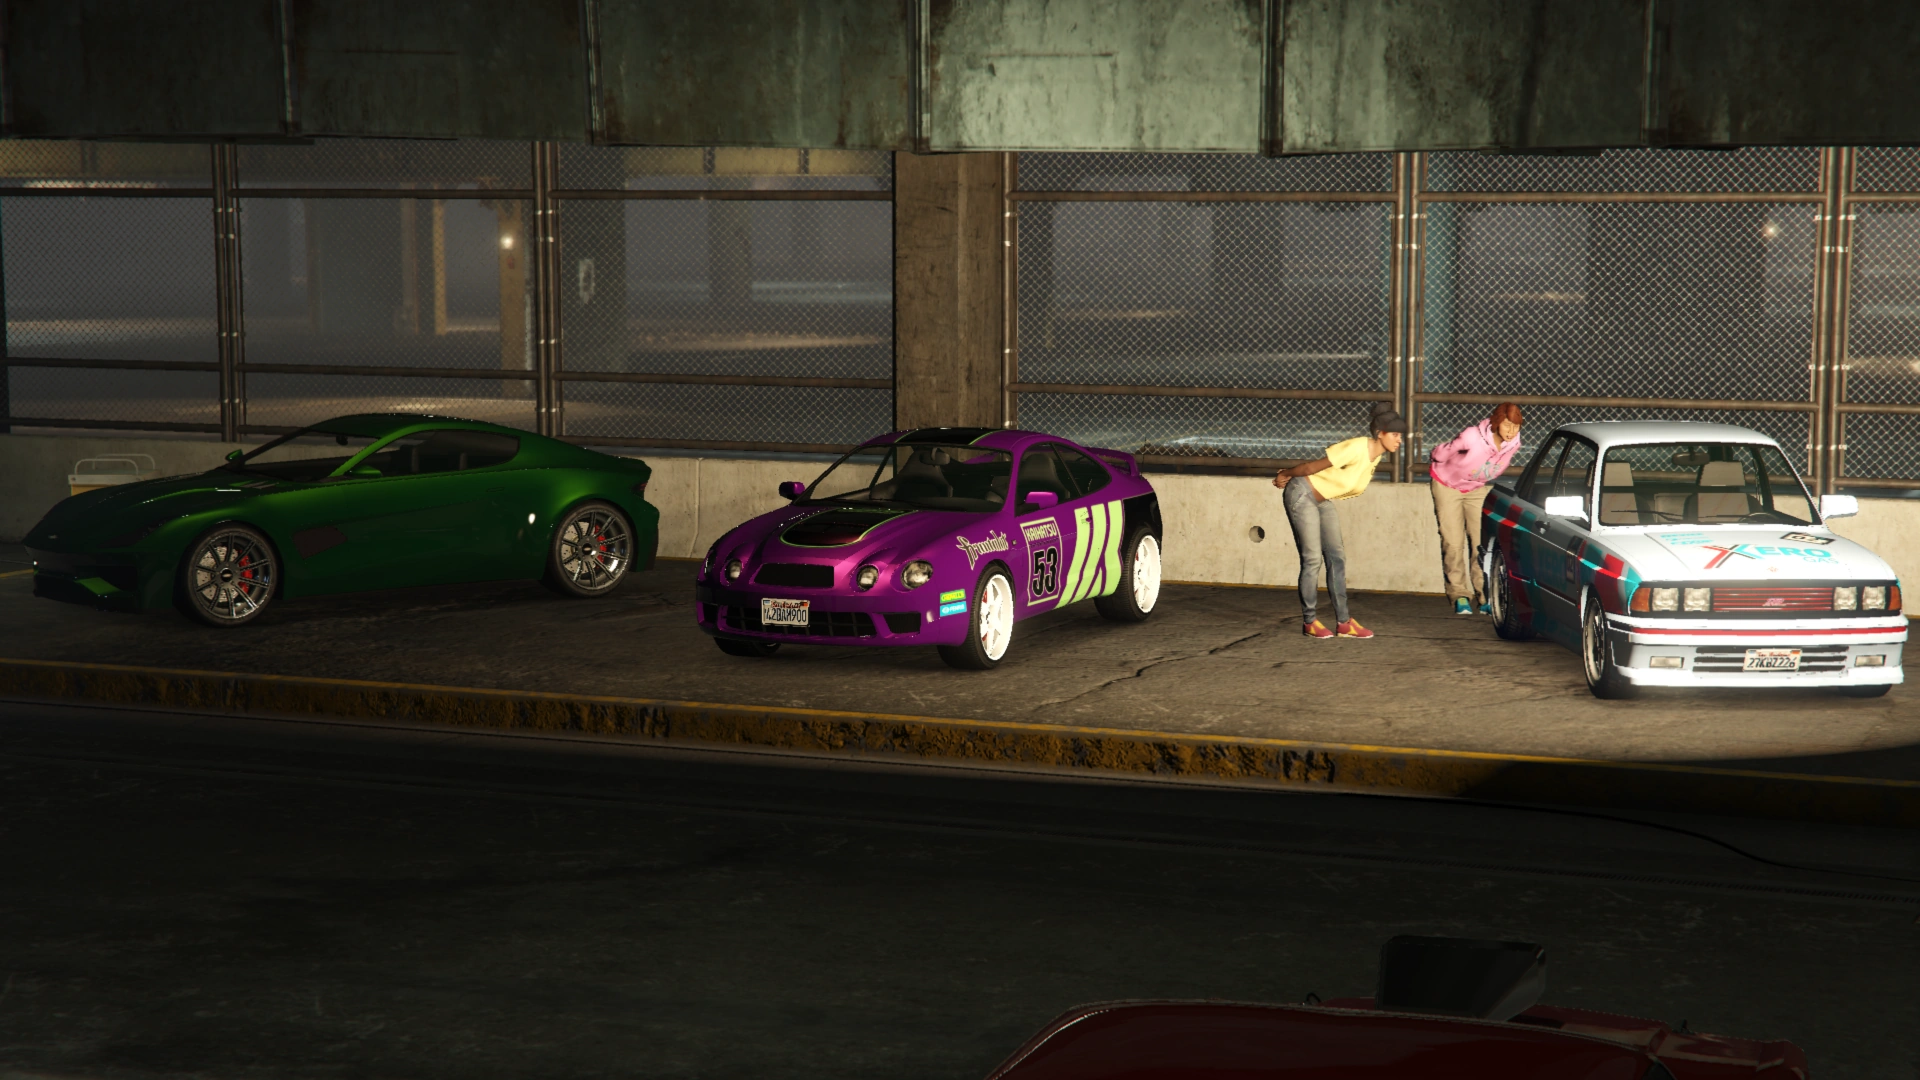


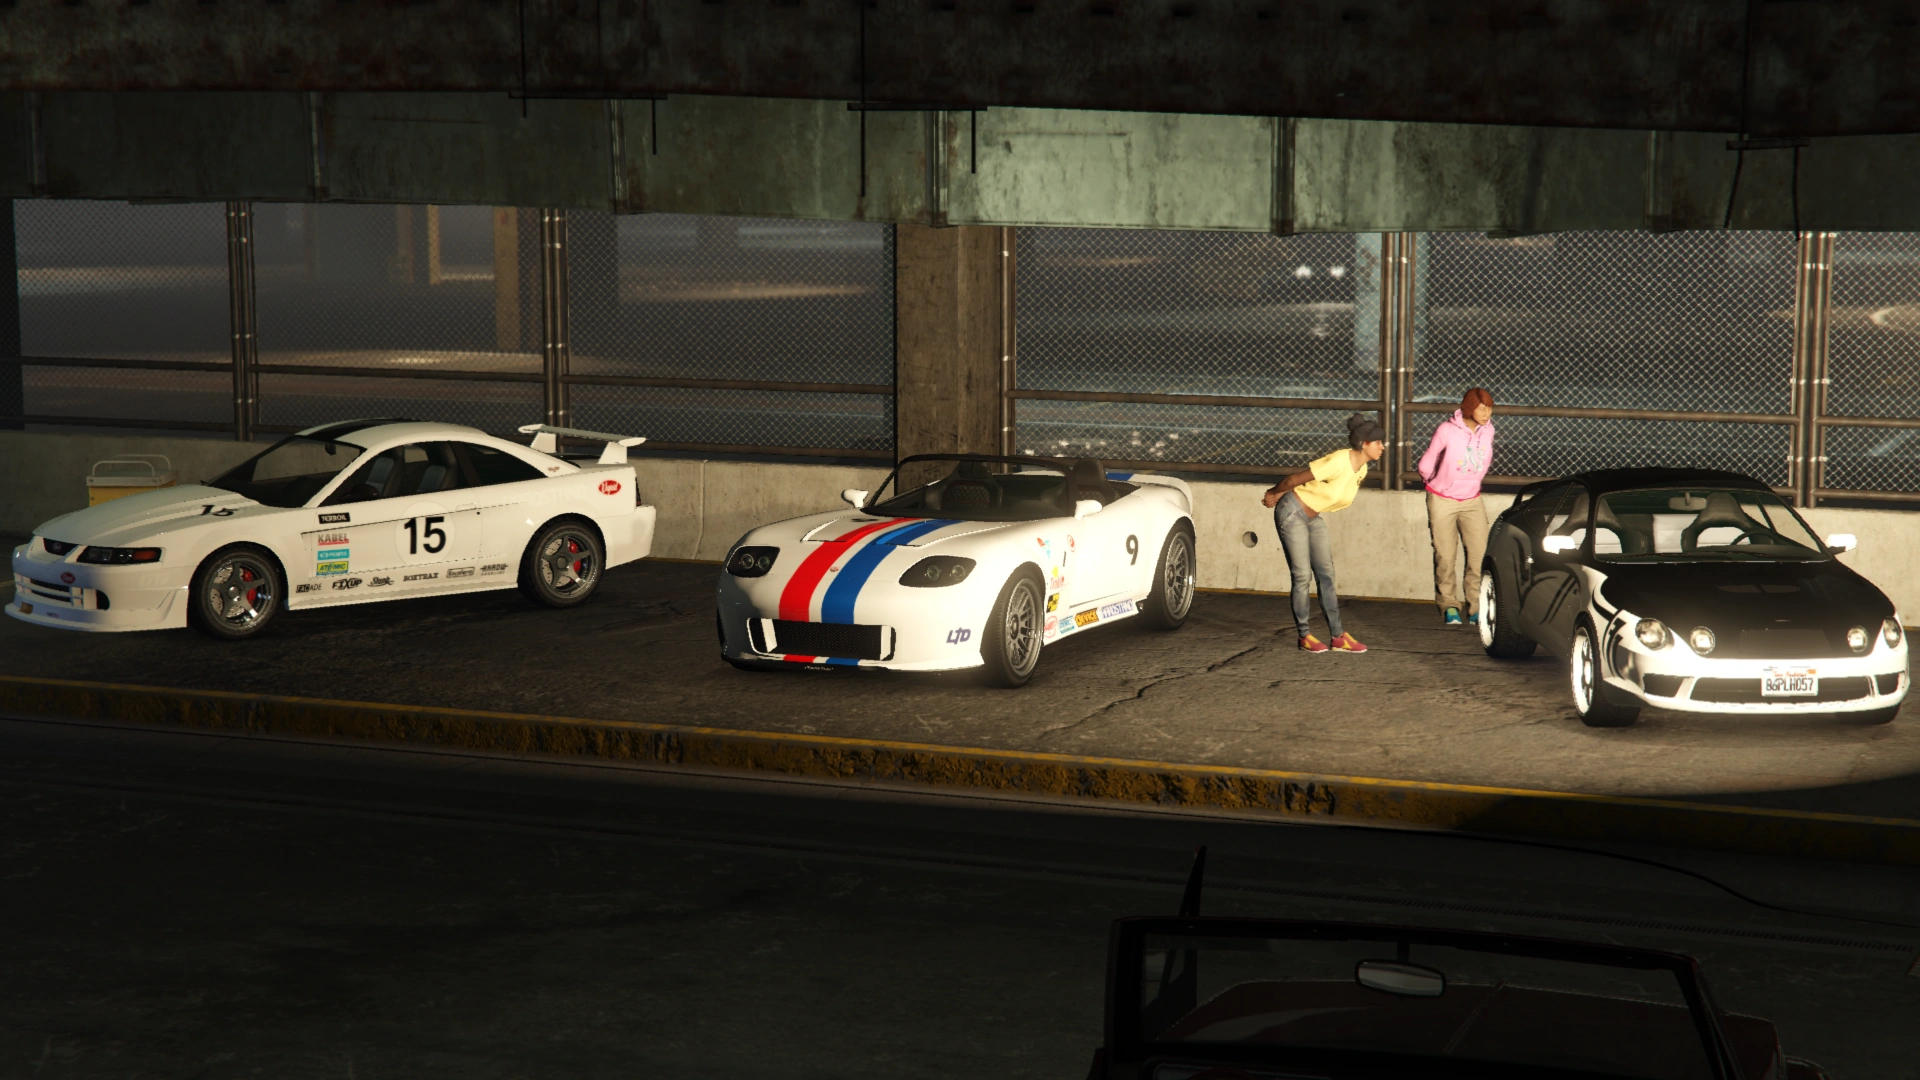

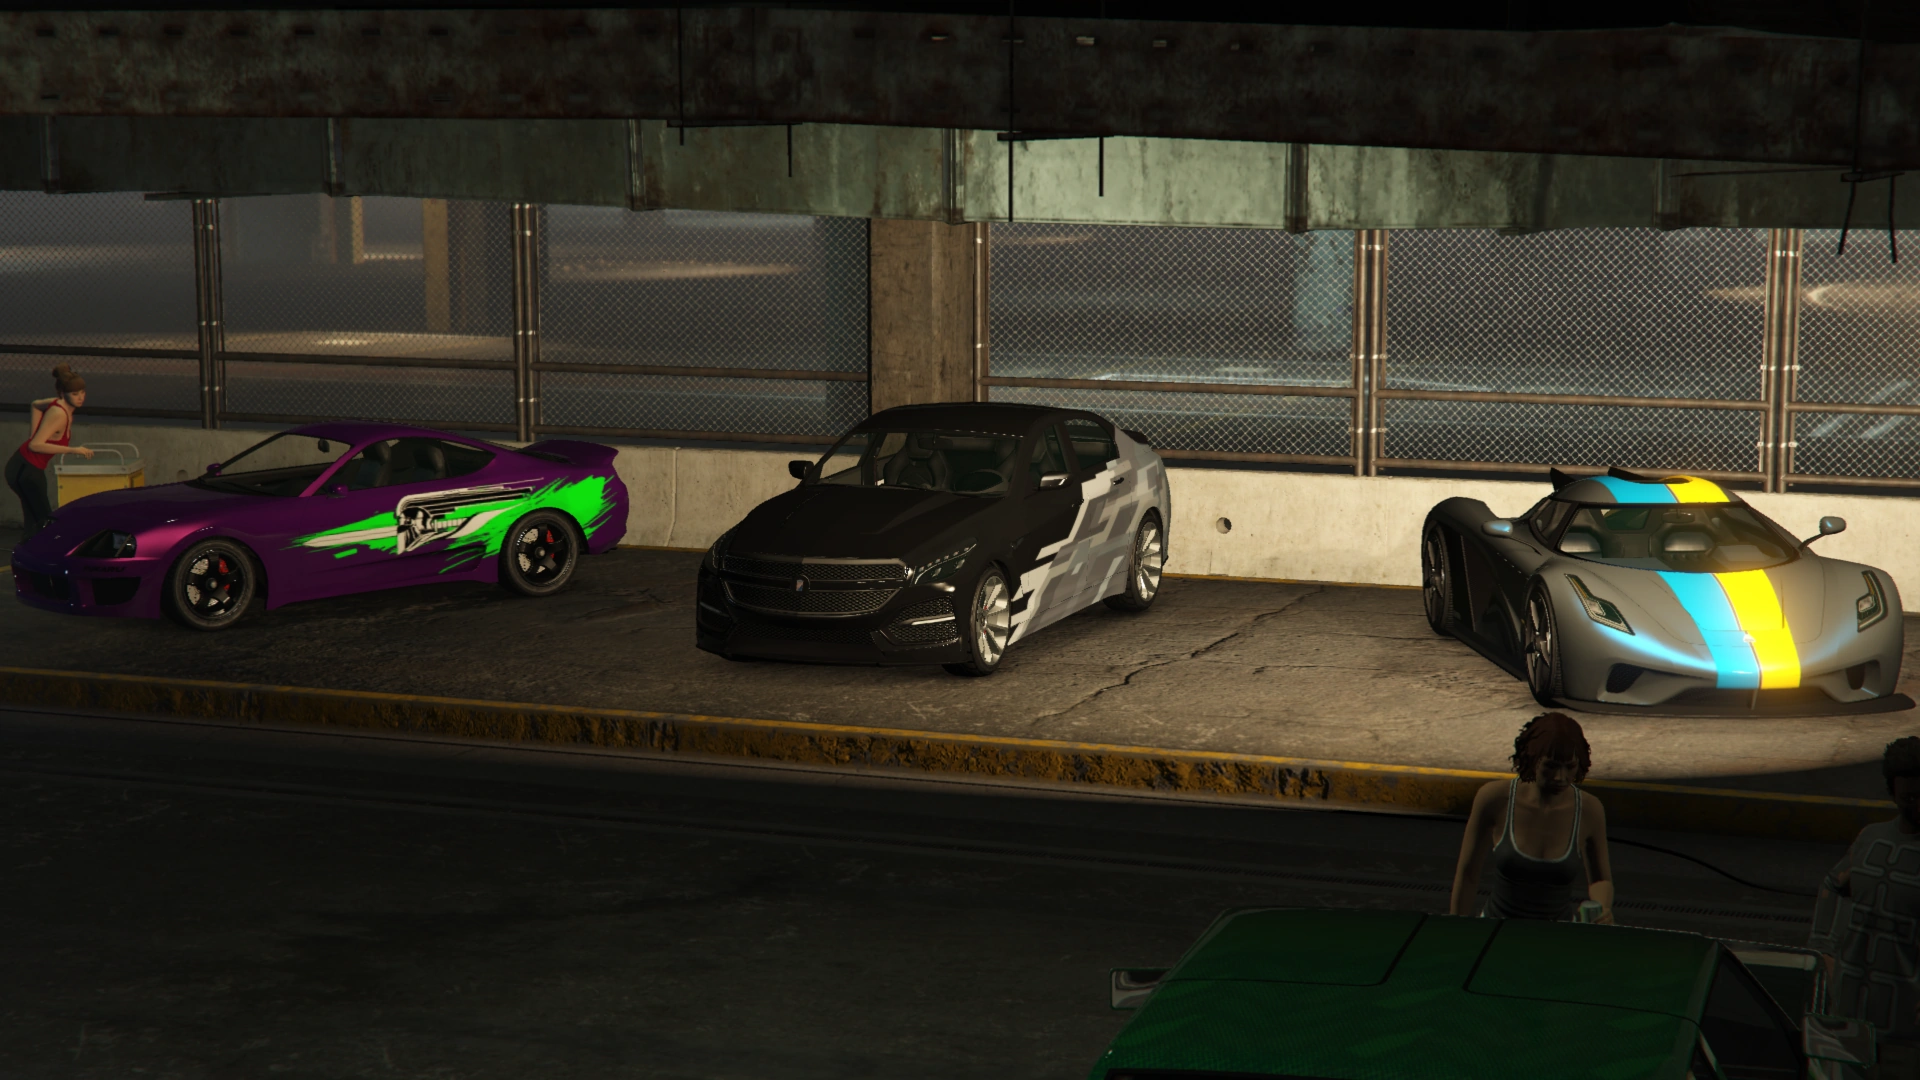

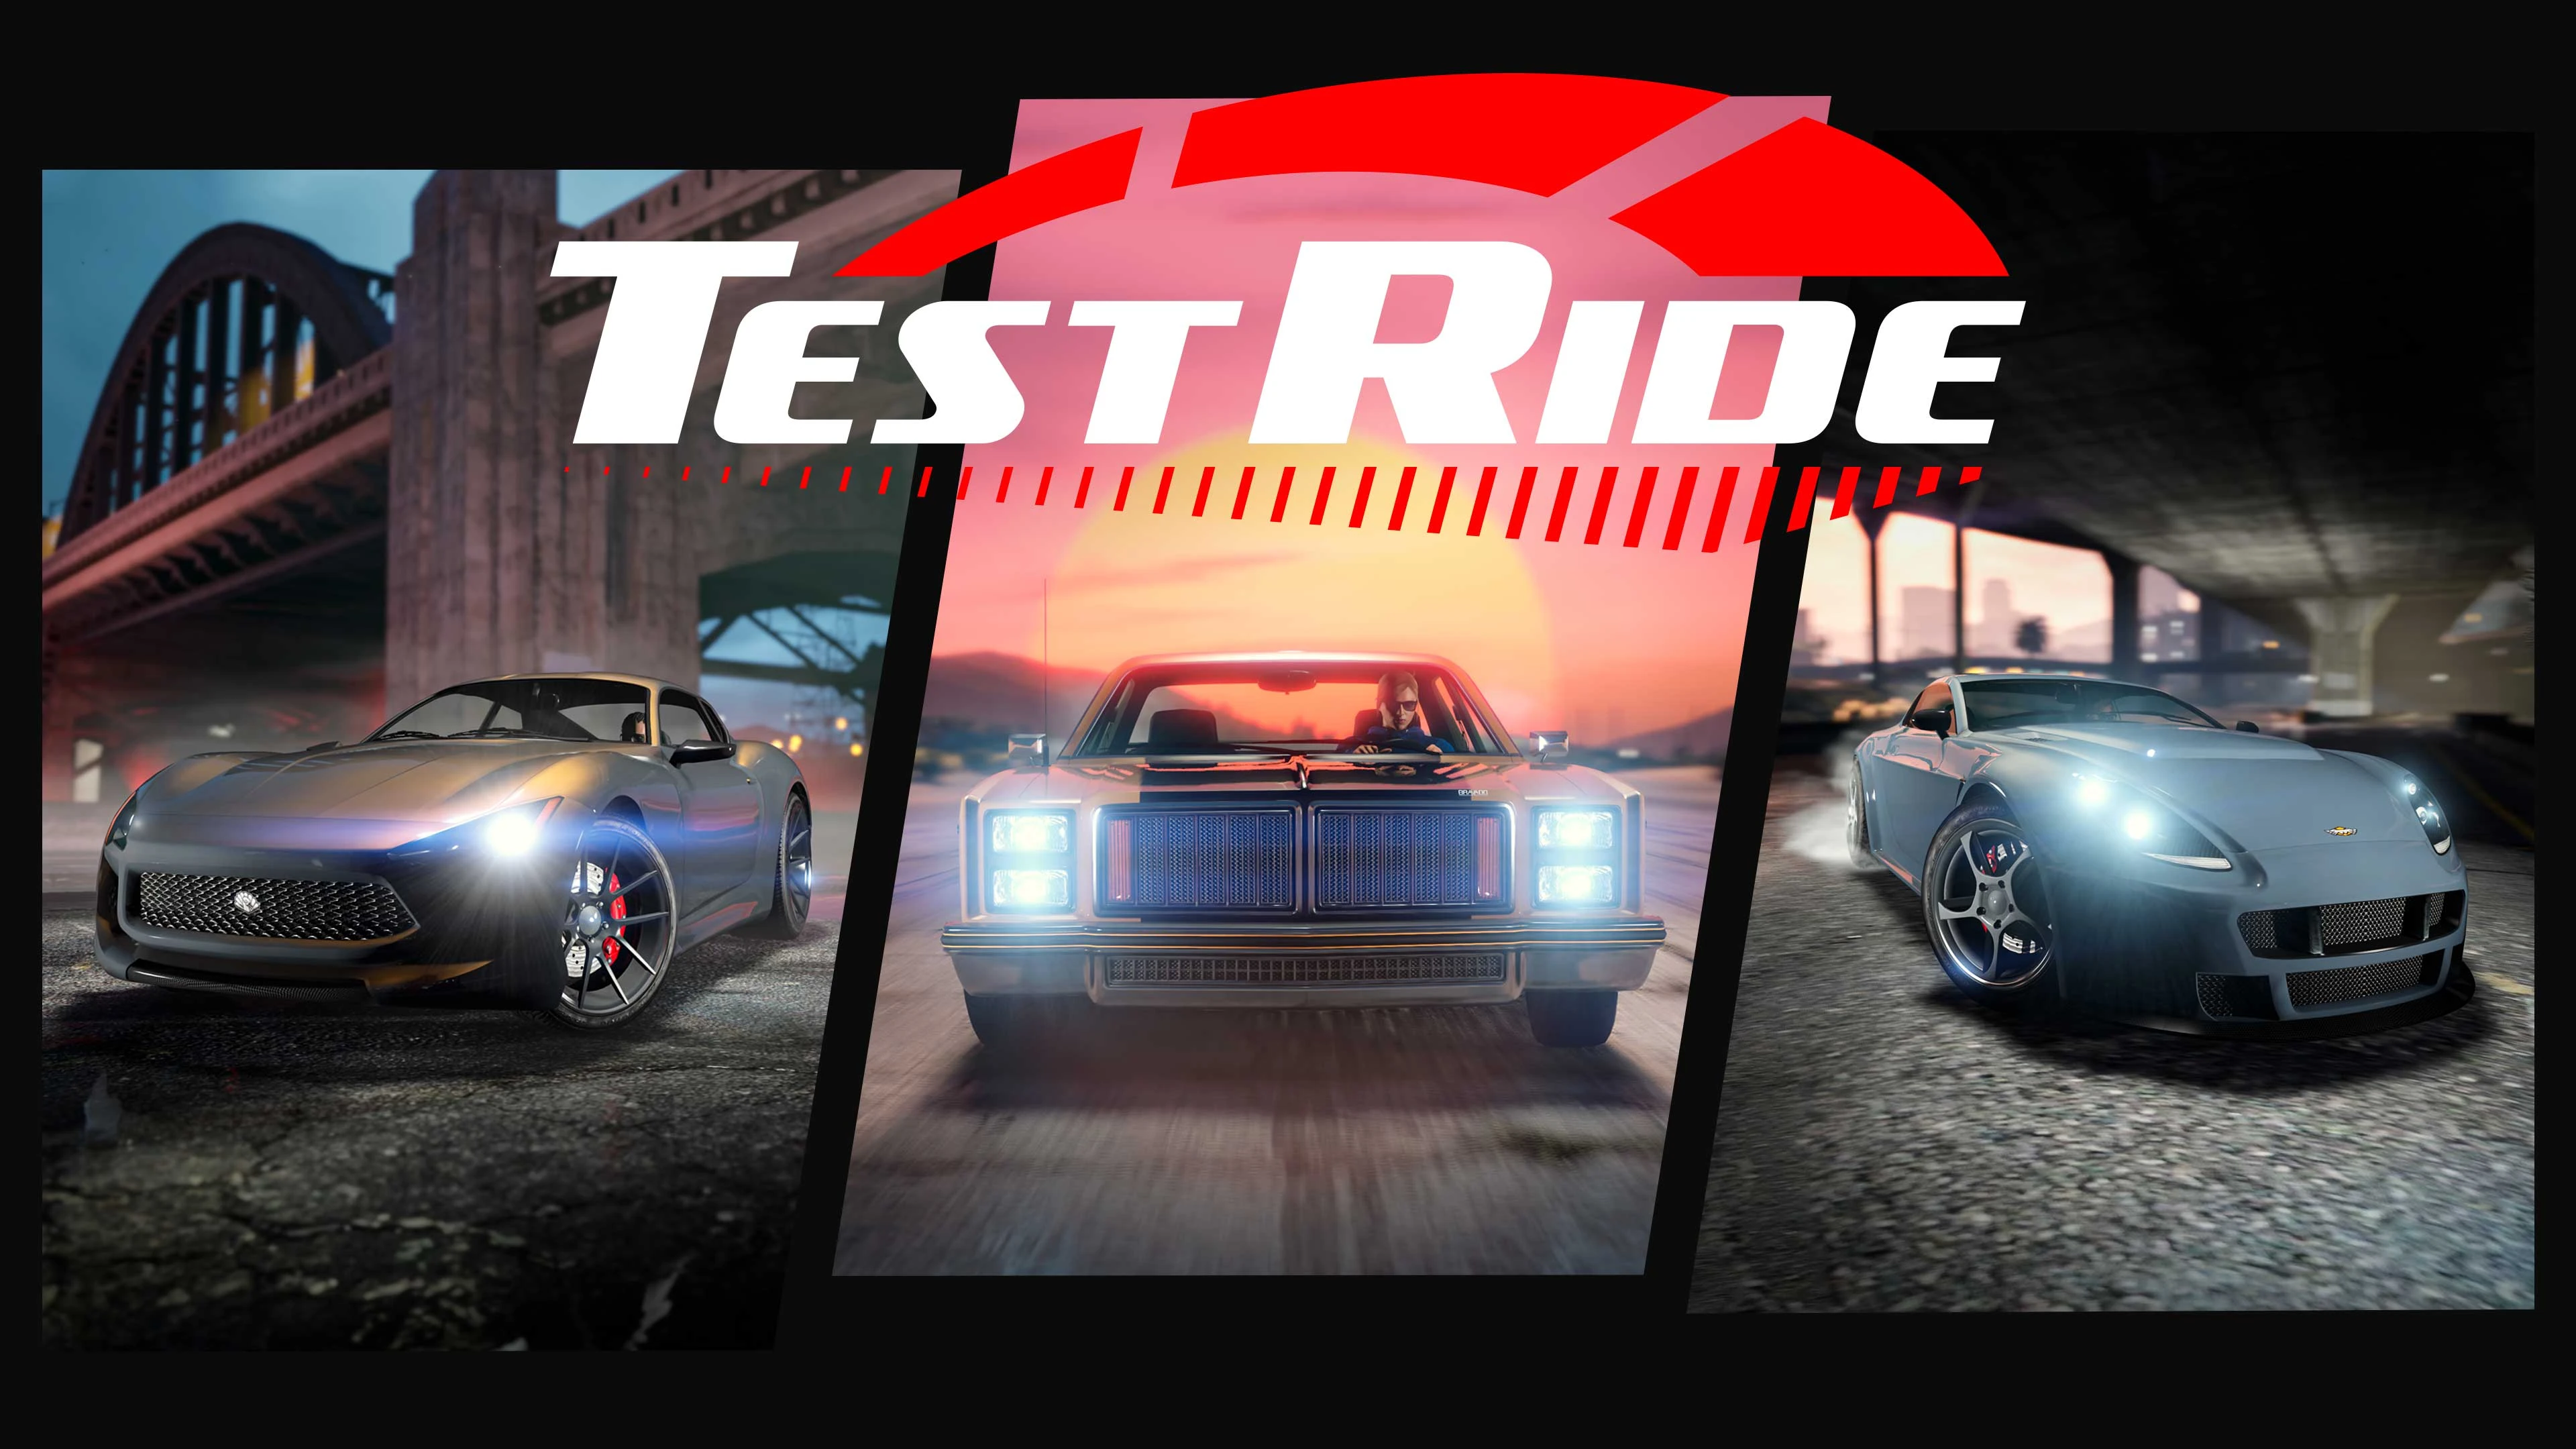

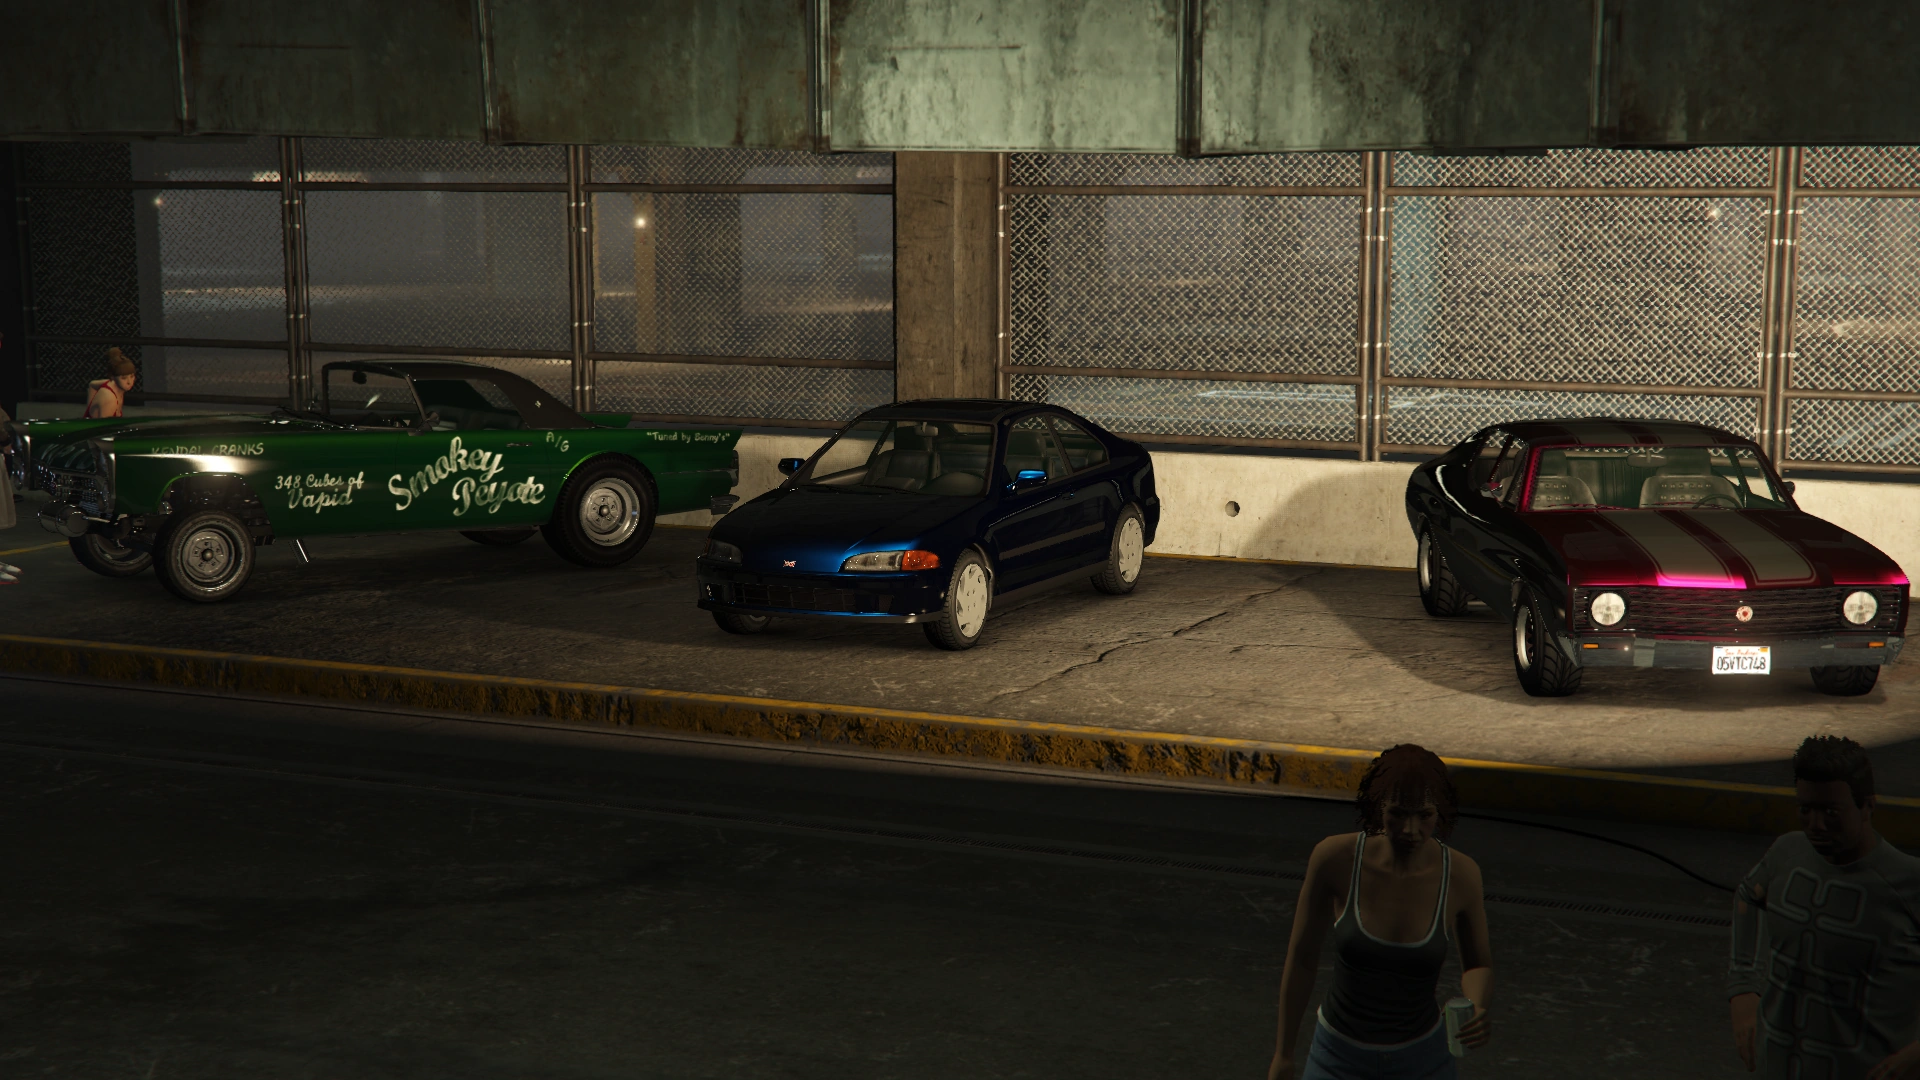

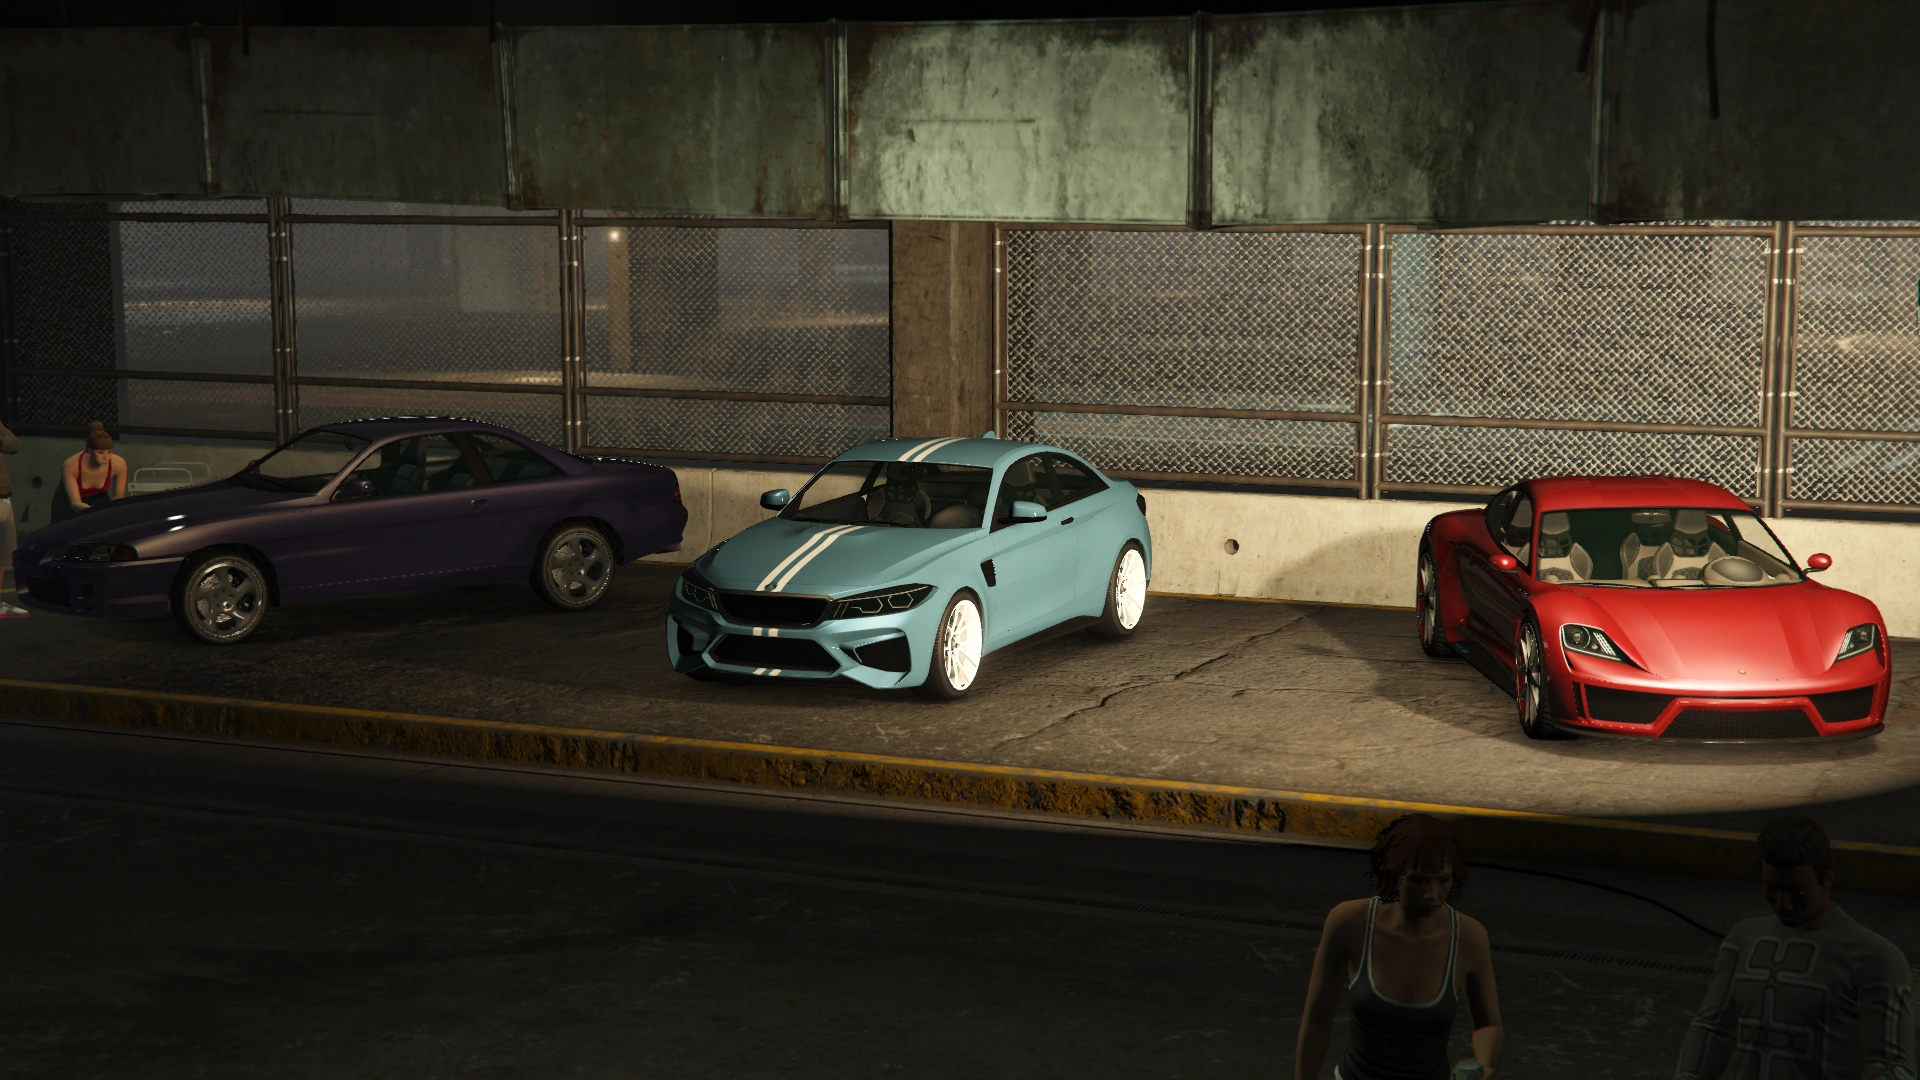
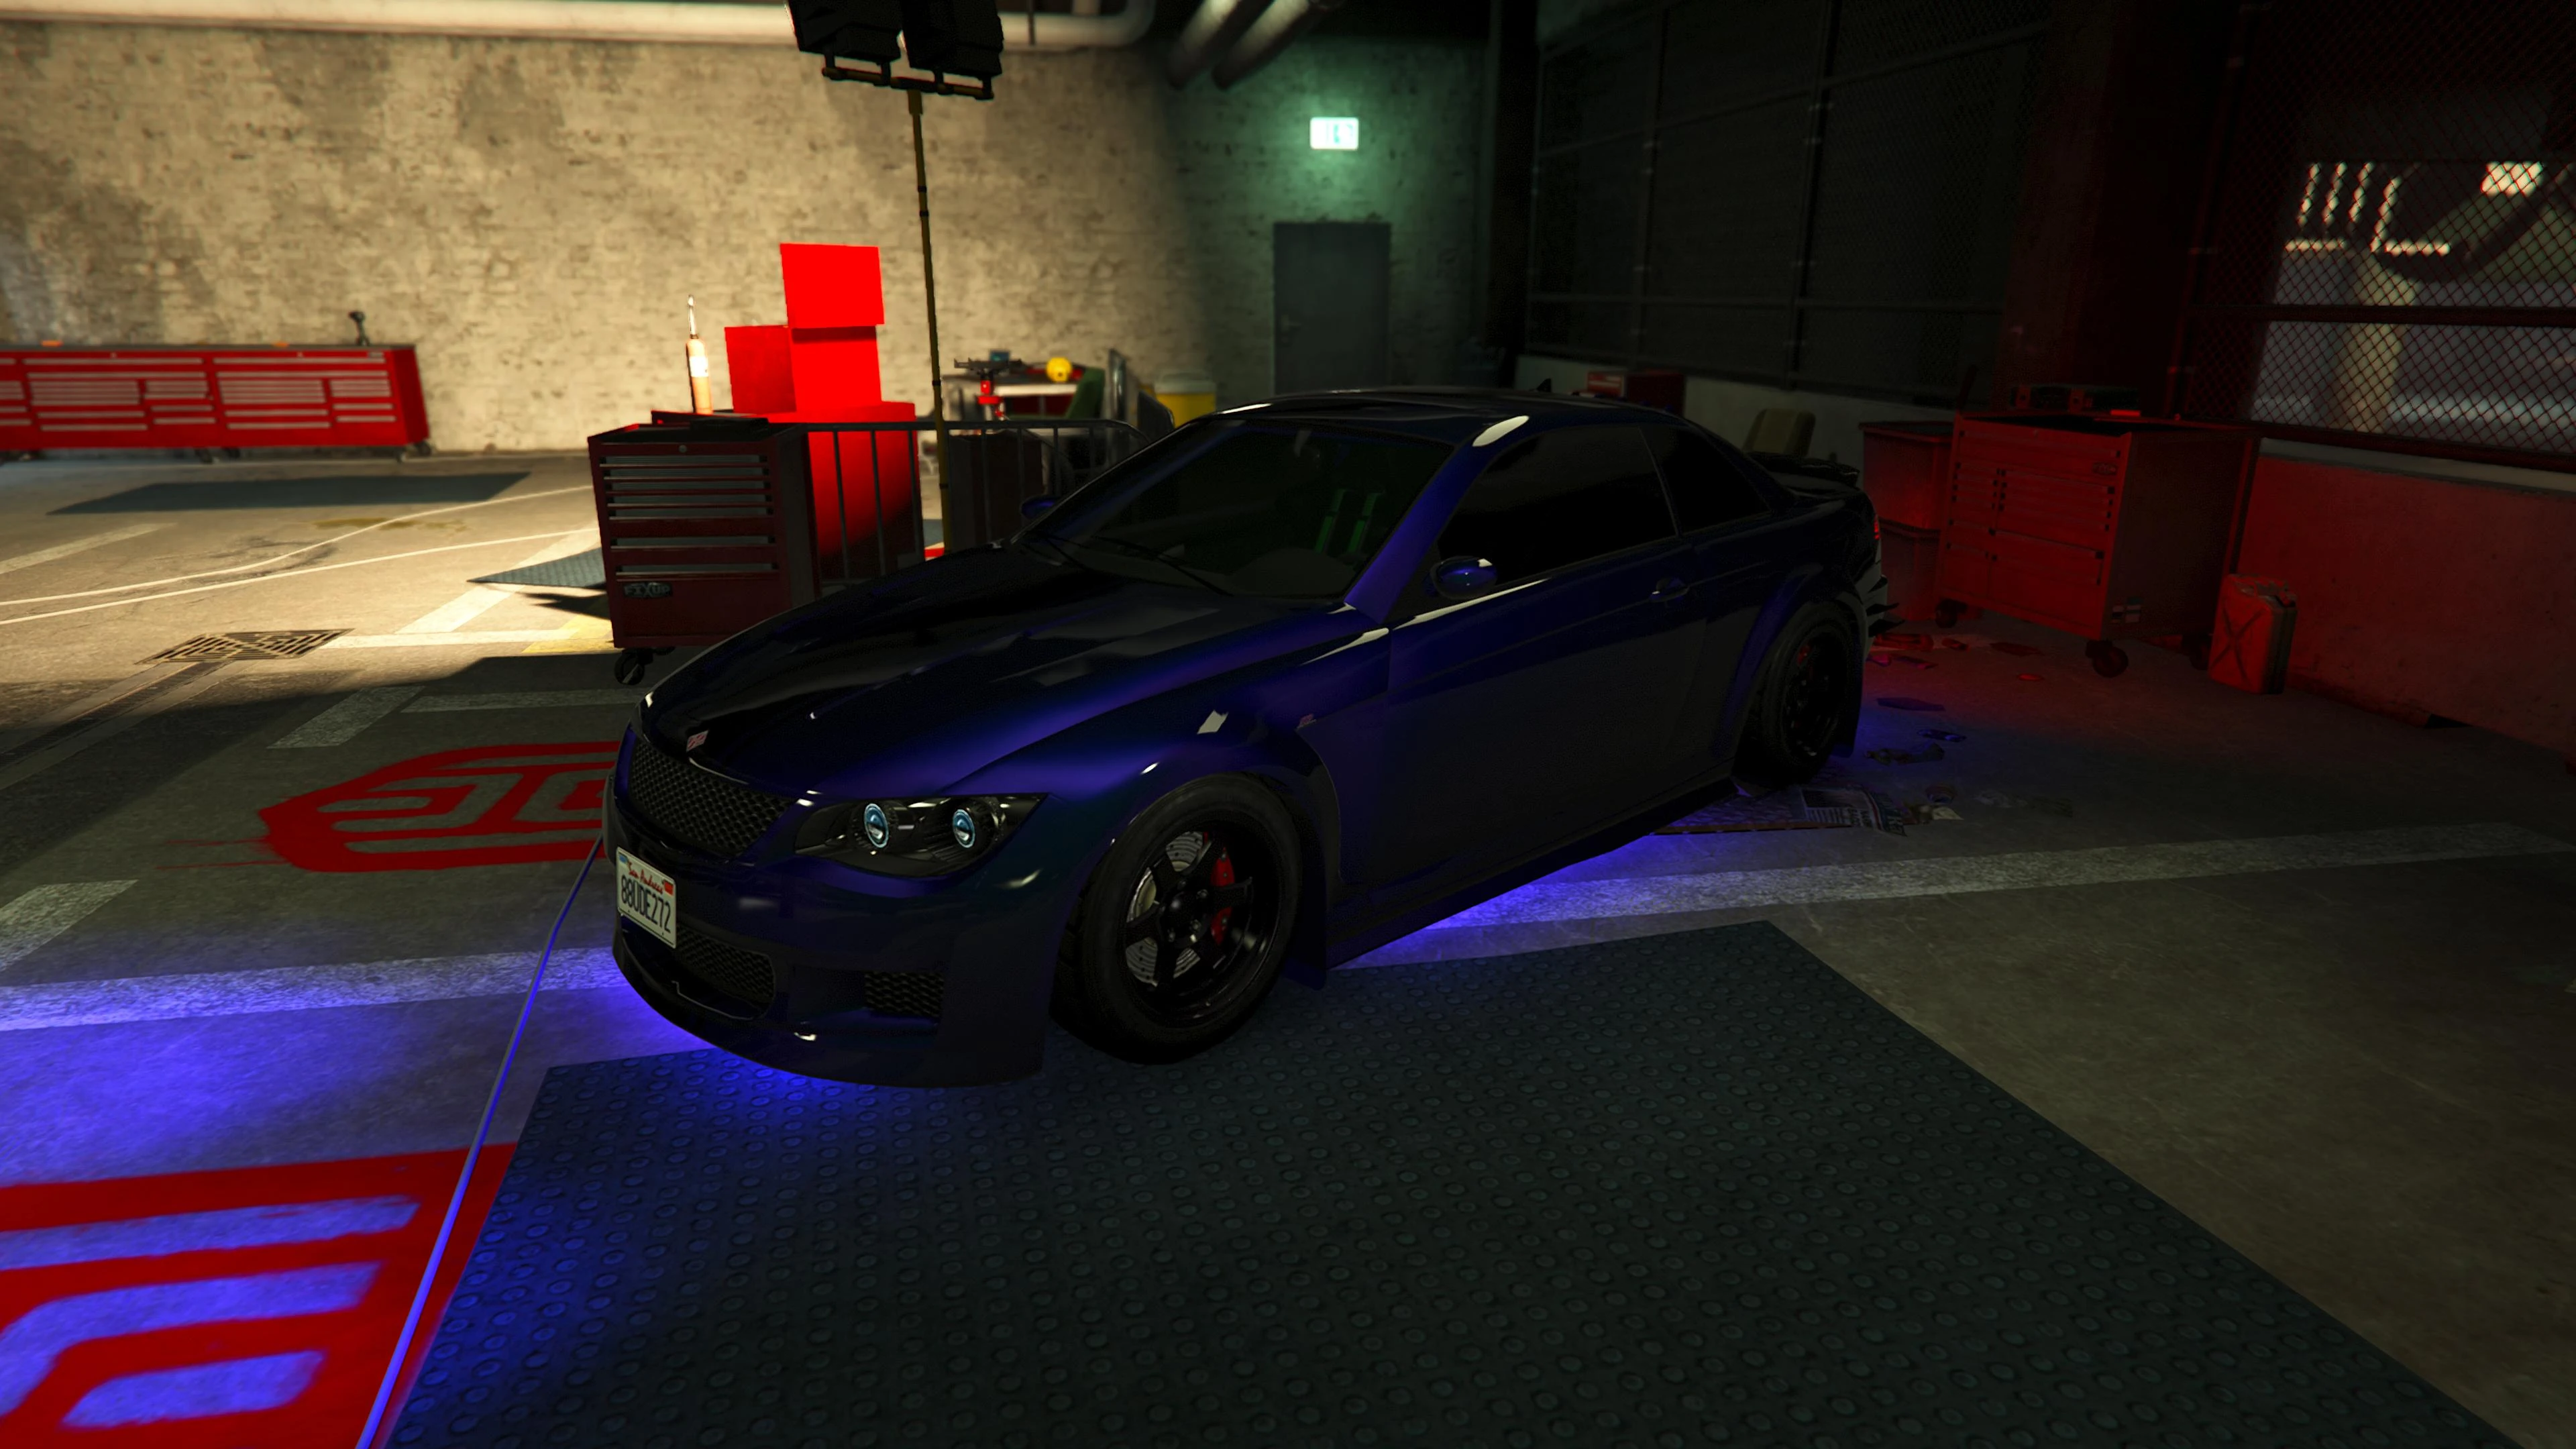


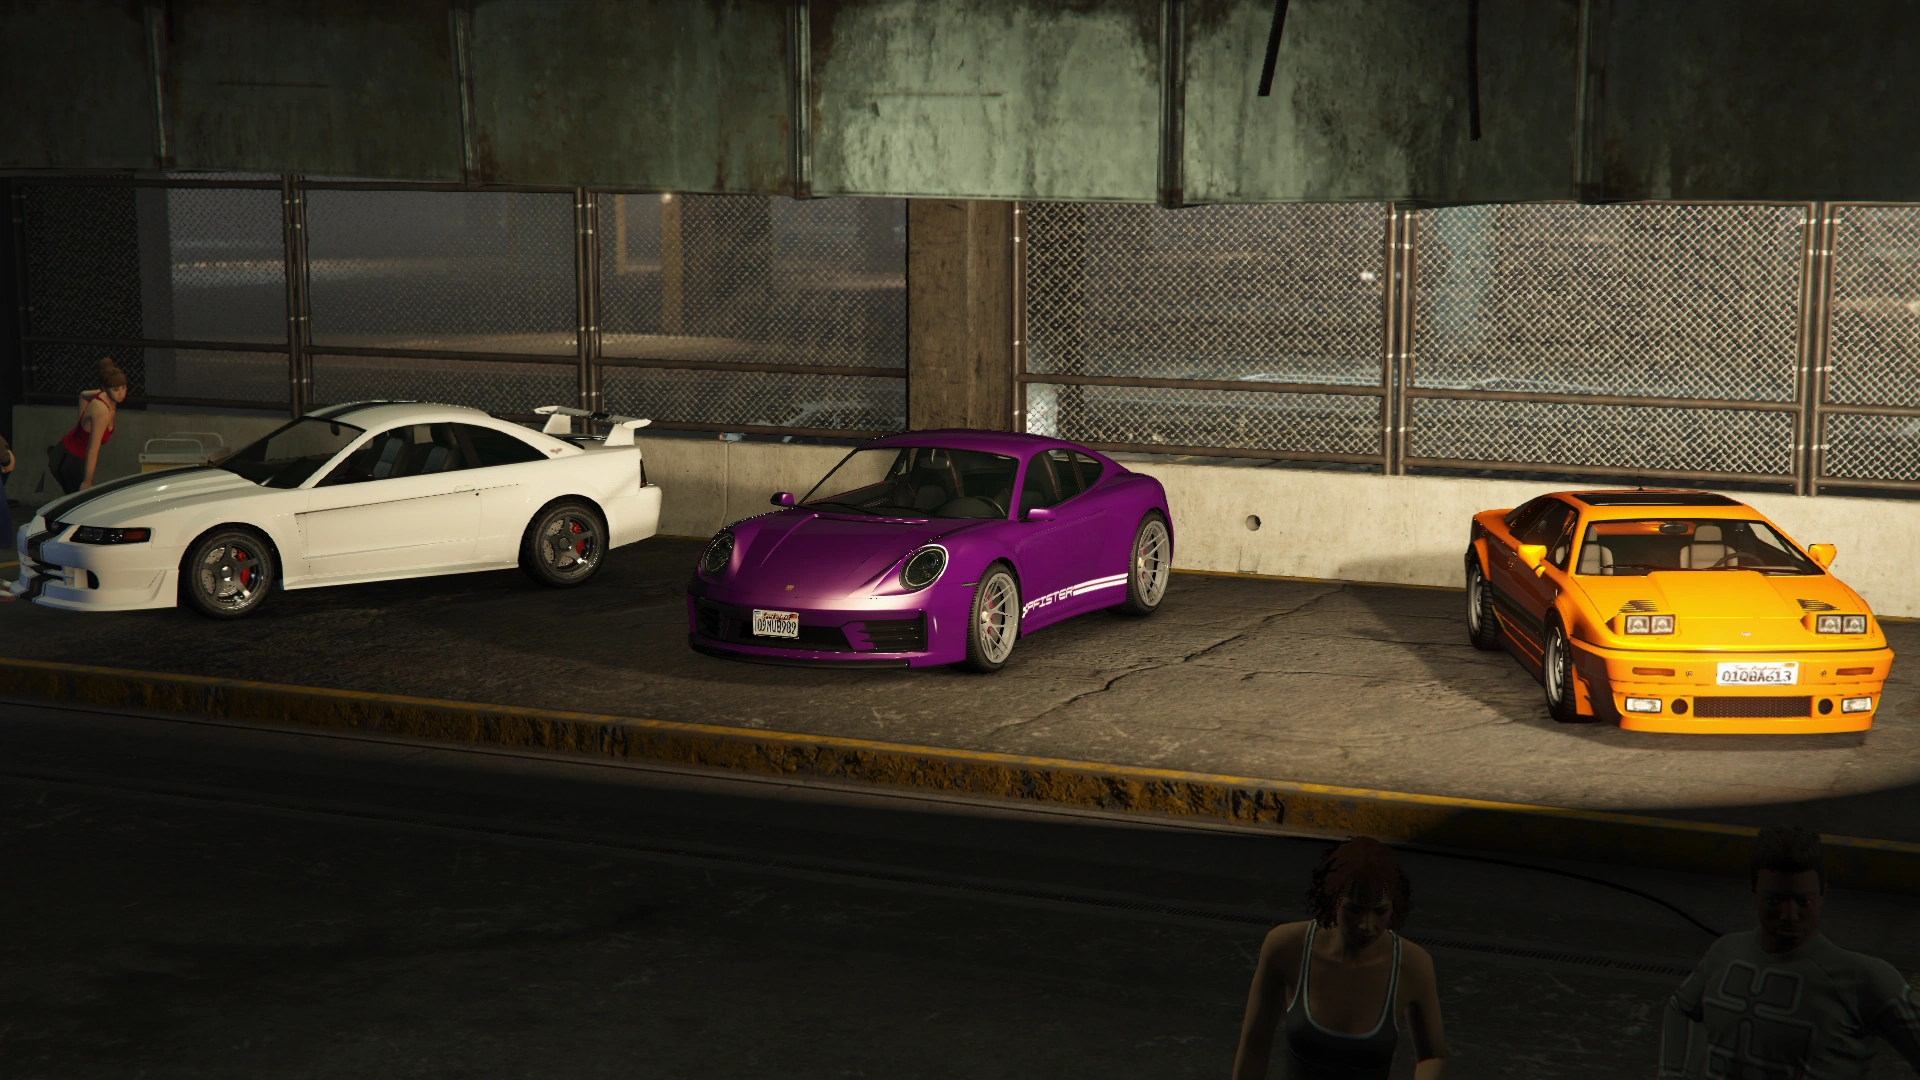
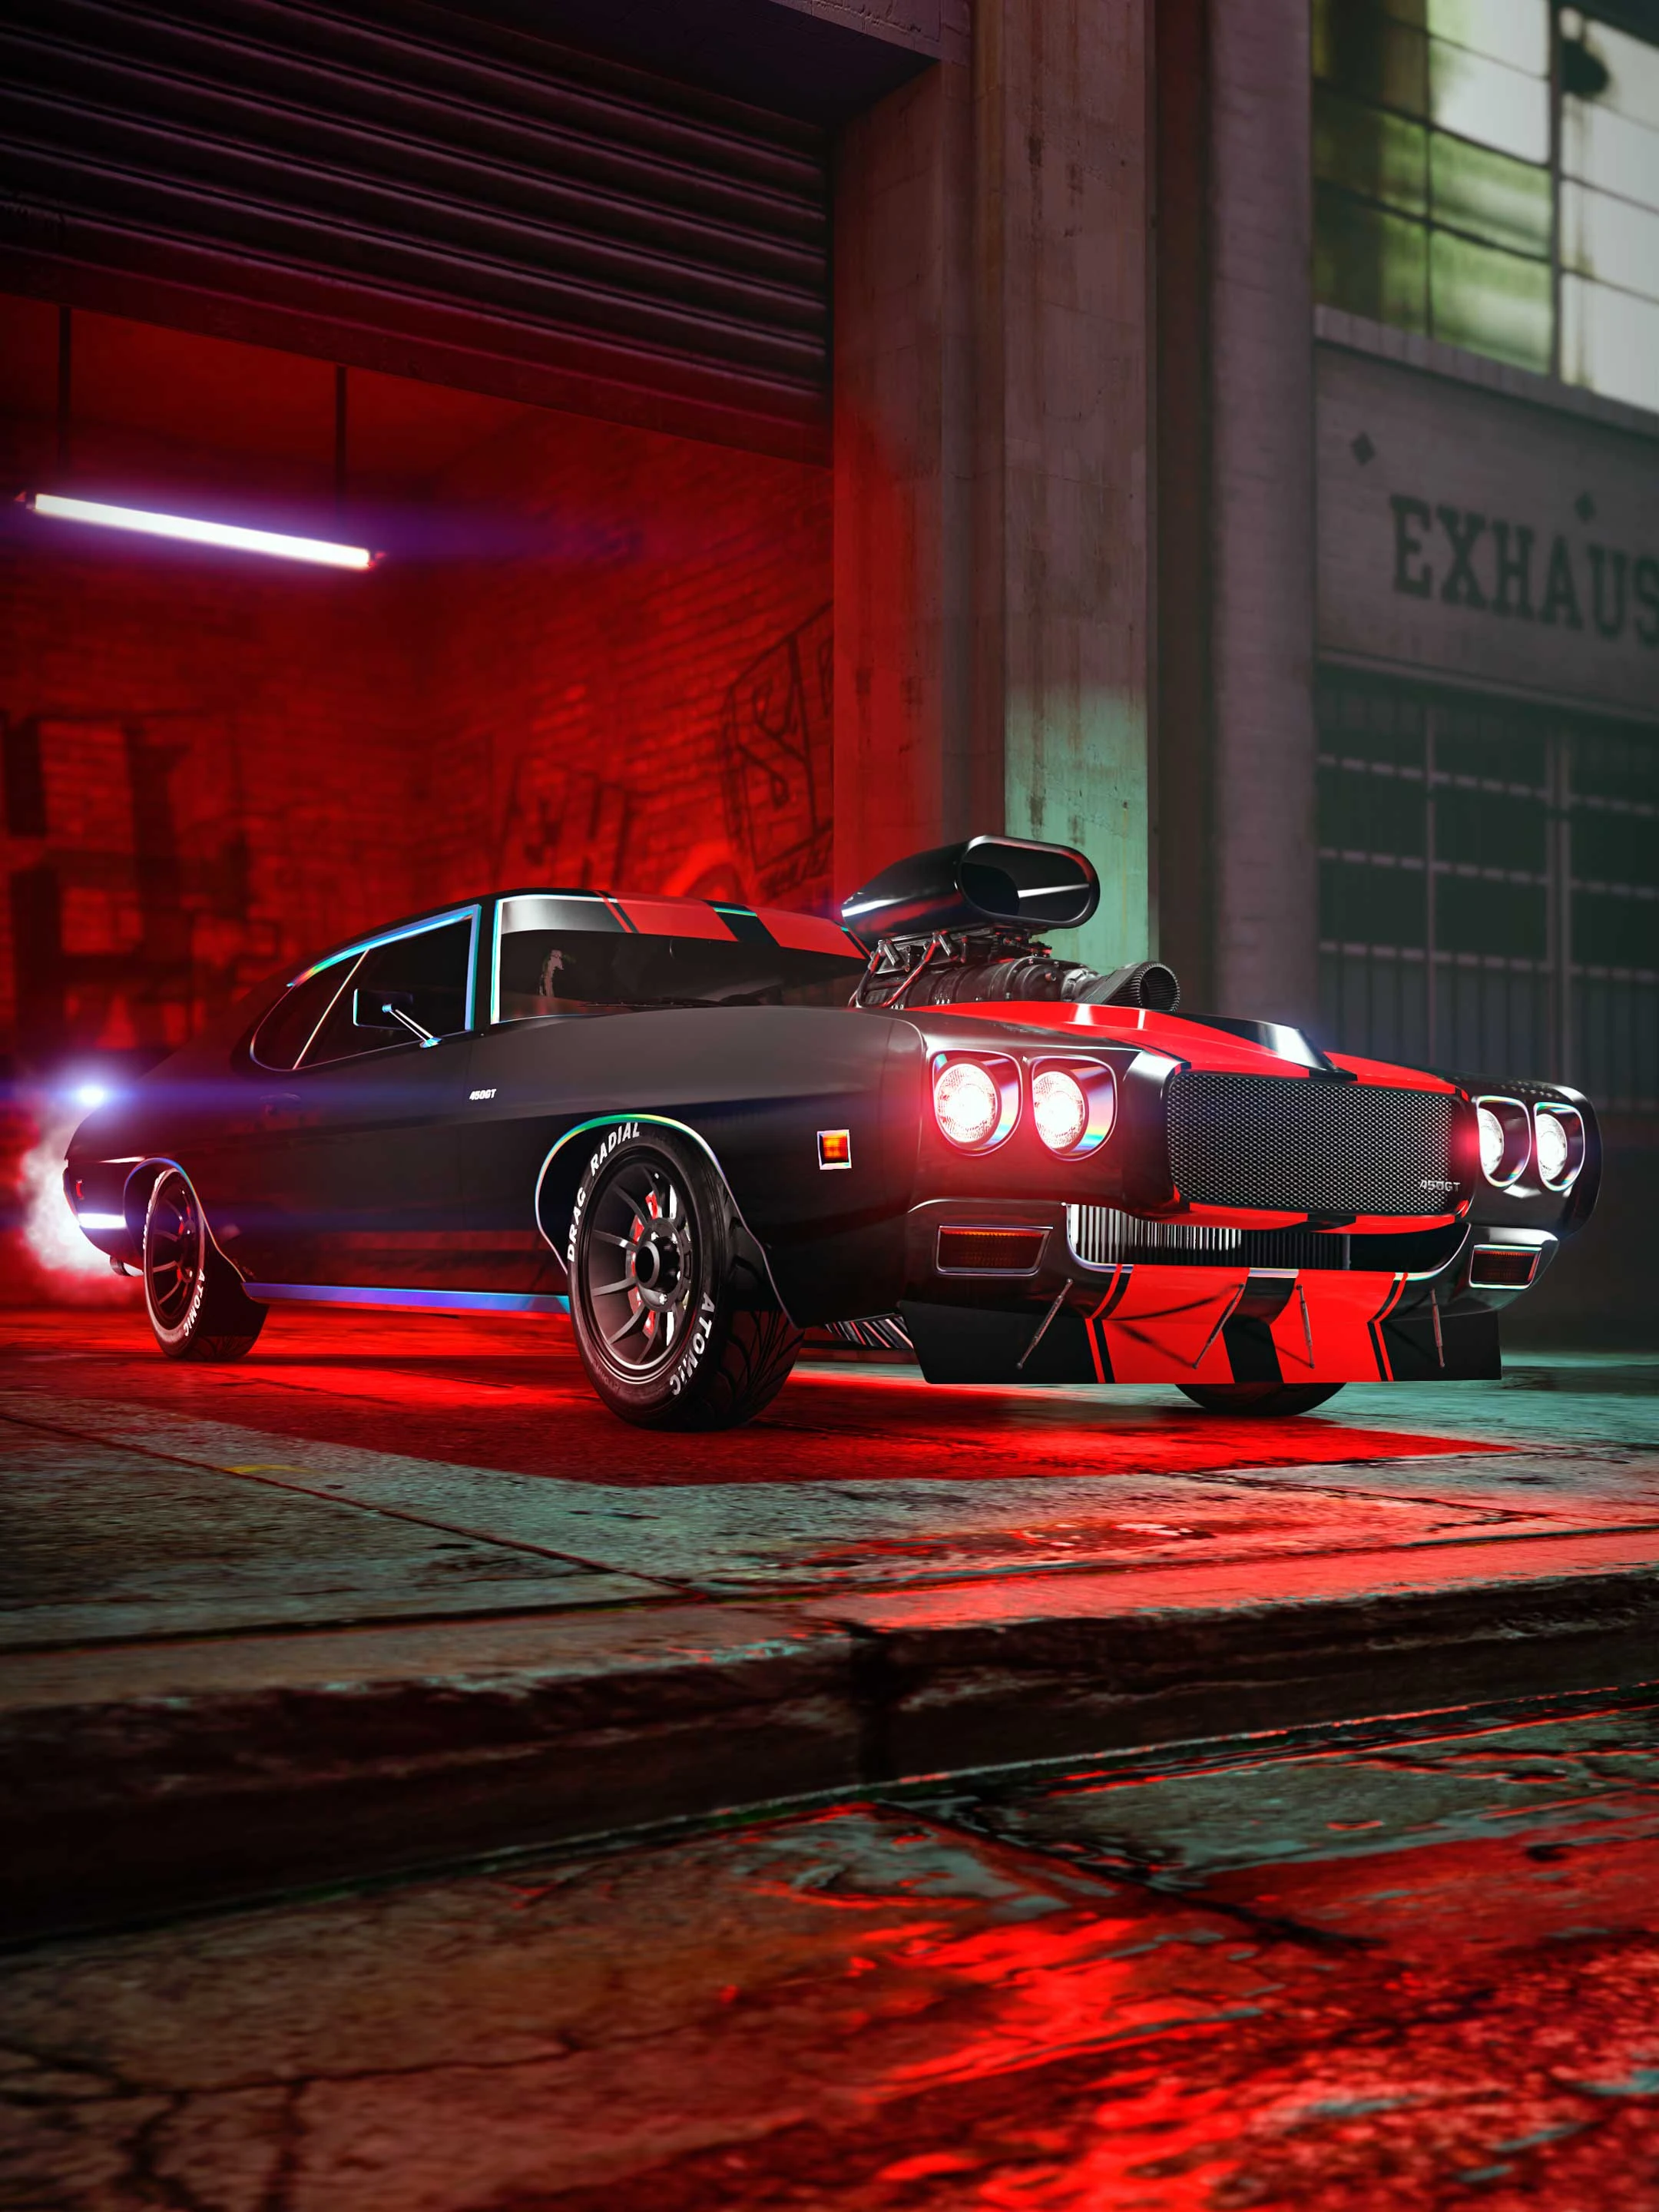
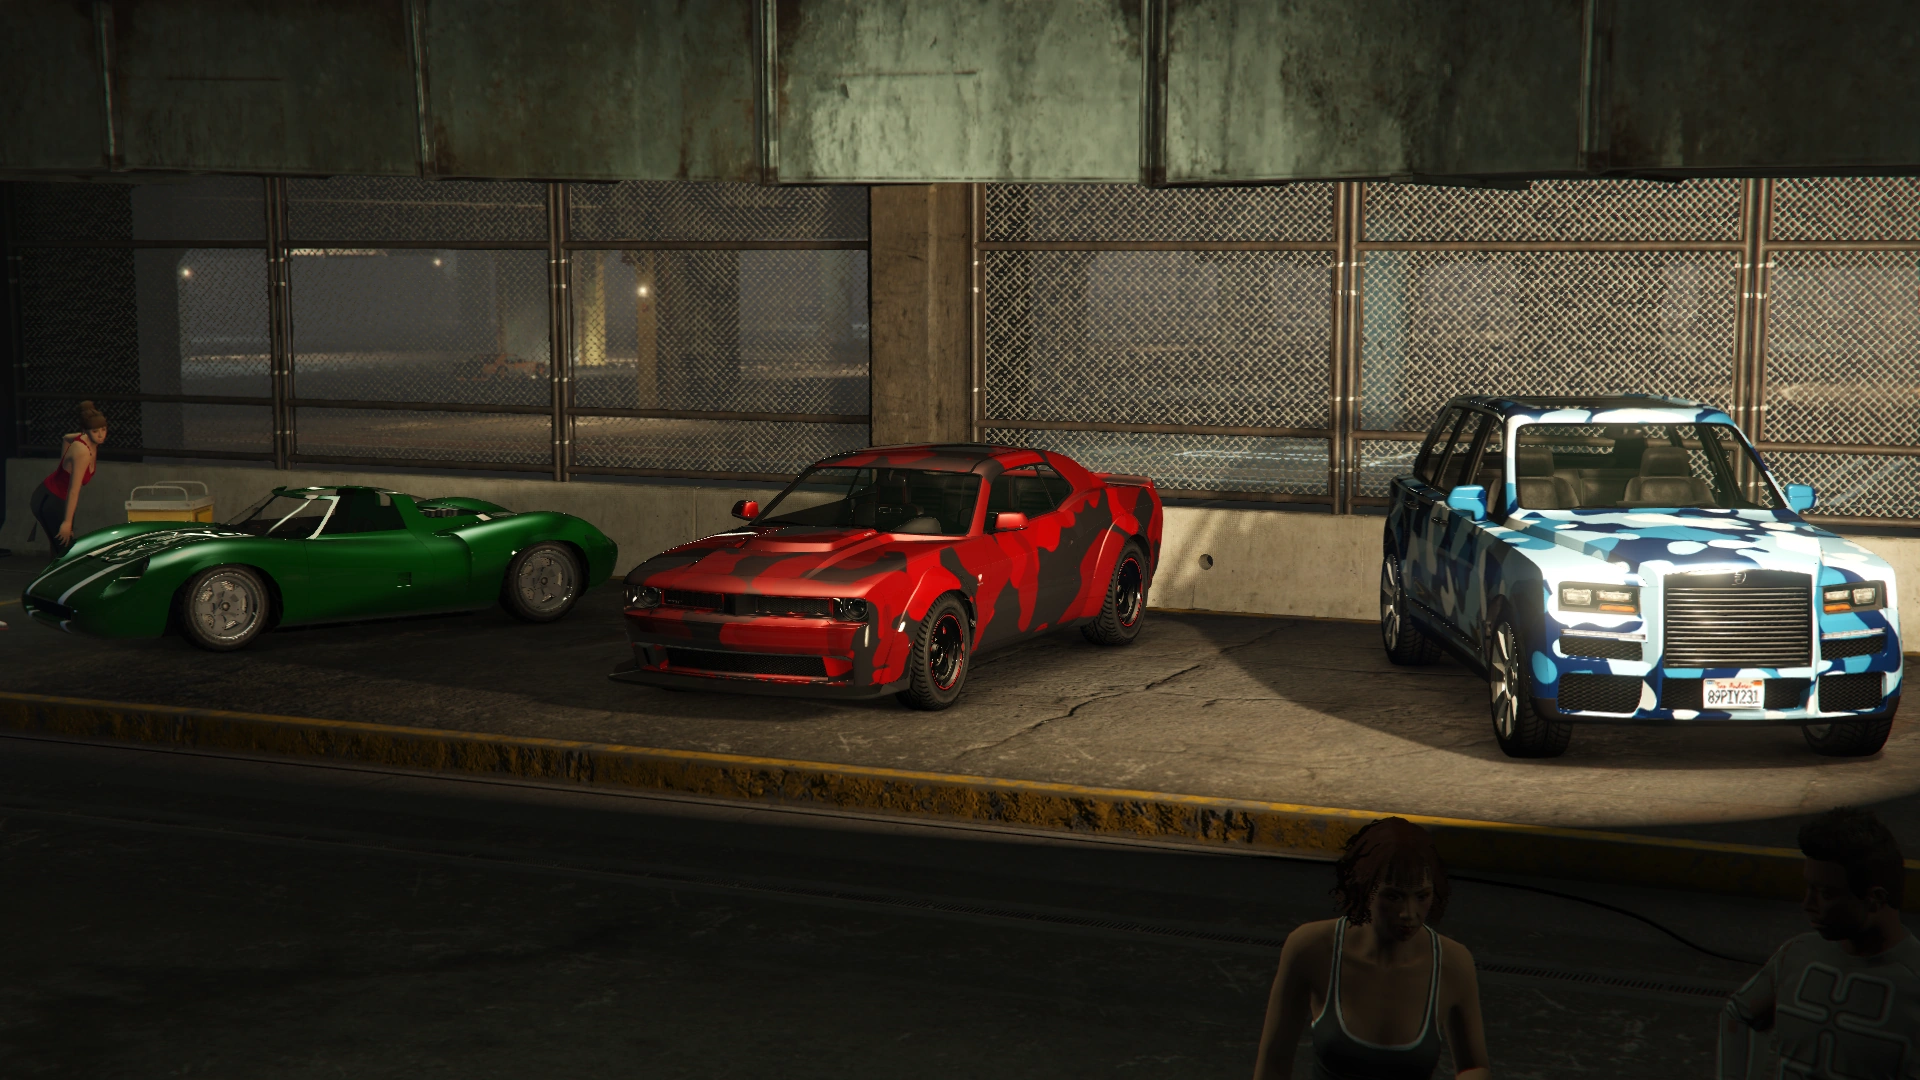

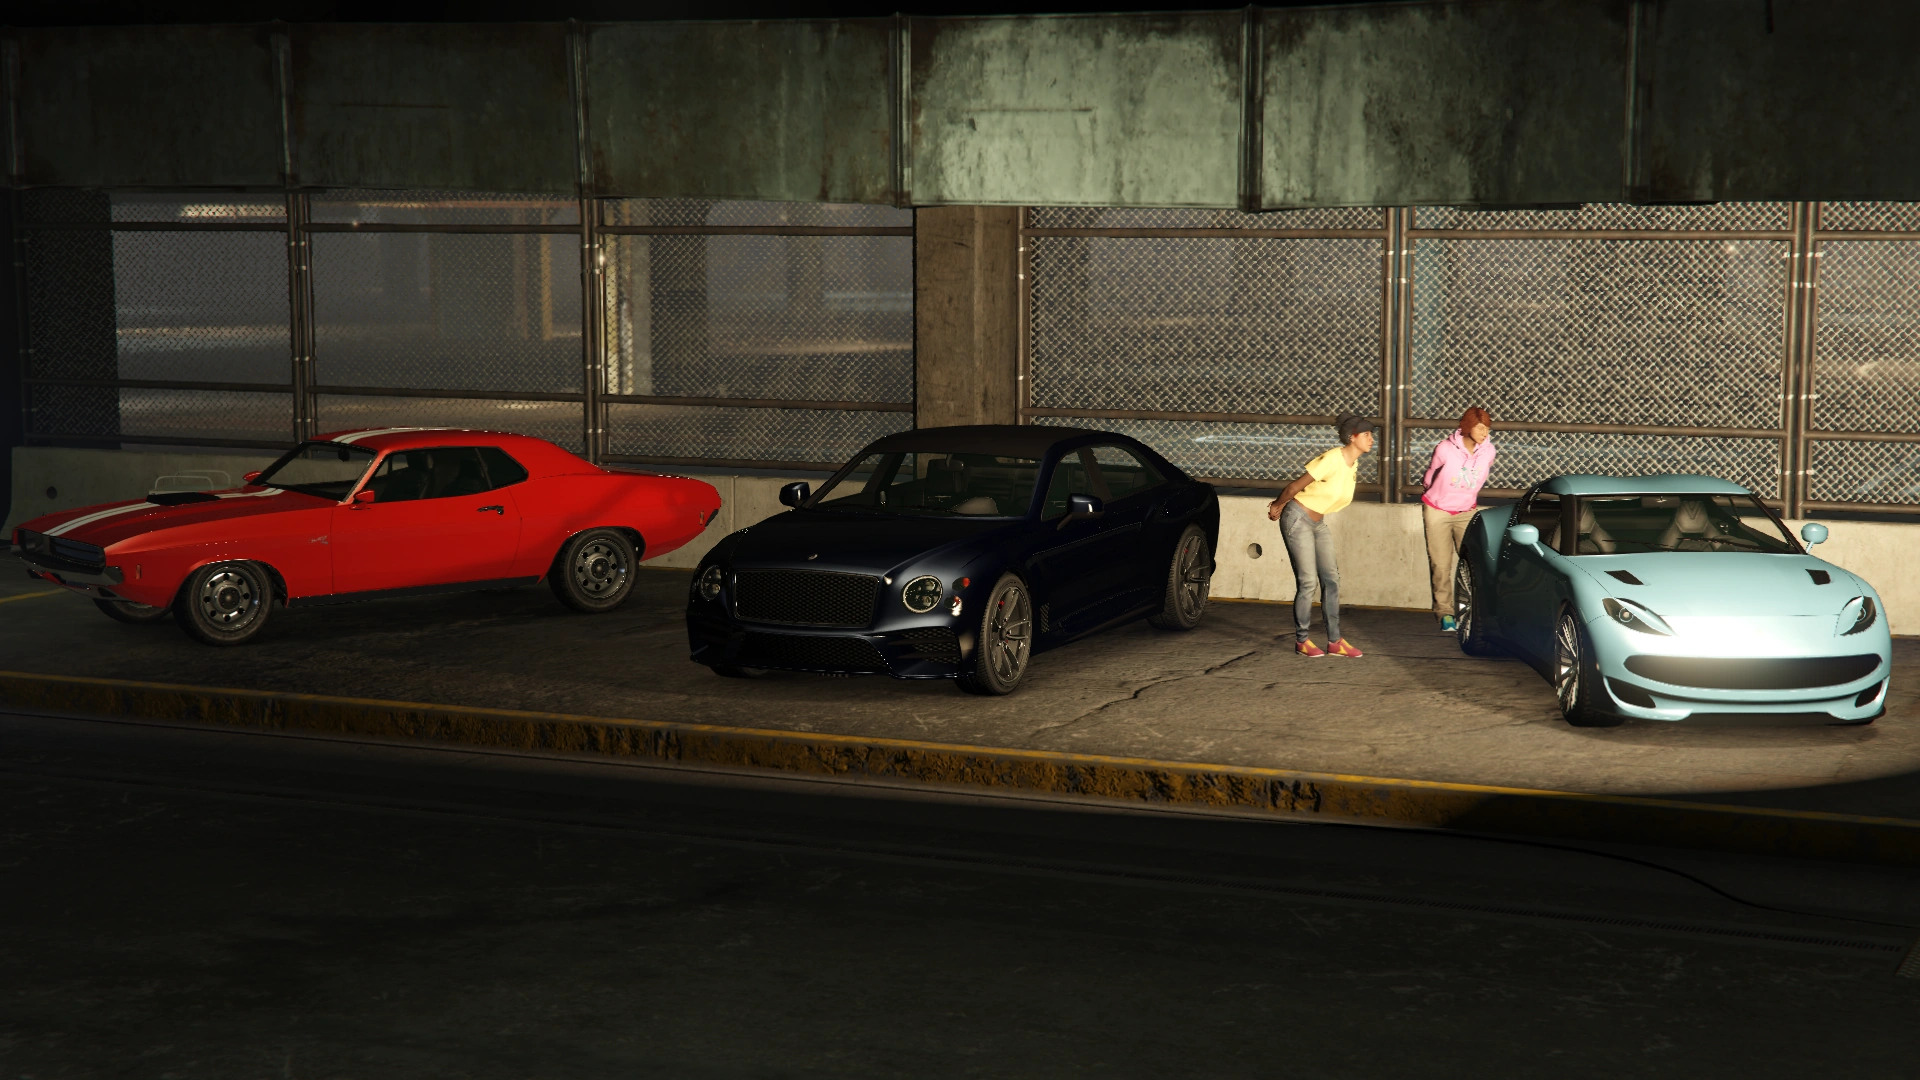
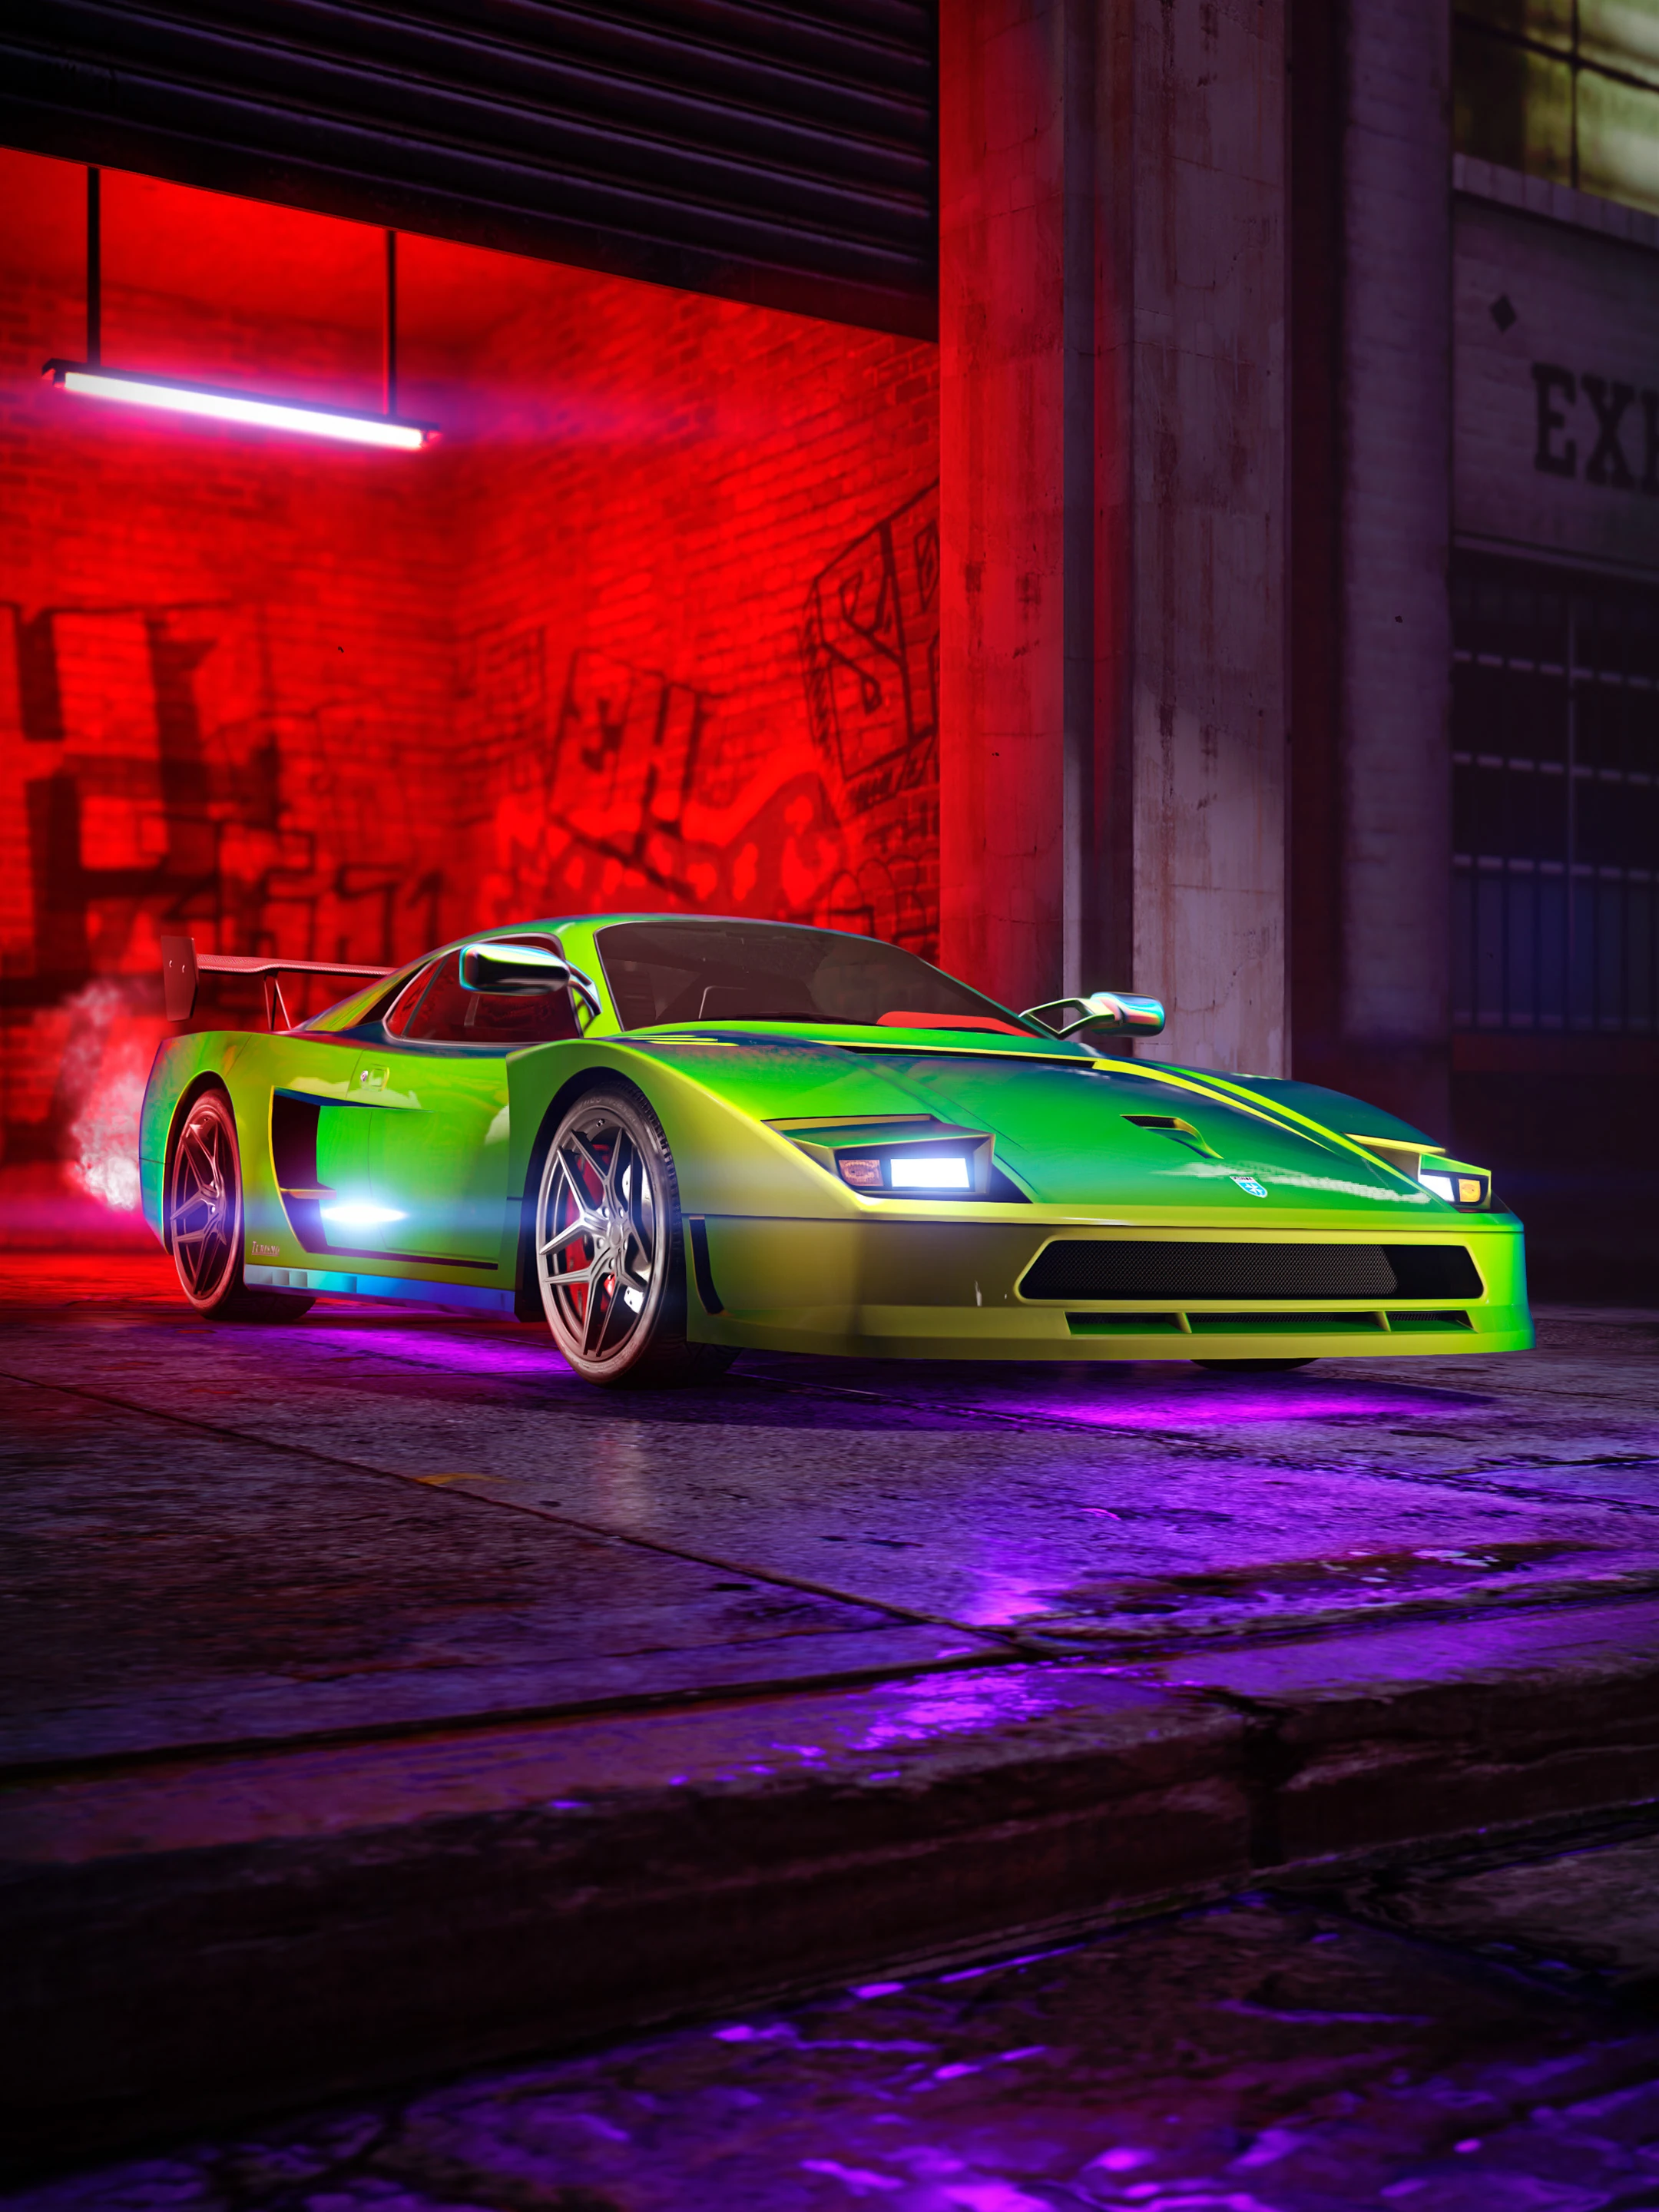
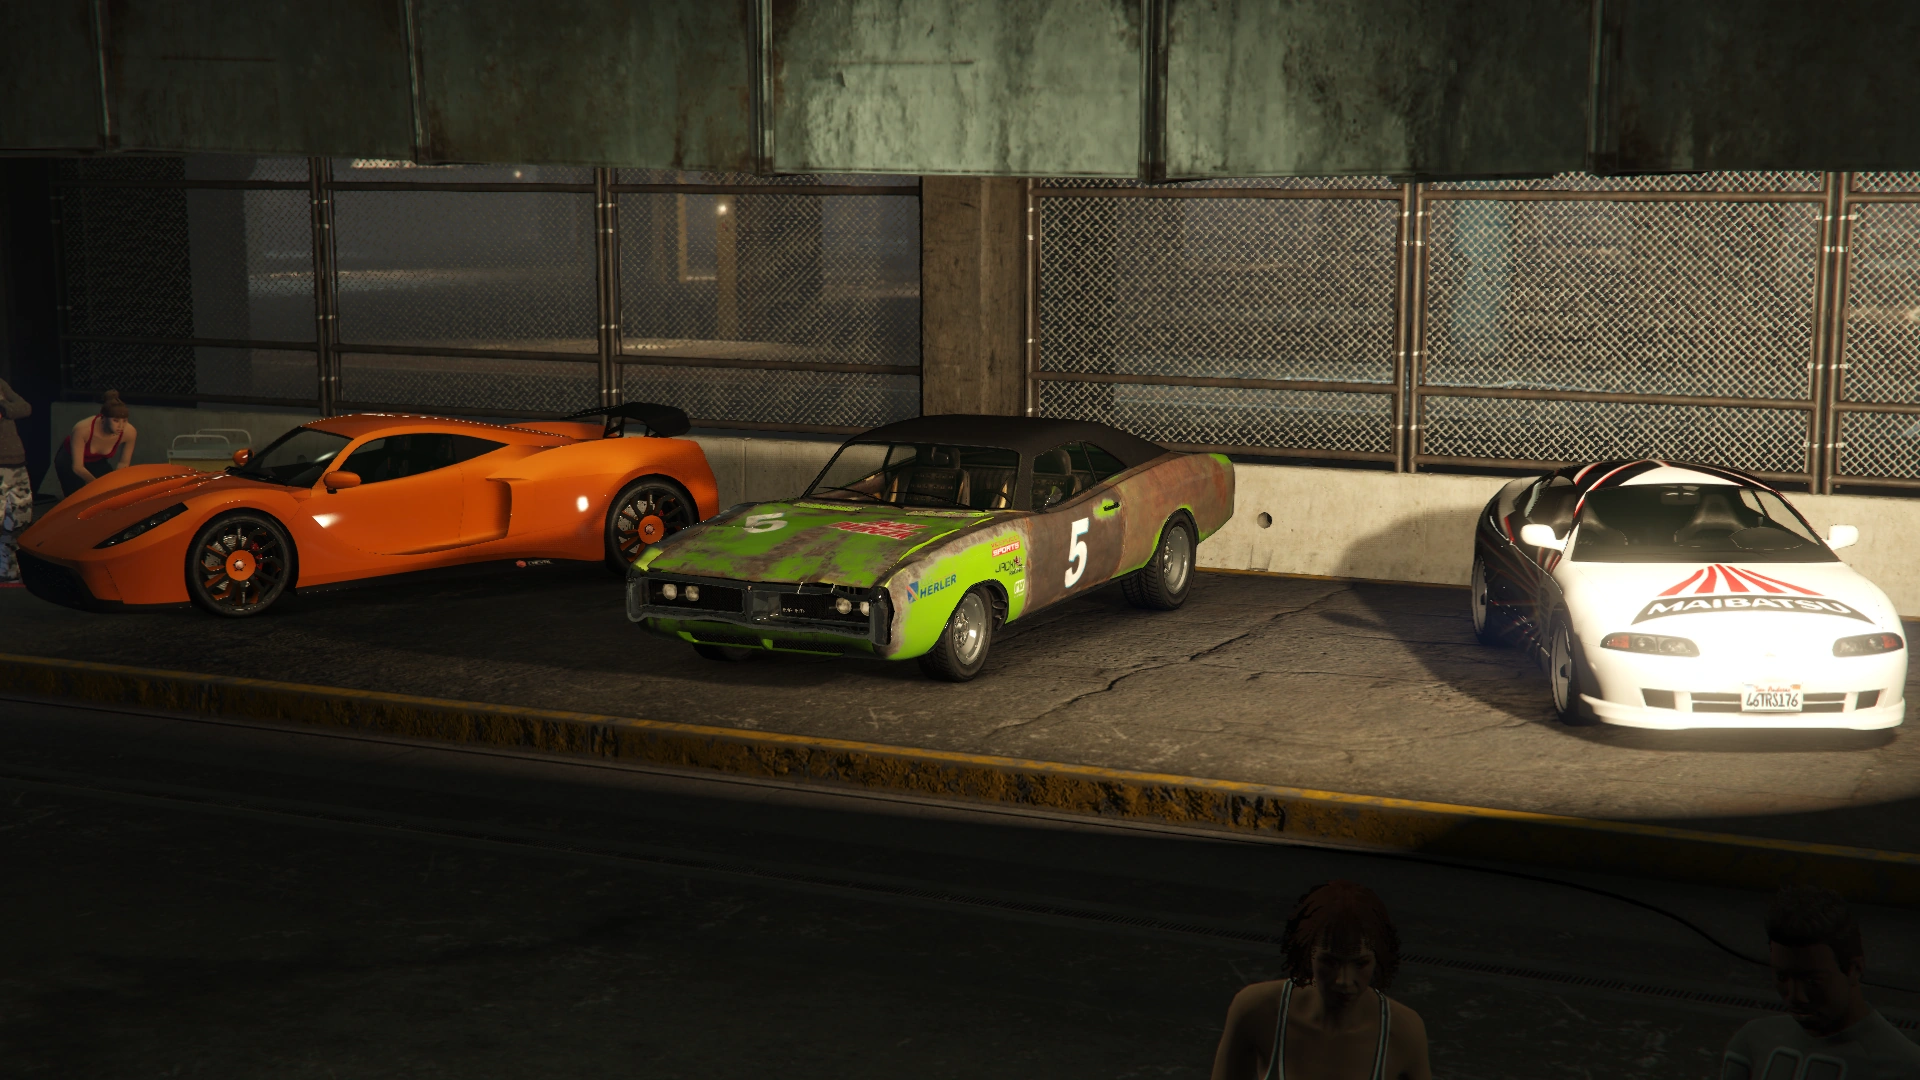

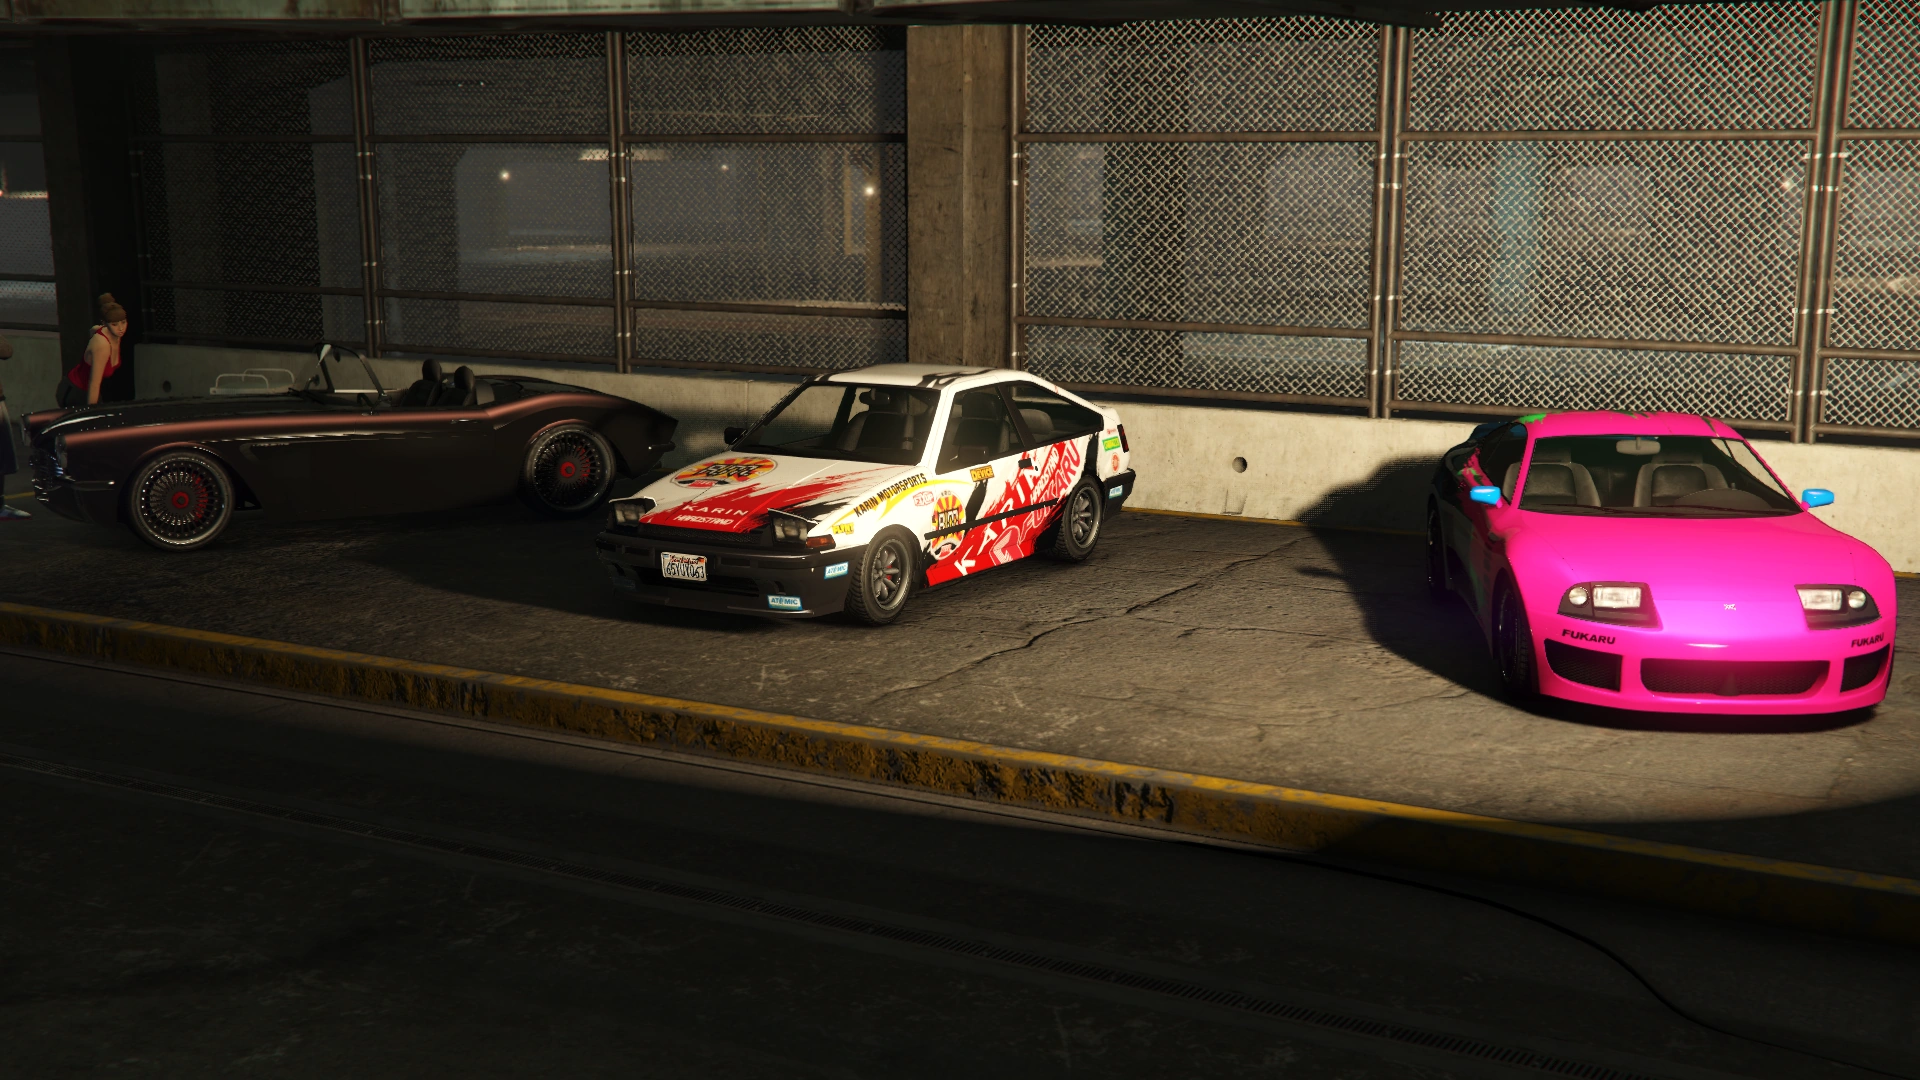

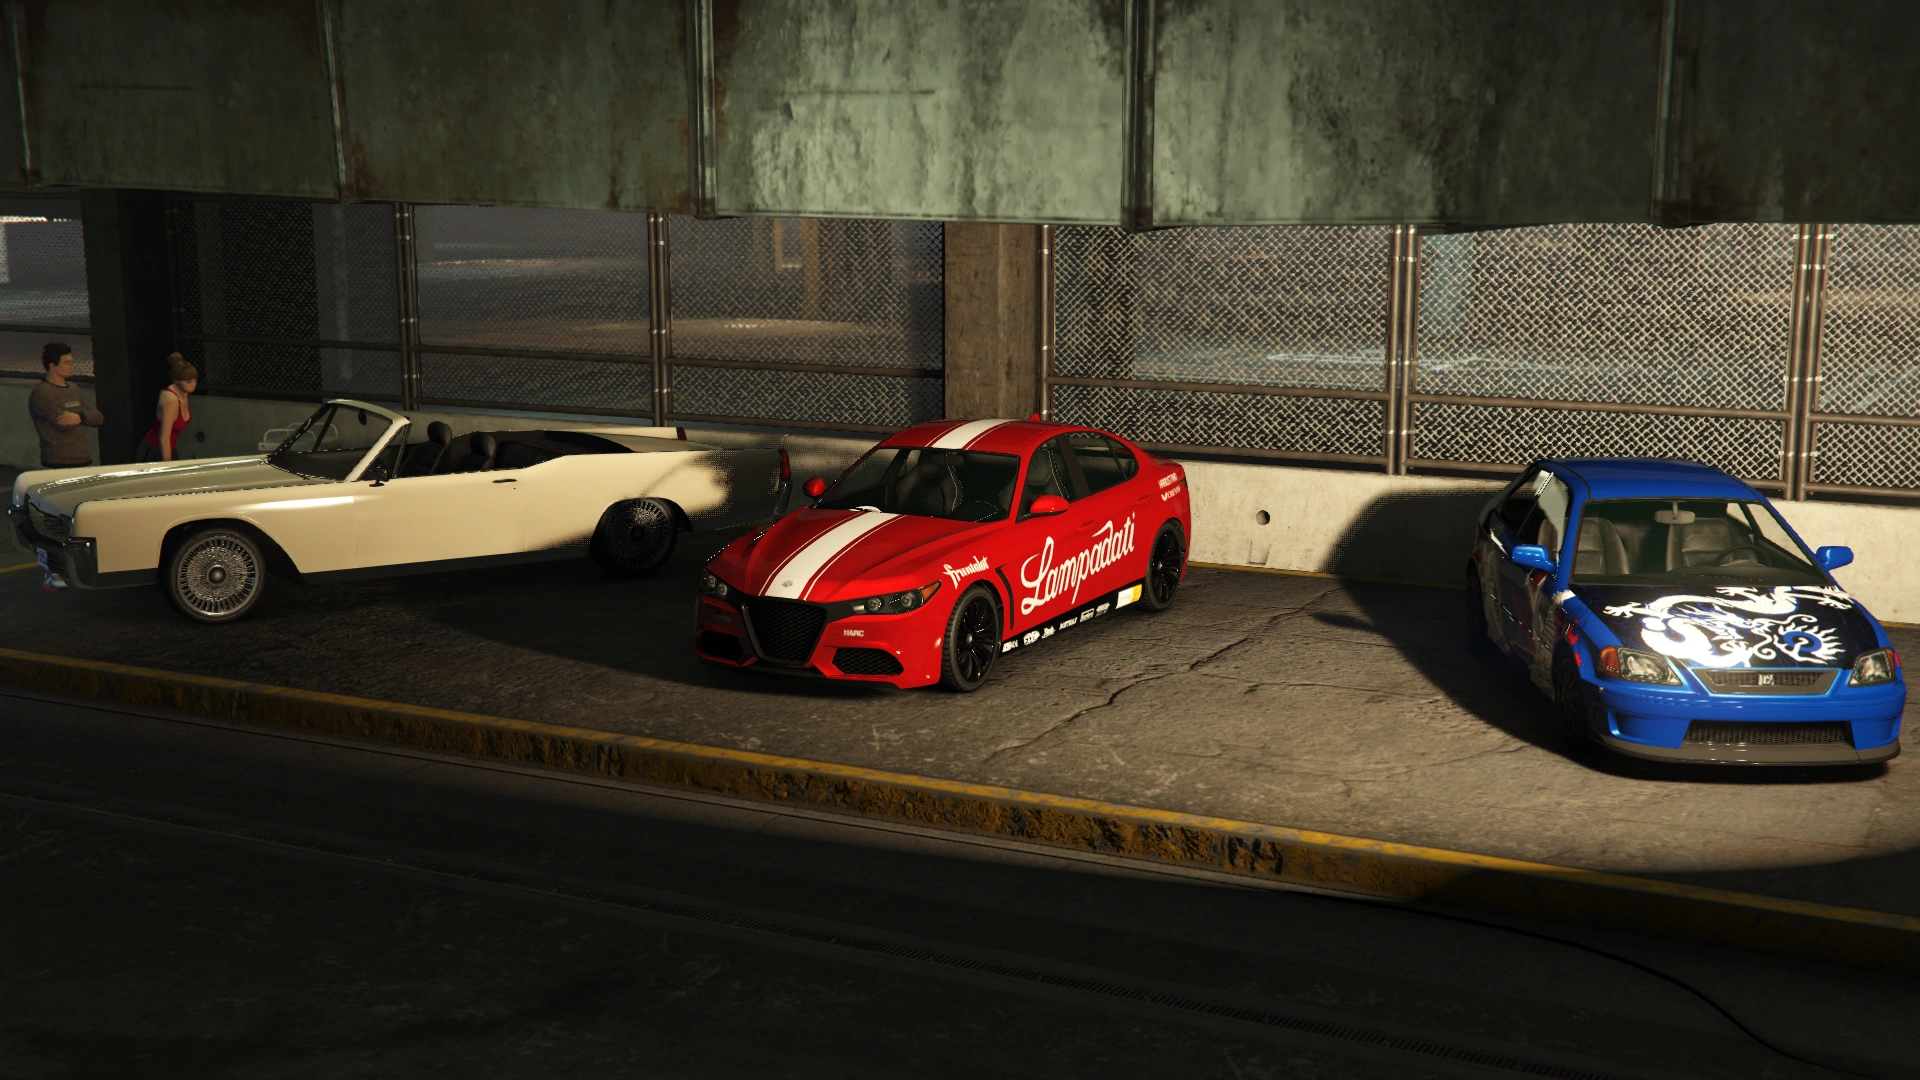

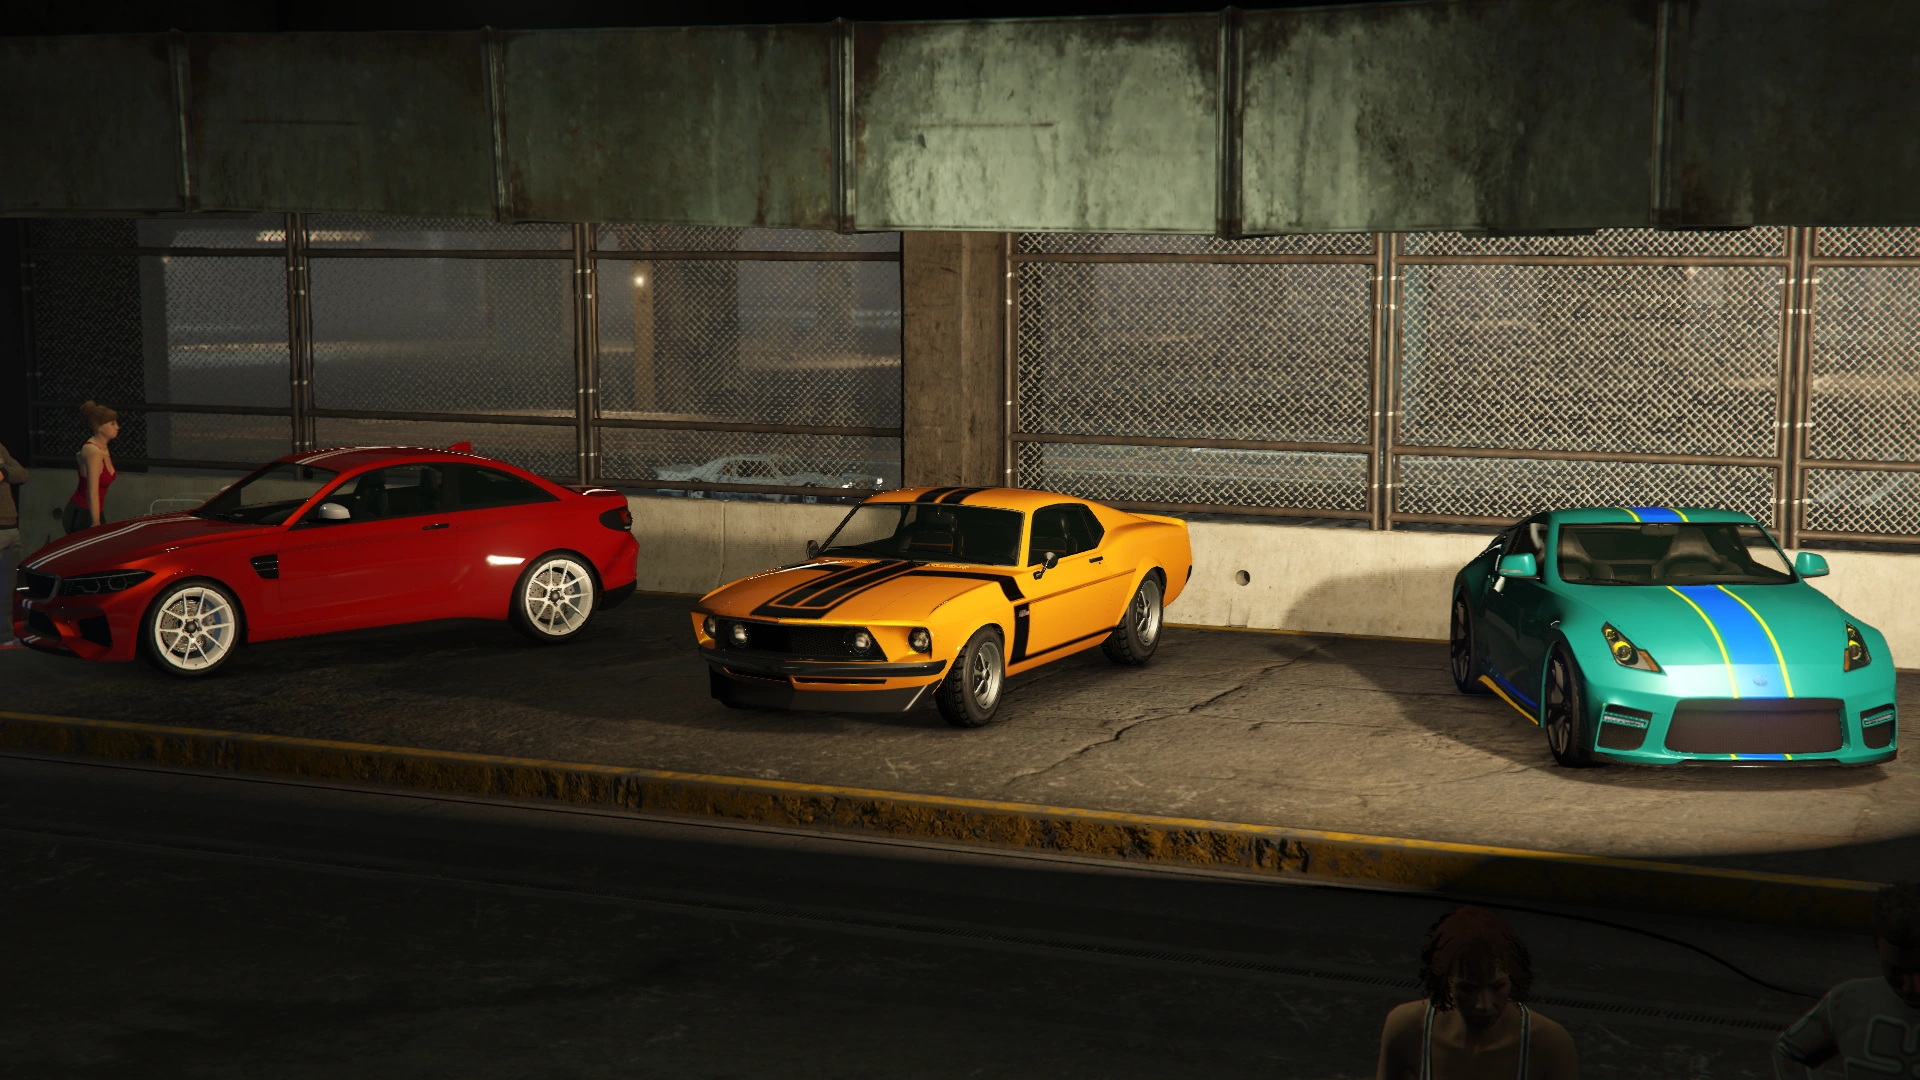


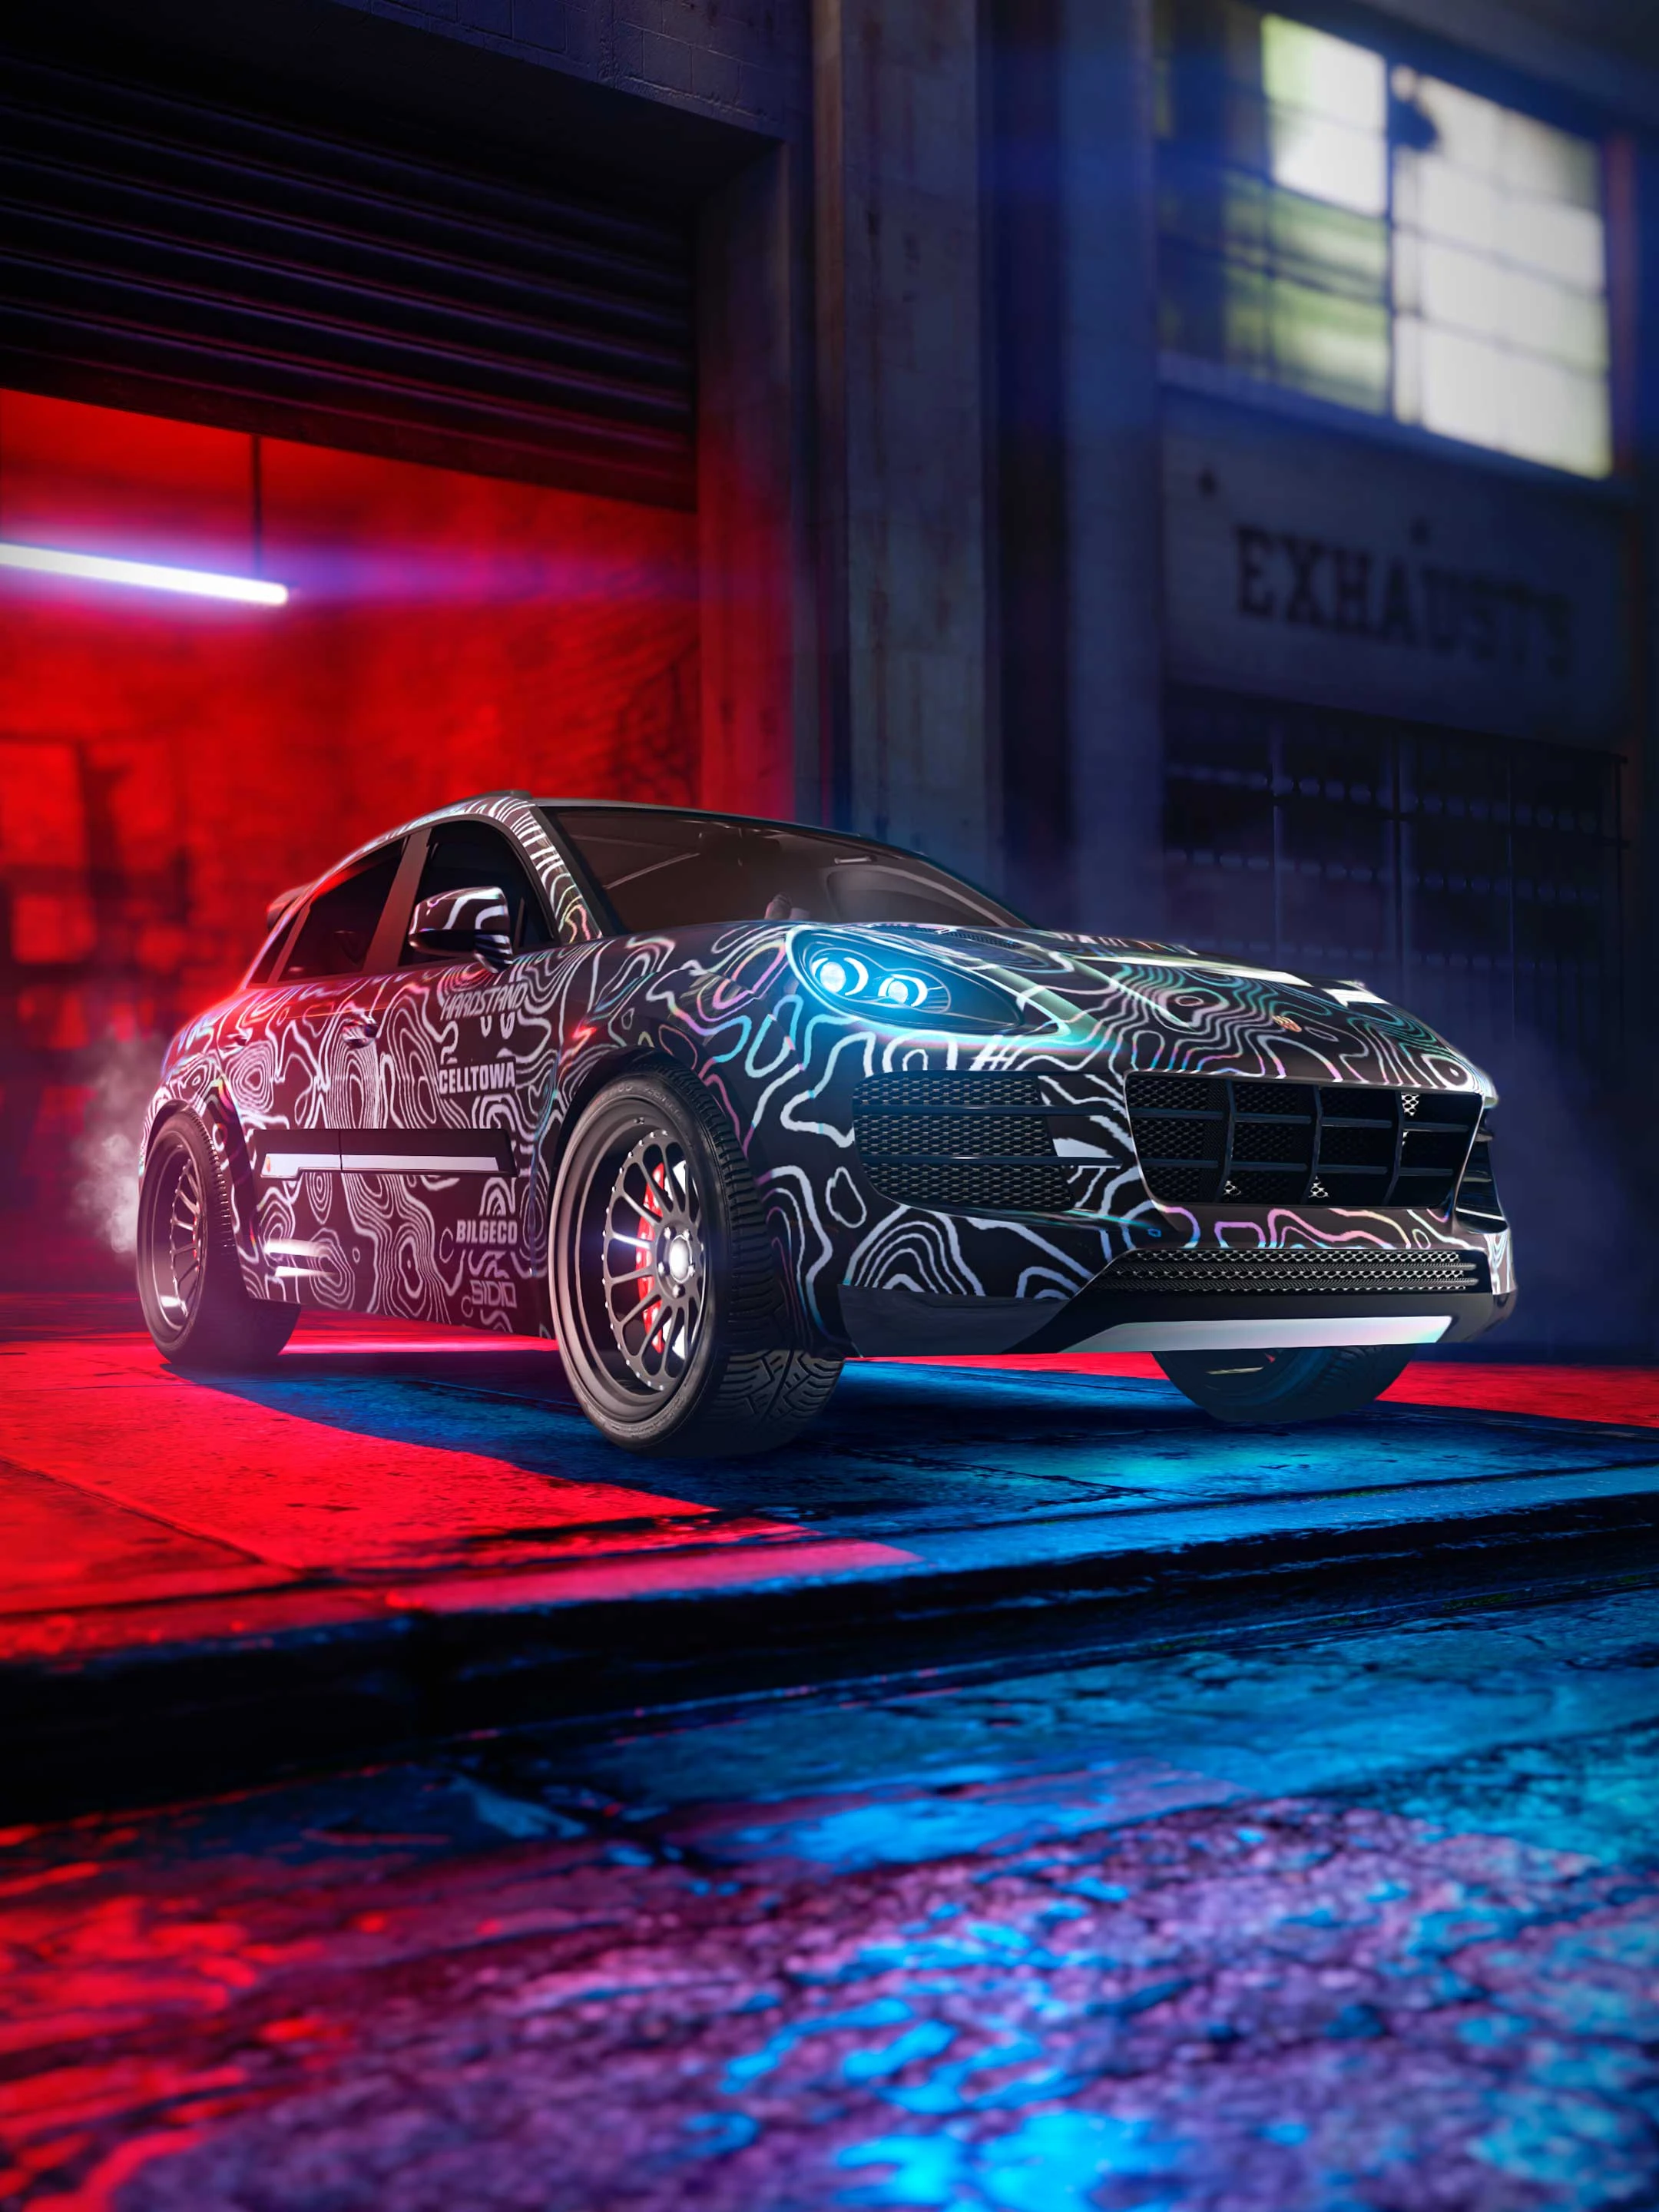
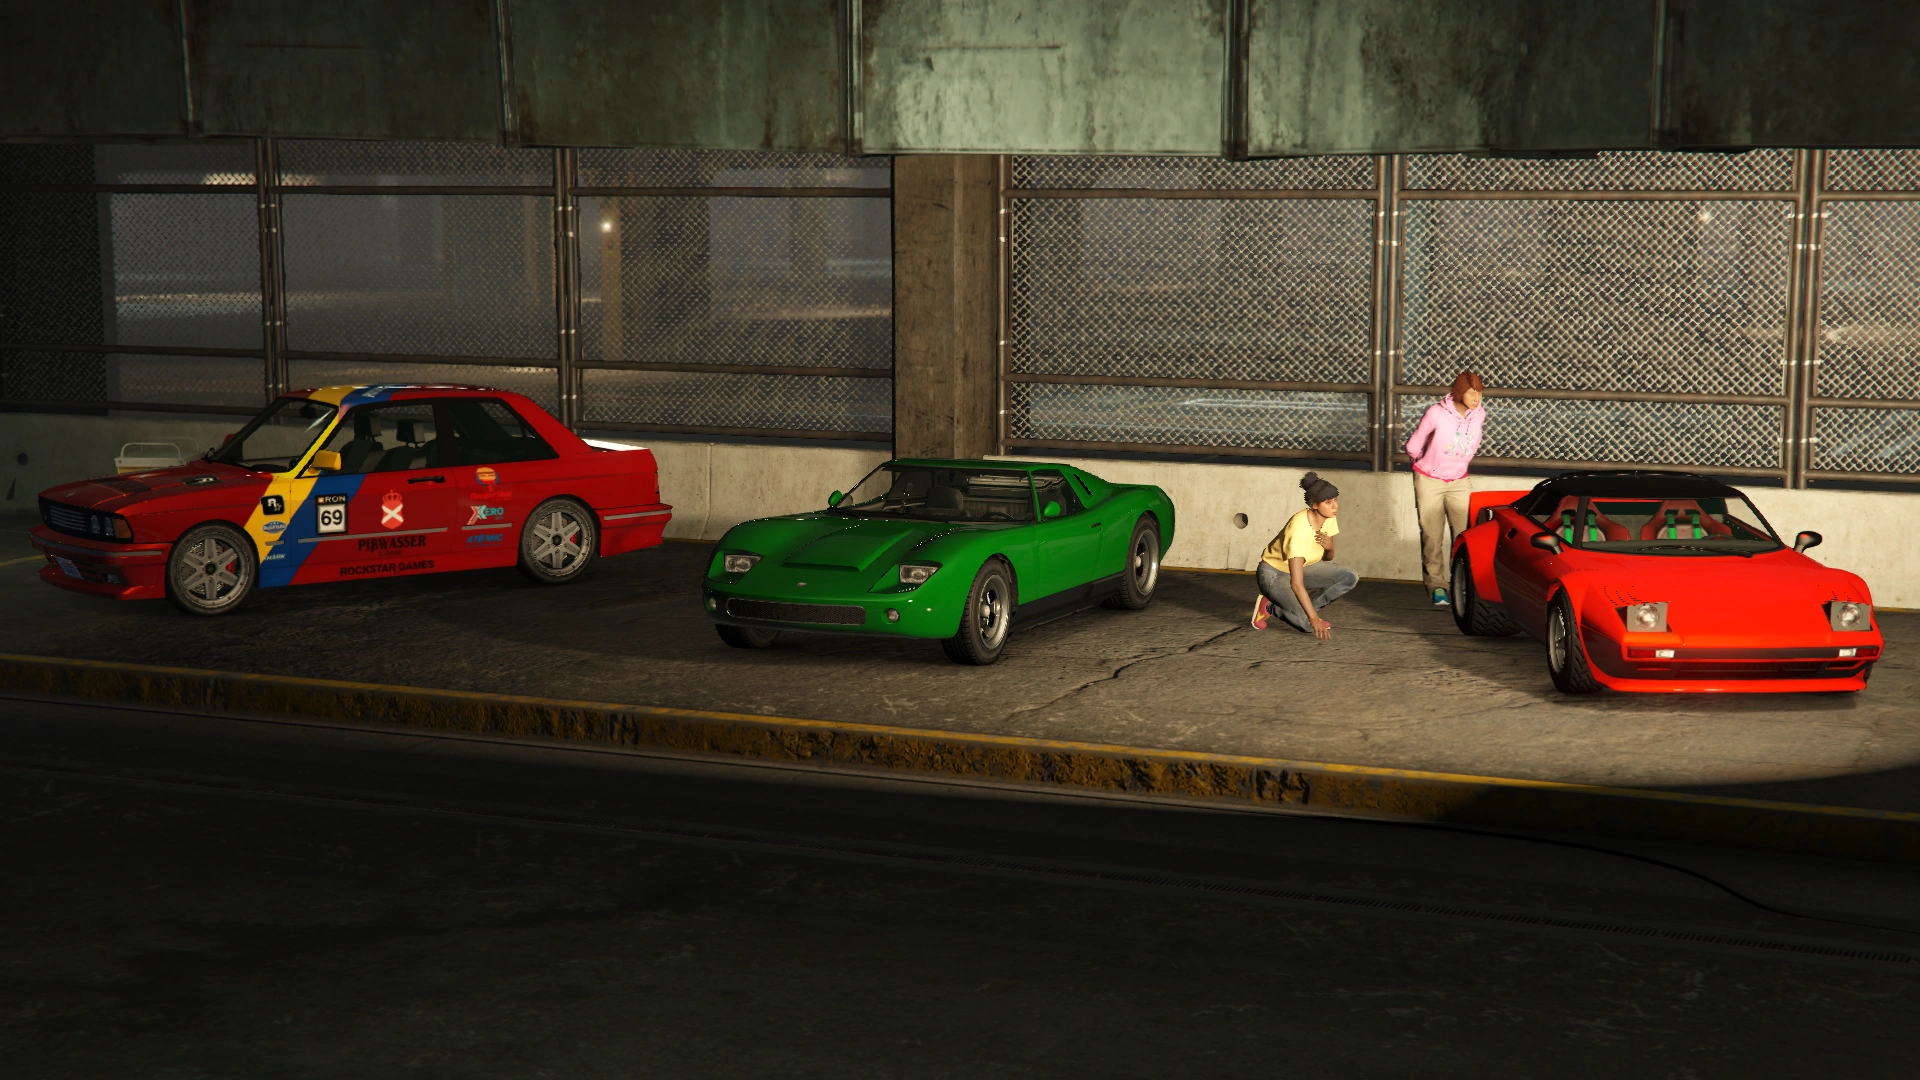
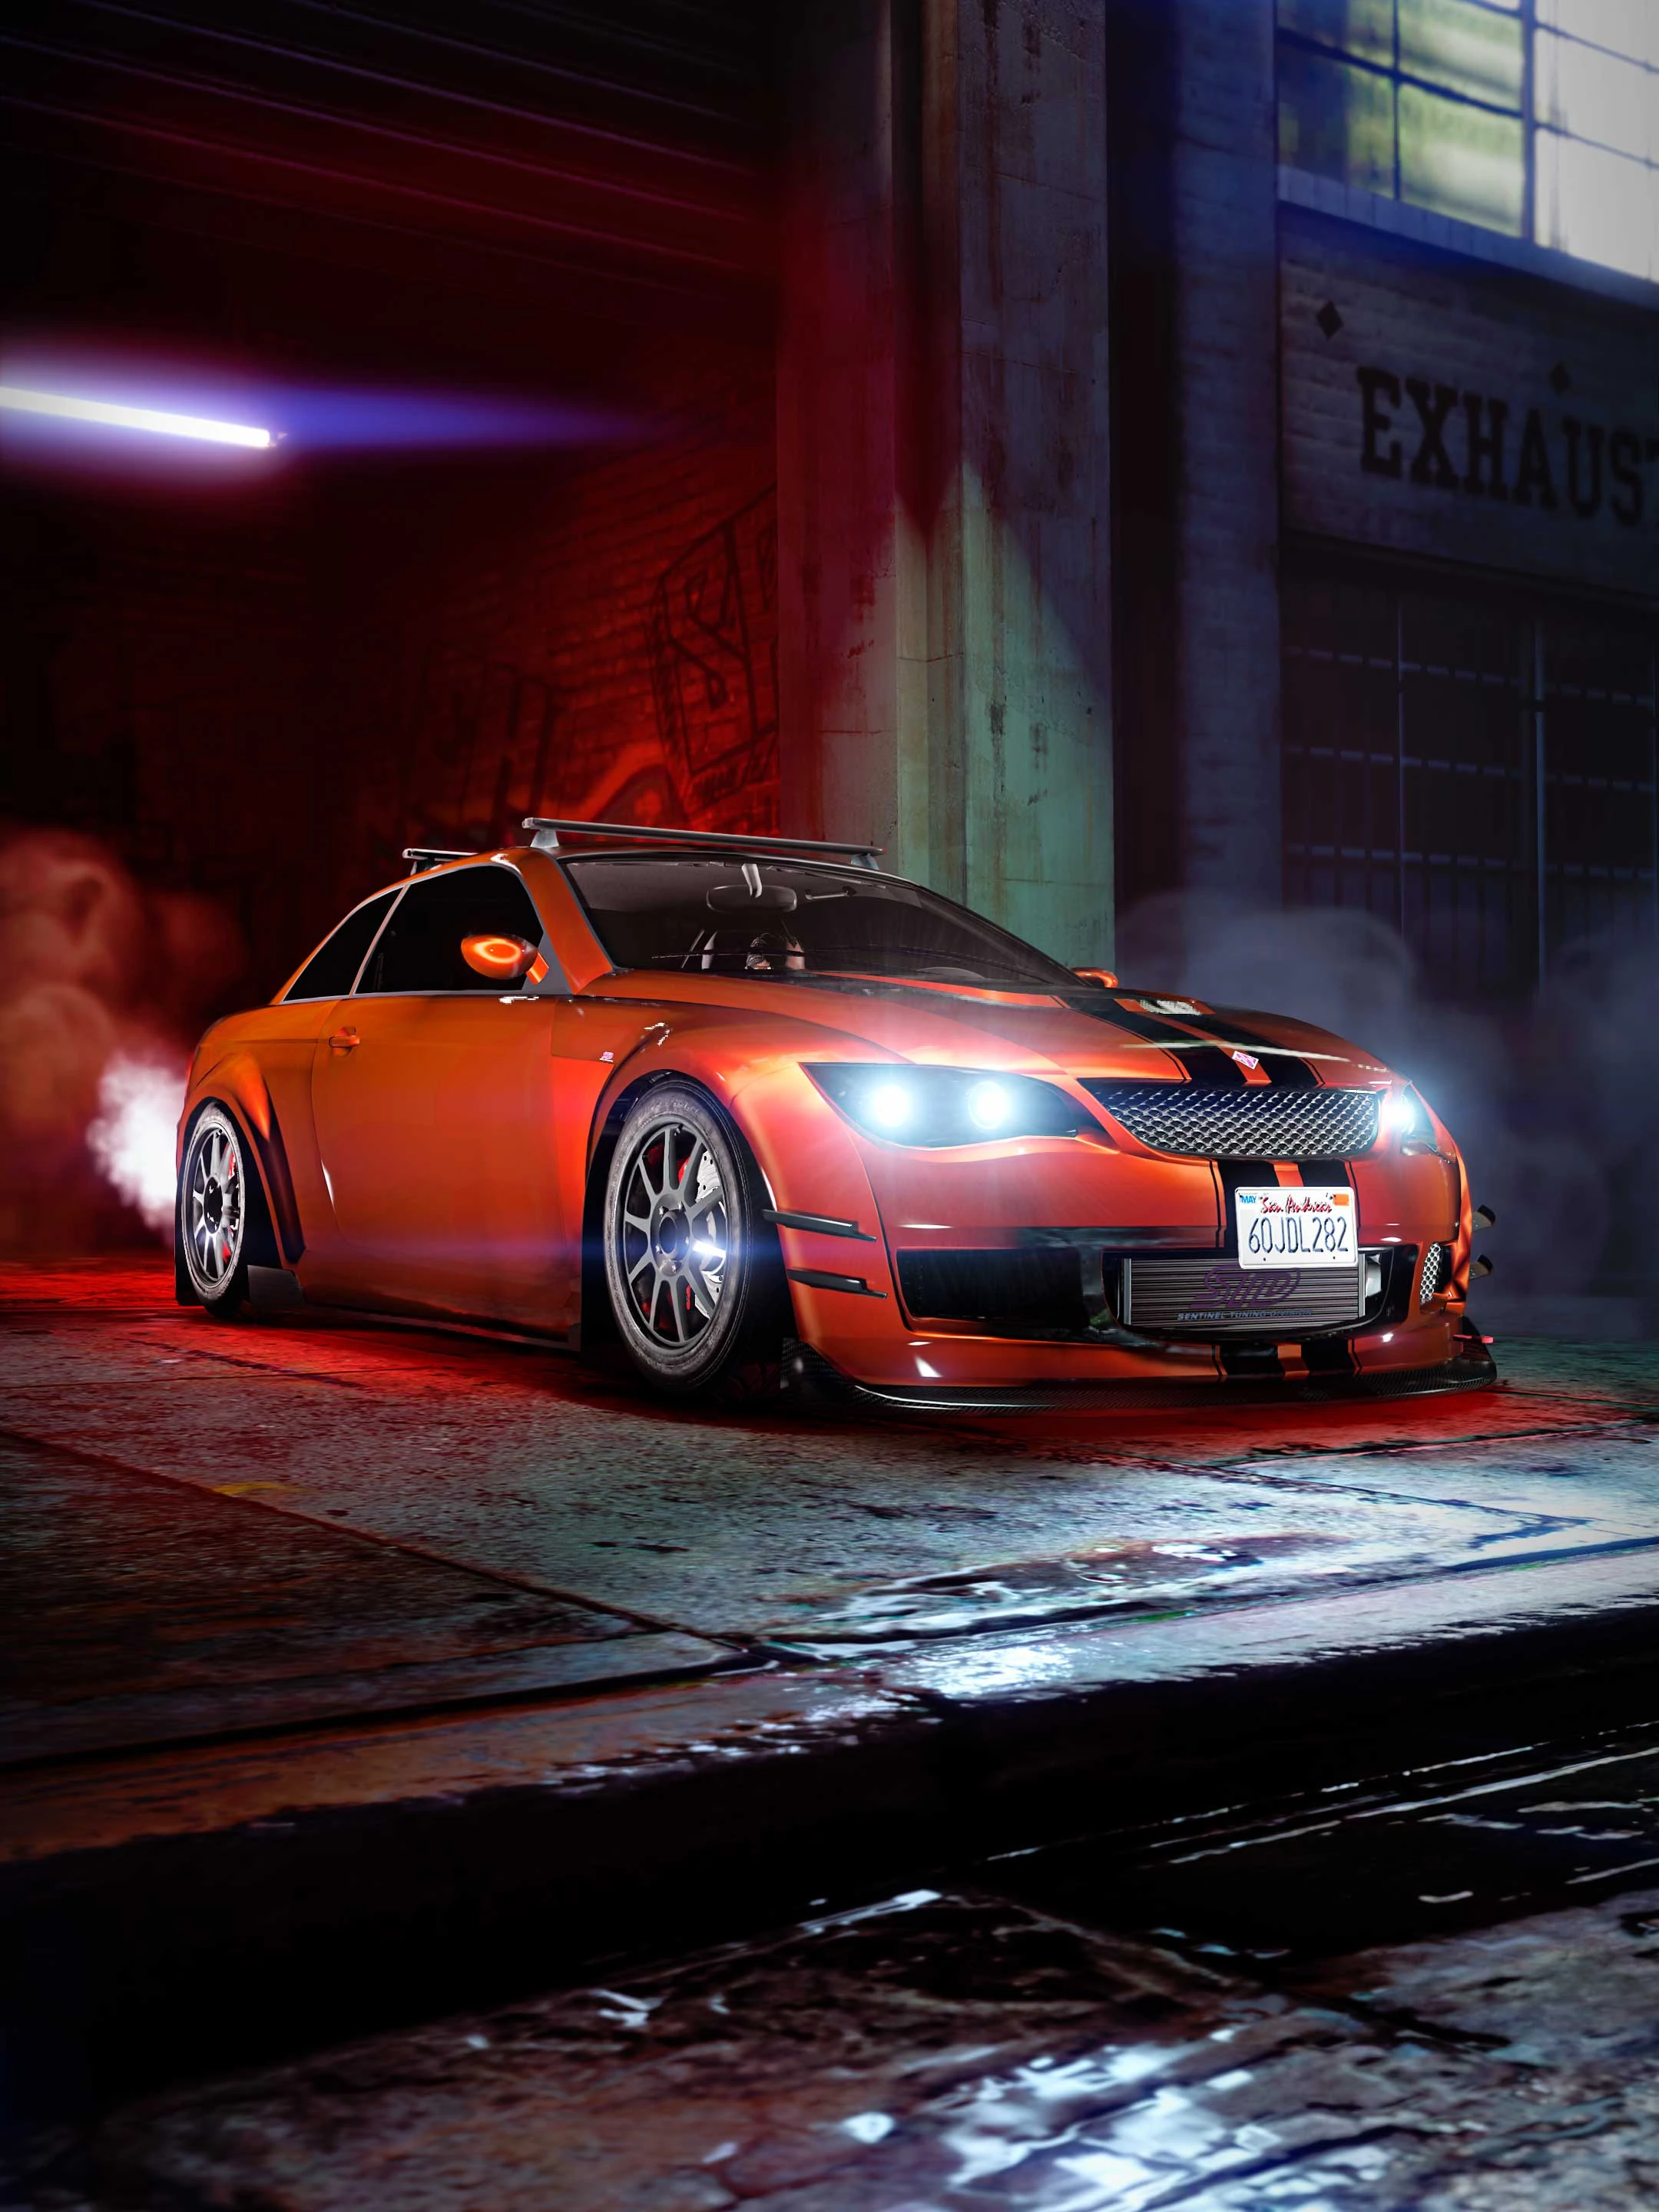
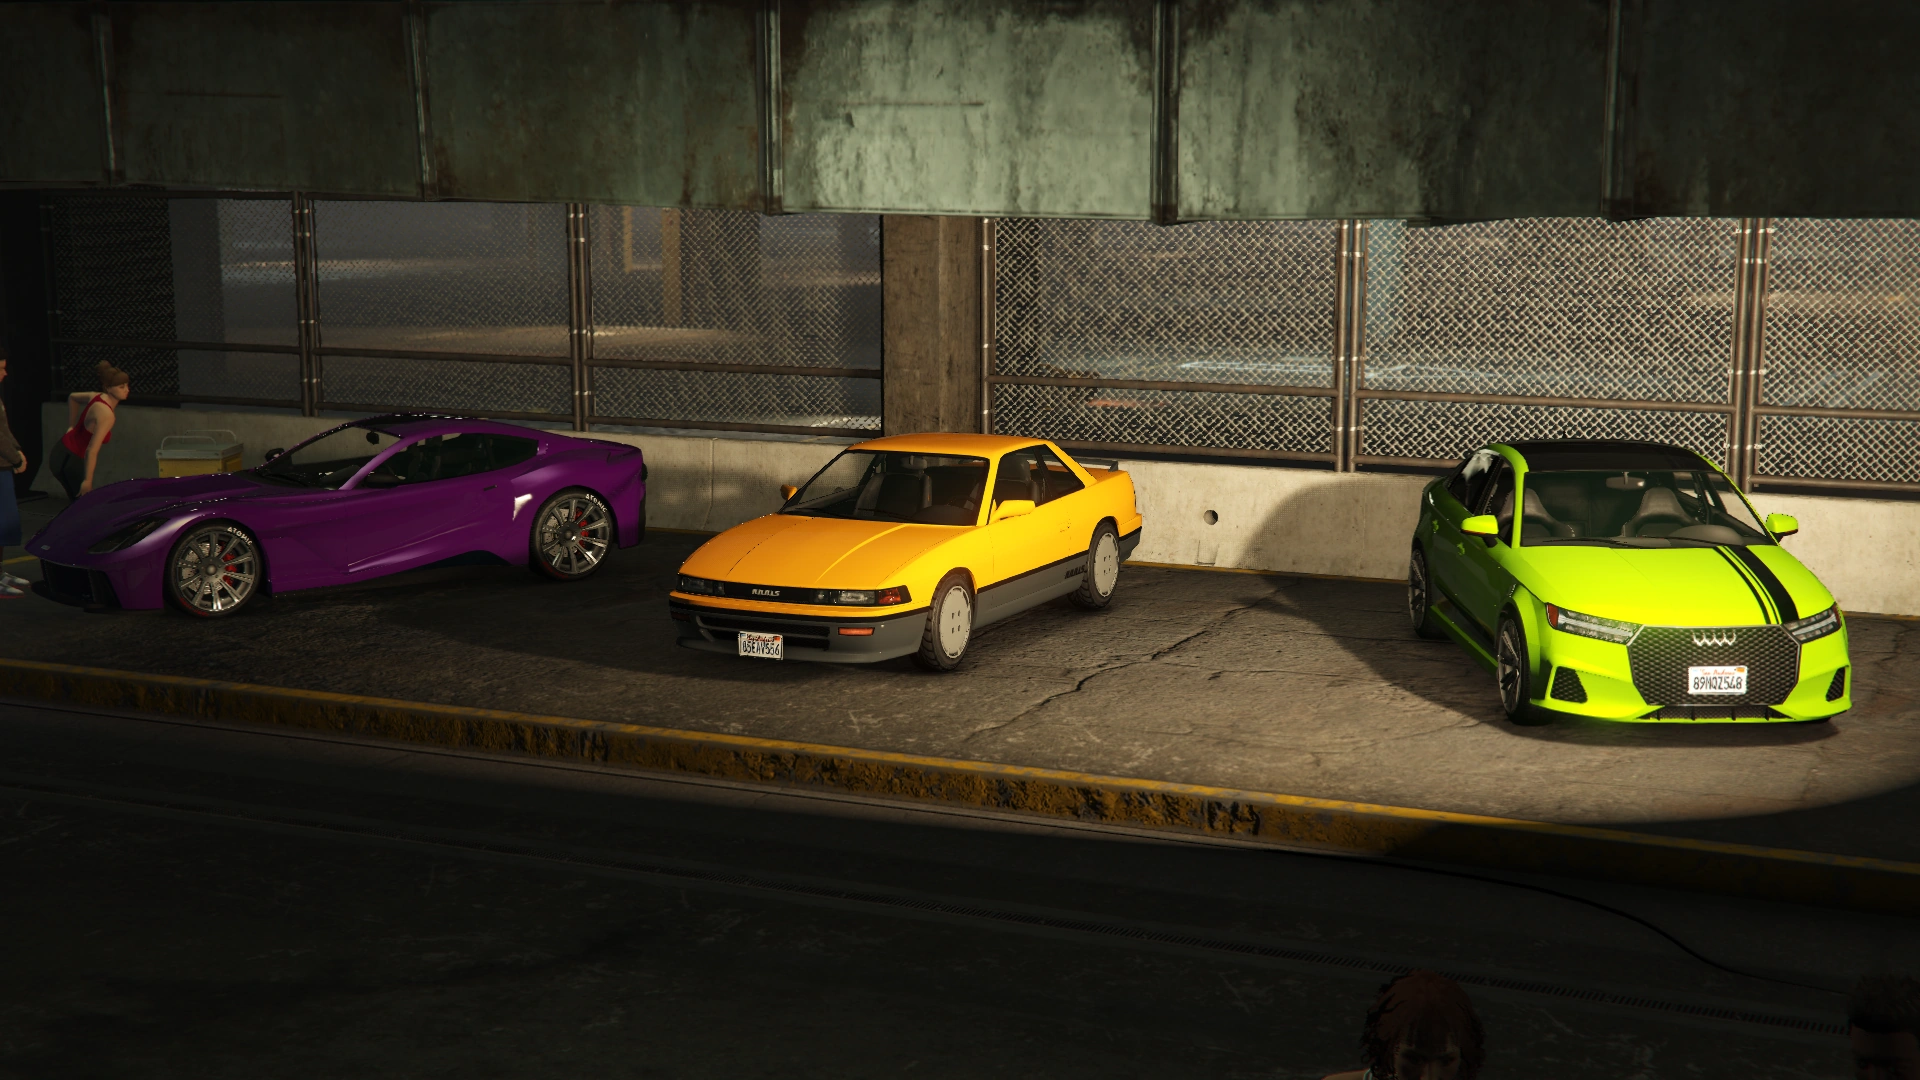

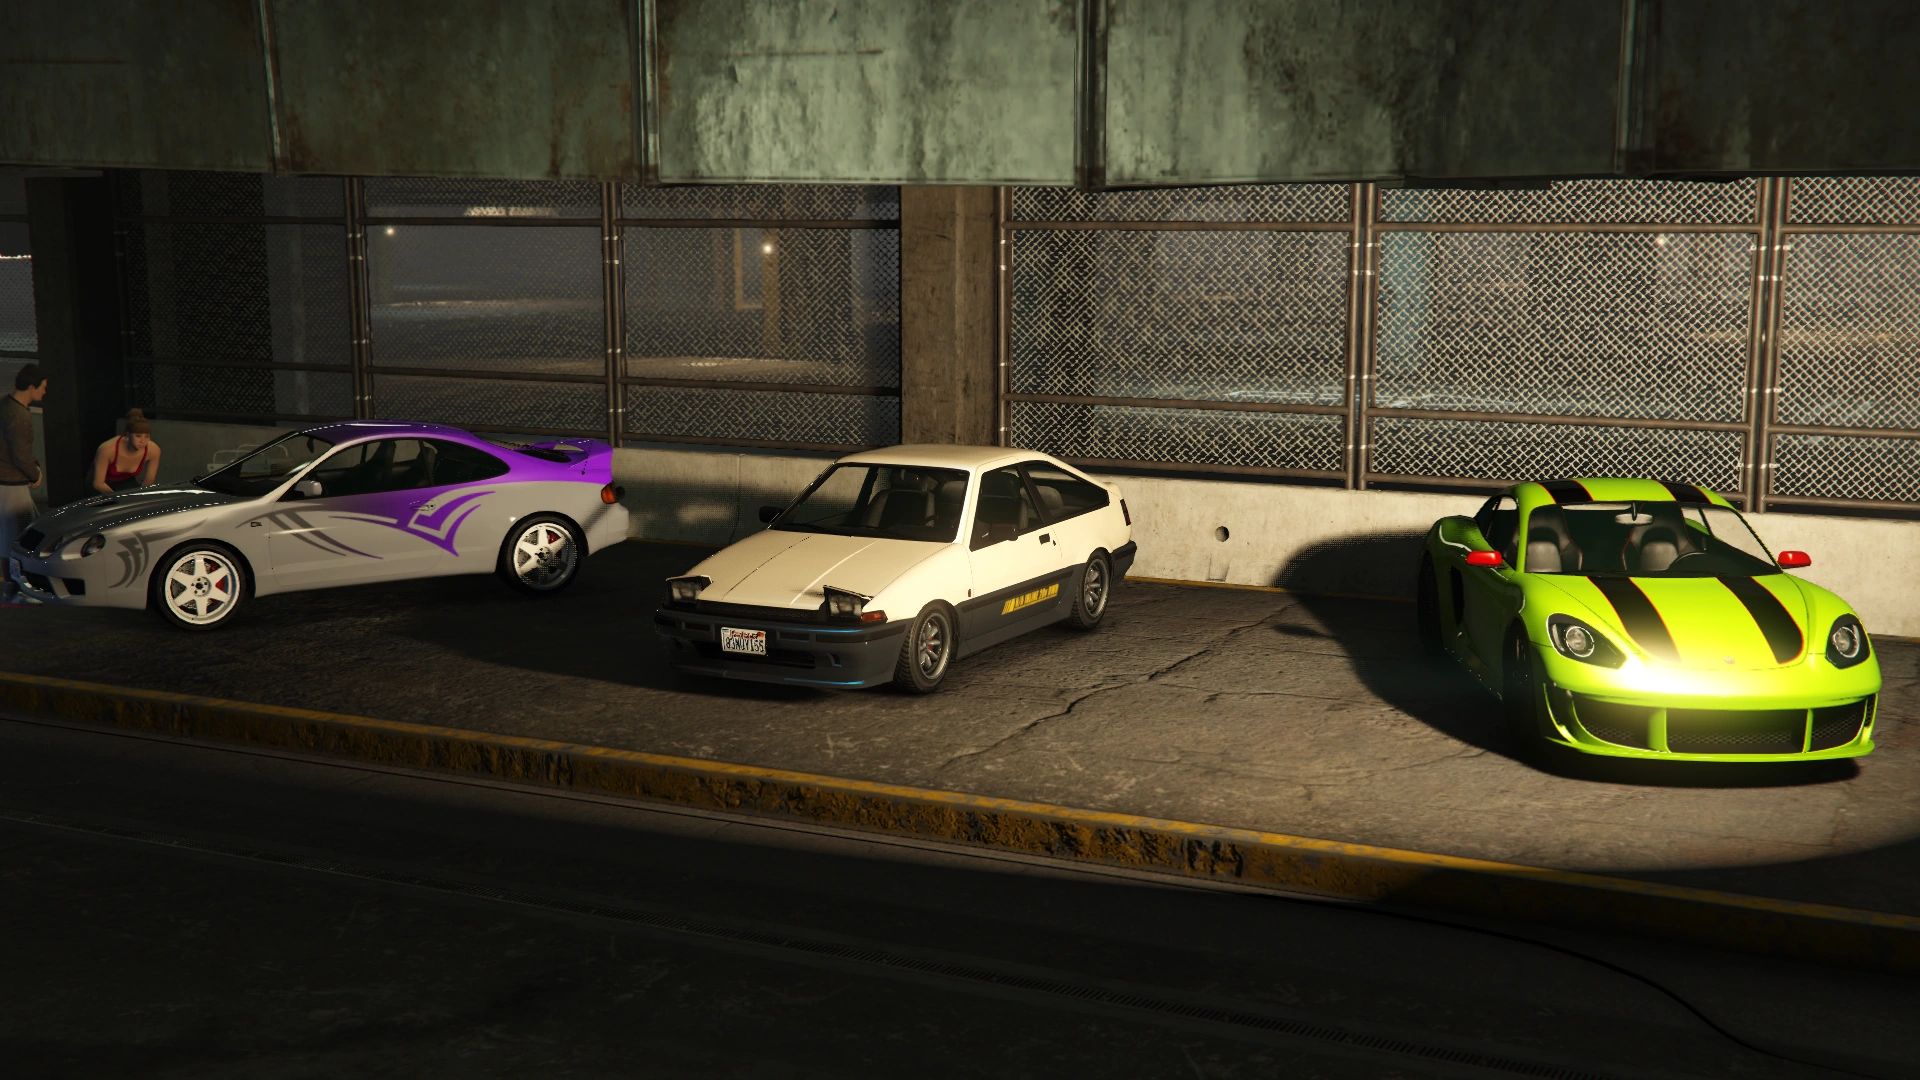


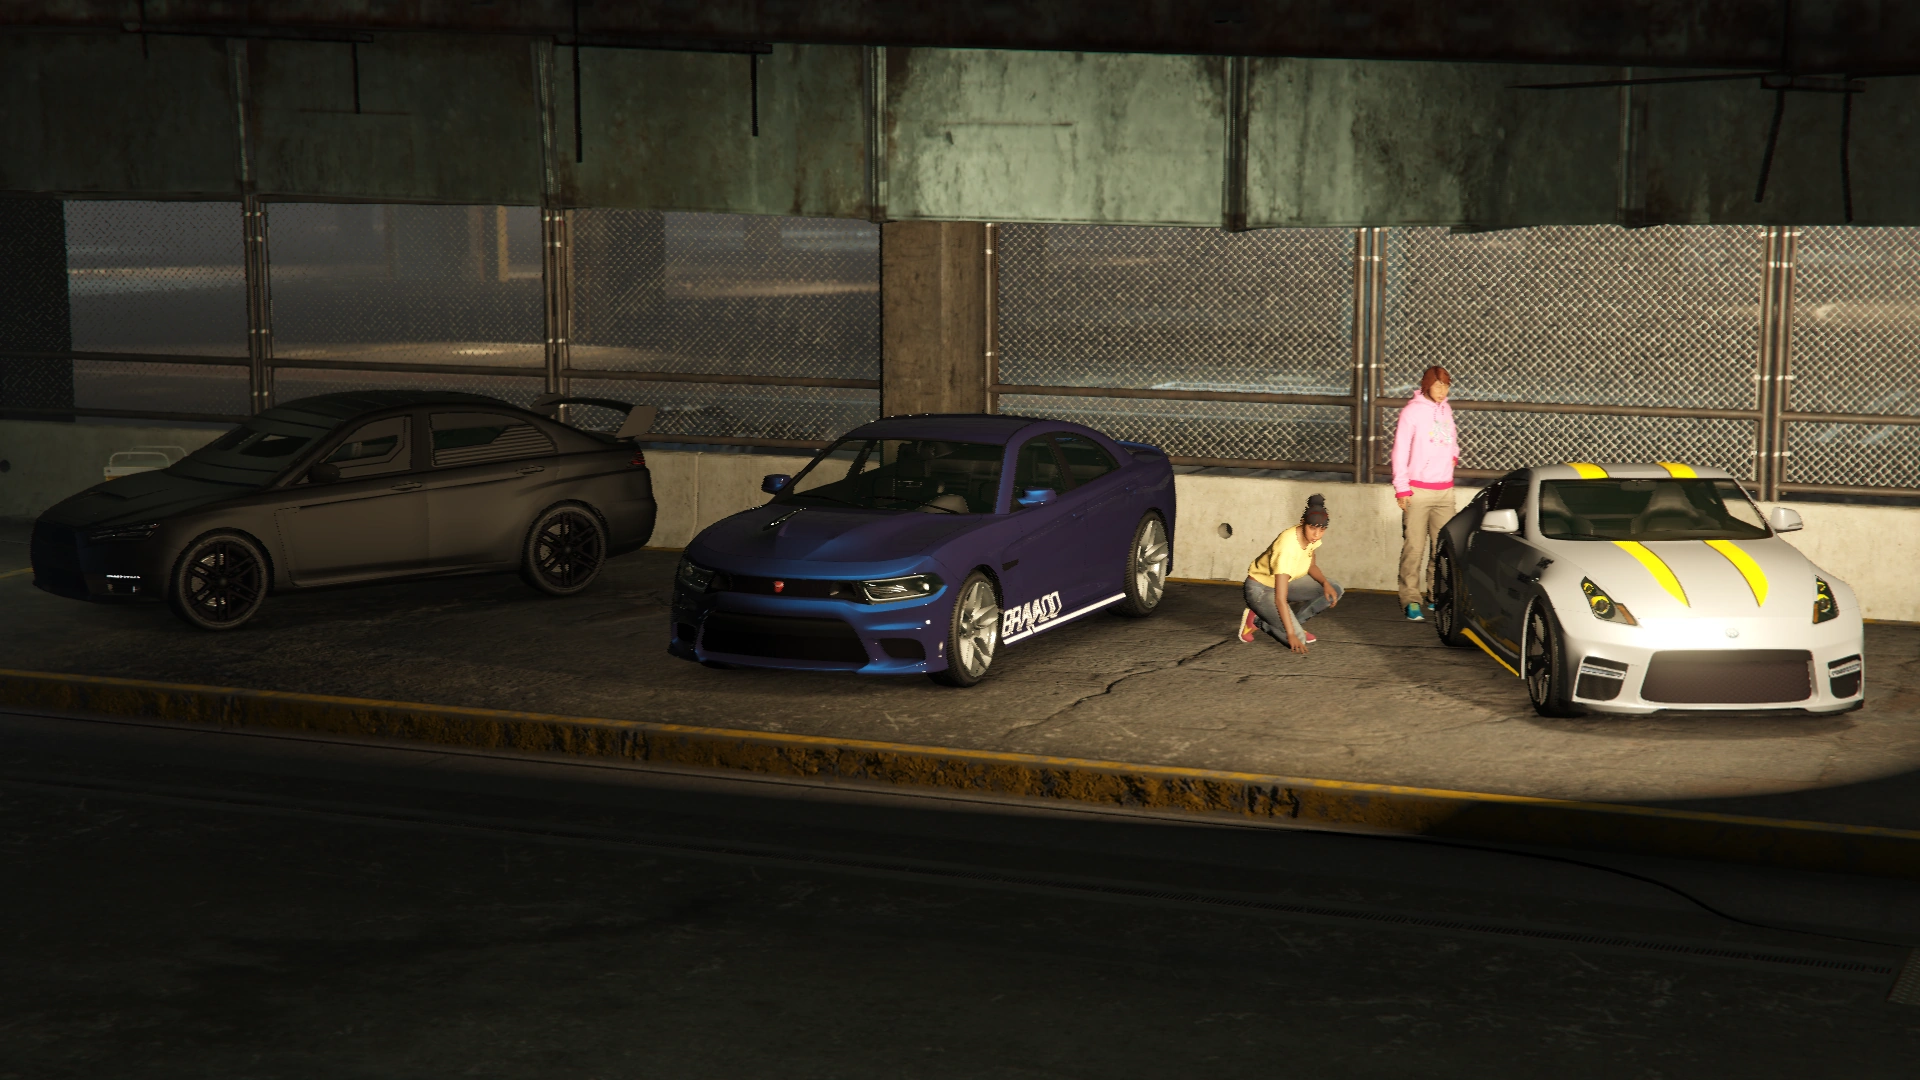
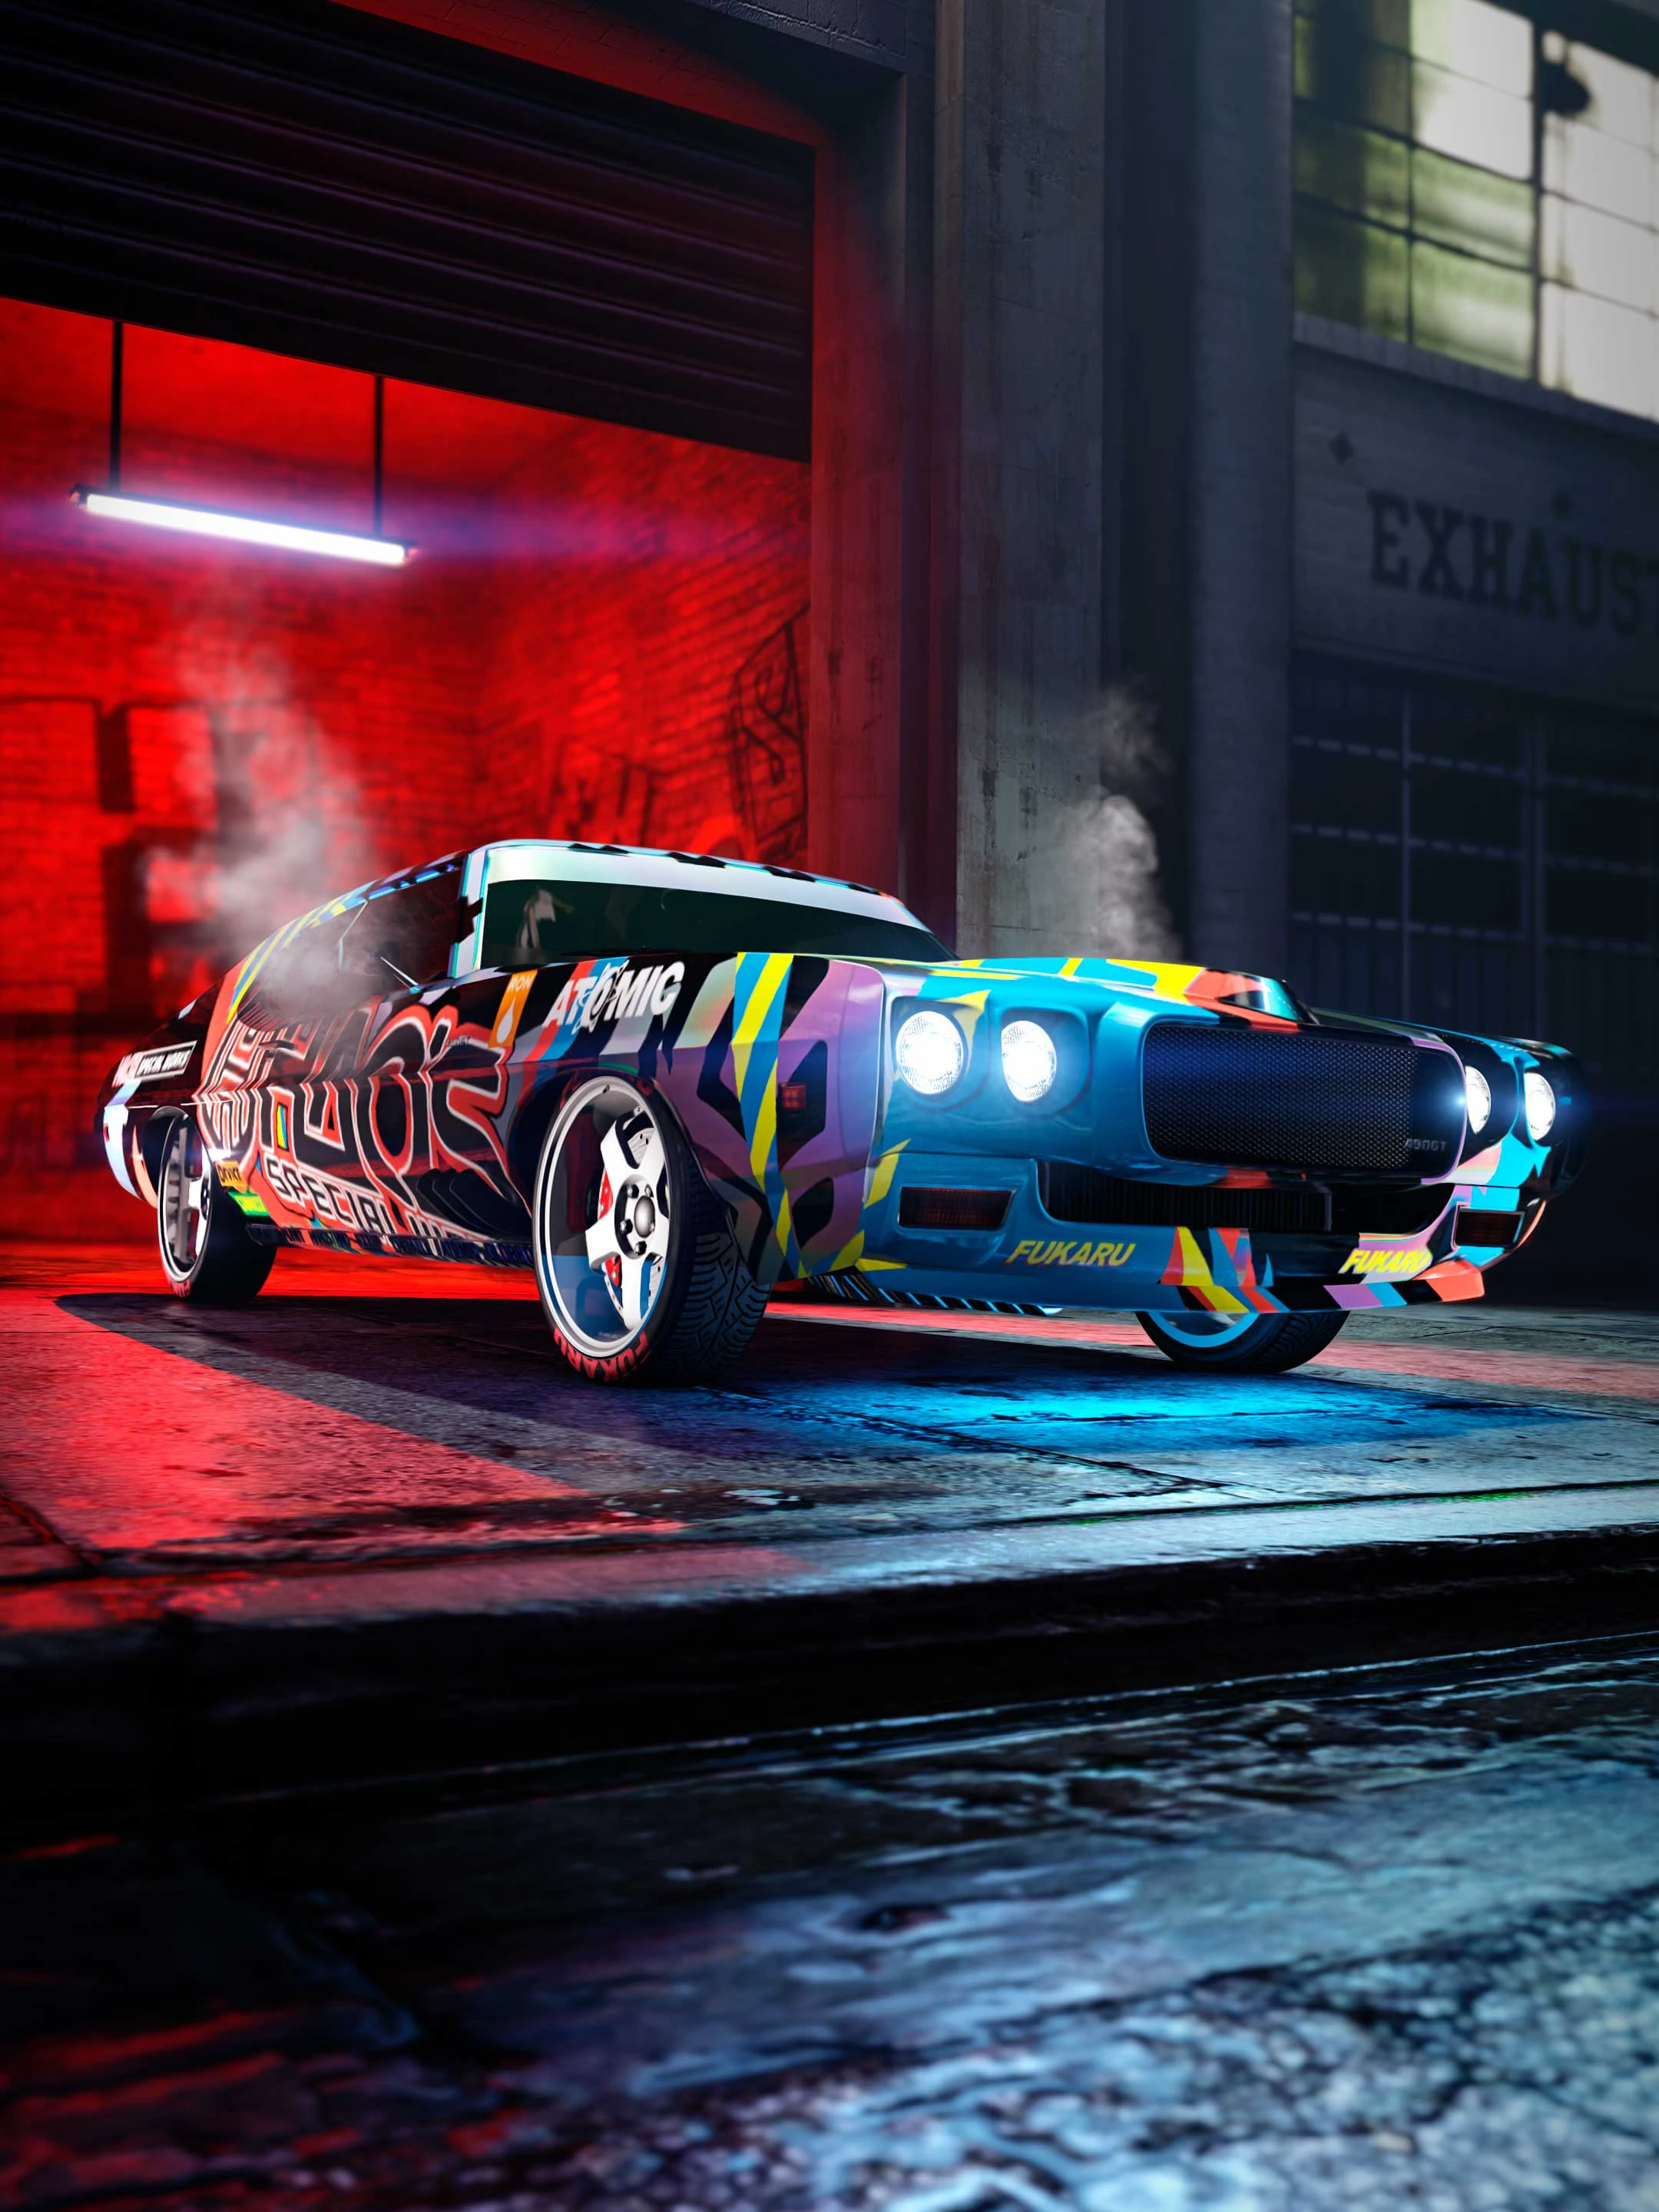
2021-2022
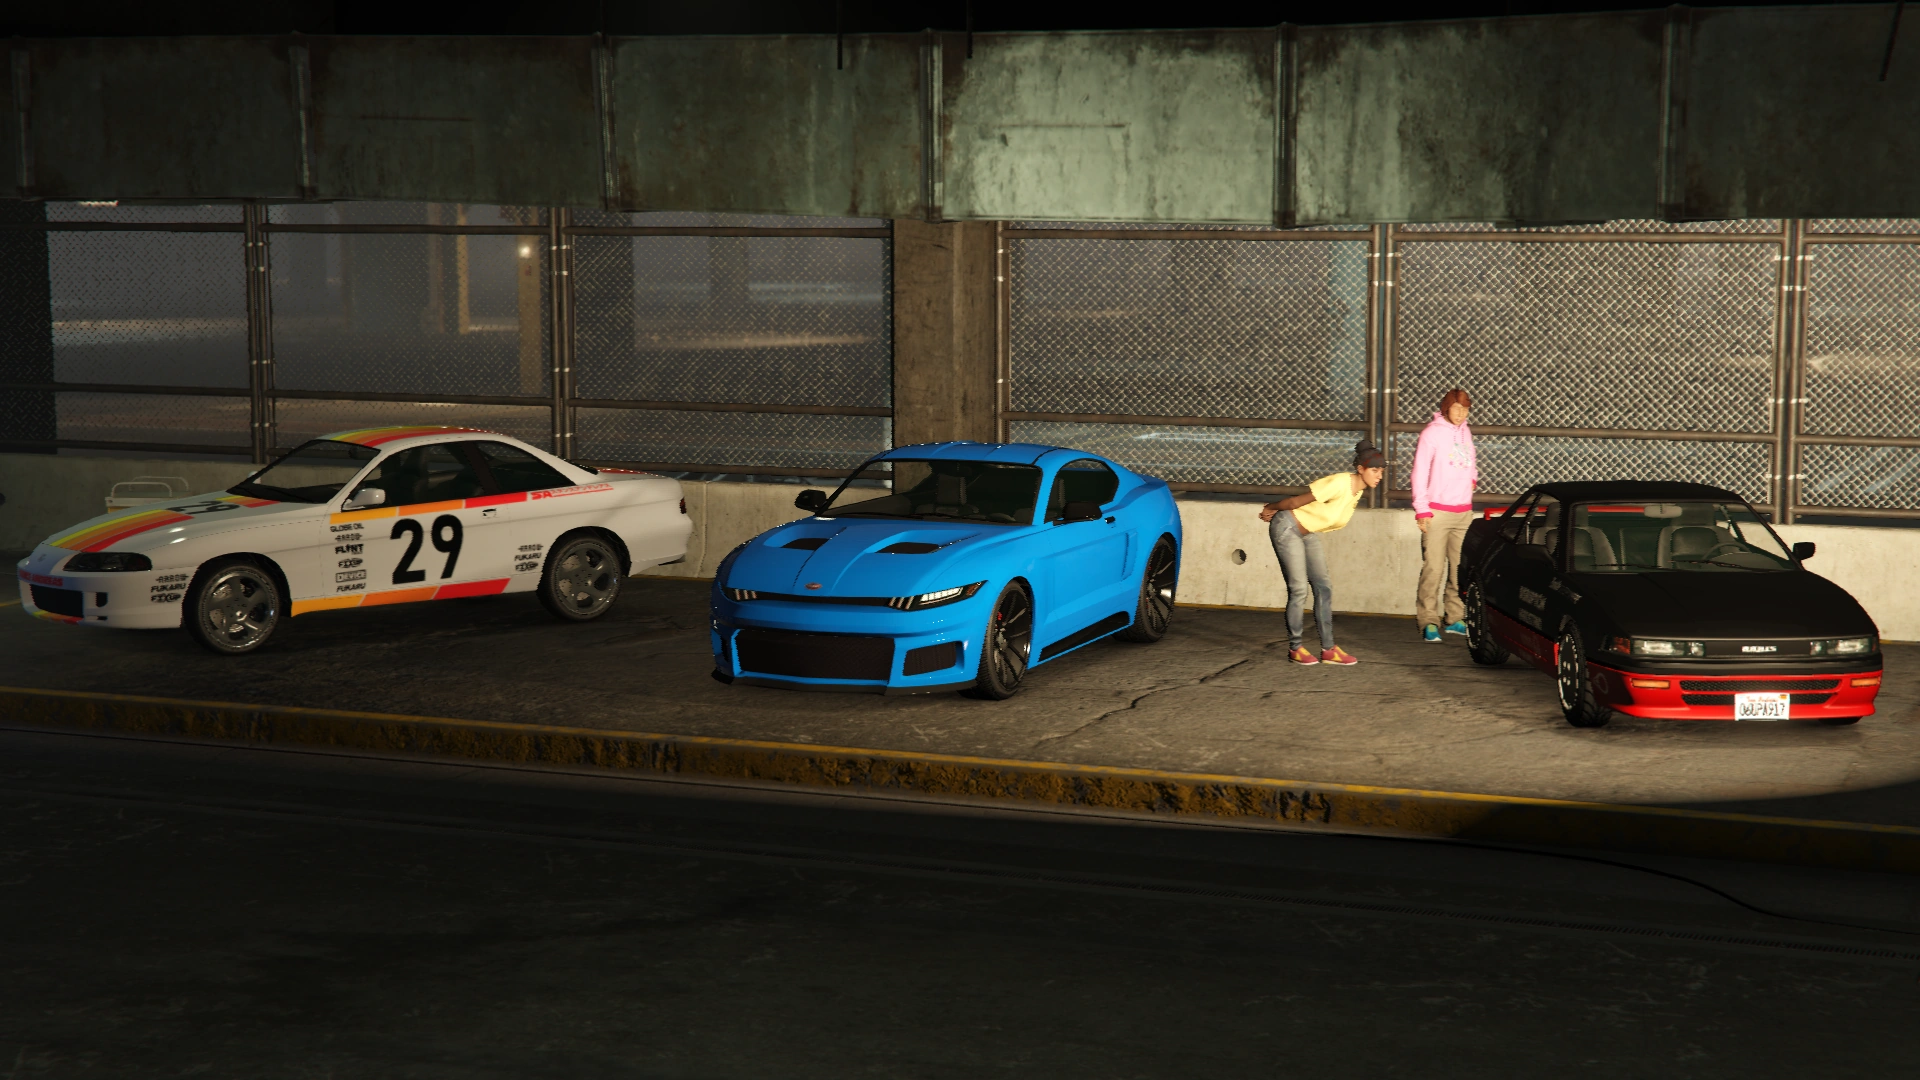
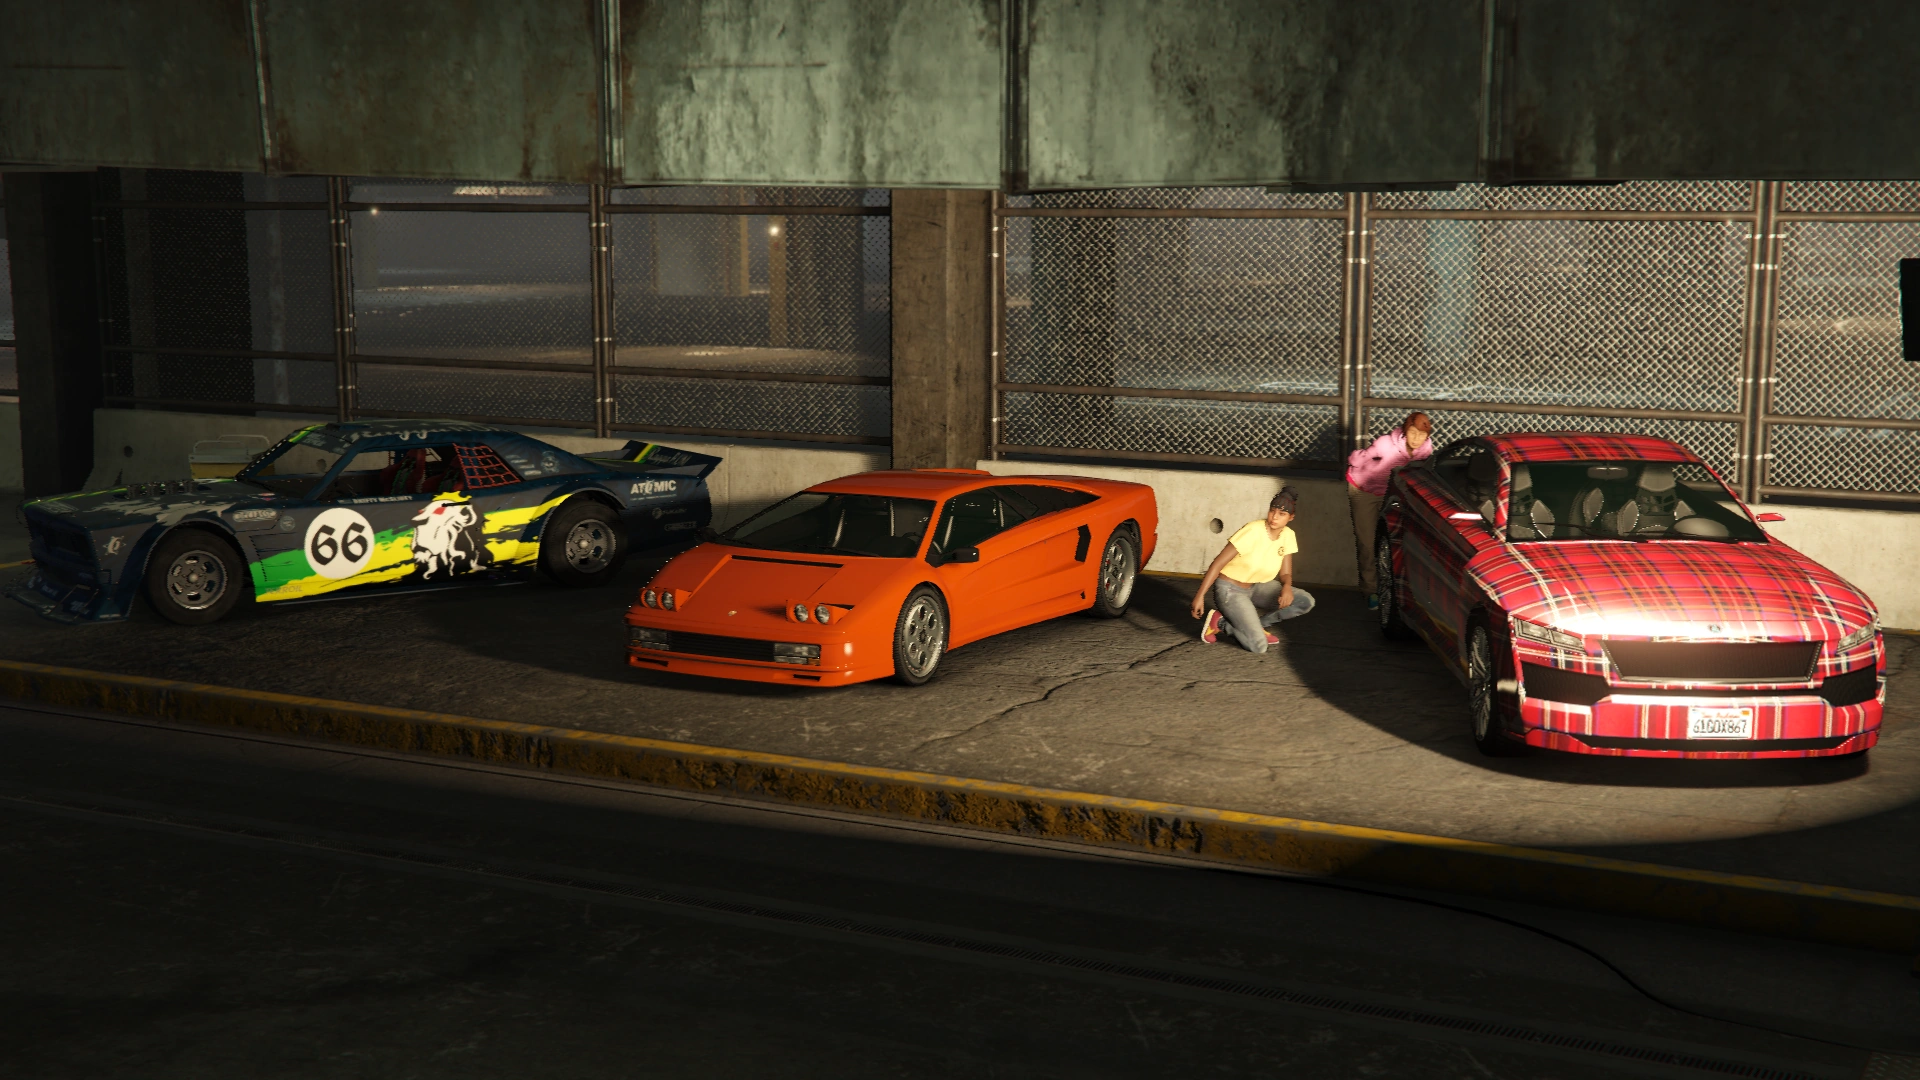
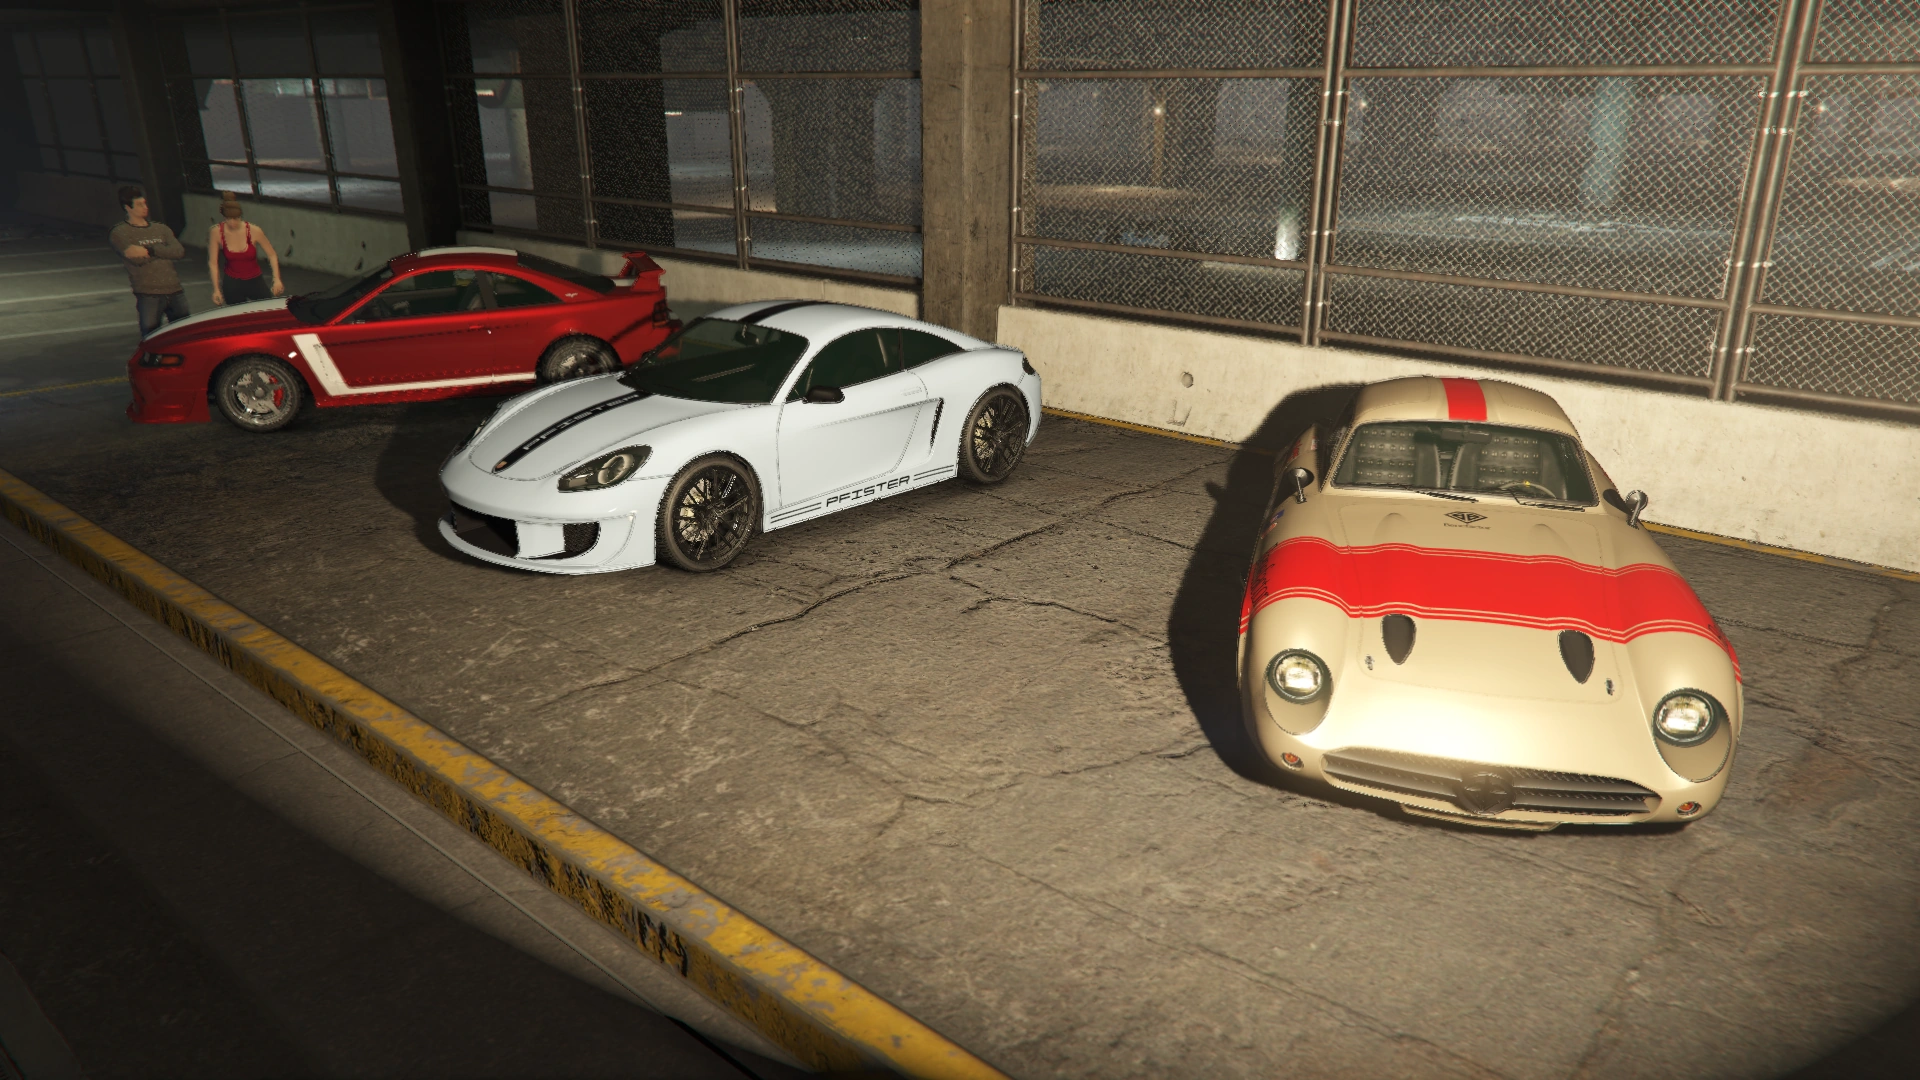
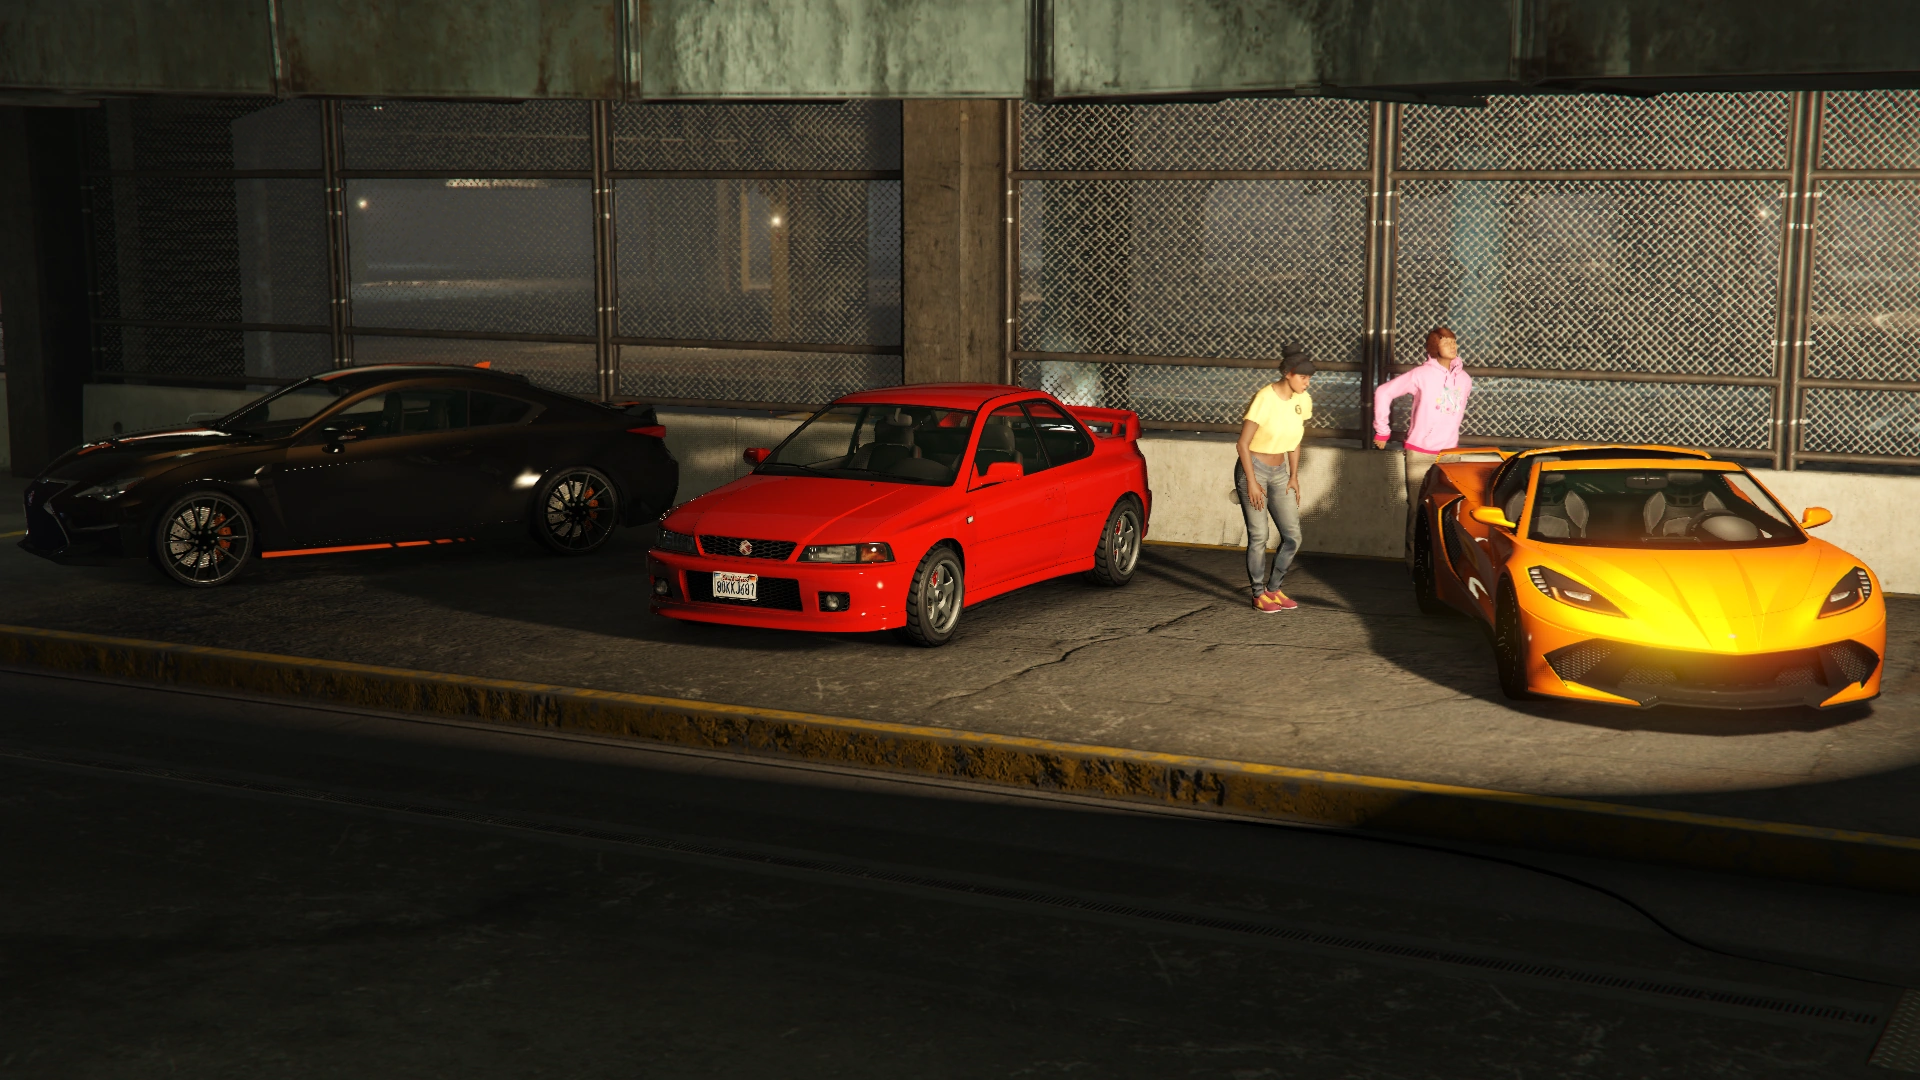
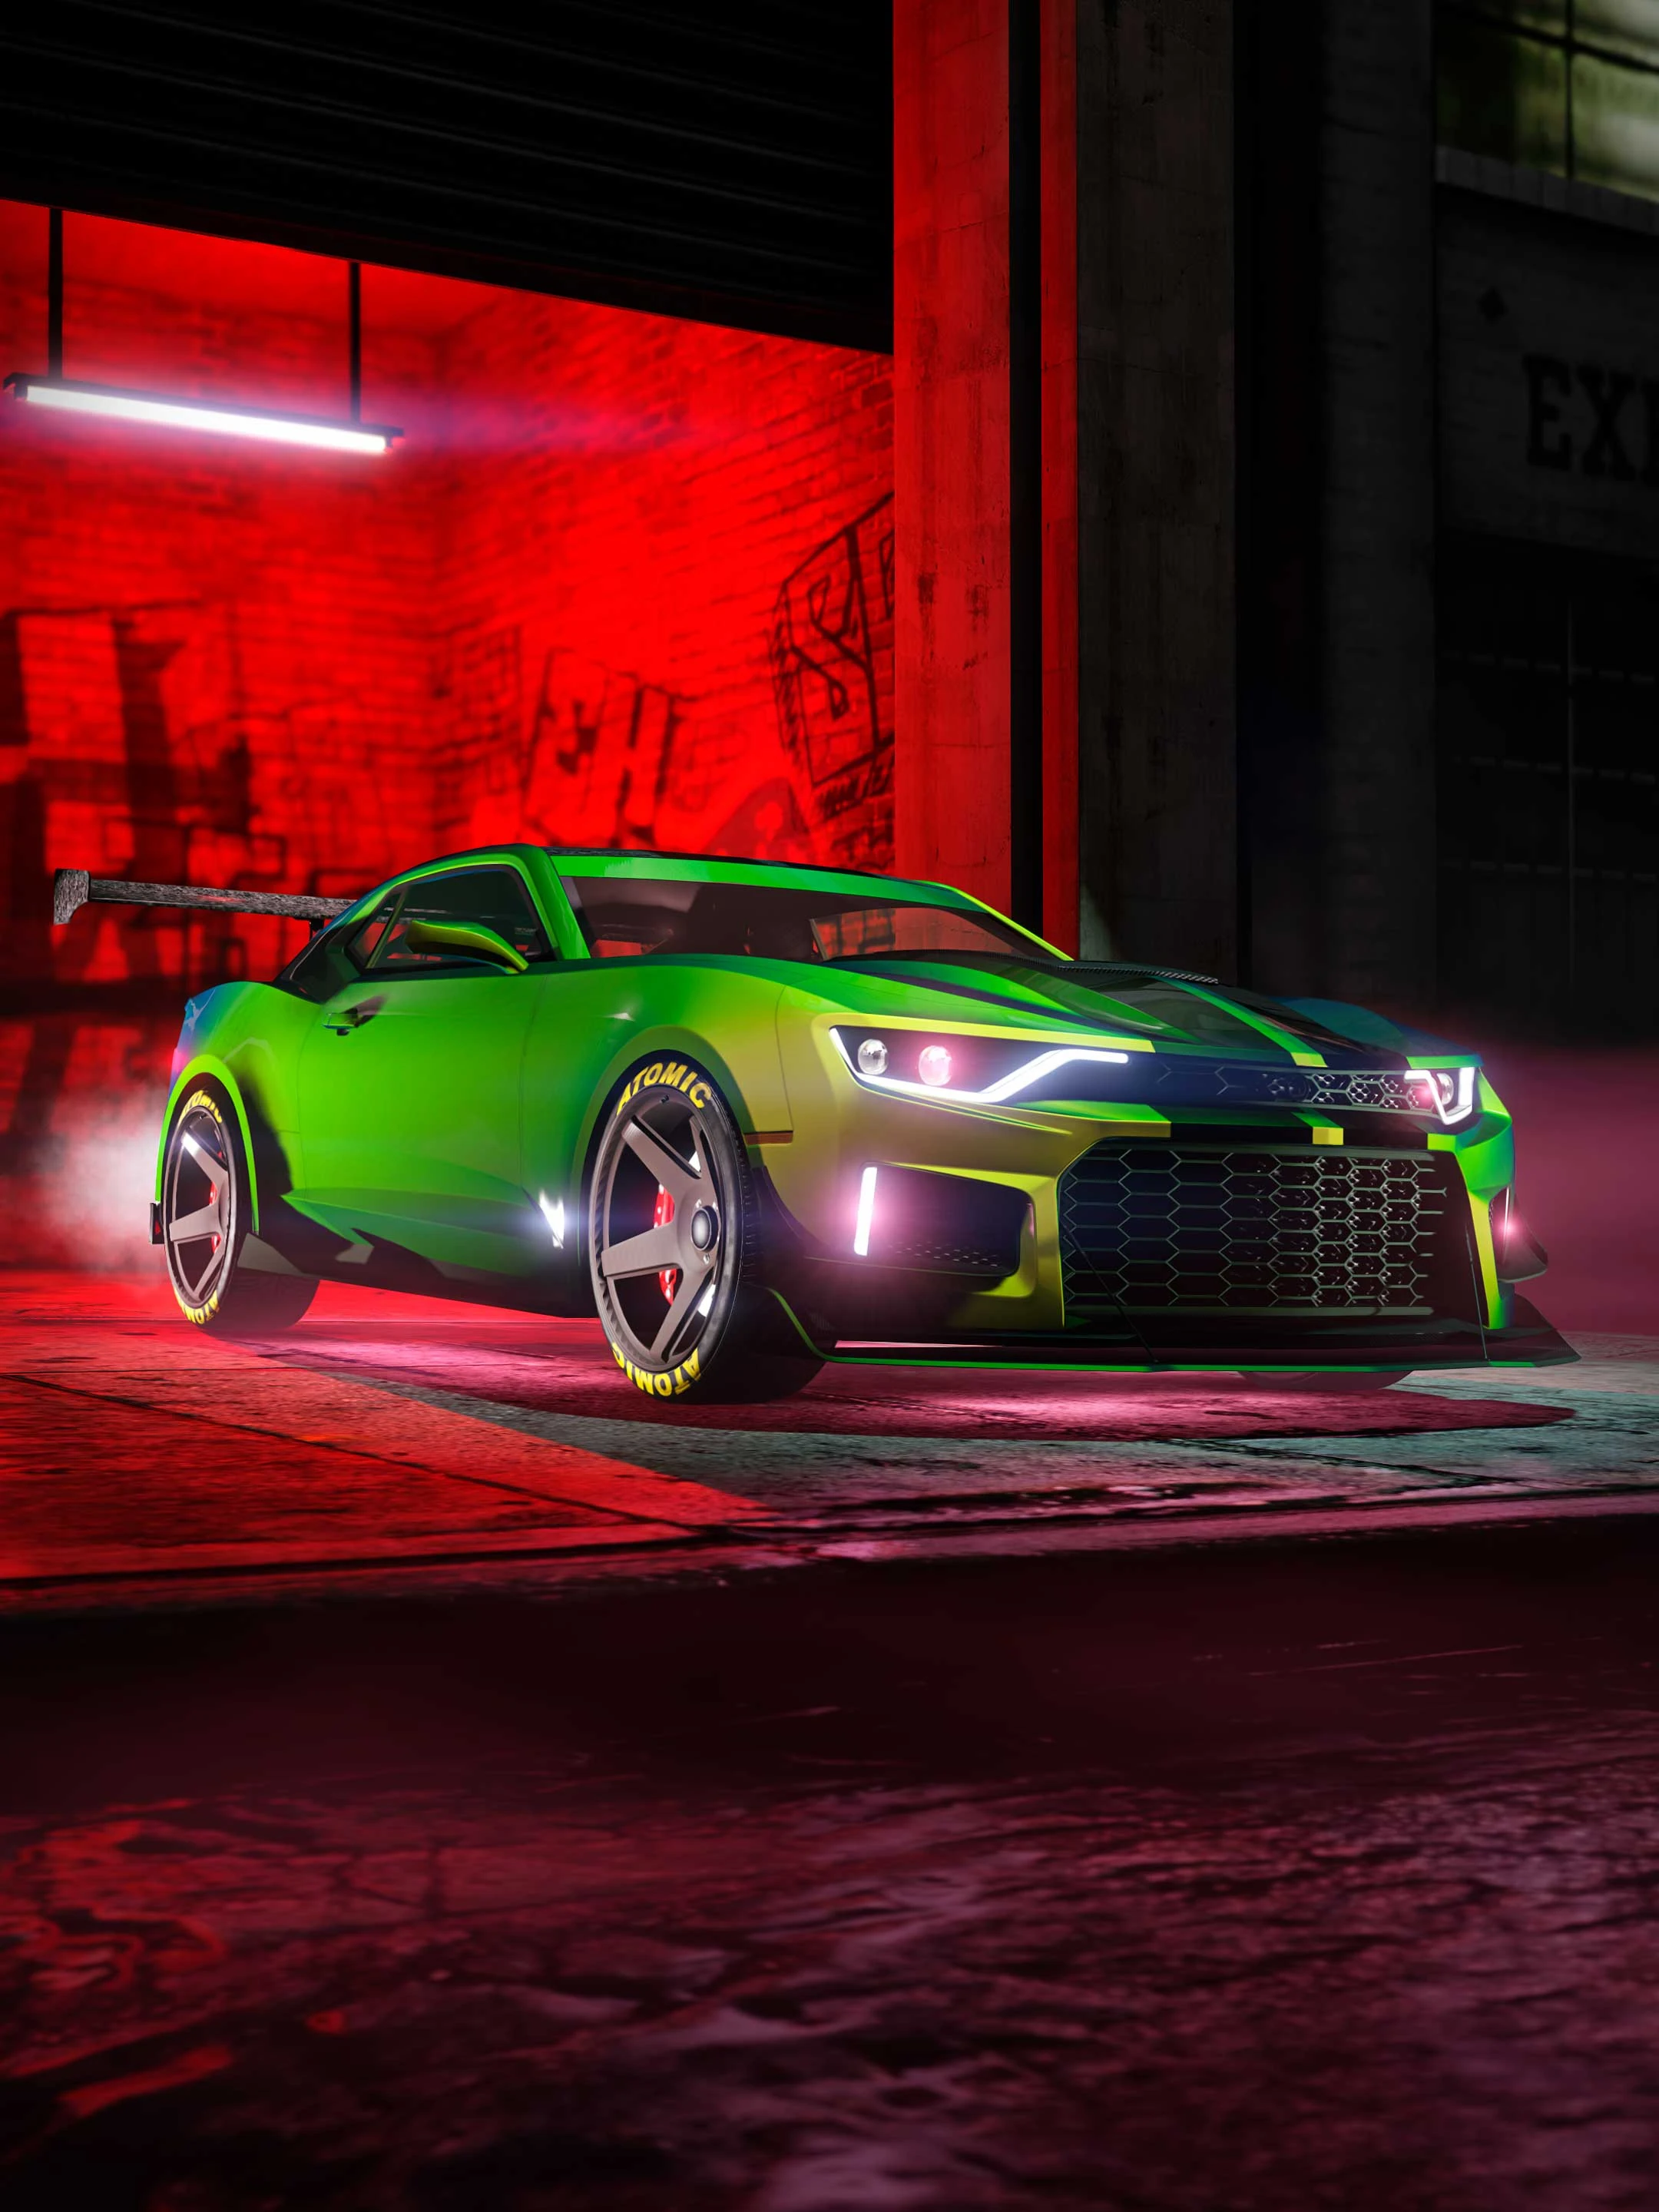

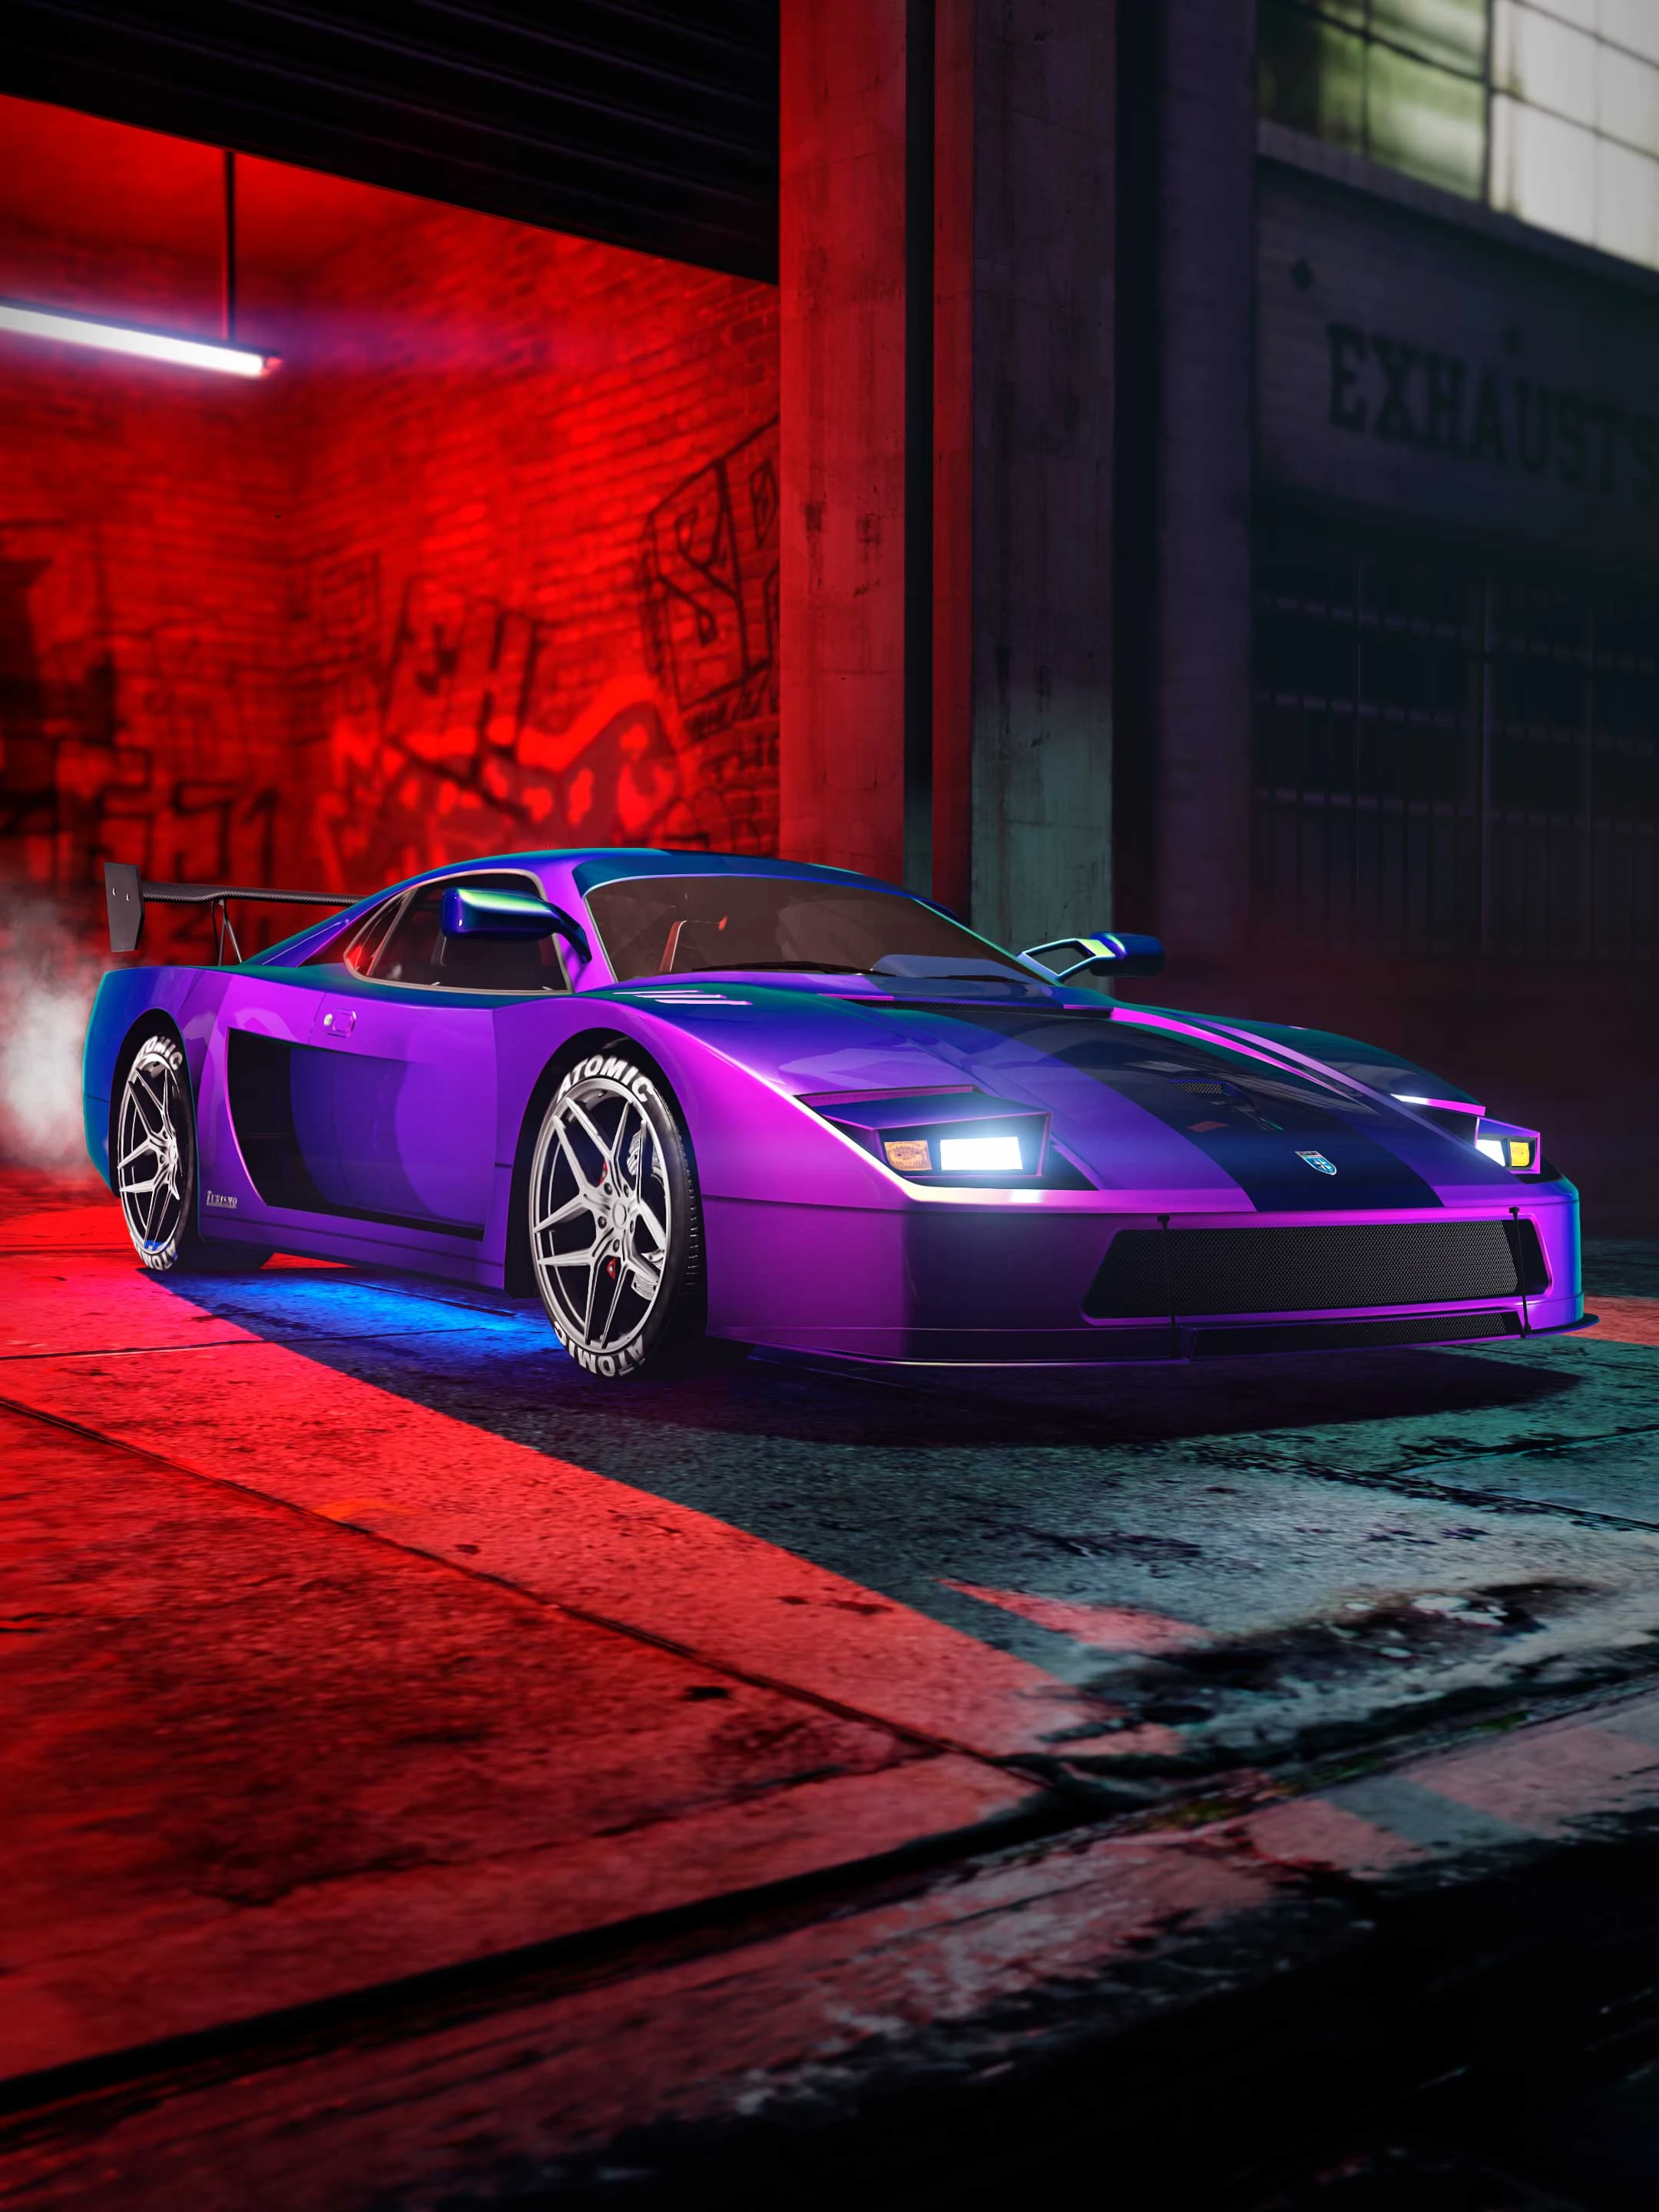
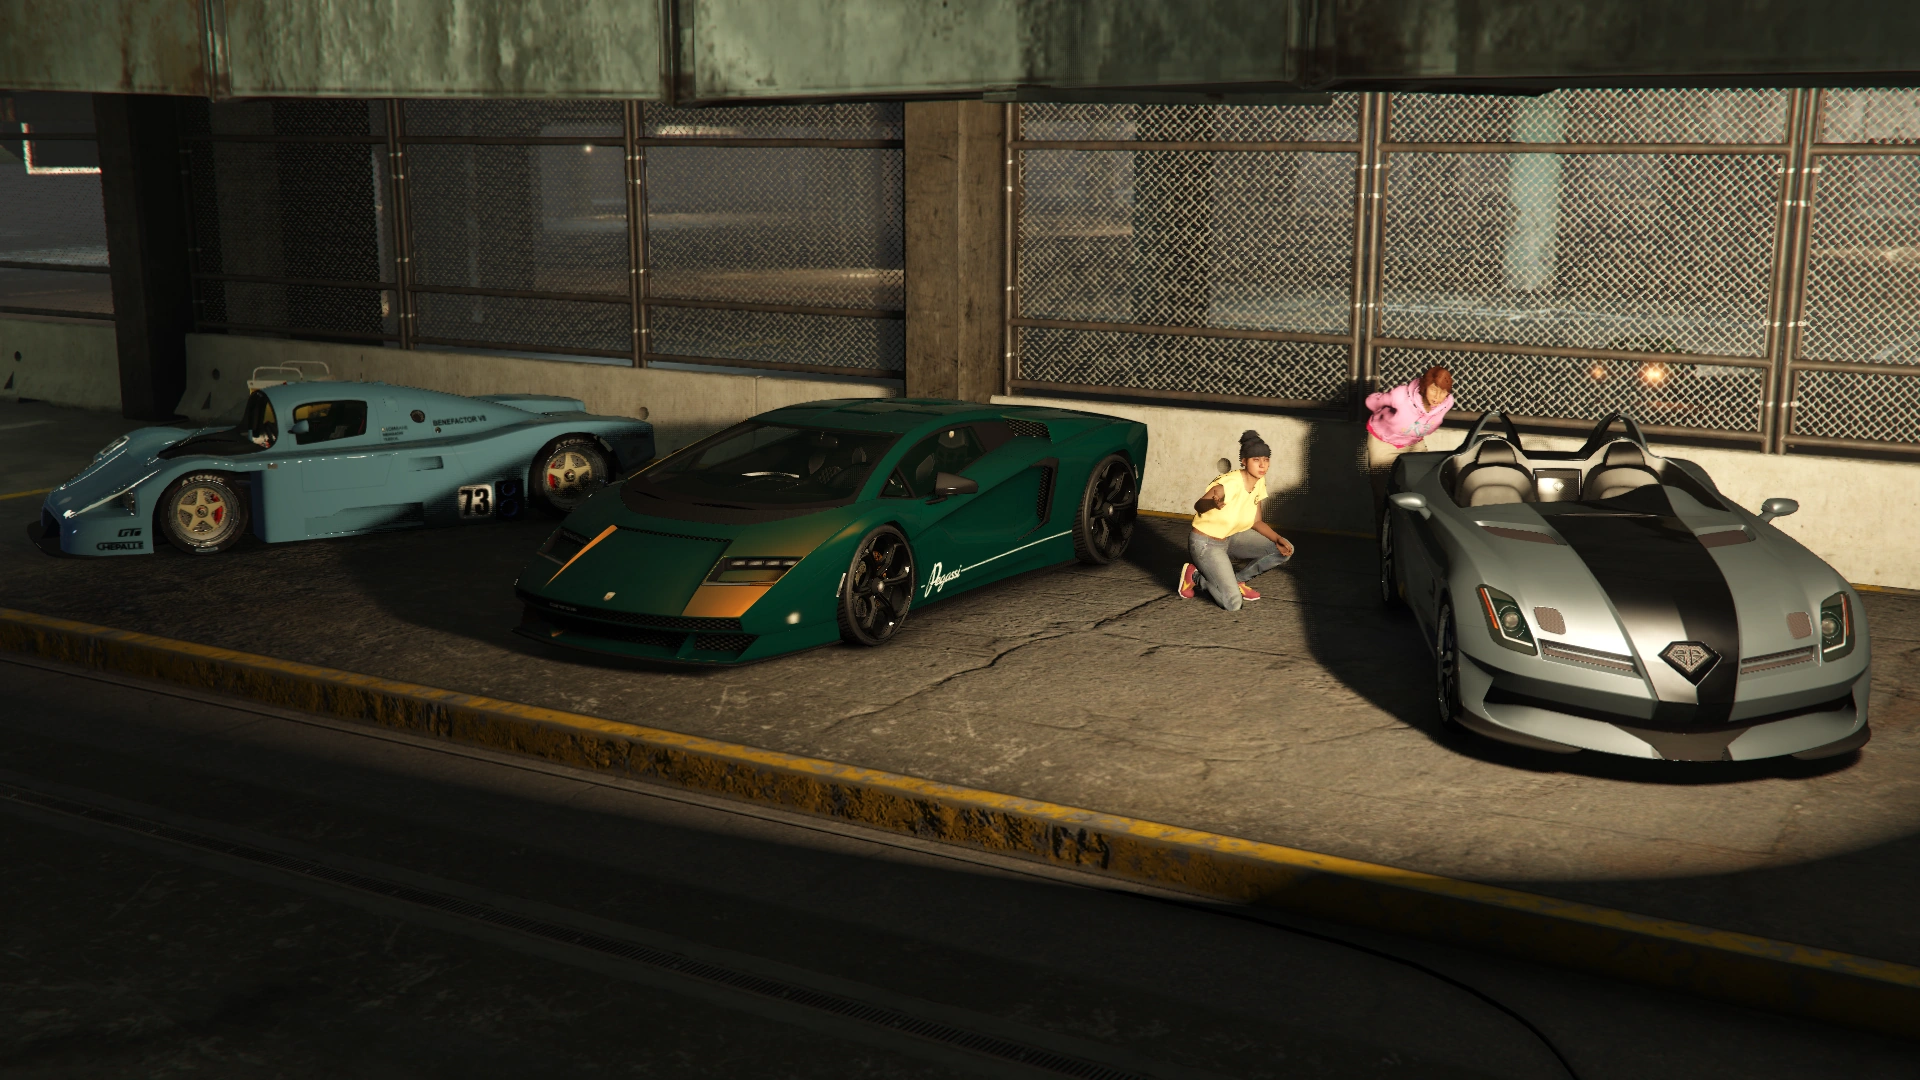

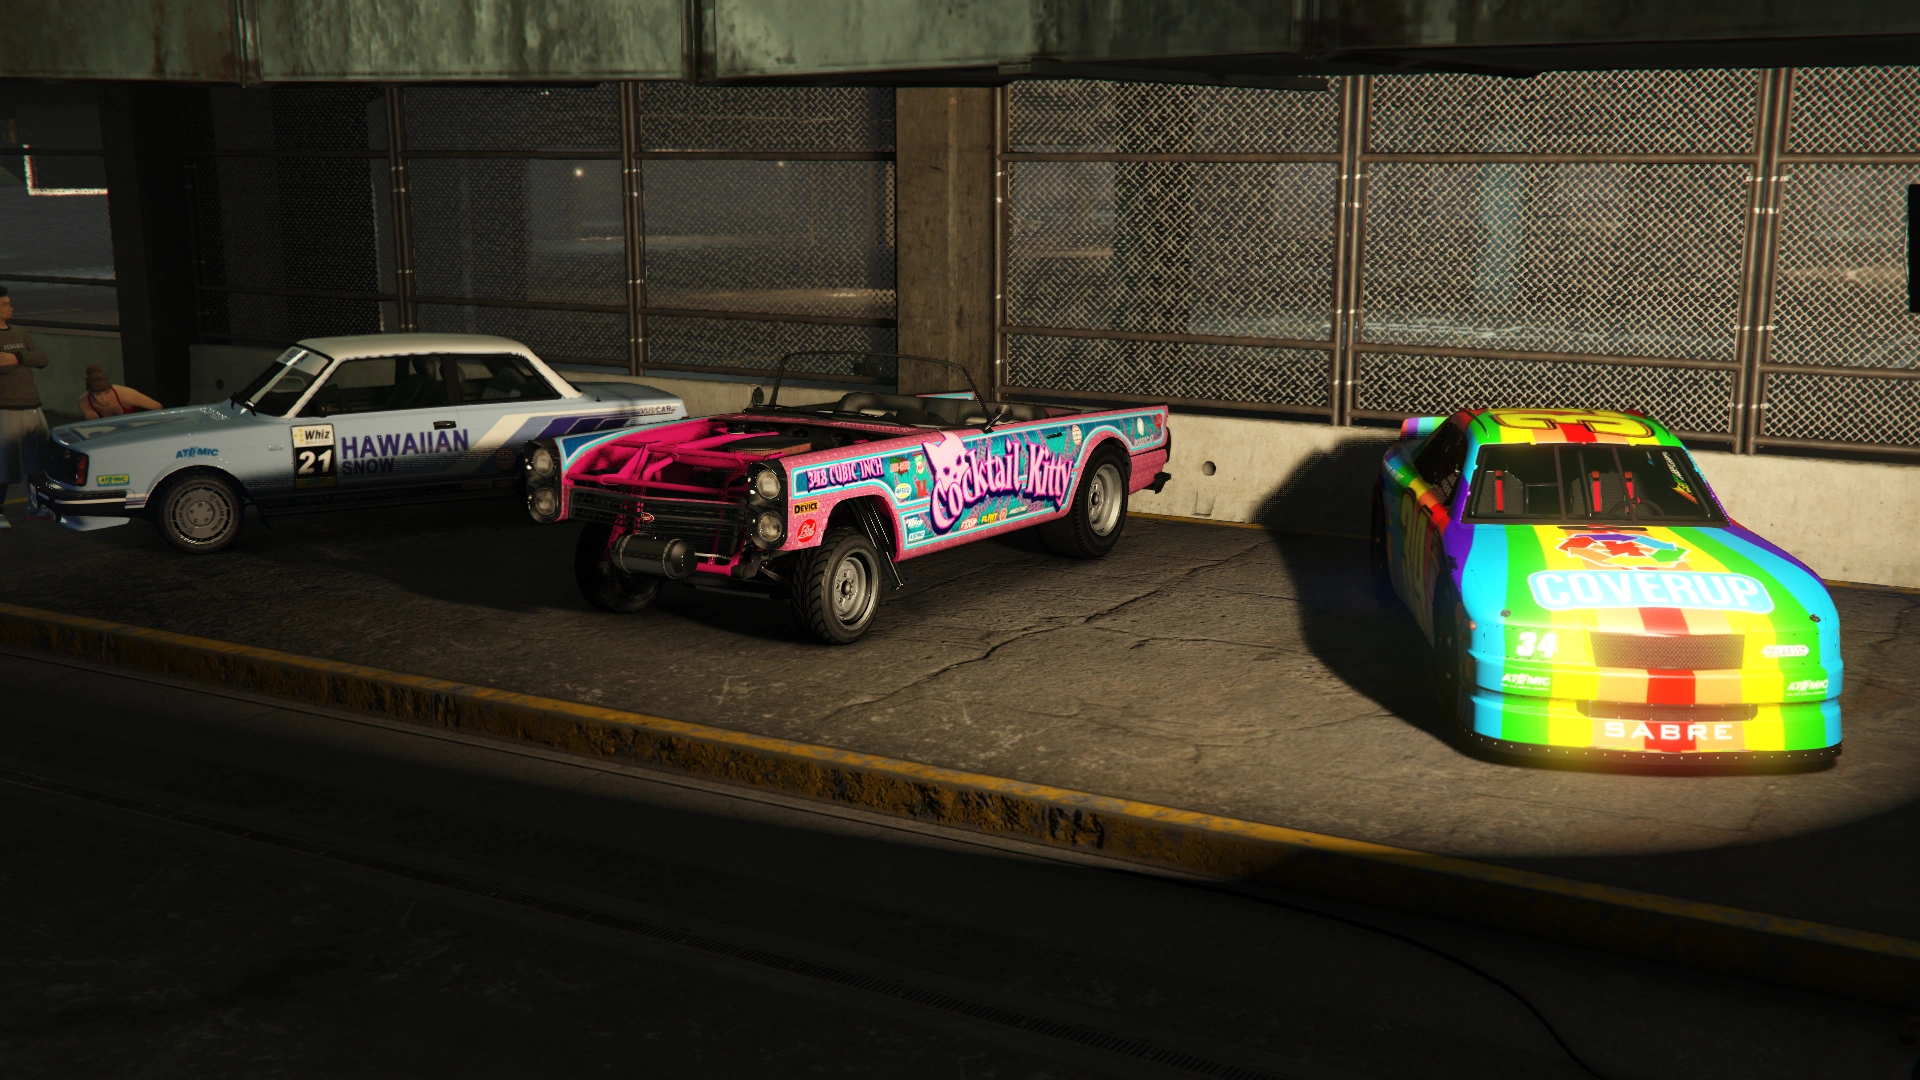


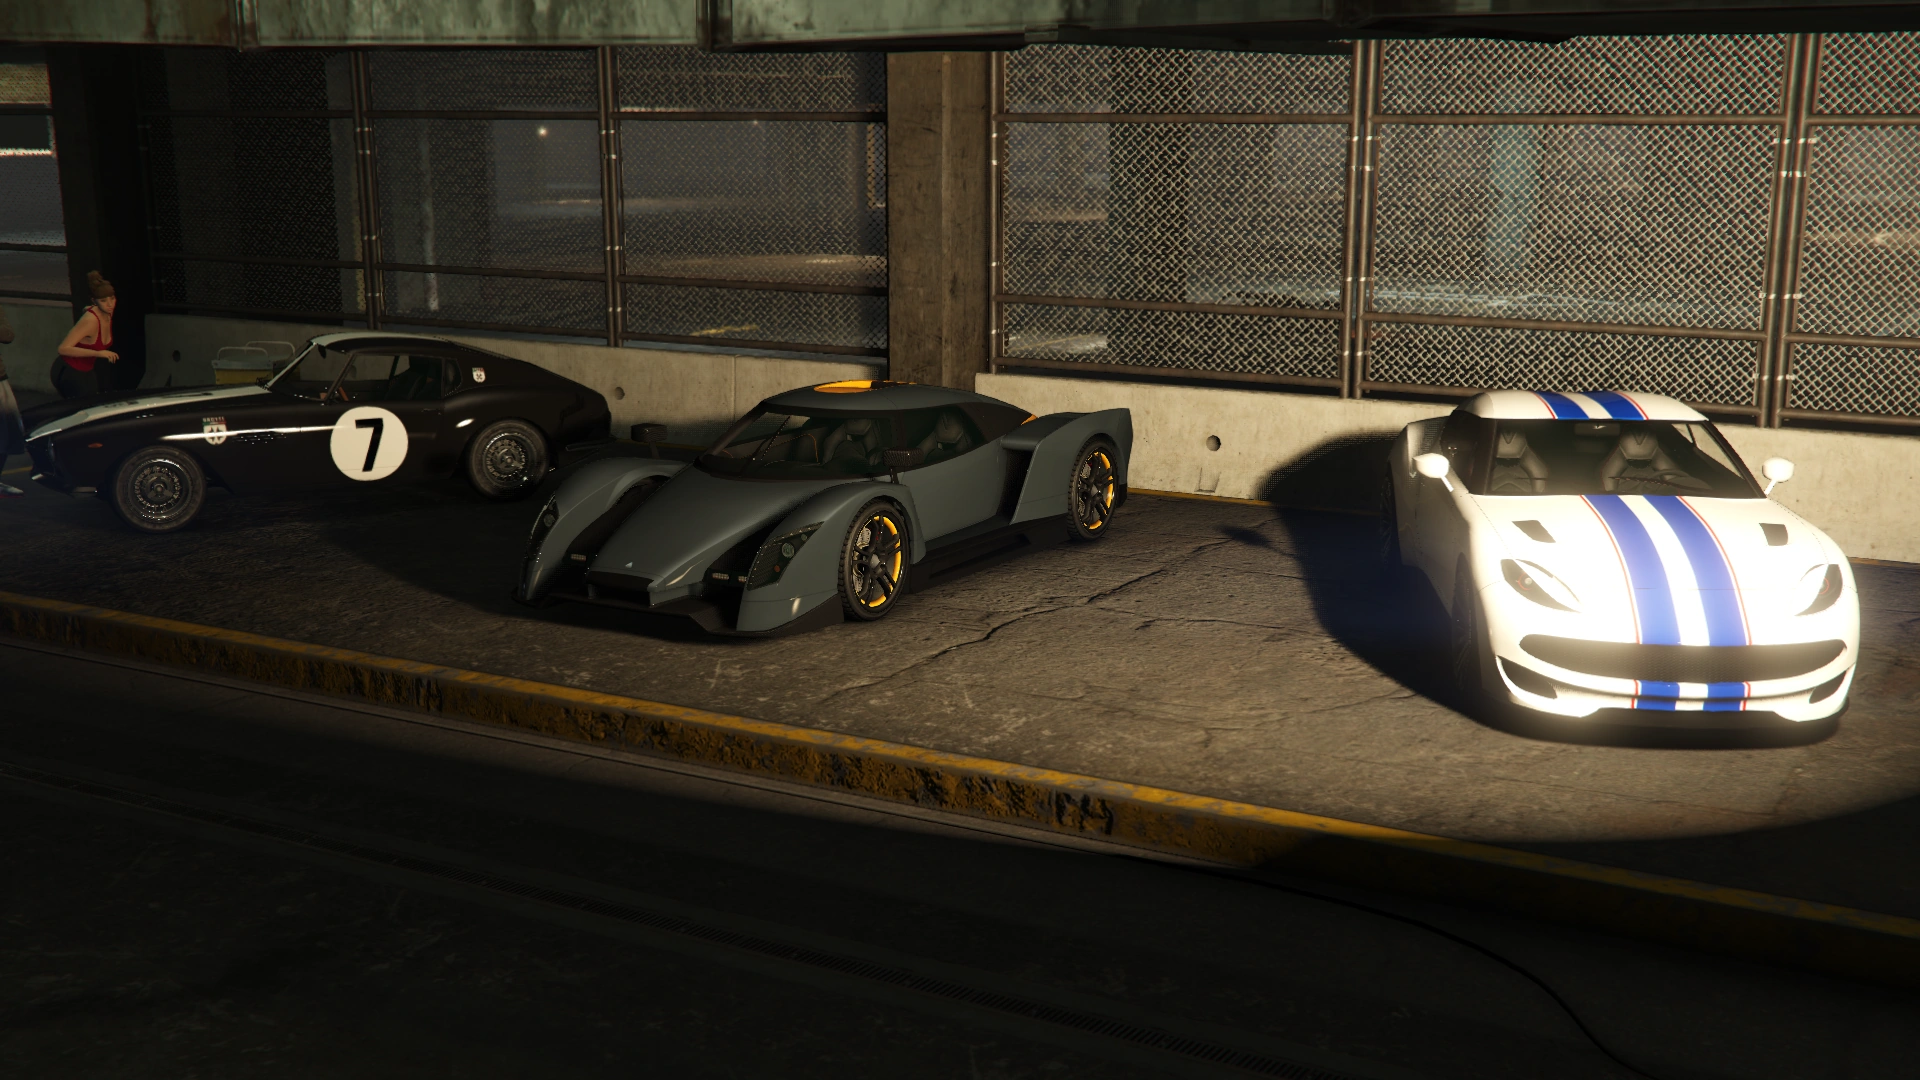
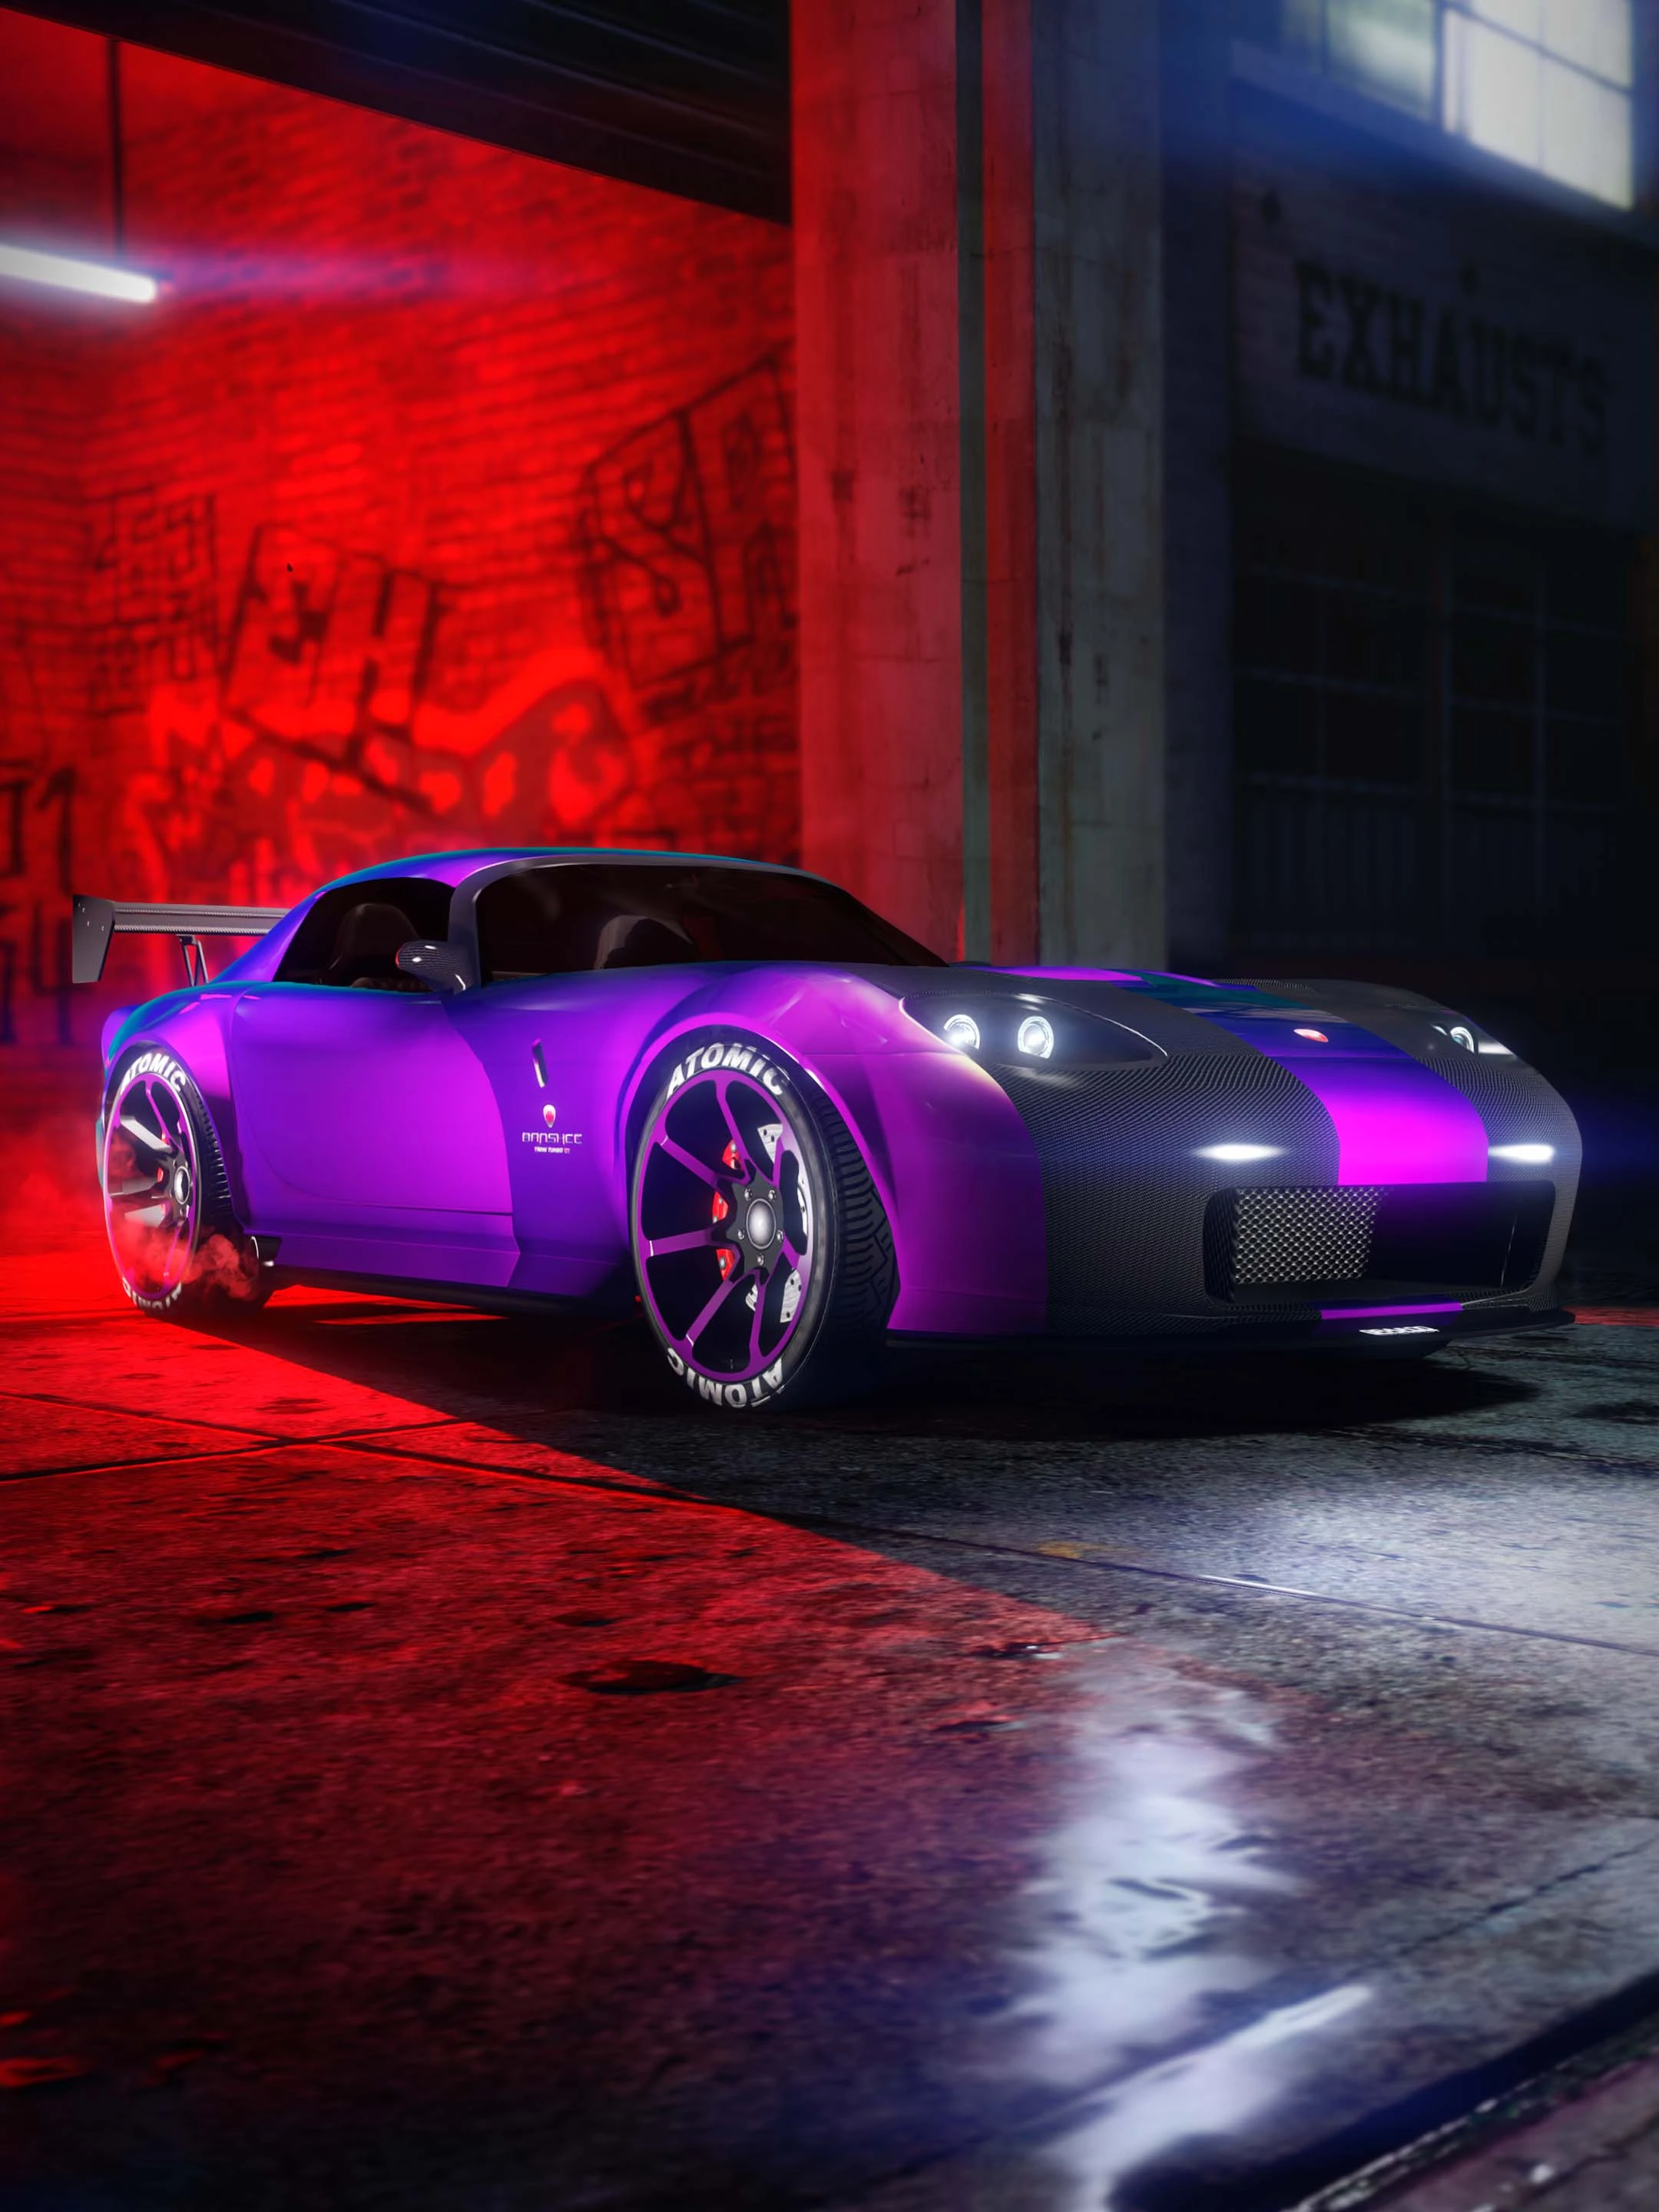
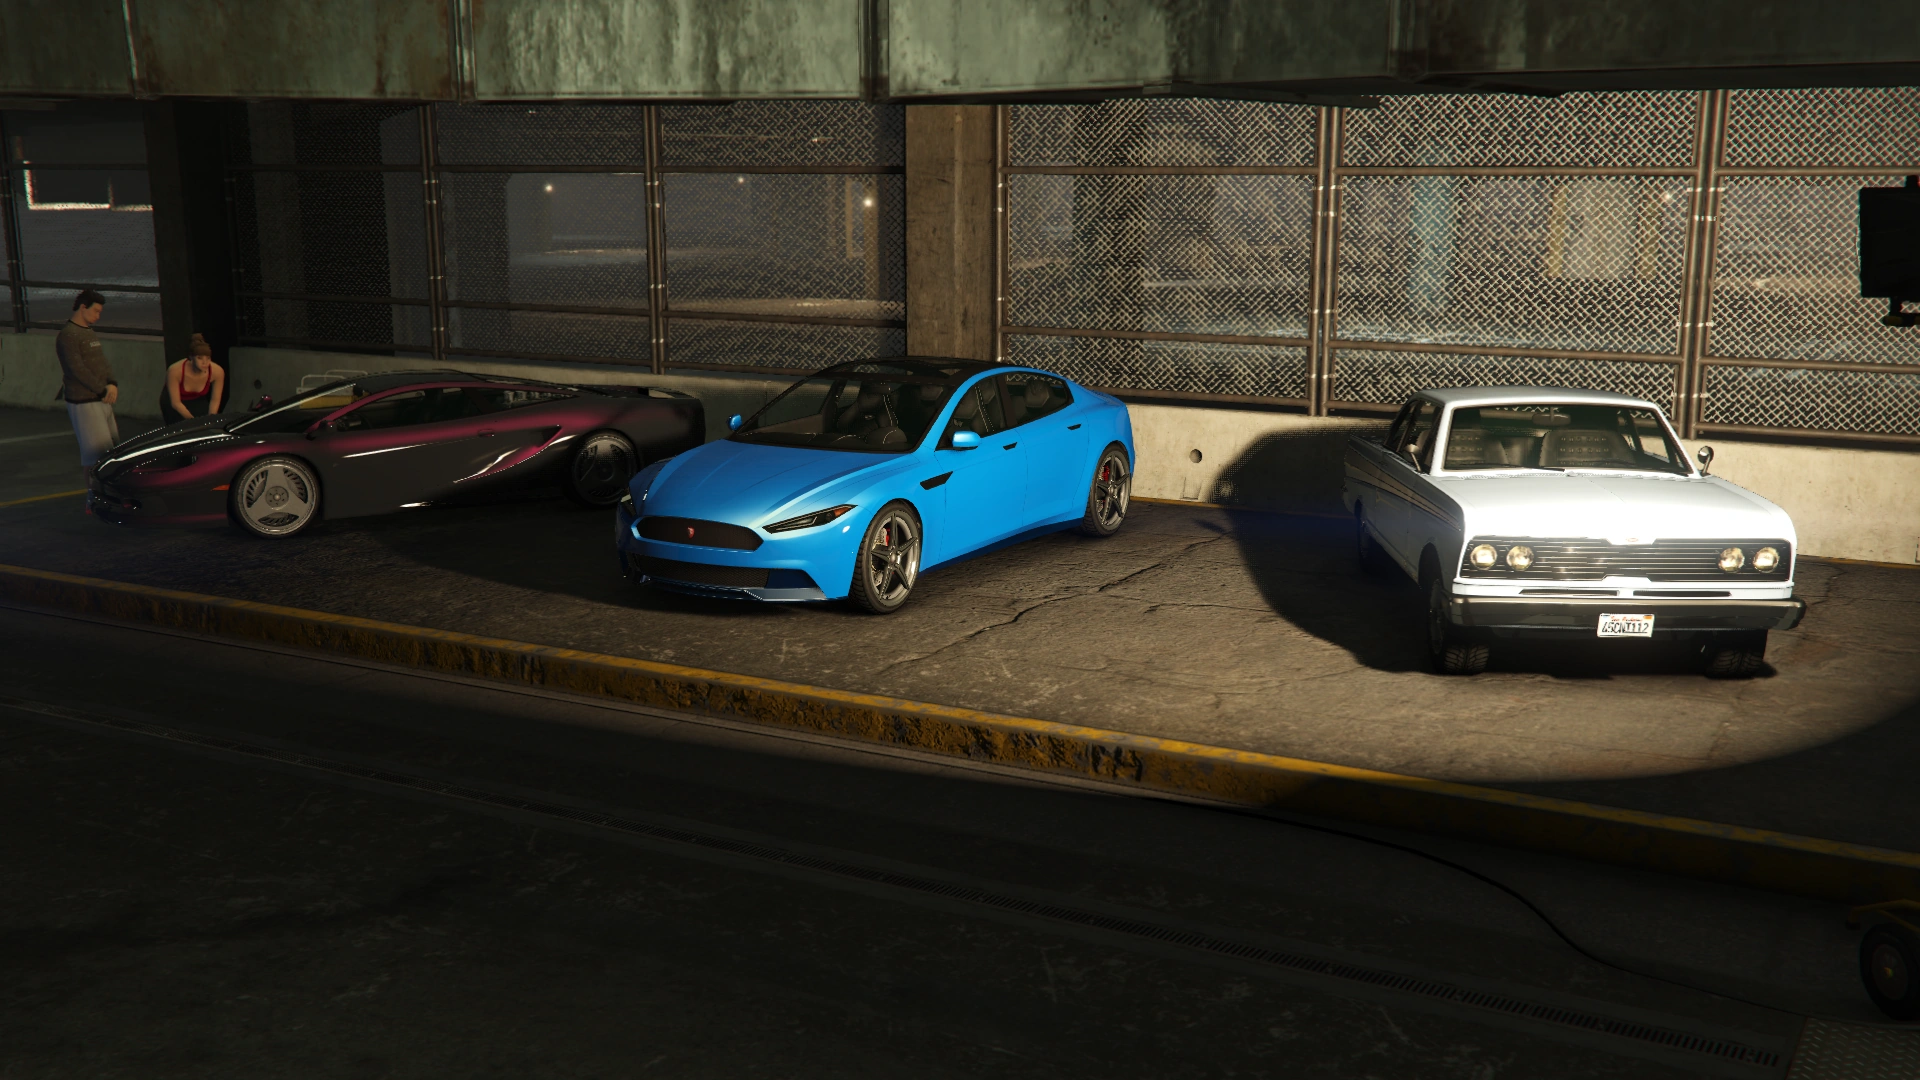
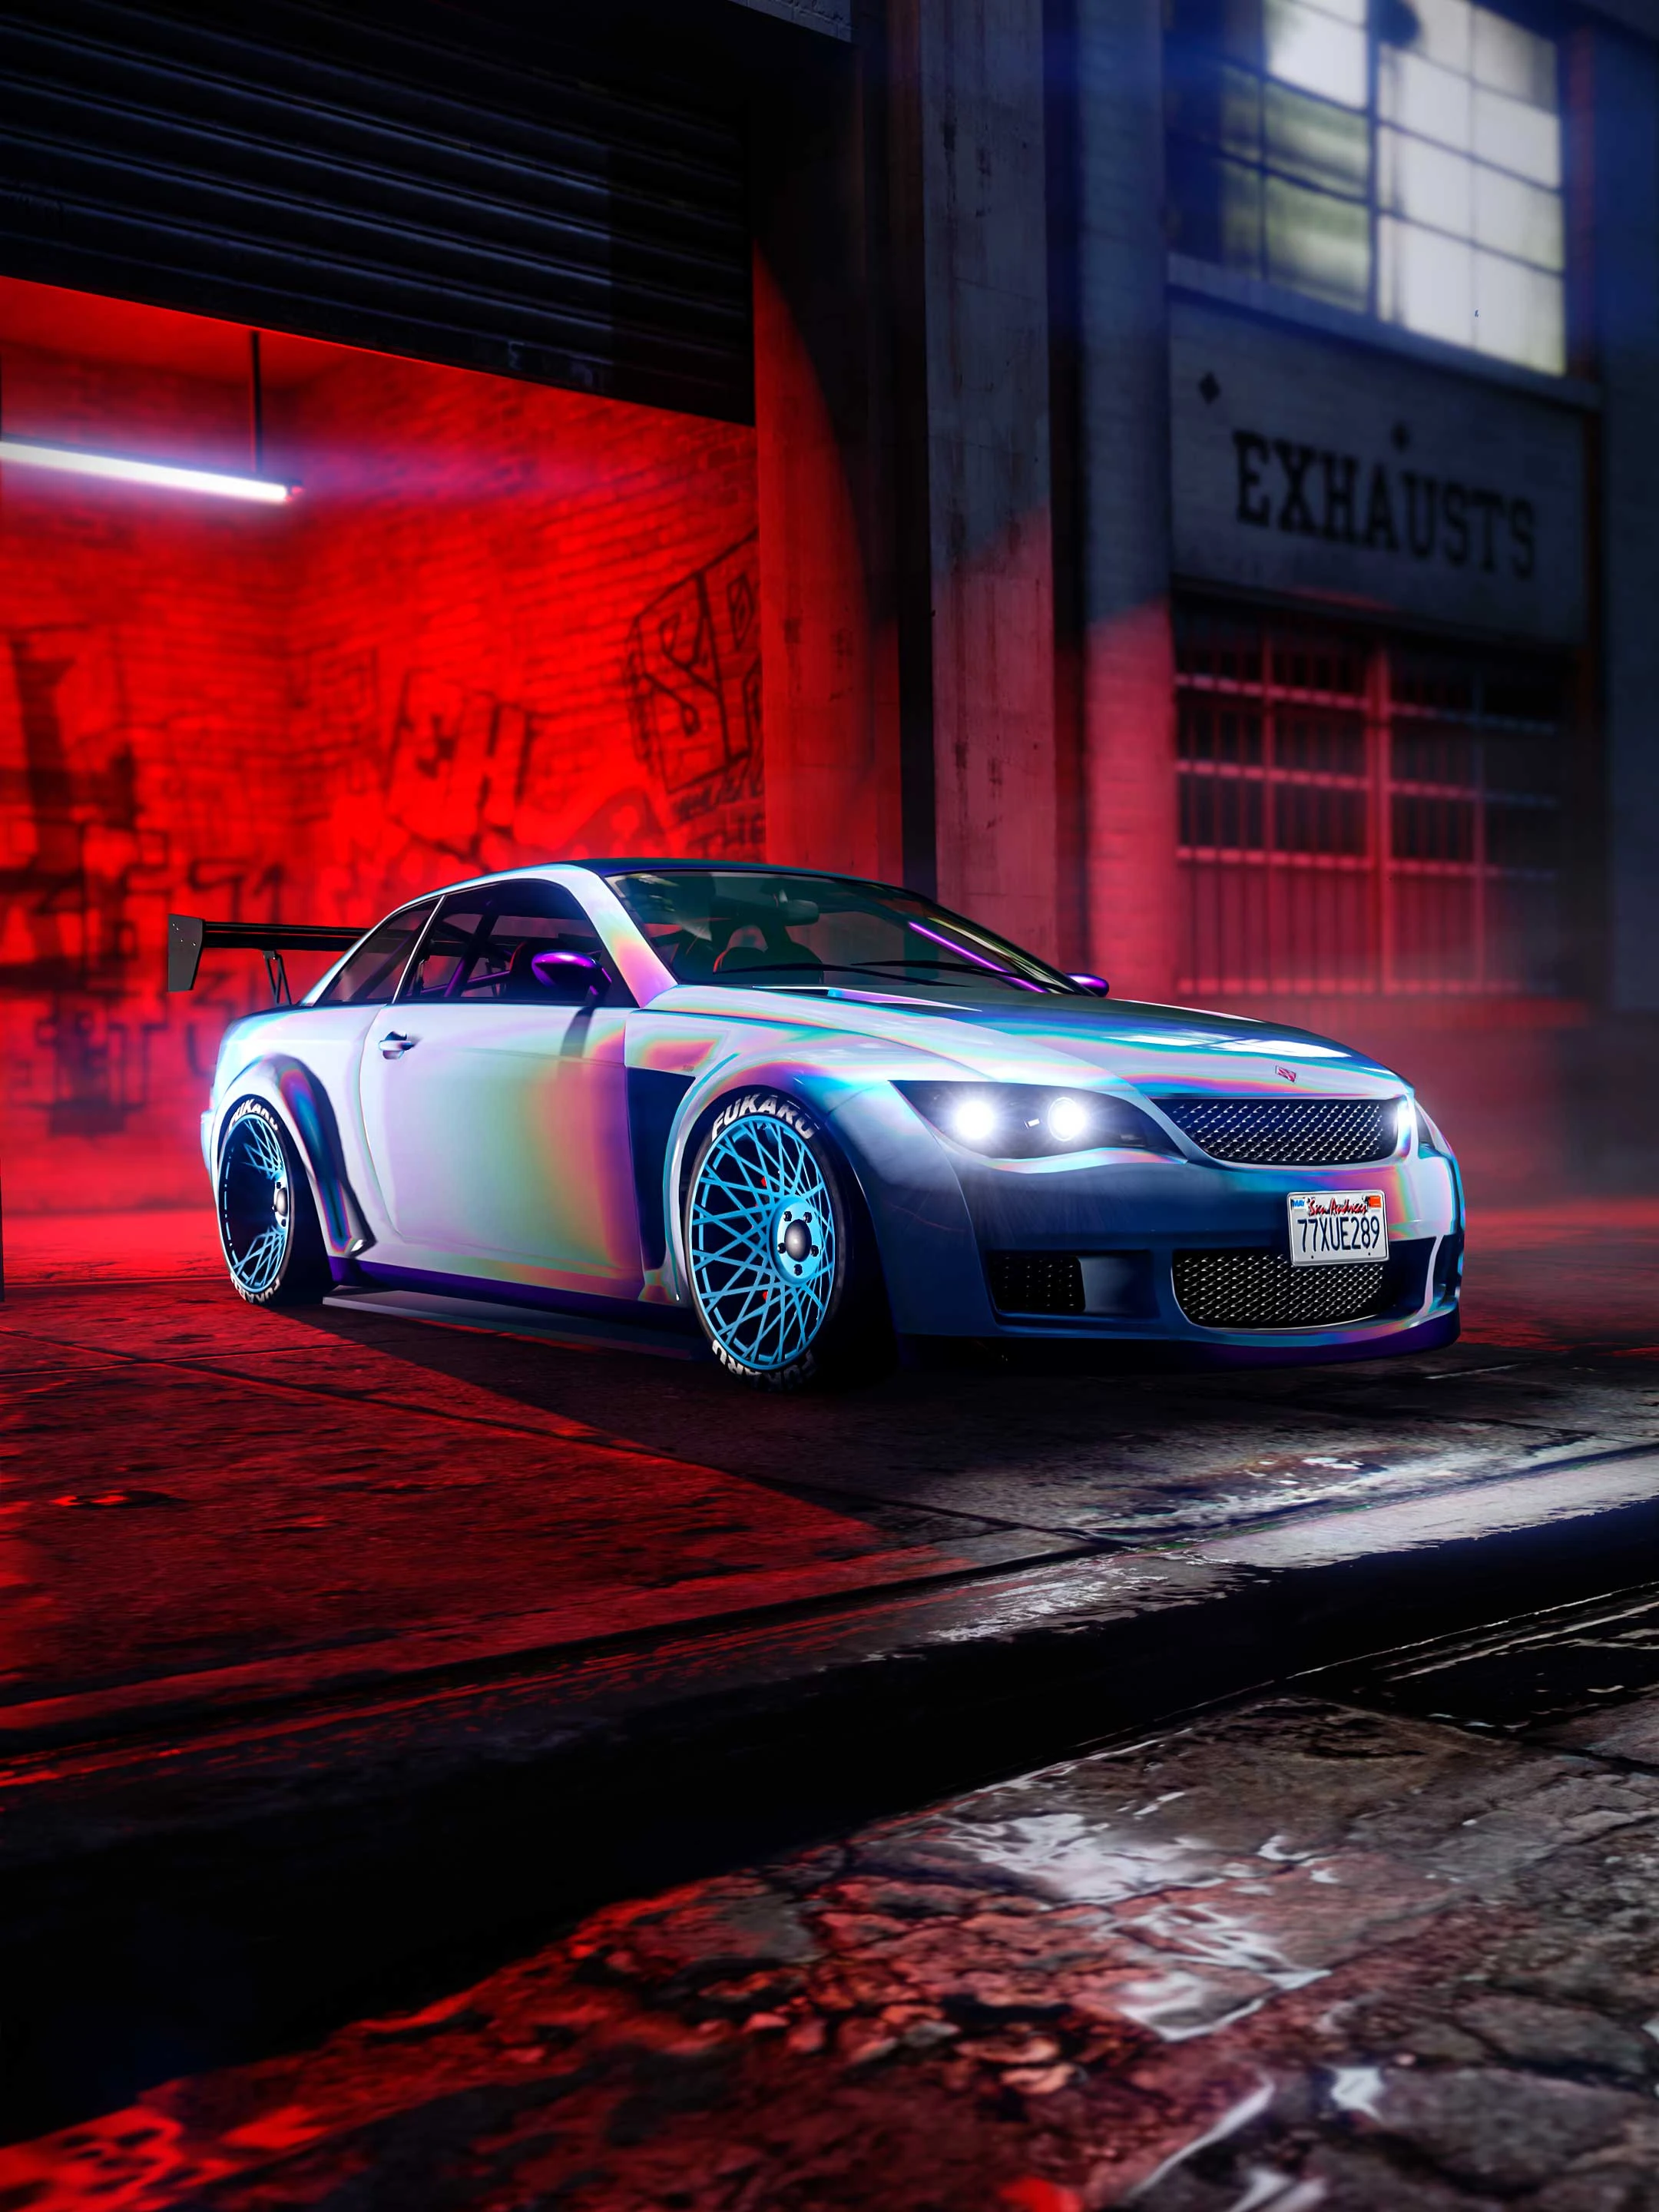
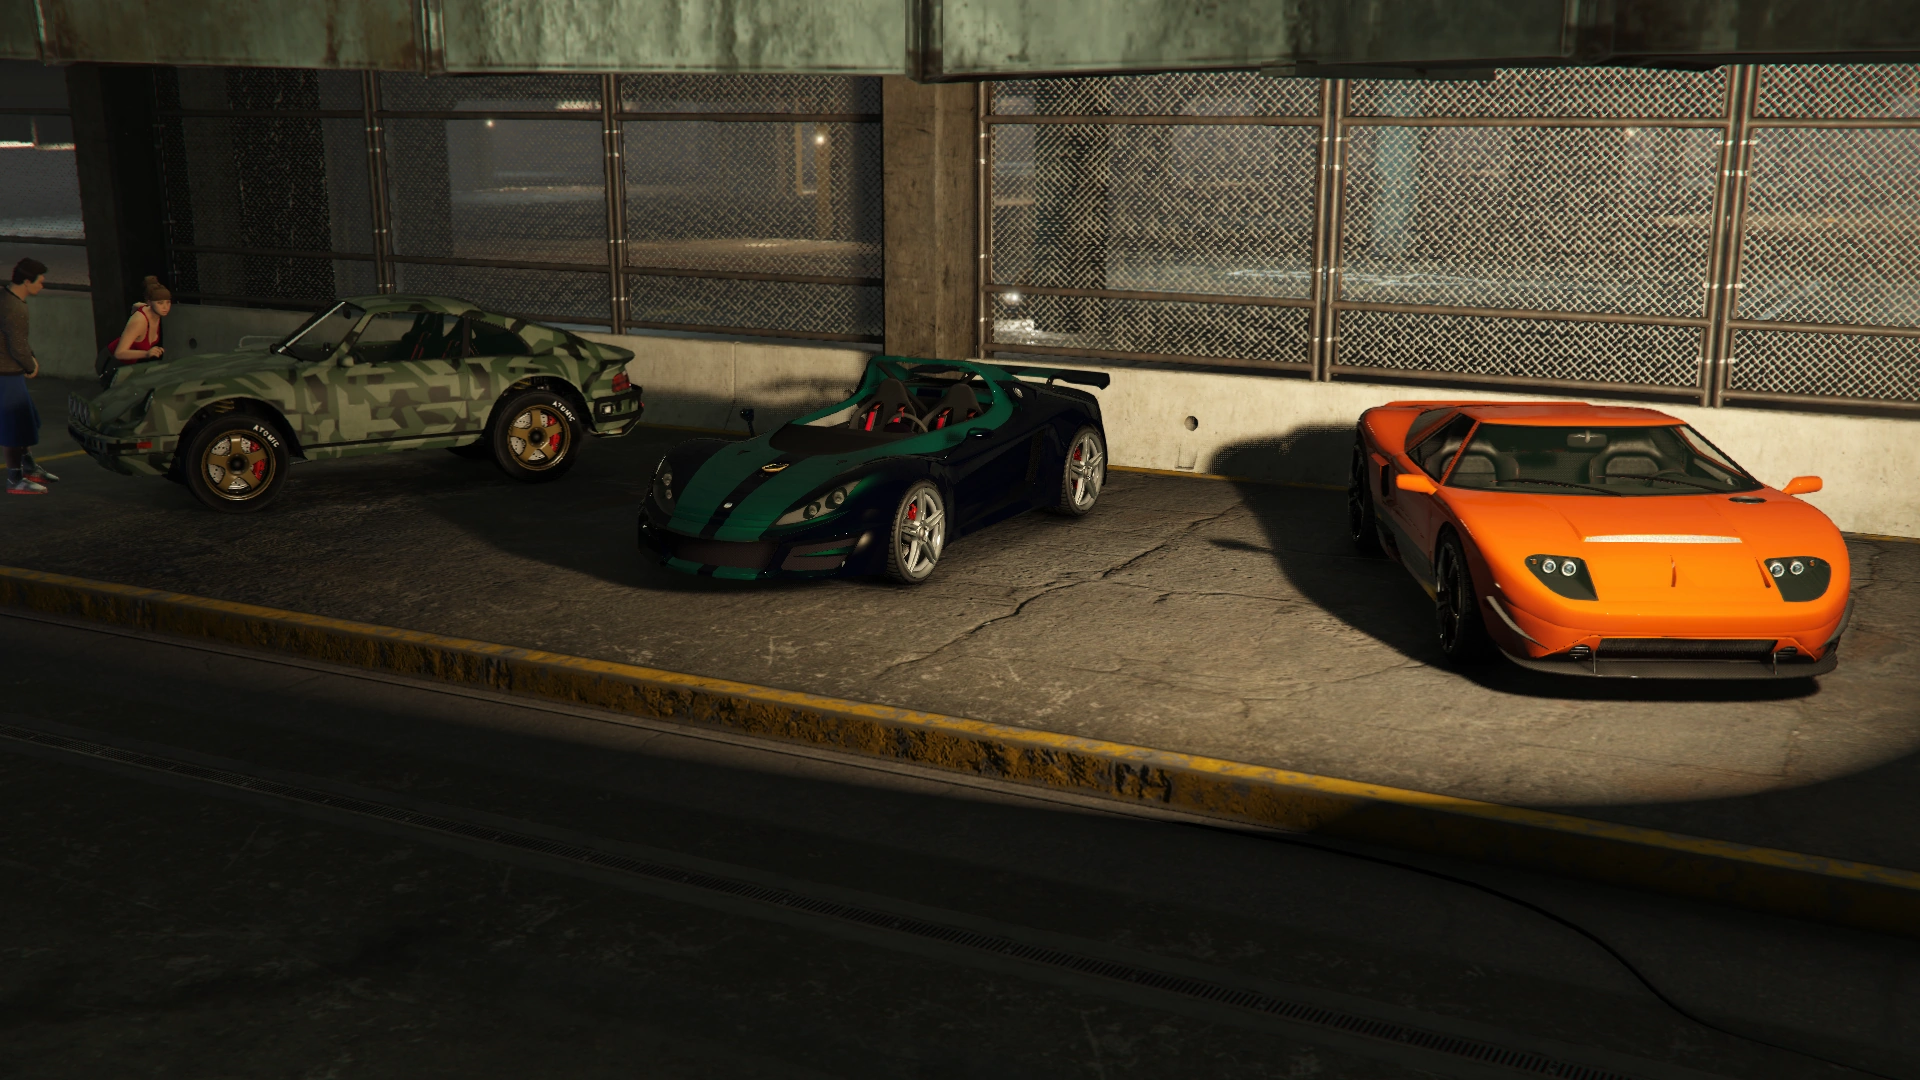

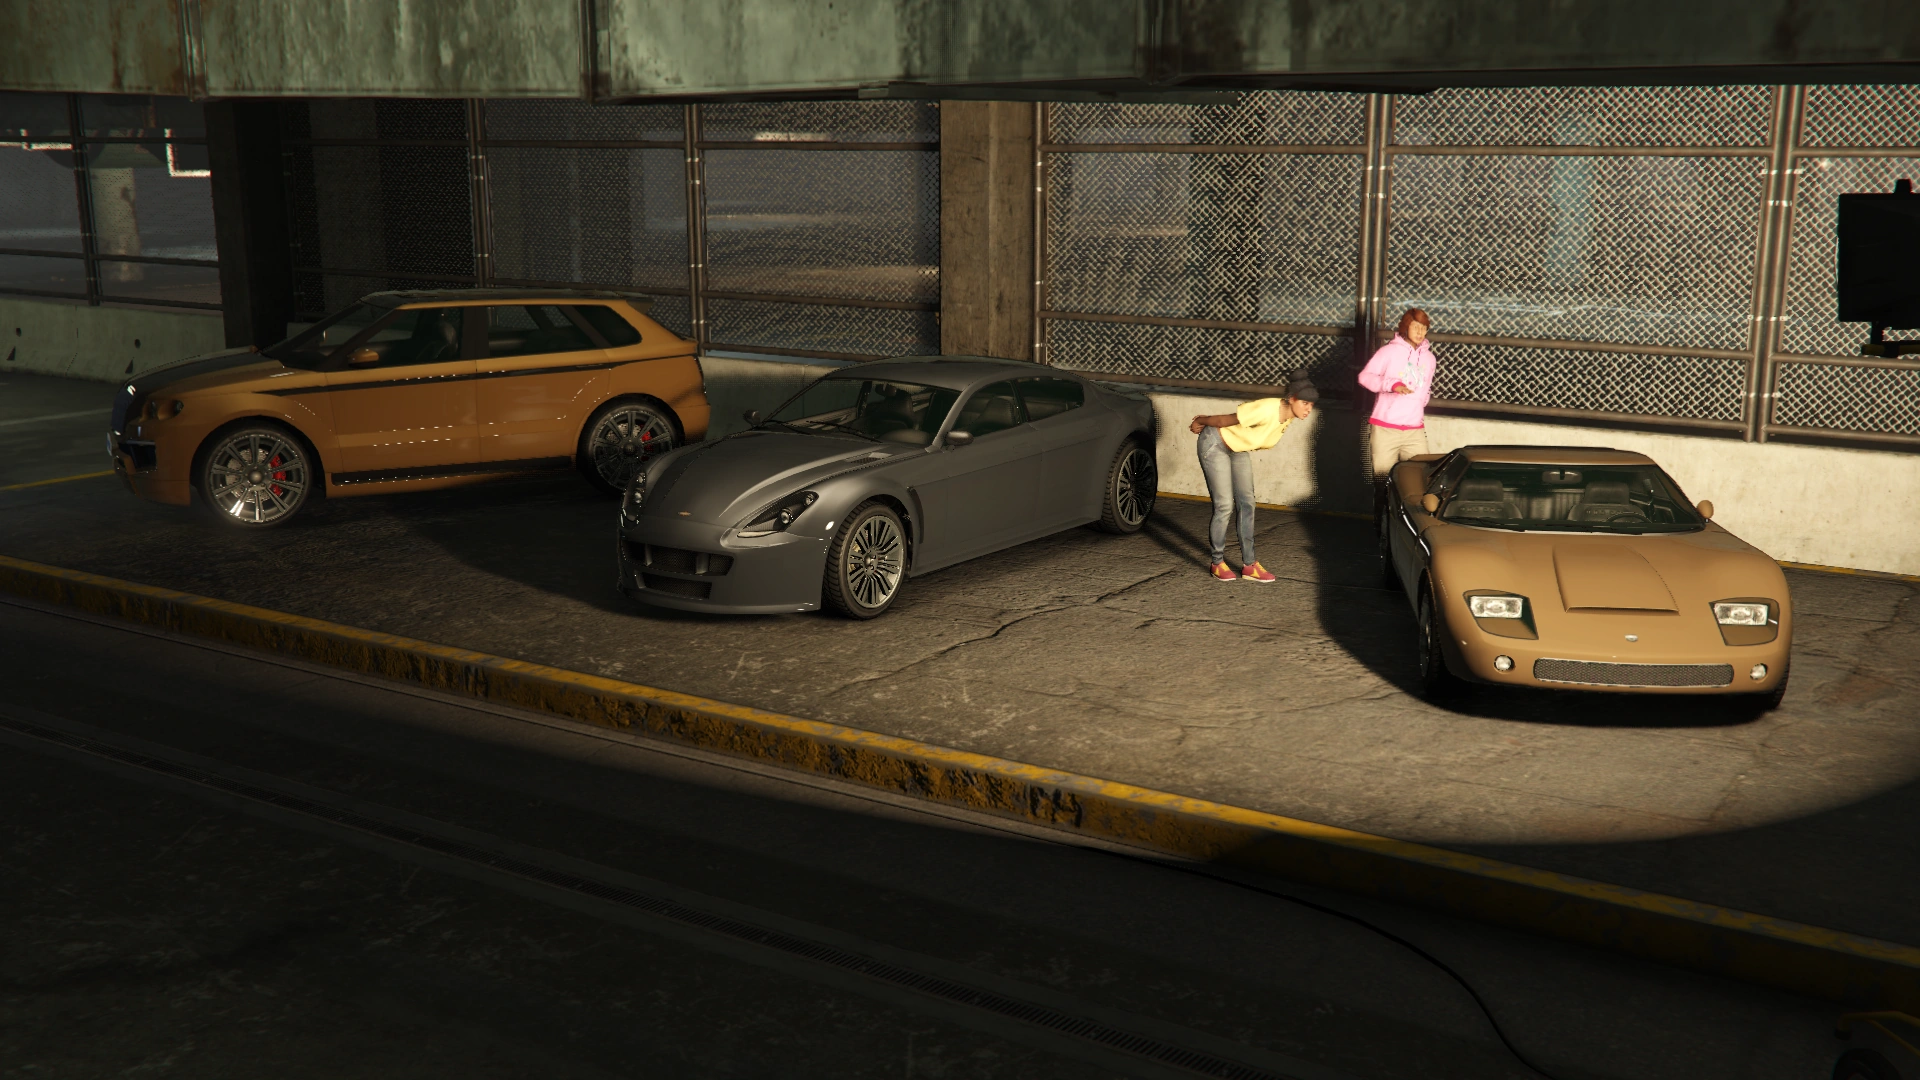
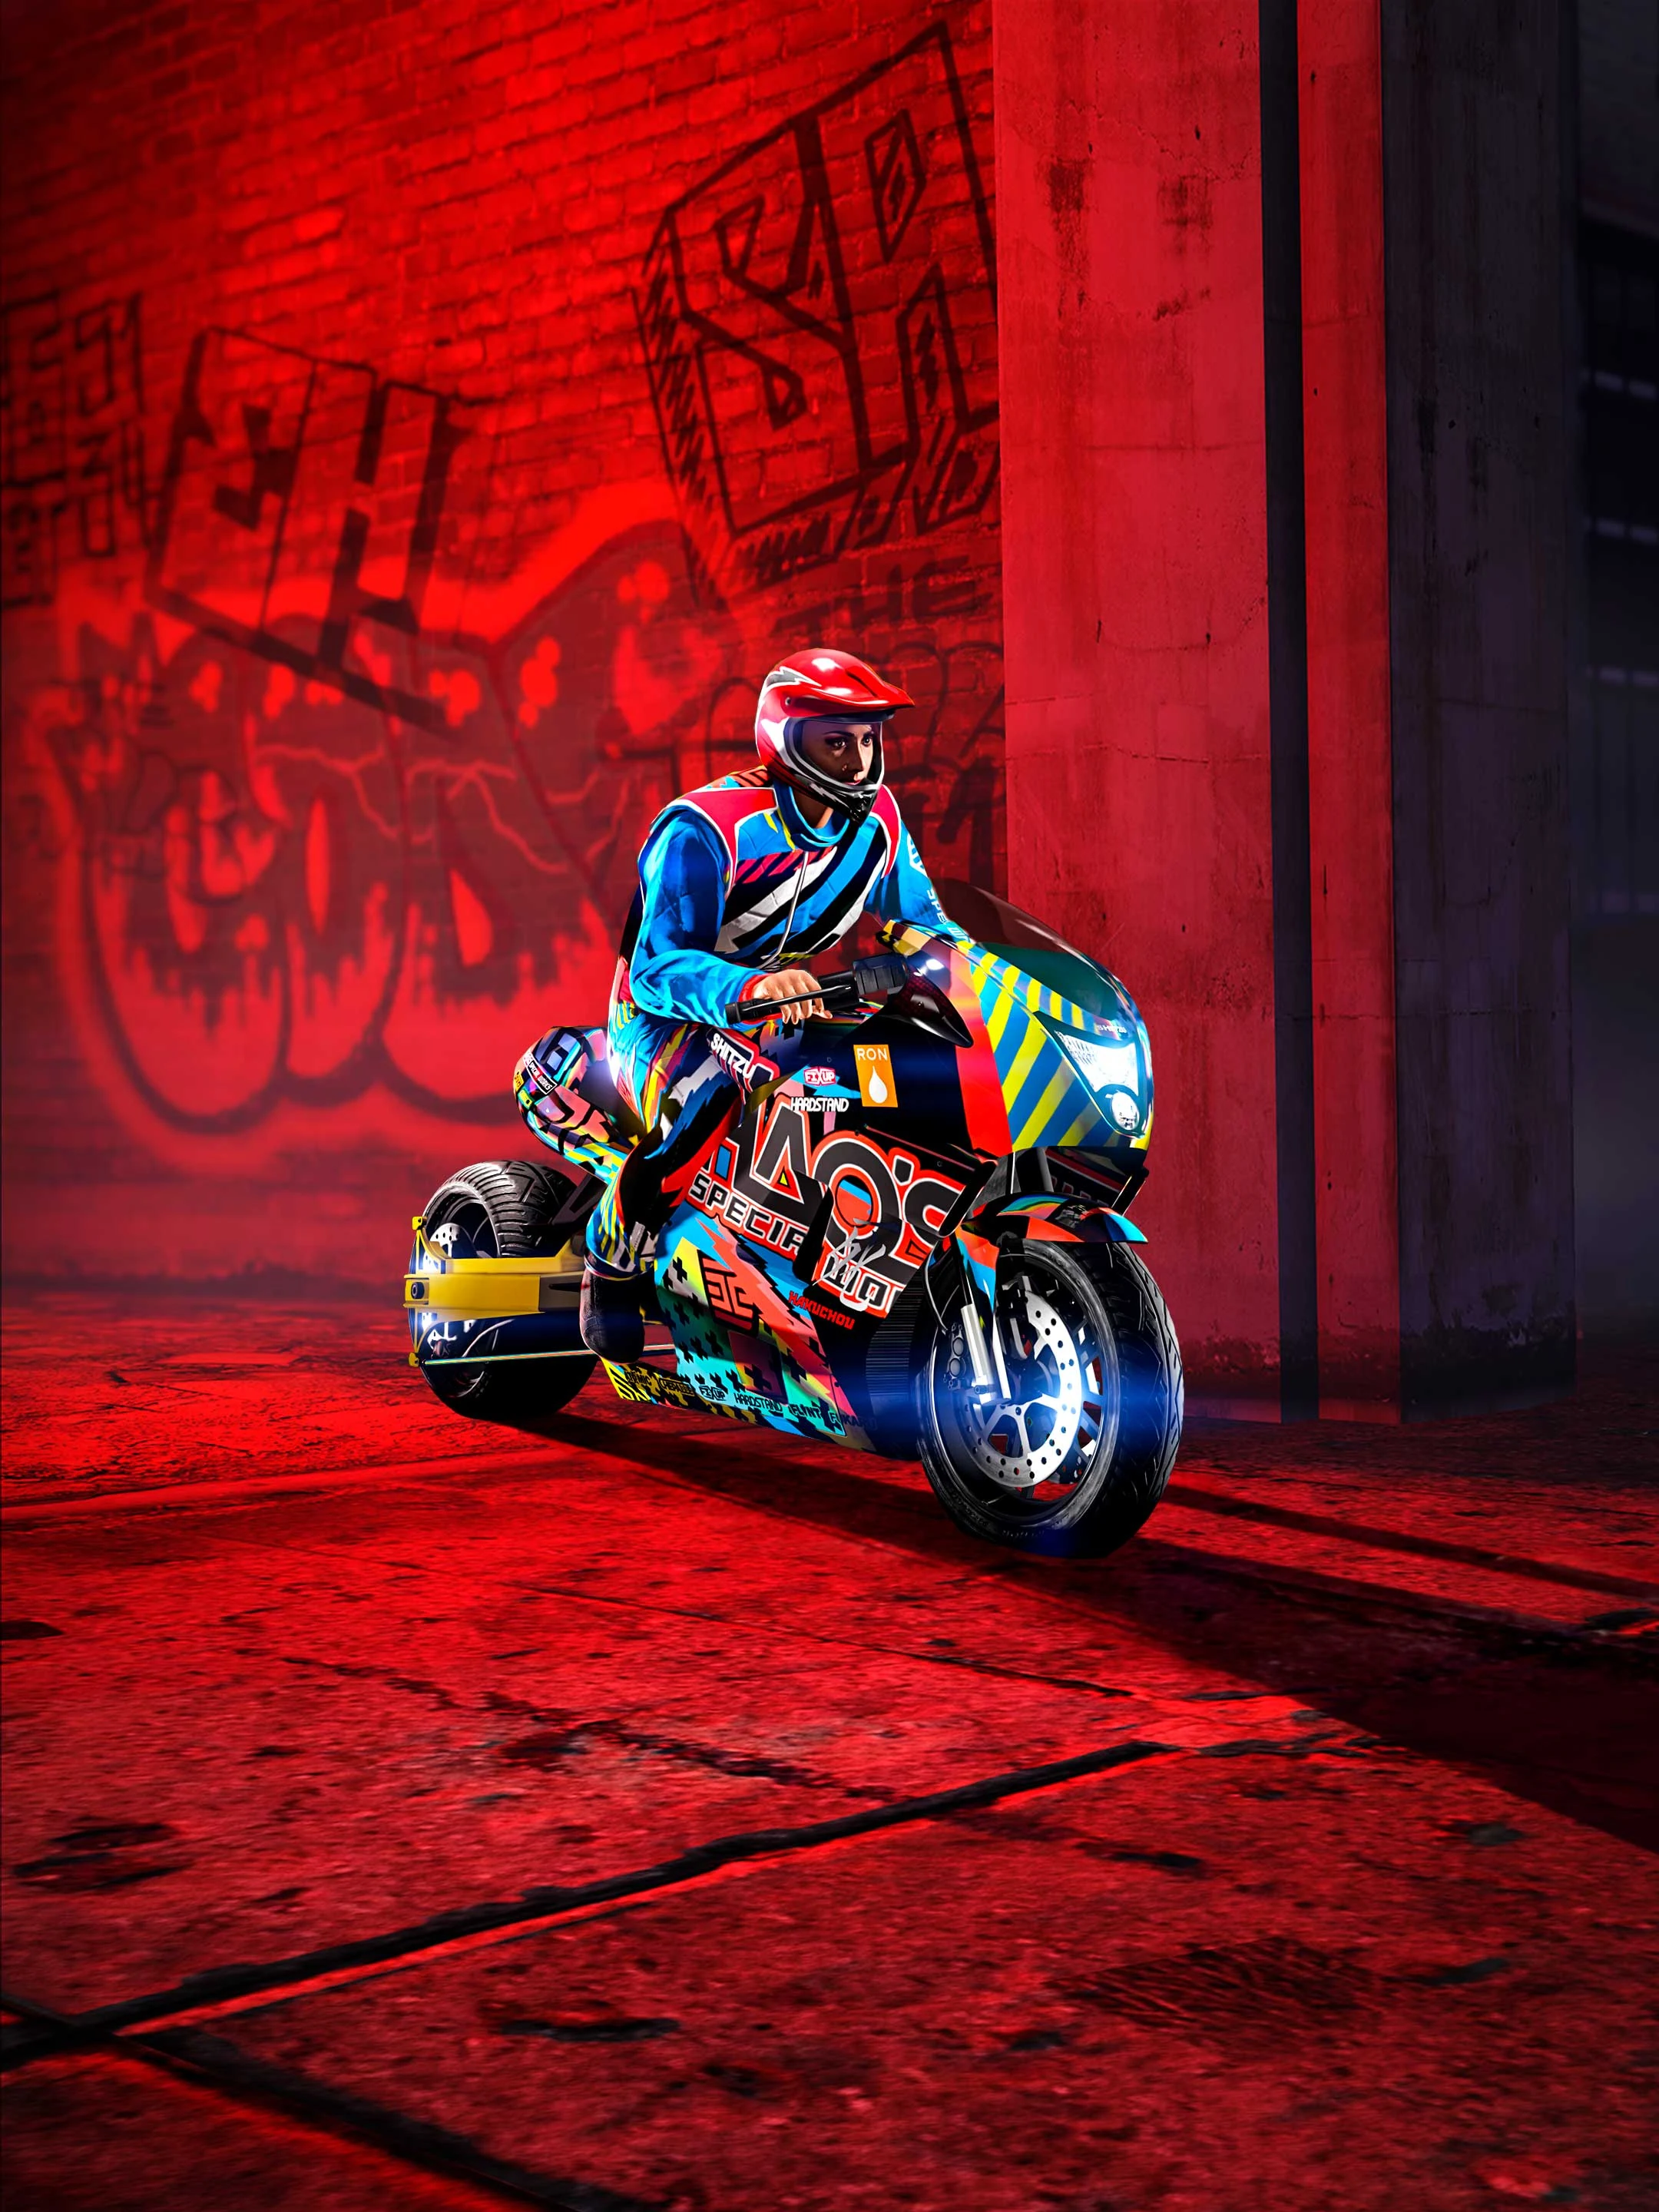


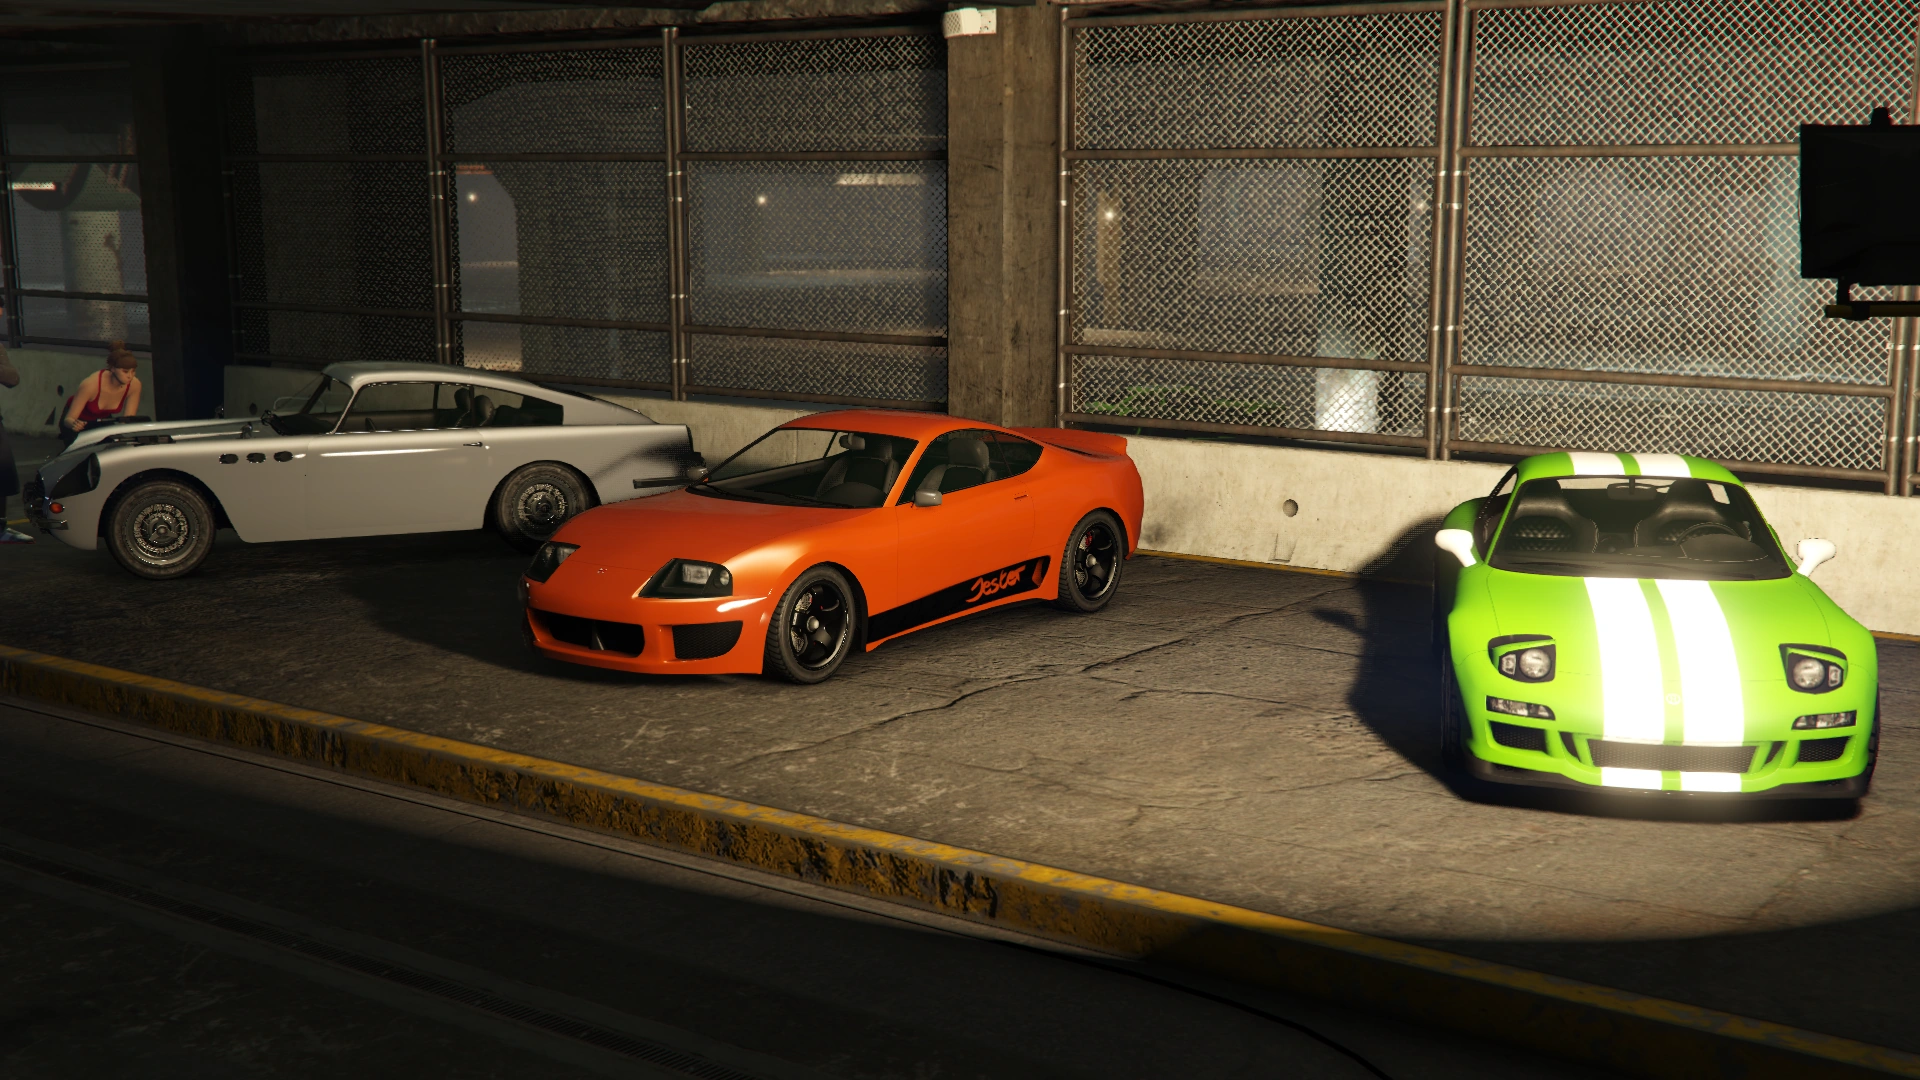
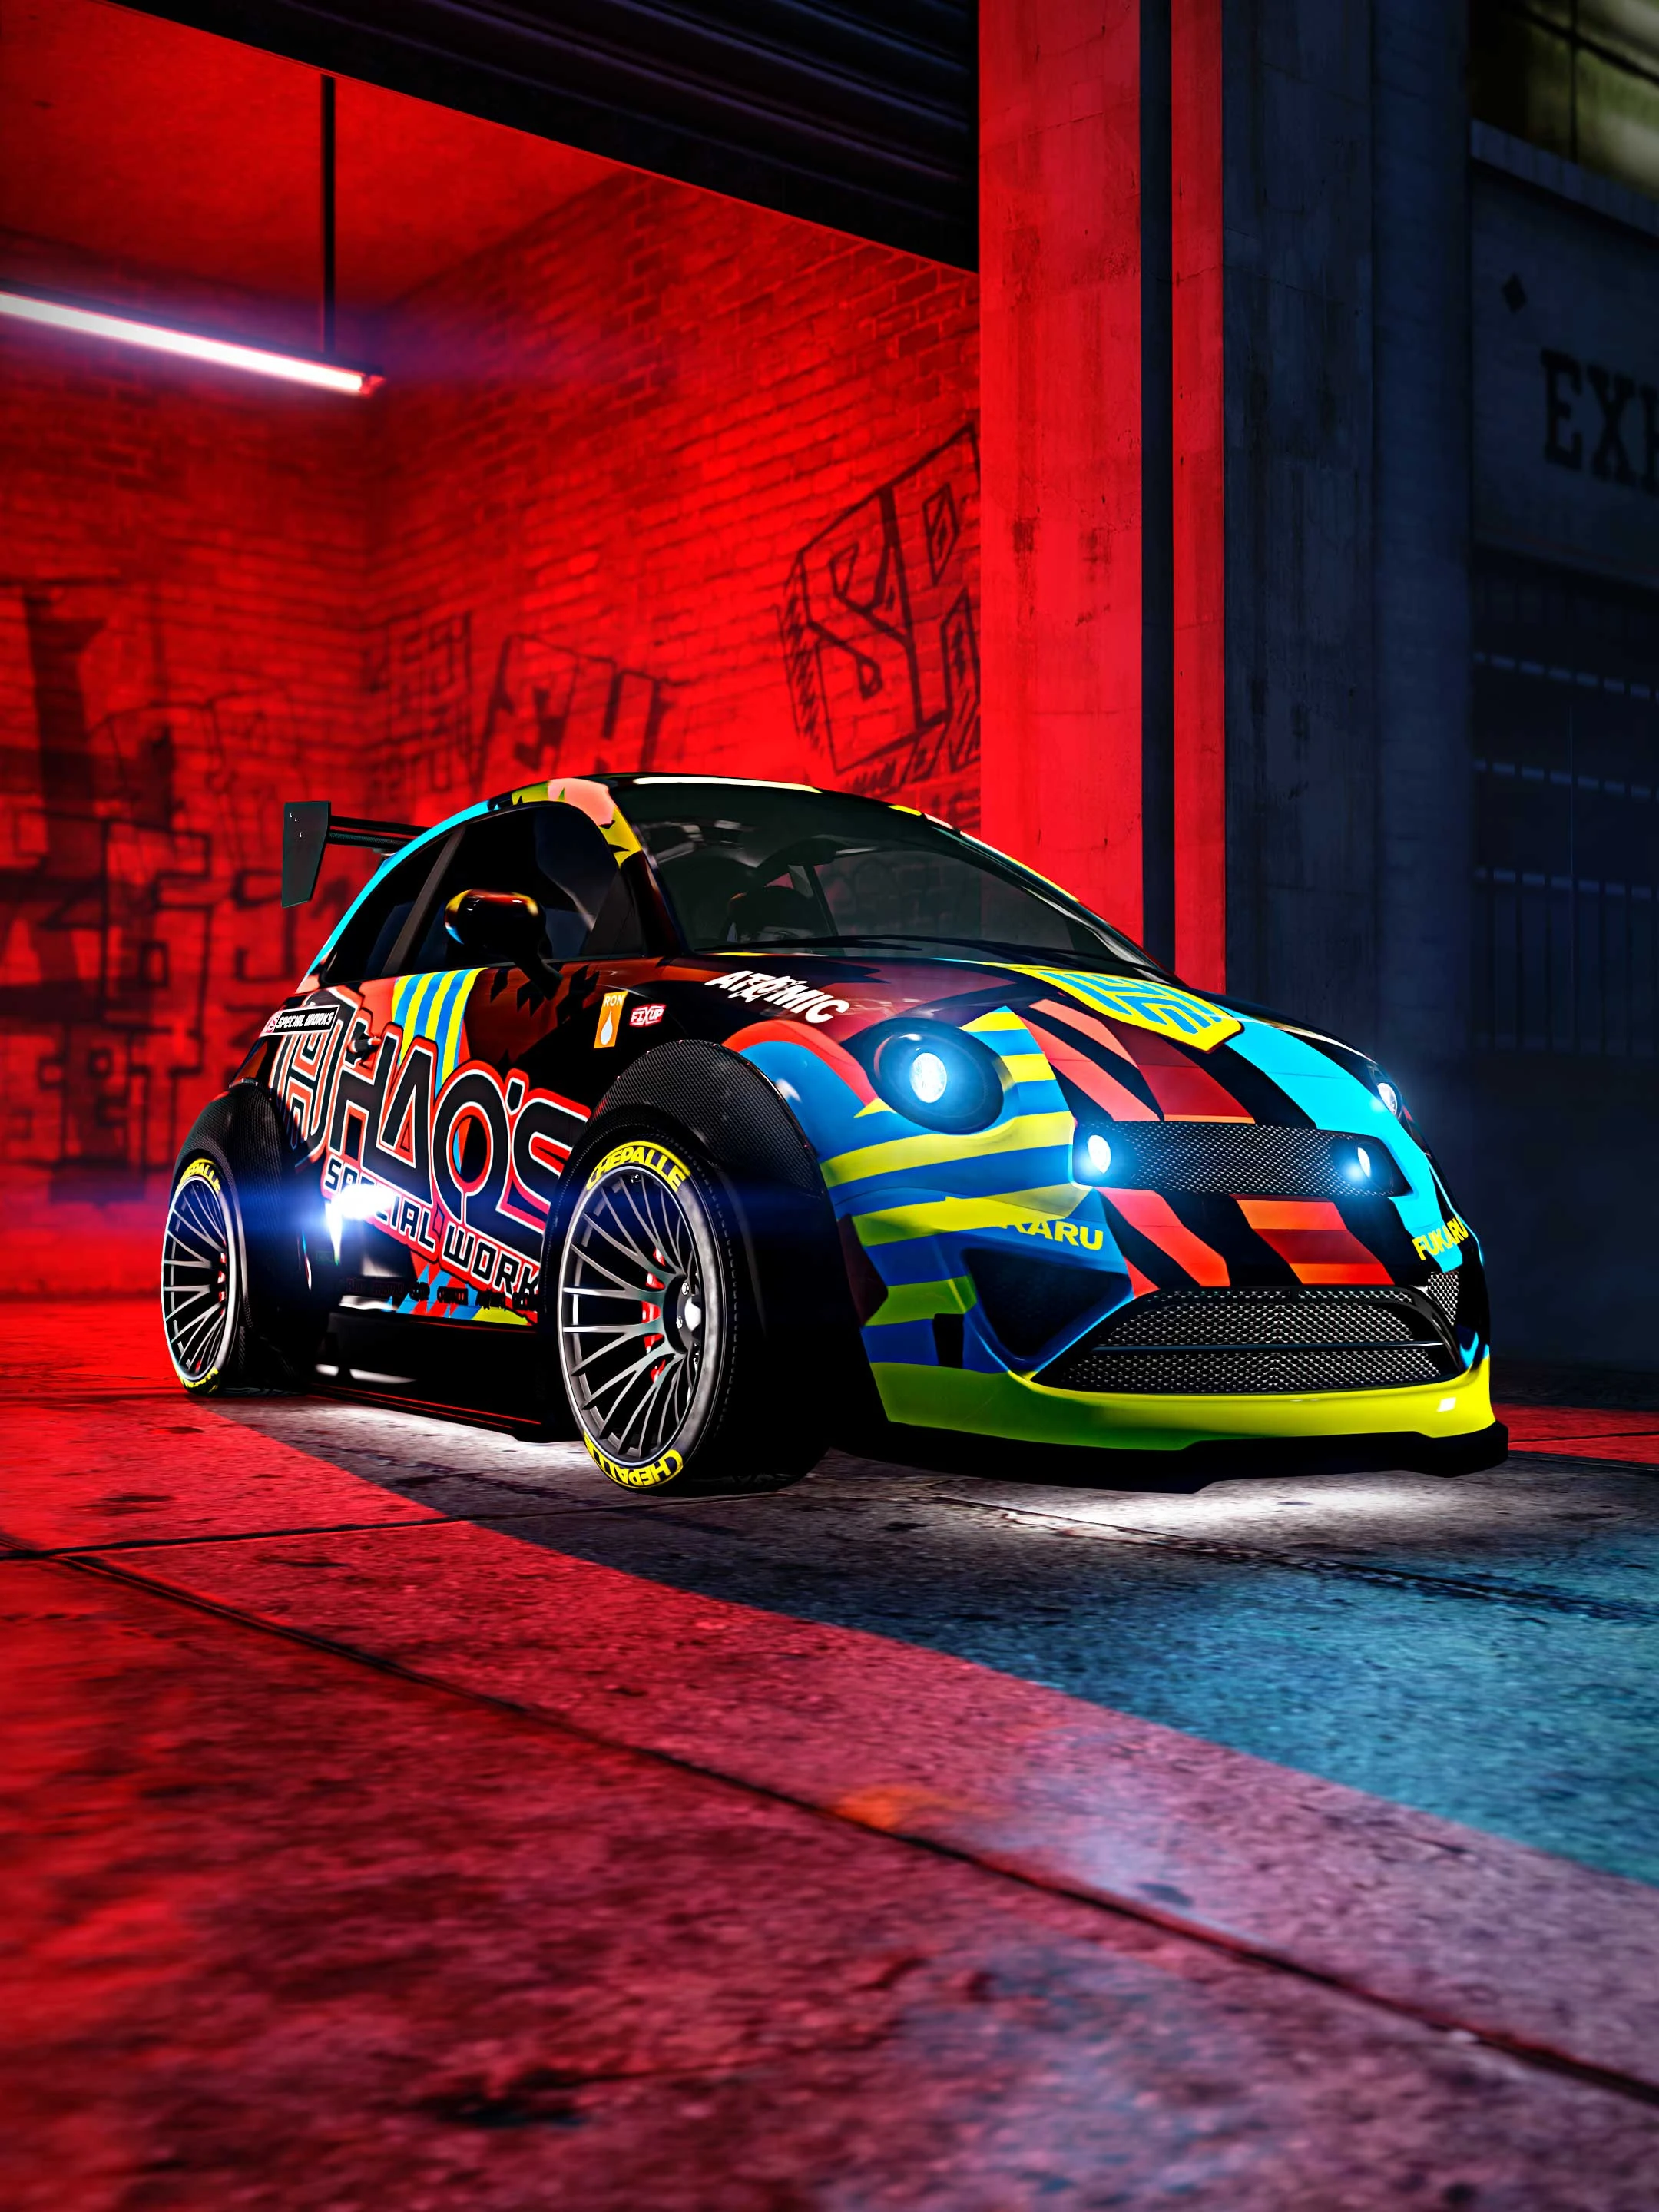


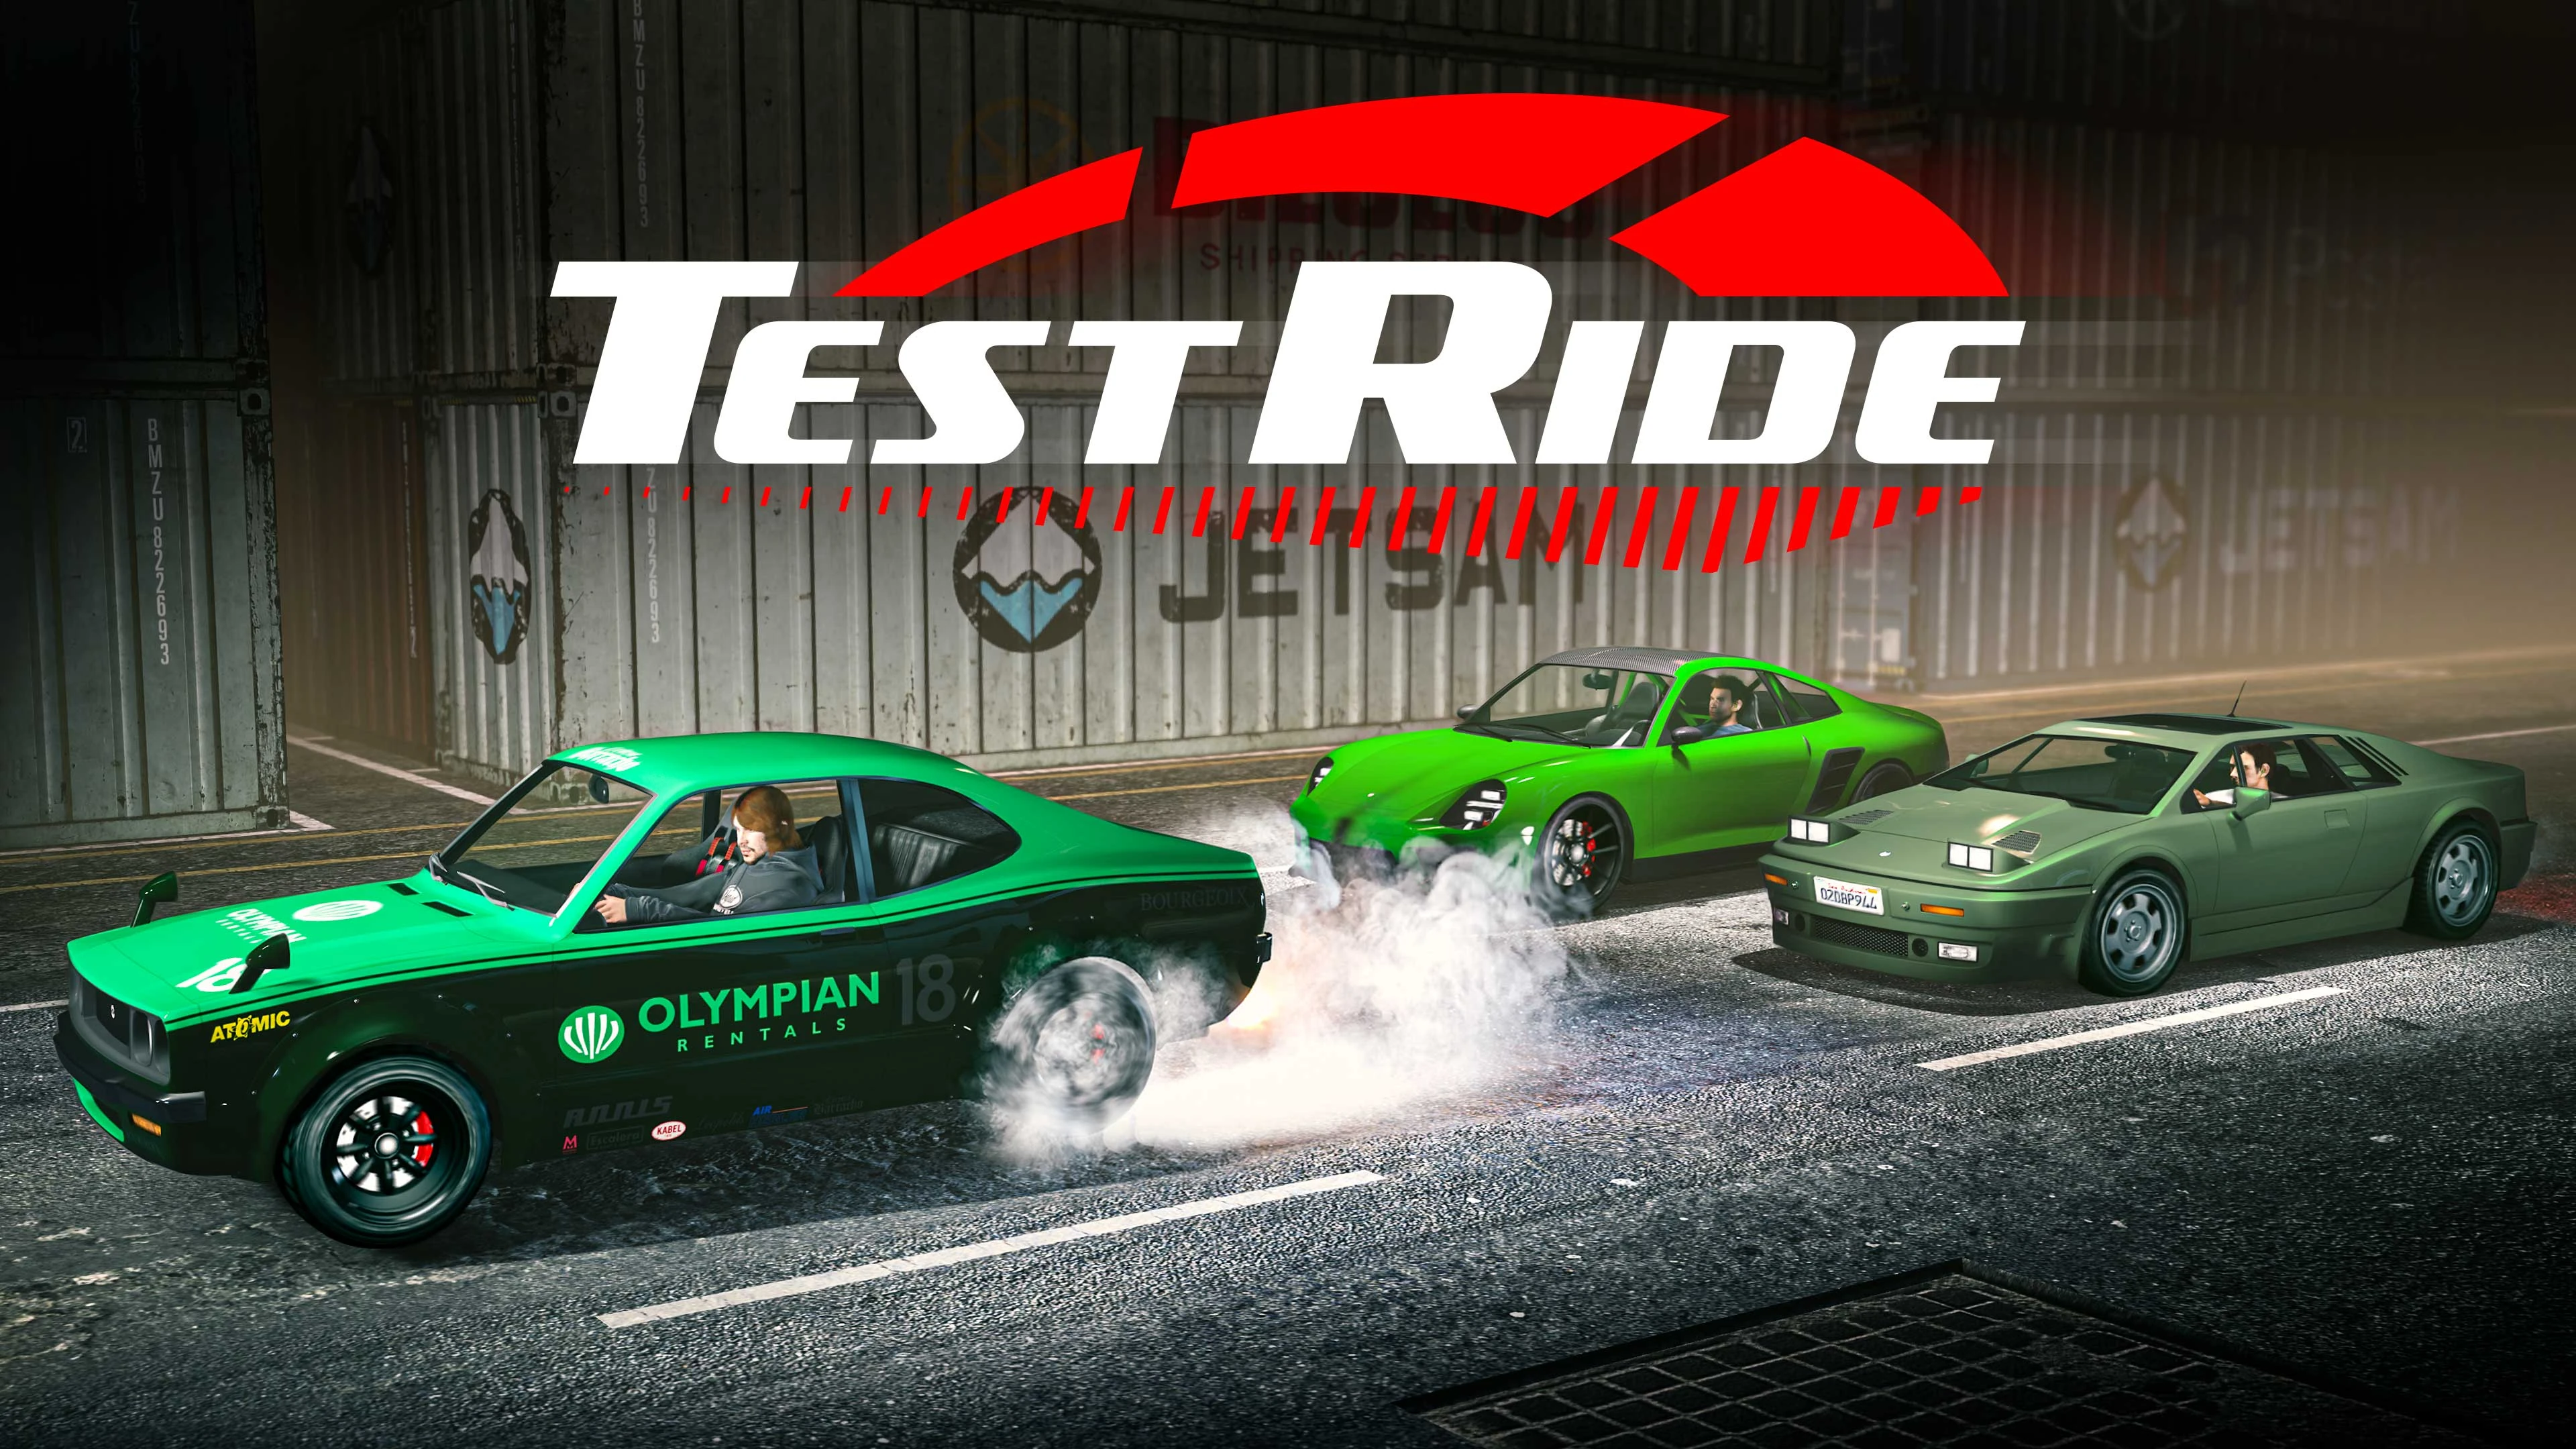
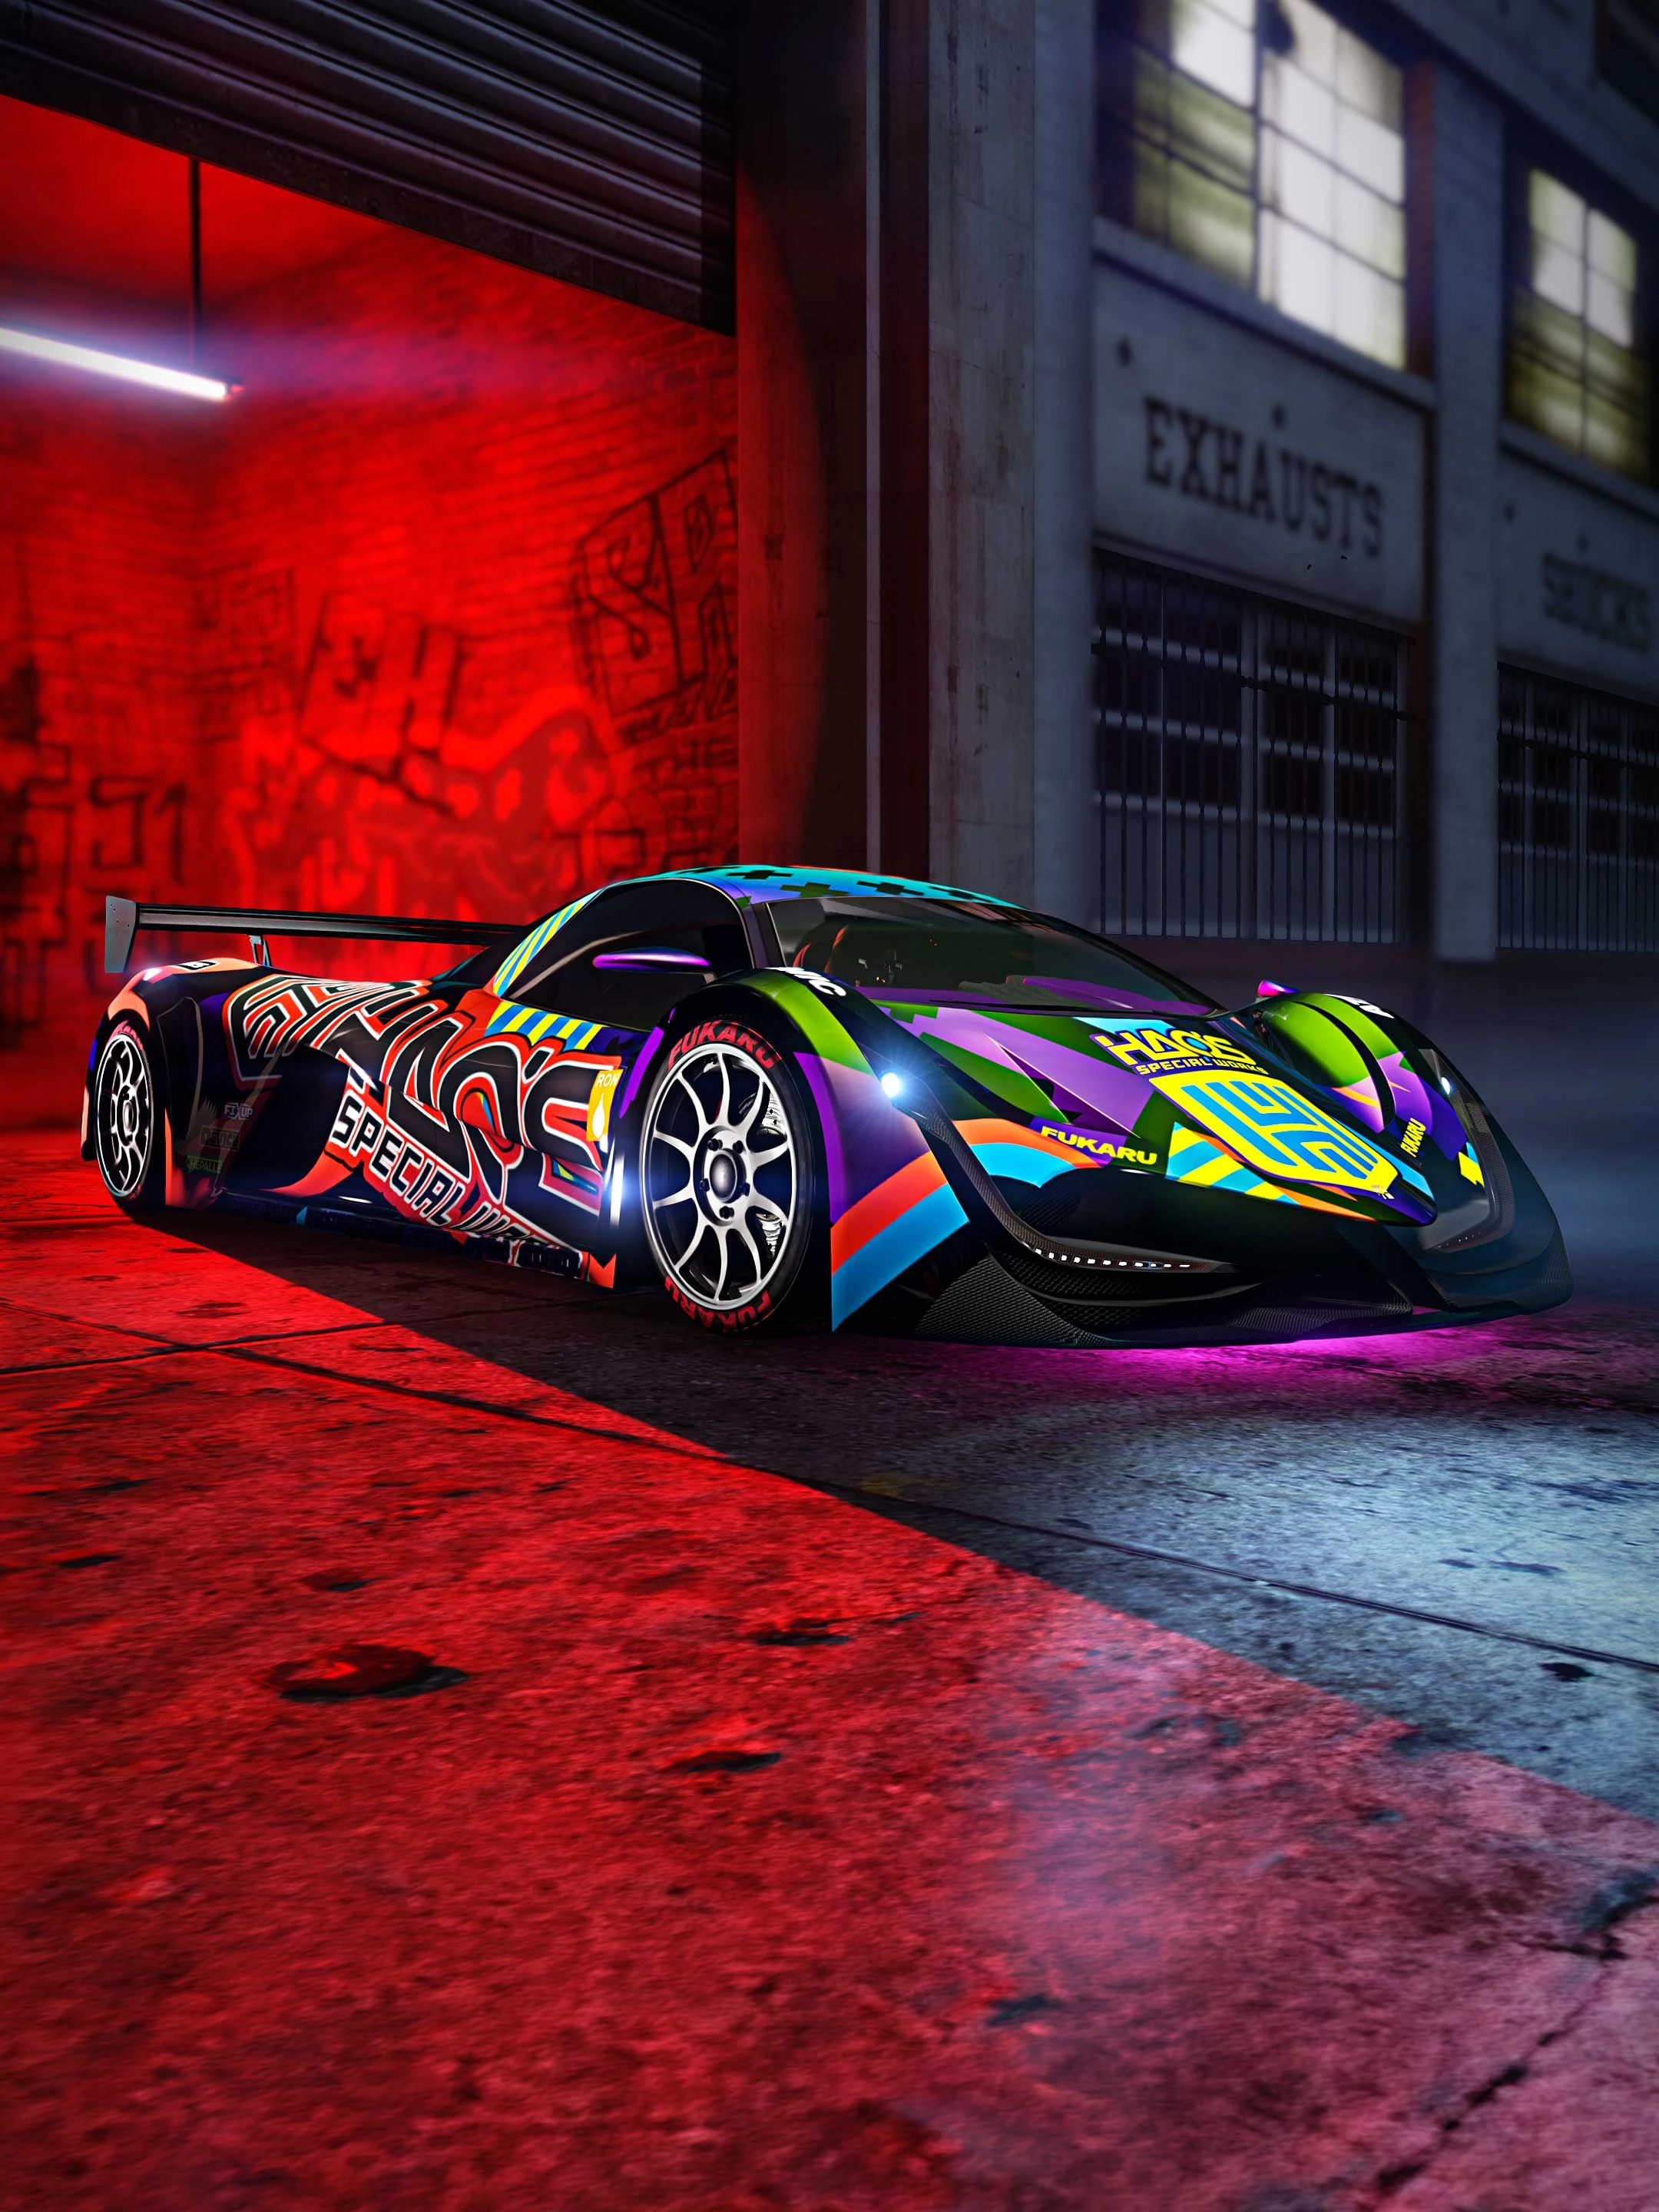

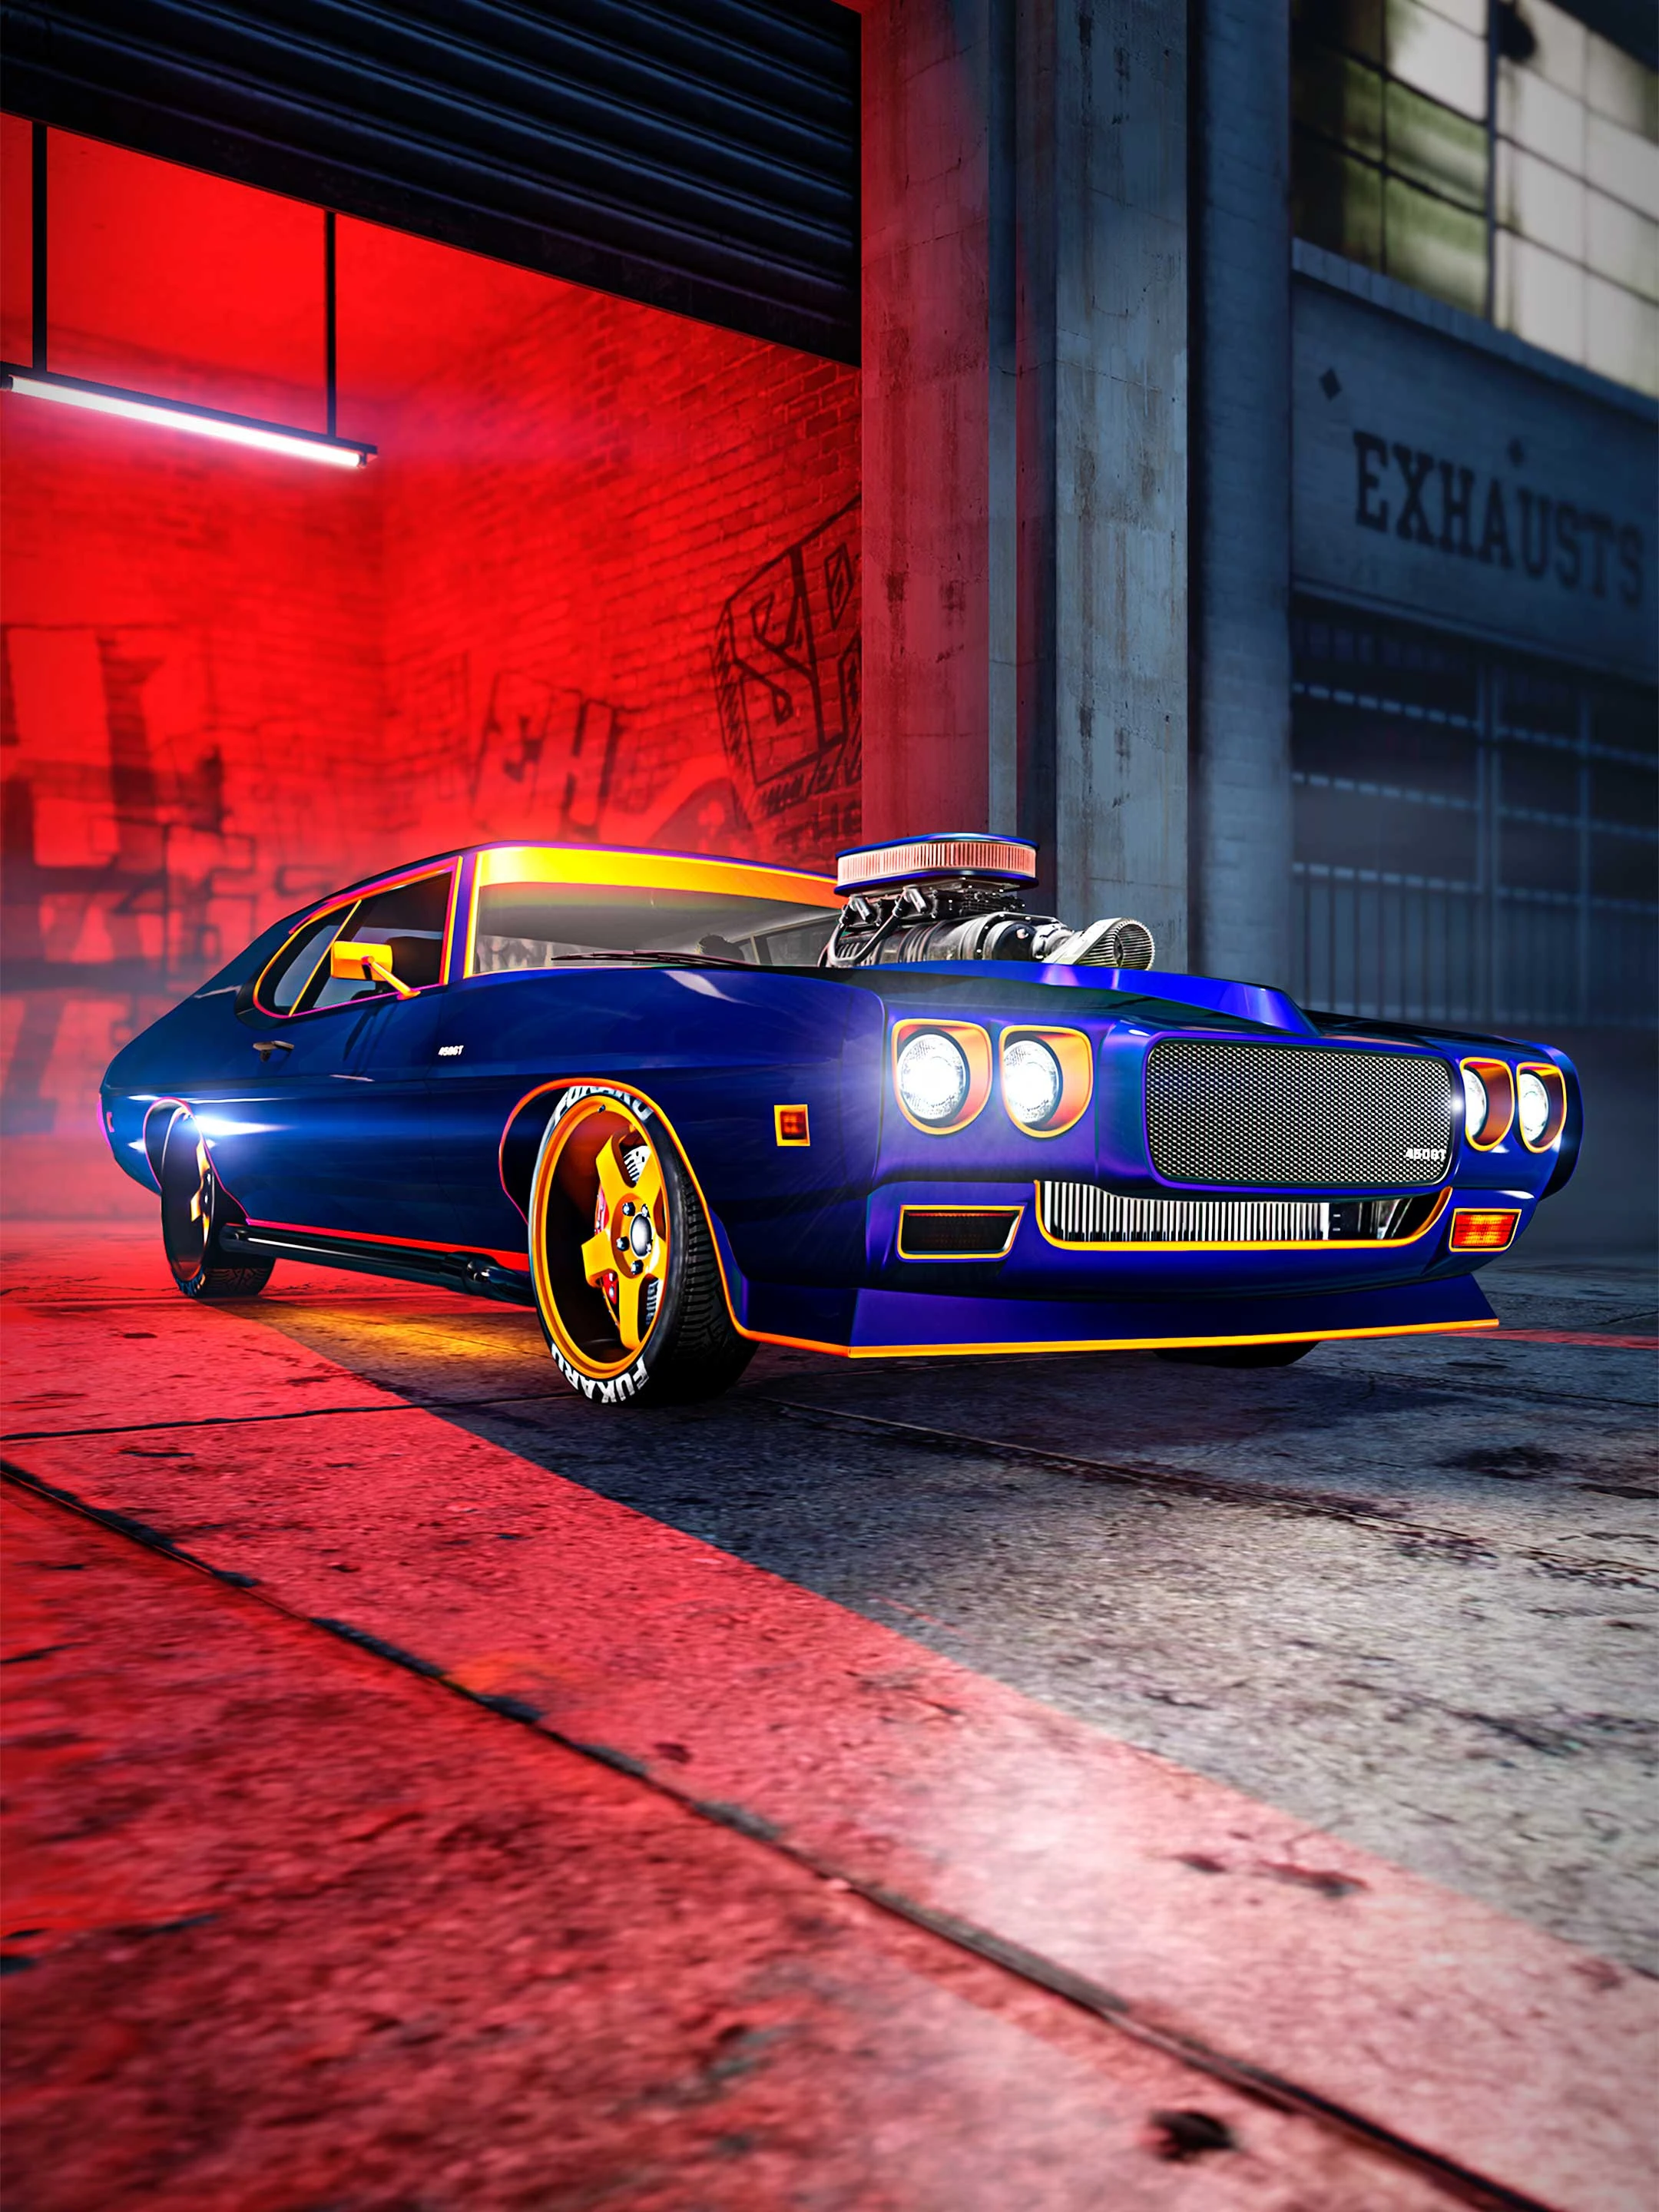

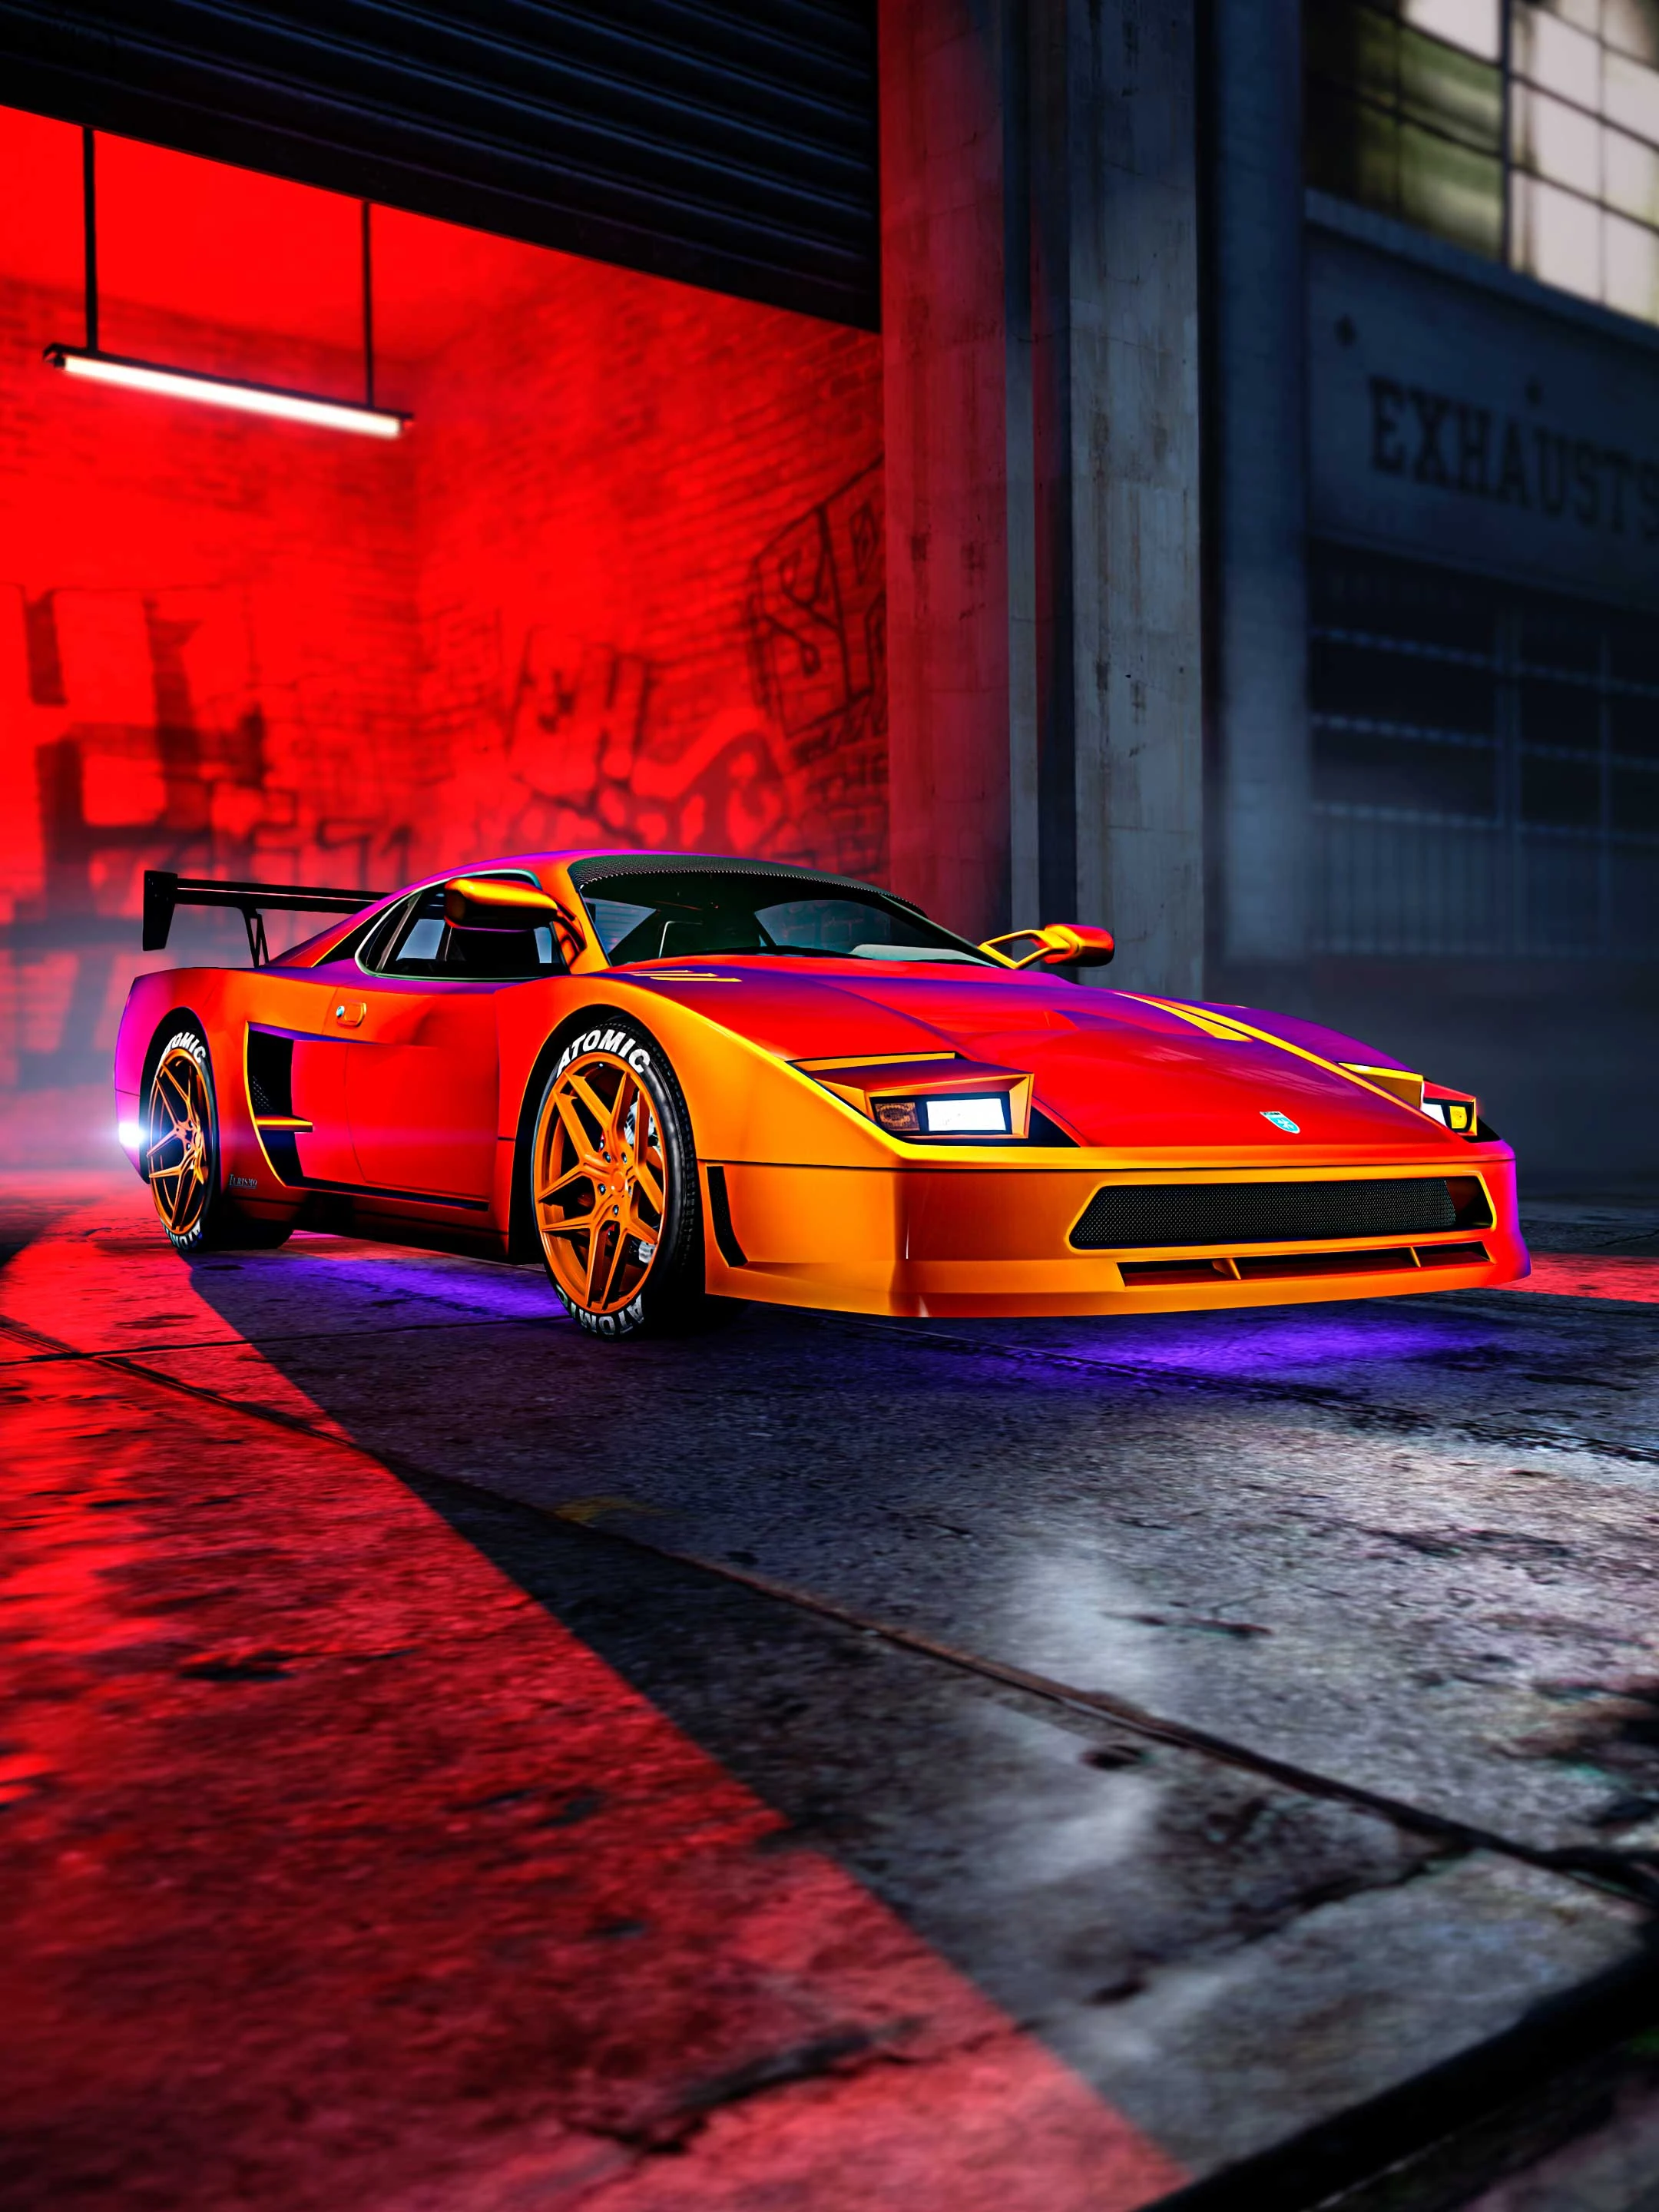
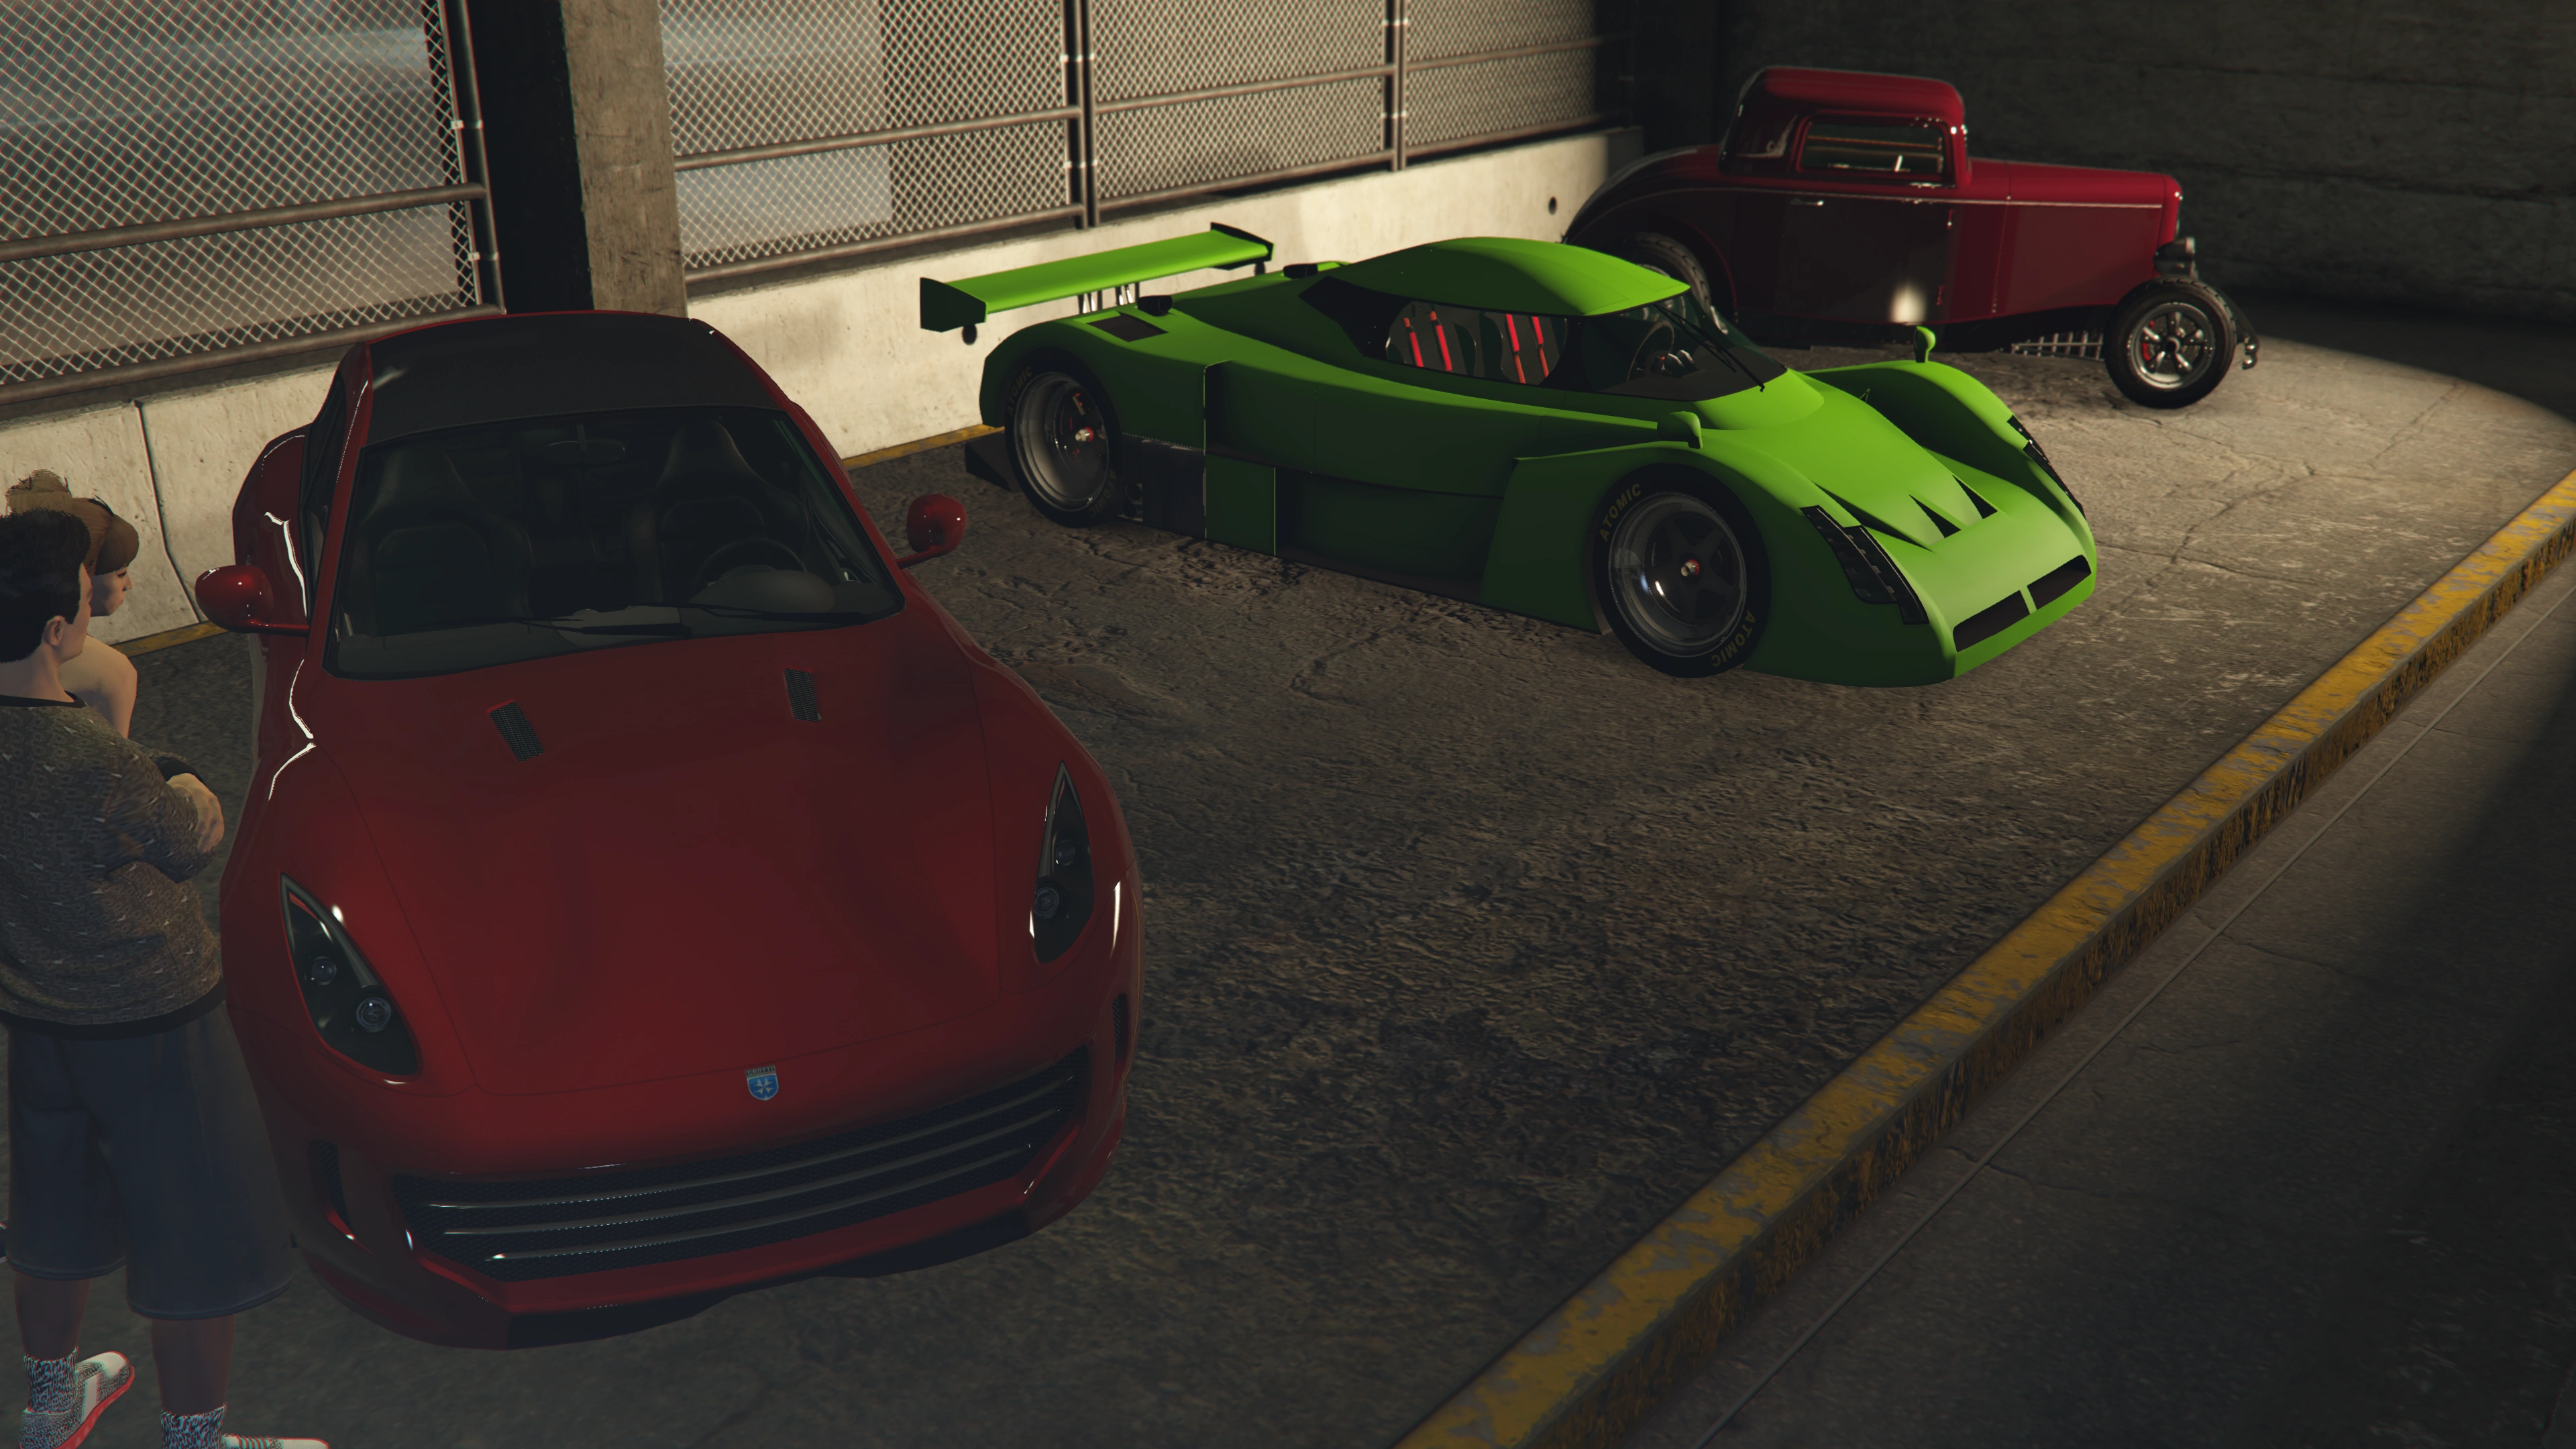
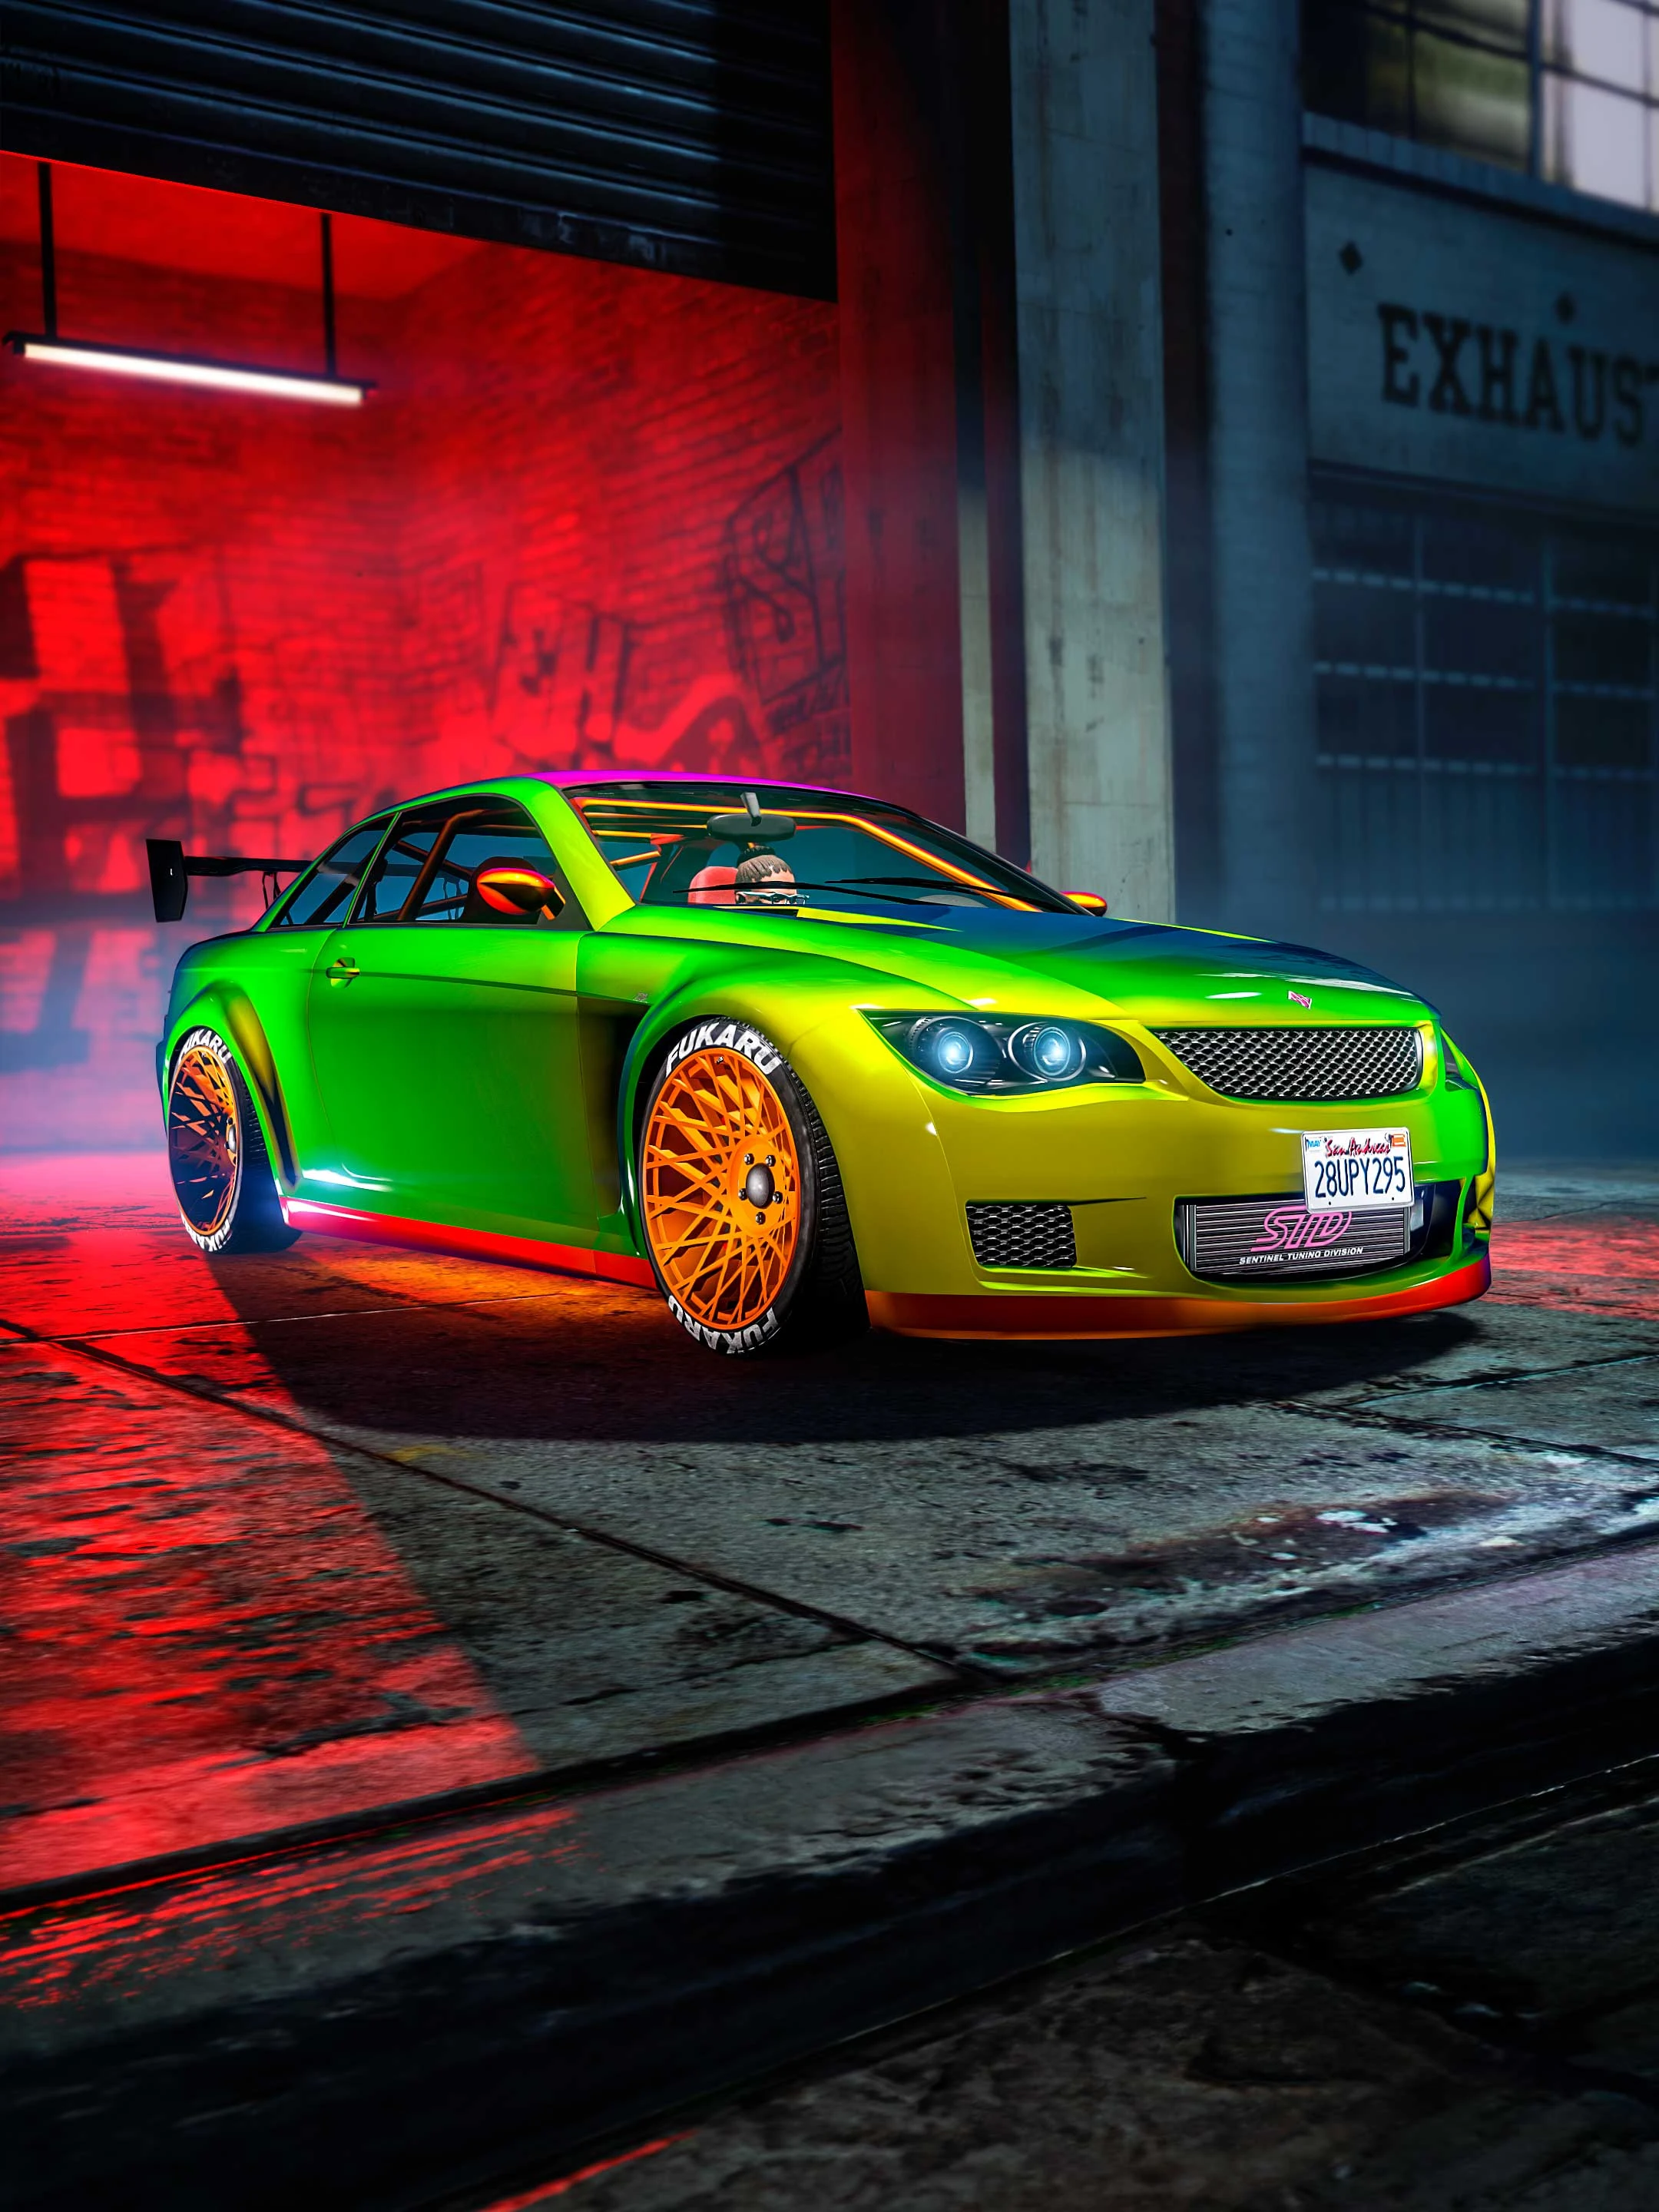
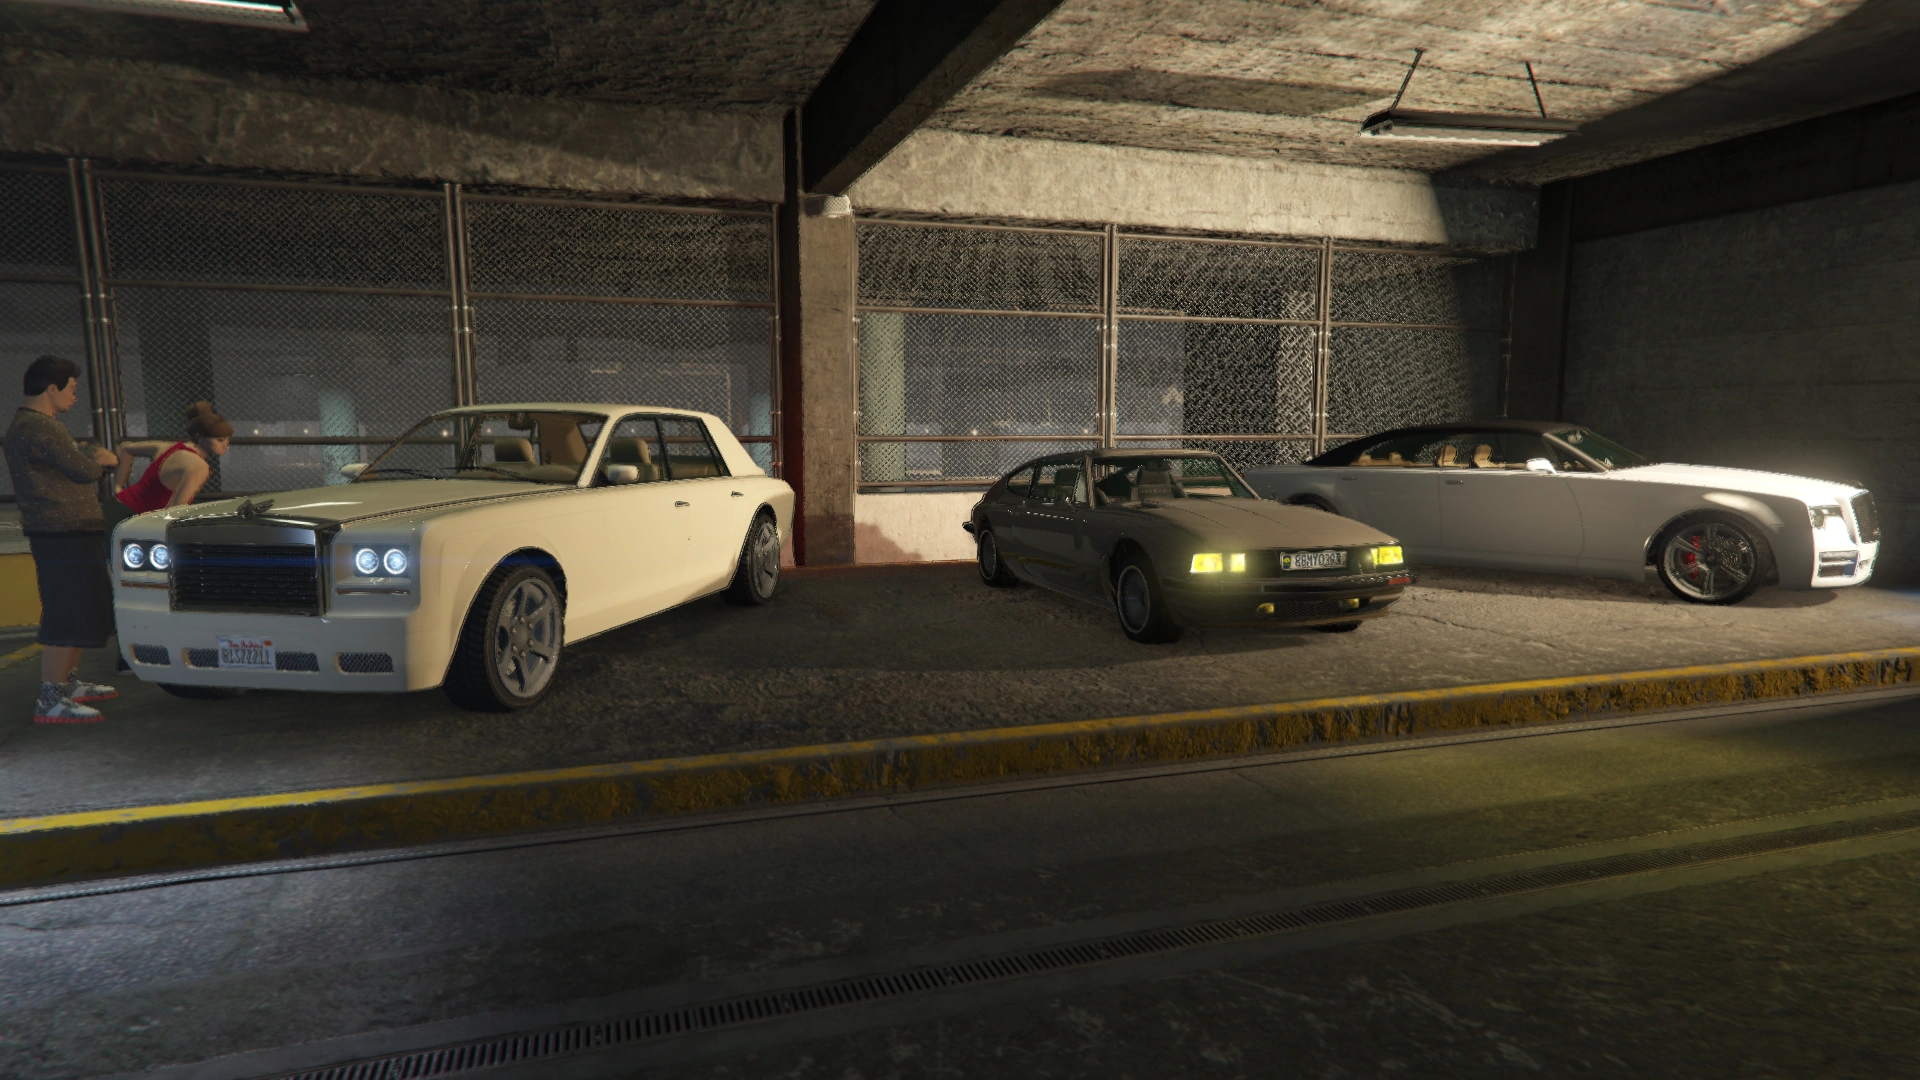
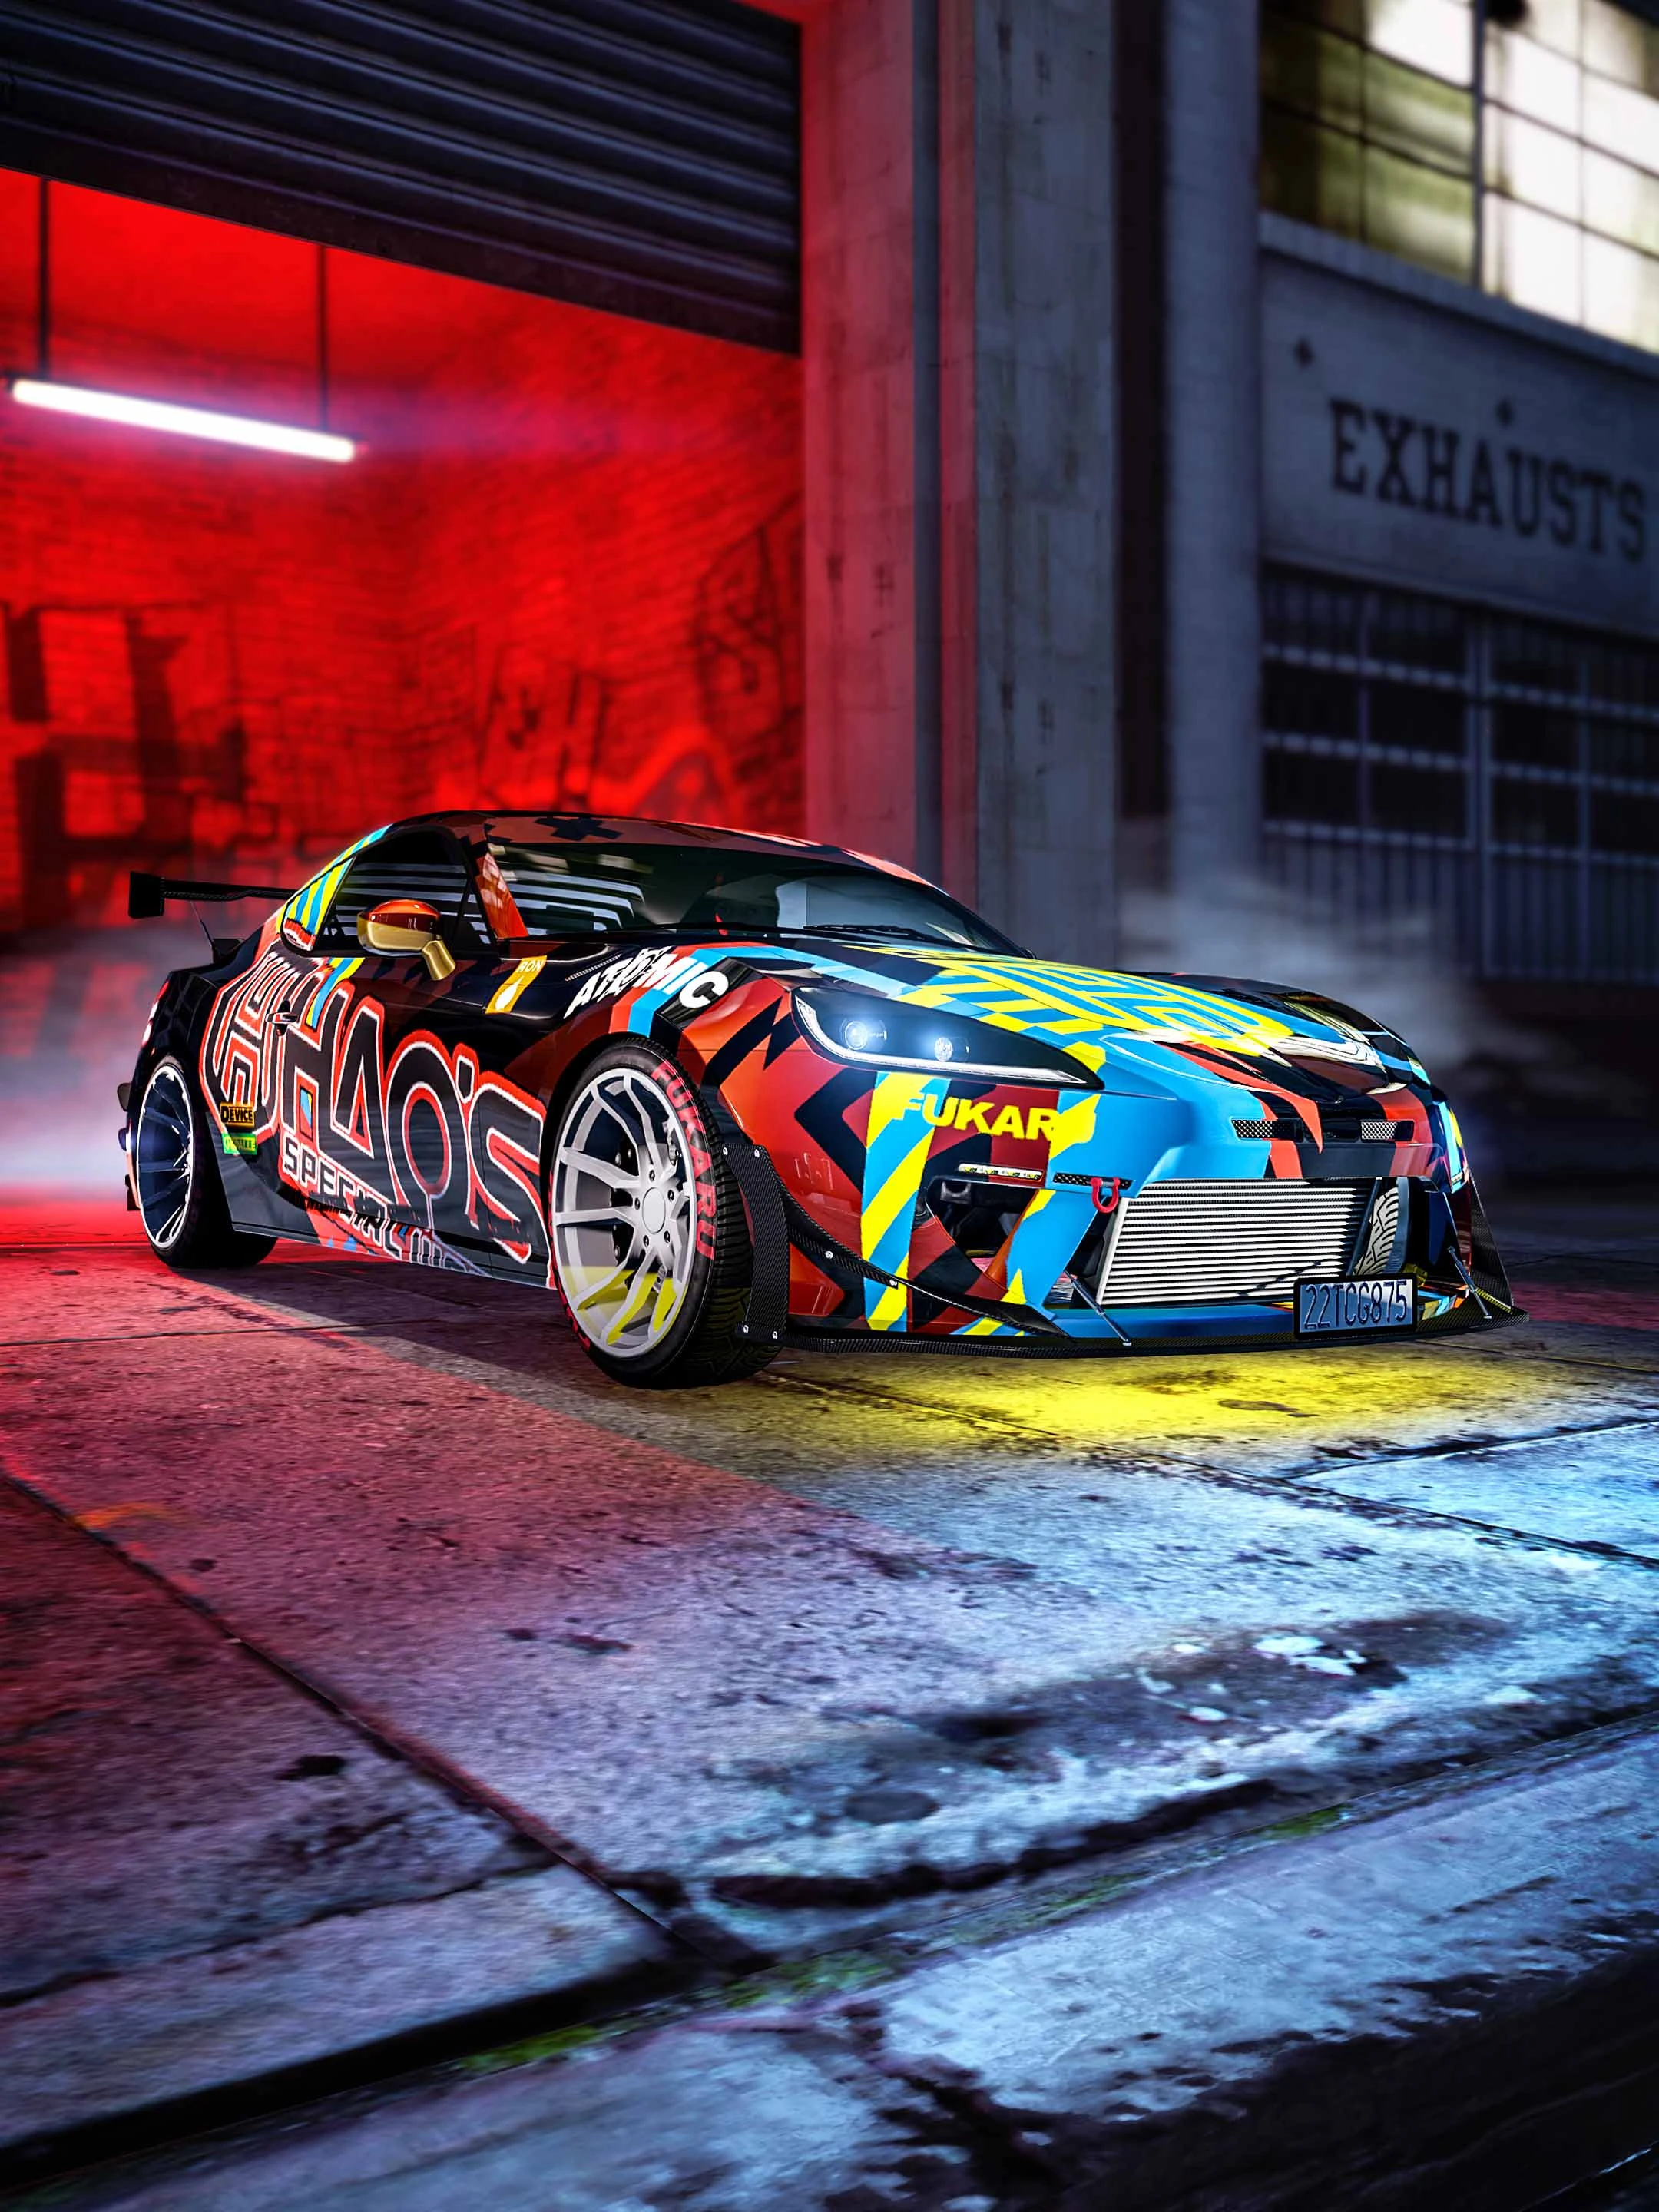
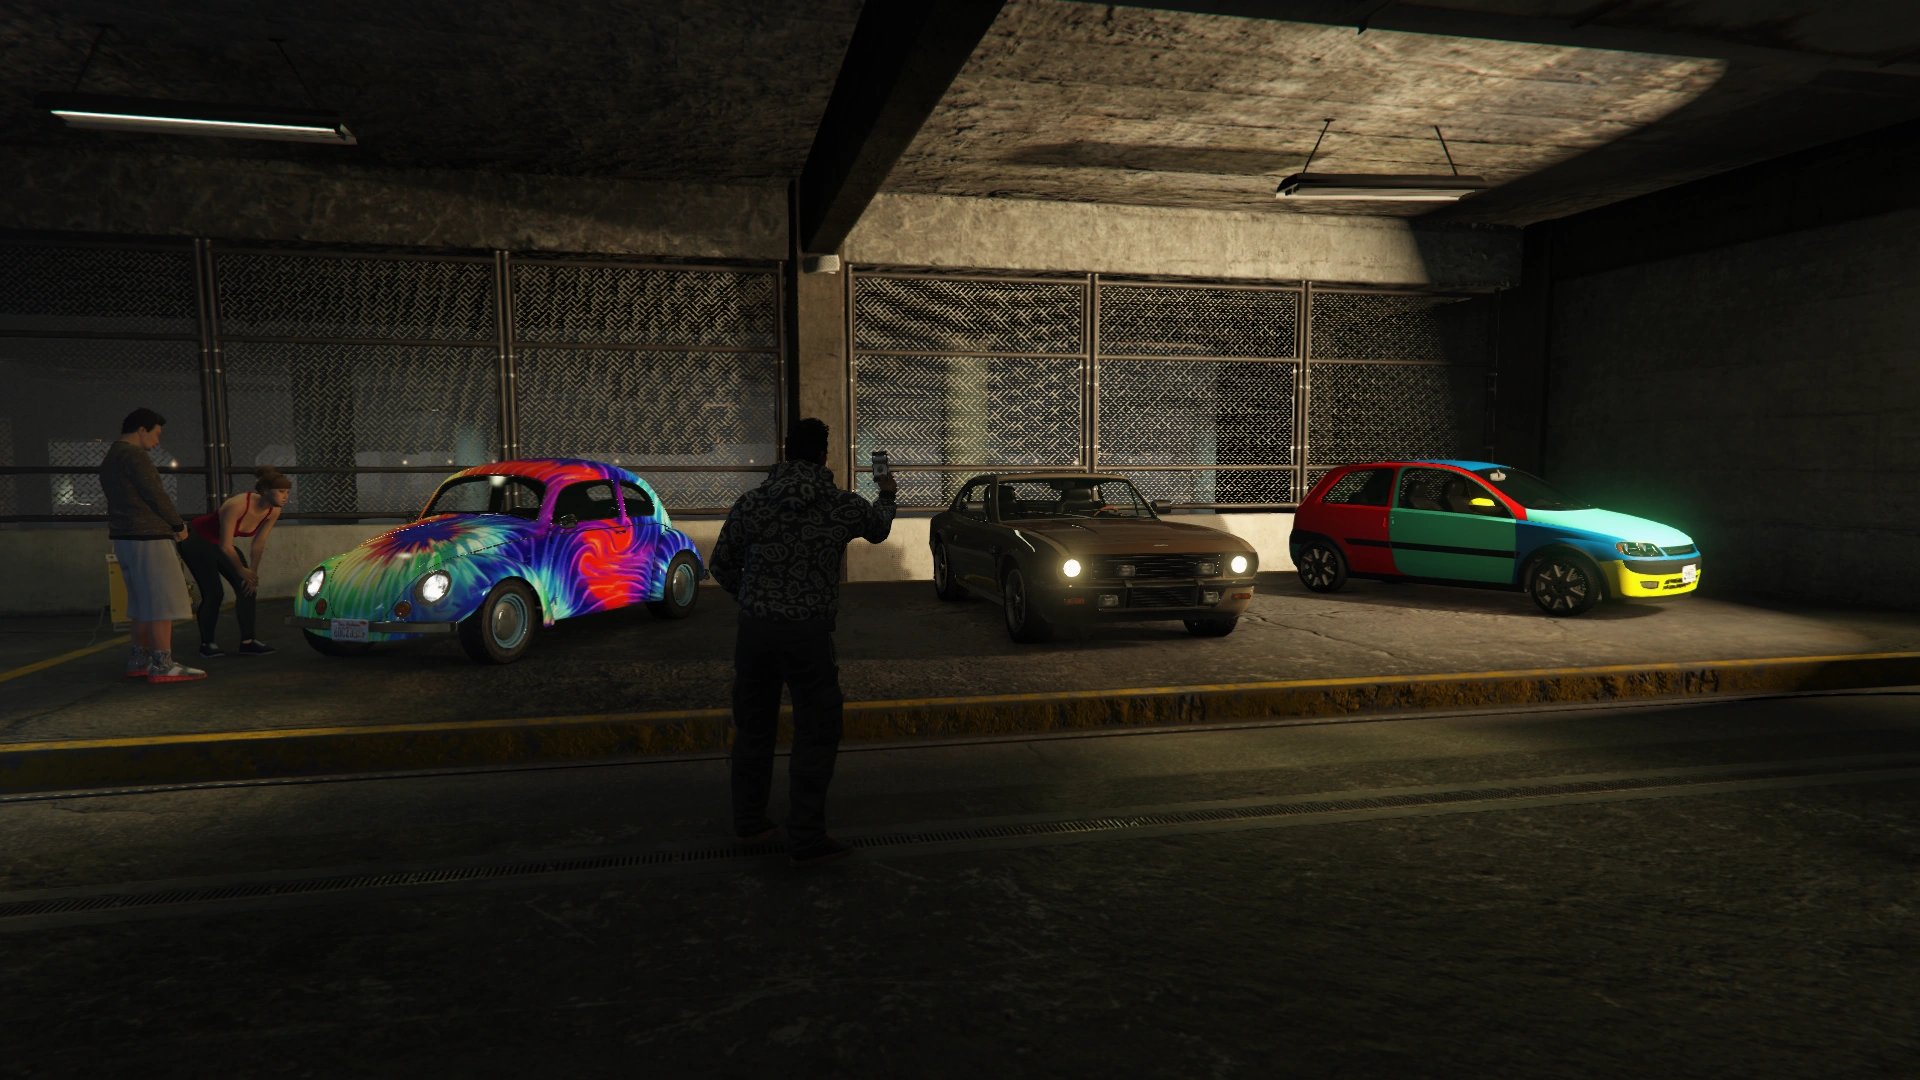
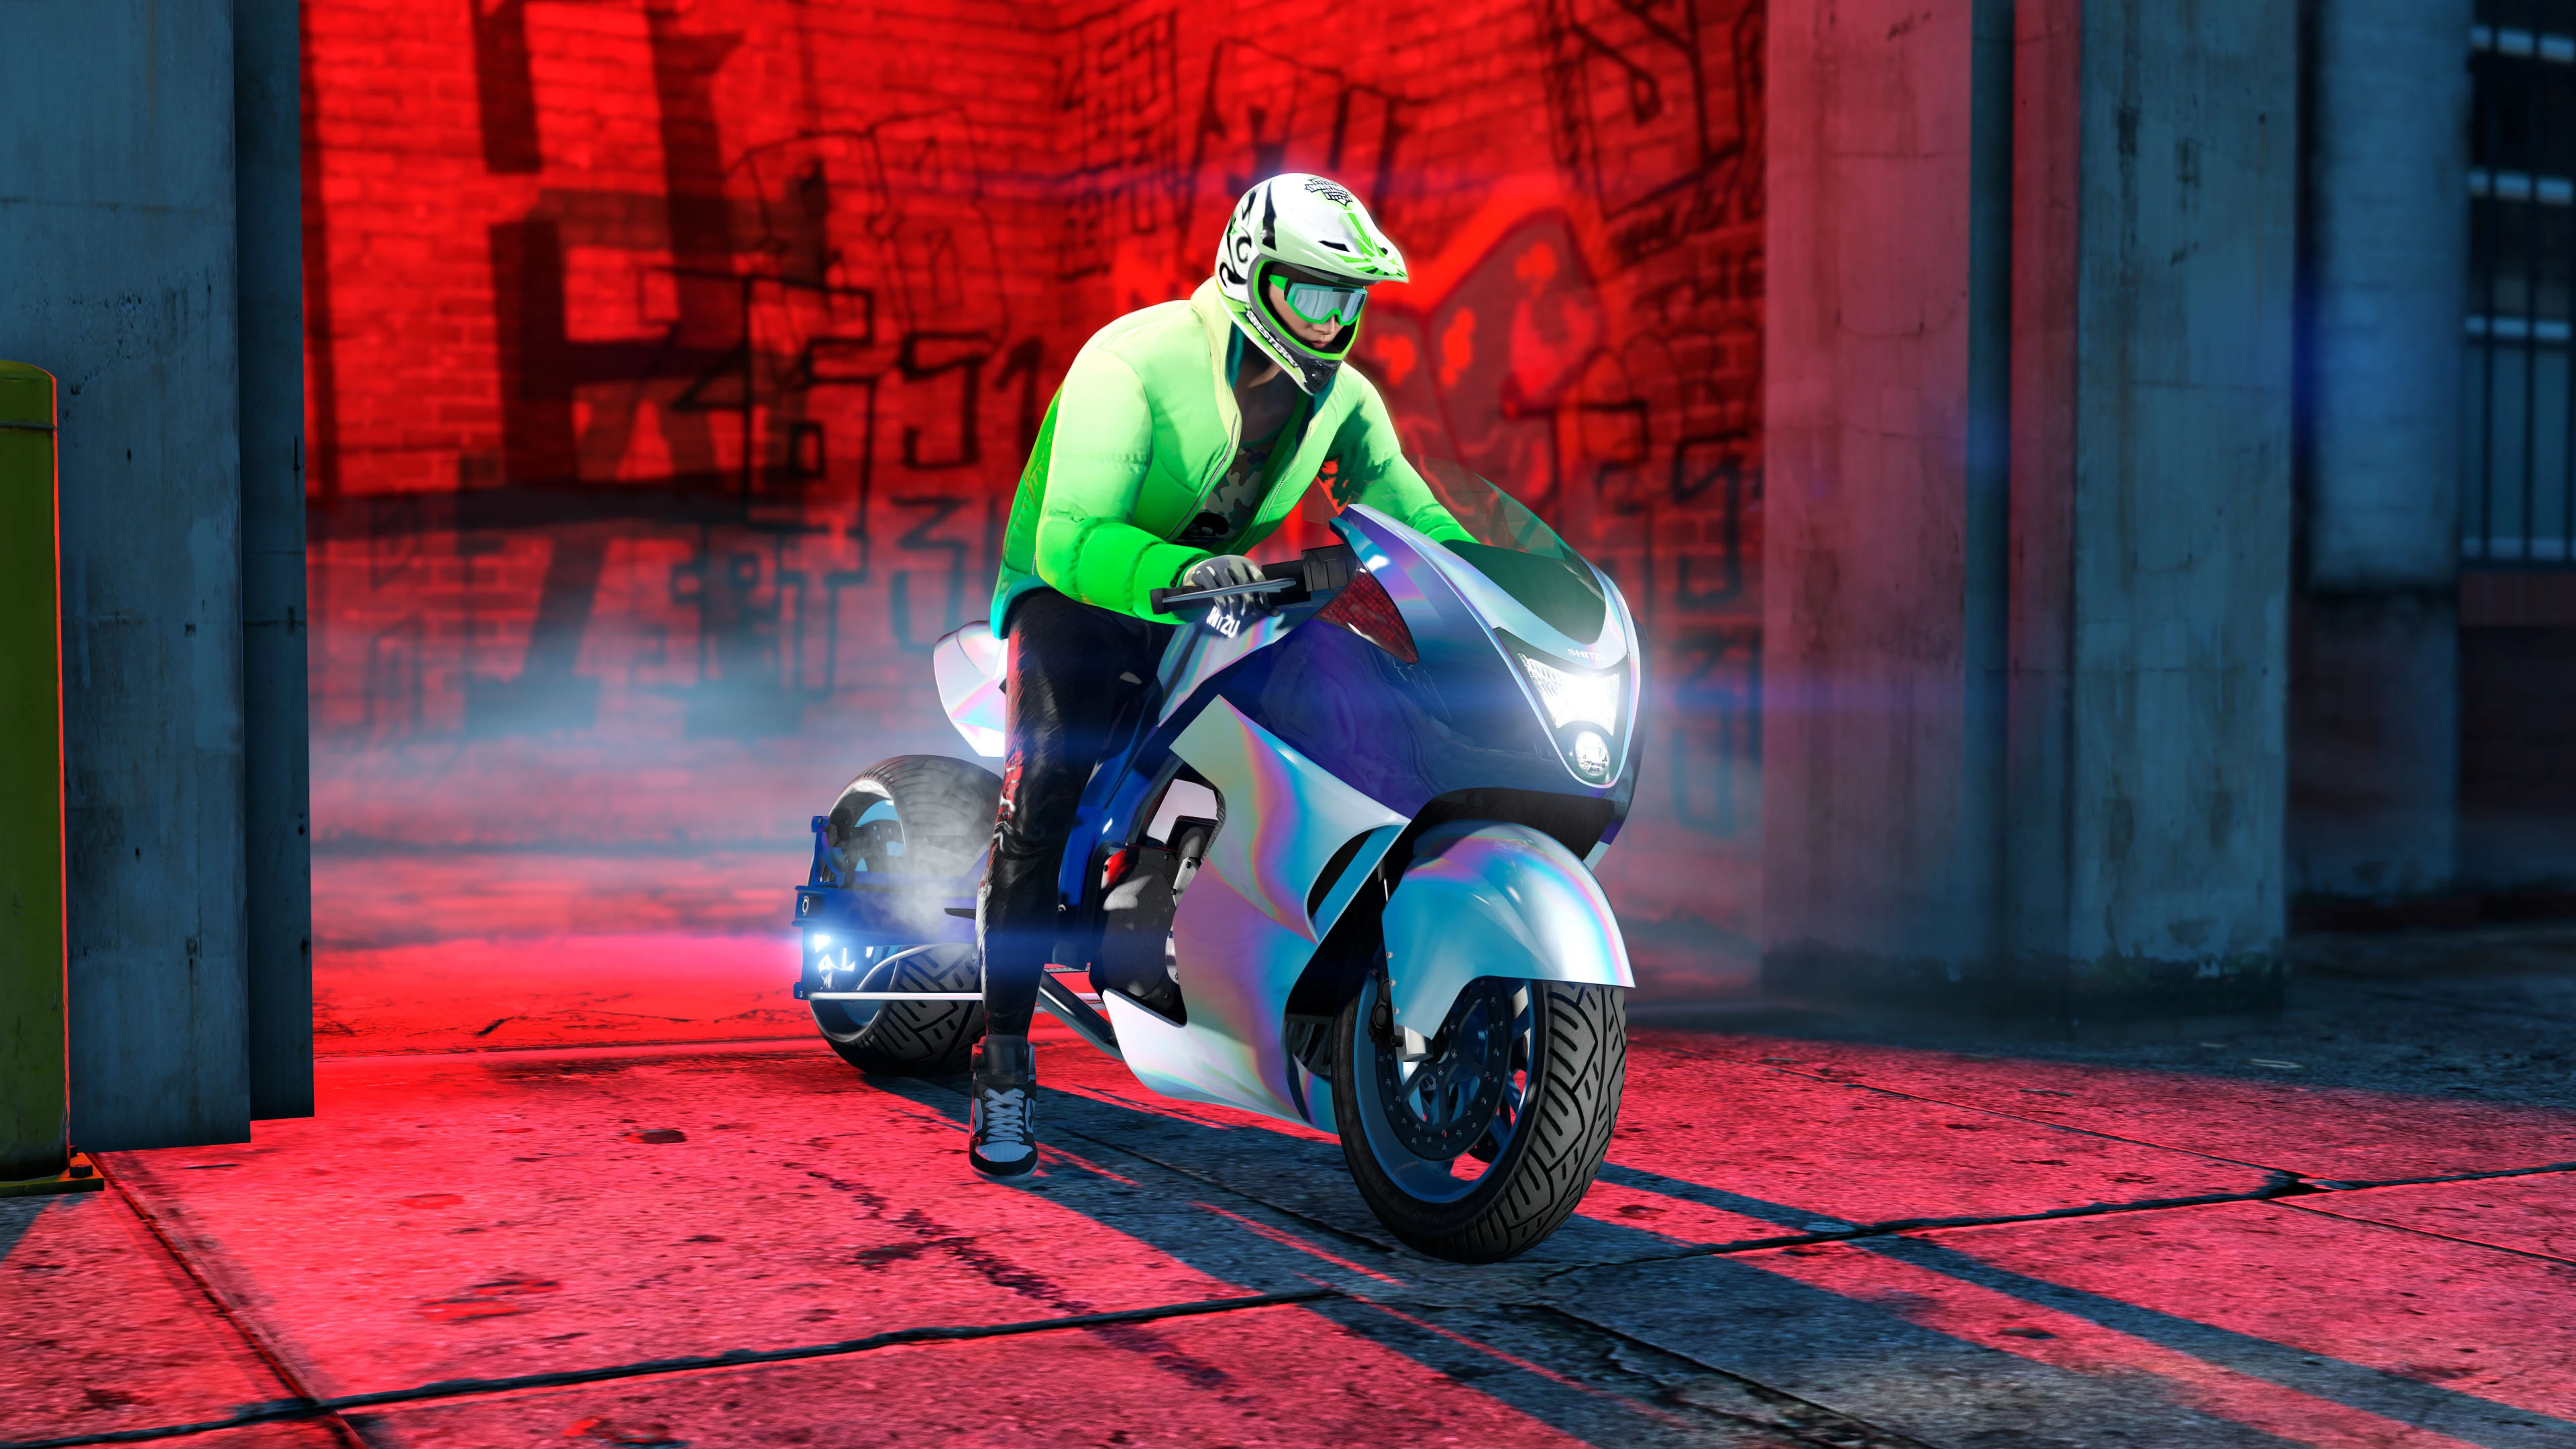
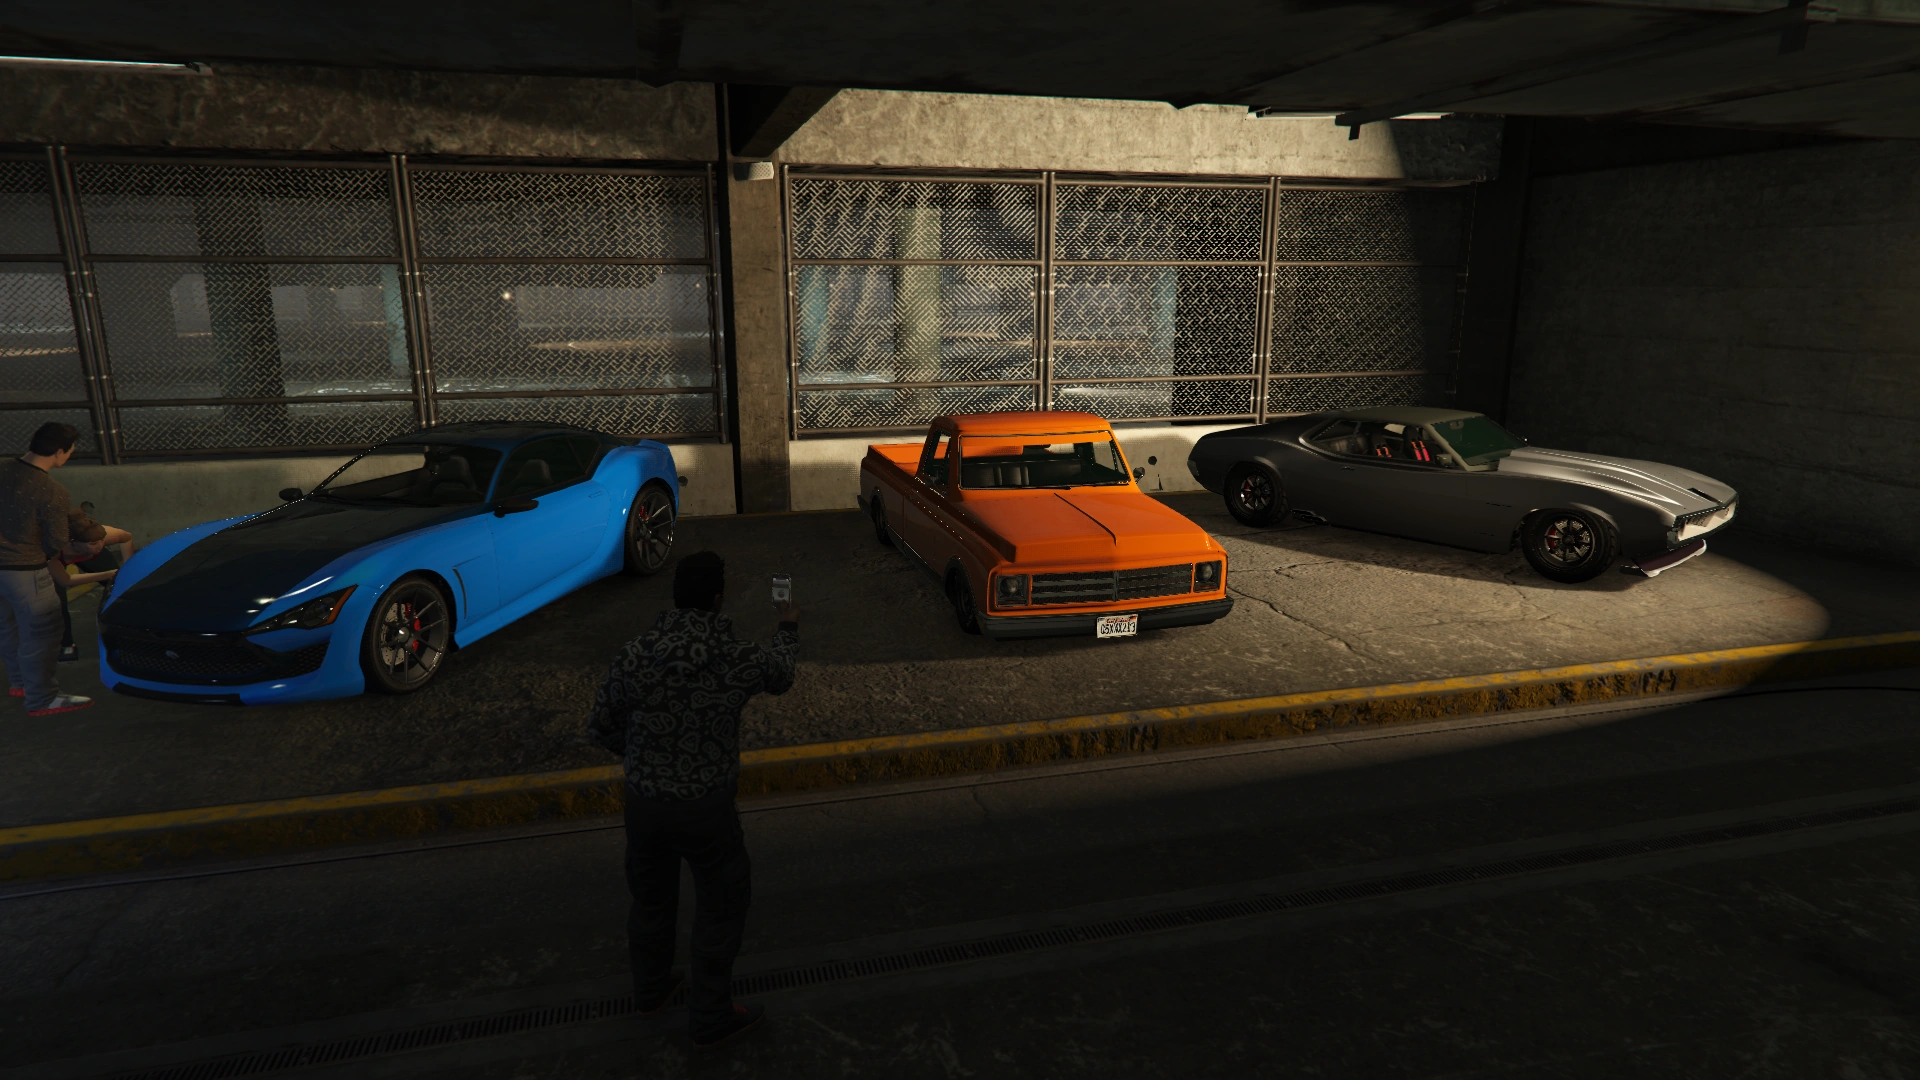


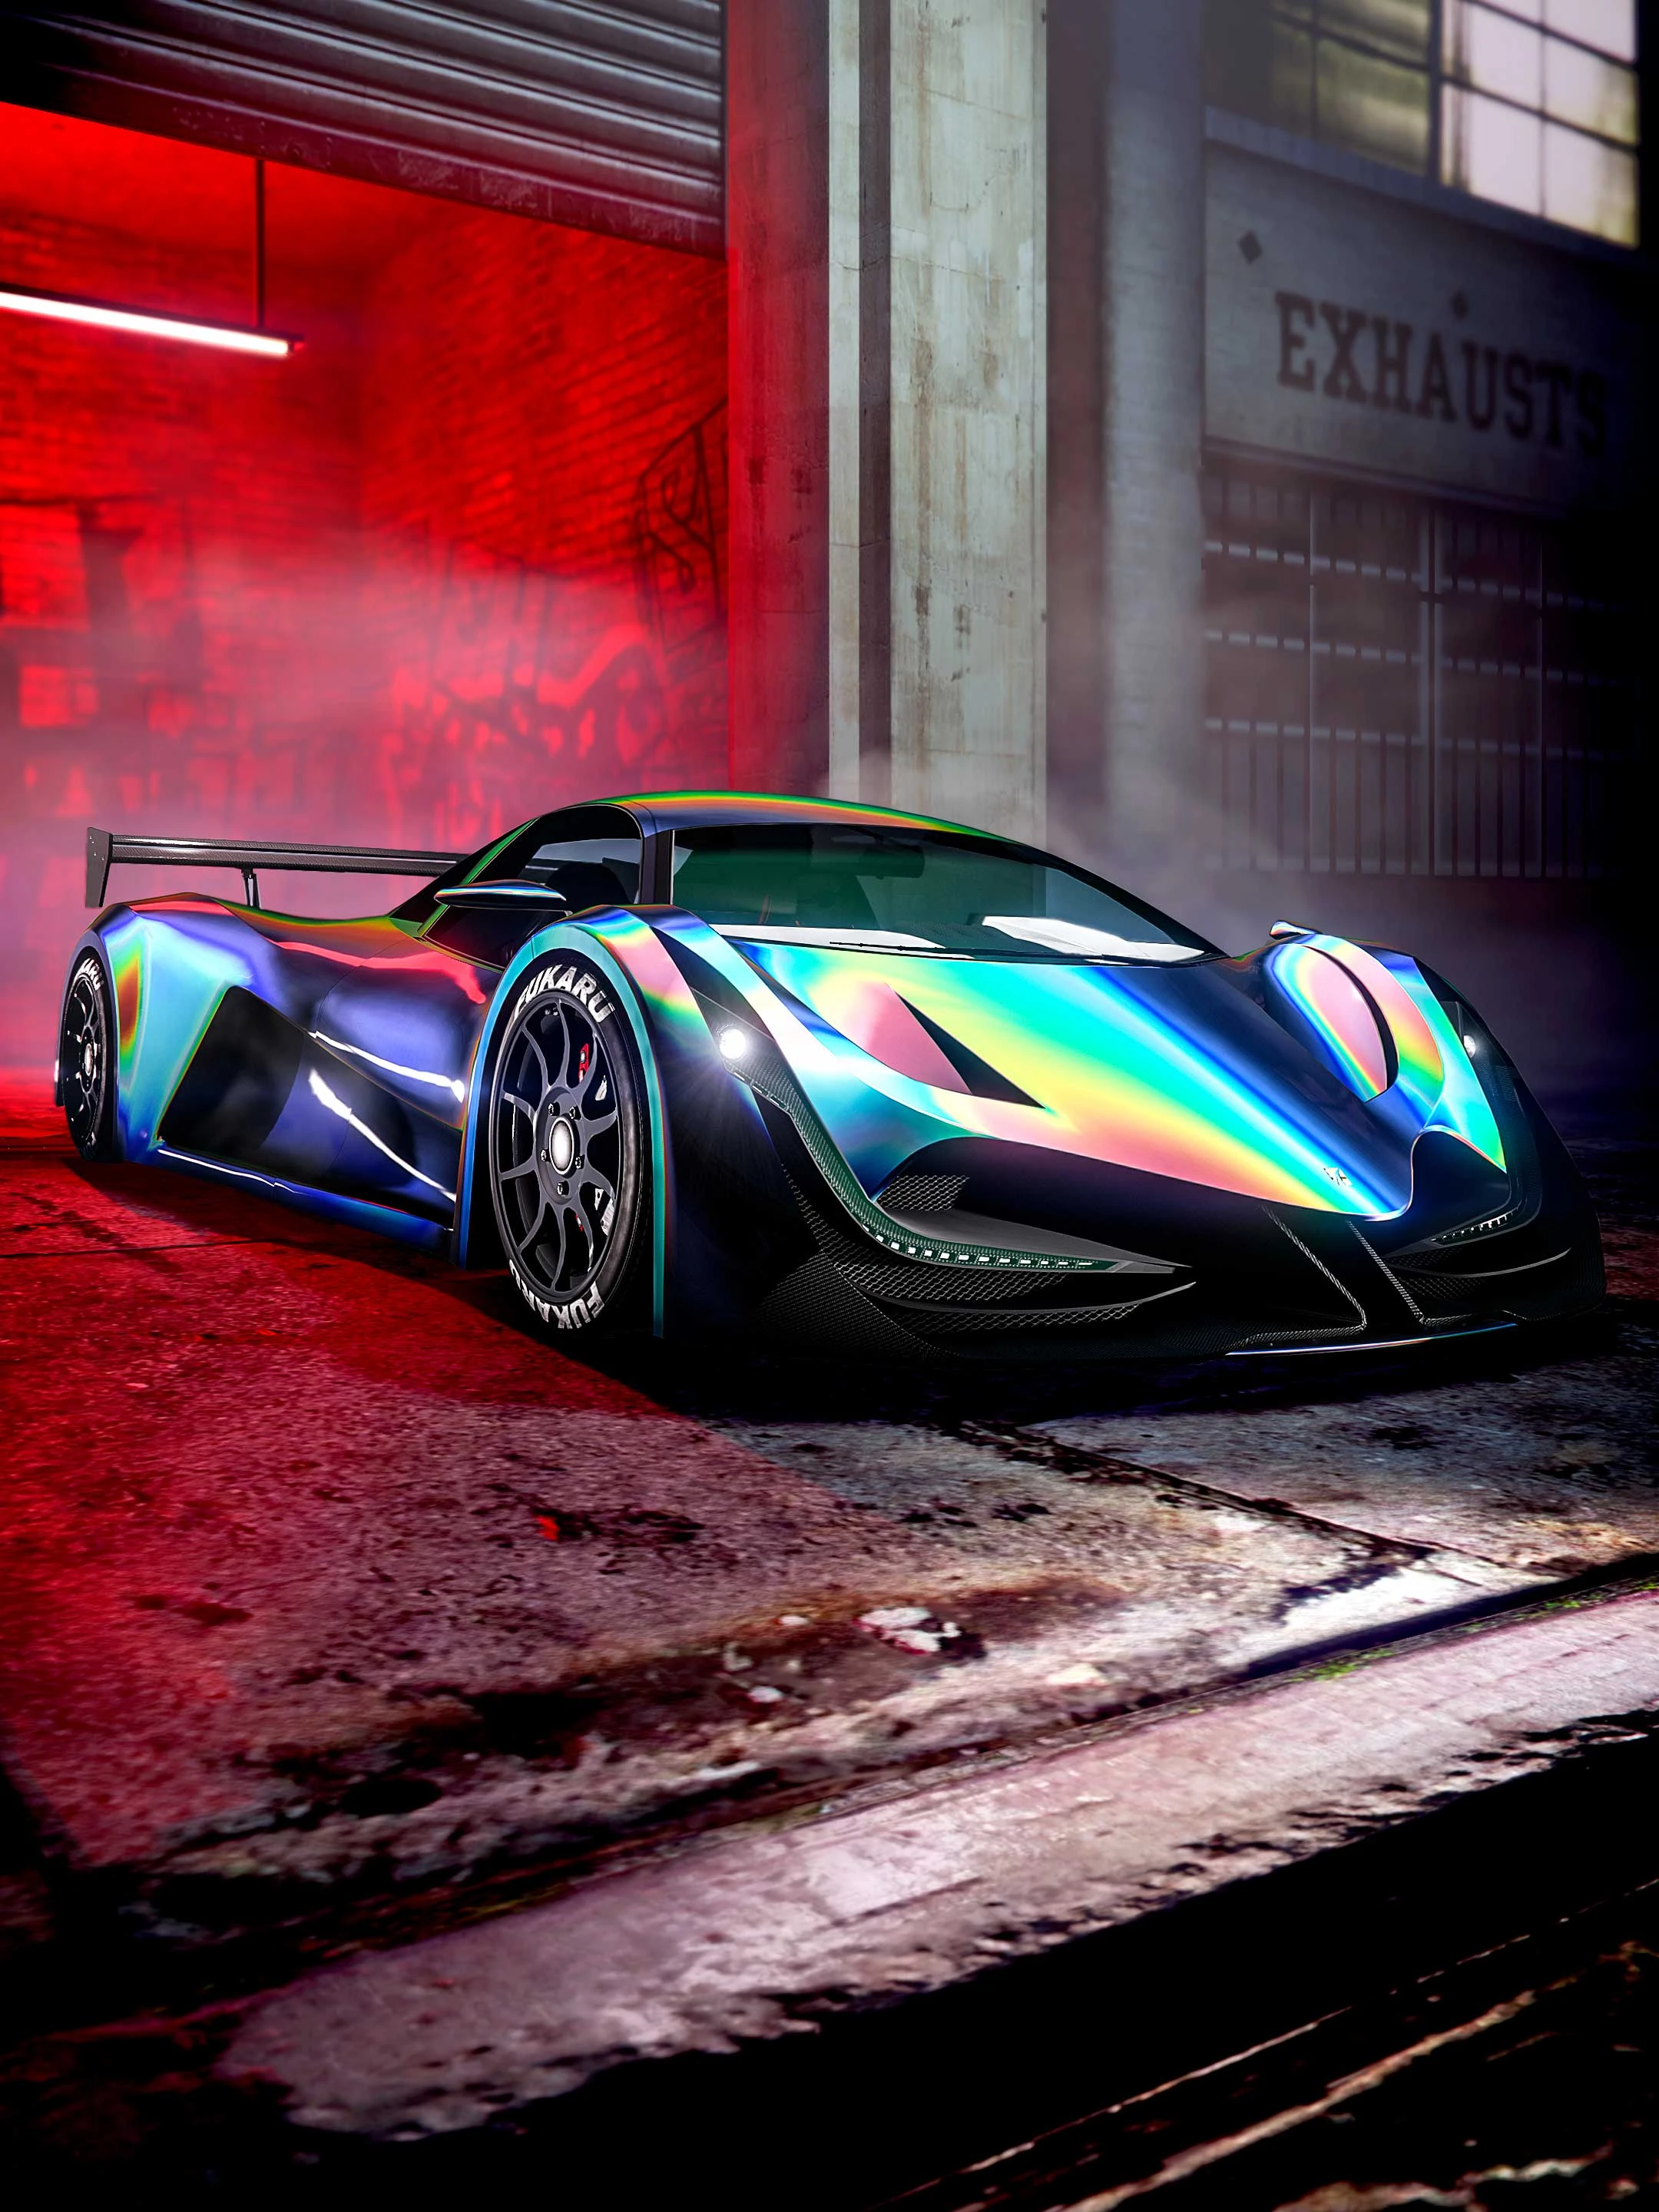

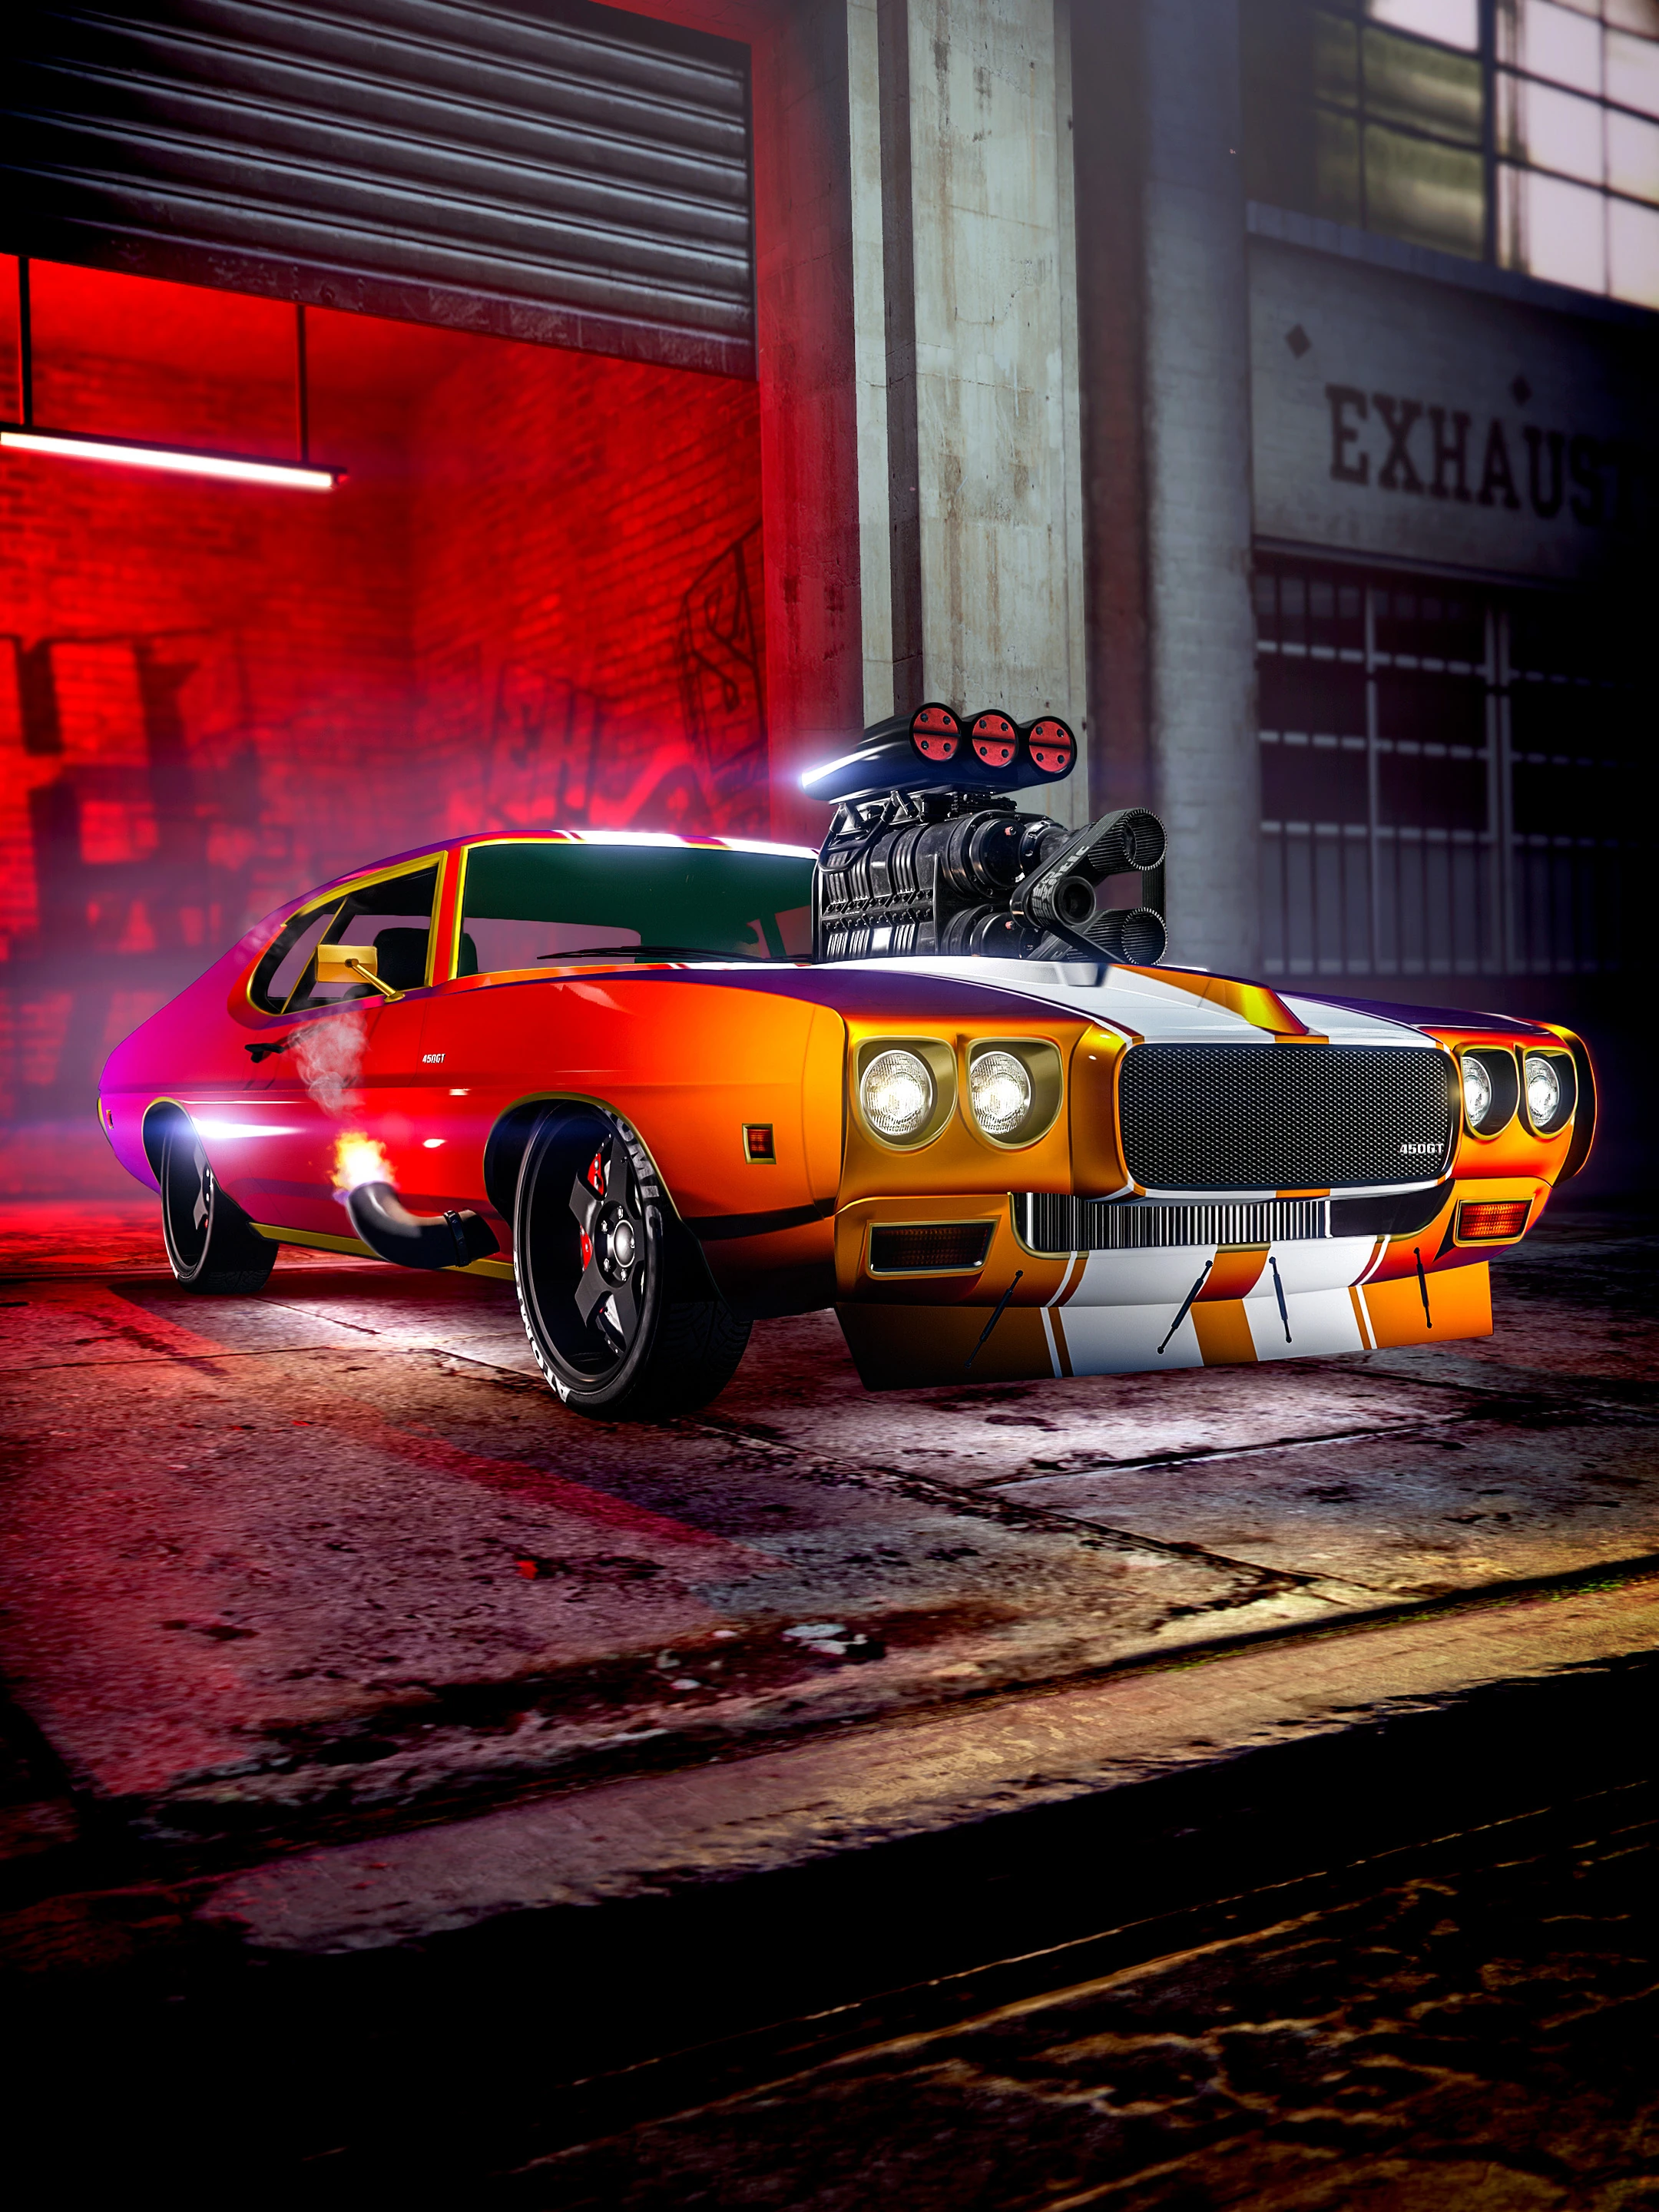

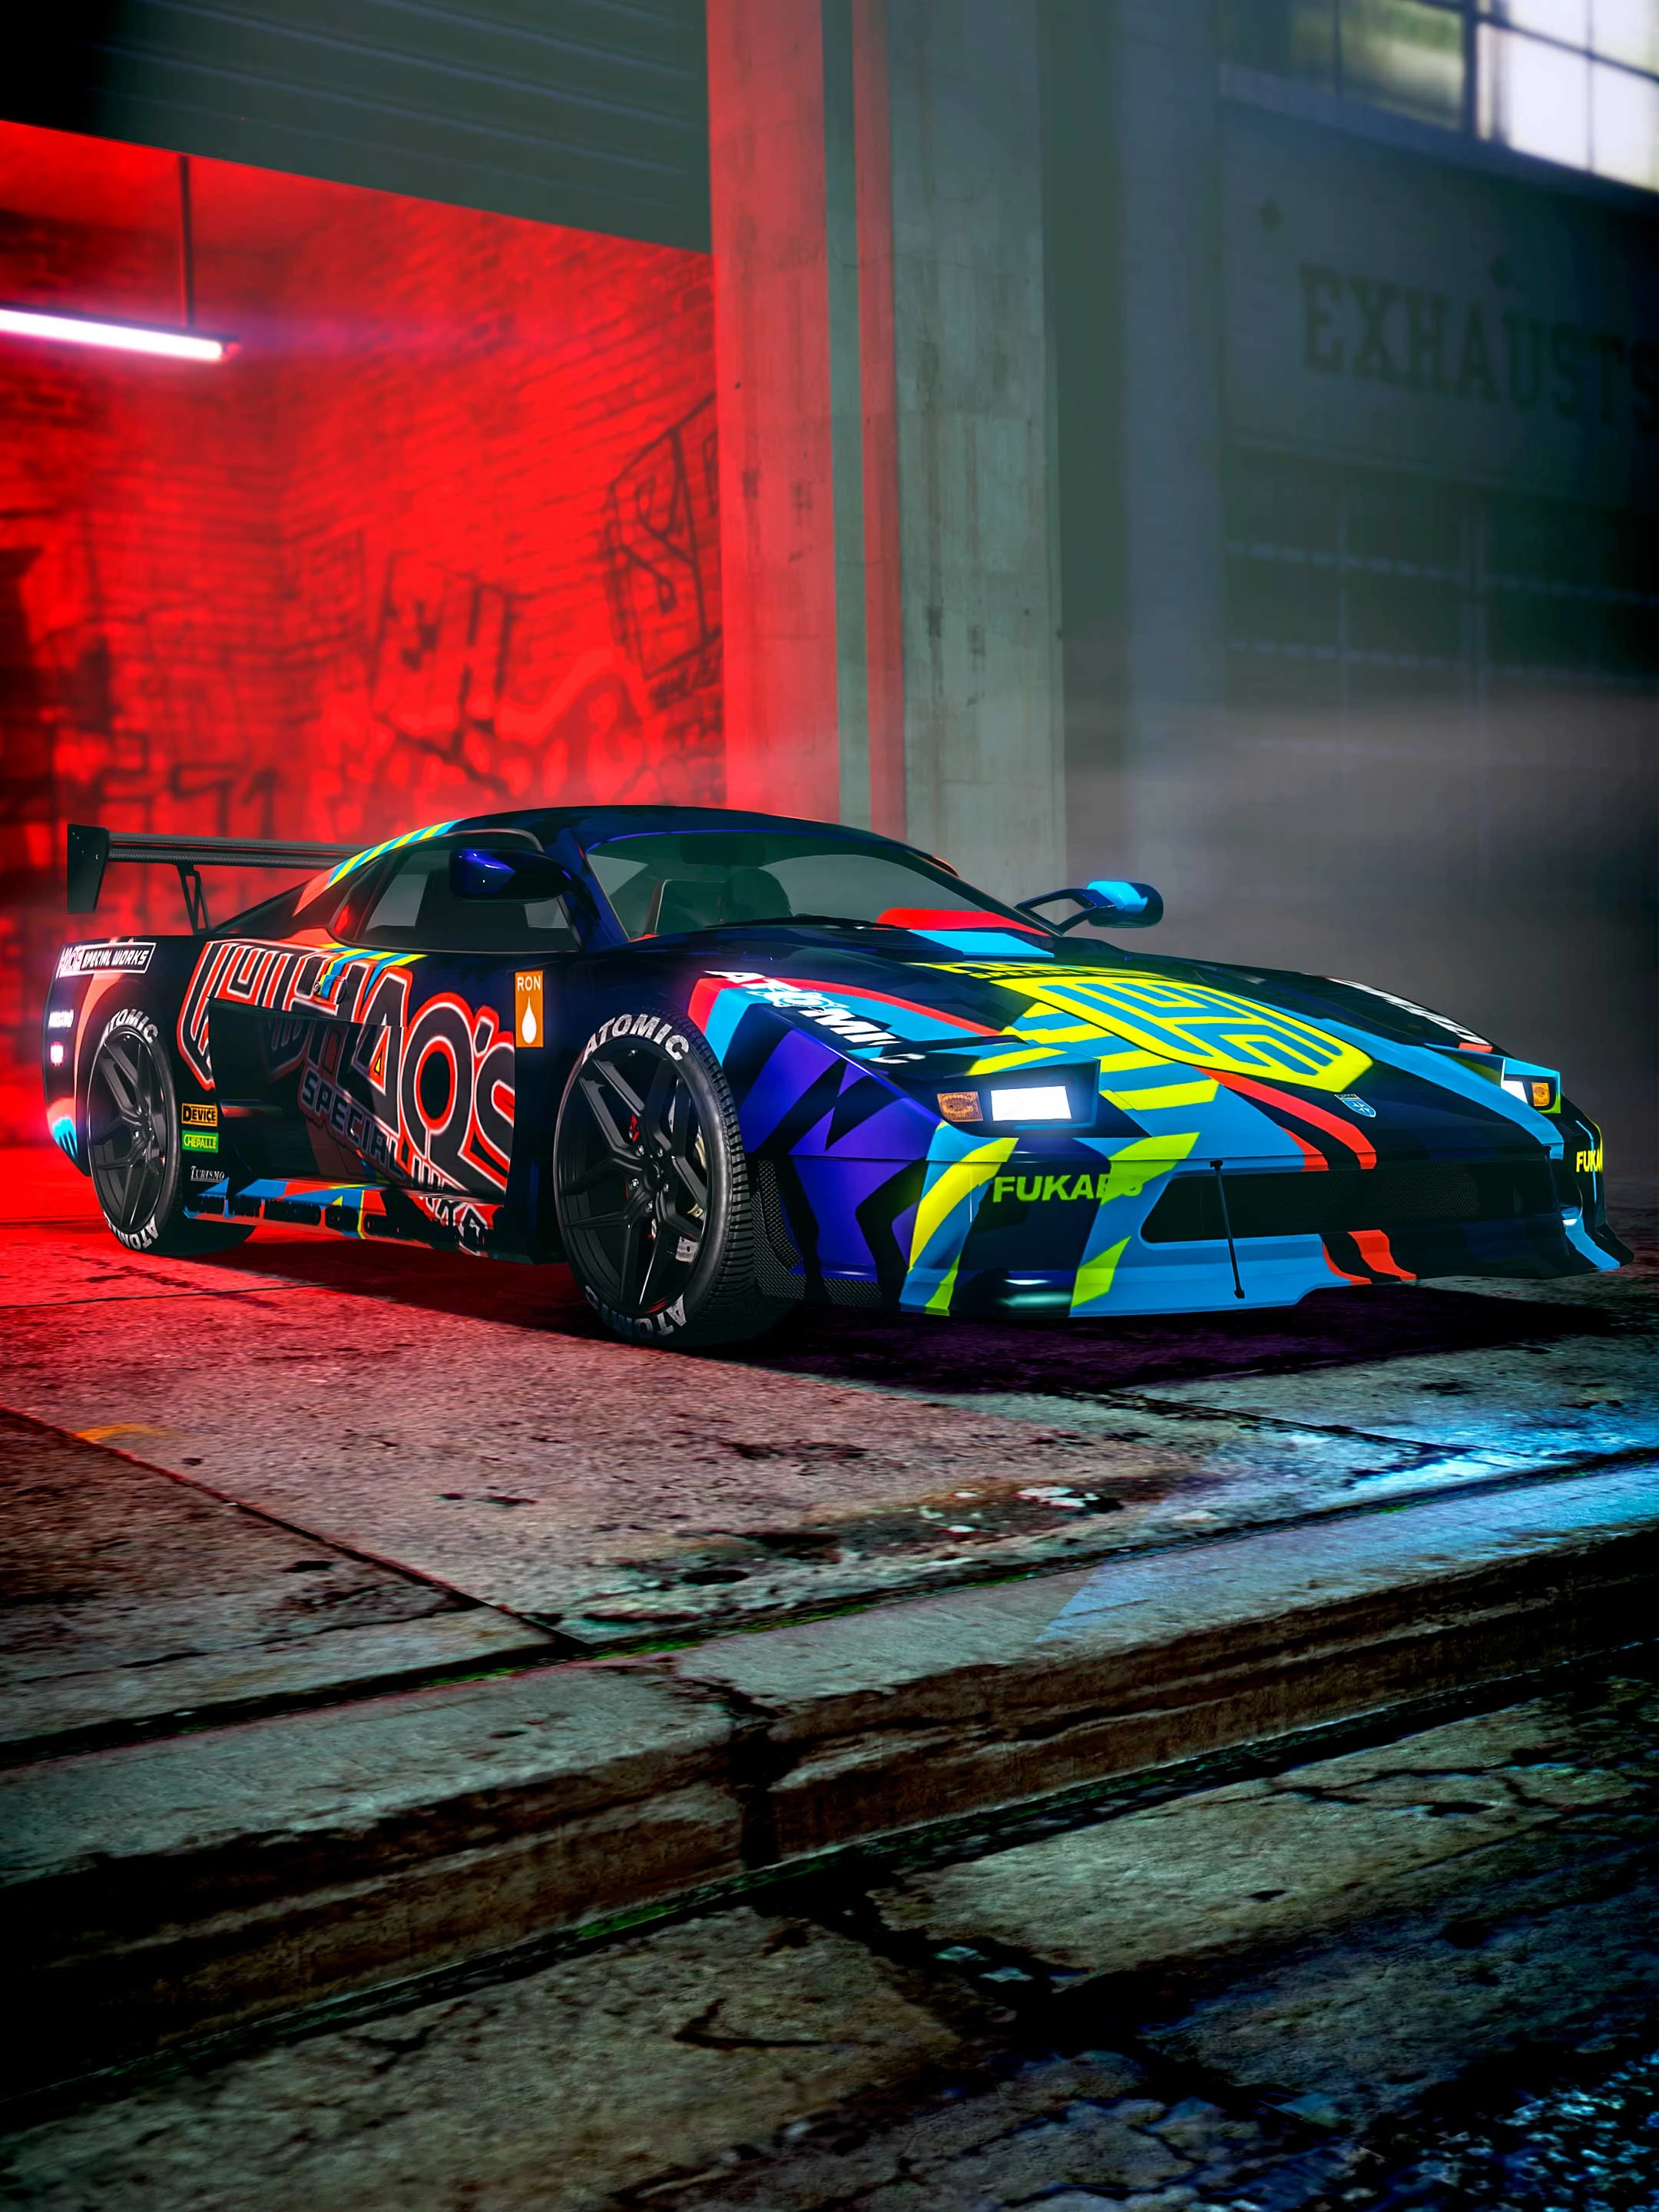


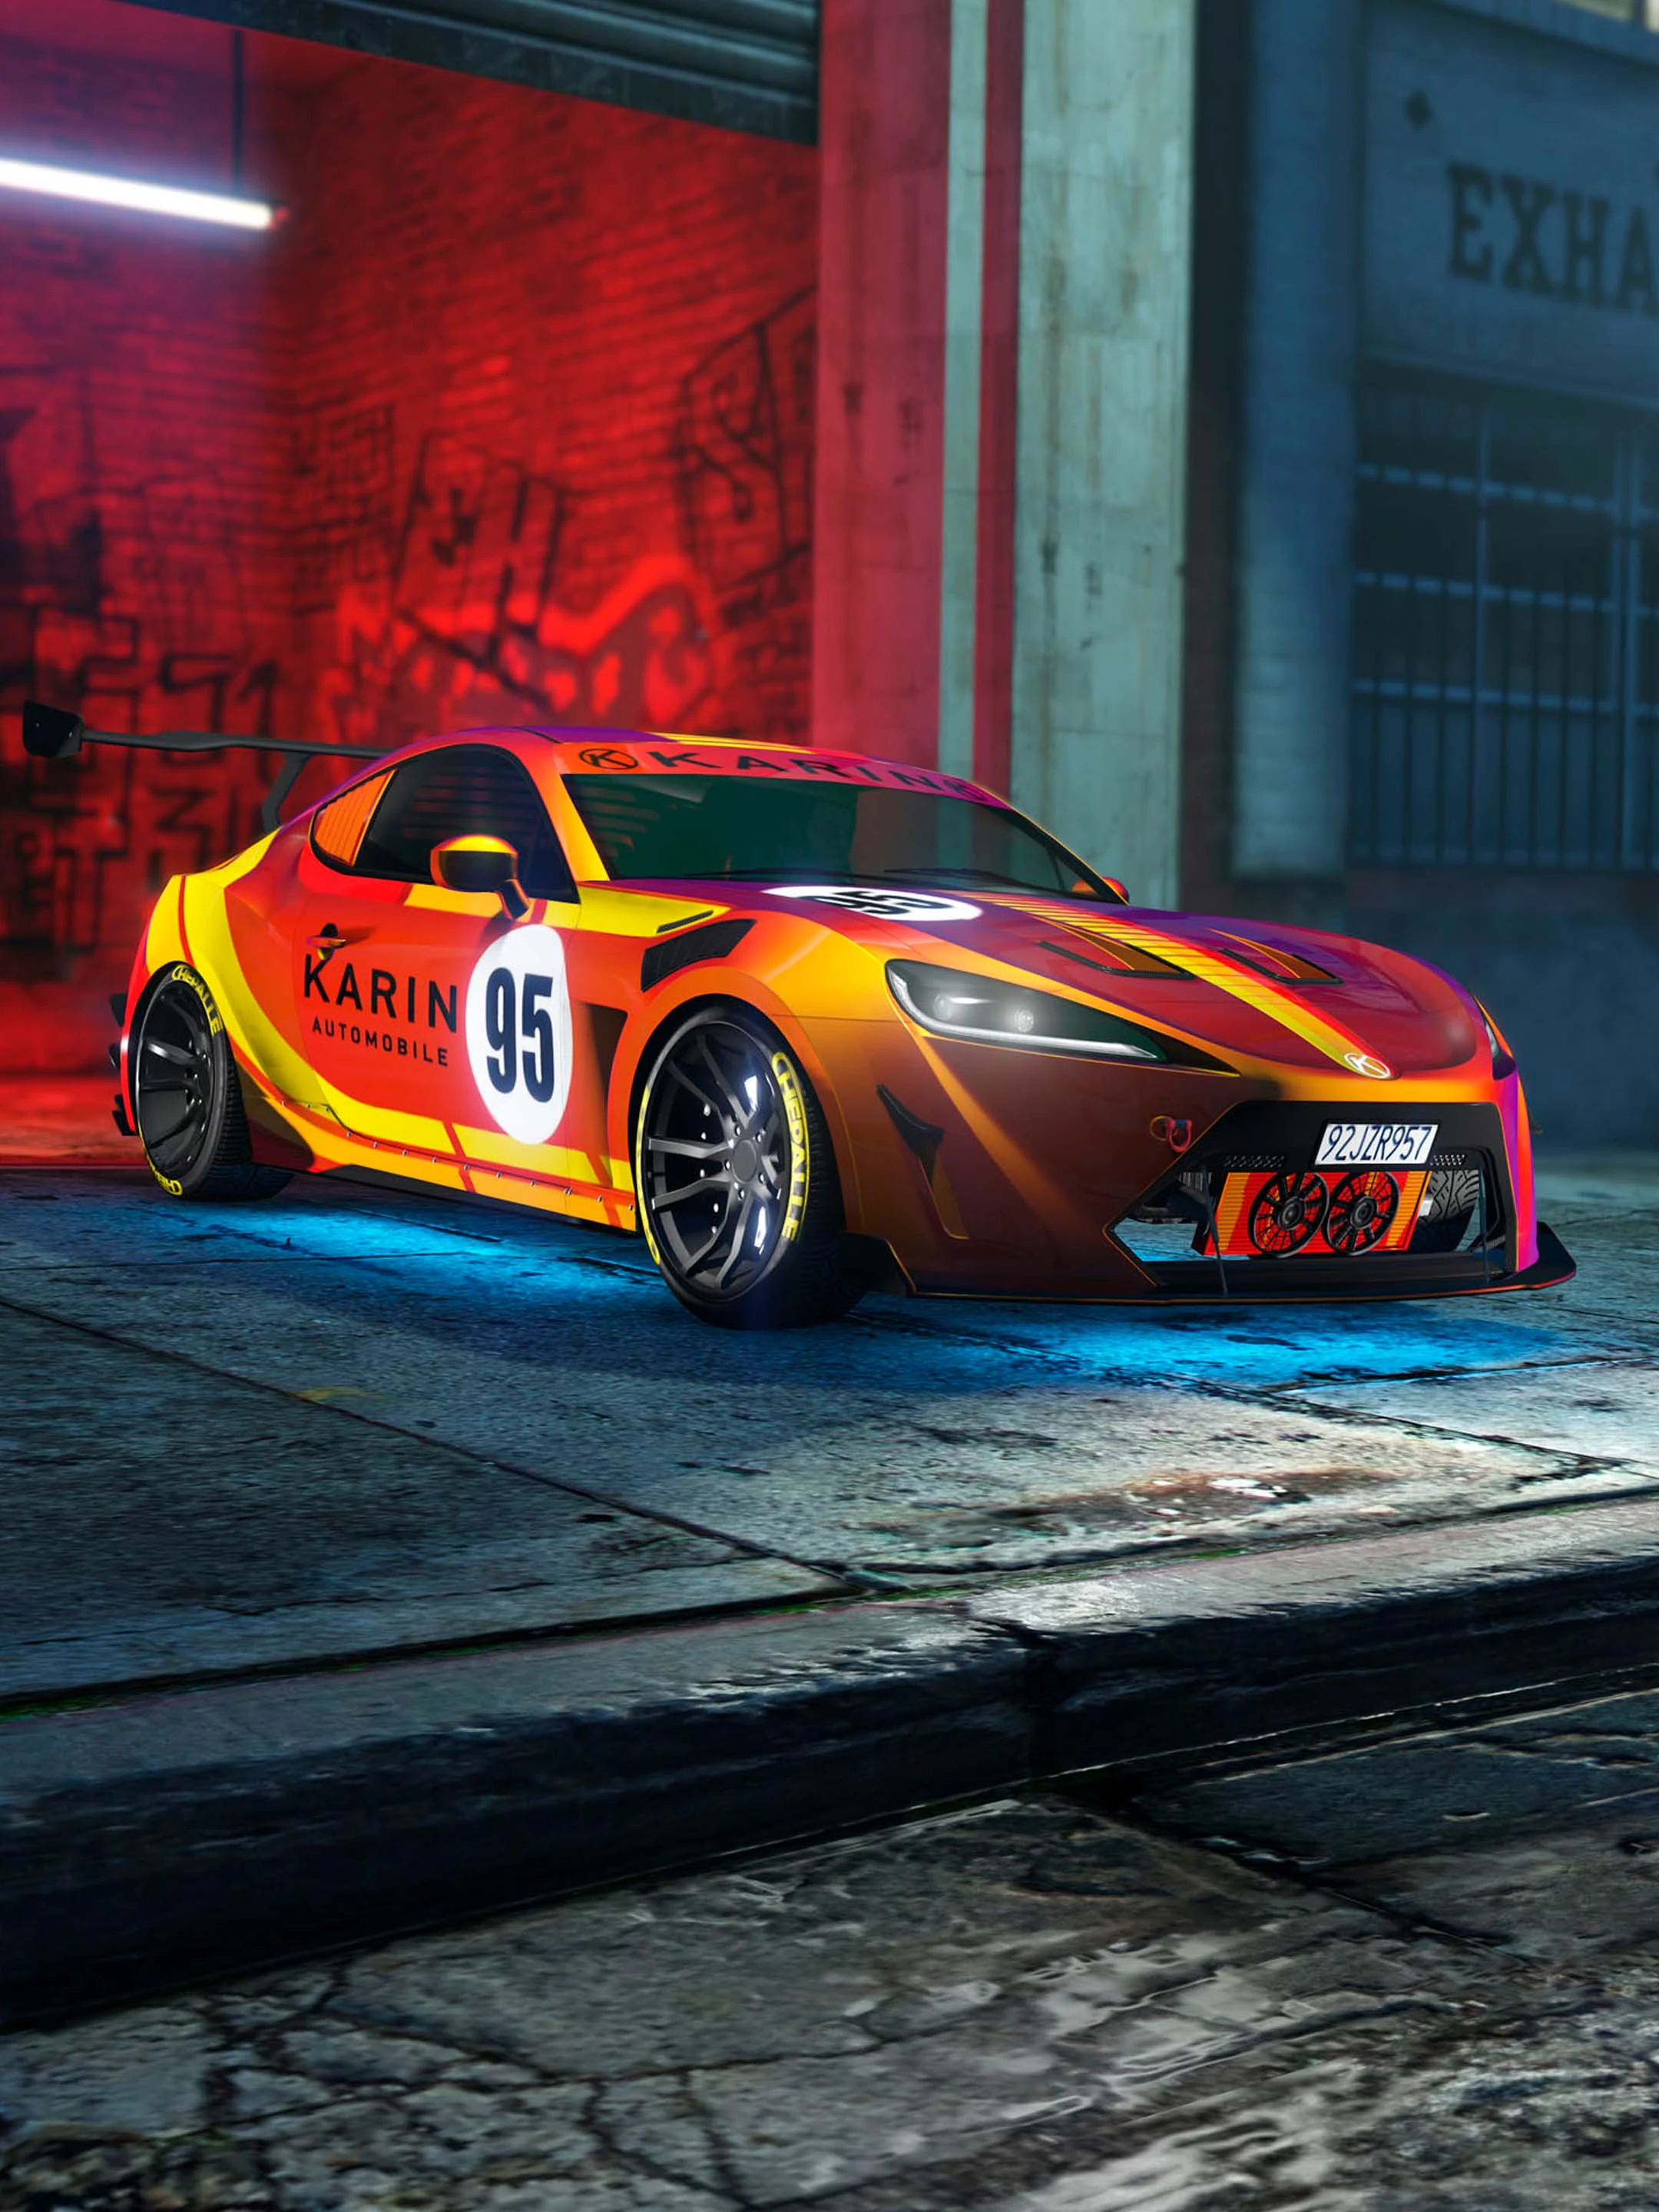

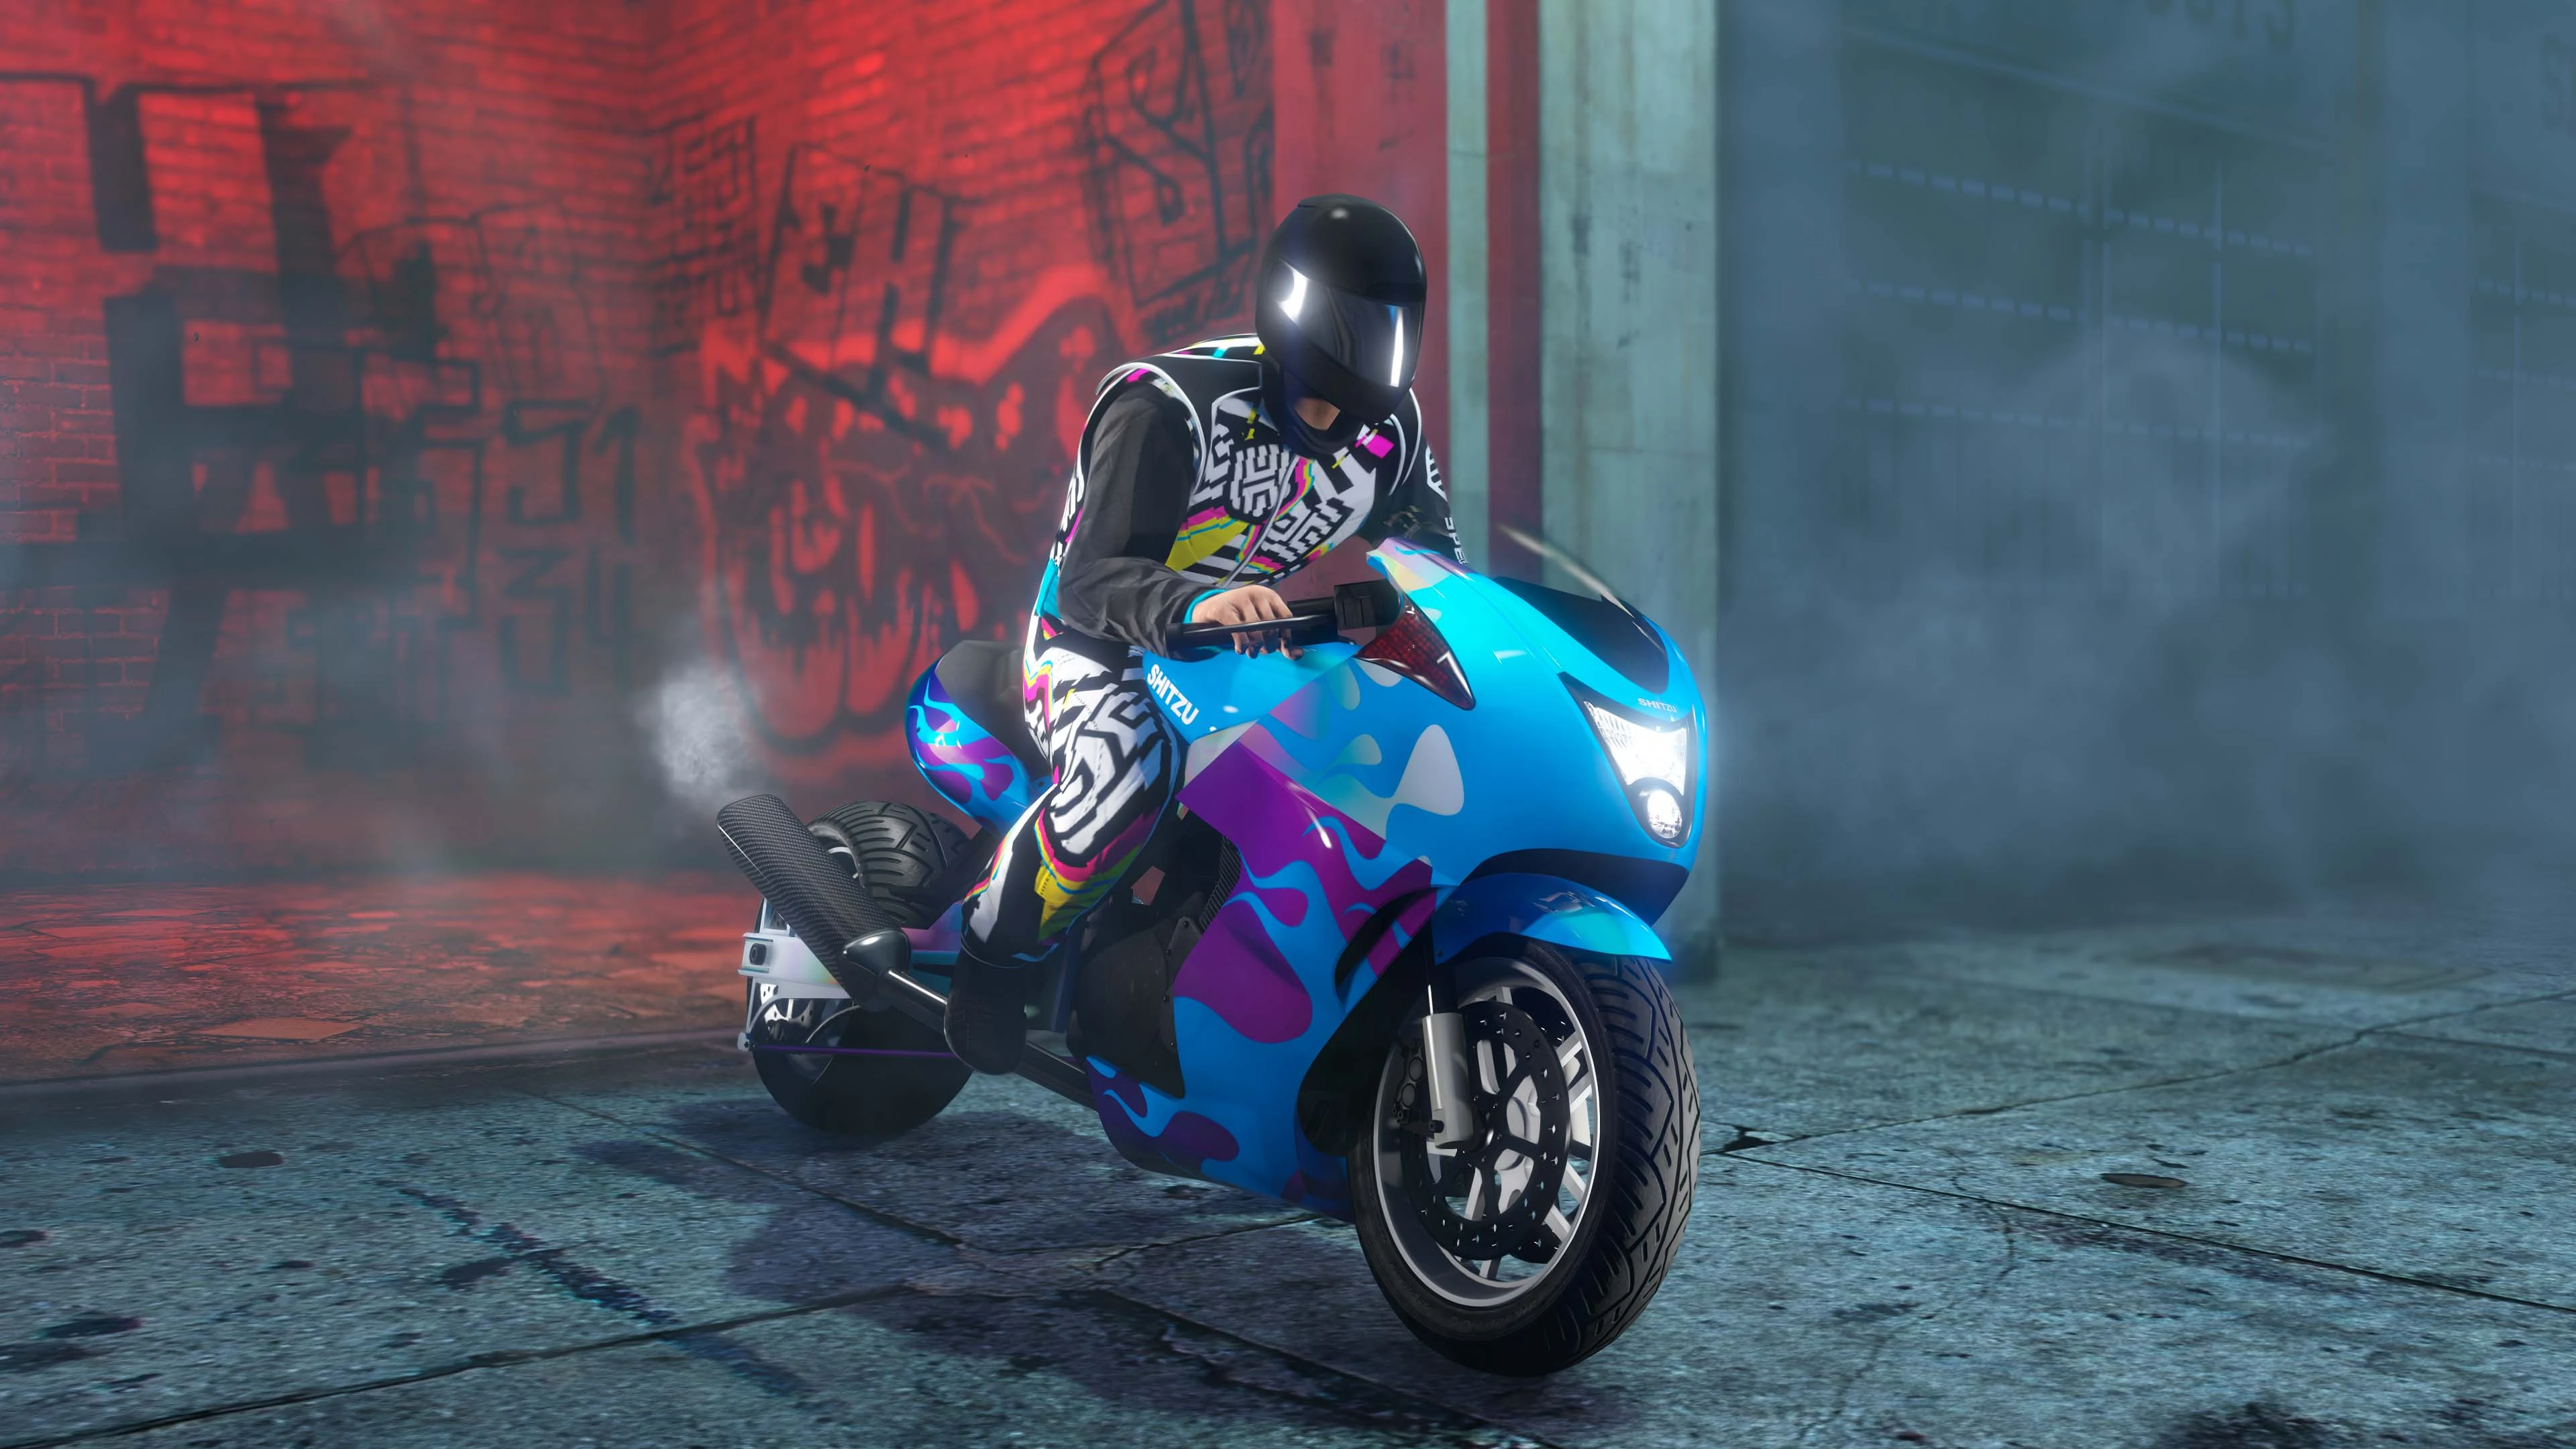
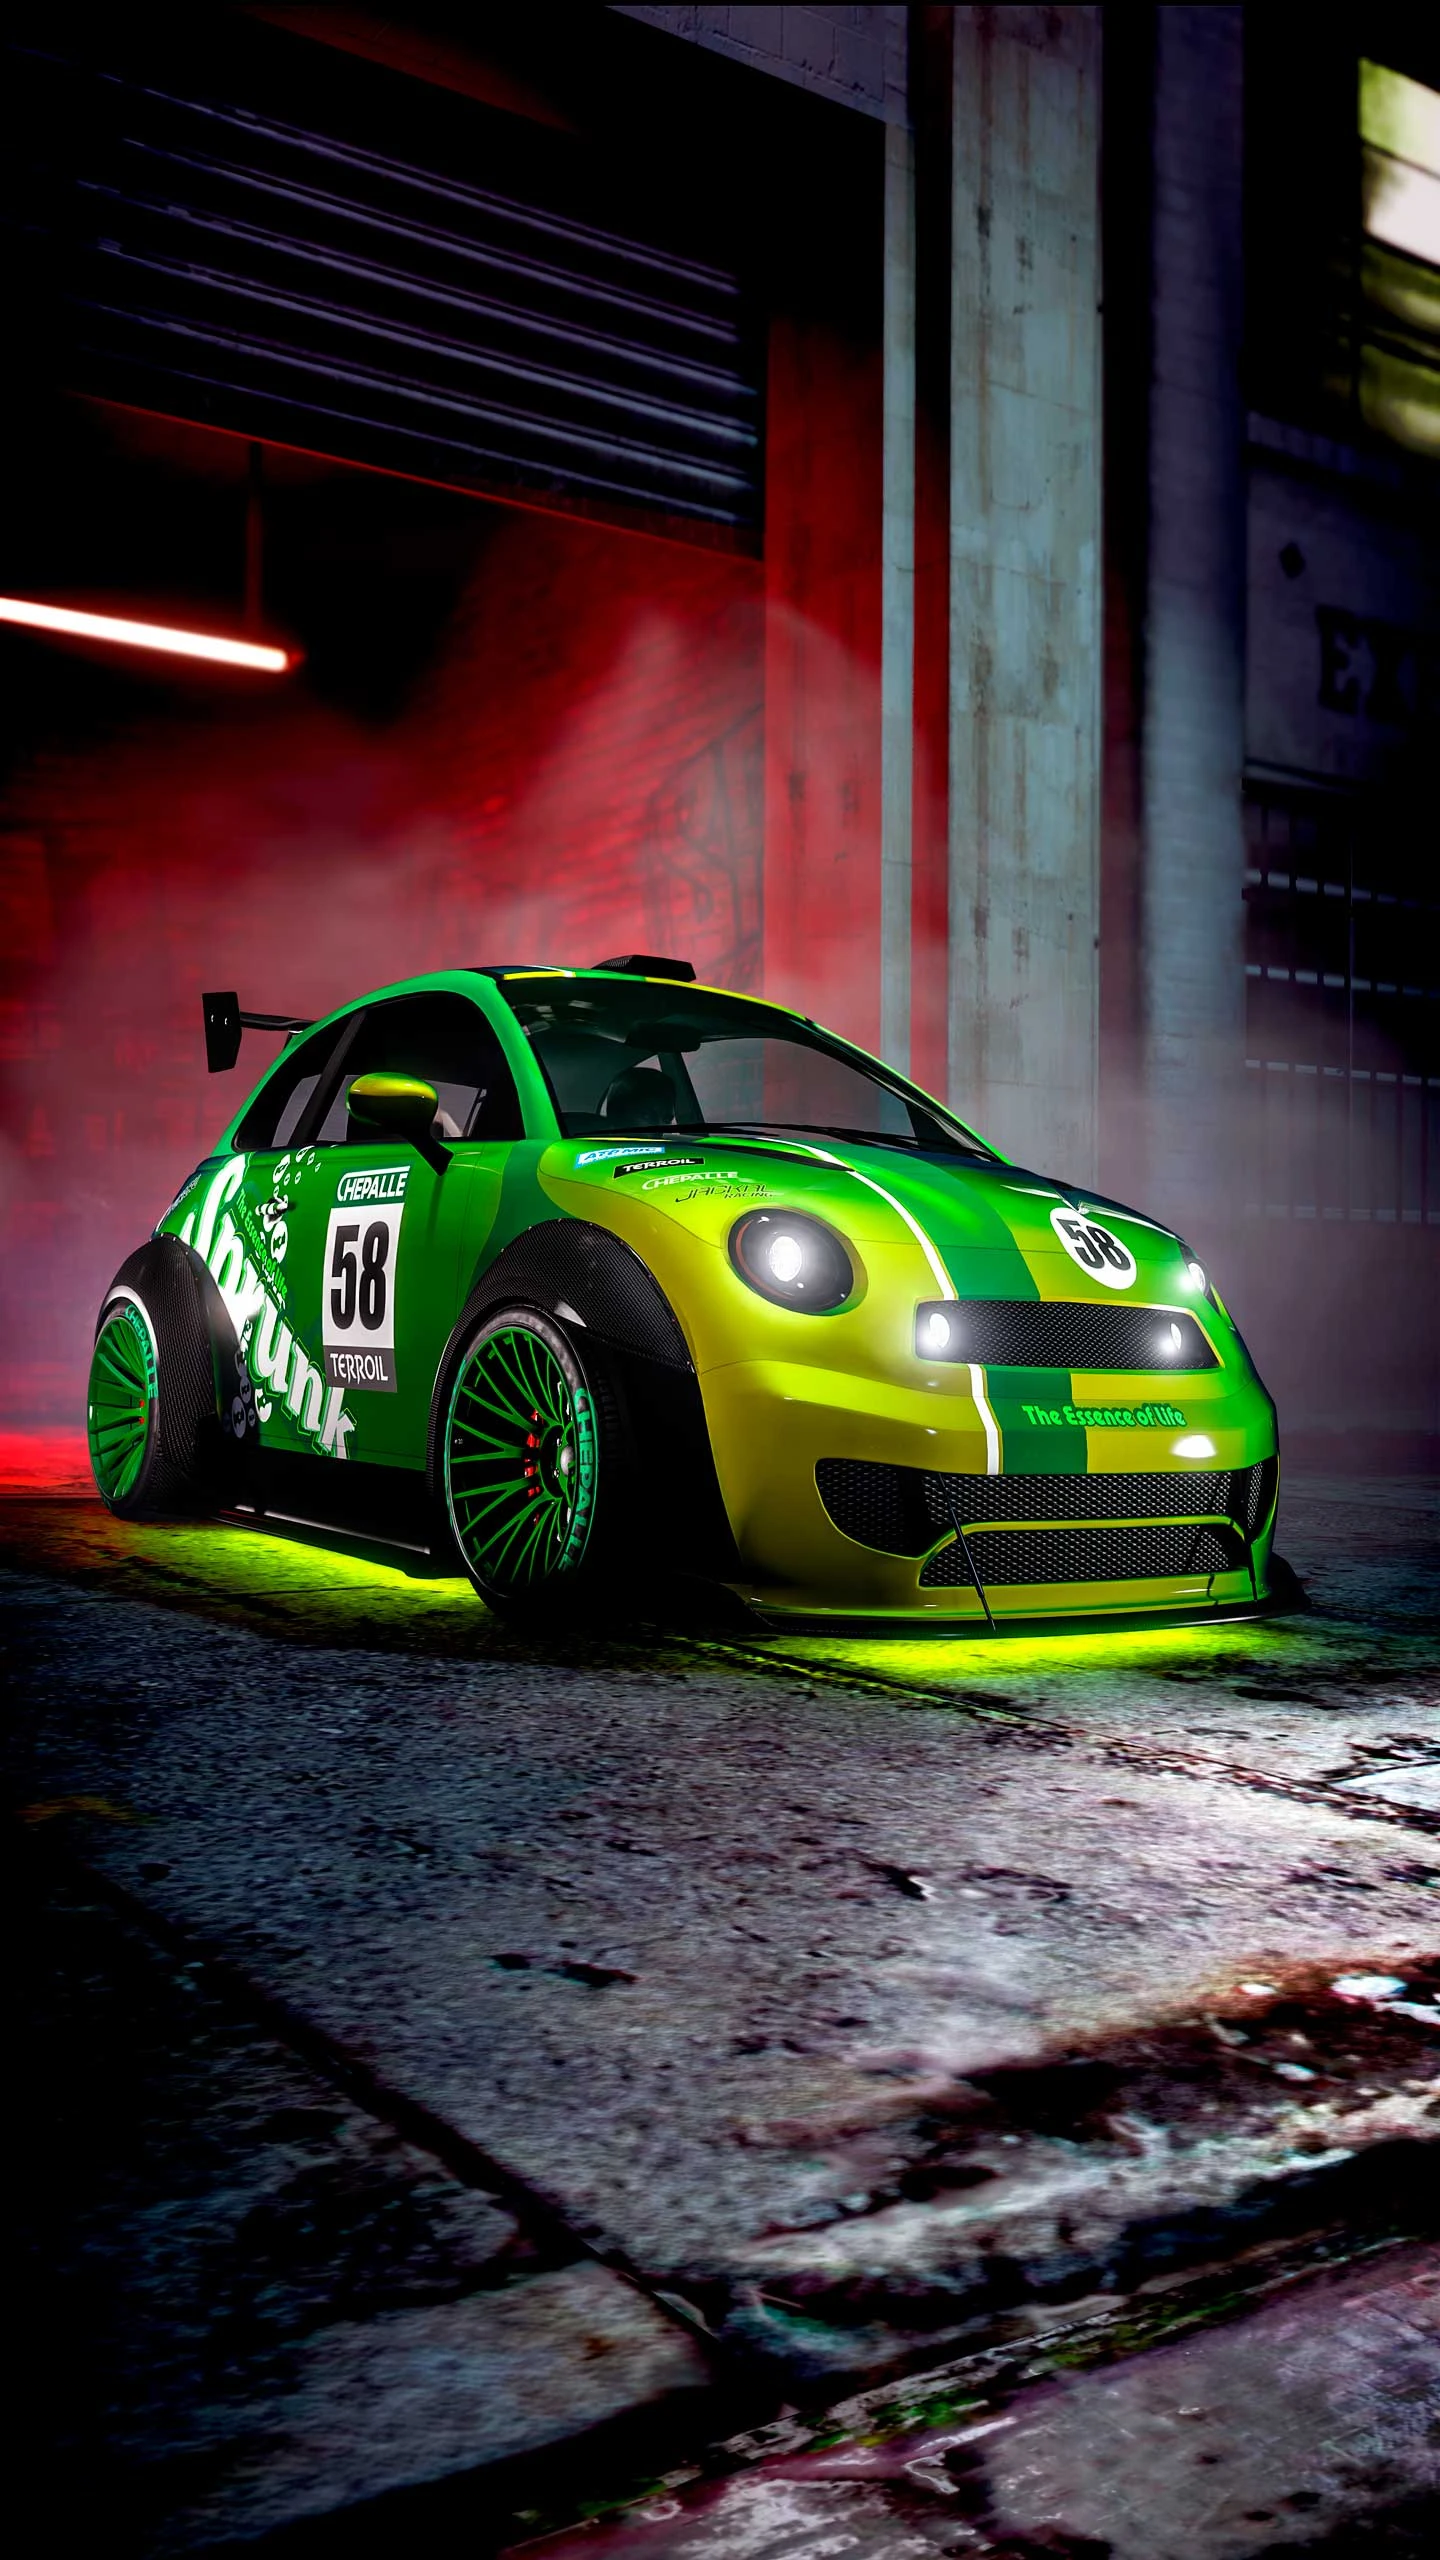

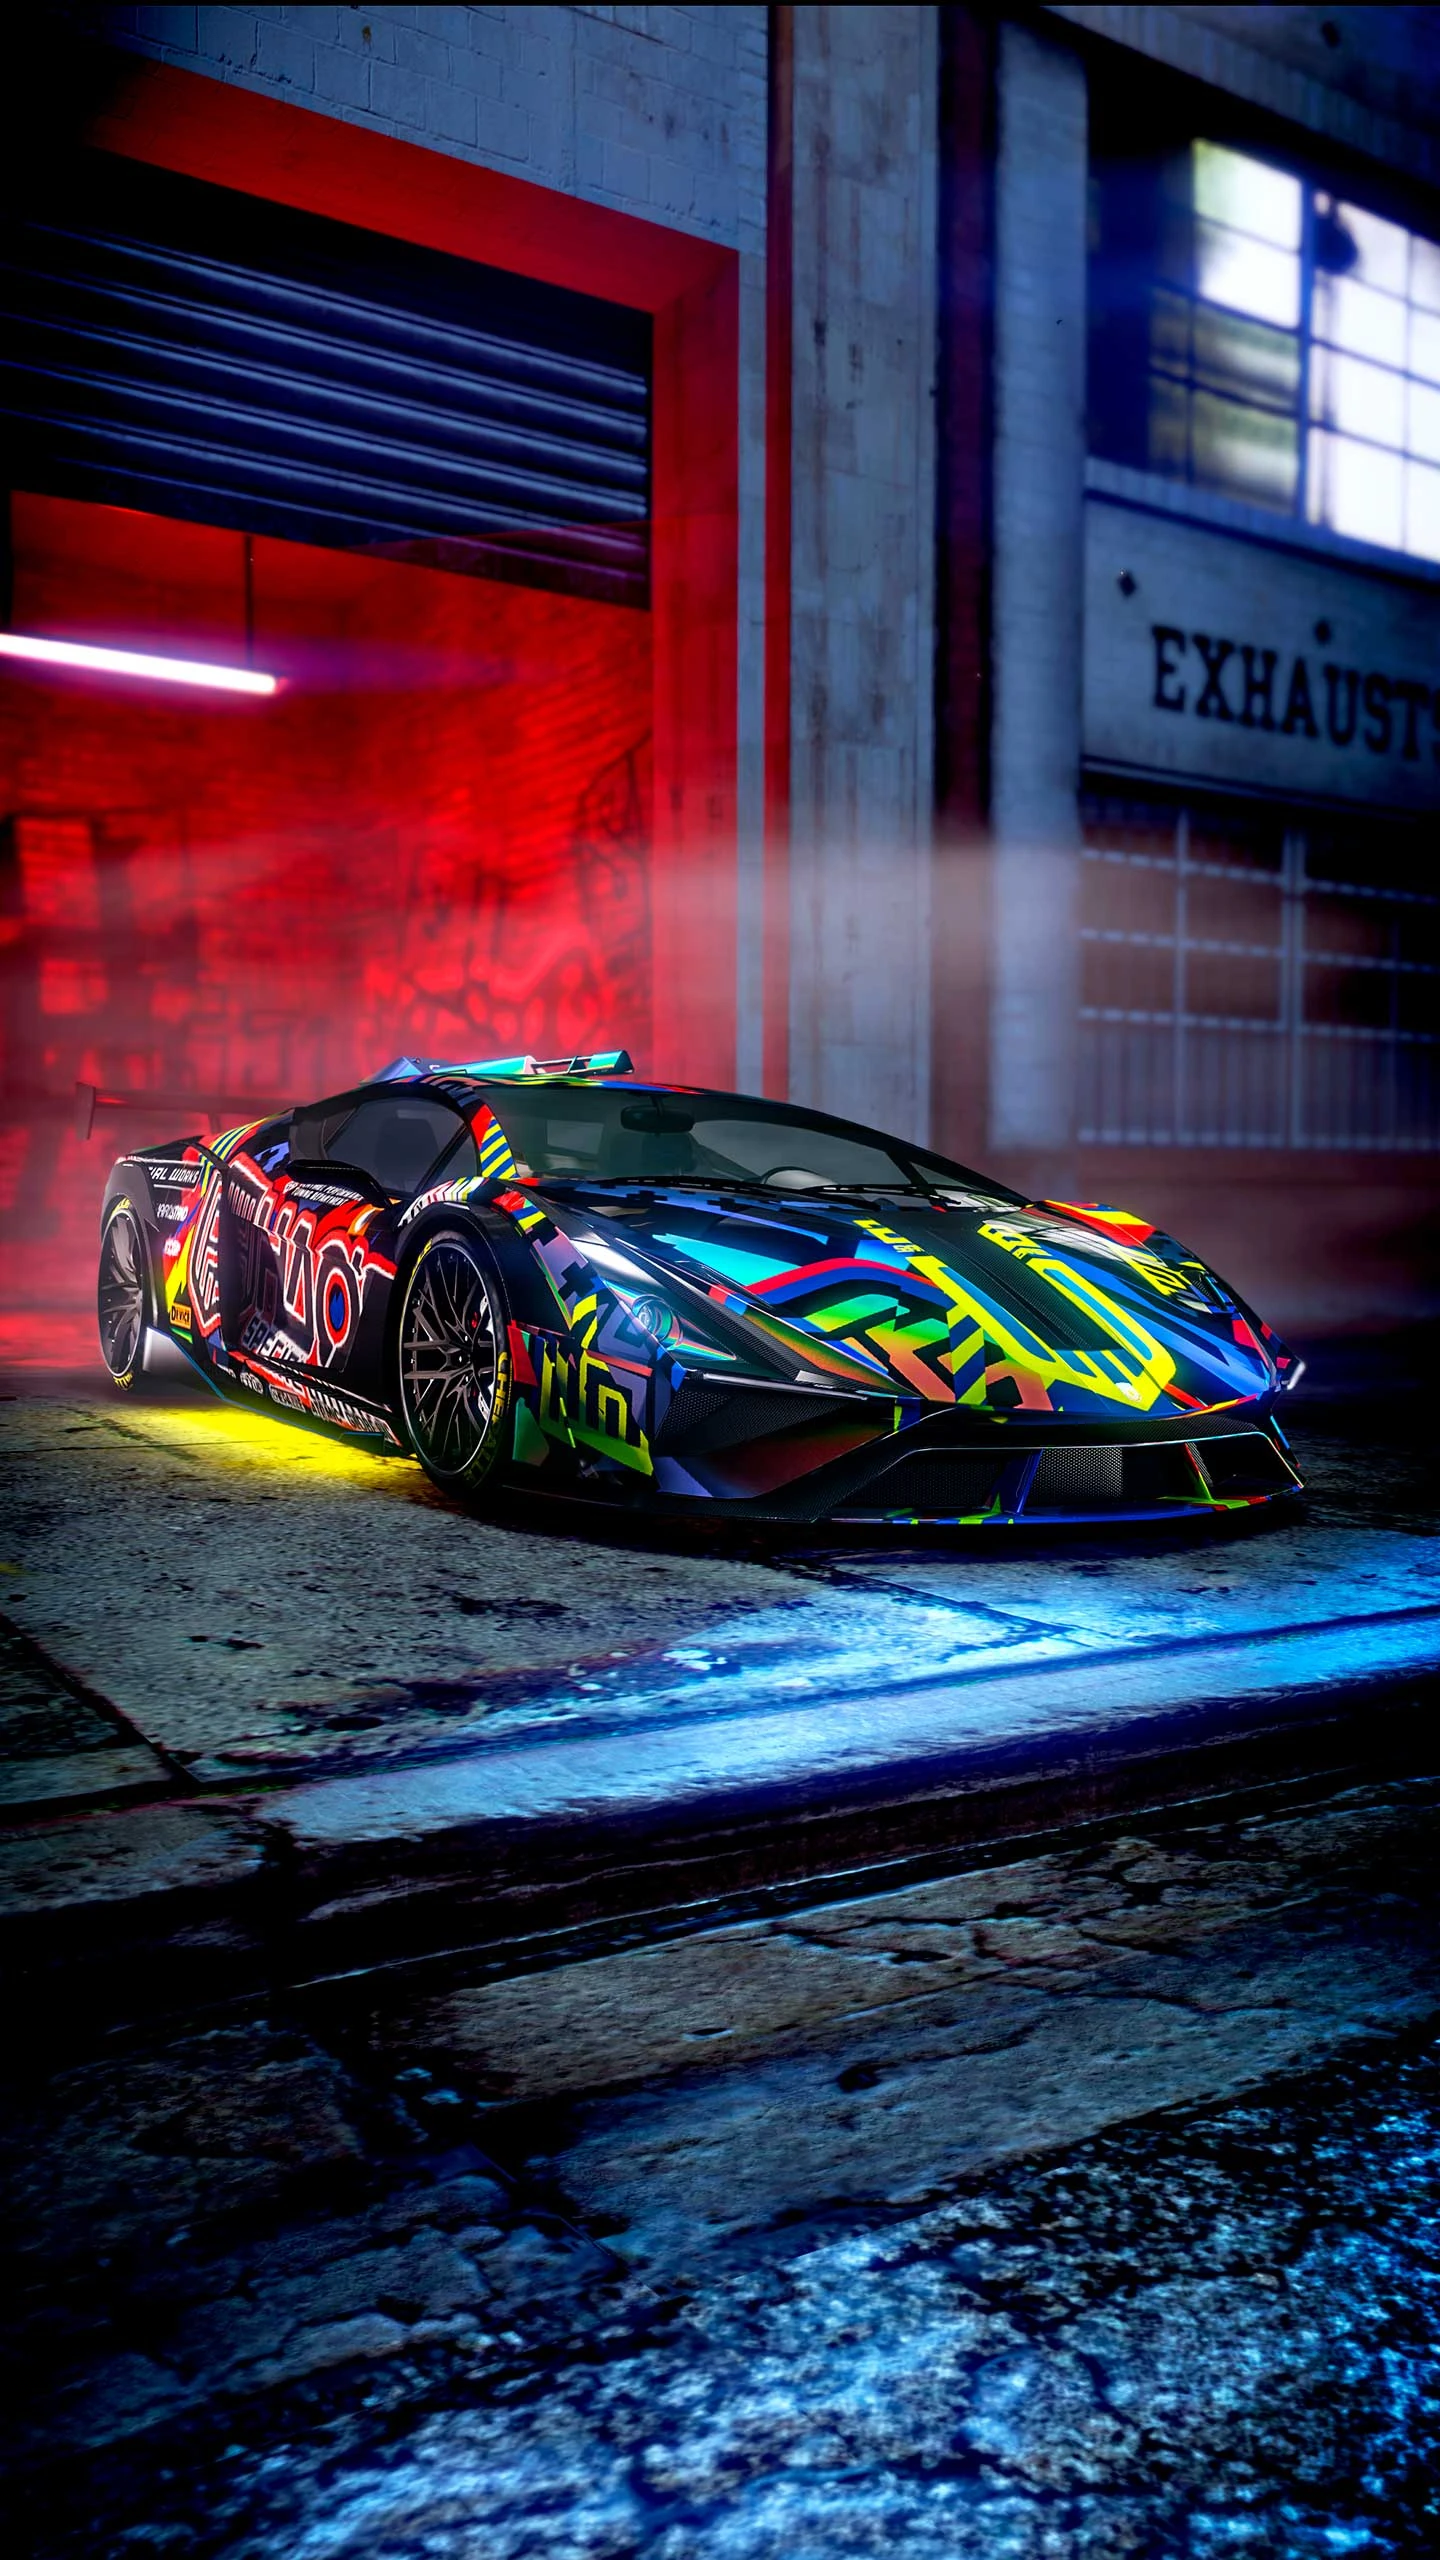

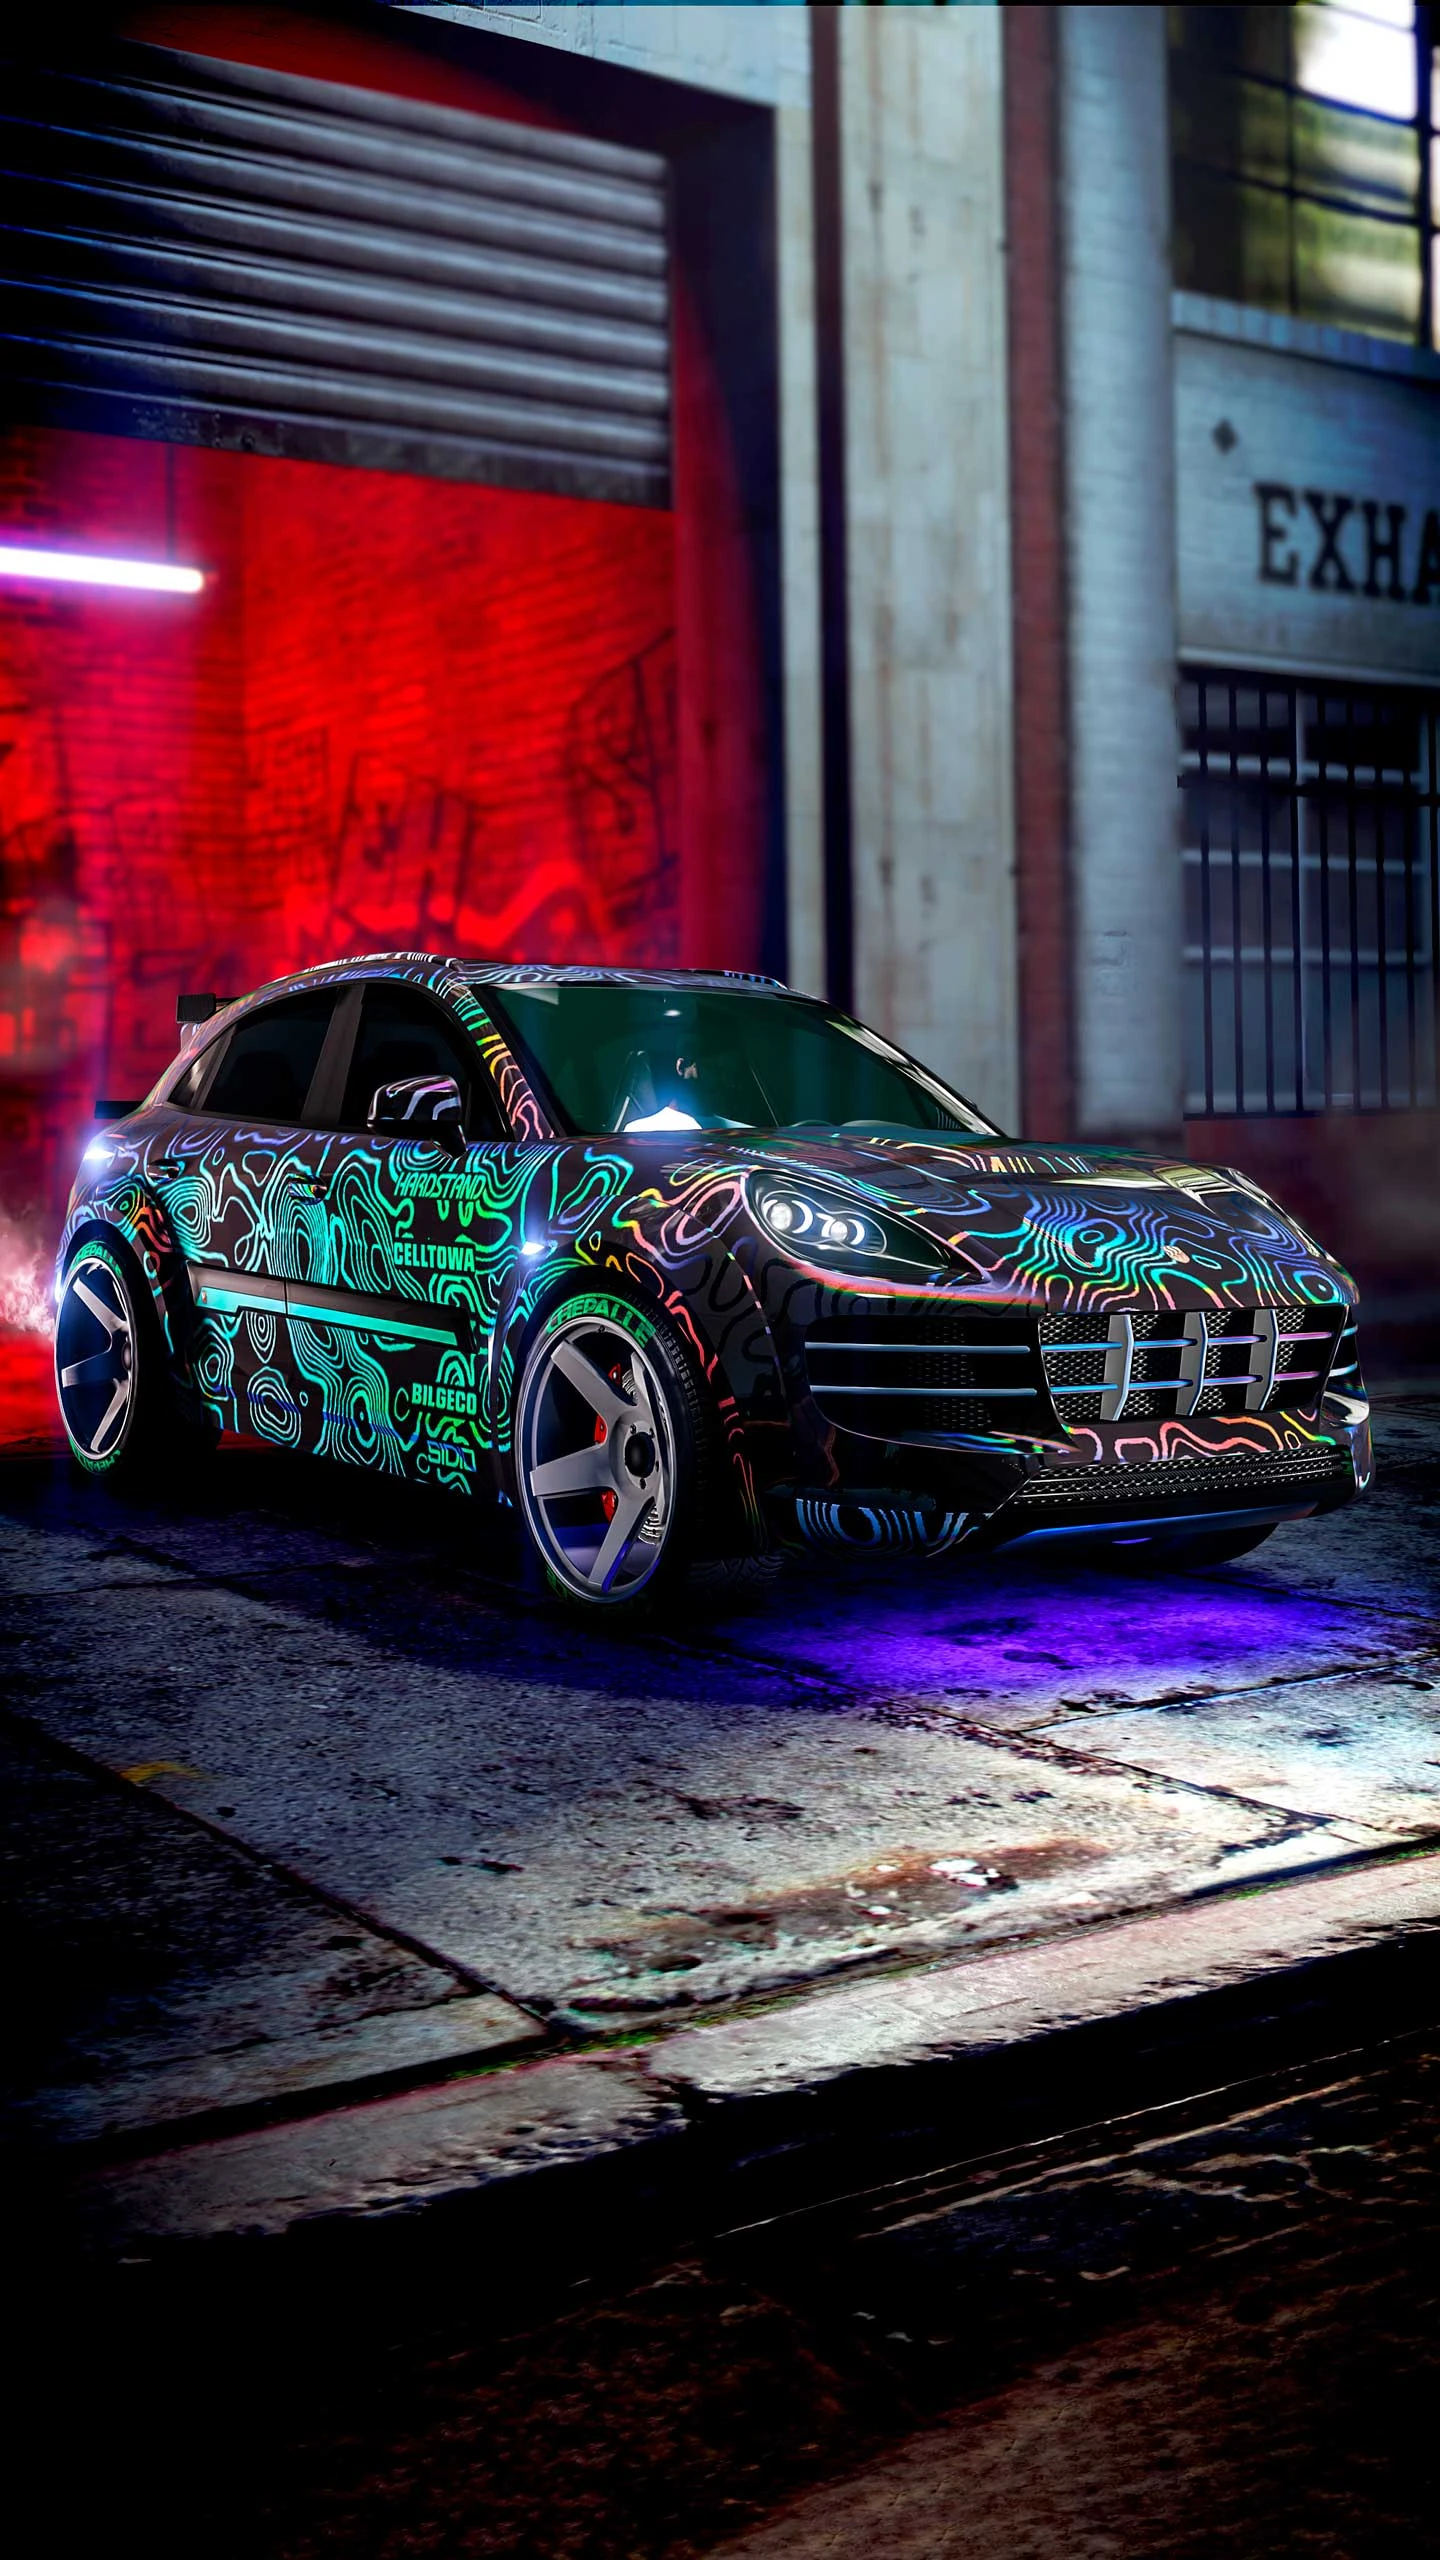

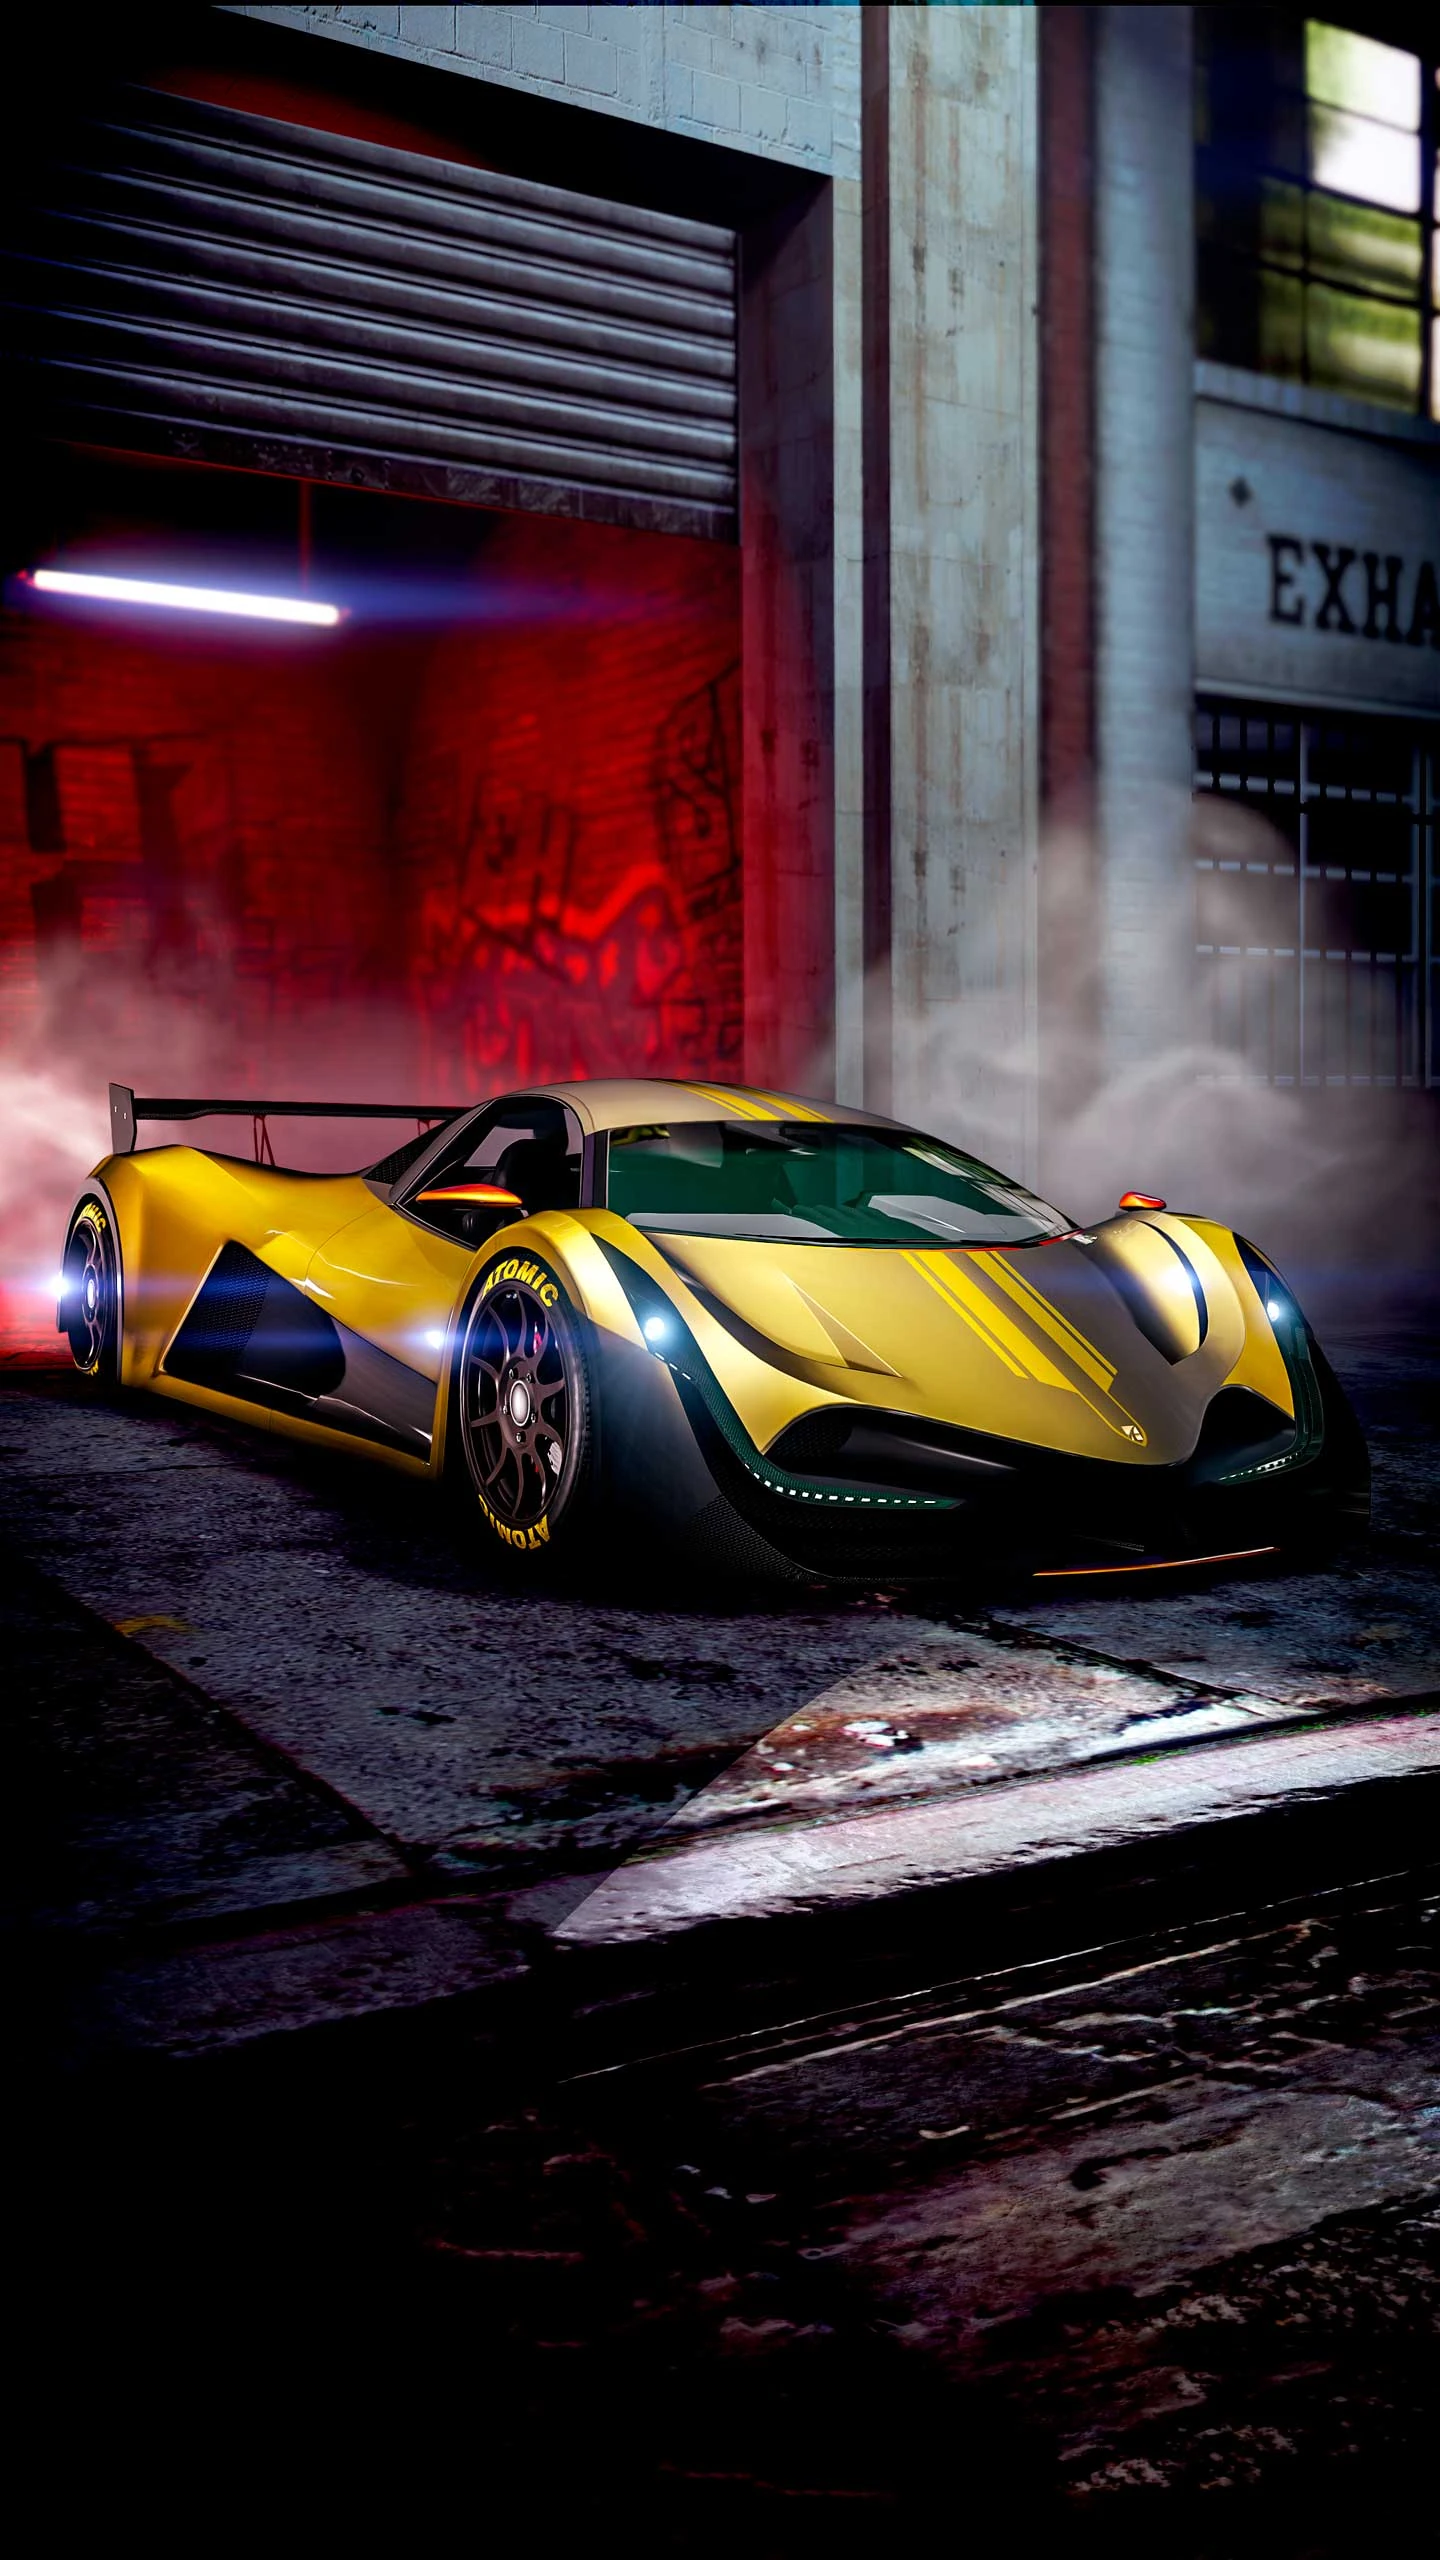


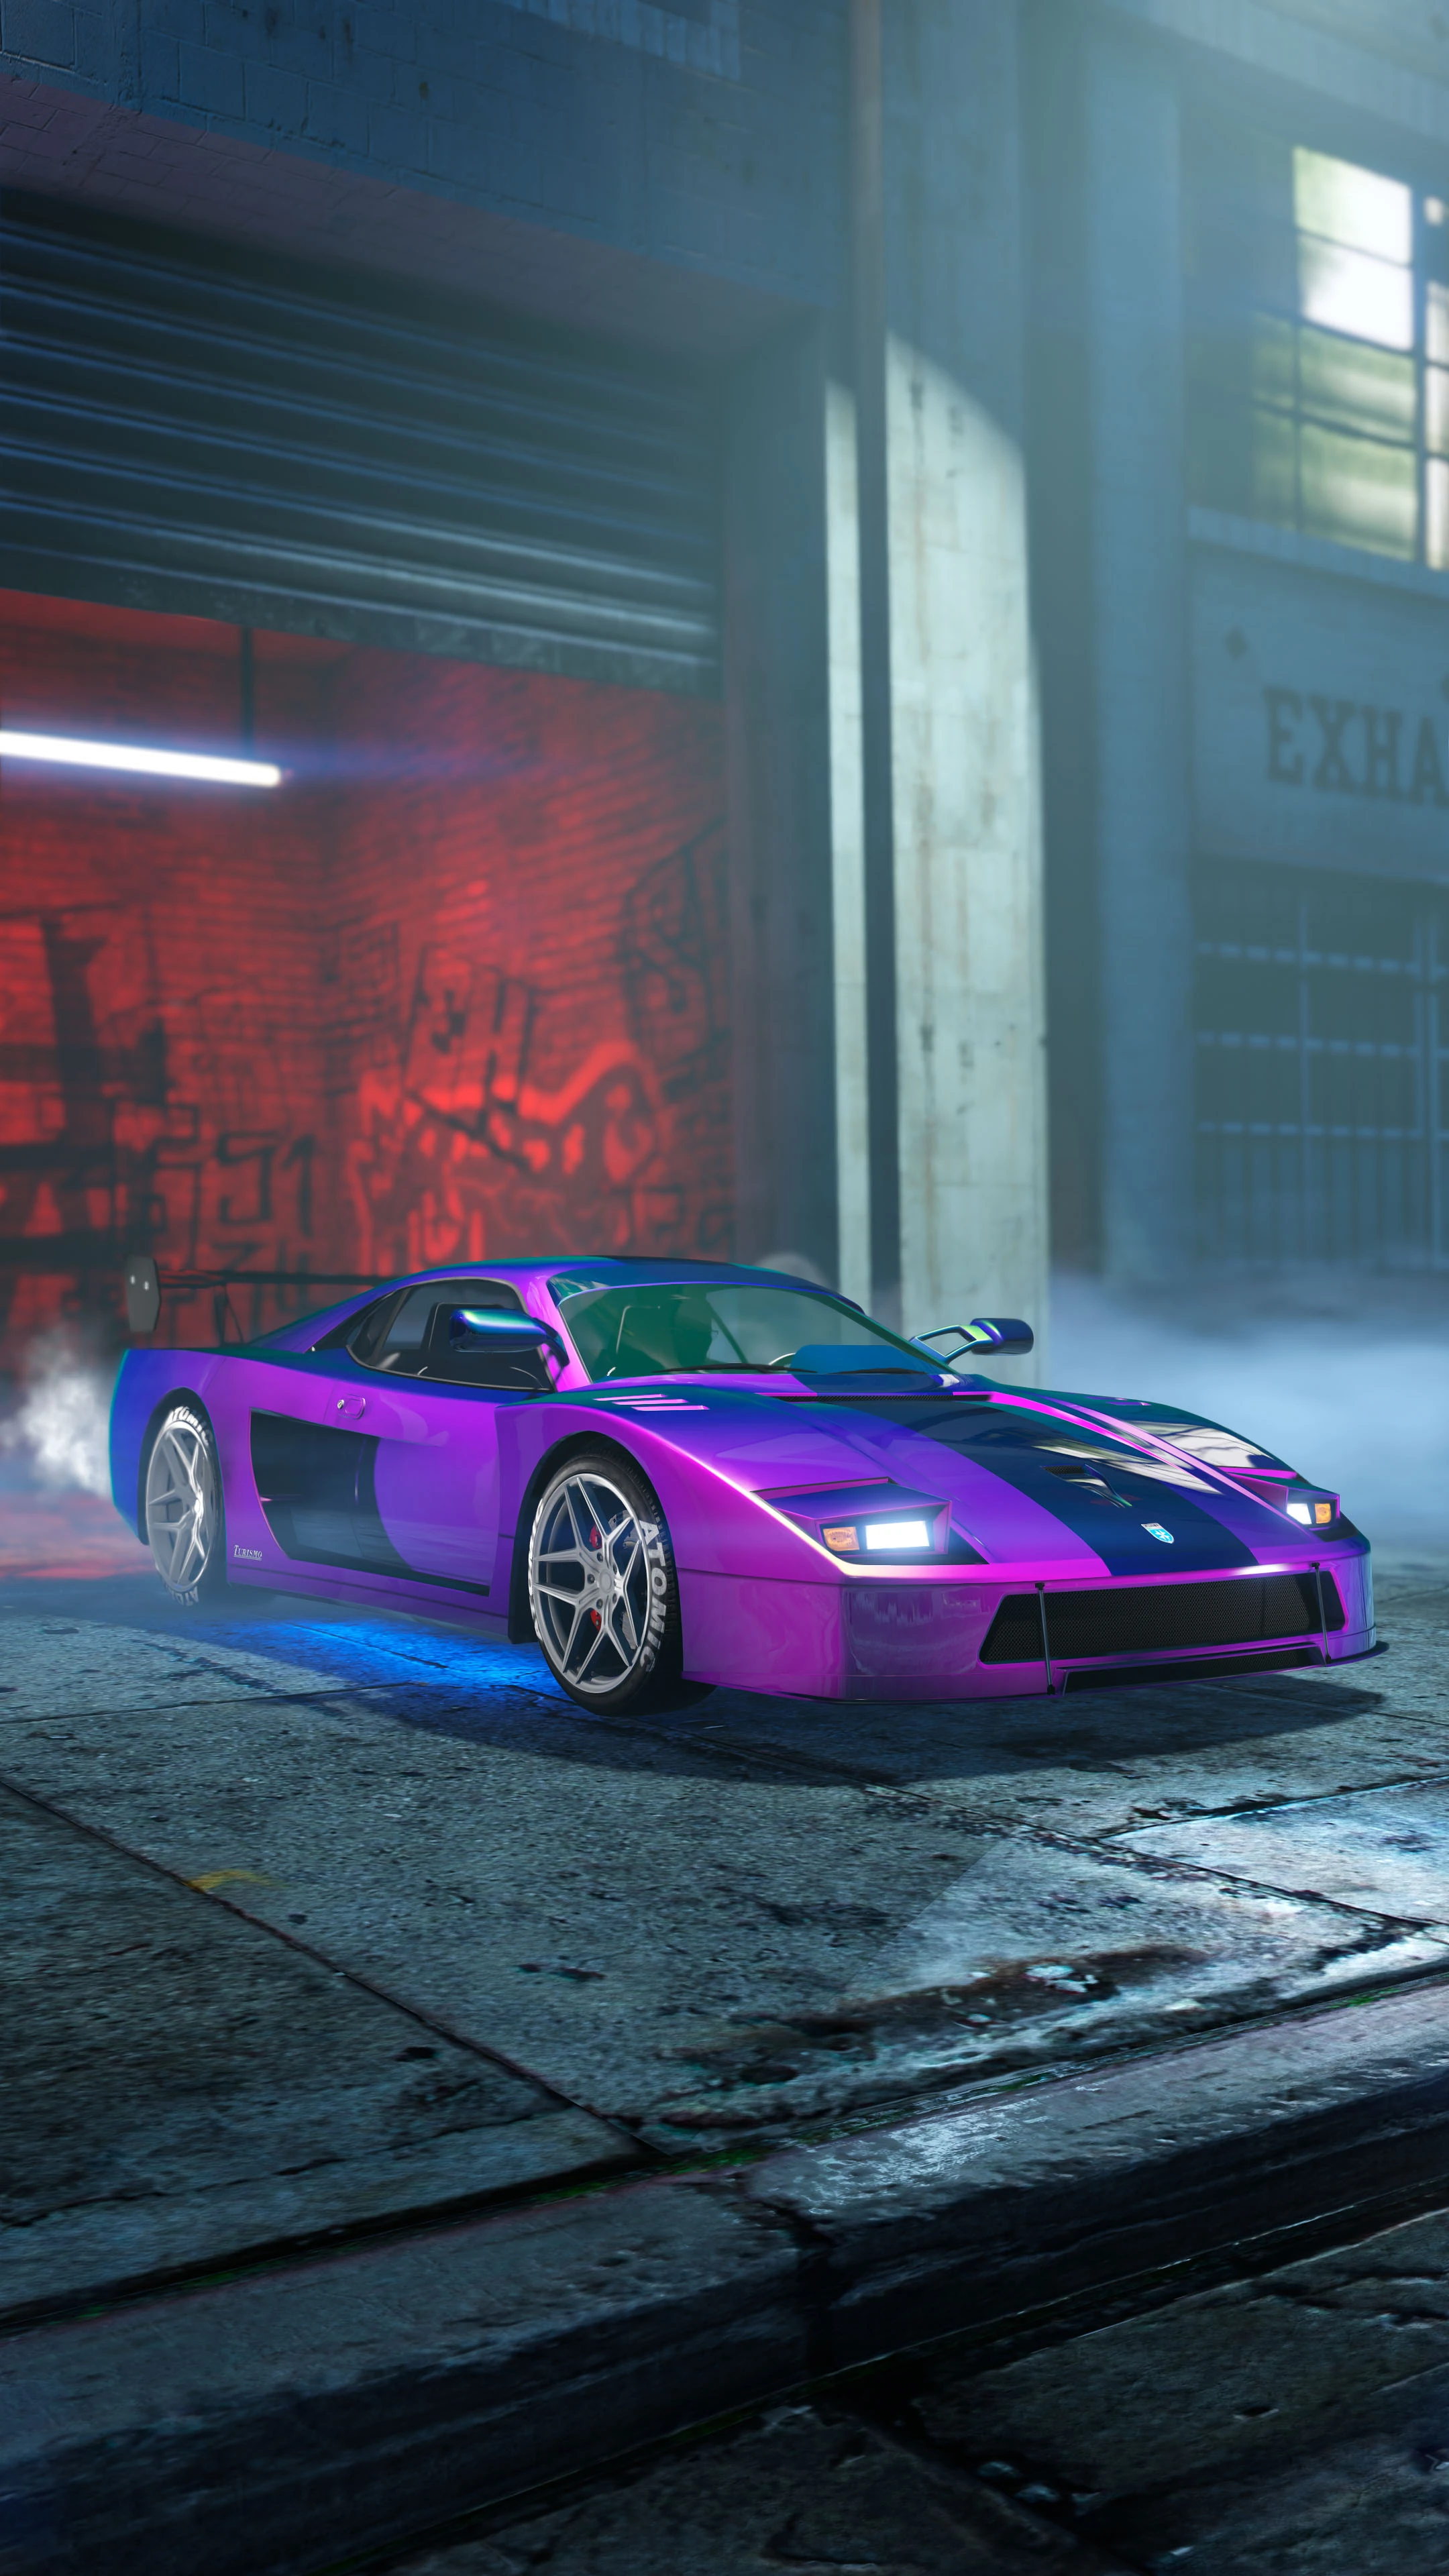

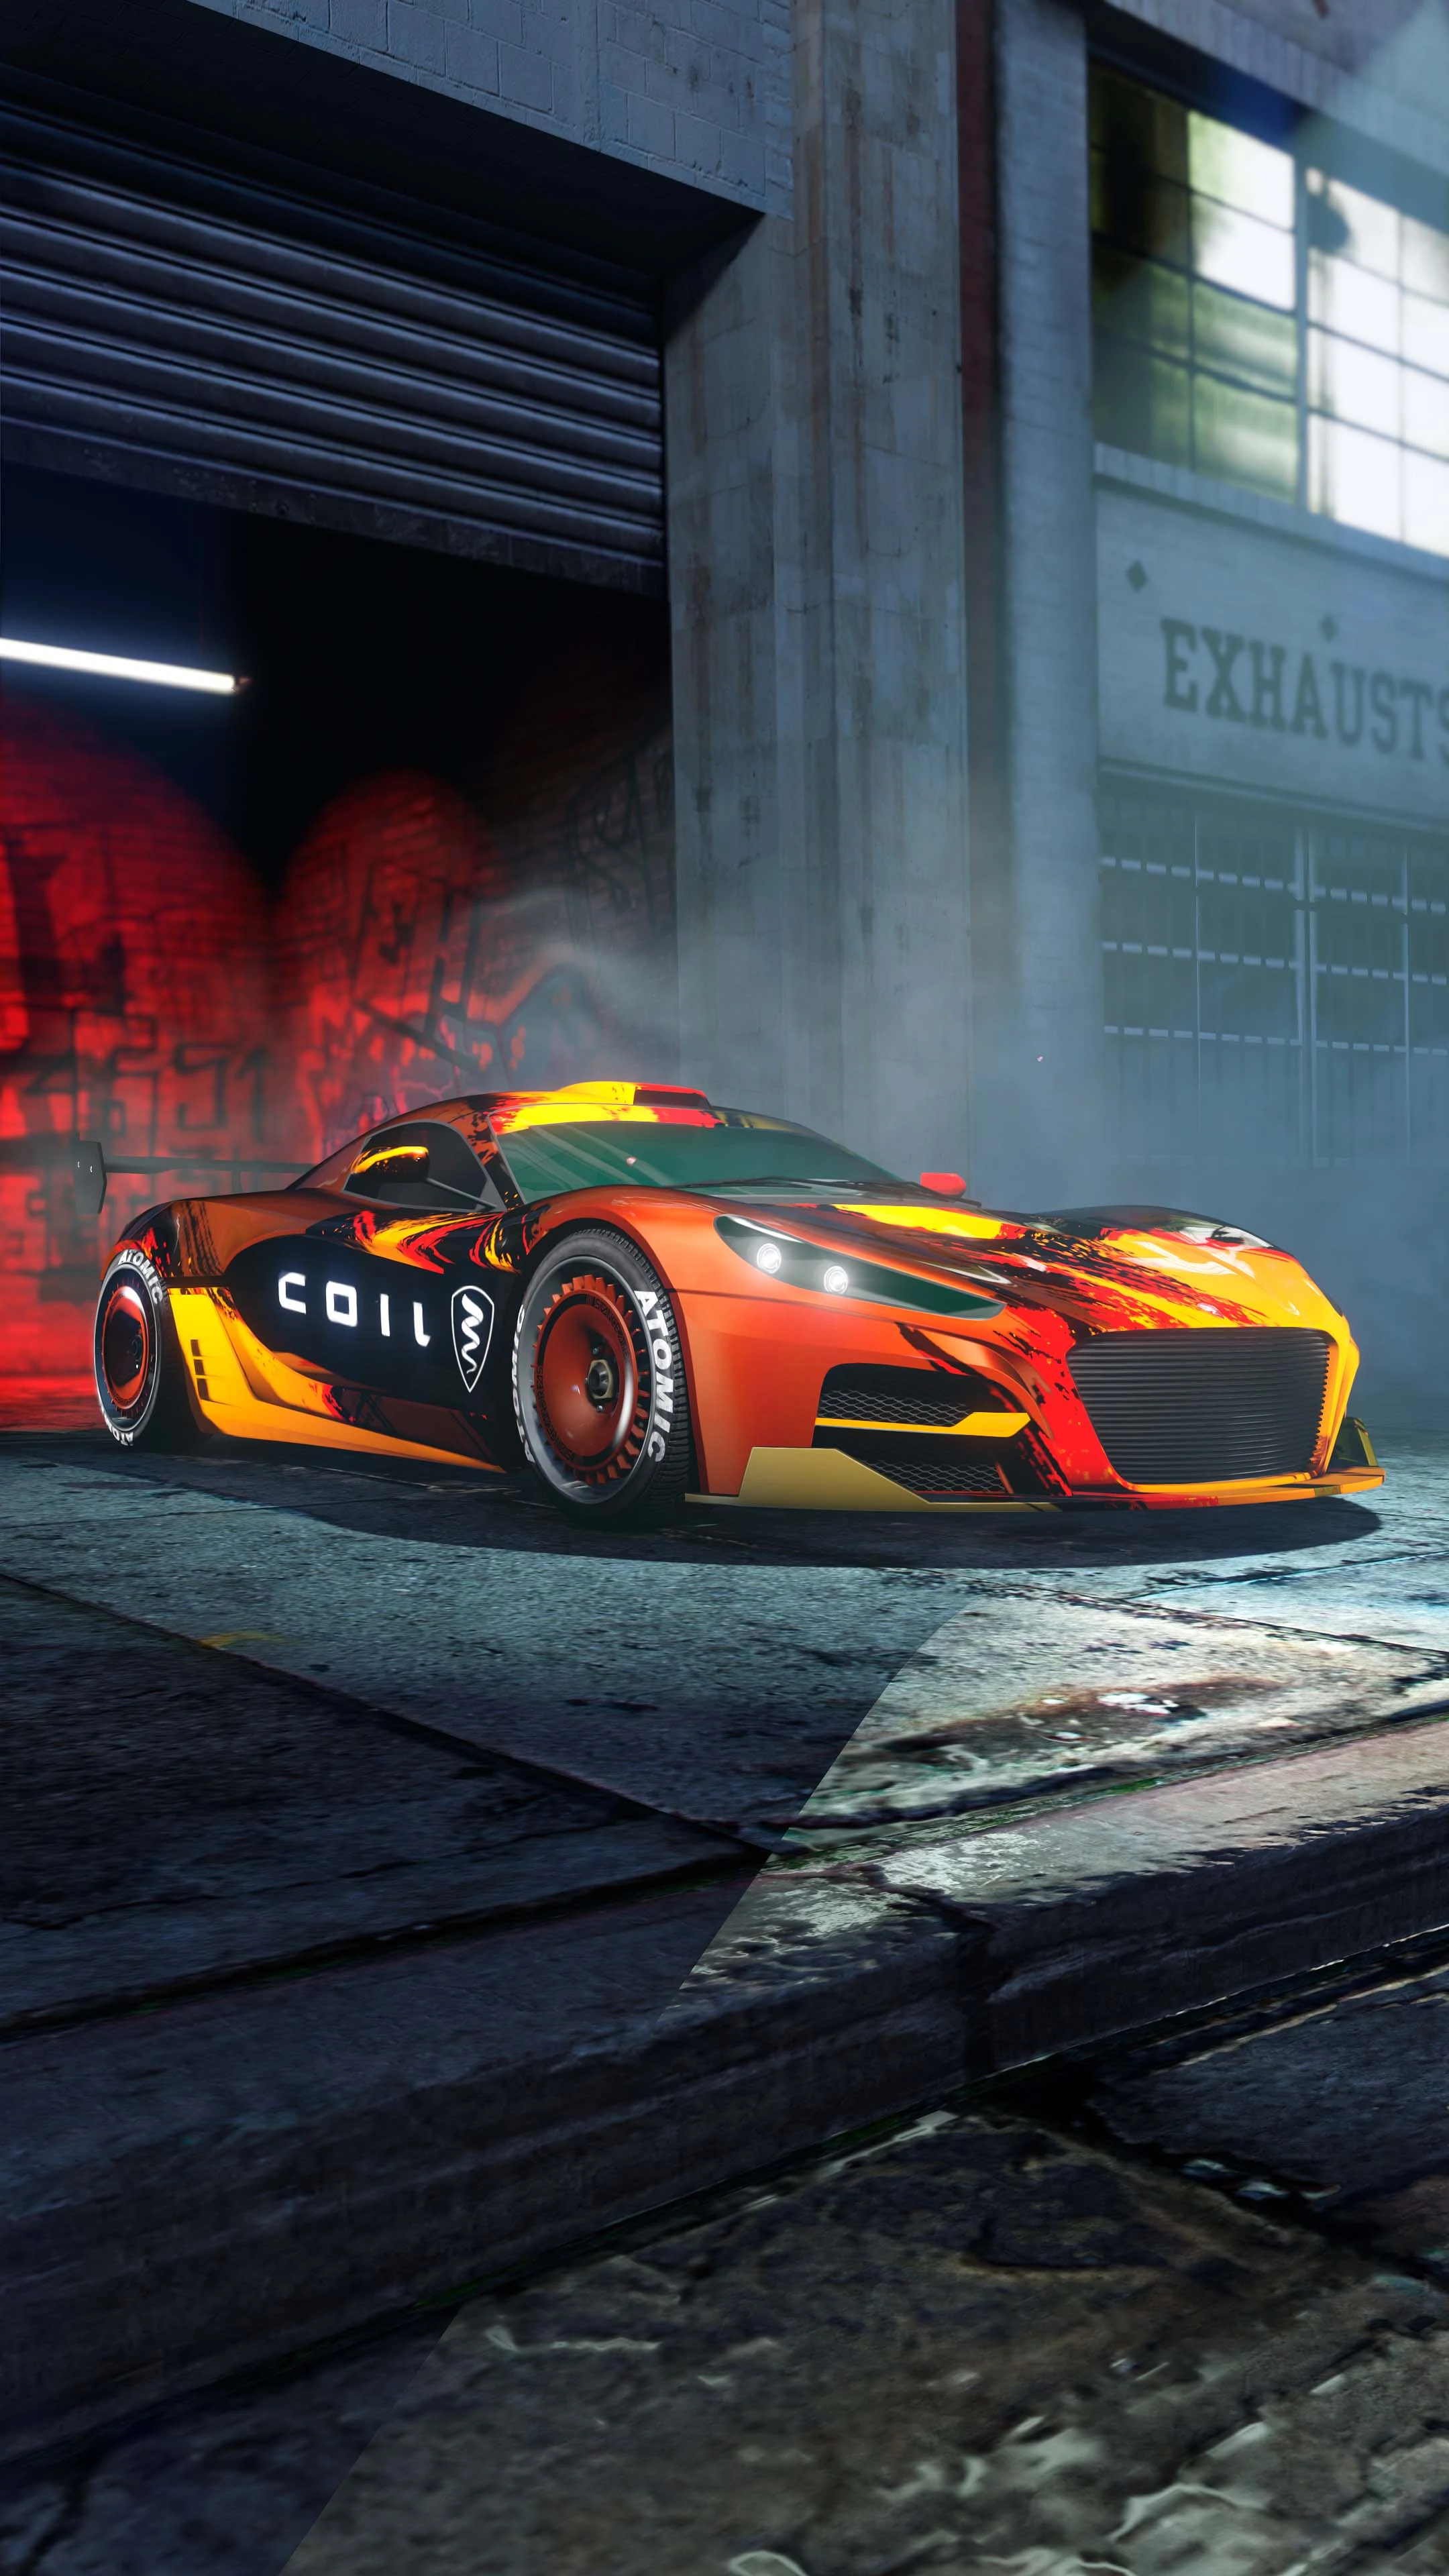


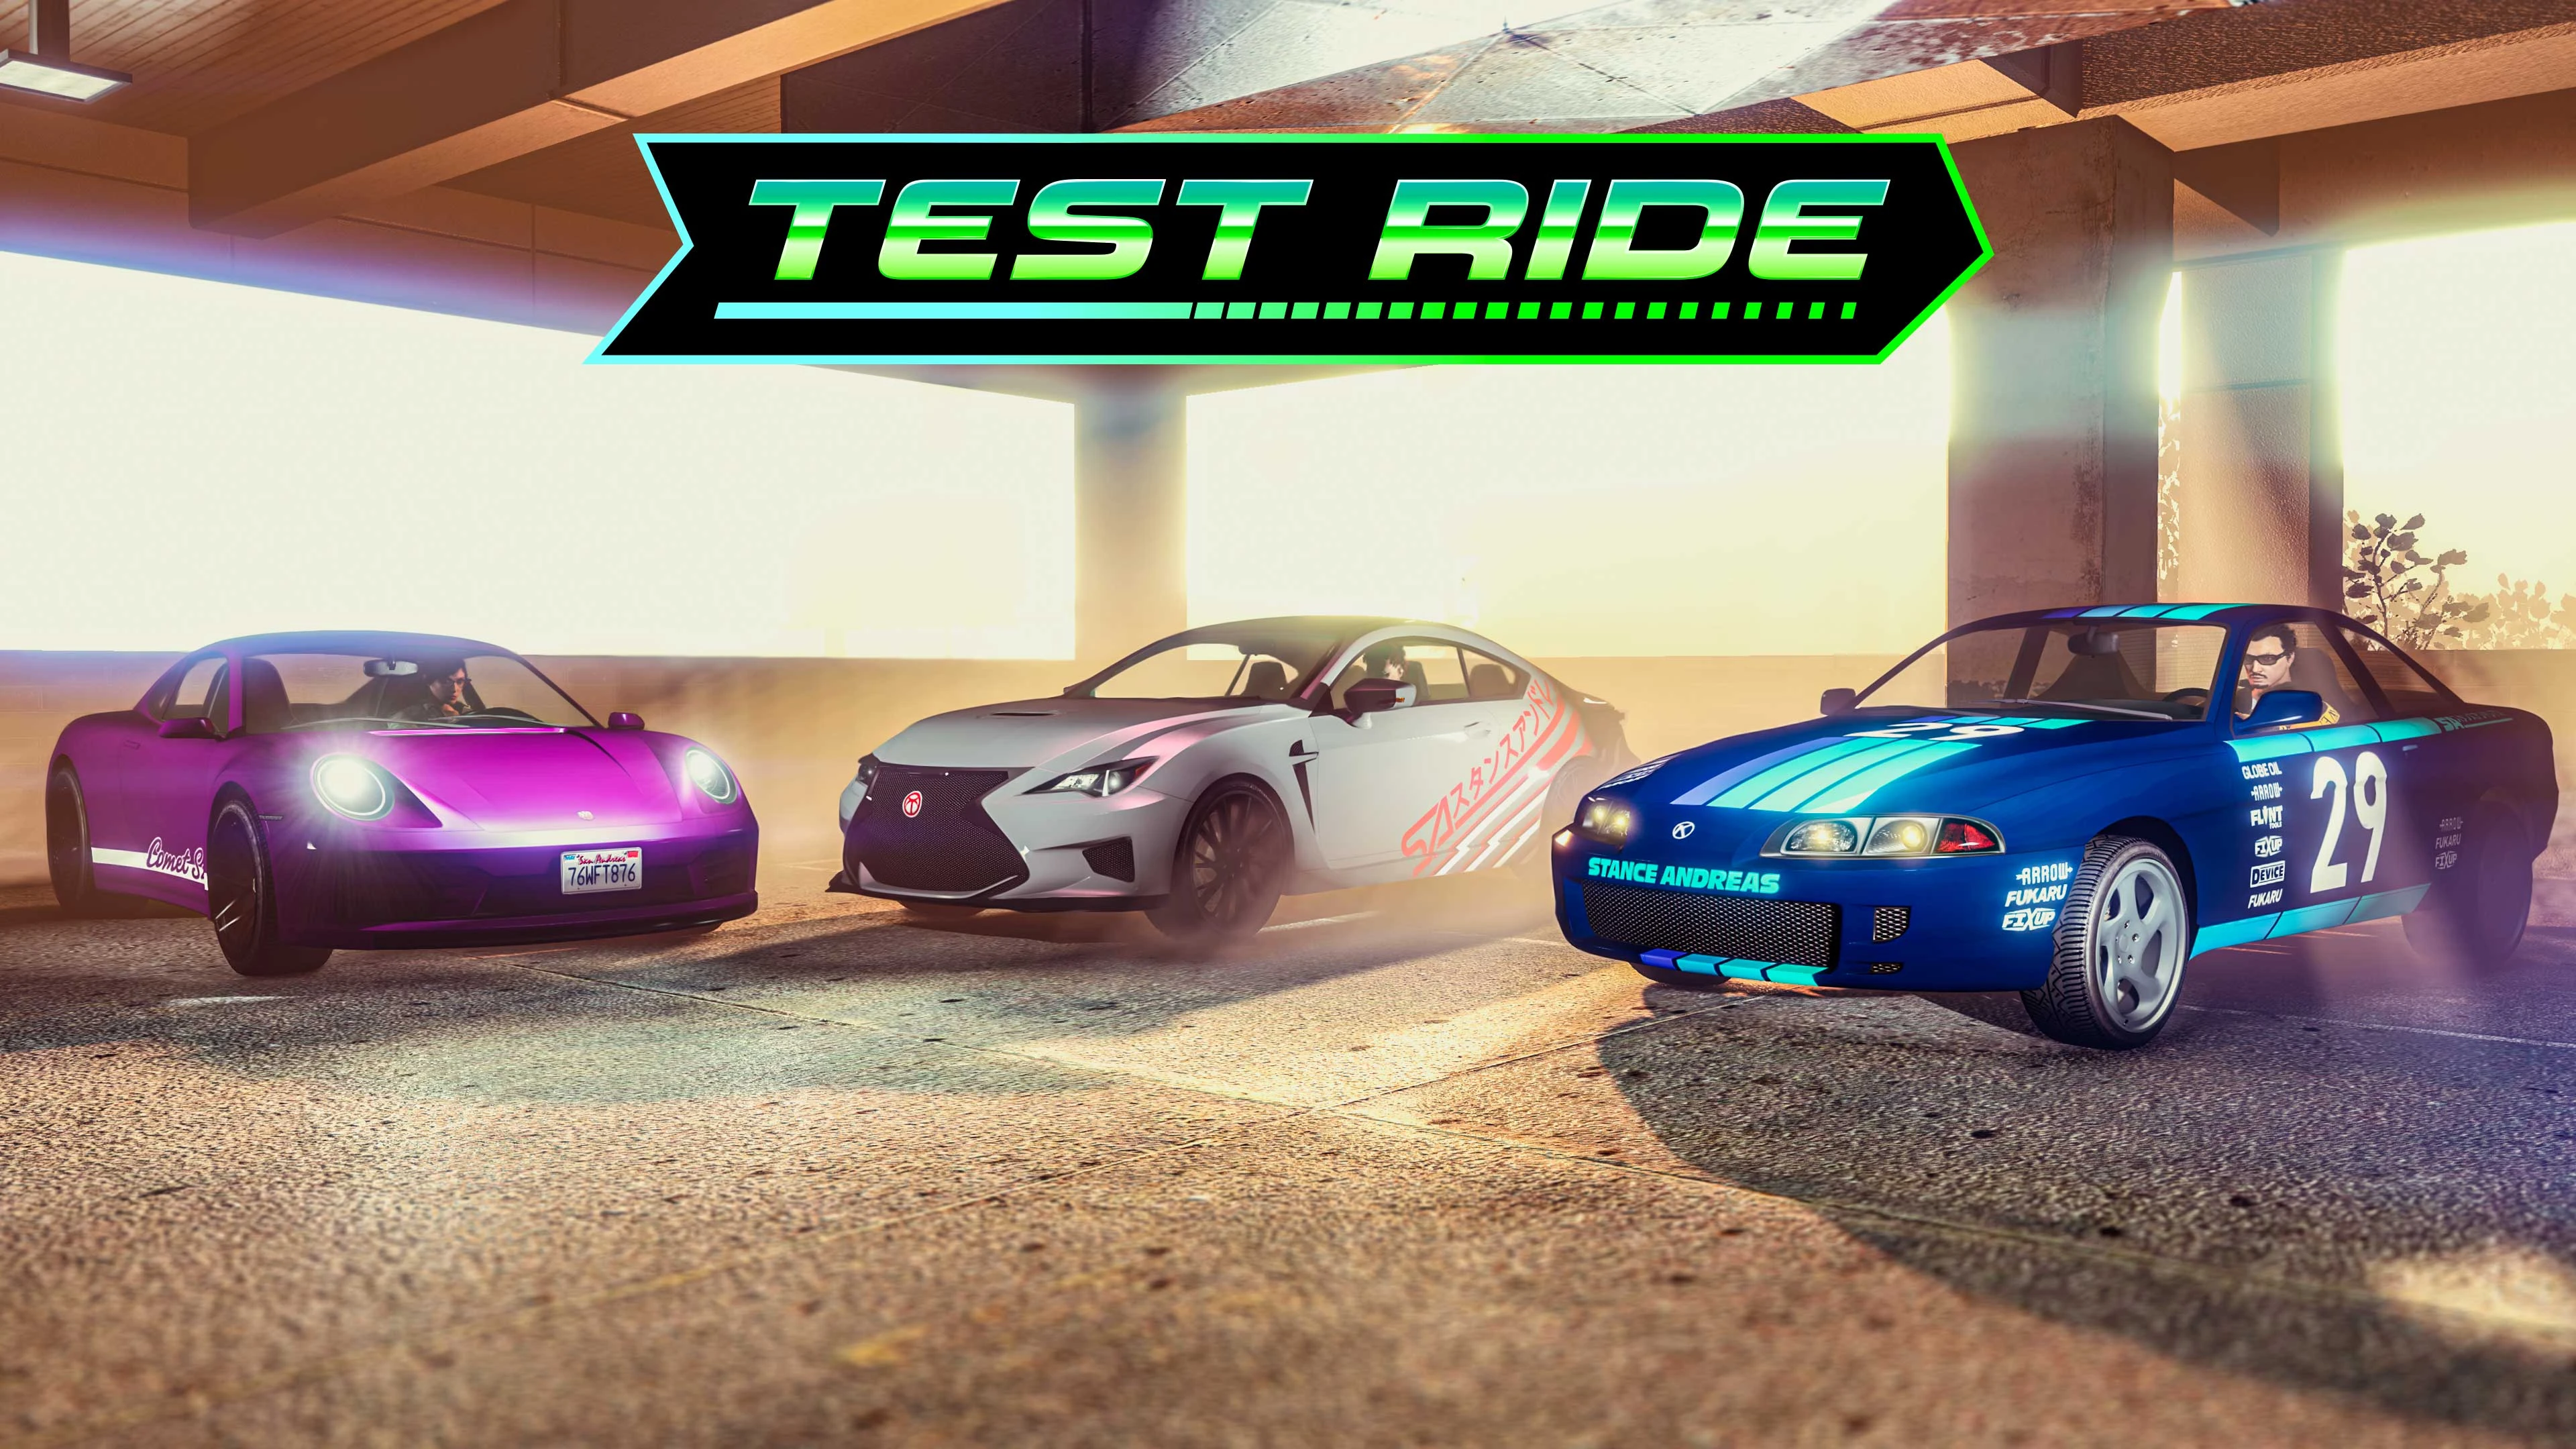


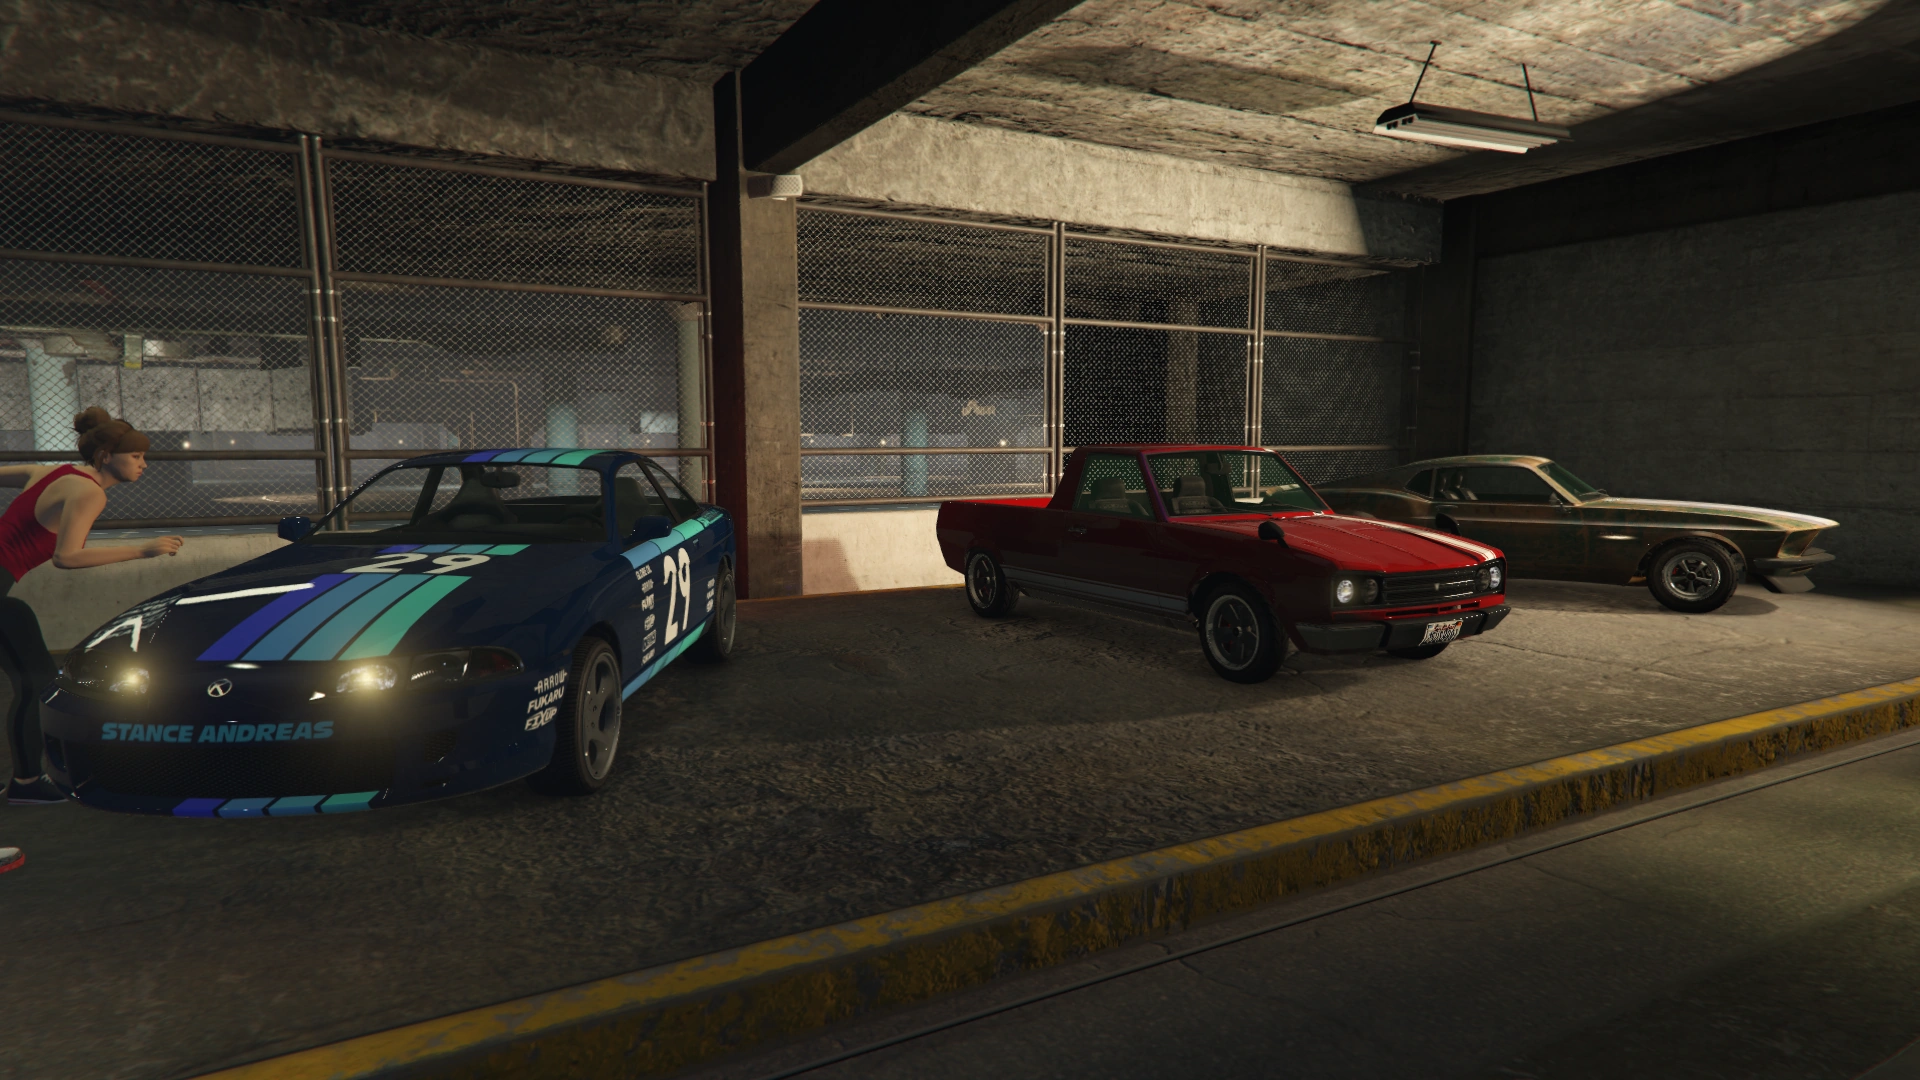
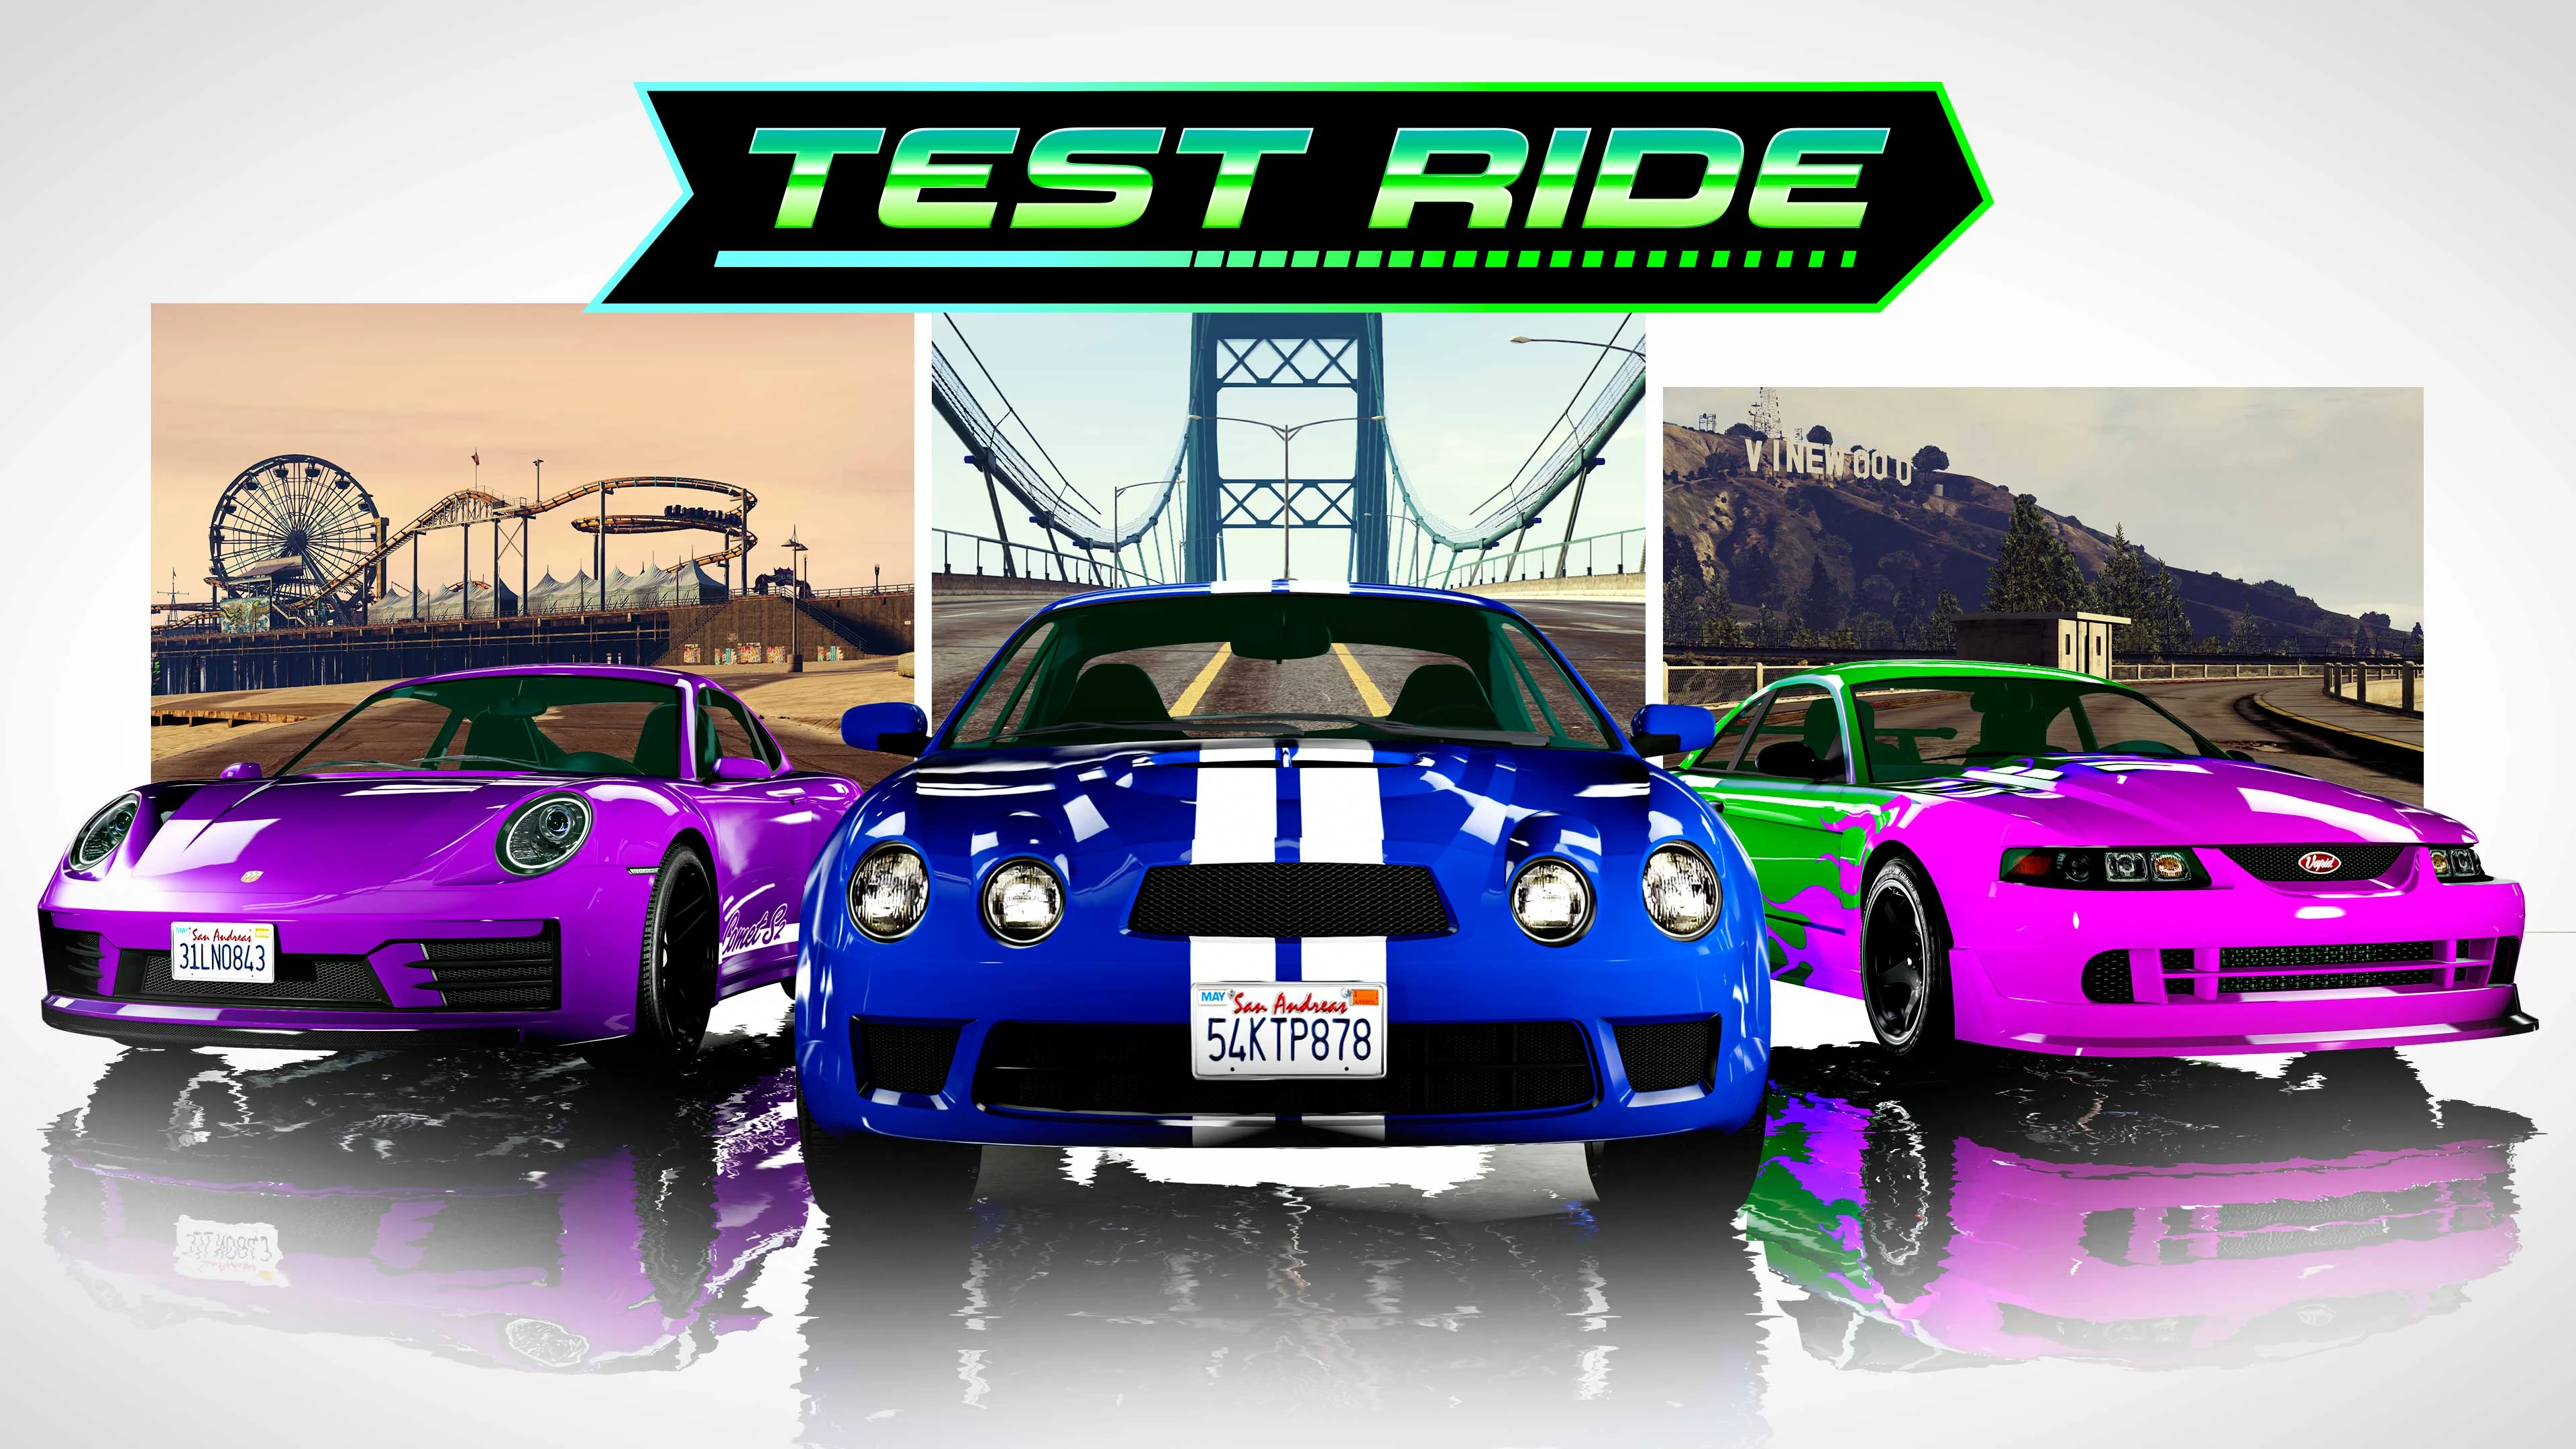


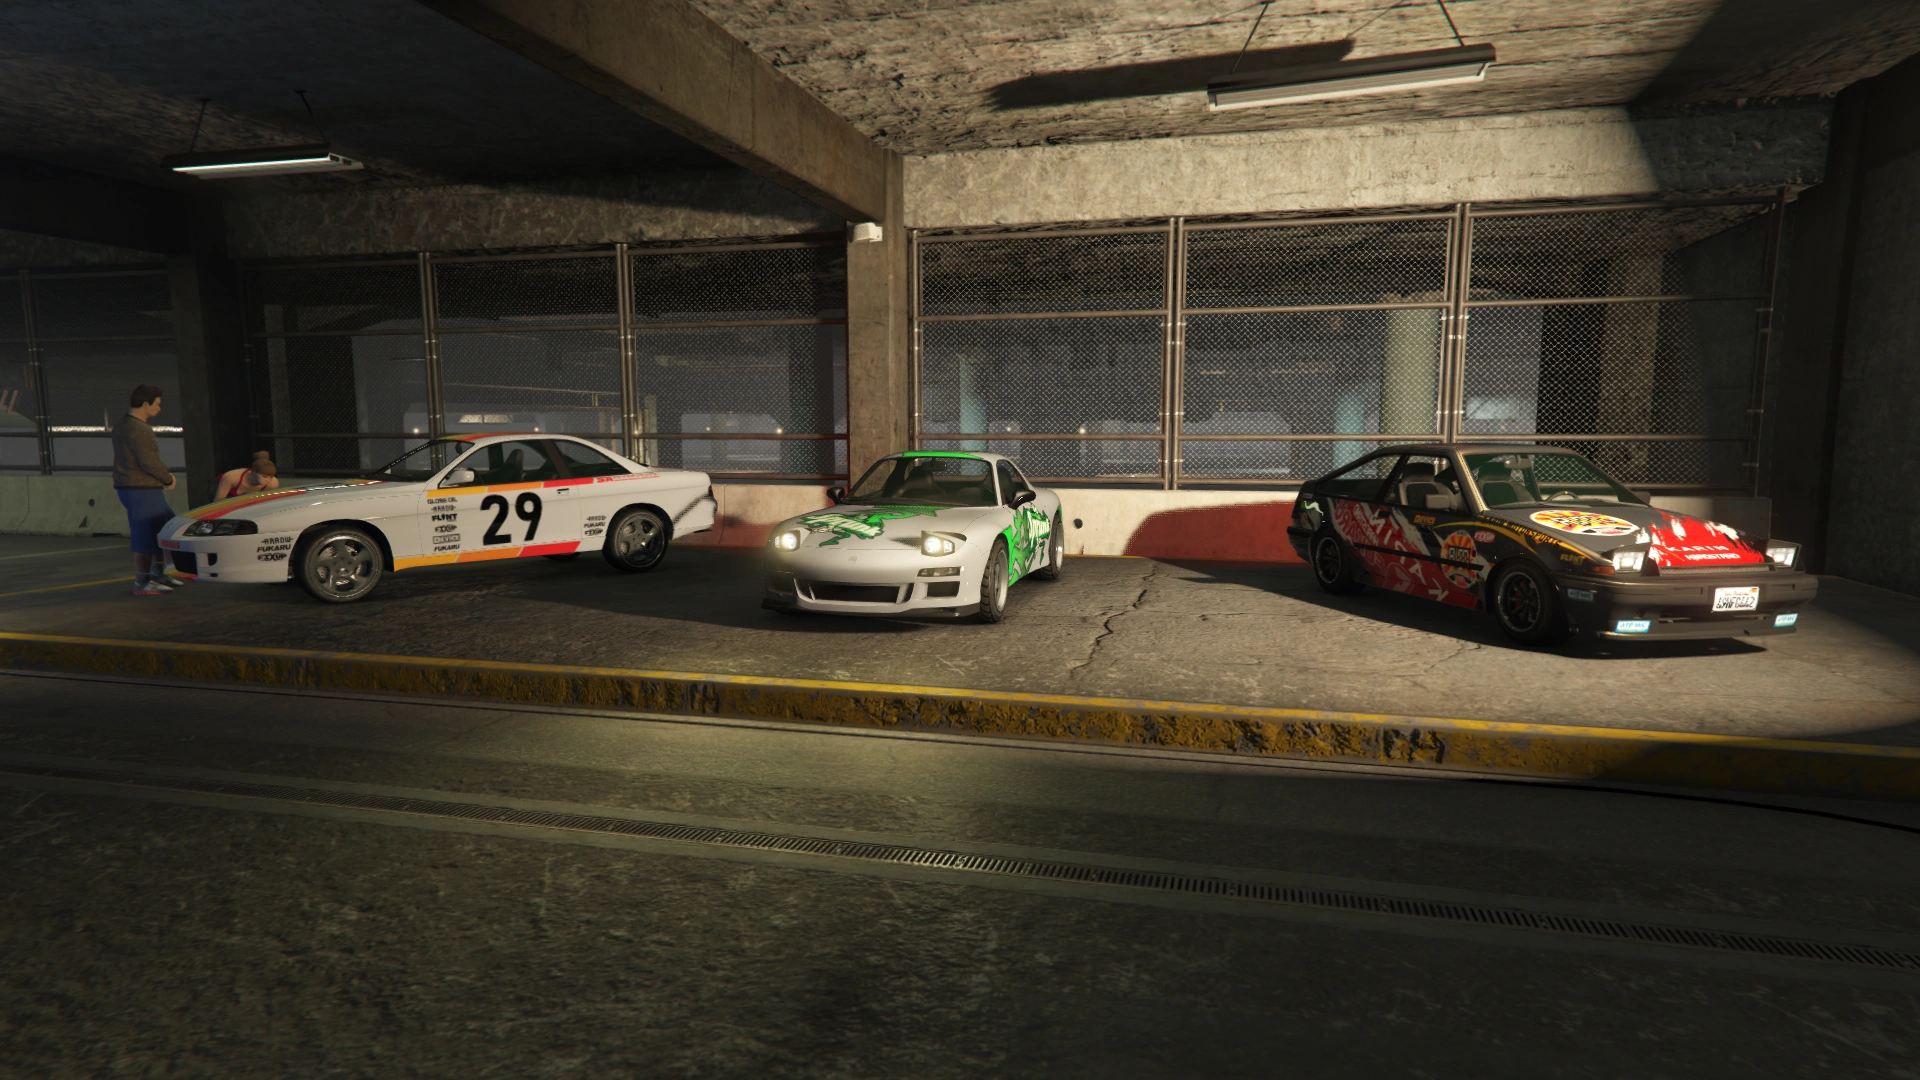


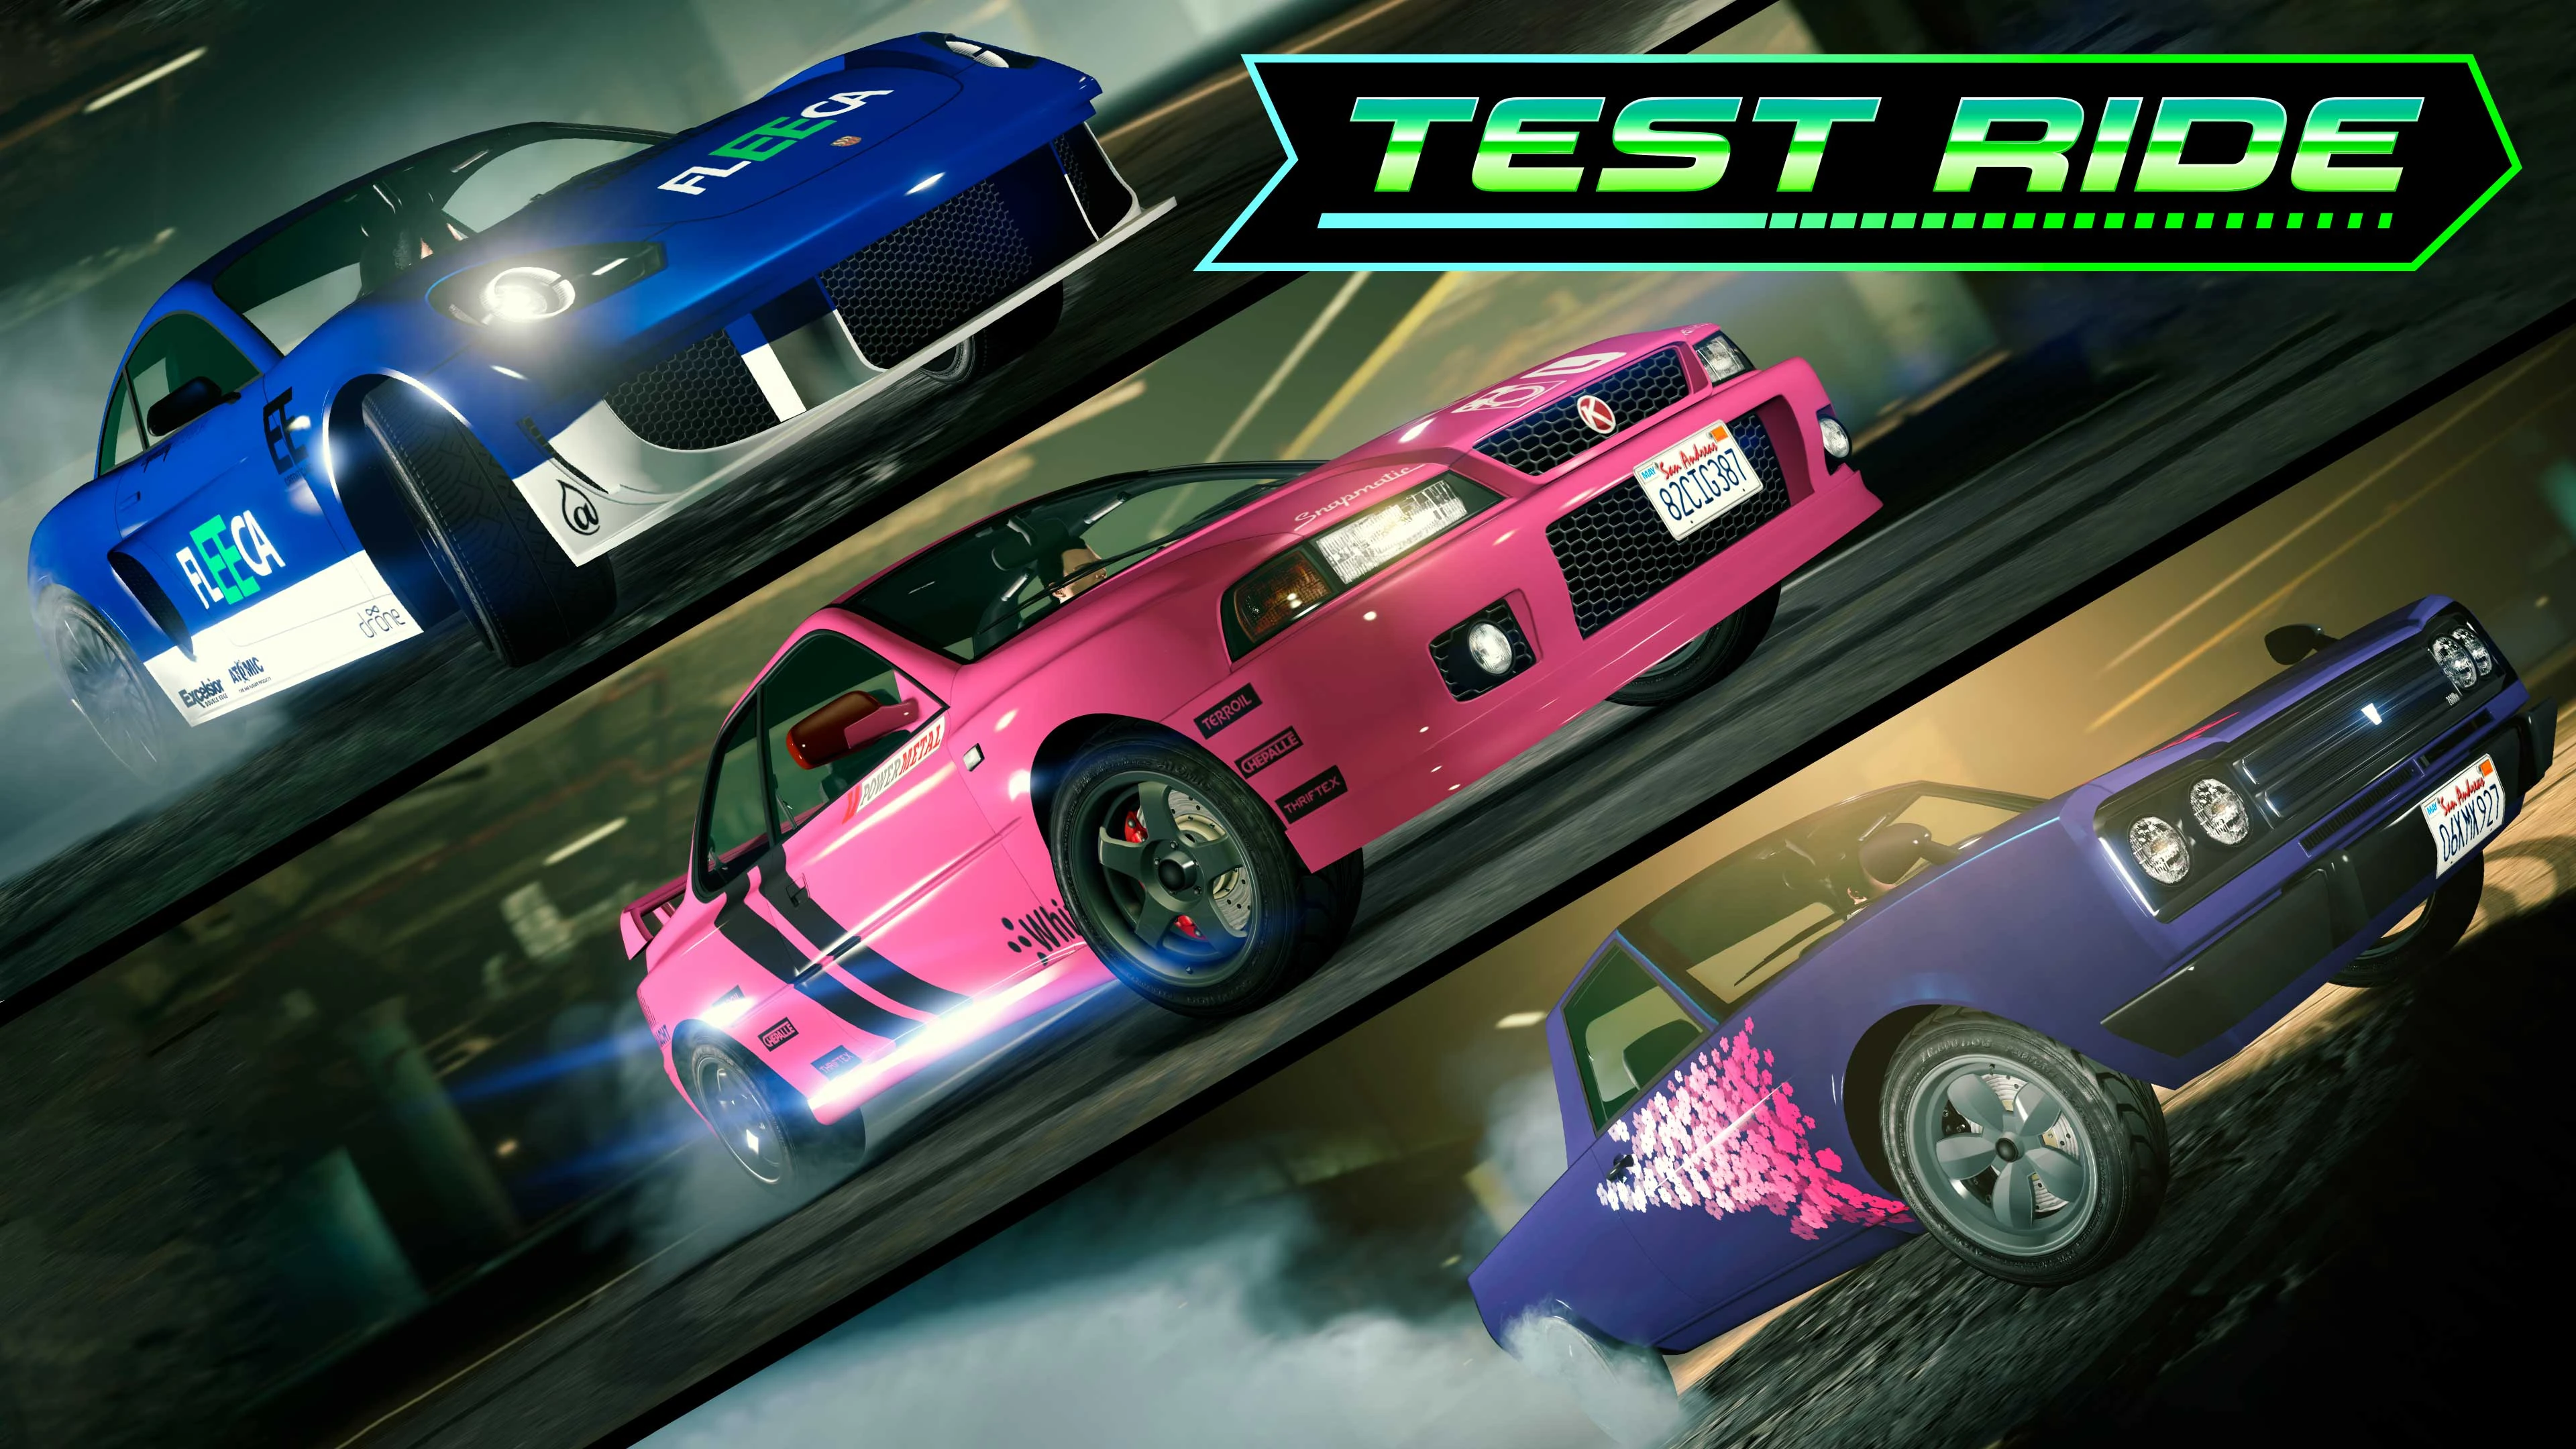

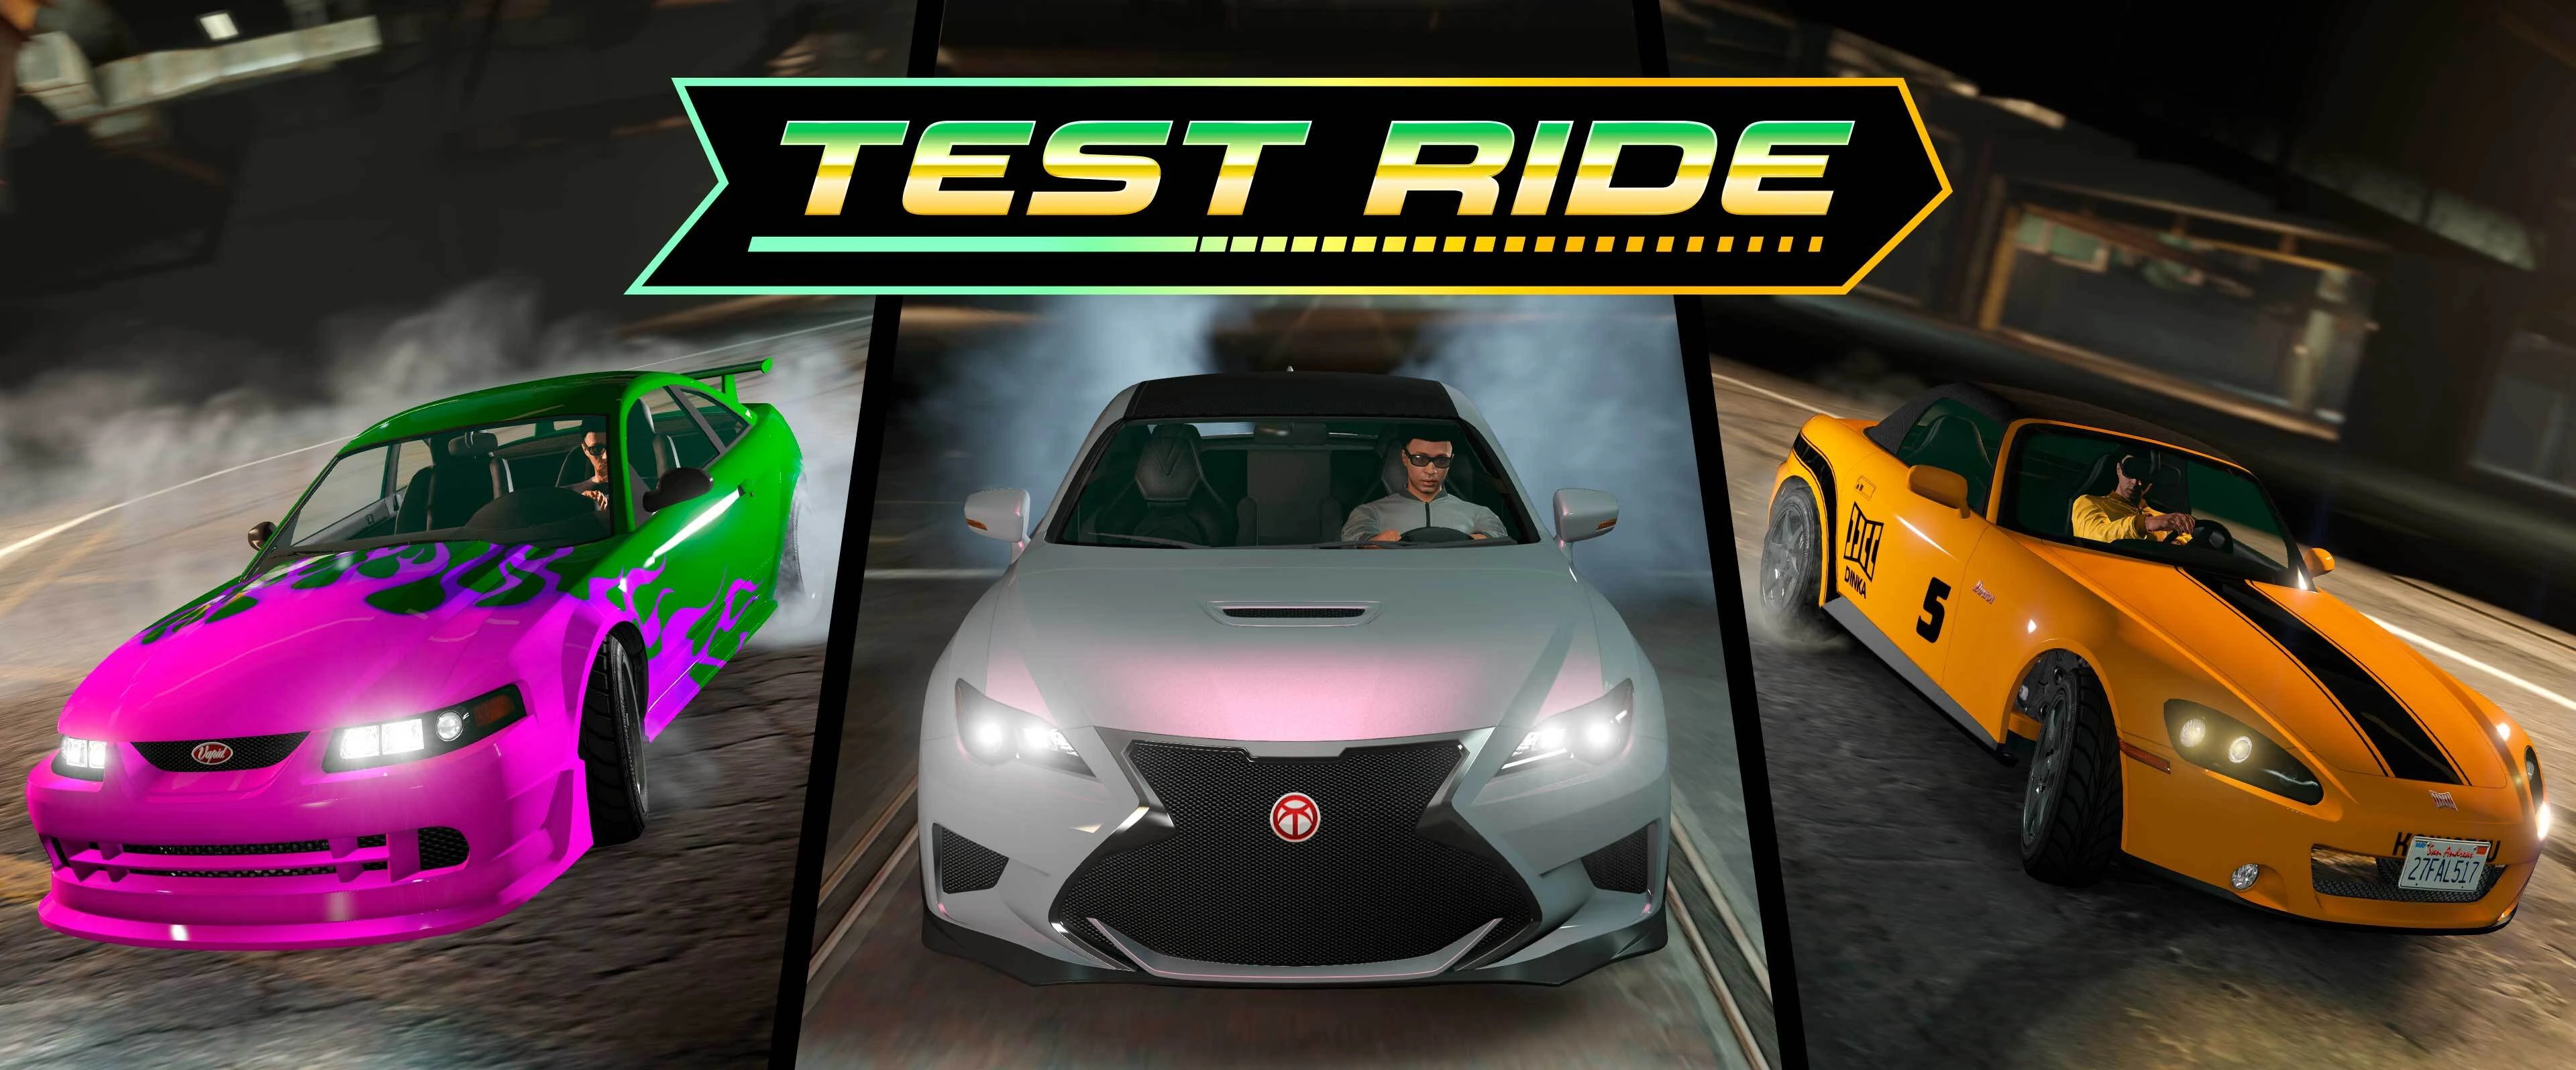
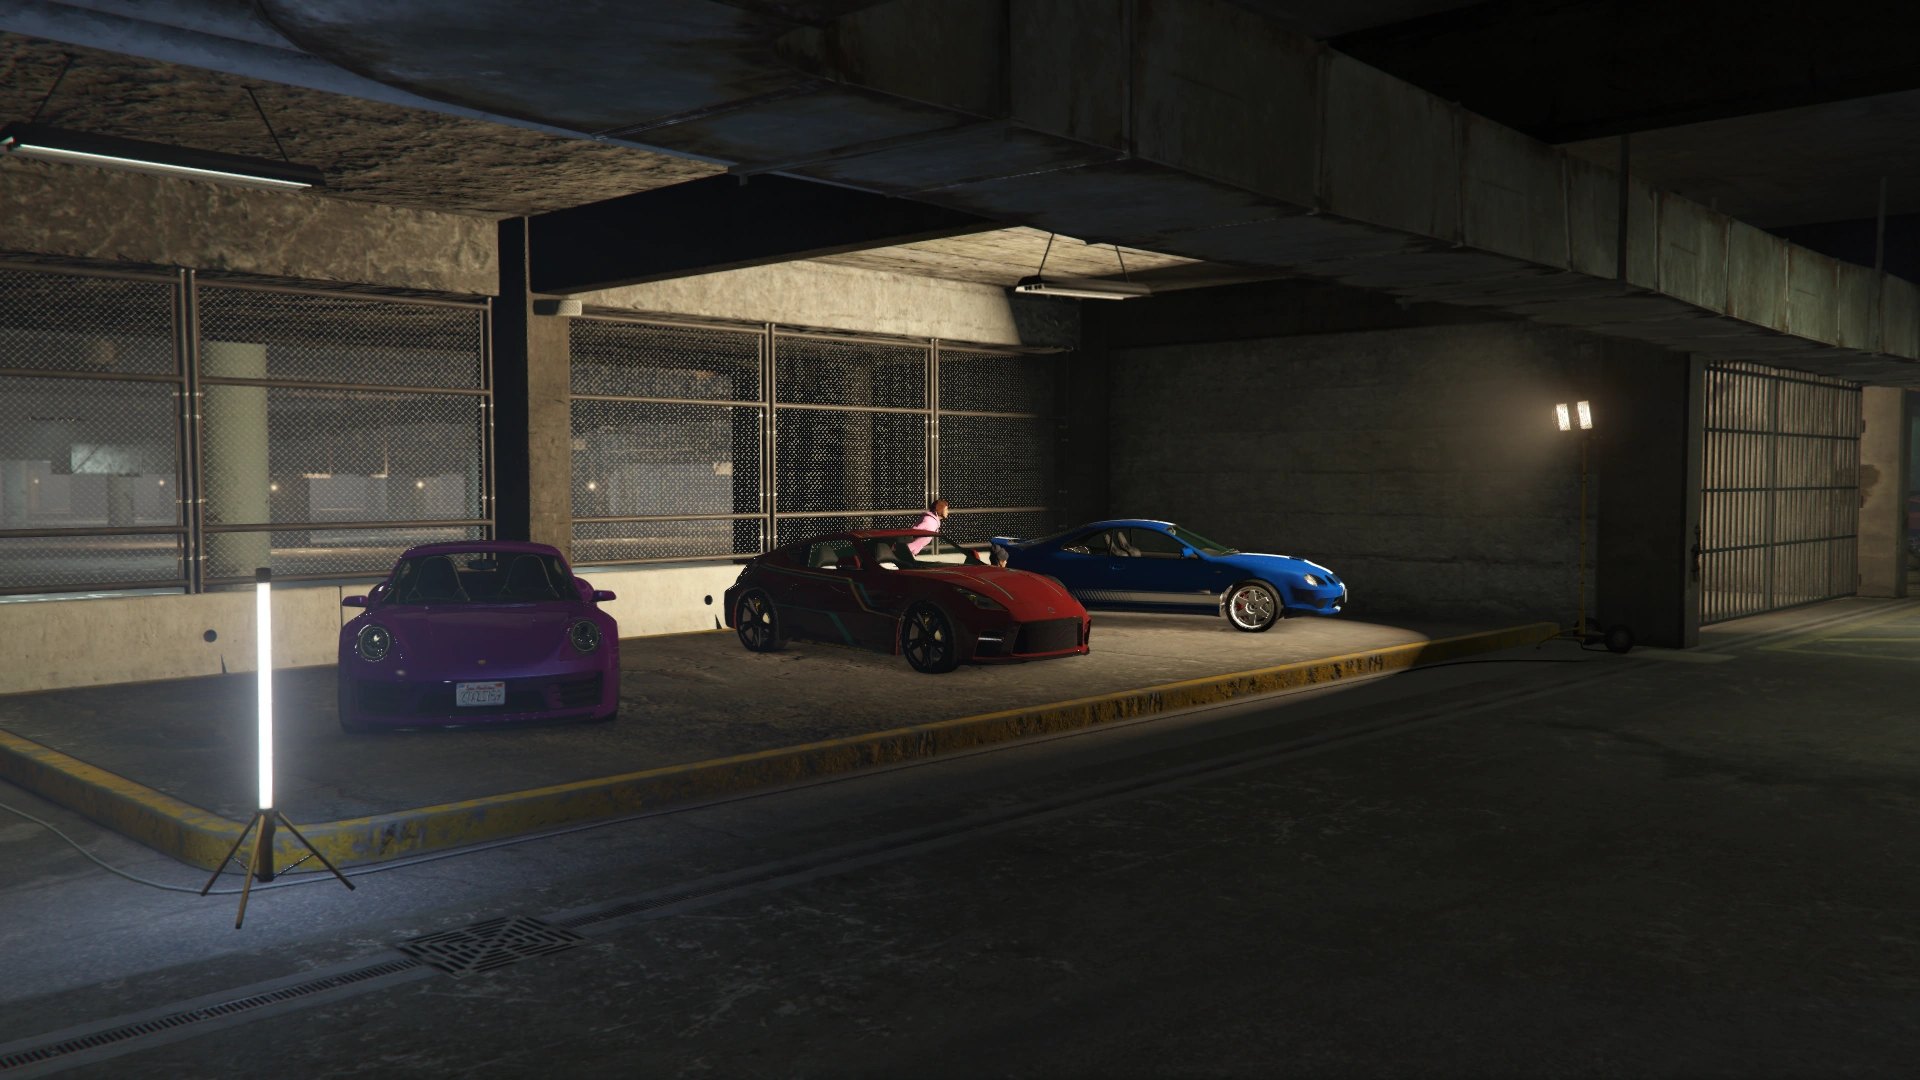
Rare Test Ride paint jobs
Some test rides may be painted in rare colors that cannot be applied in any mod shops. These paint jobs can be secured permanently by purchasing these vehicles directly from the Test Ride podium. These paint jobs are mostly derived from the traffic default colors of the cars themselves.
| Week | Test Ride * Denotes a vehicle not yet available to purchase ! Denotes a non-Tuners DLC vehicle |
Color Set
|
Ref. | Notes | |||||||
|---|---|---|---|---|---|---|---|---|---|---|---|
| 22 December 2022 | Übermacht Revolter! |
|
[1] | ||||||||
| 22 November 2022 | Benefactor SM722! |
|
[2] | ||||||||
| 11 August 2022 | Enus Windsor Drop! |
|
[3] | ||||||||
| 11 August 2022 | Lampadati Pigalle! |
|
[3] | ||||||||
| 30 June 2022 | Pegassi Ignus! |
|
[4] | The wheel color will revert to default alloy color after switching sessions on PC version. | |||||||
| 16 June 2022 | Grotti X80 Proto! |
|
[5] | Worn White as the accent color. | |||||||
| 18 November 2021 | Dinka Jester RR |
|
[6] | The wheel color will revert to default alloy color after switching sessions on PC version. |
Influence
The warehouse building that is home to the Car Meet is based on the buildings in Alameda Square, Los Angeles, where the iconic scramble scene in 2 Fast 2 Furious was filmed.
Tribute cars
Main article: /Vehicles#Tribute Cars
Inside the Meet, along with the previously listed specific character-owned vehicles and generic pre-modified vehicles, there are several specifically modified replicas of vehicles featured in Rockstar Games' Midnight Club series as well as other homages to film and media, using models and liveries available prior to the Los Santos Tuners update. The Tuners update included many updated reference vehicle and livery combinations that are not used.
Galleries
General
")
")
")
")
")
")
")
")
")
")
")
")
")
")
People
"Staff"
")
")
")
")
")
Attendees
")
")
")
")
")
")
")
Miscellaneous
")
")
Bugs/Glitches
- Infrequently, a loud explosion can be heard inside.
- Some NPCs can still be heard during a Private Takeover.
- Sometimes the player will be seemingly unable to modify their vehicle, even with an empty slot available.
- Players using low-spec PCs and previous-gen consoles may experience significant lag and lower frame rate while in the Car Meet and in the areas outside immediately after exiting from the Meet. Additionally, it is common for vehicles to use low-poly models when the player is customizing their car.
- Headlight Glitch: When leaving the meet in a personal vehicle at night, the vehicle's lights will appear to be switched off. Attempting to switch them on will immediately activate high-beam mode, as if the lights had already been on. The lights will function normally from then, cycling from off to low-beam to high-beam to off.
Test Rides
- Some non-tuner test rides during the event weeks may cause the player to get in and out of the car repeatedly, making them unable to enter the Test Track or simply exit.
- Some Test Ride vehicles may have the incorrect auto-dealer information displayed:
- The right side vehicle will always be marked as SOUTHERNSANADREASSUPERAUTOS.COM and the other two will be marked as LEGENDARYMOTORSPORT.NET, regardless of which dealership actually sells the vehicle.[7]
- From the release of The Contract update in December 2021 until the 1.59 patch on 26 April 2022, every vehicle parked in the middle spot would incorrectly be marked as an unreleased vehicle, with the words "COMING SOON" in place of the dealership name.[8]
- Similarly to the Lucky Wheel podium prize, vehicles may appear without
extrasparts. Unlike the Lucky Wheel issue, the missing parts are usually applied when the vehicle is purchased from the Car Meet.- During the GTA Online Bonuses (May 2022 Part 2) event week, the test Mamba came as a topless version; however, it lacked the windshield and chrome rollbars, which would still appear on the vehicle after the purchase.
- Different from the podium Mamba, a hardtop version was featured on the Test Ride advert.
- During the GTA Online Bonuses (May 2022 Part 3) event week, although the Casco was displayed correctly on the advert, it has no roof on the podium. The roof would be added back after the purchase.
- During the July 2022 Week 1, the test Progen Emerus lacked a rear spoiler.
- During the GTA Online Bonuses (May 2022 Part 2) event week, the test Mamba came as a topless version; however, it lacked the windshield and chrome rollbars, which would still appear on the vehicle after the purchase.
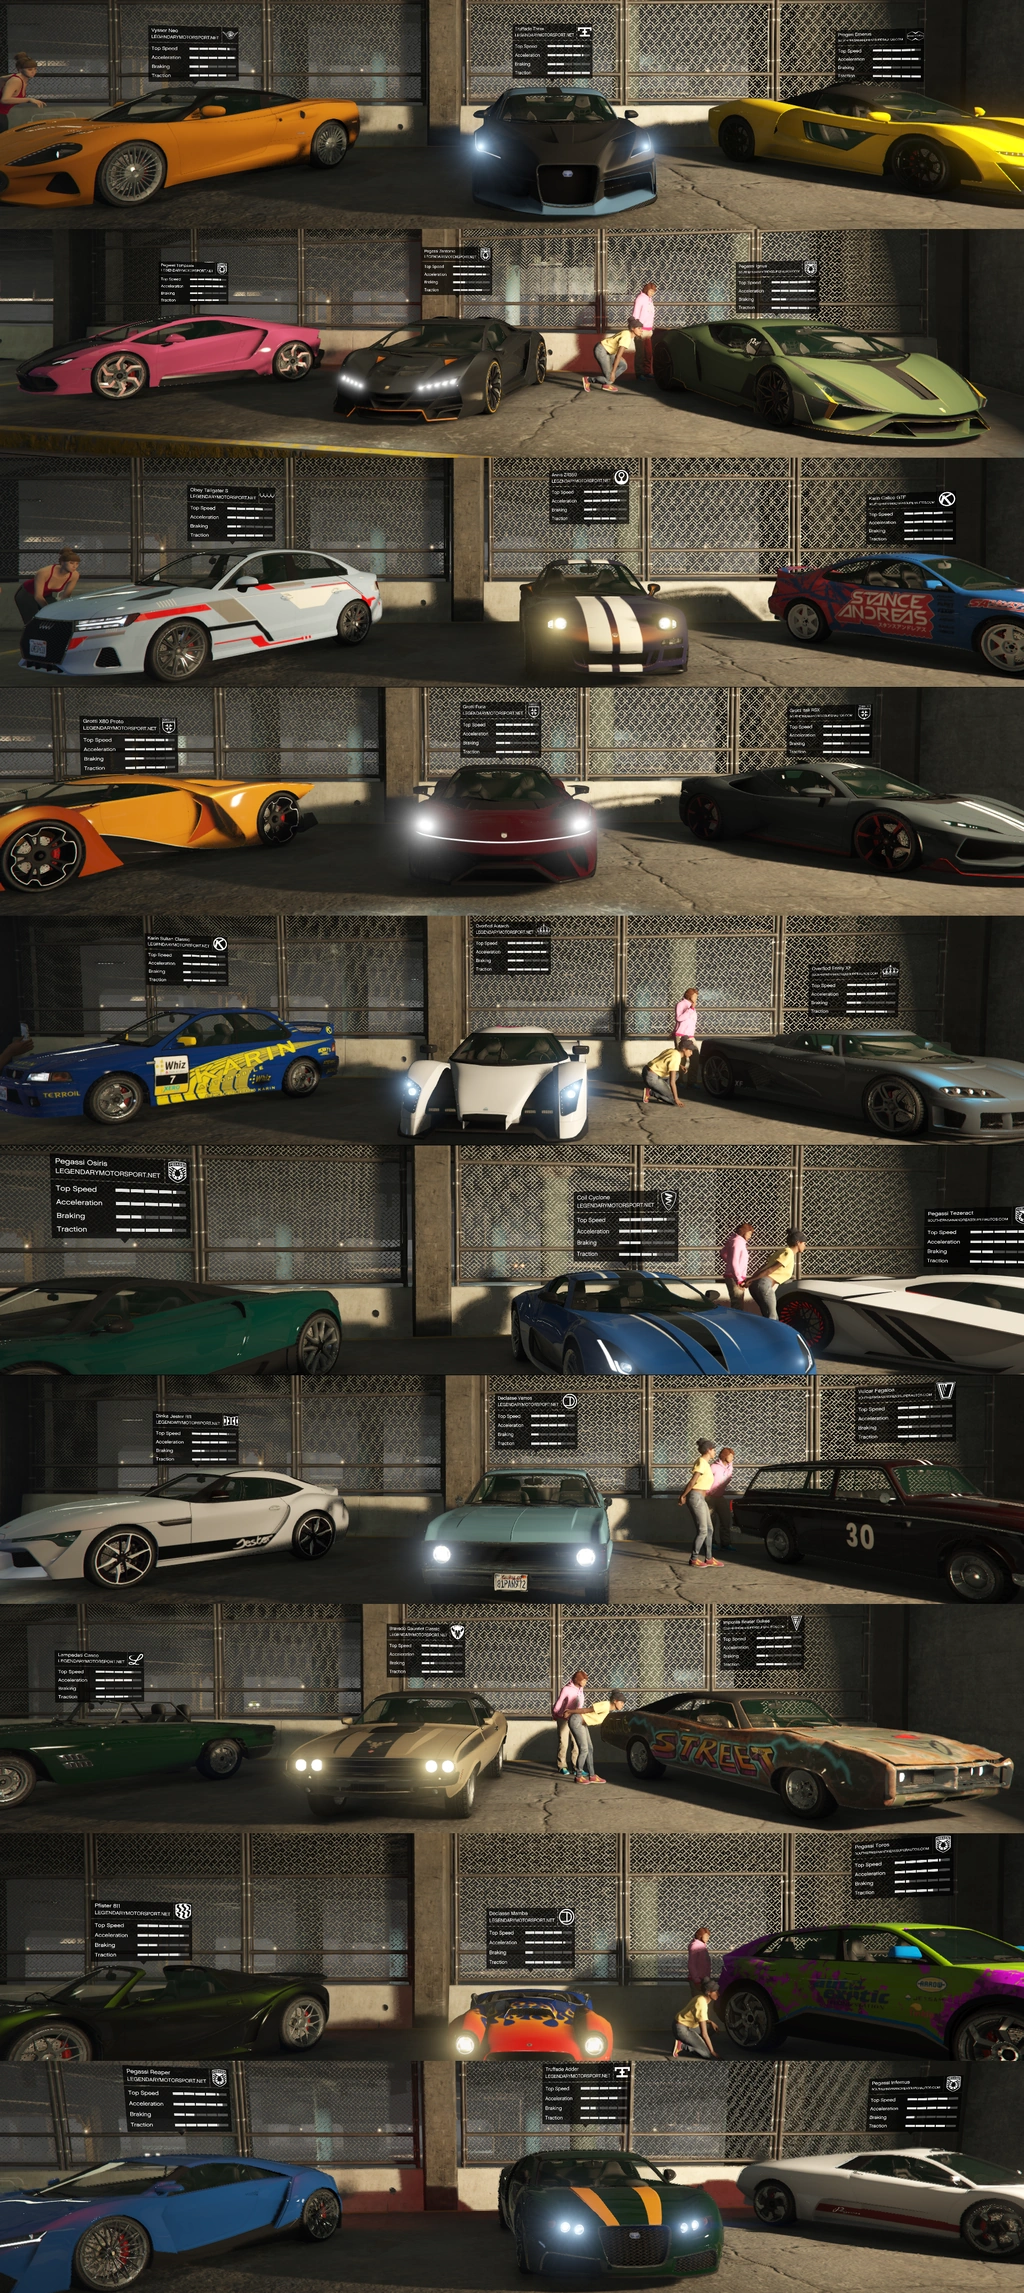
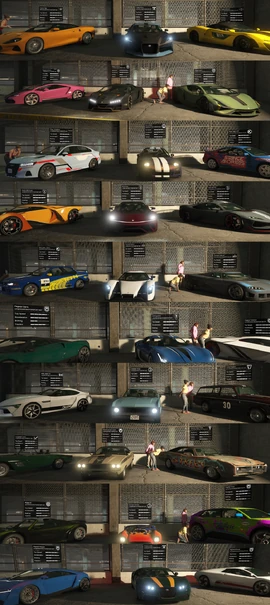
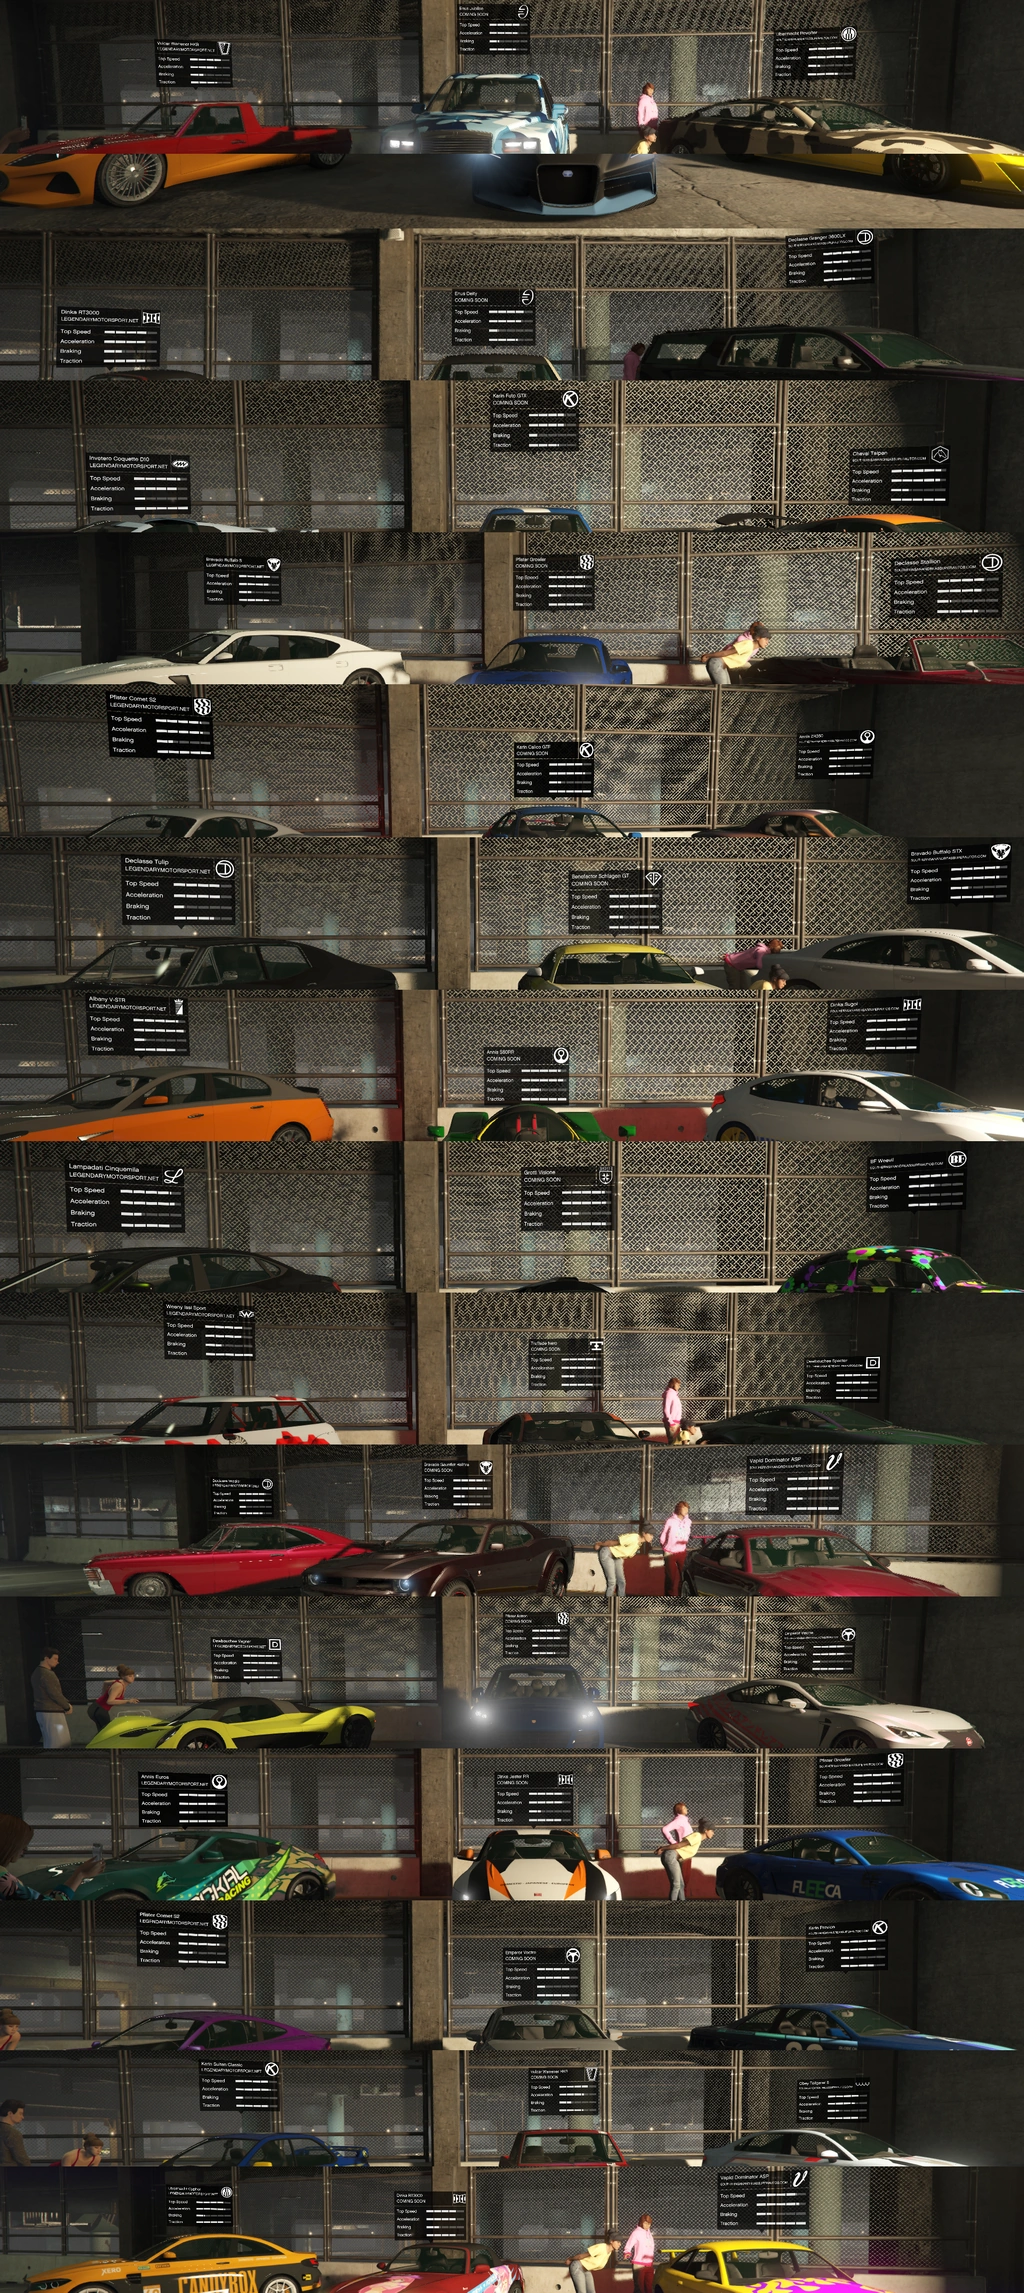