MGgames100 (talk | contribs) No edit summary |
Tag: Visual edit |
||
| (21 intermediate revisions by 9 users not shown) | |||
| Line 1: | Line 1: | ||
{{Next-Gen}} |
{{Next-Gen}} |
||
| − | {{Upcoming}} |
||
| − | {{Under Construction|new=y}} |
||
{{Infobox vehicles |
{{Infobox vehicles |
||
|name = Imorgon |
|name = Imorgon |
||
| Line 14: | Line 12: | ||
|price = [[Money|$]]2,165,000 <small>([[Legendary Motorsport]])</small> |
|price = [[Money|$]]2,165,000 <small>([[Legendary Motorsport]])</small> |
||
|appearances = ''[[Grand Theft Auto Online]]'' {{DLC|GTA Online: The Diamond Casino Heist}} {{NG}} |
|appearances = ''[[Grand Theft Auto Online]]'' {{DLC|GTA Online: The Diamond Casino Heist}} {{NG}} |
||
| − | |related = [[Voltic]]<br>[[Cyclone |
+ | |related = [[Voltic]]<br>[[Cyclone]] |
|variants = |
|variants = |
||
|makeyear = |
|makeyear = |
||
| Line 56: | Line 54: | ||
}} |
}} |
||
{{Quote|You've dreamt about the ultimate super electric sports car. Now here you are, reading an app, seeing it in the carbon fiber flesh and wondering if it can really be true. It can. The Overflod Imorgon - your electric dreams turned reality. And not the bad, naked and losing your teeth dreams either. We're talking the flying and having parents who are proud of you dreams. You're welcome.|[[Legendary Motorsport]] description.}} |
{{Quote|You've dreamt about the ultimate super electric sports car. Now here you are, reading an app, seeing it in the carbon fiber flesh and wondering if it can really be true. It can. The Overflod Imorgon - your electric dreams turned reality. And not the bad, naked and losing your teeth dreams either. We're talking the flying and having parents who are proud of you dreams. You're welcome.|[[Legendary Motorsport]] description.}} |
||
| − | The [[Överflöd]] '''Imorgon''' is a two-door electric sports car |
+ | The [[Överflöd]] '''Imorgon''' is a two-door electric sports car featured in ''[[Grand Theft Auto Online]]'' as part of the continuation of the [[GTA Online: The Diamond Casino Heist|The Diamond Casino Heist]] update, released on January 9, 2020, during the [[Imorgon Week]] event. |
==Design== |
==Design== |
||
===''Grand Theft Auto Online''=== |
===''Grand Theft Auto Online''=== |
||
The Imorgon is based on the 2018 methanol-electric sports car {{URL|https://firstclasse.com.my/worlds-first-methanol-electric-car-the-gumpert-rg-nathalie/|Roland Gumpert Nathalie}}. The headlights feature similar setup to the ones found in the {{WP|Aston Martin Vulcan}}, while the rear vents seems to be inspired by the ones found in the {{WP|Audi R8#First generation (2006–2015: Type 42)|first generation Audi R8}}. |
The Imorgon is based on the 2018 methanol-electric sports car {{URL|https://firstclasse.com.my/worlds-first-methanol-electric-car-the-gumpert-rg-nathalie/|Roland Gumpert Nathalie}}. The headlights feature similar setup to the ones found in the {{WP|Aston Martin Vulcan}}, while the rear vents seems to be inspired by the ones found in the {{WP|Audi R8#First generation (2006–2015: Type 42)|first generation Audi R8}}. |
||
| + | |||
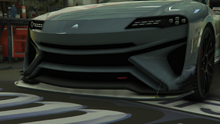
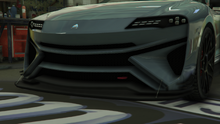
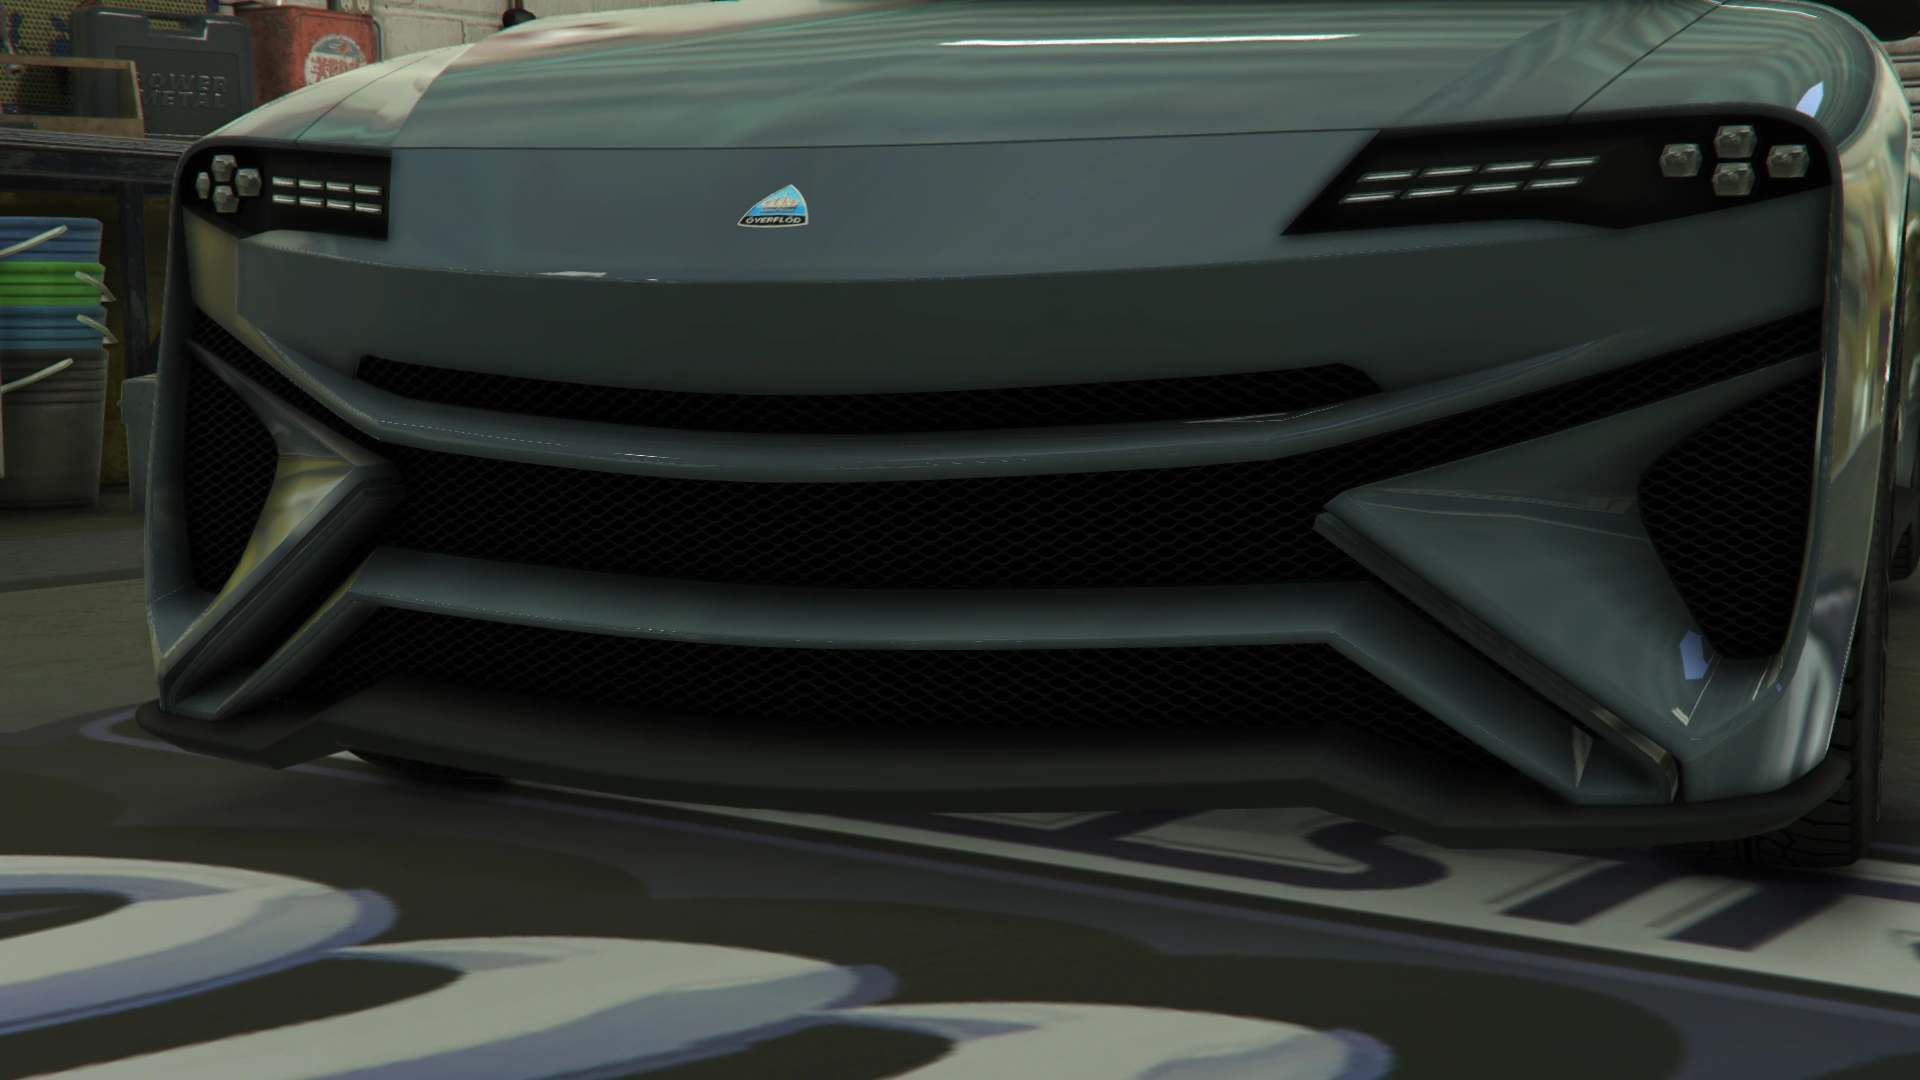
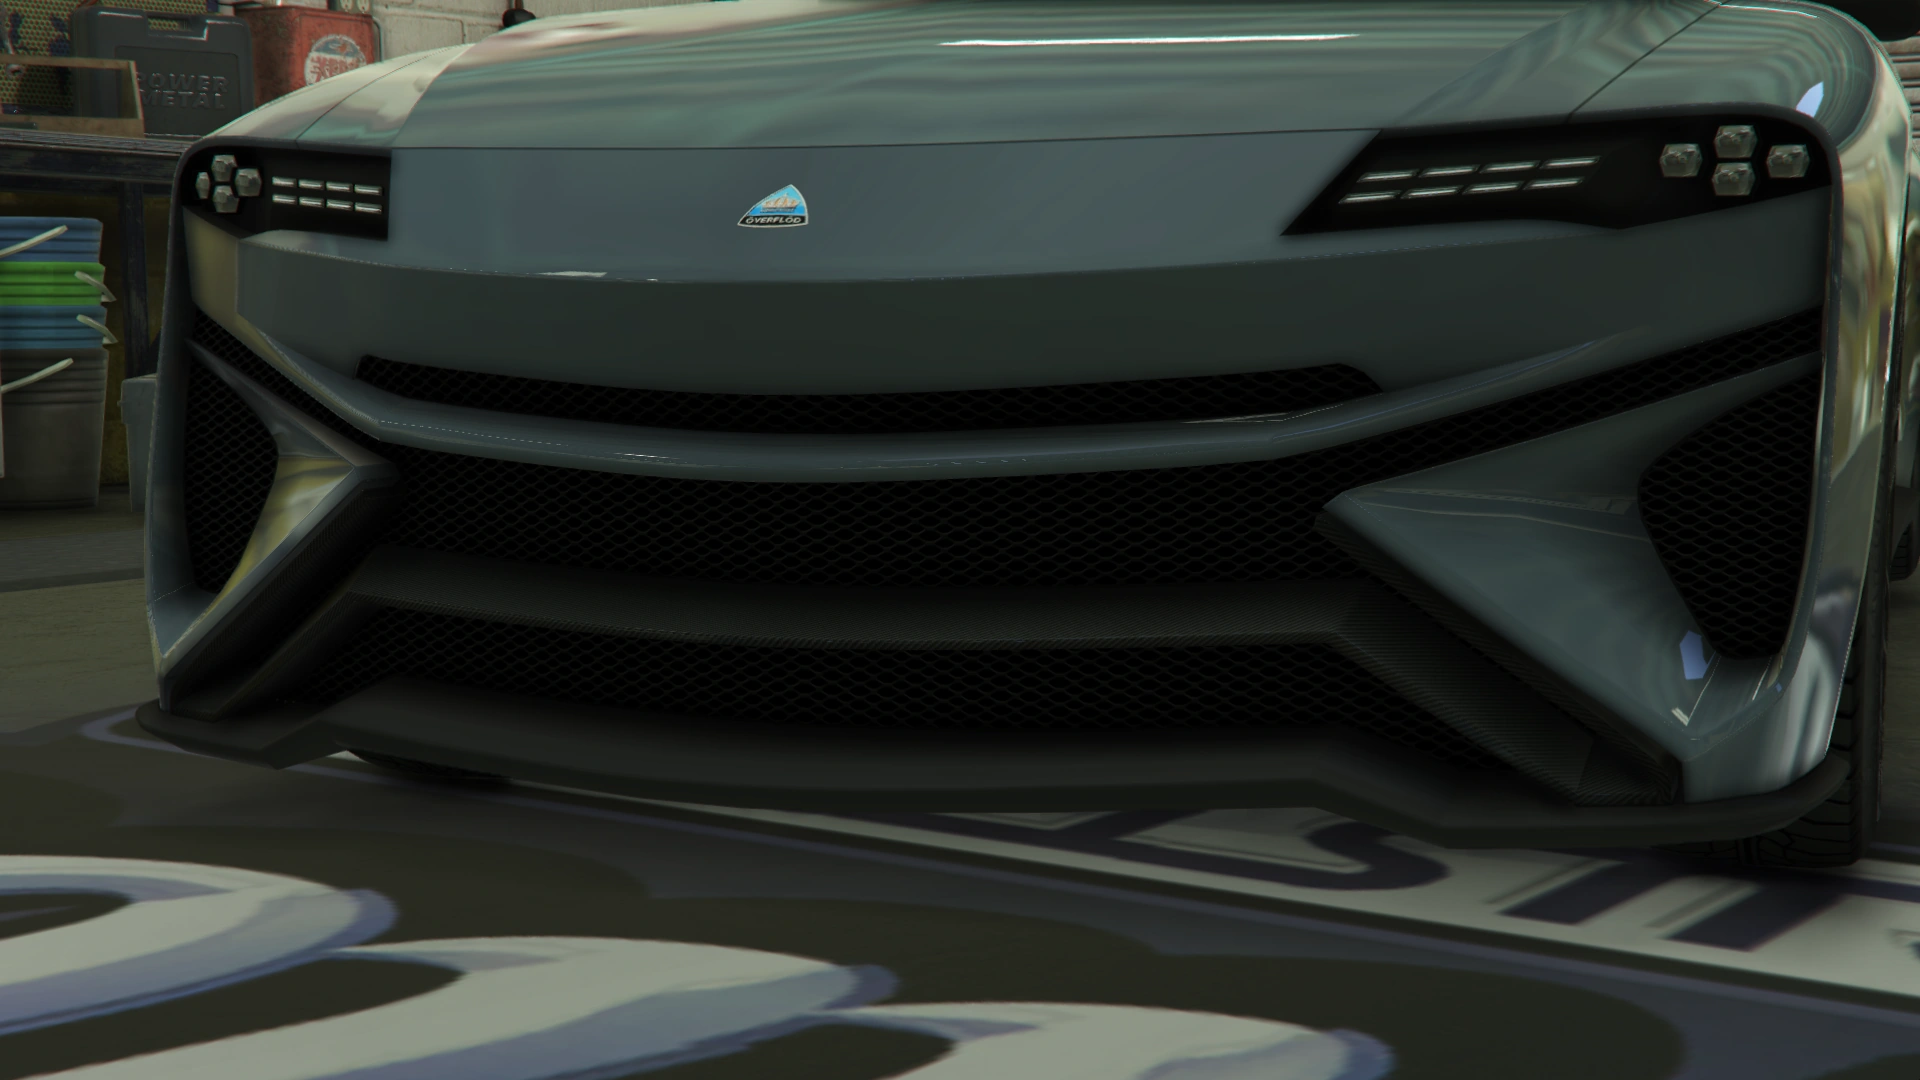
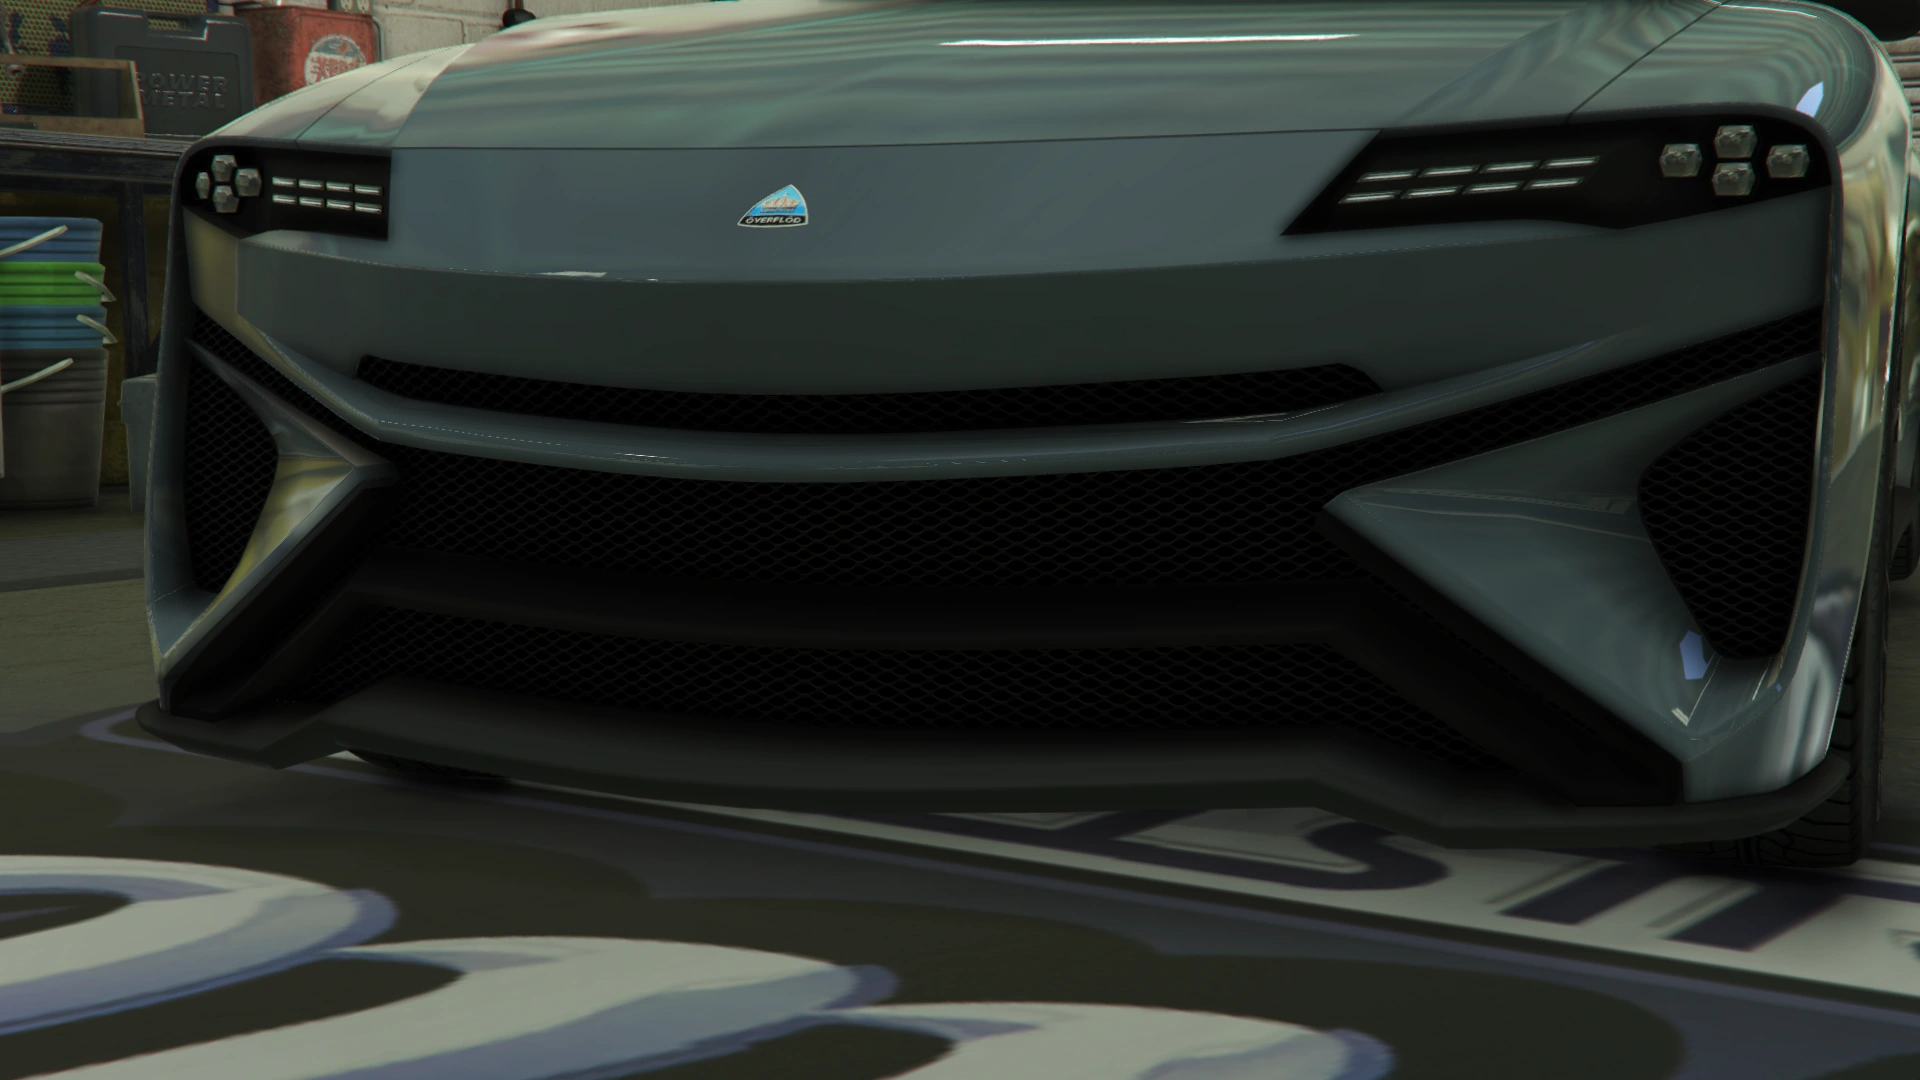
| + | The front end of the Imorgon is mostly dominated by the front intakes, with triangle-shaped intakes on the outer edges and a plastic splitter on the underside. The headlights are composed of small LED lights, with outer square-shaped lights and inner light strips, located in black housings. The section between the headlights is inclined and the manufacturer's emblem can be seen at the center of it. |
||
| + | |||
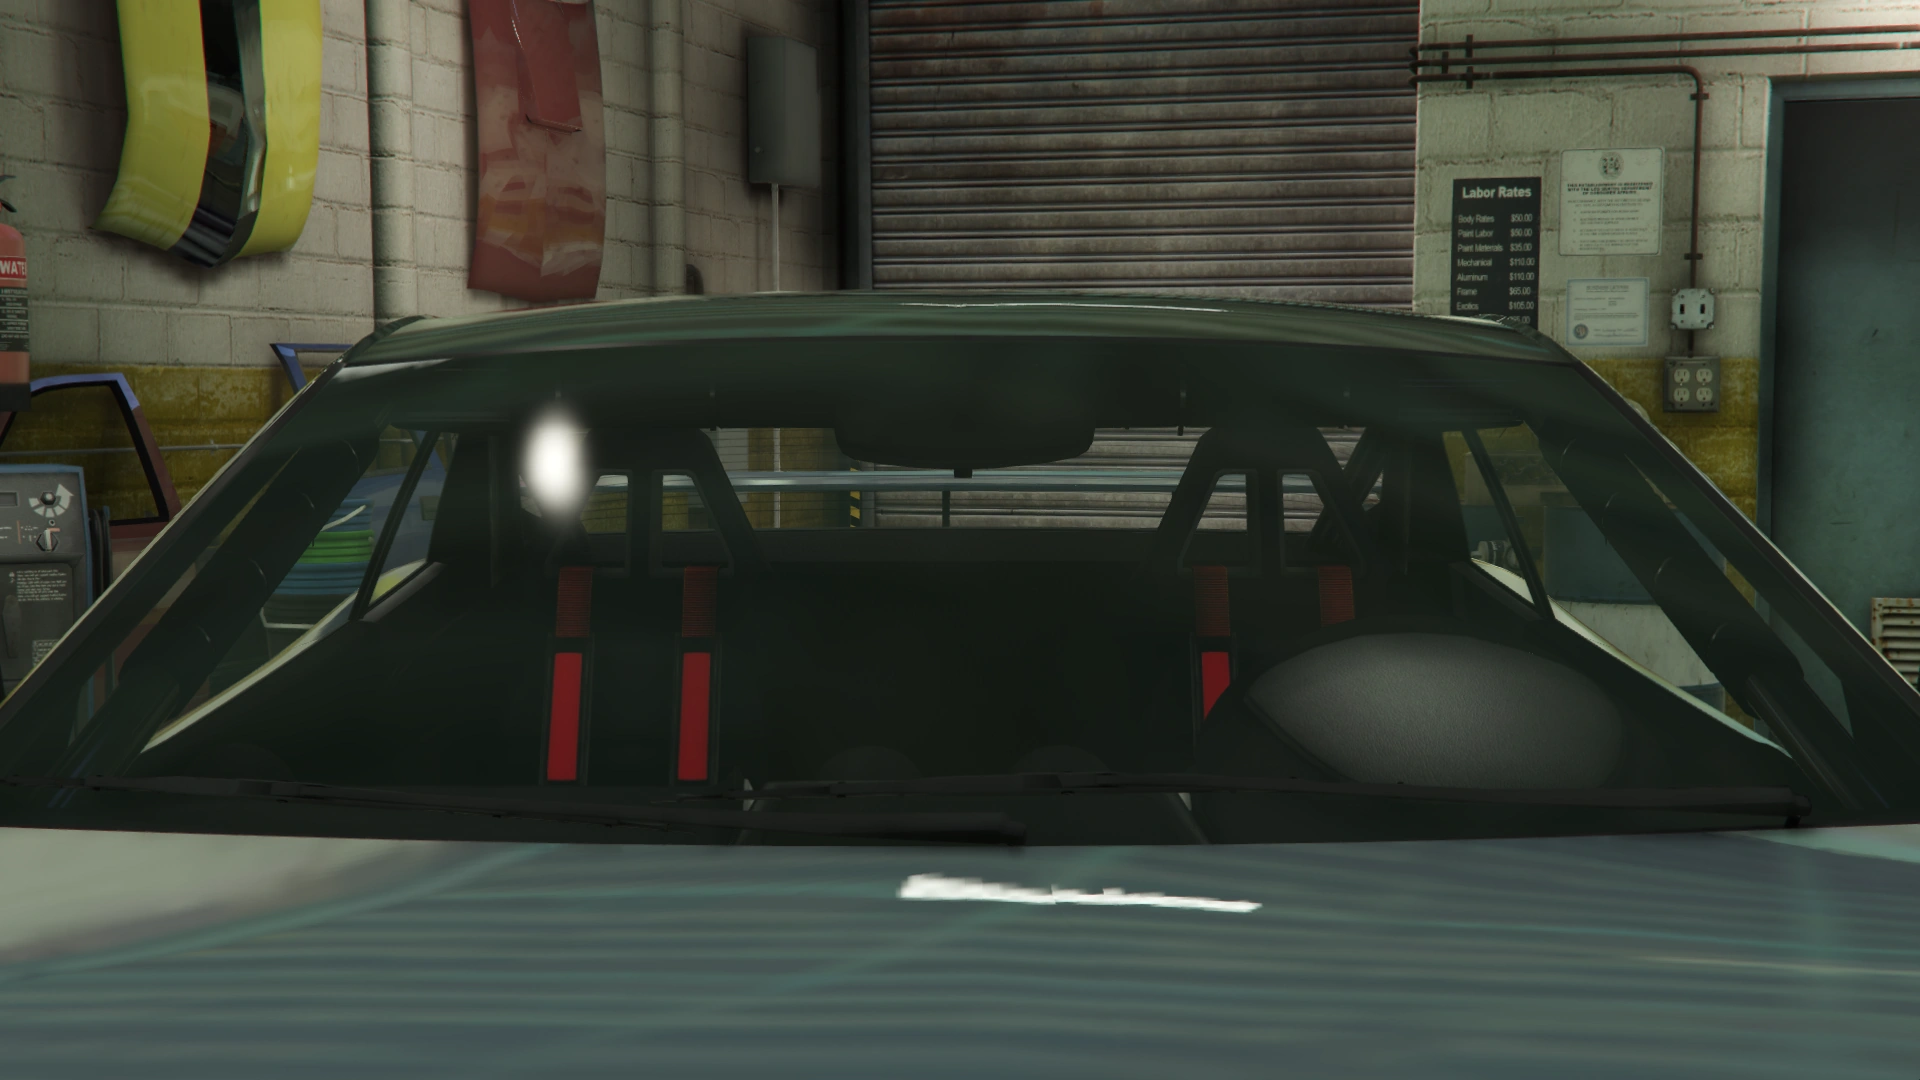
| + | The sides feature a slightly concaved portion around the doors, with a ridge below the door and plastic skirts at the bottom. Thin vents can be seen on the front fenders, as well as plastic rear-view mirror wings mounted on the doors. |
||
| + | |||
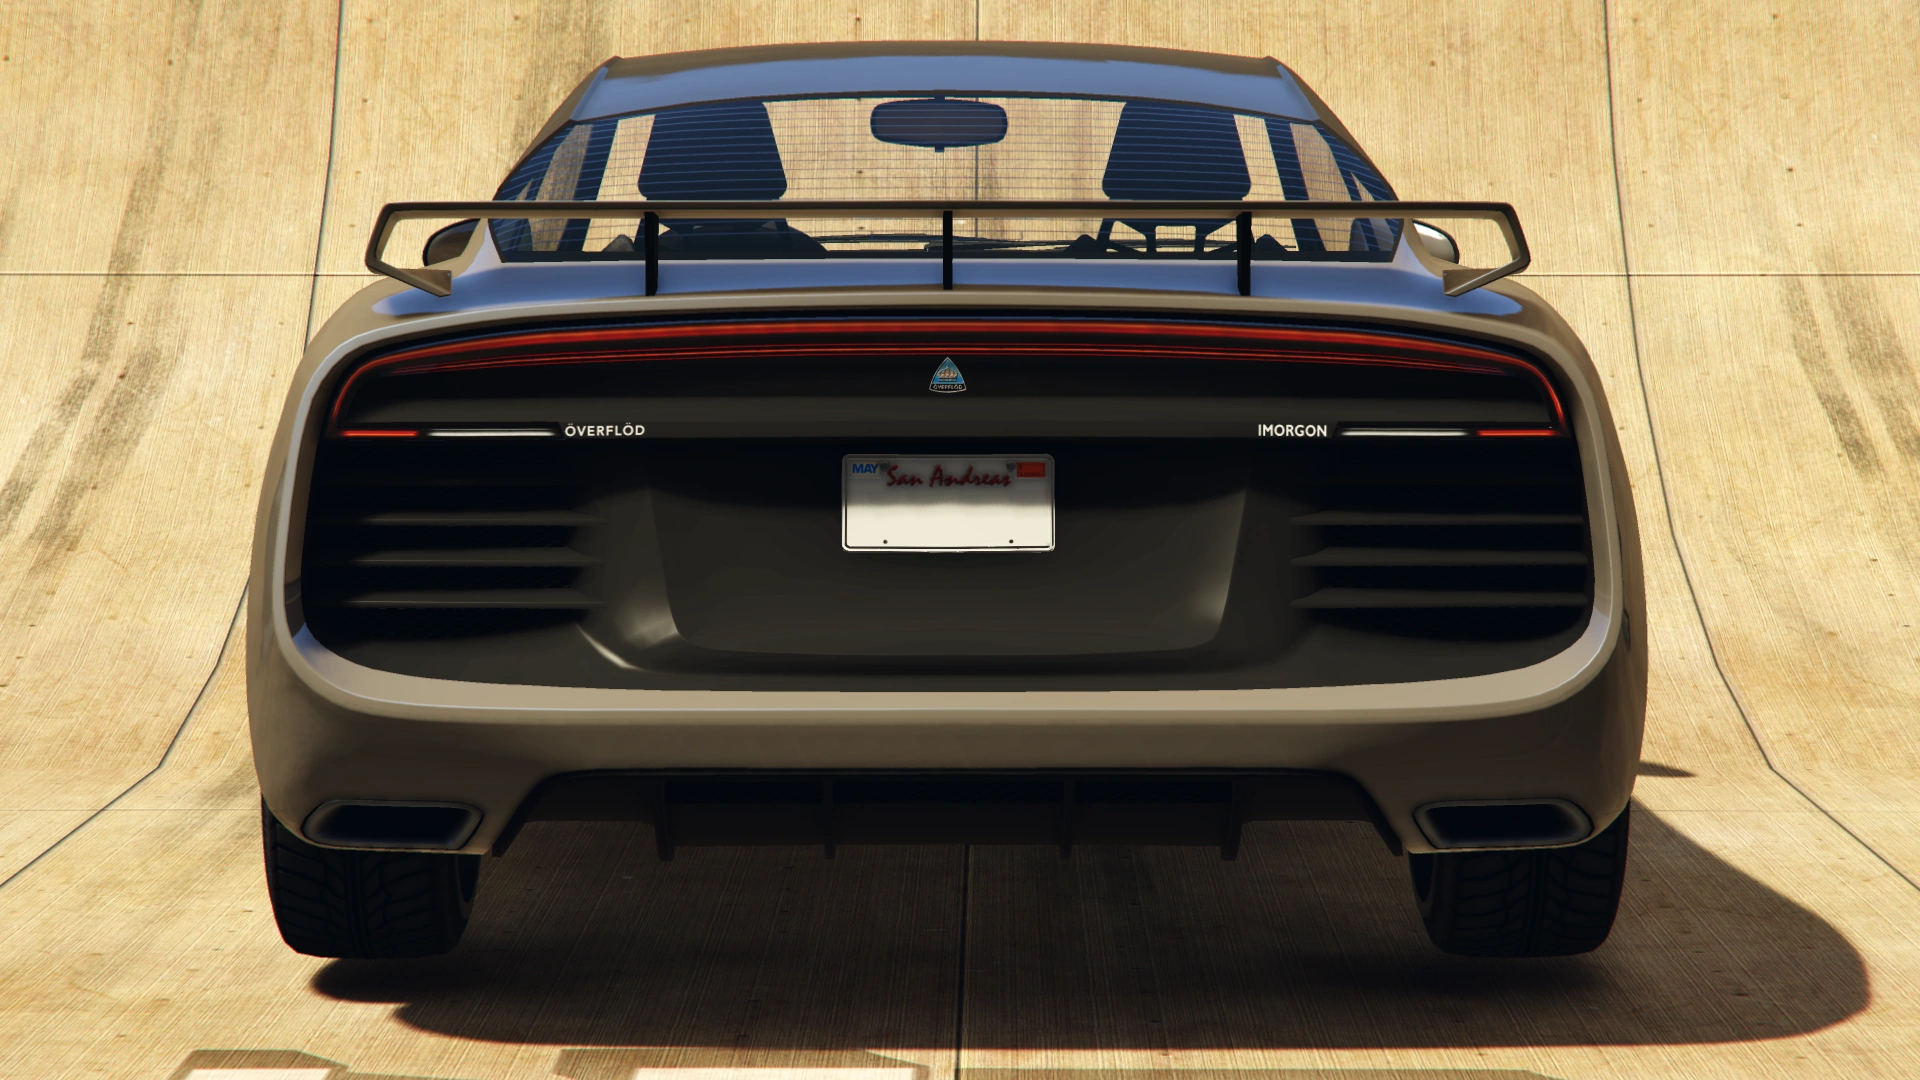
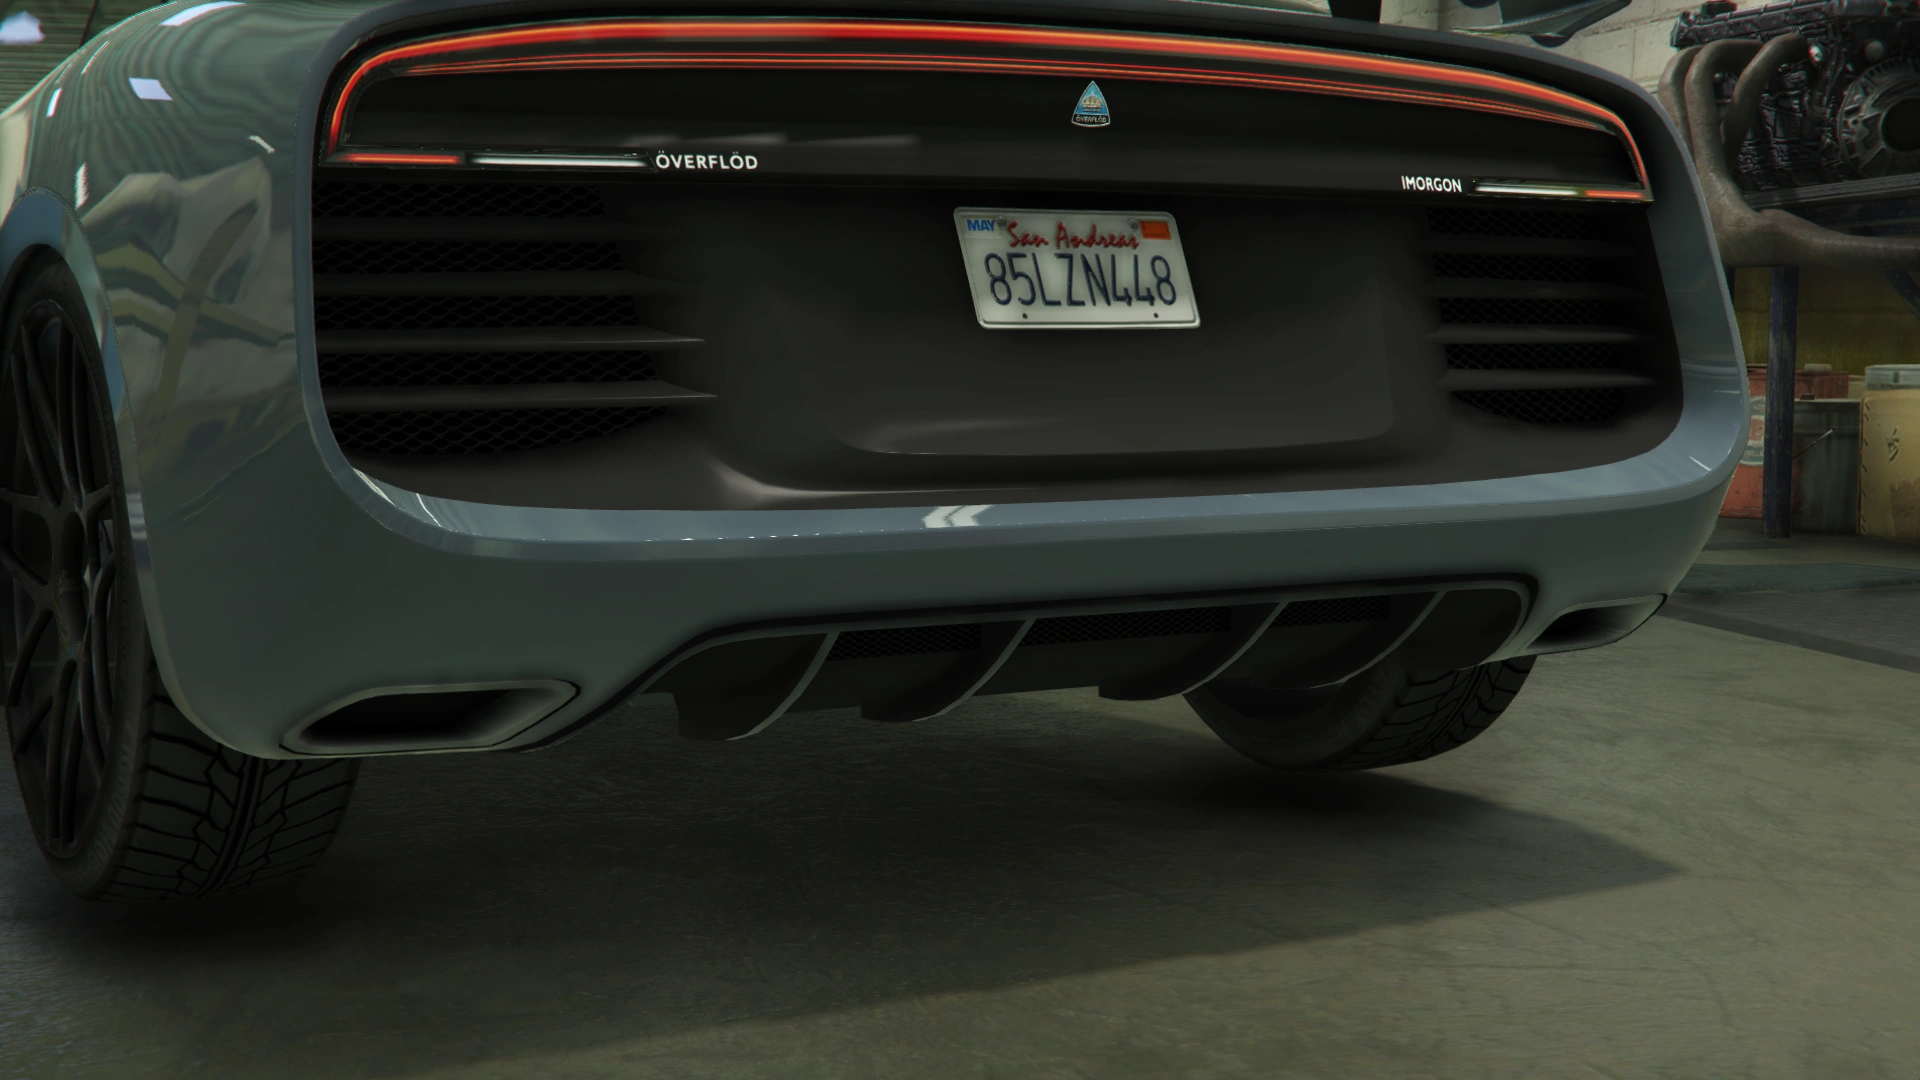
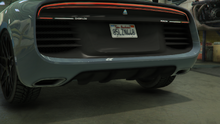
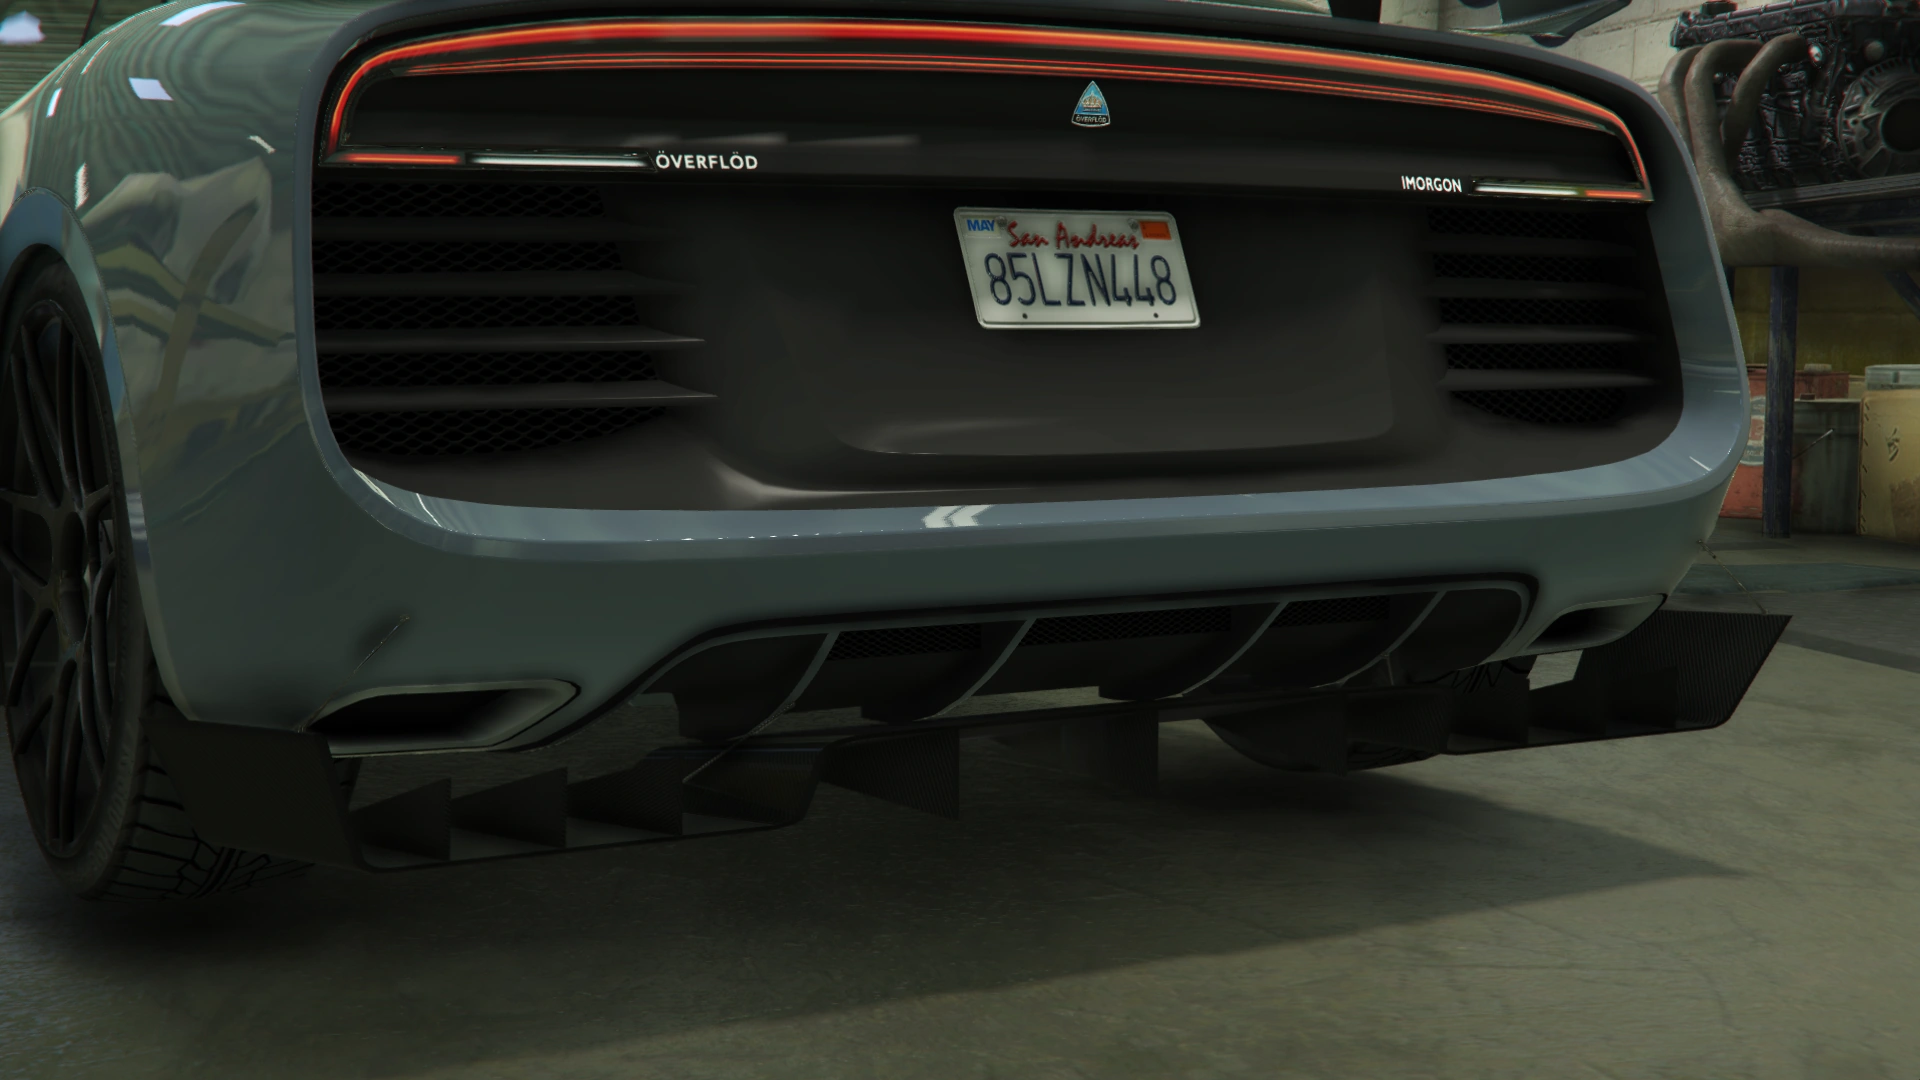
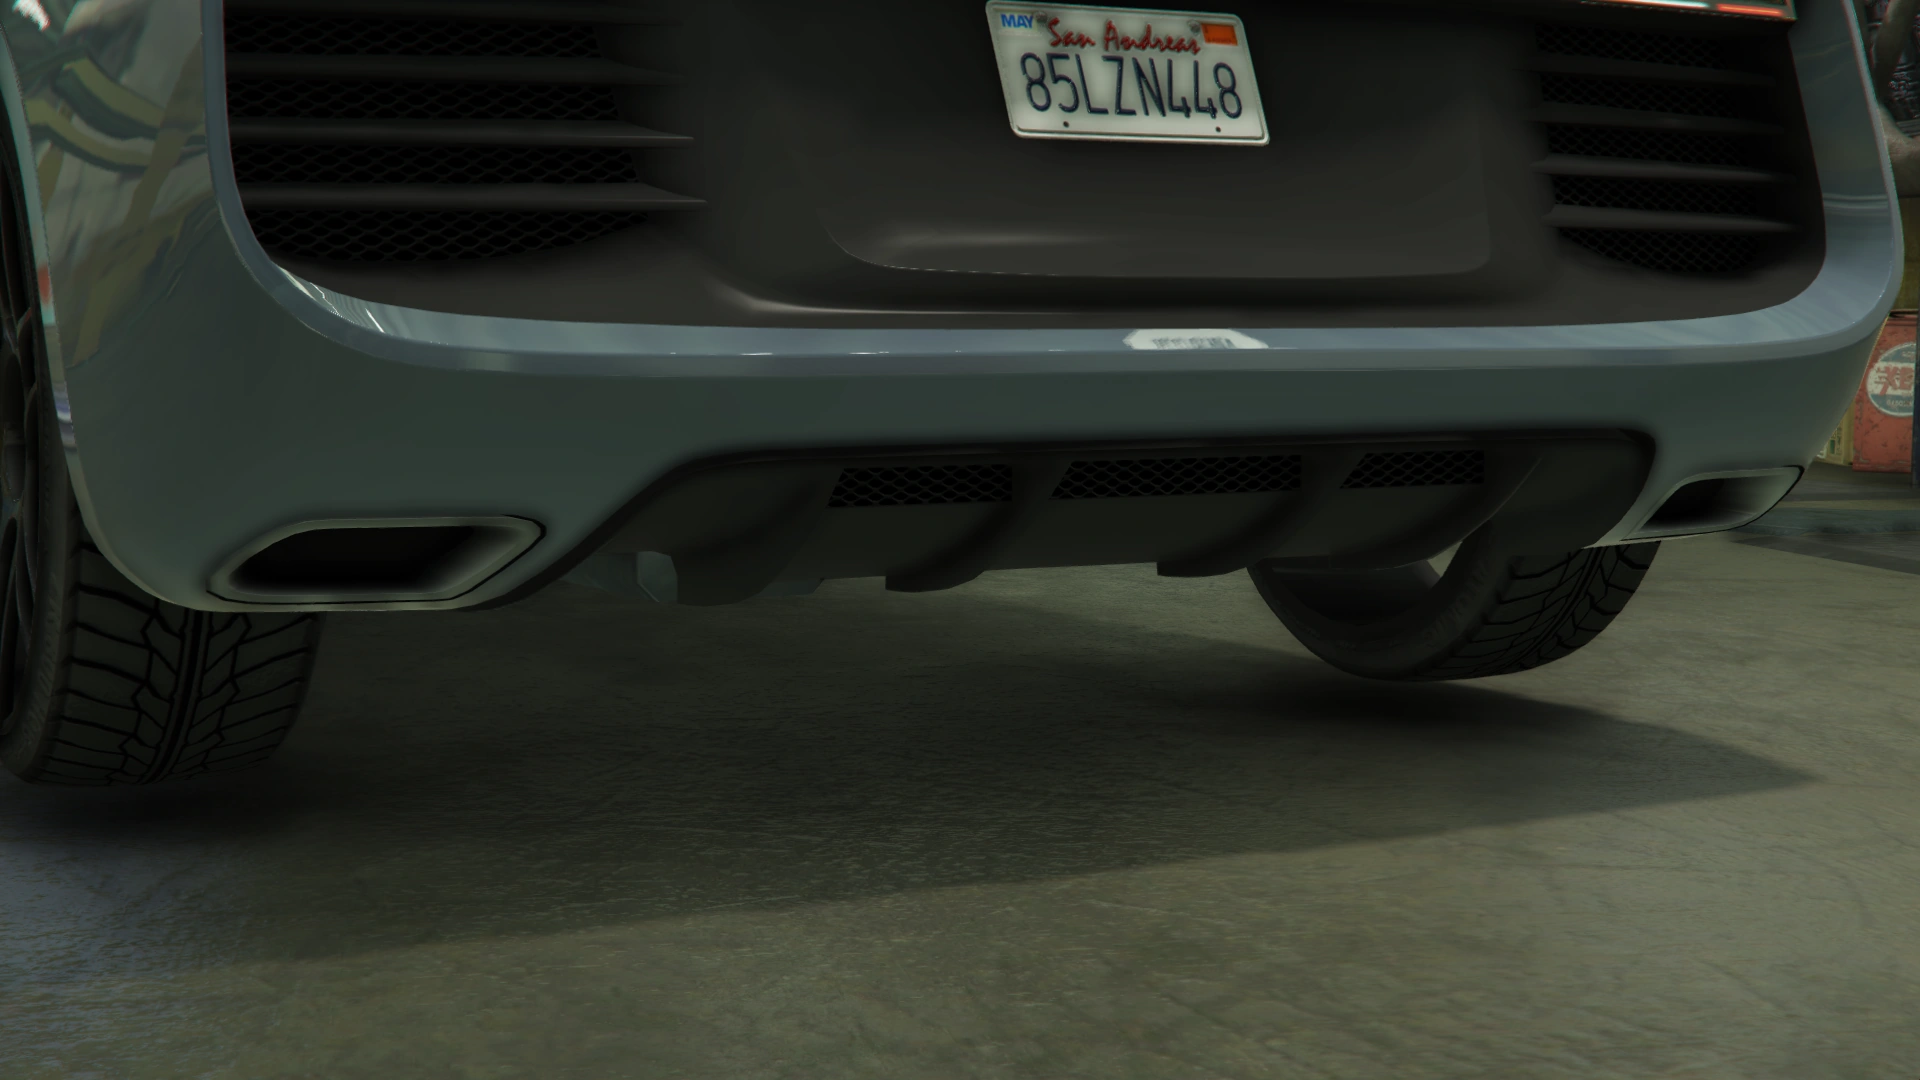
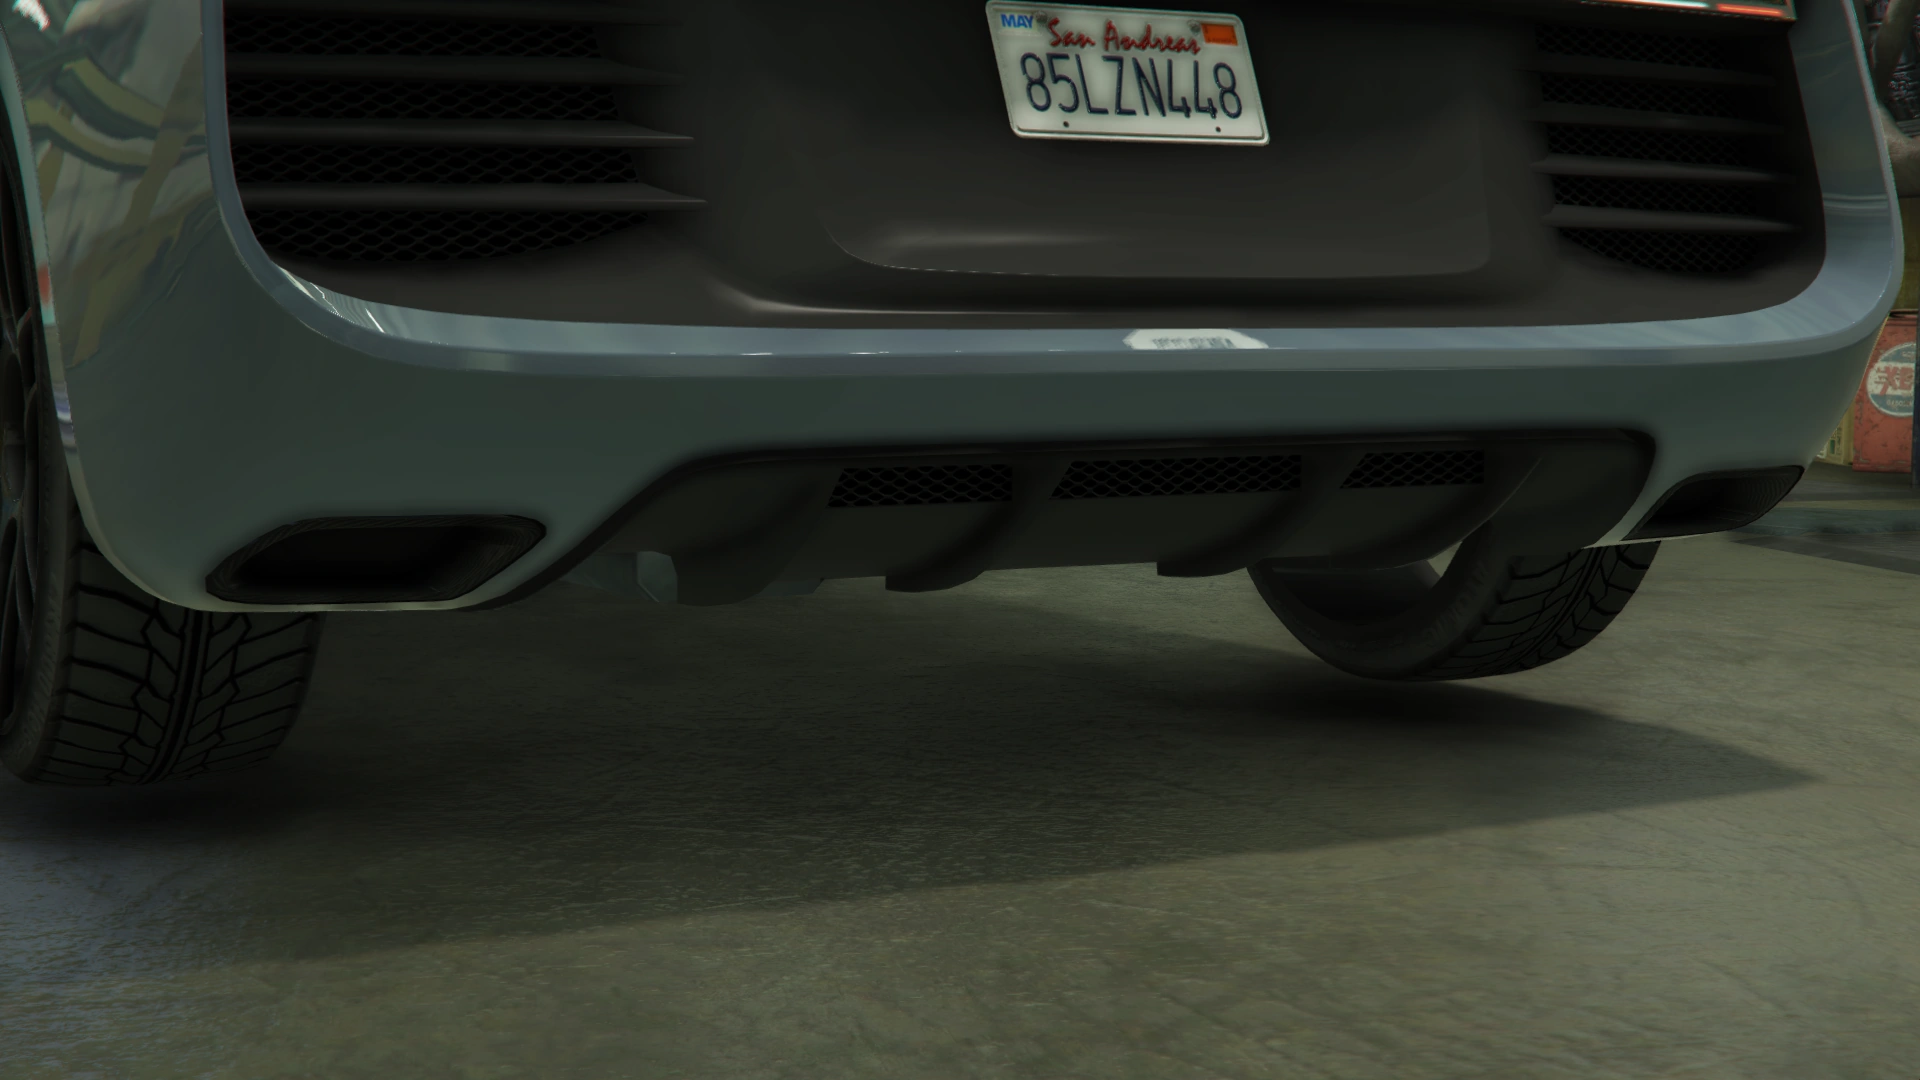
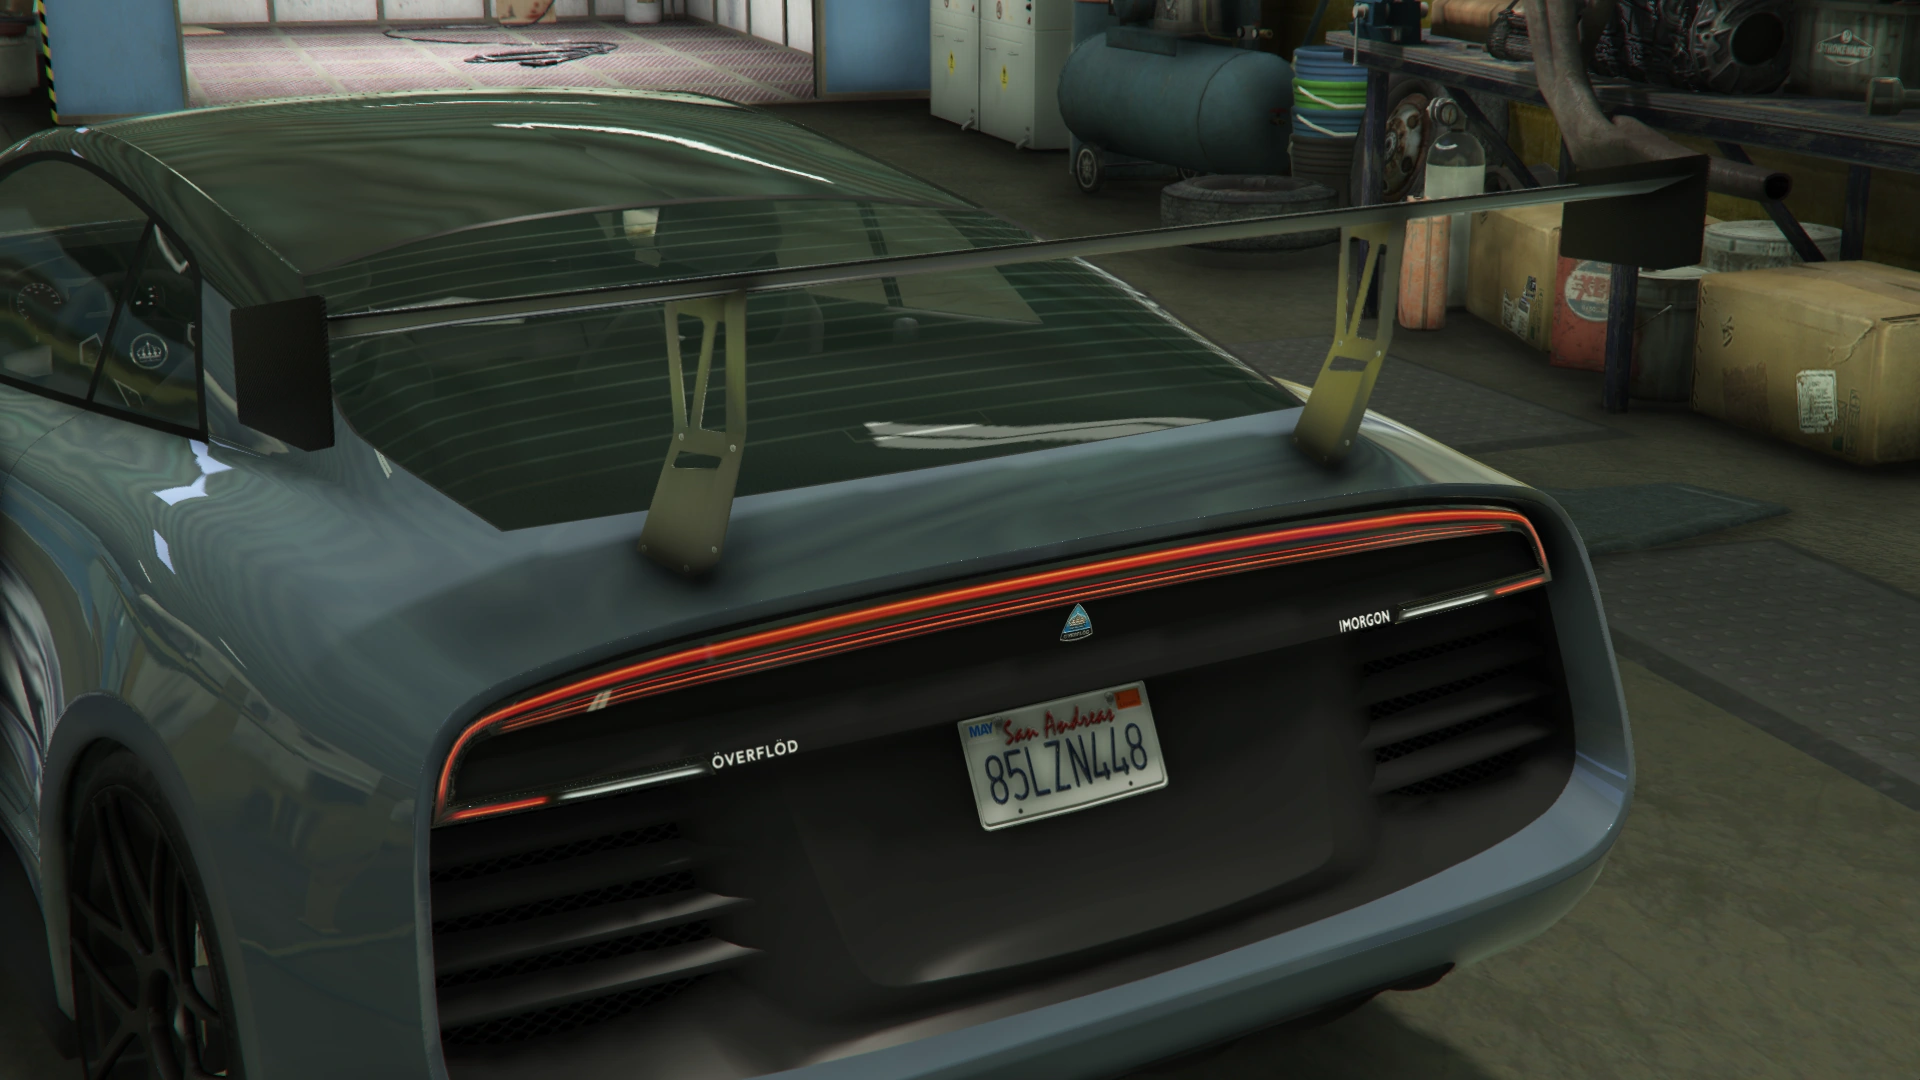
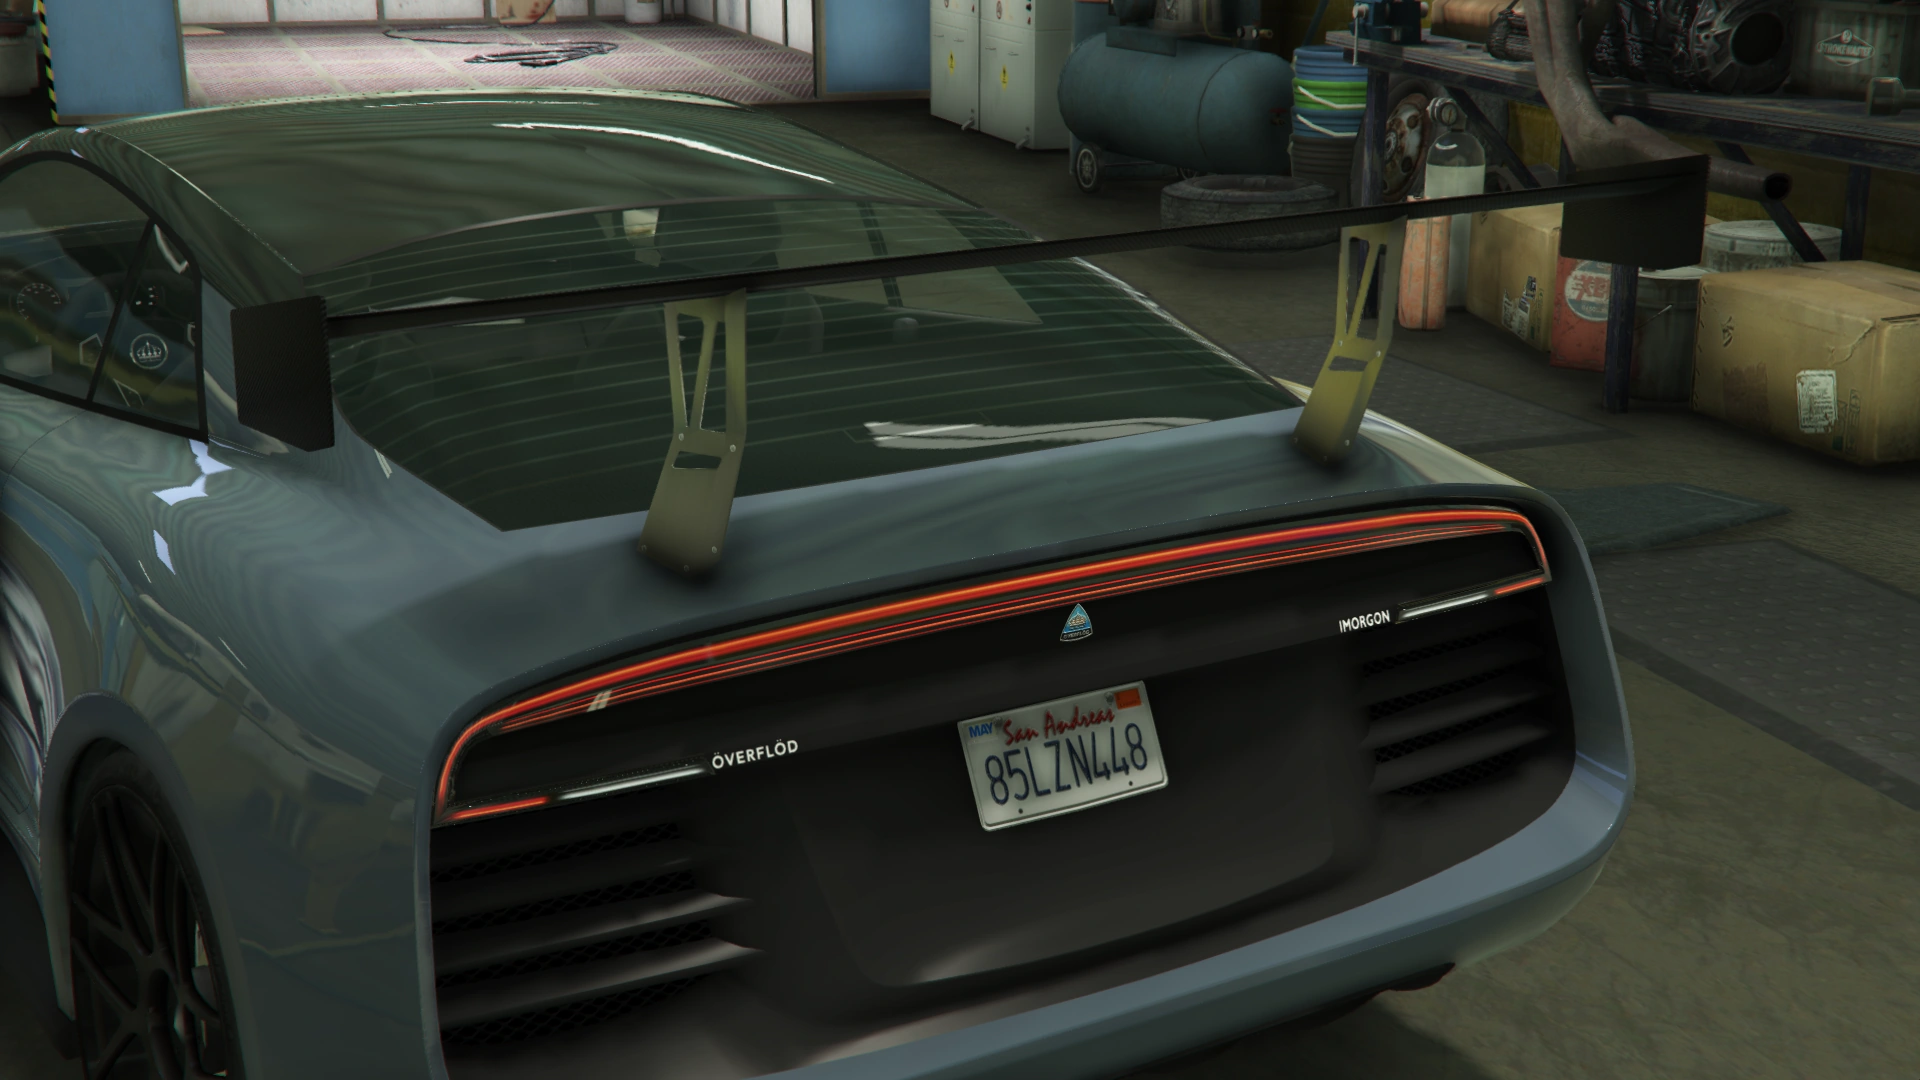
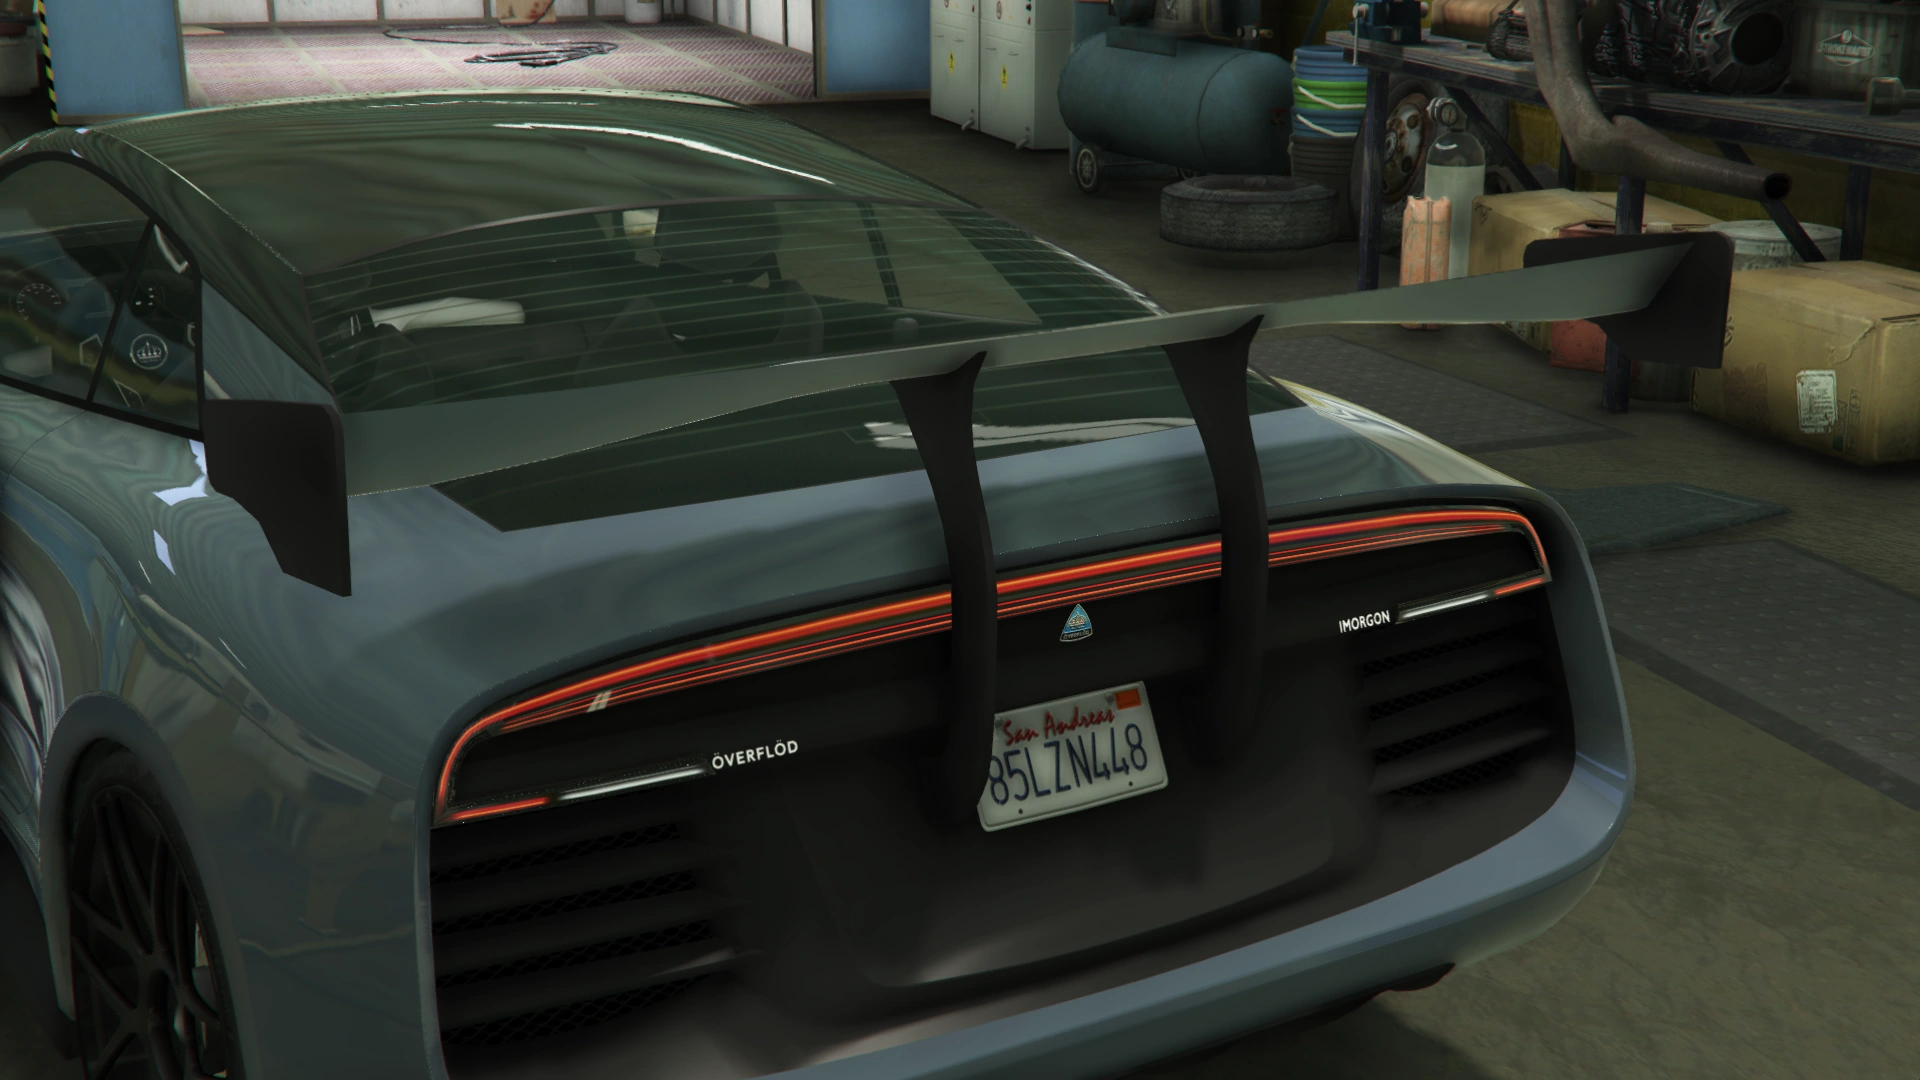
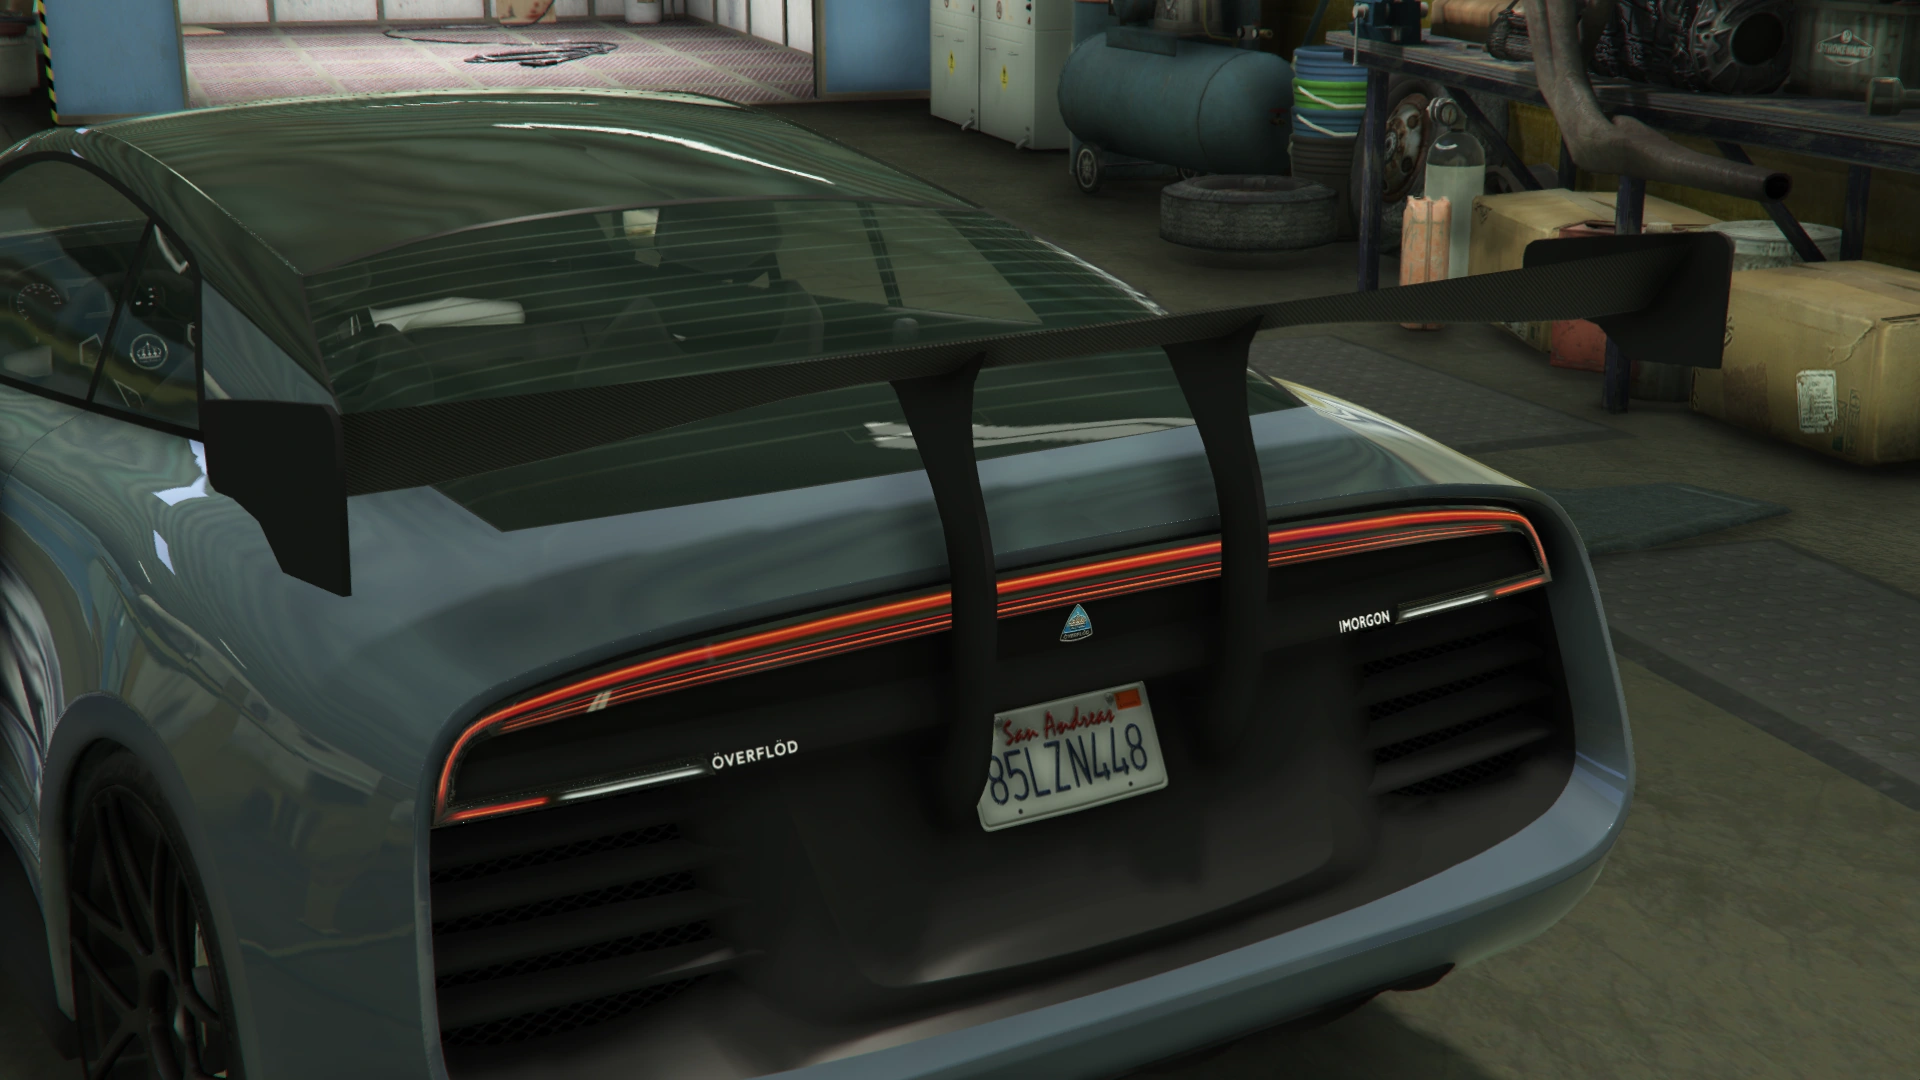
| + | The rear end is relatively flat in shape and is largely dominated by a black panelling with a concave portion at the center holding the license plate and rear vents on the outer edges. Above these vents there is a set of turning and reverse light stripes, together with the car's badges next to the reverse lights. Right on the upper side of the black panelling there is a single red light stripe spanning the width of the same and curved towards the aforementioned set of light stripes. Again, the manufacturer's badge can be seen below the red light stripe. Further down to the bottom, there is the exhausts and a plastic diffuser. By default it comes with a spoiler. |
||
| + | |||
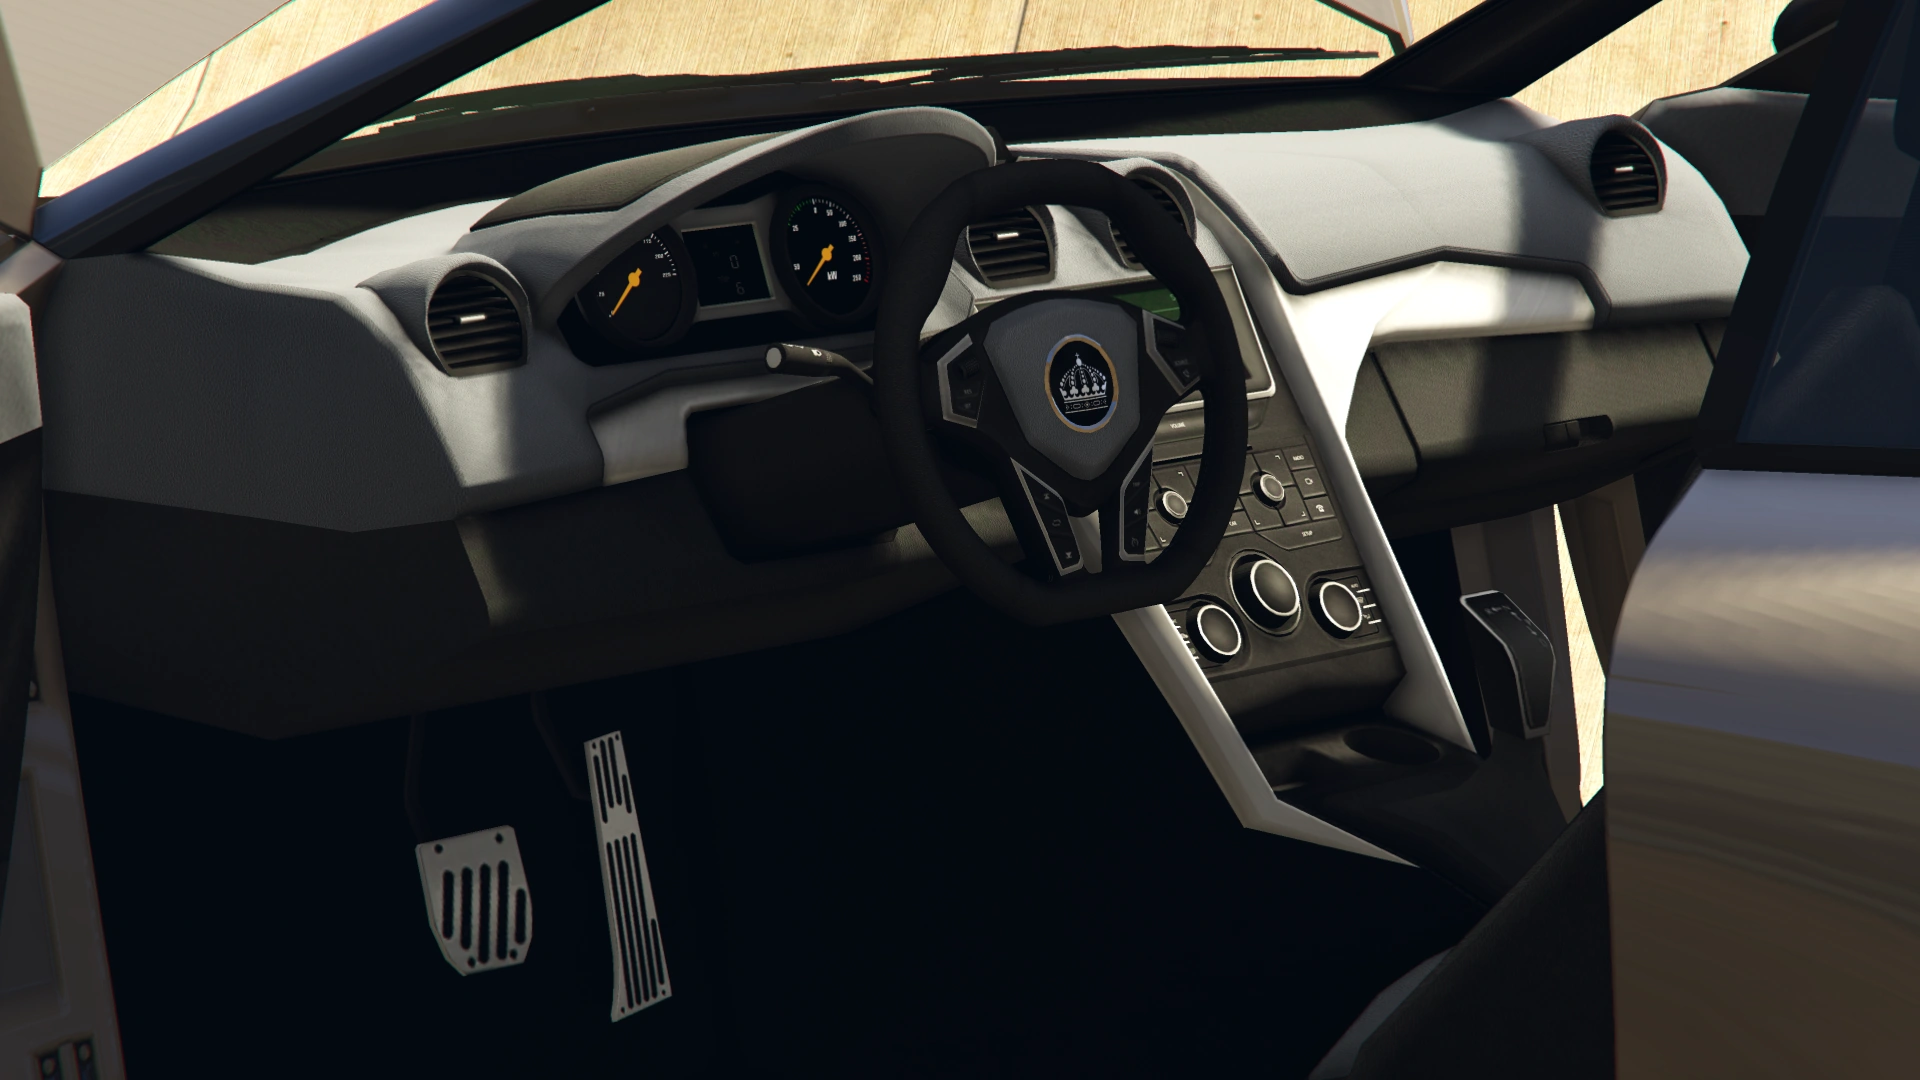
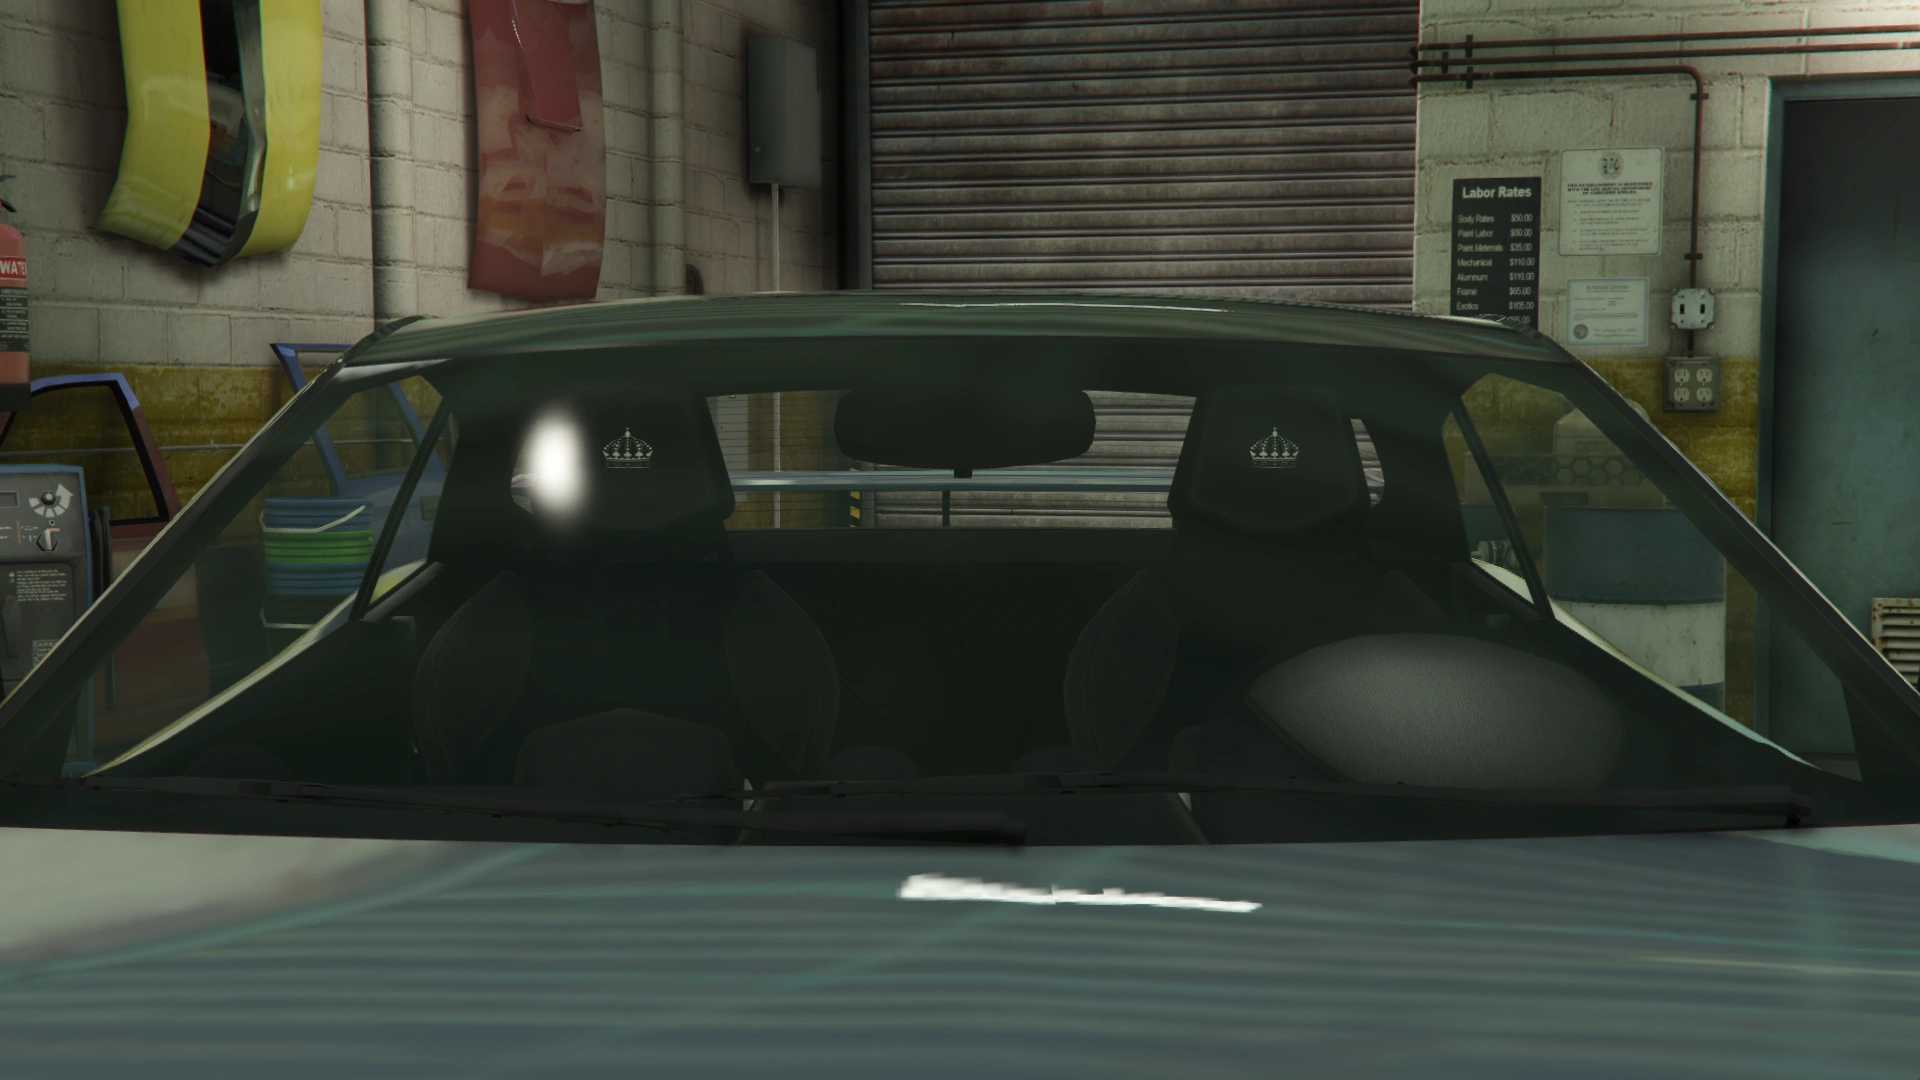
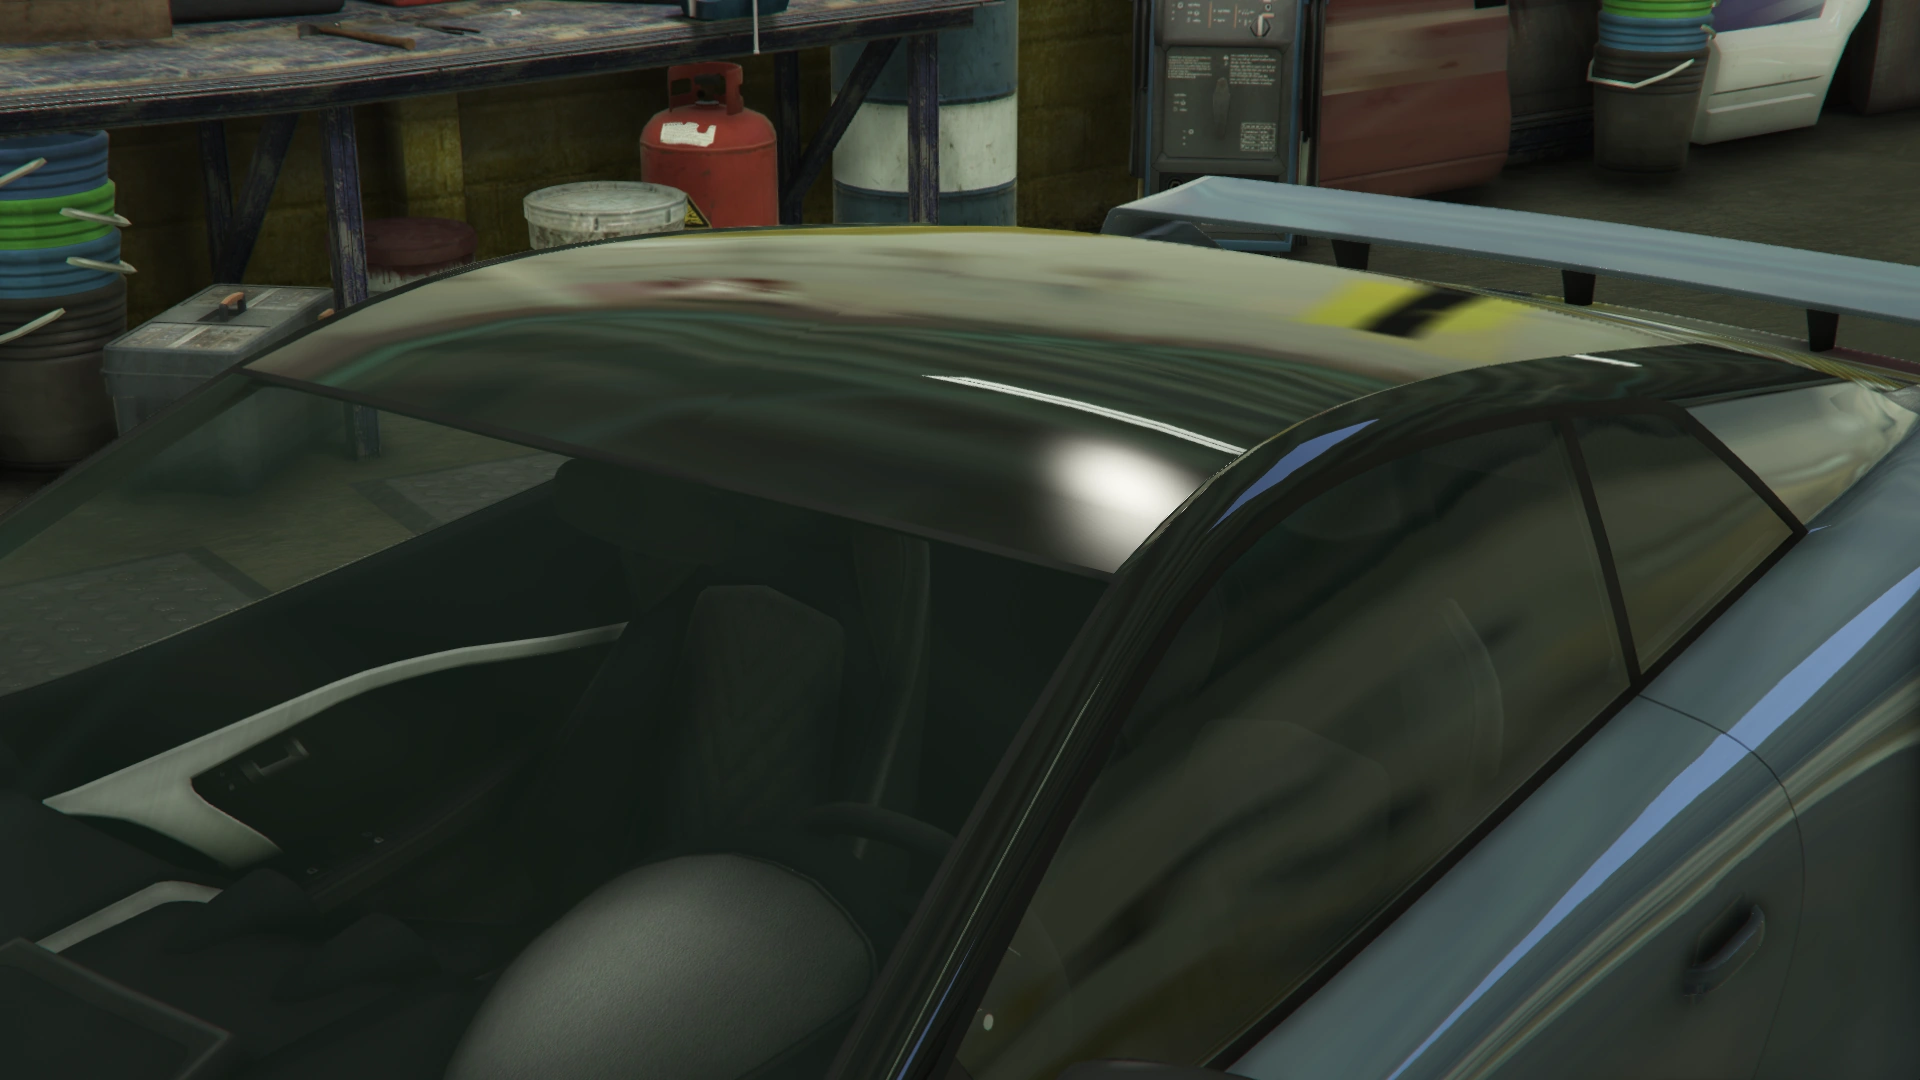
| + | The car's bodywork is prominently painted in a primary color, while the roof and the A-pillars are painted in a secondary color. A trim color is also available for the interior. It uses the same dials and dashboard components as the [[Neon]], being the "Nero White" interior. |
||
{{Clr}} |
{{Clr}} |
||
| Line 83: | Line 89: | ||
==Performance== |
==Performance== |
||
===''Grand Theft Auto Online''=== |
===''Grand Theft Auto Online''=== |
||
| + | The Imorgon is the first electric vehicle to possess both excellent acceleration — as seen in other vehicles such as the [[Raiden]] and [[Voltic]] — and impressive handling, with its high downforce allowing for very high-speed cornering with little to no traction loss. Together with its acceptable braking, these attributes make it formidable in niche situations with very few straights and frequent cornering. |
||
| + | |||
| + | Where the Imorgon suffers is on any straight. Even for an electric car, its top speed is underwhelming, struggling to get past 107 mph on flat road. This is slower than a vast majority of the Sports class, and puts it in range of cars such as the [[Penumbra]] in this respect. Additionally, while certainly impressive, it is marginally outpaced by the [[Neon]] in terms of acceleration. |
||
| + | |||
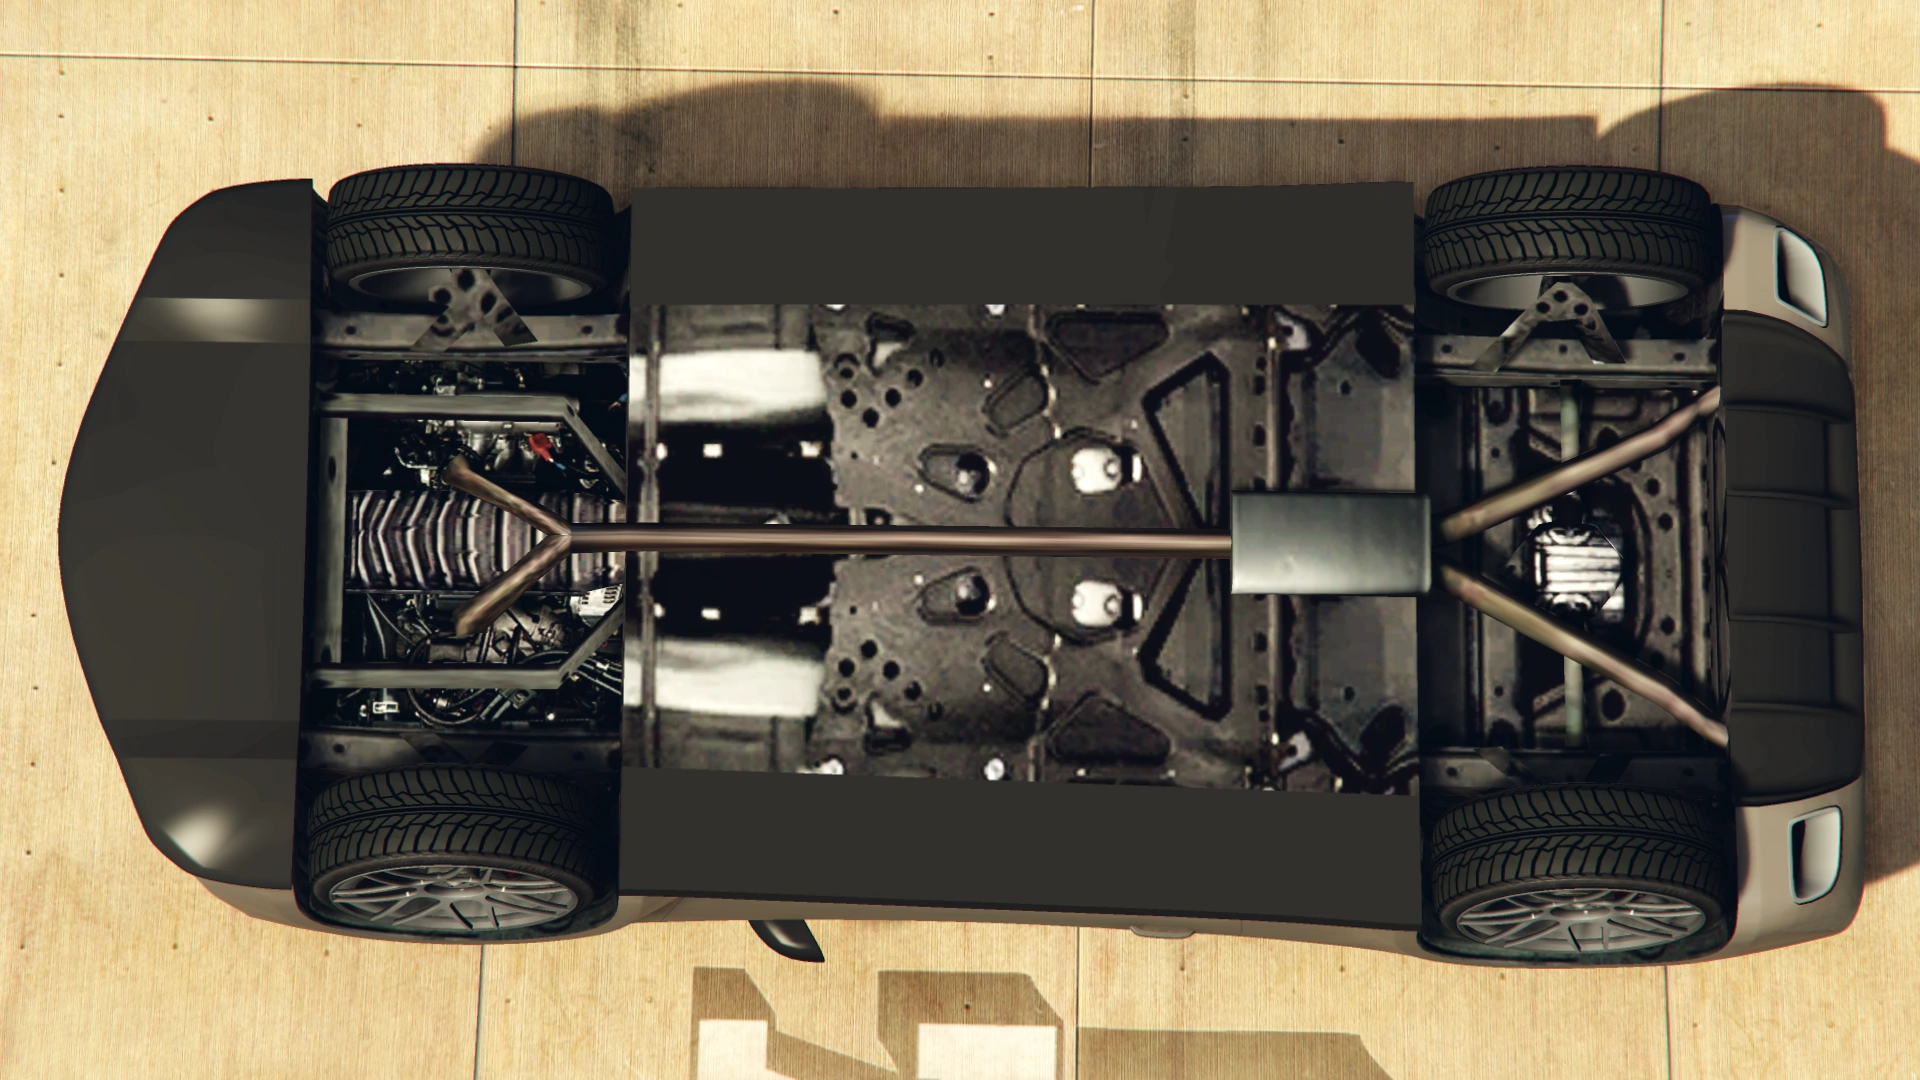
| + | The Imorgon is powered by a large battery at the front, which is the same model as the one from the [[Cyclone]]. The Imorgon is unique in that it has been programmed to drive similarly to a hybrid, having three gears as opposed to the single-speed transmission seen in all other electric cars. |
||
====GTA Online Overview==== |
====GTA Online Overview==== |
||
{{Vehiclestats-gtav |
{{Vehiclestats-gtav |
||
| − | |handling_top_speed = |
+ | |handling_top_speed = 92.3 / 148.5 |
| − | |handling_gears = |
+ | |handling_gears = 2 |
| − | |handling_drivetrain = |
+ | |handling_drivetrain = AWD<br><small>50% FWD<br>50% RWD</small> |
| − | |handling_mass = |
+ | |handling_mass = 1600 / 3527 |
| − | |handling_fuel_tank = |
+ | |handling_fuel_tank = 65 |
|website_acceleration = |
|website_acceleration = |
||
|website_top_speed = |
|website_top_speed = |
||
| Line 99: | Line 110: | ||
|observed_acceleration = |
|observed_acceleration = |
||
|observed_top_speed = |
|observed_top_speed = |
||
| − | |observed_gears = |
+ | |observed_gears = 2 |
|observed_engine = |
|observed_engine = |
||
| − | |observed_drivetrain = |
+ | |observed_drivetrain = AWD |
| − | |rsc_image = |
+ | |rsc_image = Imorgon-GTAO-RSCStats.png |
| − | |rsc_top_speed = |
+ | |rsc_top_speed = {{PercentBar|79.677879|width=150}} |
| − | |rsc_acceleration = |
+ | |rsc_acceleration = {{PercentBar|100|width=150}} |
| − | |rsc_braking = |
+ | |rsc_braking = {{PercentBar|27.833334|width=150}} |
| − | |rsc_traction = |
+ | |rsc_traction = {{PercentBar|100|width=150}} |
}} |
}} |
||
==Modifications== |
==Modifications== |
||
===''Grand Theft Auto Online''=== |
===''Grand Theft Auto Online''=== |
||
| + | {| class="wikitable" style="vertical-align:top;" valign="top" |
||
| − | |||
| + | |- |
||
| − | ==Locations== |
||
| + | ! colspan="2" scope="col" |Category |
||
| − | ===''Grand Theft Auto Online''=== |
||
| + | ! scope="col" |Modification |
||
| − | *Will be available for purchase from [[Legendary Motorsport]] for [[Money|$]]2,165,000. |
||
| + | ! scope="col" |Price |
||
| + | ! scope="col" |Image |
||
| + | |- |
||
| + | | colspan="2" rowspan="6" |Armor |
||
| + | |No Armor |
||
| + | | colspan="2" style="text-align: center;" |$1,000 |
||
| + | |- |
||
| + | |Armor Upgrade 20% |
||
| + | | colspan="2" style="text-align: center;" |$7,500 |
||
| + | |- |
||
| + | |Armor Upgrade 40% |
||
| + | | colspan="2" style="text-align: center;" |$12,000 |
||
| + | |- |
||
| + | |Armor Upgrade 60% |
||
| + | | colspan="2" style="text-align: center;" |$20,000 |
||
| + | |- |
||
| + | |Armor Upgrade 80% |
||
| + | | colspan="2" style="text-align: center;" |$35,000 |
||
| + | |- |
||
| + | |Armor Upgrade 100% |
||
| + | | colspan="2" style="text-align: center;" |$50,000 |
||
| + | |- |
||
| + | | colspan="2" rowspan="4" |Brakes |
||
| + | |Stock Brakes |
||
| + | | colspan="2" style="text-align: center;" |$1,000 |
||
| + | |- |
||
| + | |Street Brakes |
||
| + | | colspan="2" style="text-align: center;" |$20,000 |
||
| + | |- |
||
| + | |Sport Brakes |
||
| + | | colspan="2" style="text-align: center;" |$27,000 |
||
| + | |- |
||
| + | |Race Brakes |
||
| + | | colspan="2" style="text-align: center;" |$35,000 |
||
| + | |- |
||
| + | | rowspan="30" |Bumpers |
||
| + | | rowspan="9" |Front Bumpers |
||
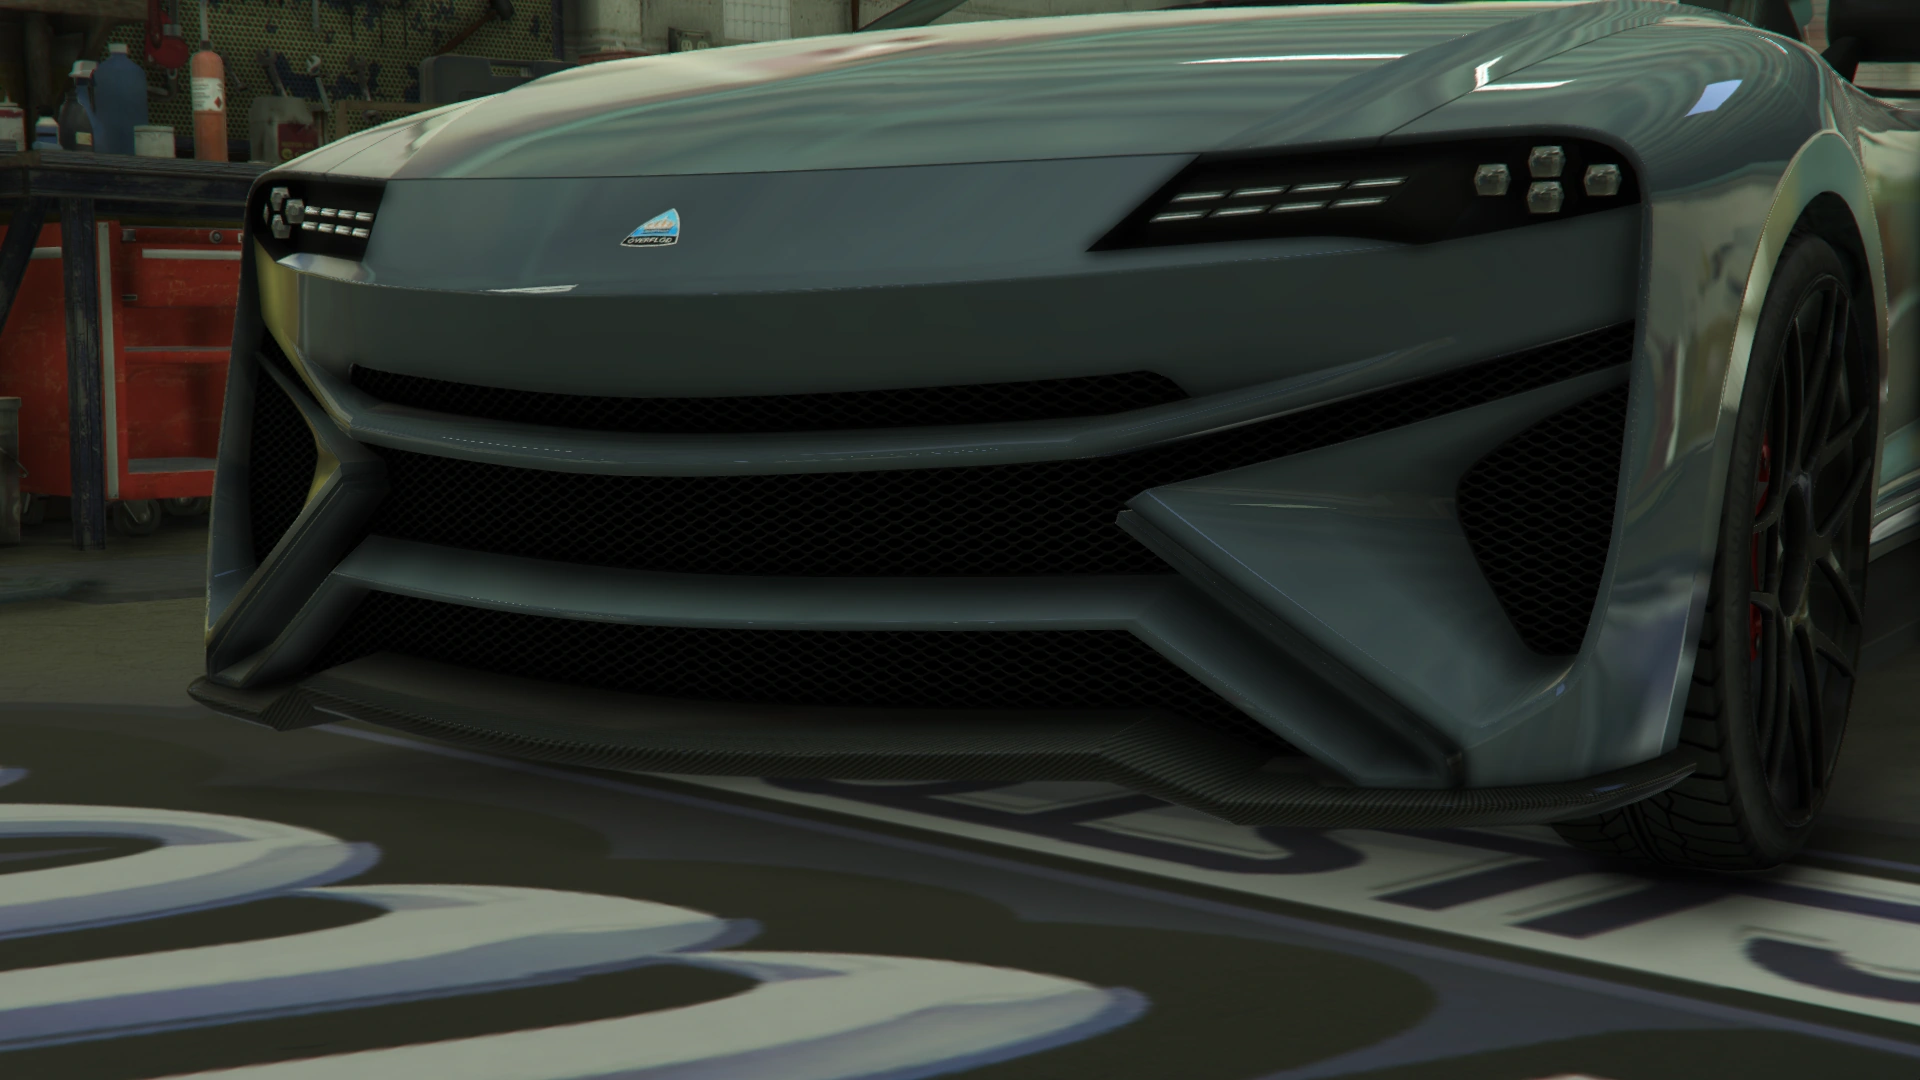
| + | |Stock Front Bumper |
||
| + | | style="text-align: center;" |$2,200 |
||
| + | |[[File:Imorgon-GTAO-FrontBumpers-StockFrontBumper.png|thumb|center|220px]] |
||
| + | |- |
||
| + | |Carbon Stock Bumper |
||
| + | | style="text-align: center;" |$4,600 |
||
| + | |[[File:Imorgon-GTAO-FrontBumpers-CarbonStockBumper.png|thumb|center|220px]] |
||
| + | |- |
||
| + | |Primary Stock Bumper |
||
| + | | style="text-align: center;" |$7,400 |
||
| + | |[[File:Imorgon-GTAO-FrontBumpers-PrimaryStockBumper.png|thumb|center|220px]] |
||
| + | |- |
||
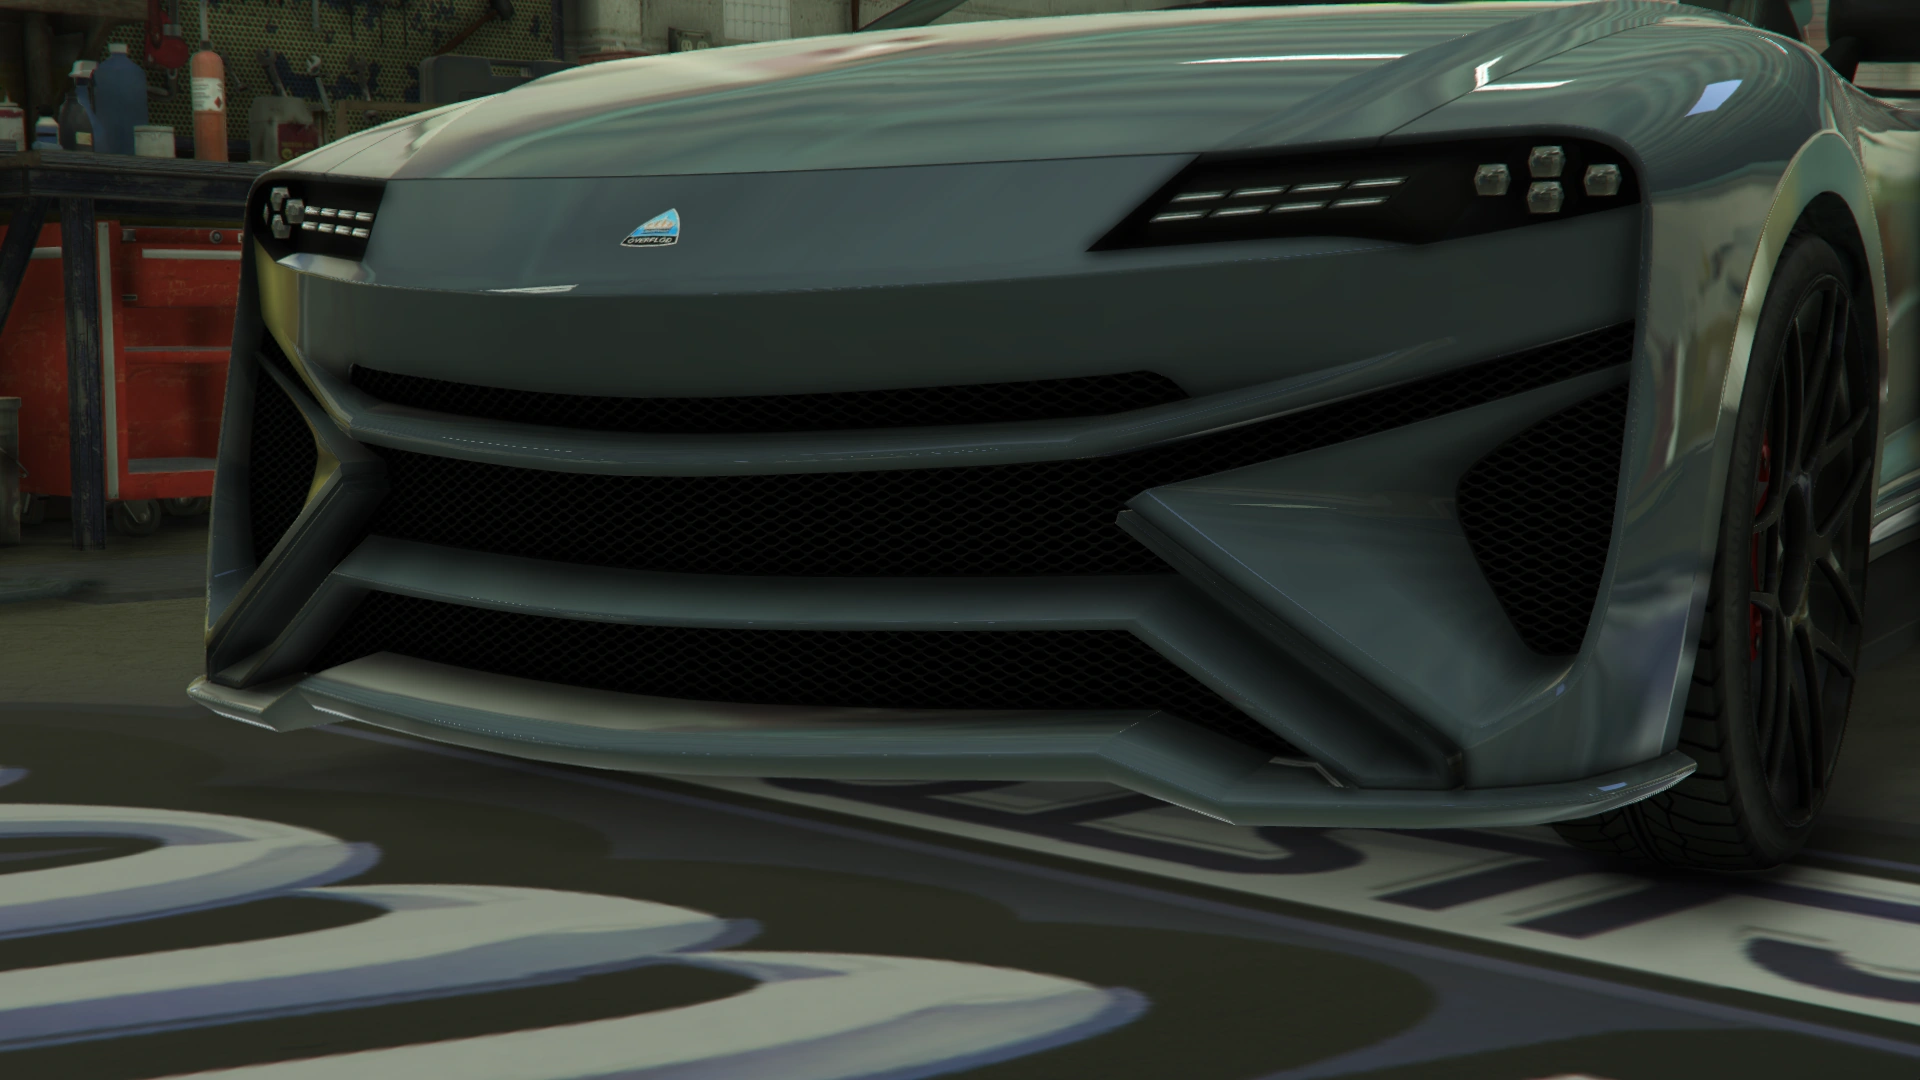
| + | |Primary Splitter |
||
| + | | style="text-align: center;" |$11,700 |
||
| + | |[[File:Imorgon-GTAO-FrontBumpers-PrimarySplitter.png|thumb|center|220px]] |
||
| + | |- |
||
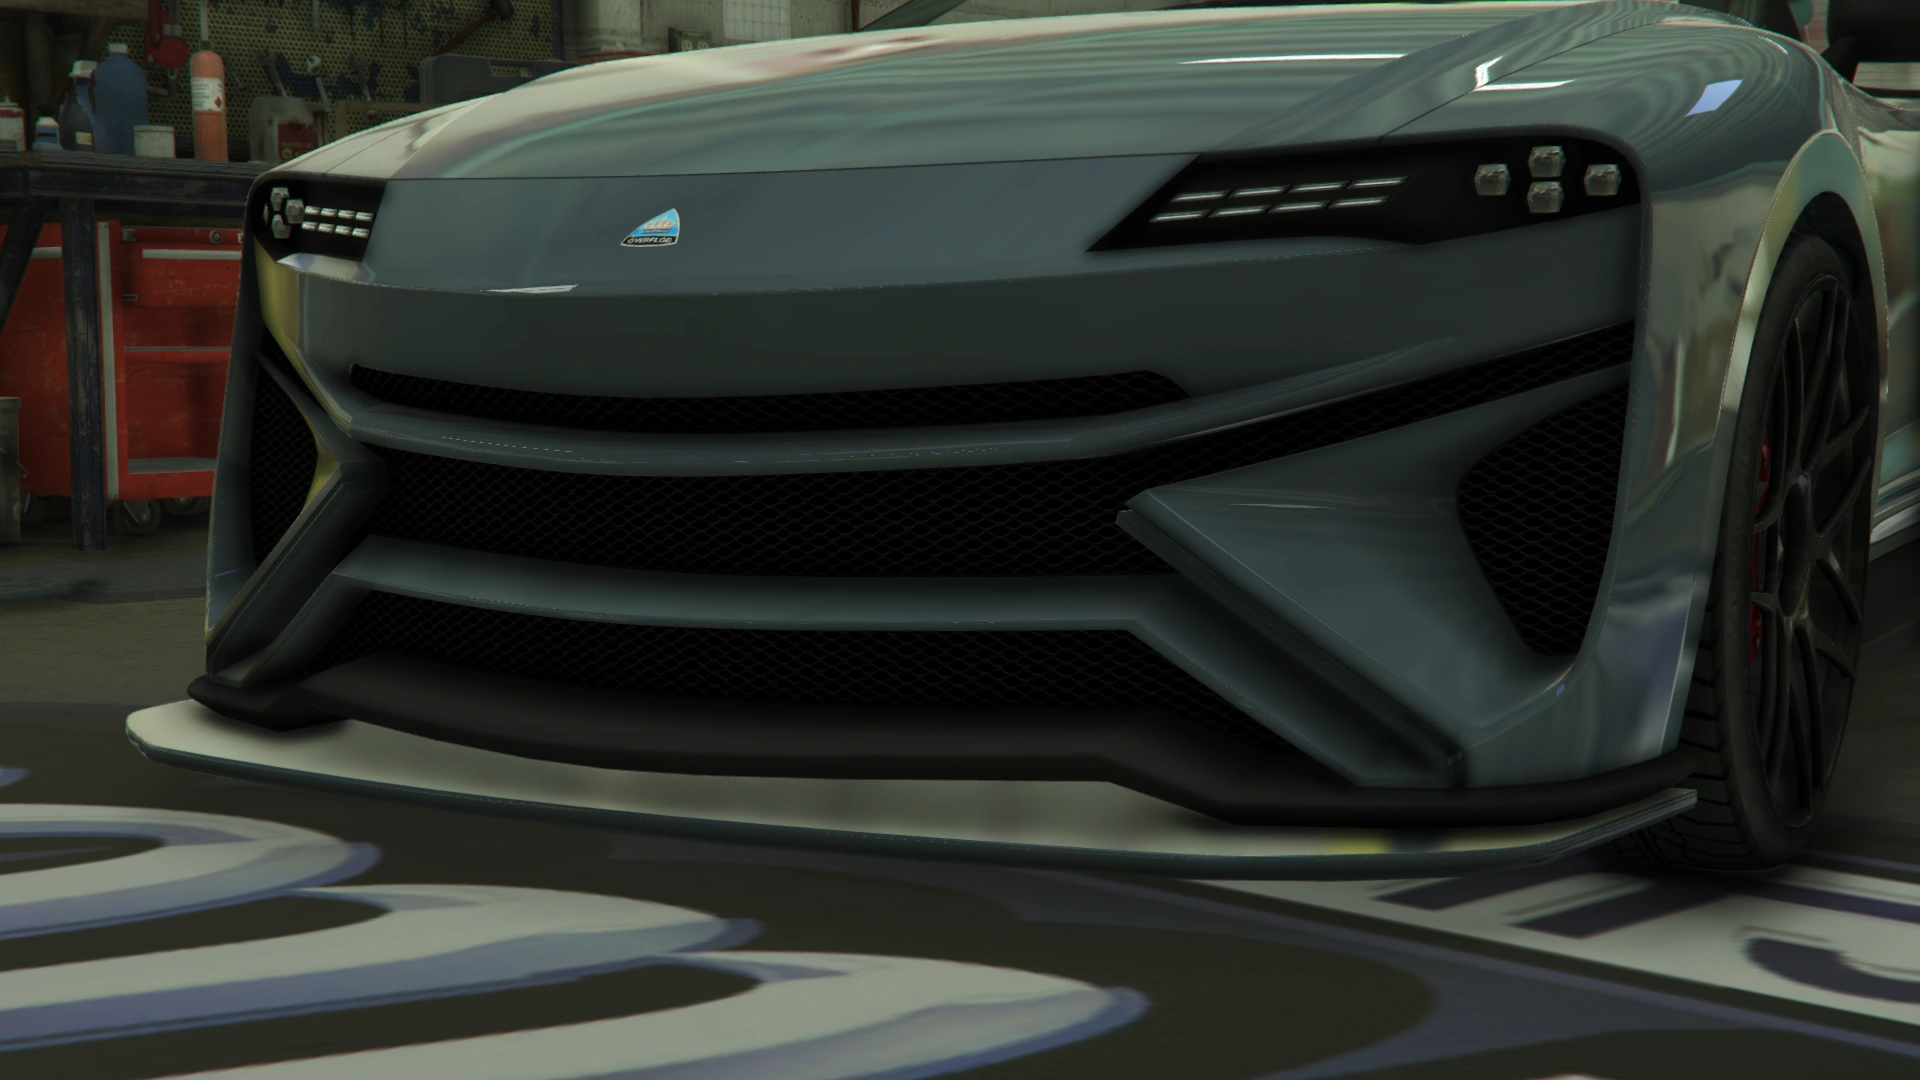
| + | |Plastic Splitter |
||
| + | | style="text-align: center;" |$14,500 |
||
| + | |[[File:Imorgon-GTAO-FrontBumpers-PlasticSplitter.png|thumb|center|220px]] |
||
| + | |- |
||
| + | |Carbon Splitter |
||
| + | | style="text-align: center;" |$14,700 |
||
| + | |[[File:Imorgon-GTAO-FrontBumpers-CarbonSplitter.png|thumb|center|220px]] |
||
| + | |- |
||
| + | |Primary Race Splitter |
||
| + | | style="text-align: center;" |$14,900 |
||
| + | |[[File:Imorgon-GTAO-FrontBumpers-PrimaryRaceSplitter.png|thumb|center|220px]] |
||
| + | |- |
||
| + | |Plastic Race Splitter |
||
| + | | style="text-align: center;" |$15,100 |
||
| + | |[[File:Imorgon-GTAO-FrontBumpers-PlasticRaceSplitter.png|thumb|center|220px]] |
||
| + | |- |
||
| + | |Carbon Race Splitter |
||
| + | | style="text-align: center;" |$15,300 |
||
| + | |[[File:Imorgon-GTAO-FrontBumpers-CarbonRaceSplitter.png|thumb|center|220px]] |
||
| + | |- |
||
| + | | rowspan="21" |Rear Bumpers |
||
| + | |Stock Rear Bumper |
||
| + | | style="text-align: center;" |$2,200 |
||
| + | |[[File:Imorgon-GTAO-RearBumpers-StockRearBumper.png|thumb|center|220px]] |
||
| + | |- |
||
| + | |Primary Trim Diffuser |
||
| + | | style="text-align: center;" |$4,600 |
||
| + | |[[File:Imorgon-GTAO-RearBumpers-PrimaryTrimDiffuser.png|thumb|center|220px]] |
||
| + | |- |
||
| + | |Carbon Diffuser |
||
| + | | style="text-align: center;" |$7,400 |
||
| + | |[[File:Imorgon-GTAO-RearBumpers-CarbonDiffuser.png|thumb|center|220px]] |
||
| + | |- |
||
| + | |Alt. Diffuser |
||
| + | | style="text-align: center;" |$11,700 |
||
| + | |[[File:Imorgon-GTAO-RearBumpers-AltDiffuser.png|thumb|center|220px]] |
||
| + | |- |
||
| + | |Primary Alt. Diffuser |
||
| + | | style="text-align: center;" |$14,500 |
||
| + | |[[File:Imorgon-GTAO-RearBumpers-PrimaryAltDiffuser.png|thumb|center|220px]] |
||
| + | |- |
||
| + | |Carbon Alt. Diffuser |
||
| + | | style="text-align: center;" |$14,700 |
||
| + | |[[File:Imorgon-GTAO-RearBumpers-CarbonAltDiffuser.png|thumb|center|220px]] |
||
| + | |- |
||
| + | |GT Race Setup MK1 |
||
| + | | style="text-align: center;" |$14,900 |
||
| + | |[[File:Imorgon-GTAO-RearBumpers-GTRaceSetupMK1.png|thumb|center|220px]] |
||
| + | |- |
||
| + | |GT Race Setup MK2 |
||
| + | | style="text-align: center;" |$15,100 |
||
| + | |[[File:Imorgon-GTAO-RearBumpers-GTRaceSetupMK2.png|thumb|center|220px]] |
||
| + | |- |
||
| + | |GT Race Setup MK3 |
||
| + | | style="text-align: center;" |$15,300 |
||
| + | |[[File:Imorgon-GTAO-RearBumpers-GTRaceSetupMK3.png|thumb|center|220px]] |
||
| + | |- |
||
| + | |GT Race Setup MK4 |
||
| + | | style="text-align: center;" |$15,500 |
||
| + | |[[File:Imorgon-GTAO-RearBumpers-GTRaceSetupMK4.png|thumb|center|220px]] |
||
| + | |- |
||
| + | |GT Race Setup MK5 |
||
| + | | style="text-align: center;" |$15,700 |
||
| + | |[[File:Imorgon-GTAO-RearBumpers-GTRaceSetupMK5.png|thumb|center|220px]] |
||
| + | |- |
||
| + | |Primary GT Race Setup MK1 |
||
| + | | style="text-align: center;" |$15,900 |
||
| + | |[[File:Imorgon-GTAO-RearBumpers-PrimaryGTRaceSetupMK1.png|thumb|center|220px]] |
||
| + | |- |
||
| + | |Primary GT Race Setup MK2 |
||
| + | | style="text-align: center;" |$16,100 |
||
| + | |[[File:Imorgon-GTAO-RearBumpers-PrimaryGTRaceSetupMK2.png|thumb|center|220px]] |
||
| + | |- |
||
| + | |Primary GT Race Setup MK3 |
||
| + | | style="text-align: center;" |$16,300 |
||
| + | |[[File:Imorgon-GTAO-RearBumpers-PrimaryGTRaceSetupMK3.png|thumb|center|220px]] |
||
| + | |- |
||
| + | |Primary GT Race Setup MK4 |
||
| + | | style="text-align: center;" |$16,500 |
||
| + | |[[File:Imorgon-GTAO-RearBumpers-PrimaryGTRaceSetupMK4.png|thumb|center|220px]] |
||
| + | |- |
||
| + | |Primary GT Race Setup MK5 |
||
| + | | style="text-align: center;" |$16,700 |
||
| + | |[[File:Imorgon-GTAO-RearBumpers-PrimaryGTRaceSetupMK5.png|thumb|center|220px]] |
||
| + | |- |
||
| + | |Carbon GT Race Setup MK1 |
||
| + | | style="text-align: center;" |$16,900 |
||
| + | |[[File:Imorgon-GTAO-RearBumpers-CarbonGTRaceSetupMK1.png|thumb|center|220px]] |
||
| + | |- |
||
| + | |Carbon GT Race Setup MK2 |
||
| + | | style="text-align: center;" |$17,100 |
||
| + | |[[File:Imorgon-GTAO-RearBumpers-CarbonGTRaceSetupMK2.png|thumb|center|220px]] |
||
| + | |- |
||
| + | |Carbon GT Race Setup MK3 |
||
| + | | style="text-align: center;" |$17,300 |
||
| + | |[[File:Imorgon-GTAO-RearBumpers-CarbonGTRaceSetupMK3.png|thumb|center|220px]] |
||
| + | |- |
||
| + | |Carbon GT Race Setup MK4 |
||
| + | | style="text-align: center;" |$17,500 |
||
| + | |[[File:Imorgon-GTAO-RearBumpers-CarbonGTRaceSetupMK4.png|thumb|center|220px]] |
||
| + | |- |
||
| + | |Carbon GT Race Setup MK5 |
||
| + | | style="text-align: center;" |$17,700 |
||
| + | |[[File:Imorgon-GTAO-RearBumpers-CarbonGTRaceSetupMK5.png|thumb|center|220px]] |
||
| + | |- |
||
| + | | colspan="2" rowspan="25" |Chassis |
||
| + | |Stock Chassis |
||
| + | | style="text-align: center;" |$700 |
||
| + | |[[File:Imorgon-GTAO-Chassis-StockChassis.png|thumb|center|220px]] |
||
| + | |- |
||
| + | |Rally Cage Setup MK1 |
||
| + | | style="text-align: center;" |$1,100 |
||
| + | |[[File:Imorgon-GTAO-Chassis-RallyCageSetupMK1.png|thumb|center|220px]] |
||
| + | |- |
||
| + | |Racing Cage Setup MK1 |
||
| + | | style="text-align: center;" |$1,350 |
||
| + | |[[File:Imorgon-GTAO-Chassis-RacingCageSetupMK1.png|thumb|center|220px]] |
||
| + | |- |
||
| + | |Tuner Cage Setup MK1 |
||
| + | | style="text-align: center;" |$1,500 |
||
| + | |[[File:Imorgon-GTAO-Chassis-TunerCageSetupMK1.png|thumb|center|220px]] |
||
| + | |- |
||
| + | |Street Cage Setup MK1 |
||
| + | | style="text-align: center;" |$2,750 |
||
| + | |[[File:Imorgon-GTAO-Chassis-StreetCageSetupMK1.png|thumb|center|220px]] |
||
| + | |- |
||
| + | |Secondary Rally Setup MK1 |
||
| + | | style="text-align: center;" |$3,600 |
||
| + | |[[File:Imorgon-GTAO-Chassis-SecondaryRallySetupMK1.png|thumb|center|220px]] |
||
| + | |- |
||
| + | |Secondary Racing Setup MK1 |
||
| + | | style="text-align: center;" |$4,900 |
||
| + | |[[File:Imorgon-GTAO-Chassis-SecondaryRacingSetupMK1.png|thumb|center|220px]] |
||
| + | |- |
||
| + | |Secondary Tuner Setup MK1 |
||
| + | | style="text-align: center;" |$5,800 |
||
| + | |[[File:Imorgon-GTAO-Chassis-SecondaryTunerSetupMK1.png|thumb|center|220px]] |
||
| + | |- |
||
| + | |Secondary Street Setup MK1 |
||
| + | | style="text-align: center;" |$7,000 |
||
| + | |[[File:Imorgon-GTAO-Chassis-SecondaryStreetSetupMK1.png|thumb|center|220px]] |
||
| + | |- |
||
| + | |Rally Cage Setup MK2 |
||
| + | | style="text-align: center;" |$8,000 |
||
| + | |[[File:Imorgon-GTAO-Chassis-RallyCageSetupMK2.png|thumb|center|220px]] |
||
| + | |- |
||
| + | |Racing Cage Setup MK2 |
||
| + | | style="text-align: center;" |$9,150 |
||
| + | |[[File:Imorgon-GTAO-Chassis-RacingCageSetupMK2.png|thumb|center|220px]] |
||
| + | |- |
||
| + | |Tuner Cage Setup MK2 |
||
| + | | style="text-align: center;" |$10,100 |
||
| + | |[[File:Imorgon-GTAO-Chassis-TunerCageSetupMK2.png|thumb|center|220px]] |
||
| + | |- |
||
| + | |Street Cage Setup MK2 |
||
| + | | style="text-align: center;" |$11,050 |
||
| + | |[[File:Imorgon-GTAO-Chassis-StreetCageSetupMK2.png|thumb|center|220px]] |
||
| + | |- |
||
| + | |Secondary Rally Setup MK2 |
||
| + | | style="text-align: center;" |$11,950 |
||
| + | |[[File:Imorgon-GTAO-Chassis-SecondaryRallySetupMK2.png|thumb|center|220px]] |
||
| + | |- |
||
| + | |Secondary Racing Setup MK2 |
||
| + | | style="text-align: center;" |$12,900 |
||
| + | |[[File:Imorgon-GTAO-Chassis-SecondaryRacingSetupMK2.png|thumb|center|220px]] |
||
| + | |- |
||
| + | |Secondary Tuner Setup MK2 |
||
| + | | style="text-align: center;" |$13,750 |
||
| + | |[[File:Imorgon-GTAO-Chassis-SecondaryTunerSetupMK2.png|thumb|center|220px]] |
||
| + | |- |
||
| + | |Secondary Street Setup MK2 |
||
| + | | style="text-align: center;" |$14,600 |
||
| + | |[[File:Imorgon-GTAO-Chassis-SecondaryStreetSetupMK2.png|thumb|center|220px]] |
||
| + | |- |
||
| + | |Rally Cage Setup MK3 |
||
| + | | style="text-align: center;" |$15,450 |
||
| + | |[[File:Imorgon-GTAO-Chassis-RallyCageSetupMK3.png|thumb|center|220px]] |
||
| + | |- |
||
| + | |Racing Cage Setup MK3 |
||
| + | | style="text-align: center;" |$16,250 |
||
| + | |[[File:Imorgon-GTAO-Chassis-RacingCageSetupMK3.png|thumb|center|220px]] |
||
| + | |- |
||
| + | |Tuner Cage Setup MK3 |
||
| + | | style="text-align: center;" |$17,050 |
||
| + | |[[File:Imorgon-GTAO-Chassis-TunerCageSetupMK3.png|thumb|center|220px]] |
||
| + | |- |
||
| + | |Street Cage Setup MK3 |
||
| + | | style="text-align: center;" |$17,800 |
||
| + | |[[File:Imorgon-GTAO-Chassis-StreetCageSetupMK3.png|thumb|center|220px]] |
||
| + | |- |
||
| + | |Secondary Rally Setup MK3 |
||
| + | | style="text-align: center;" |$18,550 |
||
| + | |[[File:Imorgon-GTAO-Chassis-SecondaryRallySetupMK3.png|thumb|center|220px]] |
||
| + | |- |
||
| + | |Secondary Racing Setup MK3 |
||
| + | | style="text-align: center;" |$19,250 |
||
| + | |[[File:Imorgon-GTAO-Chassis-SecondaryRacingSetupMK3.png|thumb|center|220px]] |
||
| + | |- |
||
| + | |Secondary Tuner Setup MK3 |
||
| + | | style="text-align: center;" |$19,950 |
||
| + | |[[File:Imorgon-GTAO-Chassis-SecondaryTunerSetupMK3.png|thumb|center|220px]] |
||
| + | |- |
||
| + | |Secondary Street Setup MK3 |
||
| + | | style="text-align: center;" |$20,600 |
||
| + | |[[File:Imorgon-GTAO-Chassis-SecondaryStreetSetupMK3.png|thumb|center|220px]] |
||
| + | |- |
||
| + | | colspan="2" rowspan="4" |Engine |
||
| + | |EMS Upgrade, Level 1 |
||
| + | | colspan="2" style="text-align: center;" |$9,000 |
||
| + | |- |
||
| + | |EMS Upgrade, Level 2 |
||
| + | | colspan="2" style="text-align: center;" |$12,500 |
||
| + | |- |
||
| + | |EMS Upgrade, Level 3 |
||
| + | | colspan="2" style="text-align: center;" |$18,000 |
||
| + | |- |
||
| + | |EMS Upgrade, Level 4 |
||
| + | | colspan="2" style="text-align: center;" |$33,500 |
||
| + | |- |
||
| + | | colspan="2" rowspan="6" |Exhausts |
||
| + | |Stock Exhaust |
||
| + | | style="text-align: center;" |$260 |
||
| + | |[[File:Imorgon-GTAO-Exhausts-StockExhausts.png|thumb|center|220px]] |
||
| + | |- |
||
| + | |Titanium Tipped Exhausts |
||
| + | | style="text-align: center;" |$750 |
||
| + | |[[File:Imorgon-GTAO-Exhausts-TitaniumTippedExhausts.png|thumb|center|220px]] |
||
| + | |- |
||
| + | |Carbon Exhausts |
||
| + | | style="text-align: center;" |$1,800 |
||
| + | |[[File:Imorgon-GTAO-Exhausts-CarbonExhausts.png|thumb|center|220px]] |
||
| + | |- |
||
| + | |Big Bore Exhausts |
||
| + | | style="text-align: center;" |$3,000 |
||
| + | |[[File:Imorgon-GTAO-Exhausts-BigBoreExhausts.png|thumb|center|220px]] |
||
| + | |- |
||
| + | |Titanium Twin Big Bore Exhausts |
||
| + | | style="text-align: center;" |$9,550 |
||
| + | |[[File:Imorgon-GTAO-Exhausts-TitaniumTwinBigBoreExhausts.png|thumb|center|220px]] |
||
| + | |- |
||
| + | |Chrome Twin Big Bore Exhausts |
||
| + | | style="text-align: center;" |$9,750 |
||
| + | |[[File:Imorgon-GTAO-Exhausts-ChromeTwinBigBoreExhausts.png|thumb|center|220px]] |
||
| + | |- |
||
| + | | colspan="2" rowspan="2" |[[Car Bomb|Explosives]] |
||
| + | |Ignition Bomb |
||
| + | | colspan="2" style="text-align: center;" |$5,000 |
||
| + | |- |
||
| + | |Remote Bomb |
||
| + | | colspan="2" style="text-align: center;" |$7,500 |
||
| + | |- |
||
| + | | colspan="2" rowspan="3" |Grilles |
||
| + | |Stock Grille |
||
| + | | style="text-align: center;" |$200 |
||
| + | |[[File:Imorgon-GTAO-Grilles-StockGrille.png|thumb|center|220px]] |
||
| + | |- |
||
| + | |Carbon Grille Insert |
||
| + | | style="text-align: center;" |$750 |
||
| + | |[[File:Imorgon-GTAO-Grilles-CarbonGrilleInsert.png|thumb|center|220px]] |
||
| + | |- |
||
| + | |Plastic Grille Insert |
||
| + | | style="text-align: center;" |$1,340 |
||
| + | |[[File:Imorgon-GTAO-Grilles-PlasticGrilleInsert.png|thumb|center|220px]] |
||
| + | |- |
||
| + | | colspan="2" rowspan="8" |Hoods |
||
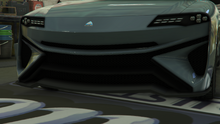
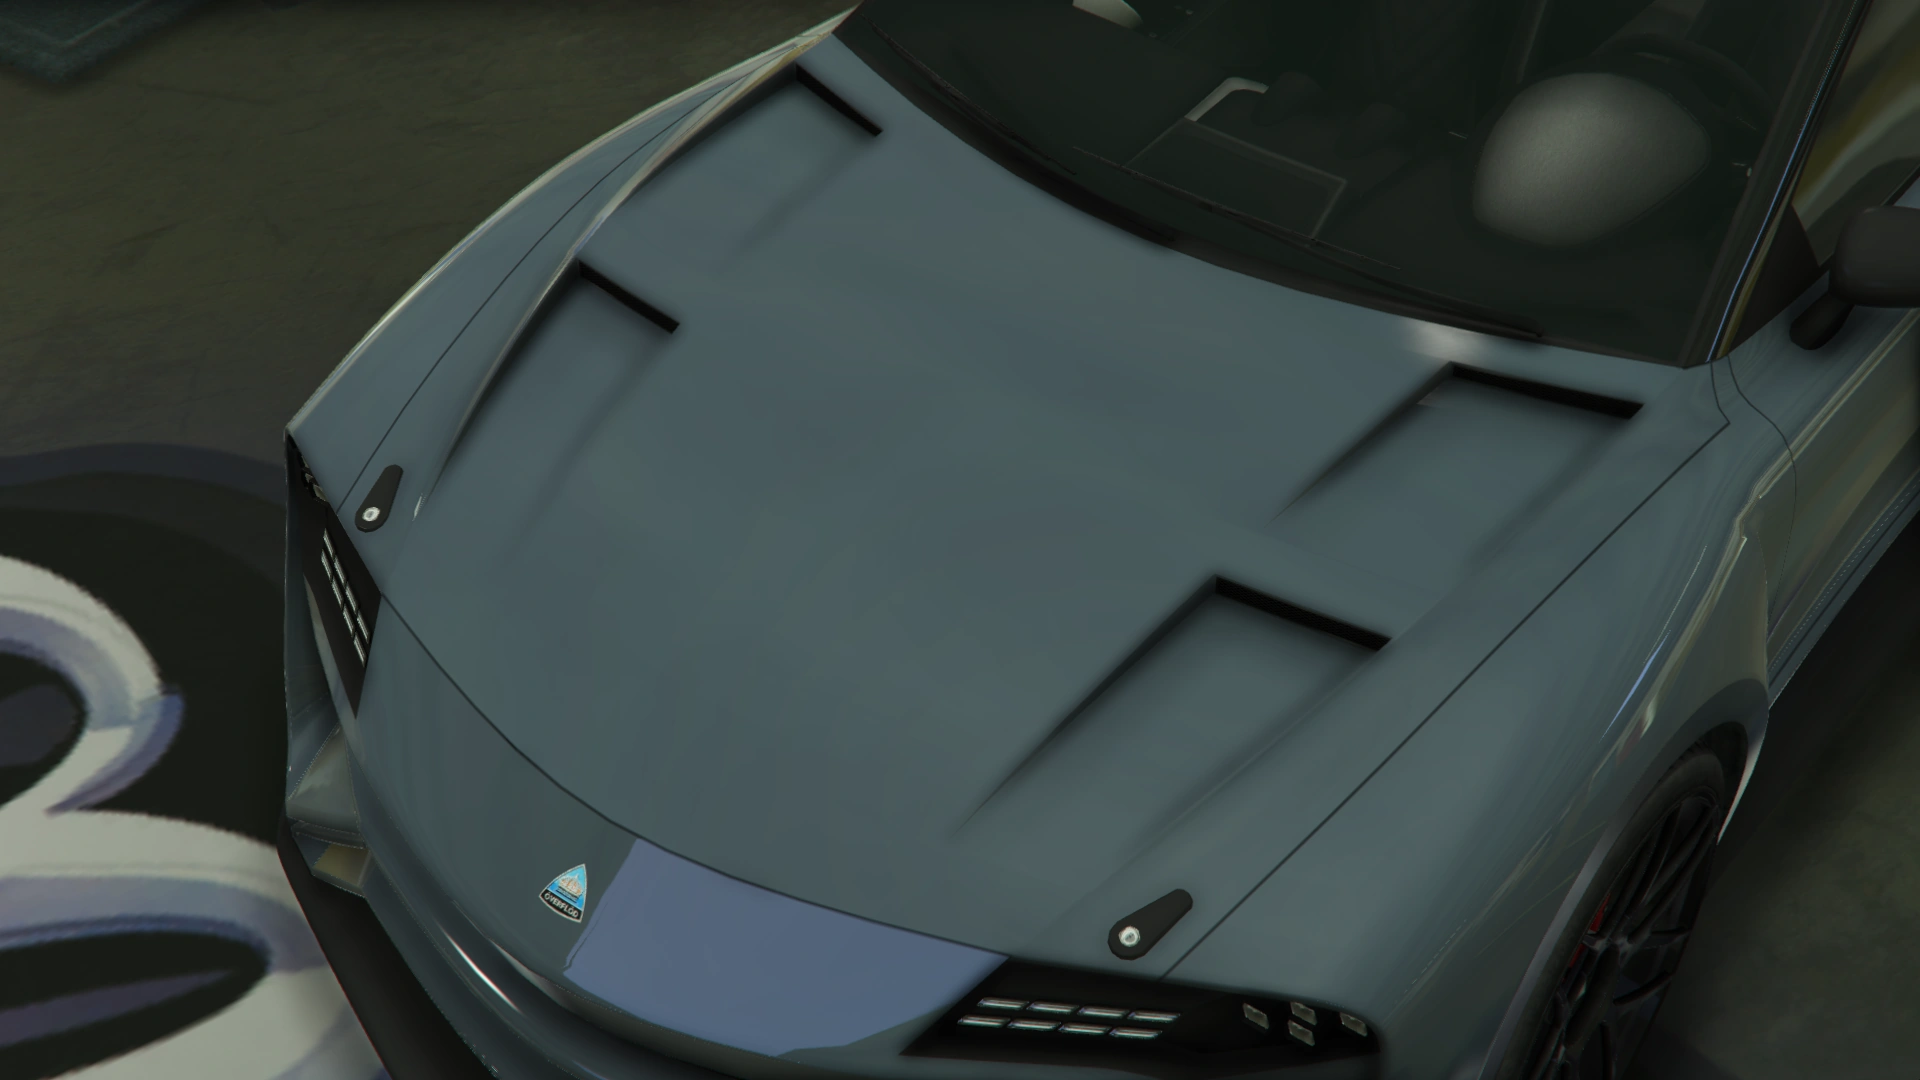
| + | |Stock Hood |
||
| + | | style="text-align: center;" |$1,600 |
||
| + | |[[File:Imorgon-GTAO-Hoods-StockHood.png|thumb|center|220px]] |
||
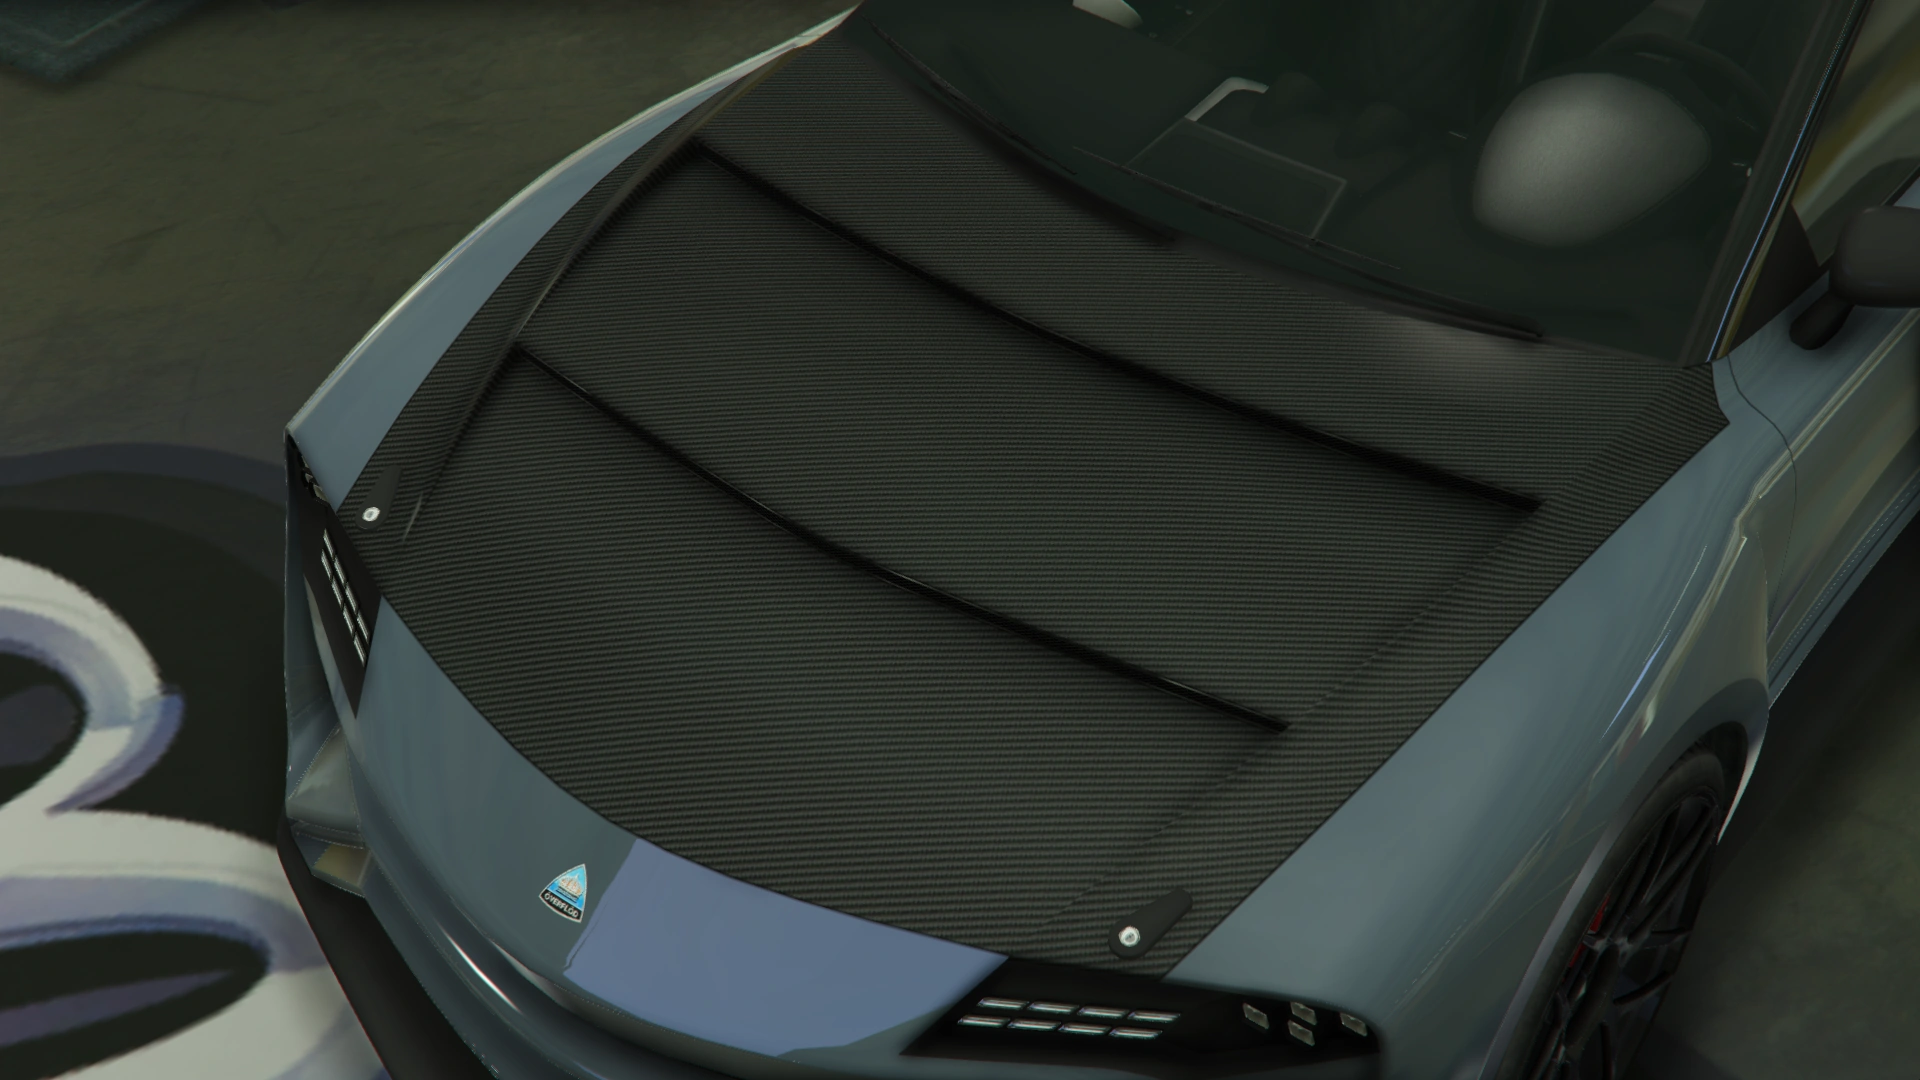
| + | |- |
||
| + | |Carbon Stock Hood |
||
| + | | style="text-align: center;" |$3,000 |
||
| + | |[[File:Imorgon-GTAO-Hoods-CarbonStockHood.png|thumb|center|220px]] |
||
| + | |- |
||
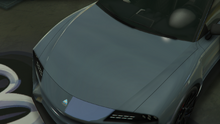
| + | |Single Vented Hood |
||
| + | | style="text-align: center;" |$5,000 |
||
| + | |[[File:Imorgon-GTAO-Hoods-SingleVentedHood.png|thumb|center|220px]] |
||
| + | |- |
||
| + | |Carbon Single Vented Hood |
||
| + | | style="text-align: center;" |$8,000 |
||
| + | |[[File:Imorgon-GTAO-Hoods-CarbonSingleVentedHood.png|thumb|center|220px]] |
||
| + | |- |
||
| + | |Double Vented Hood |
||
| + | | style="text-align: center;" |$9,600 |
||
| + | |[[File:Imorgon-GTAO-Hoods-DoubleVentedHood.png|thumb|center|220px]] |
||
| + | |- |
||
| + | |Carbon Double Vented Hood |
||
| + | | style="text-align: center;" |$11,000 |
||
| + | |[[File:Imorgon-GTAO-Hoods-CarbonDoubleVentedHood.png|thumb|center|220px]] |
||
| + | |- |
||
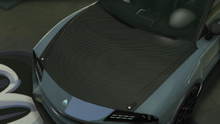
| + | |Quad Vented Hood |
||
| + | | style="text-align: center;" |$11,600 |
||
| + | |[[File:Imorgon-GTAO-Hoods-QuadVentedHood.png|thumb|center|220px]] |
||
| + | |- |
||
| + | |Carbon Quad Vented Hood |
||
| + | | style="text-align: center;" |$12,000 |
||
| + | |[[File:Imorgon-GTAO-Hoods-CarbonQuadVentedHood.png|thumb|center|220px]] |
||
| + | |- |
||
| + | | colspan="2" |Horns |
||
| + | |''Main article: [[Los Santos Customs/Horns]]'' |
||
| + | | colspan="2" style="text-align: center;" | - |
||
| + | |- |
||
| + | | rowspan="3" |Lights |
||
| + | | rowspan="2" |Headlights |
||
| + | |Stock Lights |
||
| + | | colspan="2" style="text-align: center;" |$600 |
||
| + | |- |
||
| + | |Xenon Lights |
||
| + | | colspan="2" style="text-align: center;" |$7,500 |
||
| + | |- |
||
| + | |Neon Kits |
||
| + | |''Main article: [[Los Santos Customs/Lights]]'' |
||
| + | | colspan="2" style="text-align: center;" | - |
||
| + | |- |
||
| + | | colspan="2" rowspan="13" |Livery |
||
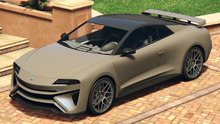
| + | |None |
||
| + | | style="text-align: center;" |$11,400 |
||
| + | |[[File:Imorgon-GTAO-front.png|thumb|center|220px|<small>([[:File:Imorgon-GTAO-rear.png|Rear quarter view]])</small>]] |
||
| + | |- |
||
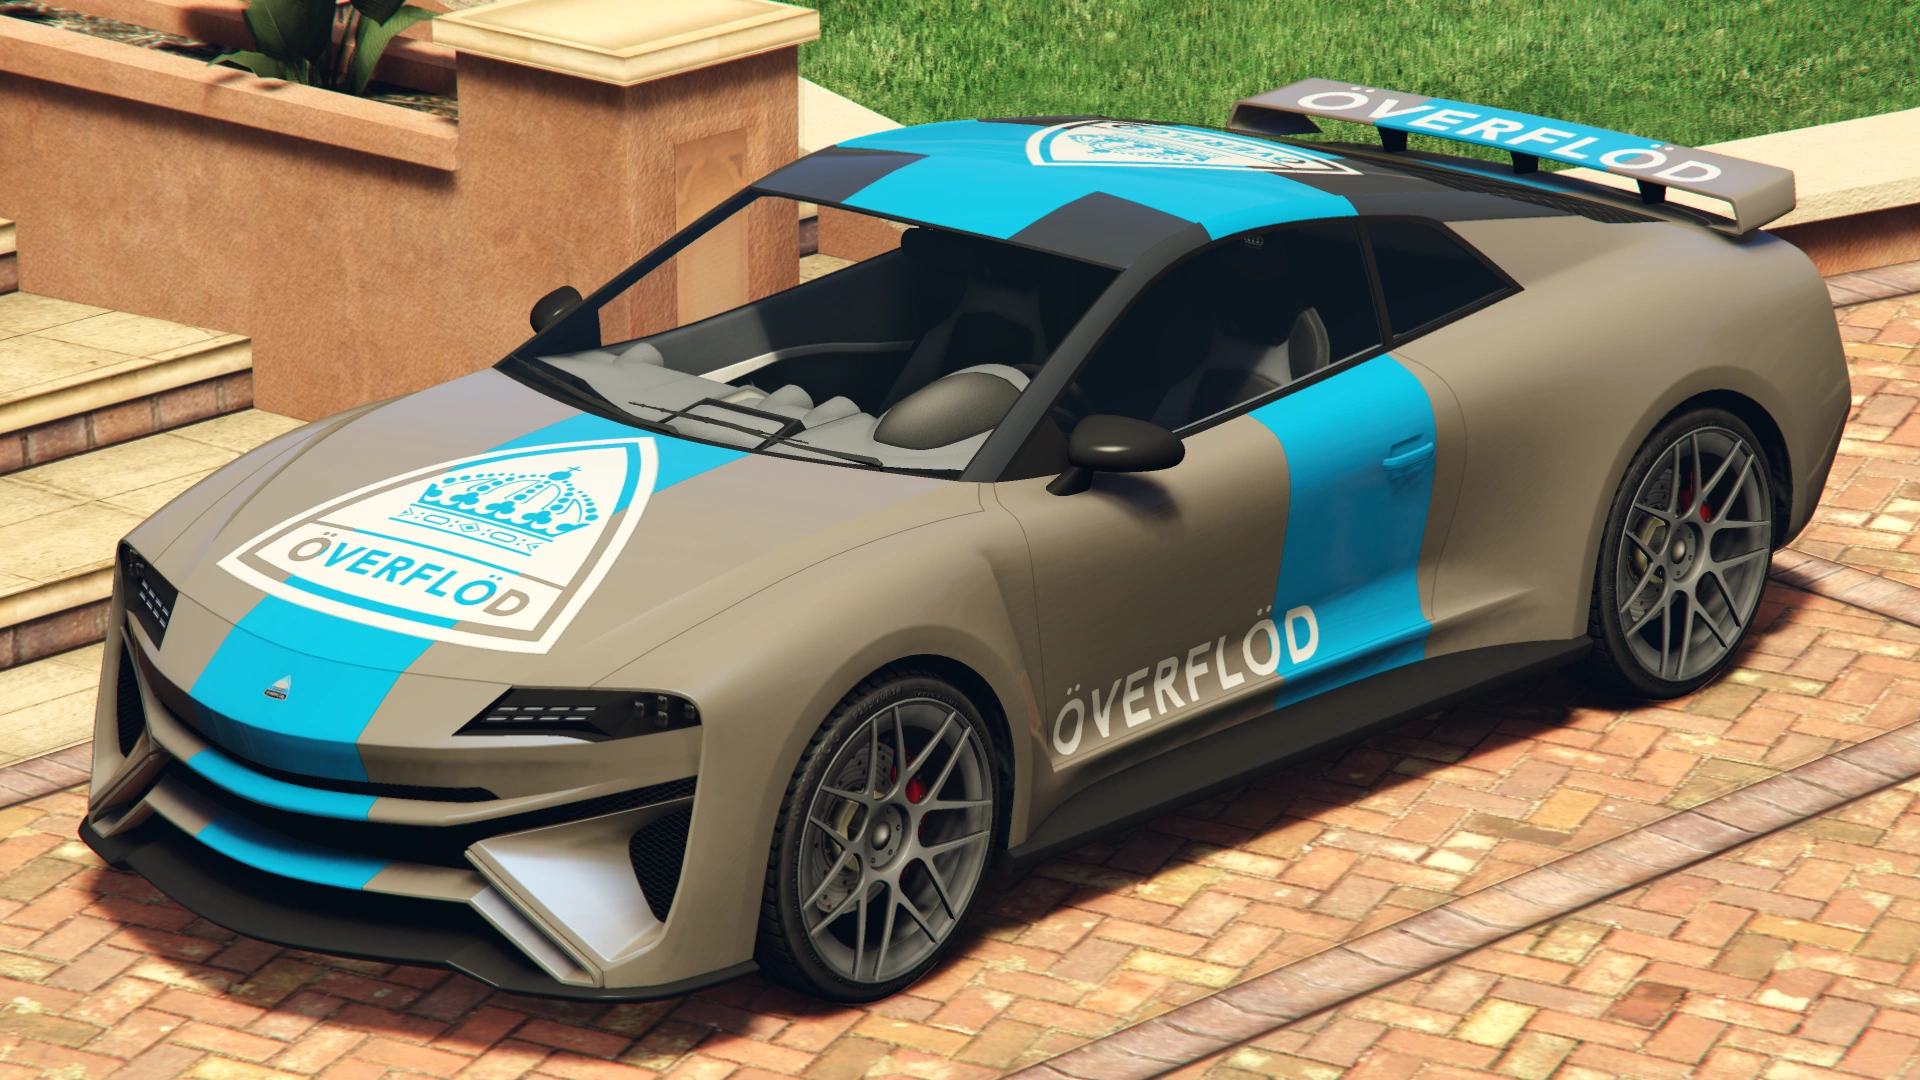
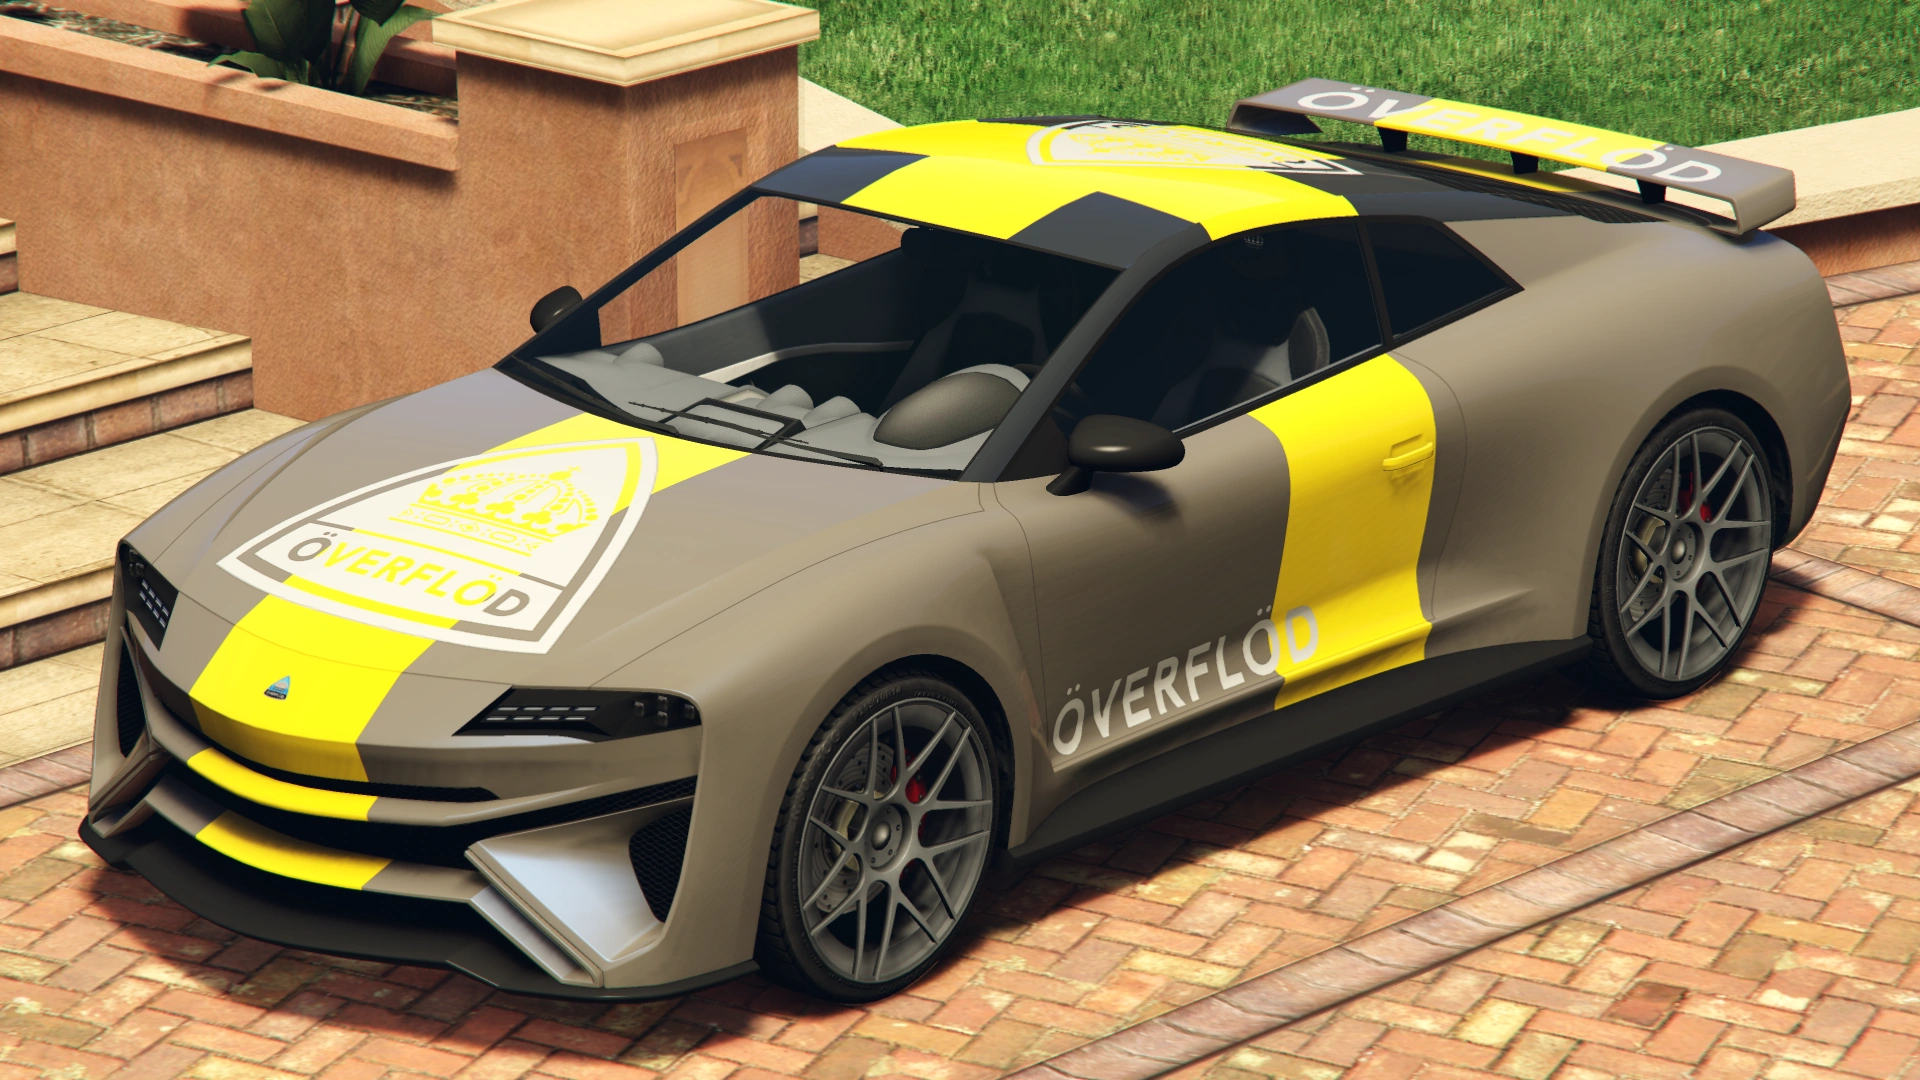
| + | |Overflod Stripes |
||
| + | | style="text-align: center;" |$18,240 |
||
| + | |[[File:Imorgon-GTAO-front-OverflodStripes.png|thumb|center|220px|<small>([[:File:Imorgon-GTAO-rear-OverflodStripes.png|Rear quarter view]])</small>]] |
||
| + | |- |
||
| + | |Alt. Overflod Stripes |
||
| + | | style="text-align: center;" |$19,380 |
||
| + | |[[File:Imorgon-GTAO-front-Alt.OverflodStripes.png|thumb|center|220px|<small>([[:File:Imorgon-GTAO-rear-Alt.OverflodStripes.png|Rear quarter view]])</small>]] |
||
| + | |- |
||
| + | |[[Amigas|Amigas Racing]] |
||
| + | | style="text-align: center;" |$20,520 |
||
| + | |[[File:Imorgon-GTAO-front-AmigasRacing.png|thumb|center|220px|<small>([[:File:Imorgon-GTAO-rear-AmigasRacing.png|Rear quarter view]])</small>]] |
||
| + | |- |
||
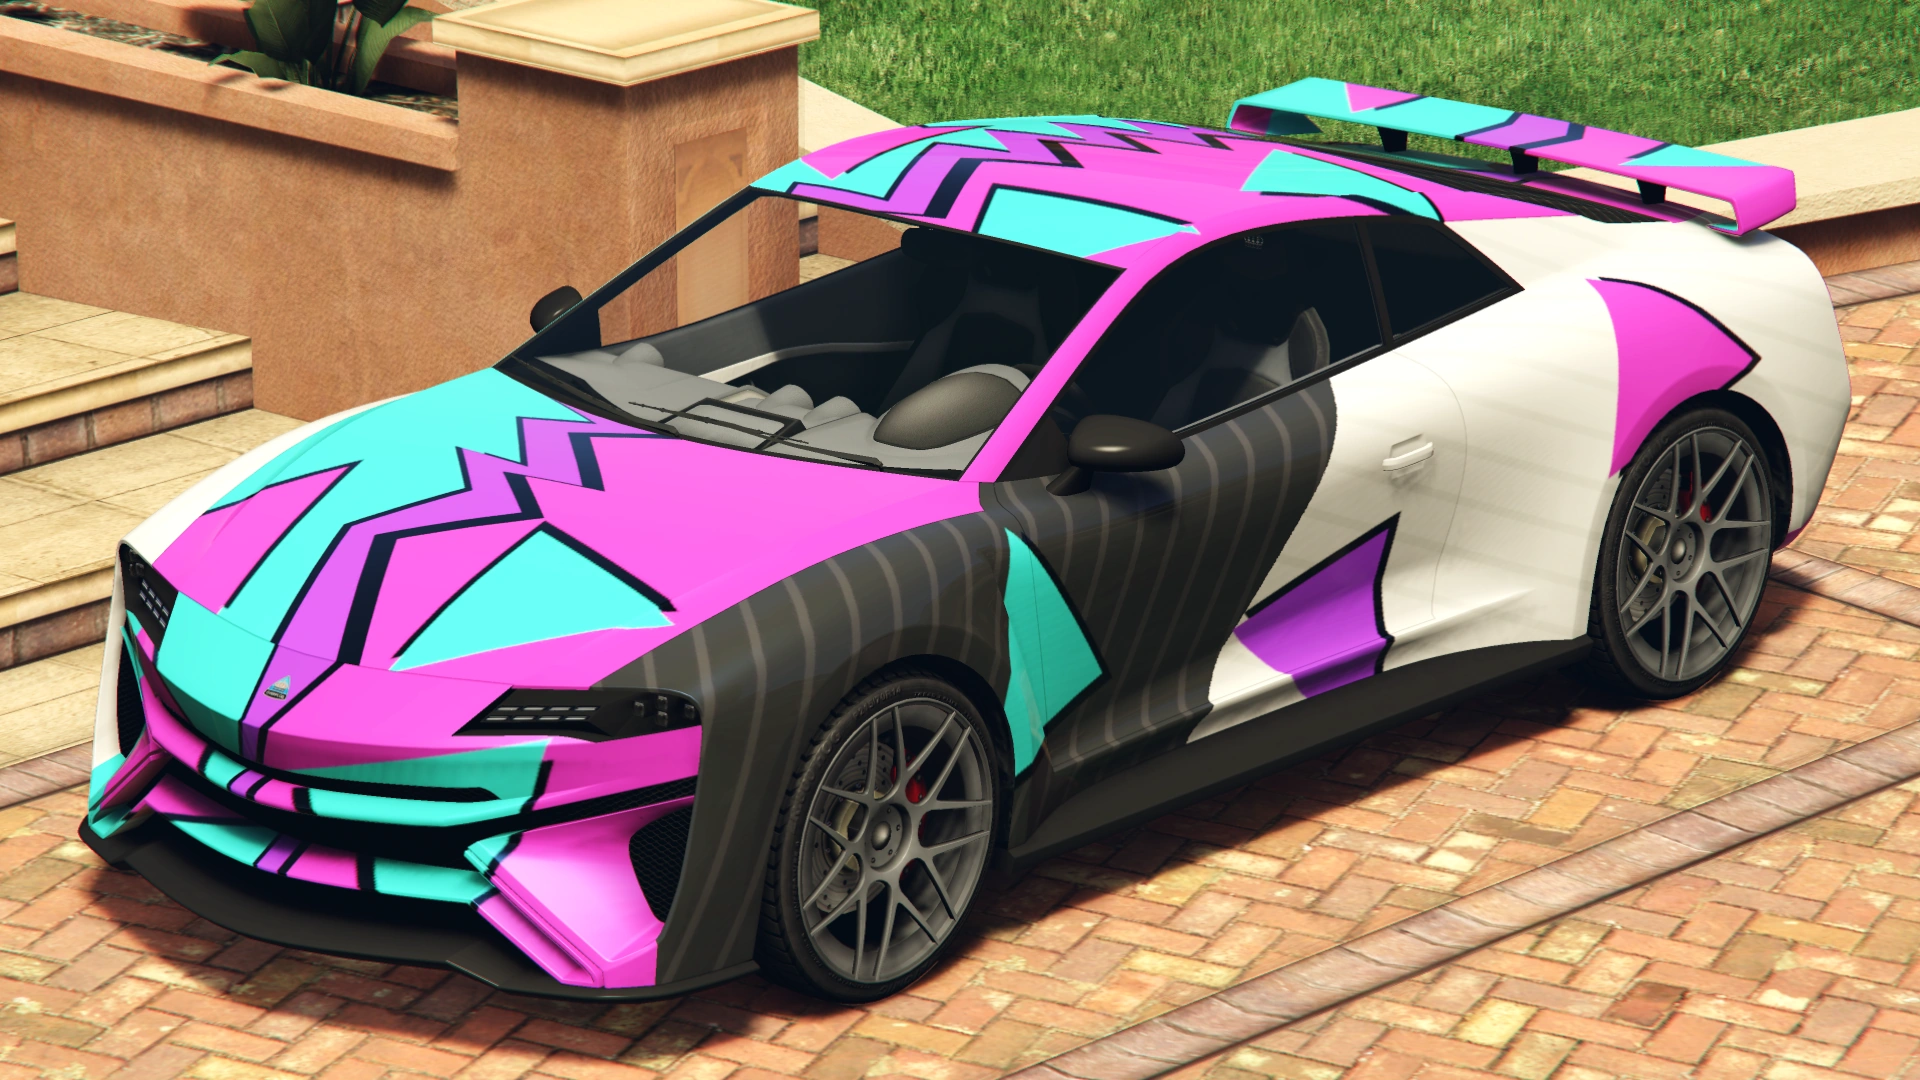
| + | |Stuck In The '90s |
||
| + | | style="text-align: center;" |$21,660 |
||
| + | |[[File:Imorgon-GTAO-front-StuckInThe'90s.png|thumb|center|220px|<small>([[:File:Imorgon-GTAO-rear-StuckInThe'90s.png|Rear quarter view]])</small>]] |
||
| + | |- |
||
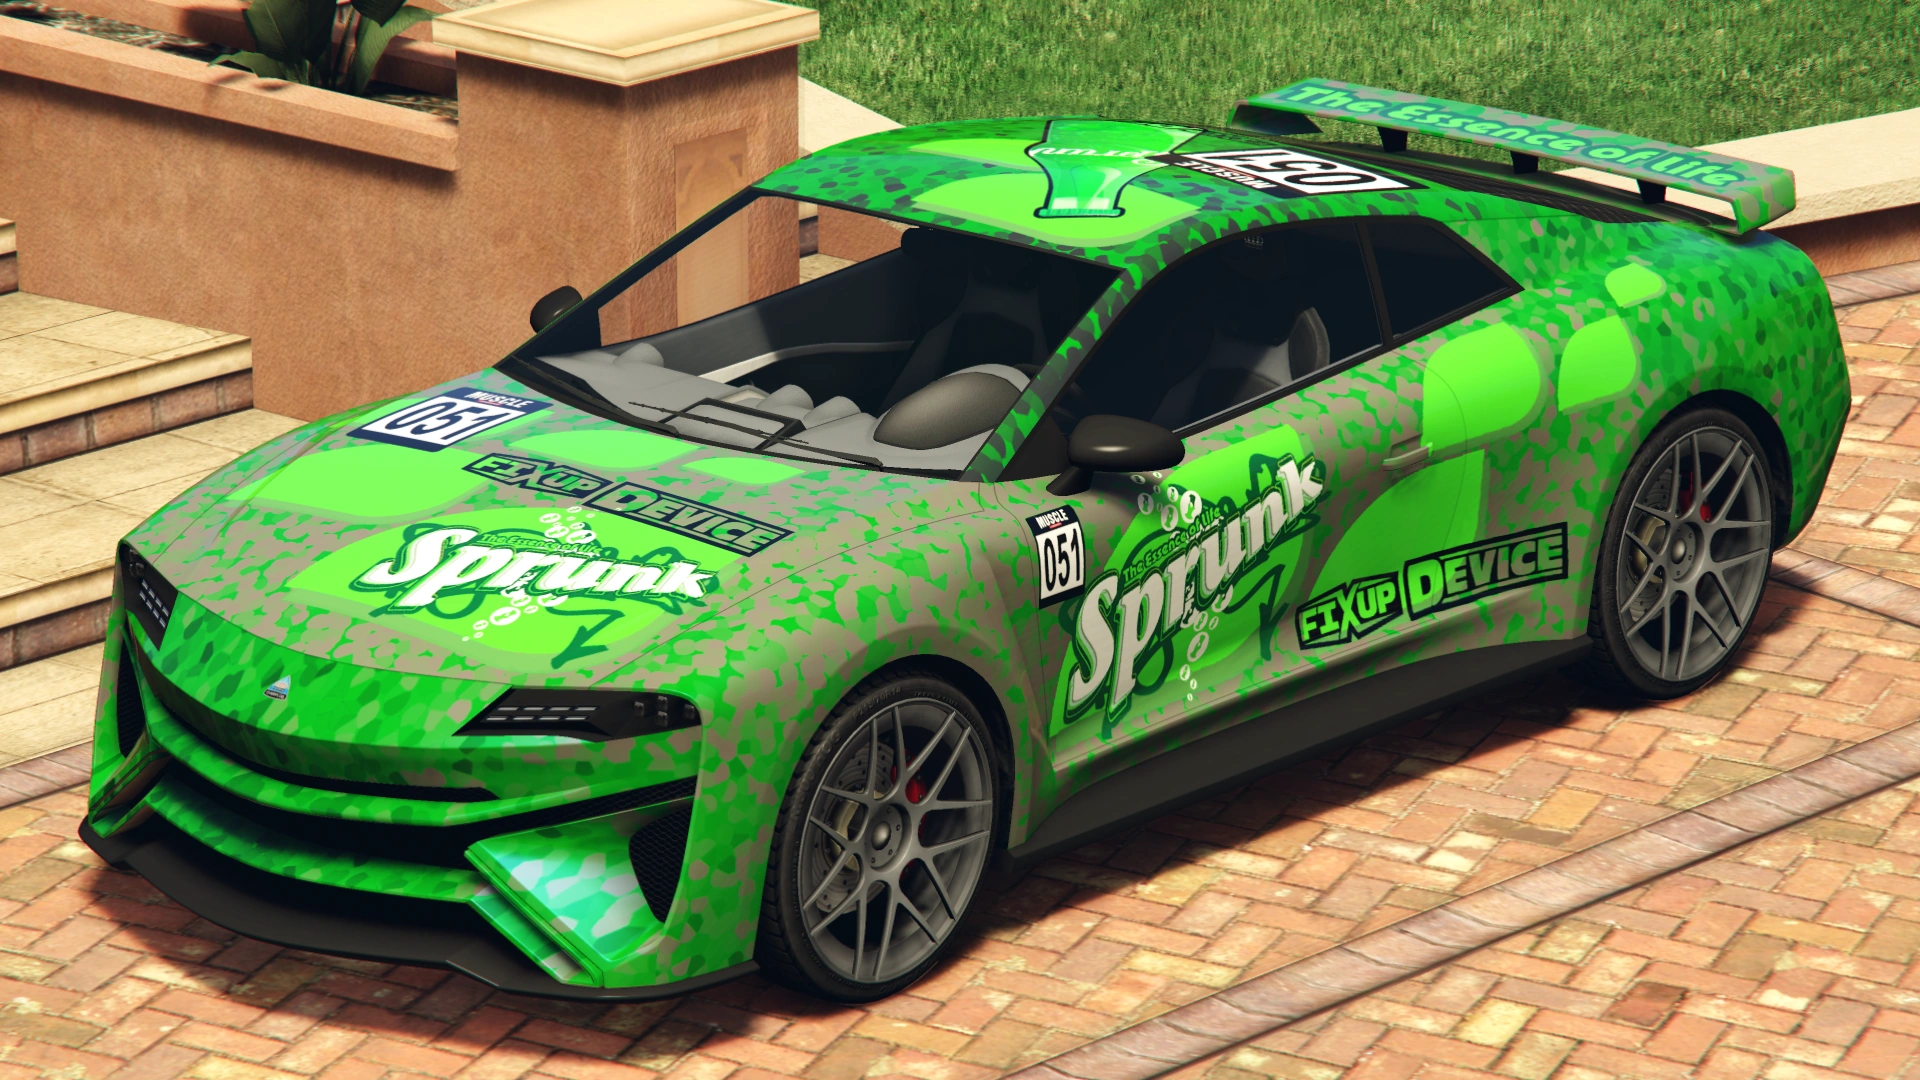
| + | |[[Sprunk|Sprunk Racing]] |
||
| + | | style="text-align: center;" |$22,800 |
||
| + | |[[File:Imorgon-GTAO-front-SprunkRacing.png|thumb|center|220px|<small>([[:File:Imorgon-GTAO-rear-SprunkRacing.png|Rear quarter view]])</small>]] |
||
| + | |- |
||
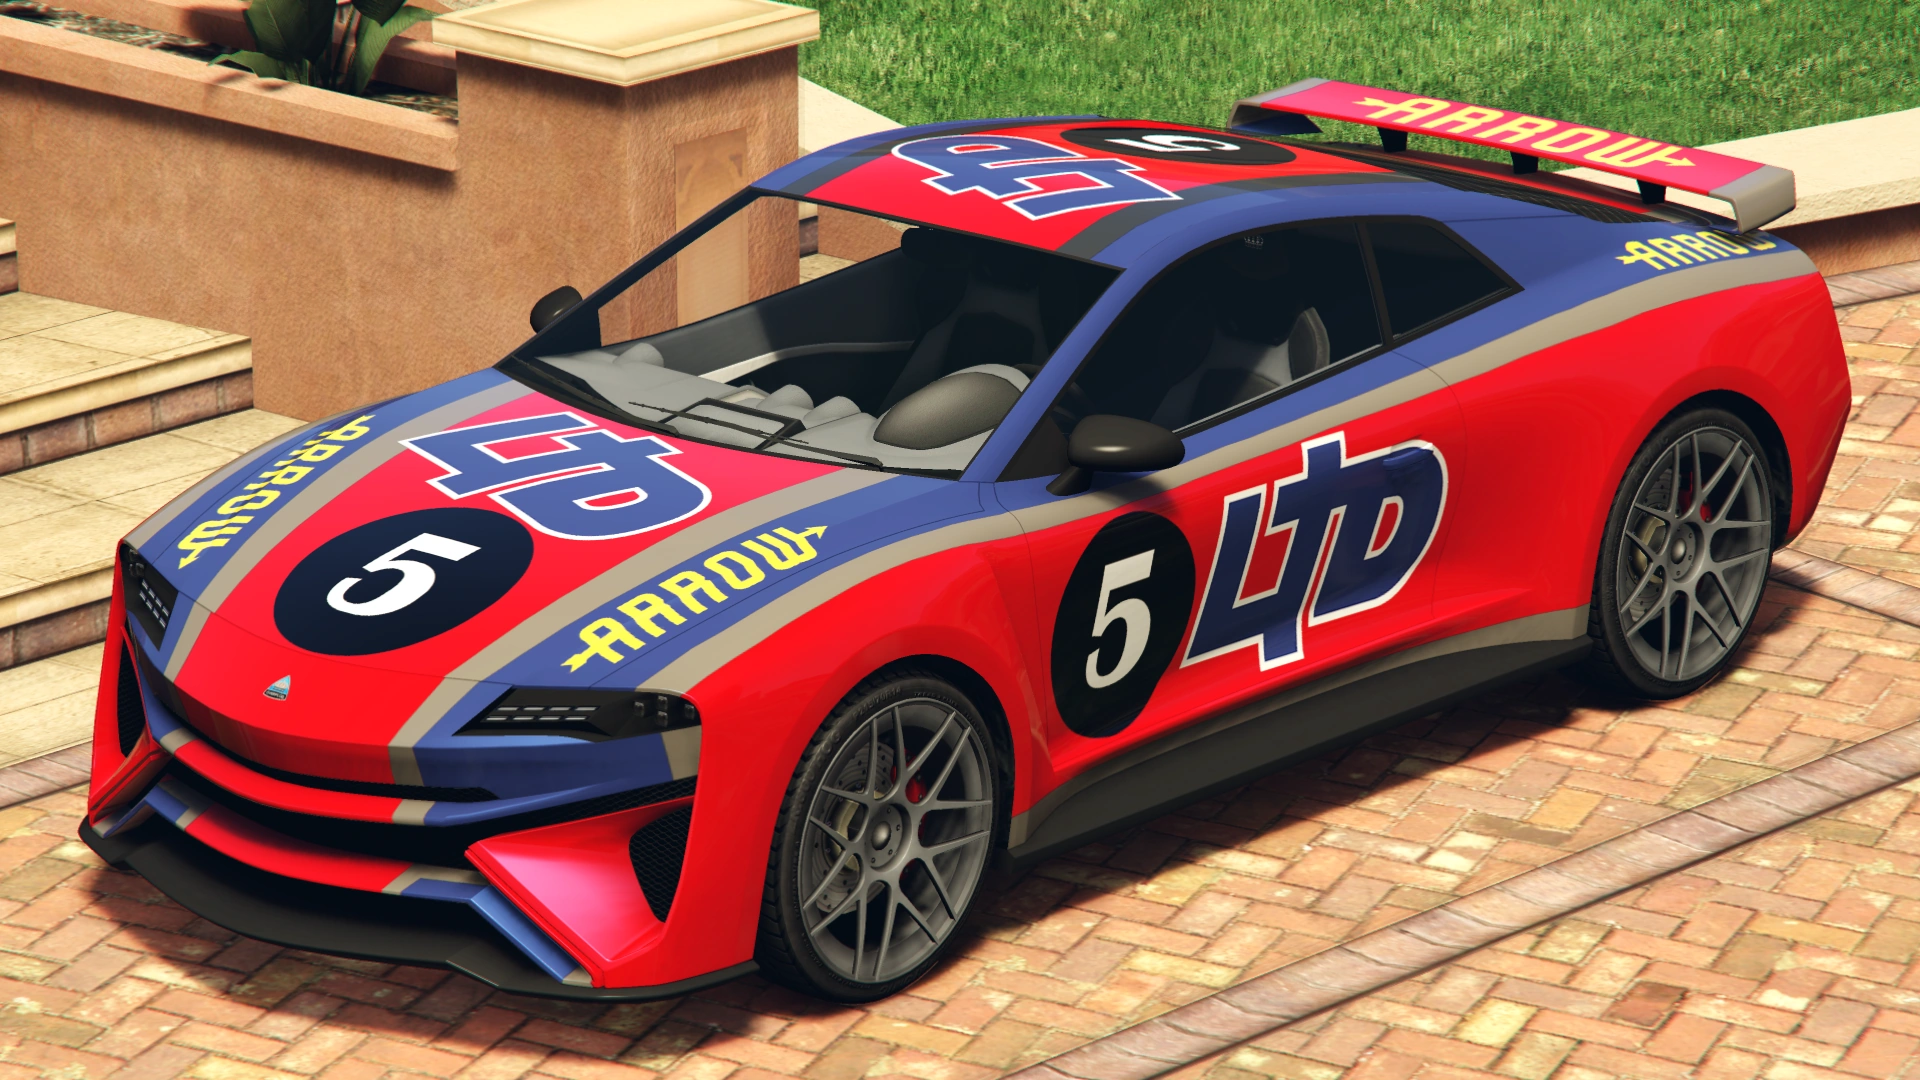
| + | |[[LTD Gasoline|LTD Racing]] |
||
| + | | style="text-align: center;" |$23,370 |
||
| + | |[[File:Imorgon-GTAO-front-LTDRacing.png|thumb|center|220px|<small>([[:File:Imorgon-GTAO-rear-LTDRacing.png|Rear quarter view]])</small>]] |
||
| + | |- |
||
| + | |[[Cerveza Barracho]] |
||
| + | | style="text-align: center;" |$23,939 |
||
| + | |[[File:Imorgon-GTAO-front-CervezaBarracho.png|thumb|center|220px|<small>([[:File:Imorgon-GTAO-rear-CervezaBarracho.png|Rear quarter view]])</small>]] |
||
| + | |- |
||
| + | |[[Kisama Beer]] |
||
| + | | style="text-align: center;" |$24,510 |
||
| + | |[[File:Imorgon-GTAO-front-KisamaBeer.png|thumb|center|220px|<small>([[:File:Imorgon-GTAO-rear-KisamaBeer.png|Rear quarter view]])</small>]] |
||
| + | |- |
||
| + | |[[Xero|Xero Gas]] |
||
| + | | style="text-align: center;" |$25,080 |
||
| + | |[[File:Imorgon-GTAO-front-XeroGas.png|thumb|center|220px|<small>([[:File:Imorgon-GTAO-rear-XeroGas.png|Rear quarter view]])</small>]] |
||
| + | |- |
||
| + | |[[Ragga Rum]] |
||
| + | | style="text-align: center;" |$25,650 |
||
| + | |[[File:Imorgon-GTAO-front-RaggaRum.png|thumb|center|220px|<small>([[:File:Imorgon-GTAO-rear-RaggaRum.png|Rear quarter view]])</small>]] |
||
| + | |- |
||
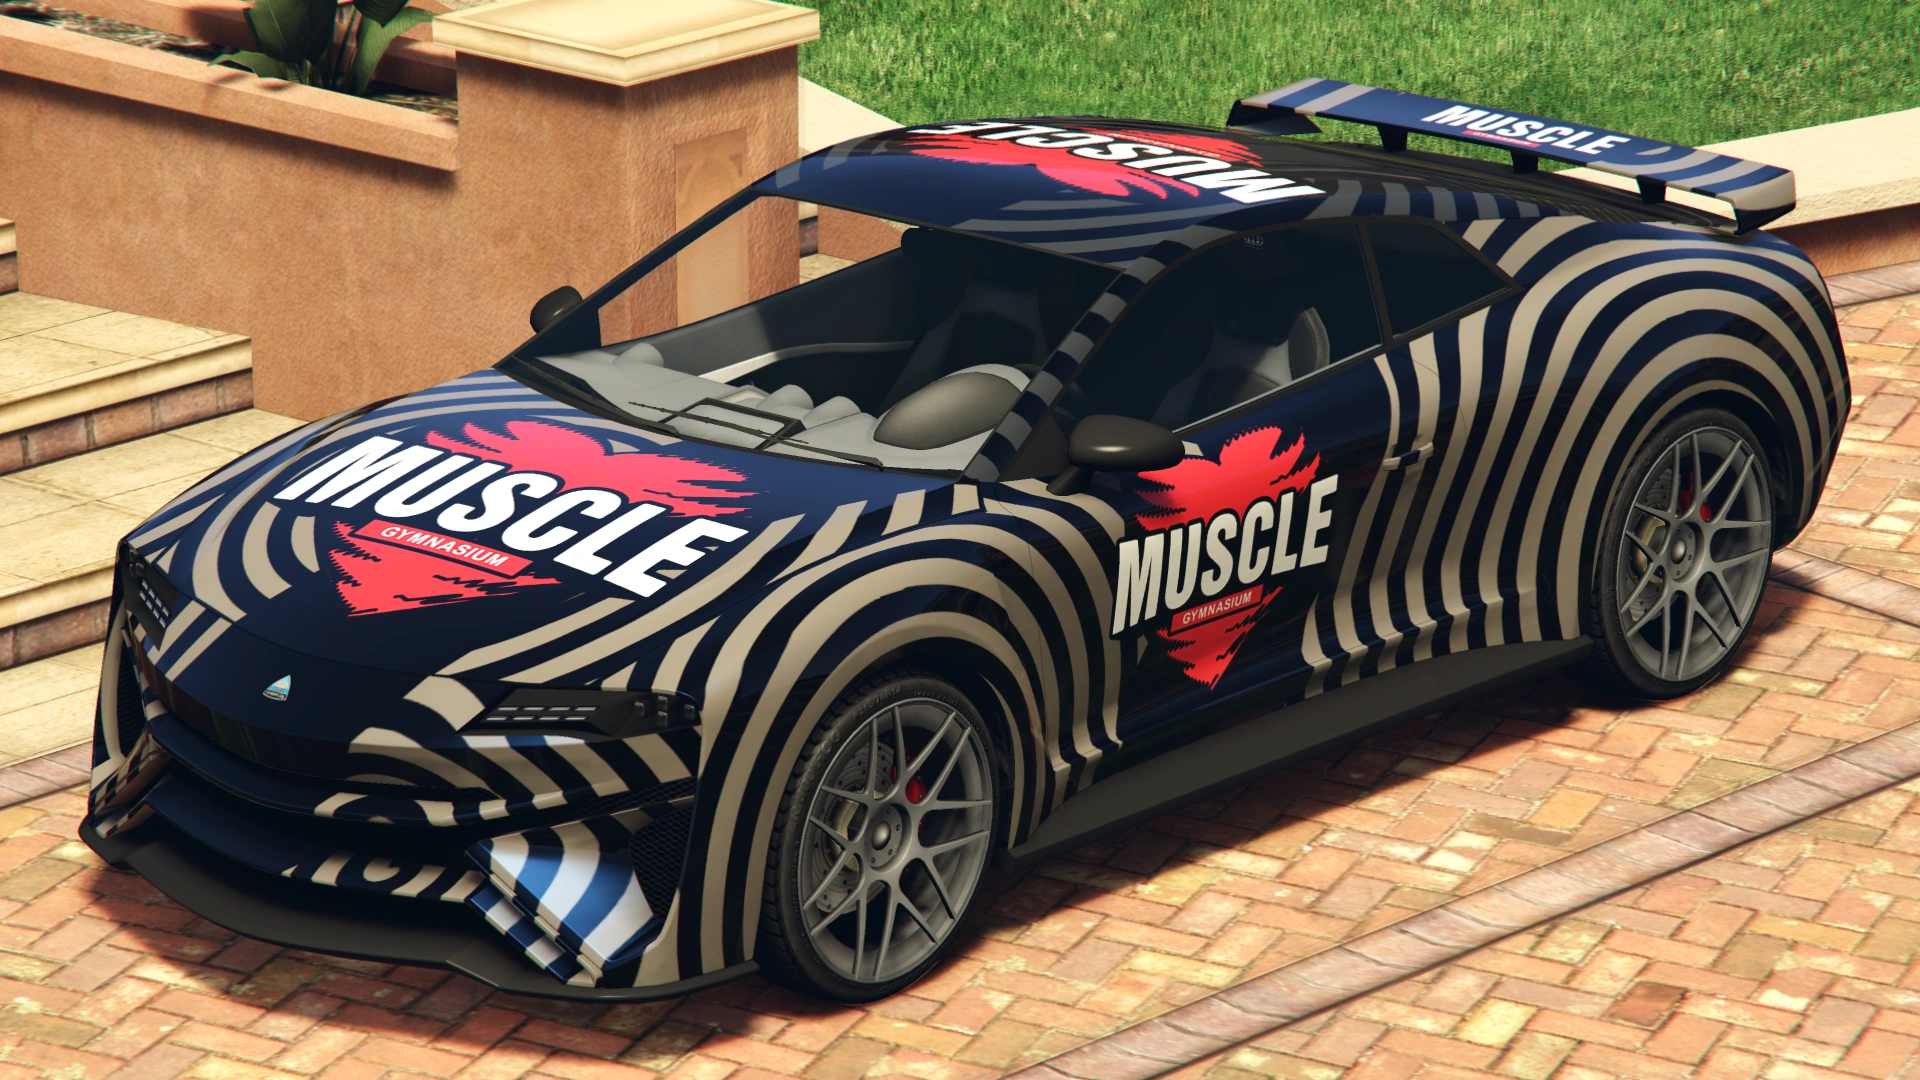
| + | |[[Muscle Gymnasium]] |
||
| + | | style="text-align: center;" |$26,220 |
||
| + | |[[File:Imorgon-GTAO-front-MuscleGymnasium.png|thumb|center|220px|<small>([[:File:Imorgon-GTAO-rear-MuscleGymnasium.png|Rear quarter view]])</small>]] |
||
| + | |- |
||
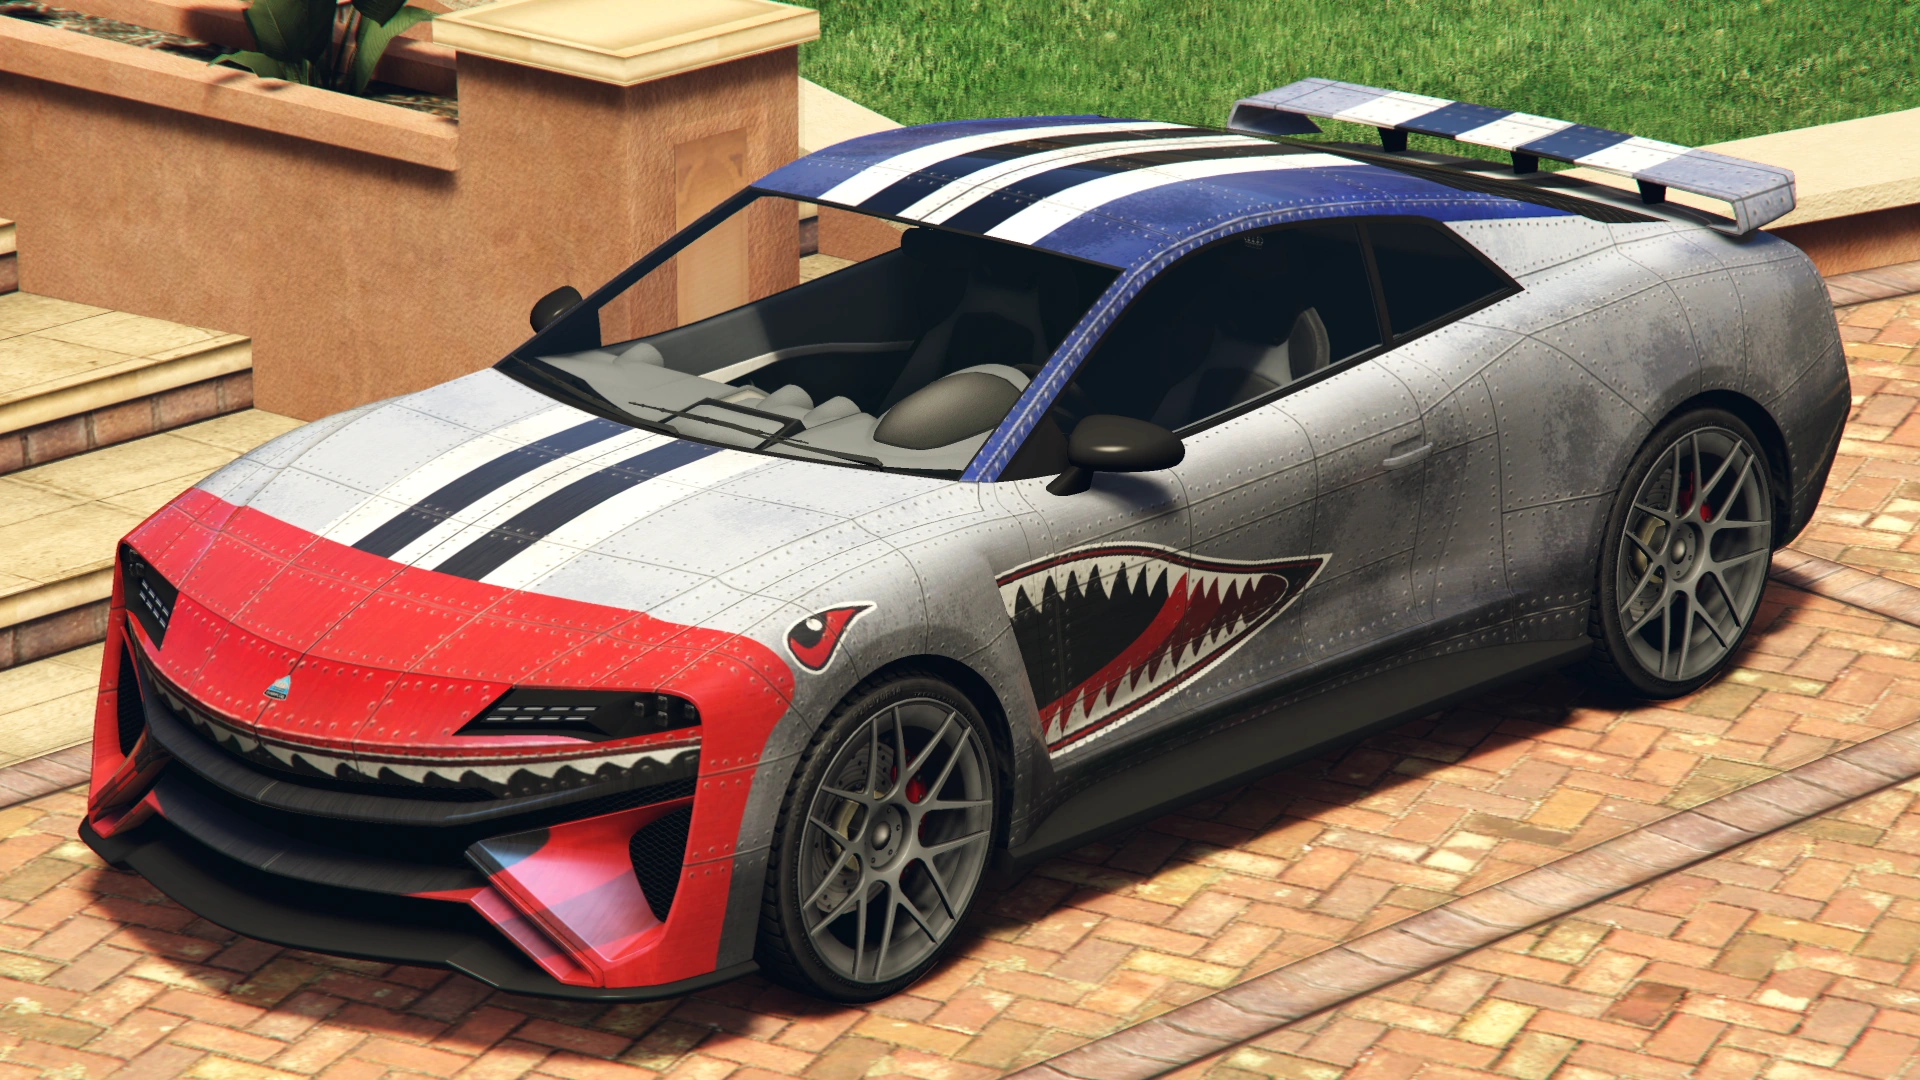
| + | |Mean Machine |
||
| + | | style="text-align: center;" |$26,789 |
||
| + | |[[File:Imorgon-GTAO-front-MeanMachine.png|thumb|center|220px|<small>([[:File:Imorgon-GTAO-rear-MeanMachine.png|Rear quarter view]])</small>]] |
||
| + | |- |
||
| + | | colspan="2" rowspan="2" |Loss/Theft Prevention |
||
| + | |Tracker |
||
| + | | colspan="2" style="text-align: center;" | |
||
| + | |- |
||
| + | |Full Coverage |
||
| + | | colspan="2" style="text-align: center;" | |
||
| + | |- |
||
| + | | colspan="2" rowspan="3" |Mirrors |
||
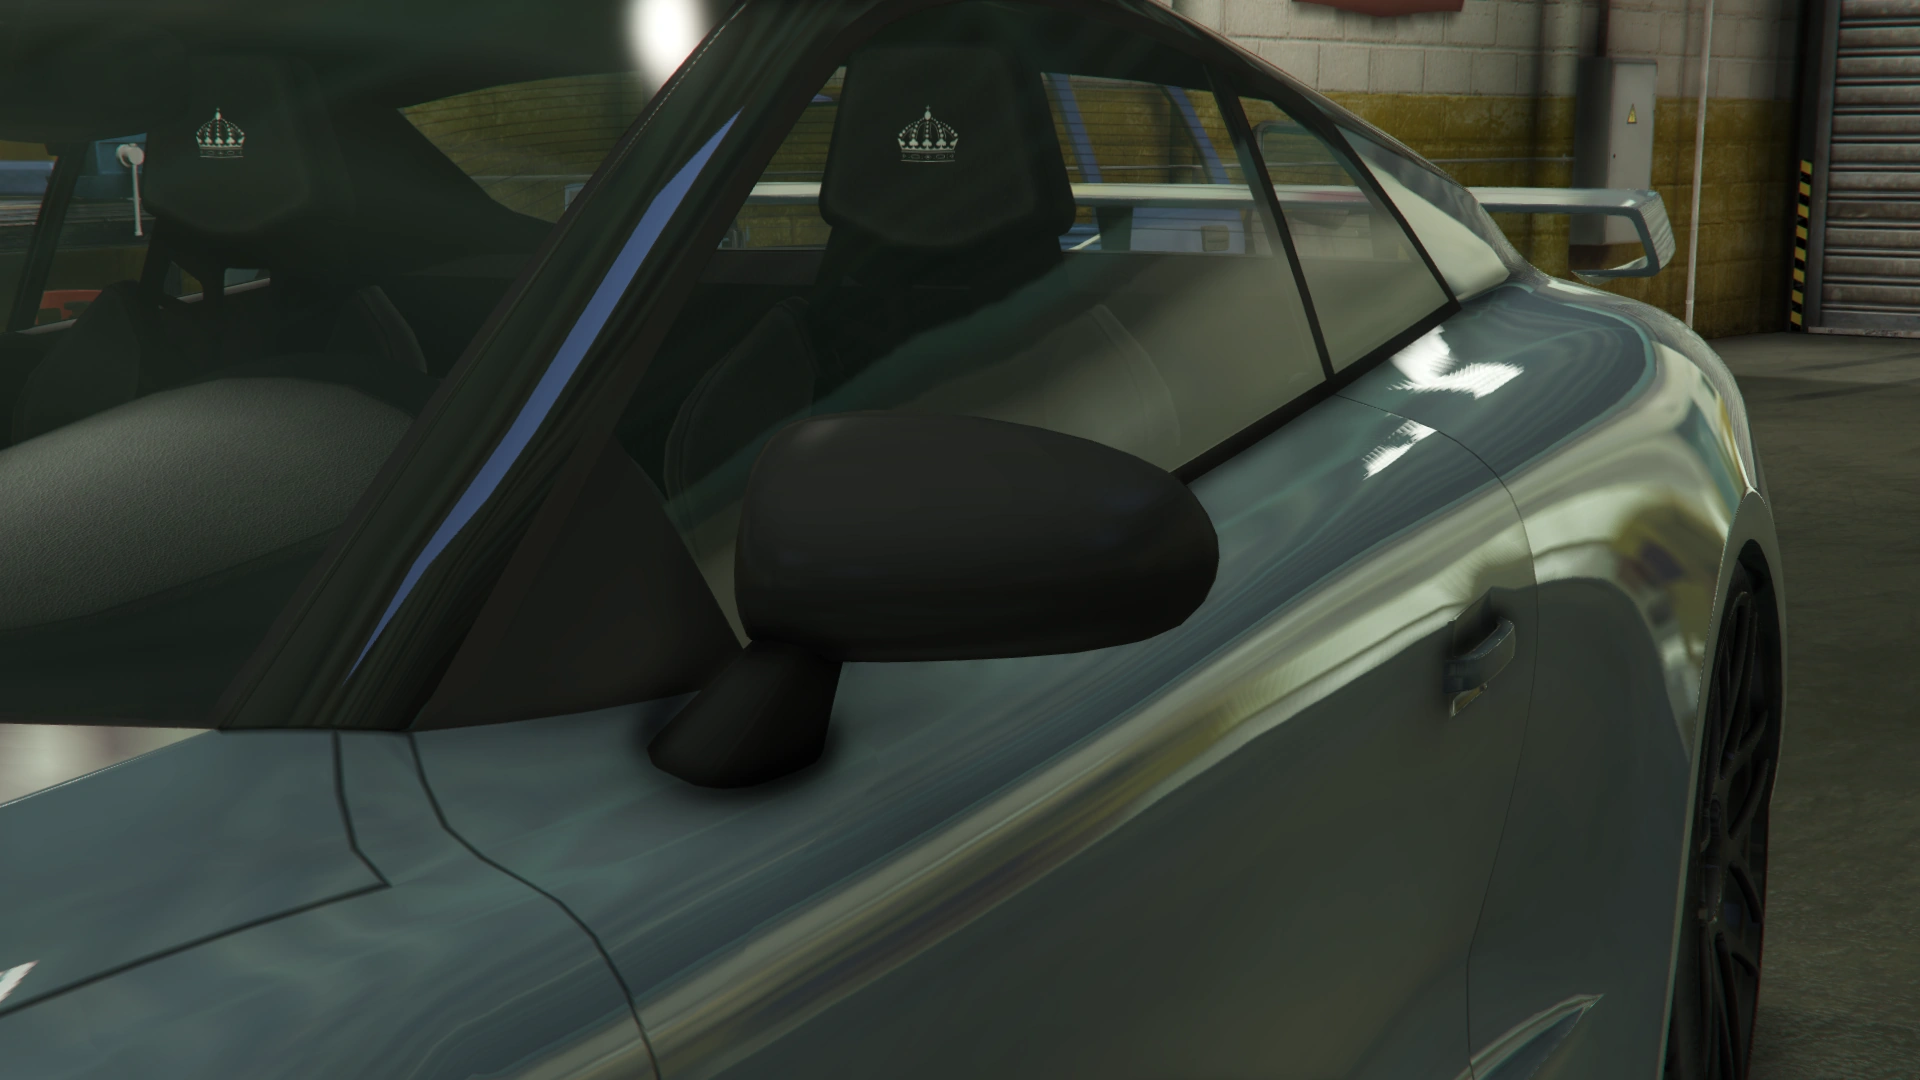
| + | |Stock Mirrors |
||
| + | | style="text-align: center;" |$300 |
||
| + | |[[File:Imorgon-GTAO-Mirrors-StockMirrors.png|thumb|center|220px]] |
||
| + | |- |
||
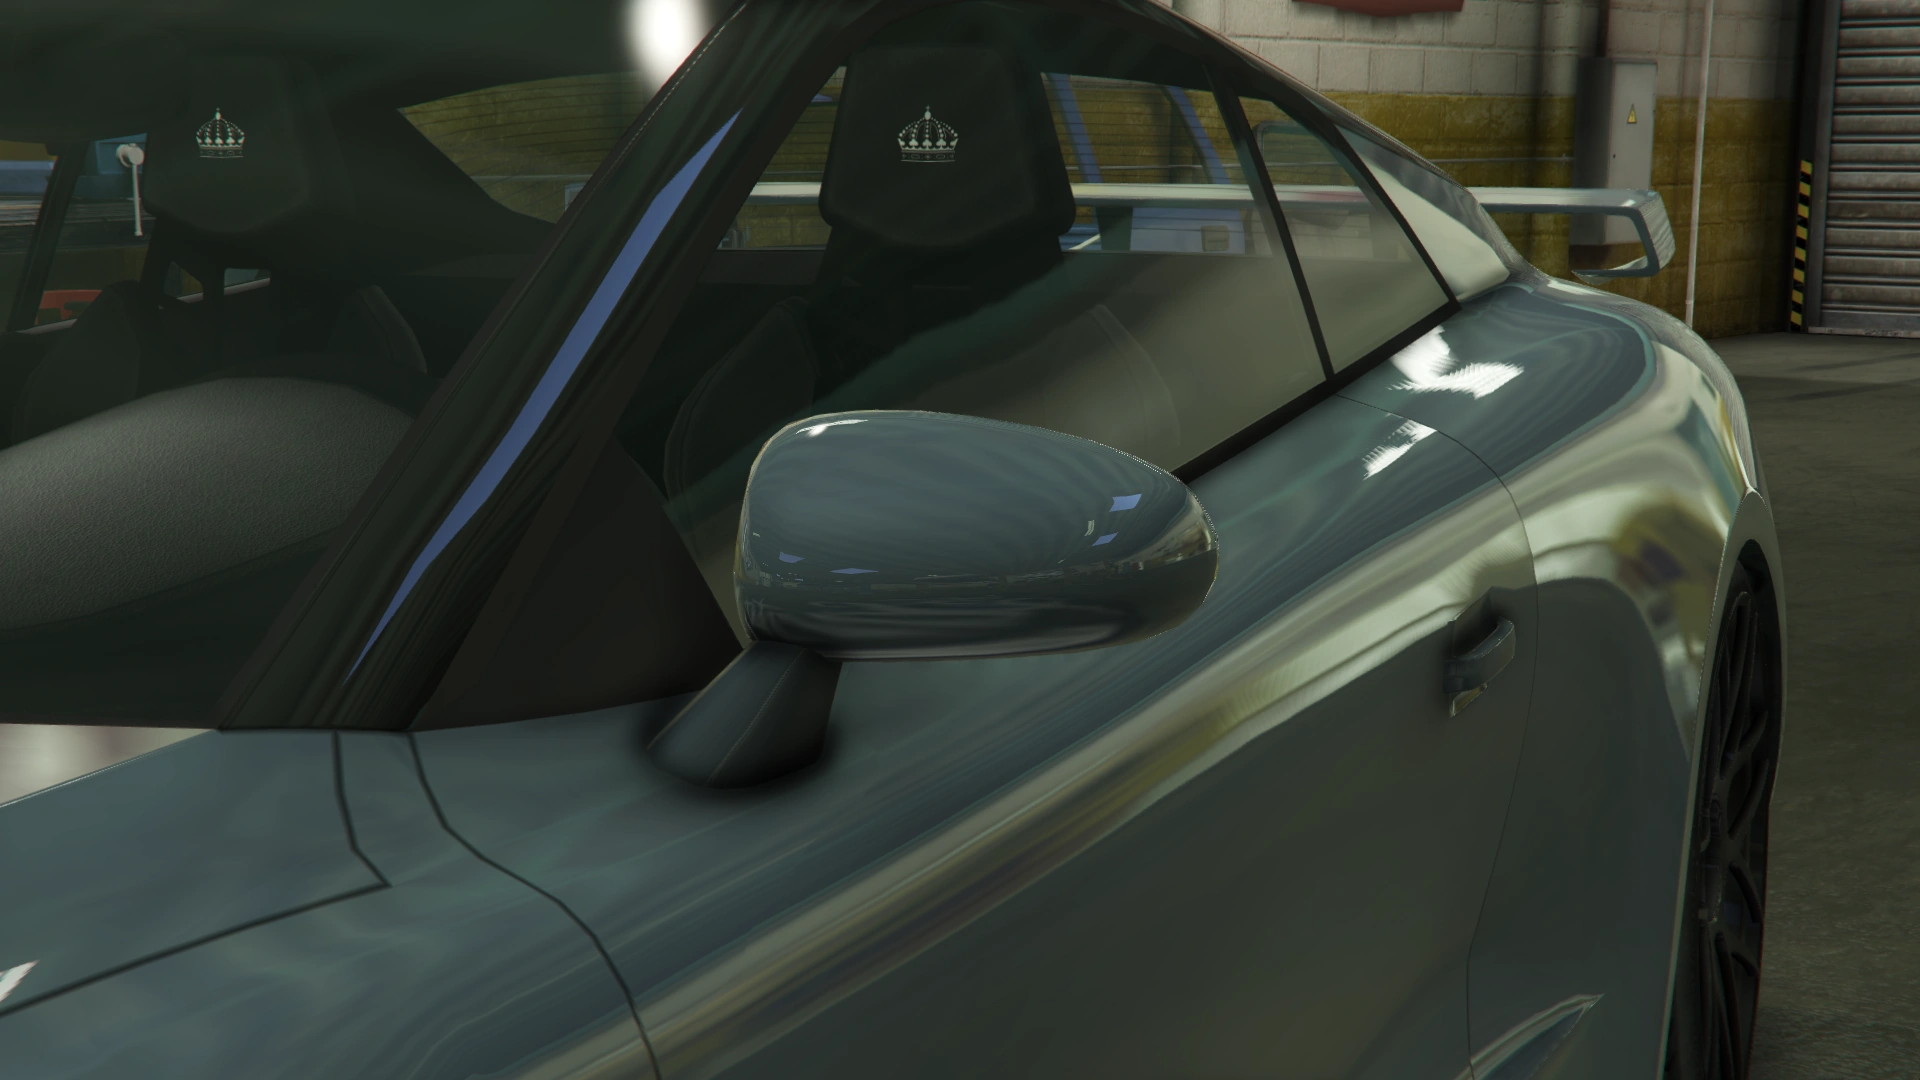
| + | |Primary Mirrors |
||
| + | | style="text-align: center;" |$900 |
||
| + | |[[File:Imorgon-GTAO-Mirrors-PrimaryMirrors.png|thumb|center|220px]] |
||
| + | |- |
||
| + | |Carbon Mirrors |
||
| + | | style="text-align: center;" |$1,500 |
||
| + | |[[File:Imorgon-GTAO-Mirrors-CarbonMirrors.png|thumb|center|220px]] |
||
| + | |- |
||
| + | | colspan="2" rowspan="5" |Plates |
||
| + | |Blue on White 1 |
||
| + | | colspan="2" style="text-align: center;" |$200 |
||
| + | |- |
||
| + | |Blue on White 2 |
||
| + | | colspan="2" style="text-align: center;" |$200 |
||
| + | |- |
||
| + | |Blue on White 3 |
||
| + | | colspan="2" style="text-align: center;" |$200 |
||
| + | |- |
||
| + | |Yellow on Blue |
||
| + | | colspan="2" style="text-align: center;" |$300 |
||
| + | |- |
||
| + | |Yellow on Black |
||
| + | | colspan="2" style="text-align: center;" |$600 |
||
| + | |- |
||
| + | | colspan="2" |Respray |
||
| + | |''Main article: [[Los Santos Customs/Respray Colors]]'' |
||
| + | | colspan="2" style="text-align: center;" | - |
||
| + | |- |
||
| + | | colspan="2" rowspan="3" |Roofs |
||
| + | |Stock Roof |
||
| + | | style="text-align: center;" |$200 |
||
| + | |[[File:Imorgon-GTAO-Roofs-StockRoof.png|thumb|center|220px]] |
||
| + | |- |
||
| + | |Primary Roof |
||
| + | | style="text-align: center;" |$700 |
||
| + | |[[File:Imorgon-GTAO-Roofs-PrimaryRoof.png|thumb|center|220px]] |
||
| + | |- |
||
| + | |Carbon Roof |
||
| + | | style="text-align: center;" |$1,150 |
||
| + | |[[File:Imorgon-GTAO-Roofs-CarbonRoof.png|thumb|center|220px]] |
||
| + | |- |
||
| + | | colspan="2" |Sell |
||
| + | |Sell Vehicle |
||
| + | | colspan="2" style="text-align: center;" | |
||
| + | |- |
||
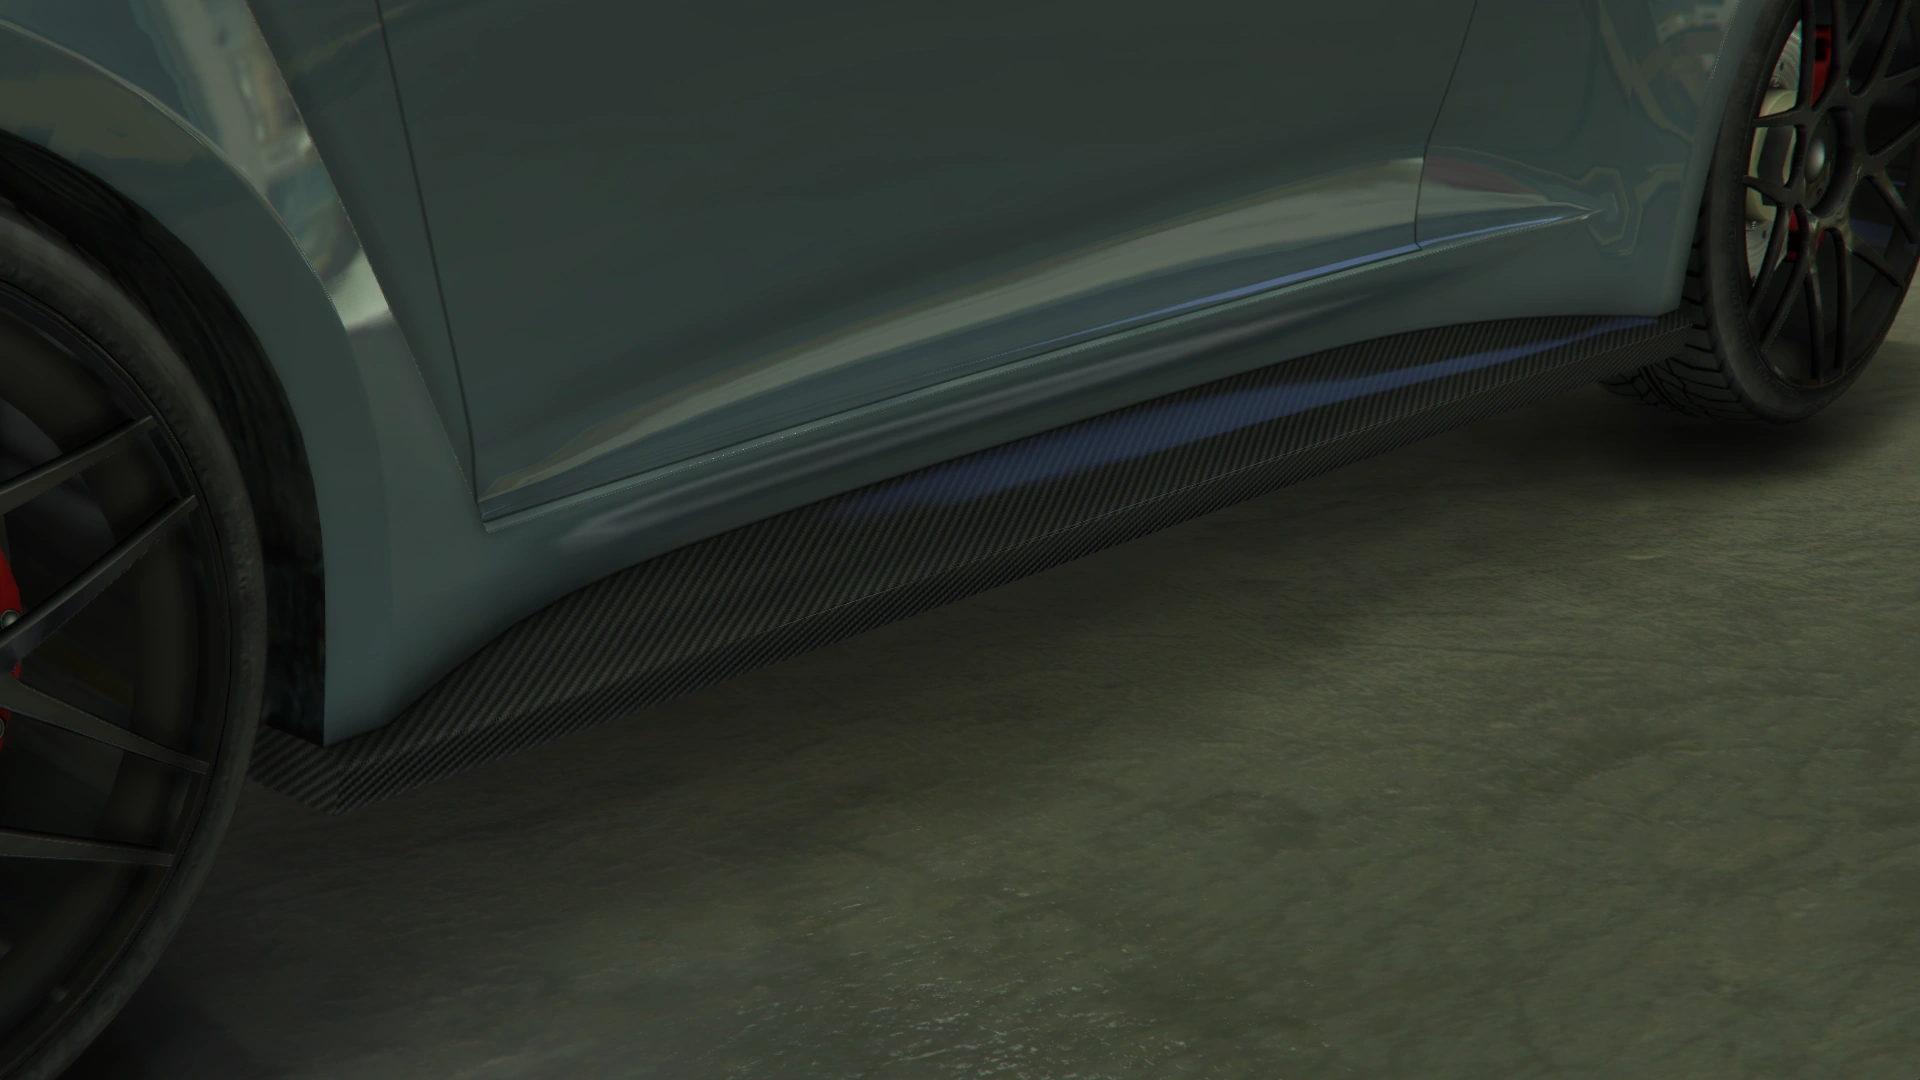
| + | | colspan="2" rowspan="3" |Skirts |
||
| + | |Stock Skirts |
||
| + | | style="text-align: center;" |$2,500 |
||
| + | |[[File:Imorgon-GTAO-Skirts-StockSkirts.png|thumb|center|220px]] |
||
| + | |- |
||
| + | |Carbon Skirts |
||
| + | | style="text-align: center;" |$5,500 |
||
| + | |[[File:Imorgon-GTAO-Skirts-CarbonSkirts.png|thumb|center|220px]] |
||
| + | |- |
||
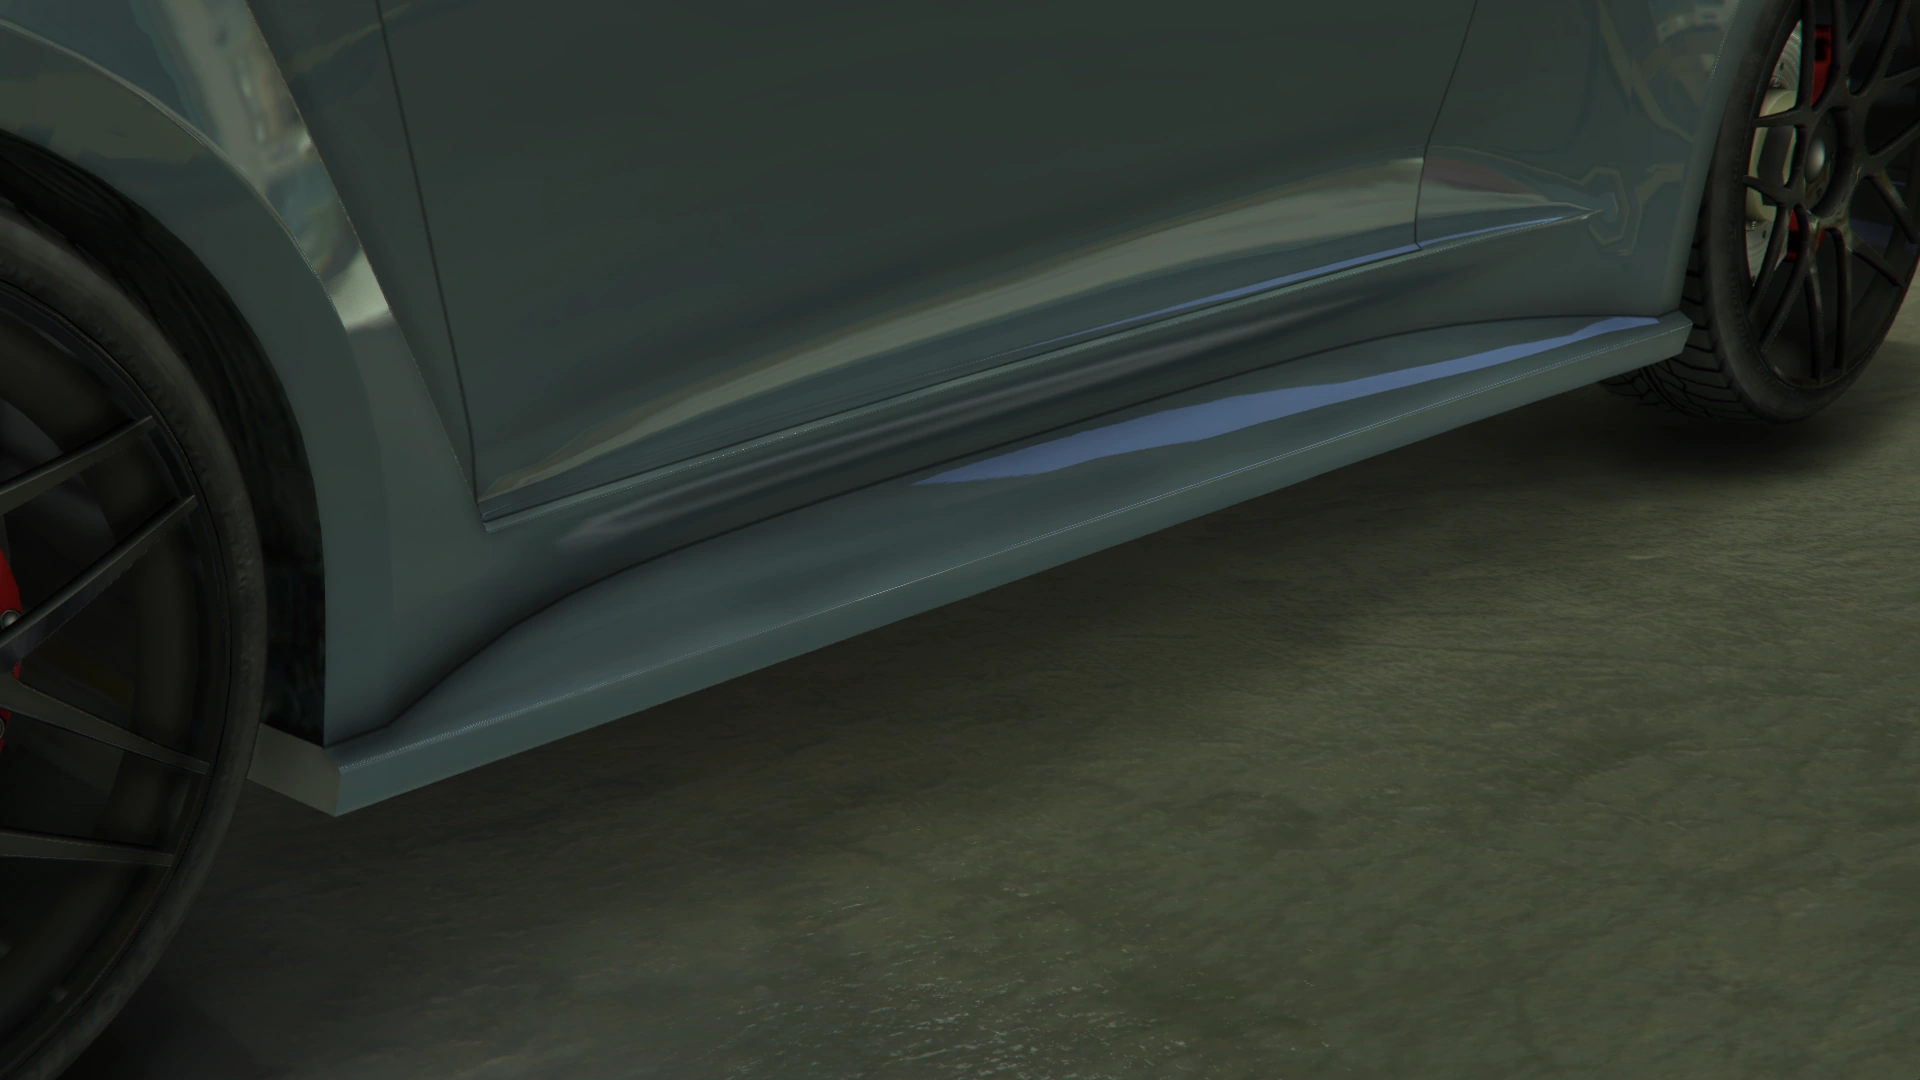
| + | |Primary Skirts |
||
| + | | style="text-align: center;" |$8,000 |
||
| + | |[[File:Imorgon-GTAO-Skirts-PrimarySkirts.png|thumb|center|220px]] |
||
| + | |- |
||
| + | | colspan="2" rowspan="15" |Spoilers |
||
| + | |Stock Spoiler |
||
| + | | style="text-align: center;" |$6,000 |
||
| + | |[[File:Imorgon-GTAO-Spoilers-StockSpoiler.png|thumb|center|220px]] |
||
| + | |- |
||
| + | |Upper Mounted Spoiler |
||
| + | | style="text-align: center;" |$7,050 |
||
| + | |[[File:Imorgon-GTAO-Spoilers-UpperMountedSpoiler.png|thumb|center|220px]] |
||
| + | |- |
||
| + | |Carbon Upper Mounted Spoiler |
||
| + | | style="text-align: center;" |$10,000 |
||
| + | |[[File:Imorgon-GTAO-Spoilers-CarbonUpperMountedSpoiler.png|thumb|center|220px]] |
||
| + | |- |
||
| + | |Tuner Spoiler |
||
| + | | style="text-align: center;" |$13,000 |
||
| + | |[[File:Imorgon-GTAO-Spoilers-TunerSpoiler.png|thumb|center|220px]] |
||
| + | |- |
||
| + | |Carbon Tuner Spoiler |
||
| + | | style="text-align: center;" |$14,000 |
||
| + | |[[File:Imorgon-GTAO-Spoilers-CarbonTunerSpoiler.png|thumb|center|220px]] |
||
| + | |- |
||
| + | |High Racing Spoiler |
||
| + | | style="text-align: center;" |$16,000 |
||
| + | |[[File:Imorgon-GTAO-Spoilers-HighRacingSpoiler.png|thumb|center|220px]] |
||
| + | |- |
||
| + | |Carbon High Racing Spoiler |
||
| + | | style="text-align: center;" |$16,500 |
||
| + | |[[File:Imorgon-GTAO-Spoilers-CarbonHighRacingSpoiler.png|thumb|center|220px]] |
||
| + | |- |
||
| + | |GT Spoiler |
||
| + | | style="text-align: center;" |$17,000 |
||
| + | |[[File:Imorgon-GTAO-Spoilers-GTSpoiler.png|thumb|center|220px]] |
||
| + | |- |
||
| + | |Carbon GT Spoiler |
||
| + | | style="text-align: center;" |$17,500 |
||
| + | |[[File:Imorgon-GTAO-Spoilers-CarbonGTSpoiler.png|thumb|center|220px]] |
||
| + | |- |
||
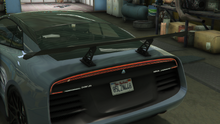
| + | |Big Wing |
||
| + | | style="text-align: center;" |$18,000 |
||
| + | |[[File:Imorgon-GTAO-Spoilers-BigWing.png|thumb|center|220px]] |
||
| + | |- |
||
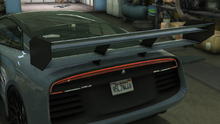
| + | |Carbon Big Wing |
||
| + | | style="text-align: center;" |$18,500 |
||
| + | |[[File:Imorgon-GTAO-Spoilers-CarbonBigWing.png|thumb|center|220px]] |
||
| + | |- |
||
| + | |Curved Spoiler |
||
| + | | style="text-align: center;" |$19,000 |
||
| + | |[[File:Imorgon-GTAO-Spoilers-CurvedSpoiler.png|thumb|center|220px]] |
||
| + | |- |
||
| + | |Carbon Curved Spoiler |
||
| + | | style="text-align: center;" |$19,500 |
||
| + | |[[File:Imorgon-GTAO-Spoilers-CarbonCurvedSpoiler.png|thumb|center|220px]] |
||
| + | |- |
||
| + | |Angled Spoiler |
||
| + | | style="text-align: center;" |$20,000 |
||
| + | |[[File:Imorgon-GTAO-Spoilers-AngledSpoiler.png|thumb|center|220px]] |
||
| + | |- |
||
| + | |Carbon Angled Spoiler |
||
| + | | style="text-align: center;" |$20,500 |
||
| + | |[[File:Imorgon-GTAO-Spoilers-CarbonAngledSpoiler.png|thumb|center|220px]] |
||
| + | |- |
||
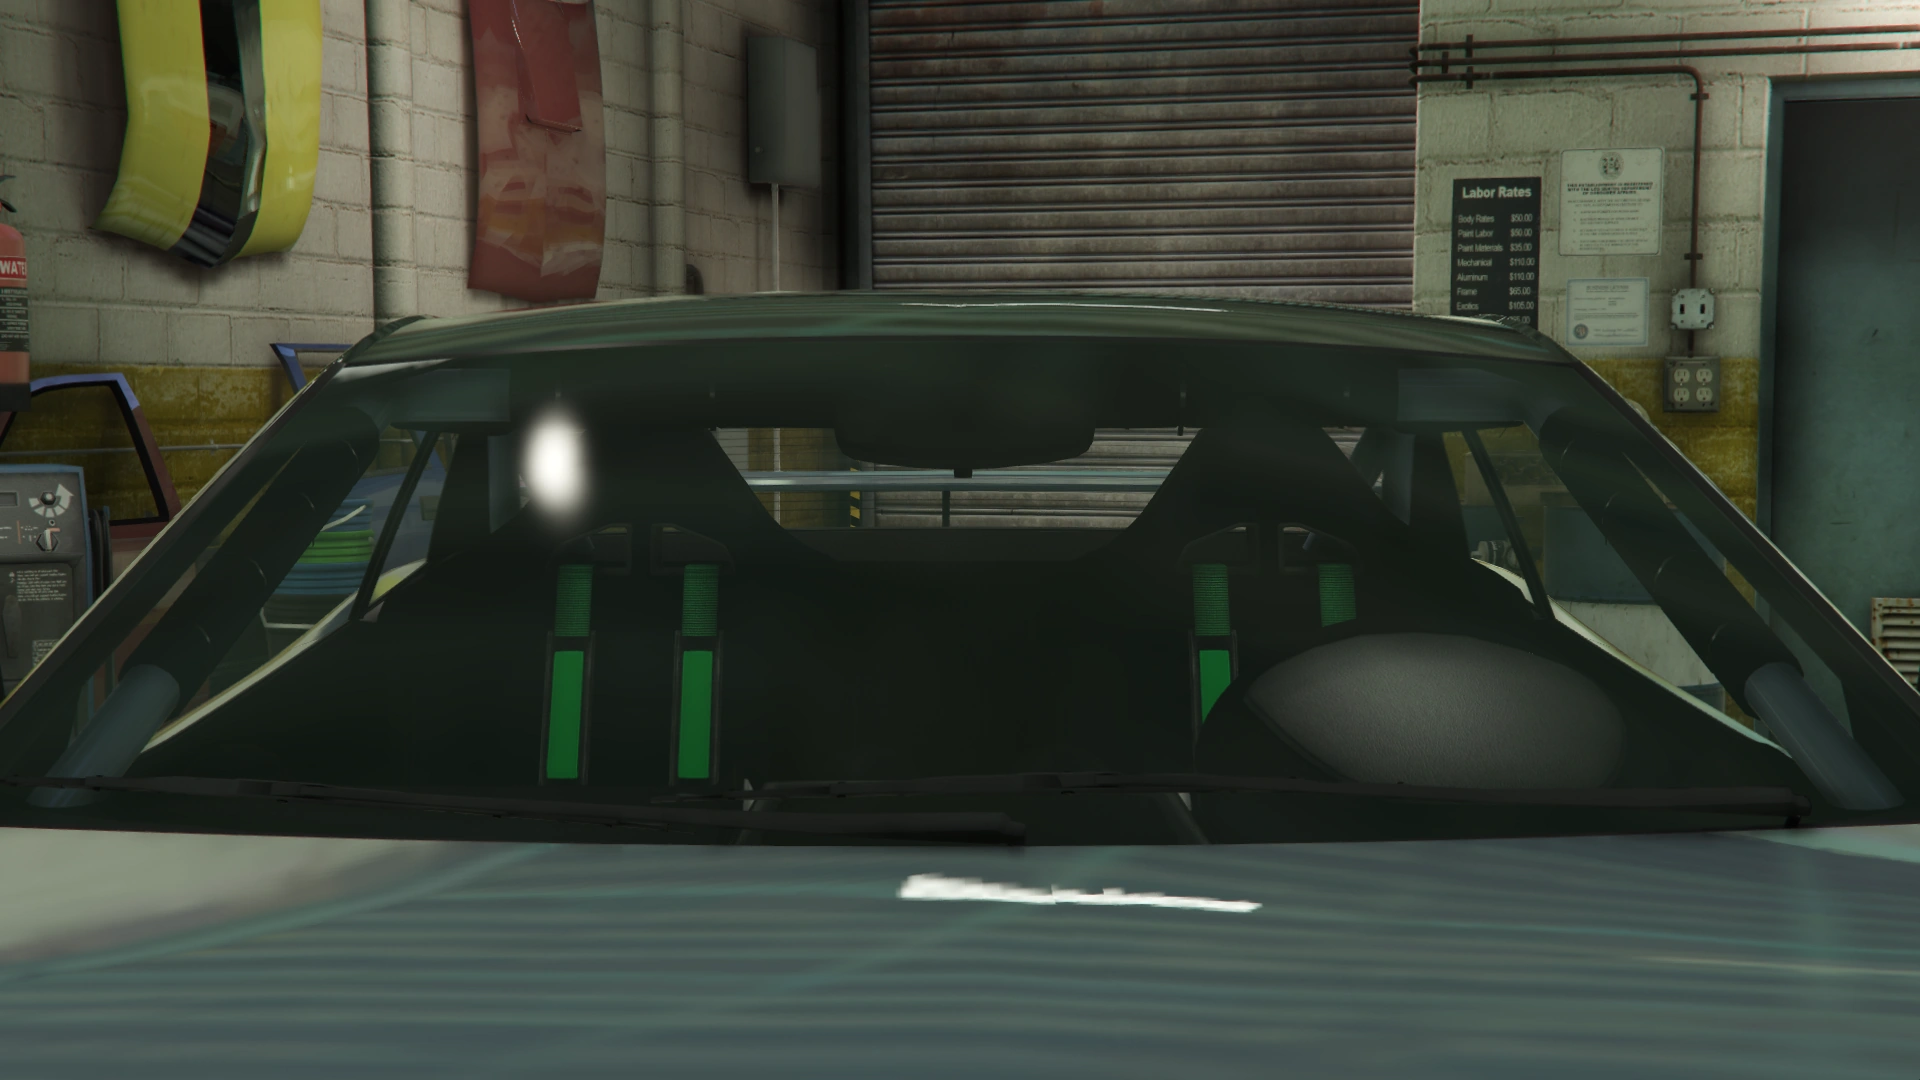
| + | | colspan="2" rowspan="19" |Sunstrips |
||
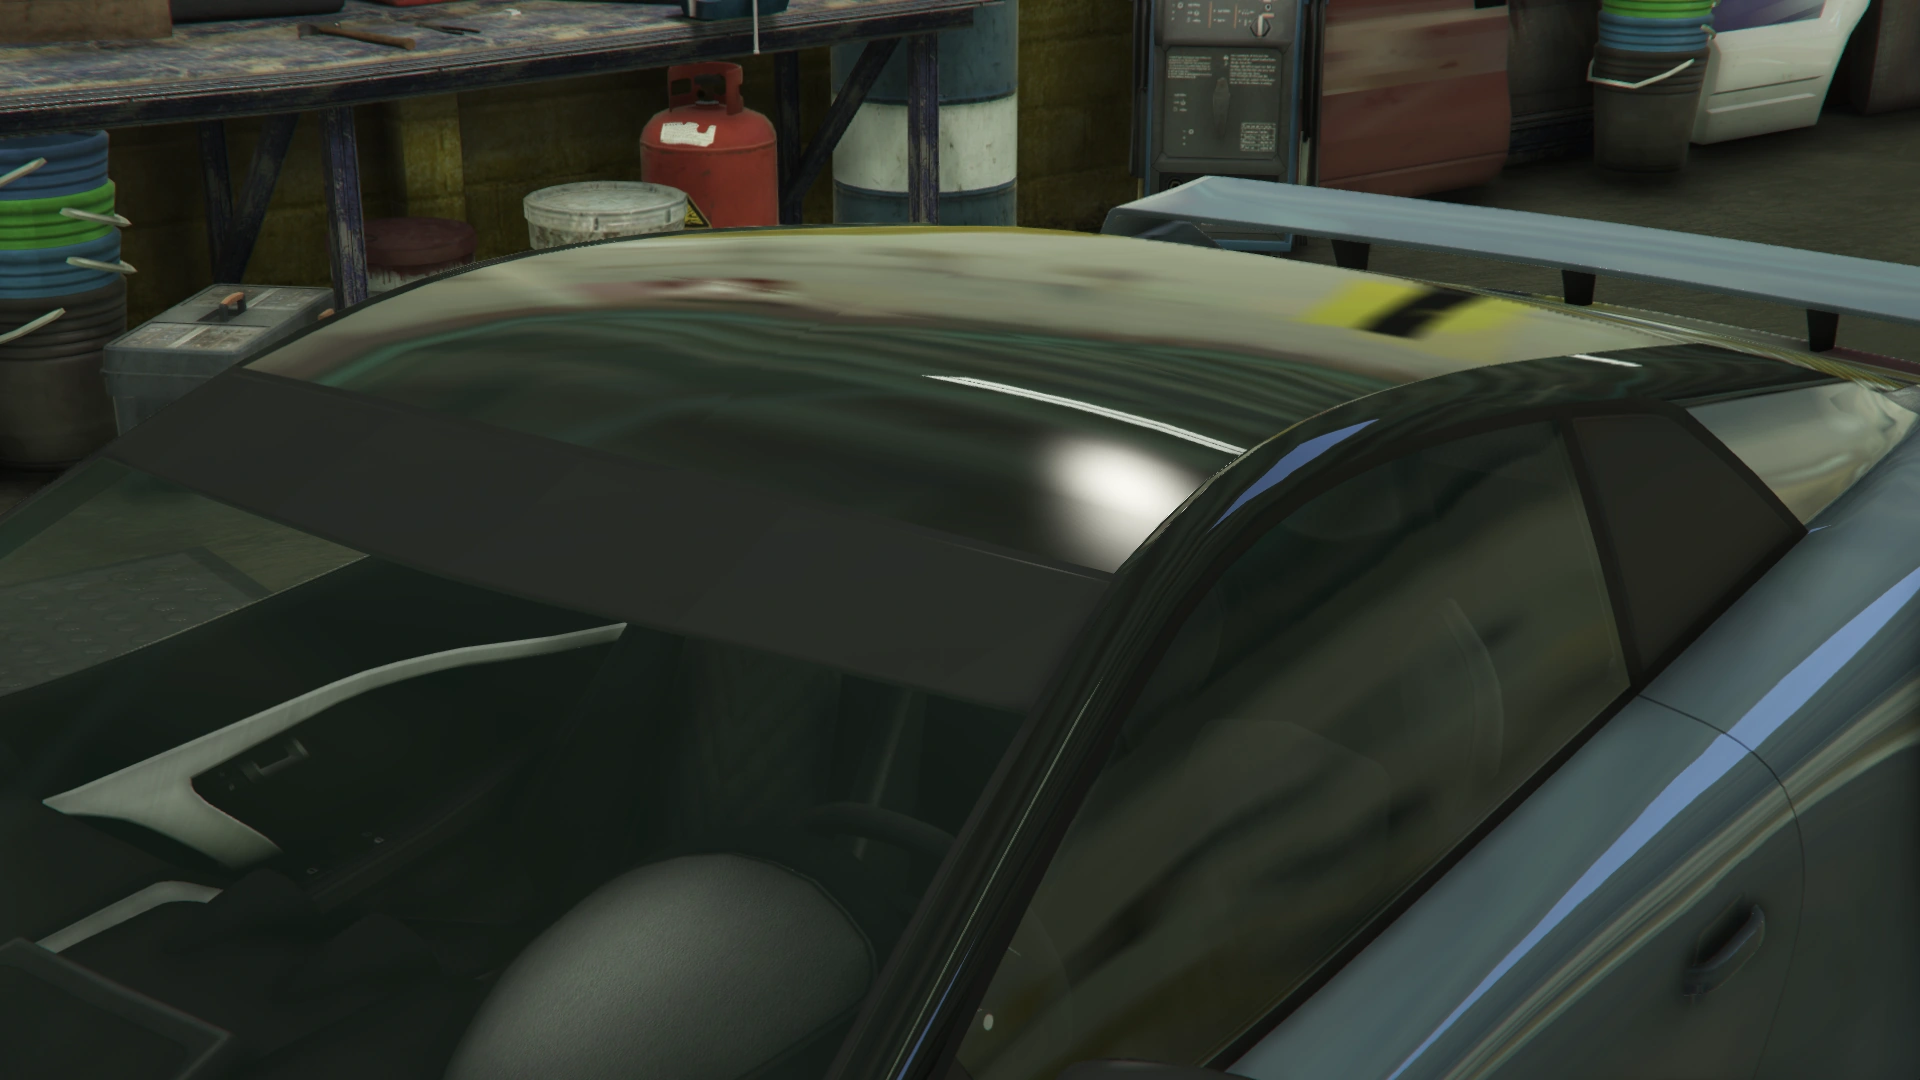
| + | |None |
||
| + | | style="text-align: center;" |$300 |
||
| + | |[[File:Imorgon-GTAO-Sunstrips-None.png|thumb|center|220px]] |
||
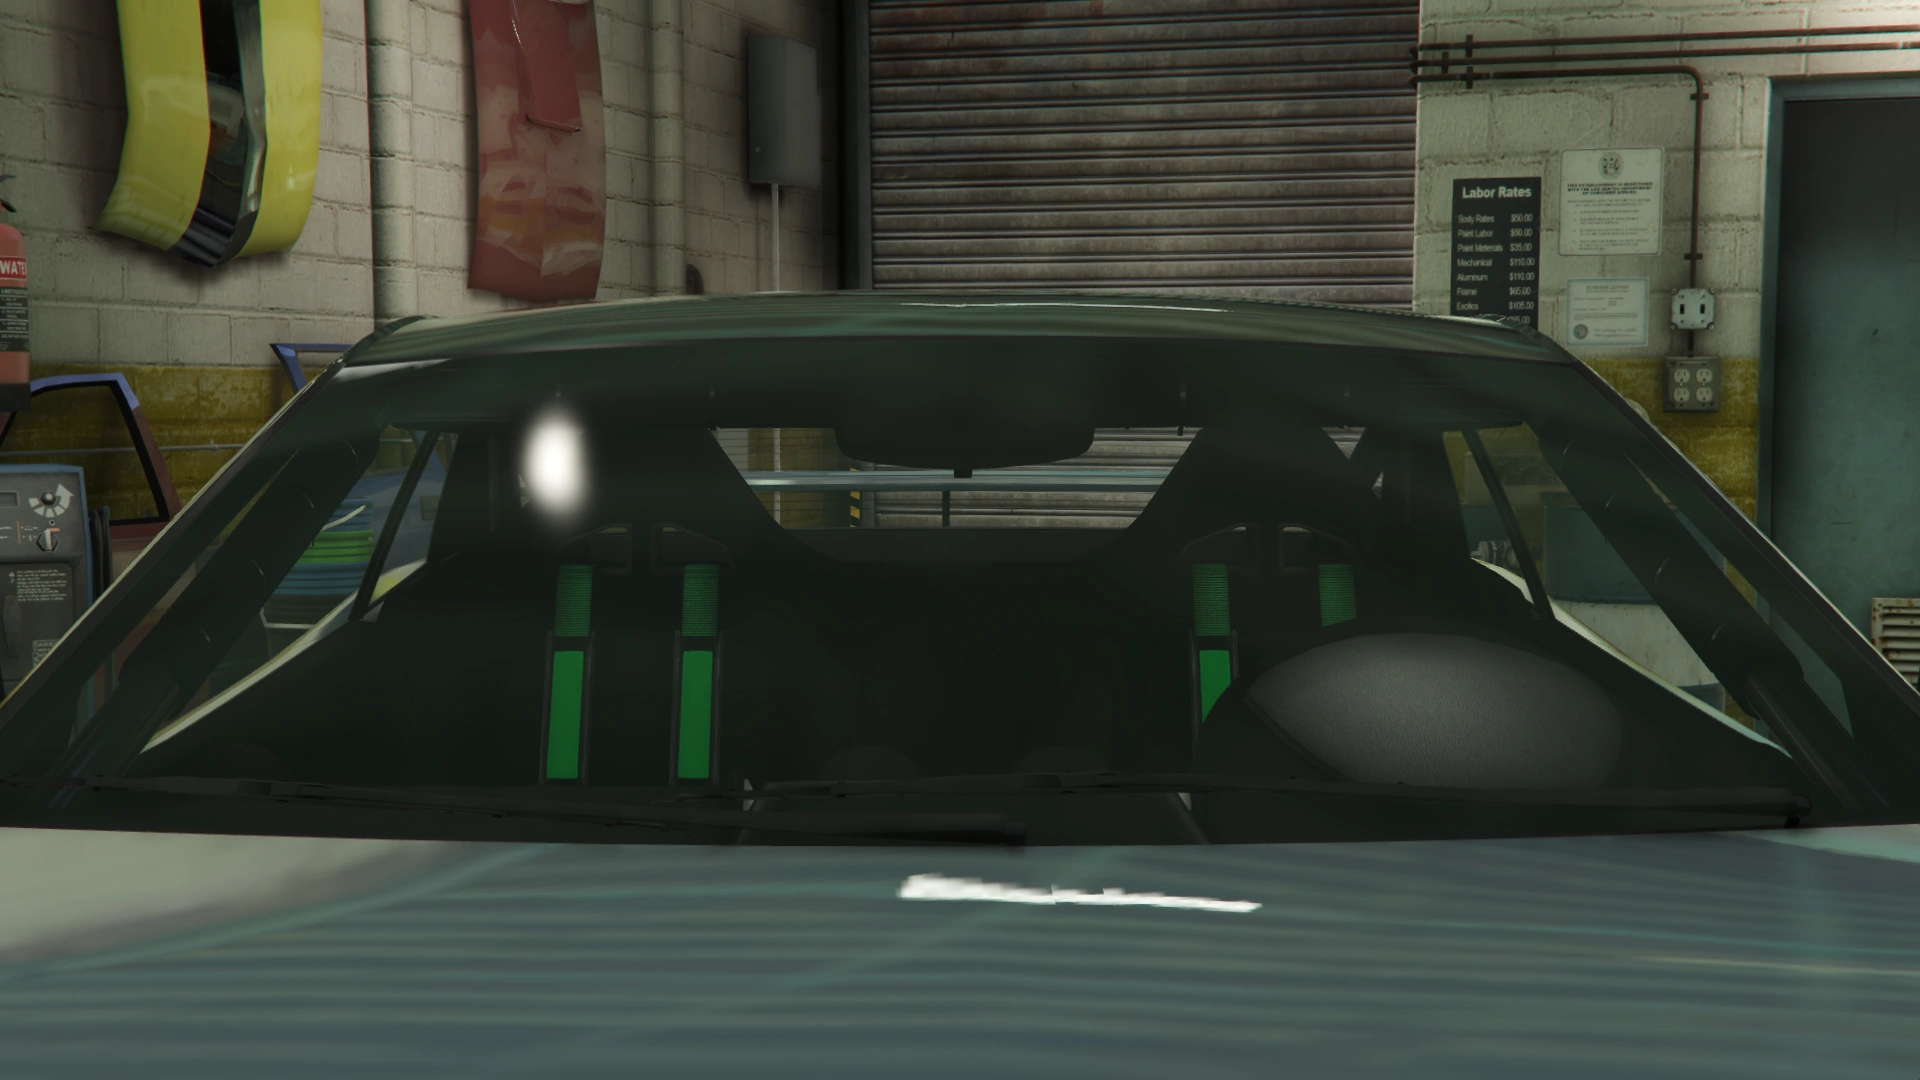
| + | |- |
||
| + | |Primary |
||
| + | | style="text-align: center;" |$900 |
||
| + | |[[File:Imorgon-GTAO-Sunstrips-Primary.png|thumb|center|220px]] |
||
| + | |- |
||
| + | |Secondary |
||
| + | | style="text-align: center;" |$1,500 |
||
| + | |[[File:Imorgon-GTAO-Sunstrips-Secondary.png|thumb|center|220px]] |
||
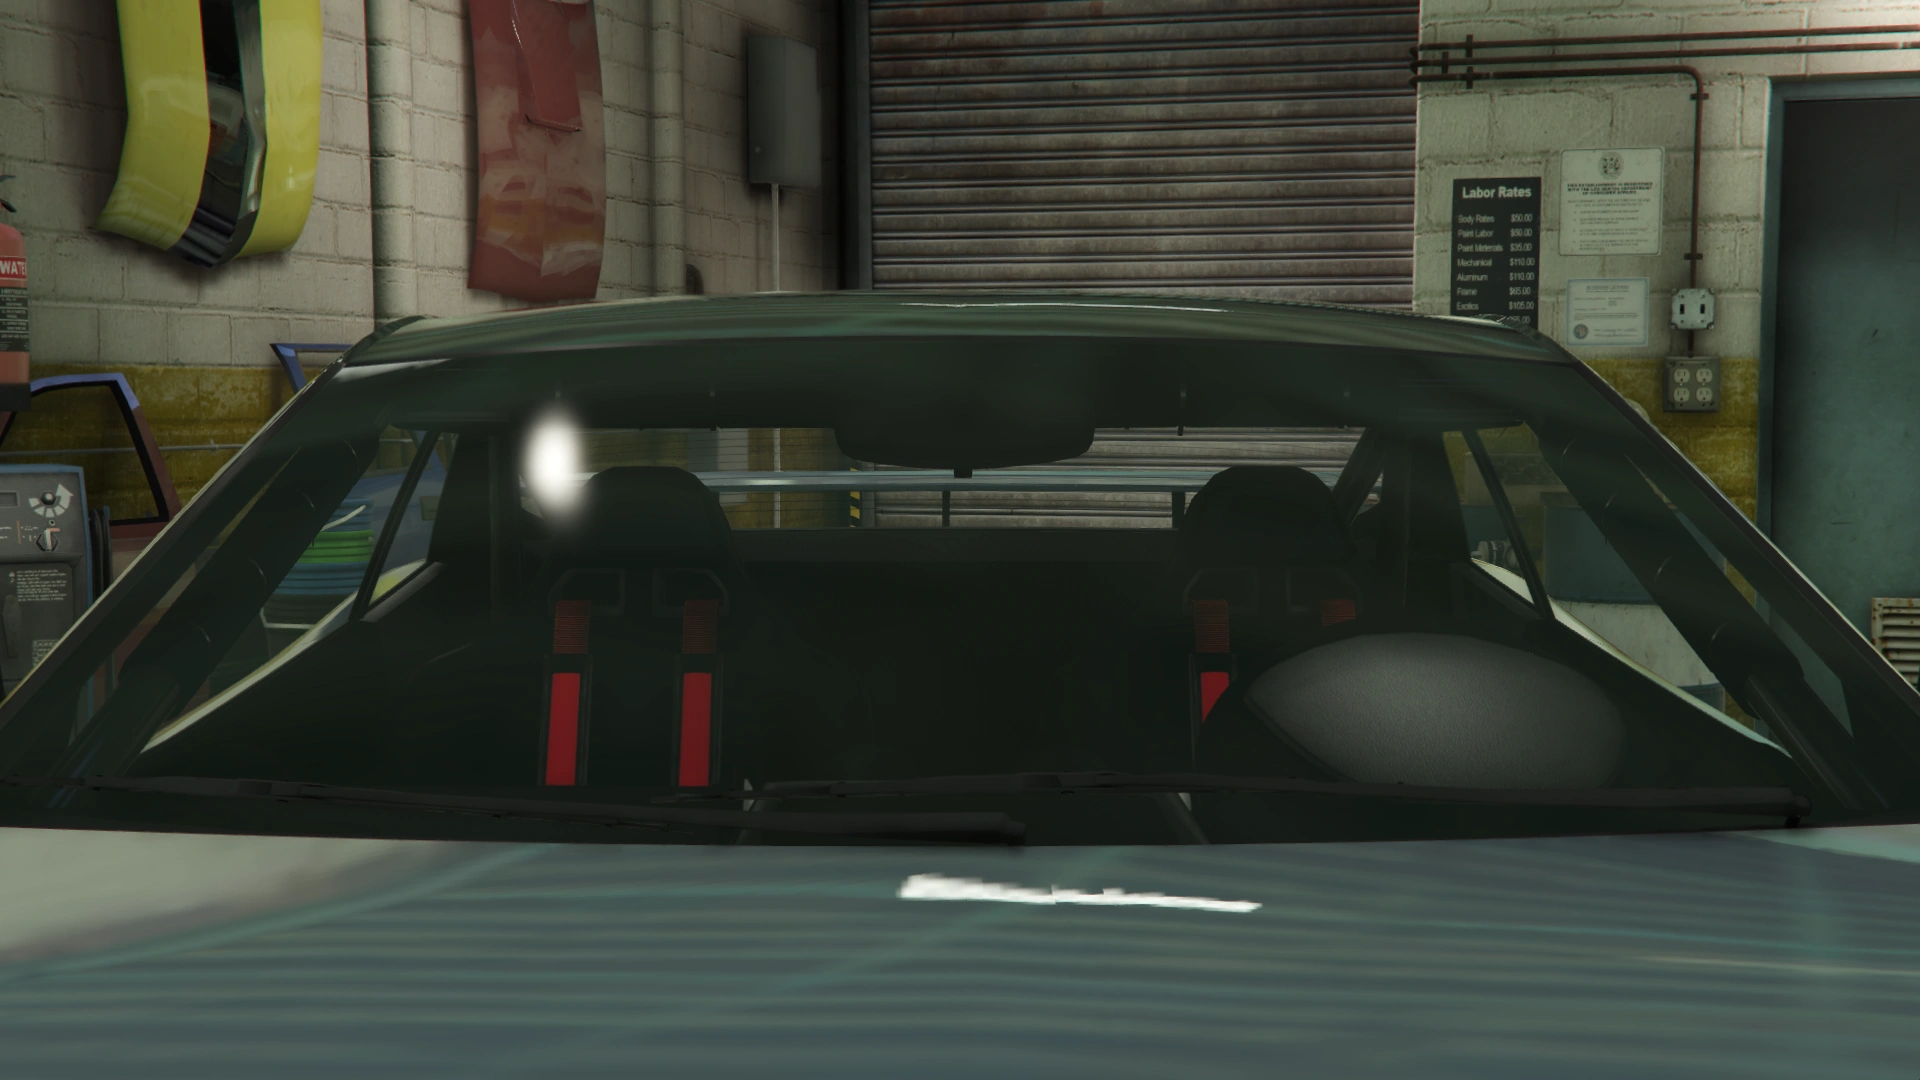
| + | |- |
||
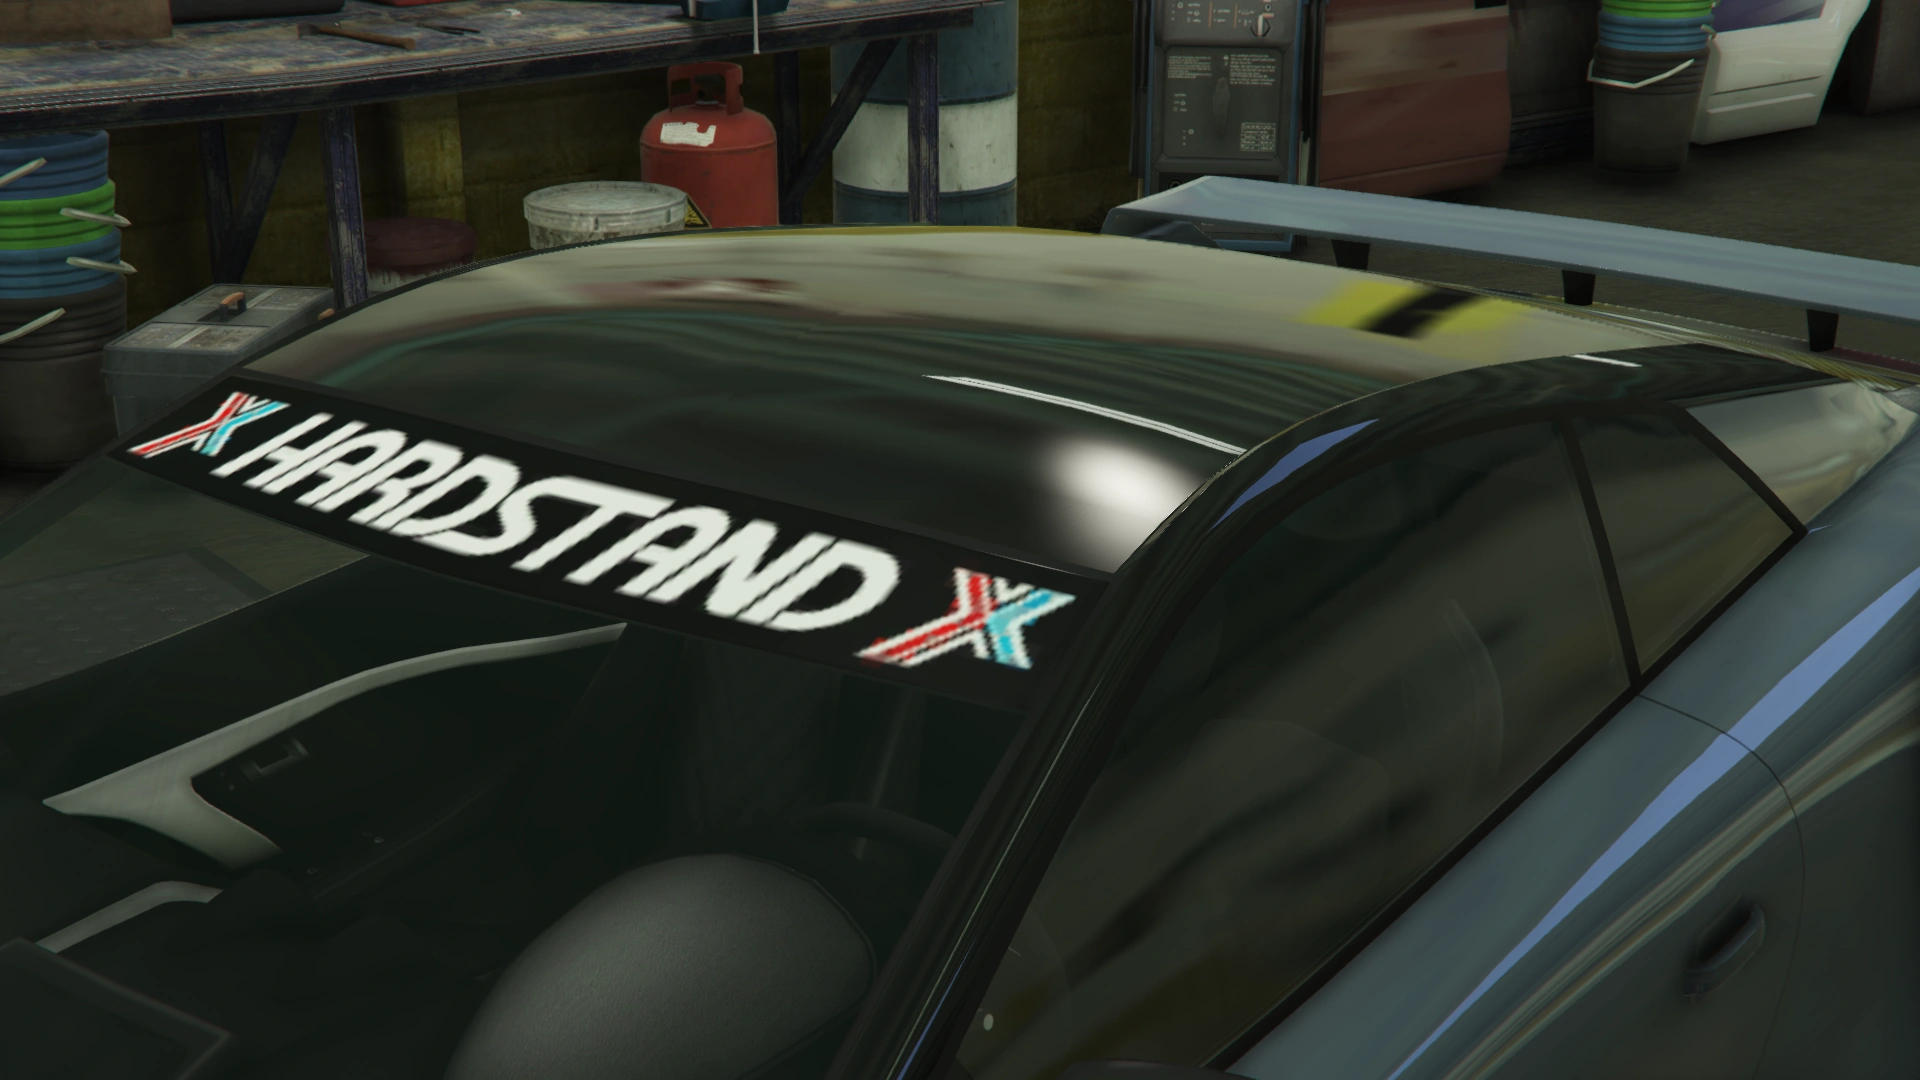
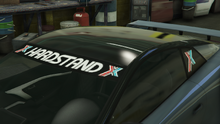
| + | |[[Hardstand]] |
||
| + | | style="text-align: center;" |$1,700 |
||
| + | |[[File:Imorgon-GTAO-Sunstrips-Hardstand.png|thumb|center|220px]] |
||
| + | |- |
||
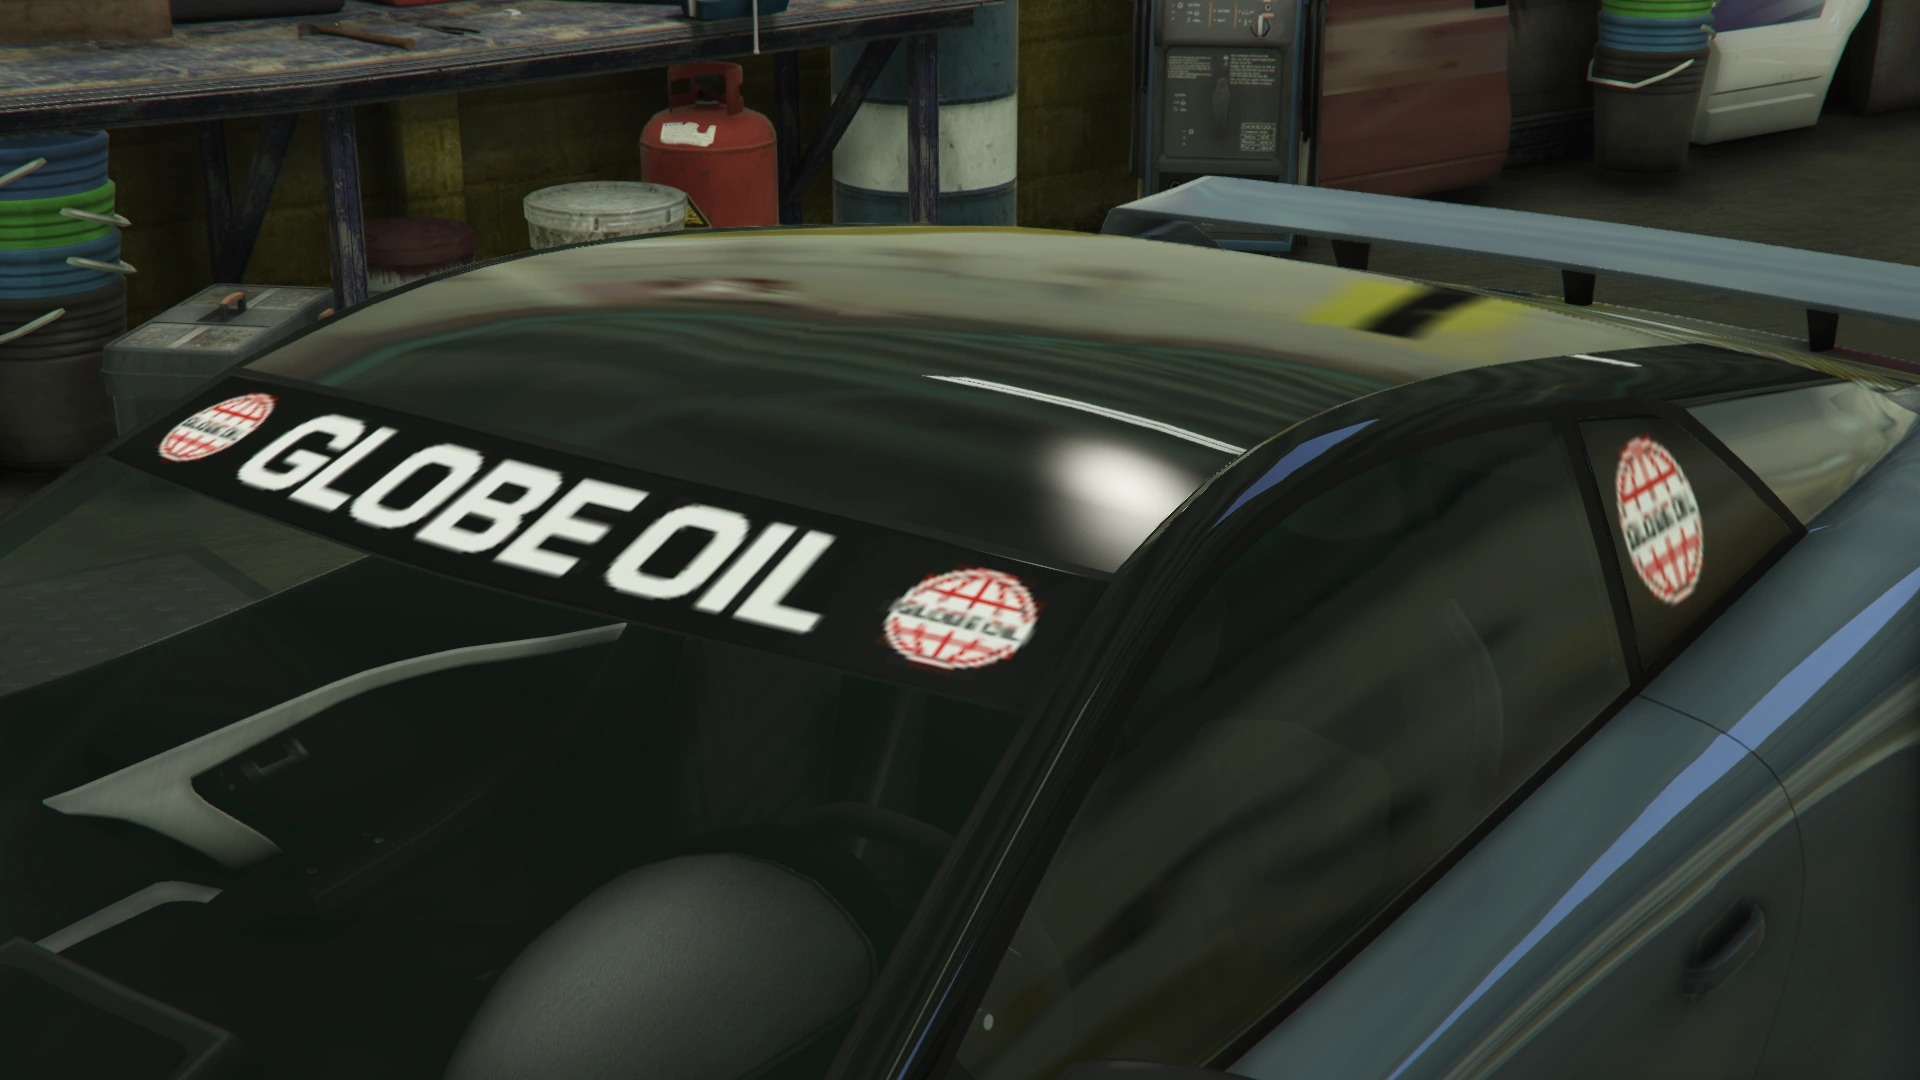
| + | |[[Globe Oil]] |
||
| + | | style="text-align: center;" |$2,000 |
||
| + | |[[File:Imorgon-GTAO-Sunstrips-GlobeOil.png|thumb|center|220px]] |
||
| + | |- |
||
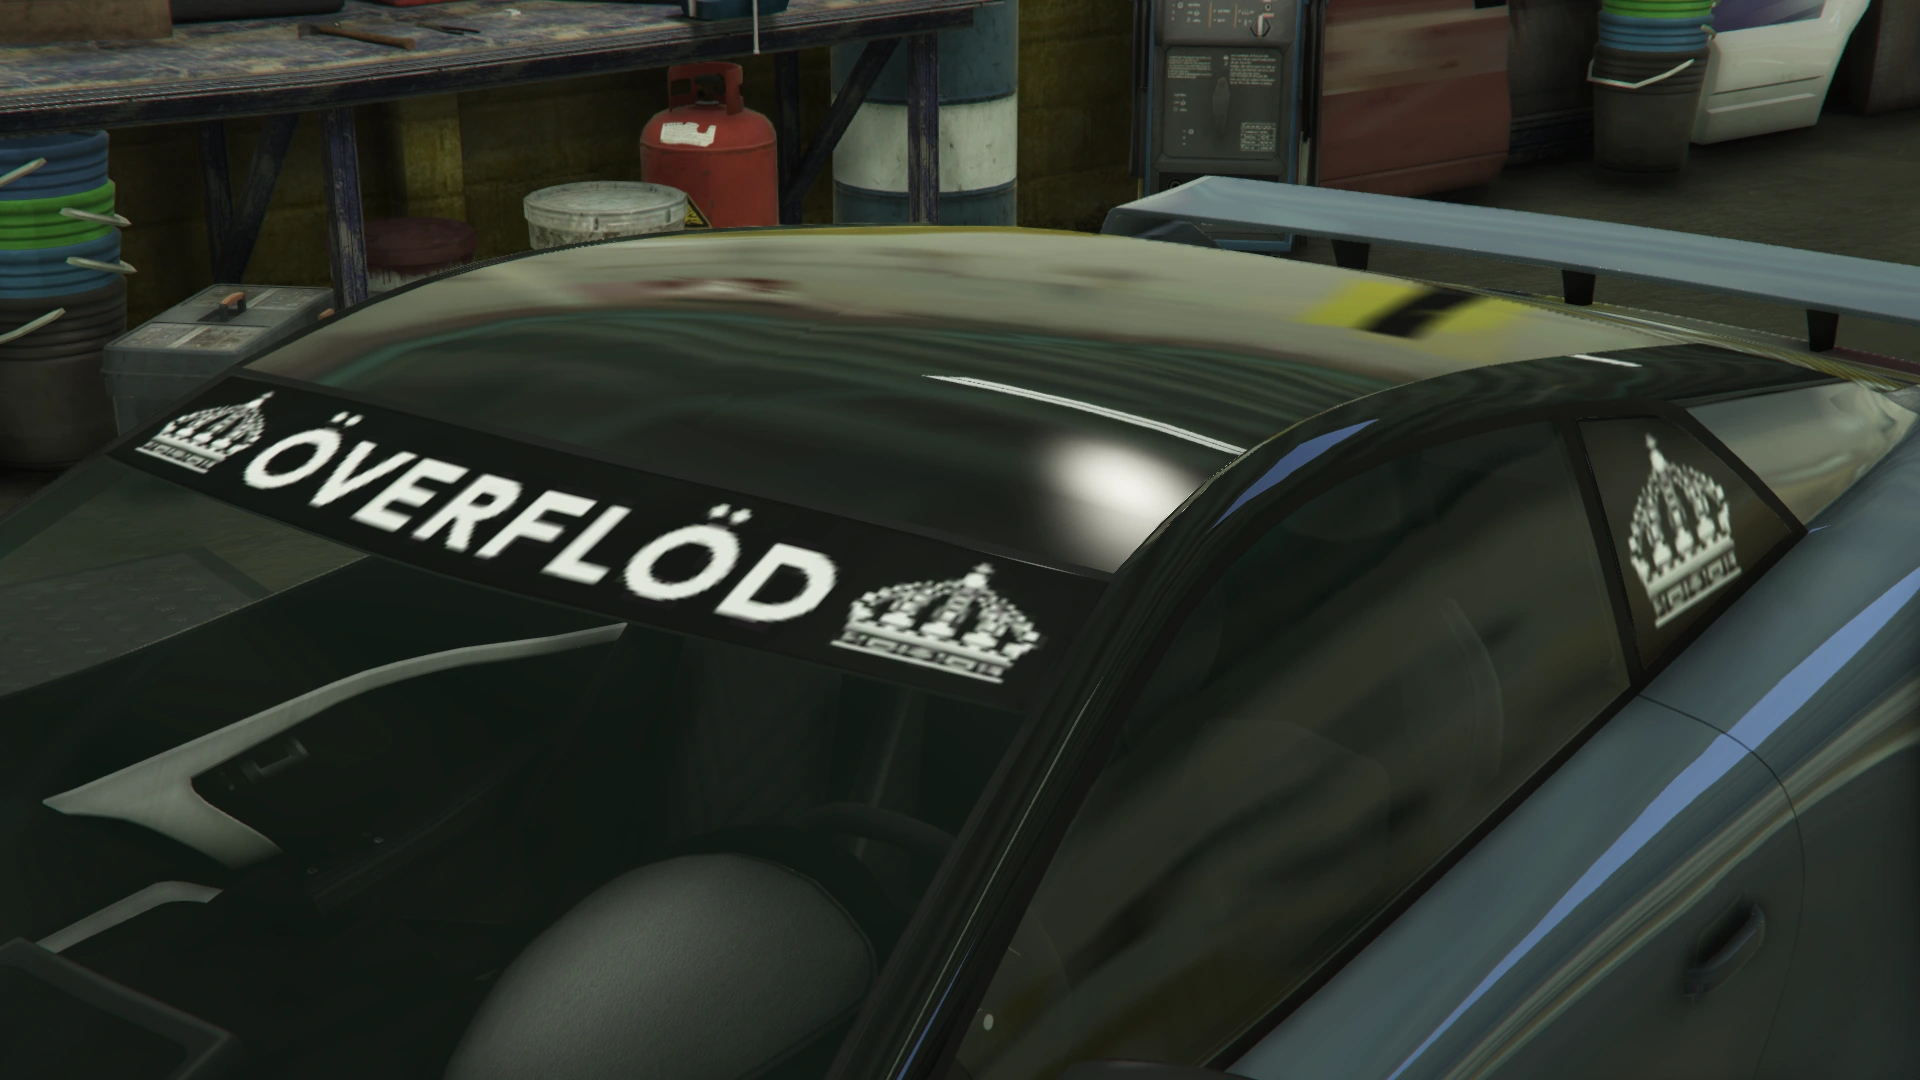
| + | |Overflod |
||
| + | | style="text-align: center;" |$2,750 |
||
| + | |[[File:Imorgon-GTAO-Sunstrips-Overflod.png|thumb|center|220px]] |
||
| + | |- |
||
| + | |Plastic |
||
| + | | style="text-align: center;" |$3,300 |
||
| + | |[[File:Imorgon-GTAO-Sunstrips-Plastic.png|thumb|center|220px]] |
||
| + | |- |
||
| + | |Primary Quarter Covers |
||
| + | | style="text-align: center;" |$3,900 |
||
| + | |[[File:Imorgon-GTAO-Sunstrips-PrimaryQuarterCovers.png|thumb|center|220px]] |
||
| + | |- |
||
| + | |Secondary Quarter Covers |
||
| + | | style="text-align: center;" |$4,350 |
||
| + | |[[File:Imorgon-GTAO-Sunstrips-SecondaryQuarterCovers.png|thumb|center|220px]] |
||
| + | |- |
||
| + | |Hardstand Quarter Covers |
||
| + | | style="text-align: center;" |$5,000 |
||
| + | |[[File:Imorgon-GTAO-Sunstrips-HardstandQuarterCovers.png|thumb|center|220px]] |
||
| + | |- |
||
| + | |Globe Oil Quarter Covers |
||
| + | | style="text-align: center;" |$5,150 |
||
| + | |[[File:Imorgon-GTAO-Sunstrips-GlobeOilQuarterCovers.png|thumb|center|220px]] |
||
| + | |- |
||
| + | |Overflod Quarter Covers |
||
| + | | style="text-align: center;" |$5,300 |
||
| + | |[[File:Imorgon-GTAO-Sunstrips-OverflodQuarterCovers.png|thumb|center|220px]] |
||
| + | |- |
||
| + | |Plastic Quarter Covers |
||
| + | | style="text-align: center;" |$5,450 |
||
| + | |[[File:Imorgon-GTAO-Sunstrips-PlasticQuarterCovers.png|thumb|center|220px]] |
||
| + | |- |
||
| + | |Primary Full Cover |
||
| + | | style="text-align: center;" |$5,600 |
||
| + | |[[File:Imorgon-GTAO-Sunstrips-PrimaryFullCover.png|thumb|center|220px]] |
||
| + | |- |
||
| + | |Secondary Full Cover |
||
| + | | style="text-align: center;" |$5,750 |
||
| + | |[[File:Imorgon-GTAO-Sunstrips-SecondaryFullCover.png|thumb|center|220px]] |
||
| + | |- |
||
| + | |Hardstand Full Cover |
||
| + | | style="text-align: center;" |$5,900 |
||
| + | |[[File:Imorgon-GTAO-Sunstrips-HardstandFullCover.png|thumb|center|220px]] |
||
| + | |- |
||
| + | |Globe Oil Full Cover |
||
| + | | style="text-align: center;" |$6,050 |
||
| + | |[[File:Imorgon-GTAO-Sunstrips-GlobeOilFullCover.png|thumb|center|220px]] |
||
| + | |- |
||
| + | |Overflod Full Cover |
||
| + | | style="text-align: center;" |$6,600 |
||
| + | |[[File:Imorgon-GTAO-Sunstrips-OverflodFullCover.png|thumb|center|220px]] |
||
| + | |- |
||
| + | |Plastic Full Cover |
||
| + | | style="text-align: center;" |$7,150 |
||
| + | |[[File:Imorgon-GTAO-Sunstrips-PlasticFullCover.png|thumb|center|220px]] |
||
| + | |- |
||
| + | | colspan="2" rowspan="4" |Suspension |
||
| + | |Stock Suspension |
||
| + | | colspan="2" style="text-align: center;" |$200 |
||
| + | |- |
||
| + | |Lowered Suspension |
||
| + | | colspan="2" style="text-align: center;" |$1,000 |
||
| + | |- |
||
| + | |Street Suspension |
||
| + | | colspan="2" style="text-align: center;" |$2,000 |
||
| + | |- |
||
| + | |Sport Suspension |
||
| + | | colspan="2" style="text-align: center;" |$3,400 |
||
| + | |- |
||
| + | | colspan="2" rowspan="4" |Transmission |
||
| + | |Stock Transmission |
||
| + | | colspan="2" style="text-align: center;" |$1,000 |
||
| + | |- |
||
| + | |Street Transmission |
||
| + | | colspan="2" style="text-align: center;" |$29,500 |
||
| + | |- |
||
| + | |Sports Transmission |
||
| + | | colspan="2" style="text-align: center;" |$32,500 |
||
| + | |- |
||
| + | |Race Transmission |
||
| + | | colspan="2" style="text-align: center;" |$40,000 |
||
| + | |- |
||
| + | | colspan="2" |Wheels |
||
| + | |''Main article: [[Los Santos Customs/Wheels]]'' |
||
| + | | colspan="2" style="text-align: center;" | - |
||
| + | |- |
||
| + | | colspan="2" rowspan="4" |Windows |
||
| + | |None |
||
| + | | colspan="2" style="text-align: center;" |$500 |
||
| + | |- |
||
| + | |Light Smoke |
||
| + | | colspan="2" style="text-align: center;" |$1,500 |
||
| + | |- |
||
| + | |Dark Smoke |
||
| + | | colspan="2" style="text-align: center;" |$3,500 |
||
| + | |- |
||
| + | |Limo |
||
| + | | colspan="2" style="text-align: center;" |$5,000 |
||
| + | |} |
||
==Image Gallery== |
==Image Gallery== |
||
===''Grand Theft Auto Online''=== |
===''Grand Theft Auto Online''=== |
||
| − | <gallery position="center" spacing="small |
+ | <gallery position="center" spacing="small"> |
| + | ImorgonWeek-GTAO-Advert.gif|Advertisement. |
||
| + | Imorgon-GTAO-Advert.jpg|Official screenshot. |
||
Imorgon-GTAO-LegendaryMS.png|The '''Imorgon''' on [[Legendary Motorsport]]. |
Imorgon-GTAO-LegendaryMS.png|The '''Imorgon''' on [[Legendary Motorsport]]. |
||
| + | Imorgon-GTAO-RGSC.jpg|The '''Imorgon''' on [[Rockstar Games Social Club]]. |
||
| + | Imorgon-GTAO-RGSC2.jpg|The '''Imorgon''' in the cinematic preview on ''GTA Online'' Rockstar Games Social Club. |
||
| + | Alt-Imorgon-GTAO-Badge.png|Alternative badge used in an advert. |
||
</gallery> |
</gallery> |
||
| + | |||
| + | ===Video=== |
||
| + | [[File:GTA Online Overflod Imorgon (The Diamond Casino Heist)|center|350x350px]] |
||
| + | |||
| + | ==Locations== |
||
| + | ===''Grand Theft Auto Online''=== |
||
| + | *Available for purchase from [[Legendary Motorsport]] for [[Money|$]]2,165,000. |
||
| + | |||
| + | ==Events== |
||
| + | ===''Grand Theft Auto Online''=== |
||
| + | *It could be won from the [[Lucky Wheel]] in the [[The Diamond Casino & Resort|Casino]] during the [[Stryder Week]] event. |
||
==Trivia== |
==Trivia== |
||
===General=== |
===General=== |
||
*"Imorgon" means "tomorrow" in Swedish, alluding to the fact that the RG Nathalie is the first electric car that employs methanol fuel cells as means to power electric motors. |
*"Imorgon" means "tomorrow" in Swedish, alluding to the fact that the RG Nathalie is the first electric car that employs methanol fuel cells as means to power electric motors. |
||
| + | *The default radio stations for the Imorgon are [[FlyLo FM]], [[Los Santos Underground Radio]], and [[Soulwax FM]]. |
||
==See Also== |
==See Also== |
||
Revision as of 08:09, 22 May 2020
Template:Next-Gen Template:Infobox vehicles
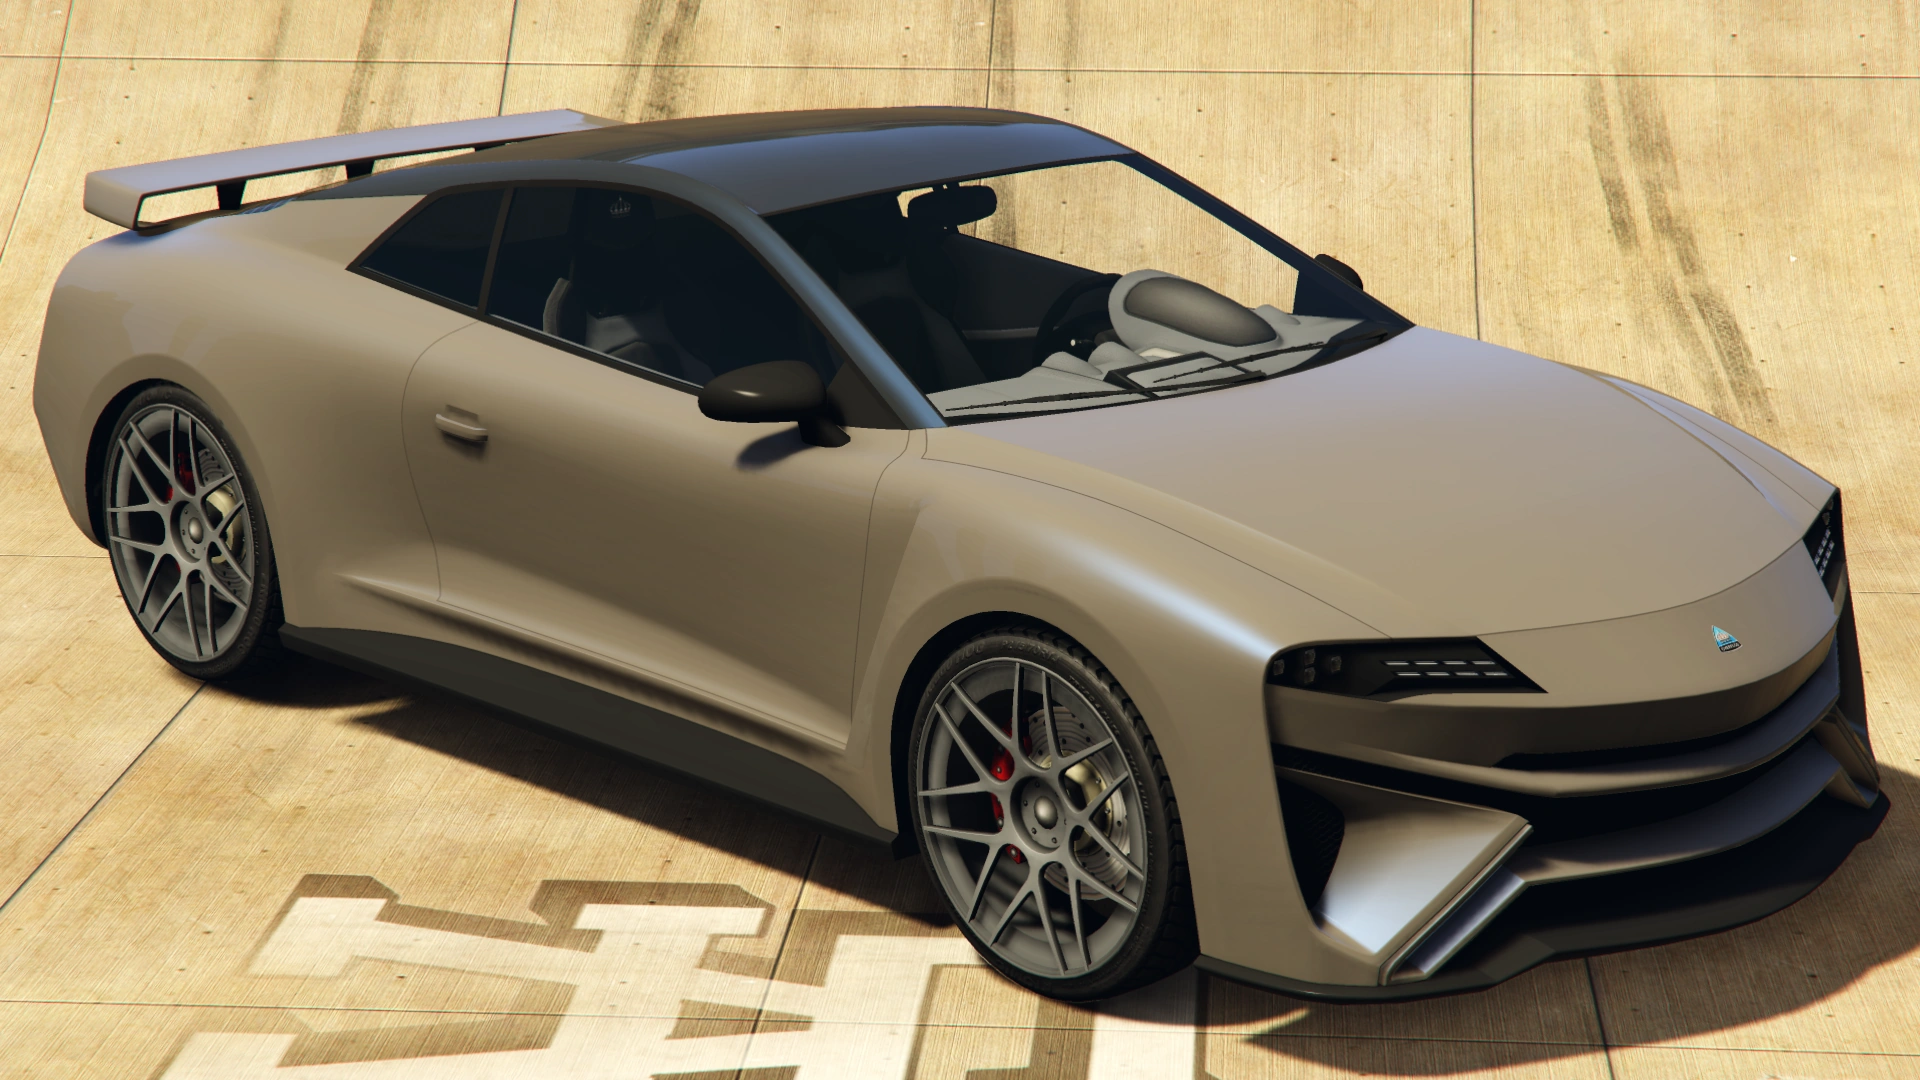
The Överflöd Imorgon is a two-door electric sports car featured in Grand Theft Auto Online as part of the continuation of the The Diamond Casino Heist update, released on January 9, 2020, during the Imorgon Week event.
Design
Grand Theft Auto Online
The Imorgon is based on the 2018 methanol-electric sports car Roland Gumpert Nathalie. The headlights feature similar setup to the ones found in the Aston Martin Vulcan, while the rear vents seems to be inspired by the ones found in the first generation Audi R8.
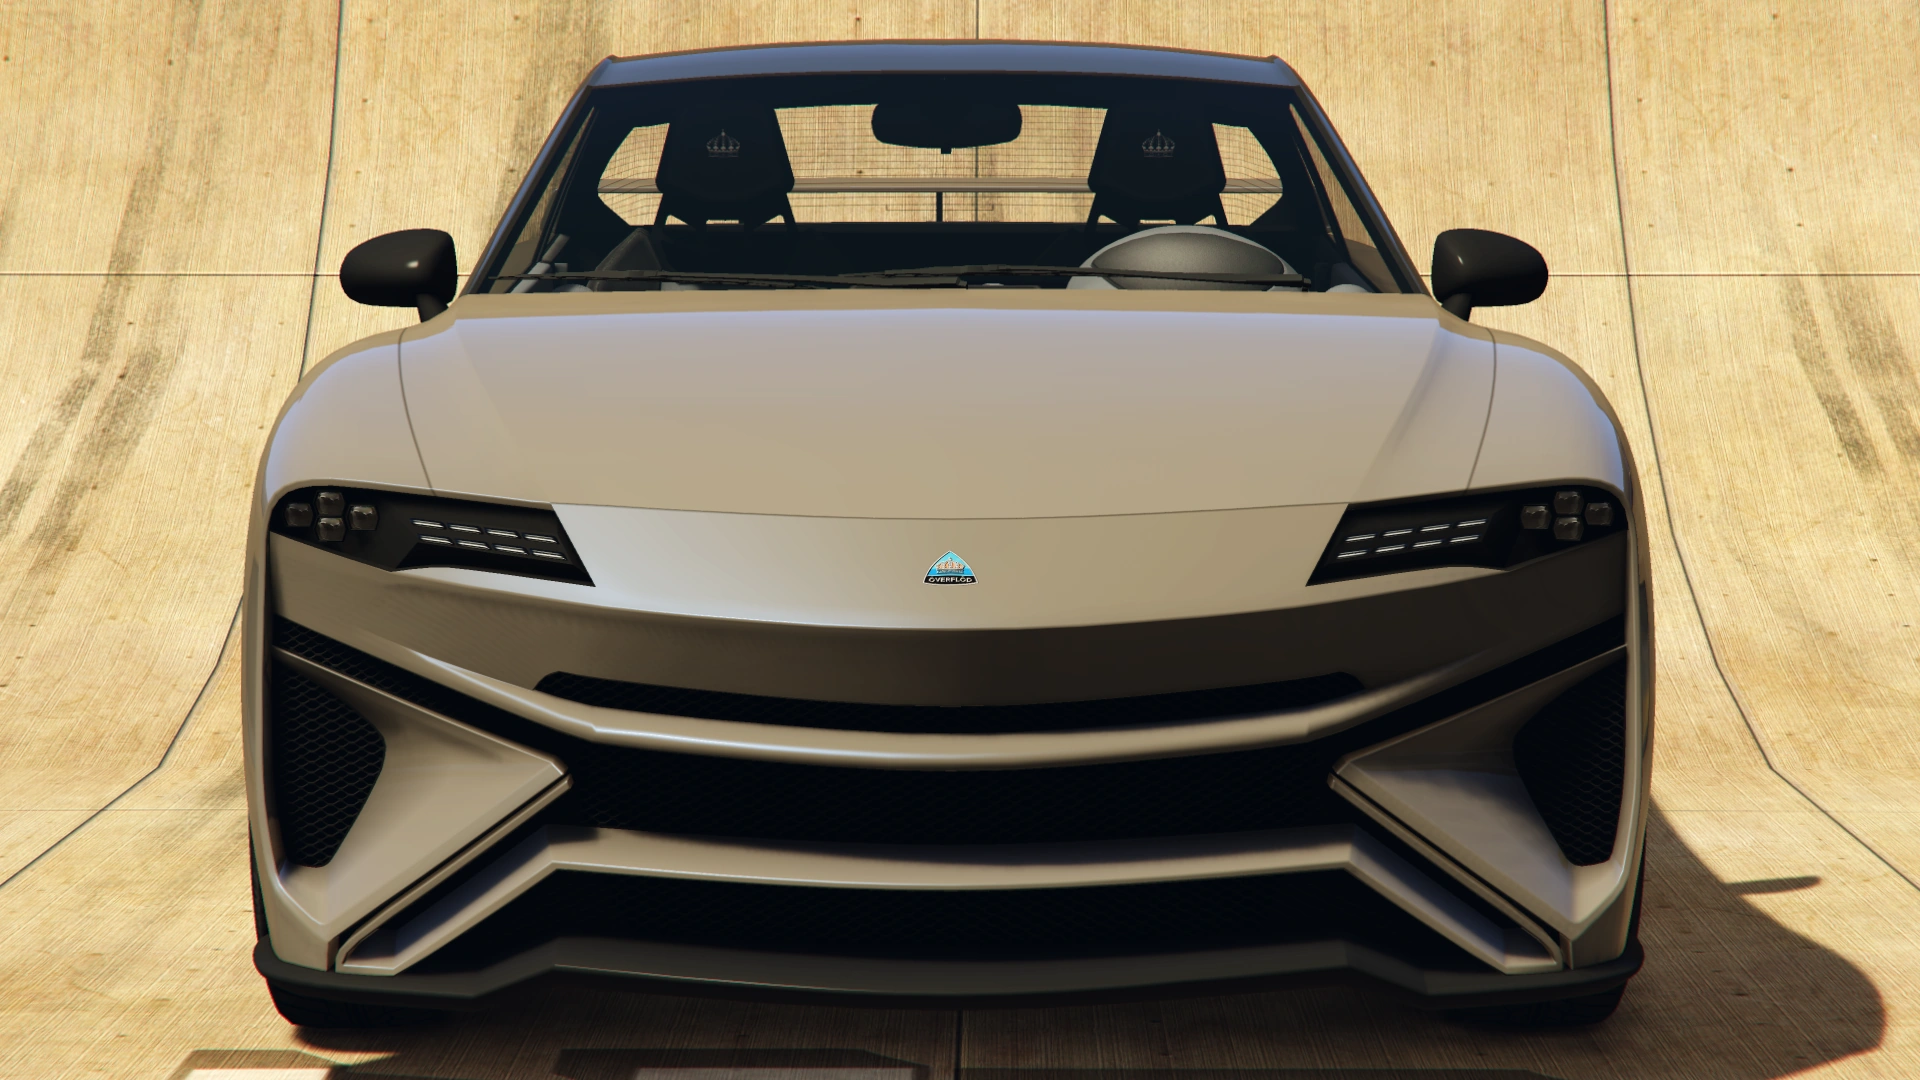
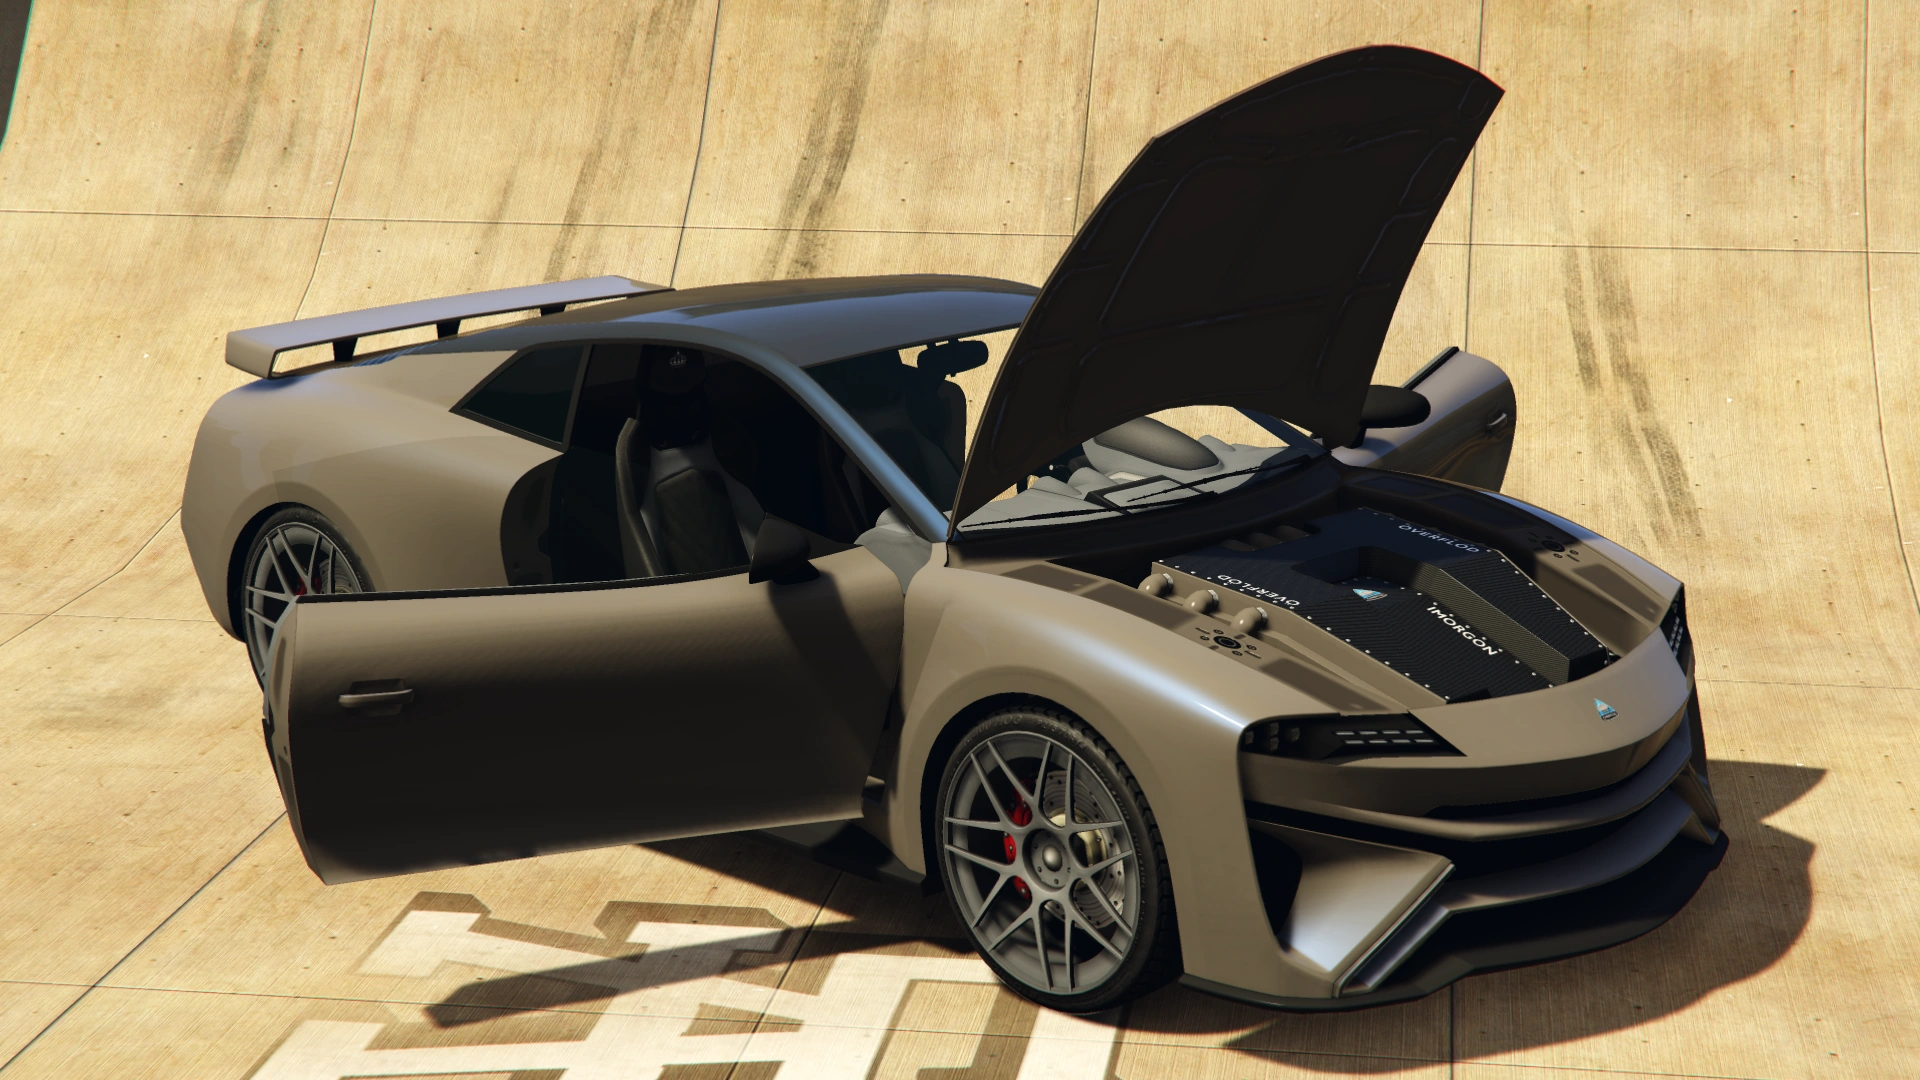
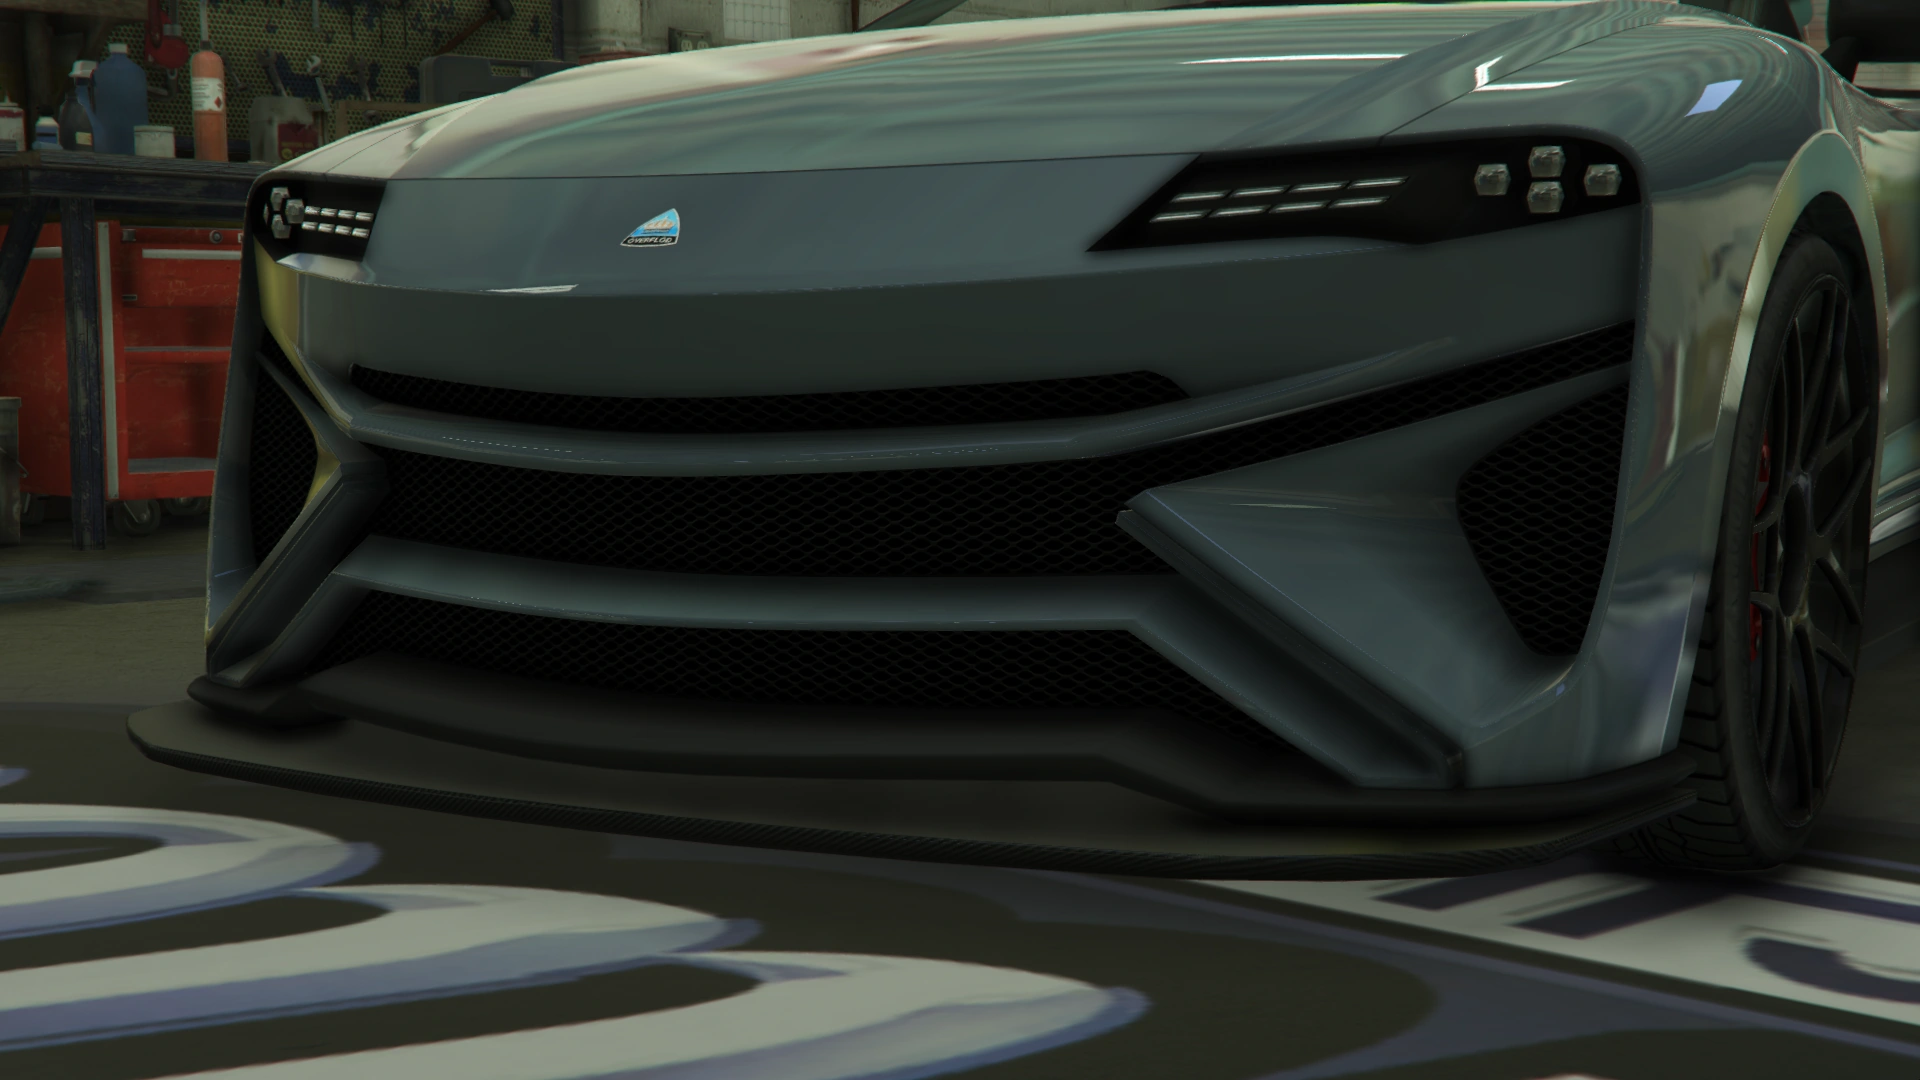
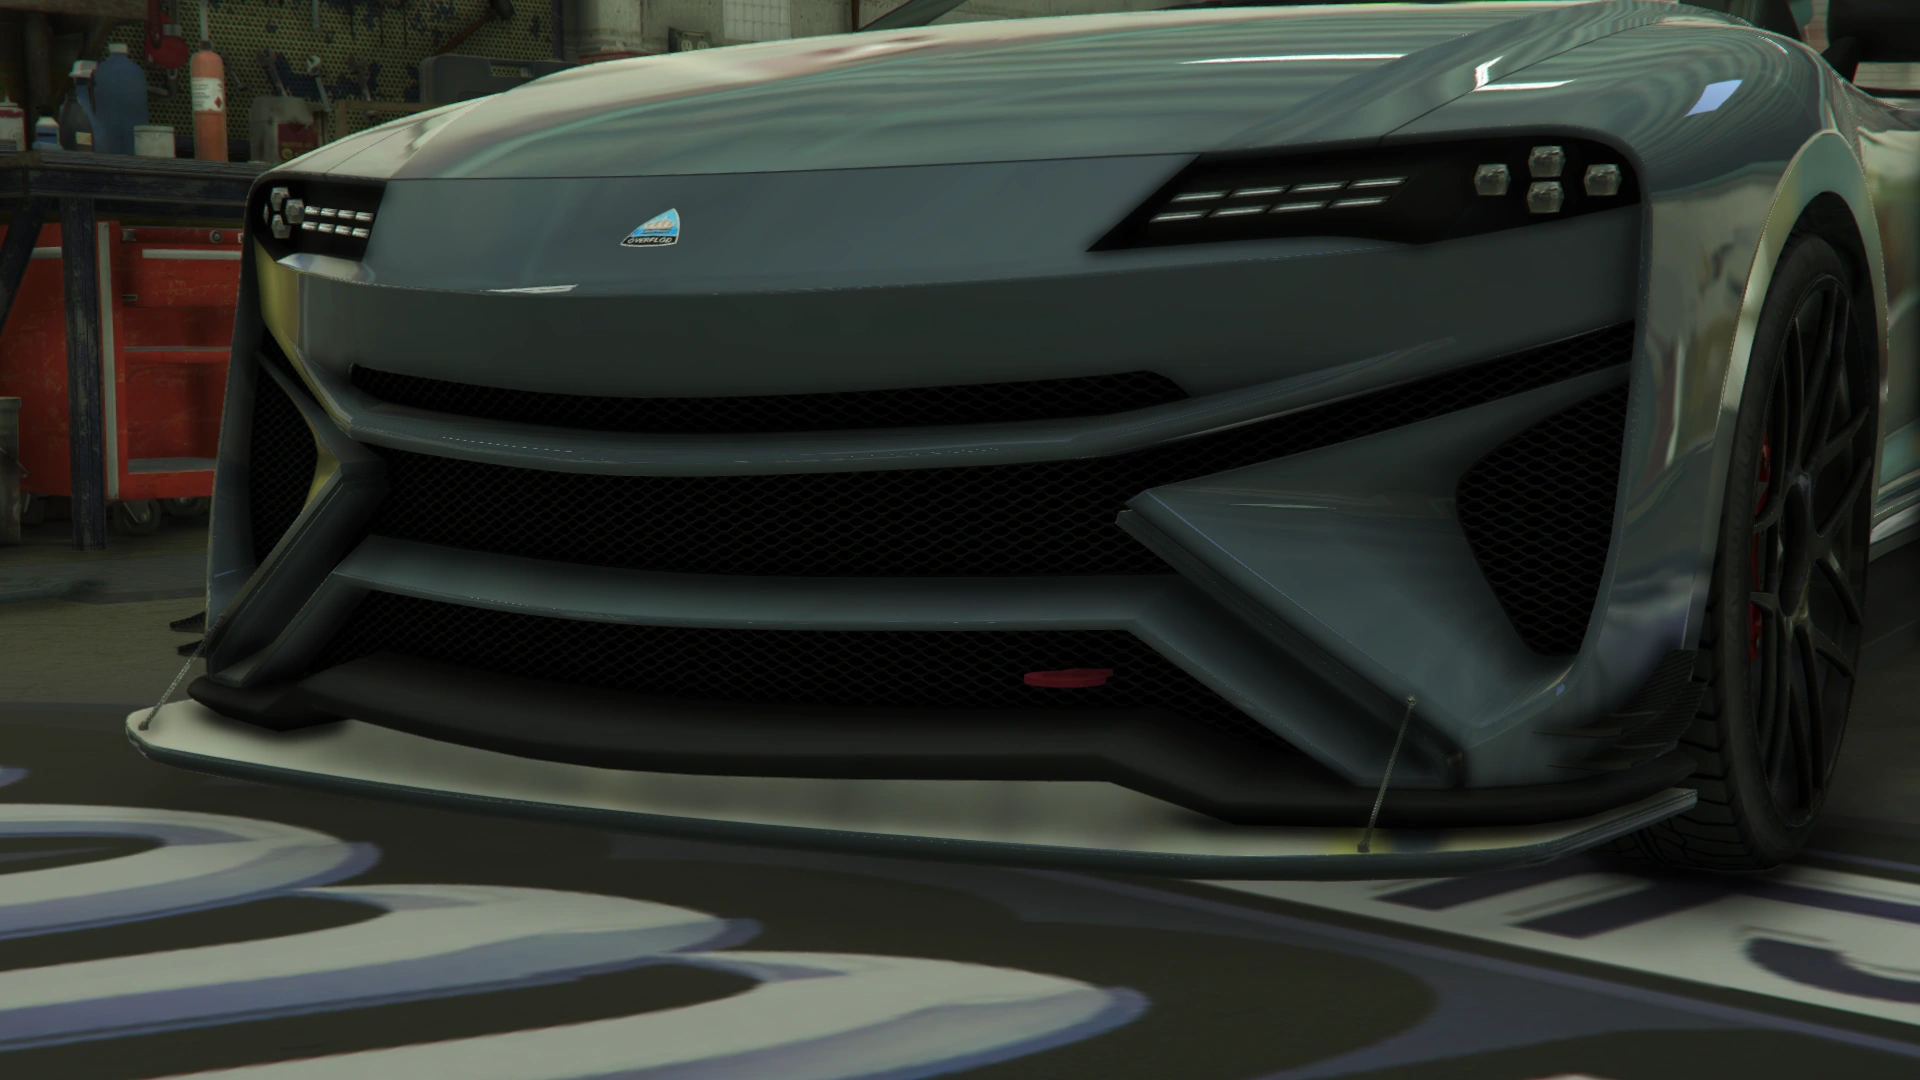
The front end of the Imorgon is mostly dominated by the front intakes, with triangle-shaped intakes on the outer edges and a plastic splitter on the underside. The headlights are composed of small LED lights, with outer square-shaped lights and inner light strips, located in black housings. The section between the headlights is inclined and the manufacturer's emblem can be seen at the center of it.
The sides feature a slightly concaved portion around the doors, with a ridge below the door and plastic skirts at the bottom. Thin vents can be seen on the front fenders, as well as plastic rear-view mirror wings mounted on the doors.
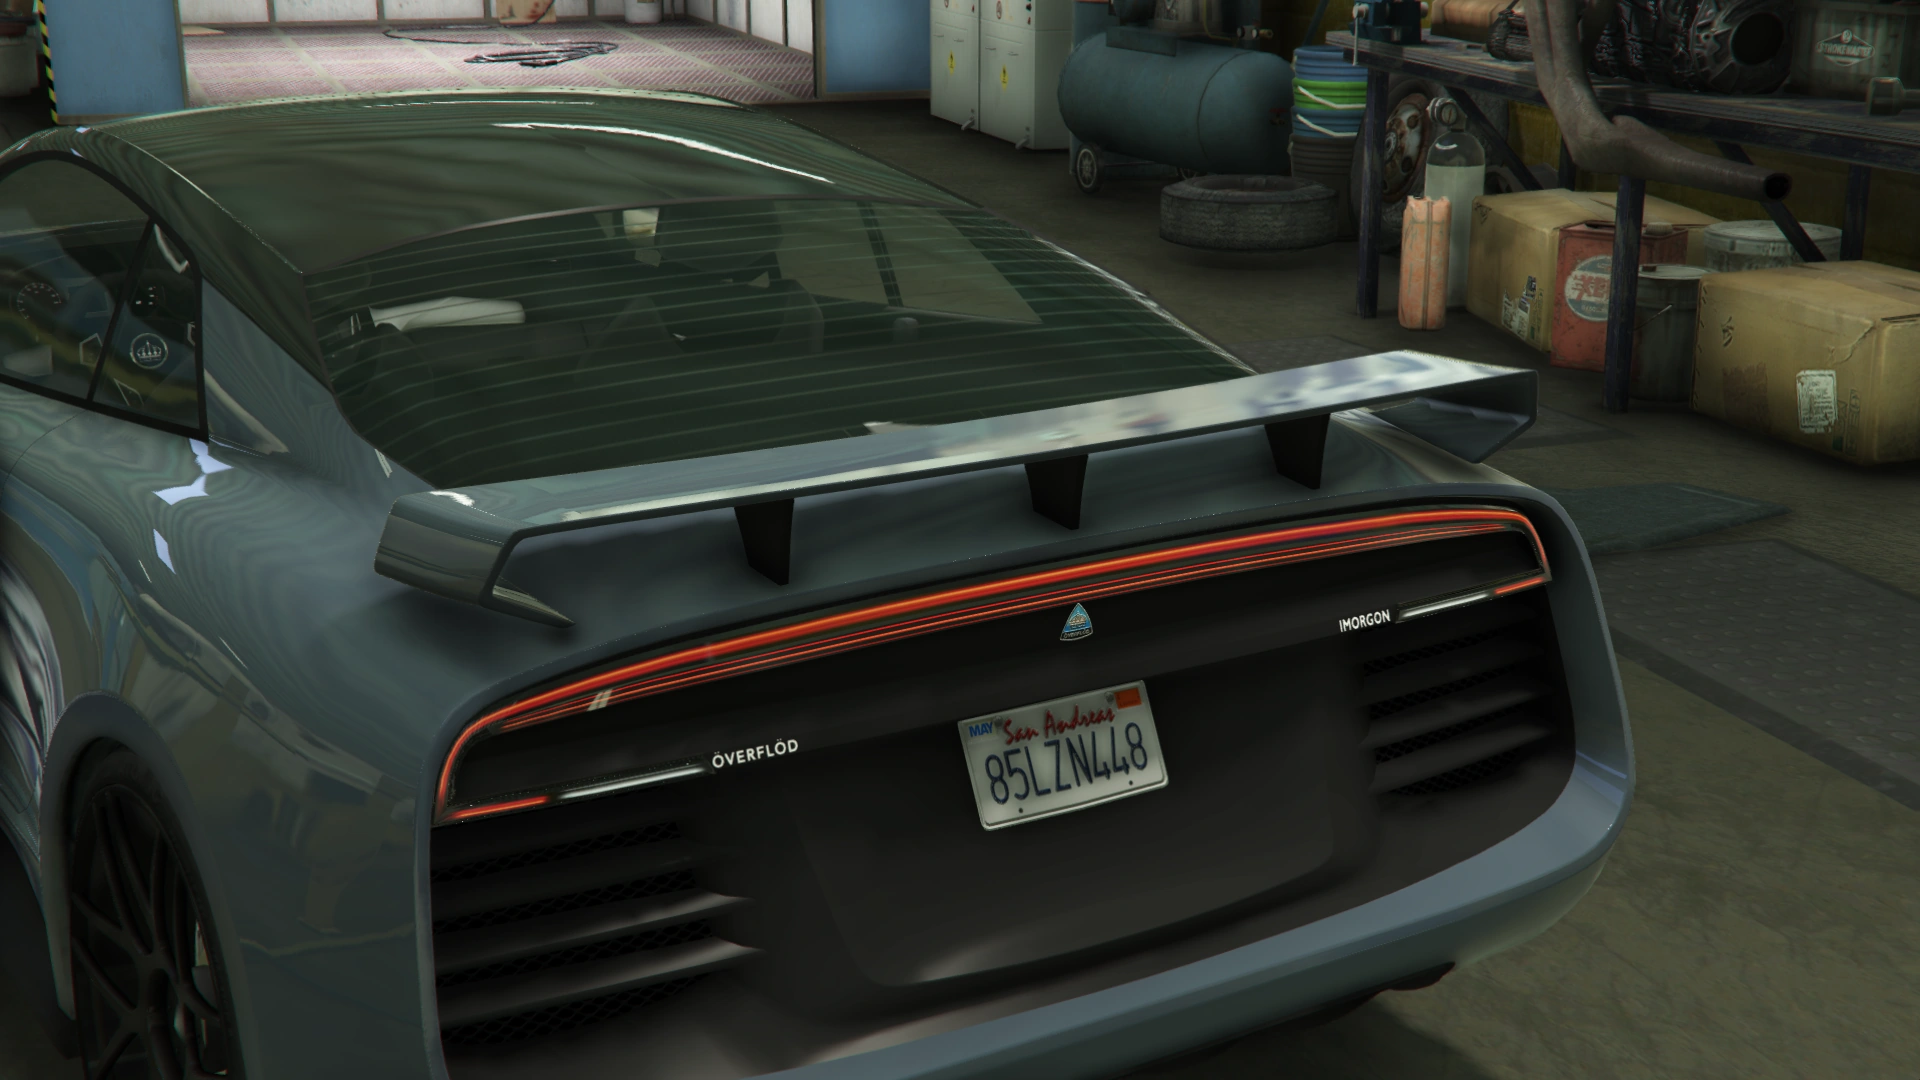
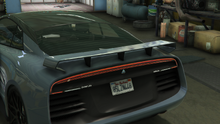
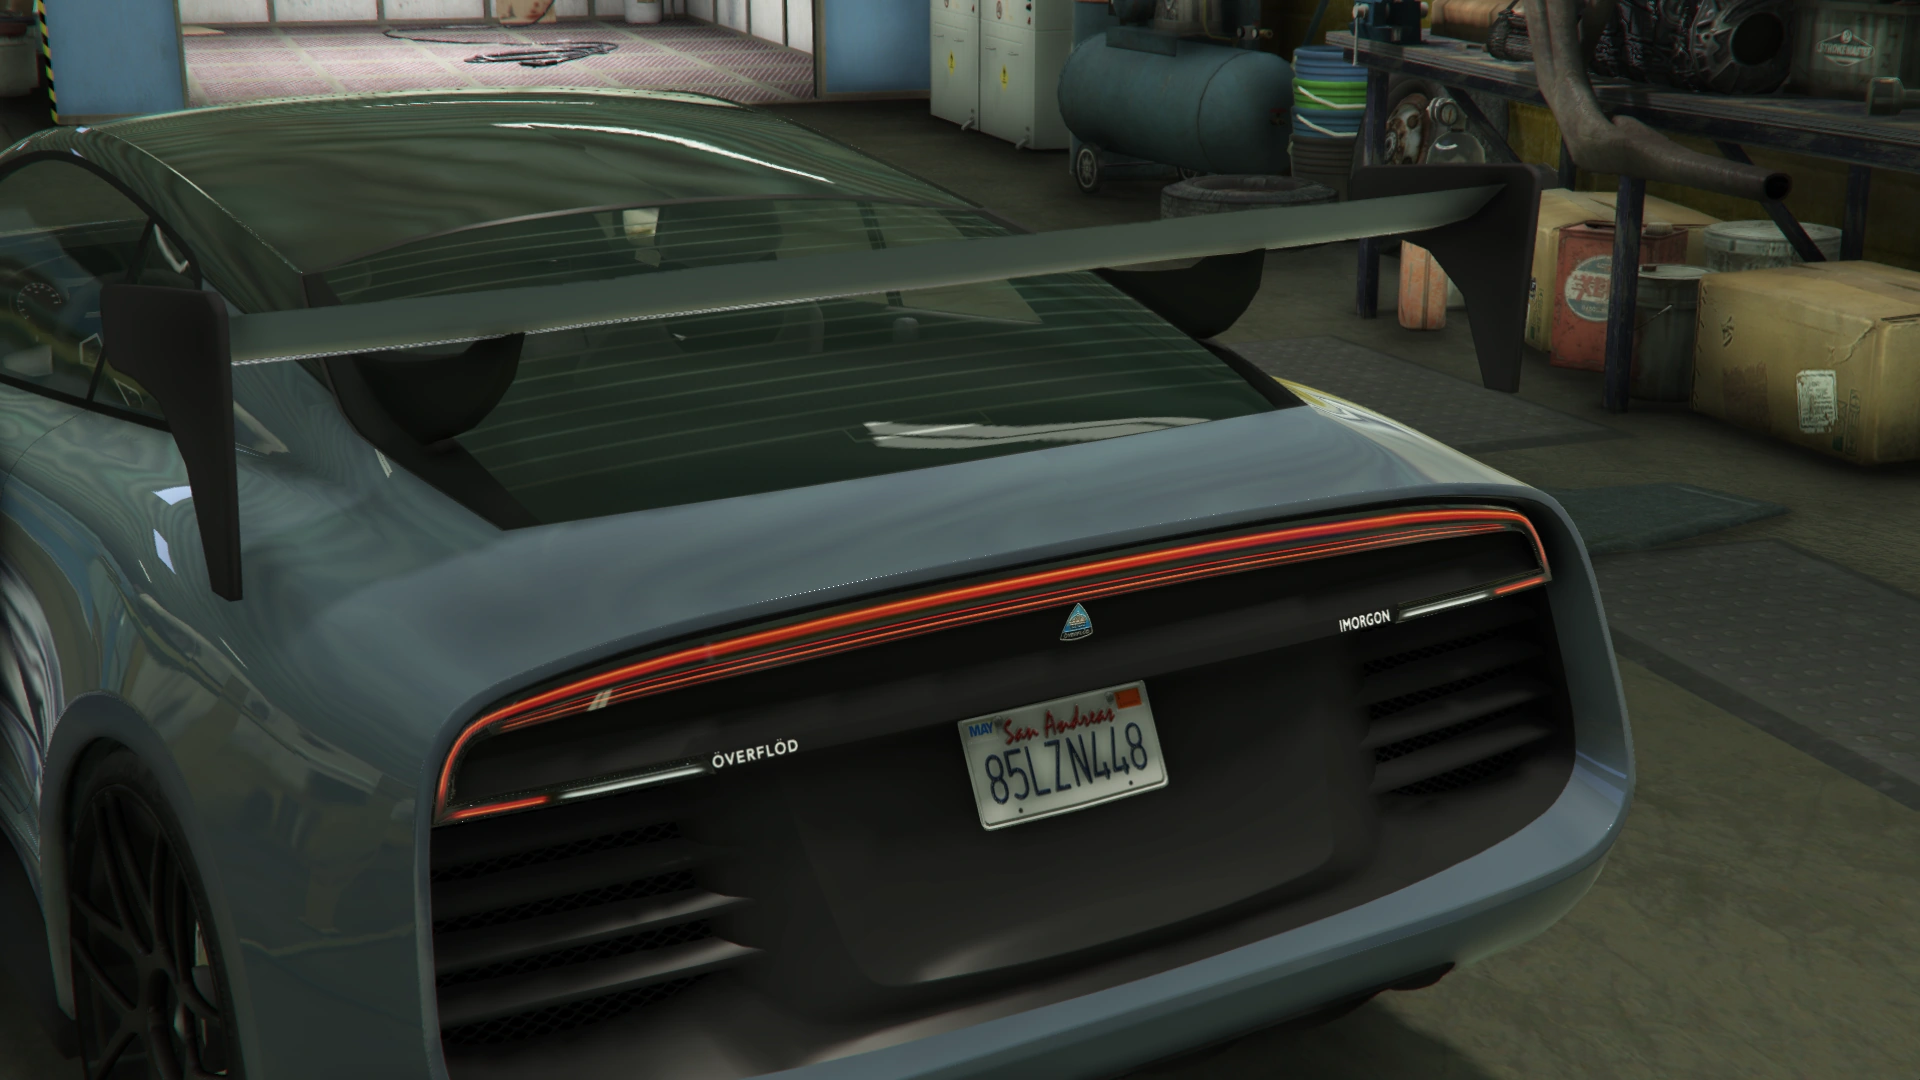
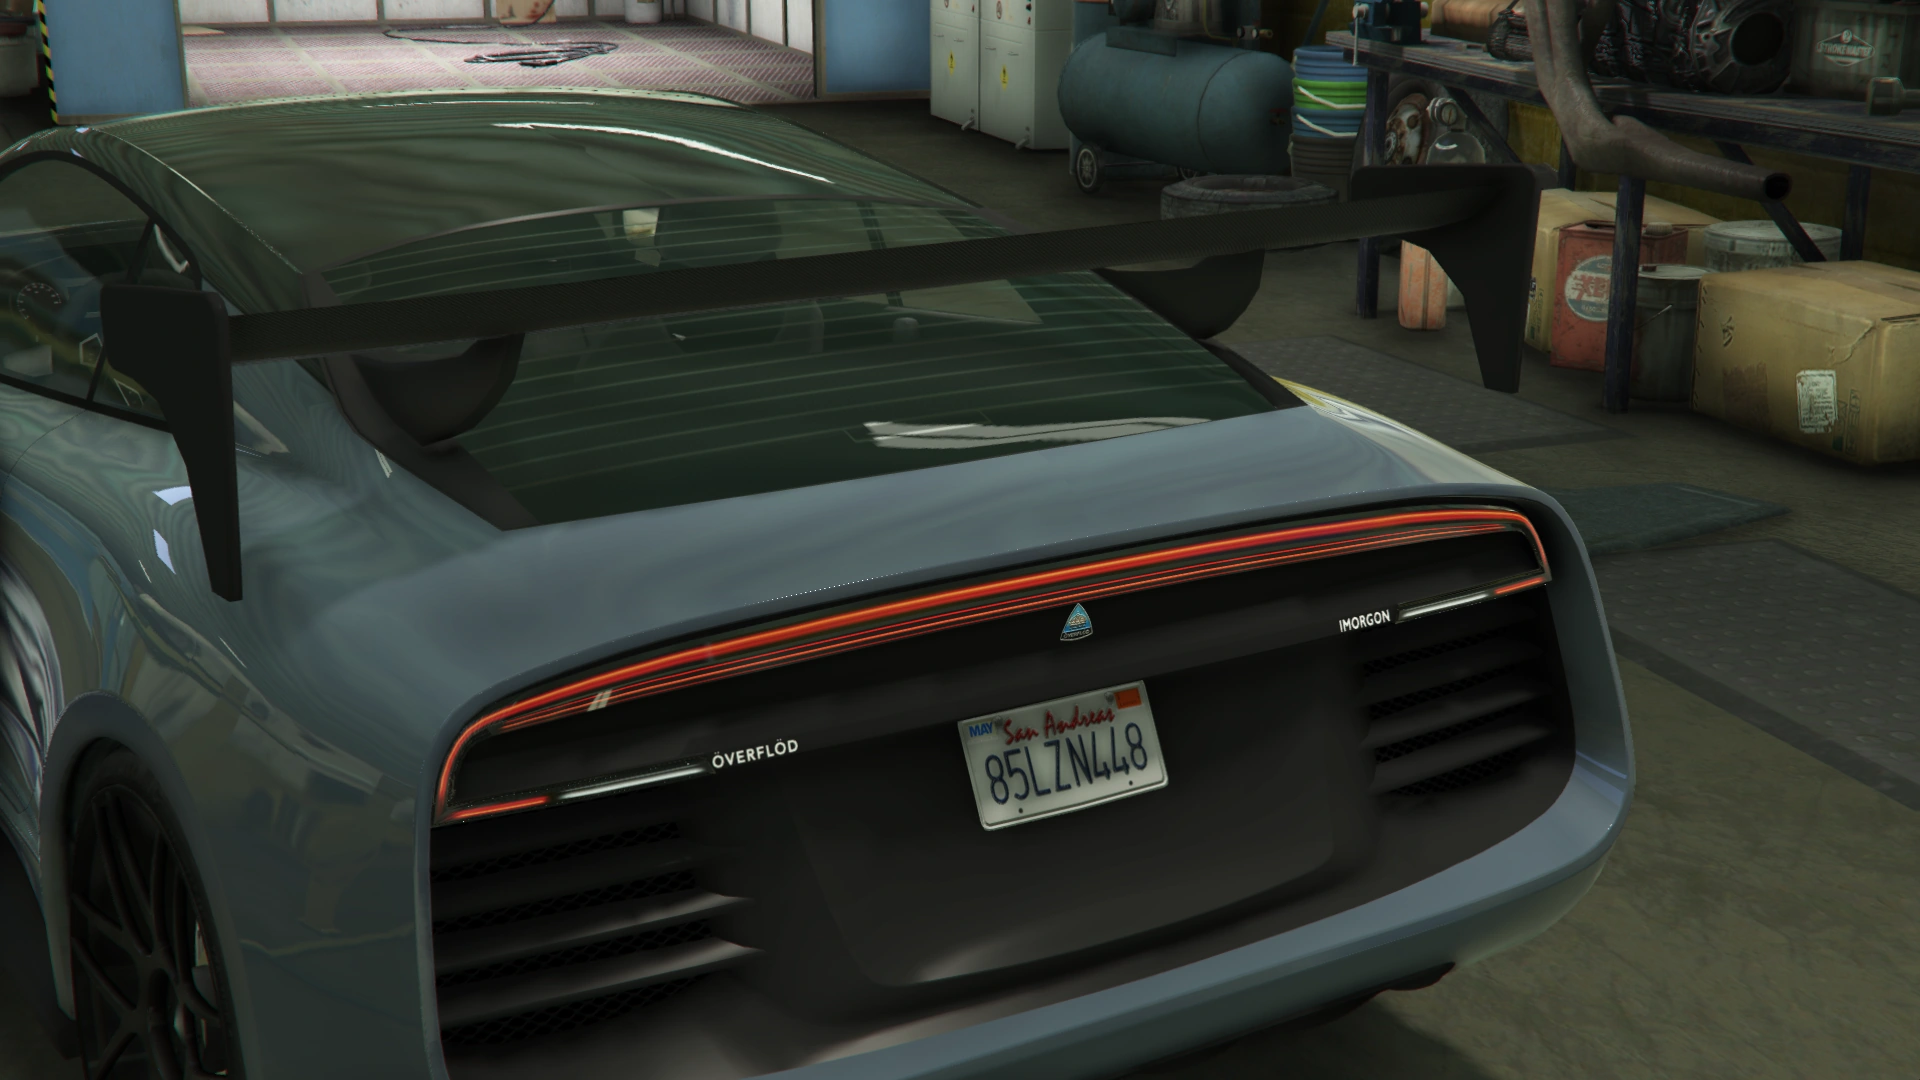
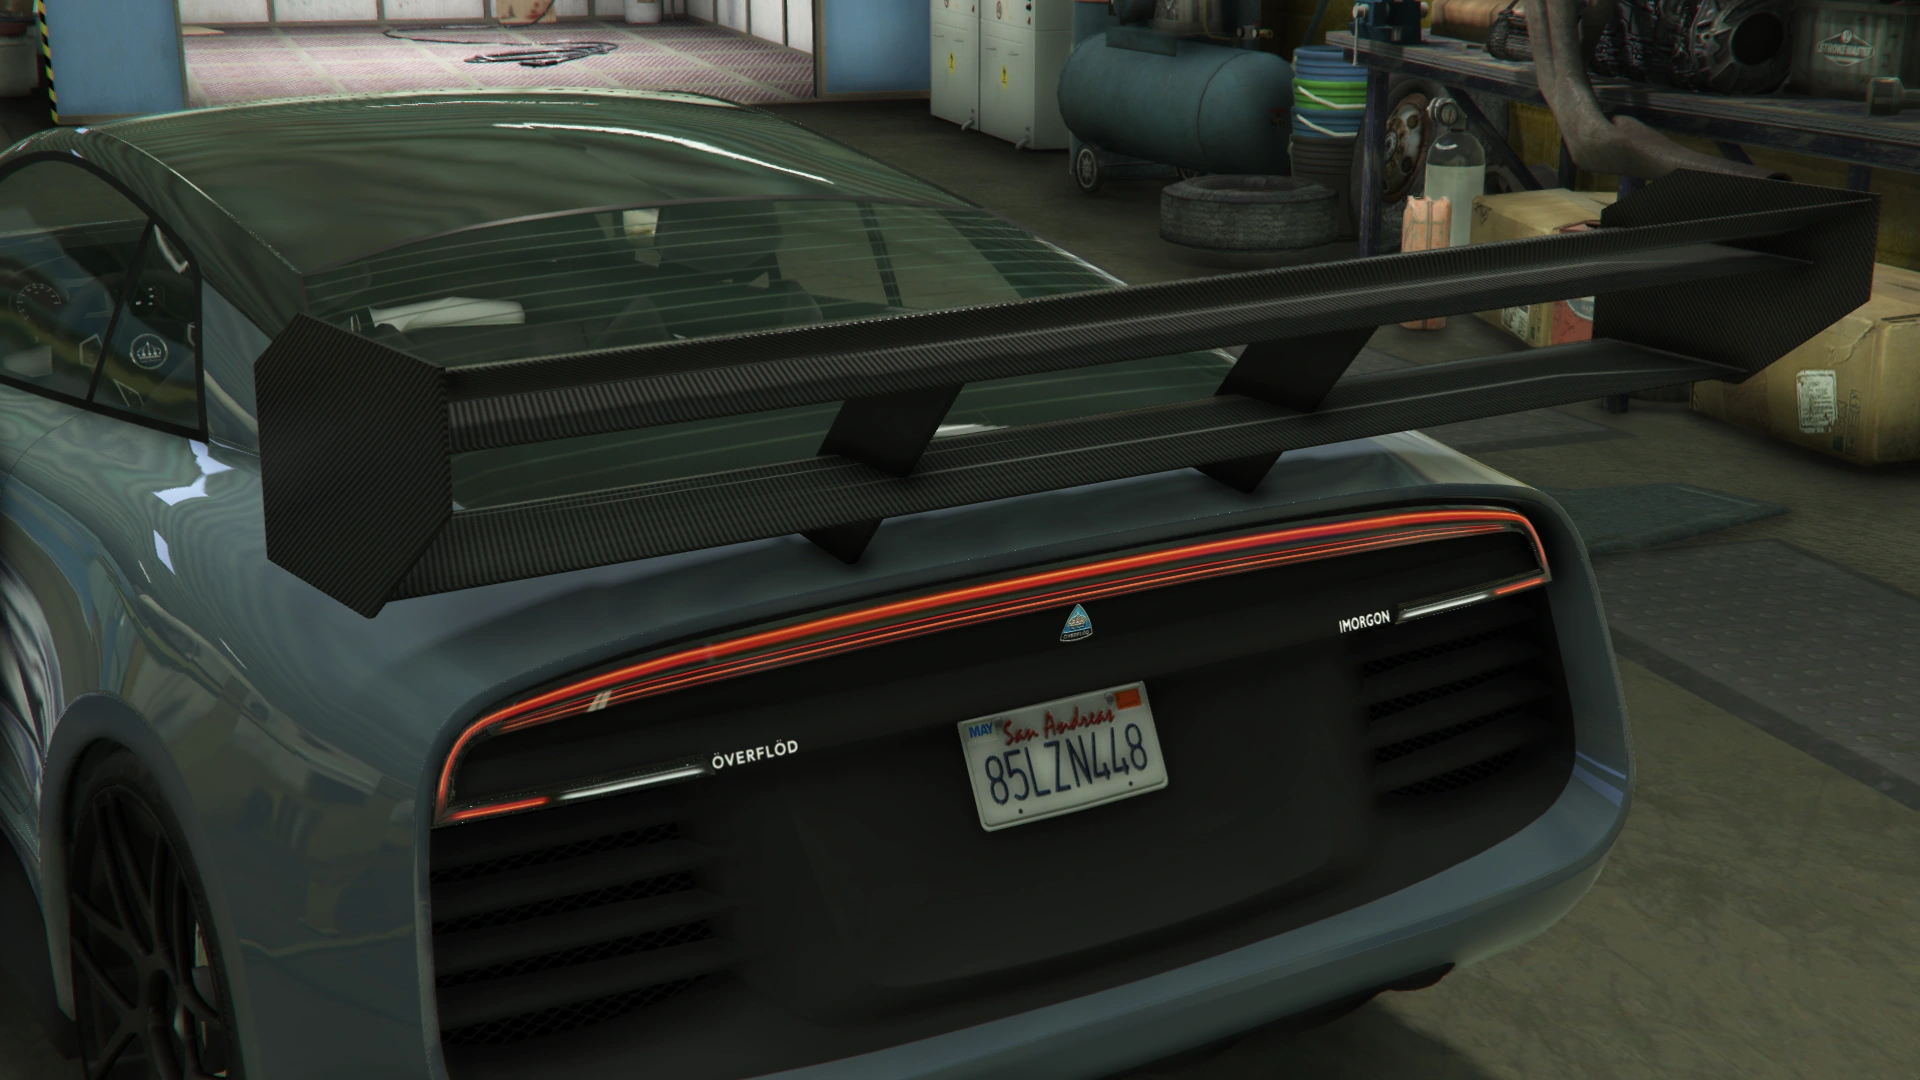
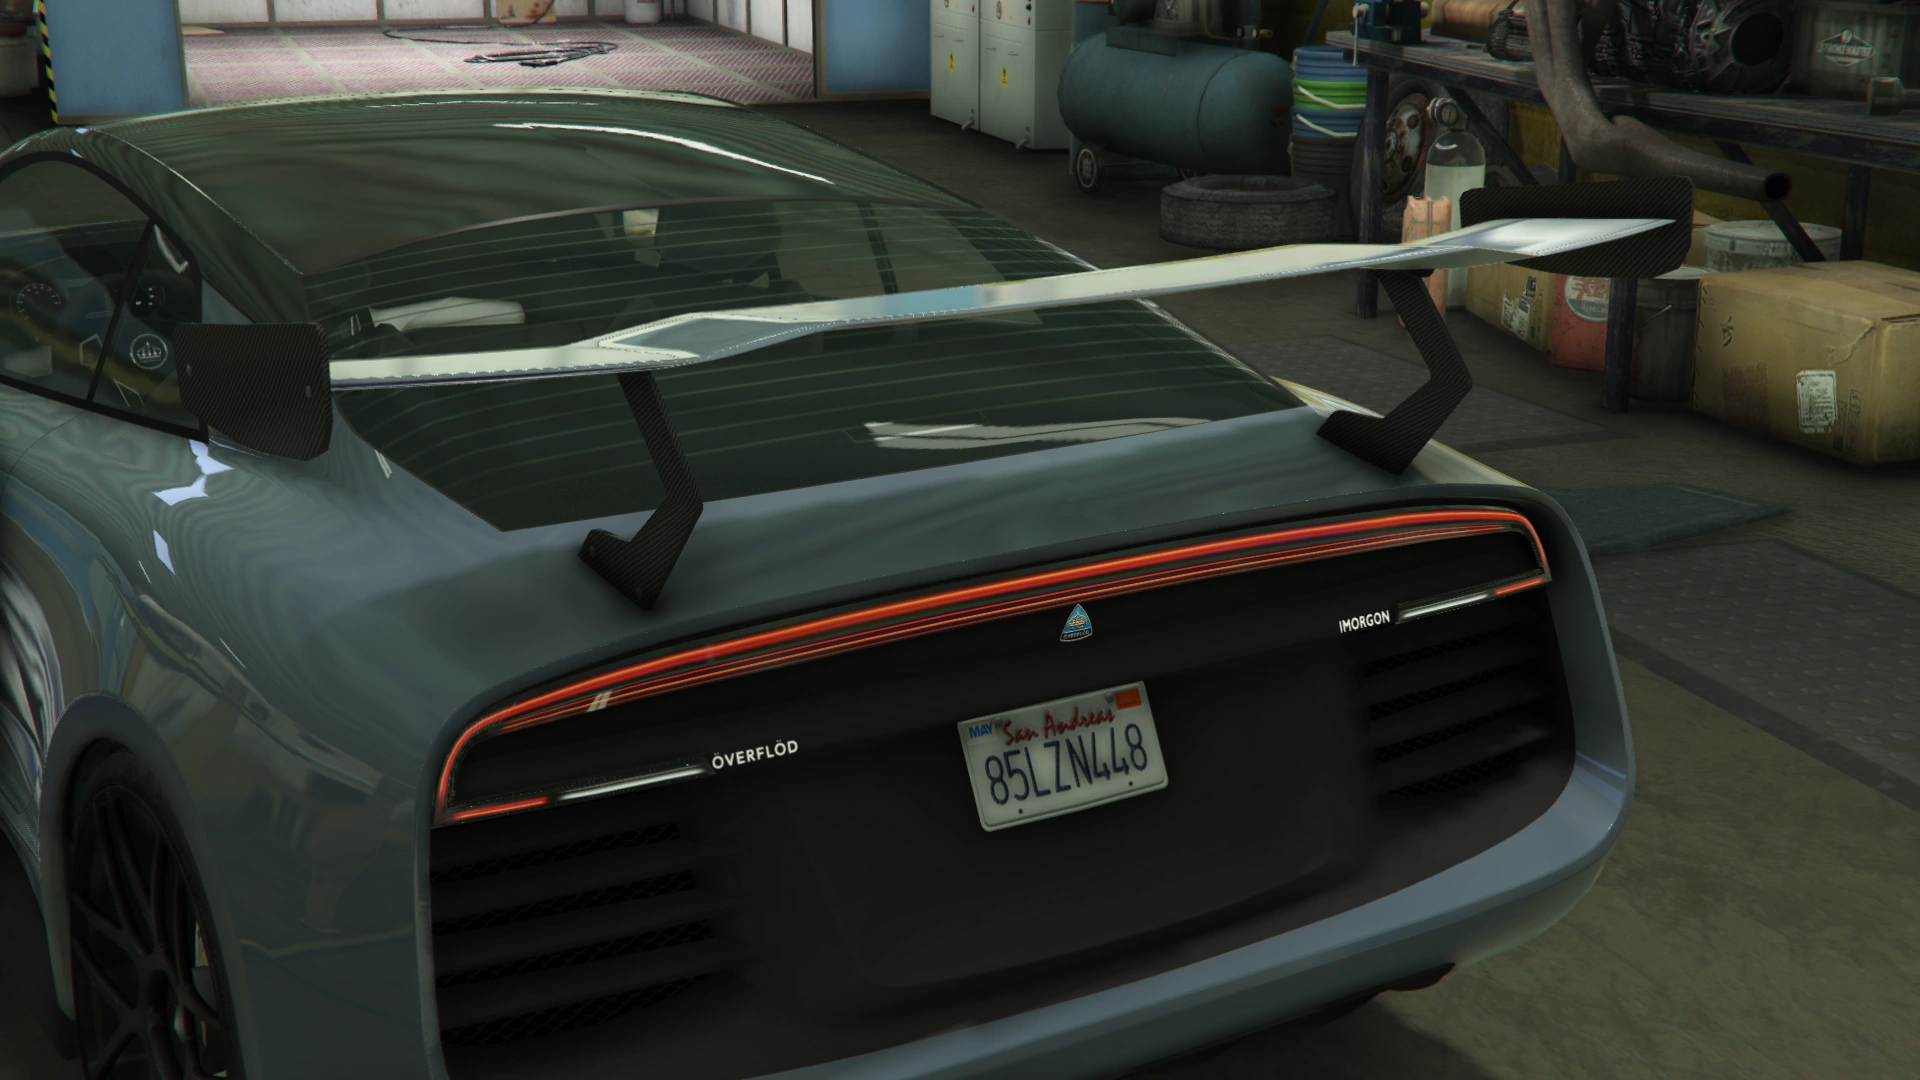
The rear end is relatively flat in shape and is largely dominated by a black panelling with a concave portion at the center holding the license plate and rear vents on the outer edges. Above these vents there is a set of turning and reverse light stripes, together with the car's badges next to the reverse lights. Right on the upper side of the black panelling there is a single red light stripe spanning the width of the same and curved towards the aforementioned set of light stripes. Again, the manufacturer's badge can be seen below the red light stripe. Further down to the bottom, there is the exhausts and a plastic diffuser. By default it comes with a spoiler.
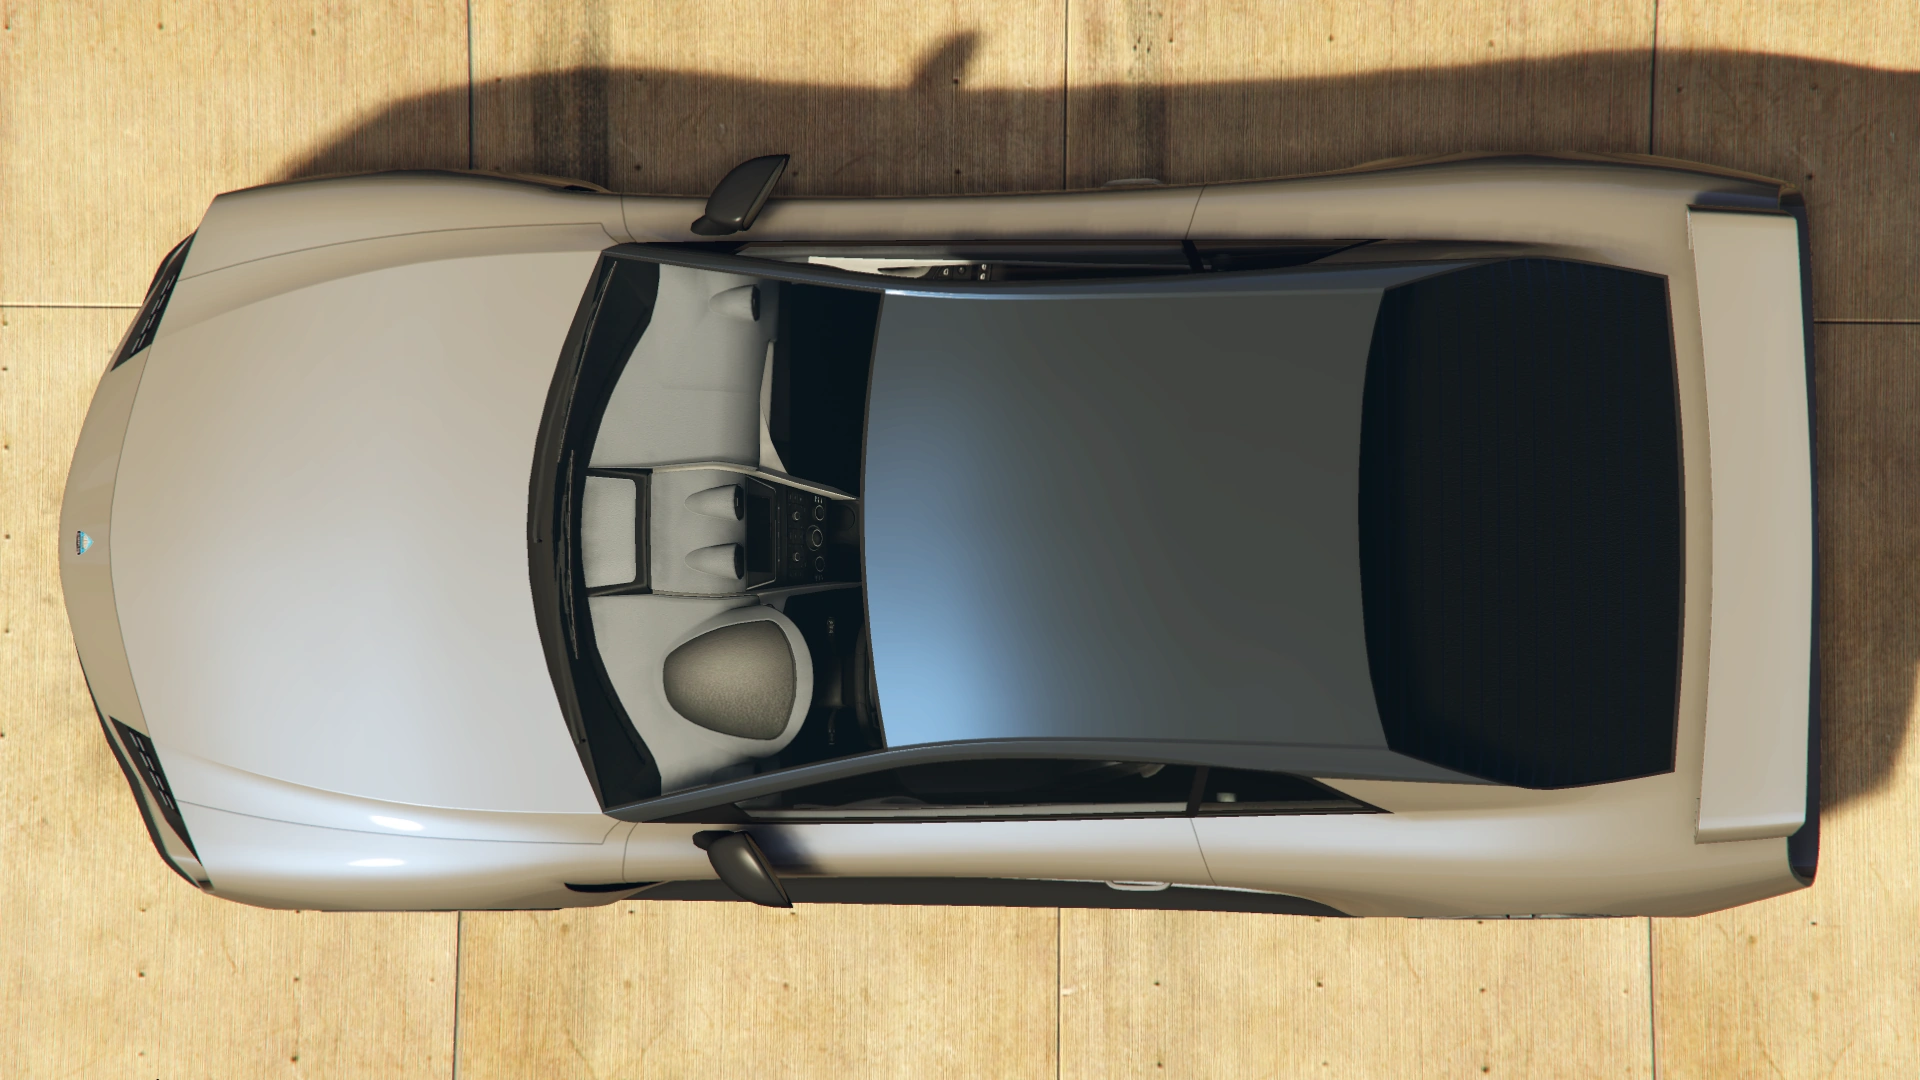
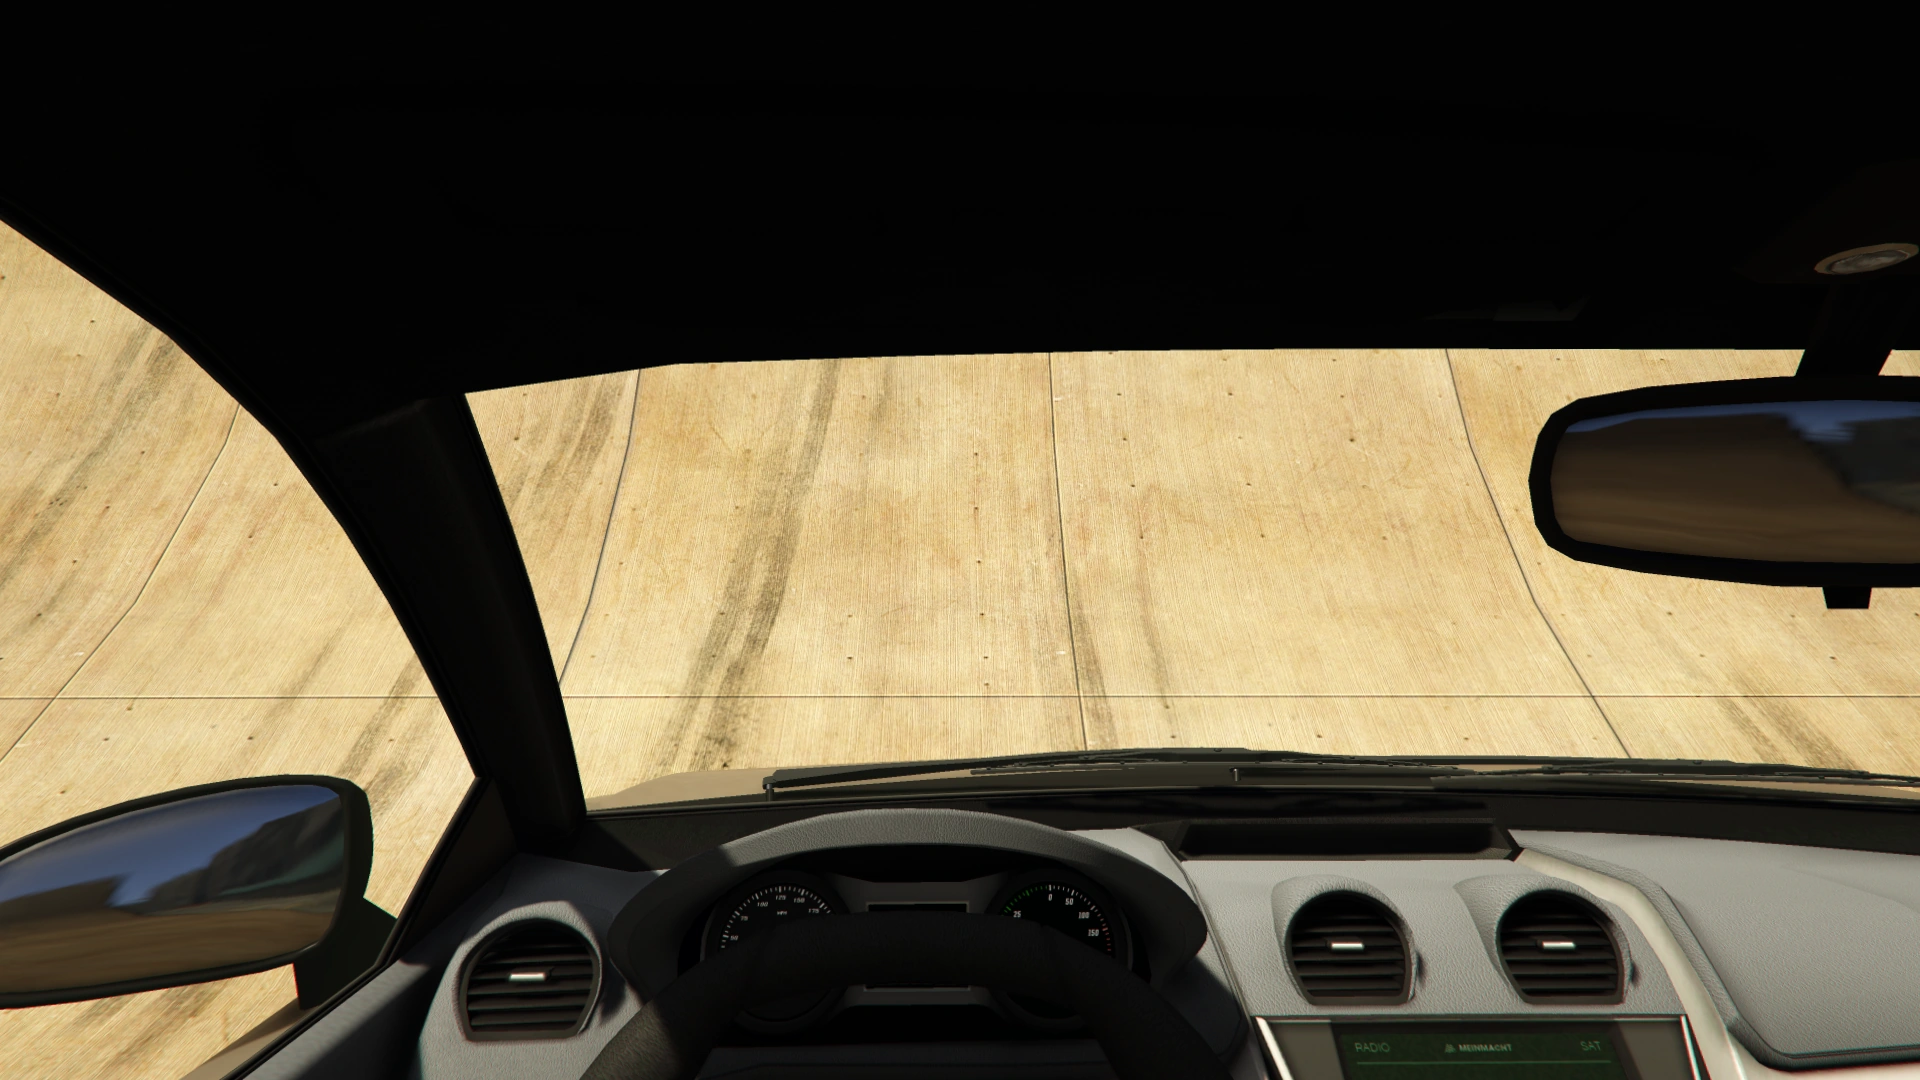
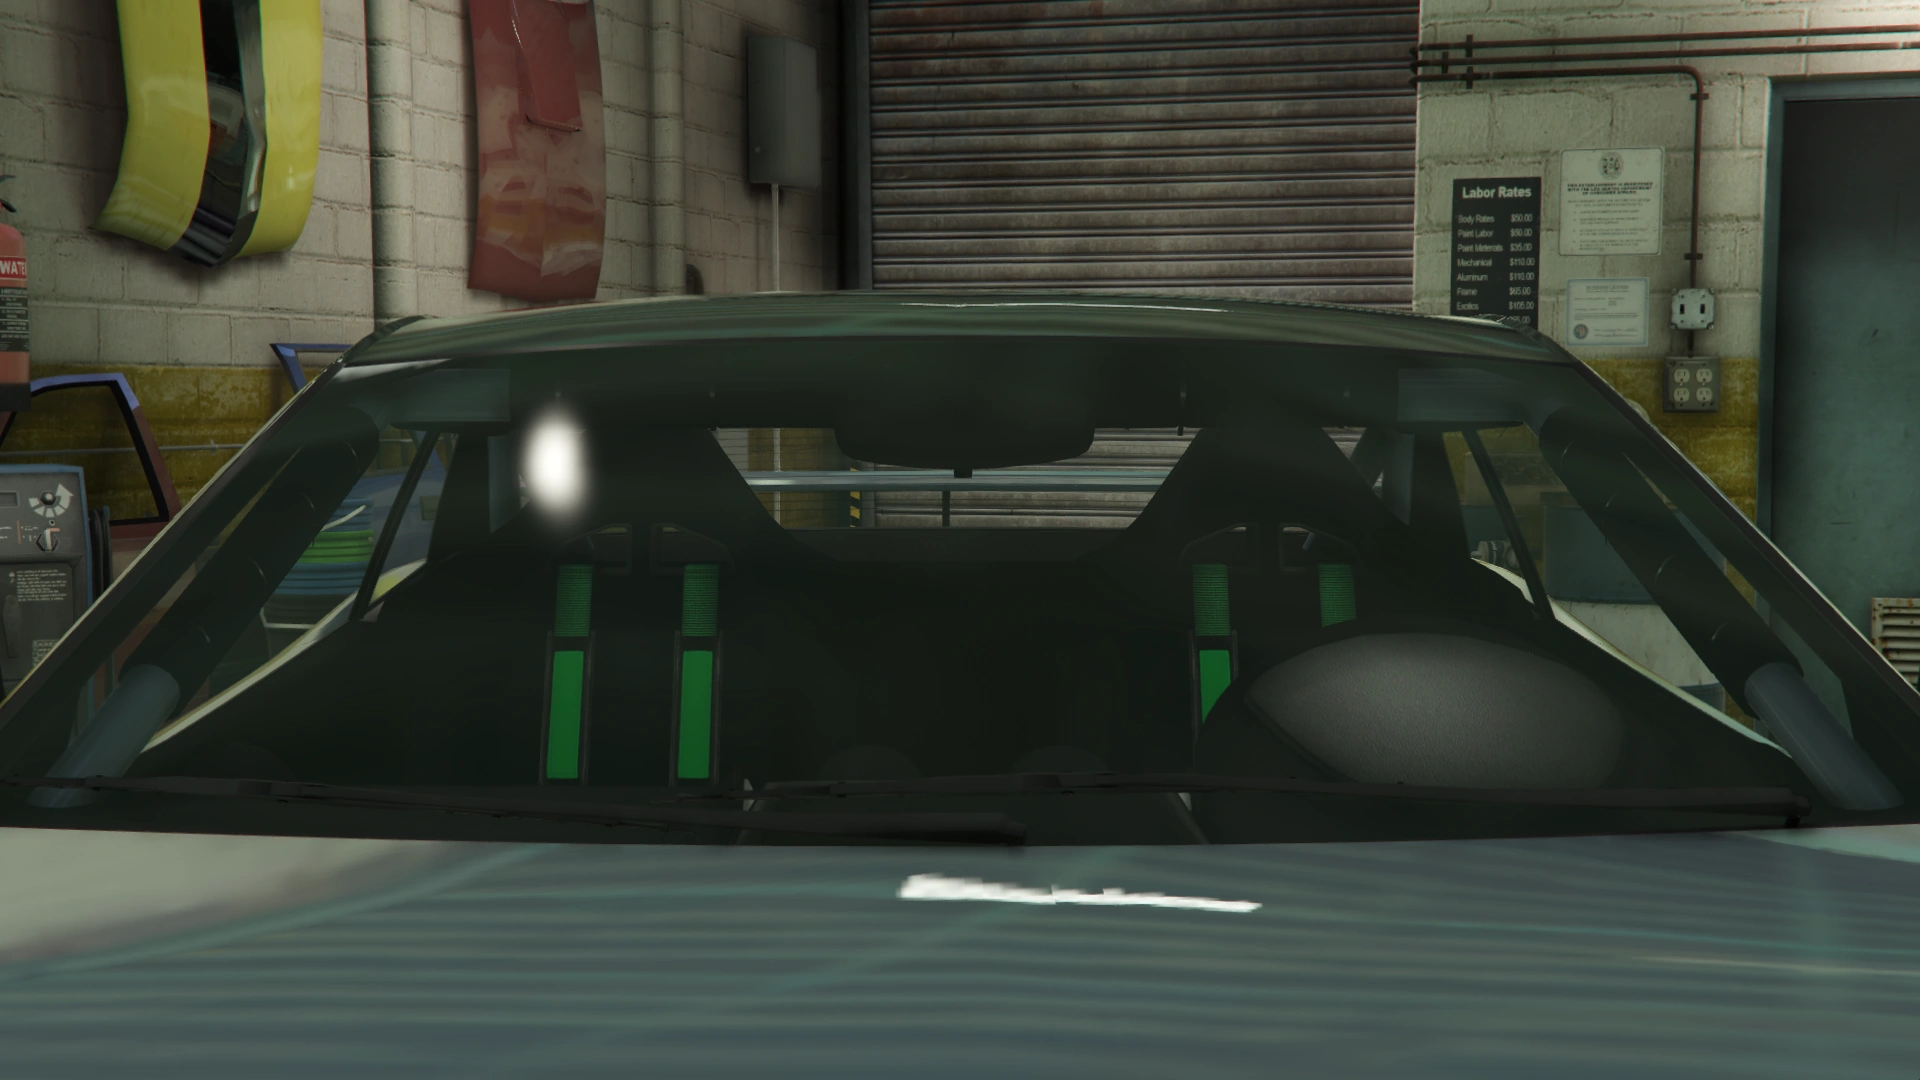
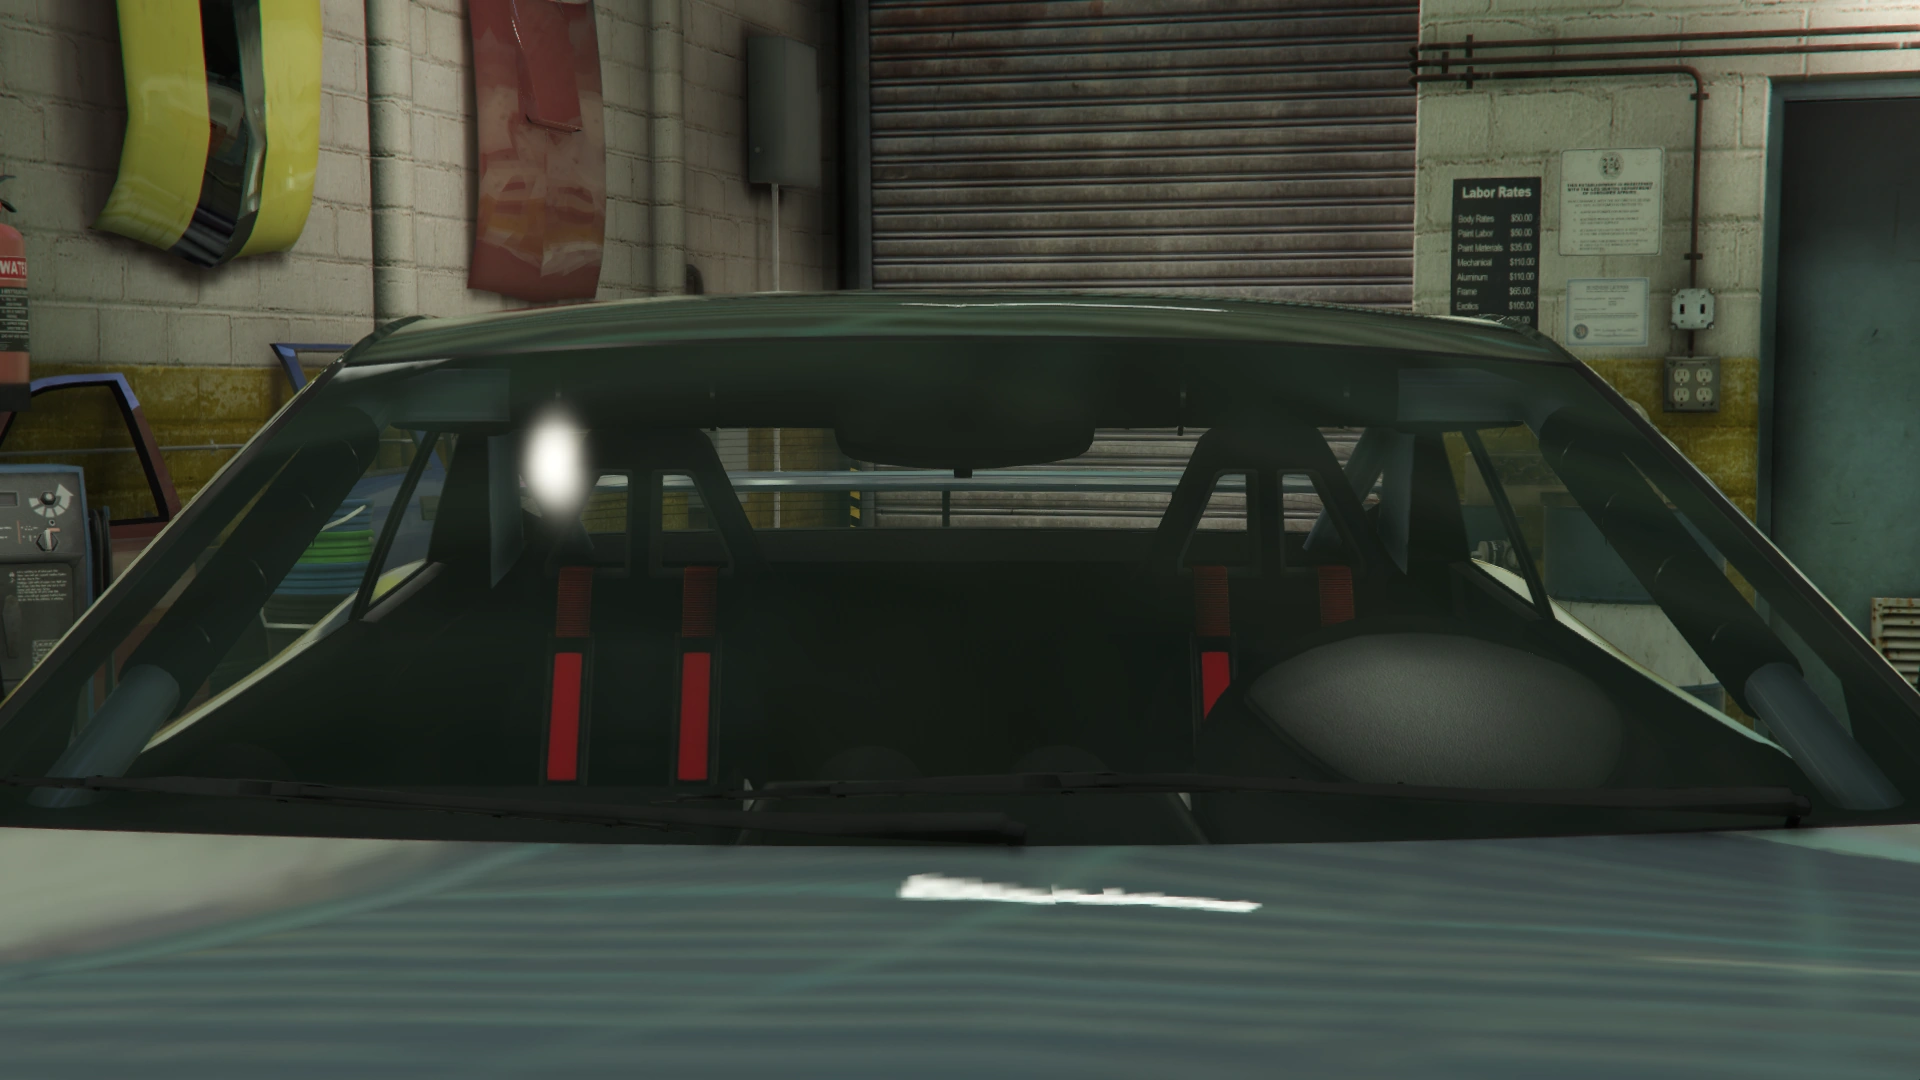
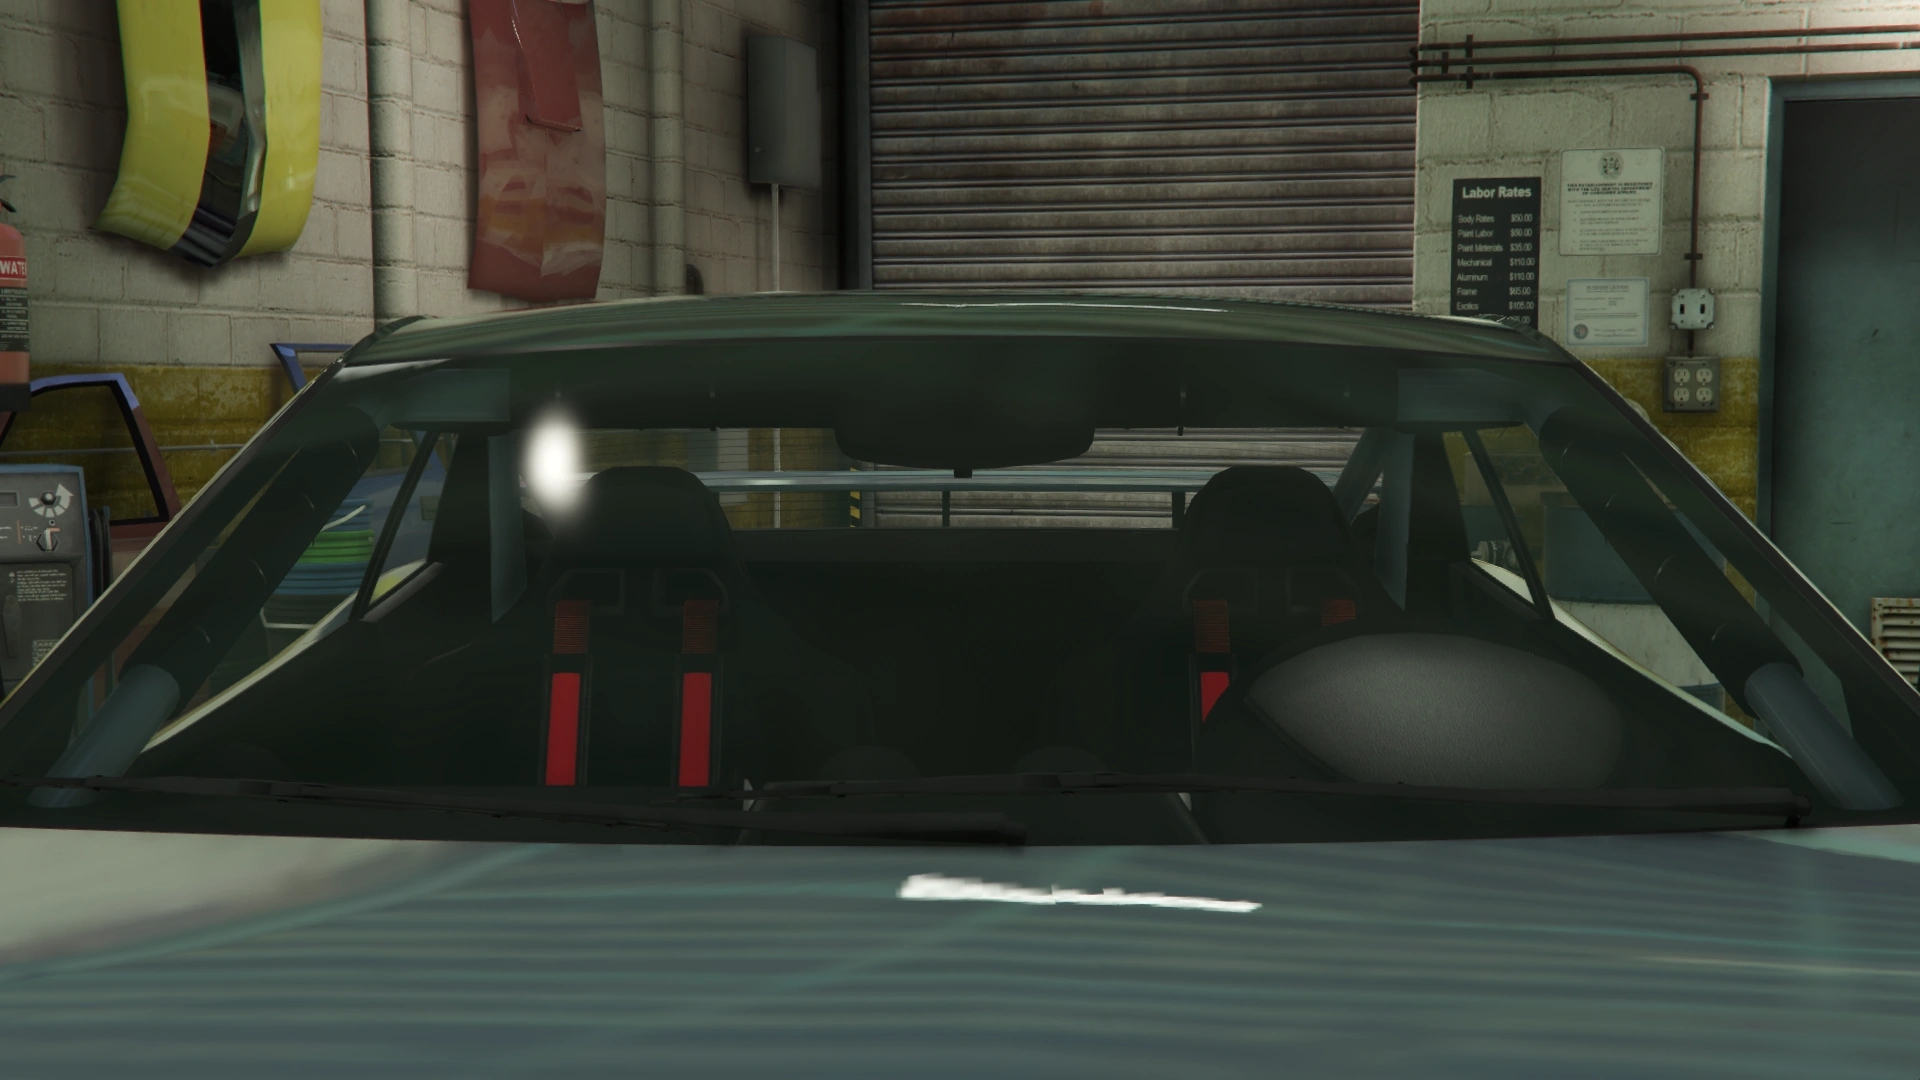
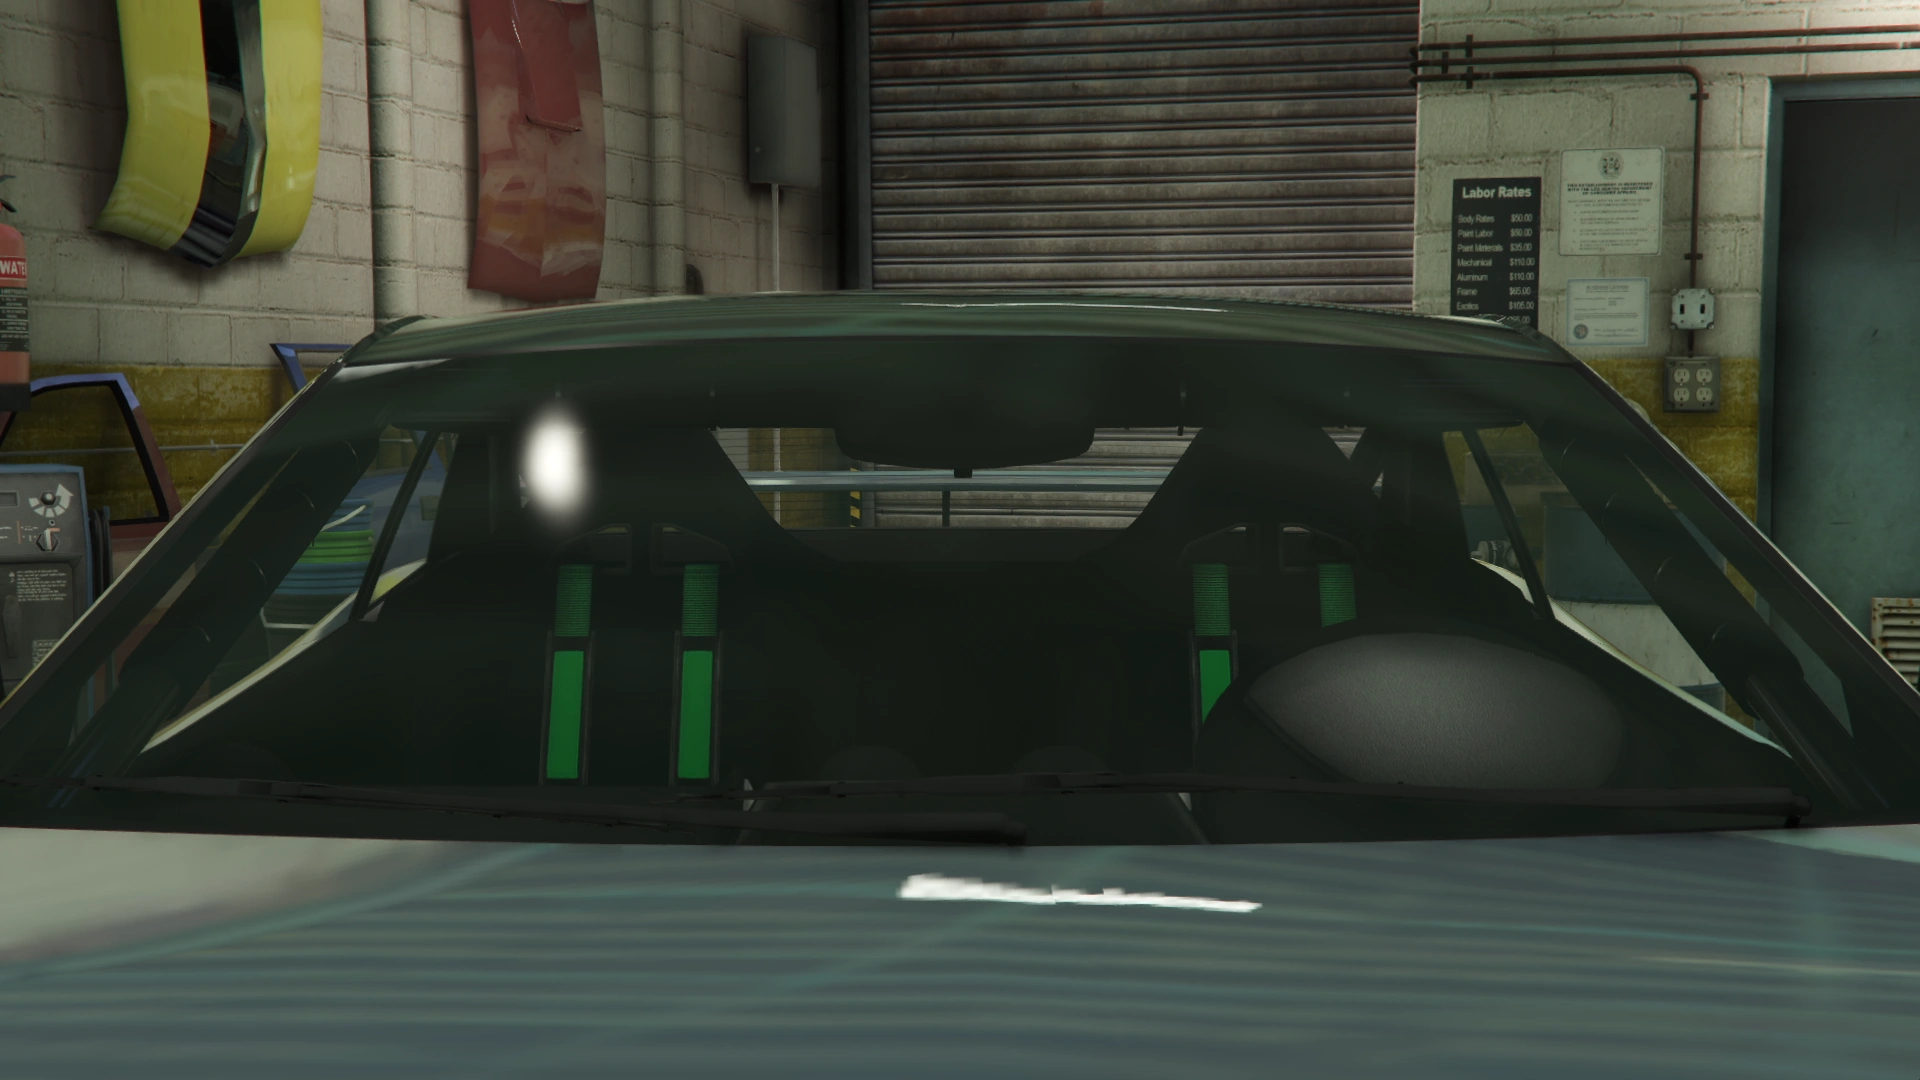
The car's bodywork is prominently painted in a primary color, while the roof and the A-pillars are painted in a secondary color. A trim color is also available for the interior. It uses the same dials and dashboard components as the Neon, being the "Nero White" interior.
Current Design Gallery


Performance
Grand Theft Auto Online
The Imorgon is the first electric vehicle to possess both excellent acceleration — as seen in other vehicles such as the Raiden and Voltic — and impressive handling, with its high downforce allowing for very high-speed cornering with little to no traction loss. Together with its acceptable braking, these attributes make it formidable in niche situations with very few straights and frequent cornering.
Where the Imorgon suffers is on any straight. Even for an electric car, its top speed is underwhelming, struggling to get past 107 mph on flat road. This is slower than a vast majority of the Sports class, and puts it in range of cars such as the Penumbra in this respect. Additionally, while certainly impressive, it is marginally outpaced by the Neon in terms of acceleration.
The Imorgon is powered by a large battery at the front, which is the same model as the one from the Cyclone. The Imorgon is unique in that it has been programmed to drive similarly to a hybrid, having three gears as opposed to the single-speed transmission seen in all other electric cars.
GTA Online Overview
| Acceleration (0-60 mph in Seconds) |
Top Speed (mph / kmh) |
Gears | Engine | Drivetrain (FWD / RWD / AWD) |
Mass (kg / lbs) |
Fuel Tank Size (litres) |
|---|---|---|---|---|---|---|
| N/A | 92.3 / 148.5 | 2 | N/A | AWD 50% FWD 50% RWD |
1600 / 3527 | 65 |
| N/A | N/A | N/A | N/A | N/A | N/A | N/A |
| N/A | N/A | 2 | N/A | AWD | Cannot be observed | Cannot be observed |
Modifications
Grand Theft Auto Online
| Category | Modification | Price | Image | |
|---|---|---|---|---|
| Armor | No Armor | $1,000 | ||
| Armor Upgrade 20% | $7,500 | |||
| Armor Upgrade 40% | $12,000 | |||
| Armor Upgrade 60% | $20,000 | |||
| Armor Upgrade 80% | $35,000 | |||
| Armor Upgrade 100% | $50,000 | |||
| Brakes | Stock Brakes | $1,000 | ||
| Street Brakes | $20,000 | |||
| Sport Brakes | $27,000 | |||
| Race Brakes | $35,000 | |||
| Bumpers | Front Bumpers | Stock Front Bumper | $2,200 | |
| Carbon Stock Bumper | $4,600 | |||
| Primary Stock Bumper | $7,400 | |||
| Primary Splitter | $11,700 | |||
| Plastic Splitter | $14,500 | |||
| Carbon Splitter | $14,700 | |||
| Primary Race Splitter | $14,900 | |||
| Plastic Race Splitter | $15,100 | |||
| Carbon Race Splitter | $15,300 | |||
| Rear Bumpers | Stock Rear Bumper | $2,200 | ||
| Primary Trim Diffuser | $4,600 | |||
| Carbon Diffuser | $7,400 | |||
| Alt. Diffuser | $11,700 | |||
| Primary Alt. Diffuser | $14,500 | |||
| Carbon Alt. Diffuser | $14,700 | |||
| GT Race Setup MK1 | $14,900 | |||
| GT Race Setup MK2 | $15,100 | |||
| GT Race Setup MK3 | $15,300 | |||
| GT Race Setup MK4 | $15,500 | |||
| GT Race Setup MK5 | $15,700 | |||
| Primary GT Race Setup MK1 | $15,900 | |||
| Primary GT Race Setup MK2 | $16,100 | |||
| Primary GT Race Setup MK3 | $16,300 | |||
| Primary GT Race Setup MK4 | $16,500 | |||
| Primary GT Race Setup MK5 | $16,700 | |||
| Carbon GT Race Setup MK1 | $16,900 | |||
| Carbon GT Race Setup MK2 | $17,100 | |||
| Carbon GT Race Setup MK3 | $17,300 | |||
| Carbon GT Race Setup MK4 | $17,500 | |||
| Carbon GT Race Setup MK5 | $17,700 | |||
| Chassis | Stock Chassis | $700 | ||
| Rally Cage Setup MK1 | $1,100 | |||
| Racing Cage Setup MK1 | $1,350 | |||
| Tuner Cage Setup MK1 | $1,500 | |||
| Street Cage Setup MK1 | $2,750 | |||
| Secondary Rally Setup MK1 | $3,600 | |||
| Secondary Racing Setup MK1 | $4,900 | |||
| Secondary Tuner Setup MK1 | $5,800 | |||
| Secondary Street Setup MK1 | $7,000 | |||
| Rally Cage Setup MK2 | $8,000 | |||
| Racing Cage Setup MK2 | $9,150 | |||
| Tuner Cage Setup MK2 | $10,100 | |||
| Street Cage Setup MK2 | $11,050 | |||
| Secondary Rally Setup MK2 | $11,950 | |||
| Secondary Racing Setup MK2 | $12,900 | |||
| Secondary Tuner Setup MK2 | $13,750 | |||
| Secondary Street Setup MK2 | $14,600 | |||
| Rally Cage Setup MK3 | $15,450 | |||
| Racing Cage Setup MK3 | $16,250 | |||
| Tuner Cage Setup MK3 | $17,050 | |||
| Street Cage Setup MK3 | $17,800 | |||
| Secondary Rally Setup MK3 | $18,550 | |||
| Secondary Racing Setup MK3 | $19,250 | |||
| Secondary Tuner Setup MK3 | $19,950 | |||
| Secondary Street Setup MK3 | $20,600 | |||
| Engine | EMS Upgrade, Level 1 | $9,000 | ||
| EMS Upgrade, Level 2 | $12,500 | |||
| EMS Upgrade, Level 3 | $18,000 | |||
| EMS Upgrade, Level 4 | $33,500 | |||
| Exhausts | Stock Exhaust | $260 | ||
| Titanium Tipped Exhausts | $750 | |||
| Carbon Exhausts | $1,800 | |||
| Big Bore Exhausts | $3,000 | |||
| Titanium Twin Big Bore Exhausts | $9,550 | |||
| Chrome Twin Big Bore Exhausts | $9,750 | |||
| Explosives | Ignition Bomb | $5,000 | ||
| Remote Bomb | $7,500 | |||
| Grilles | Stock Grille | $200 | ||
| Carbon Grille Insert | $750 | |||
| Plastic Grille Insert | $1,340 | |||
| Hoods | Stock Hood | $1,600 | ||
| Carbon Stock Hood | $3,000 | |||
| Single Vented Hood | $5,000 | |||
| Carbon Single Vented Hood | $8,000 | |||
| Double Vented Hood | $9,600 | |||
| Carbon Double Vented Hood | $11,000 | |||
| Quad Vented Hood | $11,600 | |||
| Carbon Quad Vented Hood | $12,000 | |||
| Horns | Main article: Los Santos Customs/Horns | - | ||
| Lights | Headlights | Stock Lights | $600 | |
| Xenon Lights | $7,500 | |||
| Neon Kits | Main article: Los Santos Customs/Lights | - | ||
| Livery | None | $11,400 | ||
| Overflod Stripes | $18,240 | |||
| Alt. Overflod Stripes | $19,380 | |||
| Amigas Racing | $20,520 | |||
| Stuck In The '90s | $21,660 | |||
| Sprunk Racing | $22,800 | |||
| LTD Racing | $23,370 | |||
| Cerveza Barracho | $23,939 | |||
| Kisama Beer | $24,510 | |||
| Xero Gas | $25,080 | |||
| Ragga Rum | $25,650 | |||
| Muscle Gymnasium | $26,220 | |||
| Mean Machine | $26,789 | |||
| Loss/Theft Prevention | Tracker | |||
| Full Coverage | ||||
| Mirrors | Stock Mirrors | $300 | ||
| Primary Mirrors | $900 | |||
| Carbon Mirrors | $1,500 | |||
| Plates | Blue on White 1 | $200 | ||
| Blue on White 2 | $200 | |||
| Blue on White 3 | $200 | |||
| Yellow on Blue | $300 | |||
| Yellow on Black | $600 | |||
| Respray | Main article: Los Santos Customs/Respray Colors | - | ||
| Roofs | Stock Roof | $200 | ||
| Primary Roof | $700 | |||
| Carbon Roof | $1,150 | |||
| Sell | Sell Vehicle | |||
| Skirts | Stock Skirts | $2,500 | ||
| Carbon Skirts | $5,500 | |||
| Primary Skirts | $8,000 | |||
| Spoilers | Stock Spoiler | $6,000 | ||
| Upper Mounted Spoiler | $7,050 | |||
| Carbon Upper Mounted Spoiler | $10,000 | |||
| Tuner Spoiler | $13,000 | |||
| Carbon Tuner Spoiler | $14,000 | |||
| High Racing Spoiler | $16,000 | |||
| Carbon High Racing Spoiler | $16,500 | |||
| GT Spoiler | $17,000 | |||
| Carbon GT Spoiler | $17,500 | |||
| Big Wing | $18,000 | |||
| Carbon Big Wing | $18,500 | |||
| Curved Spoiler | $19,000 | |||
| Carbon Curved Spoiler | $19,500 | |||
| Angled Spoiler | $20,000 | |||
| Carbon Angled Spoiler | $20,500 | |||
| Sunstrips | None | $300 | ||
| Primary | $900 | |||
| Secondary | $1,500 | |||
| Hardstand | $1,700 | |||
| Globe Oil | $2,000 | |||
| Overflod | $2,750 | |||
| Plastic | $3,300 | |||
| Primary Quarter Covers | $3,900 | |||
| Secondary Quarter Covers | $4,350 | |||
| Hardstand Quarter Covers | $5,000 | |||
| Globe Oil Quarter Covers | $5,150 | |||
| Overflod Quarter Covers | $5,300 | |||
| Plastic Quarter Covers | $5,450 | |||
| Primary Full Cover | $5,600 | |||
| Secondary Full Cover | $5,750 | |||
| Hardstand Full Cover | $5,900 | |||
| Globe Oil Full Cover | $6,050 | |||
| Overflod Full Cover | $6,600 | |||
| Plastic Full Cover | $7,150 | |||
| Suspension | Stock Suspension | $200 | ||
| Lowered Suspension | $1,000 | |||
| Street Suspension | $2,000 | |||
| Sport Suspension | $3,400 | |||
| Transmission | Stock Transmission | $1,000 | ||
| Street Transmission | $29,500 | |||
| Sports Transmission | $32,500 | |||
| Race Transmission | $40,000 | |||
| Wheels | Main article: Los Santos Customs/Wheels | - | ||
| Windows | None | $500 | ||
| Light Smoke | $1,500 | |||
| Dark Smoke | $3,500 | |||
| Limo | $5,000 | |||


Image Gallery
Grand Theft Auto Online
")
")
")
Video

Locations
Grand Theft Auto Online
- Available for purchase from Legendary Motorsport for $2,165,000.
Events
Grand Theft Auto Online
- It could be won from the Lucky Wheel in the Casino during the Stryder Week event.
Trivia
General
- "Imorgon" means "tomorrow" in Swedish, alluding to the fact that the RG Nathalie is the first electric car that employs methanol fuel cells as means to power electric motors.
- The default radio stations for the Imorgon are FlyLo FM, Los Santos Underground Radio, and Soulwax FM.