(gallery) |
m (Image cell fixes) Tag: Visual edit |
||
| (16 intermediate revisions by 10 users not shown) | |||
| Line 1: | Line 1: | ||
{{Next-Gen}} |
{{Next-Gen}} |
||
{{Infobox vehicles |
{{Infobox vehicles |
||
| − | |name = Go Go Monkey Blista |
+ | |name = Go Go Monkey Blista |
| − | |front_image = GoGoMonkeyBlista-GTAV-front.png |
+ | |front_image = GoGoMonkeyBlista-GTAV-front.png |
| − | |rear_image = GoGoMonkeyBlista-GTAV-rear.png |
+ | |rear_image = GoGoMonkeyBlista-GTAV-rear.png |
| − | |caption = A '''Go Go Monkey Blista''' in ''[[Grand Theft Auto V]]''. |
+ | |caption = A '''Go Go Monkey Blista''' in ''[[Grand Theft Auto V]]''. |
|vehicle_class = Sports |
|vehicle_class = Sports |
||
| − | |vehicle_type = Civilian car |
+ | |vehicle_type = Civilian car |
| − | |body_style = 2-door hatchback |
+ | |body_style = 2-door hatchback |
| ⚫ | |||
| − | |manufacturer = [[Dinka]] |
+ | |manufacturer = [[Dinka]] |
| ⚫ | |||
| − | |appearances = ''[[Grand Theft Auto V]]'' {{NG}}<br>''[[Grand Theft Auto Online]]'' {{NG}} |
+ | |appearances = ''[[Grand Theft Auto V]]'' {{NG}}<br>''[[Grand Theft Auto Online]]'' {{NG}} |
| − | |related = [[Blista Compact]] |
+ | |related = [[Blista Compact]] |
| − | | |
+ | |makeyear = |
| + | |swankness = |
||
| ⚫ | |||
| + | |dashtype = |
||
| ⚫ | |||
| + | |inttxd = |
||
| + | |carcols ={{Expand|| |
||
| + | {{CarColV/Title}} |
||
| + | {{CarColV|no=1|134|134|134|126}}<br> |
||
| ⚫ | |||
| + | |wheeltype = |
||
| + | |flags = |
||
| + | |modelsets = |
||
| + | |modelname = blista3 |
||
| ⚫ | |||
| ⚫ | |||
| + | |roadspawn = No |
||
| + | |roadspawnmaxcol = |
||
| + | |roadspawnfreq = |
||
| + | |roadspawntrailer = <!--null--> |
||
| + | |roadspawnidendis = |
||
| + | |roadspawndrivers = |
||
| + | |roadspawngroups = |
||
| + | |roadspawnlicense = |
||
| + | |engineacceleration = |
||
| + | |exhaustacceleration = |
||
| + | |idle = |
||
| + | |deceleration = |
||
| + | |genpreced = |
||
| + | |gensucced = |
||
}} |
}} |
||
{{Quote|To the uninitiated, it's a neat little 80's compact with retro arcade livery. But to you, it's a badge of honor. It's a testament to every podium you climbed, every bullet you dodged, every bet you placed, every vehicle you customized, every competitor you immolated and every middle finger you shoved in the face of every idiot dumb enough to stand in your way. To the victor go the spoils.|[[Southern San Andreas Super Autos]] description.}} |
{{Quote|To the uninitiated, it's a neat little 80's compact with retro arcade livery. But to you, it's a badge of honor. It's a testament to every podium you climbed, every bullet you dodged, every bet you placed, every vehicle you customized, every competitor you immolated and every middle finger you shoved in the face of every idiot dumb enough to stand in your way. To the victor go the spoils.|[[Southern San Andreas Super Autos]] description.}} |
||
| − | The [[Dinka]] '''Go Go Monkey Blista''' is a two-door hatchback appearing in ''[[Grand Theft Auto V]]'' and'' |
+ | The [[Dinka]] '''Go Go Monkey Blista''' is a two-door hatchback appearing in ''[[Grand Theft Auto V]]'' and ''[[Grand Theft Auto Online]]'' for the [[Xbox One]], [[PlayStation 4]] and [[PC]]. |
==Description== |
==Description== |
||
| − | The vehicle is exclusive for the enhanced version players who have returned from either the [[Xbox 360]] or [[PlayStation 3]]. As of the [[GTA Online: Arena War|Arena War]] update for ''Grand Theft Auto Online'', it is available to all players who have reached Skill Level 20 in [[Arena War]]. |
+ | The vehicle is exclusive for the enhanced version players who have returned from either the [[Xbox 360]] or [[PlayStation 3]]. As of the [[GTA Online: Arena War|Arena War]] update for ''Grand Theft Auto Online'', it is available to all players who have reached Skill Level 20 in [[GTA Online: Arena War|Arena War]]. |
==Design== |
==Design== |
||
| Line 77: | Line 102: | ||
===''Grand Theft Auto V''=== |
===''Grand Theft Auto V''=== |
||
{| class="wikitable" |
{| class="wikitable" |
||
| + | ! colspan="2" scope="col" |Category |
||
| − | !Type |
||
| + | ! scope="col" |Modification |
||
| − | !Upgrade |
||
| − | !Cost ( |
+ | ! scope="col" |Cost (''GTA V'') |
| − | !Cost ([[Grand Theft Auto Online|Online]]) |
+ | ! scope="col" |Cost ([[Grand Theft Auto Online|''GTA Online'']]) |
| + | ! scope="col" |Image |
||
| + | |- |
||
| ⚫ | |||
| + | |No Armor |
||
| + | | style="text-align: center;" |$100 |
||
| + | | colspan="2" style="text-align: center;" |$200 |
||
|- |
|- |
||
| ⚫ | |||
|Armor Upgrade 20% |
|Armor Upgrade 20% |
||
| style="text-align: center;" |$500 |
| style="text-align: center;" |$500 |
||
| − | | style="text-align: center;" |$4,500 |
+ | | colspan="2" style="text-align: center;" |$4,500 |
|- |
|- |
||
|Armor Upgrade 40% |
|Armor Upgrade 40% |
||
| style="text-align: center;" |$1,250 |
| style="text-align: center;" |$1,250 |
||
| − | | style="text-align: center;" |$7,500 |
+ | | colspan="2" style="text-align: center;" |$7,500 |
|- |
|- |
||
|Armor Upgrade 60% |
|Armor Upgrade 60% |
||
| style="text-align: center;" |$2,000 |
| style="text-align: center;" |$2,000 |
||
| − | | style="text-align: center;" |$12,000 |
+ | | colspan="2" style="text-align: center;" |$12,000 |
|- |
|- |
||
|Armor Upgrade 80% |
|Armor Upgrade 80% |
||
| style="text-align: center;" |$3,500 |
| style="text-align: center;" |$3,500 |
||
| − | | style="text-align: center;" |$21,000 |
+ | | colspan="2" style="text-align: center;" |$21,000 |
|- |
|- |
||
|Armor Upgrade 100% |
|Armor Upgrade 100% |
||
| style="text-align: center;" |$5,000 |
| style="text-align: center;" |$5,000 |
||
| − | | style="text-align: center;" |$30,000 |
+ | | colspan="2" style="text-align: center;" |$30,000 |
| + | |- |
||
| ⚫ | |||
| + | |Stock Brakes |
||
| + | | style="text-align: center;" |$100 |
||
| + | | colspan="2" style="text-align: center;" |$200 |
||
|- |
|- |
||
| ⚫ | |||
|Street Brakes |
|Street Brakes |
||
| style="text-align: center;" |$2,000 |
| style="text-align: center;" |$2,000 |
||
| − | | style="text-align: center;" |$4,000 |
+ | | colspan="2" style="text-align: center;" |$4,000 |
|- |
|- |
||
|Sport Brakes |
|Sport Brakes |
||
| style="text-align: center;" |$2,700 |
| style="text-align: center;" |$2,700 |
||
| − | | style="text-align: center;" |$5,400 |
+ | | colspan="2" style="text-align: center;" |$5,400 |
|- |
|- |
||
|Race Brakes |
|Race Brakes |
||
| style="text-align: center;" |$3,500 |
| style="text-align: center;" |$3,500 |
||
| − | | style="text-align: center;" |$7,000 |
+ | | colspan="2" style="text-align: center;" |$7,000 |
|- |
|- |
||
| − | |rowspan="4"|Engine |
+ | | colspan="2" rowspan="4" |Engine |
|EMS Upgrade, Level 1 |
|EMS Upgrade, Level 1 |
||
| style="text-align: center;" |$900 |
| style="text-align: center;" |$900 |
||
| − | | style="text-align: center;" |$1,800 |
+ | | colspan="2" style="text-align: center;" |$1,800 |
|- |
|- |
||
|EMS Upgrade, Level 2 |
|EMS Upgrade, Level 2 |
||
| style="text-align: center;" |$1,250 |
| style="text-align: center;" |$1,250 |
||
| − | | style="text-align: center;" |$2,500 |
+ | | colspan="2" style="text-align: center;" |$2,500 |
|- |
|- |
||
|EMS Upgrade, Level 3 |
|EMS Upgrade, Level 3 |
||
| style="text-align: center;" |$1,800 |
| style="text-align: center;" |$1,800 |
||
| − | | style="text-align: center;" |$3,600 |
+ | | colspan="2" style="text-align: center;" |$3,600 |
|- |
|- |
||
|EMS Upgrade, Level 4 |
|EMS Upgrade, Level 4 |
||
| style="text-align: center;" |$3,350 |
| style="text-align: center;" |$3,350 |
||
| − | | style="text-align: center;" |$6,700 |
+ | | colspan="2" style="text-align: center;" |$6,700 |
| + | |- |
||
| + | | colspan="2" rowspan="4" |Exhausts |
||
| + | |Stock Exhaust |
||
| + | | style="text-align: center;" |$130 |
||
| + | | style="text-align: center;" |$260 |
||
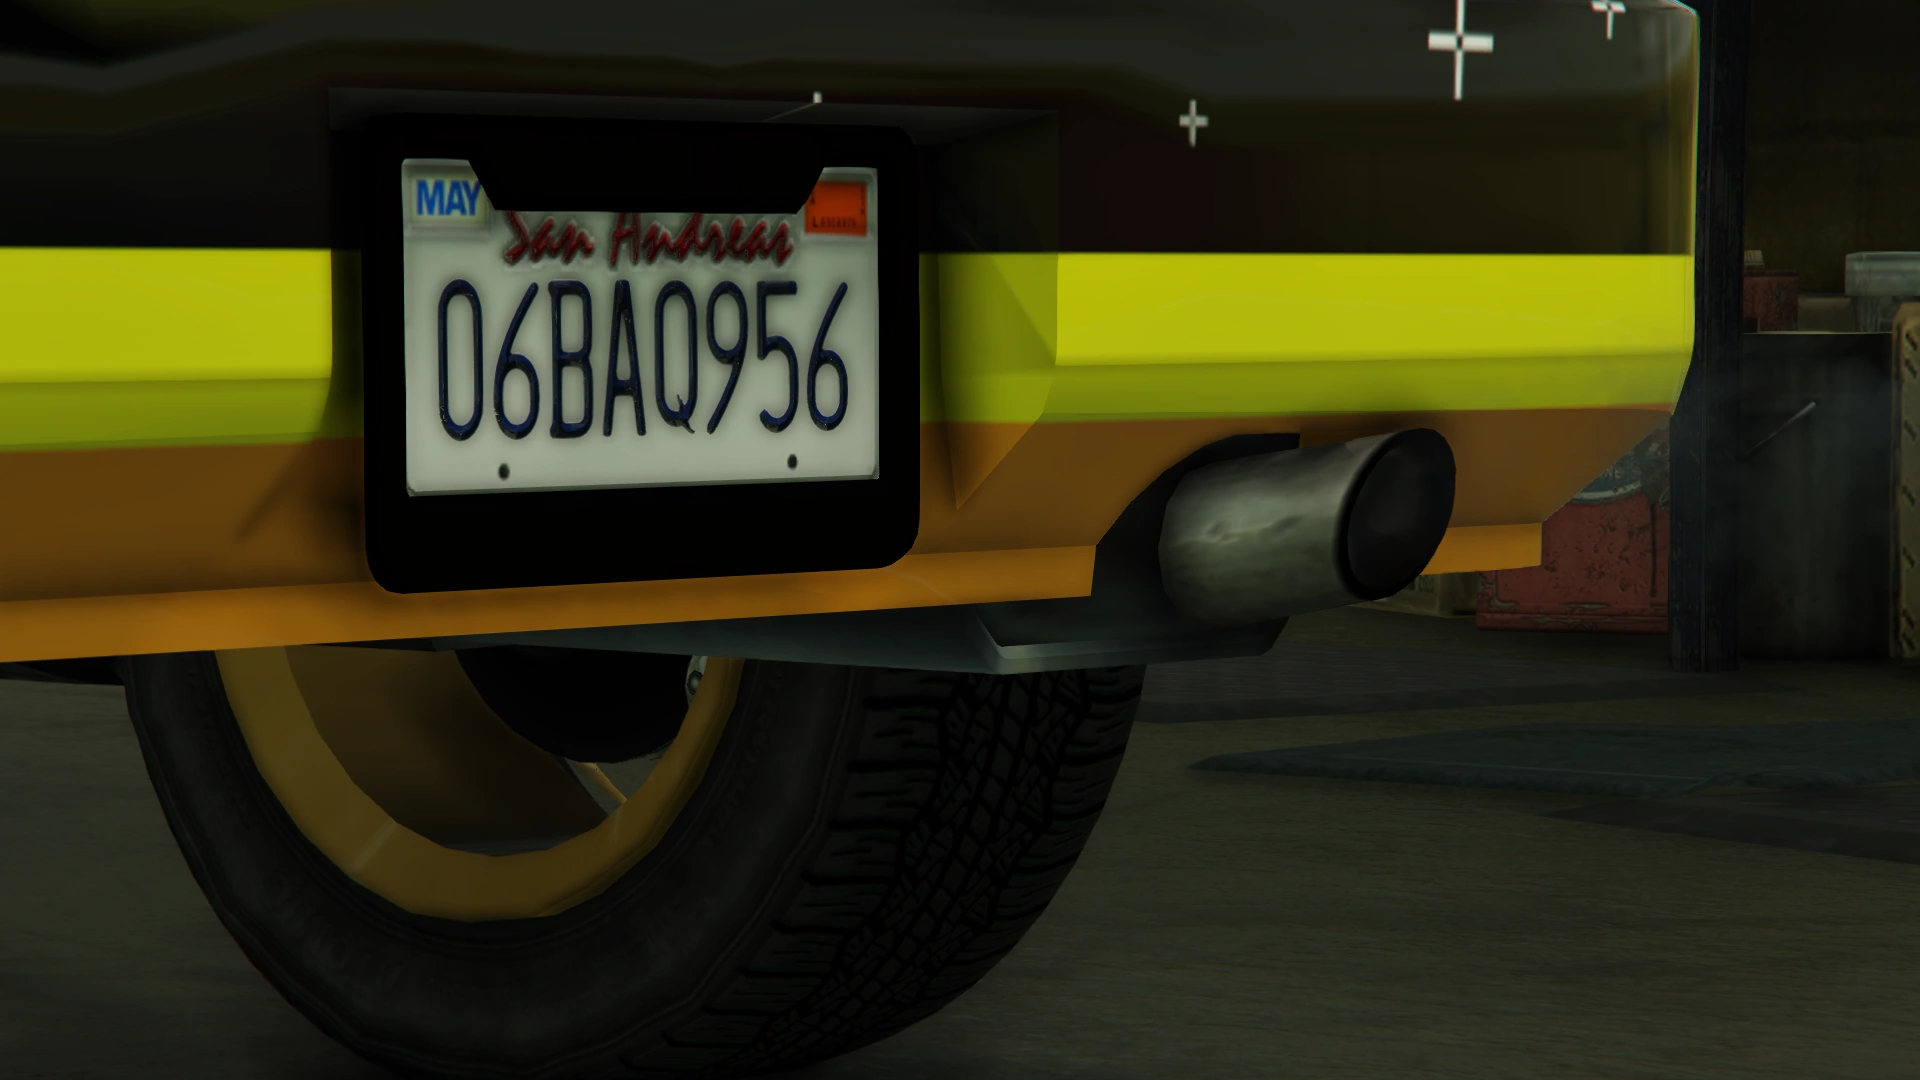
| + | |[[File:GoGoMonkeyBlista-GTAV-StockExhaust.png|thumb|220x220px|centre]] |
||
|- |
|- |
||
| ⚫ | |||
|Dual Exit Exhaust |
|Dual Exit Exhaust |
||
| style="text-align: center;" |$375 |
| style="text-align: center;" |$375 |
||
| − | | style="text-align: center;" |$ |
+ | | style="text-align: center;" |$750 |
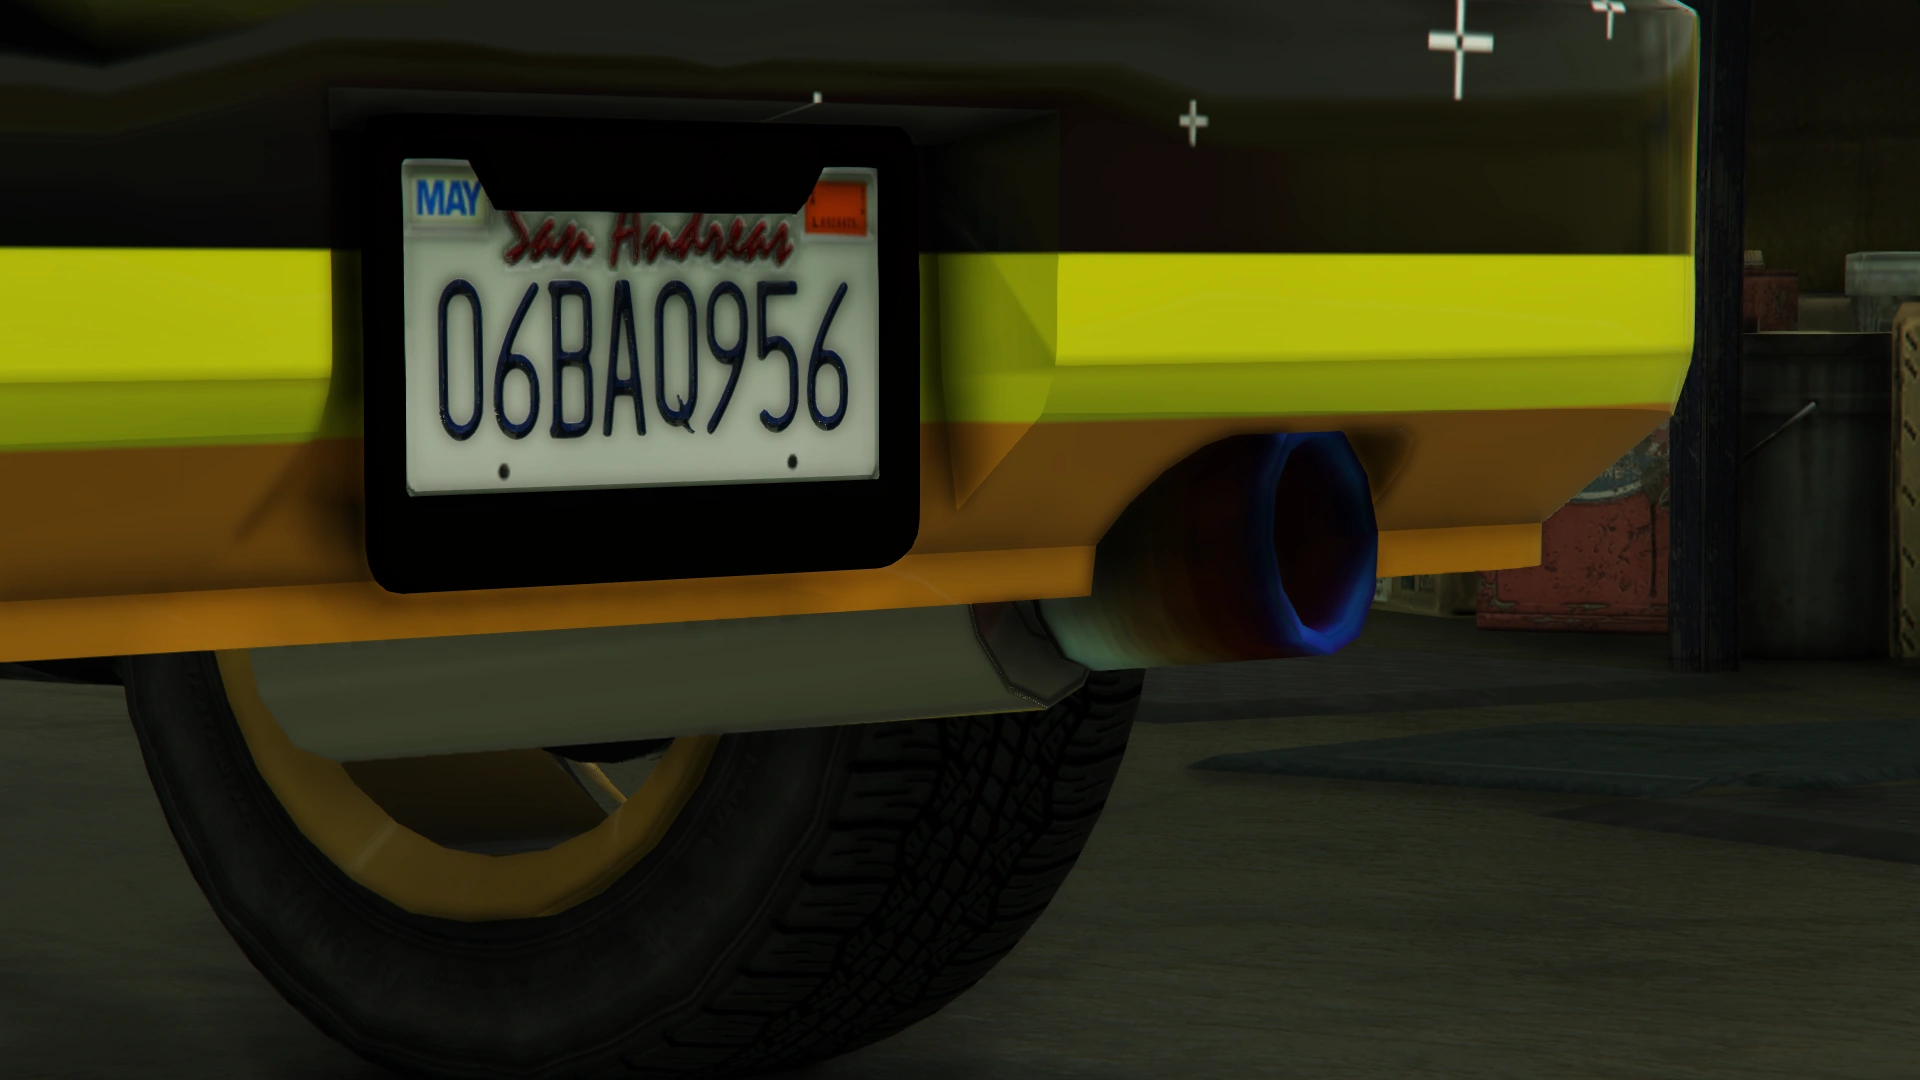
| + | |[[File:GoGoMonkeyBlista-GTAV-DualExitExhaust.png|thumb|220x220px|centre]] |
||
|- |
|- |
||
|Big Bore Exhaust |
|Big Bore Exhaust |
||
| style="text-align: center;" |$899 |
| style="text-align: center;" |$899 |
||
| − | | style="text-align: center;" |$ |
+ | | style="text-align: center;" |$1,800 |
| + | |[[File:GoGoMonkeyBlista-GTAV-BigBoreExhaust.png|thumb|220x220px|centre]] |
||
|- |
|- |
||
|Race Exhaust |
|Race Exhaust |
||
| style="text-align: center;" |$1,499 |
| style="text-align: center;" |$1,499 |
||
| − | | style="text-align: center;" |$ |
+ | | style="text-align: center;" |$3,000 |
| + | |[[File:GoGoMonkeyBlista-GTAV-RaceExhaust.png|thumb|220x220px|centre]] |
||
| + | |- |
||
| + | | colspan="2" rowspan="2" |[[Car Bomb|Explosives]] |
||
| + | |Ignition Bomb |
||
| + | | style="text-align: center;" |N/A |
||
| + | | colspan="2" style="text-align: center;" |$5,000 |
||
| + | |- |
||
| + | |Remote Bomb |
||
| + | | style="text-align: center;" |N/A |
||
| + | | colspan="2" style="text-align: center;" |$7,500 |
||
| + | |- |
||
| + | | colspan="2" rowspan="3"|Hoods |
||
| + | |Stock Hood |
||
| + | | style="text-align: center;" |$150 |
||
| + | | style="text-align: center;" |$300 |
||
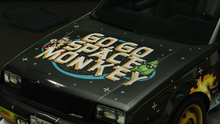
| + | |[[File:GoGoMonkeyBlista-GTAV-StockHood.png|thumb|220x220px|centre]] |
||
|- |
|- |
||
| ⚫ | |||
|Carbon Hood |
|Carbon Hood |
||
| style="text-align: center;" |$325 |
| style="text-align: center;" |$325 |
||
| − | | style="text-align: center;" |$ |
+ | | style="text-align: center;" |$650 |
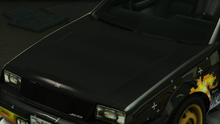
| + | |[[File:GoGoMonkeyBlista-GTAV-CarbonHood.png|thumb|220x220px|centre]] |
||
|- |
|- |
||
|Vented Hood |
|Vented Hood |
||
| style="text-align: center;" |$750 |
| style="text-align: center;" |$750 |
||
| − | | style="text-align: center;" |$ |
+ | | style="text-align: center;" |$1,500 |
| + | |[[File:GoGoMonkeyBlista-GTAV-VentedHood.png|thumb|220x220px|centre]] |
||
| + | |- |
||
| + | | colspan="2" |Horns |
||
| + | |''Main article: [[Los Santos Customs/Horns]]'' |
||
| + | | style="text-align: center;" | - |
||
| + | | colspan="2" style="text-align: center;" | - |
||
| + | |- |
||
| ⚫ | |||
| ⚫ | |||
| + | |Stock Lights |
||
| + | | style="text-align: center;" |$100 |
||
| + | | colspan="2" style="text-align: center;" |$200 |
||
|- |
|- |
||
| ⚫ | |||
|Xenon Lights |
|Xenon Lights |
||
| style="text-align: center;" |$300 |
| style="text-align: center;" |$300 |
||
| − | | style="text-align: center;" |$3,000 |
+ | | colspan="2" style="text-align: center;" |$3,000 |
|- |
|- |
||
| + | |Neon Kits |
||
| − | |<div class="mw-collapsible mw-collapsed" style="width:100%"> |
||
| − | + | |''Main article: [[Los Santos Customs/Lights]]'' |
|
| style="text-align: center;" | - |
| style="text-align: center;" | - |
||
| − | | style="text-align: center;" | - |
+ | | colspan="2" style="text-align: center;" | - |
| + | |- |
||
| − | |||
| + | | colspan="2" rowspan="2" |Loss/Theft Prevention |
||
| + | |Tracker |
||
| + | | style="text-align: center;" |N/A |
||
| + | | colspan="2" style="text-align: center;" |$2,000 |
||
| + | |- |
||
| + | |Full Coverage |
||
| + | | style="text-align: center;" |N/A |
||
| + | | colspan="2" style="text-align: center;" |$ |
||
| + | |- |
||
| + | | colspan="2" rowspan="5" |Plates |
||
| + | |Blue on White 1 |
||
| + | | style="text-align: center;" |$50 |
||
| + | | colspan="2" style="text-align: center;" |$200 |
||
| + | |- |
||
| + | |Blue on White 2 |
||
| + | | style="text-align: center;" |$50 |
||
| + | | colspan="2" style="text-align: center;" |$200 |
||
| + | |- |
||
| + | |Blue on White 3 |
||
| + | | style="text-align: center;" |$50 |
||
| + | | colspan="2" style="text-align: center;" |$200 |
||
| + | |- |
||
| + | |Yellow on Blue |
||
| + | | style="text-align: center;" |$75 |
||
| + | | colspan="2" style="text-align: center;" |$300 |
||
| + | |- |
||
| + | |Yellow on Black |
||
| + | | style="text-align: center;" |$150 |
||
| + | | colspan="2" style="text-align: center;" |$600 |
||
| + | |- |
||
| + | | colspan="2" rowspan="2" |Roll Cages |
||
| ⚫ | |||
| + | | style="text-align: center;" |$350 |
||
| + | | style="text-align: center;" |$700 |
||
| + | |[[File:GoGoMonkeyBlista-GTAV-NoRollCage.png|thumb|220x220px|centre]] |
||
|- |
|- |
||
| ⚫ | |||
|Roll Cage and Chassis Upgrade |
|Roll Cage and Chassis Upgrade |
||
| style="text-align: center;" |$550 |
| style="text-align: center;" |$550 |
||
| − | | style="text-align: center;" |$ |
+ | | style="text-align: center;" |$1,100 |
| + | |[[File:GoGoMonkeyBlista-GTAV-RollCageAndChassisUpgrade.png|thumb|220x220px|centre]] |
||
| + | |- |
||
| ⚫ | |||
| ⚫ | |||
| + | | style="text-align: center;" |$100 |
||
| + | | style="text-align: center;" |$200 |
||
| + | |[[File:GoGoMonkeyBlista-GTAV-StockRoof.png|thumb|220x220px|centre]] |
||
|- |
|- |
||
| ⚫ | |||
|Sunstrip |
|Sunstrip |
||
| style="text-align: center;" |$350 |
| style="text-align: center;" |$350 |
||
| − | | style="text-align: center;" |$ |
+ | | style="text-align: center;" |$700 |
| + | |[[File:GoGoMonkeyBlista-GTAV-Sunstrip.png|thumb|220x220px|centre]] |
||
| + | |- |
||
| + | | colspan="2" |Sell |
||
| + | |Sell Vehicle |
||
| + | | style="text-align: center;" |N/A |
||
| + | | colspan="2" style="text-align: center;" |$25,200 |
||
| + | |- |
||
| + | | colspan="2" rowspan="2" |Skirts |
||
| ⚫ | |||
| + | | style="text-align: center;" |$300 |
||
| + | | style="text-align: center;" |$600 |
||
| + | |[[File:GoGoMonkeyBlista-GTAV-StockSkirts.png|thumb|220x220px|centre]] |
||
|- |
|- |
||
| ⚫ | |||
|Custom Skirts |
|Custom Skirts |
||
| style="text-align: center;" |$415 |
| style="text-align: center;" |$415 |
||
| − | | style="text-align: center;" |$ |
+ | | style="text-align: center;" |$830 |
| + | |[[File:GoGoMonkeyBlista-GTAV-CustomSkirts.png|thumb|220x220px|centre]] |
||
| + | |- |
||
| + | | colspan="2" rowspan="4" |Spoilers |
||
| + | |None |
||
| + | | style="text-align: center;" |$150 |
||
| + | | style="text-align: center;" |$300 |
||
| + | |[[File:GoGoMonkeyBlista-GTAV-SpoilerNone.png|thumb|220x220px|centre]] |
||
|- |
|- |
||
| − | |rowspan="3"|Spoiler |
||
|Low Level Spoiler |
|Low Level Spoiler |
||
| style="text-align: center;" |$275 |
| style="text-align: center;" |$275 |
||
| − | | style="text-align: center;" |$ |
+ | | style="text-align: center;" |$550 |
| + | |[[File:GoGoMonkeyBlista-GTAV-LowLevelSpoiler.png|thumb|220x220px|centre]] |
||
|- |
|- |
||
|Color Coded Wing |
|Color Coded Wing |
||
| style="text-align: center;" |$350 |
| style="text-align: center;" |$350 |
||
| − | | style="text-align: center;" |$ |
+ | | style="text-align: center;" |$700 |
| + | |[[File:GoGoMonkeyBlista-GTAV-ColorCodedWing.png|thumb|220x220px|centre]] |
||
|- |
|- |
||
|Tuner Wing |
|Tuner Wing |
||
| style="text-align: center;" |$525 |
| style="text-align: center;" |$525 |
||
| − | | style="text-align: center;" |$ |
+ | | style="text-align: center;" |$1,050 |
| + | |[[File:GoGoMonkeyBlista-GTAV-TunerWing.png|thumb|220x220px|centre]] |
||
| + | |- |
||
| ⚫ | |||
| + | |Stock Suspension |
||
| + | | style="text-align: center;" |$100 |
||
| + | | colspan="2" style="text-align: center;" |$200 |
||
|- |
|- |
||
| ⚫ | |||
|Lowered Suspension |
|Lowered Suspension |
||
| style="text-align: center;" |$500 |
| style="text-align: center;" |$500 |
||
| − | | style="text-align: center;" |$1,000 |
+ | | colspan="2" style="text-align: center;" |$1,000 |
|- |
|- |
||
|Street Suspension |
|Street Suspension |
||
| style="text-align: center;" |$1,000 |
| style="text-align: center;" |$1,000 |
||
| − | | style="text-align: center;" |$2,000 |
+ | | colspan="2" style="text-align: center;" |$2,000 |
|- |
|- |
||
|Sport Suspension |
|Sport Suspension |
||
| style="text-align: center;" |$1,700 |
| style="text-align: center;" |$1,700 |
||
| − | | style="text-align: center;" |$3,400 |
+ | | colspan="2" style="text-align: center;" |$3,400 |
|- |
|- |
||
|Competition Suspension |
|Competition Suspension |
||
| style="text-align: center;" |$2,200 |
| style="text-align: center;" |$2,200 |
||
| − | | style="text-align: center;" |$4,400 |
+ | | colspan="2" style="text-align: center;" |$4,400 |
| + | |- |
||
| ⚫ | |||
| + | |Stock Transmission |
||
| + | | style="text-align: center;" |$100 |
||
| + | | colspan="2" style="text-align: center;" |$200 |
||
|- |
|- |
||
| ⚫ | |||
|Street Transmission |
|Street Transmission |
||
| style="text-align: center;" |$2,950 |
| style="text-align: center;" |$2,950 |
||
| − | | style="text-align: center;" |$5,900 |
+ | | colspan="2" style="text-align: center;" |$5,900 |
|- |
|- |
||
|Sports Transmission |
|Sports Transmission |
||
| style="text-align: center;" |$3,250 |
| style="text-align: center;" |$3,250 |
||
| − | | style="text-align: center;" |$6,500 |
+ | | colspan="2" style="text-align: center;" |$6,500 |
|- |
|- |
||
|Race Transmission |
|Race Transmission |
||
| style="text-align: center;" |$4,000 |
| style="text-align: center;" |$4,000 |
||
| − | | style="text-align: center;" |$8,000 |
+ | | colspan="2" style="text-align: center;" |$8,000 |
| + | |- |
||
| + | | colspan="2" rowspan="2" |Turbo |
||
| + | |None |
||
| + | | style="text-align: center;" |$500 |
||
| + | | colspan="2" style="text-align: center;" |$1,000 |
||
|- |
|- |
||
| − | |Turbo |
||
|Turbo Tuning |
|Turbo Tuning |
||
| style="text-align: center;" |$2,500 |
| style="text-align: center;" |$2,500 |
||
| − | | style="text-align: center;" |$30,000 |
+ | | colspan="2" style="text-align: center;" |$30,000 |
|- |
|- |
||
| − | |Wheels |
+ | | colspan="2" |Wheels |
| + | |''Main article: [[Los Santos Customs/Wheels]]'' |
||
| − | |<div class="mw-collapsible mw-collapsed" style="width:100%"> |
||
| − | <div class="mw-collapsible-content">{{WheelsExpand}}</div></div> |
||
| style="text-align: center;" | - |
| style="text-align: center;" | - |
||
| − | | style="text-align: center;" | - |
+ | | colspan="2" style="text-align: center;" | - |
| + | |- |
||
| − | |||
| ⚫ | |||
| + | |None |
||
| + | | style="text-align: center;" |$100 |
||
| + | | colspan="2" style="text-align: center;" |$500 |
||
|- |
|- |
||
| ⚫ | |||
|Light Smoke |
|Light Smoke |
||
| style="text-align: center;" |$200 |
| style="text-align: center;" |$200 |
||
| − | | style="text-align: center;" |$1,500 |
+ | | colspan="2" style="text-align: center;" |$1,500 |
|- |
|- |
||
|Dark Smoke |
|Dark Smoke |
||
| style="text-align: center;" |$450 |
| style="text-align: center;" |$450 |
||
| − | | style="text-align: center;" |$3,500 |
+ | | colspan="2" style="text-align: center;" |$3,500 |
|- |
|- |
||
|Limo |
|Limo |
||
| style="text-align: center;" |$700 |
| style="text-align: center;" |$700 |
||
| − | | style="text-align: center;" |$5,000 |
+ | | colspan="2" style="text-align: center;" |$5,000 |
|} |
|} |
||
| Line 259: | Line 401: | ||
===''Grand Theft Auto V''=== |
===''Grand Theft Auto V''=== |
||
To unlock the Go Go Monkey Blista, the following steps must be completed: |
To unlock the Go Go Monkey Blista, the following steps must be completed: |
||
| − | * |
+ | *Photograph all fifty [[Monkey Mosaics]] found around the map. |
| − | * |
+ | *Go to the [[Random Event|random event]] which will be unlocked in the alley directly north of the [[Los Santos Customs]] in [[Burton]]. The artist responsible for the Monkey Mosaics will be spray painting another mosaic: |
| − | * |
+ | *He will begin running away; the player needs to photograph him before he is out of sight. |
| − | * |
+ | *The player will receive a text saying that the Go Go Monkey Blista is now available in the player's garage property. |
| − | * |
+ | *It will now be selectable from the Special Vehicles menu in the garage property. |
=== ''Grand Theft Auto Online'' === |
=== ''Grand Theft Auto Online'' === |
||
| − | * |
+ | *Sometimes seen in the CEO Work "Transporter" as a cargo vehicle in the back of a [[Wastelander]]. It cannot be removed from the Wastelander or driven. |
| − | * |
+ | *Can be obtained for free from [[Southern San Andreas Super Autos]], after reaching Skill Level 20 in Arena War. |
| + | |||
==Trivia== |
==Trivia== |
||
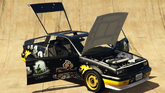
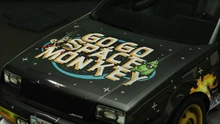
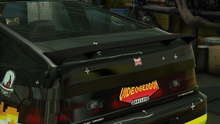
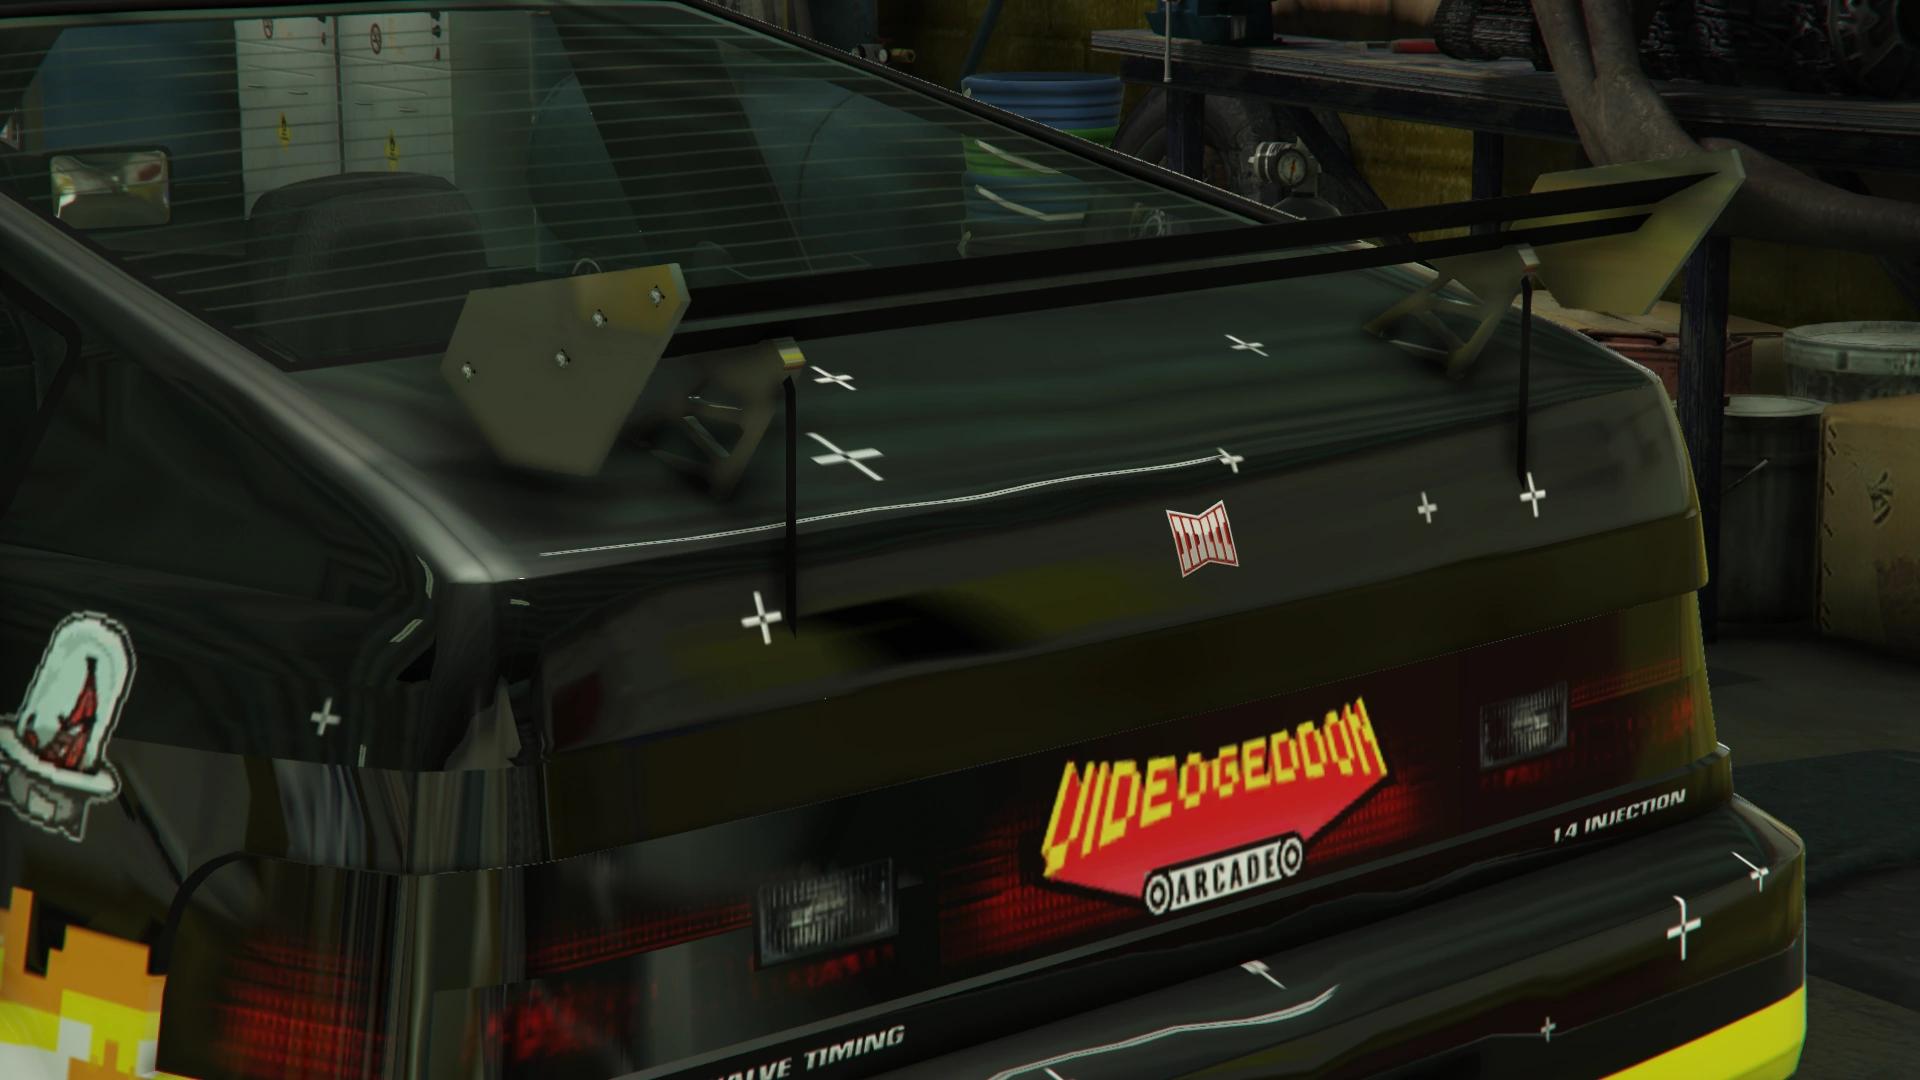
*If the players looks at the back of the middle portion of the Go Go Monkey Blista, the word "Videogeddon" can be noticed. This is an obvious combination of two words: "Video", and "Armageddon". Also, it is a reference to the [[Videogeddon|arcade]] in [[Chinatown, Algonquin]]. |
*If the players looks at the back of the middle portion of the Go Go Monkey Blista, the word "Videogeddon" can be noticed. This is an obvious combination of two words: "Video", and "Armageddon". Also, it is a reference to the [[Videogeddon|arcade]] in [[Chinatown, Algonquin]]. |
||
*The default radio stations for the Go Go Monkey Blista are [[FlyLo FM]] or [[Soulwax FM]]. |
*The default radio stations for the Go Go Monkey Blista are [[FlyLo FM]] or [[Soulwax FM]]. |
||
| + | *The Go Go Monkey Blista no longer has an updated image and a preview on [[Rockstar Games Social Club]]. |
||
==See Also== |
==See Also== |
||
| Line 281: | Line 425: | ||
|list1= |
|list1= |
||
{{Gtav vehicles|state=collapsed}} |
{{Gtav vehicles|state=collapsed}} |
||
| ⚫ | |||
| ⚫ | |||
| ⚫ | |||
[[Category:Vehicles]] |
[[Category:Vehicles]] |
||
[[Category:Vehicles in GTA V]] |
[[Category:Vehicles in GTA V]] |
||
Revision as of 11:59, 30 January 2020
Template:Next-Gen Template:Infobox vehicles
The Dinka Go Go Monkey Blista is a two-door hatchback appearing in Grand Theft Auto V and Grand Theft Auto Online for the Xbox One, PlayStation 4 and PC.
Description
The vehicle is exclusive for the enhanced version players who have returned from either the Xbox 360 or PlayStation 3. As of the Arena War update for Grand Theft Auto Online, it is available to all players who have reached Skill Level 20 in Arena War.
Design
Grand Theft Auto V
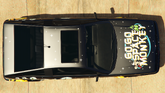
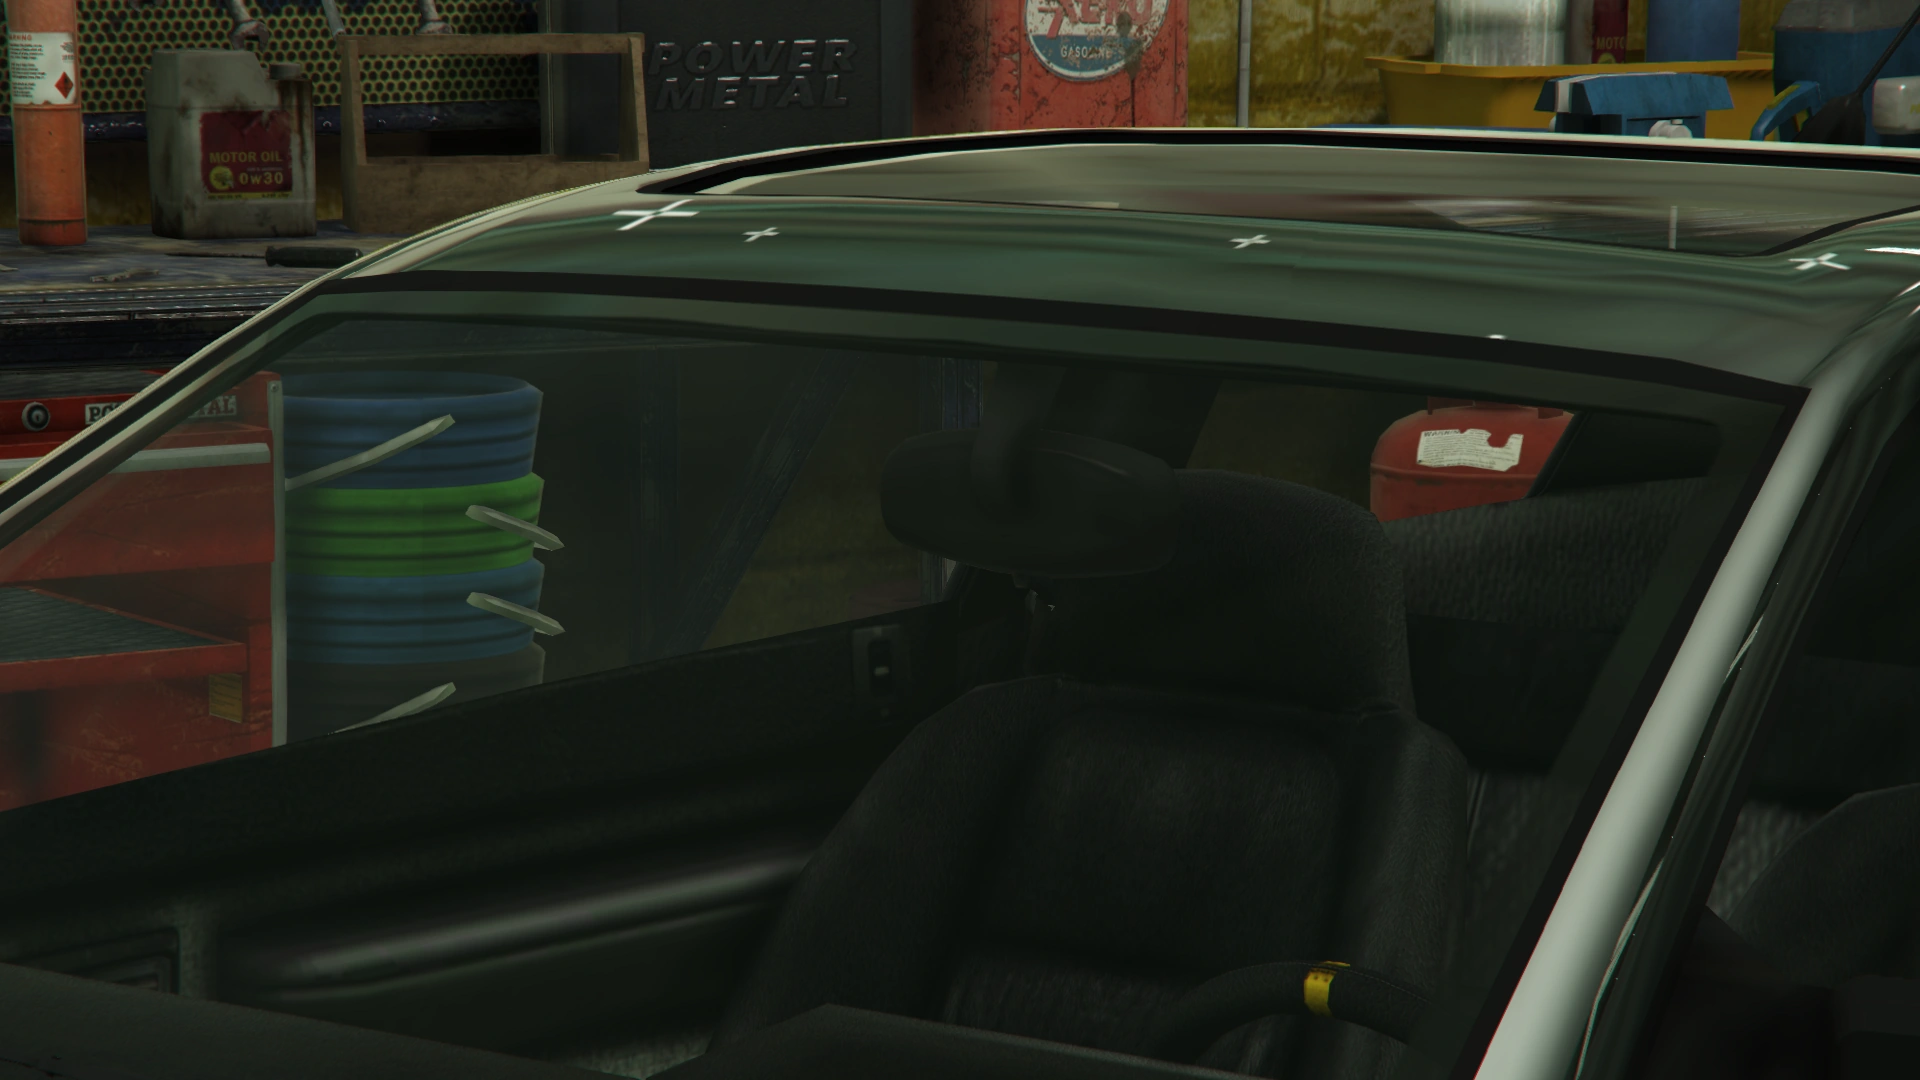
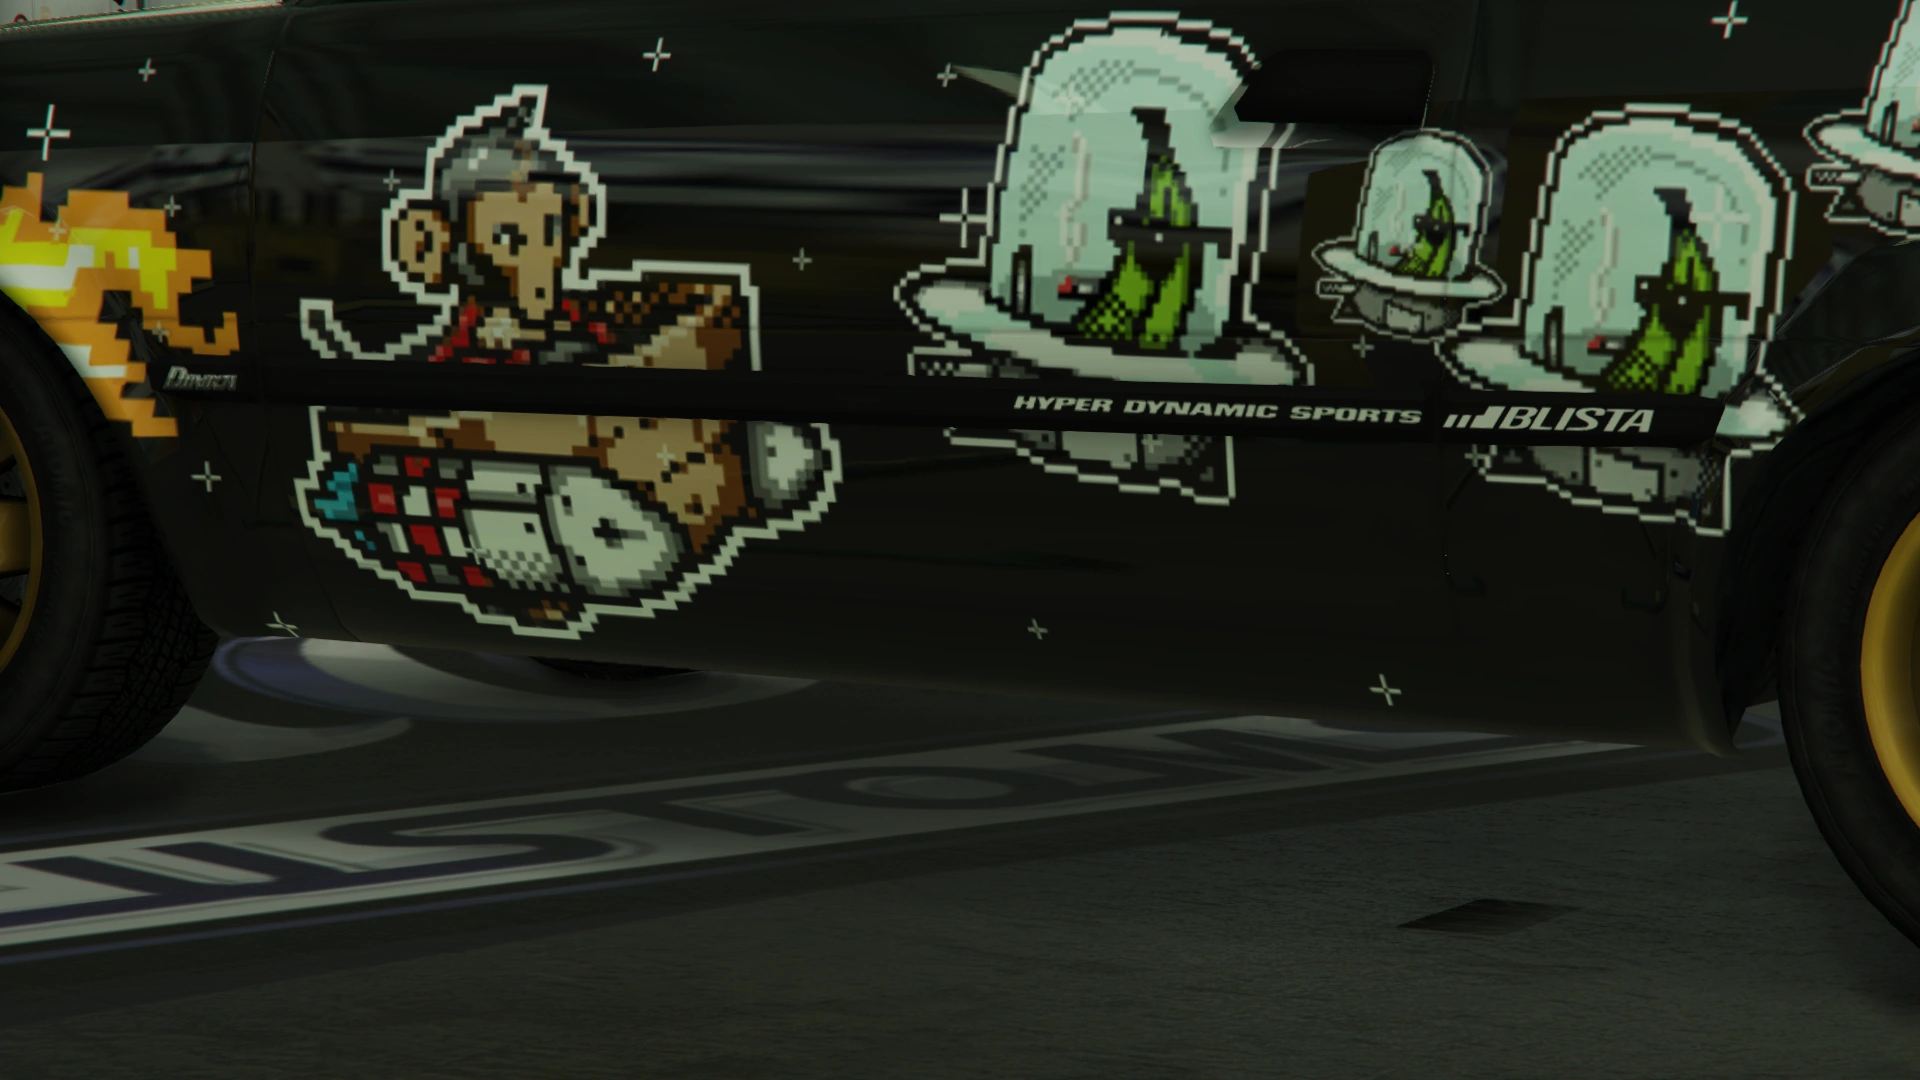
It shares the original body shape and design with the Blista Compact, however now sports a Go Go Space Monkey livery wrapped across the vehicle. It shares the same derivatives with the Blista Compact, holding the original body design.
Current Design Gallery


Performance
Grand Theft Auto V
It shares the performance with the original Blista Compact, being surprisingly fast with nimble handling and good suspension. Due to its categorisation being in the Sports class in-game, it is the worst of the Sports cars, but still an all round excellent performing car.
GTA V Overview
| Acceleration (0-60 mph in Seconds) |
Top Speed (mph / kmh) |
Gears | Engine | Drivetrain (FWD / RWD / AWD) |
Mass (kg / lbs) |
Fuel Tank Size (litres) |
|---|---|---|---|---|---|---|
| N/A | 82 / 132 | 5 | N/A | FWD | 1050 / 2315 | 65 |
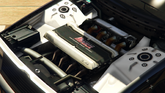
| N/A | N/A | N/A | 1.4 Liter Twin (2)-Cam IVVT V6 (Badging + Website) | N/A | N/A | N/A |
| 7.4 Seconds | 85 / 136 | 5 | FF DOHC Inline-4 (In-game model) | FWD | Cannot be observed | Cannot be observed |
Modifications
Grand Theft Auto V
| Category | Modification | Cost (GTA V) | Cost (GTA Online) | Image | |
|---|---|---|---|---|---|
| Armor | No Armor | $100 | $200 | ||
| Armor Upgrade 20% | $500 | $4,500 | |||
| Armor Upgrade 40% | $1,250 | $7,500 | |||
| Armor Upgrade 60% | $2,000 | $12,000 | |||
| Armor Upgrade 80% | $3,500 | $21,000 | |||
| Armor Upgrade 100% | $5,000 | $30,000 | |||
| Brakes | Stock Brakes | $100 | $200 | ||
| Street Brakes | $2,000 | $4,000 | |||
| Sport Brakes | $2,700 | $5,400 | |||
| Race Brakes | $3,500 | $7,000 | |||
| Engine | EMS Upgrade, Level 1 | $900 | $1,800 | ||
| EMS Upgrade, Level 2 | $1,250 | $2,500 | |||
| EMS Upgrade, Level 3 | $1,800 | $3,600 | |||
| EMS Upgrade, Level 4 | $3,350 | $6,700 | |||
| Exhausts | Stock Exhaust | $130 | $260 | ||
| Dual Exit Exhaust | $375 | $750 | |||
| Big Bore Exhaust | $899 | $1,800 | |||
| Race Exhaust | $1,499 | $3,000 | |||
| Explosives | Ignition Bomb | N/A | $5,000 | ||
| Remote Bomb | N/A | $7,500 | |||
| Hoods | Stock Hood | $150 | $300 | ||
| Carbon Hood | $325 | $650 | |||
| Vented Hood | $750 | $1,500 | |||
| Horns | Main article: Los Santos Customs/Horns | - | - | ||
| Lights | Headlights | Stock Lights | $100 | $200 | |
| Xenon Lights | $300 | $3,000 | |||
| Neon Kits | Main article: Los Santos Customs/Lights | - | - | ||
| Loss/Theft Prevention | Tracker | N/A | $2,000 | ||
| Full Coverage | N/A | $ | |||
| Plates | Blue on White 1 | $50 | $200 | ||
| Blue on White 2 | $50 | $200 | |||
| Blue on White 3 | $50 | $200 | |||
| Yellow on Blue | $75 | $300 | |||
| Yellow on Black | $150 | $600 | |||
| Roll Cages | No Roll Cage | $350 | $700 | ||
| Roll Cage and Chassis Upgrade | $550 | $1,100 | |||
| Roofs | Stock Roof | $100 | $200 | ||
| Sunstrip | $350 | $700 | |||
| Sell | Sell Vehicle | N/A | $25,200 | ||
| Skirts | Stock Skirts | $300 | $600 | ||
| Custom Skirts | $415 | $830 | |||
| Spoilers | None | $150 | $300 | ||
| Low Level Spoiler | $275 | $550 | |||
| Color Coded Wing | $350 | $700 | |||
| Tuner Wing | $525 | $1,050 | |||
| Suspension | Stock Suspension | $100 | $200 | ||
| Lowered Suspension | $500 | $1,000 | |||
| Street Suspension | $1,000 | $2,000 | |||
| Sport Suspension | $1,700 | $3,400 | |||
| Competition Suspension | $2,200 | $4,400 | |||
| Transmission | Stock Transmission | $100 | $200 | ||
| Street Transmission | $2,950 | $5,900 | |||
| Sports Transmission | $3,250 | $6,500 | |||
| Race Transmission | $4,000 | $8,000 | |||
| Turbo | None | $500 | $1,000 | ||
| Turbo Tuning | $2,500 | $30,000 | |||
| Wheels | Main article: Los Santos Customs/Wheels | - | - | ||
| Windows | None | $100 | $500 | ||
| Light Smoke | $200 | $1,500 | |||
| Dark Smoke | $450 | $3,500 | |||
| Limo | $700 | $5,000 | |||


Image Gallery
")
Locations
Grand Theft Auto V
To unlock the Go Go Monkey Blista, the following steps must be completed:
- Photograph all fifty Monkey Mosaics found around the map.
- Go to the random event which will be unlocked in the alley directly north of the Los Santos Customs in Burton. The artist responsible for the Monkey Mosaics will be spray painting another mosaic:
- He will begin running away; the player needs to photograph him before he is out of sight.
- The player will receive a text saying that the Go Go Monkey Blista is now available in the player's garage property.
- It will now be selectable from the Special Vehicles menu in the garage property.
Grand Theft Auto Online
- Sometimes seen in the CEO Work "Transporter" as a cargo vehicle in the back of a Wastelander. It cannot be removed from the Wastelander or driven.
- Can be obtained for free from Southern San Andreas Super Autos, after reaching Skill Level 20 in Arena War.
Trivia
- If the players looks at the back of the middle portion of the Go Go Monkey Blista, the word "Videogeddon" can be noticed. This is an obvious combination of two words: "Video", and "Armageddon". Also, it is a reference to the arcade in Chinatown, Algonquin.
- The default radio stations for the Go Go Monkey Blista are FlyLo FM or Soulwax FM.
- The Go Go Monkey Blista no longer has an updated image and a preview on Rockstar Games Social Club.
See Also
- Futo - Another compact car which shares similar performance and design.
- Blista Compact - Standard version.