mNo edit summary |
mNo edit summary |
||
| (3 intermediate revisions by 2 users not shown) | |||
| Line 1: | Line 1: | ||
| − | {{Under Construction}} |
||
{{Next-Gen}} |
{{Next-Gen}} |
||
{{Infobox vehicles |
{{Infobox vehicles |
||
| Line 47: | Line 46: | ||
The vehicle is evidently based on the {{WP|Ripsaw (vehicle)|Howe & Howe Ripsaw EV2}}, characterized by the low profile and the suspension system. |
The vehicle is evidently based on the {{WP|Ripsaw (vehicle)|Howe & Howe Ripsaw EV2}}, characterized by the low profile and the suspension system. |
||
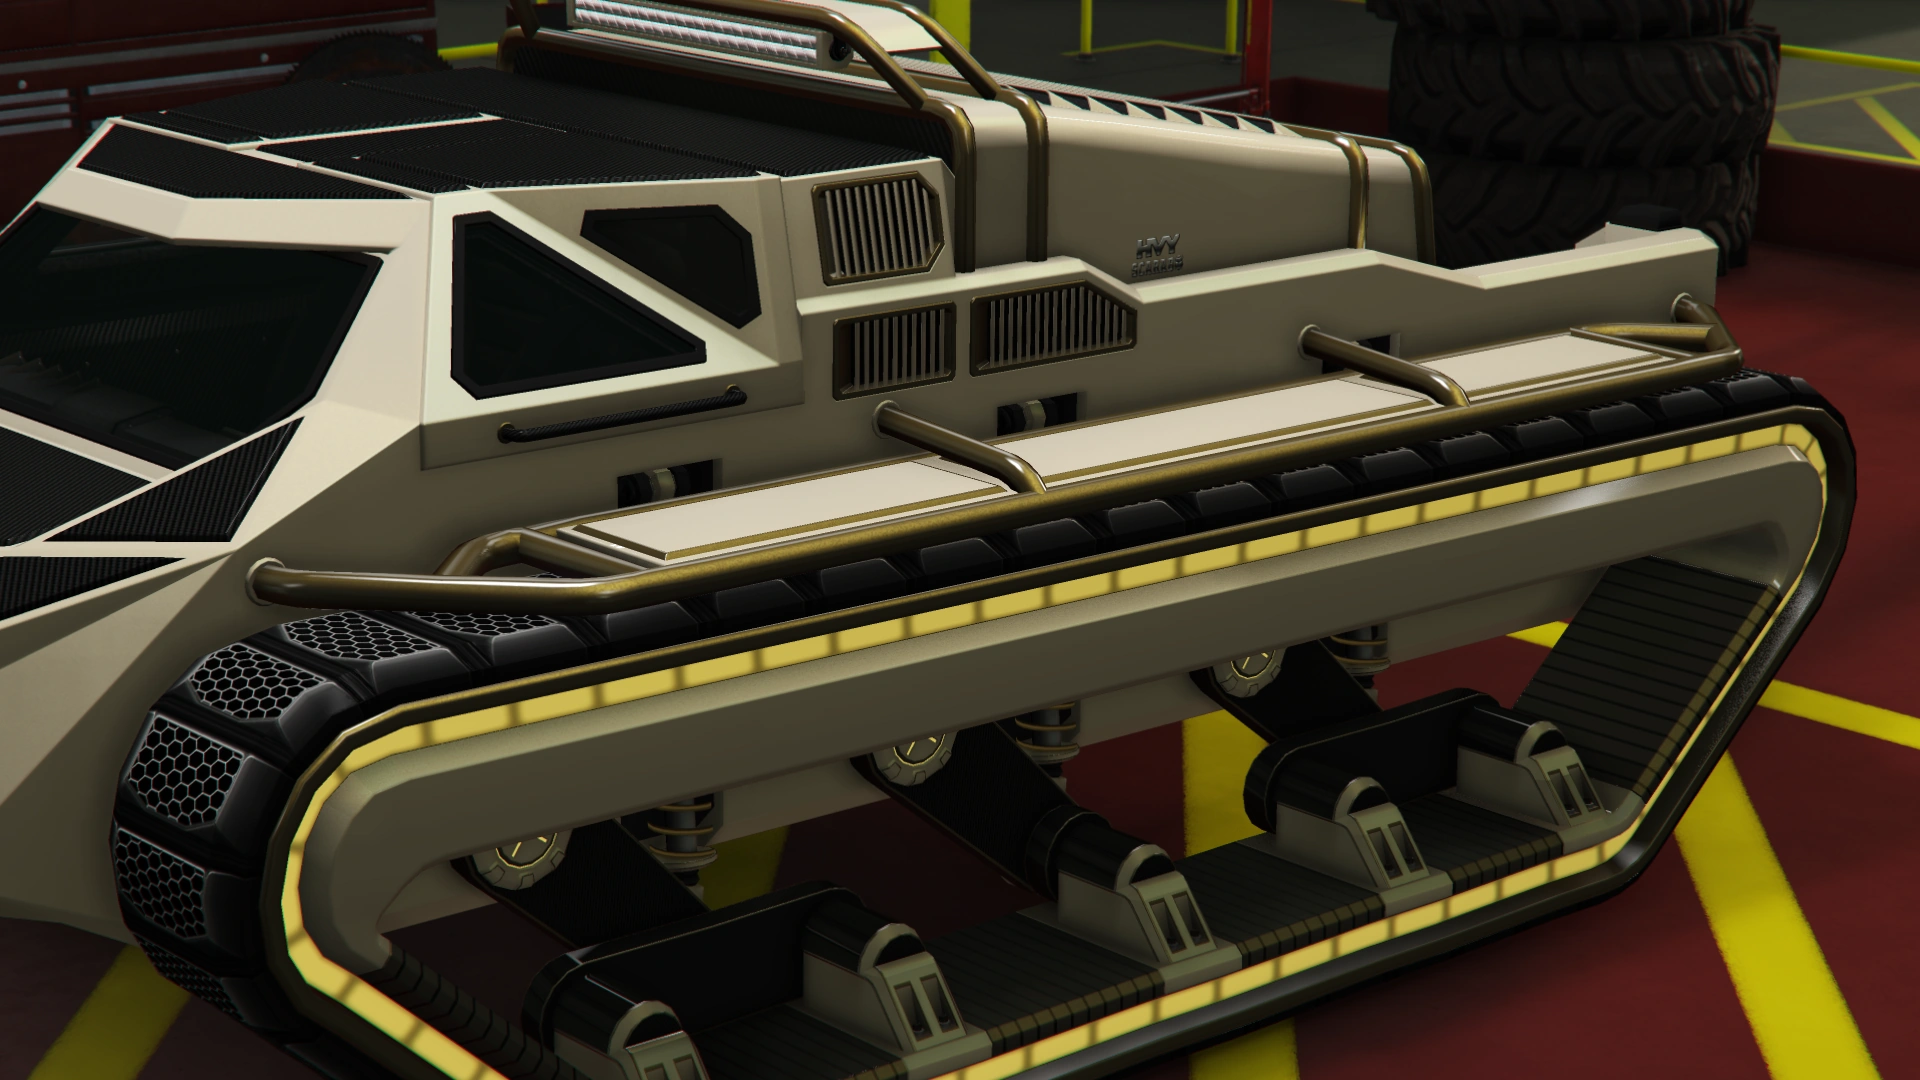
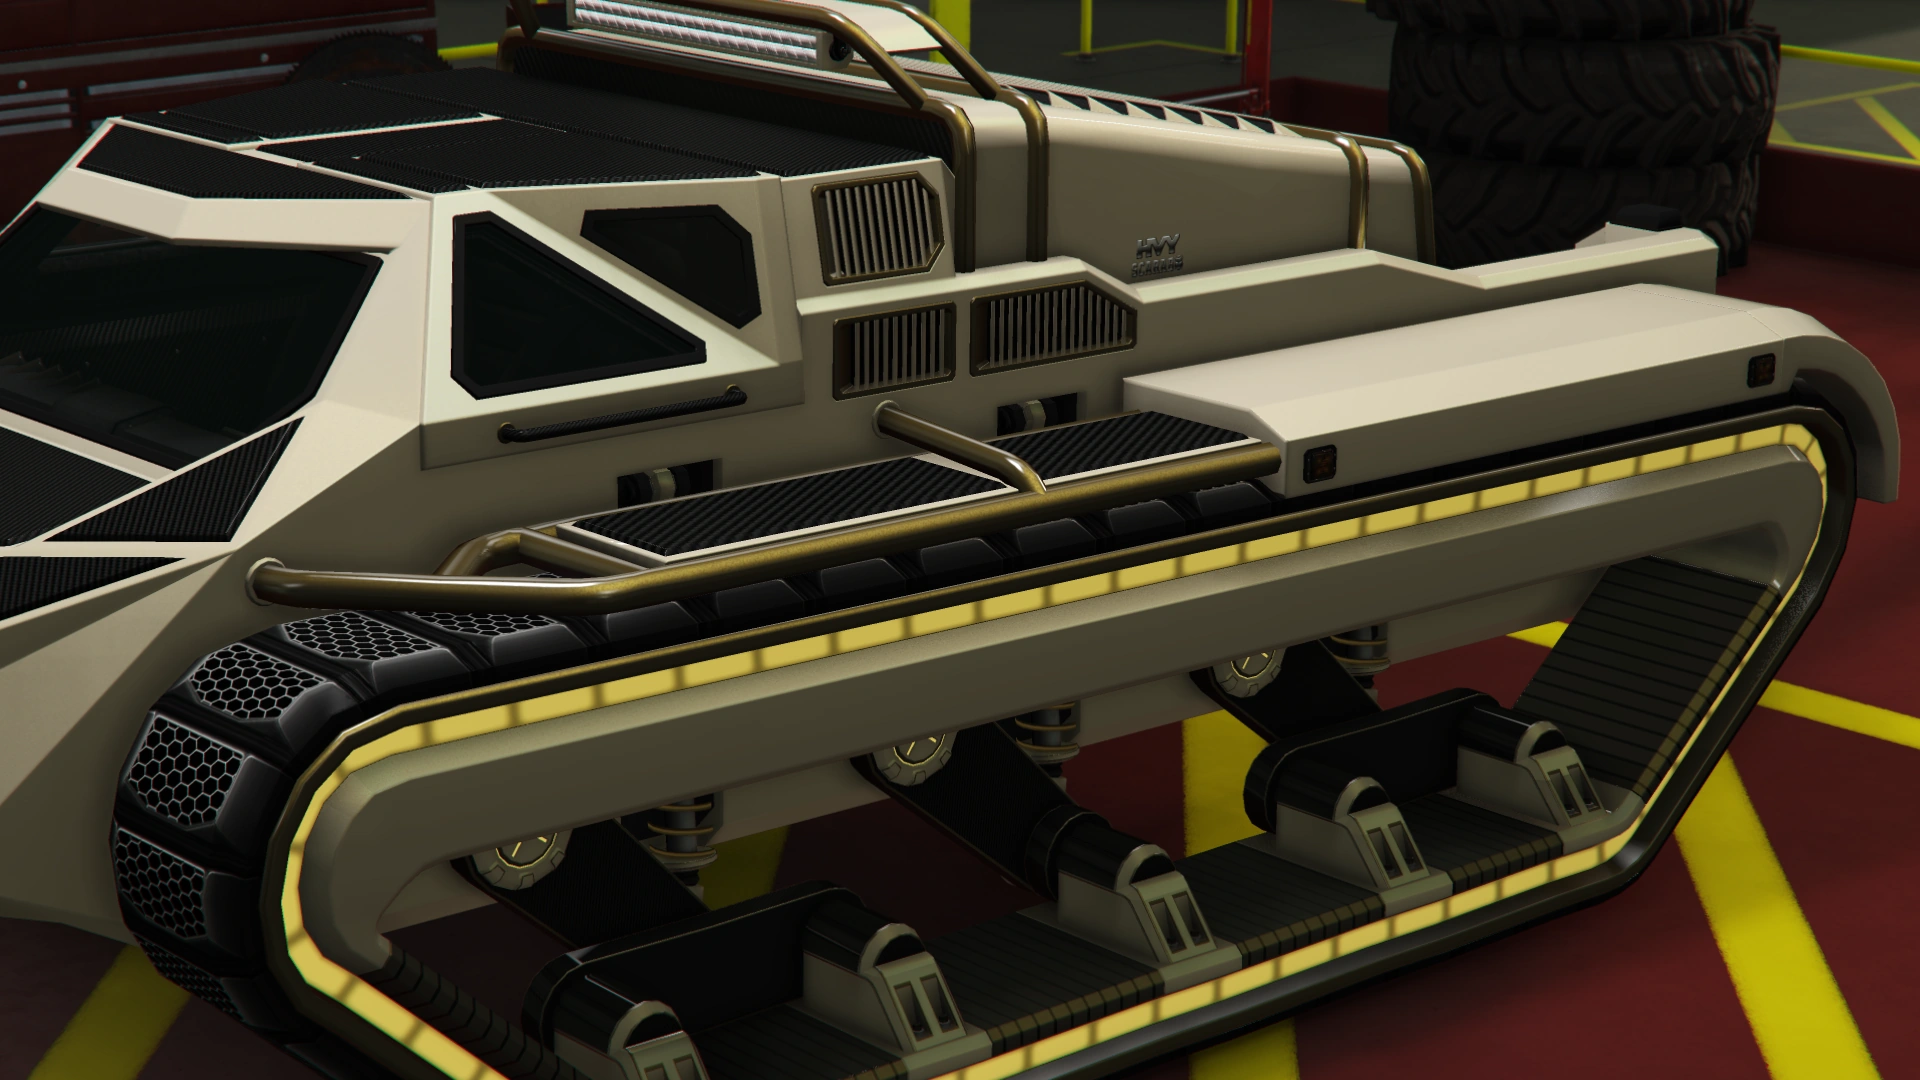
| ⚫ | The vehicle is essentially the same as its [[Apocalypse Scarab|Apocalypse]] and [[Nightmare Scarab|Nightmare]] variants, but gains a modernized track system, where the wheels are now smaller in size and enclosed, connected to each other by flexible track coverings and featuring glowing accent trims around these. The tracks themselves also have a new tread pattern. |
||
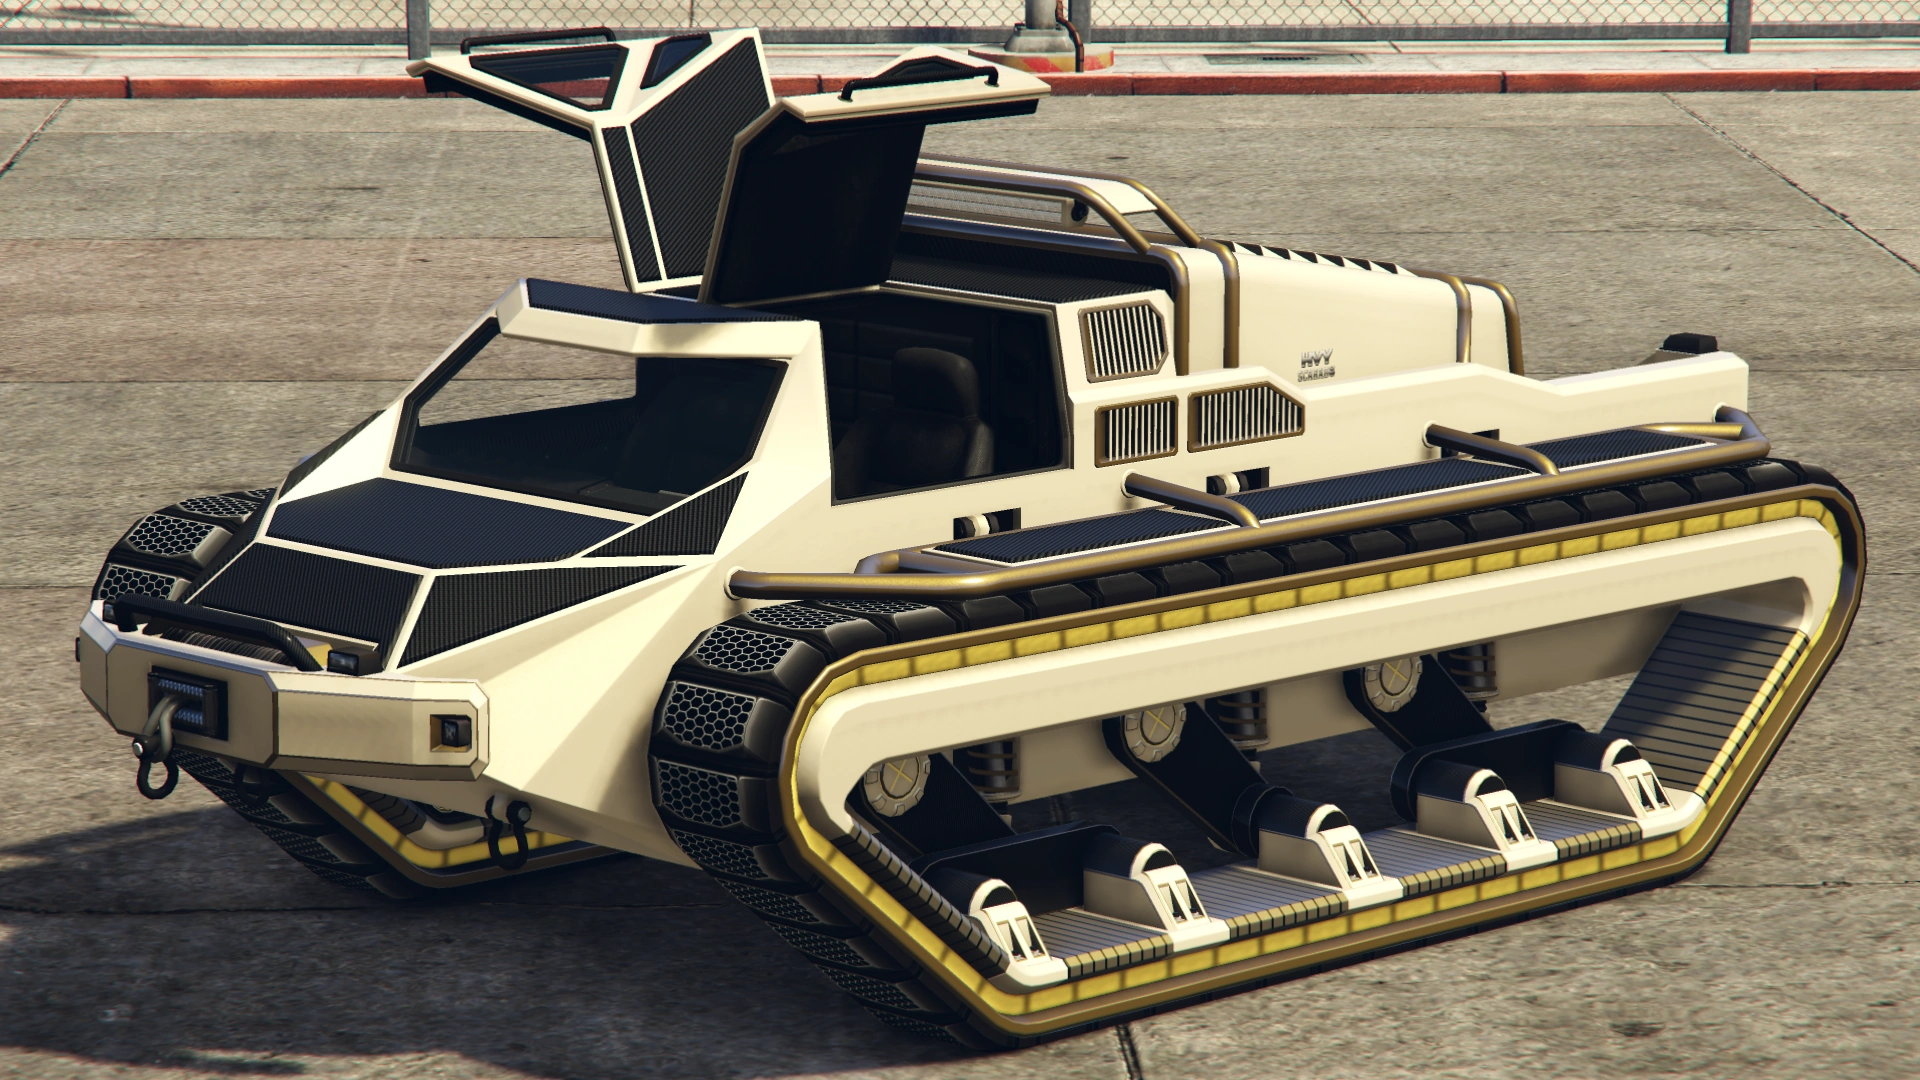
| − | The vehicle is depicted as a small tracked vehicle with a small bumper, where the headlights and a winch are located. The cabin has an angled windshield and two top-hinged access doors. Behind it there is the engine bay, evidenced by the vents located on the sides and the roof, featuring protective frames on the front and rear sides, along with a LED flood light identical to those found in the [[Riata]] or the [[Kamacho]]. The rear section features a truck bed with an open back, which two passengers can sit on either side, in a similar manner to the [[Insurgent Pick-Up]], featuring the standard tail lights and another winch on the rear bumper. By default comes with the "Light Edge Rust" livery and a Light Scoop Ram Weapon. |
||
| − | |||
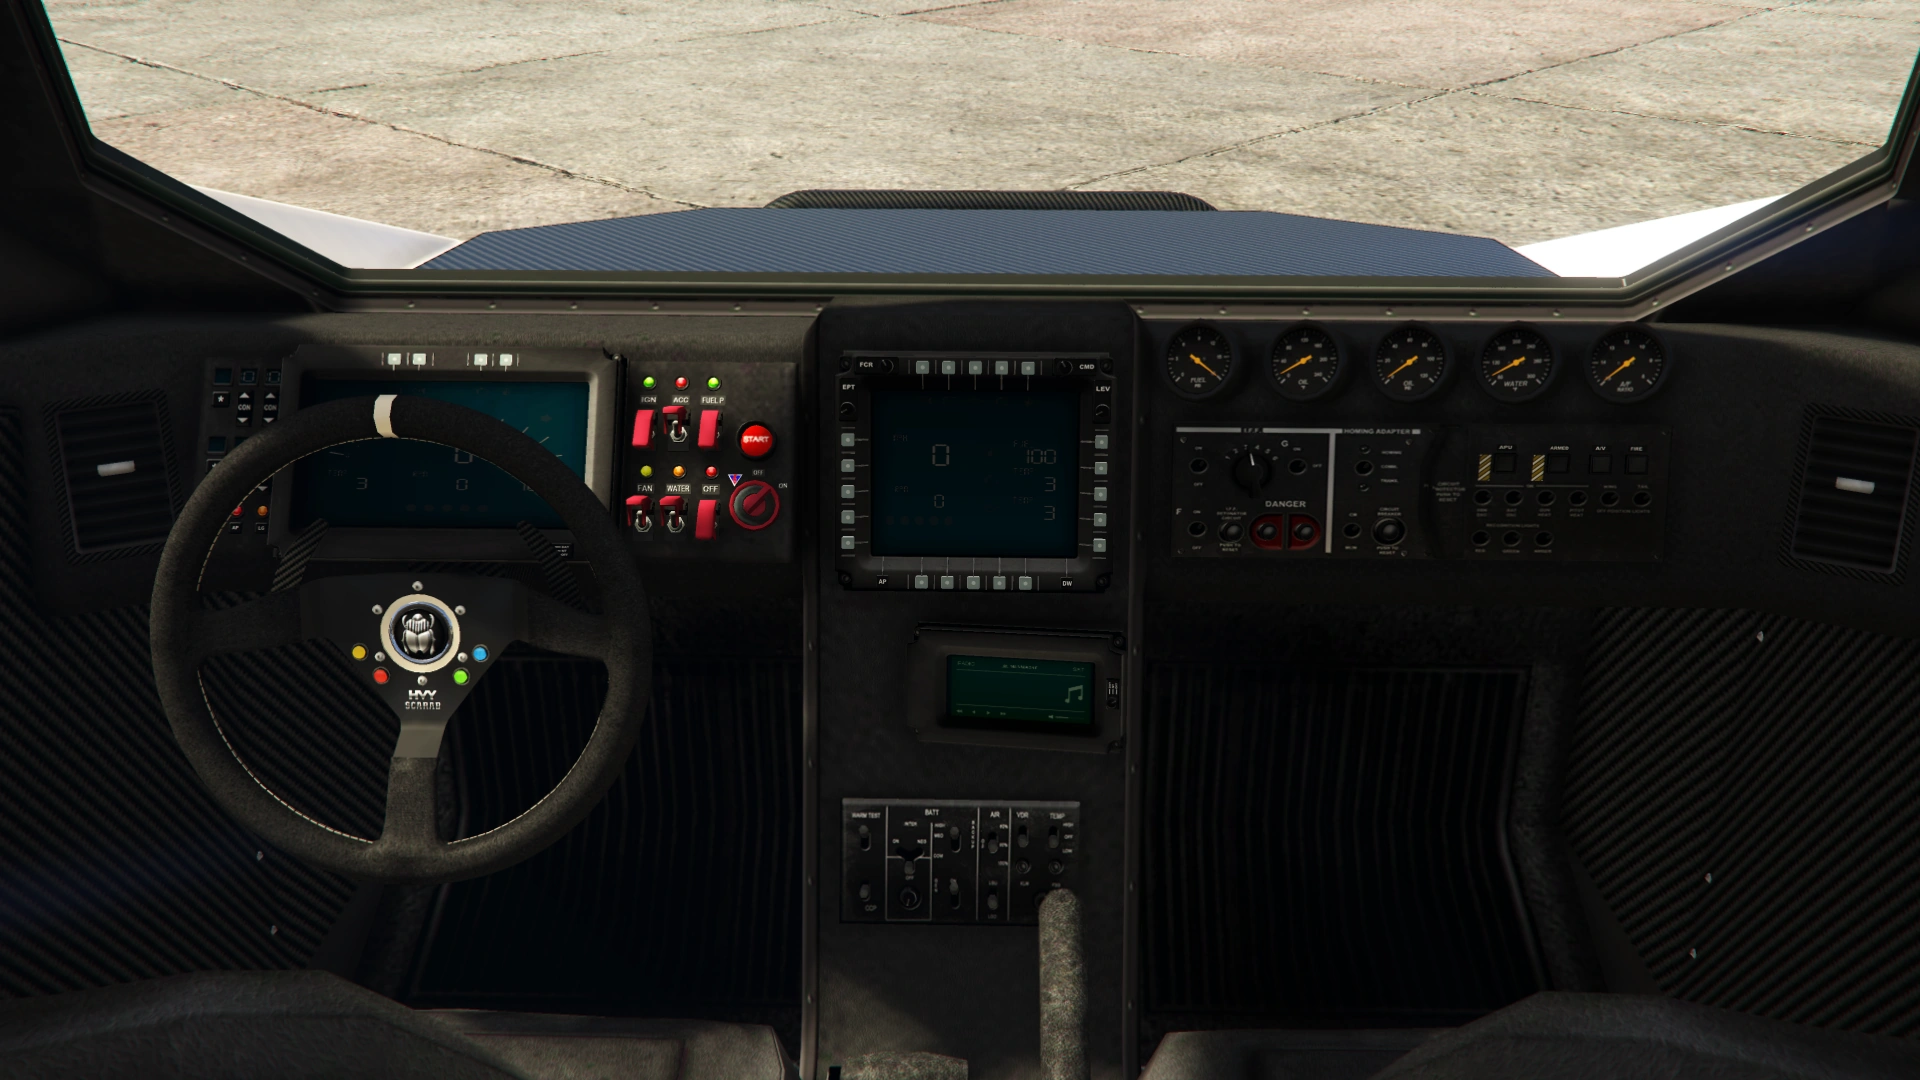
| − | The interior uses components from race-type vehicles, in a layout intended to replicate the interior from the Ripsaw EV2. There is a digital speedometer on the driver side and five gauges on the passenger side facing to the driver, as well as another screen and the radio display on the middle. There are several devices identical to those from the [[TM-02 Khanjali]] and numerous buttons also found on race-type interiors, as well as Scarab badges on the steering wheel. |
||
| − | |||
| ⚫ | The vehicle is essentially the same as its |
||
{{Clr}} |
{{Clr}} |
||
===Current Design Gallery=== |
===Current Design Gallery=== |
||
<!--Please ensure you have read the Manual of Style [GTA_Wiki:Manual_of_Style/Vehicles/Design_Galleries] before uploading and adding images to the Current Design Gallery. Failure to meet these guidelines will result in the images being removed and deleted, and repeated offences may result in a warning.--> |
<!--Please ensure you have read the Manual of Style [GTA_Wiki:Manual_of_Style/Vehicles/Design_Galleries] before uploading and adding images to the Current Design Gallery. Failure to meet these guidelines will result in the images being removed and deleted, and repeated offences may result in a warning.--> |
||
| − | |||
{{Current Design Gallery |
{{Current Design Gallery |
||
|front_quarter_image = FutureShockScarab-GTAO-FrontQuarter.png |
|front_quarter_image = FutureShockScarab-GTAO-FrontQuarter.png |
||
| Line 77: | Line 71: | ||
The Scarab accelerates fairly quick compared to other tracked vehicles and possess above average handling. While having good suspension, caution should be taken when having a ram weapon equipped, as it may disrupt its capabilities. |
The Scarab accelerates fairly quick compared to other tracked vehicles and possess above average handling. While having good suspension, caution should be taken when having a ram weapon equipped, as it may disrupt its capabilities. |
||
| − | Although it is not heavy enough to crush cars like the [[Rhino|Rhino Tank]] or the [[TM-02 Khanjali]], the Scarab can still pose a threat at anyone. The |
+ | Although it is not heavy enough to crush cars like the [[Rhino|Rhino Tank]] or the [[TM-02 Khanjali]], the Scarab can still pose a threat at anyone. The vehicle can push away vehicles with ease and is difficult to be pushed by other light cars, making it an excellent choice for transportation around the map. |
;Abilities |
;Abilities |
||
| Line 85: | Line 79: | ||
;Armor |
;Armor |
||
| − | Compared to other Arena vehicles, the Scarab excels in armor resistance, able to take up to six rockets before being destroyed. However, its windshield is pretty large, leaving the front occupants vulnerable to gunfire, with little to no protection for the rear passengers. |
+ | Compared to other Arena vehicles, the Scarab excels in armor resistance, able to take up to six rockets before being destroyed. However, its windshield is pretty large, leaving the front occupants vulnerable to gunfire, with little to no protection for the rear passengers. The Full Armor plate solves the issue with the front occupants, which leaves a smaller weak spot on the windshield. However, there is no option for the rear bed to protect the rear passengers. |
;Weaponry |
;Weaponry |
||
<!--these descriptions are to be made and used as standard for applicable arena cars--> |
<!--these descriptions are to be made and used as standard for applicable arena cars--> |
||
*The vehicle can be fitted with a Ram Weapon. The ram weapon behaves in a similar way to the updated scoops and ramming bars of the [[RCV]] and [[Armored Boxville]], causing a large amount of damage to other vehicles and often sending them flying into mid-air with little to no disadvantage against the vehicle itself, and no damage to the vehicle's engine whatsoever. It should be noted that the effectiveness against other players is significantly reduced compared to its effectiveness against NPCs and their vehicles. |
*The vehicle can be fitted with a Ram Weapon. The ram weapon behaves in a similar way to the updated scoops and ramming bars of the [[RCV]] and [[Armored Boxville]], causing a large amount of damage to other vehicles and often sending them flying into mid-air with little to no disadvantage against the vehicle itself, and no damage to the vehicle's engine whatsoever. It should be noted that the effectiveness against other players is significantly reduced compared to its effectiveness against NPCs and their vehicles. |
||
| − | *The Scarab can be modified to have a single .50 caliber machine gun. It behaves similarly to other front-mounted machine guns from various armed land vehicles, but it is difficult to use and lacks enough firepower to sort out heavily-armored vehicles. |
+ | *The Scarab can be modified to have a single {{WP|M2 Browning|Browning M2HB}} .50 caliber machine gun. It behaves similarly to other front-mounted machine guns from various armed land vehicles, but it is difficult to use and lacks enough firepower to sort out heavily-armored vehicles. |
<!--this description is to be made and used as standard for applicable Future Shock cars--> |
<!--this description is to be made and used as standard for applicable Future Shock cars--> |
||
**It can also have a phased plasma gun, which seems to have higher fire rate but still remain as powerful as the machine gun. |
**It can also have a phased plasma gun, which seems to have higher fire rate but still remain as powerful as the machine gun. |
||
| Line 139: | Line 133: | ||
| colspan="2" rowspan="4" |Brakes |
| colspan="2" rowspan="4" |Brakes |
||
|Stock Brakes |
|Stock Brakes |
||
| − | | colspan="2" style="text-align: center;"|$1,000 |
+ | | colspan="2" style="text-align: center;" |$1,000 |
|- |
|- |
||
|Street Brakes |
|Street Brakes |
||
| − | | colspan="2" style="text-align: center;"|$20,000 |
+ | | colspan="2" style="text-align: center;" |$20,000 |
|- |
|- |
||
|Sport Brakes |
|Sport Brakes |
||
| − | | colspan="2" style="text-align: center;"|$27,000 |
+ | | colspan="2" style="text-align: center;" |$27,000 |
|- |
|- |
||
|Race Brakes |
|Race Brakes |
||
| − | | colspan="2" style="text-align: center;"|$35,000 |
+ | | colspan="2" style="text-align: center;" |$35,000 |
|- |
|- |
||
| colspan="2" rowspan="5" |Boost |
| colspan="2" rowspan="5" |Boost |
||
|None |
|None |
||
| − | | colspan="2" style="text-align: center;"|$20,000 |
+ | | colspan="2" style="text-align: center;" |$20,000 |
|- |
|- |
||
|Boost Upgrade 20% |
|Boost Upgrade 20% |
||
| − | | colspan="2" style="text-align: center;"|$100,000<br />$50,000 (AW) |
+ | | colspan="2" style="text-align: center;" |$100,000<br />$50,000 (AW) |
|- |
|- |
||
|Boost Upgrade 60% |
|Boost Upgrade 60% |
||
| − | | colspan="2" style="text-align: center;"|$230,000<br />$115,000 (AW) |
+ | | colspan="2" style="text-align: center;" |$230,000<br />$115,000 (AW) |
|- |
|- |
||
|Boost Upgrade 100% |
|Boost Upgrade 100% |
||
| − | | colspan="2" style="text-align: center;"|$400,000<br />$200,000 (AW) |
+ | | colspan="2" style="text-align: center;" |$400,000<br />$200,000 (AW) |
|- |
|- |
||
|Shunt Boost |
|Shunt Boost |
||
| − | | colspan="2" style="text-align: center;"|$520,000<br />$260,000 (AW) |
+ | | colspan="2" style="text-align: center;" |$520,000<br />$260,000 (AW) |
|- |
|- |
||
| rowspan="35" |Bodywork |
| rowspan="35" |Bodywork |
||
| rowspan="3" |Spikes |
| rowspan="3" |Spikes |
||
|None |
|None |
||
| − | | style="text-align: center;"|$5,000 |
+ | | style="text-align: center;" |$5,000 |
| + | |[[File:FutureShockScarab-GTAO-NoSpikes.png|thumb|center|220px]] |
||
| ⚫ | |||
|- |
|- |
||
|Body Spikes |
|Body Spikes |
||
| − | | style="text-align: center;"|$55,000<br />$27,500 (AW) |
+ | | style="text-align: center;" |$55,000<br />$27,500 (AW) |
| + | |[[File:FutureShockScarab-GTAO-BodySpikes.png|thumb|center|220px]] |
||
| ⚫ | |||
|- |
|- |
||
|Body Spikes MK2 |
|Body Spikes MK2 |
||
| − | | style="text-align: center;"|$75,500<br />$37,750 (AW) |
+ | | style="text-align: center;" |$75,500<br />$37,750 (AW) |
| + | |[[File:FutureShockScarab-GTAO-BodySpikesMK2.png|thumb|center|220px]] |
||
| ⚫ | |||
|- |
|- |
||
| rowspan="4" |Armor Plating |
| rowspan="4" |Armor Plating |
||
|No Armor Plating |
|No Armor Plating |
||
| − | | style="text-align: center;"|$20,000 |
+ | | style="text-align: center;" |$20,000 |
| + | |[[File:FutureShockScarab-GTAO-NoArmorPlating.png|thumb|center|220px]] |
||
| ⚫ | |||
|- |
|- |
||
|Light Armor |
|Light Armor |
||
| − | | style="text-align: center;"|$110,000<br />$55,000 (AW) |
+ | | style="text-align: center;" |$110,000<br />$55,000 (AW) |
| + | |[[File:FutureShockScarab-GTAO-LightArmor.png|thumb|center|220px]] |
||
| ⚫ | |||
|- |
|- |
||
|Reinforced Armor |
|Reinforced Armor |
||
| − | | style="text-align: center;"|$175,000<br />$87,500 (AW) |
+ | | style="text-align: center;" |$175,000<br />$87,500 (AW) |
| + | |[[File:FutureShockScarab-GTAO-ReinforcedArmor.png|thumb|center|220px]] |
||
| ⚫ | |||
|- |
|- |
||
|Heavy Armor |
|Heavy Armor |
||
| − | | style="text-align: center;"|$300,000<br />$150,000 (AW) |
+ | | style="text-align: center;" |$300,000<br />$150,000 (AW) |
| + | |[[File:FutureShockScarab-GTAO-HeavyArmor.png|thumb|center|220px]] |
||
| ⚫ | |||
|- |
|- |
||
| − | | rowspan="11" | |
+ | | rowspan="11" |Windshield Armor |
|None |
|None |
||
| − | | style="text-align: center;"|$2,200 |
+ | | style="text-align: center;" |$2,200 |
| + | |[[File:FutureShockScarab-GTAO-NoWindshieldArmor.png|thumb|center|220px]] |
||
| ⚫ | |||
|- |
|- |
||
|Livery Bars |
|Livery Bars |
||
| − | | style="text-align: center;"|$4,600 |
+ | | style="text-align: center;" |$4,600 |
| + | |[[File:FutureShockScarab-GTAO-LiveryBars.png|thumb|center|220px]] |
||
| ⚫ | |||
|- |
|- |
||
|Carbon Bars |
|Carbon Bars |
||
| − | | style="text-align: center;"|$7,400 |
+ | | style="text-align: center;" |$7,400 |
| + | |[[File:FutureShockScarab-GTAO-CarbonBars.png|thumb|center|220px]] |
||
| ⚫ | |||
|- |
|- |
||
|Livery Quad Bars |
|Livery Quad Bars |
||
| − | | style="text-align: center;"|$11,700 |
+ | | style="text-align: center;" |$11,700 |
| + | |[[File:FutureShockScarab-GTAO-LiveryQuadBars.png|thumb|center|220px]] |
||
| ⚫ | |||
|- |
|- |
||
|Carbon Quad Bars |
|Carbon Quad Bars |
||
| − | | style="text-align: center;"|$14,500 |
+ | | style="text-align: center;" |$14,500 |
| + | |[[File:FutureShockScarab-GTAO-CarbonQuadBars.png|thumb|center|220px]] |
||
| ⚫ | |||
|- |
|- |
||
|Livery Plate |
|Livery Plate |
||
| − | | style="text-align: center;"|$14,700 |
+ | | style="text-align: center;" |$14,700 |
| + | |[[File:FutureShockScarab-GTAO-LiveryPlate.png|thumb|center|220px]] |
||
| ⚫ | |||
|- |
|- |
||
|Futuristic Plate |
|Futuristic Plate |
||
| − | | style="text-align: center;"|$14,900 |
+ | | style="text-align: center;" |$14,900 |
| + | |[[File:FutureShockScarab-GTAO-FuturisticPlate.png|thumb|center|220px]] |
||
| ⚫ | |||
|- |
|- |
||
|Primary Full Armor |
|Primary Full Armor |
||
| − | | style="text-align: center;"|$30,200<br />$15,100 (AW) |
+ | | style="text-align: center;" |$30,200<br />$15,100 (AW) |
| + | |[[File:FutureShockScarab-GTAO-PrimaryArmor.png|thumb|center|220px]] |
||
| ⚫ | |||
|- |
|- |
||
|Secondary Armor |
|Secondary Armor |
||
| − | | style="text-align: center;"|$30,600<br />$15,300 (AW) |
+ | | style="text-align: center;" |$30,600<br />$15,300 (AW) |
| + | |[[File:FutureShockScarab-GTAO-SecondaryArmor.png|thumb|center|220px]] |
||
| ⚫ | |||
|- |
|- |
||
|Carbon Armor |
|Carbon Armor |
||
| − | | style="text-align: center;"|$31,000<br />$15,500 (AW) |
+ | | style="text-align: center;" |$31,000<br />$15,500 (AW) |
| + | |[[File:FutureShockScarab-GTAO-CarbonArmor.png|thumb|center|220px]] |
||
| − | | |
||
|- |
|- |
||
|Livery Armor |
|Livery Armor |
||
| − | | style="text-align: center;"|$31,400<br />$15,700 (AW) |
+ | | style="text-align: center;" |$31,400<br />$15,700 (AW) |
| + | |[[File:FutureShockScarab-GTAO-LiveryArmor.png|thumb|center|220px]] |
||
| − | | |
||
|- |
|- |
||
| rowspan="5" |Body Plating |
| rowspan="5" |Body Plating |
||
|Stock Body Plating |
|Stock Body Plating |
||
| − | | style="text-align: center;"|$200 |
+ | | style="text-align: center;" |$200 |
| + | |[[File:FutureShockScarab-GTAO-StockBodyPlating.png|thumb|center|220px]] |
||
| − | | |
||
|- |
|- |
||
|Matte Plating |
|Matte Plating |
||
| − | | style="text-align: center;"|$750 |
+ | | style="text-align: center;" |$750 |
| + | |[[File:FutureShockScarab-GTAO-MattePlating.png|thumb|center|220px]] |
||
| − | | |
||
|- |
|- |
||
|Hex Plating |
|Hex Plating |
||
| − | | style="text-align: center;"|$1,340 |
+ | | style="text-align: center;" |$1,340 |
| + | |[[File:FutureShockScarab-GTAO-HexPlating.png|thumb|center|220px]] |
||
| − | | |
||
|- |
|- |
||
|Futuristic Plating |
|Futuristic Plating |
||
| − | | style="text-align: center;"|$1,650 |
+ | | style="text-align: center;" |$1,650 |
| + | |[[File:FutureShockScarab-GTAO-FuturisticPlating.png|thumb|center|220px]] |
||
| − | | |
||
|- |
|- |
||
|Livery Plating |
|Livery Plating |
||
| − | | style="text-align: center;"|$3,000 |
+ | | style="text-align: center;" |$3,000 |
| + | |[[File:FutureShockScarab-GTAO-LiveryPlating.png|thumb|center|220px]] |
||
| − | | |
||
|- |
|- |
||
| rowspan="5" |Undercarriage Plating |
| rowspan="5" |Undercarriage Plating |
||
|Stock Undercarriage Plating |
|Stock Undercarriage Plating |
||
| − | | style="text-align: center;"|$2,200 |
+ | | style="text-align: center;" |$2,200 |
| + | |[[File:FutureShockScarab-GTAO-StockUndercarriagePlating.png|thumb|center|220px]] |
||
| − | | |
||
|- |
|- |
||
|Carbon Under Plate |
|Carbon Under Plate |
||
| − | | style="text-align: center;"|$4,600 |
+ | | style="text-align: center;" |$4,600 |
| + | |[[File:FutureShockScarab-GTAO-CarbonUnderPlate.png|thumb|center|220px]] |
||
| − | | |
||
|- |
|- |
||
|Matte Under Plate |
|Matte Under Plate |
||
| − | | style="text-align: center;"|$7,400 |
+ | | style="text-align: center;" |$7,400 |
| + | |[[File:FutureShockScarab-GTAO-MatteUnderPlate.png|thumb|center|220px]] |
||
| − | | |
||
|- |
|- |
||
|Primary Under Plate |
|Primary Under Plate |
||
| − | | style="text-align: center;"|$11,700 |
+ | | style="text-align: center;" |$11,700 |
| + | |[[File:FutureShockScarab-GTAO-PrimaryUnderPlate.png|thumb|center|220px]] |
||
| − | | |
||
|- |
|- |
||
|Livery Under Plate |
|Livery Under Plate |
||
| − | | style="text-align: center;"|$14,500 |
+ | | style="text-align: center;" |$14,500 |
| + | |[[File:FutureShockScarab-GTAO-LiveryUnderPlate.png|thumb|center|220px]] |
||
| − | | |
||
|- |
|- |
||
| − | | rowspan="7" |Roll |
+ | | rowspan="7" |Roll Cages |
|No Roll Cage |
|No Roll Cage |
||
| − | | style="text-align: center;"|$5,000 |
+ | | style="text-align: center;" |$5,000 |
| + | |[[File:FutureShockScarab-GTAO-NoRollCage.png|thumb|center|220px]] |
||
| − | | |
||
|- |
|- |
||
|Carbon Rear Shutters |
|Carbon Rear Shutters |
||
| − | | style="text-align: center;"|$17,500 |
+ | | style="text-align: center;" |$17,500 |
| + | |[[File:FutureShockScarab-GTAO-CarbonRearShutters.png|thumb|center|220px]] |
||
| − | | |
||
|- |
|- |
||
|Primary Rear Shutters |
|Primary Rear Shutters |
||
| − | | style="text-align: center;"|$19,700 |
+ | | style="text-align: center;" |$19,700 |
| + | |[[File:FutureShockScarab-GTAO-PrimaryRearShutters.png|thumb|center|220px]] |
||
| − | | |
||
|- |
|- |
||
|Carbon Panelling |
|Carbon Panelling |
||
| − | | style="text-align: center;"|$21,950 |
+ | | style="text-align: center;" |$21,950 |
| + | |[[File:FutureShockScarab-GTAO-CarbonPanelling.png|thumb|center|220px]] |
||
| − | | |
||
|- |
|- |
||
|Flocked Panelling |
|Flocked Panelling |
||
| − | | style="text-align: center;"|$24,300 |
+ | | style="text-align: center;" |$24,300 |
| + | |[[File:FutureShockScarab-GTAO-FlockedPanelling.png|thumb|center|220px]] |
||
| − | | |
||
|- |
|- |
||
|Primary Panelling |
|Primary Panelling |
||
| − | | style="text-align: center;"|$26,800 |
+ | | style="text-align: center;" |$26,800 |
| + | |[[File:FutureShockScarab-GTAO-PrimaryPanelling.png|thumb|center|220px]] |
||
| − | | |
||
|- |
|- |
||
|Future Shock Panelling |
|Future Shock Panelling |
||
| − | | style="text-align: center;"|$29,650 |
+ | | style="text-align: center;" |$29,650 |
| + | |[[File:FutureShockScarab-GTAO-FutureShockPanelling.png|thumb|center|220px]] |
||
| − | | |
||
|- |
|- |
||
| rowspan="12" |Engine |
| rowspan="12" |Engine |
||
| rowspan="4" |Engine Tunes |
| rowspan="4" |Engine Tunes |
||
|EMS Upgrade, Level 1 |
|EMS Upgrade, Level 1 |
||
| − | | colspan="2" style="text-align: center;"|$9,000 |
+ | | colspan="2" style="text-align: center;" |$9,000 |
|- |
|- |
||
|EMS Upgrade, Level 2 |
|EMS Upgrade, Level 2 |
||
| − | | colspan="2" style="text-align: center;"|$12,500 |
+ | | colspan="2" style="text-align: center;" |$12,500 |
|- |
|- |
||
|EMS Upgrade, Level 3 |
|EMS Upgrade, Level 3 |
||
| − | | colspan="2" style="text-align: center;"|$18,000 |
+ | | colspan="2" style="text-align: center;" |$18,000 |
|- |
|- |
||
|EMS Upgrade, Level 4 |
|EMS Upgrade, Level 4 |
||
| − | | colspan="2" style="text-align: center;"|$33,500 |
+ | | colspan="2" style="text-align: center;" |$33,500 |
|- |
|- |
||
| rowspan="8" |Engine Covers |
| rowspan="8" |Engine Covers |
||
|Stock Engine Cover |
|Stock Engine Cover |
||
| − | | style="text-align: center;"|$200 |
+ | | style="text-align: center;" |$200 |
| + | |[[File:FutureShockScarab-GTAO-StockEngineCover.png|thumb|center|220px]] |
||
| − | | |
||
|- |
|- |
||
|Flat Roof |
|Flat Roof |
||
| − | | style="text-align: center;"|$700 |
+ | | style="text-align: center;" |$700 |
| + | |[[File:FutureShockScarab-GTAO-FlatRoof.png|thumb|center|220px]] |
||
| − | | |
||
|- |
|- |
||
|Livery Roof |
|Livery Roof |
||
| − | | style="text-align: center;"|$1,150 |
+ | | style="text-align: center;" |$1,150 |
| + | |[[File:FutureShockScarab-GTAO-LiveryRoof.png|thumb|center|220px]] |
||
| − | | |
||
|- |
|- |
||
|Vented Roof |
|Vented Roof |
||
| − | | style="text-align: center;"|$1,600 |
+ | | style="text-align: center;" |$1,600 |
| + | |[[File:FutureShockScarab-GTAO-VentedRoof.png|thumb|center|220px]] |
||
| − | | |
||
|- |
|- |
||
|Slat Vents |
|Slat Vents |
||
| − | | style="text-align: center;"|$1,950 |
+ | | style="text-align: center;" |$1,950 |
| + | |[[File:FutureShockScarab-GTAO-SlatVents.png|thumb|center|220px]] |
||
| − | | |
||
|- |
|- |
||
|Side Vents |
|Side Vents |
||
| − | | style="text-align: center;"|$2,400 |
+ | | style="text-align: center;" |$2,400 |
| + | |[[File:FutureShockScarab-GTAO-SideVents.png|thumb|center|220px]] |
||
| − | | |
||
|- |
|- |
||
|Alt Side Vents |
|Alt Side Vents |
||
| − | | style="text-align: center;"|$2,500 |
+ | | style="text-align: center;" |$2,500 |
| + | |[[File:FutureShockScarab-GTAO-AltSideVents.png|thumb|center|220px]] |
||
| − | | |
||
|- |
|- |
||
|Heavy Duty Cooling |
|Heavy Duty Cooling |
||
| − | | style="text-align: center;"|$5,700<br />$2,850 (AW) |
+ | | style="text-align: center;" |$5,700<br />$2,850 (AW) |
| + | |[[File:FutureShockScarab-GTAO-HeavyDutyCooling.png|thumb|center|220px]] |
||
| − | | |
||
|- |
|- |
||
| colspan="2" rowspan="4" |Exhausts |
| colspan="2" rowspan="4" |Exhausts |
||
|Stock Exhaust |
|Stock Exhaust |
||
| − | | style="text-align: center;"|$260 |
+ | | style="text-align: center;" |$260 |
| + | |[[File:FutureShockScarab-GTAO-StockExhaust.png|thumb|center|220px]] |
||
| − | | |
||
|- |
|- |
||
|Round Bore Exhaust |
|Round Bore Exhaust |
||
| − | | style="text-align: center;"|$750 |
+ | | style="text-align: center;" |$750 |
| + | |[[File:FutureShockScarab-GTAO-RoundBoreExhaust.png|thumb|center|220px]] |
||
| − | | |
||
|- |
|- |
||
|Top Mounted Exhaust |
|Top Mounted Exhaust |
||
| − | | style="text-align: center;"|$1,800 |
+ | | style="text-align: center;" |$1,800 |
| + | |[[File:FutureShockScarab-GTAO-TopMountedExhaust.png|thumb|center|220px]] |
||
| − | | |
||
|- |
|- |
||
|Slanted Exhaust |
|Slanted Exhaust |
||
| − | | style="text-align: center;"|$3,000 |
+ | | style="text-align: center;" |$3,000 |
| + | |[[File:FutureShockScarab-GTAO-SlantedExhaust.png|thumb|center|220px]] |
||
| − | | |
||
| ⚫ | |||
| + | | colspan="2" |Horns |
||
| + | |''Main article: [[Los Santos Customs/Horns]]'' |
||
| + | | colspan="2" style="text-align: center;" | - |
||
| ⚫ | |||
| + | | rowspan="16" |Lights |
||
| + | | rowspan="15" |Headlights* |
||
| ⚫ | |||
| + | | colspan="2" style="text-align: center;" |$600 |
||
| ⚫ | |||
| + | |Xenon Lights |
||
| + | | colspan="2" style="text-align: center;" |$7,500 |
||
| ⚫ | |||
| + | |White Lights |
||
| + | | colspan="2" style="text-align: center;" |$20,000 |
||
| ⚫ | |||
| + | |Blue Lights |
||
| + | | colspan="2" style="text-align: center;" |$49,200<br />$24,600 (AW) |
||
| ⚫ | |||
| + | |Electric Blue Lights |
||
| + | | colspan="2" style="text-align: center;" |$49,800<br />$24,900 (AW) |
||
| ⚫ | |||
| + | |Mint Green Lights |
||
| + | | colspan="2" style="text-align: center;" |$50,400<br />$25,200 (AW) |
||
| ⚫ | |||
| + | |Lime Green Lights |
||
| + | | colspan="2" style="text-align: center;" |$51,000<br />$25,500 (AW) |
||
| ⚫ | |||
| + | |Yellow Lights |
||
| + | | colspan="2" style="text-align: center;" |$51,600<br />$25,800 (AW) |
||
| ⚫ | |||
| + | |Golden Shower Lights |
||
| + | | colspan="2" style="text-align: center;" |$52,200<br />$26,100 (AW) |
||
| ⚫ | |||
| + | |Orange Lights |
||
| + | | colspan="2" style="text-align: center;" |$52,800<br />$26,400 (AW) |
||
| ⚫ | |||
| + | |Red Lights |
||
| + | | colspan="2" style="text-align: center;" |$53,400<br />$26,700 (AW) |
||
| ⚫ | |||
| + | |Pony Pink Lights |
||
| + | | colspan="2" style="text-align: center;" |$54,000<br />$27,000 (AW) |
||
| ⚫ | |||
| + | |Hot Pink Lights |
||
| + | | colspan="2" style="text-align: center;" |$54,600<br />$27,300 (AW) |
||
| ⚫ | |||
| + | |Purple Lights |
||
| + | | colspan="2" style="text-align: center;" |$55,200<br />$27,600 (AW) |
||
| ⚫ | |||
| + | |Blacklight Lights |
||
| + | | colspan="2" style="text-align: center;" |$80,000<br />$40,000 (AW) |
||
|- |
|- |
||
| ⚫ | |||
|Neon Kits |
|Neon Kits |
||
| + | |''Main article: [[Los Santos Customs/Lights]]'' |
||
| − | |<div class="mw-collapsible mw-collapsed" style="width:100%"> |
||
| − | <div class="mw-collapsible-content">{{Main|Los Santos Customs/Lights}}</div></div> |
||
| colspan="2" style="text-align: center;" | - |
| colspan="2" style="text-align: center;" | - |
||
| − | |||
|- |
|- |
||
| colspan="2" rowspan="19" |Livery |
| colspan="2" rowspan="19" |Livery |
||
| Line 481: | Line 523: | ||
| colspan="2" rowspan="17" |Skirts |
| colspan="2" rowspan="17" |Skirts |
||
|Stock Skirts |
|Stock Skirts |
||
| − | | style="text-align: center;"|$2,500 |
+ | | style="text-align: center;" |$2,500 |
| + | |[[File:FutureShockScarab-GTAO-StockSkirts.png|thumb|center|220px]] |
||
| − | | |
||
|- |
|- |
||
|Carbon |
|Carbon |
||
| − | | style="text-align: center;"|$5,500 |
+ | | style="text-align: center;" |$5,500 |
| + | |[[File:FutureShockScarab-GTAO-CarbonSkirts.png|thumb|center|220px]] |
||
| − | | |
||
|- |
|- |
||
|Livery |
|Livery |
||
| − | | style="text-align: center;"|$8,000 |
+ | | style="text-align: center;" |$8,000 |
| + | |[[File:FutureShockScarab-GTAO-LiverySkirts.png|thumb|center|220px]] |
||
| − | | |
||
|- |
|- |
||
|Primary Rear Armor |
|Primary Rear Armor |
||
| − | | style="text-align: center;"|$10,500 |
+ | | style="text-align: center;" |$10,500 |
| + | |[[File:FutureShockScarab-GTAO-PrimaryRearArmor.png|thumb|center|220px]] |
||
| − | | |
||
|- |
|- |
||
|Carbon Rear Armor |
|Carbon Rear Armor |
||
| − | | style="text-align: center;"|$14,000 |
+ | | style="text-align: center;" |$14,000 |
| + | |[[File:FutureShockScarab-GTAO-CarbonRearArmor.png|thumb|center|220px]] |
||
| − | | |
||
|- |
|- |
||
|Livery Rear Armor |
|Livery Rear Armor |
||
| − | | style="text-align: center;"|$14,500 |
+ | | style="text-align: center;" |$14,500 |
| + | |[[File:FutureShockScarab-GTAO-LiveryRearArmor.png|thumb|center|220px]] |
||
| − | | |
||
|- |
|- |
||
|Armor |
|Armor |
||
| − | | style="text-align: center;"|$15,000 |
+ | | style="text-align: center;" |$15,000 |
| + | |[[File:FutureShockScarab-GTAO-SideArmor.png|thumb|center|220px]] |
||
| − | | |
||
|- |
|- |
||
|Livery Armor |
|Livery Armor |
||
| − | | style="text-align: center;"|$15,500 |
+ | | style="text-align: center;" |$15,500 |
| + | |[[File:FutureShockScarab-GTAO-LiverySideArmor.png|thumb|center|220px]] |
||
| − | | |
||
|- |
|- |
||
|Carbon Armor |
|Carbon Armor |
||
| − | | style="text-align: center;"|$16,000 |
+ | | style="text-align: center;" |$16,000 |
| + | |[[File:FutureShockScarab-GTAO-CarbonSideArmor.png|thumb|center|220px]] |
||
| − | | |
||
|- |
|- |
||
|Matte Armor |
|Matte Armor |
||
| − | | style="text-align: center;"|$16,500 |
+ | | style="text-align: center;" |$16,500 |
| + | |[[File:FutureShockScarab-GTAO-MatteSideArmor.png|thumb|center|220px]] |
||
| − | | |
||
|- |
|- |
||
|Livery Plated Armor |
|Livery Plated Armor |
||
| − | | style="text-align: center;"|$17,000 |
+ | | style="text-align: center;" |$17,000 |
| + | |[[File:FutureShockScarab-GTAO-LiveryPlatedArmor.png|thumb|center|220px]] |
||
| − | | |
||
|- |
|- |
||
|Primary Full Armor |
|Primary Full Armor |
||
| − | | style="text-align: center;"|$34,800<br />$17,400 (AW) |
+ | | style="text-align: center;" |$34,800<br />$17,400 (AW) |
| + | |[[File:FutureShockScarab-GTAO-PrimaryFullArmor.png|thumb|center|220px]] |
||
| − | | |
||
|- |
|- |
||
|Livery Full Armor |
|Livery Full Armor |
||
| − | | style="text-align: center;"|$36,600<br />$18,300 (AW) |
+ | | style="text-align: center;" |$36,600<br />$18,300 (AW) |
| + | |[[File:FutureShockScarab-GTAO-LiveryFullArmor.png|thumb|center|220px]] |
||
| − | | |
||
|- |
|- |
||
|Carbon Full Armor |
|Carbon Full Armor |
||
| − | | style="text-align: center;"|$38,000<br />$19,000 (AW) |
+ | | style="text-align: center;" |$38,000<br />$19,000 (AW) |
| + | |[[File:FutureShockScarab-GTAO-CarbonFullArmor.png|thumb|center|220px]] |
||
| − | | |
||
|- |
|- |
||
|Matte Full Armor |
|Matte Full Armor |
||
| − | | style="text-align: center;"|$40,850<br />$20,425 (AW) |
+ | | style="text-align: center;" |$40,850<br />$20,425 (AW) |
| + | |[[File:FutureShockScarab-GTAO-MatteFullArmor.png|thumb|center|220px]] |
||
| − | | |
||
|- |
|- |
||
|Futuristic Panel Armor |
|Futuristic Panel Armor |
||
| − | | style="text-align: center;"|$42,050<br />$21,025 (AW) |
+ | | style="text-align: center;" |$42,050<br />$21,025 (AW) |
| + | |[[File:FutureShockScarab-GTAO-FuturisticPanelArmor.png|thumb|center|220px]] |
||
| − | | |
||
|- |
|- |
||
|Plated Livery Full Armor |
|Plated Livery Full Armor |
||
| − | | style="text-align: center;"|$42,950<br />$21,475 (AW) |
+ | | style="text-align: center;" |$42,950<br />$21,475 (AW) |
| + | |[[File:FutureShockScarab-GTAO-PlatedLiveryFullArmor.png|thumb|center|220px]] |
||
| − | | |
||
|- |
|- |
||
| colspan="2" rowspan="2" |Turbo |
| colspan="2" rowspan="2" |Turbo |
||
| Line 557: | Line 599: | ||
| colspan="2" rowspan="4" |Vertical Jump |
| colspan="2" rowspan="4" |Vertical Jump |
||
|None |
|None |
||
| − | | colspan="2" style="text-align: center;"|$20,000 |
+ | | colspan="2" style="text-align: center;" |$20,000 |
|- |
|- |
||
|Jump Upgrade 20% |
|Jump Upgrade 20% |
||
| − | | colspan="2" style="text-align: center;"|$130,000<br />$65,000 (AW) |
+ | | colspan="2" style="text-align: center;" |$130,000<br />$65,000 (AW) |
|- |
|- |
||
|Jump Upgrade 60% |
|Jump Upgrade 60% |
||
| − | | colspan="2" style="text-align: center;"|$224,000<br />$112,000 (AW) |
+ | | colspan="2" style="text-align: center;" |$224,000<br />$112,000 (AW) |
|- |
|- |
||
|Jump Upgrade 100% |
|Jump Upgrade 100% |
||
| − | | colspan="2" style="text-align: center;"|$420,000<br />$ |
+ | | colspan="2" style="text-align: center;" |$420,000<br />$210,000 (AW) |
|- |
|- |
||
| colspan="2" rowspan="4" |Windows |
| colspan="2" rowspan="4" |Windows |
||
|None |
|None |
||
| − | | colspan="2" style="text-align: center;"|$500 |
+ | | colspan="2" style="text-align: center;" |$500 |
|- |
|- |
||
|Light Smoke |
|Light Smoke |
||
| − | | colspan="2" style="text-align: center;"|$1,500 |
+ | | colspan="2" style="text-align: center;" |$1,500 |
|- |
|- |
||
|Dark Smoke |
|Dark Smoke |
||
| − | | colspan="2" style="text-align: center;"|$3,500 |
+ | | colspan="2" style="text-align: center;" |$3,500 |
|- |
|- |
||
|Limo |
|Limo |
||
| − | | colspan="2" style="text-align: center;"|$5,000 |
+ | | colspan="2" style="text-align: center;" |$5,000 |
|- |
|- |
||
| rowspan="16" |Weapons |
| rowspan="16" |Weapons |
||
| rowspan="7" |Ram Weapons |
| rowspan="7" |Ram Weapons |
||
|None |
|None |
||
| − | | style="text-align: center;"|$20,000 |
+ | | style="text-align: center;" |$20,000 |
| + | |[[File:FutureShockScarab-GTAO-NoRamWeapon.png|thumb|center|220px]] |
||
| − | | |
||
|- |
|- |
||
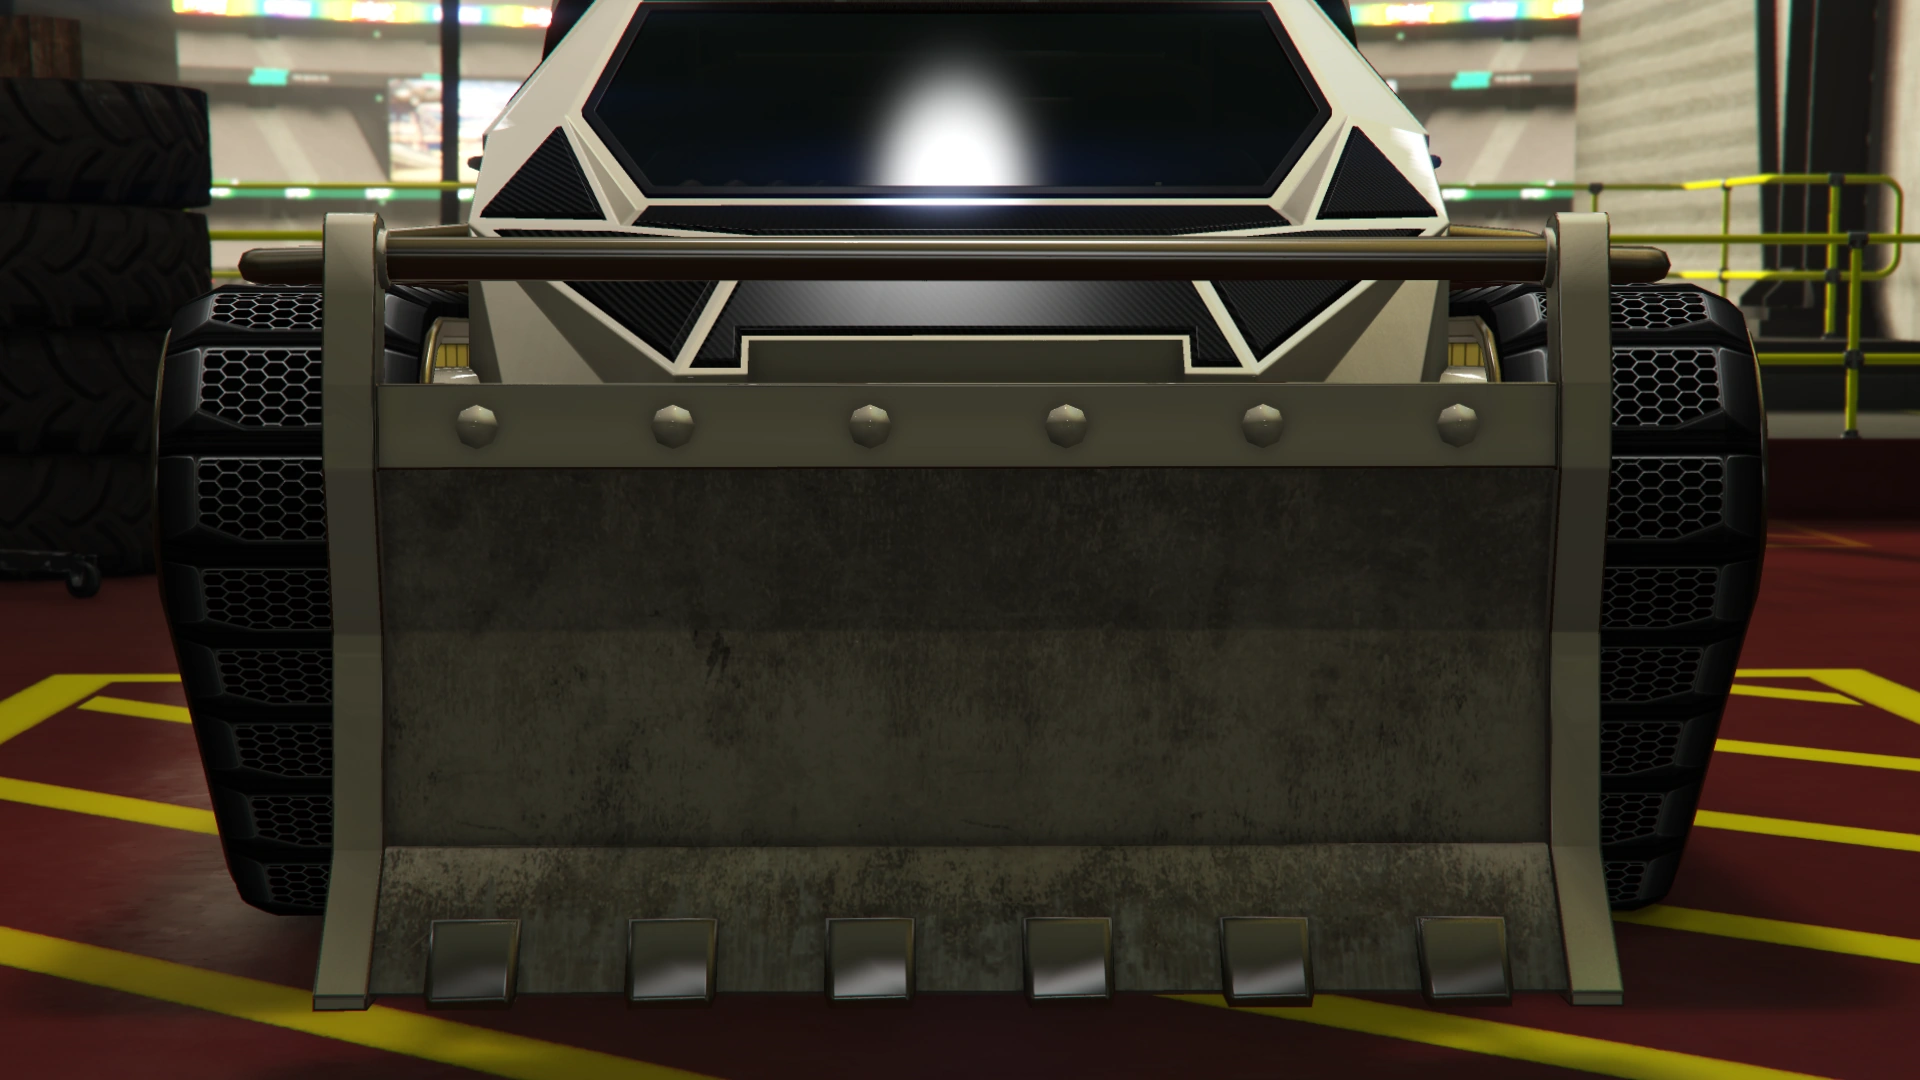
|Light Ram |
|Light Ram |
||
| − | | style="text-align: center;"|$195,000 |
+ | | style="text-align: center;" |$195,000 |
| + | |[[File:FutureShockScarab-GTAO-LightRam.png|thumb|center|220px]] |
||
| − | | |
||
|- |
|- |
||
|Reinforced Ram |
|Reinforced Ram |
||
| − | | style="text-align: center;"|$225,000 |
+ | | style="text-align: center;" |$225,000 |
| + | |[[File:FutureShockScarab-GTAO-ReinforcedRam.png|thumb|center|220px]] |
||
| − | | |
||
|- |
|- |
||
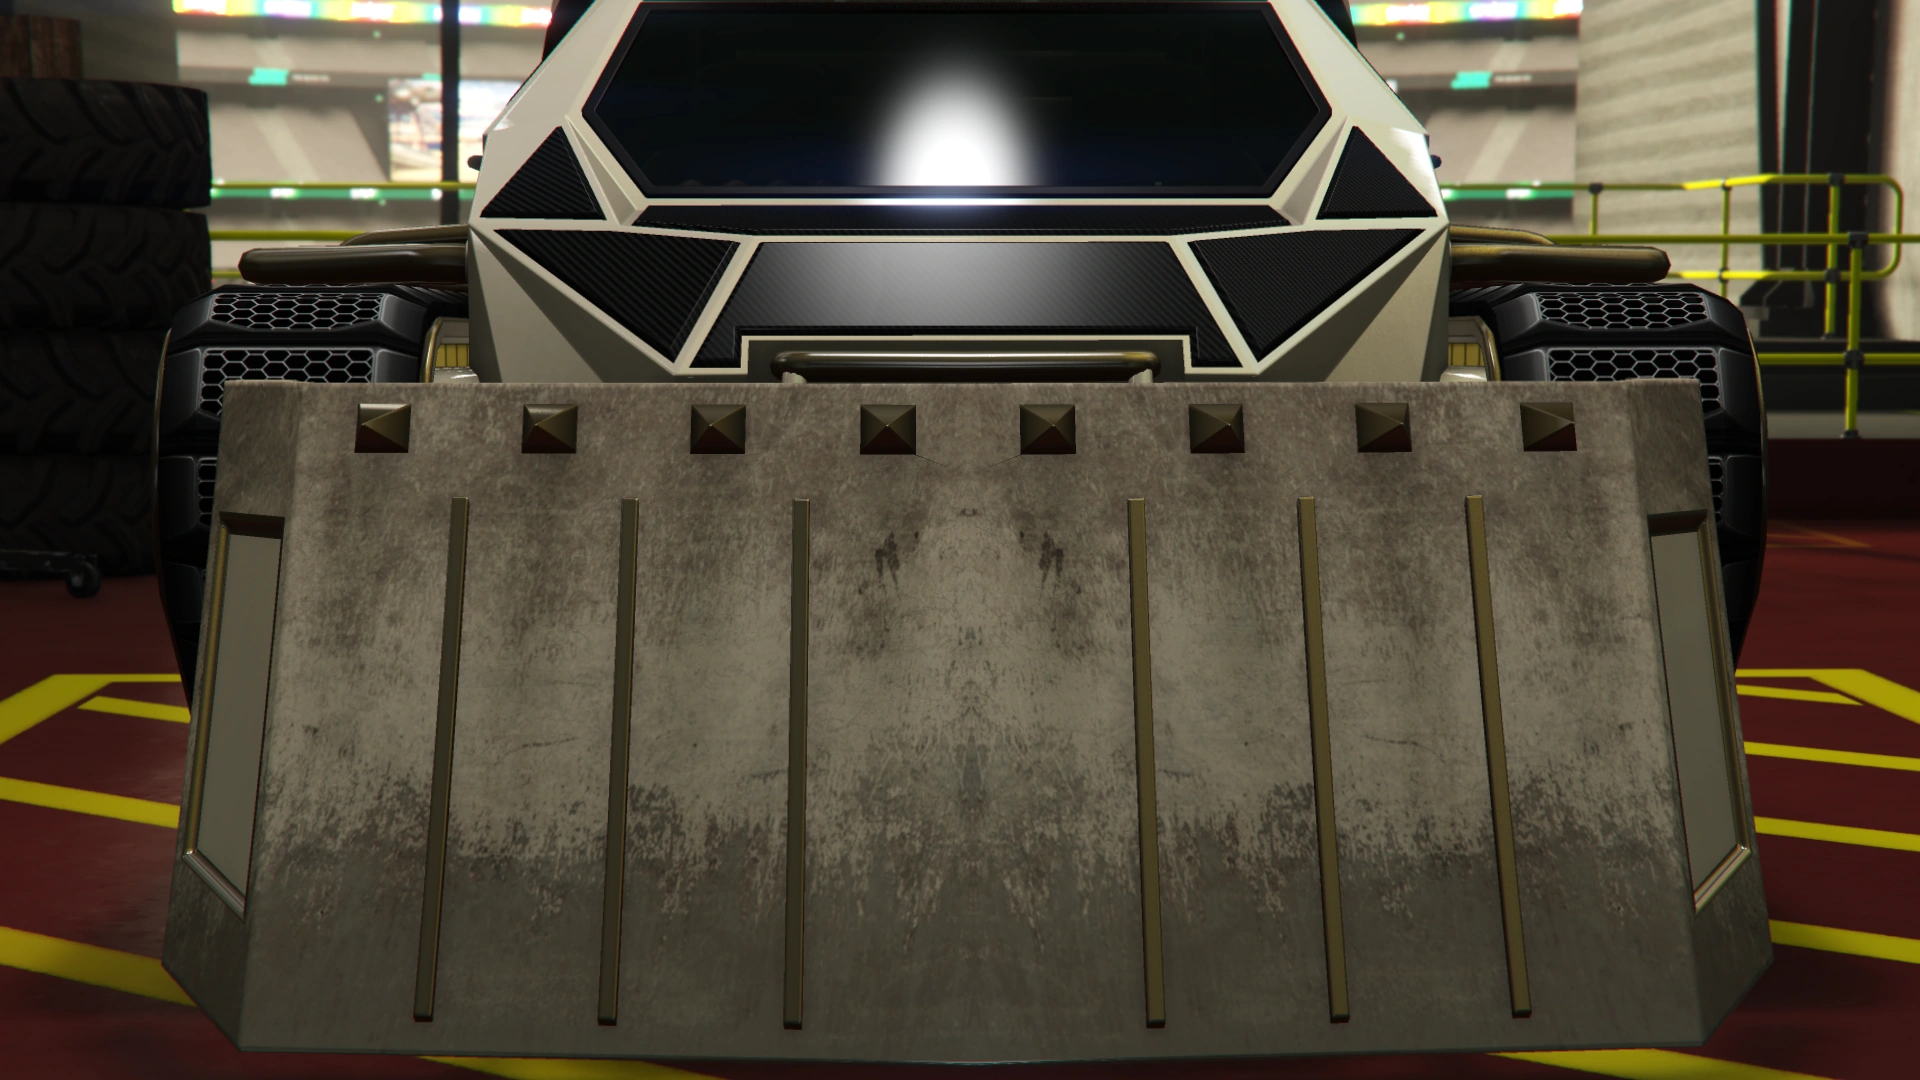
|Heavy Ram |
|Heavy Ram |
||
| − | | style="text-align: center;"|$255,000 |
+ | | style="text-align: center;" |$255,000 |
| + | |[[File:FutureShockScarab-GTAO-HeavyRam.png|thumb|center|220px]] |
||
| − | | |
||
|- |
|- |
||
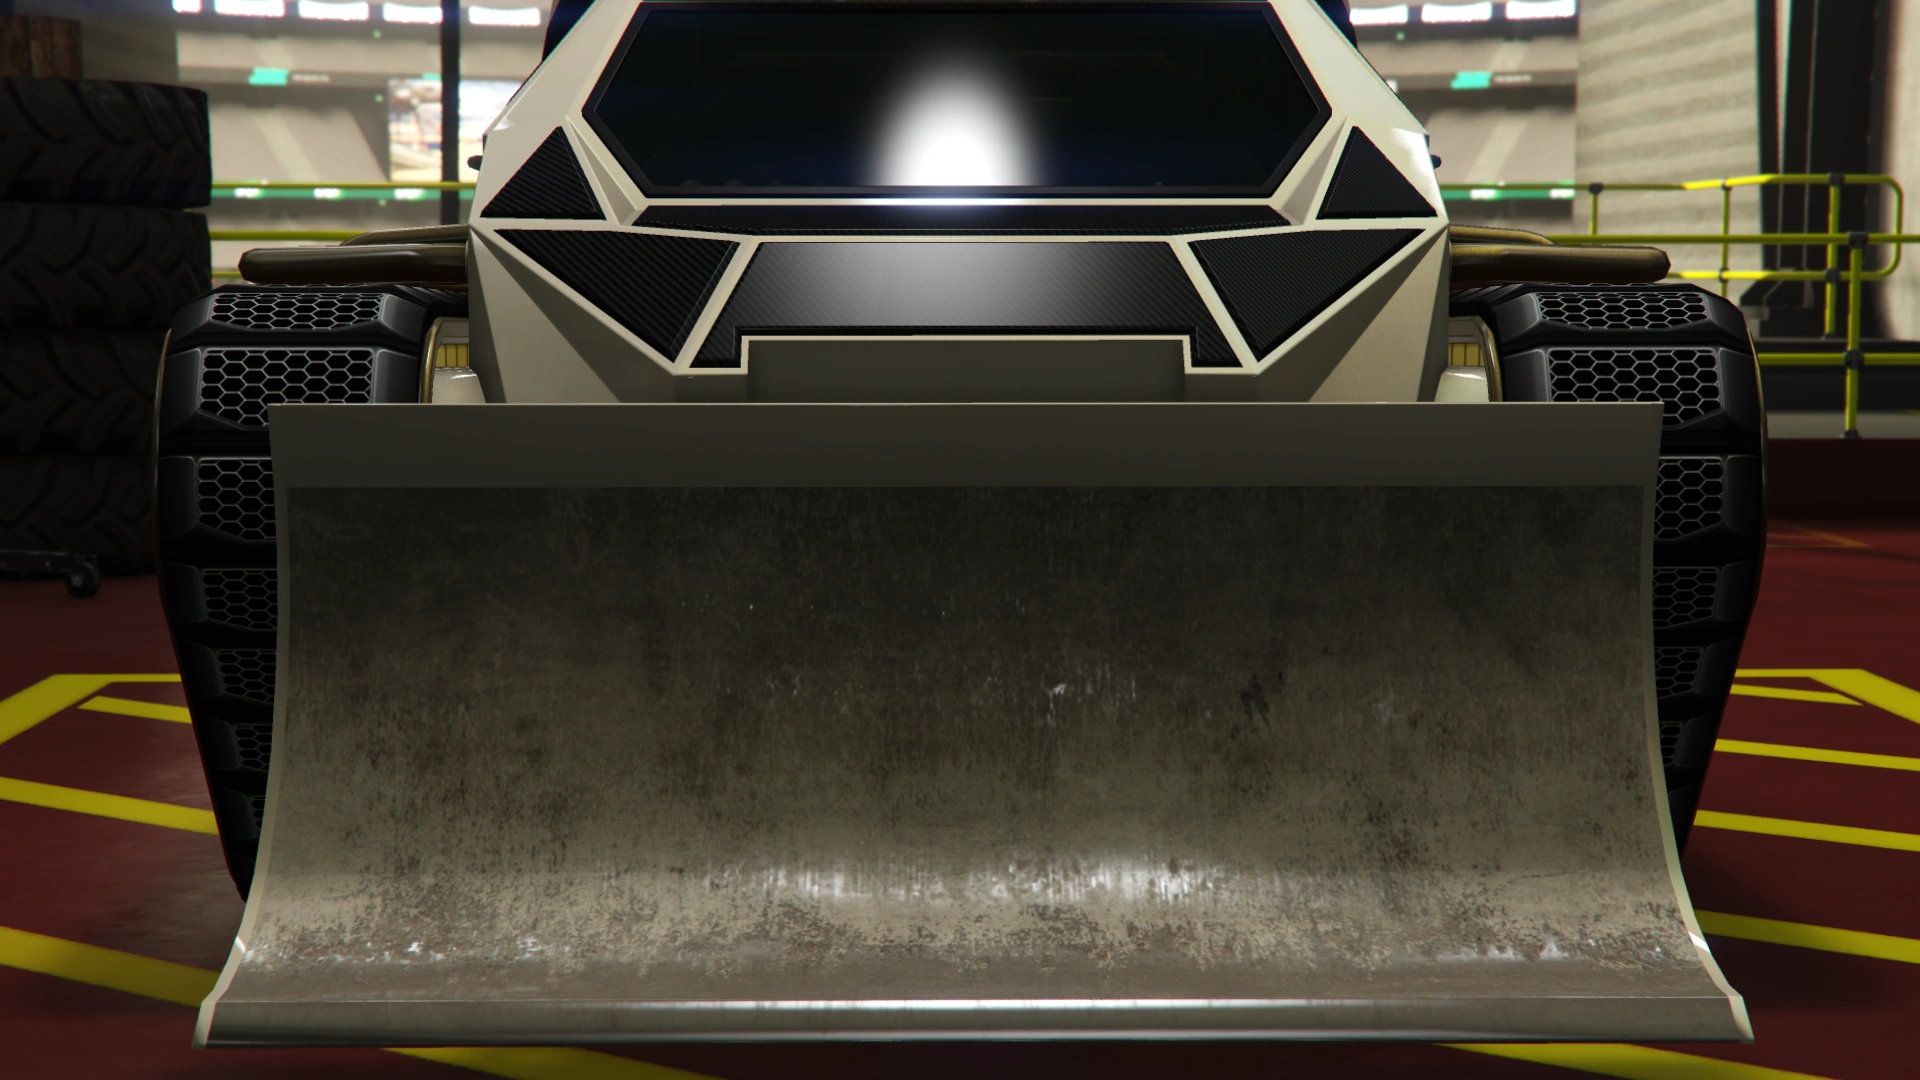
|Light Scoop |
|Light Scoop |
||
| − | | style="text-align: center;"|$295,000 |
+ | | style="text-align: center;" |$295,000 |
| + | |[[File:FutureShockScarab-GTAO-LightScoop.png|thumb|center|220px]] |
||
| − | | |
||
|- |
|- |
||
|Reinforced Scoop |
|Reinforced Scoop |
||
| − | | style="text-align: center;"|$337,500 |
+ | | style="text-align: center;" |$337,500 |
| + | |[[File:FutureShockScarab-GTAO-ReinforcedScoop.png|thumb|center|220px]] |
||
| − | | |
||
|- |
|- |
||
|Large Scoop |
|Large Scoop |
||
| − | | style="text-align: center;"|$389,500 |
+ | | style="text-align: center;" |$389,500 |
| + | |[[File:FutureShockScarab-GTAO-LargeScoop.png|thumb|center|220px]] |
||
| − | | |
||
|- |
|- |
||
| rowspan="3" |Primary Weapons |
| rowspan="3" |Primary Weapons |
||
|None |
|None |
||
| − | | style="text-align: center;"|$50,000 |
+ | | style="text-align: center;" |$50,000 |
| + | |[[File:FutureShockScarab-GTAO-NoPrimaryWeapon.png|thumb|center|220px]] |
||
| − | | |
||
|- |
|- |
||
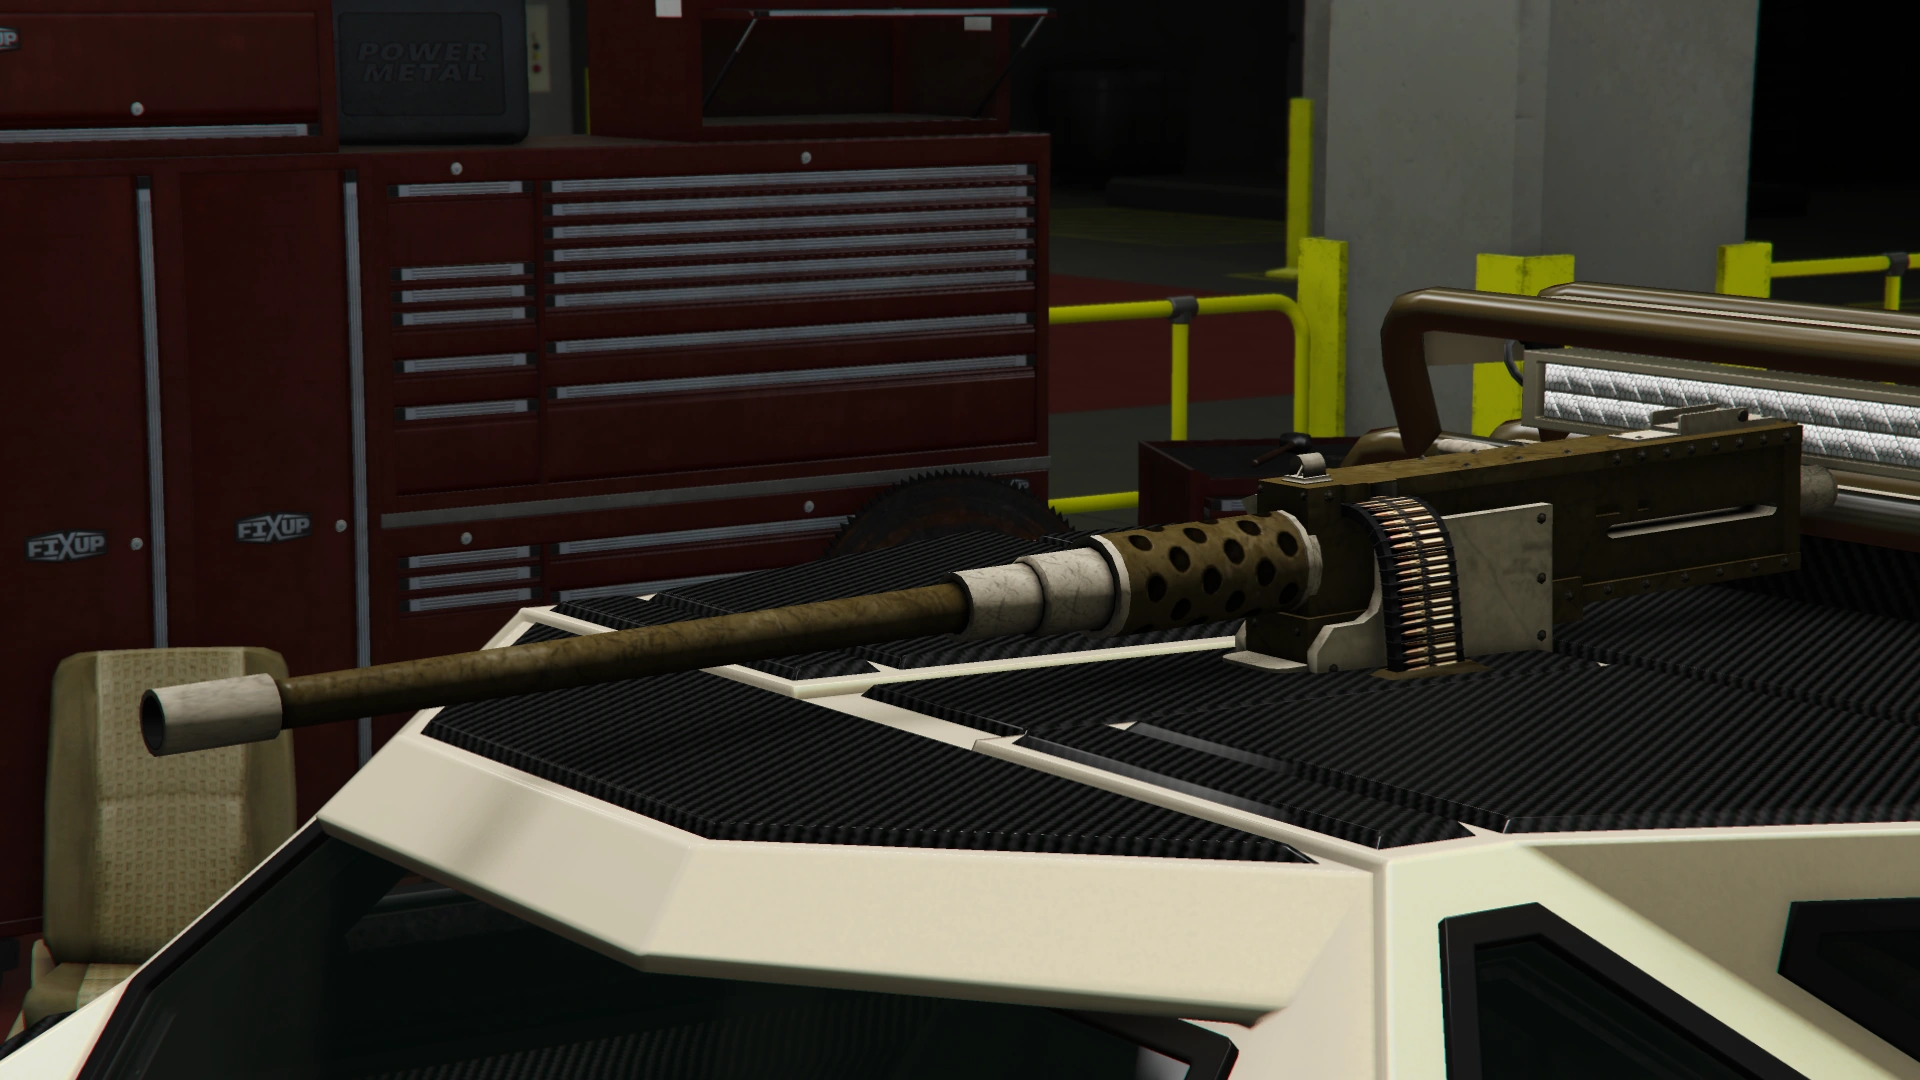
|Mounted .50 Cal (Clean) |
|Mounted .50 Cal (Clean) |
||
| − | | style="text-align: center;"|$297,000 |
+ | | style="text-align: center;" |$297,000 |
| + | |[[File:FutureShockScarab-GTAO-Mounted.50Cal(Clean).png|thumb|center|220px]] |
||
| − | | |
||
|- |
|- |
||
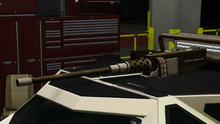
|40W Phased Plasma Turrets |
|40W Phased Plasma Turrets |
||
| − | | style="text-align: center;"|$325,000 |
+ | | style="text-align: center;" |$325,000 |
| + | |[[File:FutureShockScarab-GTAO-40WPhasedPlasmaTurrets.png|thumb|center|220px]] |
||
| − | | |
||
|- |
|- |
||
| rowspan="6" |[[Vehicle Mines|Proximity Mine]] |
| rowspan="6" |[[Vehicle Mines|Proximity Mine]] |
||
|No Proximity Mine |
|No Proximity Mine |
||
| − | | colspan="2" style="text-align: center;"|$50,000 |
+ | | colspan="2" style="text-align: center;" |$50,000 |
|- |
|- |
||
|Kinetic |
|Kinetic |
||
| − | | colspan="2" style="text-align: center;"|$270,000<br />$135,000 (AW) |
+ | | colspan="2" style="text-align: center;" |$270,000<br />$135,000 (AW) |
|- |
|- |
||
|Spike |
|Spike |
||
| − | | colspan="2" style="text-align: center;"|$158,000<br />$79,000 (AW) |
+ | | colspan="2" style="text-align: center;" |$158,000<br />$79,000 (AW) |
|- |
|- |
||
|EMP |
|EMP |
||
| − | | colspan="2" style="text-align: center;"|$300,000<br />$150,000 (AW) |
+ | | colspan="2" style="text-align: center;" |$300,000<br />$150,000 (AW) |
|- |
|- |
||
|Slick |
|Slick |
||
| − | | colspan="2" style="text-align: center;"|$198,000<br />$99,000 (AW) |
+ | | colspan="2" style="text-align: center;" |$198,000<br />$99,000 (AW) |
|- |
|- |
||
|Sticky |
|Sticky |
||
| − | | colspan="2" style="text-align: center;"|$250,000<br />$125,000 (AW) |
+ | | colspan="2" style="text-align: center;" |$250,000<br />$125,000 (AW) |
|} |
|} |
||
:''(AW)'' Unlock this item for purchase via the Arena War Career. |
:''(AW)'' Unlock this item for purchase via the Arena War Career. |
||
| + | :''*'' Headlights are not available if a "Ram Weapon" modification is installed (except "Light Ram"). |
||
==Image Gallery== |
==Image Gallery== |
||
| − | <gallery position="center" |
+ | <gallery position="center" hideaddbutton="true" widths="270px" spacing="small"> |
| ⚫ | |||
| ⚫ | |||
Scarab-GTAO-RGSC.jpg|The '''Scarab''' on [[Rockstar Games Social Club]]. |
Scarab-GTAO-RGSC.jpg|The '''Scarab''' on [[Rockstar Games Social Club]]. |
||
| ⚫ | |||
| ⚫ | |||
</gallery> |
</gallery> |
||
| Line 658: | Line 701: | ||
===''Grand Theft Auto Online''=== |
===''Grand Theft Auto Online''=== |
||
*Can be purchased at the [[Arenawar|Arena War]] website for [[Money|$]]3,076,290 or $2,313,000 (trade price as a Sponsorship Tier reward in the Arena War Career). |
*Can be purchased at the [[Arenawar|Arena War]] website for [[Money|$]]3,076,290 or $2,313,000 (trade price as a Sponsorship Tier reward in the Arena War Career). |
||
| + | **The vehicle comes with the "HK" Livery and a Light Scoop Ram Weapon as standard when purchased. |
||
==Bugs/Glitches== |
==Bugs/Glitches== |
||
===''Grand Theft Auto Online''=== |
===''Grand Theft Auto Online''=== |
||
| − | * |
+ | *Certain modifications on the "Engine Covers" group may cause a visual bug on the side badges: |
| + | **When applying the Livery Roof, the badge will be mapped incorrectly. |
||
| + | **When applying the Heavy Duty Cooling, the badge will be inverted. |
||
| + | |||
| + | <gallery position="center" spacing="small" widths="270px" hideaddbutton="true"> |
||
| + | FutureShockScarab-GTAO-IncorrectBadgeMapping.png|The incorrect badge mapping, displaying several miniatures of the badge itself. |
||
| + | FutureShockScarab-GTAO-InvertedBadge.png|The inverted badge on the right side. |
||
| + | </gallery> |
||
==See Also== |
==See Also== |
||
Revision as of 19:55, 7 August 2019
Template:Next-Gen Template:Infobox vehicles
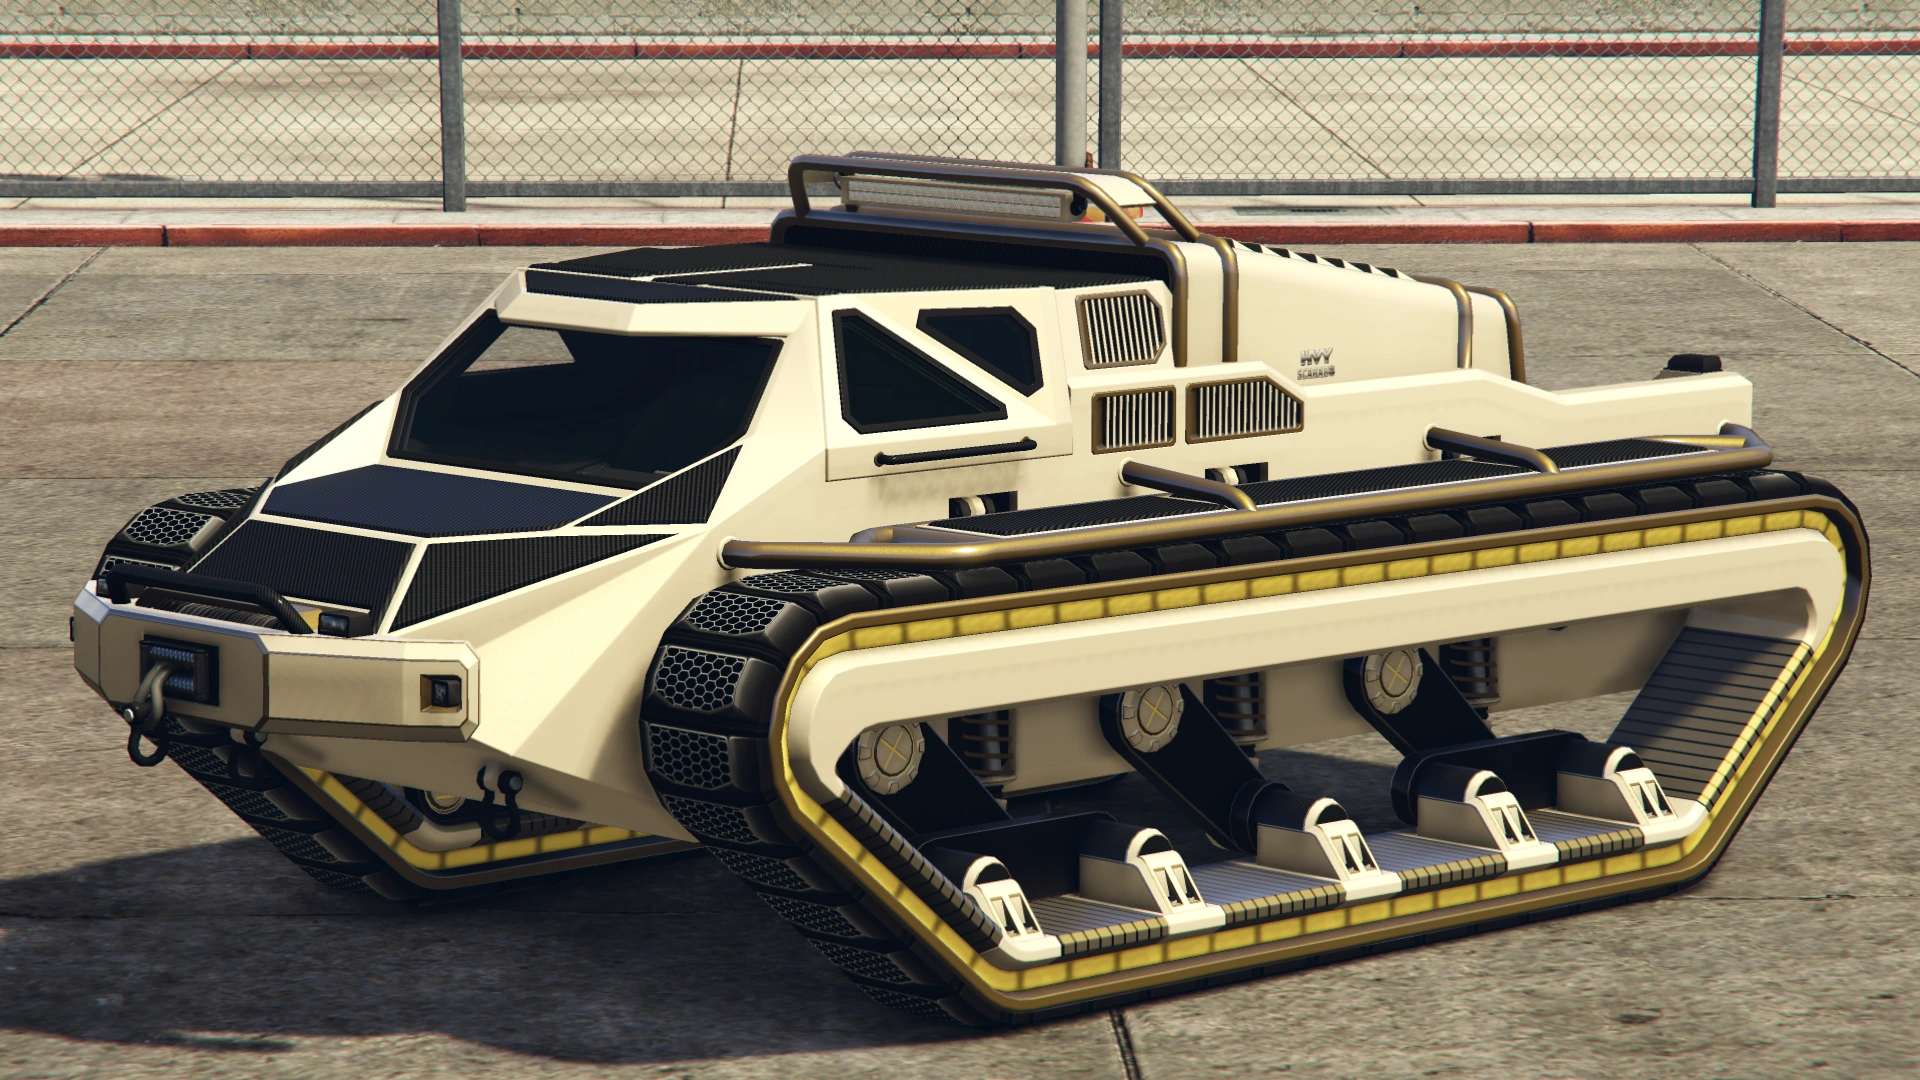
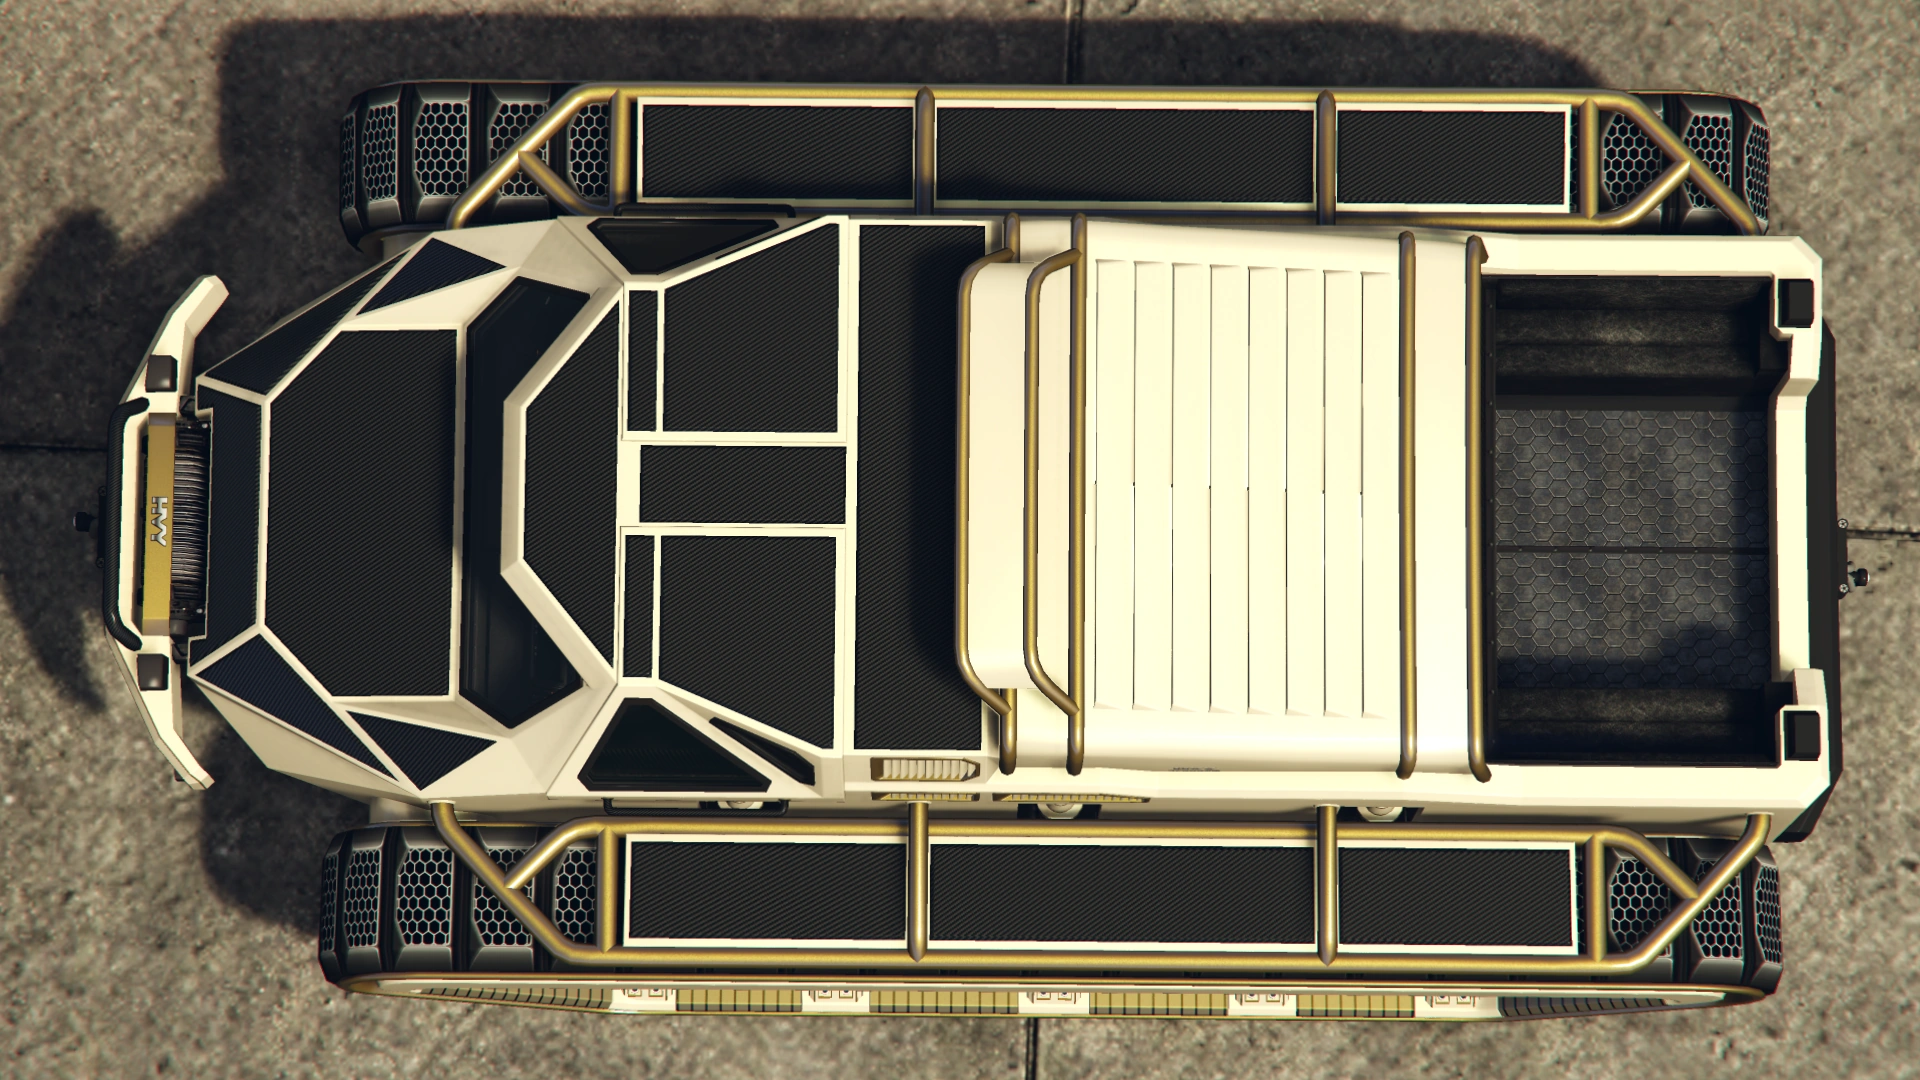
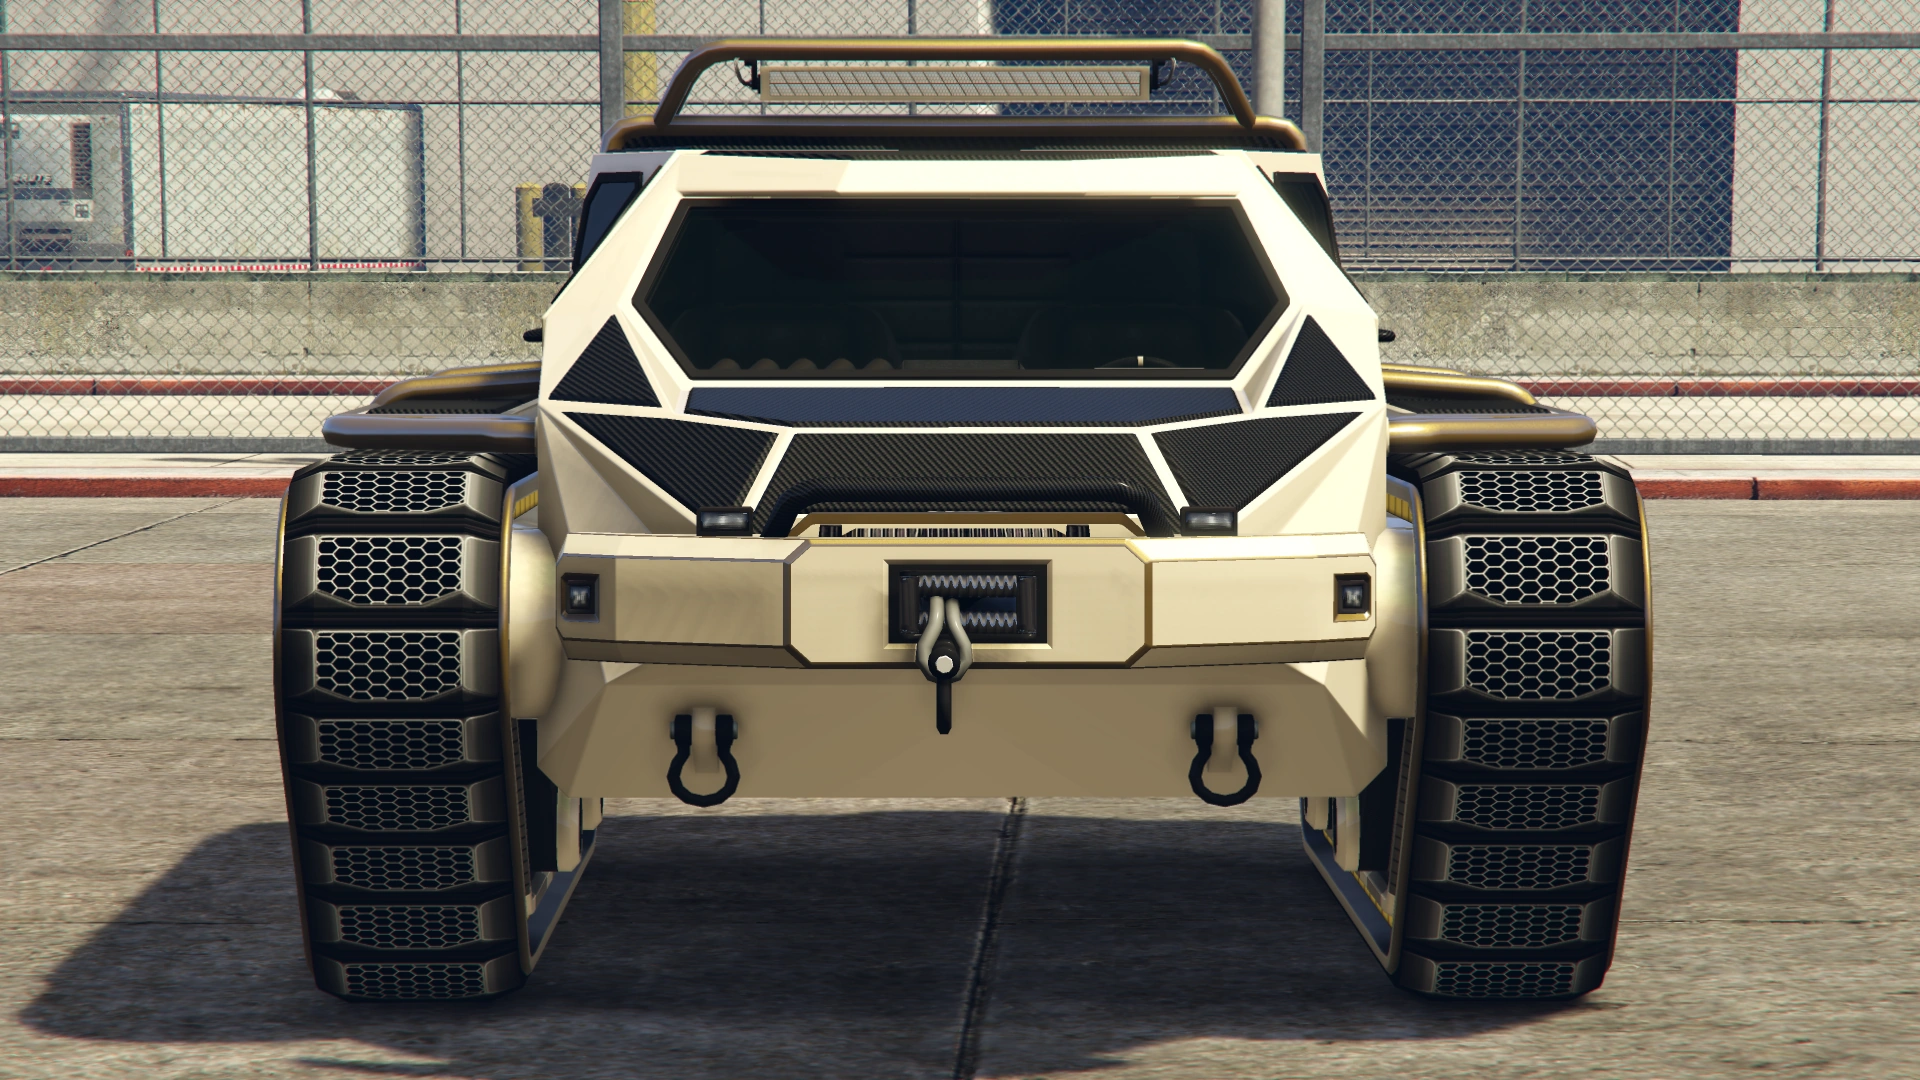
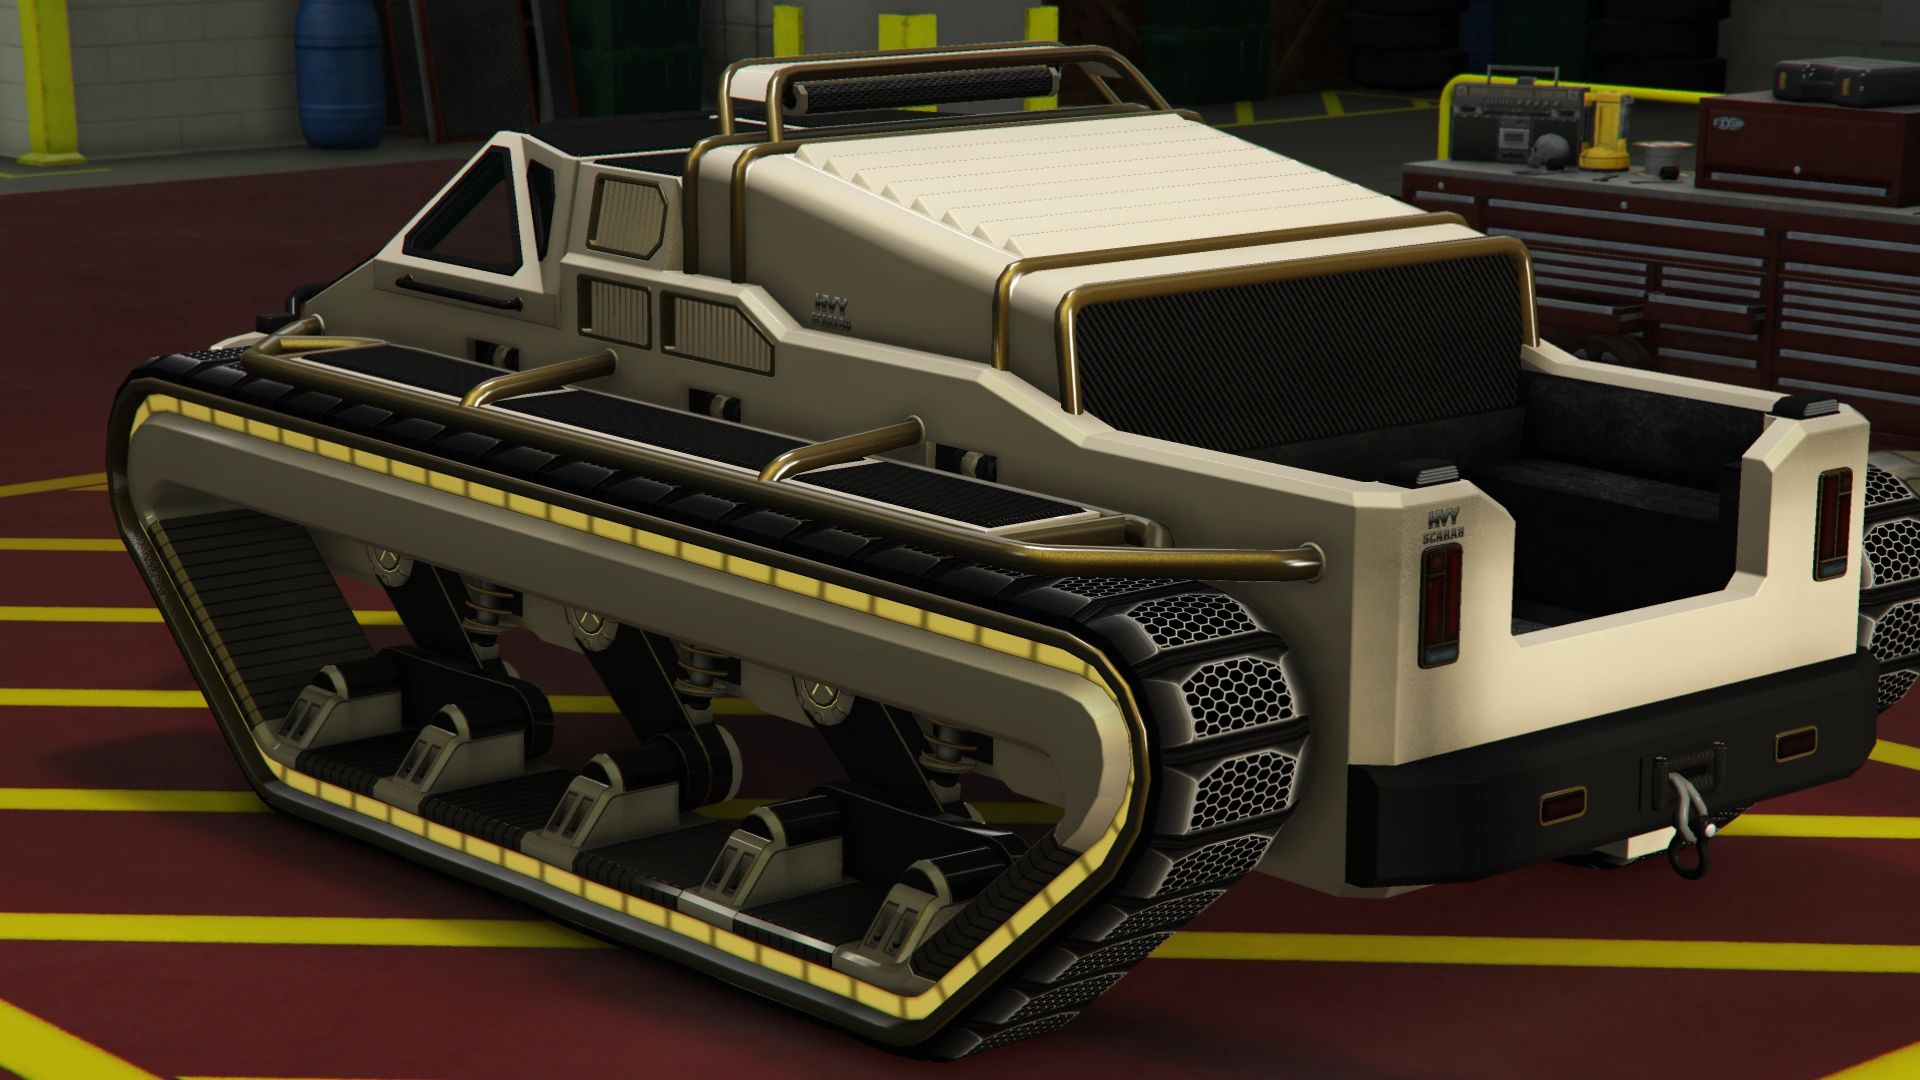
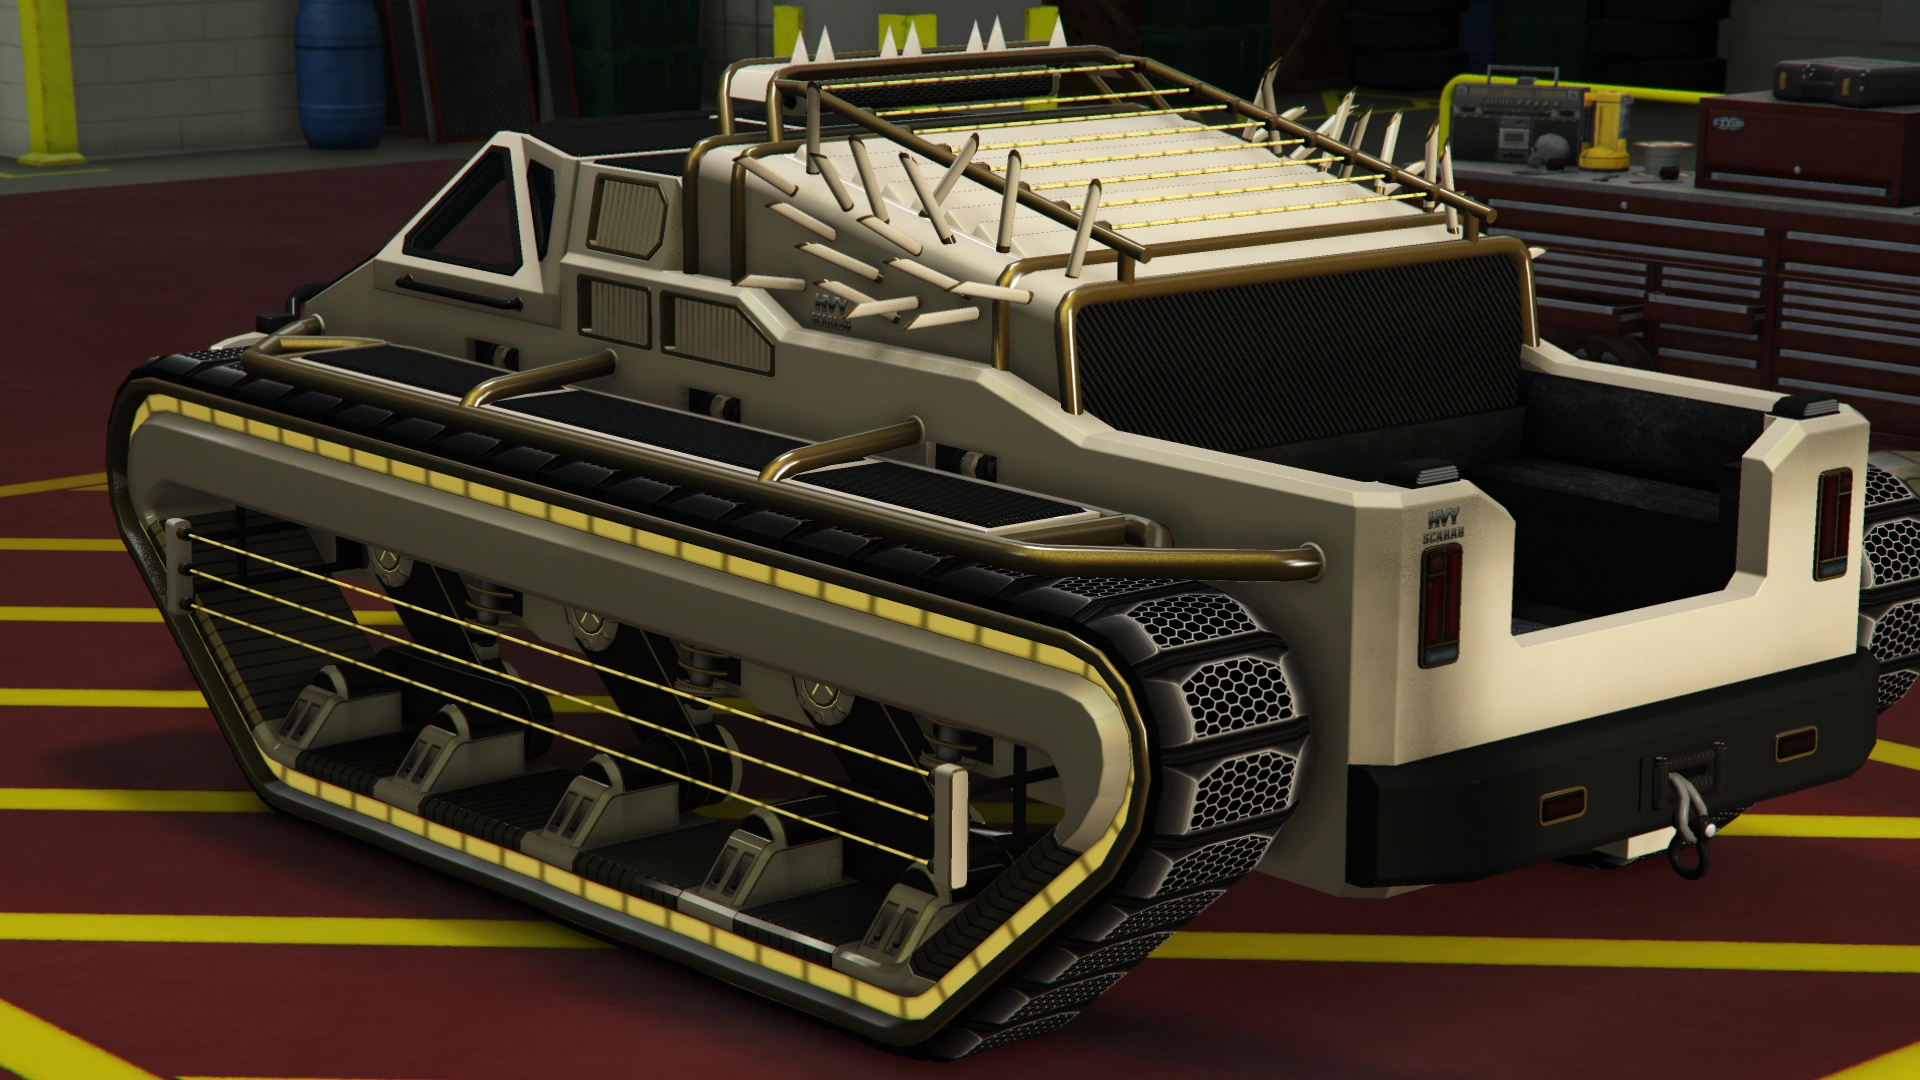
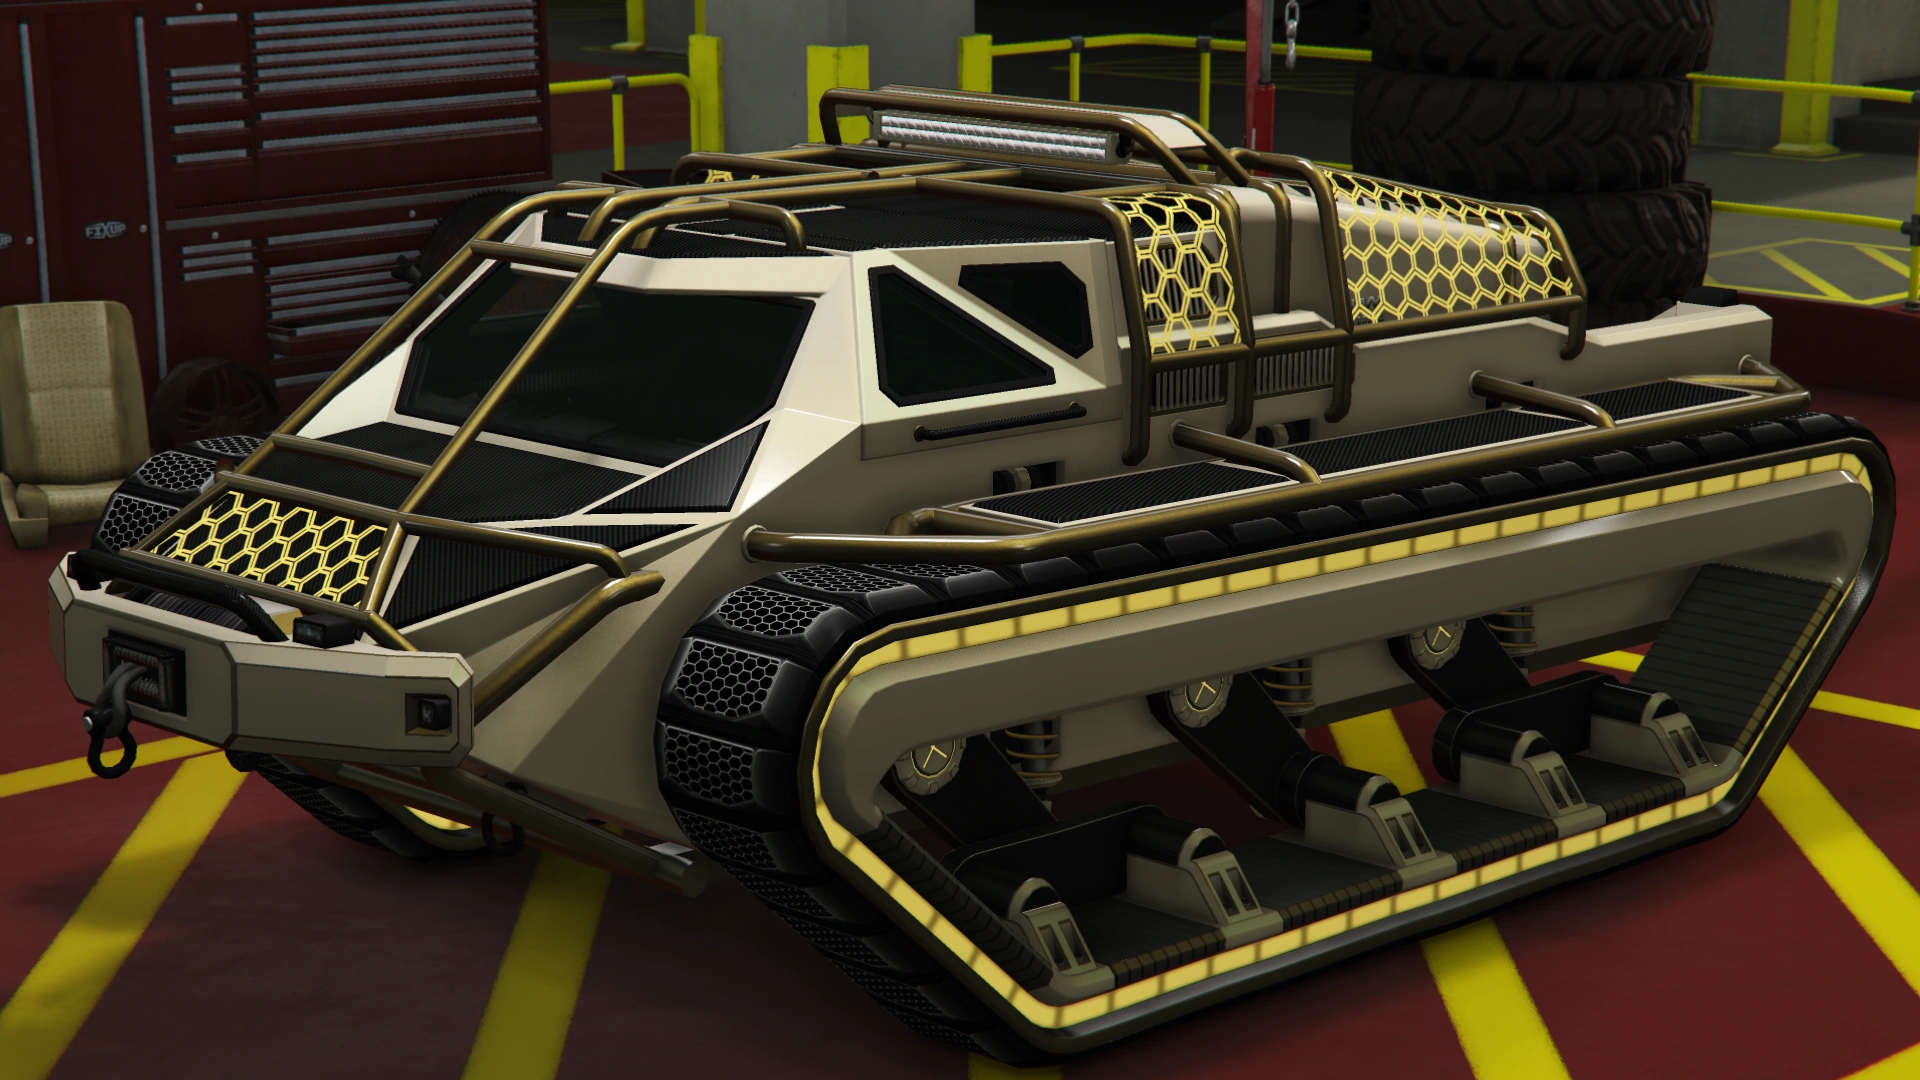
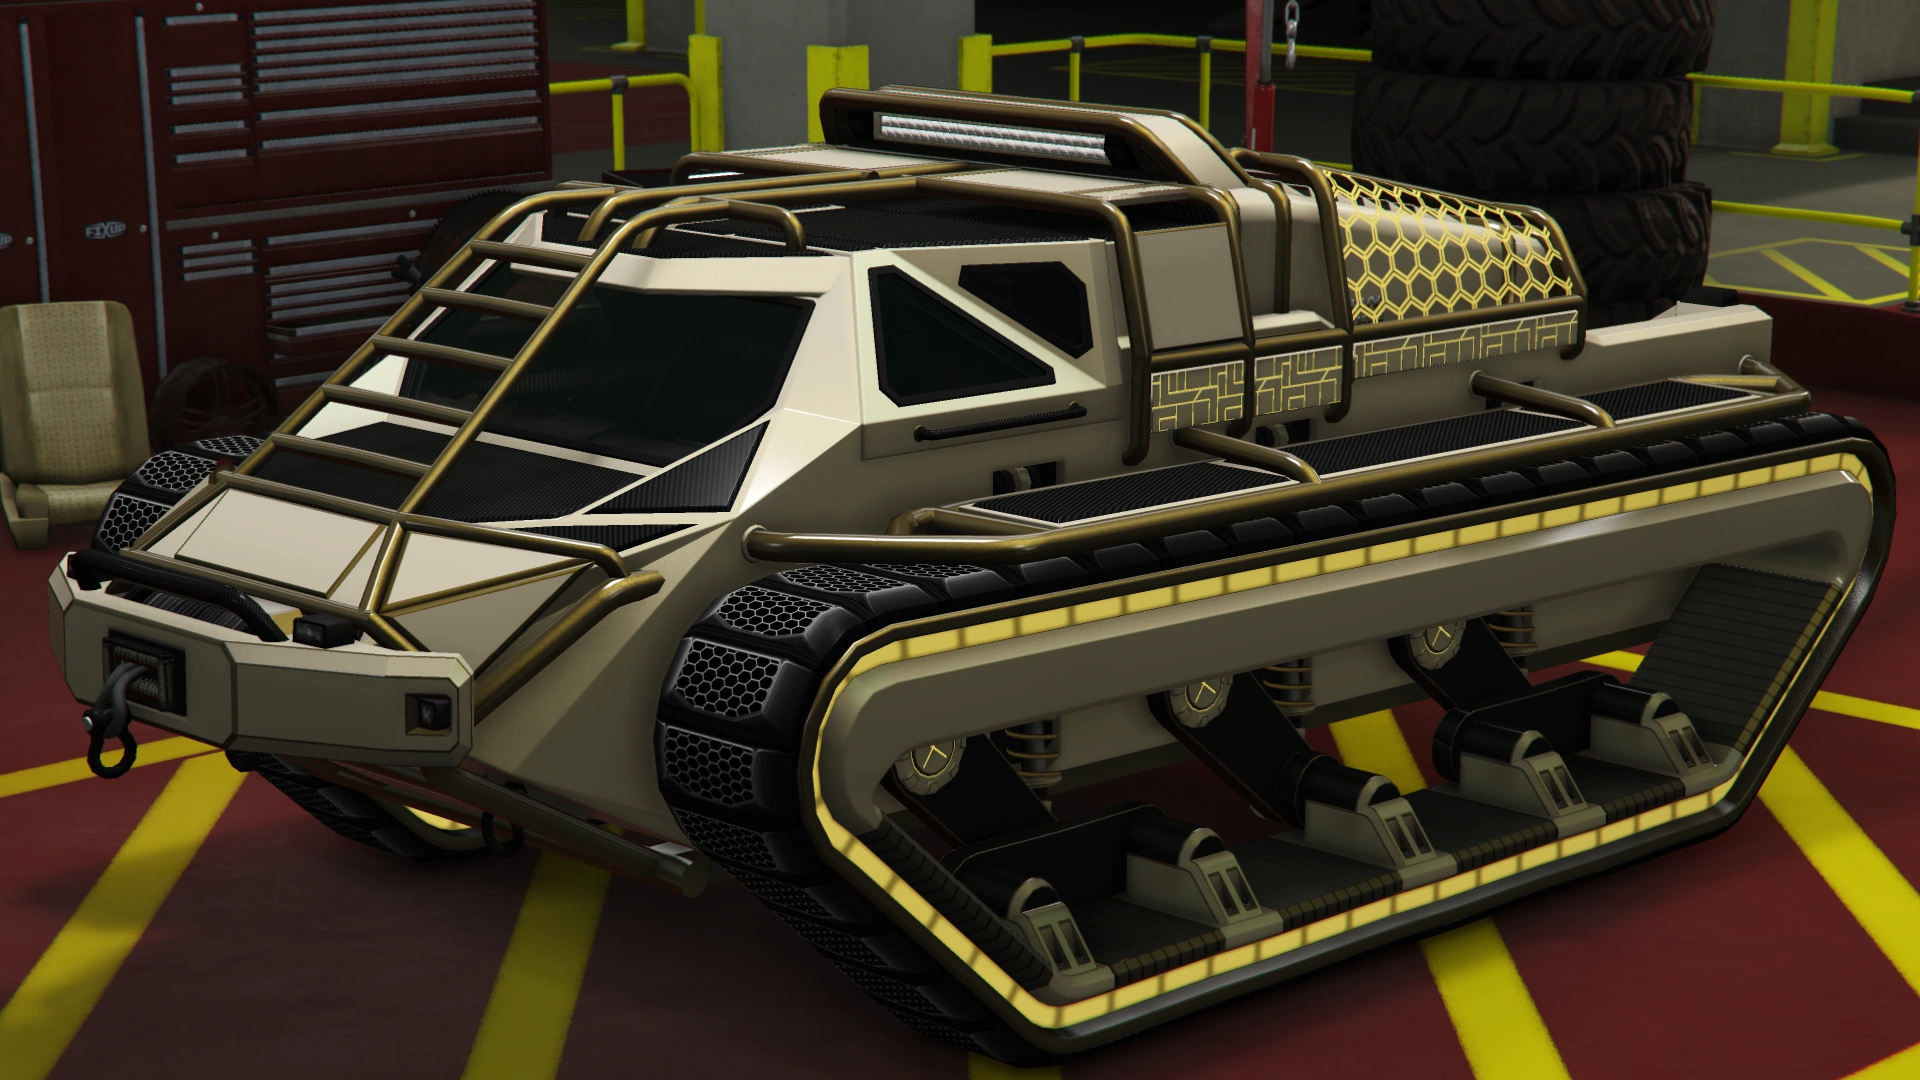
The HVY Future Shock Scarab is a custom low-profile light tank featured in Grand Theft Auto Online as part of the Arena War update.
Design
Grand Theft Auto Online
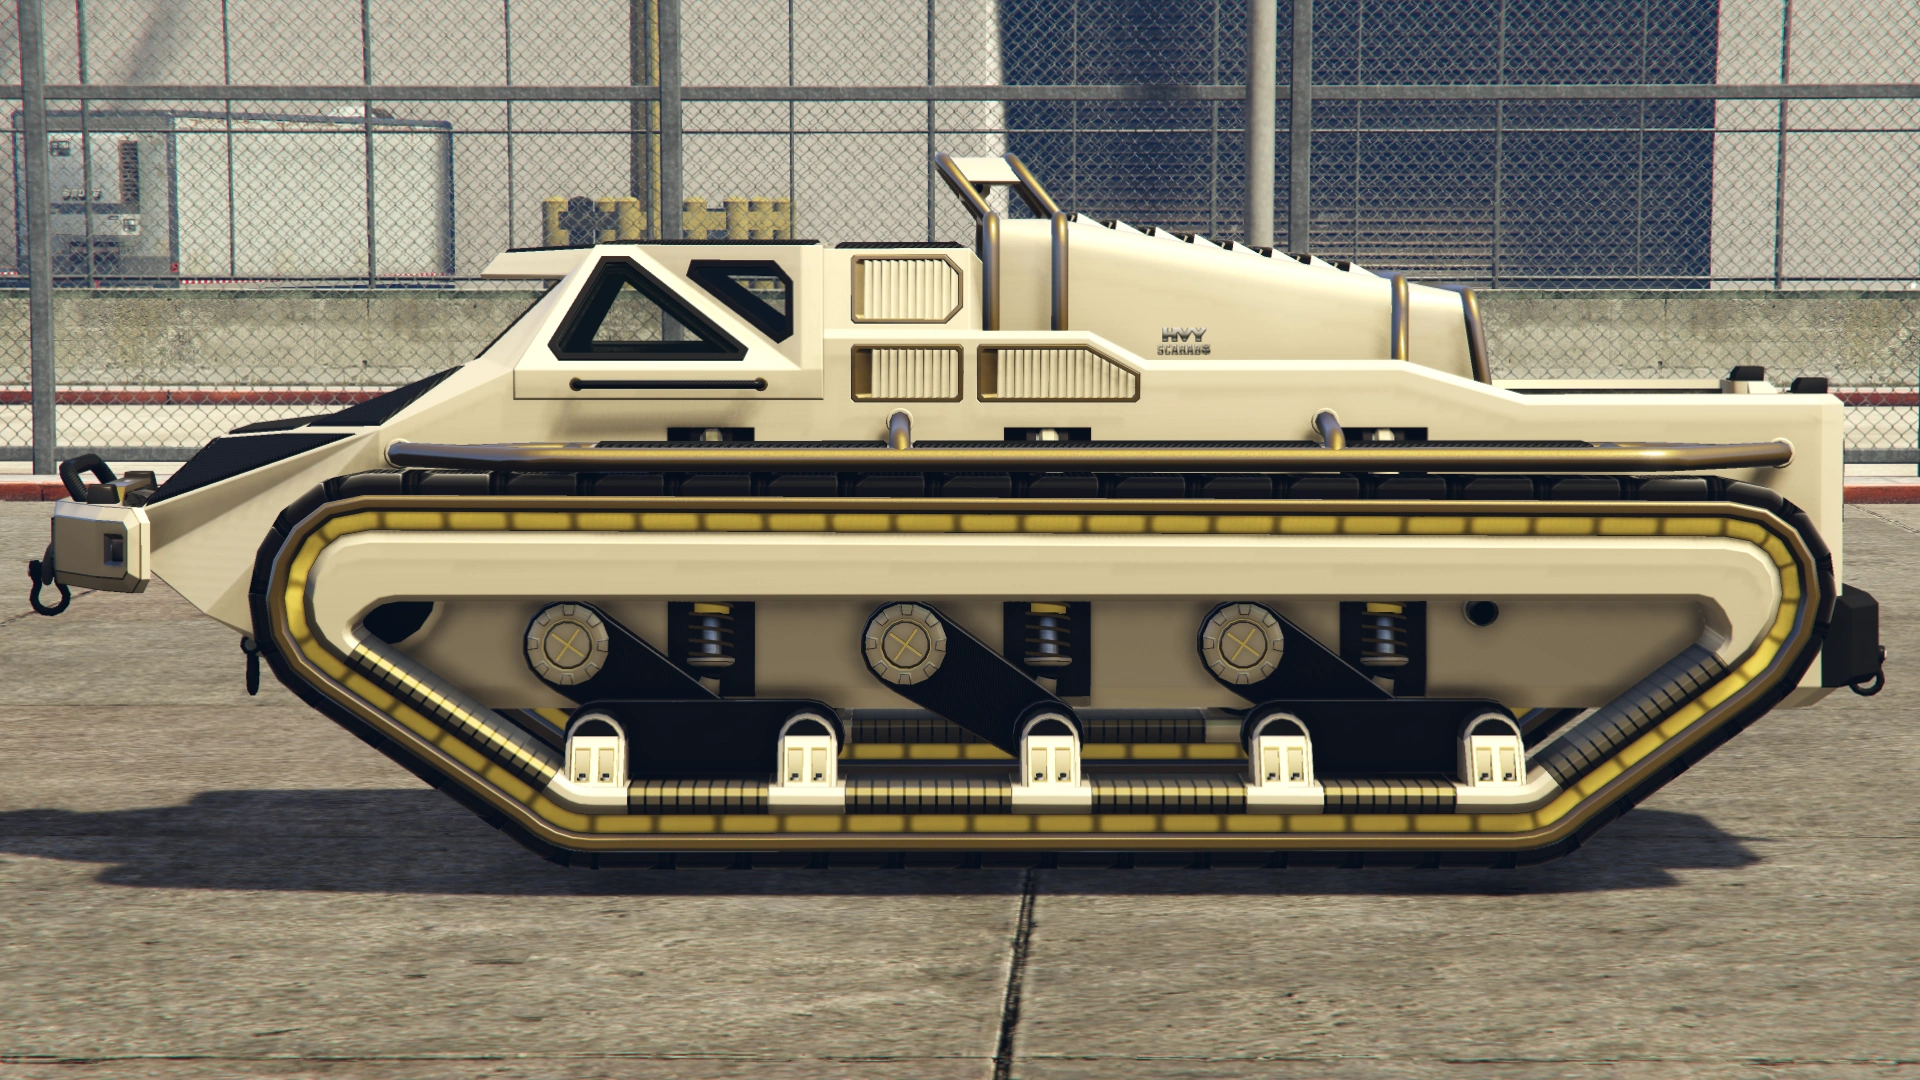
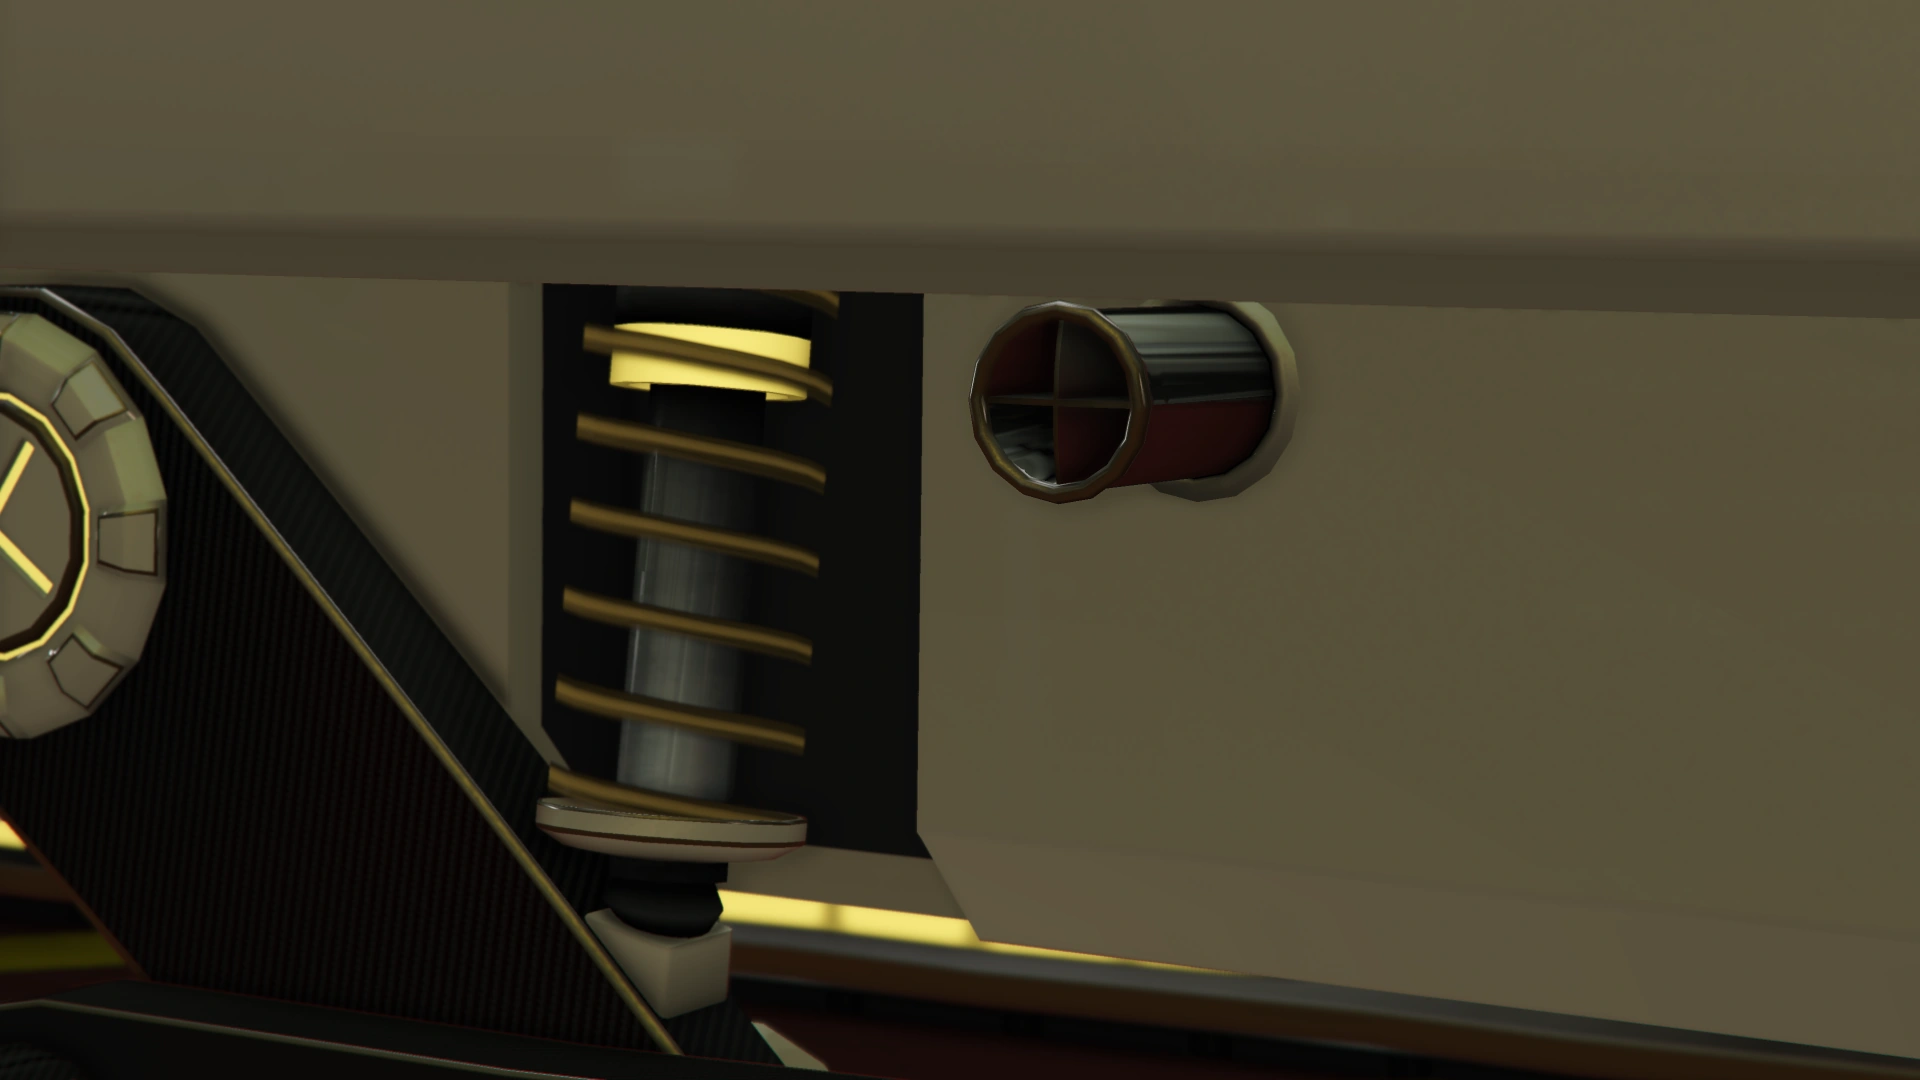
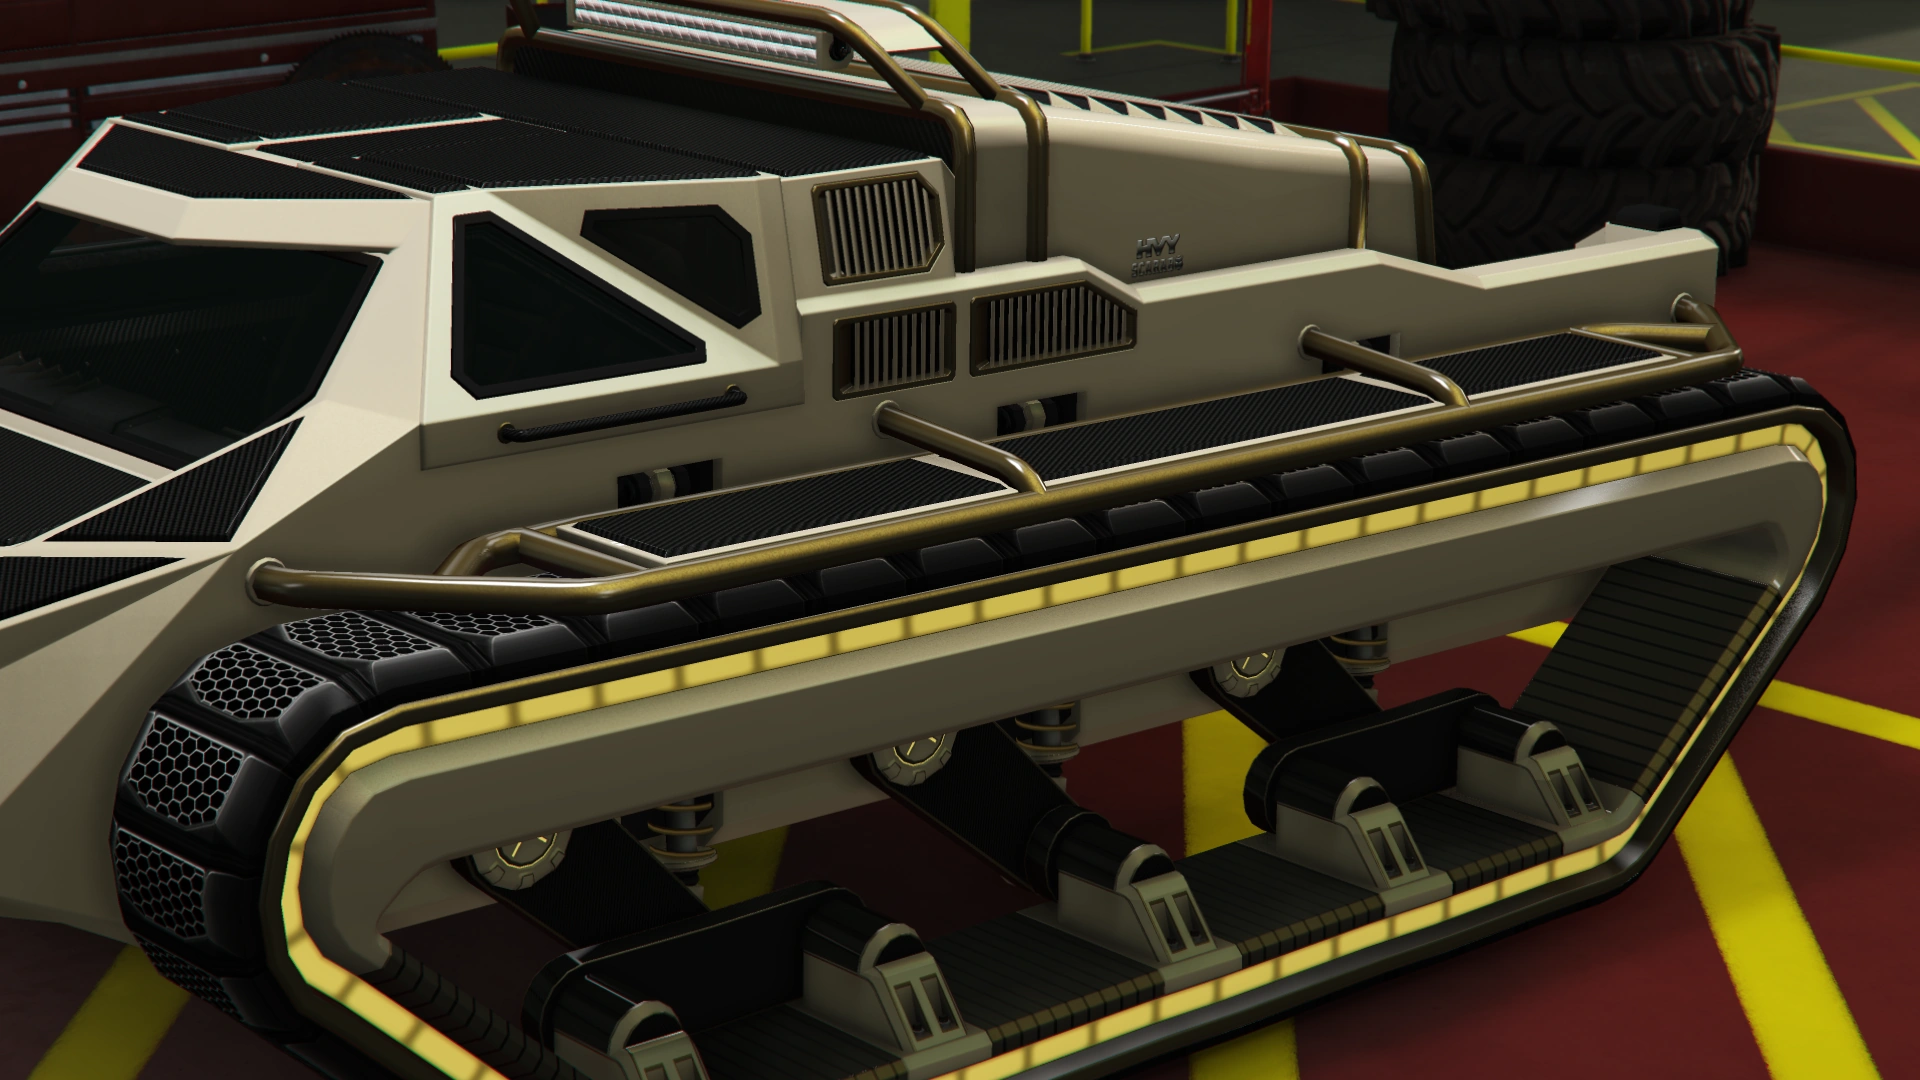
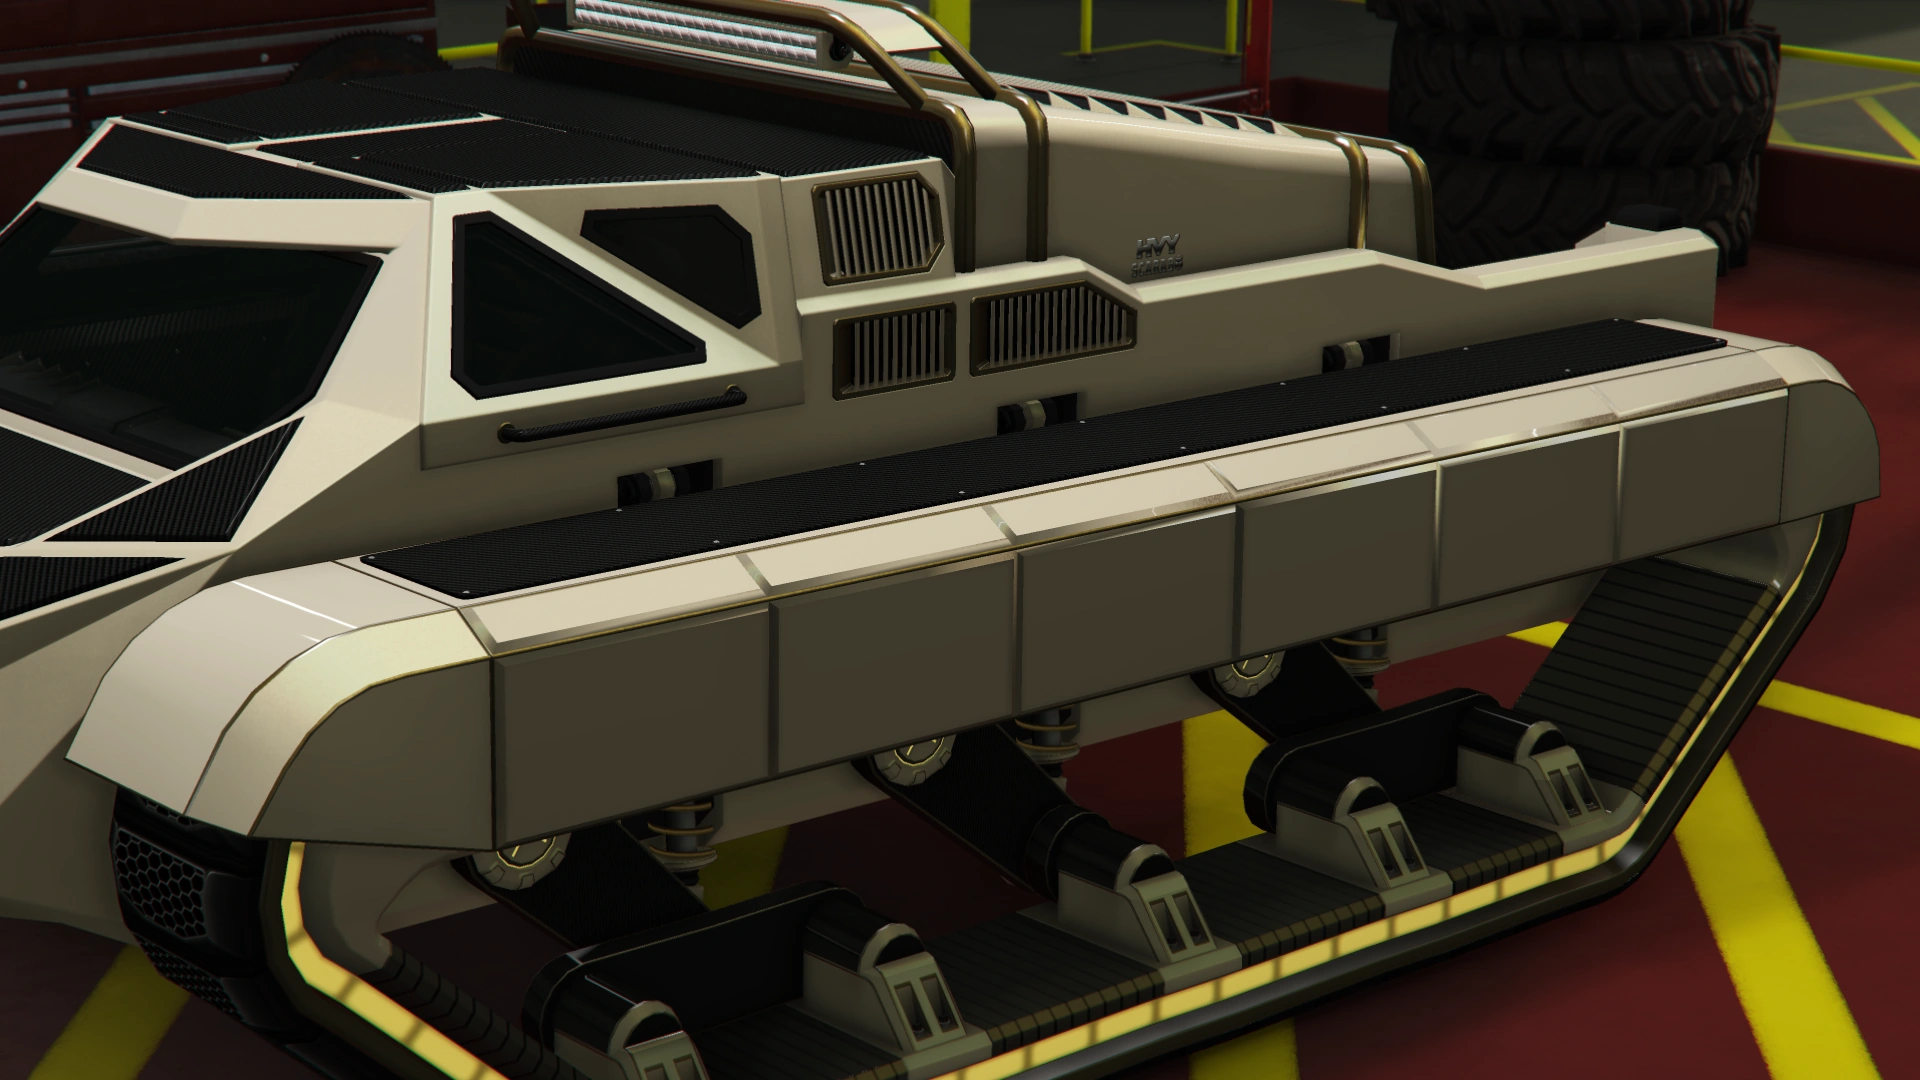
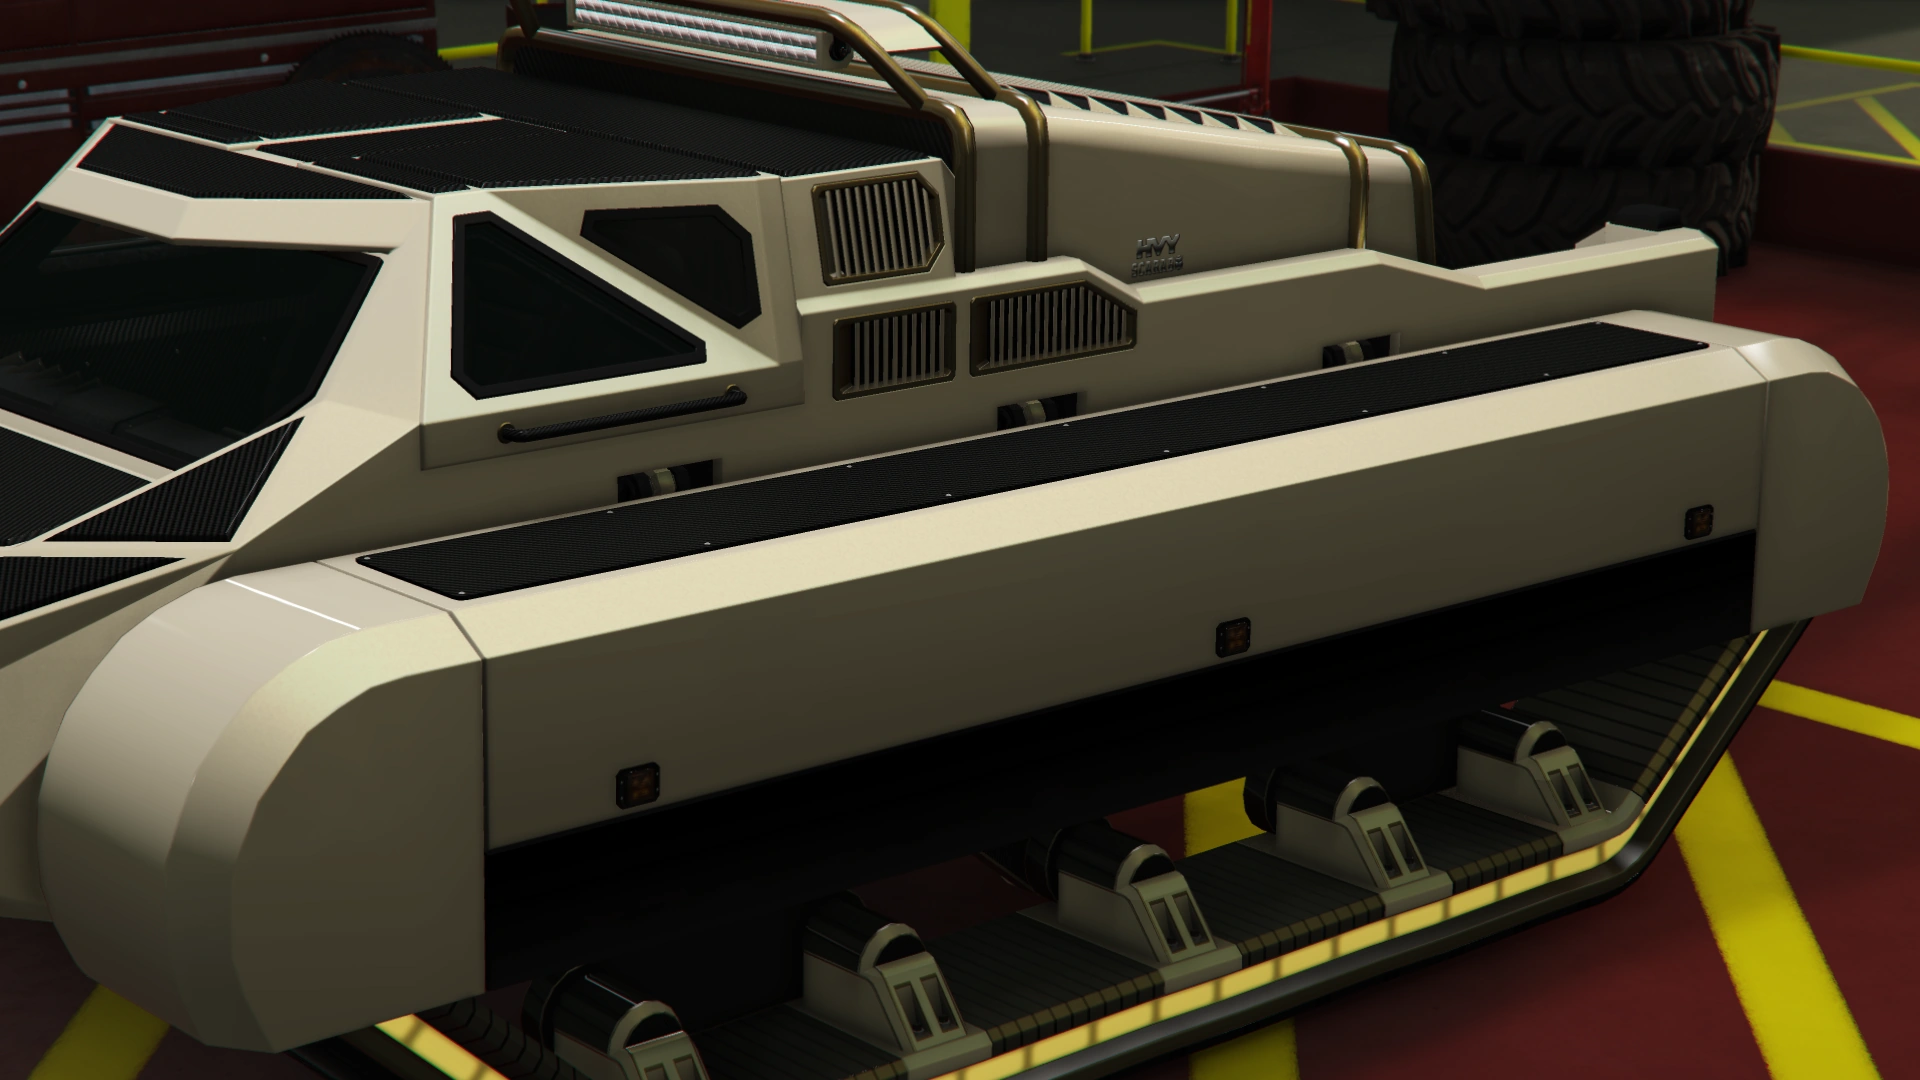
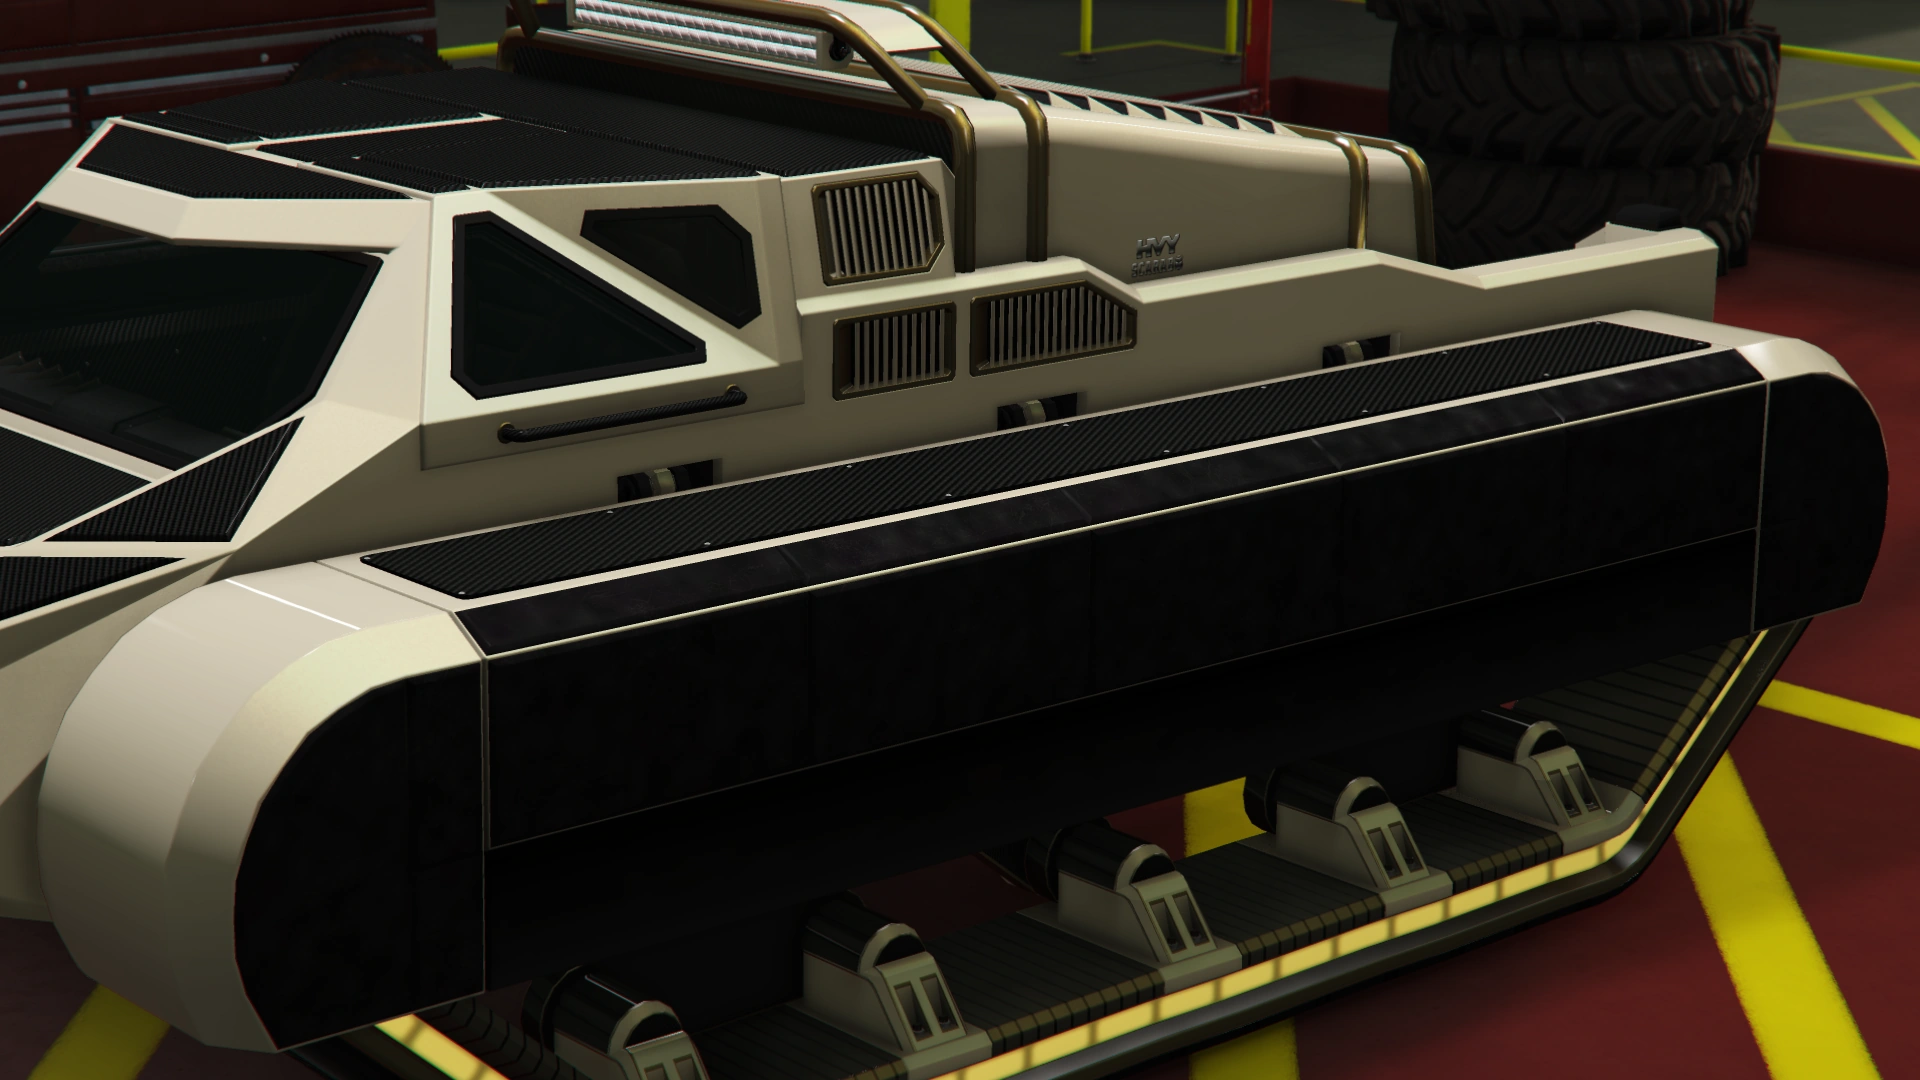
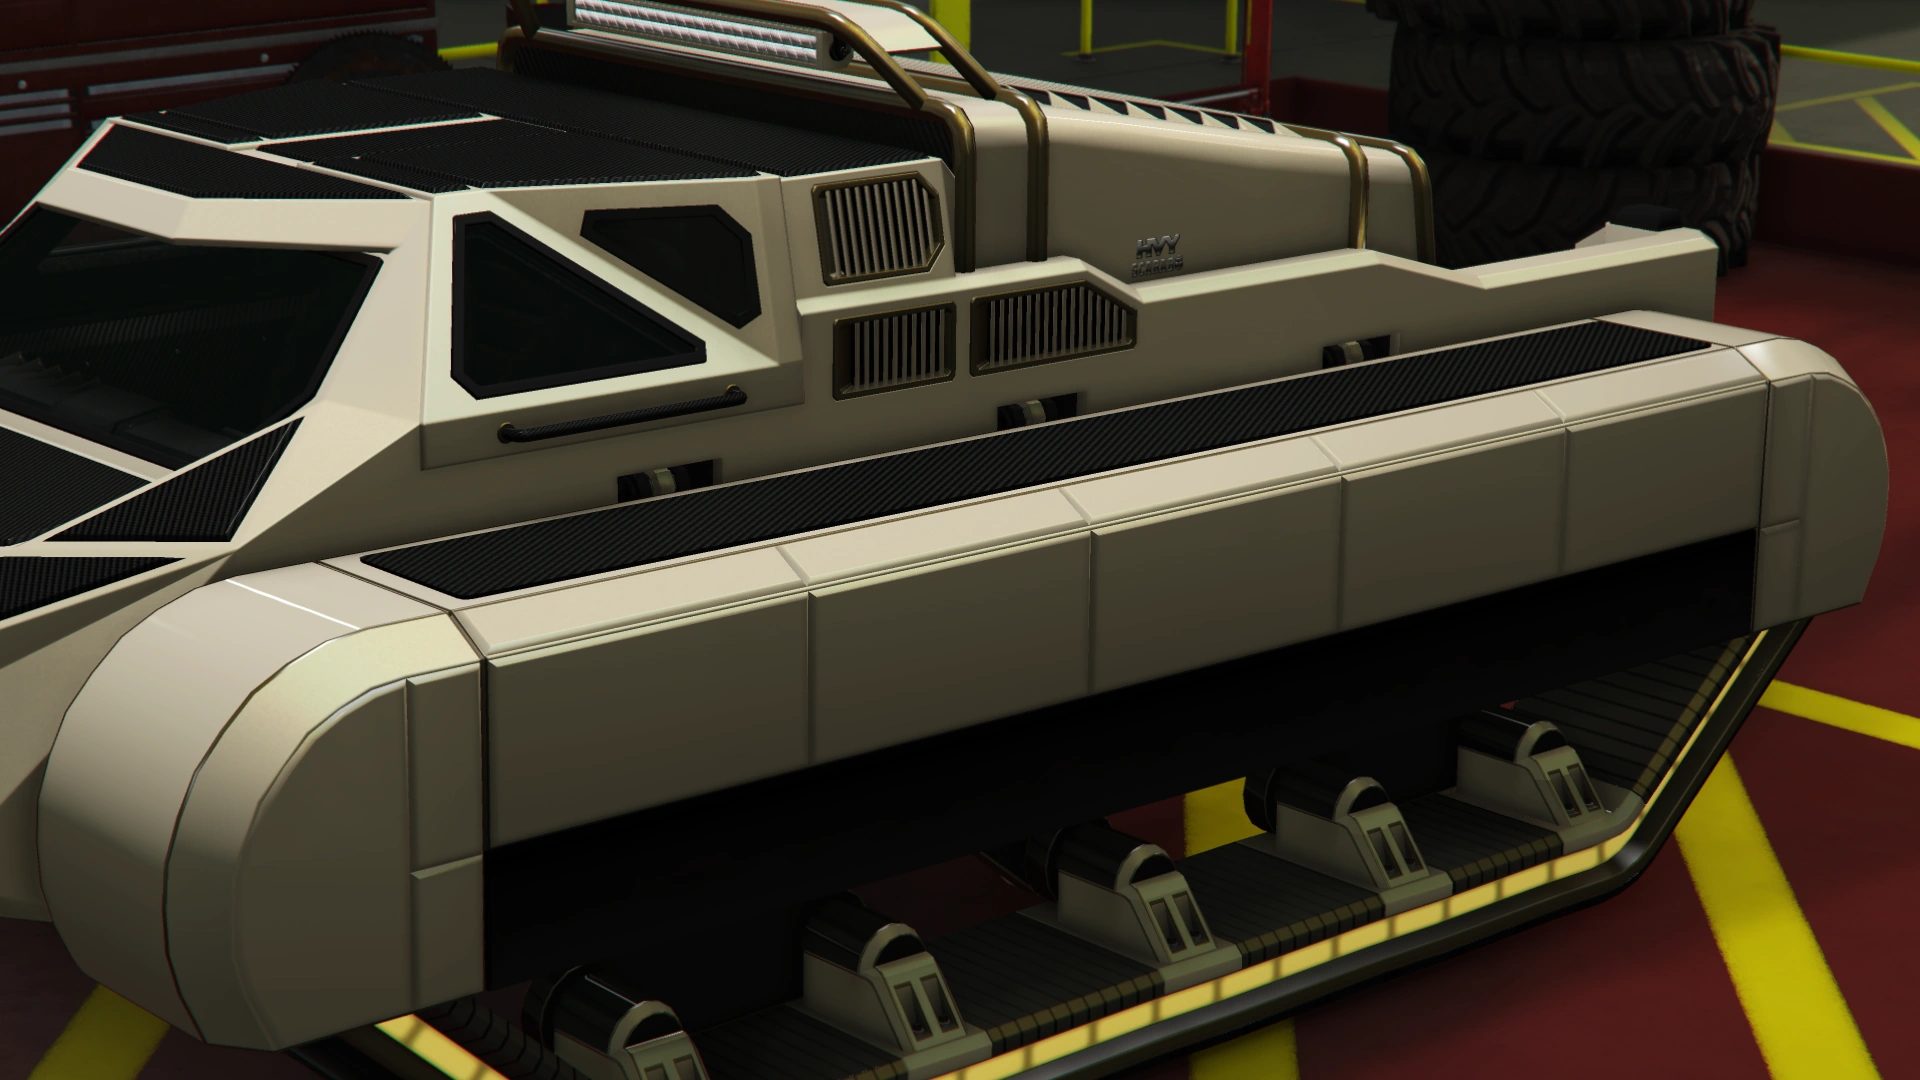
The vehicle is evidently based on the Howe & Howe Ripsaw EV2, characterized by the low profile and the suspension system.
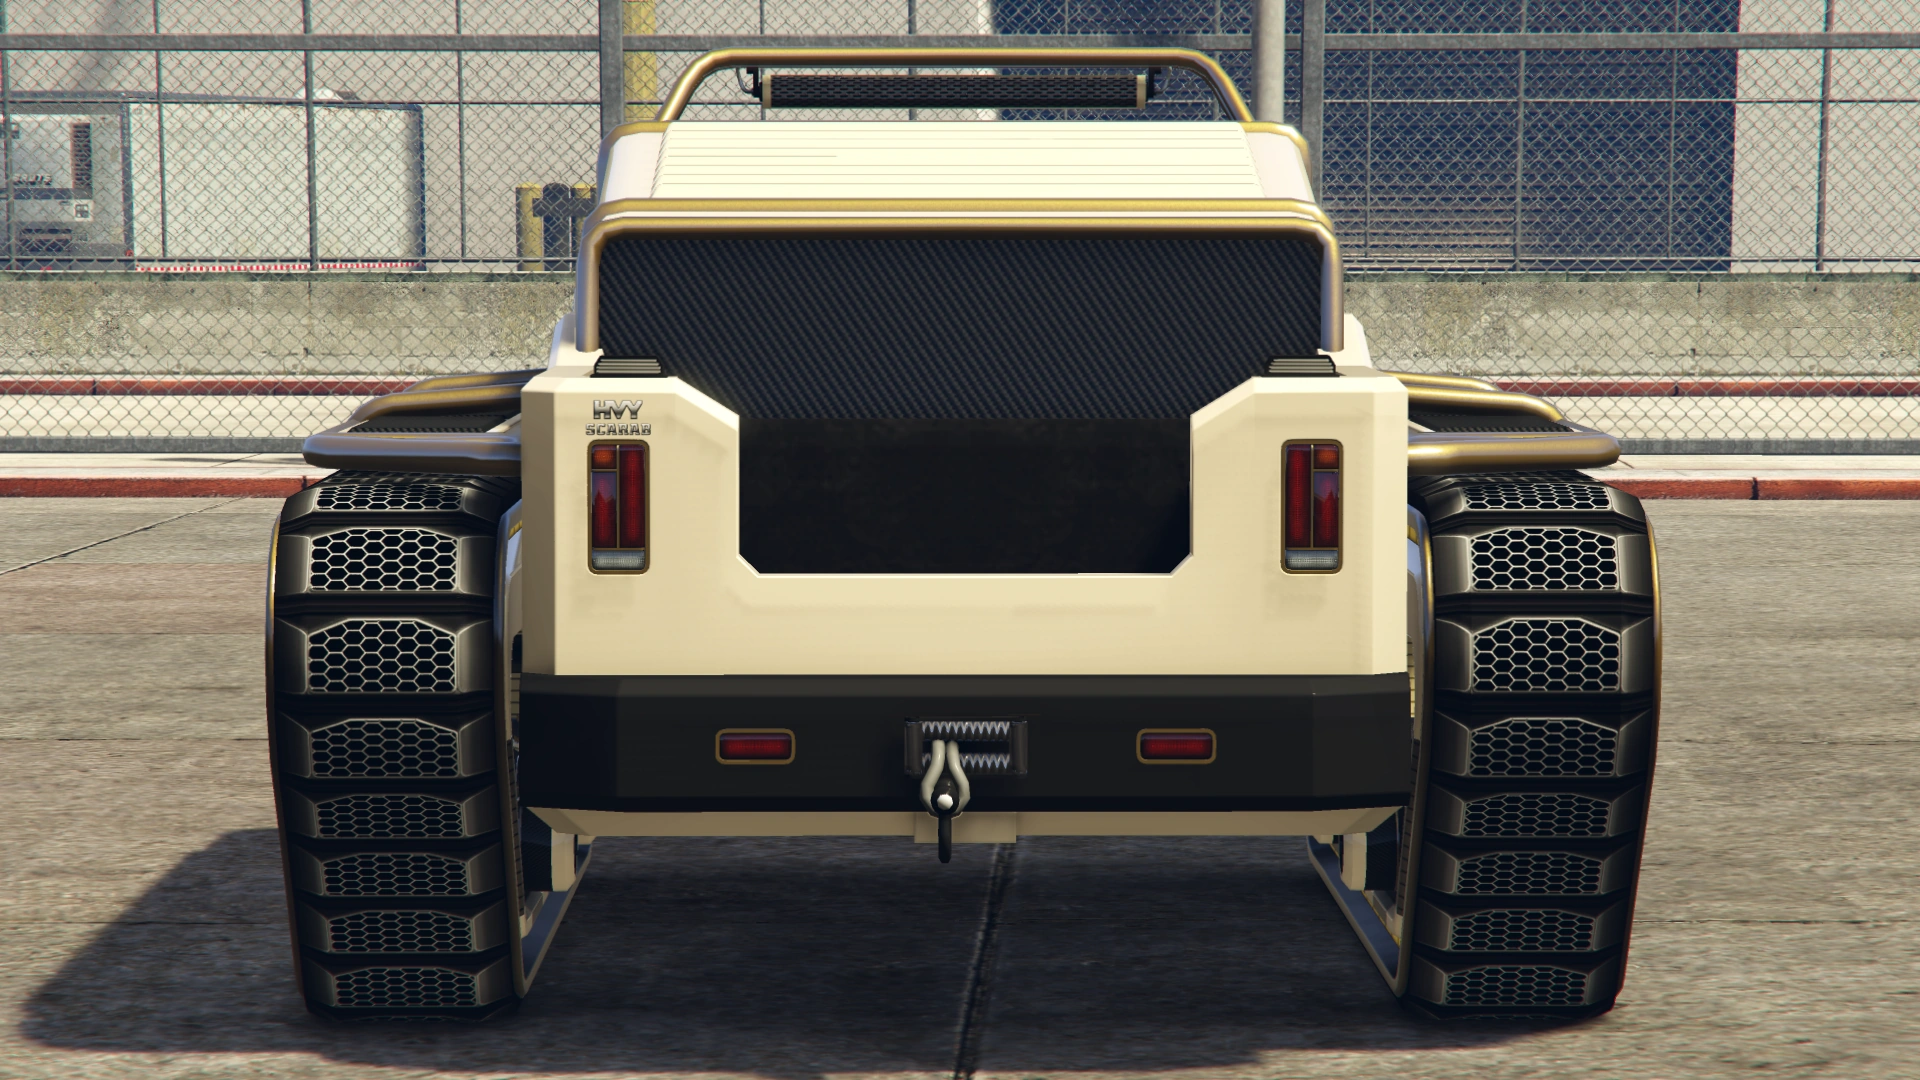
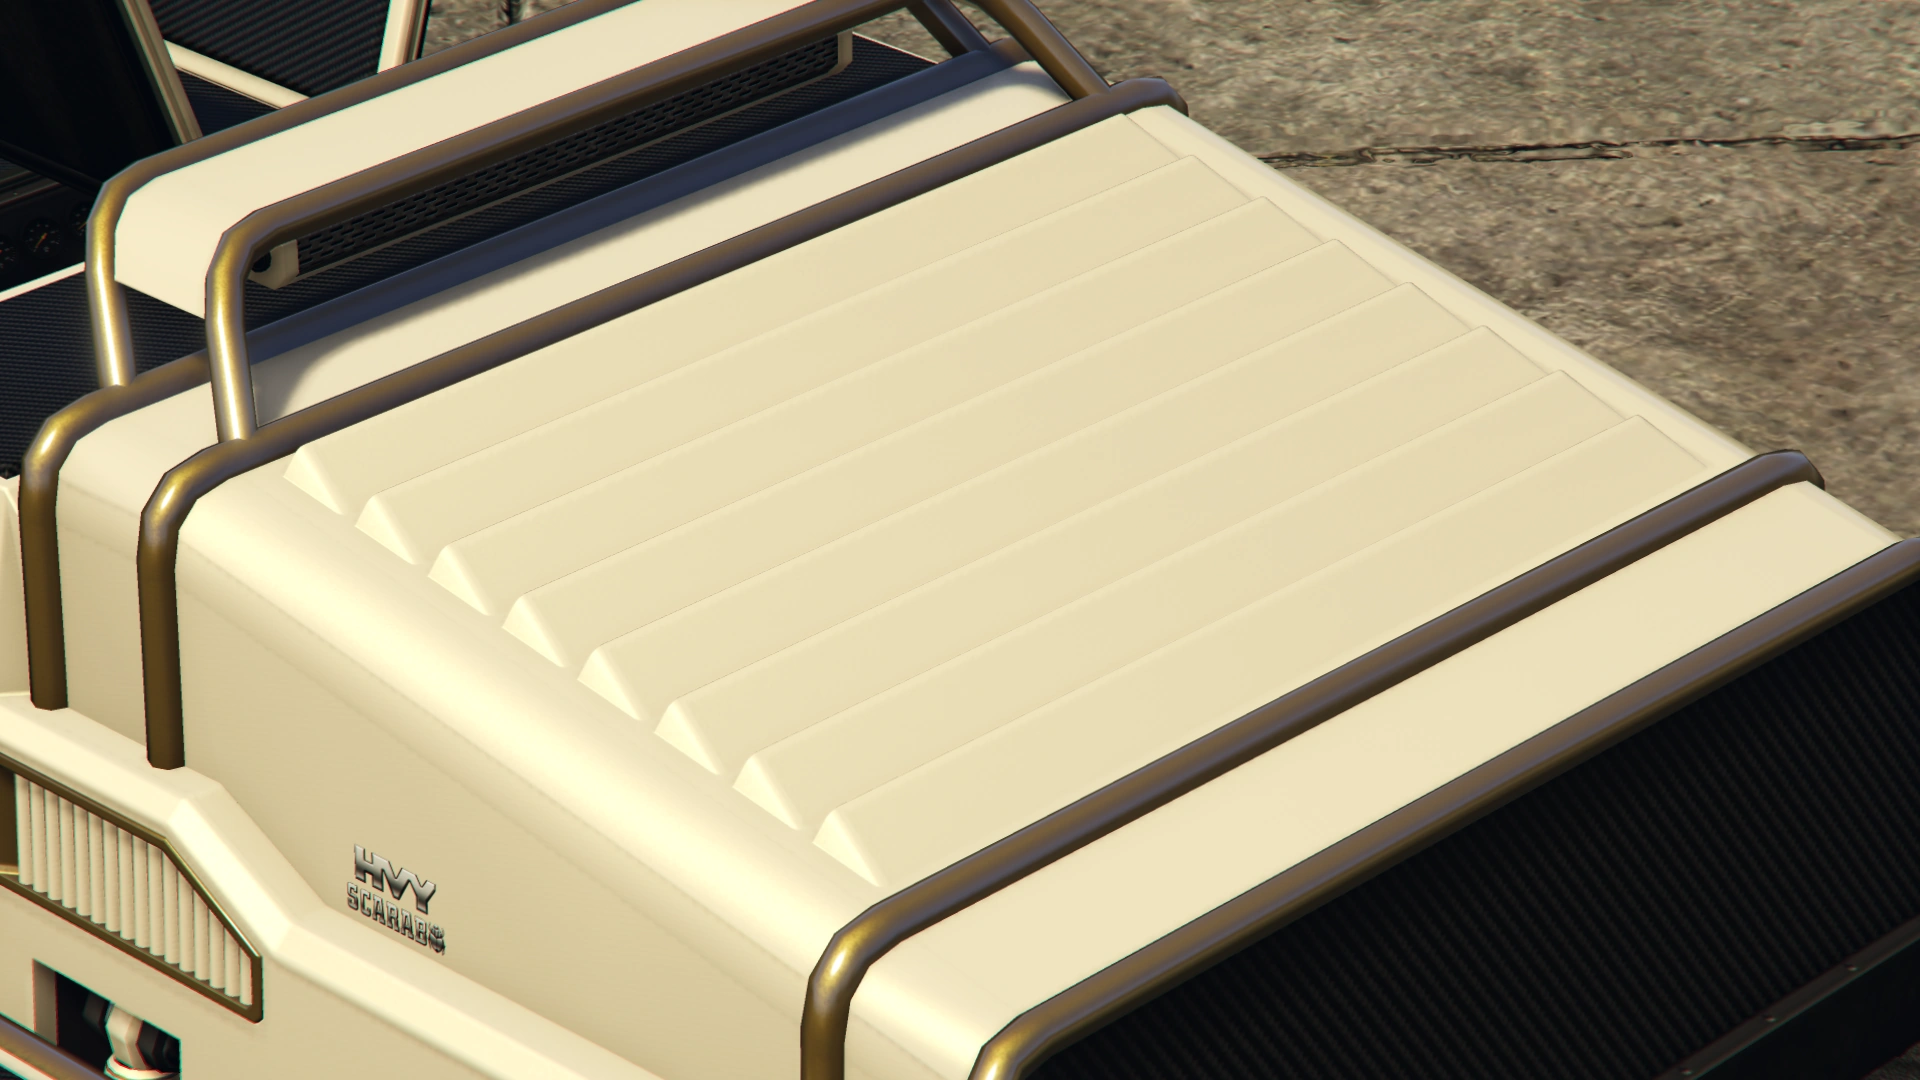
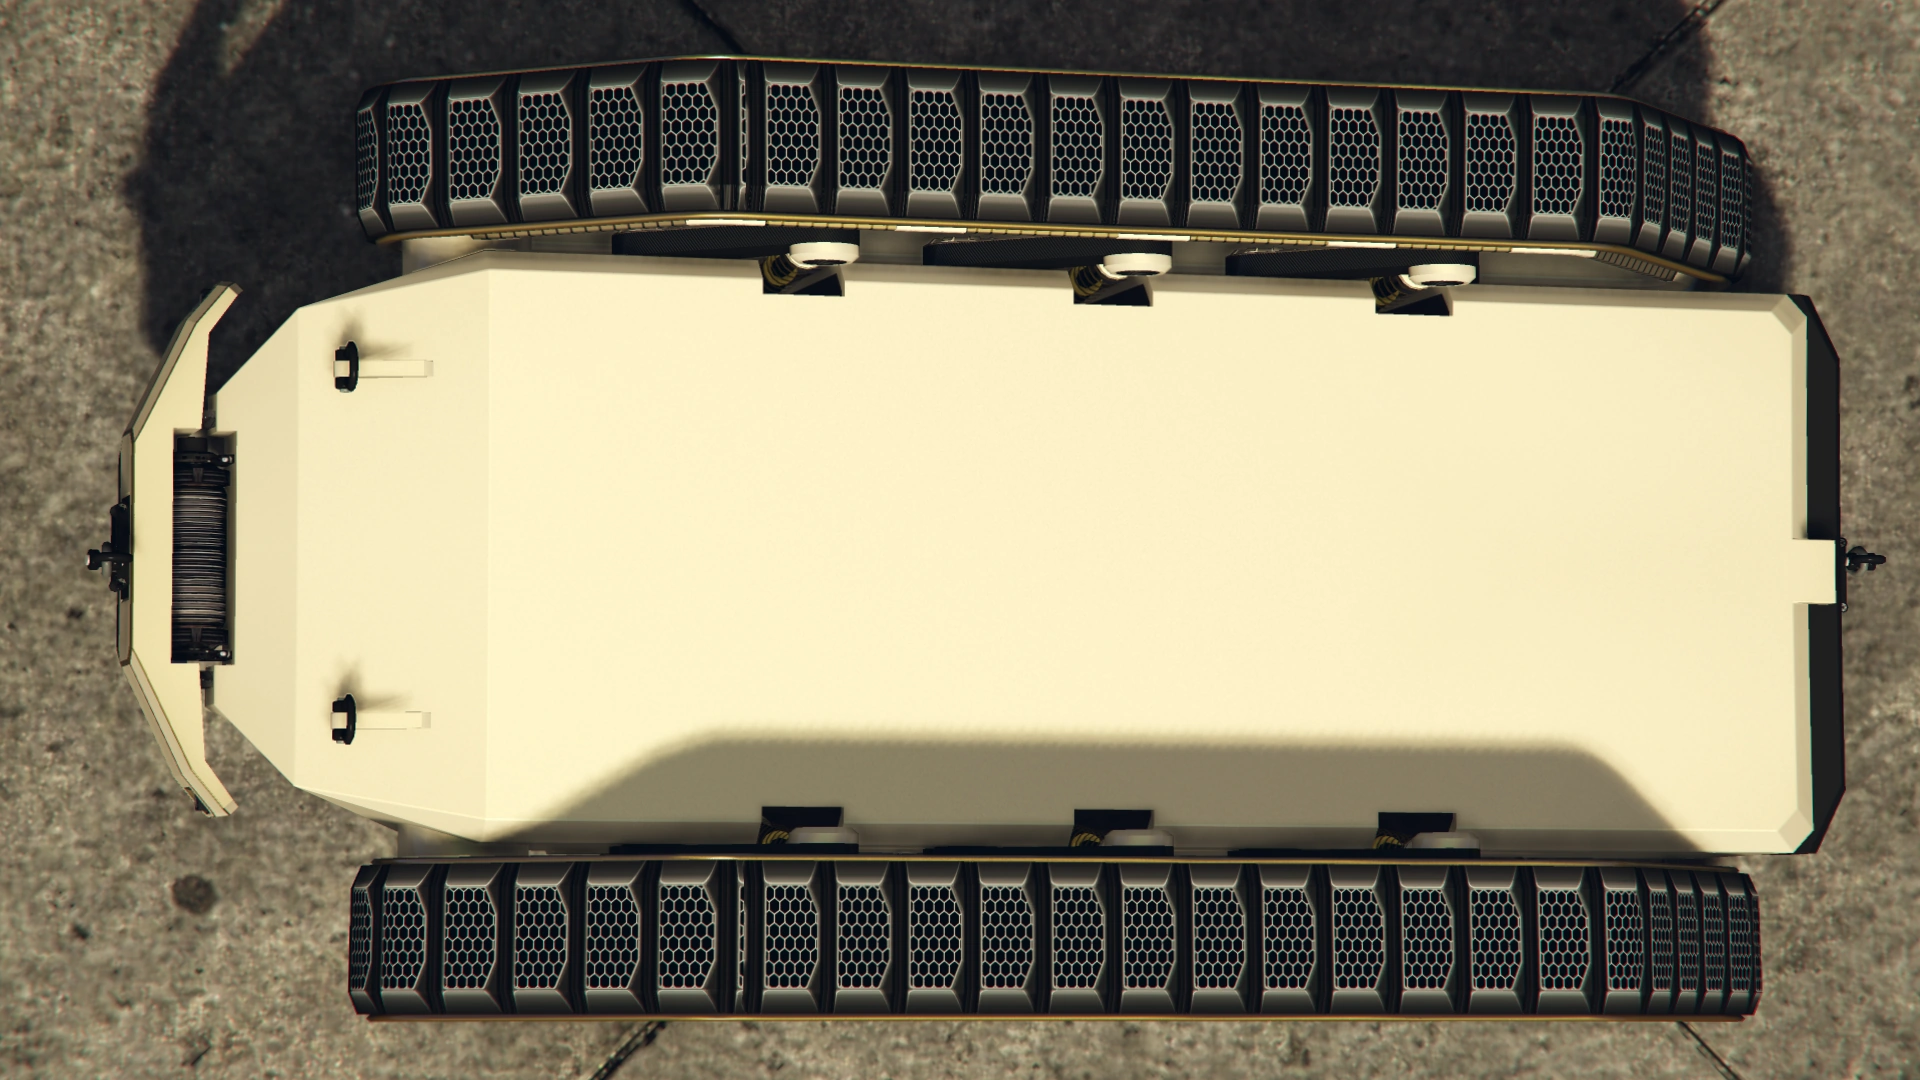
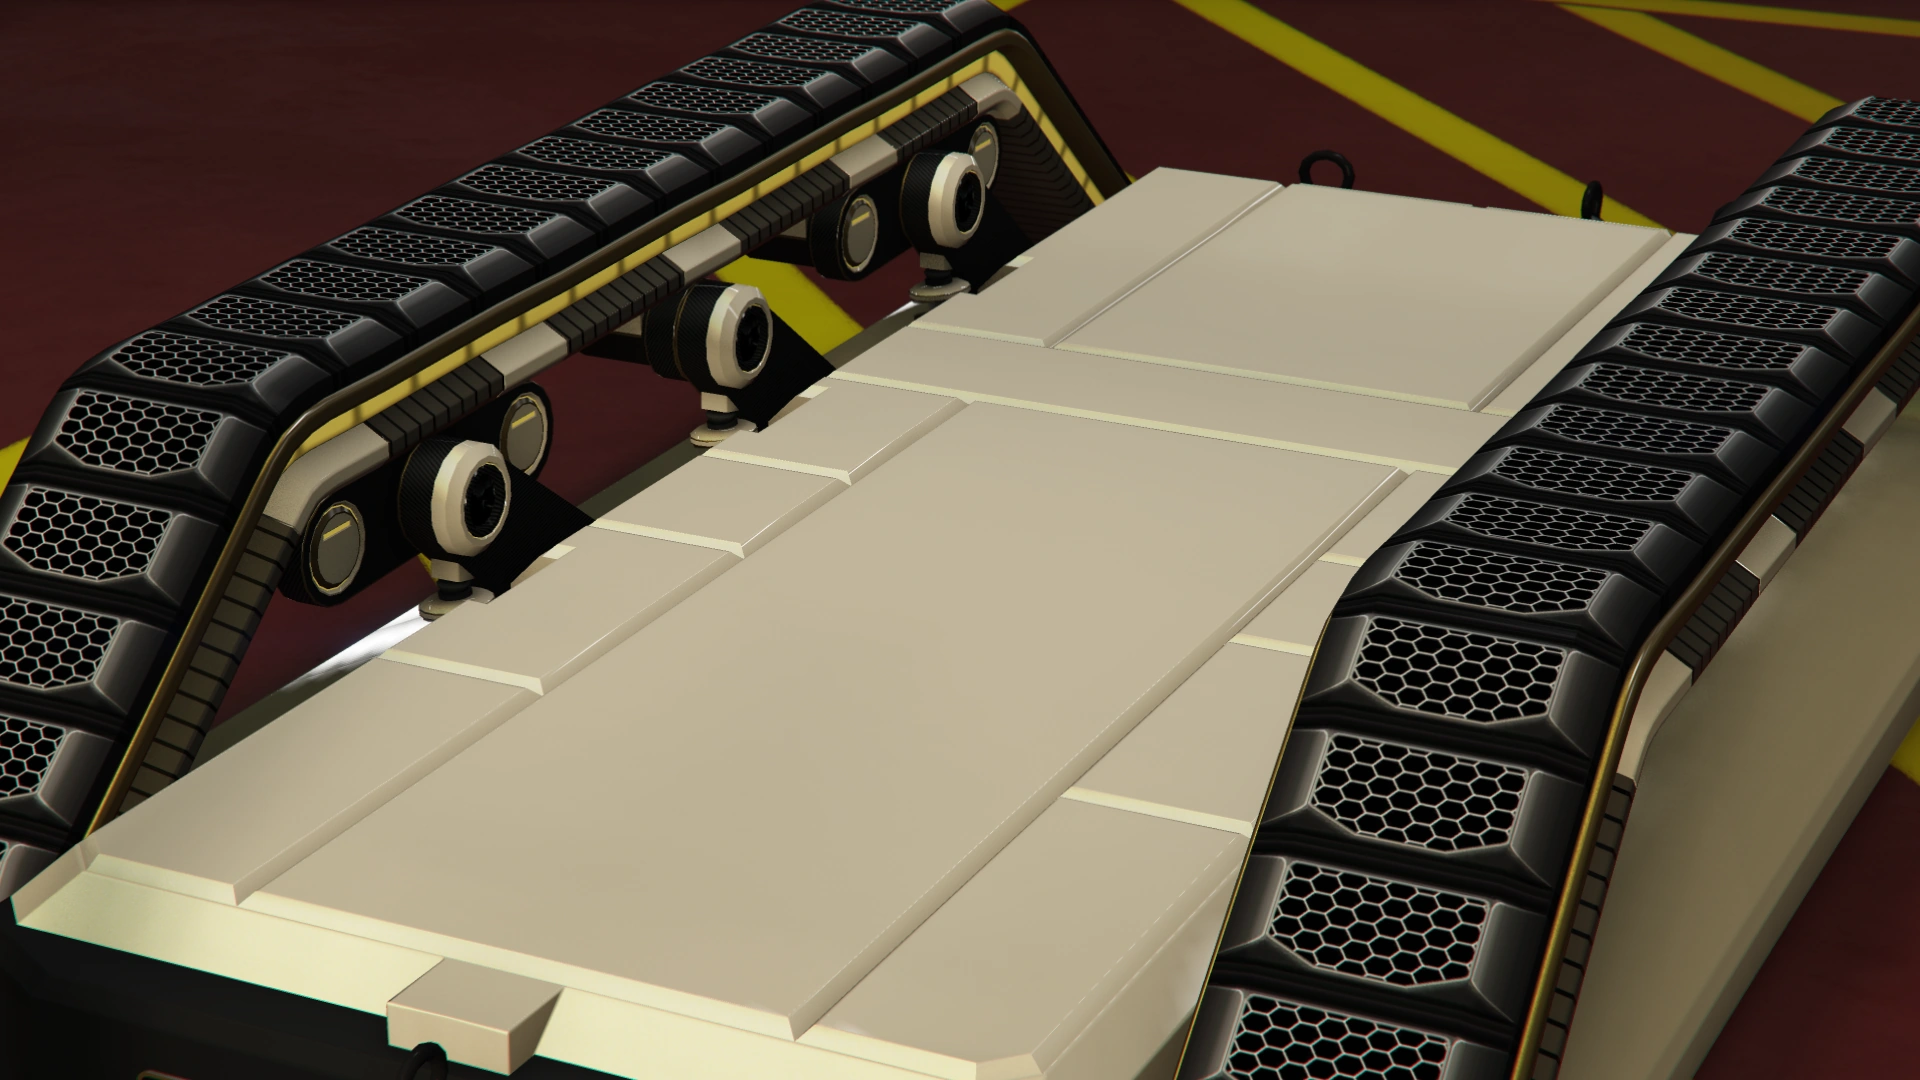
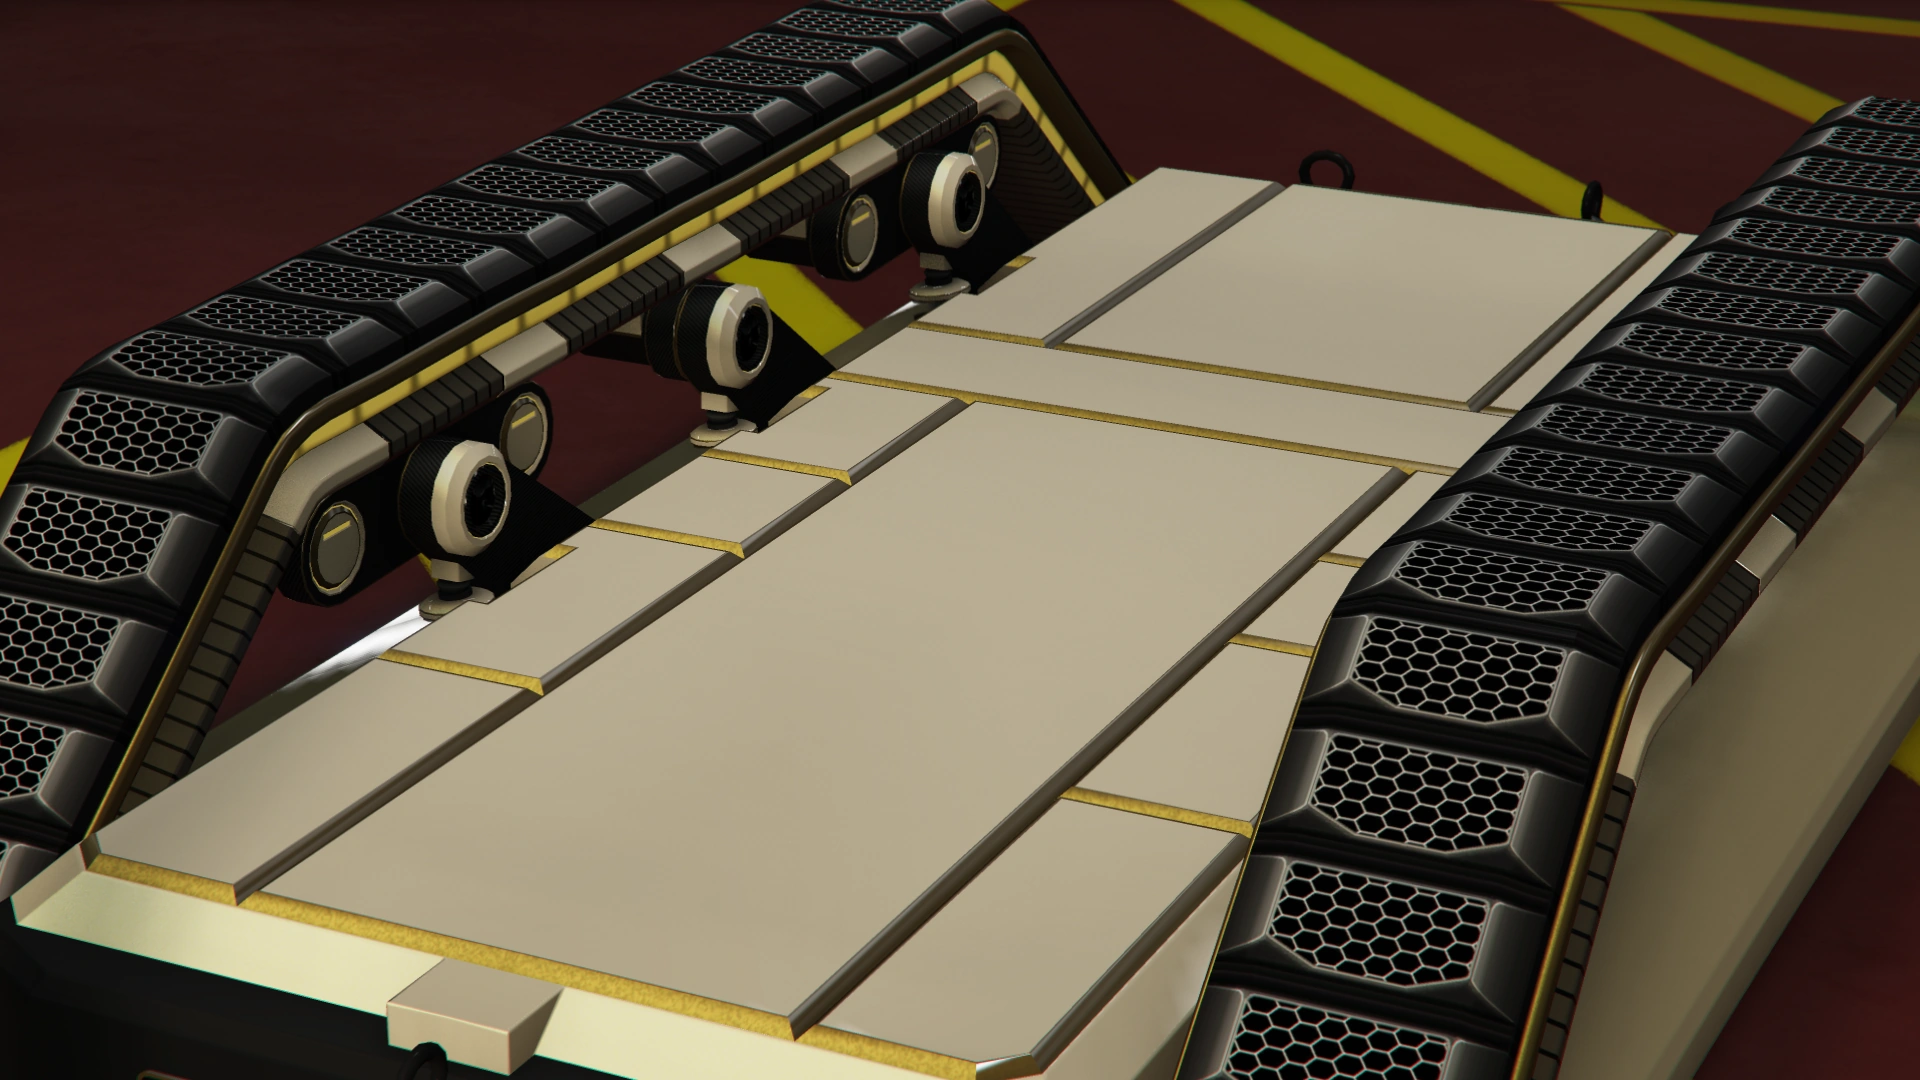
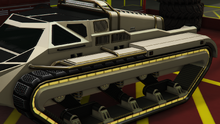
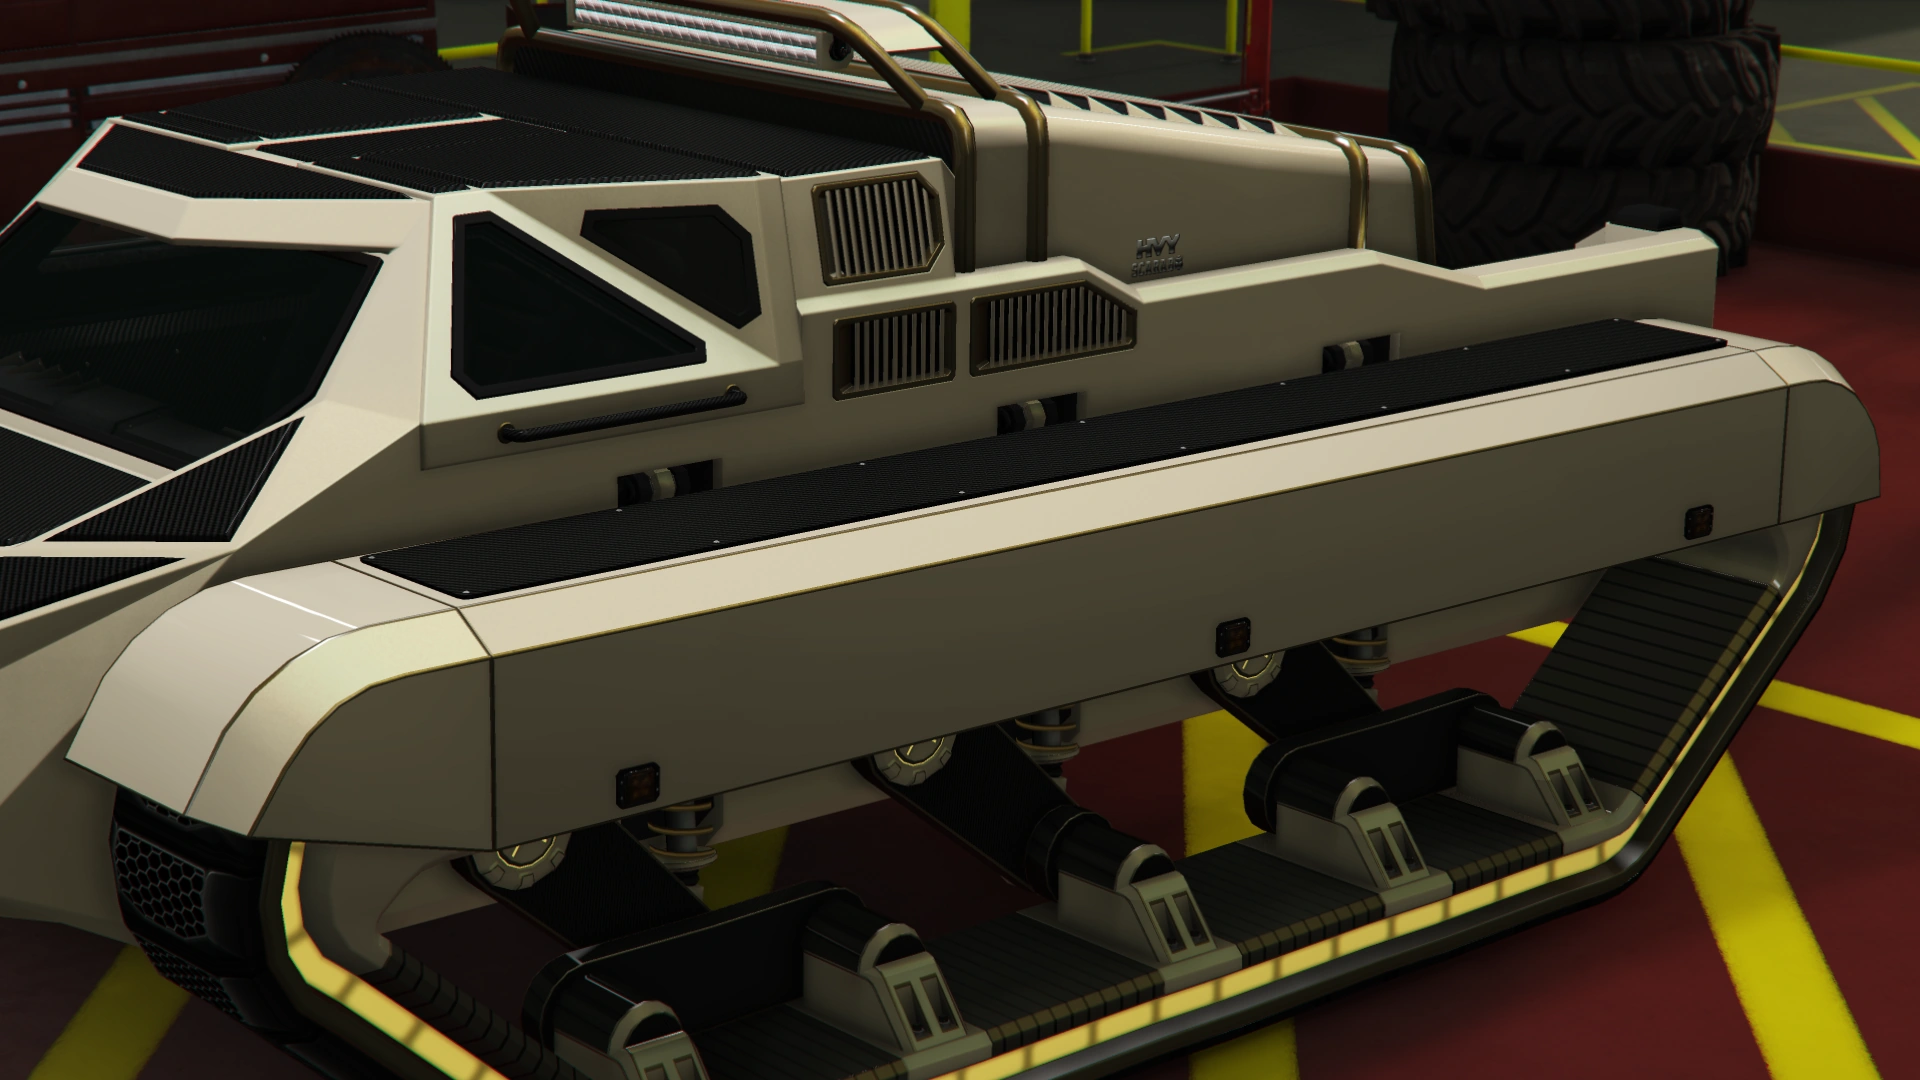
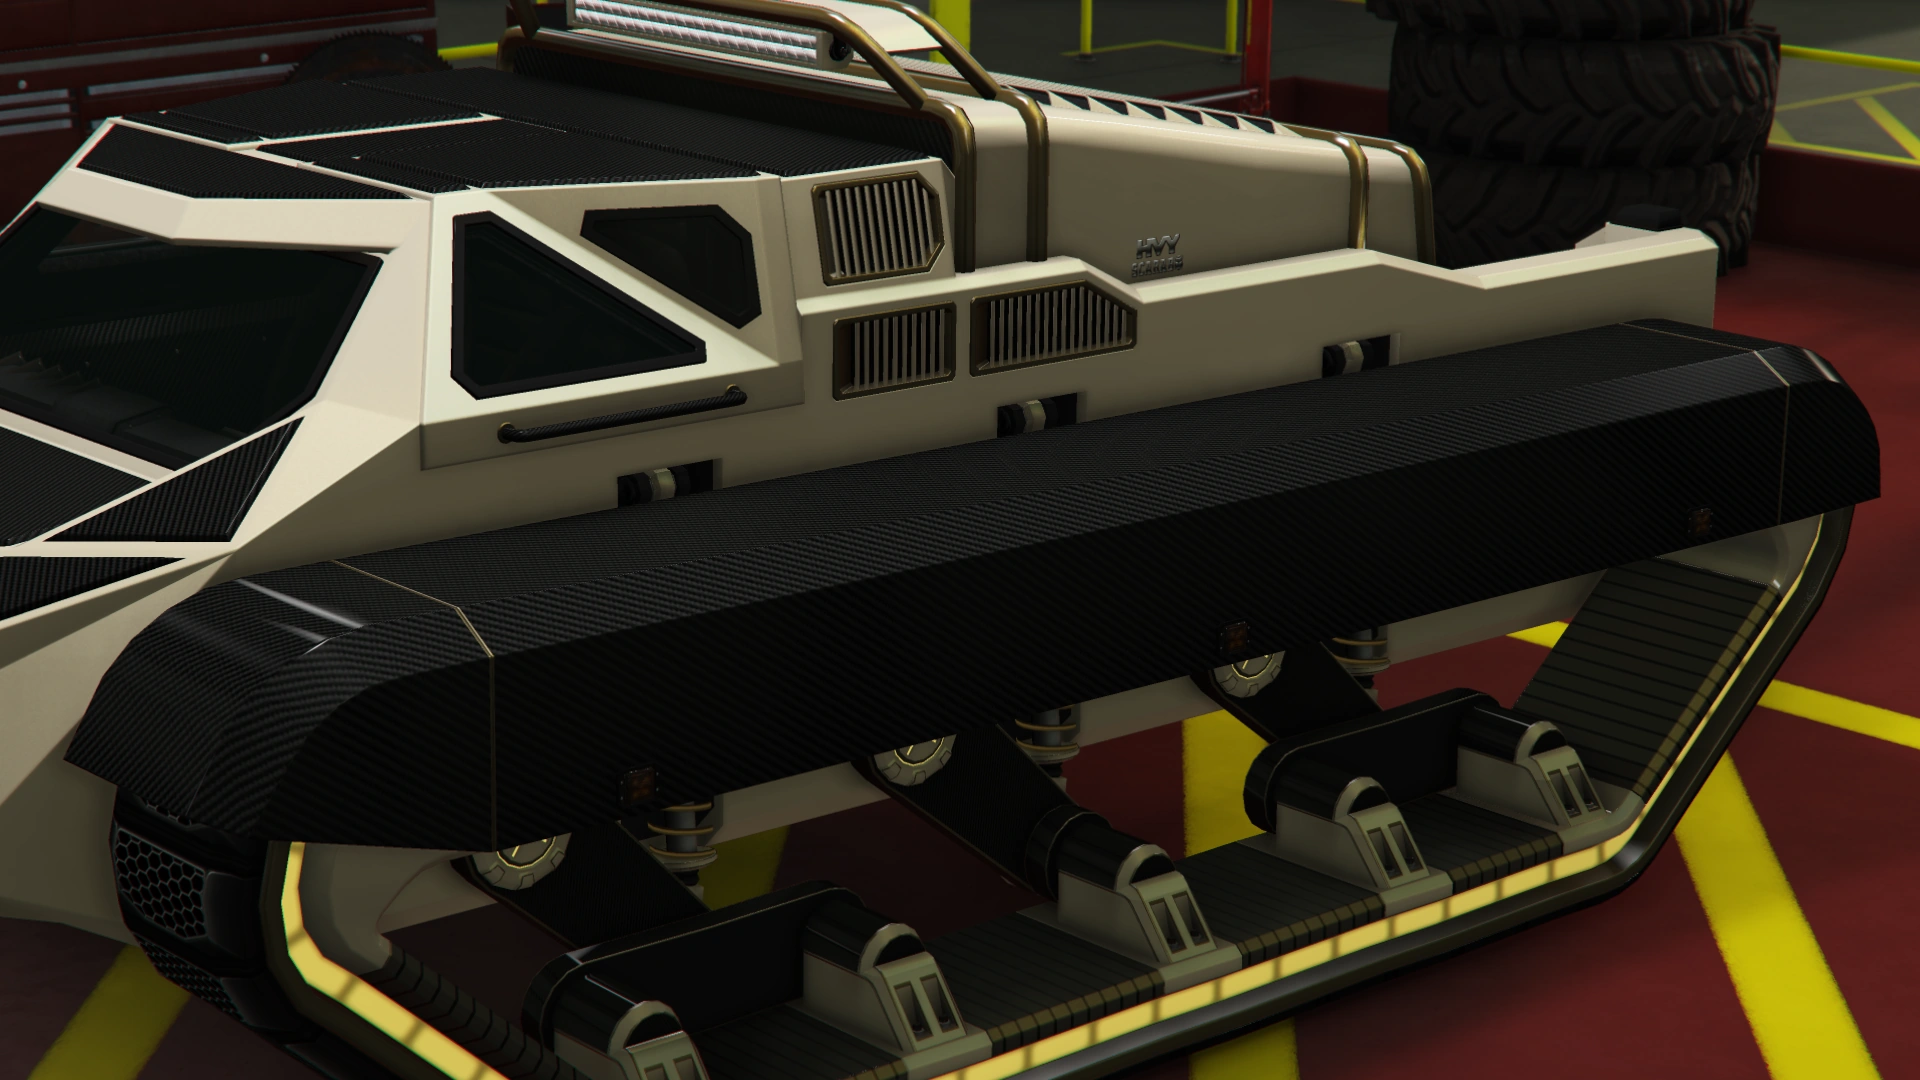
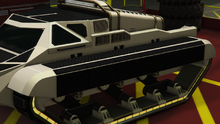
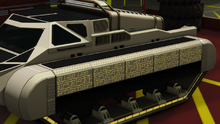
The vehicle is essentially the same as its Apocalypse and Nightmare variants, but gains a modernized track system, where the wheels are now smaller in size and enclosed, connected to each other by flexible track coverings and featuring glowing accent trims around these. The tracks themselves also have a new tread pattern.
Current Design Gallery


Performance
Grand Theft Auto Online
- Vehicle
The Scarab accelerates fairly quick compared to other tracked vehicles and possess above average handling. While having good suspension, caution should be taken when having a ram weapon equipped, as it may disrupt its capabilities.
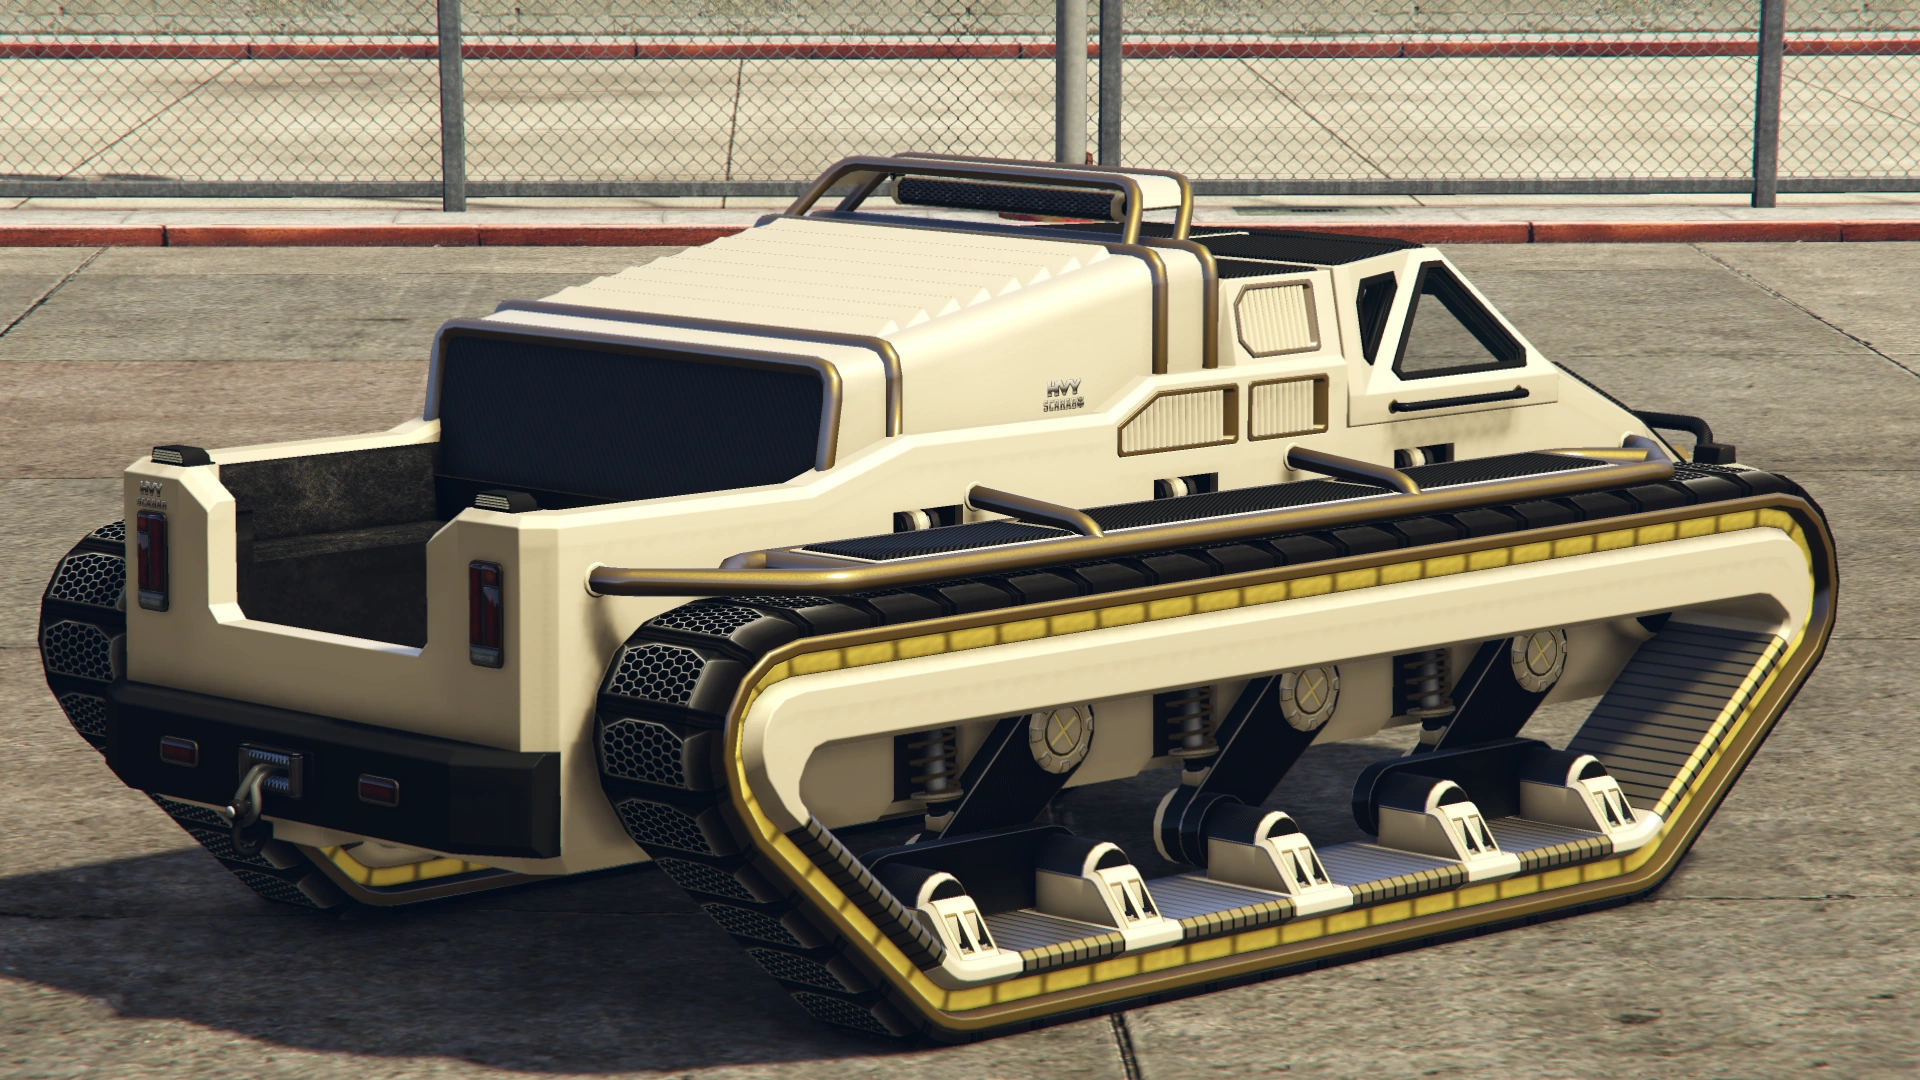
Although it is not heavy enough to crush cars like the Rhino Tank or the TM-02 Khanjali, the Scarab can still pose a threat at anyone. The vehicle can push away vehicles with ease and is difficult to be pushed by other light cars, making it an excellent choice for transportation around the map.
- Abilities
- The vehicle can be installed with both "Jump" mods and "Shunt" mods. The Jump modifications come in three levels of effectiveness and can be activated using the horn button. When activated, the vehicle will be launched into the air, in a similar way to the Ruiner 2000 and Scramjet. The Shunt modifications allow the vehicle to shunt to the side.
- The vehicle can be installed with Boost upgrades. This can be used to significantly speed up the vehicle. It can be used repeatedly while driving the vehicle, but it is better to let it fully recharge for maximum efficiency.
- Armor
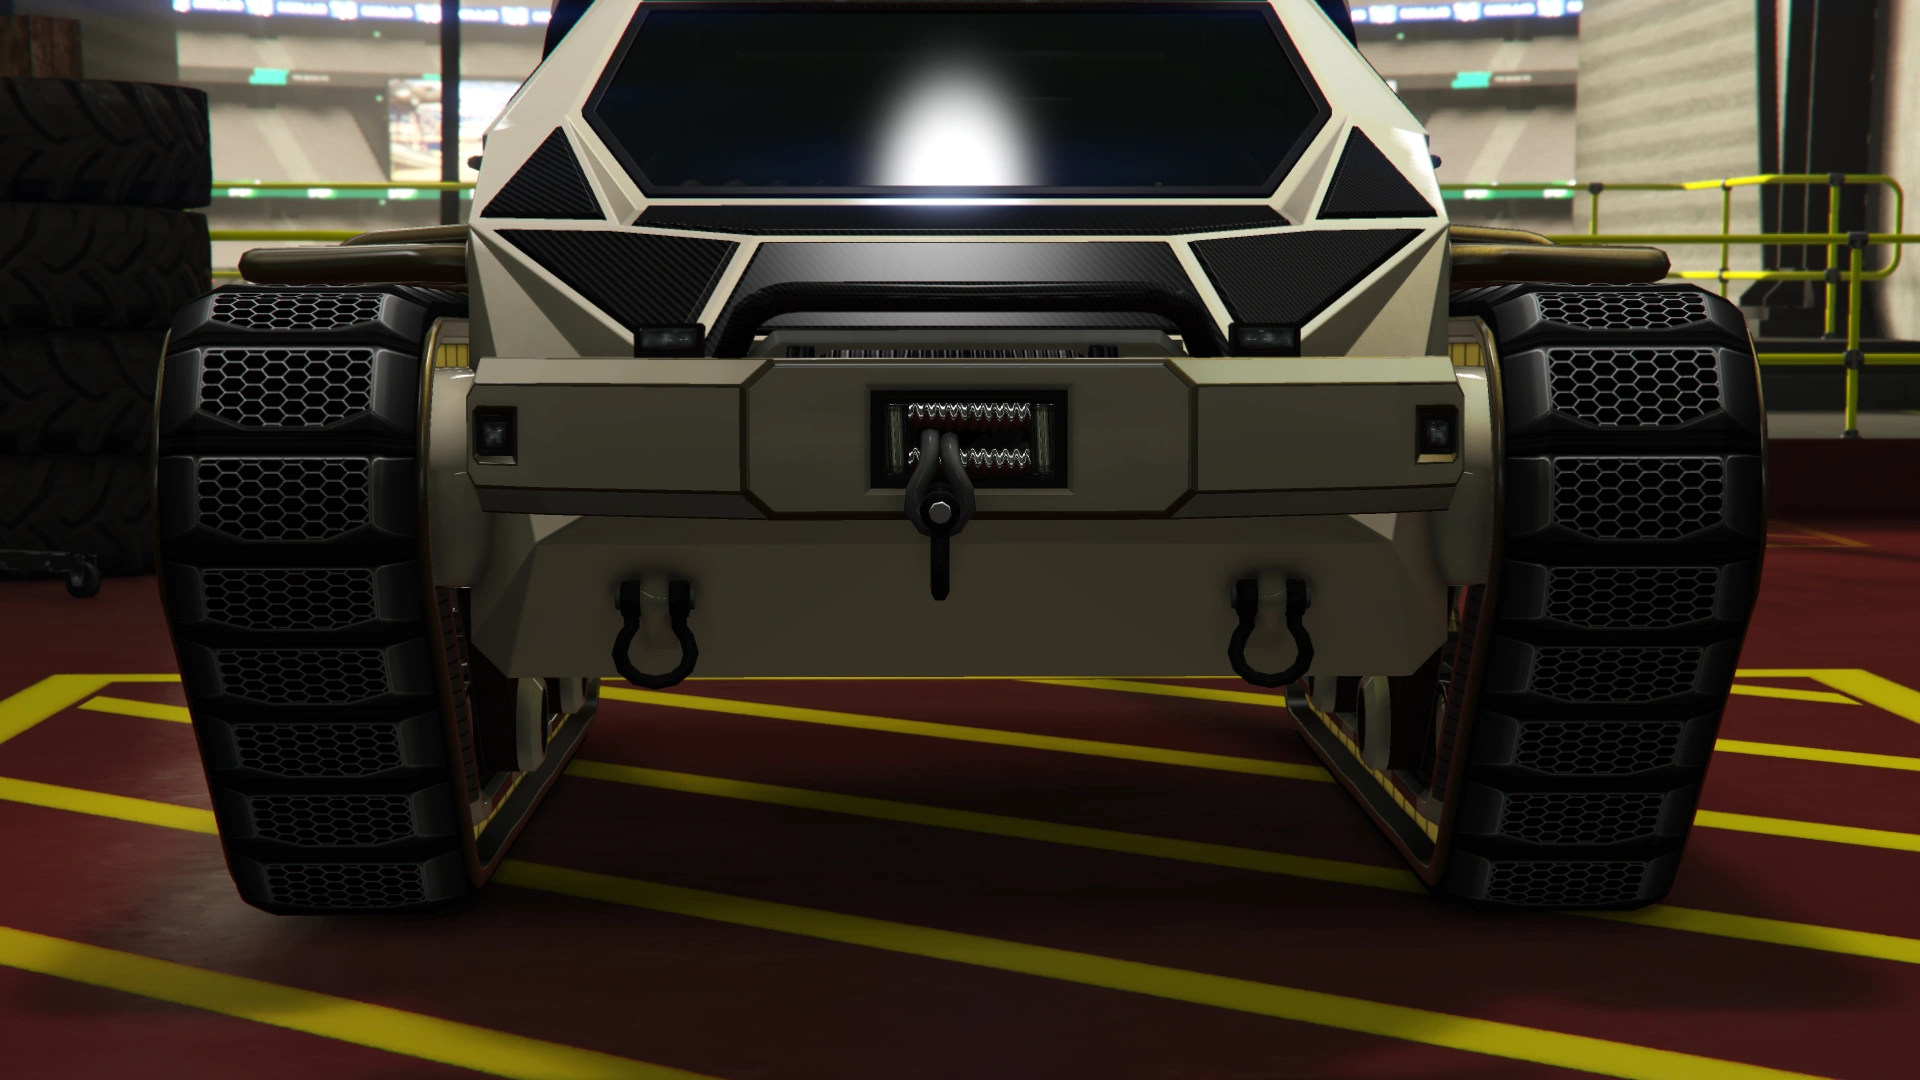
Compared to other Arena vehicles, the Scarab excels in armor resistance, able to take up to six rockets before being destroyed. However, its windshield is pretty large, leaving the front occupants vulnerable to gunfire, with little to no protection for the rear passengers. The Full Armor plate solves the issue with the front occupants, which leaves a smaller weak spot on the windshield. However, there is no option for the rear bed to protect the rear passengers.
- Weaponry
- The vehicle can be fitted with a Ram Weapon. The ram weapon behaves in a similar way to the updated scoops and ramming bars of the RCV and Armored Boxville, causing a large amount of damage to other vehicles and often sending them flying into mid-air with little to no disadvantage against the vehicle itself, and no damage to the vehicle's engine whatsoever. It should be noted that the effectiveness against other players is significantly reduced compared to its effectiveness against NPCs and their vehicles.
- The Scarab can be modified to have a single Browning M2HB .50 caliber machine gun. It behaves similarly to other front-mounted machine guns from various armed land vehicles, but it is difficult to use and lacks enough firepower to sort out heavily-armored vehicles.
- It can also have a phased plasma gun, which seems to have higher fire rate but still remain as powerful as the machine gun.
- The vehicle has the option for installing Proximity Mines. Unlike Weaponized Vehicles added in the Gunrunning update, the Scarab, along with all Arena Cars in the Arena War update, has five different Proximity Mine choices: Kinetic, Spike, EMP, Slick and Sticky;
- The Kinetic option (orange flashing light) creates a small impulse spreading several meters around the area, sending players and vehicles into the air. The impulse deals little damage to both players and vehicles.
- The Spike option (dark blue flashing light) bursts the tires of vehicles passing over or near it, as well as dealing a small amount of damage to the vehicle, mainly effecting the vehicle's windows, but otherwise dealing no damage or force. The mine does not burst vehicles with Bulletproof Tires installed.
- The EMP option (light blue flashing light) disables the vehicle's electronics when passing over it. The accelerator, brakes and steering, as well as the radio and other features are disabled for around 5 seconds before reactivating. It also deals a small amount of damage to players. The player will be notified by whom their vehicle was disabled by in a small notification above the radar.
- The Slick option (green flashing light) bursts a large amount of oil on the surface, causing vehicles passing over it to lose control. This deals no damage to both vehicles or players.
- The Sticky option (purple flashing light) bursts a large amount of sticky substance on the surface, causing vehicles passing over it to slow down. This deals no damage to both vehicles or players.
- The tank can also be installed with bodywork Spikes. These spikes deal damage to NPCs and players, contact with the spikes can instantly kill them.
GTA Online Overview
| Acceleration (0-60 mph in Seconds) |
Top Speed (mph / kmh) |
Gears | Engine | Drivetrain (FWD / RWD / AWD) |
Mass (kg / lbs) |
Fuel Tank Size (litres) |
|---|---|---|---|---|---|---|
| N/A | N/A | N/A | N/A | N/A | N/A | N/A |
| N/A | N/A | N/A | N/A | N/A | N/A | N/A |
| N/A | N/A | N/A | N/A | N/A | Cannot be observed | Cannot be observed |
Modifications
Grand Theft Auto Online
The Future Shock Scarab can only be modified at an Arena Workshop.
| Category | Modification | Cost | Image | |
|---|---|---|---|---|
| Brakes | Stock Brakes | $1,000 | ||
| Street Brakes | $20,000 | |||
| Sport Brakes | $27,000 | |||
| Race Brakes | $35,000 | |||
| Boost | None | $20,000 | ||
| Boost Upgrade 20% | $100,000 $50,000 (AW) | |||
| Boost Upgrade 60% | $230,000 $115,000 (AW) | |||
| Boost Upgrade 100% | $400,000 $200,000 (AW) | |||
| Shunt Boost | $520,000 $260,000 (AW) | |||
| Bodywork | Spikes | None | $5,000 | |
| Body Spikes | $55,000 $27,500 (AW) |
|||
| Body Spikes MK2 | $75,500 $37,750 (AW) |
|||
| Armor Plating | No Armor Plating | $20,000 | ||
| Light Armor | $110,000 $55,000 (AW) |
|||
| Reinforced Armor | $175,000 $87,500 (AW) |
|||
| Heavy Armor | $300,000 $150,000 (AW) |
|||
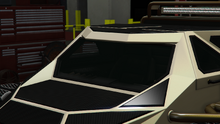
| Windshield Armor | None | $2,200 | ||
| Livery Bars | $4,600 | |||
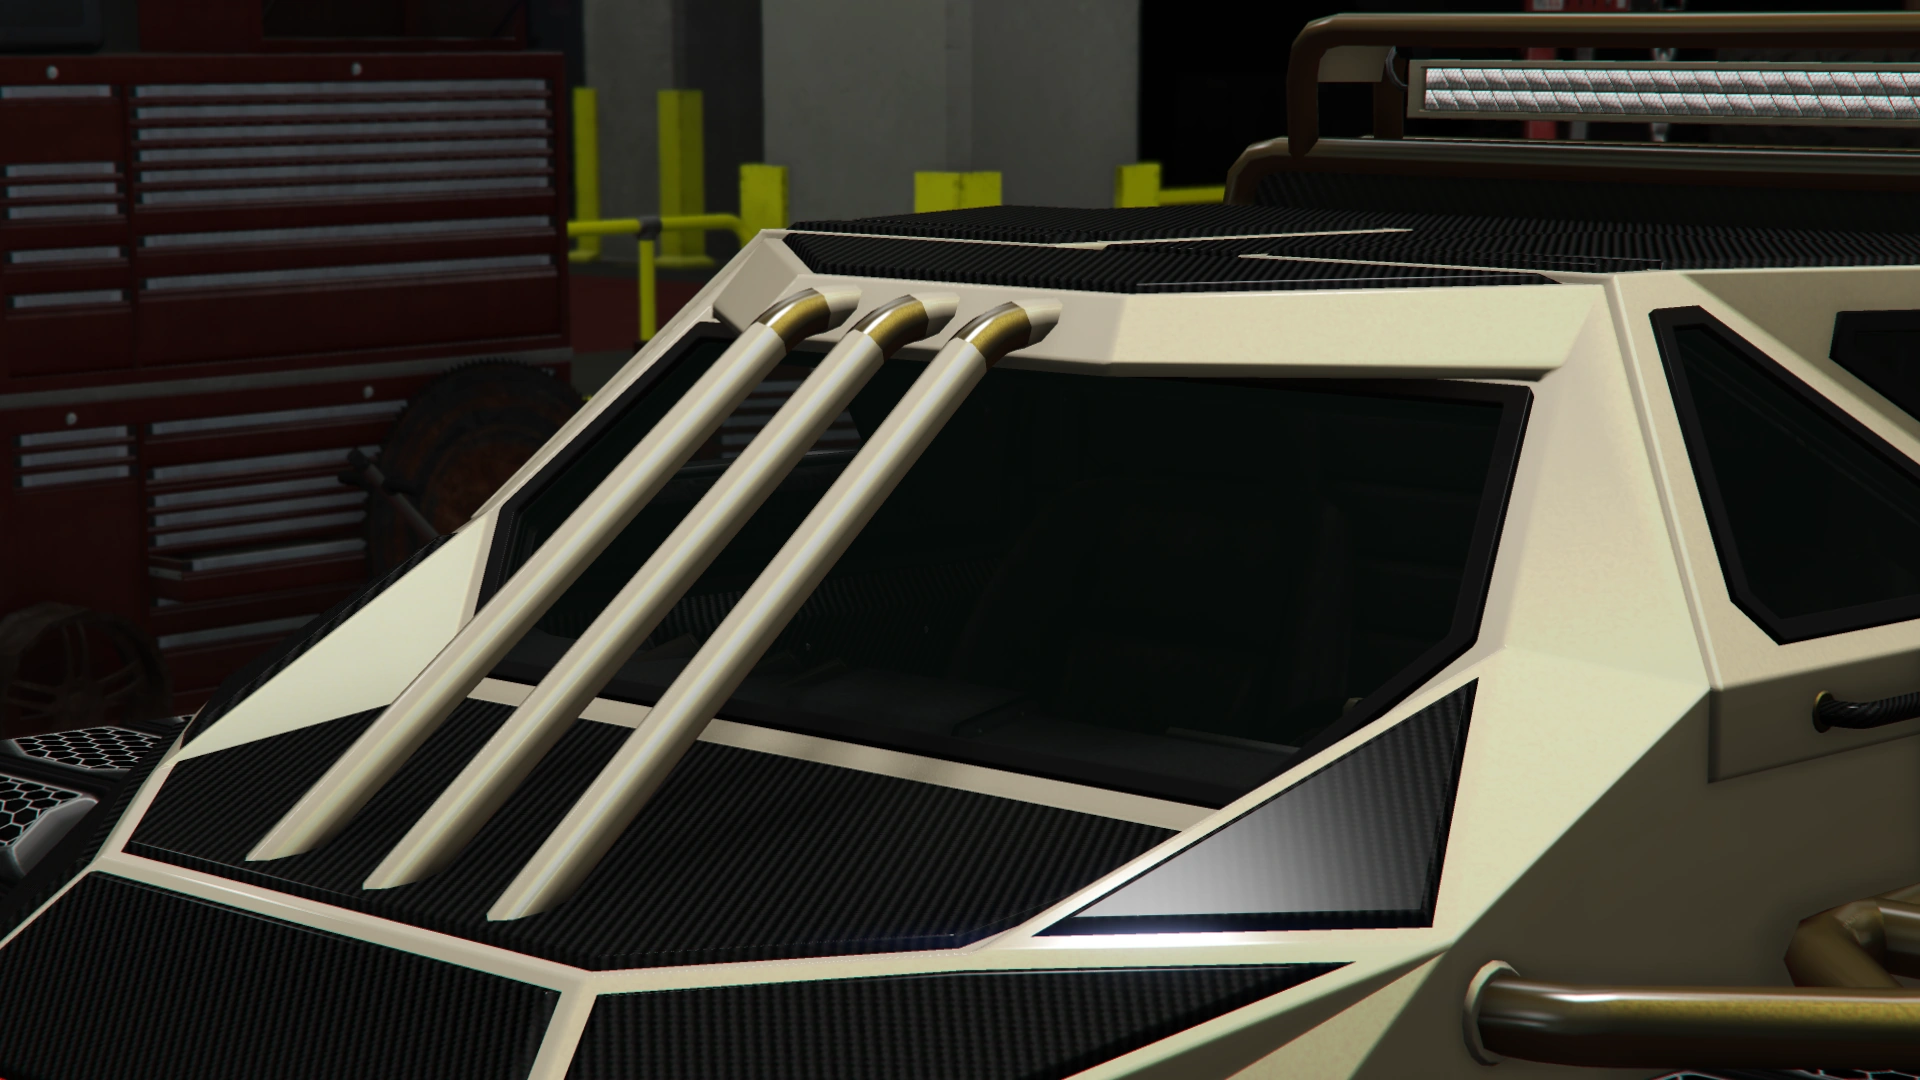
| Carbon Bars | $7,400 | |||
| Livery Quad Bars | $11,700 | |||
| Carbon Quad Bars | $14,500 | |||
| Livery Plate | $14,700 | |||
| Futuristic Plate | $14,900 | |||
| Primary Full Armor | $30,200 $15,100 (AW) |
|||
| Secondary Armor | $30,600 $15,300 (AW) |
|||
| Carbon Armor | $31,000 $15,500 (AW) |
|||
| Livery Armor | $31,400 $15,700 (AW) |
|||
| Body Plating | Stock Body Plating | $200 | ||
| Matte Plating | $750 | |||
| Hex Plating | $1,340 | |||
| Futuristic Plating | $1,650 | |||
| Livery Plating | $3,000 | |||
| Undercarriage Plating | Stock Undercarriage Plating | $2,200 | ||
| Carbon Under Plate | $4,600 | |||
| Matte Under Plate | $7,400 | |||
| Primary Under Plate | $11,700 | |||
| Livery Under Plate | $14,500 | |||
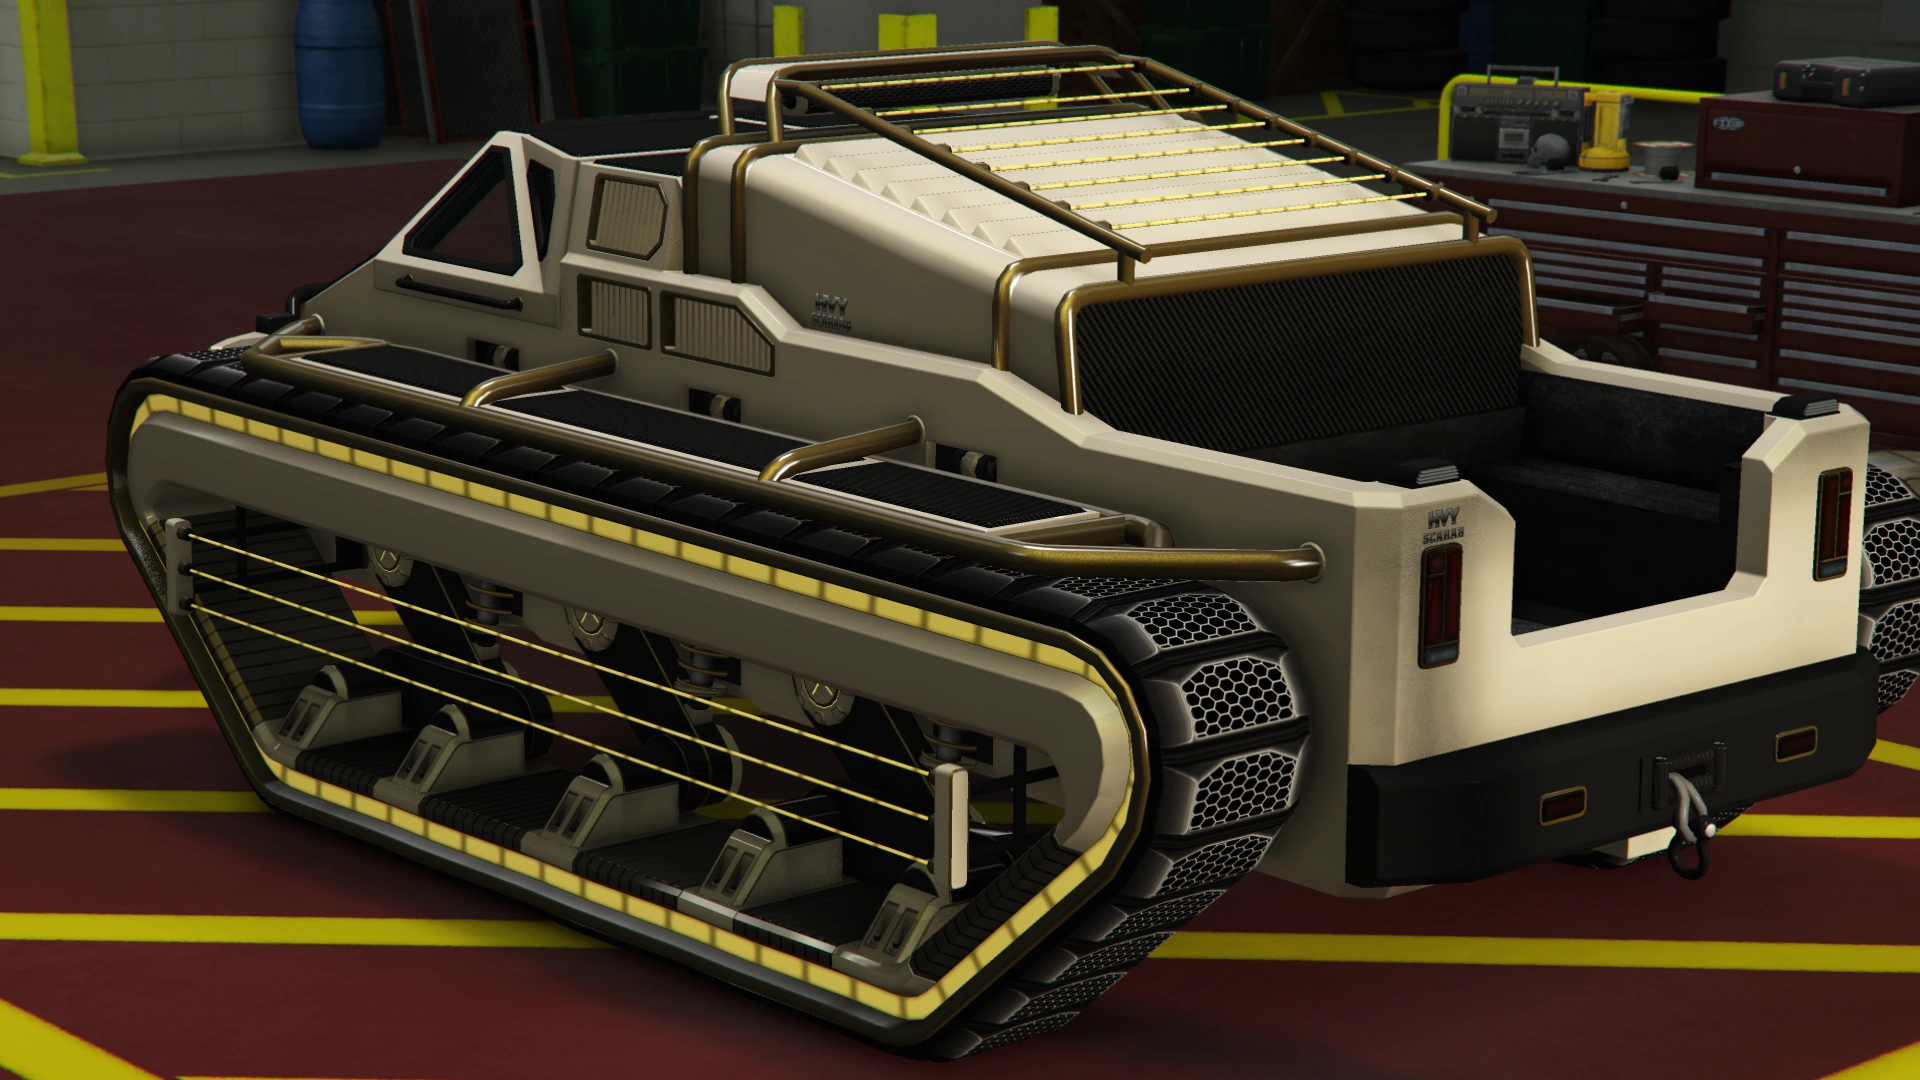
| Roll Cages | No Roll Cage | $5,000 | ||
| Carbon Rear Shutters | $17,500 | |||
| Primary Rear Shutters | $19,700 | |||
| Carbon Panelling | $21,950 | |||
| Flocked Panelling | $24,300 | |||
| Primary Panelling | $26,800 | |||
| Future Shock Panelling | $29,650 | |||
| Engine | Engine Tunes | EMS Upgrade, Level 1 | $9,000 | |
| EMS Upgrade, Level 2 | $12,500 | |||
| EMS Upgrade, Level 3 | $18,000 | |||
| EMS Upgrade, Level 4 | $33,500 | |||
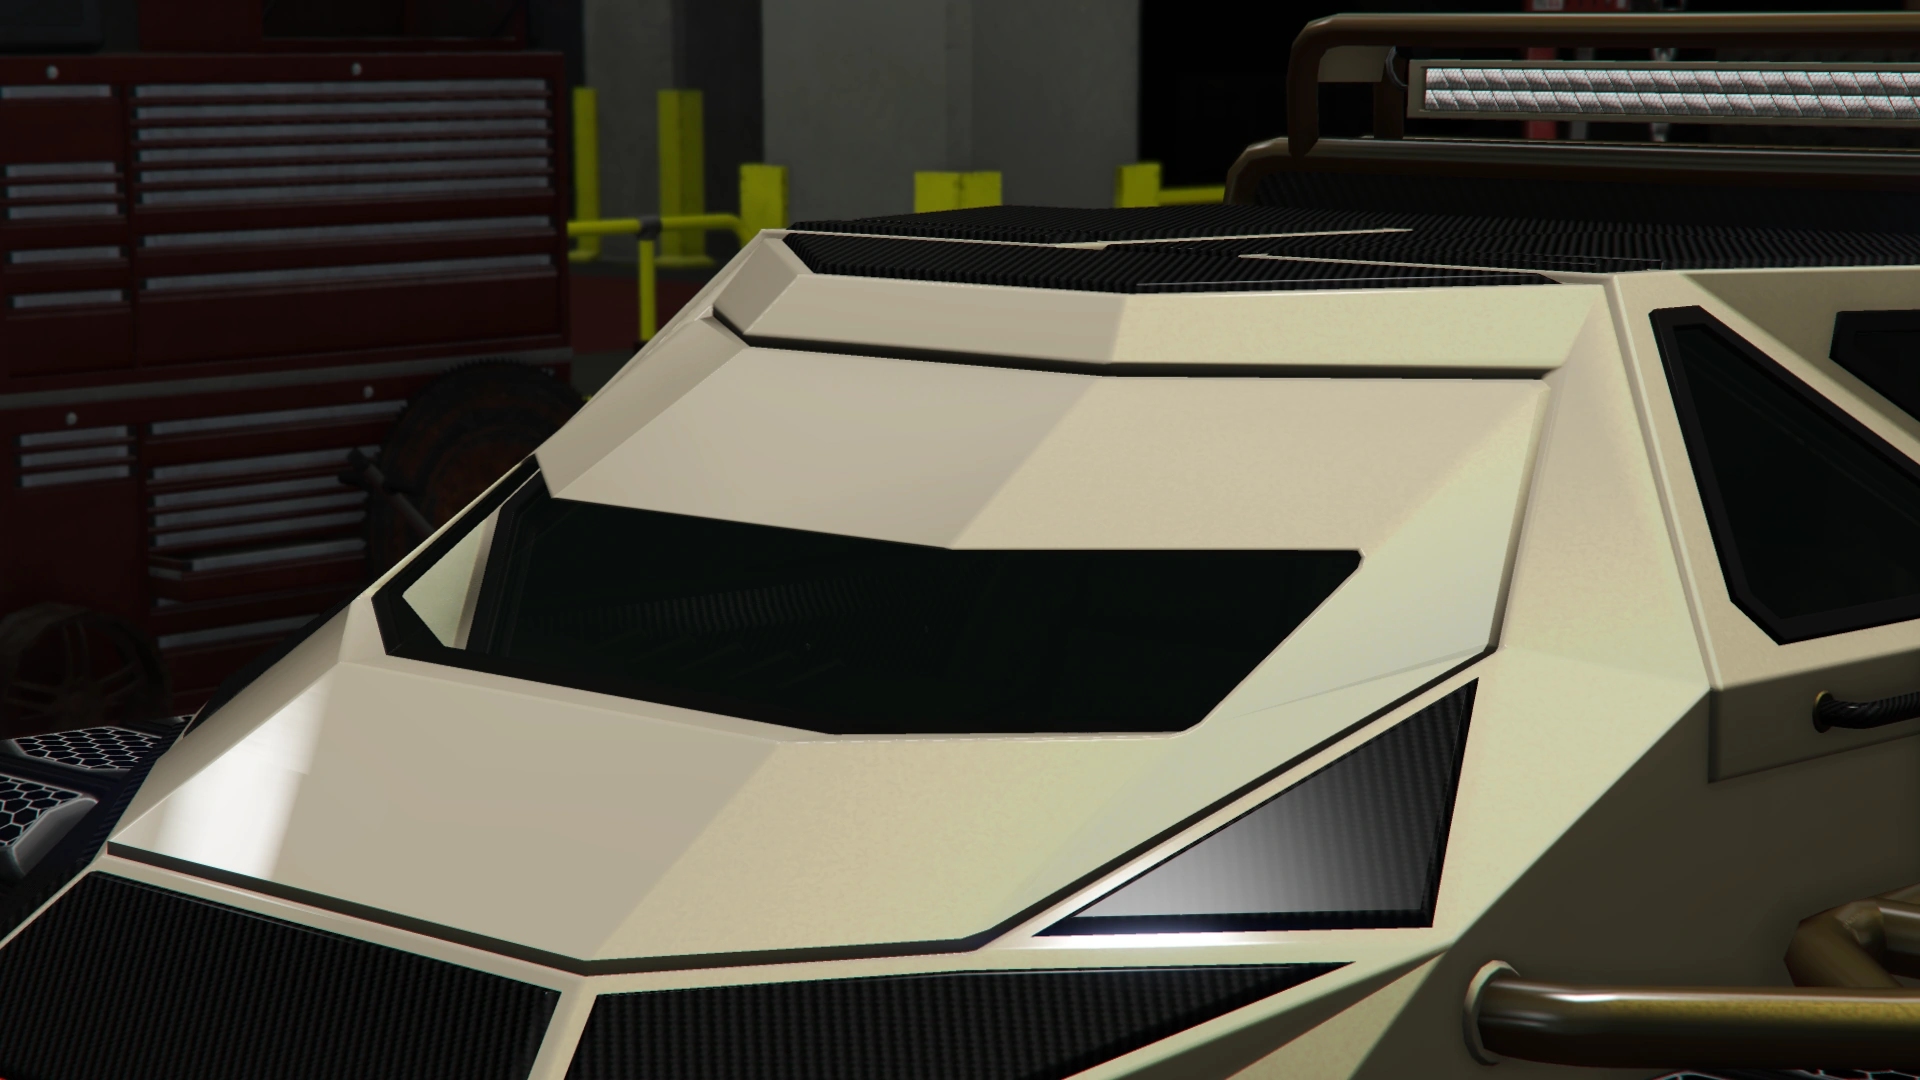
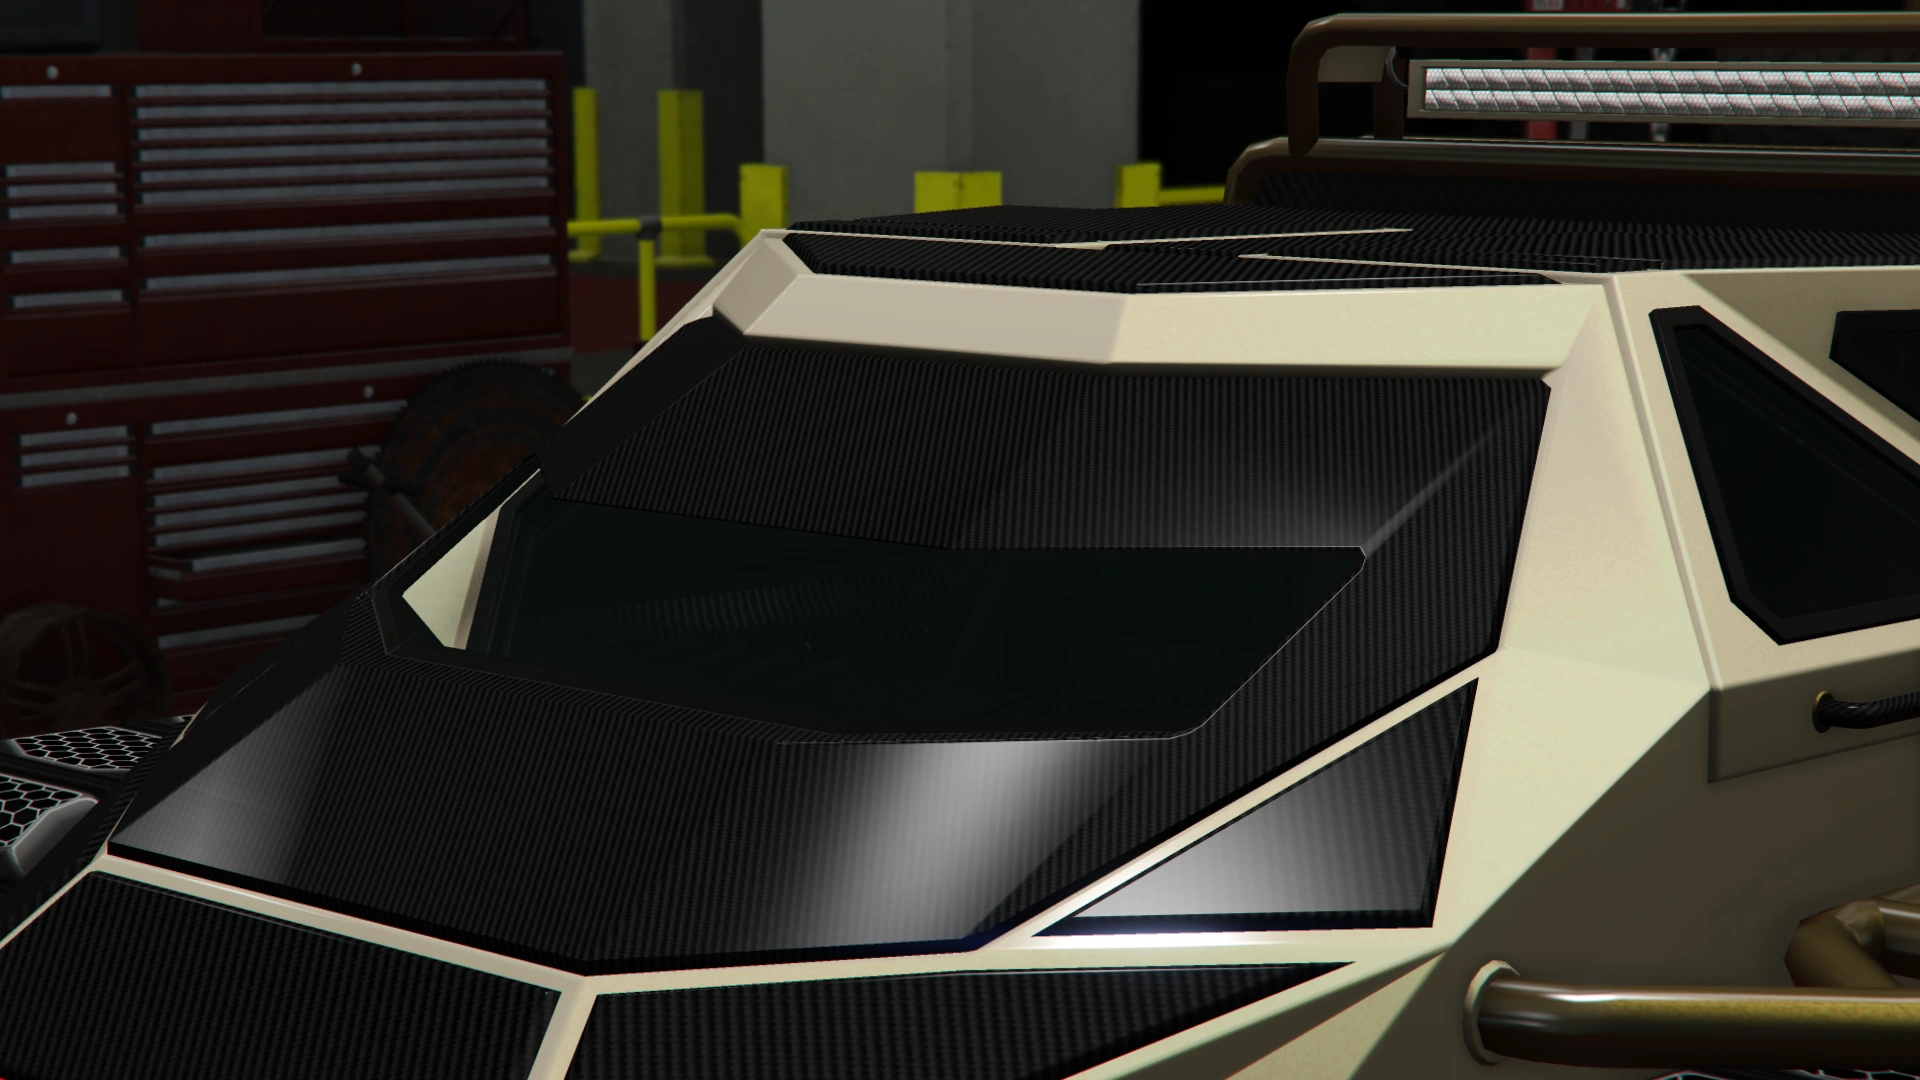
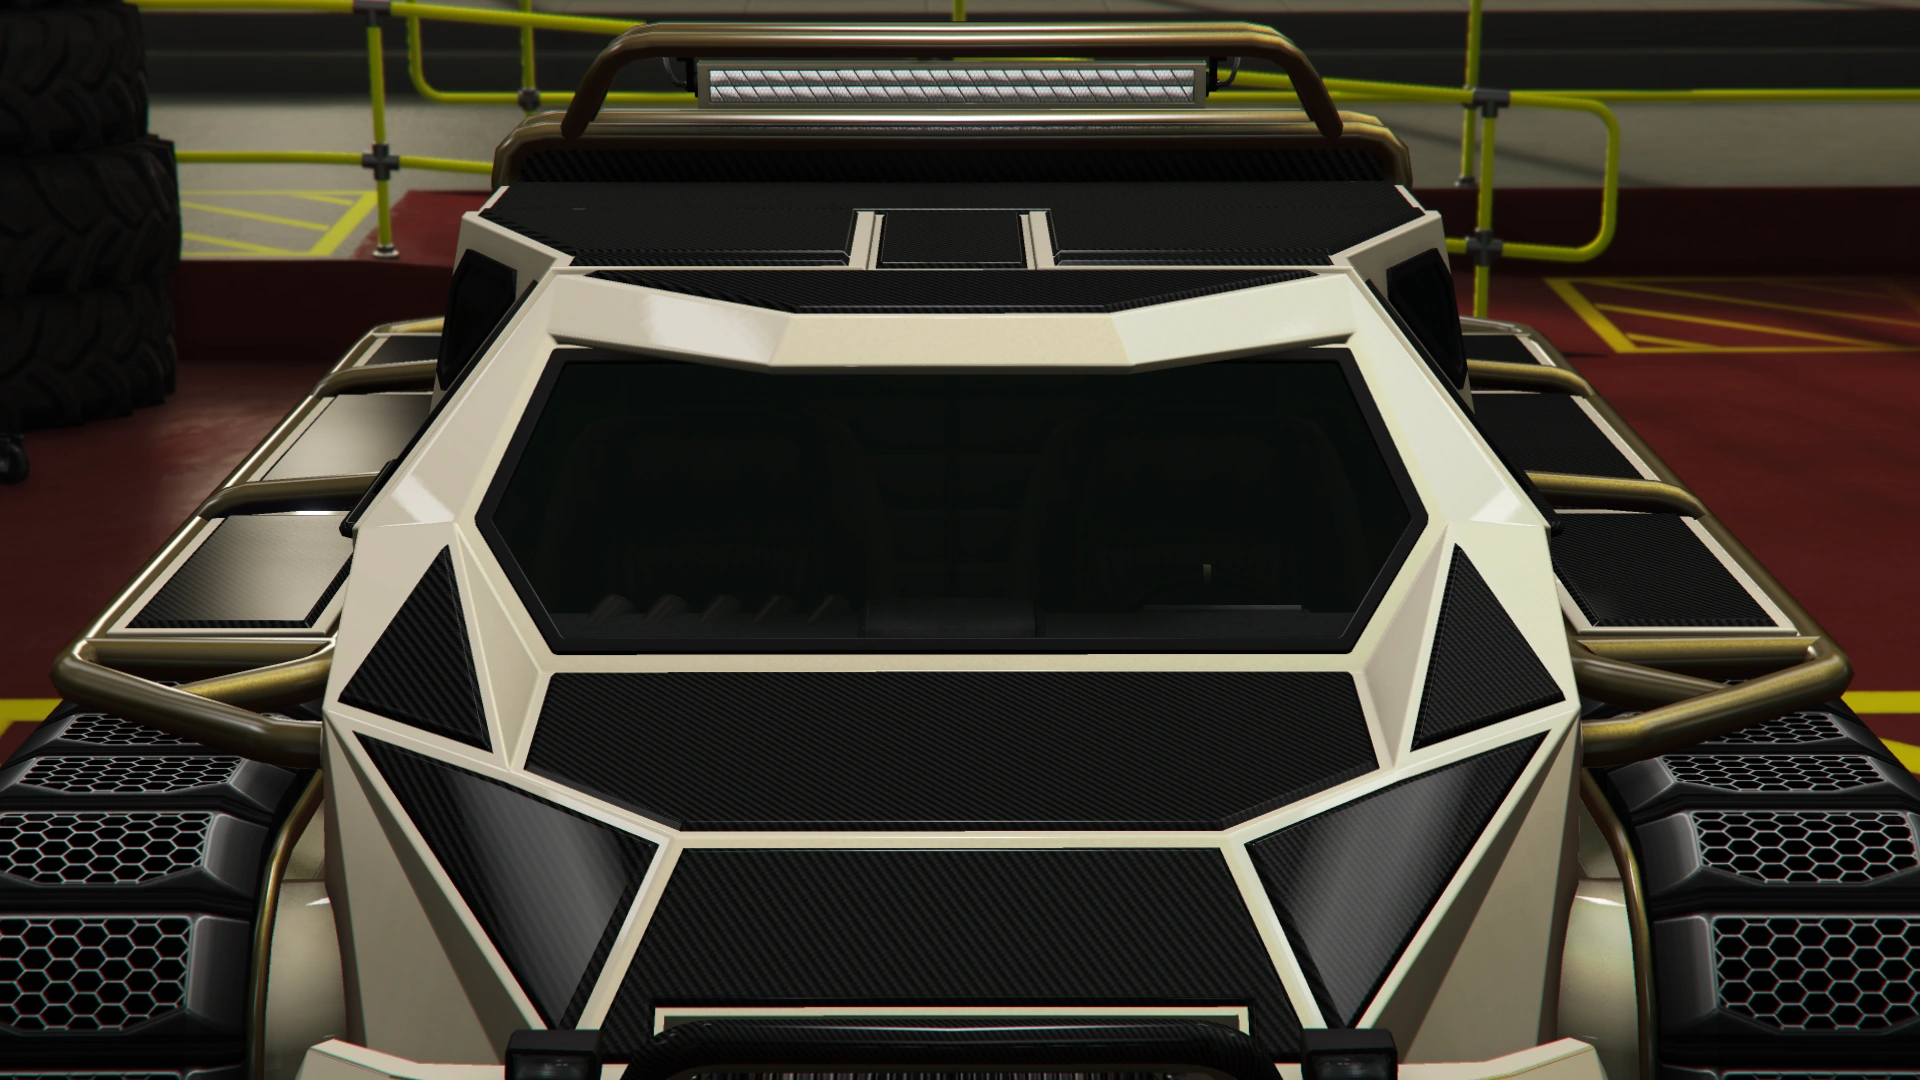
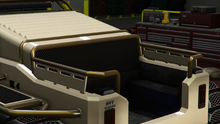
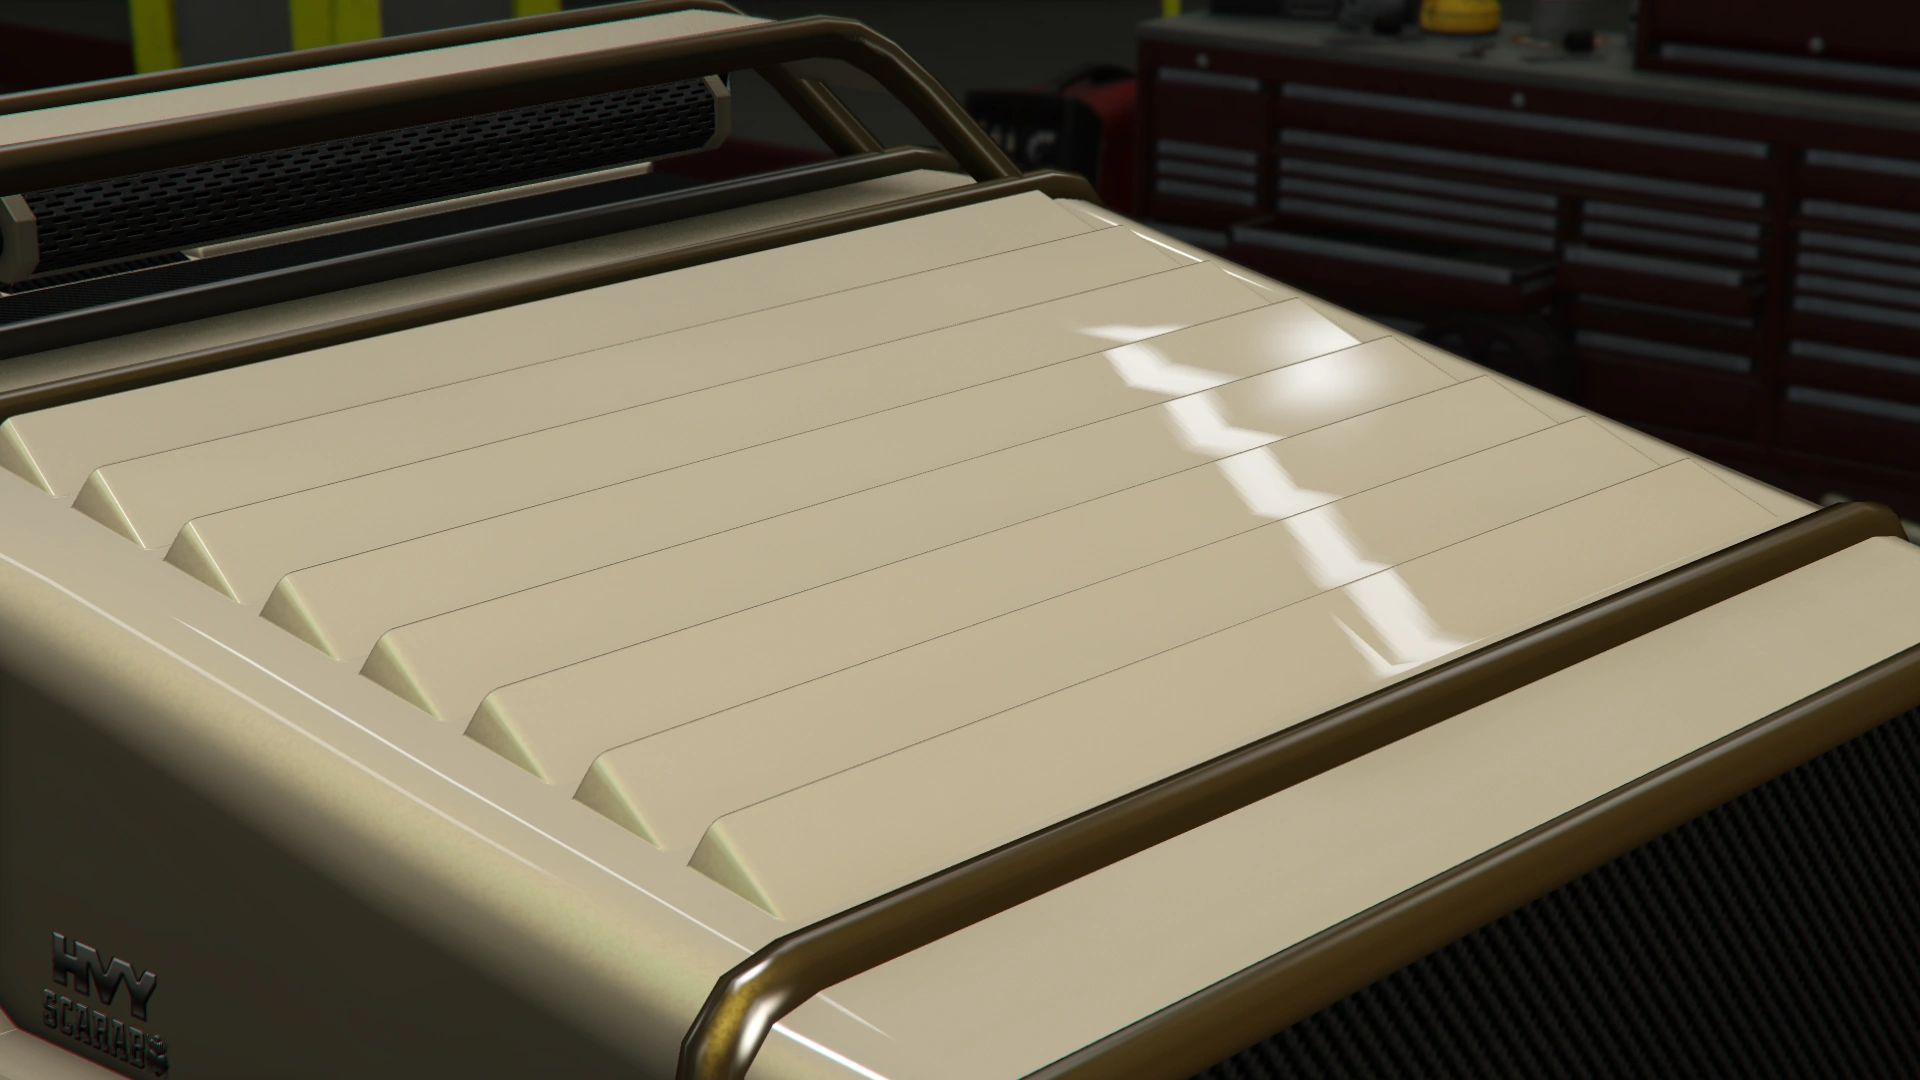
| Engine Covers | Stock Engine Cover | $200 | ||
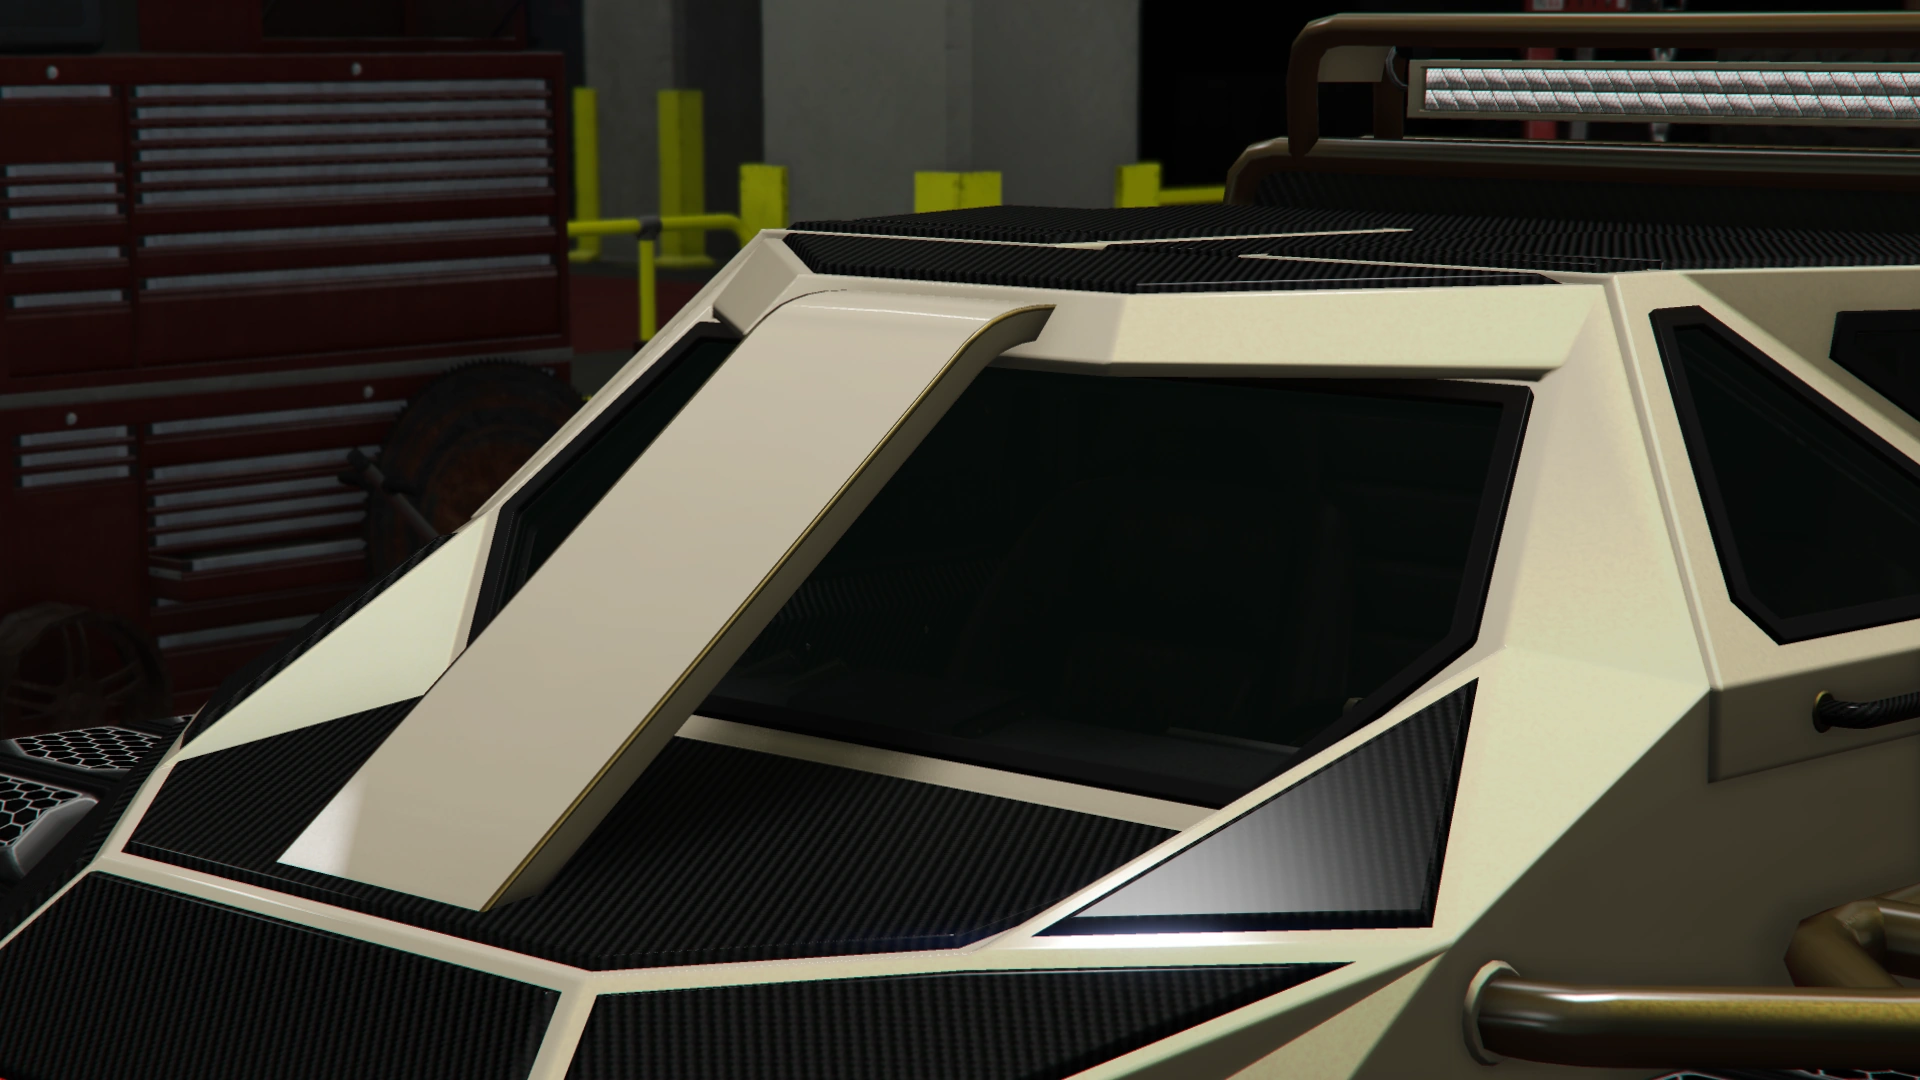
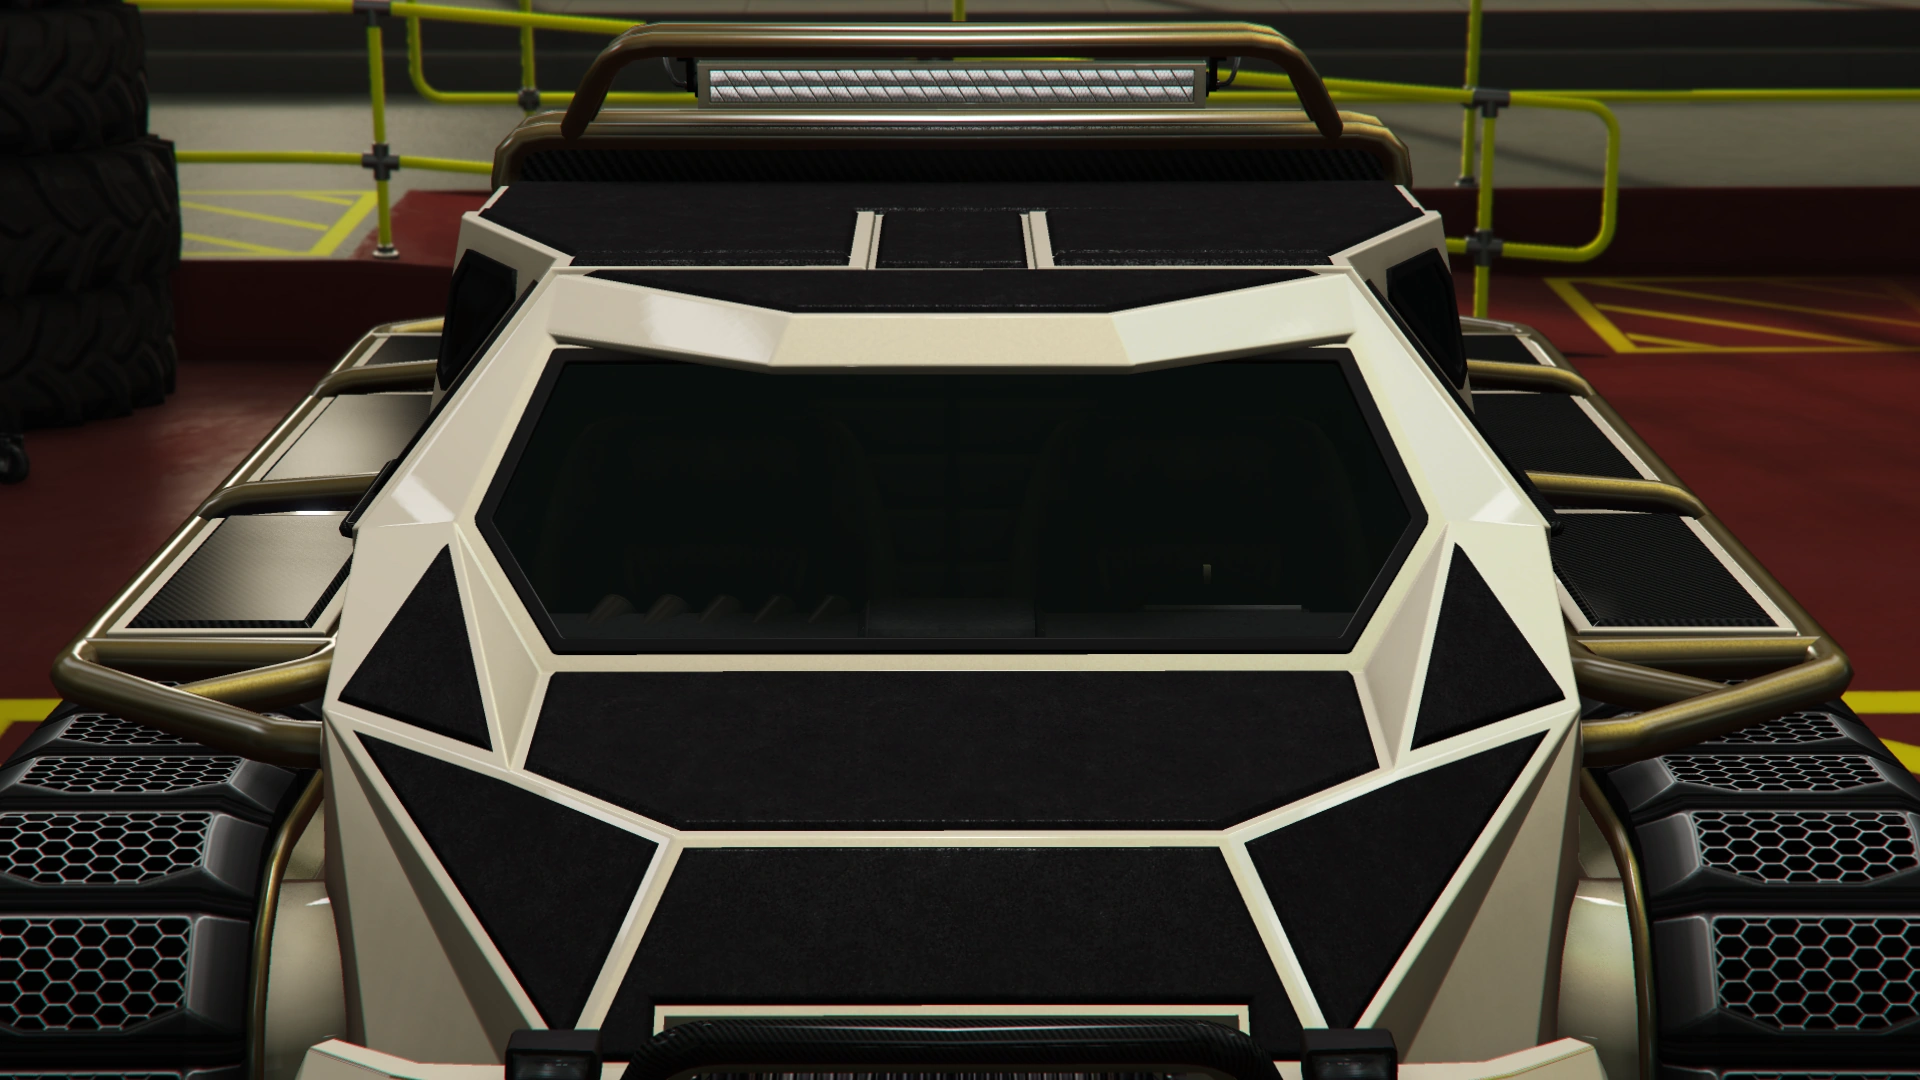
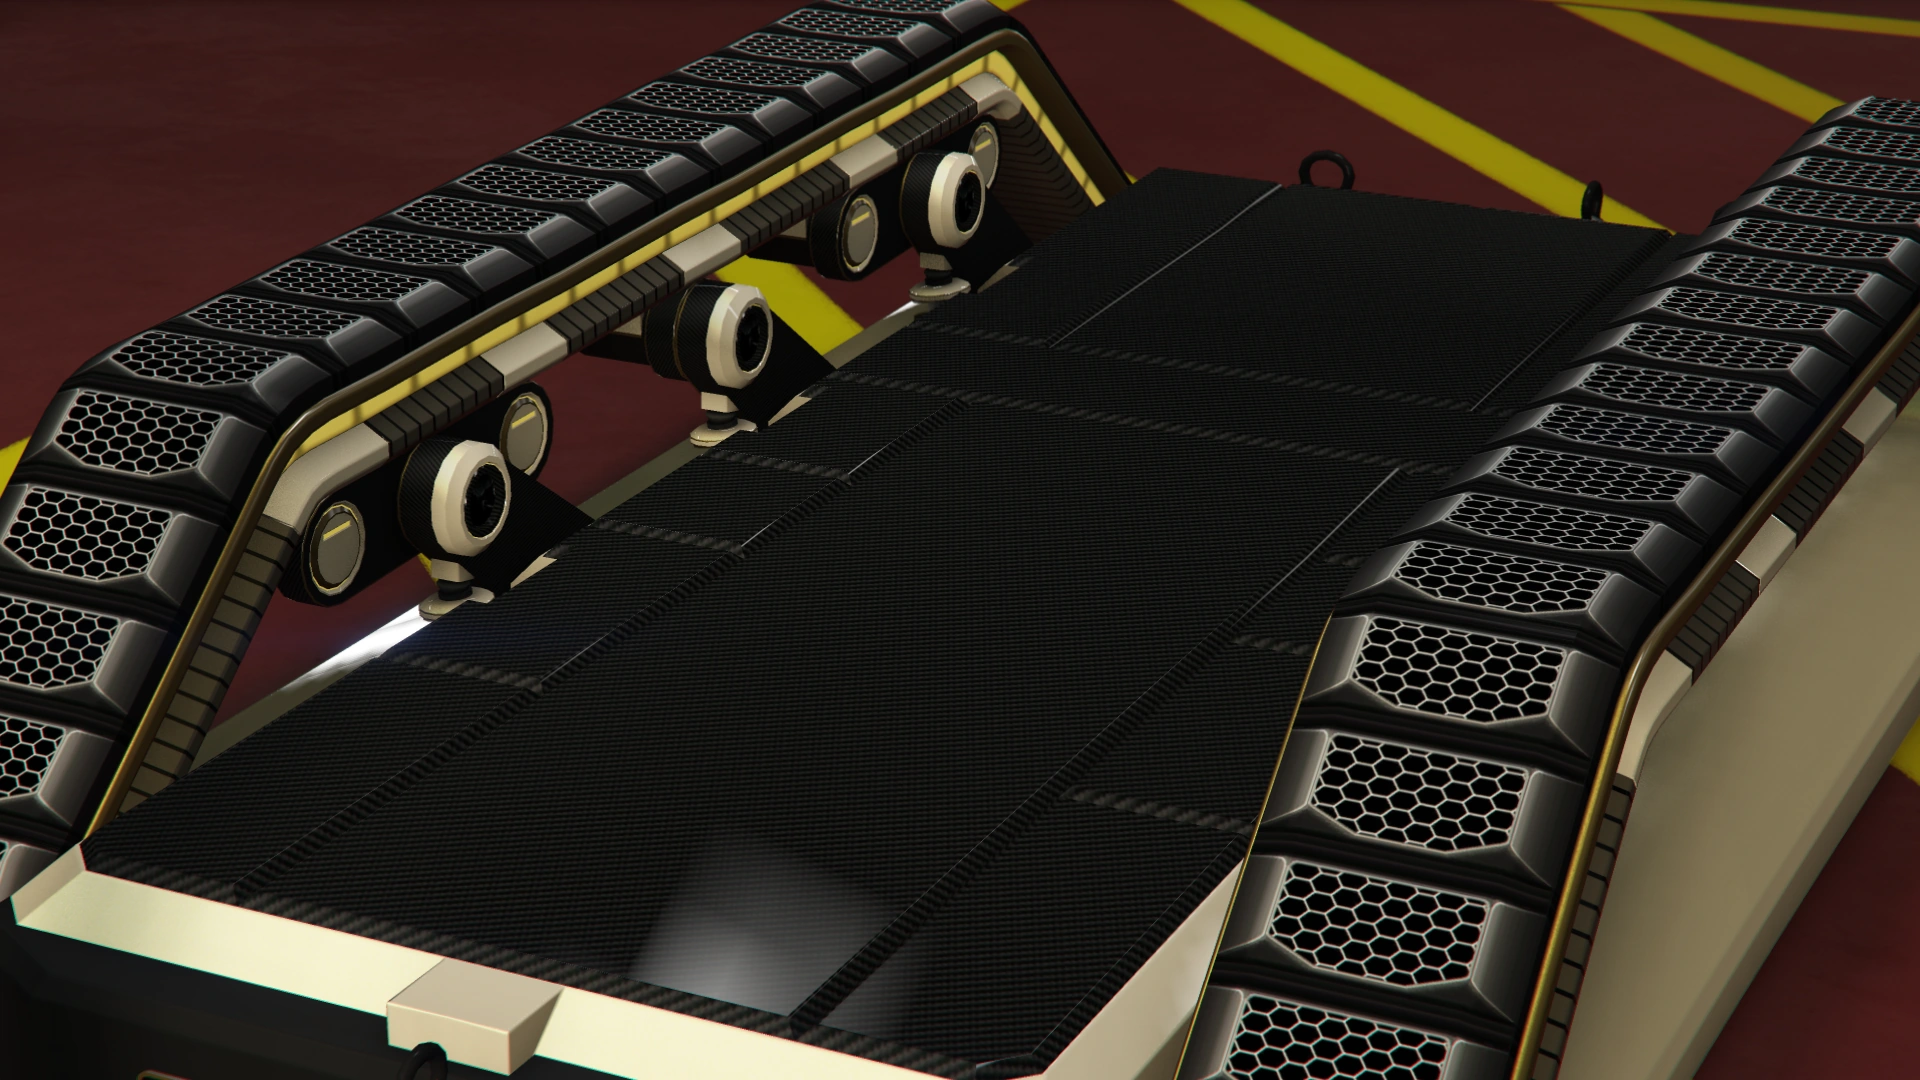
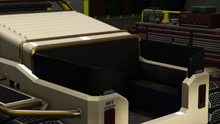
| Flat Roof | $700 | |||
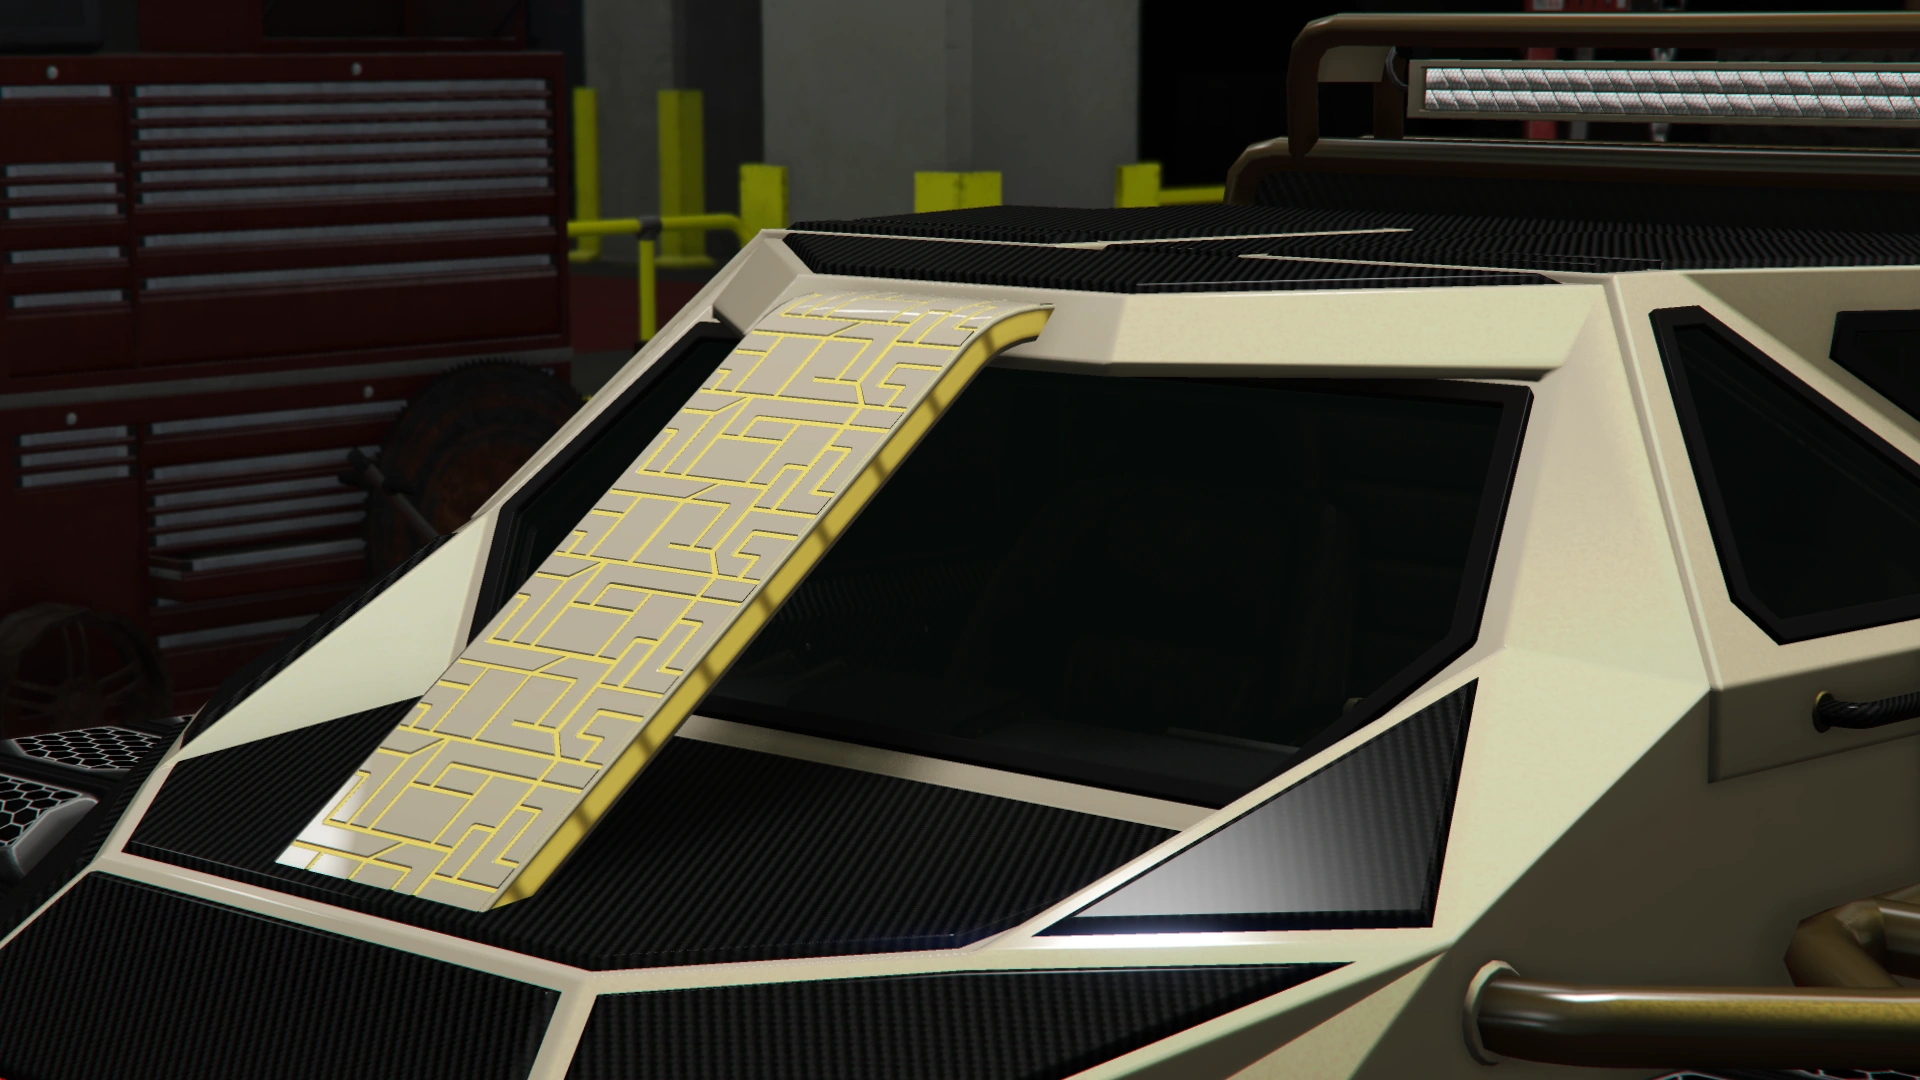
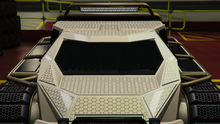
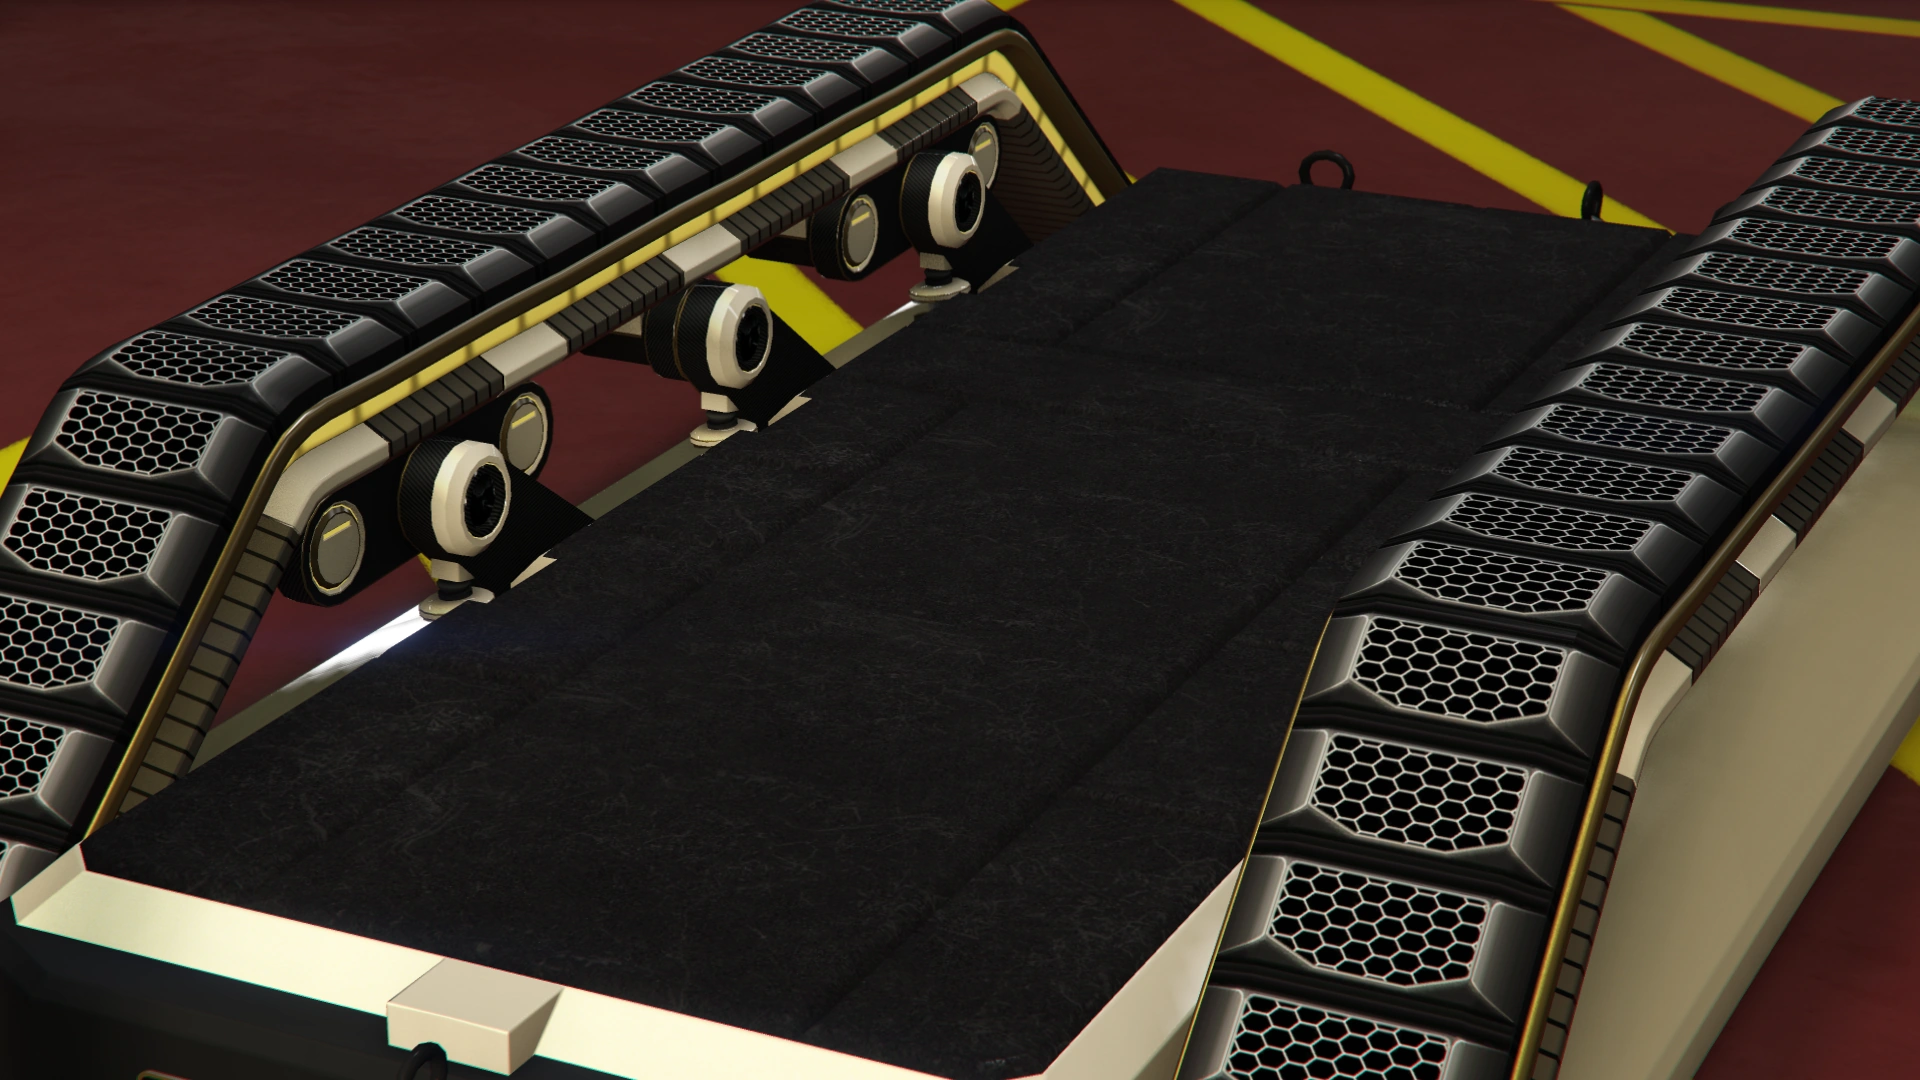
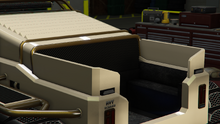
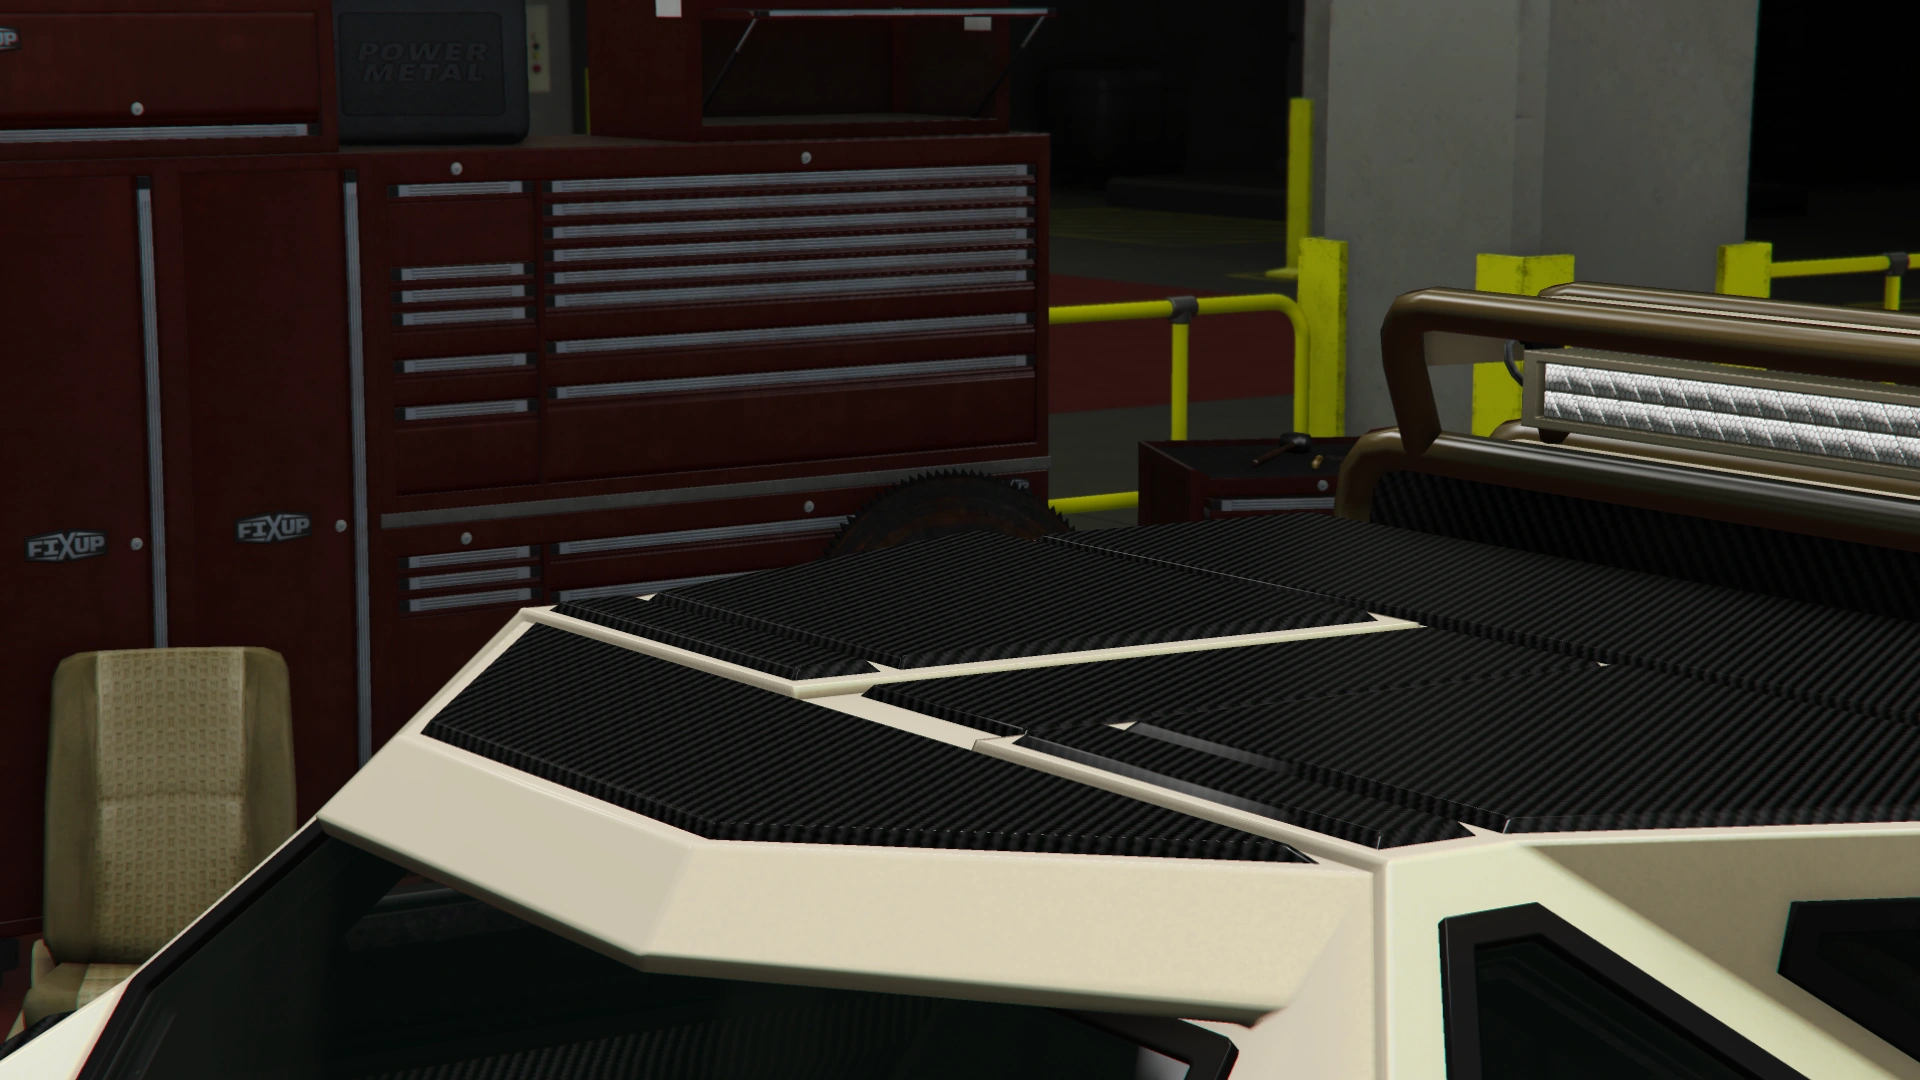
| Livery Roof | $1,150 | |||
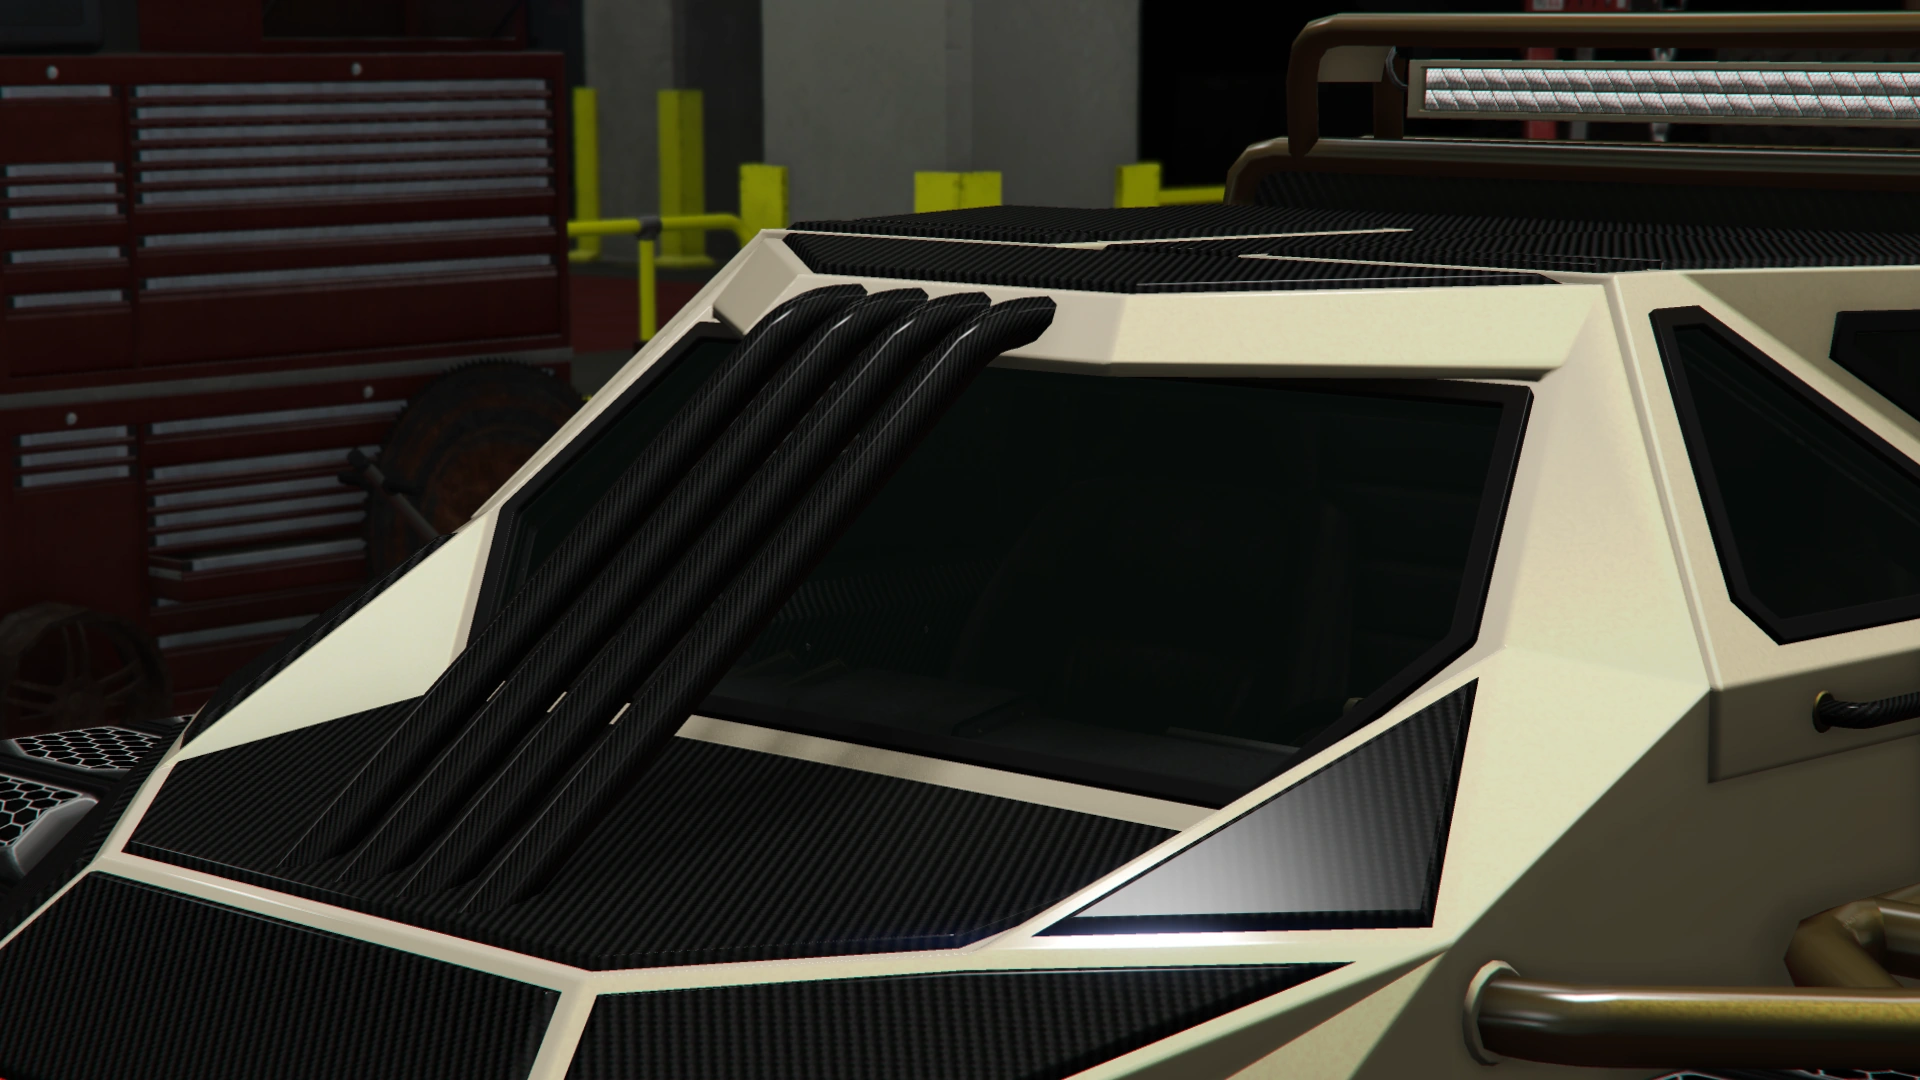
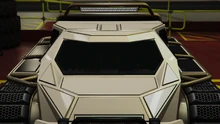
| Vented Roof | $1,600 | |||
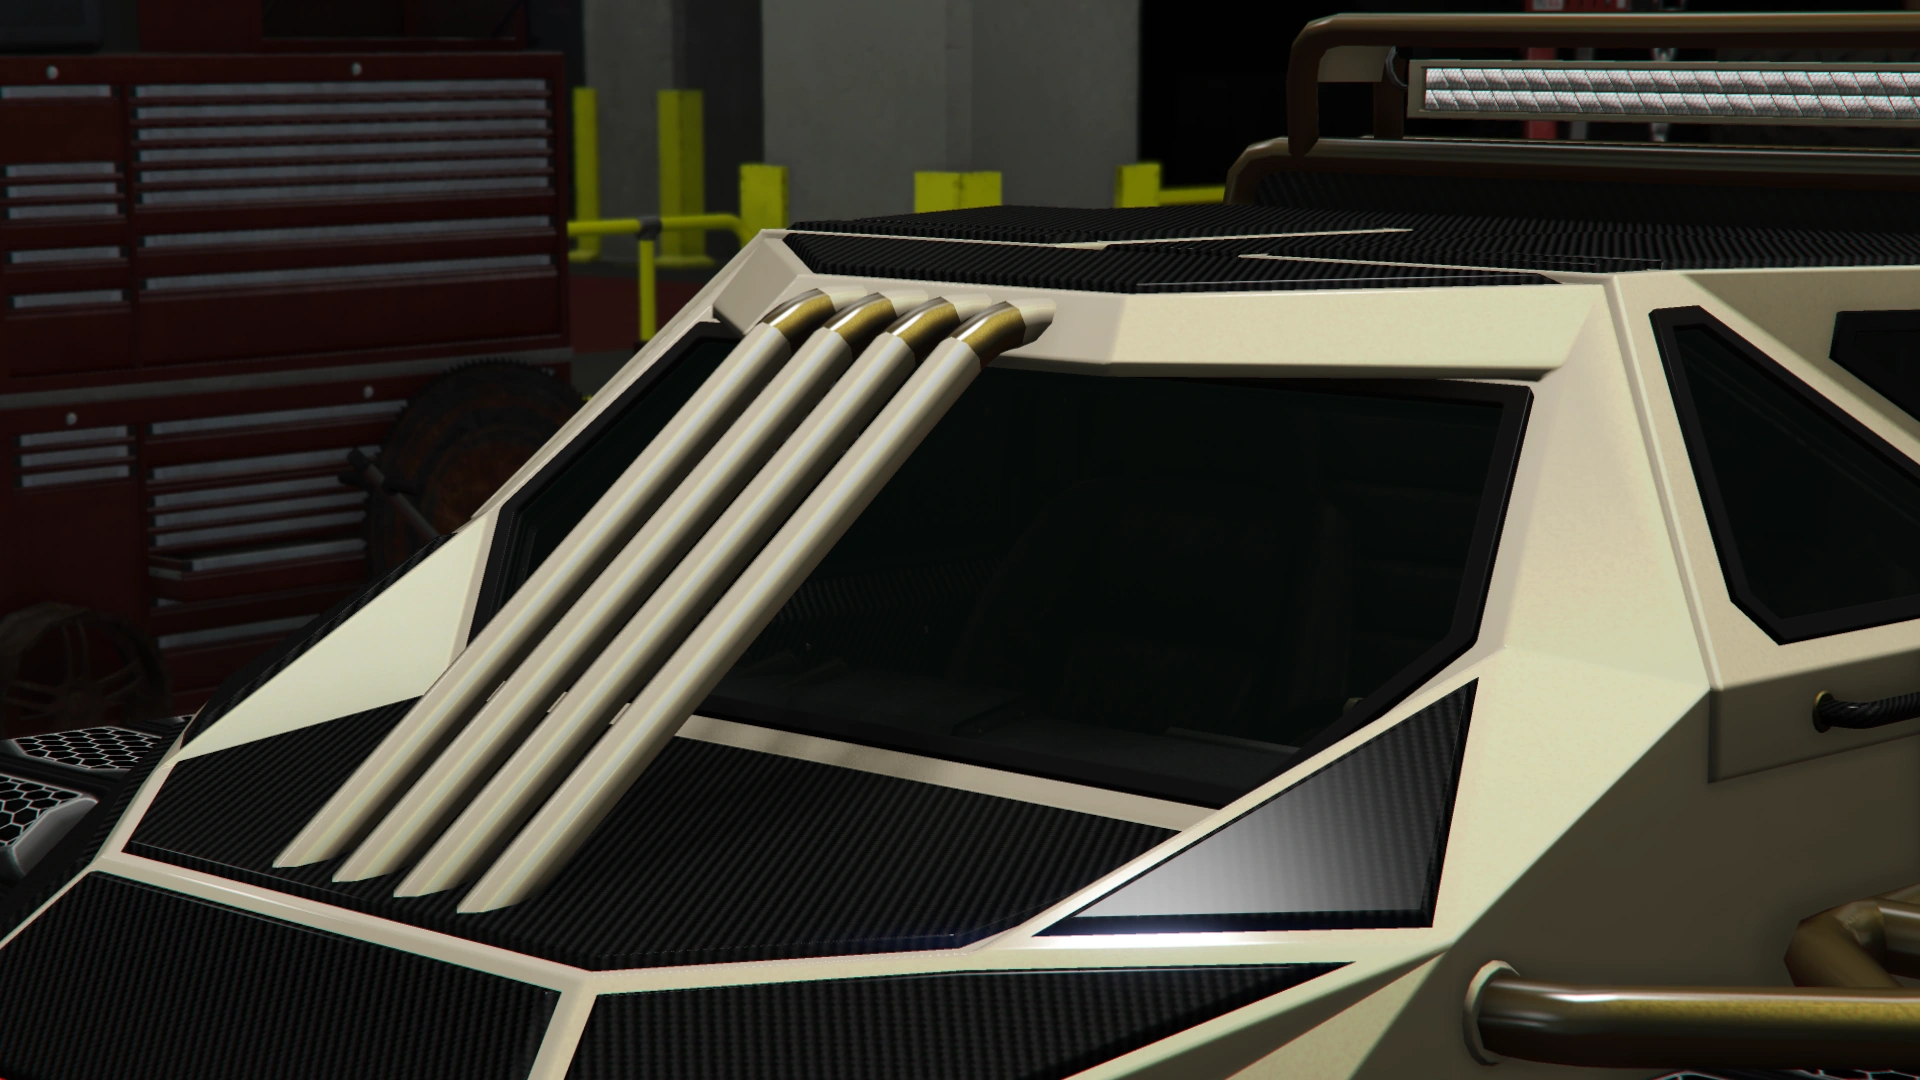
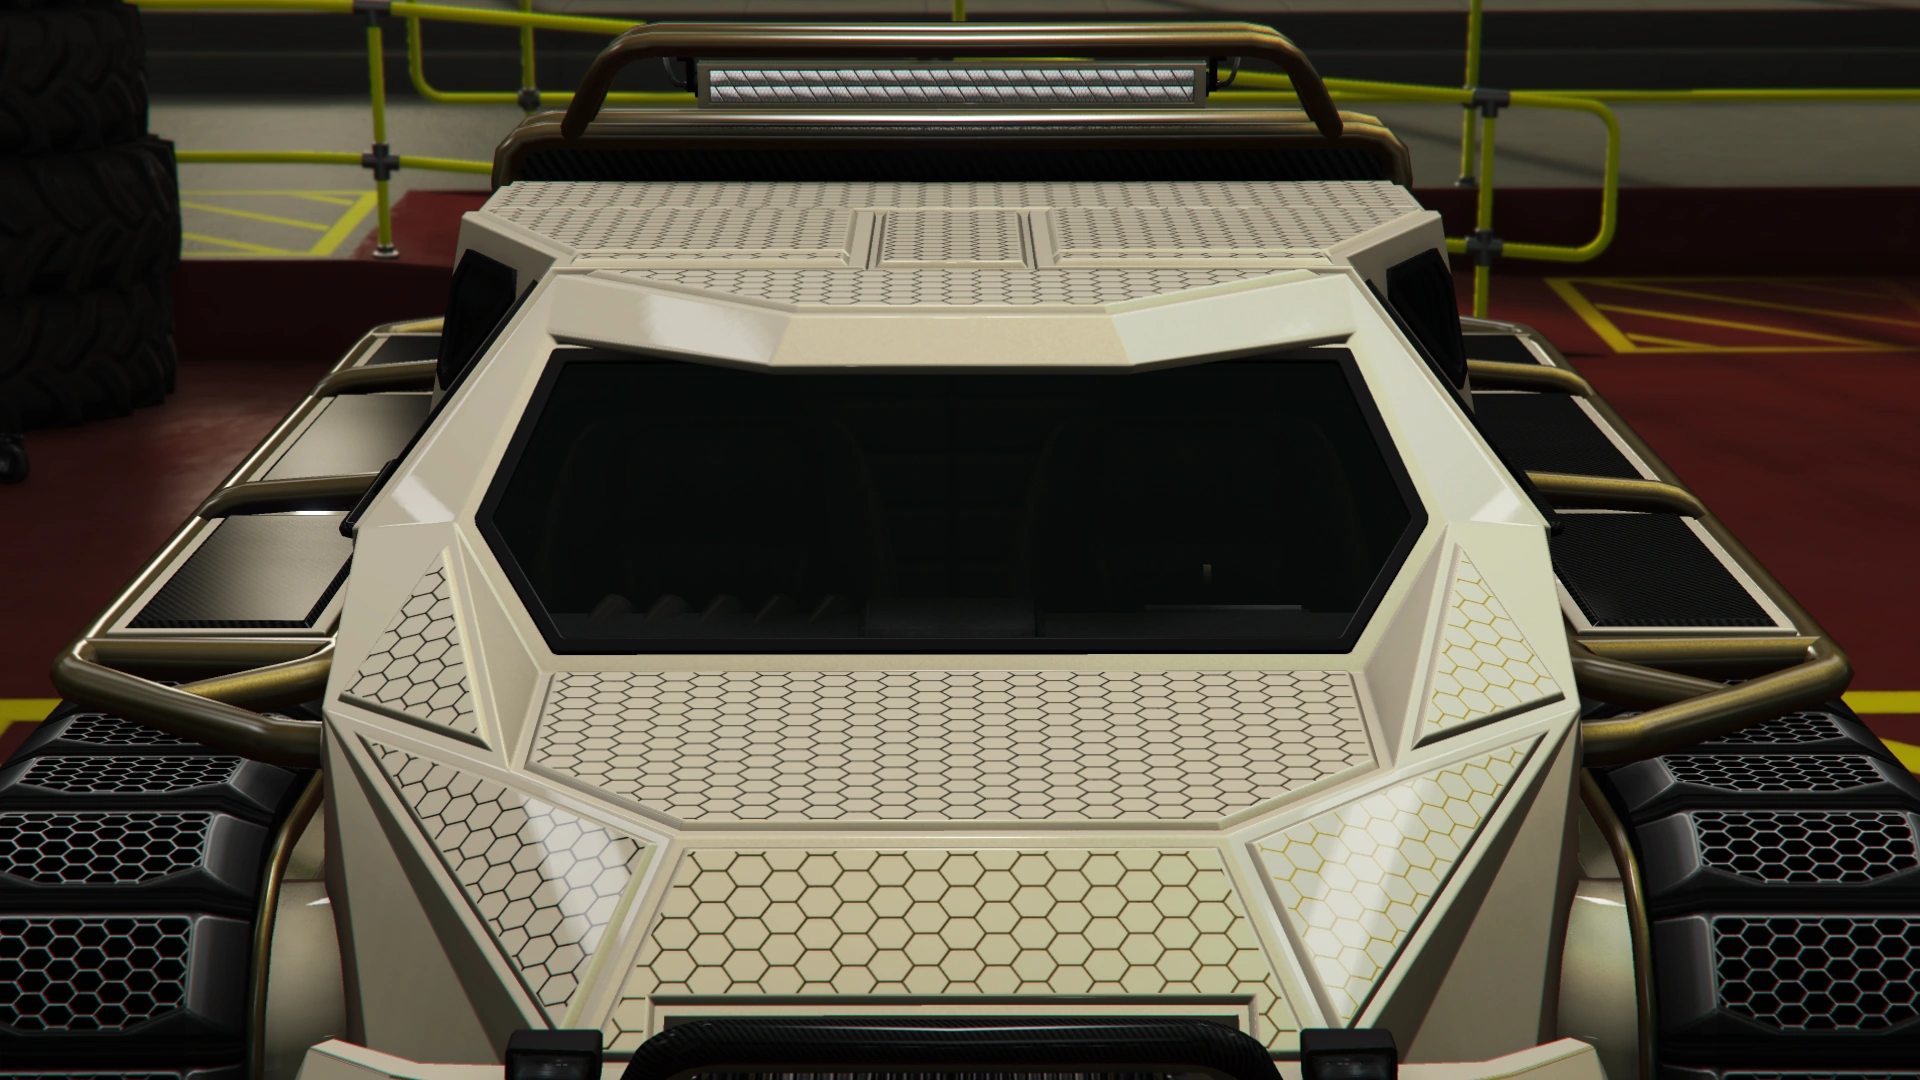
| Slat Vents | $1,950 | |||
| Side Vents | $2,400 | |||
| Alt Side Vents | $2,500 | |||
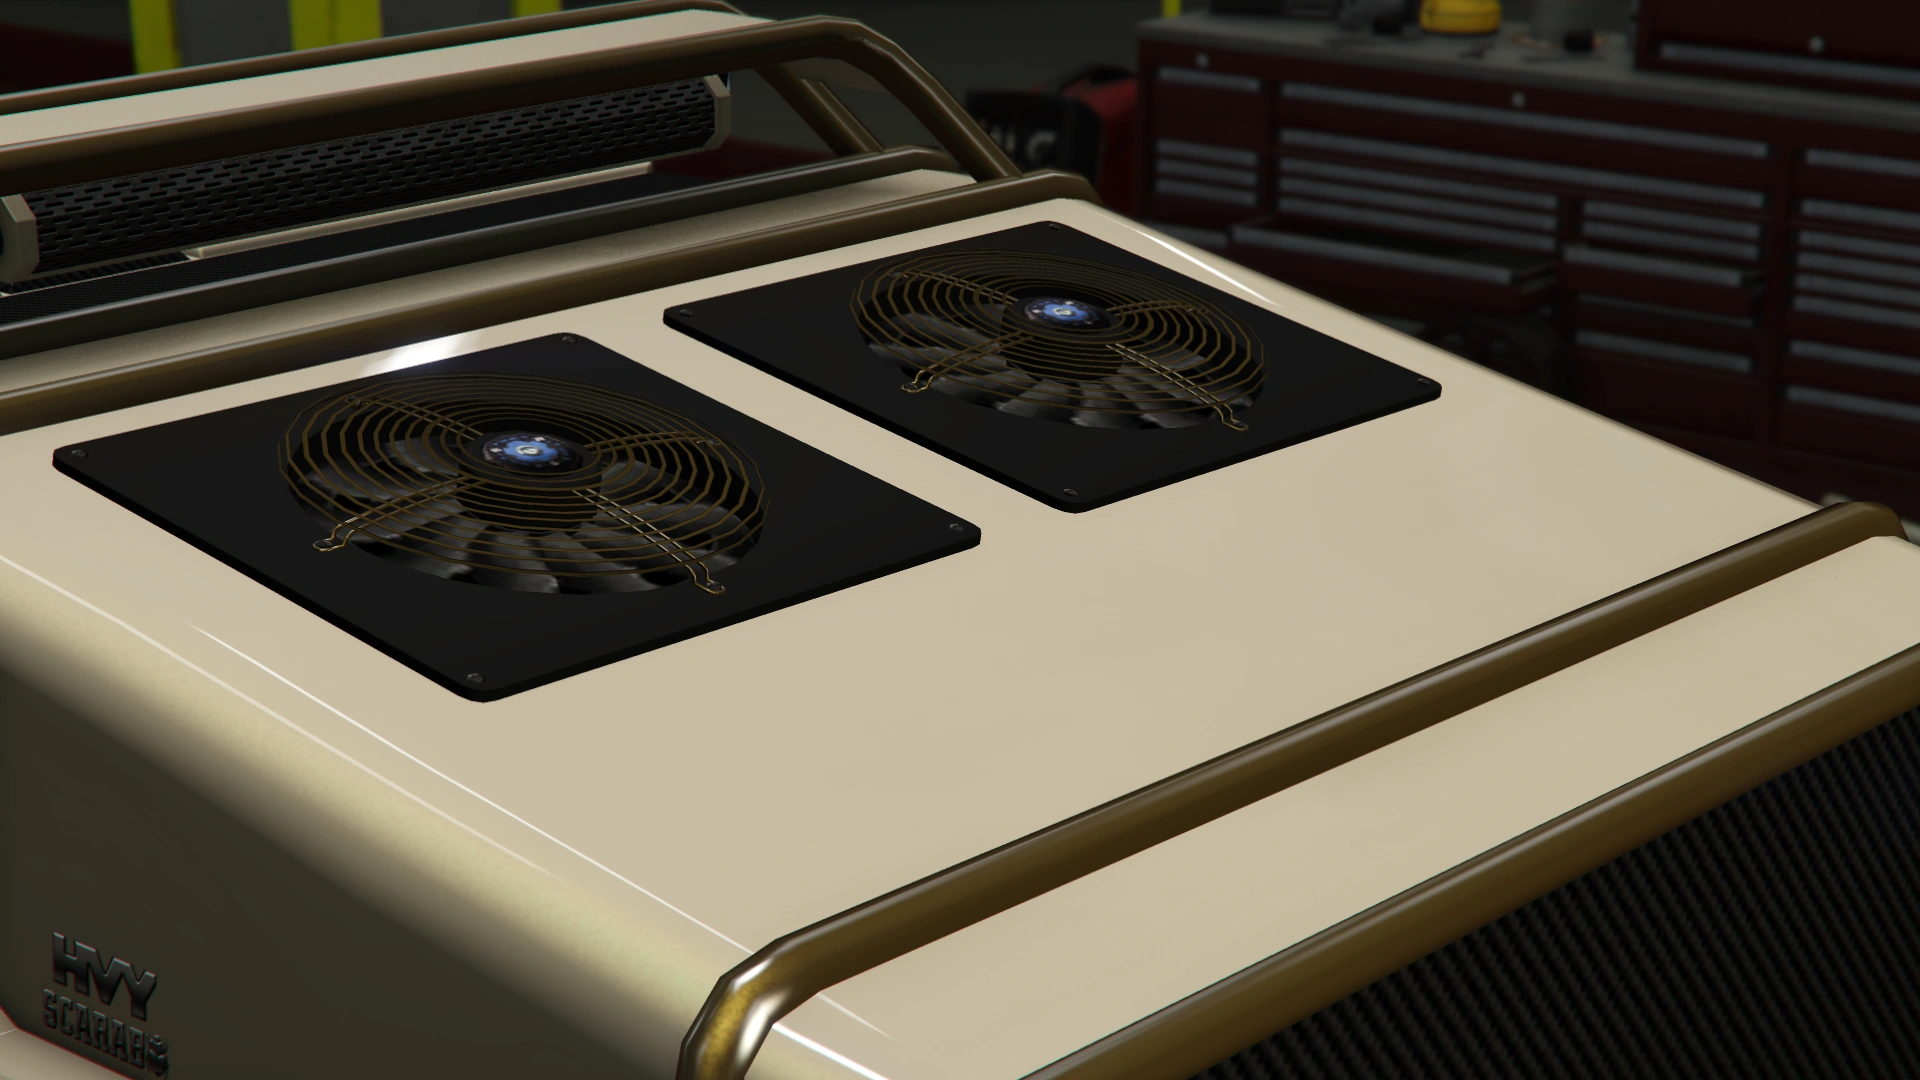
| Heavy Duty Cooling | $5,700 $2,850 (AW) |
|||
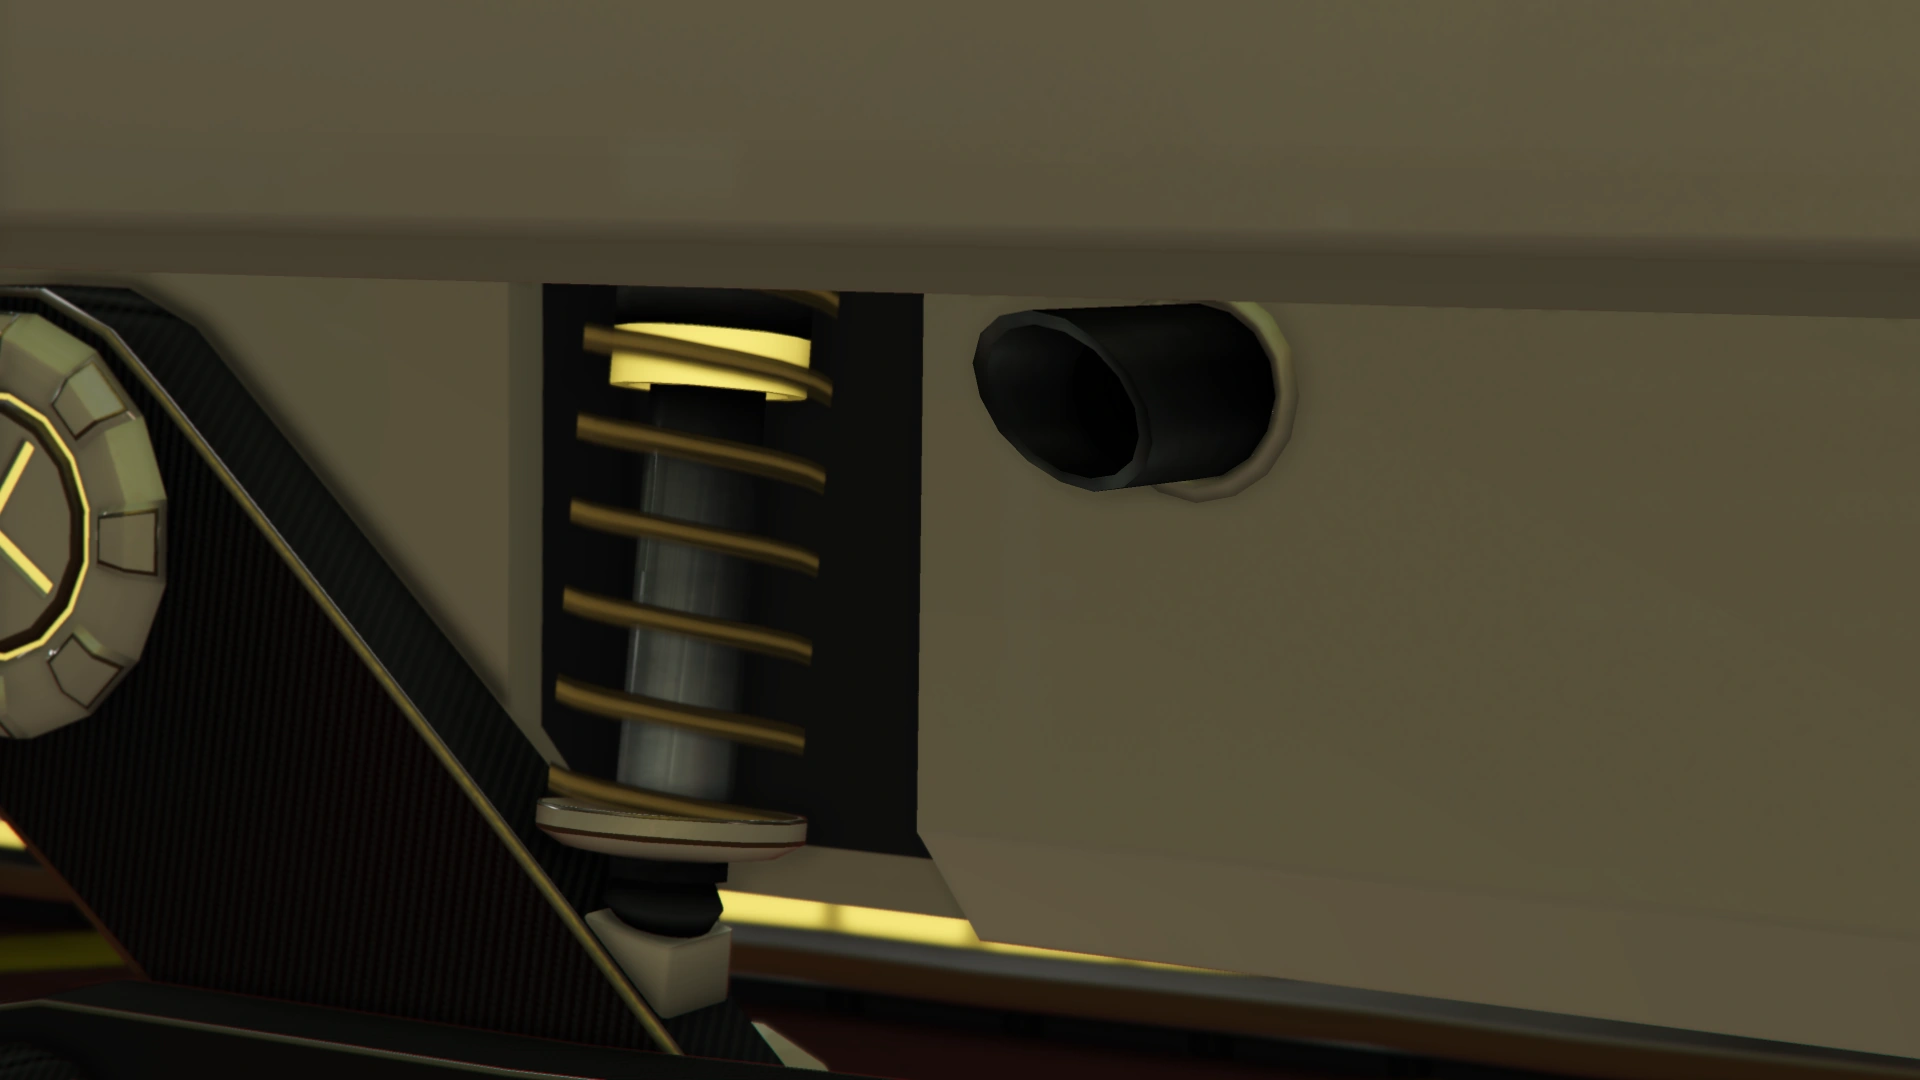
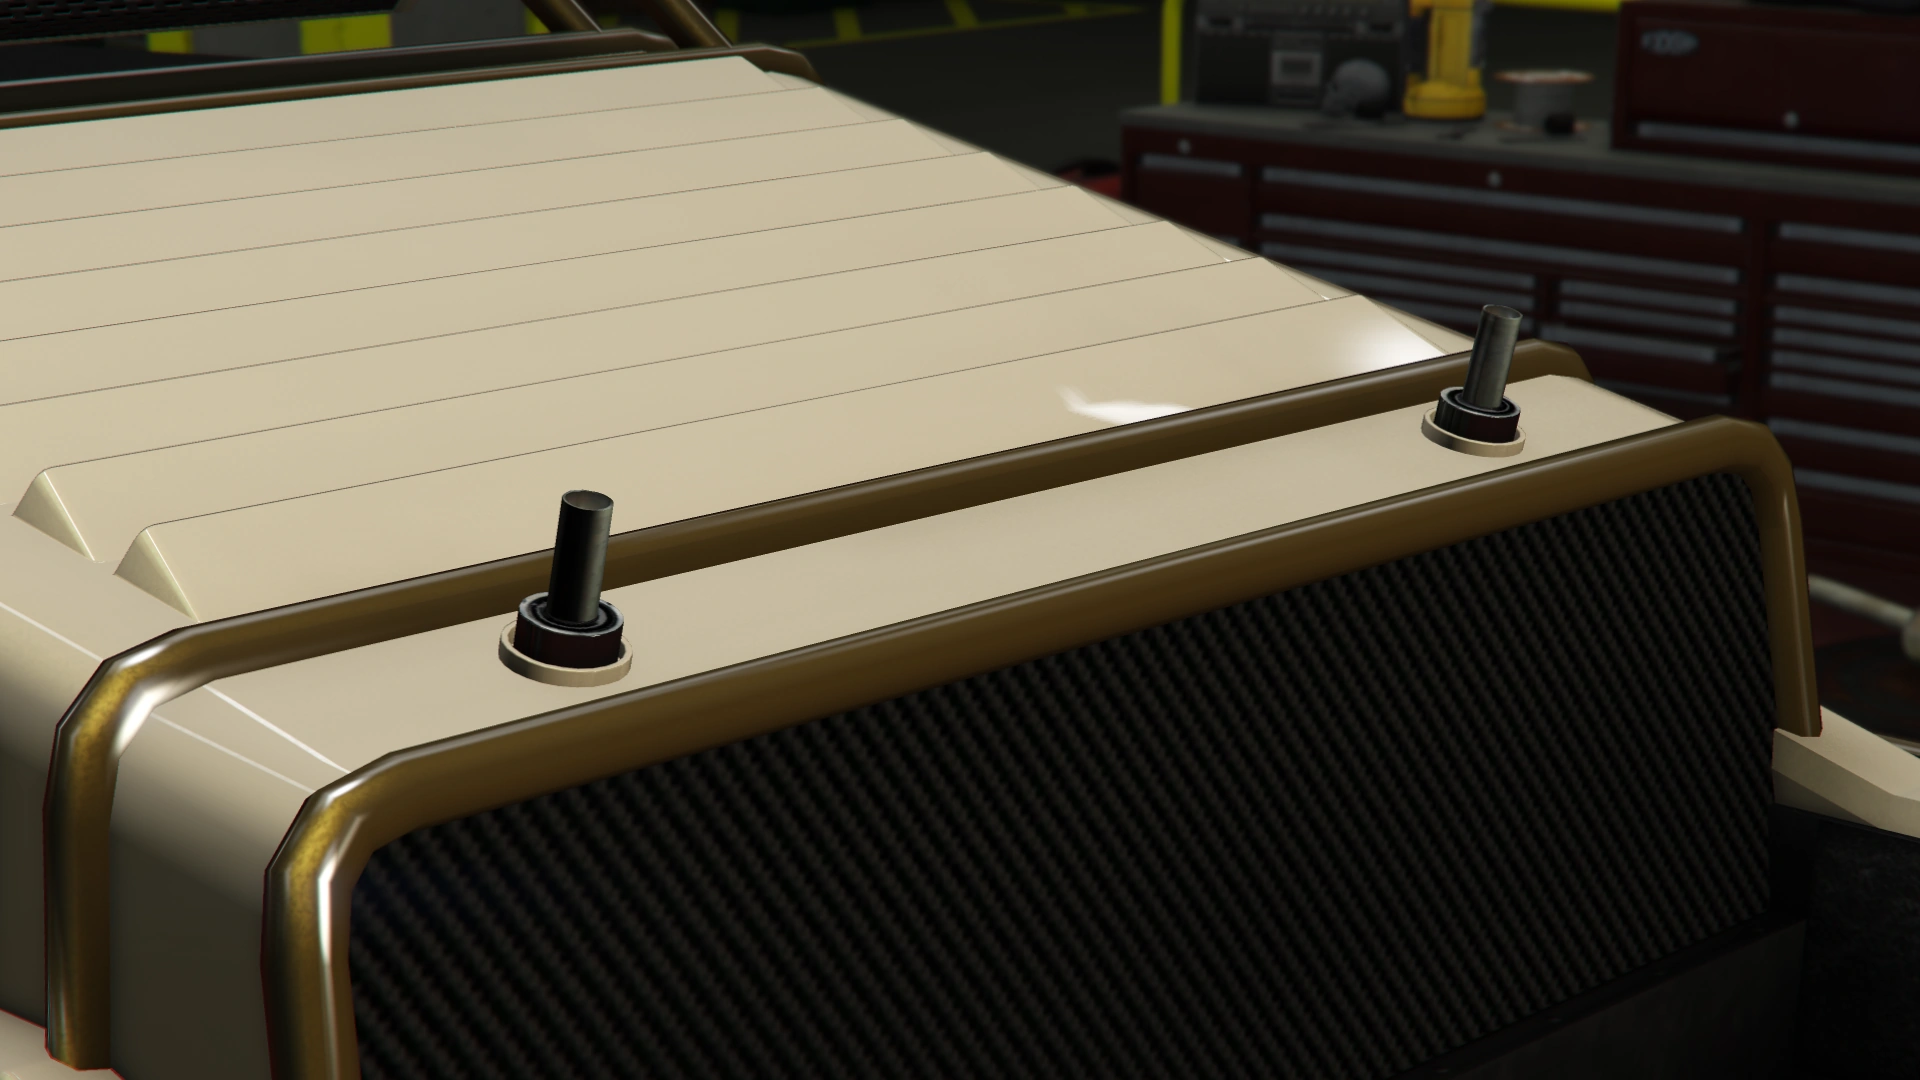
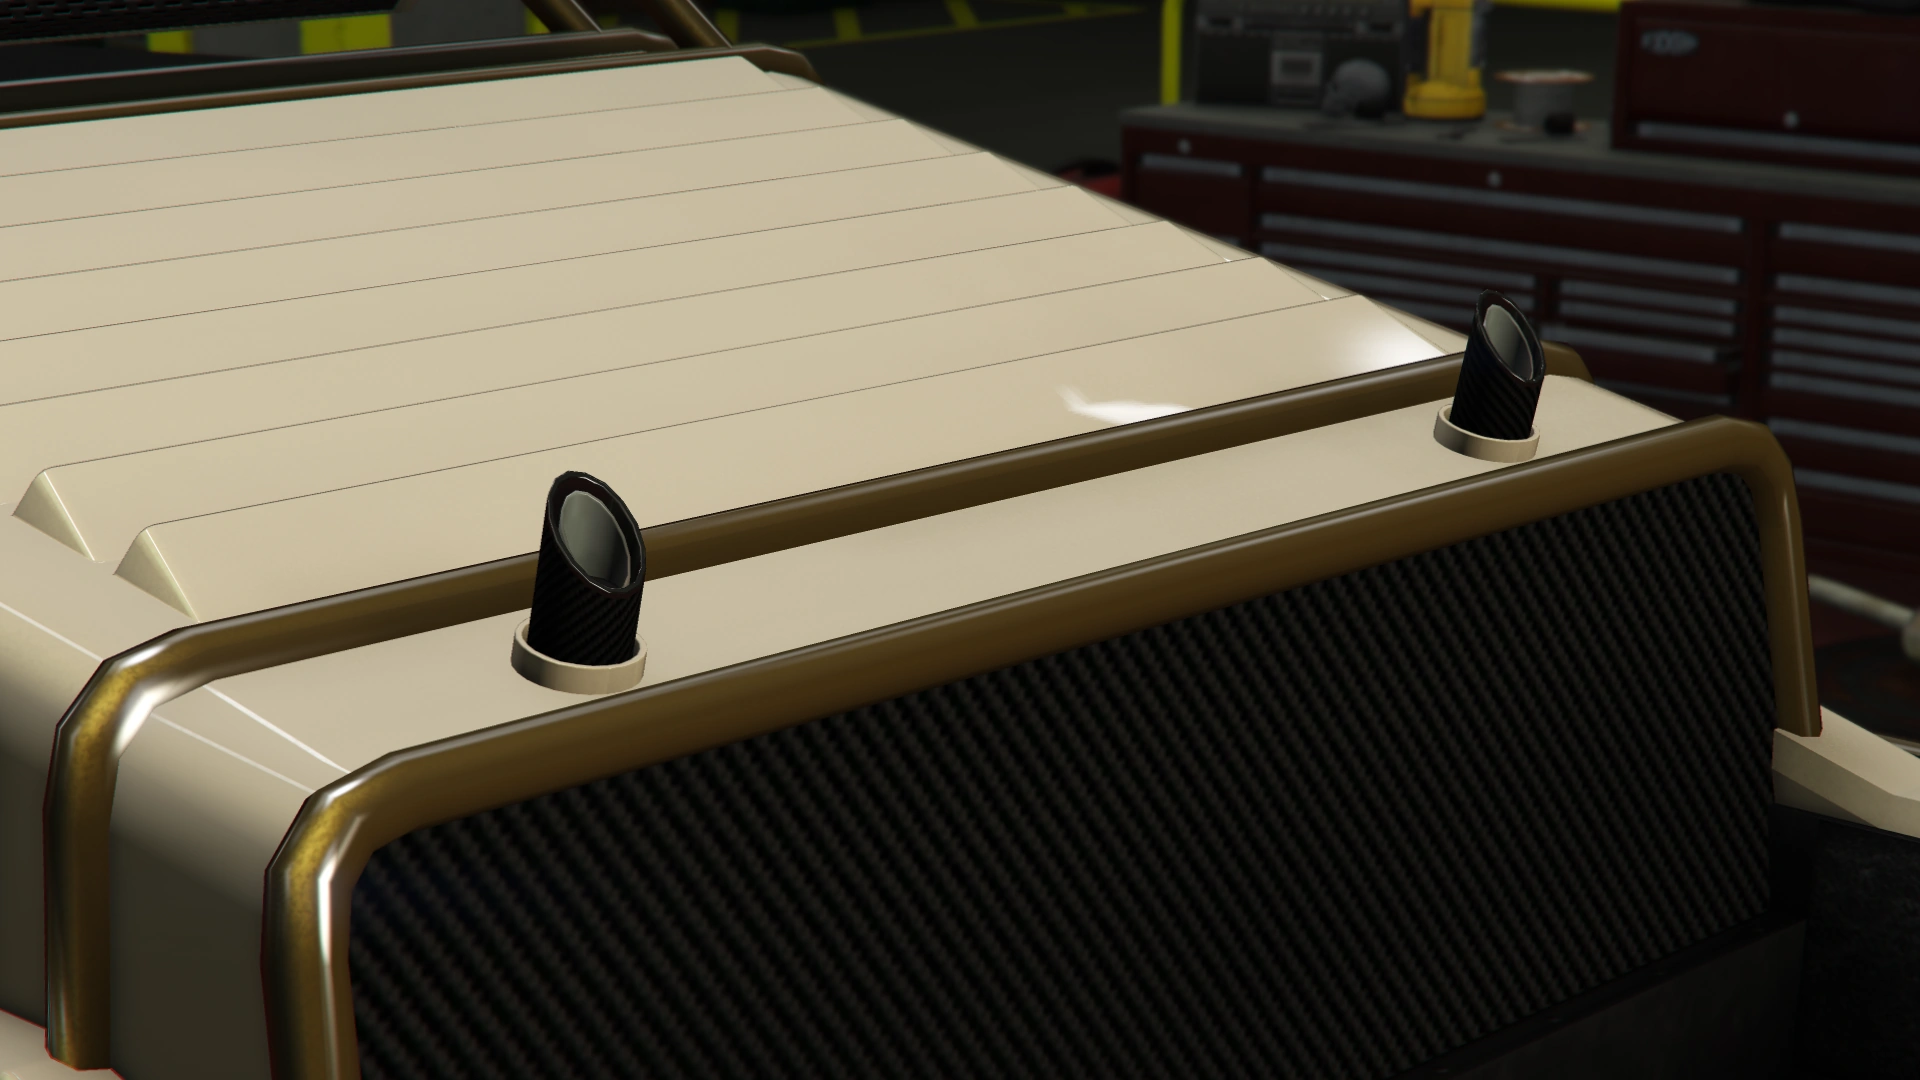
| Exhausts | Stock Exhaust | $260 | ||
| Round Bore Exhaust | $750 | |||
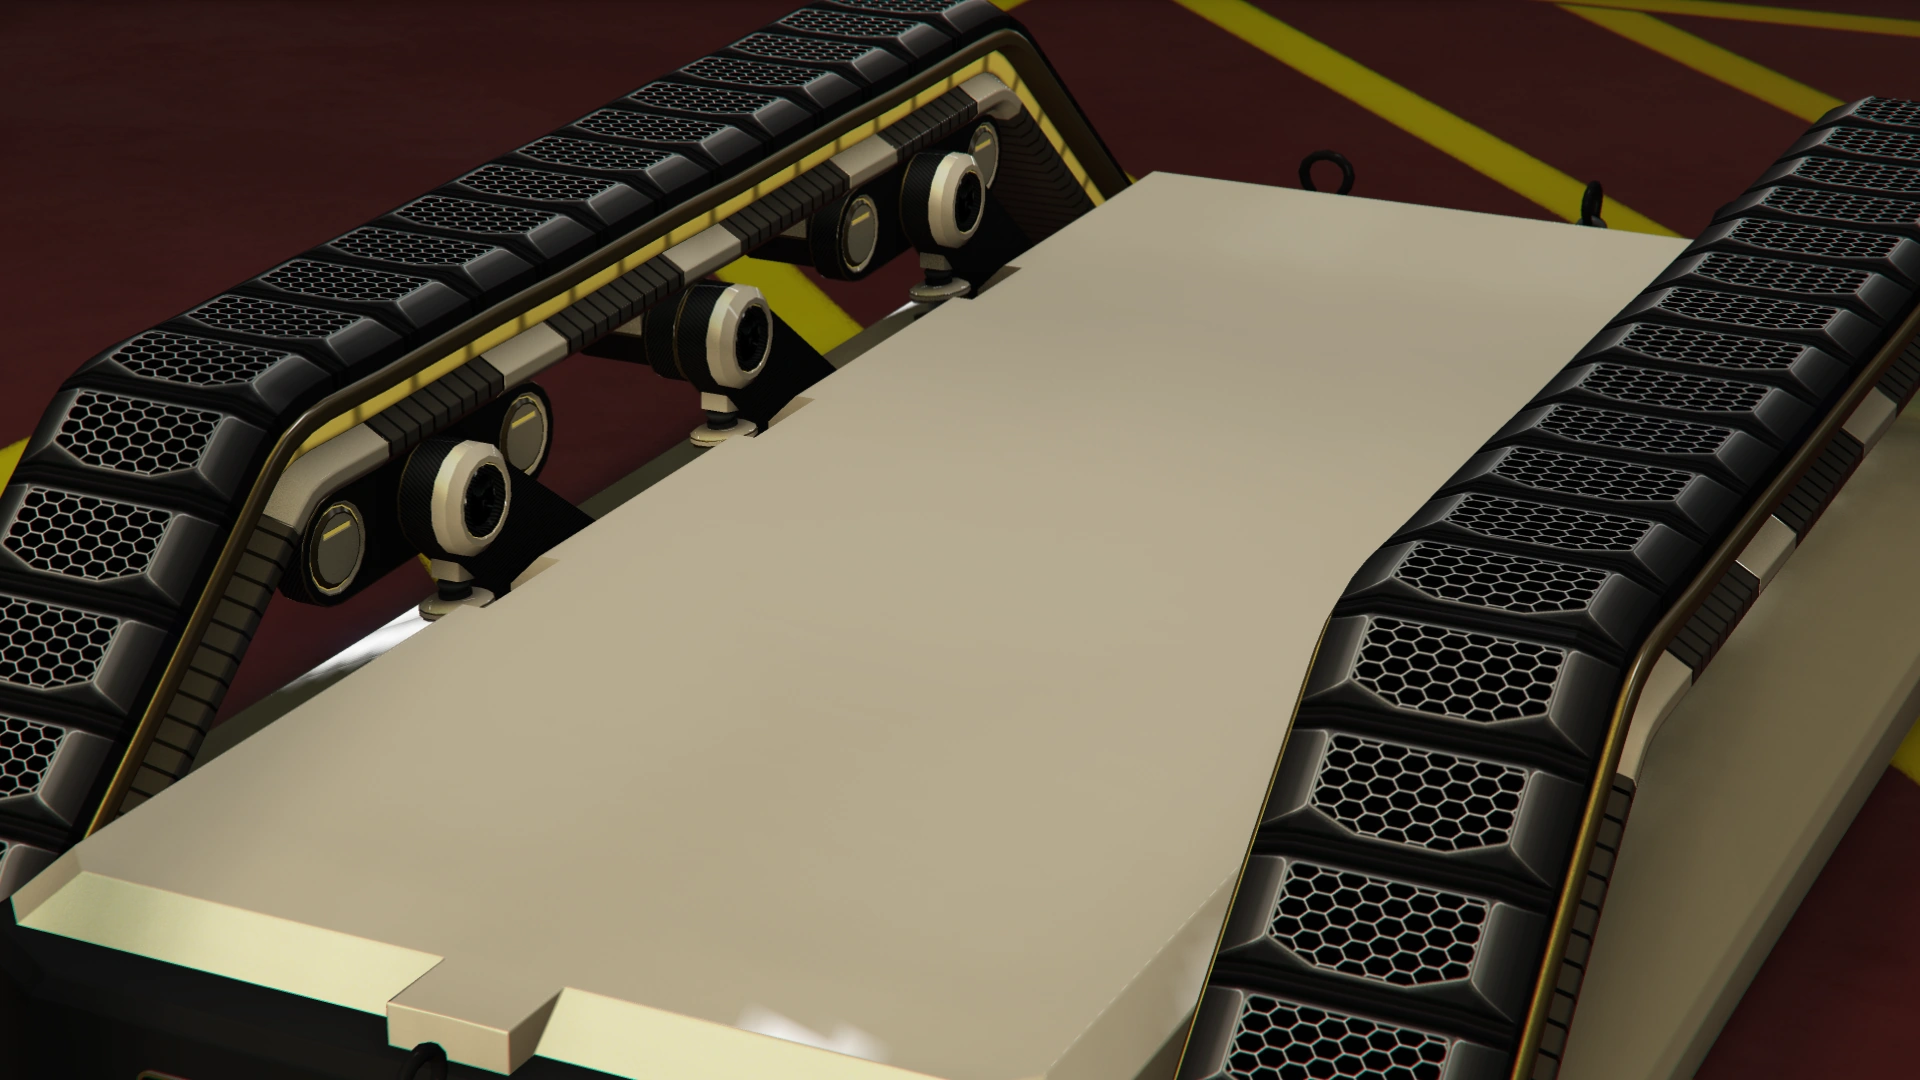
| Top Mounted Exhaust | $1,800 | |||
| Slanted Exhaust | $3,000 | |||
| Horns | Main article: Los Santos Customs/Horns | - | ||
| Lights | Headlights* | Stock Lights | $600 | |
| Xenon Lights | $7,500 | |||
| White Lights | $20,000 | |||
| Blue Lights | $49,200 $24,600 (AW) | |||
| Electric Blue Lights | $49,800 $24,900 (AW) | |||
| Mint Green Lights | $50,400 $25,200 (AW) | |||
| Lime Green Lights | $51,000 $25,500 (AW) | |||
| Yellow Lights | $51,600 $25,800 (AW) | |||
| Golden Shower Lights | $52,200 $26,100 (AW) | |||
| Orange Lights | $52,800 $26,400 (AW) | |||
| Red Lights | $53,400 $26,700 (AW) | |||
| Pony Pink Lights | $54,000 $27,000 (AW) | |||
| Hot Pink Lights | $54,600 $27,300 (AW) | |||
| Purple Lights | $55,200 $27,600 (AW) | |||
| Blacklight Lights | $80,000 $40,000 (AW) | |||
| Neon Kits | Main article: Los Santos Customs/Lights | - | ||
| Livery | None | $11,400 | ||
| HK | $18,240 | |||
| Judith Mantovani | $38,760 $19,380 (AW) |
|||
| Medici | $41,040 $20,520 (AW) |
|||
| Vankhov | $43,320 $21,660 (AW) |
|||
| Santo Capra | $45,600 $22,800 (AW) |
|||
| Enema | $46,740 $23,370 (AW) |
|||
| Sebastian Dix | $47,879 $23,939 (AW) |
|||
| Sebastian Dix V2 | $49,020 $24,510 (AW) |
|||
| Sebastian Dix V3 | $50,160 $25,080 (AW) |
|||
| Crowex | $51,300 $25,650 (AW) |
|||
| Crowex V2 | $52,440 $26,220 (AW) |
|||
| Sessanta Nove | $53,579 $26,789 (AW) |
|||
| Sessanta Nove V2 | $54,720 $27,360 (AW) |
|||
| Sessanta Nove V3 | $55,860 $27,930 (AW) |
|||
| Le Chien | $57,000 $28,500 (AW) |
|||
| Le Chien V2 | $58,140 $29,070 (AW) |
|||
| Le Chien V3 | $59,279 $29,639 (AW) |
|||
| Le Chien V4 | $60,420 $30,210 (AW) |
|||
| Loss/Theft Prevention | Tracker | |||
| Full Coverage | ||||
| Name | - | |||
| Respray | Main article: Los Santos Customs/Respray Colors | - | ||
| Sell | Sell Vehicle | |||
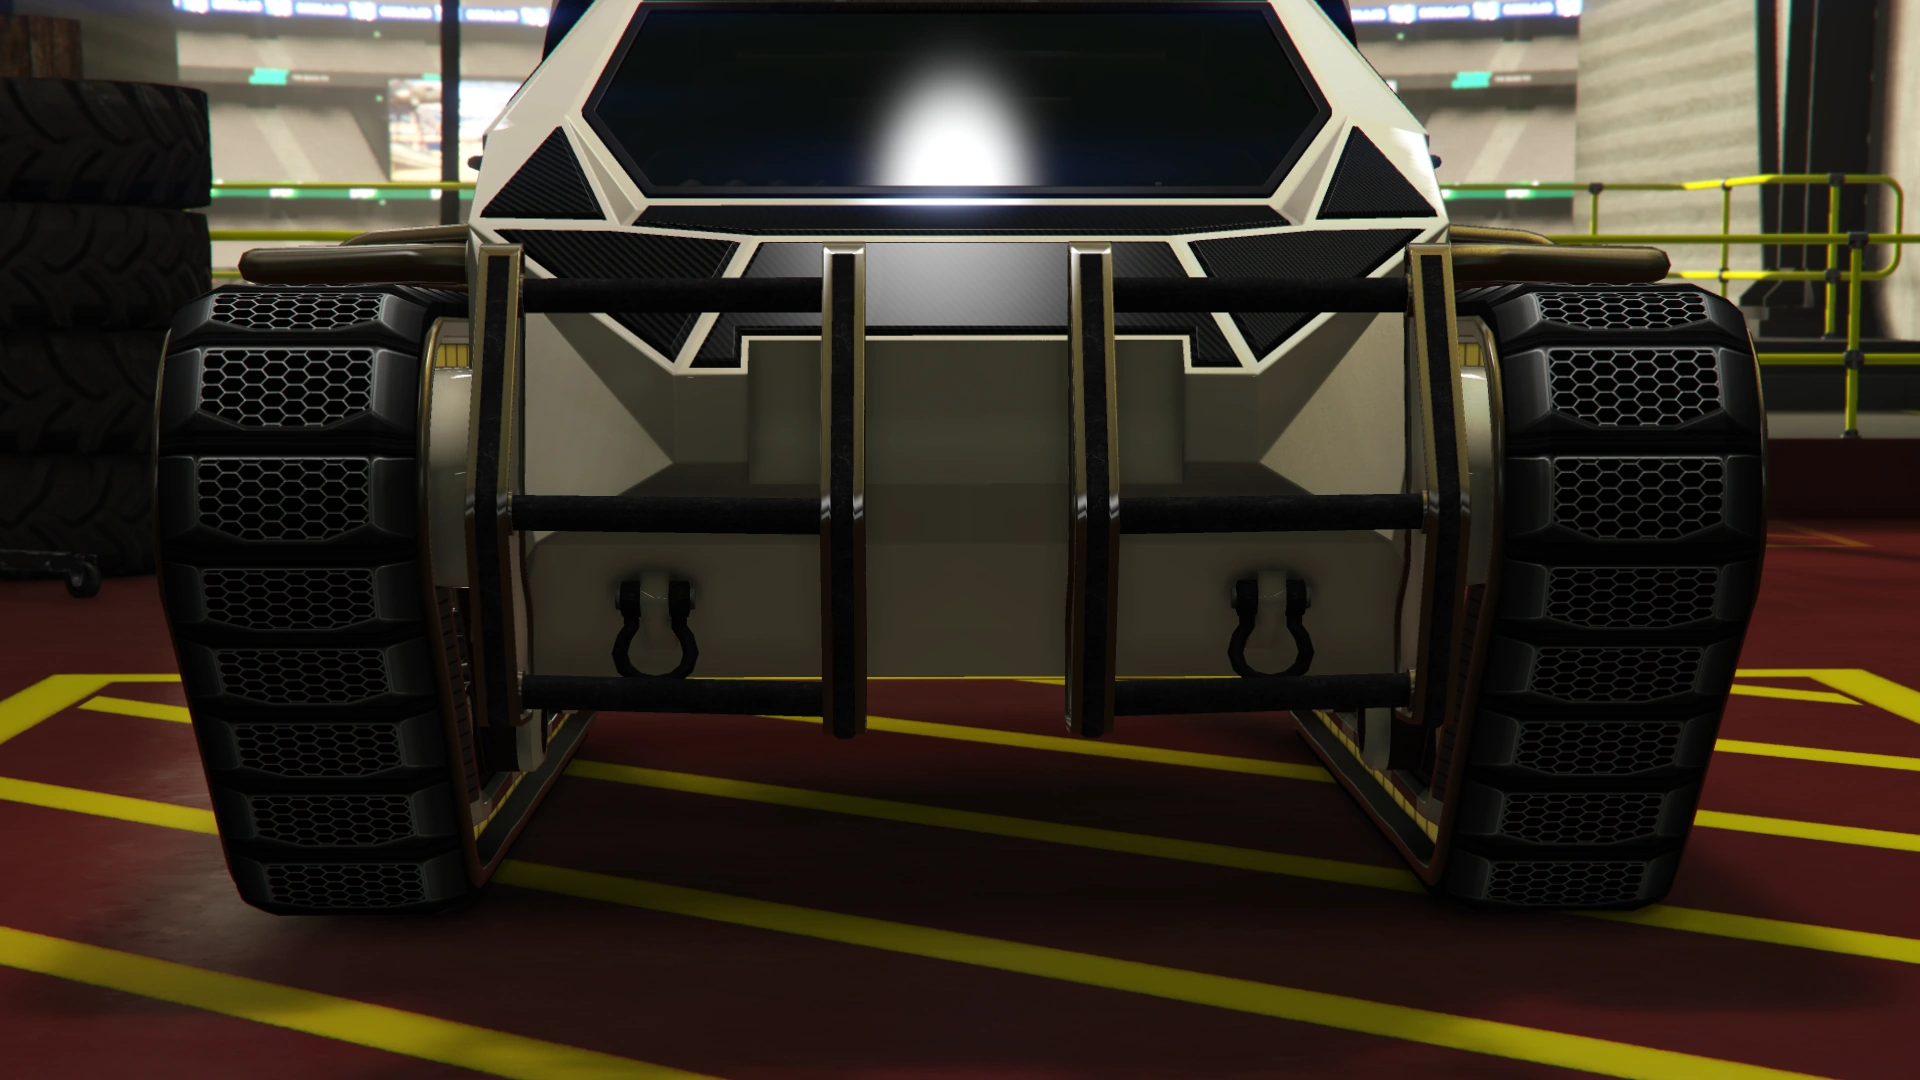
| Skirts | Stock Skirts | $2,500 | ||
| Carbon | $5,500 | |||
| Livery | $8,000 | |||
| Primary Rear Armor | $10,500 | |||
| Carbon Rear Armor | $14,000 | |||
| Livery Rear Armor | $14,500 | |||
| Armor | $15,000 | |||
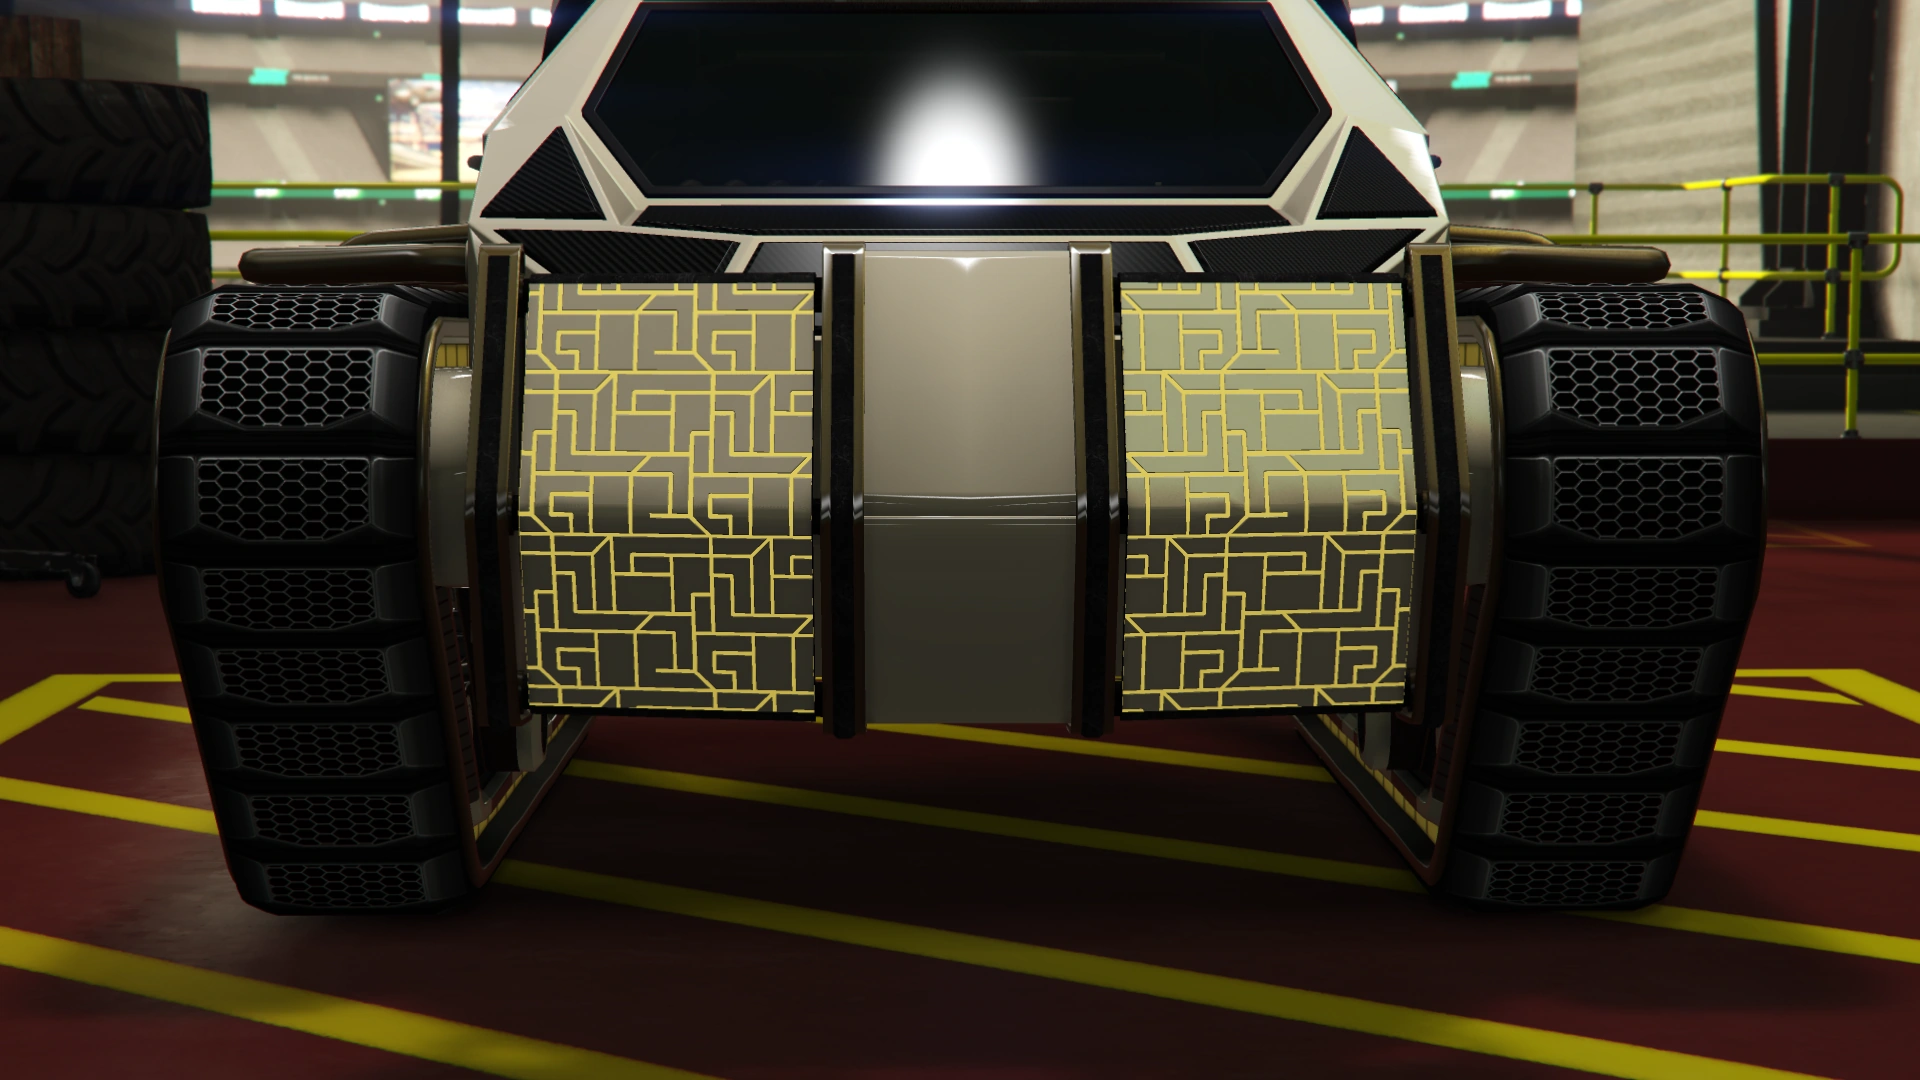
| Livery Armor | $15,500 | |||
| Carbon Armor | $16,000 | |||
| Matte Armor | $16,500 | |||
| Livery Plated Armor | $17,000 | |||
| Primary Full Armor | $34,800 $17,400 (AW) |
|||
| Livery Full Armor | $36,600 $18,300 (AW) |
|||
| Carbon Full Armor | $38,000 $19,000 (AW) |
|||
| Matte Full Armor | $40,850 $20,425 (AW) |
|||
| Futuristic Panel Armor | $42,050 $21,025 (AW) |
|||
| Plated Livery Full Armor | $42,950 $21,475 (AW) |
|||
| Turbo | None | $5,000 | ||
| Turbo Tuning | $50,000 | |||
| Vertical Jump | None | $20,000 | ||
| Jump Upgrade 20% | $130,000 $65,000 (AW) | |||
| Jump Upgrade 60% | $224,000 $112,000 (AW) | |||
| Jump Upgrade 100% | $420,000 $210,000 (AW) | |||
| Windows | None | $500 | ||
| Light Smoke | $1,500 | |||
| Dark Smoke | $3,500 | |||
| Limo | $5,000 | |||
| Weapons | Ram Weapons | None | $20,000 | |
| Light Ram | $195,000 | |||
| Reinforced Ram | $225,000 | |||
| Heavy Ram | $255,000 | |||
| Light Scoop | $295,000 | |||
| Reinforced Scoop | $337,500 | |||
| Large Scoop | $389,500 | |||
| Primary Weapons | None | $50,000 | ||
| Mounted .50 Cal (Clean) | $297,000 | |||
| 40W Phased Plasma Turrets | $325,000 | |||
| Proximity Mine | No Proximity Mine | $50,000 | ||
| Kinetic | $270,000 $135,000 (AW) | |||
| Spike | $158,000 $79,000 (AW) | |||
| EMP | $300,000 $150,000 (AW) | |||
| Slick | $198,000 $99,000 (AW) | |||
| Sticky | $250,000 $125,000 (AW) | |||


.png)
- (AW) Unlock this item for purchase via the Arena War Career.
- * Headlights are not available if a "Ram Weapon" modification is installed (except "Light Ram").
Image Gallery
")
")
Video

Locations
Grand Theft Auto Online
- Can be purchased at the Arena War website for $3,076,290 or $2,313,000 (trade price as a Sponsorship Tier reward in the Arena War Career).
- The vehicle comes with the "HK" Livery and a Light Scoop Ram Weapon as standard when purchased.
Bugs/Glitches
Grand Theft Auto Online
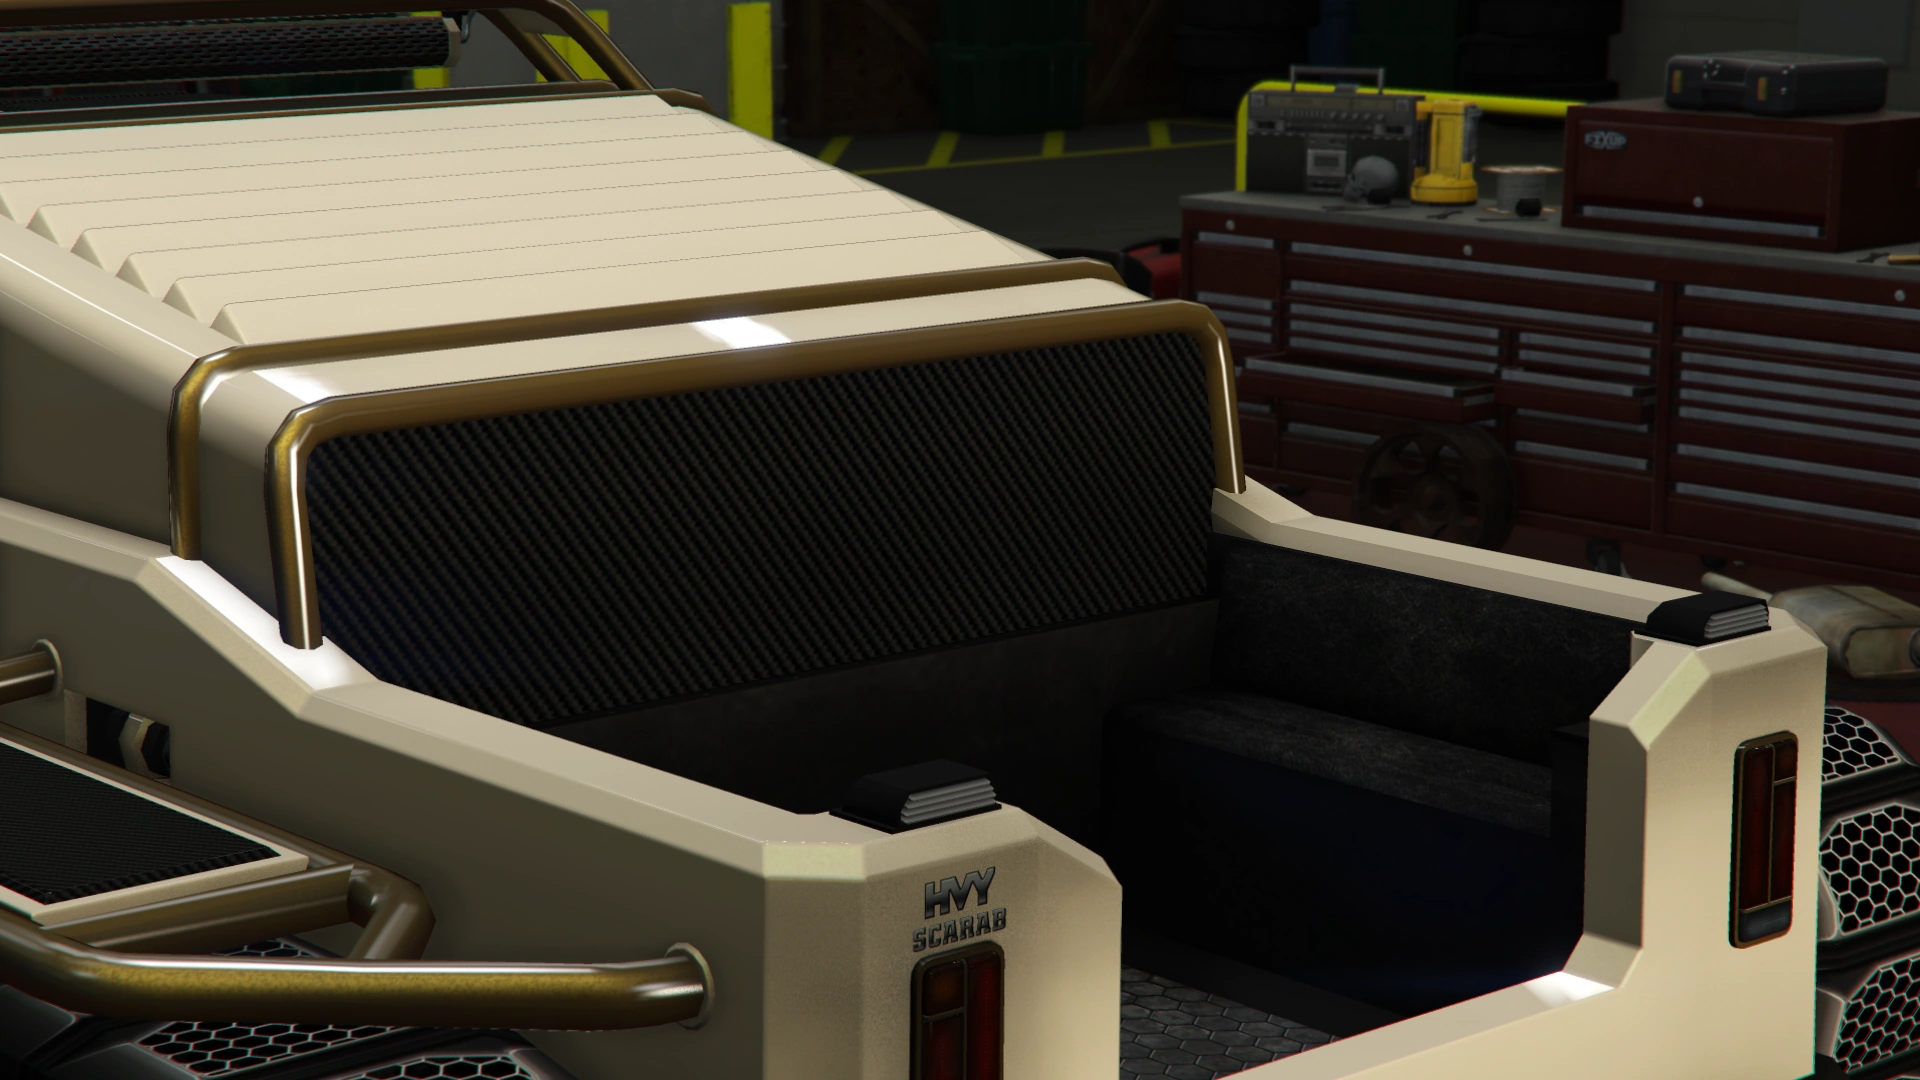
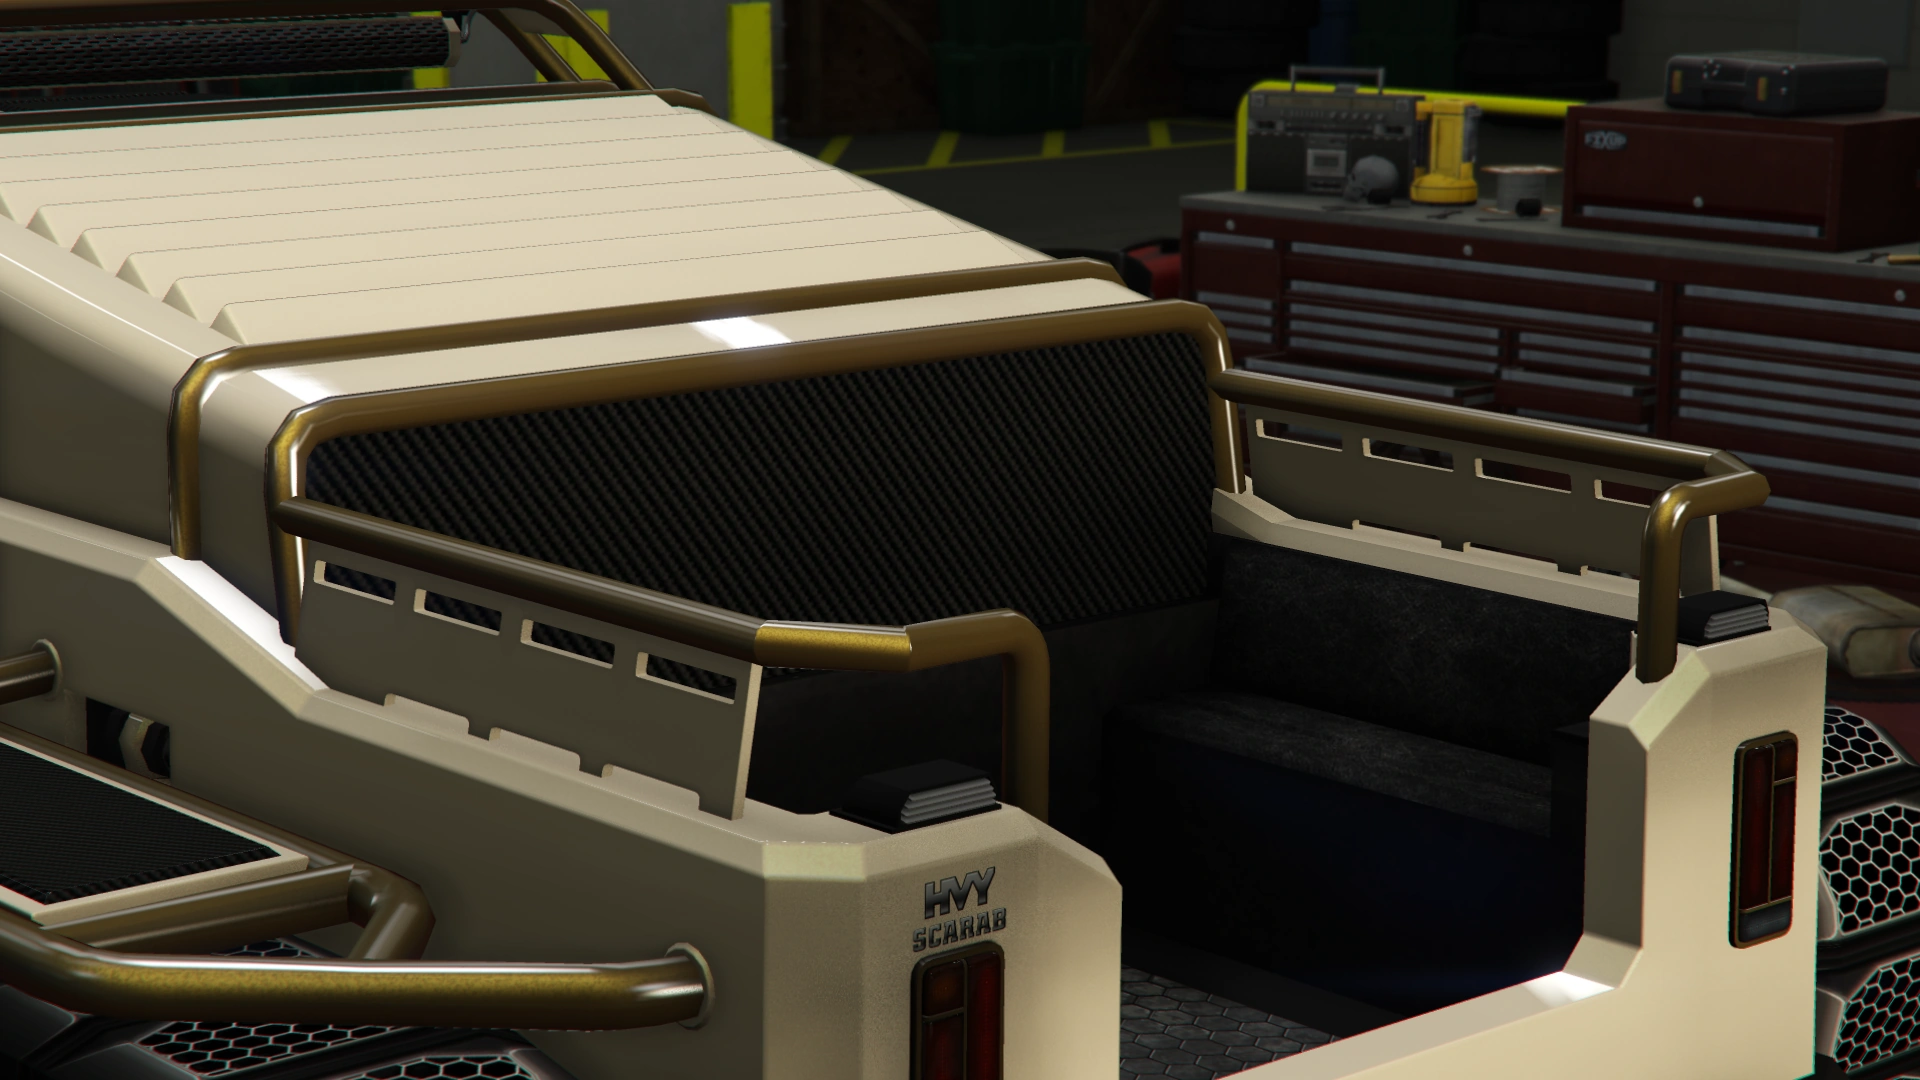
- Certain modifications on the "Engine Covers" group may cause a visual bug on the side badges:
- When applying the Livery Roof, the badge will be mapped incorrectly.
- When applying the Heavy Duty Cooling, the badge will be inverted.
")
")