(Thanks for the screenshots of the Entity XF's brother, Noirlime.) |
mNo edit summary |
||
| (13 intermediate revisions by 7 users not shown) | |||
| Line 8: | Line 8: | ||
|body_style = Hypercar |
|body_style = Hypercar |
||
|capacity = 2 <small>(driver and passenger)</small> |
|capacity = 2 <small>(driver and passenger)</small> |
||
| ⚫ | |||
|manufacturer = [[Överflöd]] |
|manufacturer = [[Överflöd]] |
||
| ⚫ | |||
|price = [[Money|$]]2,305,000 <small>([[Legendary Motorsport]])</small> |
|price = [[Money|$]]2,305,000 <small>([[Legendary Motorsport]])</small> |
||
| ⚫ | |||
| + | |related = [[Autarch]]<br>[[Tyrant]] |
||
|makeyear = |
|makeyear = |
||
| − | |swankness = |
+ | |swankness = 5/5 |
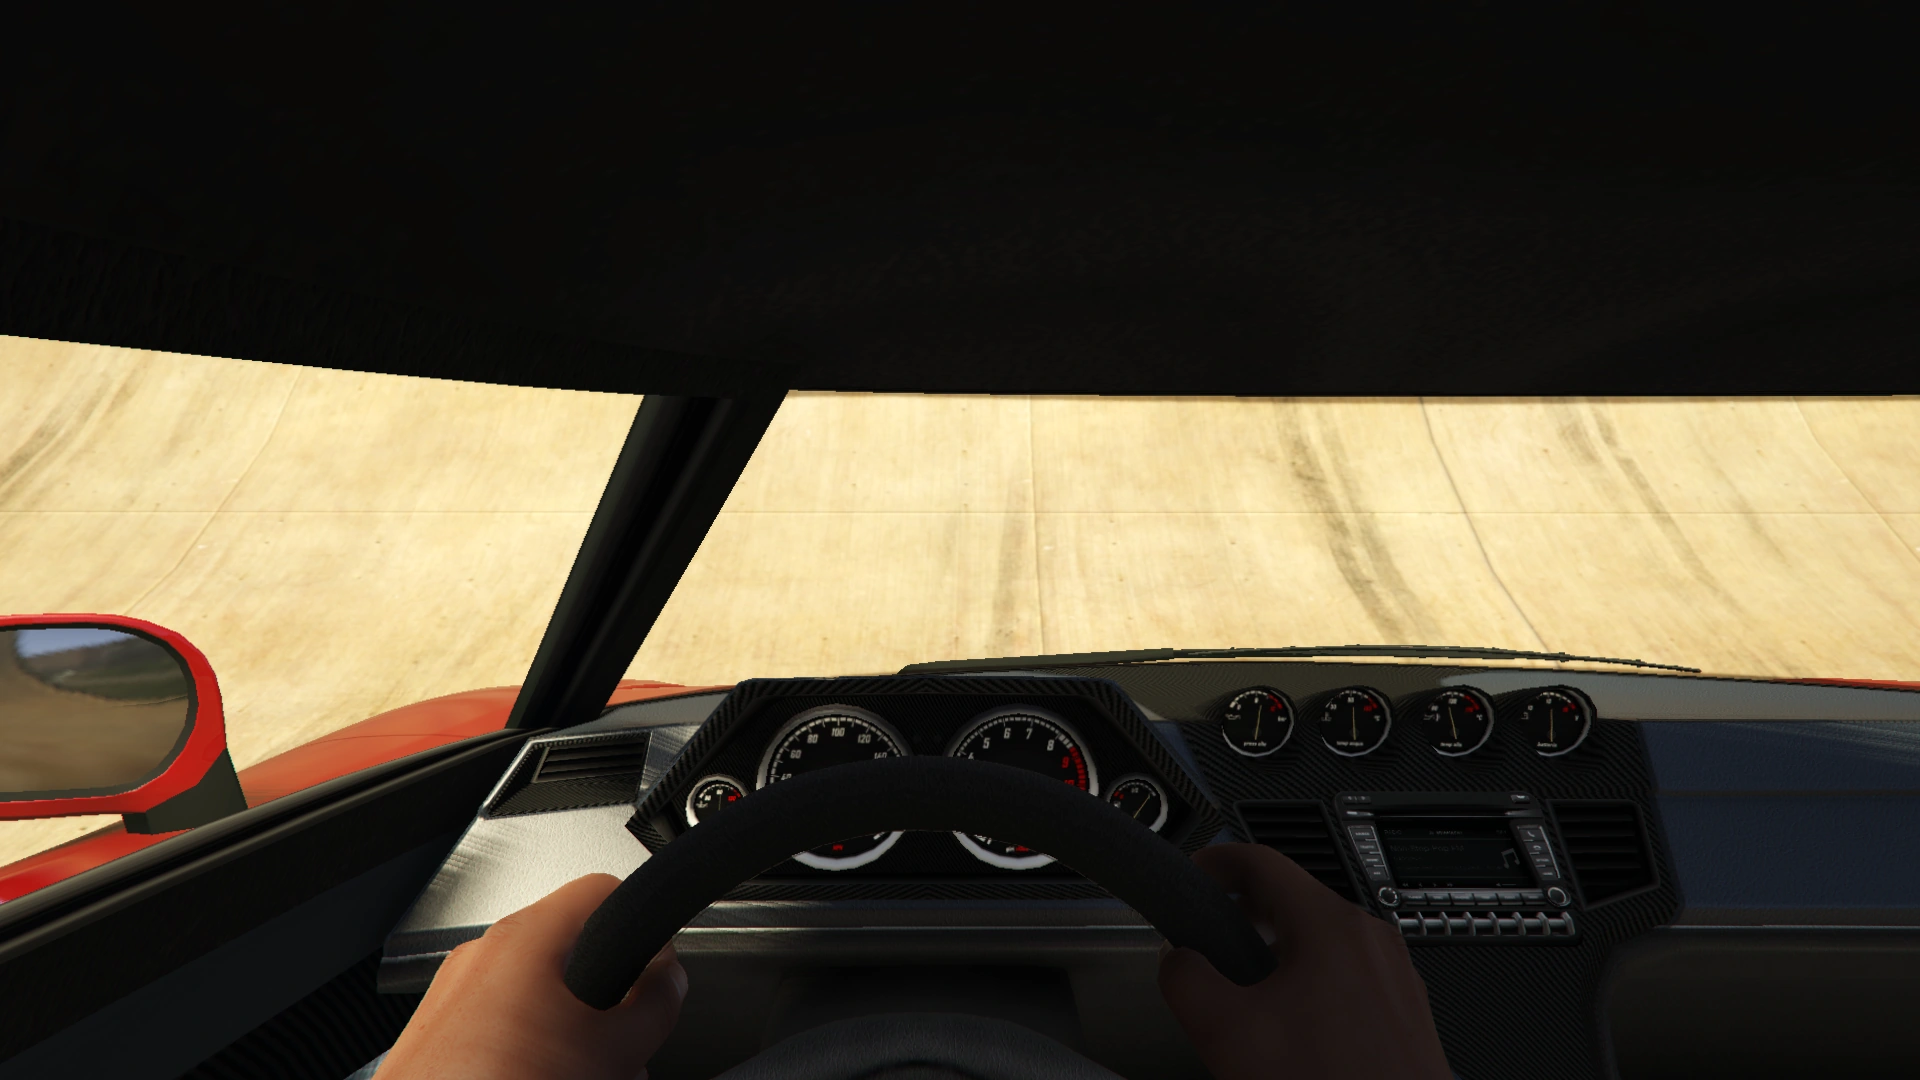
| + | |dashtype = Banshee <small>(needle)</small><br>[[File:Banshee-Dials-GTAV.png|thumb|center|170px]]<br>Prototipo <small>(dial texture)</small><br>[[File:X80Proto-GTAV-DialSet.png|thumb|center|170px]] |
||
| ⚫ | |||
| − | |inttxd = |
+ | |inttxd = Proto White |
| − | |carcols = |
+ | |carcols = |
| ⚫ | |||
| ⚫ | |||
| − | |wheeltype = |
||
| − | |flags = <!-- |
||
{{Expand|| |
{{Expand|| |
||
| ⚫ | |||
| ⚫ | |||
| + | {{CarColV|extended=y|no=1|7|8|5|0|7|89}} |
||
| − | }}--> |
||
| + | {{CarColV|extended=y|no=2|29|8|5|0|7|89}} |
||
| + | {{CarColV|extended=y|no=3|38|8|5|0|7|89}} |
||
| + | {{CarColV|extended=y|no=4|50|8|5|0|7|89}} |
||
| + | {{CarColV|extended=y|no=5|64|8|5|0|7|89}} |
||
| + | {{CarColV|extended=y|no=6|70|8|5|0|7|89}} |
||
| + | {{CarColV|extended=y|no=7|89|8|5|0|7|89}} |
||
| + | {{CarColV|extended=y|no=8|112|8|5|0|7|89}} |
||
| ⚫ | |||
| + | }} |
||
| ⚫ | |||
| ⚫ | |||
| + | {{Expand|| |
||
| + | {{Flags|FLAG_NO_BOOT}}<br> |
||
| ⚫ | |||
| + | {{Flags|FLAG_SPAWN_ON_TRAILER}}<br> |
||
| + | {{Flags|FLAG_PARKING_SENSORS}}<br> |
||
| + | {{Flags|FLAG_RICH_CAR}}<br> |
||
| + | {{Flags|FLAG_NO_BROKEN_DOWN_SCENARIO}}<br> |
||
| + | {{Flags|FLAG_COUNT_AS_FACEBOOK_DRIVEN}}<br> |
||
| + | {{Flags|FLAG_HAS_INTERIOR_EXTRAS}}<br> |
||
| + | }} |
||
|modelsets = <!--null--> |
|modelsets = <!--null--> |
||
|modelname = entity2 |
|modelname = entity2 |
||
| Line 29: | Line 46: | ||
|textlabelname = ENTITY2 |
|textlabelname = ENTITY2 |
||
|roadspawn = No |
|roadspawn = No |
||
| − | |roadspawnmaxcol = |
+ | |roadspawnmaxcol = 1 |
| − | |roadspawnfreq = |
+ | |roadspawnfreq = 12 |
|roadspawntrailer = <!--null--> |
|roadspawntrailer = <!--null--> |
||
| − | |roadspawnidendis = |
+ | |roadspawnidendis = 20 |
|roadspawndrivers = <!--null--> |
|roadspawndrivers = <!--null--> |
||
|roadspawngroups = <!--null--> |
|roadspawngroups = <!--null--> |
||
| − | |roadspawnlicense = |
+ | |roadspawnlicense = Standard White - 100% |
|engineacceleration = |
|engineacceleration = |
||
|exhaustacceleration = |
|exhaustacceleration = |
||
|idle = |
|idle = |
||
|deceleration = |
|deceleration = |
||
| − | |genpreced = |
+ | |genpreced = [[Entity XF]] |
|gensucced = |
|gensucced = |
||
}} |
}} |
||
| Line 52: | Line 69: | ||
Its design is very similar to that of the related [[Entity XF]], but employs a much more aggressive use of aerodynamic elements such as a rear spoiler being fitted as standard. |
Its design is very similar to that of the related [[Entity XF]], but employs a much more aggressive use of aerodynamic elements such as a rear spoiler being fitted as standard. |
||
| + | {{Clr}} |
||
===Current Design Gallery=== |
===Current Design Gallery=== |
||
| + | <!--Please ensure you have read the Manual of Style [GTA_Wiki:Manual_of_Style/Vehicles/Design_Galleries] before uploading and adding images to the Current Design Gallery. Failure to meet these guidelines will result in the images being removed and deleted, and repeated offences may result in a warning.--> |
||
| + | |||
{{Current Design Gallery |
{{Current Design Gallery |
||
|front_quarter_image = EntityXXR-GTAO-FrontQuarter.png |
|front_quarter_image = EntityXXR-GTAO-FrontQuarter.png |
||
| Line 65: | Line 85: | ||
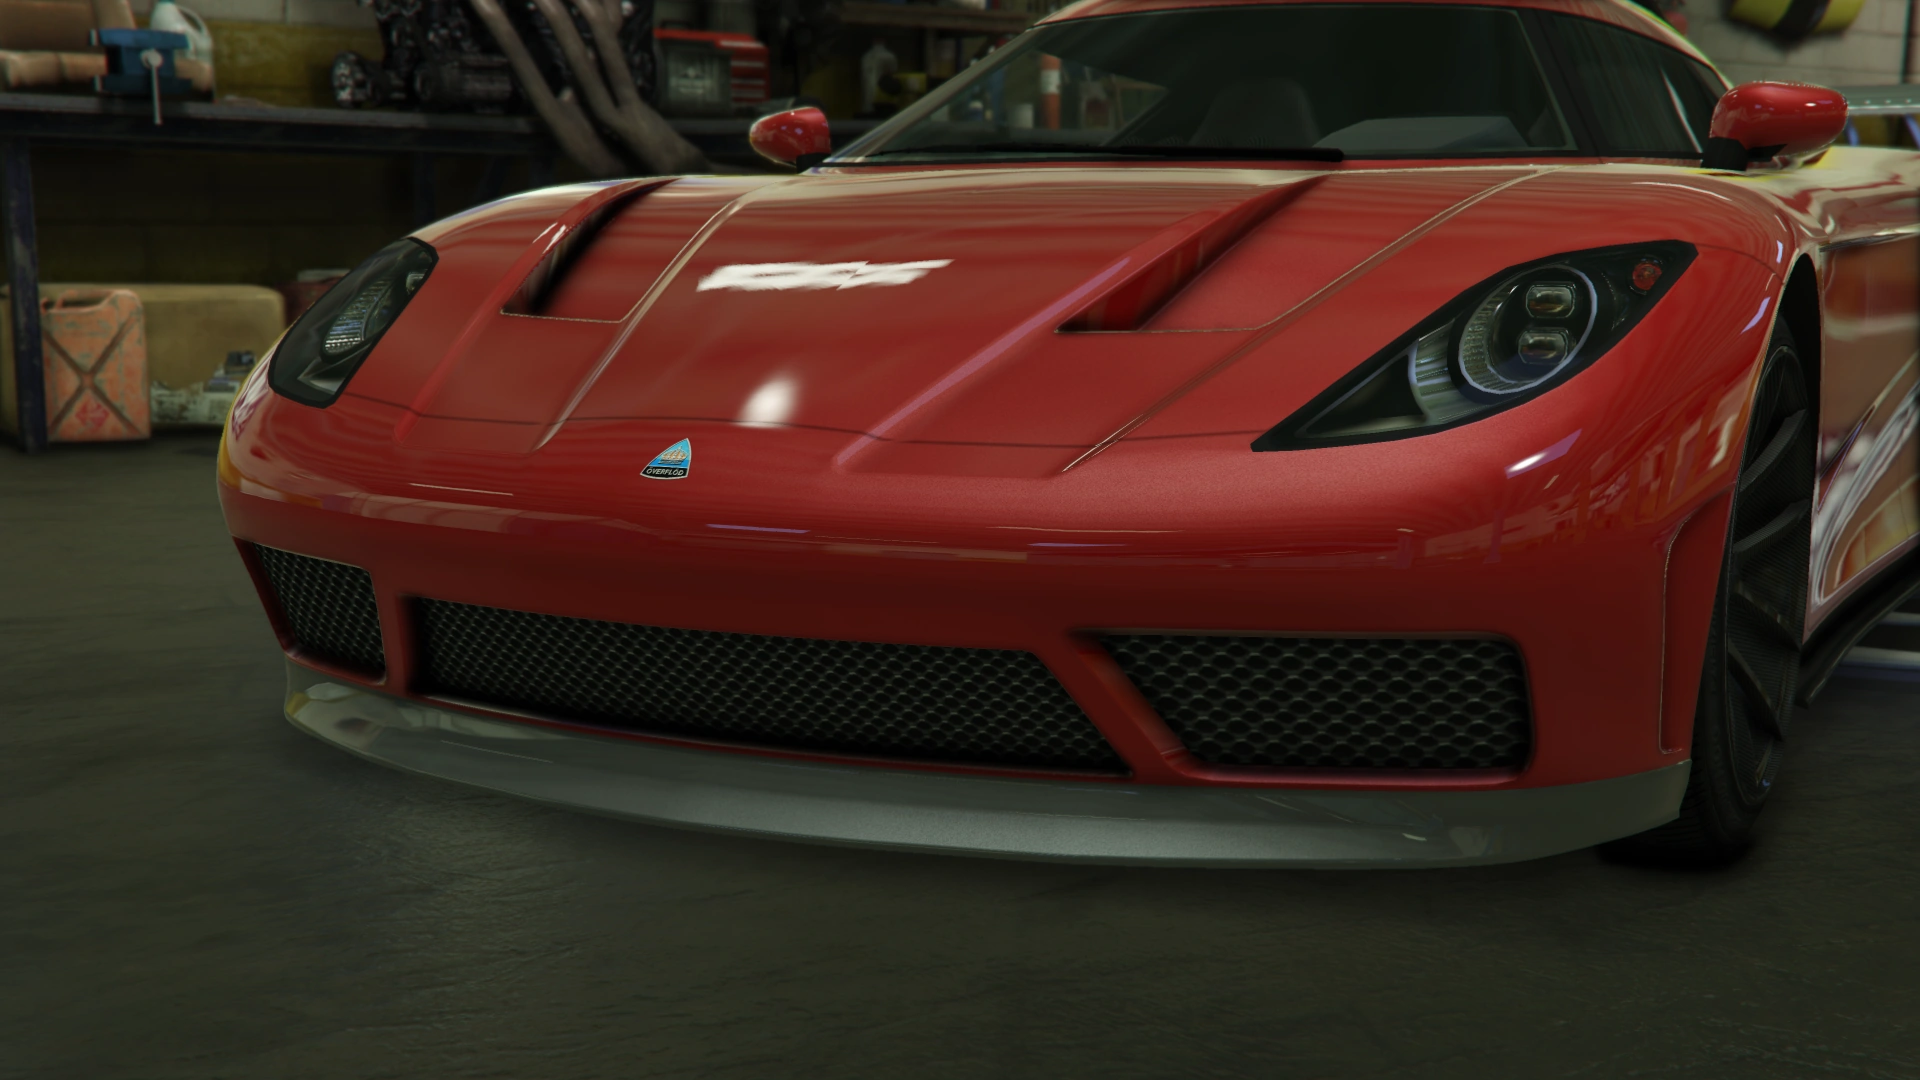
|detail_image = Entity2-GTAO-Badges.png |
|detail_image = Entity2-GTAO-Badges.png |
||
|open_other_image = EntityXXR-GTAO-Other.png |
|open_other_image = EntityXXR-GTAO-Other.png |
||
| − | |dashboard_image = EntityXXR-GTAO-Dashboard.png |
+ | |dashboard_image = EntityXXR-GTAO-Dashboard.png |
}} |
}} |
||
| Line 74: | Line 94: | ||
The vehicle is powered by a V8 engine positioned in a rear-mid configuration. This powers the rear wheels. The exact same engine model is found in the [[FMJ]], [[Cheetah]] and [[T20]]. |
The vehicle is powered by a V8 engine positioned in a rear-mid configuration. This powers the rear wheels. The exact same engine model is found in the [[FMJ]], [[Cheetah]] and [[T20]]. |
||
| − | One of the reasons this vehicle has such |
+ | One of the reasons this vehicle has such impressive straight-line performance is down to its very high maximum velocity, surpassing any other car before it, however the use of a large DownforceModifier value of 175.0<ref>'''File Data''':<br><pre>fDownforceModifier value="175.000" /></pre></ref> causes it to be significantly reduced - but still superior to most cars. The downforce value gives the vehicle extra downforce, more so than the [[Tezeract]] but much less than the [[Taipan]] and [[Autarch]]. |
| − | |||
| − | The Entity XXR is one of 10 vehicles added in the [[GTA Online: Southern San Andreas Super Sport Series|Southern San Andreas Super Sport Series]] update to include an EngineResistance handling data subset, with an engine resistance value of 0.1<ref>'''File Data''':<br><pre> |
||
| − | <SubHandlingData> |
||
| − | <Item type="CCarHandlingData"> |
||
| − | <fEngineResistance value ="0.1" /> |
||
| − | </Item> |
||
| − | </SubHandlingData></pre></ref>. This appears to make little to no statistical or visual difference to its performance, however. {{GTARef|gtaoengineresistance}} |
||
The Entity XXR's statistical stock top speed is 117 mph / 188.3 km/h.{{GTARef|gtaotopspeeds}} |
The Entity XXR's statistical stock top speed is 117 mph / 188.3 km/h.{{GTARef|gtaotopspeeds}} |
||
| Line 89: | Line 102: | ||
*EMS Engine Upgrade 4 produces 123 mph / 197.9 km/h. |
*EMS Engine Upgrade 4 produces 123 mph / 197.9 km/h. |
||
This gives the vehicle, in stock condition, the second highest speed in the game, beaten only by the [[Tezeract]], but on par with several other super cars, including the [[X80 Proto]], [[Nero Custom]] and [[Taipan]]. When fully upgraded, the vehicle is surpassed by a fully-upgraded [[Banshee 900R]] and [[Pariah]].{{GTARef|gtaosuperclassspeeds}} |
This gives the vehicle, in stock condition, the second highest speed in the game, beaten only by the [[Tezeract]], but on par with several other super cars, including the [[X80 Proto]], [[Nero Custom]] and [[Taipan]]. When fully upgraded, the vehicle is surpassed by a fully-upgraded [[Banshee 900R]] and [[Pariah]].{{GTARef|gtaosuperclassspeeds}} |
||
| + | |||
| + | The Entity XXR has all four advanced flags enabled<ref>'''File Data''':<br><code><strAdvancedFlags>F0000</strAdvancedFlags></code></ref>: |
||
| + | *The first causes up-shifting to occur much sooner, and at lower engine revolutions, effectively shortening shift rates. |
||
| + | *The second causes the vehicle's engine to heavily over-rev and remain at the engine red-line for a much longer period of time before shifting, causing revolutions to fluctuate. |
||
| + | *The third increases the vehicle's suspension "springiness", causing it to bounce excessively while driving. |
||
====GTA Online Overview==== |
====GTA Online Overview==== |
||
| Line 103: | Line 121: | ||
|website_drivetrain = |
|website_drivetrain = |
||
|website_mass = |
|website_mass = |
||
| − | |observed_acceleration = |
+ | |observed_acceleration =4.12 Seconds |
|observed_top_speed = 117 / 188.3 |
|observed_top_speed = 117 / 188.3 |
||
|observed_gears = 6 |
|observed_gears = 6 |
||
| Line 159: | Line 177: | ||
| rowspan="8" |Front Bumpers |
| rowspan="8" |Front Bumpers |
||
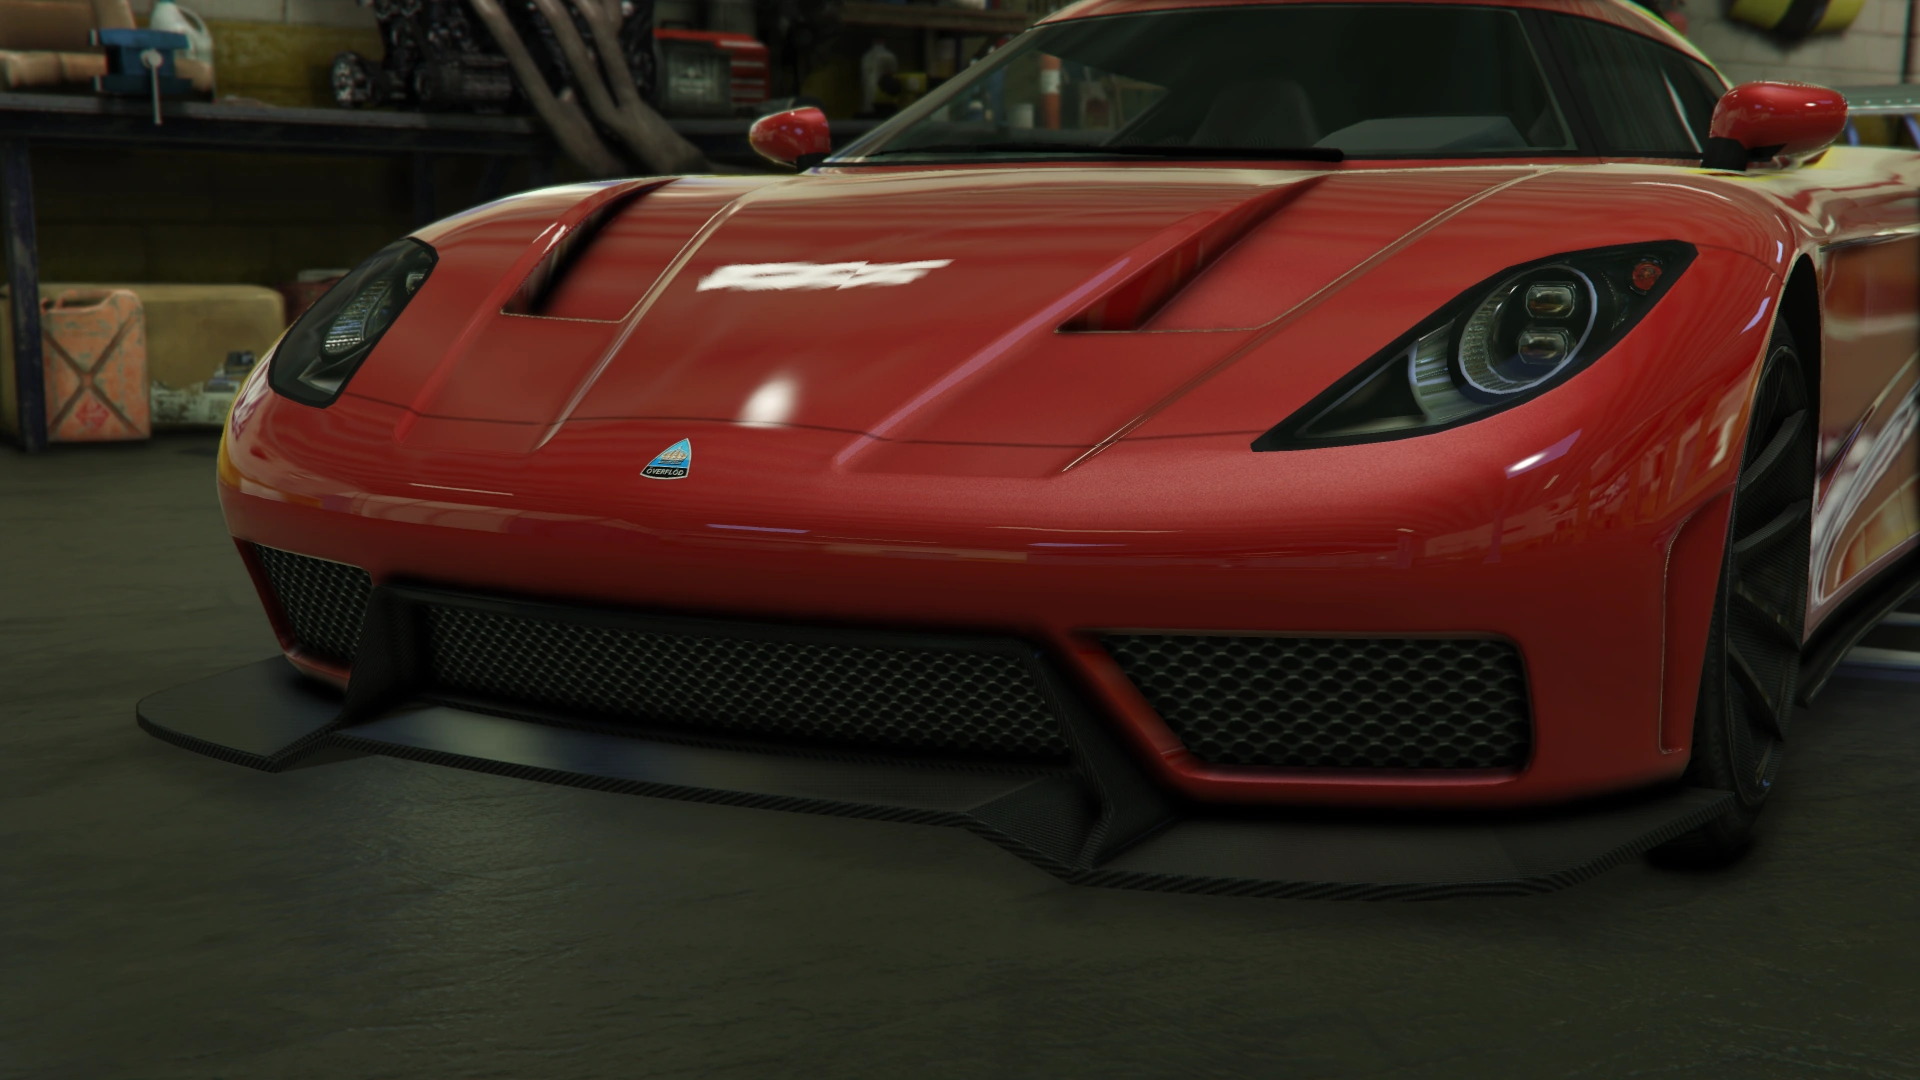
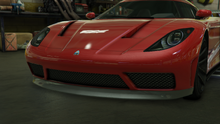
|Stock Front Bumper |
|Stock Front Bumper |
||
| − | | style="text-align: center;"|$2,200 |
+ | | style="text-align: center;" |$2,200 |
|[[File:EntityXXR-GTAO-StockFrontBumper.png|thumb|center|220px]] |
|[[File:EntityXXR-GTAO-StockFrontBumper.png|thumb|center|220px]] |
||
|- |
|- |
||
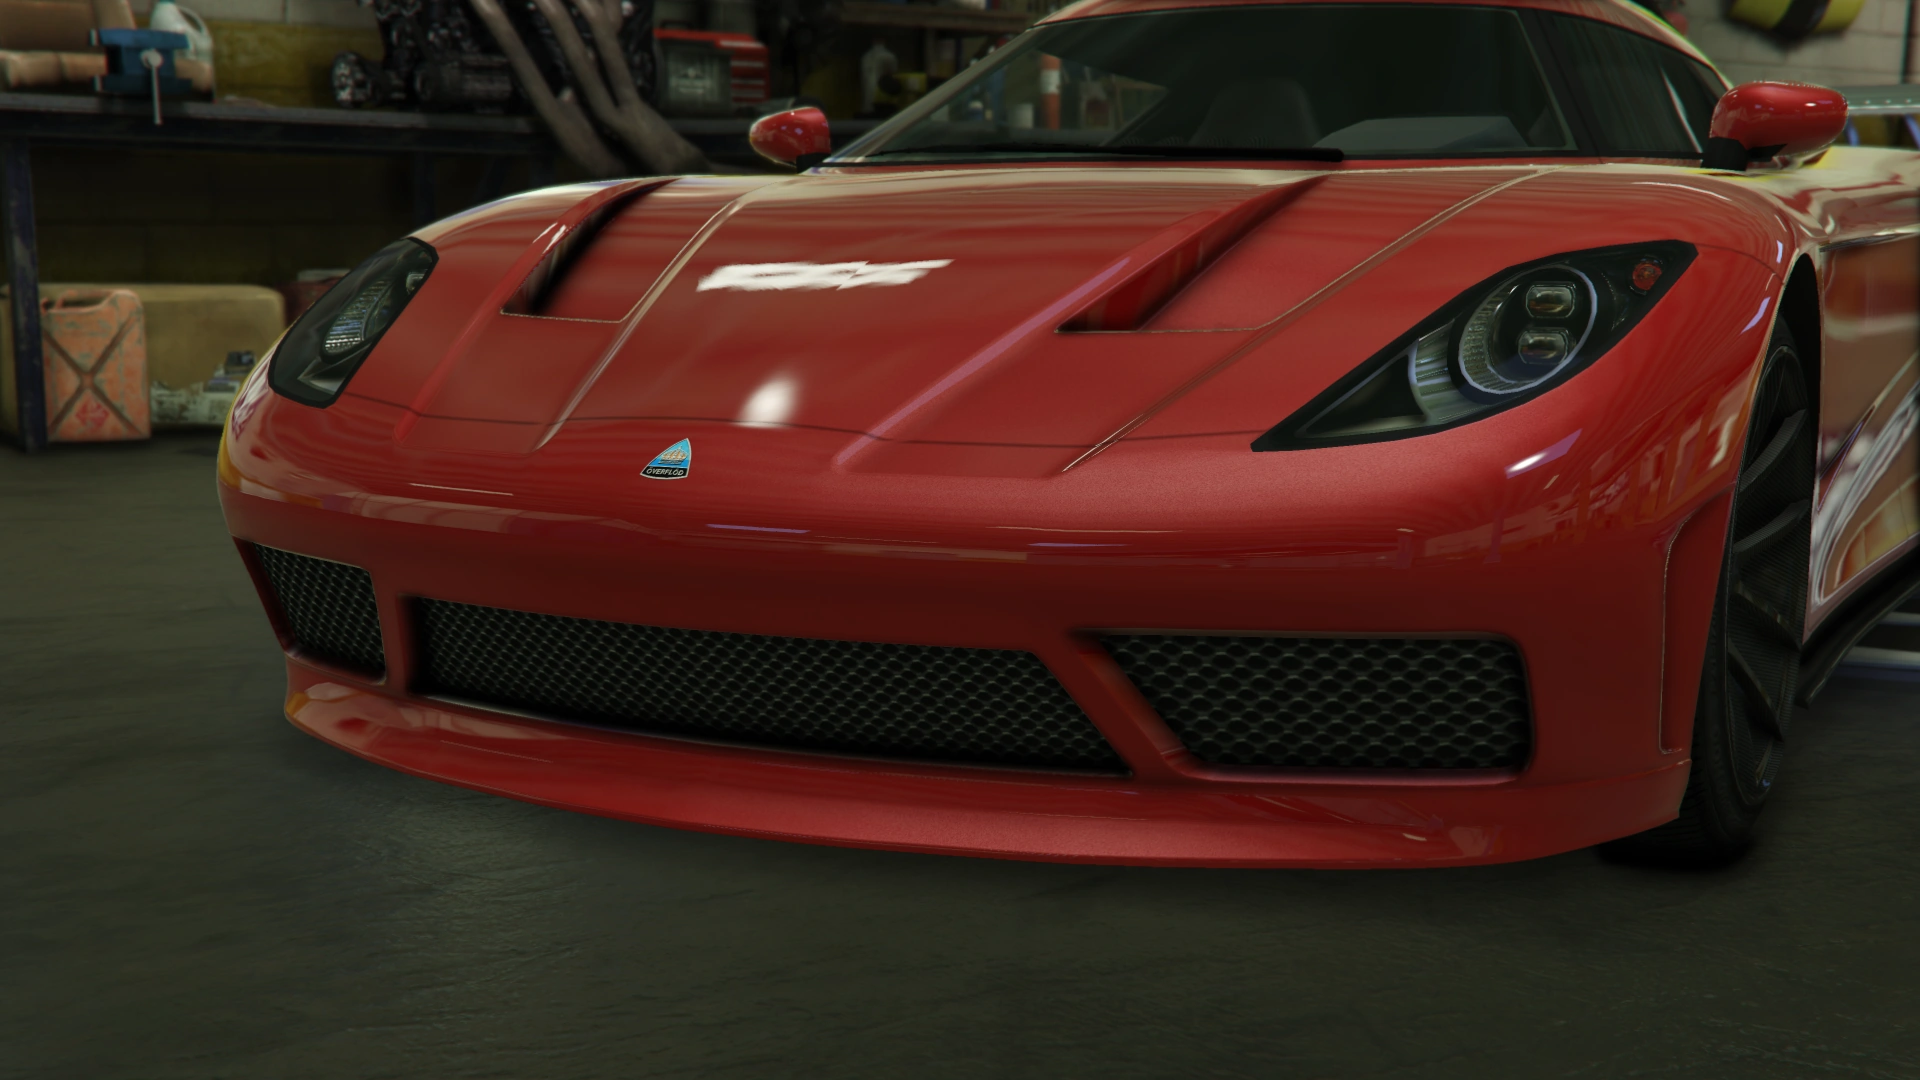
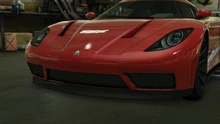
|Primary Short Splitter |
|Primary Short Splitter |
||
| − | | style="text-align: center;"|$4,600 |
+ | | style="text-align: center;" |$4,600 |
|[[File:EntityXXR-GTAO-PrimaryShortSplitter.png|thumb|center|220px]] |
|[[File:EntityXXR-GTAO-PrimaryShortSplitter.png|thumb|center|220px]] |
||
|- |
|- |
||
|Secondary Short Splitter |
|Secondary Short Splitter |
||
| − | | style="text-align: center;"|$7,400 |
+ | | style="text-align: center;" |$7,400 |
|[[File:EntityXXR-GTAO-SecondaryShortSplitter.png|thumb|center|220px]] |
|[[File:EntityXXR-GTAO-SecondaryShortSplitter.png|thumb|center|220px]] |
||
|- |
|- |
||
|Carbon Short Splitter |
|Carbon Short Splitter |
||
| − | | style="text-align: center;"|$11,700 |
+ | | style="text-align: center;" |$11,700 |
|[[File:EntityXXR-GTAO-CarbonShortSplitter.png|thumb|center|220px]] |
|[[File:EntityXXR-GTAO-CarbonShortSplitter.png|thumb|center|220px]] |
||
|- |
|- |
||
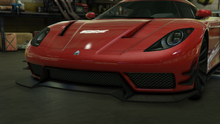
|Carbon Splitter & Canards |
|Carbon Splitter & Canards |
||
| − | | style="text-align: center;"|$14,500 |
+ | | style="text-align: center;" |$14,500 |
|[[File:EntityXXR-GTAO-CarbonSplitter&Canards.png|thumb|center|220px]] |
|[[File:EntityXXR-GTAO-CarbonSplitter&Canards.png|thumb|center|220px]] |
||
|- |
|- |
||
|Primary Splitter & Canards |
|Primary Splitter & Canards |
||
| − | | style="text-align: center;"|$14,700 |
+ | | style="text-align: center;" |$14,700 |
|[[File:EntityXXR-GTAO-PrimarySplitter&Canards.png|thumb|center|220px]] |
|[[File:EntityXXR-GTAO-PrimarySplitter&Canards.png|thumb|center|220px]] |
||
|- |
|- |
||
|Secondary Splitter & Canards |
|Secondary Splitter & Canards |
||
| − | | style="text-align: center;"|$14,900 |
+ | | style="text-align: center;" |$14,900 |
|[[File:EntityXXR-GTAO-SecondarySplitter&Canards.png|thumb|center|220px]] |
|[[File:EntityXXR-GTAO-SecondarySplitter&Canards.png|thumb|center|220px]] |
||
|- |
|- |
||
|Highlight Splitter & Canards |
|Highlight Splitter & Canards |
||
| − | | style="text-align: center;"|$15,100 |
+ | | style="text-align: center;" |$15,100 |
|[[File:EntityXXR-GTAO-HighlightSplitter&Canards.png|thumb|center|220px]] |
|[[File:EntityXXR-GTAO-HighlightSplitter&Canards.png|thumb|center|220px]] |
||
|- |
|- |
||
| − | |||
| − | |||
| − | |||
| − | |||
| rowspan="4" |Rear Bumpers |
| rowspan="4" |Rear Bumpers |
||
|Stock Rear Bumper |
|Stock Rear Bumper |
||
| − | | style="text-align: center;"|$2,200 |
+ | | style="text-align: center;" |$2,200 |
|[[File:EntityXXR-GTAO-StockRearBumper.png|thumb|center|220px]] |
|[[File:EntityXXR-GTAO-StockRearBumper.png|thumb|center|220px]] |
||
|- |
|- |
||
|Primary Diffuser |
|Primary Diffuser |
||
| − | | style="text-align: center;"|$4,600 |
+ | | style="text-align: center;" |$4,600 |
|[[File:EntityXXR-GTAO-PrimaryDiffuser.png|thumb|center|220px]] |
|[[File:EntityXXR-GTAO-PrimaryDiffuser.png|thumb|center|220px]] |
||
|- |
|- |
||
|Secondary Diffuser |
|Secondary Diffuser |
||
| − | | style="text-align: center;"|$7,400 |
+ | | style="text-align: center;" |$7,400 |
|[[File:EntityXXR-GTAO-SecondaryDiffuser.png|thumb|center|220px]] |
|[[File:EntityXXR-GTAO-SecondaryDiffuser.png|thumb|center|220px]] |
||
|- |
|- |
||
|Highlight Diffuser |
|Highlight Diffuser |
||
| − | | style="text-align: center;"|$11,700 |
+ | | style="text-align: center;" |$11,700 |
|[[File:EntityXXR-GTAO-HighlightDiffuser.png|thumb|center|220px]] |
|[[File:EntityXXR-GTAO-HighlightDiffuser.png|thumb|center|220px]] |
||
|- |
|- |
||
| colspan="2" rowspan="4" |Engine |
| colspan="2" rowspan="4" |Engine |
||
|EMS Upgrade, Level 1 |
|EMS Upgrade, Level 1 |
||
| − | | colspan="2" style="text-align: center;"|$9,000 |
+ | | colspan="2" style="text-align: center;" |$9,000 |
|- |
|- |
||
|EMS Upgrade, Level 2 |
|EMS Upgrade, Level 2 |
||
| − | | colspan="2" style="text-align: center;"|$12,500 |
+ | | colspan="2" style="text-align: center;" |$12,500 |
|- |
|- |
||
|EMS Upgrade, Level 3 |
|EMS Upgrade, Level 3 |
||
| − | | colspan="2" style="text-align: center;"|$18,000 |
+ | | colspan="2" style="text-align: center;" |$18,000 |
|- |
|- |
||
|EMS Upgrade, Level 4 |
|EMS Upgrade, Level 4 |
||
| − | | colspan="2" style="text-align: center;"|$33,500 |
+ | | colspan="2" style="text-align: center;" |$33,500 |
|- |
|- |
||
| colspan="2" rowspan="4" |Exhausts |
| colspan="2" rowspan="4" |Exhausts |
||
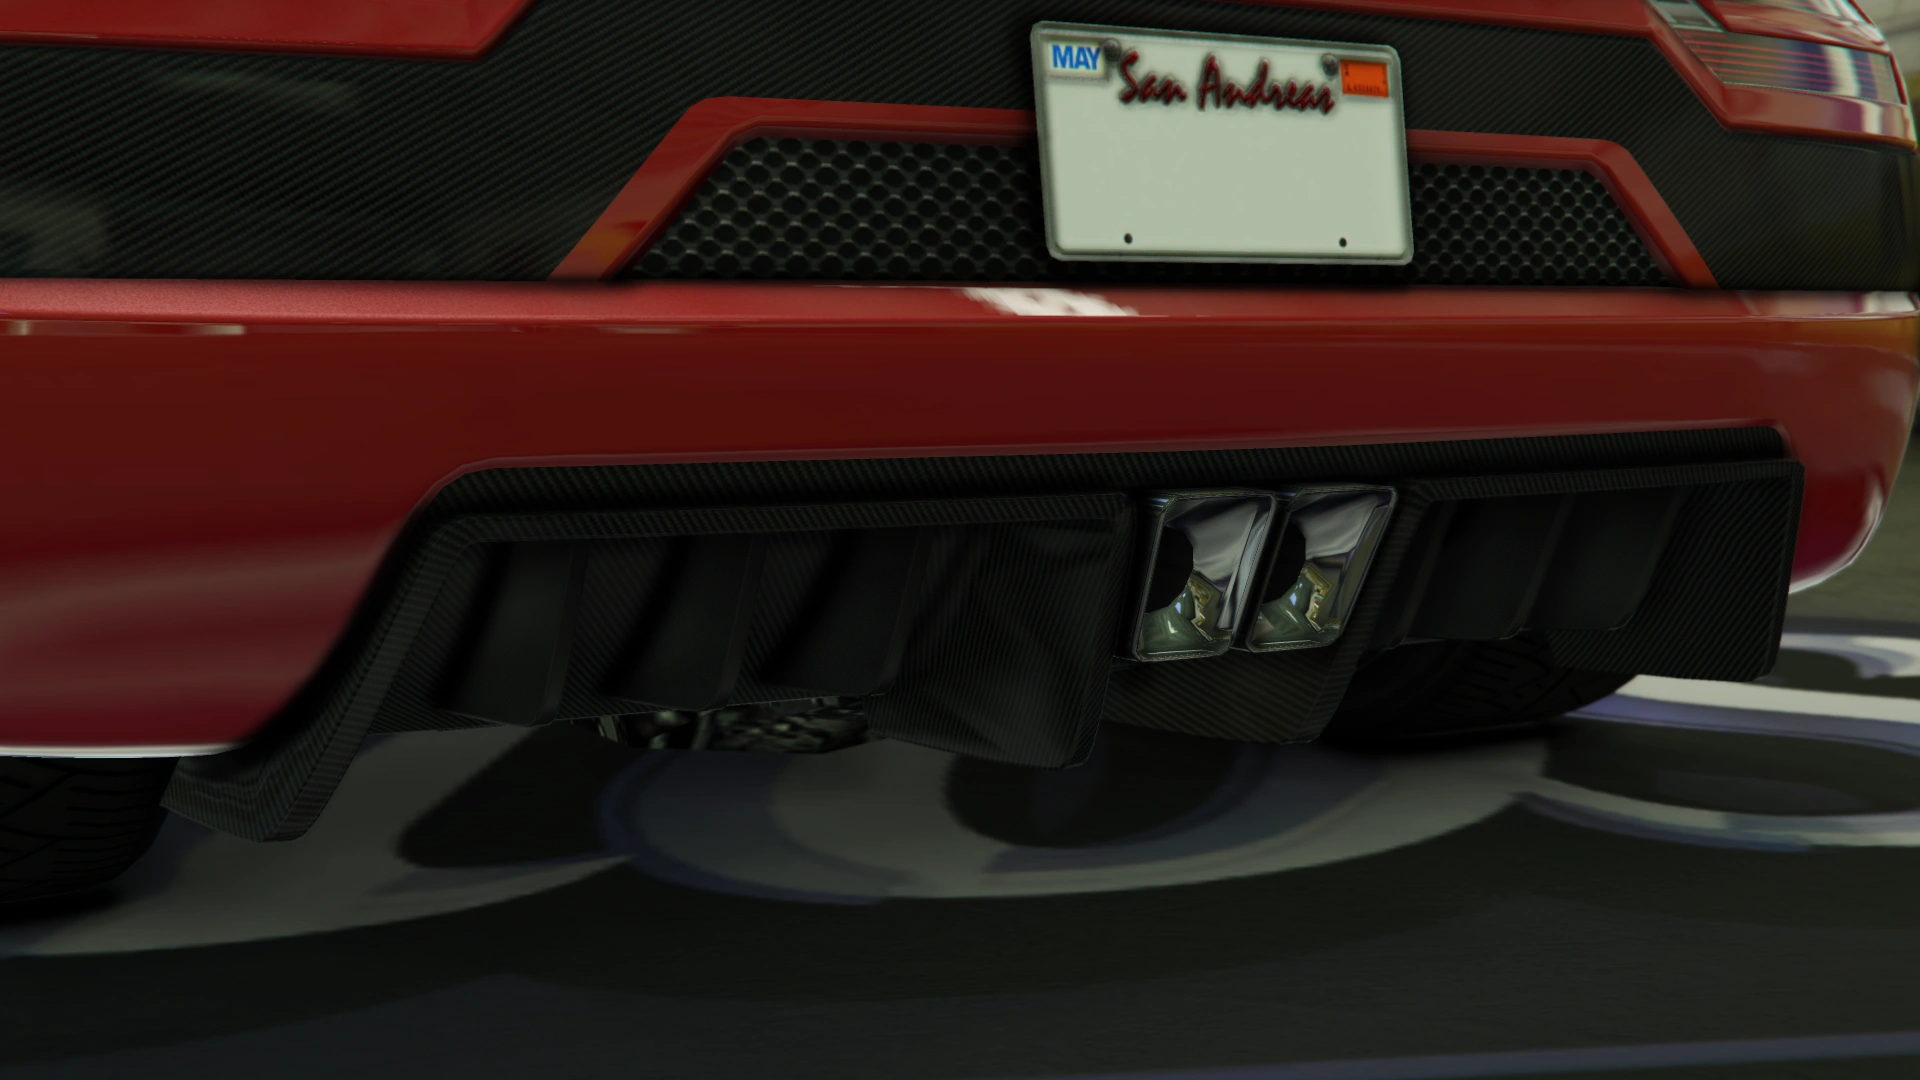
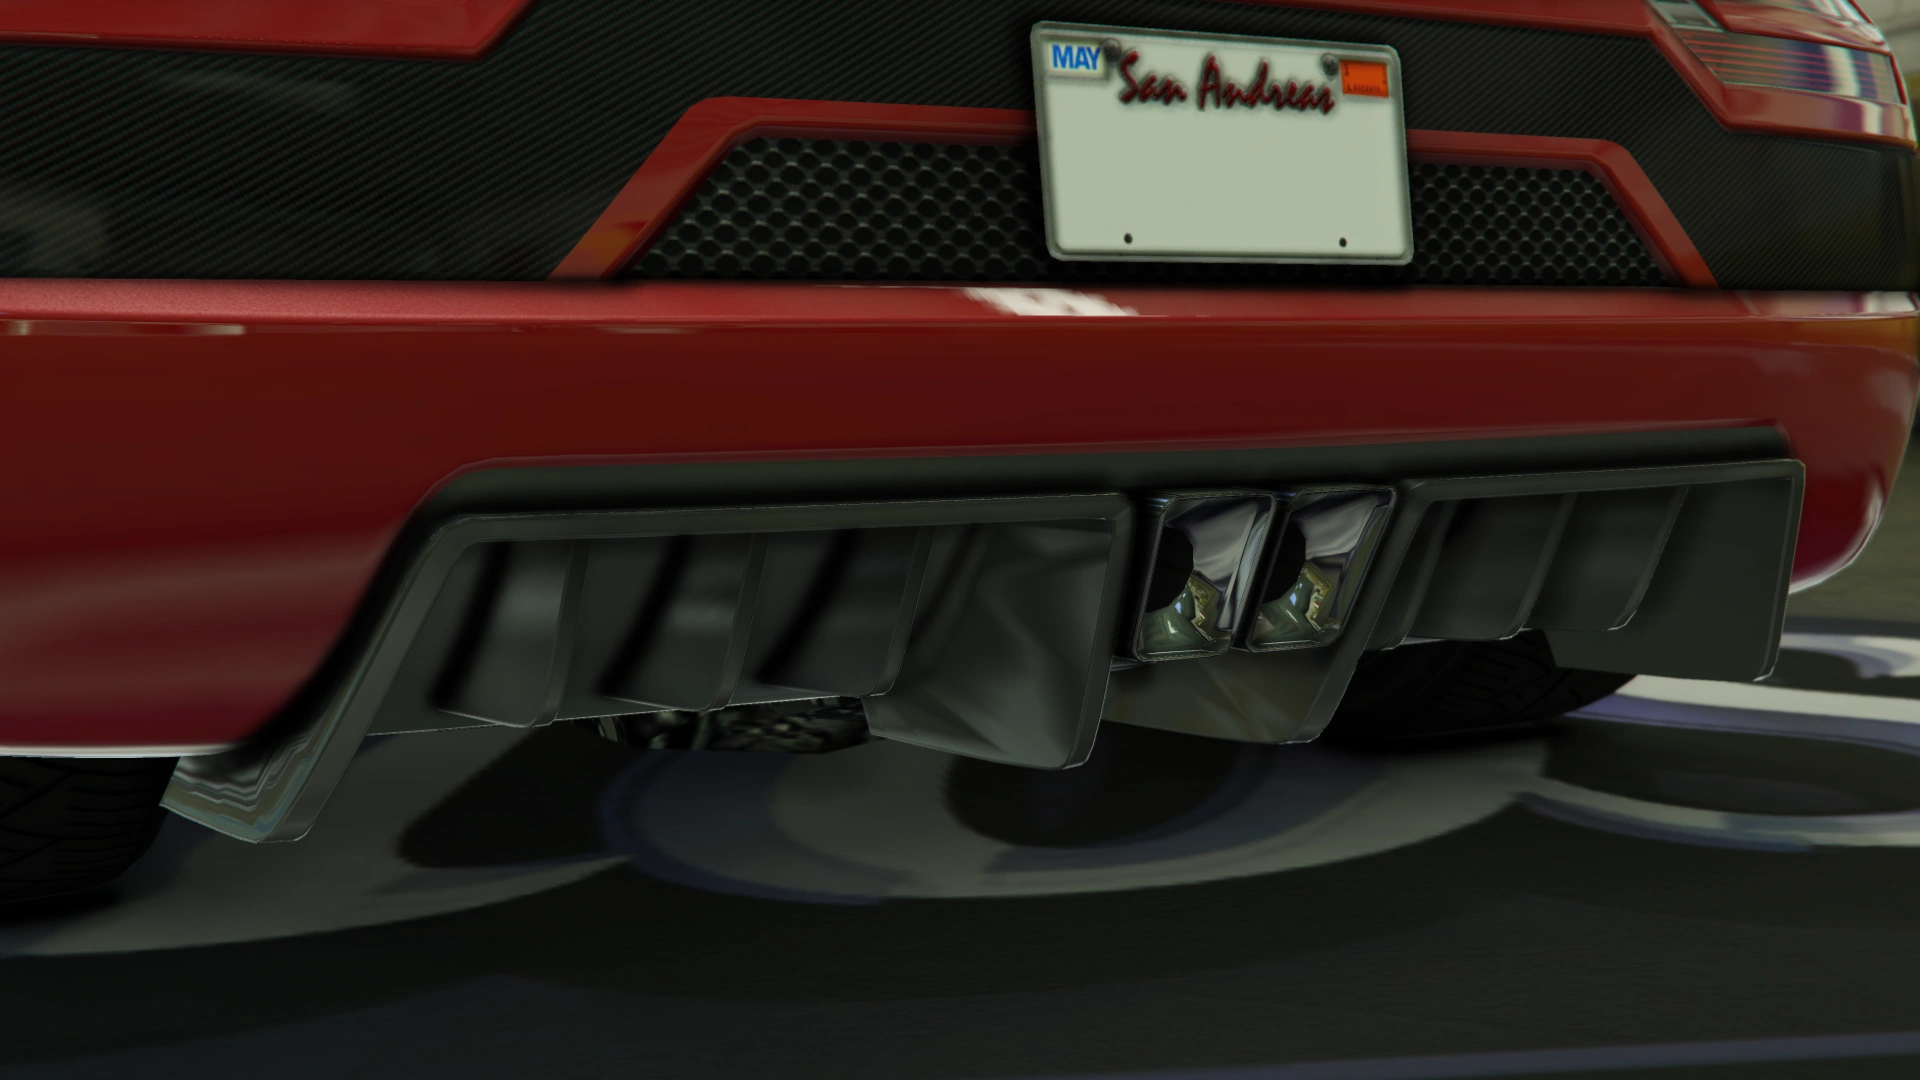
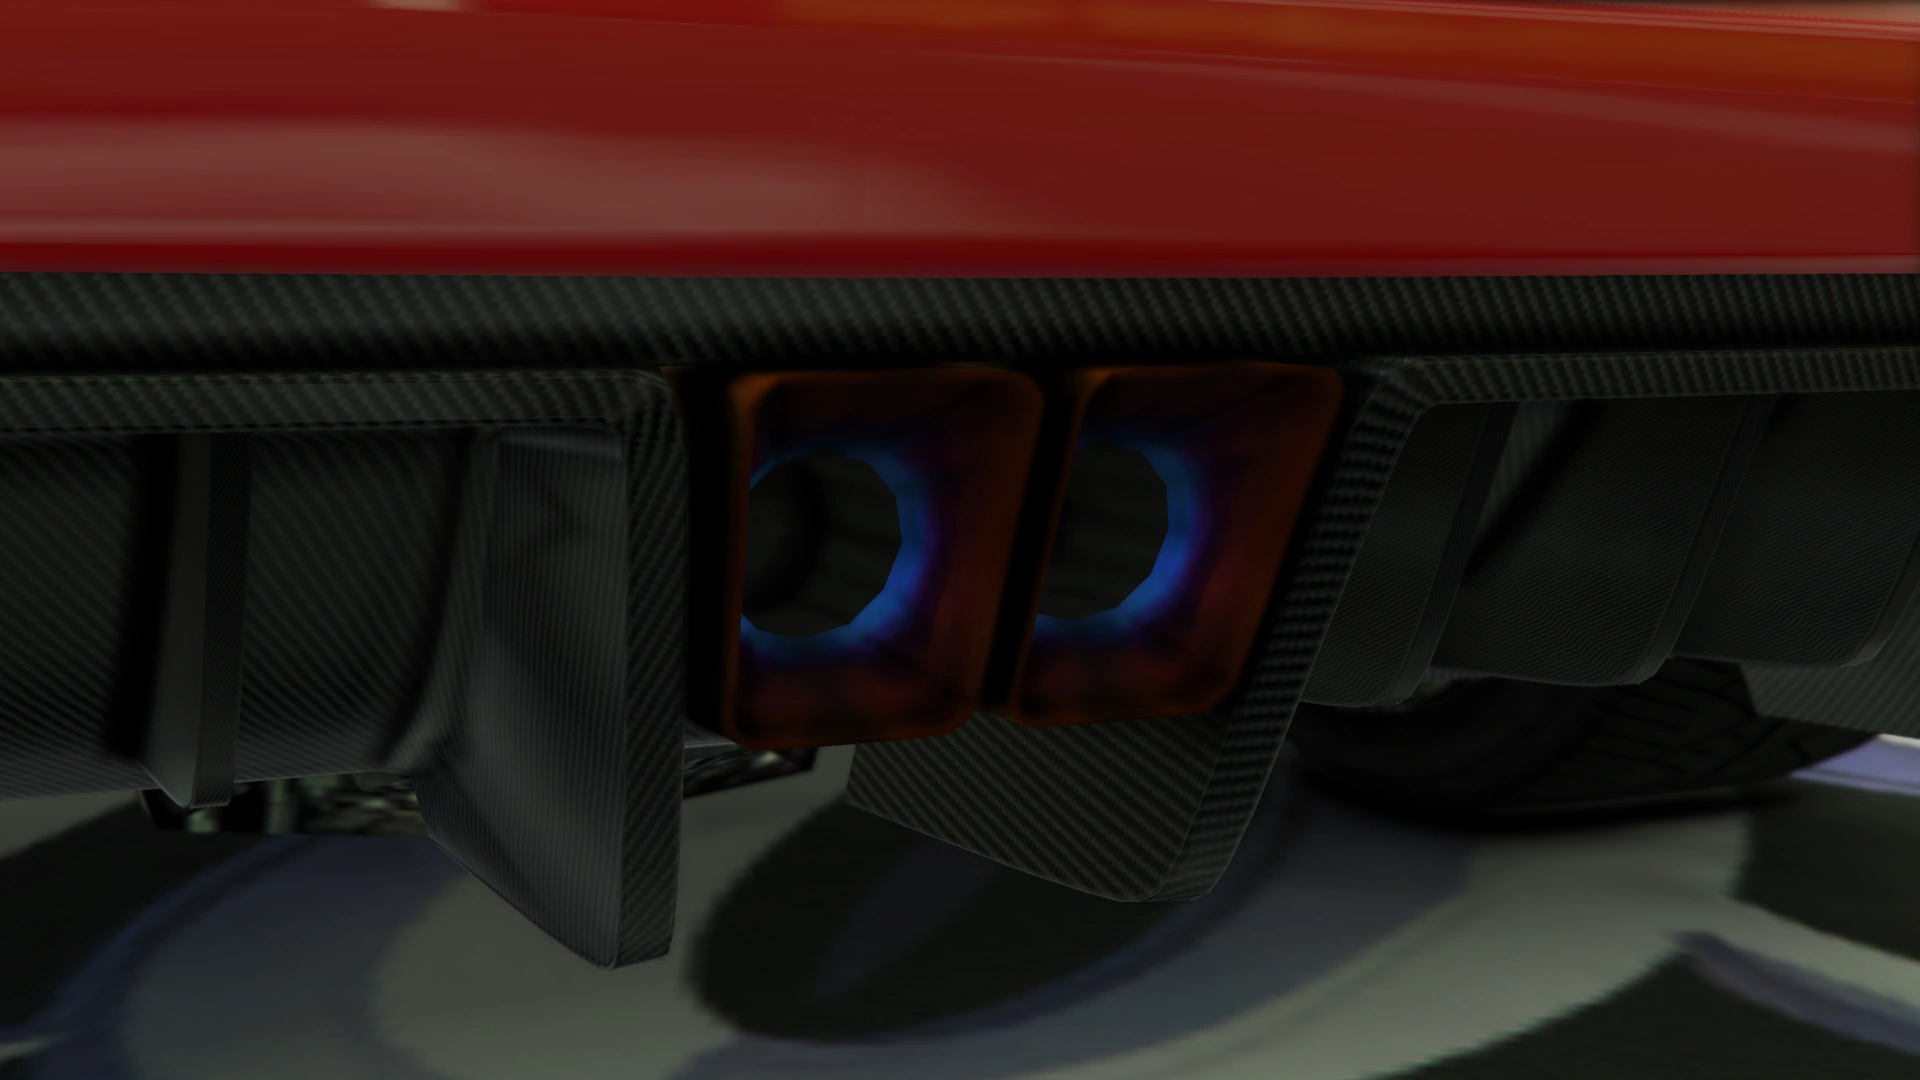
|Stock Exhaust |
|Stock Exhaust |
||
| − | | style="text-align: center;"|$260 |
+ | | style="text-align: center;" |$260 |
|[[File:EntityXXR-GTAO-StockExhaust.png|thumb|center|220px]] |
|[[File:EntityXXR-GTAO-StockExhaust.png|thumb|center|220px]] |
||
|- |
|- |
||
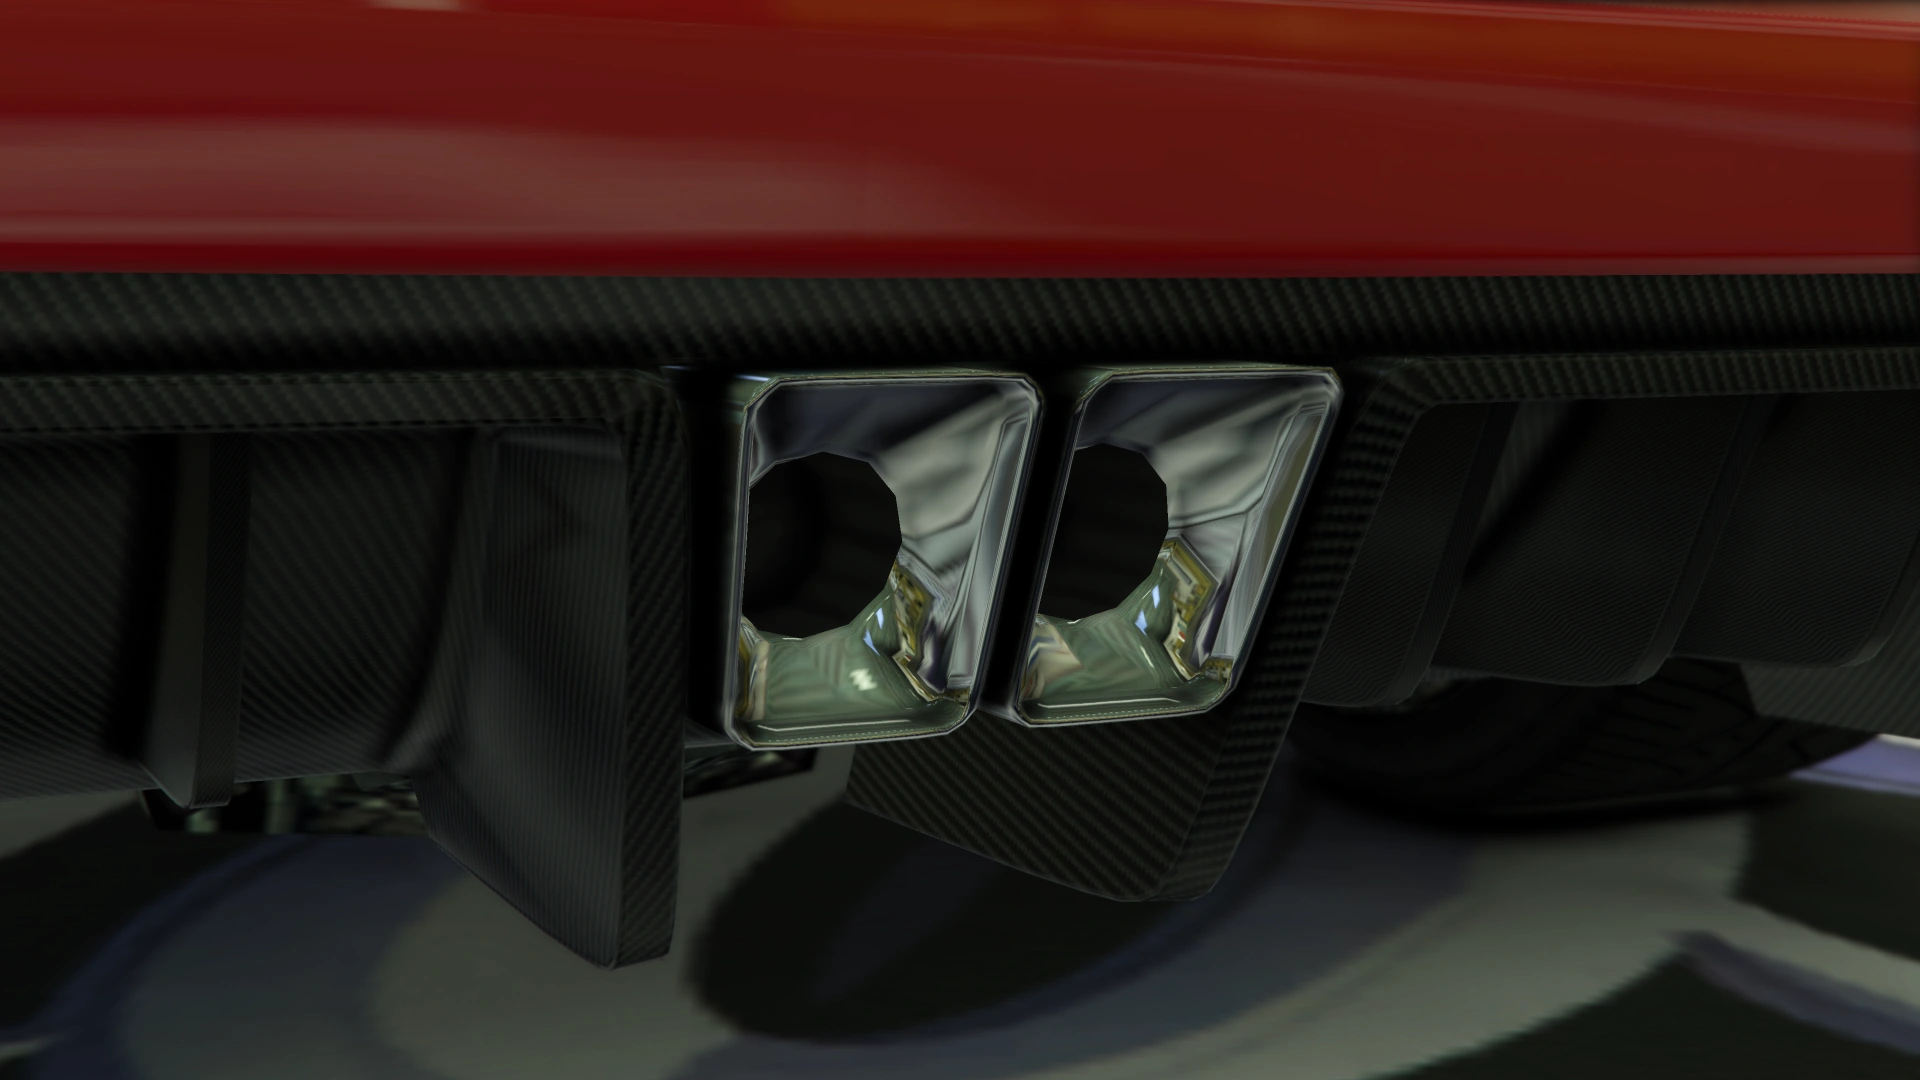
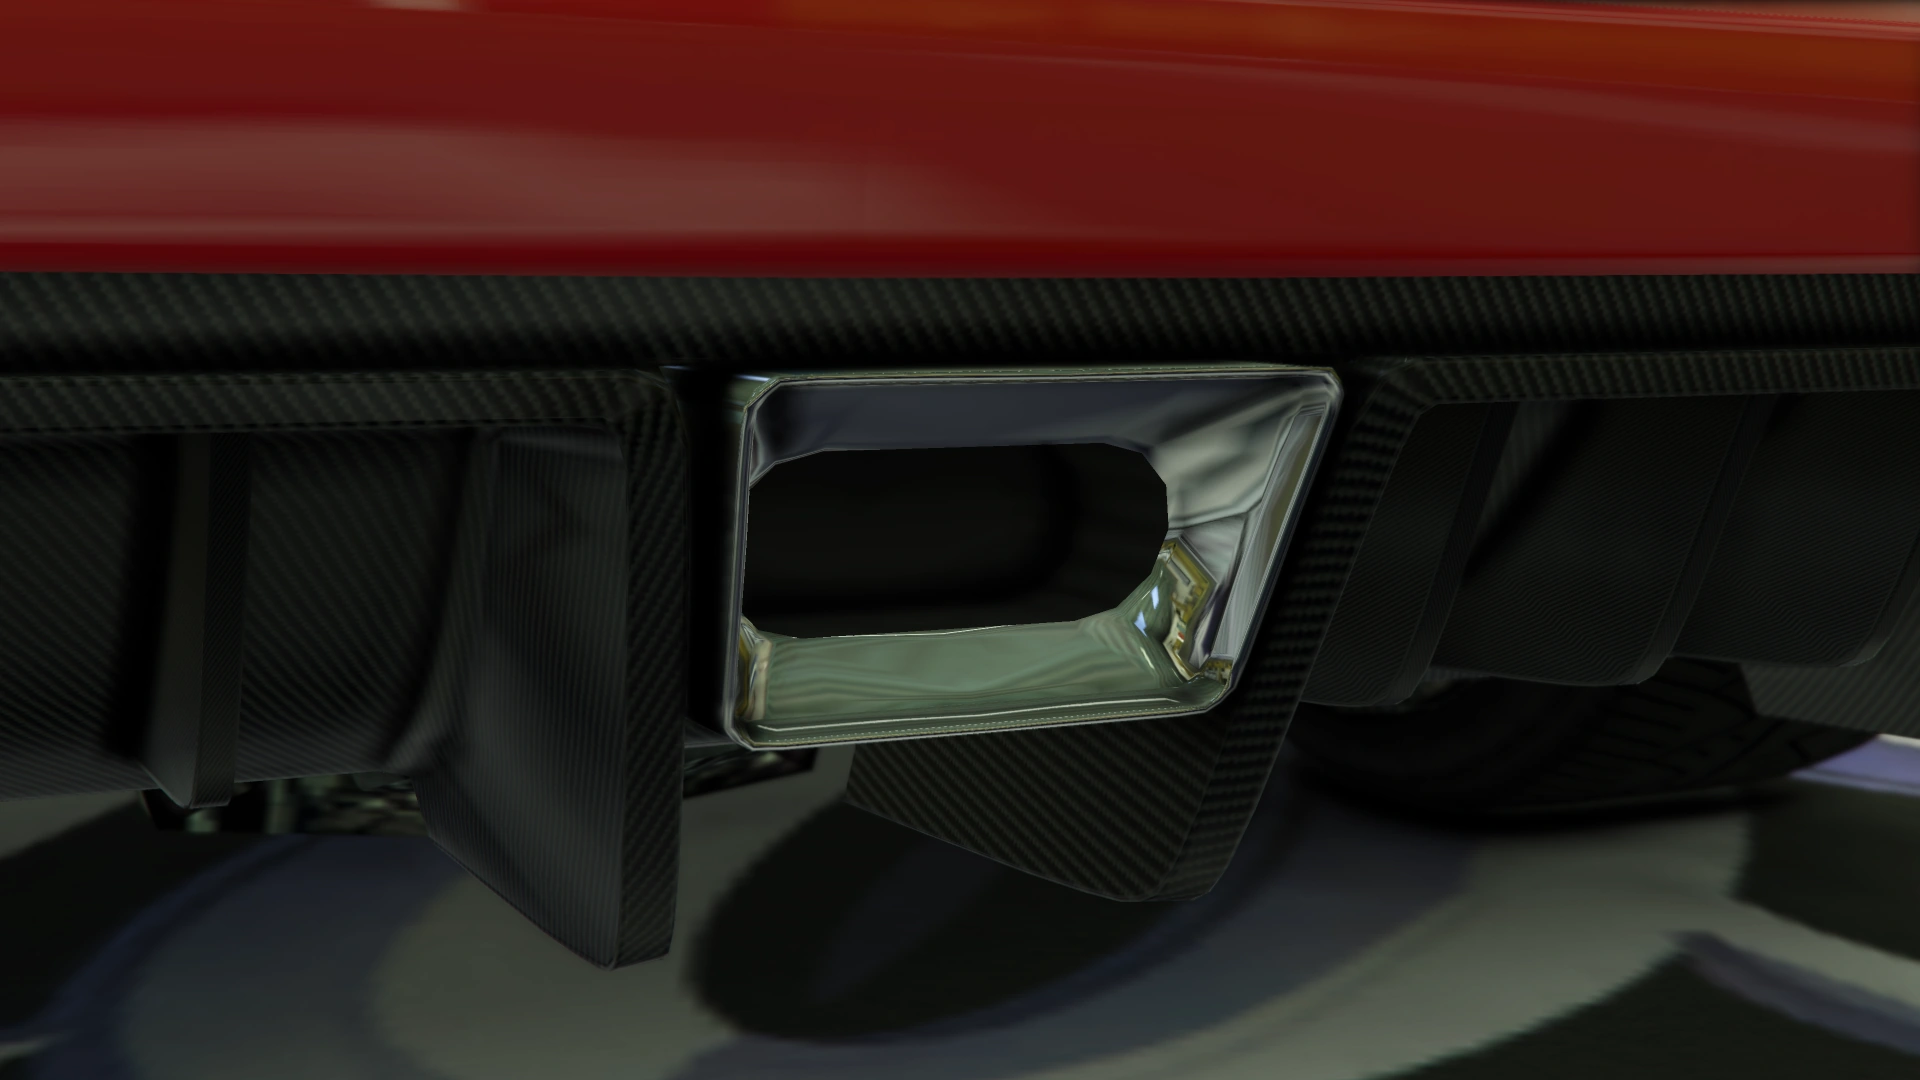
|Titanium Exhaust |
|Titanium Exhaust |
||
| − | | style="text-align: center;"|$750 |
+ | | style="text-align: center;" |$750 |
|[[File:EntityXXR-GTAO-TitaniumExhaust.png|thumb|center|220px]] |
|[[File:EntityXXR-GTAO-TitaniumExhaust.png|thumb|center|220px]] |
||
|- |
|- |
||
|Big Bore Exhaust |
|Big Bore Exhaust |
||
| − | | style="text-align: center;"|$1,800 |
+ | | style="text-align: center;" |$1,800 |
|[[File:EntityXXR-GTAO-BigBoreExhaust.png|thumb|center|220px]] |
|[[File:EntityXXR-GTAO-BigBoreExhaust.png|thumb|center|220px]] |
||
|- |
|- |
||
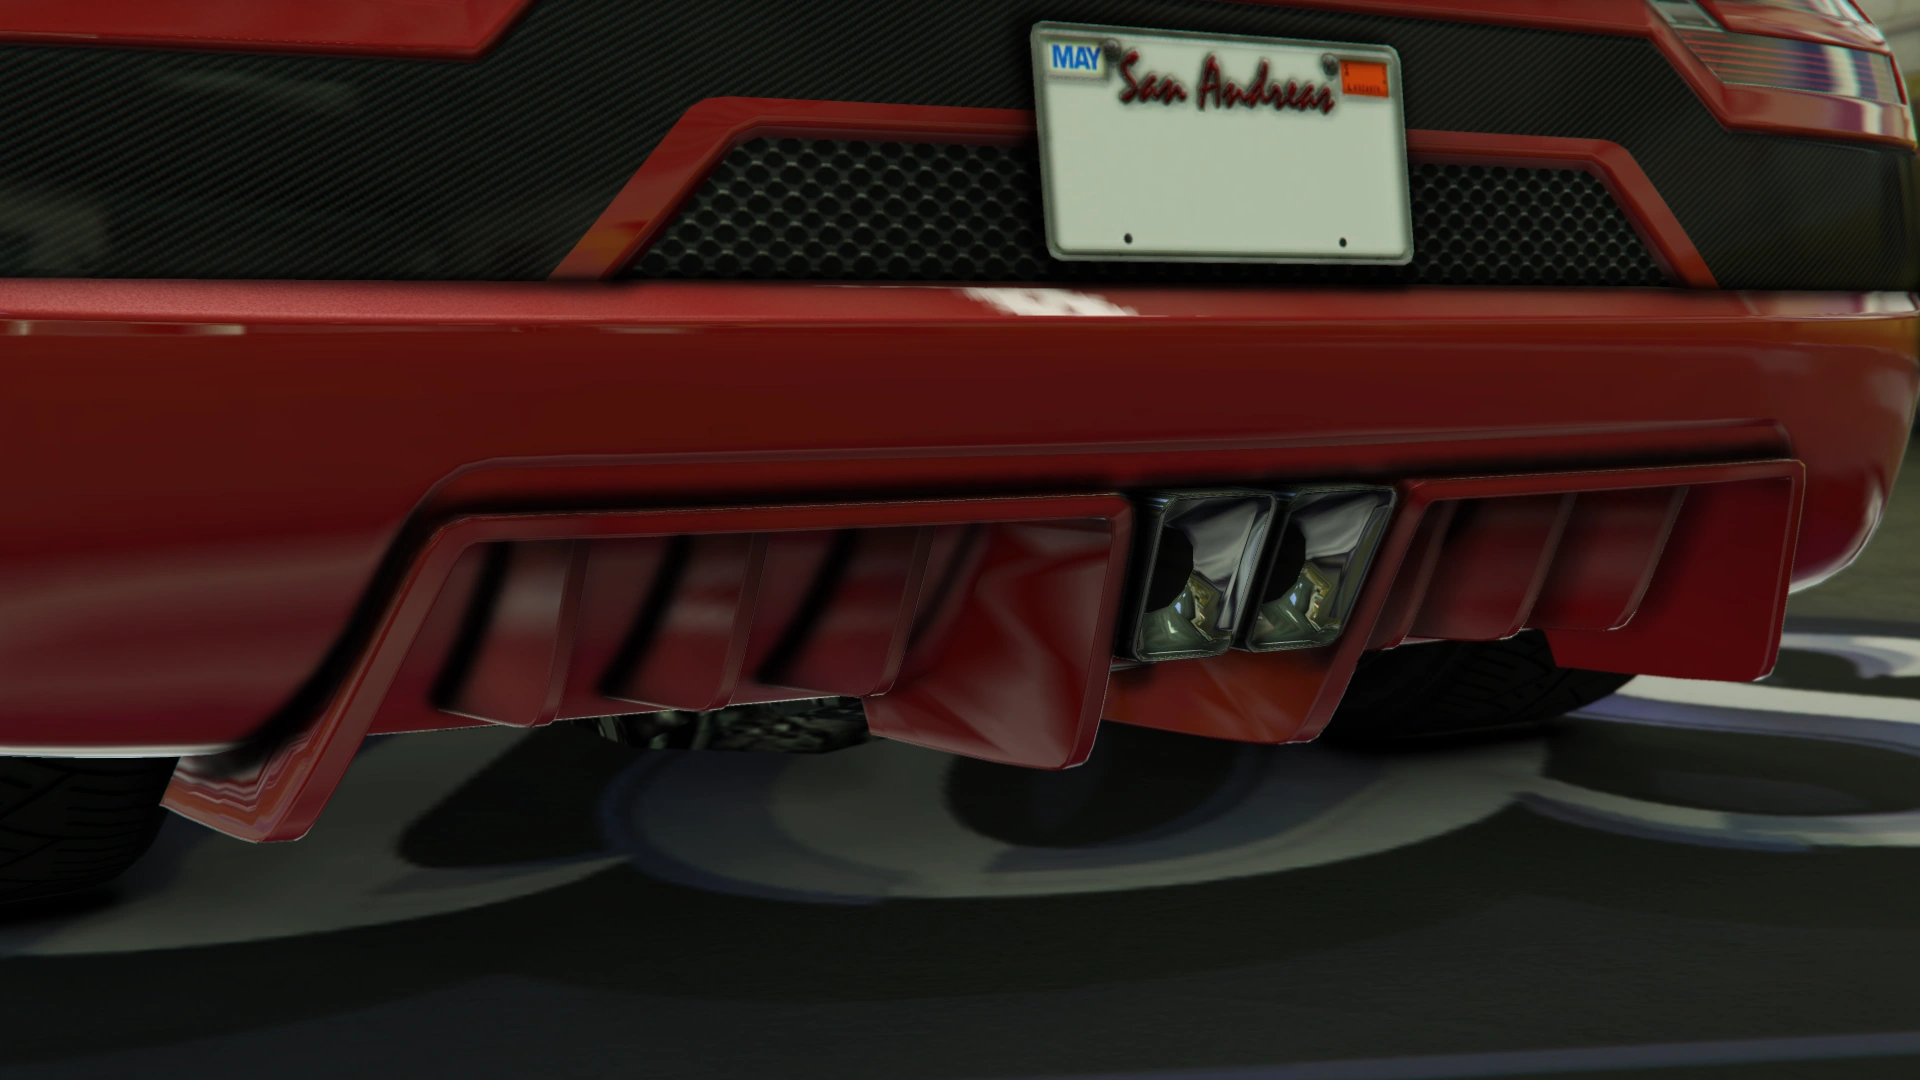
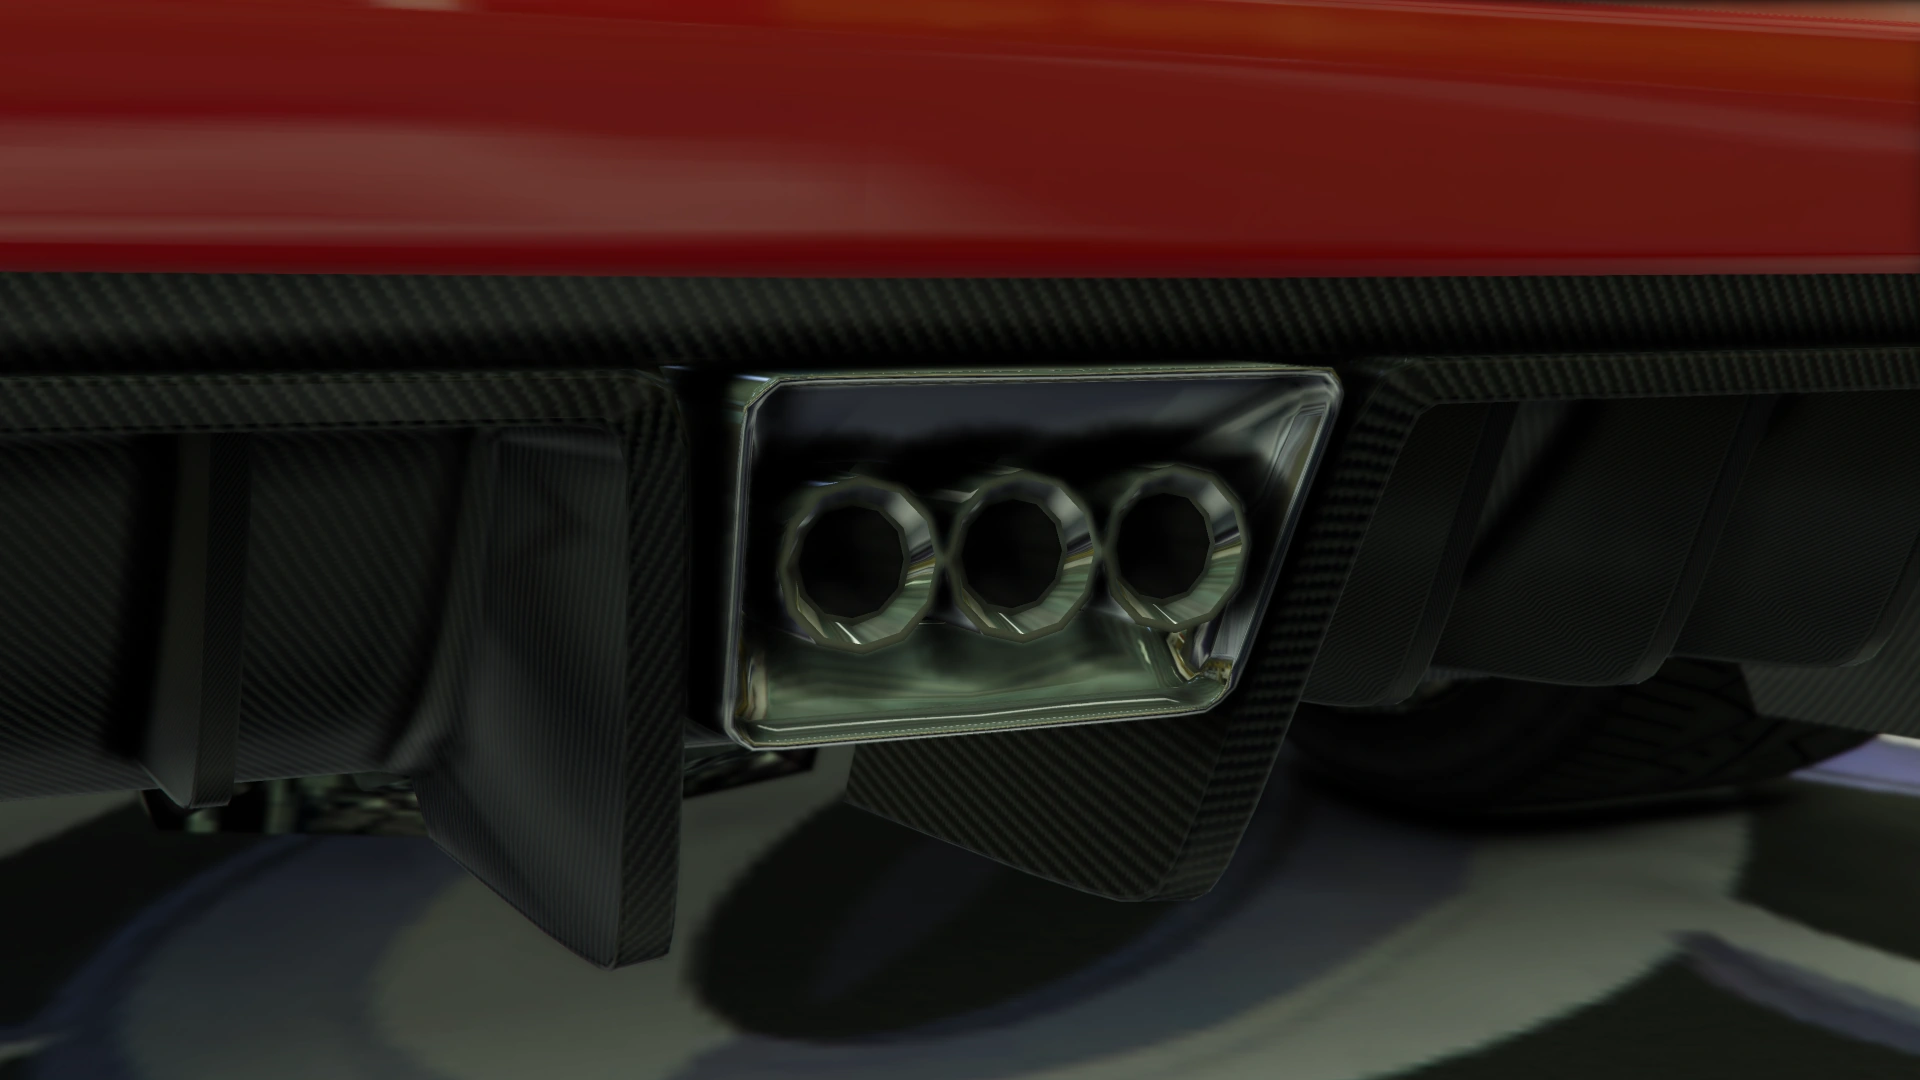
|Triple Exit Exhaust |
|Triple Exit Exhaust |
||
| − | | style="text-align: center;"|$3,000 |
+ | | style="text-align: center;" |$3,000 |
|[[File:EntityXXR-GTAO-TripleExitExhaust.png|thumb|center|220px]] |
|[[File:EntityXXR-GTAO-TripleExitExhaust.png|thumb|center|220px]] |
||
|- |
|- |
||
| + | | colspan="2" rowspan="2" |[[Car Bomb|Explosives]] |
||
| − | |||
| + | |Ignition Bomb |
||
| − | |||
| + | | colspan="2" style="text-align: center;" |$5,000 |
||
| − | |||
| + | |- |
||
| + | |Remote Bomb |
||
| + | | colspan="2" style="text-align: center;" |$7,500 |
||
| + | |- |
||
| colspan="2" rowspan="4" |Hoods |
| colspan="2" rowspan="4" |Hoods |
||
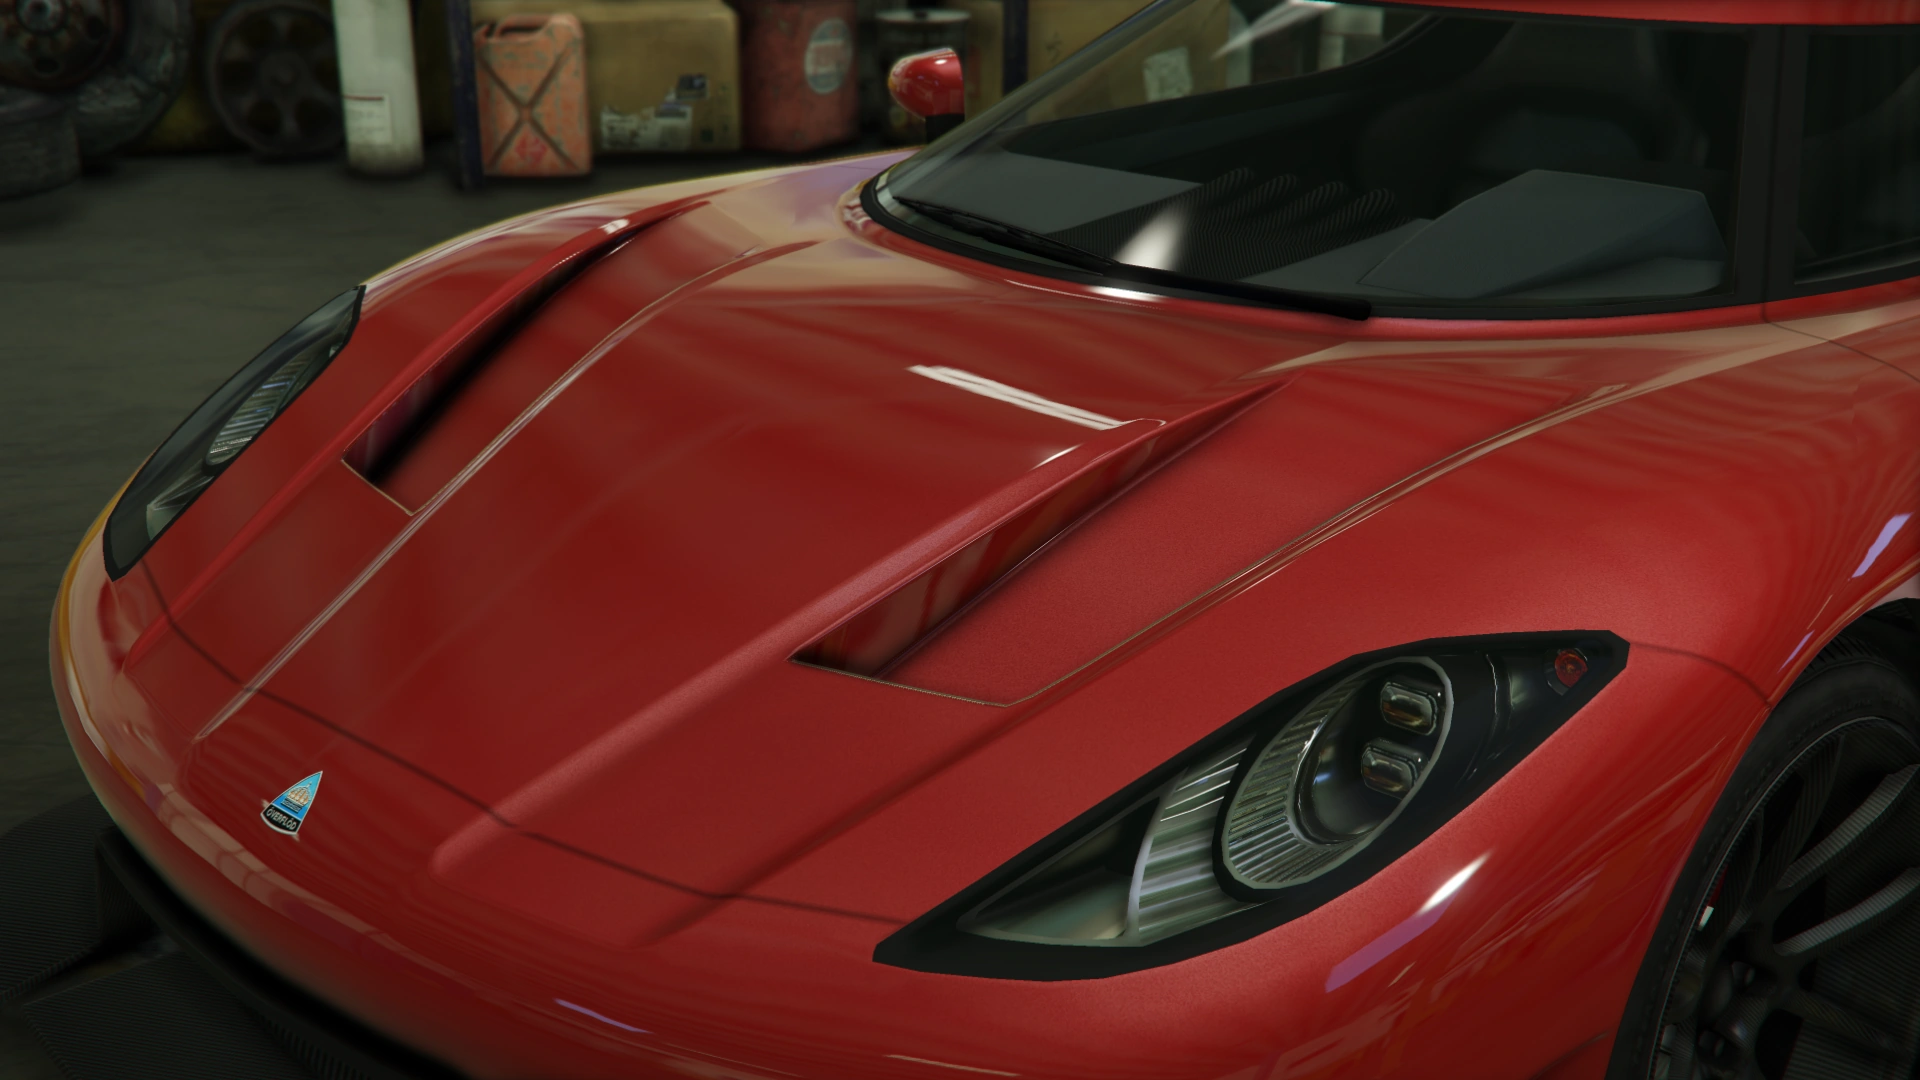
|Stock Hood |
|Stock Hood |
||
| − | | style="text-align: center;"|$1,600 |
+ | | style="text-align: center;" |$1,600 |
|[[File:EntityXXR-GTAO-StockHood.png|thumb|center|220px]] |
|[[File:EntityXXR-GTAO-StockHood.png|thumb|center|220px]] |
||
|- |
|- |
||
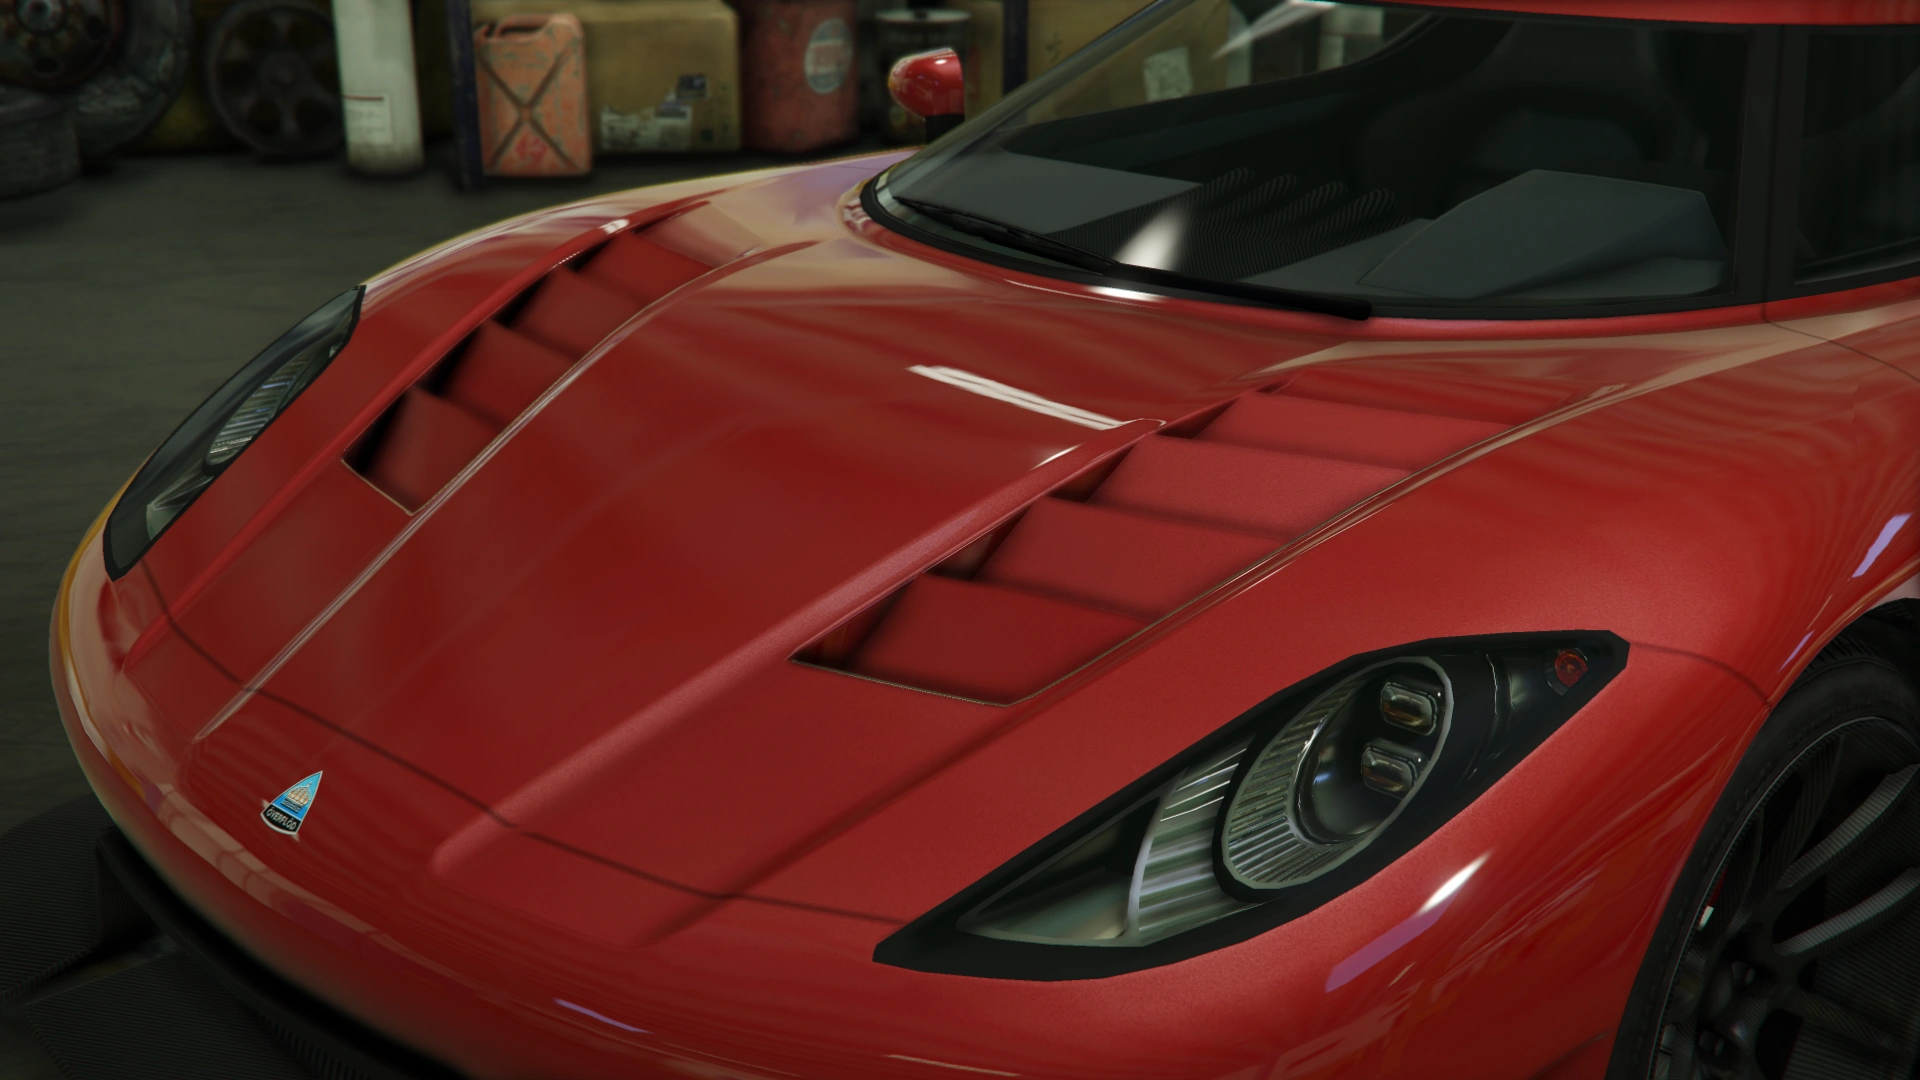
|Primary Hood Fins |
|Primary Hood Fins |
||
| − | | style="text-align: center;"|$3,000 |
+ | | style="text-align: center;" |$3,000 |
|[[File:EntityXXR-GTAO-PrimaryHoodFins.png|thumb|center|220px]] |
|[[File:EntityXXR-GTAO-PrimaryHoodFins.png|thumb|center|220px]] |
||
|- |
|- |
||
|Secondary Hood Fins |
|Secondary Hood Fins |
||
| − | | style="text-align: center;"|$5,000 |
+ | | style="text-align: center;" |$5,000 |
|[[File:EntityXXR-GTAO-SecondaryHoodFins.png|thumb|center|220px]] |
|[[File:EntityXXR-GTAO-SecondaryHoodFins.png|thumb|center|220px]] |
||
|- |
|- |
||
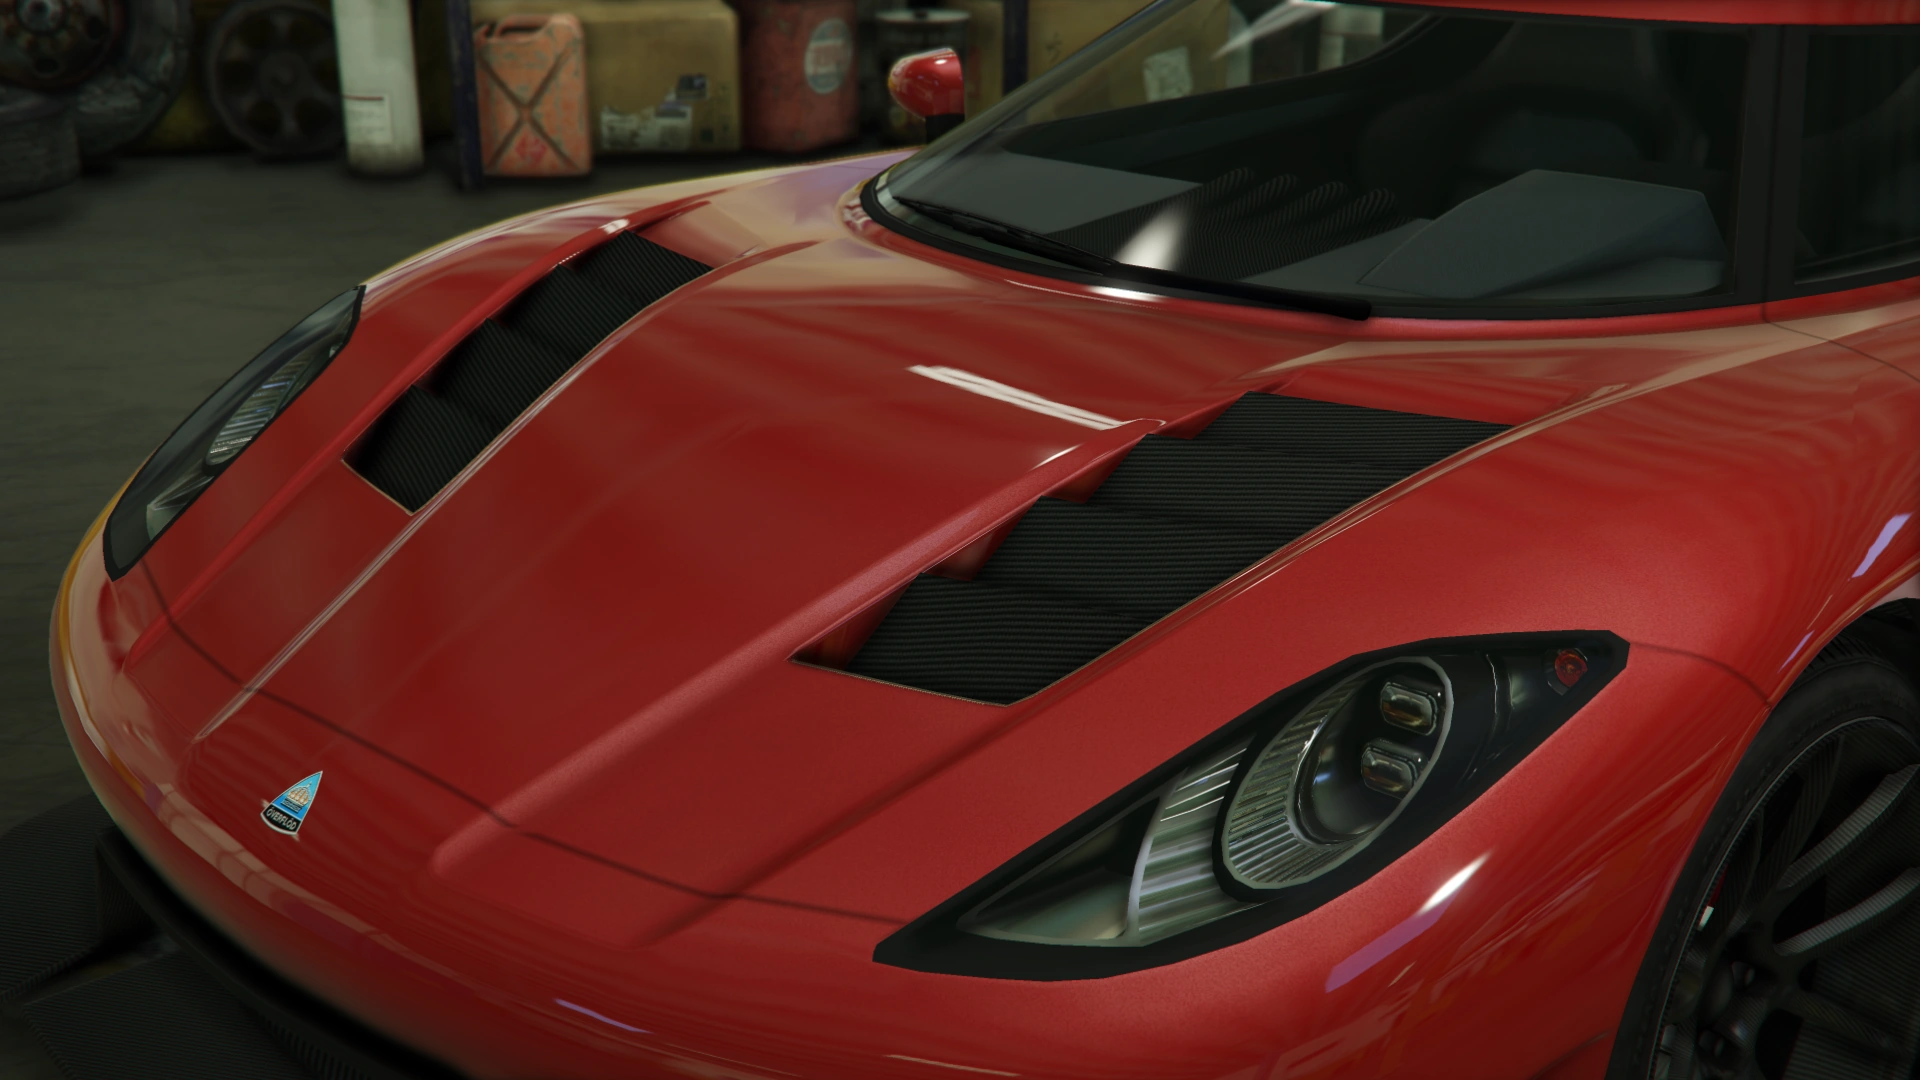
|Carbon Hood Fins |
|Carbon Hood Fins |
||
| − | | style="text-align: center;"|$8,000 |
+ | | style="text-align: center;" |$8,000 |
|[[File:EntityXXR-GTAO-CarbonHoodFins.png|thumb|center|220px]] |
|[[File:EntityXXR-GTAO-CarbonHoodFins.png|thumb|center|220px]] |
||
| + | |- |
||
| + | | colspan="2" |Horns |
||
| + | |''Main article: [[Los Santos Customs/Horns]]'' |
||
| + | | colspan="2" style="text-align: center;" | - |
||
|- |
|- |
||
| rowspan="3" |Lights |
| rowspan="3" |Lights |
||
| Line 272: | Line 294: | ||
|''Main article: [[Los Santos Customs/Lights]]'' |
|''Main article: [[Los Santos Customs/Lights]]'' |
||
| colspan="2" style="text-align: center;" | - |
| colspan="2" style="text-align: center;" | - |
||
| − | |||
|- |
|- |
||
| colspan="2" rowspan="2" |Loss/Theft Prevention |
| colspan="2" rowspan="2" |Loss/Theft Prevention |
||
| Line 297: | Line 318: | ||
| colspan="2" style="text-align: center;" |$600 |
| colspan="2" style="text-align: center;" |$600 |
||
|- |
|- |
||
| − | | colspan="2" | |
+ | | colspan="2" |Respray |
|''Main article: [[Los Santos Customs/Respray Colors]]'' |
|''Main article: [[Los Santos Customs/Respray Colors]]'' |
||
| − | | colspan="2" style="text-align: center;" | |
+ | | colspan="2" style="text-align: center;" | - |
| − | |||
|- |
|- |
||
| colspan="2" |Sell |
| colspan="2" |Sell |
||
| Line 308: | Line 328: | ||
| colspan="2" rowspan="6" |Spoilers |
| colspan="2" rowspan="6" |Spoilers |
||
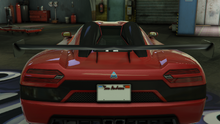
|Stock Spoiler |
|Stock Spoiler |
||
| − | | style="text-align: center;"|$6,000 |
+ | | style="text-align: center;" |$6,000 |
|[[File:EntityXXR-GTAO-StockSpoiler.png|thumb|center|220px]] |
|[[File:EntityXXR-GTAO-StockSpoiler.png|thumb|center|220px]] |
||
|- |
|- |
||
|Remove Wing |
|Remove Wing |
||
| − | | style="text-align: center;"|$7,050 |
+ | | style="text-align: center;" |$7,050 |
| − | |[[File:EntityXXR-GTAO- |
+ | |[[File:EntityXXR-GTAO-RemoveWing.png|thumb|center|220px]] |
|- |
|- |
||
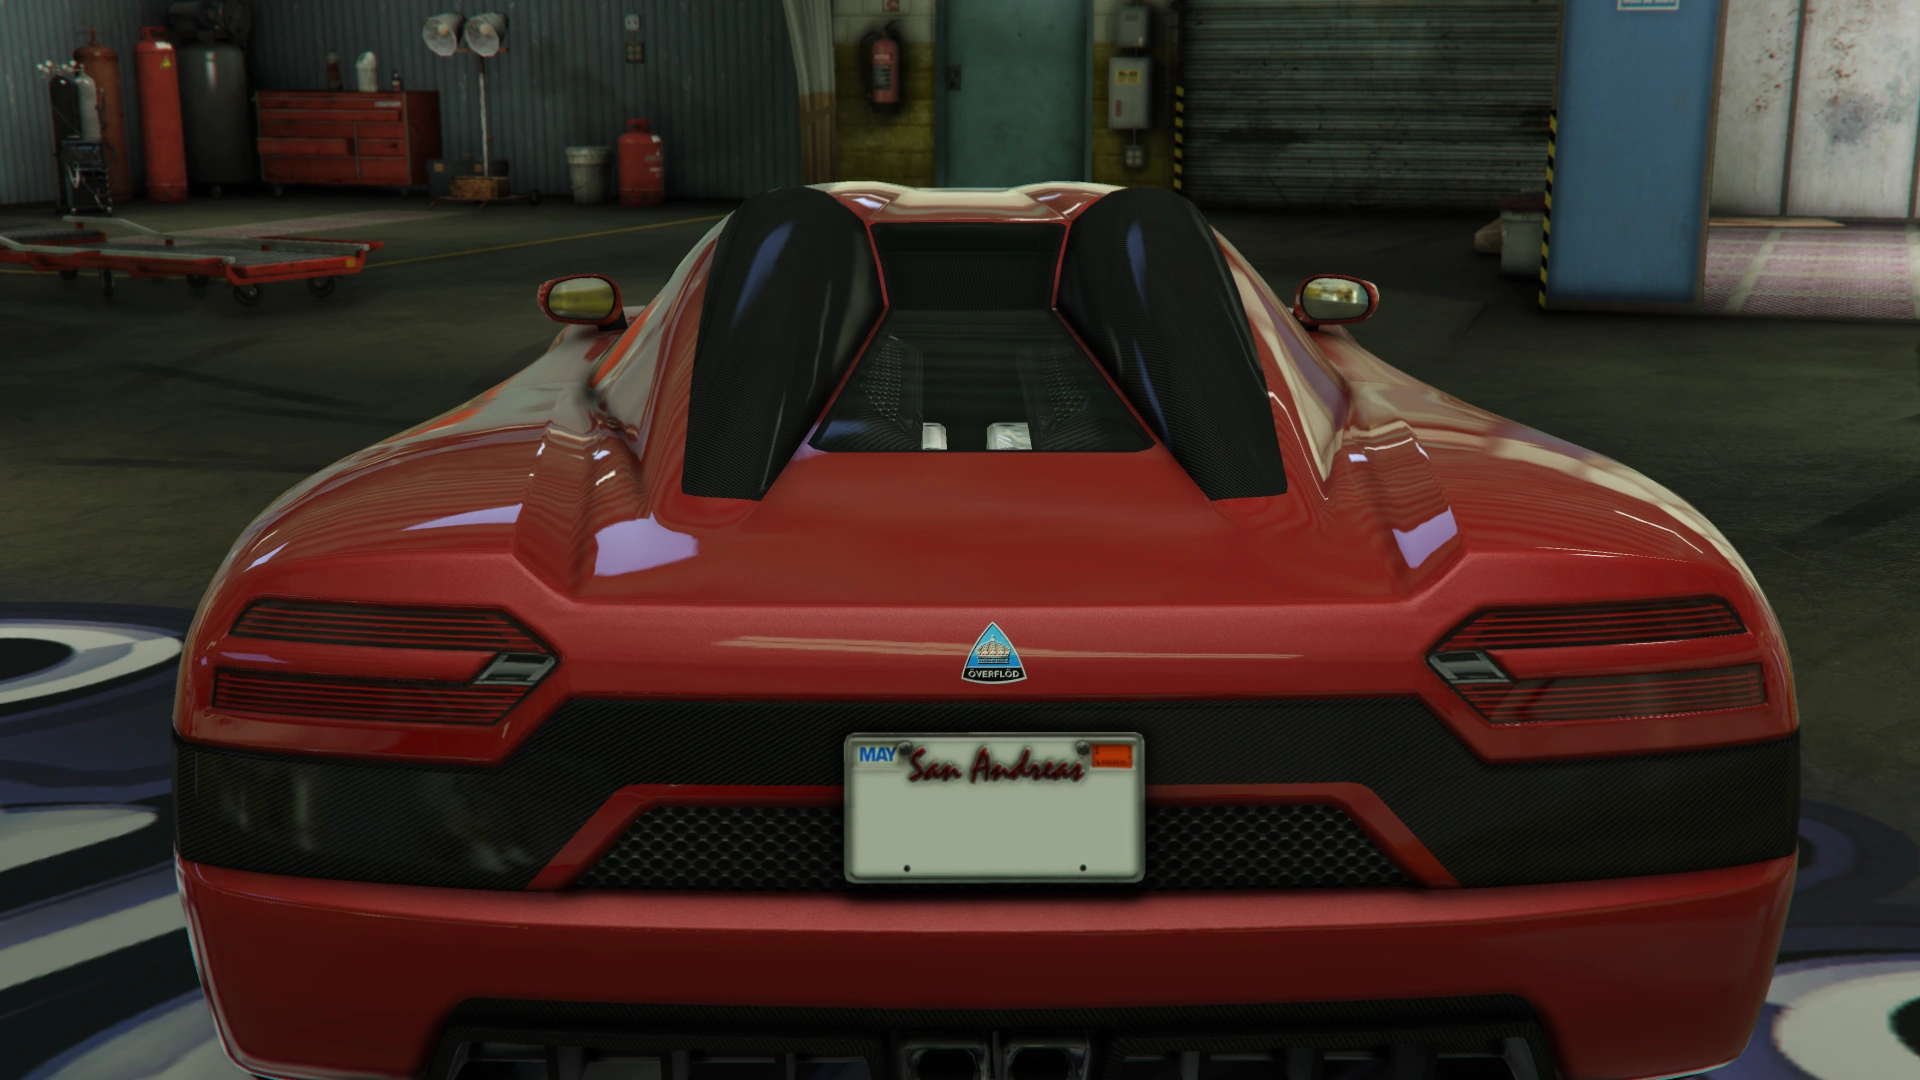
|Low Level Spoiler |
|Low Level Spoiler |
||
| − | | style="text-align: center;"|$10,000 |
+ | | style="text-align: center;" |$10,000 |
|[[File:EntityXXR-GTAO-LowLevelSpoiler.png|thumb|center|220px]] |
|[[File:EntityXXR-GTAO-LowLevelSpoiler.png|thumb|center|220px]] |
||
|- |
|- |
||
|Carbon Wing |
|Carbon Wing |
||
| − | | style="text-align: center;"|$13,000 |
+ | | style="text-align: center;" |$13,000 |
|[[File:EntityXXR-GTAO-CarbonWing.png|thumb|center|220px]] |
|[[File:EntityXXR-GTAO-CarbonWing.png|thumb|center|220px]] |
||
|- |
|- |
||
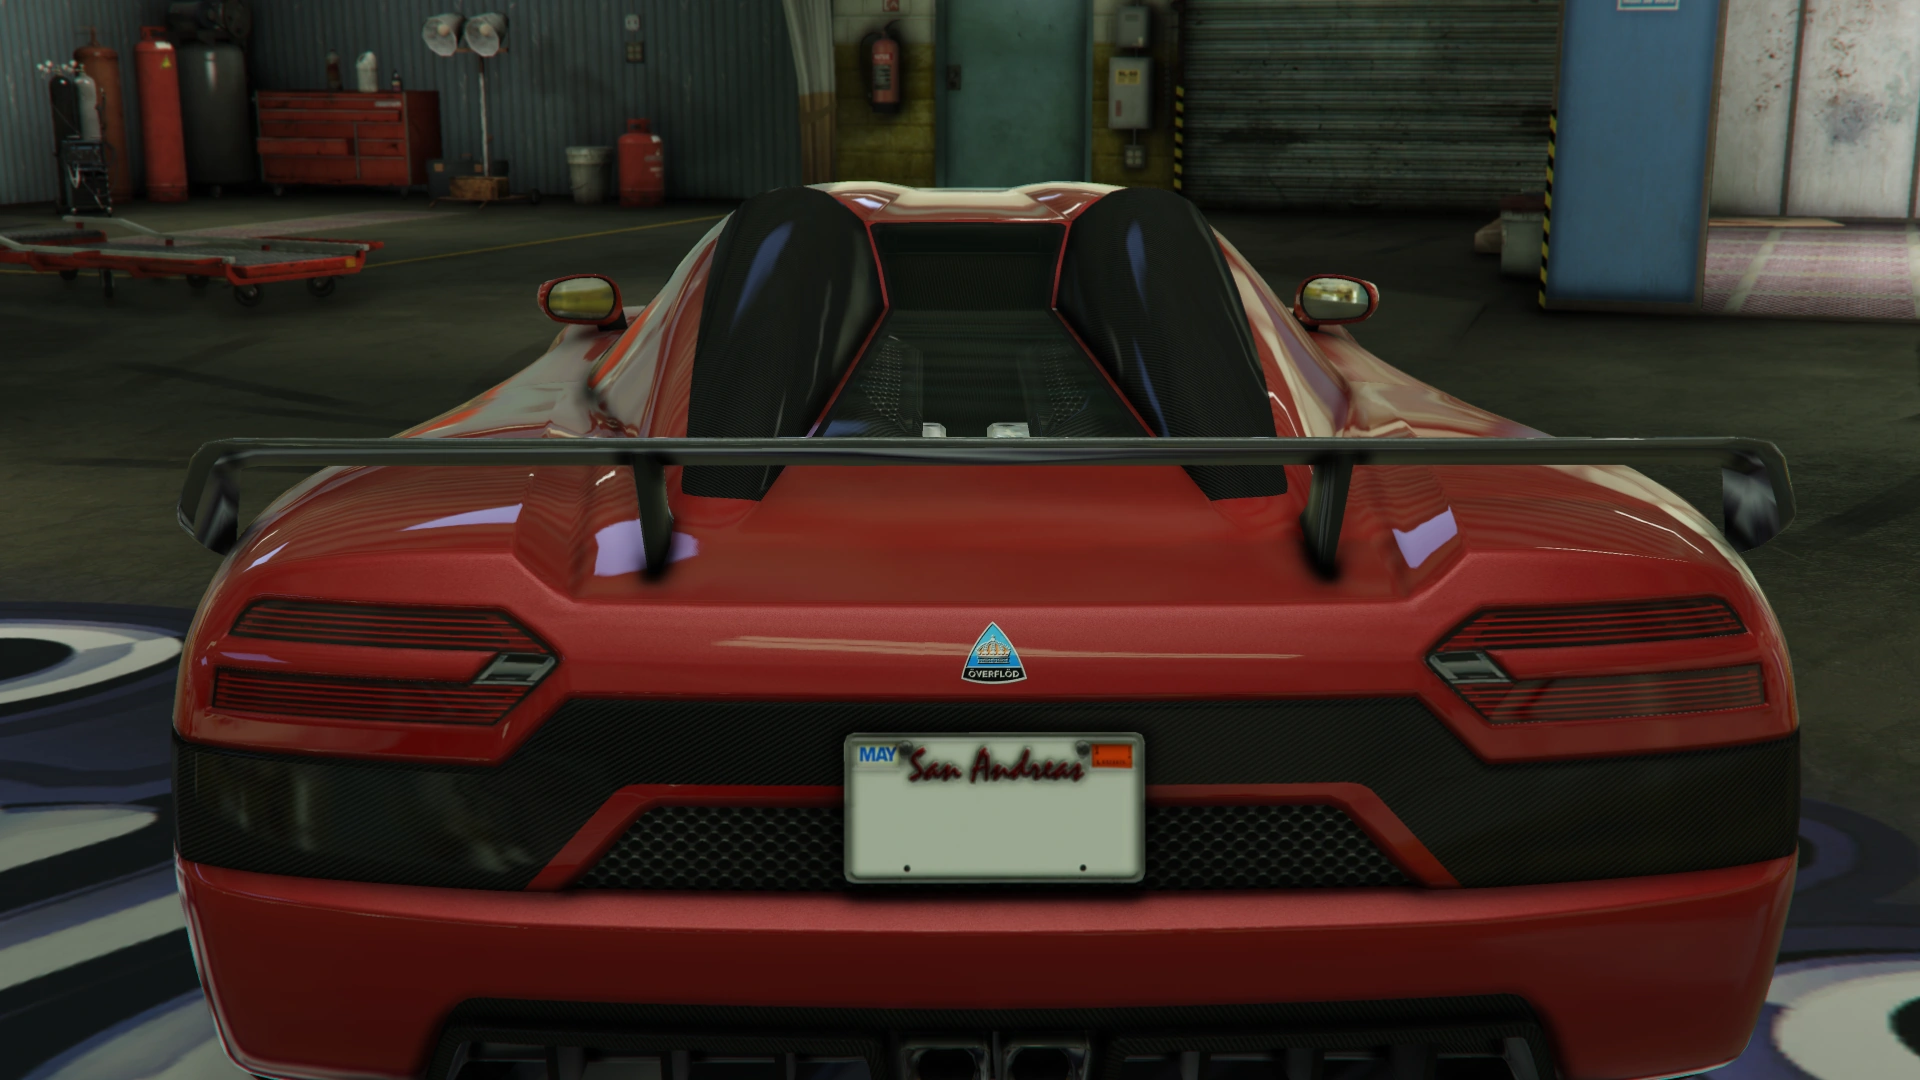
|GT Wing |
|GT Wing |
||
| − | | style="text-align: center;"|$14,000 |
+ | | style="text-align: center;" |$14,000 |
|[[File:EntityXXR-GTAO-GTWing.png|thumb|center|220px]] |
|[[File:EntityXXR-GTAO-GTWing.png|thumb|center|220px]] |
||
|- |
|- |
||
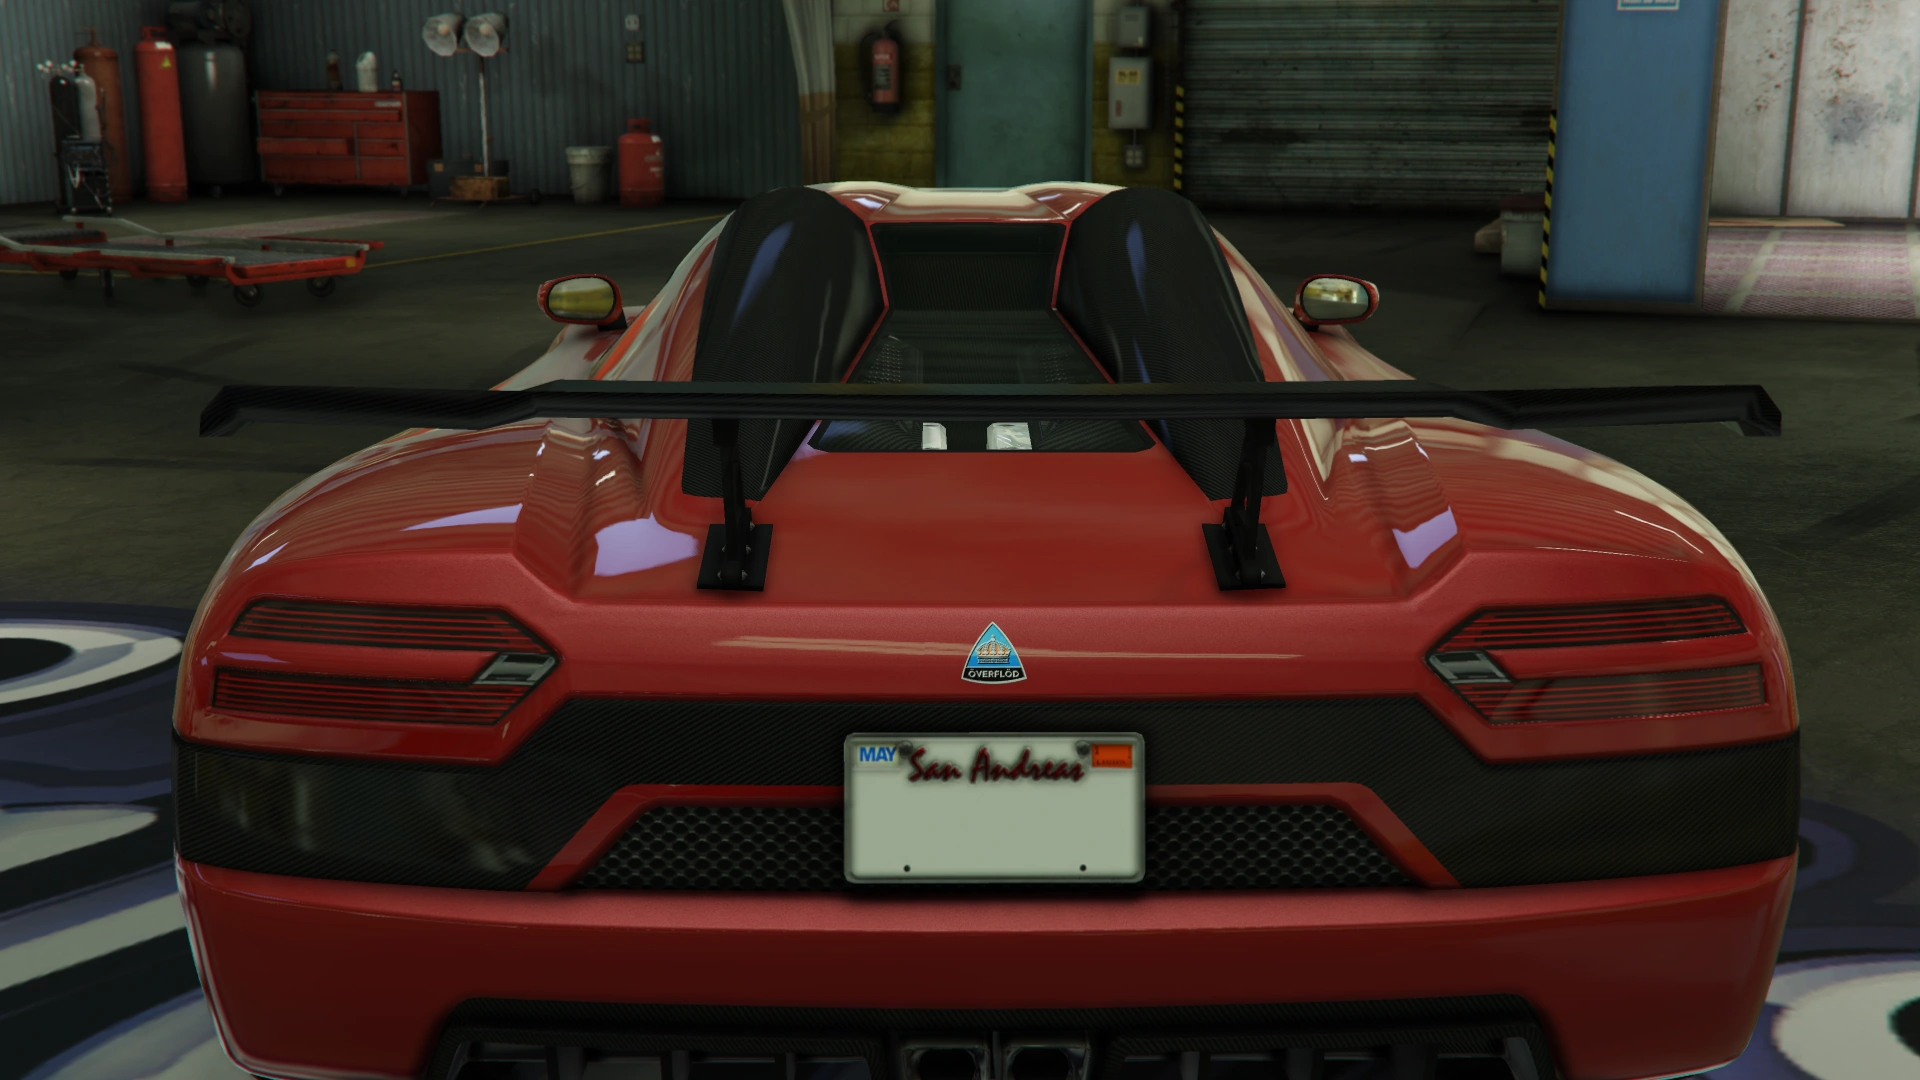
|Tuner Wing |
|Tuner Wing |
||
| − | | style="text-align: center;"|$16,000 |
+ | | style="text-align: center;" |$16,000 |
|[[File:EntityXXR-GTAO-TunerWing.png|thumb|center|220px]] |
|[[File:EntityXXR-GTAO-TunerWing.png|thumb|center|220px]] |
||
|- |
|- |
||
| Line 369: | Line 389: | ||
| colspan="2" | Wheels |
| colspan="2" | Wheels |
||
|''Main article: [[Los Santos Customs/Wheels]]'' |
|''Main article: [[Los Santos Customs/Wheels]]'' |
||
| − | | colspan="2" style="text-align: center;" | |
+ | | colspan="2" style="text-align: center;" | - |
| − | |||
|- |
|- |
||
| colspan="2" rowspan="4" |Windows |
| colspan="2" rowspan="4" |Windows |
||
|None |
|None |
||
| − | | colspan="2" style="text-align: center;"|$500 |
+ | | colspan="2" style="text-align: center;" |$500 |
|- |
|- |
||
|Light Smoke |
|Light Smoke |
||
| − | | colspan="2" style="text-align: center;"|$1,500 |
+ | | colspan="2" style="text-align: center;" |$1,500 |
|- |
|- |
||
|Dark Smoke |
|Dark Smoke |
||
| − | | colspan="2" style="text-align: center;"|$3,500 |
+ | | colspan="2" style="text-align: center;" |$3,500 |
|- |
|- |
||
|Limo |
|Limo |
||
| − | | colspan="2" style="text-align: center;"|$5,000 |
+ | | colspan="2" style="text-align: center;" |$5,000 |
|} |
|} |
||
==Image Gallery== |
==Image Gallery== |
||
===''Grand Theft Auto Online''=== |
===''Grand Theft Auto Online''=== |
||
| − | <gallery position="center"> |
+ | <gallery position="center" spacing="small" hideaddbutton="true"> |
EntityXXR-GTAO-Official.jpg|Promotional screenshot of the '''Entity XXR'''. |
EntityXXR-GTAO-Official.jpg|Promotional screenshot of the '''Entity XXR'''. |
||
EntityXXR-GTAO-LegendaryMS.png|The '''Entity XXR''' on [[Legendary Motorsport]]. |
EntityXXR-GTAO-LegendaryMS.png|The '''Entity XXR''' on [[Legendary Motorsport]]. |
||
| − | EntityXXR-GTAO-RGSC.jpg|The '''Entity XXR''' on |
+ | EntityXXR-GTAO-RGSC.jpg|The '''Entity XXR''' on [[Rockstar Games Social Club]]. |
| + | EntityXXR-GTAO-SocialClub2.jpg|The '''Entity XXR''' on the updated [[Rockstar Games Social Club]]. |
||
| + | EntityXXR-GTAO-SocialClub3.jpg|The '''Entity XXR''' in a cinematic preview on [[Rockstar Games Social Club]]. Note the similarities between this image and the promotional screenshot. |
||
</gallery> |
</gallery> |
||
===Video=== |
===Video=== |
||
| − | [[File: |
+ | [[File:GTA Online SA Super Sport Series - Overflod Entity XXR|center|330px]] |
| + | |||
| + | ==Prominent Appearances in Missions== |
||
| + | ===''Grand Theft Auto Online''=== |
||
| + | ;Premium Deluxe Repo Work |
||
| + | *Six models need to be destroyed in [[Repo - Blow Up IV]]. |
||
| + | ;Casino Work |
||
| + | *Can appear in [[Recovery Time]], where it must be retrieved from [[LSPD Auto Impound]] and delivered to the [[The Diamond Casino & Resort|Casino]]. |
||
==Location== |
==Location== |
||
| Line 403: | Line 431: | ||
==Trivia== |
==Trivia== |
||
===''Grand Theft Auto Online''=== |
===''Grand Theft Auto Online''=== |
||
| − | *The Entity XXR emits an electrical beep when the engine is turned off, this is the same sound effect used on the |
+ | *The Entity XXR emits an electrical beep when the engine is turned off, this is the same sound effect used on the [[Reaper]]. |
| + | *The default radio station for the Entity XXR is [[Non-Stop-Pop FM]]. |
||
==References== |
==References== |
||
| Line 409: | Line 438: | ||
{{Reflist}} |
{{Reflist}} |
||
}} |
}} |
||
| + | |||
==Navigation== |
==Navigation== |
||
{{Navboxes |
{{Navboxes |
||
| Line 419: | Line 449: | ||
[[Category:Vehicles in GTA Online]] |
[[Category:Vehicles in GTA Online]] |
||
[[Category:Vehicles in GTA Online: Southern San Andreas Super Sport Series]] |
[[Category:Vehicles in GTA Online: Southern San Andreas Super Sport Series]] |
||
| − | [[Category: |
+ | [[Category:Vehicles manufactured by Överflöd]] |
[[Category:DLC Vehicles]] |
[[Category:DLC Vehicles]] |
||
| ⚫ | |||
| + | [[Category:Exclusive Enhanced Version Vehicles in GTA Online]] |
||
[[Category:Super Cars]] |
[[Category:Super Cars]] |
||
[[Category:Super Vehicle Class]] |
[[Category:Super Vehicle Class]] |
||
| − | [[Category:Vehicles manufactured by Överflöd]] |
||
| ⚫ | |||
Revision as of 13:12, 29 December 2019
Template:Next-Gen Template:Infobox vehicles
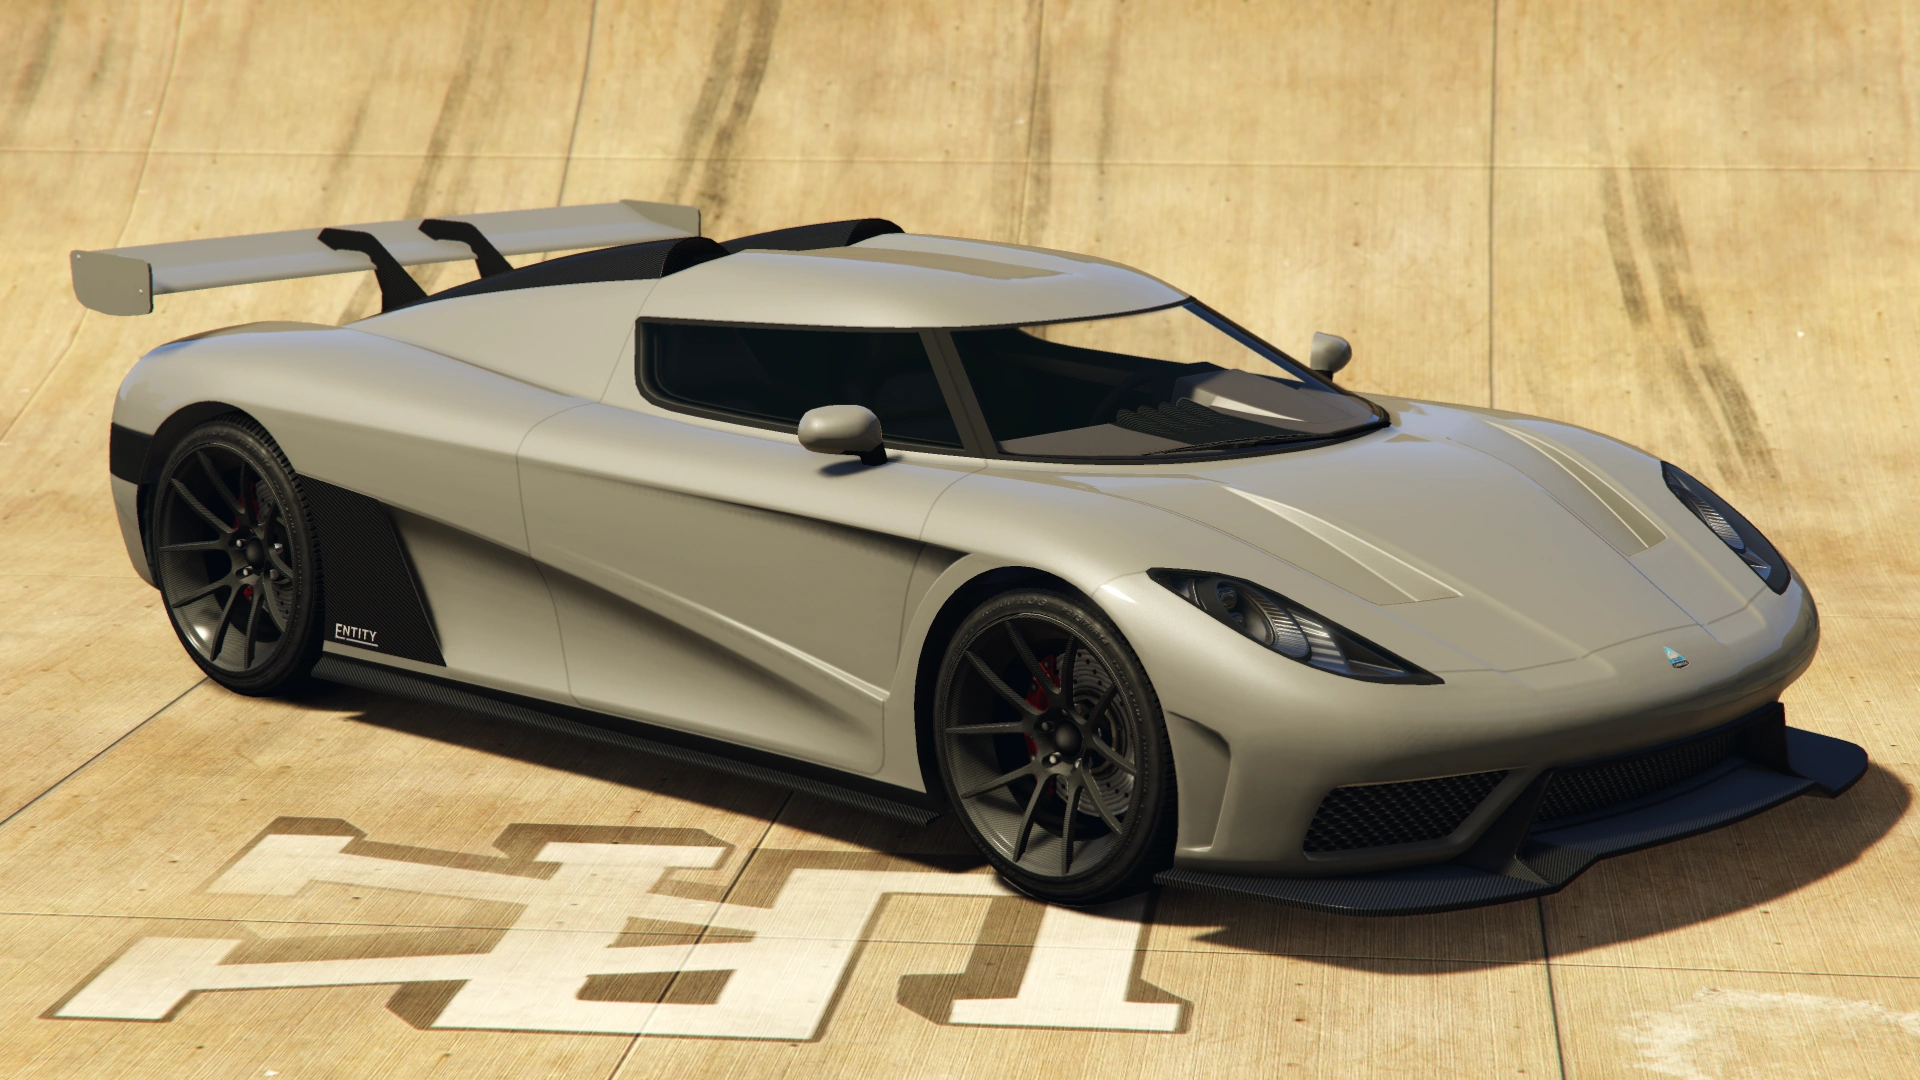
The Överflöd Entity XXR is a hypercar featured in Grand Theft Auto Online as part of the Southern San Andreas Super Sport Series update.
Design
Grand Theft Auto Online
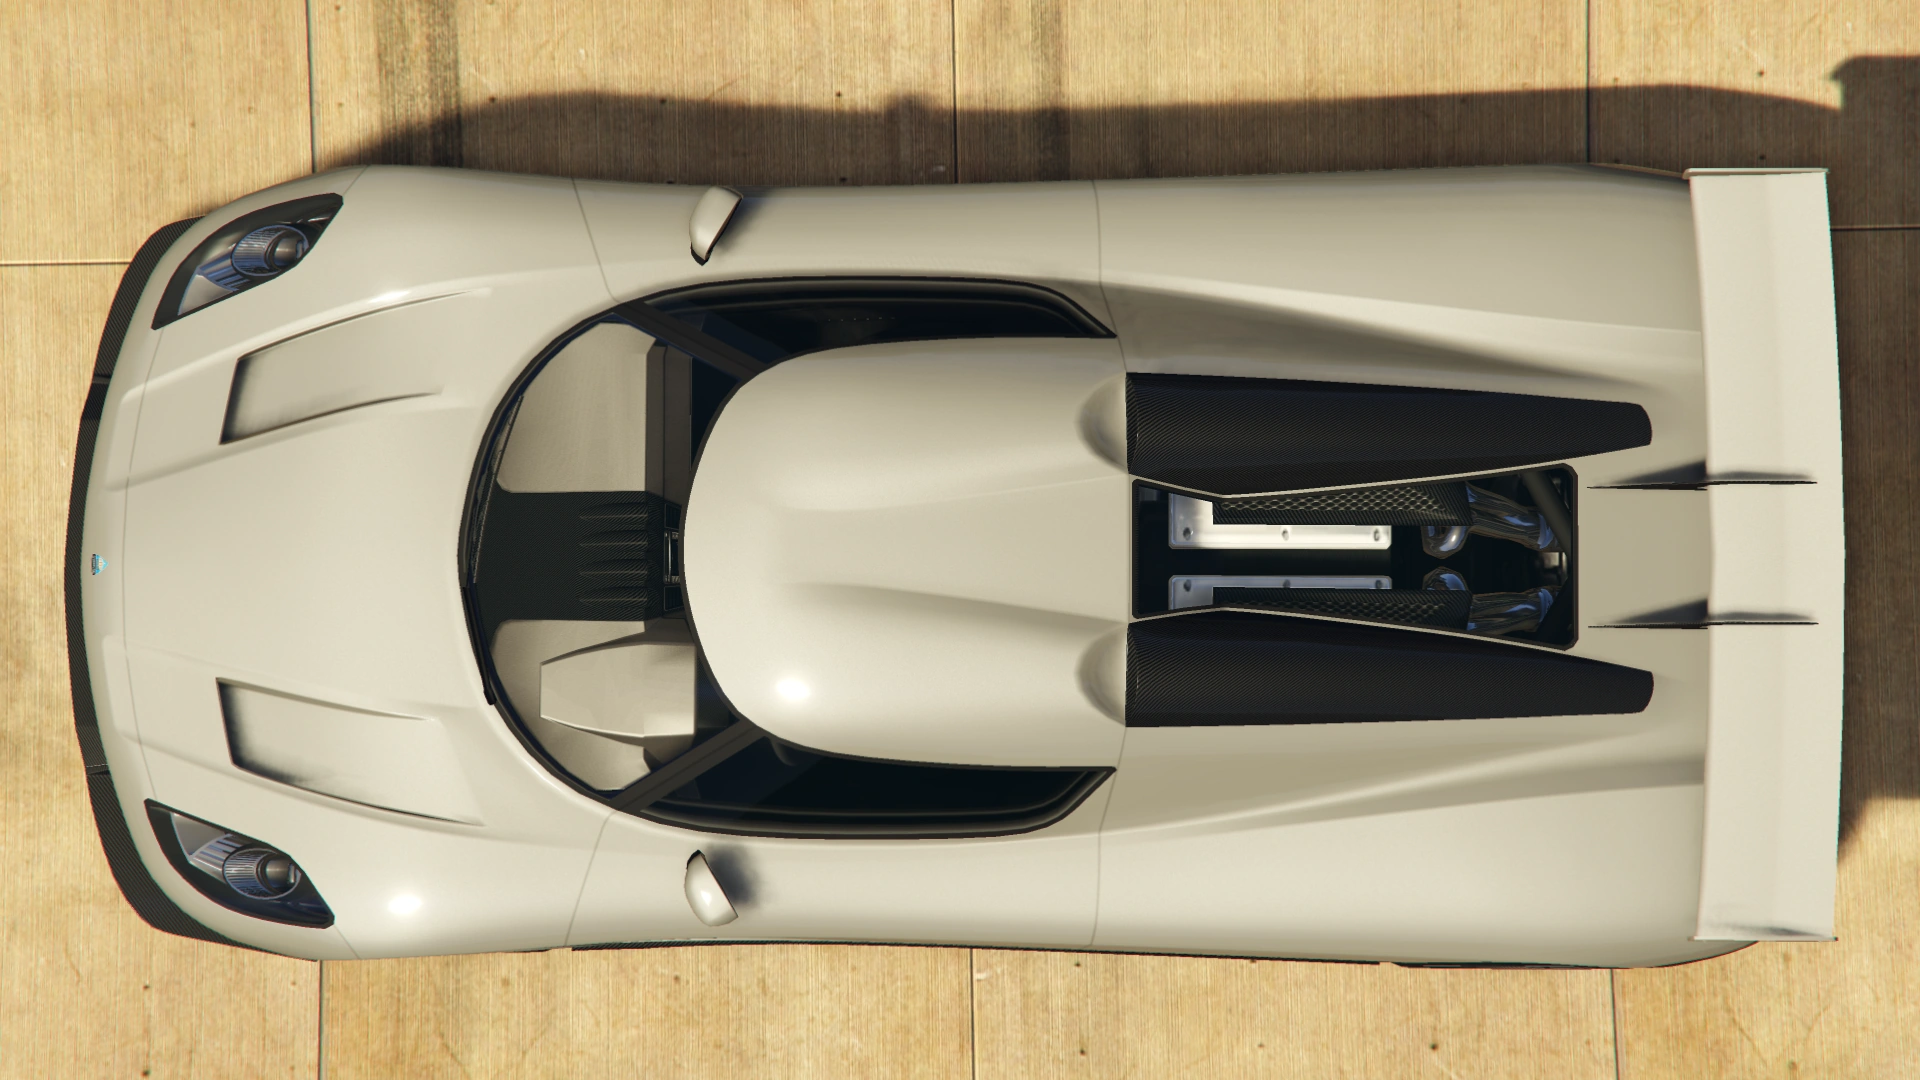
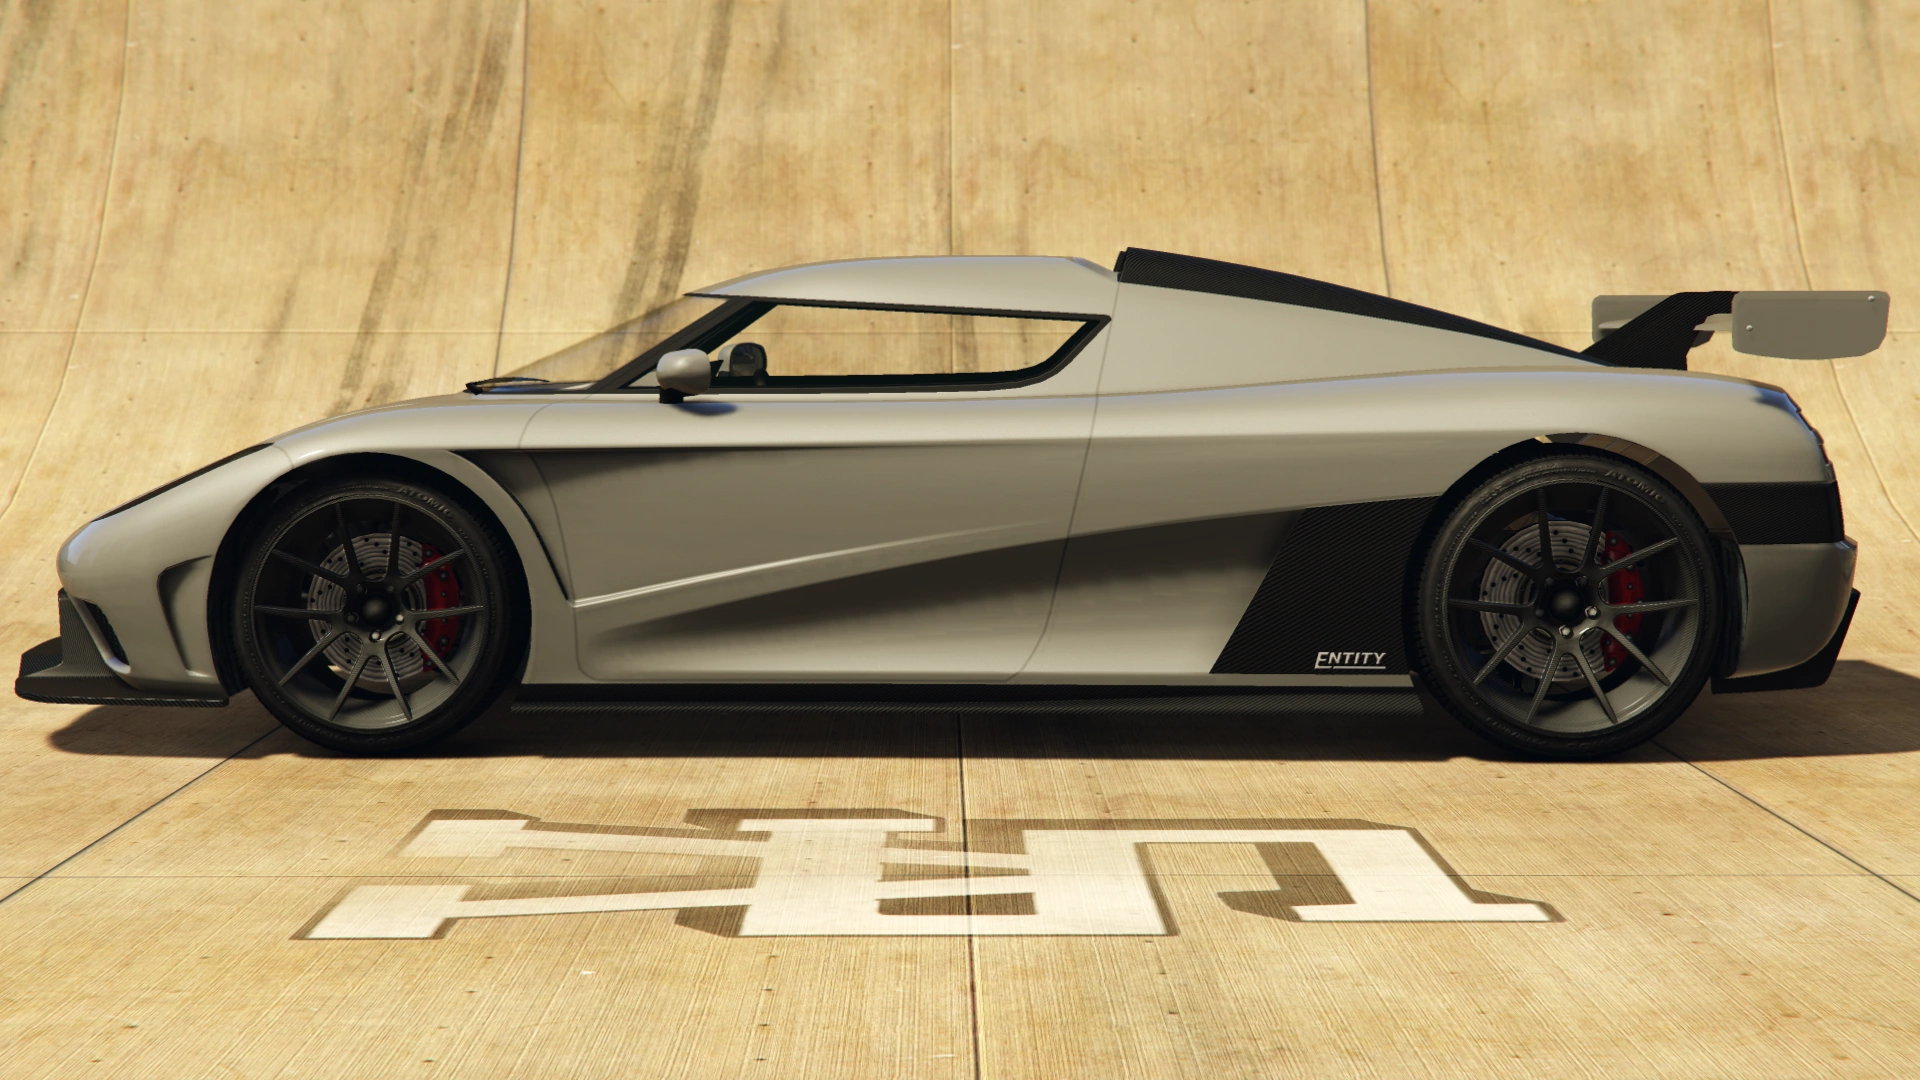
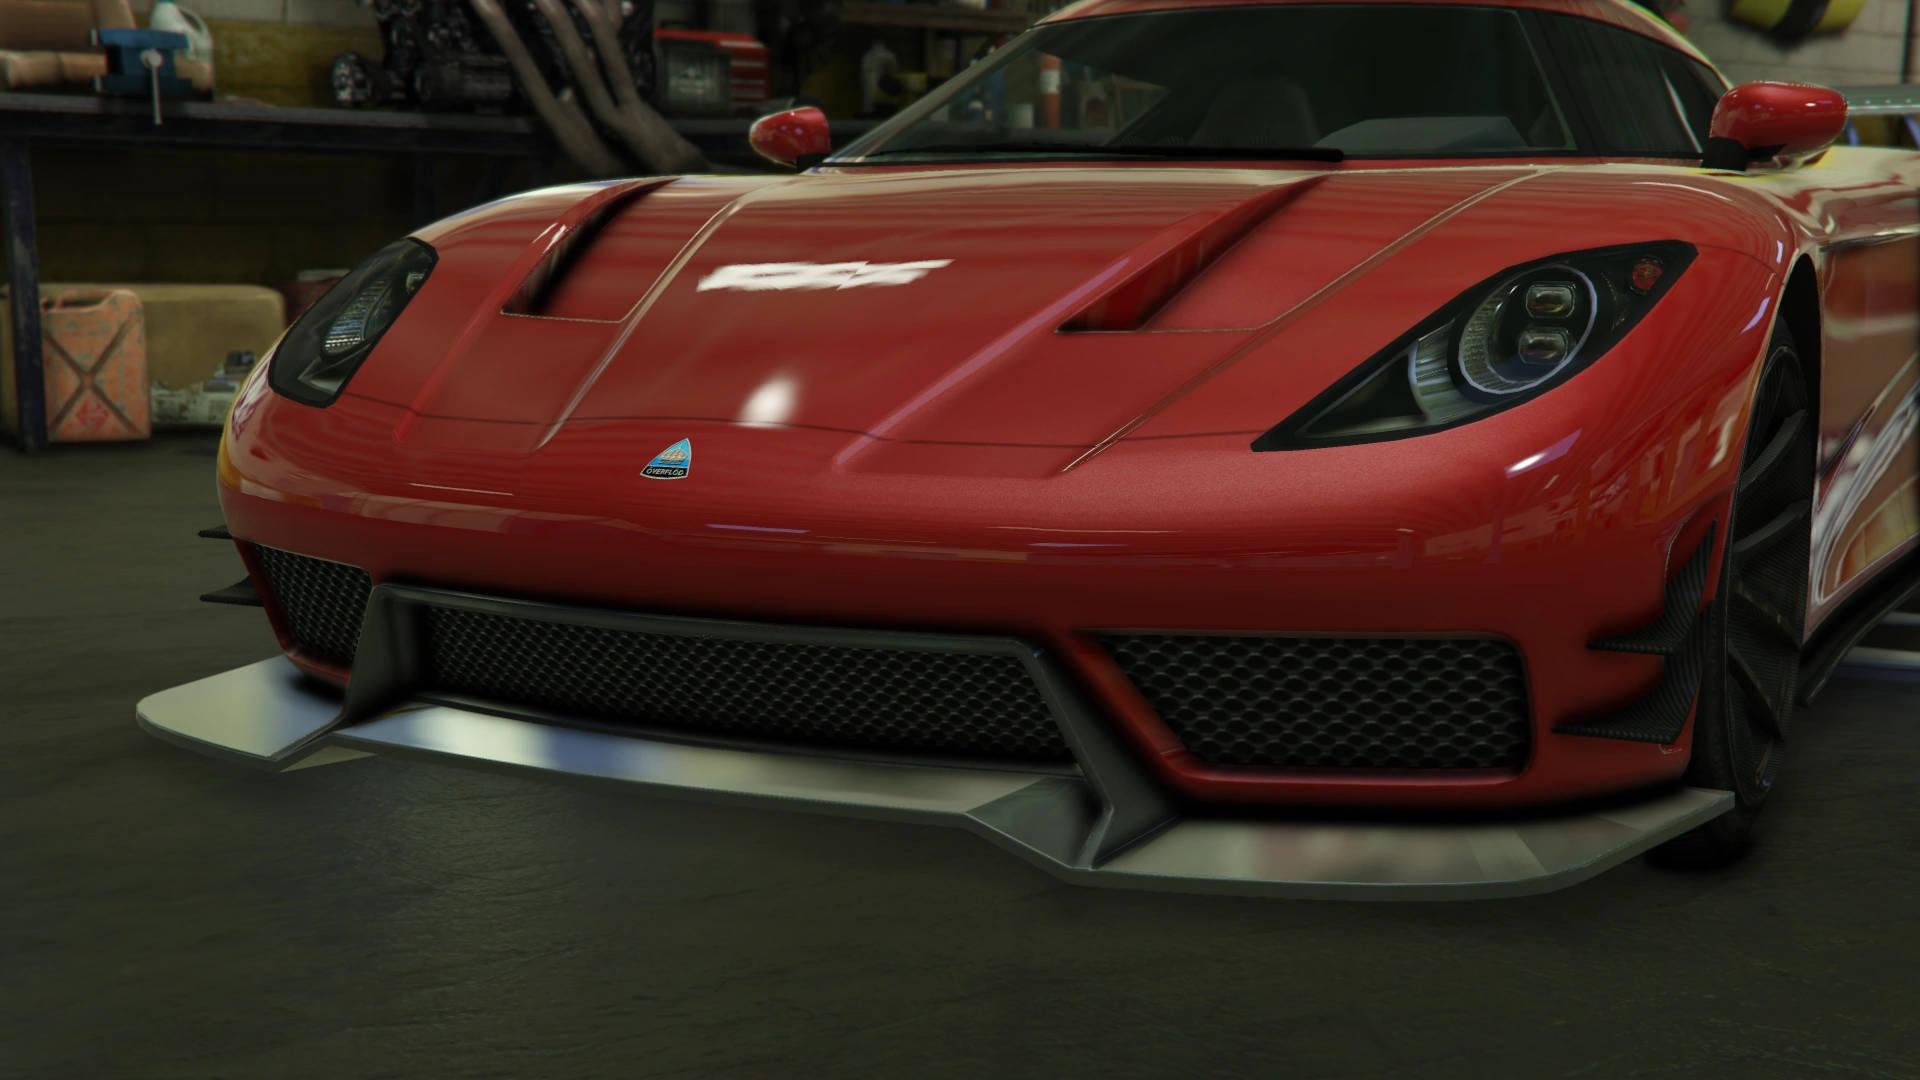
The Entity XXR is primarily based on the Koenigsegg One:1, with influences from the Koenigsegg Agera R.
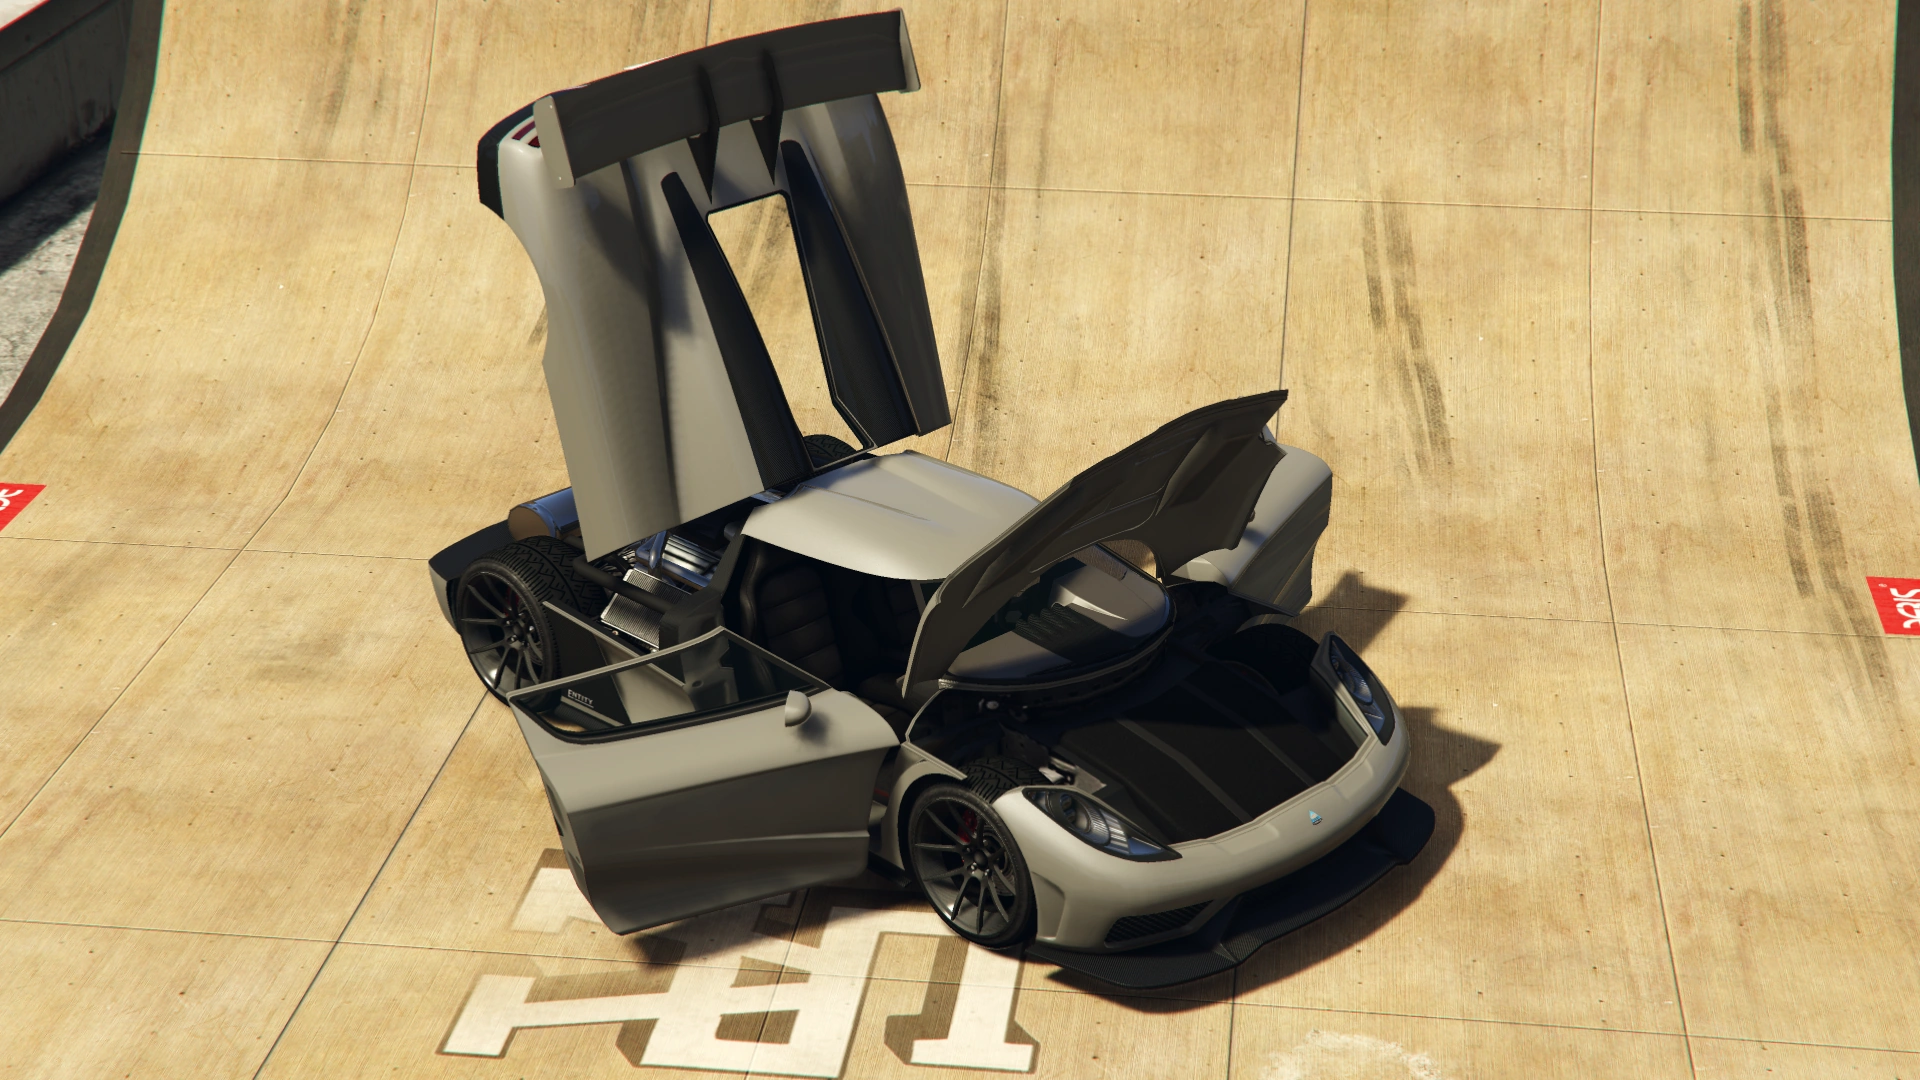
Its design is very similar to that of the related Entity XF, but employs a much more aggressive use of aerodynamic elements such as a rear spoiler being fitted as standard.
Current Design Gallery


Performance
Grand Theft Auto Online
Much like the original Entity, the XXR has a very smooth turning radius and can handle most corners with ease, however the sheer power and acceleration is surprisingly worse than the XF, despite having a good top speed, more advanced design and higher price.
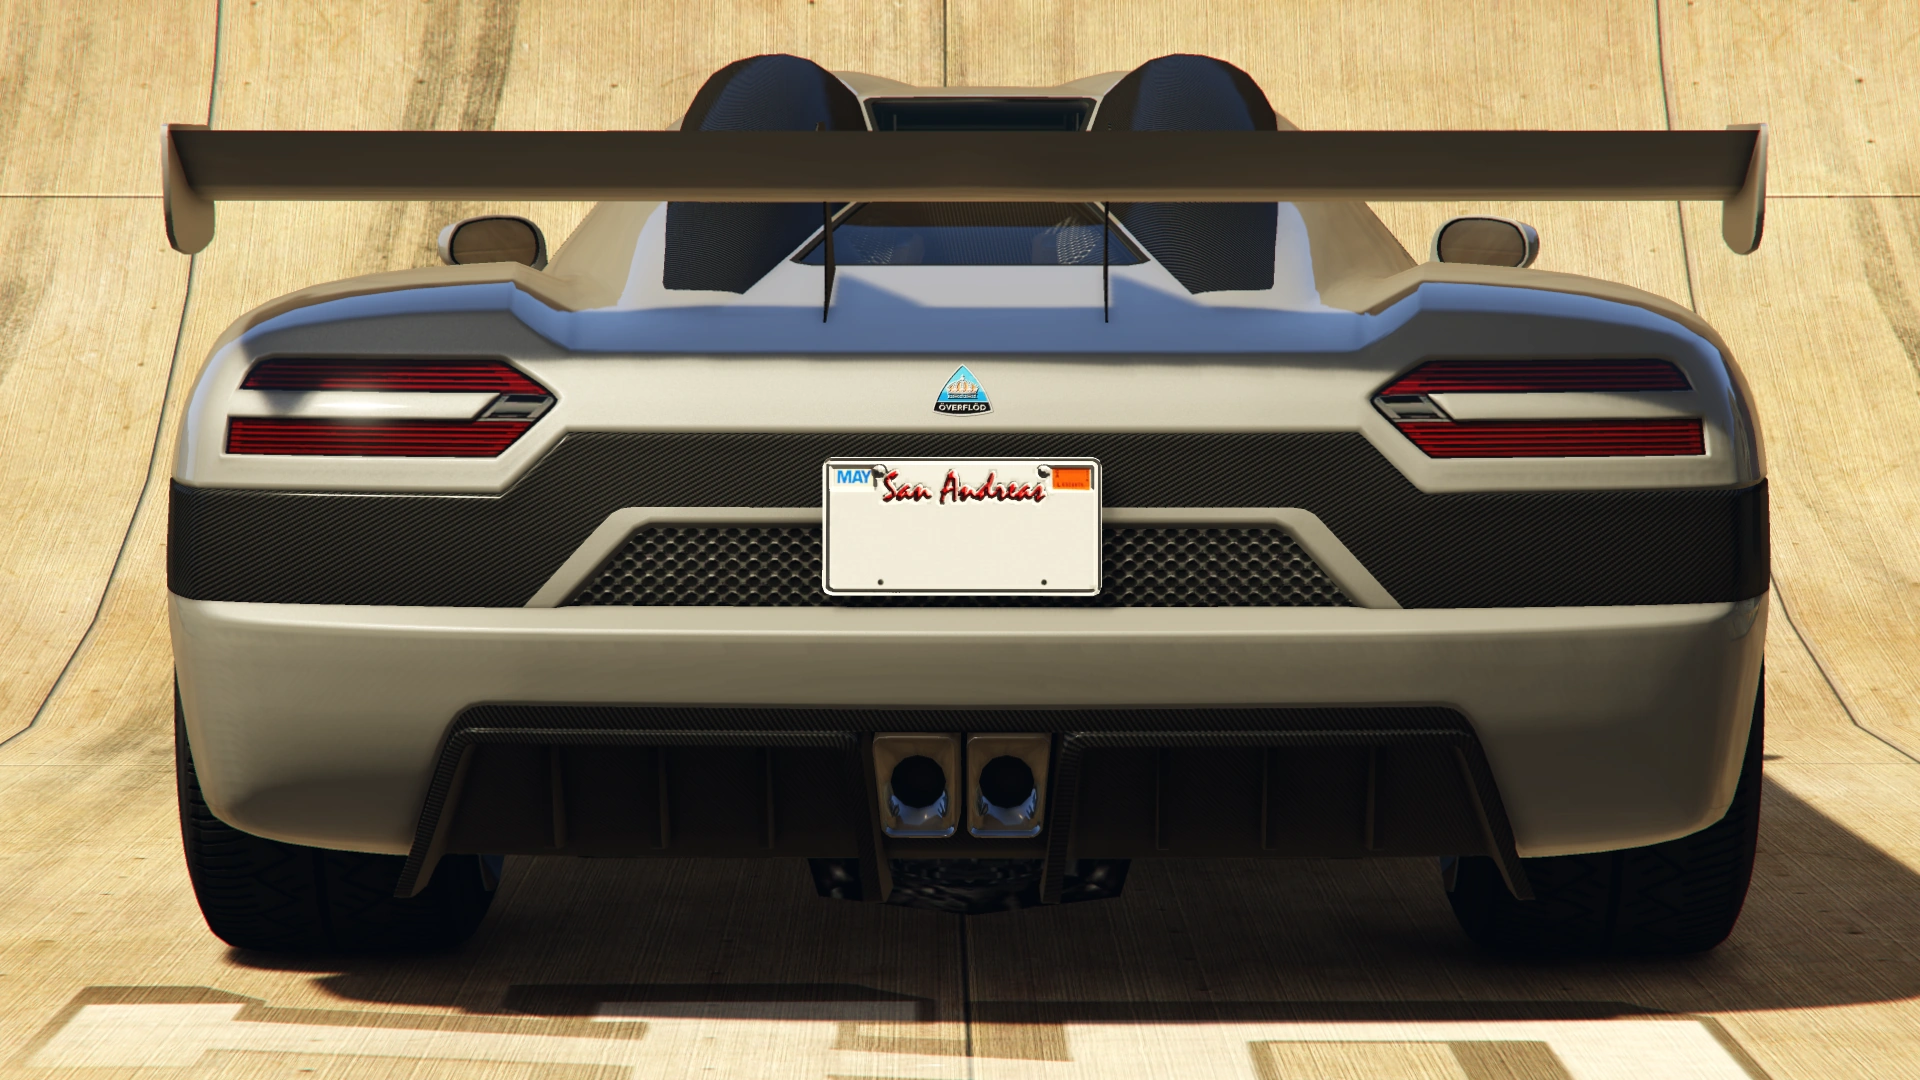
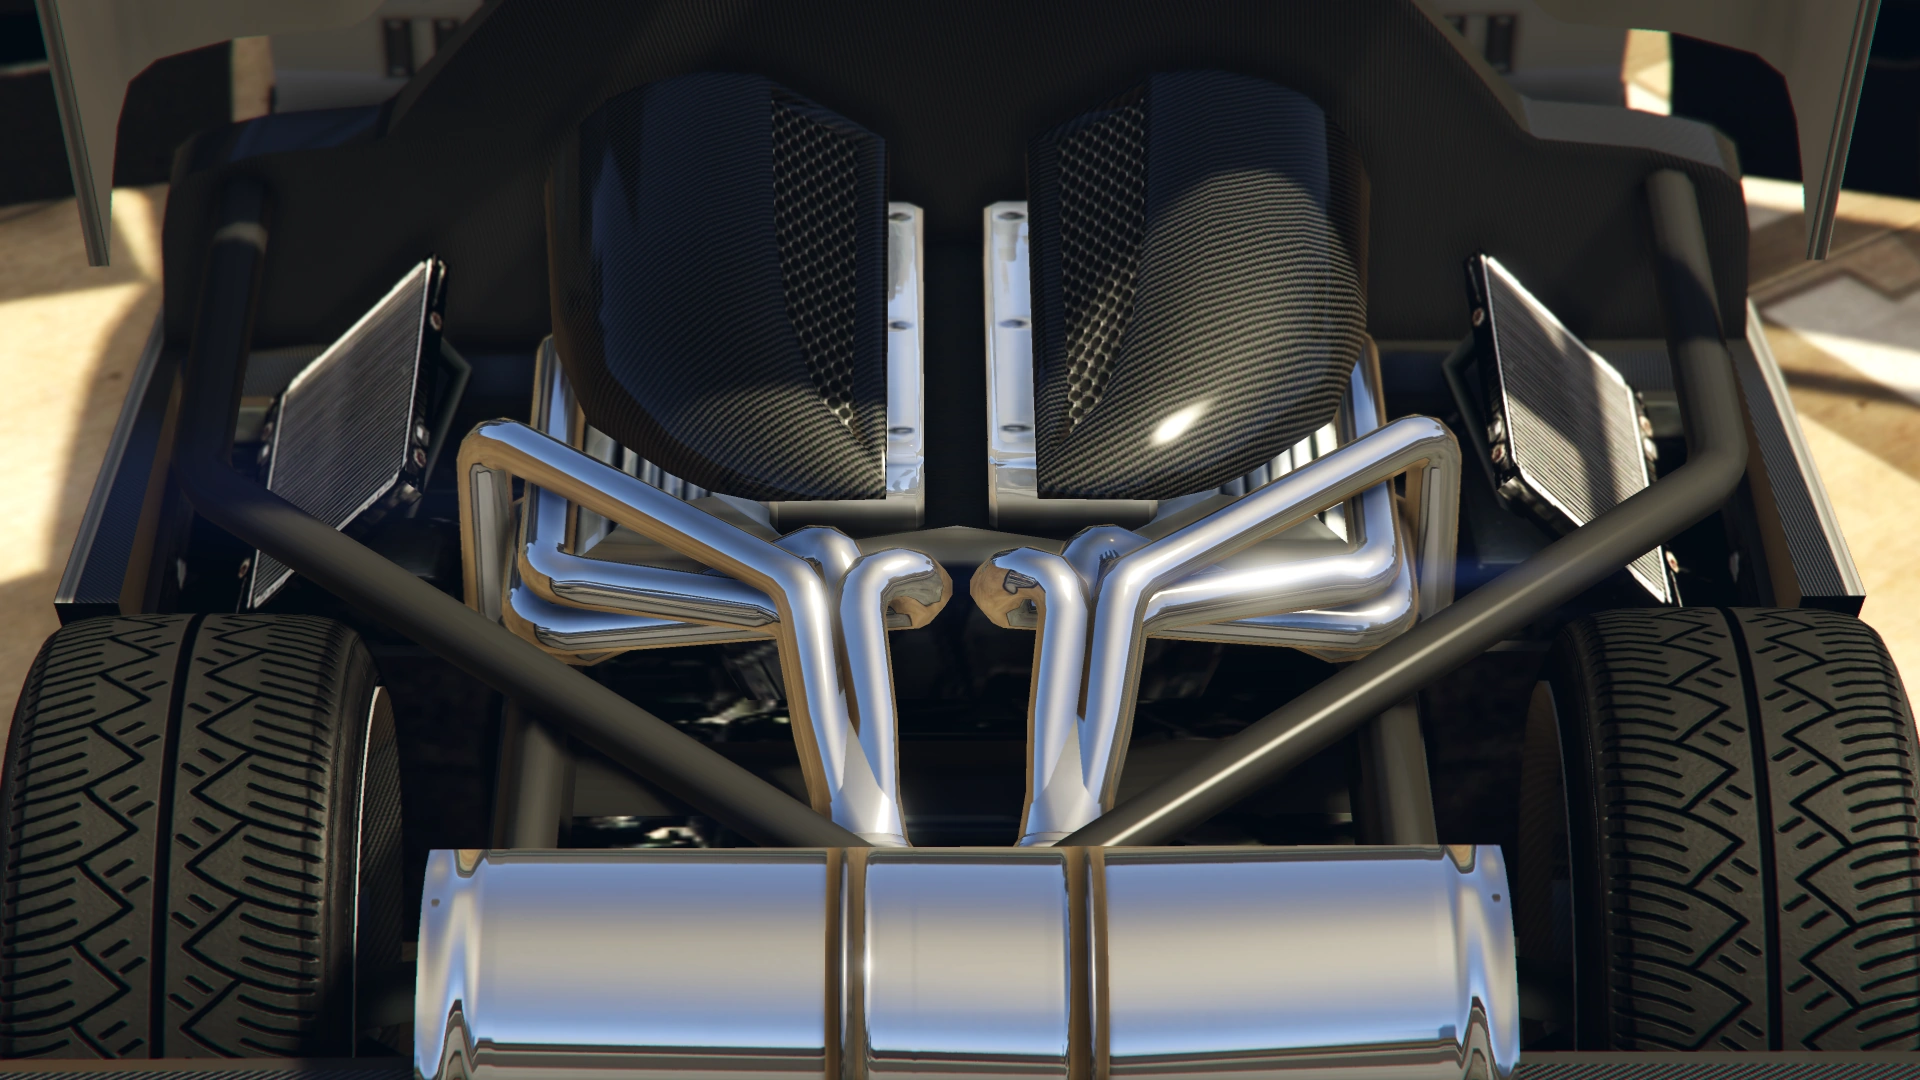
The vehicle is powered by a V8 engine positioned in a rear-mid configuration. This powers the rear wheels. The exact same engine model is found in the FMJ, Cheetah and T20.
One of the reasons this vehicle has such impressive straight-line performance is down to its very high maximum velocity, surpassing any other car before it, however the use of a large DownforceModifier value of 175.0[1] causes it to be significantly reduced - but still superior to most cars. The downforce value gives the vehicle extra downforce, more so than the Tezeract but much less than the Taipan and Autarch.
The Entity XXR's statistical stock top speed is 117 mph / 188.3 km/h.Template:GTARef
- EMS Engine Upgrade 1 produces 118 mph / 190 km/h.
- EMS Engine Upgrade 2 produces 120 mph / 193.1 km/h.
- EMS Engine Upgrade 3 produces 121 mph / 194.7 km/h.
- EMS Engine Upgrade 4 produces 123 mph / 197.9 km/h.
This gives the vehicle, in stock condition, the second highest speed in the game, beaten only by the Tezeract, but on par with several other super cars, including the X80 Proto, Nero Custom and Taipan. When fully upgraded, the vehicle is surpassed by a fully-upgraded Banshee 900R and Pariah.Template:GTARef
The Entity XXR has all four advanced flags enabled[2]:
- The first causes up-shifting to occur much sooner, and at lower engine revolutions, effectively shortening shift rates.
- The second causes the vehicle's engine to heavily over-rev and remain at the engine red-line for a much longer period of time before shifting, causing revolutions to fluctuate.
- The third increases the vehicle's suspension "springiness", causing it to bounce excessively while driving.
GTA Online Overview
| Acceleration (0-60 mph in Seconds) |
Top Speed (mph / kmh) |
Gears | Engine | Drivetrain (FWD / RWD / AWD) |
Mass (kg / lbs) |
Fuel Tank Size (litres) |
|---|---|---|---|---|---|---|
| N/A | 105.6 / 170 | 6 | N/A | RWD | 1400 / 3086.5 | 65 |
| N/A | N/A | N/A | N/A | N/A | N/A | N/A |
| 4.12 Seconds | 117 / 188.3 | 6 | RMR DOHC V8 (In-game model) | RWD | Cannot be observed | Cannot be observed |
Modifications
Grand Theft Auto Online
| Category | Modification | Price | Image | |
|---|---|---|---|---|
| Armor | No Armor | $1,000 | ||
| Armor Upgrade 20% | $7,500 | |||
| Armor Upgrade 40% | $12,000 | |||
| Armor Upgrade 60% | $20,000 | |||
| Armor Upgrade 80% | $35,000 | |||
| Armor Upgrade 100% | $50,000 | |||
| Brakes | Stock Brakes | $1,000 | ||
| Street Brakes | $20,000 | |||
| Sport Brakes | $27,000 | |||
| Race Brakes | $35,000 | |||
| Bumpers | Front Bumpers | Stock Front Bumper | $2,200 | |
| Primary Short Splitter | $4,600 | |||
| Secondary Short Splitter | $7,400 | |||
| Carbon Short Splitter | $11,700 | |||
| Carbon Splitter & Canards | $14,500 | |||
| Primary Splitter & Canards | $14,700 | |||
| Secondary Splitter & Canards | $14,900 | |||
| Highlight Splitter & Canards | $15,100 | |||
| Rear Bumpers | Stock Rear Bumper | $2,200 | ||
| Primary Diffuser | $4,600 | |||
| Secondary Diffuser | $7,400 | |||
| Highlight Diffuser | $11,700 | |||
| Engine | EMS Upgrade, Level 1 | $9,000 | ||
| EMS Upgrade, Level 2 | $12,500 | |||
| EMS Upgrade, Level 3 | $18,000 | |||
| EMS Upgrade, Level 4 | $33,500 | |||
| Exhausts | Stock Exhaust | $260 | ||
| Titanium Exhaust | $750 | |||
| Big Bore Exhaust | $1,800 | |||
| Triple Exit Exhaust | $3,000 | |||
| Explosives | Ignition Bomb | $5,000 | ||
| Remote Bomb | $7,500 | |||
| Hoods | Stock Hood | $1,600 | ||
| Primary Hood Fins | $3,000 | |||
| Secondary Hood Fins | $5,000 | |||
| Carbon Hood Fins | $8,000 | |||
| Horns | Main article: Los Santos Customs/Horns | - | ||
| Lights | Headlights | Stock Lights | $600 | |
| Xenon Lights | $7,500 | |||
| Neon Kits | Main article: Los Santos Customs/Lights | - | ||
| Loss/Theft Prevention | Tracker | |||
| Full Coverage | ||||
| Plates | Blue on White 1 | $200 | ||
| Blue on White 2 | $200 | |||
| Blue on White 3 | $200 | |||
| Yellow on Blue | $300 | |||
| Yellow on Black | $600 | |||
| Respray | Main article: Los Santos Customs/Respray Colors | - | ||
| Sell | Sell Vehicle | |||
| Spoilers | Stock Spoiler | $6,000 | ||
| Remove Wing | $7,050 | |||
| Low Level Spoiler | $10,000 | |||
| Carbon Wing | $13,000 | |||
| GT Wing | $14,000 | |||
| Tuner Wing | $16,000 | |||
| Suspension | Stock Suspension | $200 | ||
| Lowered Suspension | $1,000 | |||
| Street Suspension | $2,000 | |||
| Sport Suspension | $3,400 | |||
| Competition Suspension | $4,400 | |||
| Transmission | Stock Transmission | $1,000 | ||
| Street Transmission | $29,500 | |||
| Sports Transmission | $32,500 | |||
| Race Transmission | $40,000 | |||
| Turbo | None | $5,000 | ||
| Turbo Tuning | $50,000 | |||
| Wheels | Main article: Los Santos Customs/Wheels | - | ||
| Windows | None | $500 | ||
| Light Smoke | $1,500 | |||
| Dark Smoke | $3,500 | |||
| Limo | $5,000 | |||


Image Gallery
Grand Theft Auto Online
")
")
Video

Prominent Appearances in Missions
Grand Theft Auto Online
- Premium Deluxe Repo Work
- Six models need to be destroyed in Repo - Blow Up IV.
- Casino Work
- Can appear in Recovery Time, where it must be retrieved from LSPD Auto Impound and delivered to the Casino.
Location
Grand Theft Auto Online
- Can be purchased from Legendary Motorsport for $2,305,000.
Trivia
Grand Theft Auto Online
- The Entity XXR emits an electrical beep when the engine is turned off, this is the same sound effect used on the Reaper.
- The default radio station for the Entity XXR is Non-Stop-Pop FM.