mNo edit summary |
(Comet Style SR when?) |
||
| Line 71: | Line 71: | ||
===Current Design Gallery=== |
===Current Design Gallery=== |
||
<!--Please ensure you have read the Manual of Style [GTA_Wiki:Manual_of_Style/Vehicles/Design_Galleries] before uploading and adding images to the Current Design Gallery. Failure to meet these guidelines will result in the images being removed and deleted, and repeated offences may result in a warning.--> |
<!--Please ensure you have read the Manual of Style [GTA_Wiki:Manual_of_Style/Vehicles/Design_Galleries] before uploading and adding images to the Current Design Gallery. Failure to meet these guidelines will result in the images being removed and deleted, and repeated offences may result in a warning.--> |
||
| − | |||
{{Current Design Gallery |
{{Current Design Gallery |
||
|front_quarter_image = CometSR-GTAO-FrontQuarter.png |
|front_quarter_image = CometSR-GTAO-FrontQuarter.png |
||
| Line 91: | Line 90: | ||
The Comet SR is very fast in the Sports class, with excellent traction, good acceleration and a high top speed. It drives very similarly to the related [[Comet]], but the extra aerodynamic modifications and added power make it grippier and easier to handle. |
The Comet SR is very fast in the Sports class, with excellent traction, good acceleration and a high top speed. It drives very similarly to the related [[Comet]], but the extra aerodynamic modifications and added power make it grippier and easier to handle. |
||
| − | Like the standard model, the Comet SR is powered by the same single cam carburetored V8, coupled to a 6-speed gearbox in a rear engine, rear wheel drive layout. |
+ | Like the standard model, the Comet SR is powered by the same single cam carburetored V8, coupled to a 6-speed gearbox in a rear engine, rear wheel drive layout. |
====GTA Online Overview==== |
====GTA Online Overview==== |
||
| Line 162: | Line 161: | ||
| rowspan="4" |Front Bumpers |
| rowspan="4" |Front Bumpers |
||
|Stock Front Bumper |
|Stock Front Bumper |
||
| − | | style="text-align: center;"|$2,200 |
+ | | style="text-align: center;" |$2,200 |
|[[File:CometSR-GTAO-StockFrontBumper.png|thumb|center|220px]] |
|[[File:CometSR-GTAO-StockFrontBumper.png|thumb|center|220px]] |
||
|- |
|- |
||
|Primary Splitter |
|Primary Splitter |
||
| − | | style="text-align: center;"|$4,600 |
+ | | style="text-align: center;" |$4,600 |
|[[File:CometSR-GTAO-PrimarySplitter.png|thumb|center|220px]] |
|[[File:CometSR-GTAO-PrimarySplitter.png|thumb|center|220px]] |
||
|- |
|- |
||
|Secondary Splitter |
|Secondary Splitter |
||
| − | | style="text-align: center;"|$7,400 |
+ | | style="text-align: center;" |$7,400 |
|[[File:CometSR-GTAO-SecondarySplitter.png|thumb|center|220px]] |
|[[File:CometSR-GTAO-SecondarySplitter.png|thumb|center|220px]] |
||
|- |
|- |
||
|Competition Splitter |
|Competition Splitter |
||
| − | | style="text-align: center;"|$11,700 |
+ | | style="text-align: center;" |$11,700 |
|[[File:CometSR-GTAO-CompetitionSplitter.png|thumb|center|220px]] |
|[[File:CometSR-GTAO-CompetitionSplitter.png|thumb|center|220px]] |
||
|- |
|- |
||
| rowspan="3" |Rear Bumpers |
| rowspan="3" |Rear Bumpers |
||
|Stock Rear Bumper |
|Stock Rear Bumper |
||
| − | | style="text-align: center;"|$2,200 |
+ | | style="text-align: center;" |$2,200 |
|[[File:CometSR-GTAO-StockRearBumper.png|thumb|center|220px]] |
|[[File:CometSR-GTAO-StockRearBumper.png|thumb|center|220px]] |
||
|- |
|- |
||
|Primary Rear Bumper |
|Primary Rear Bumper |
||
| − | | style="text-align: center;"|$4,600 |
+ | | style="text-align: center;" |$4,600 |
|[[File:CometSR-GTAO-PrimaryRearBumper.png|thumb|center|220px]] |
|[[File:CometSR-GTAO-PrimaryRearBumper.png|thumb|center|220px]] |
||
|- |
|- |
||
|Secondary Rear Bumper |
|Secondary Rear Bumper |
||
| − | | style="text-align: center;"|$7,400 |
+ | | style="text-align: center;" |$7,400 |
|[[File:CometSR-GTAO-SecondaryRearBumper.png|thumb|center|220px]] |
|[[File:CometSR-GTAO-SecondaryRearBumper.png|thumb|center|220px]] |
||
|- |
|- |
||
| Line 205: | Line 204: | ||
| colspan="2" rowspan="4" |Engine |
| colspan="2" rowspan="4" |Engine |
||
|EMS Upgrade, Level 1 |
|EMS Upgrade, Level 1 |
||
| − | | colspan="2" style="text-align: center;"|$9,000 |
+ | | colspan="2" style="text-align: center;" |$9,000 |
|- |
|- |
||
|EMS Upgrade, Level 2 |
|EMS Upgrade, Level 2 |
||
| − | | colspan="2" style="text-align: center;"|$12,500 |
+ | | colspan="2" style="text-align: center;" |$12,500 |
|- |
|- |
||
|EMS Upgrade, Level 3 |
|EMS Upgrade, Level 3 |
||
| − | | colspan="2" style="text-align: center;"|$18,000 |
+ | | colspan="2" style="text-align: center;" |$18,000 |
|- |
|- |
||
|EMS Upgrade, Level 4 |
|EMS Upgrade, Level 4 |
||
| − | | colspan="2" style="text-align: center;"|$33,500 |
+ | | colspan="2" style="text-align: center;" |$33,500 |
|- |
|- |
||
| colspan="2" rowspan="5" |Exhausts |
| colspan="2" rowspan="5" |Exhausts |
||
|Stock Exhaust |
|Stock Exhaust |
||
| − | | style="text-align: center;"|$260 |
+ | | style="text-align: center;" |$260 |
|[[File:CometSR-GTAO-StockExhaust.png|thumb|center|220px]] |
|[[File:CometSR-GTAO-StockExhaust.png|thumb|center|220px]] |
||
|- |
|- |
||
|Twin Exhausts |
|Twin Exhausts |
||
| − | | style="text-align: center;"|$750 |
+ | | style="text-align: center;" |$750 |
|[[File:CometSR-GTAO-TwinExhausts.png|thumb|center|220px]] |
|[[File:CometSR-GTAO-TwinExhausts.png|thumb|center|220px]] |
||
|- |
|- |
||
|Angled Dual Exhausts |
|Angled Dual Exhausts |
||
| − | | style="text-align: center;"|$1,800 |
+ | | style="text-align: center;" |$1,800 |
|[[File:CometSR-GTAO-AngledDualExhausts.png|thumb|center|220px]] |
|[[File:CometSR-GTAO-AngledDualExhausts.png|thumb|center|220px]] |
||
|- |
|- |
||
|Oval Shaped Exhausts |
|Oval Shaped Exhausts |
||
| − | | style="text-align: center;"|$3,000 |
+ | | style="text-align: center;" |$3,000 |
|[[File:CometSR-GTAO-OvalShapedExhausts.png|thumb|center|220px]] |
|[[File:CometSR-GTAO-OvalShapedExhausts.png|thumb|center|220px]] |
||
|- |
|- |
||
|Titanium Tipped Exhausts |
|Titanium Tipped Exhausts |
||
| − | | style="text-align: center;"|$9,550 |
+ | | style="text-align: center;" |$9,550 |
|[[File:CometSR-GTAO-TitaniumTippedExhausts.png|thumb|center|220px]] |
|[[File:CometSR-GTAO-TitaniumTippedExhausts.png|thumb|center|220px]] |
||
| ⚫ | |||
| + | | colspan="2" rowspan="2" |[[Car Bomb|Explosives]] |
||
| + | |Ignition Bomb |
||
| ⚫ | |||
| + | |- |
||
| + | |Remote Bomb |
||
| + | | colspan="2" style="text-align: center;" |$7,500 |
||
|- |
|- |
||
| colspan="2" rowspan="2" |Fenders |
| colspan="2" rowspan="2" |Fenders |
||
|Stock Fender |
|Stock Fender |
||
| − | | style="text-align: center;"|$ |
+ | | style="text-align: center;" |$300 |
|[[File:CometSR-GTAO-StockFender.png|thumb|center|220px]] |
|[[File:CometSR-GTAO-StockFender.png|thumb|center|220px]] |
||
|- |
|- |
||
|Extended Arches |
|Extended Arches |
||
| − | | style="text-align: center;"|$900 |
+ | | style="text-align: center;" |$900 |
|[[File:CometSR-GTAO-ExtendedArches.png|thumb|center|220px]] |
|[[File:CometSR-GTAO-ExtendedArches.png|thumb|center|220px]] |
||
|- |
|- |
||
| colspan="2" rowspan="3" |Hoods |
| colspan="2" rowspan="3" |Hoods |
||
|Stock Hood |
|Stock Hood |
||
| − | | style="text-align: center;"|$1,600 |
+ | | style="text-align: center;" |$1,600 |
|[[File:CometSR-GTAO-StockHood.png|thumb|center|220px]] |
|[[File:CometSR-GTAO-StockHood.png|thumb|center|220px]] |
||
|- |
|- |
||
|Secondary Hood |
|Secondary Hood |
||
| − | | style="text-align: center;"|$3,000 |
+ | | style="text-align: center;" |$3,000 |
|[[File:CometSR-GTAO-SecondaryHood.png|thumb|center|220px]] |
|[[File:CometSR-GTAO-SecondaryHood.png|thumb|center|220px]] |
||
|- |
|- |
||
|Carbon Hood |
|Carbon Hood |
||
| − | | style="text-align: center;"|$5,000 |
+ | | style="text-align: center;" |$5,000 |
|[[File:CometSR-GTAO-CarbonHood.png|thumb|center|220px]] |
|[[File:CometSR-GTAO-CarbonHood.png|thumb|center|220px]] |
||
| + | |- |
||
| ⚫ | |||
| + | |''Main article: [[Los Santos Customs/Horns]]'' |
||
| + | | colspan="2" style="text-align: center;" | - |
||
|- |
|- |
||
| rowspan="3" |Lights |
| rowspan="3" |Lights |
||
| Line 294: | Line 304: | ||
| colspan="2" style="text-align: center;" |$600 |
| colspan="2" style="text-align: center;" |$600 |
||
|- |
|- |
||
| − | | colspan="2" | |
+ | | colspan="2" |Respray |
|''Main article: [[Los Santos Customs/Respray Colors]]'' |
|''Main article: [[Los Santos Customs/Respray Colors]]'' |
||
| colspan="2" style="text-align: center;" | - |
| colspan="2" style="text-align: center;" | - |
||
| ⚫ | |||
| ⚫ | |||
| ⚫ | |||
| ⚫ | |||
|- |
|- |
||
| colspan="2" rowspan="3" |Roofs |
| colspan="2" rowspan="3" |Roofs |
||
|Stock Roof |
|Stock Roof |
||
| − | | style="text-align: center;"|$200 |
+ | | style="text-align: center;" |$200 |
|[[File:CometSR-GTAO-StockRoof.png|thumb|center|220px]] |
|[[File:CometSR-GTAO-StockRoof.png|thumb|center|220px]] |
||
|- |
|- |
||
|Primary Roof |
|Primary Roof |
||
| − | | style="text-align: center;"|$700 |
+ | | style="text-align: center;" |$700 |
|[[File:CometSR-GTAO-PrimaryRoof.png|thumb|center|220px]] |
|[[File:CometSR-GTAO-PrimaryRoof.png|thumb|center|220px]] |
||
|- |
|- |
||
|Secondary Roof |
|Secondary Roof |
||
| − | | style="text-align: center;"|$1,150 |
+ | | style="text-align: center;" |$1,150 |
|[[File:CometSR-GTAO-SecondaryRoof.png|thumb|center|220px]] |
|[[File:CometSR-GTAO-SecondaryRoof.png|thumb|center|220px]] |
||
| + | |- |
||
| + | | colspan="2" |Sell |
||
| ⚫ | |||
| + | | colspan="2" style="text-align: center;" | |
||
|- |
|- |
||
| colspan="2" rowspan="4" |Skirts |
| colspan="2" rowspan="4" |Skirts |
||
|Stock Skirts |
|Stock Skirts |
||
| − | | style="text-align: center;"|$2,500 |
+ | | style="text-align: center;" |$2,500 |
|[[File:CometSR-GTAO-StockSkirts.png|thumb|center|220px]] |
|[[File:CometSR-GTAO-StockSkirts.png|thumb|center|220px]] |
||
|- |
|- |
||
|Primary Skirts |
|Primary Skirts |
||
| − | | style="text-align: center;"|$5,500 |
+ | | style="text-align: center;" |$5,500 |
|[[File:CometSR-GTAO-PrimarySkirts.png|thumb|center|220px]] |
|[[File:CometSR-GTAO-PrimarySkirts.png|thumb|center|220px]] |
||
|- |
|- |
||
|Secondary Skirts |
|Secondary Skirts |
||
| − | | style="text-align: center;"|$8,000 |
+ | | style="text-align: center;" |$8,000 |
|[[File:CometSR-GTAO-SecondarySkirts.png|thumb|center|220px]] |
|[[File:CometSR-GTAO-SecondarySkirts.png|thumb|center|220px]] |
||
|- |
|- |
||
|Competition Skirts |
|Competition Skirts |
||
| − | | style="text-align: center;"|$10,500 |
+ | | style="text-align: center;" |$10,500 |
|[[File:CometSR-GTAO-CompetitionSkirts.png|thumb|center|220px]] |
|[[File:CometSR-GTAO-CompetitionSkirts.png|thumb|center|220px]] |
||
|- |
|- |
||
| colspan="2" rowspan="9" |Spoilers |
| colspan="2" rowspan="9" |Spoilers |
||
|None |
|None |
||
| − | | style="text-align: center;"|$6,000 |
+ | | style="text-align: center;" |$6,000 |
|[[File:CometSR-GTAO-NoSpoiler.png|thumb|center|220px]] |
|[[File:CometSR-GTAO-NoSpoiler.png|thumb|center|220px]] |
||
|- |
|- |
||
|Stock Spoiler |
|Stock Spoiler |
||
| − | | style="text-align: center;"|$7,050 |
+ | | style="text-align: center;" |$7,050 |
|[[File:CometSR-GTAO-StockSpoiler.png|thumb|center|220px]] |
|[[File:CometSR-GTAO-StockSpoiler.png|thumb|center|220px]] |
||
|- |
|- |
||
|Carbon Stock Spoiler |
|Carbon Stock Spoiler |
||
| − | | style="text-align: center;"|$10,000 |
+ | | style="text-align: center;" |$10,000 |
|[[File:CometSR-GTAO-CarbonStockSpoiler.png|thumb|center|220px]] |
|[[File:CometSR-GTAO-CarbonStockSpoiler.png|thumb|center|220px]] |
||
|- |
|- |
||
|Primary Spoiler |
|Primary Spoiler |
||
| − | | style="text-align: center;"|$13,000 |
+ | | style="text-align: center;" |$13,000 |
|[[File:CometSR-GTAO-PrimarySpoiler.png|thumb|center|220px]] |
|[[File:CometSR-GTAO-PrimarySpoiler.png|thumb|center|220px]] |
||
|- |
|- |
||
|Secondary Spoiler |
|Secondary Spoiler |
||
| − | | style="text-align: center;"|$14,000 |
+ | | style="text-align: center;" |$14,000 |
|[[File:CometSR-GTAO-SecondarySpoiler.png|thumb|center|220px]] |
|[[File:CometSR-GTAO-SecondarySpoiler.png|thumb|center|220px]] |
||
|- |
|- |
||
|Carbon Spoiler |
|Carbon Spoiler |
||
| − | | style="text-align: center;"|$16,000 |
+ | | style="text-align: center;" |$16,000 |
|[[File:CometSR-GTAO-CarbonSpoiler.png|thumb|center|220px]] |
|[[File:CometSR-GTAO-CarbonSpoiler.png|thumb|center|220px]] |
||
|- |
|- |
||
|Primary Race Spoiler |
|Primary Race Spoiler |
||
| − | | style="text-align: center;"|$16,500 |
+ | | style="text-align: center;" |$16,500 |
|[[File:CometSR-GTAO-PrimaryRaceSpoiler.png|thumb|center|220px]] |
|[[File:CometSR-GTAO-PrimaryRaceSpoiler.png|thumb|center|220px]] |
||
|- |
|- |
||
|Secondary Race Spoiler |
|Secondary Race Spoiler |
||
| − | | style="text-align: center;"|$17,000 |
+ | | style="text-align: center;" |$17,000 |
|[[File:CometSR-GTAO-SecondaryRaceSpoiler.png|thumb|center|220px]] |
|[[File:CometSR-GTAO-SecondaryRaceSpoiler.png|thumb|center|220px]] |
||
|- |
|- |
||
|Carbon Race Spoiler |
|Carbon Race Spoiler |
||
| − | | style="text-align: center;"|$17,500 |
+ | | style="text-align: center;" |$17,500 |
|[[File:CometSR-GTAO-CarbonRaceSpoiler.png|thumb|center|220px]] |
|[[File:CometSR-GTAO-CarbonRaceSpoiler.png|thumb|center|220px]] |
||
|- |
|- |
||
| Line 408: | Line 418: | ||
| colspan="2" rowspan="4" |Windows |
| colspan="2" rowspan="4" |Windows |
||
|None |
|None |
||
| − | | colspan="2" style="text-align: center;"|$500 |
+ | | colspan="2" style="text-align: center;" |$500 |
|- |
|- |
||
|Light Smoke |
|Light Smoke |
||
| − | | colspan="2" style="text-align: center;"|$1,500 |
+ | | colspan="2" style="text-align: center;" |$1,500 |
|- |
|- |
||
|Dark Smoke |
|Dark Smoke |
||
| − | | colspan="2" style="text-align: center;"|$3,500 |
+ | | colspan="2" style="text-align: center;" |$3,500 |
|- |
|- |
||
|Limo |
|Limo |
||
| − | | colspan="2" style="text-align: center;"|$5,000 |
+ | | colspan="2" style="text-align: center;" |$5,000 |
|} |
|} |
||
| Line 423: | Line 433: | ||
===''Grand Theft Auto Online''=== |
===''Grand Theft Auto Online''=== |
||
<gallery position="center" spacing="small" widths="270px" hideaddbutton="true"> |
<gallery position="center" spacing="small" widths="270px" hideaddbutton="true"> |
||
| ⚫ | |||
CometSR-GTAO-LegendaryMS.png|The '''Comet SR''' on [[Legendary Motorsport]]. |
CometSR-GTAO-LegendaryMS.png|The '''Comet SR''' on [[Legendary Motorsport]]. |
||
CometSR-GTAO-RGSC.jpg|The '''Comet SR''' on [[Rockstar Games Social Club]]. |
CometSR-GTAO-RGSC.jpg|The '''Comet SR''' on [[Rockstar Games Social Club]]. |
||
| ⚫ | |||
</gallery> |
</gallery> |
||
| Line 433: | Line 443: | ||
==Locations== |
==Locations== |
||
===''Grand Theft Auto Online''=== |
===''Grand Theft Auto Online''=== |
||
| − | *Can be purchased from [[Legendary Motorsport]] for [[Money|$]]1,145,000 |
+ | *Can be purchased from [[Legendary Motorsport]] for [[Money|$]]1,145,000. |
| + | **The vehicle comes with the "Stock Spoiler" as standard when purchased. |
||
==Trivia== |
==Trivia== |
||
Revision as of 04:37, 29 June 2019
Template:Next-Gen Template:Infobox vehicles
The Pfister Comet SR is a sports car featured in Grand Theft Auto Online as part of the The Doomsday Heist update, released on February 27th, 2018, during the GTA Online Bonuses event.
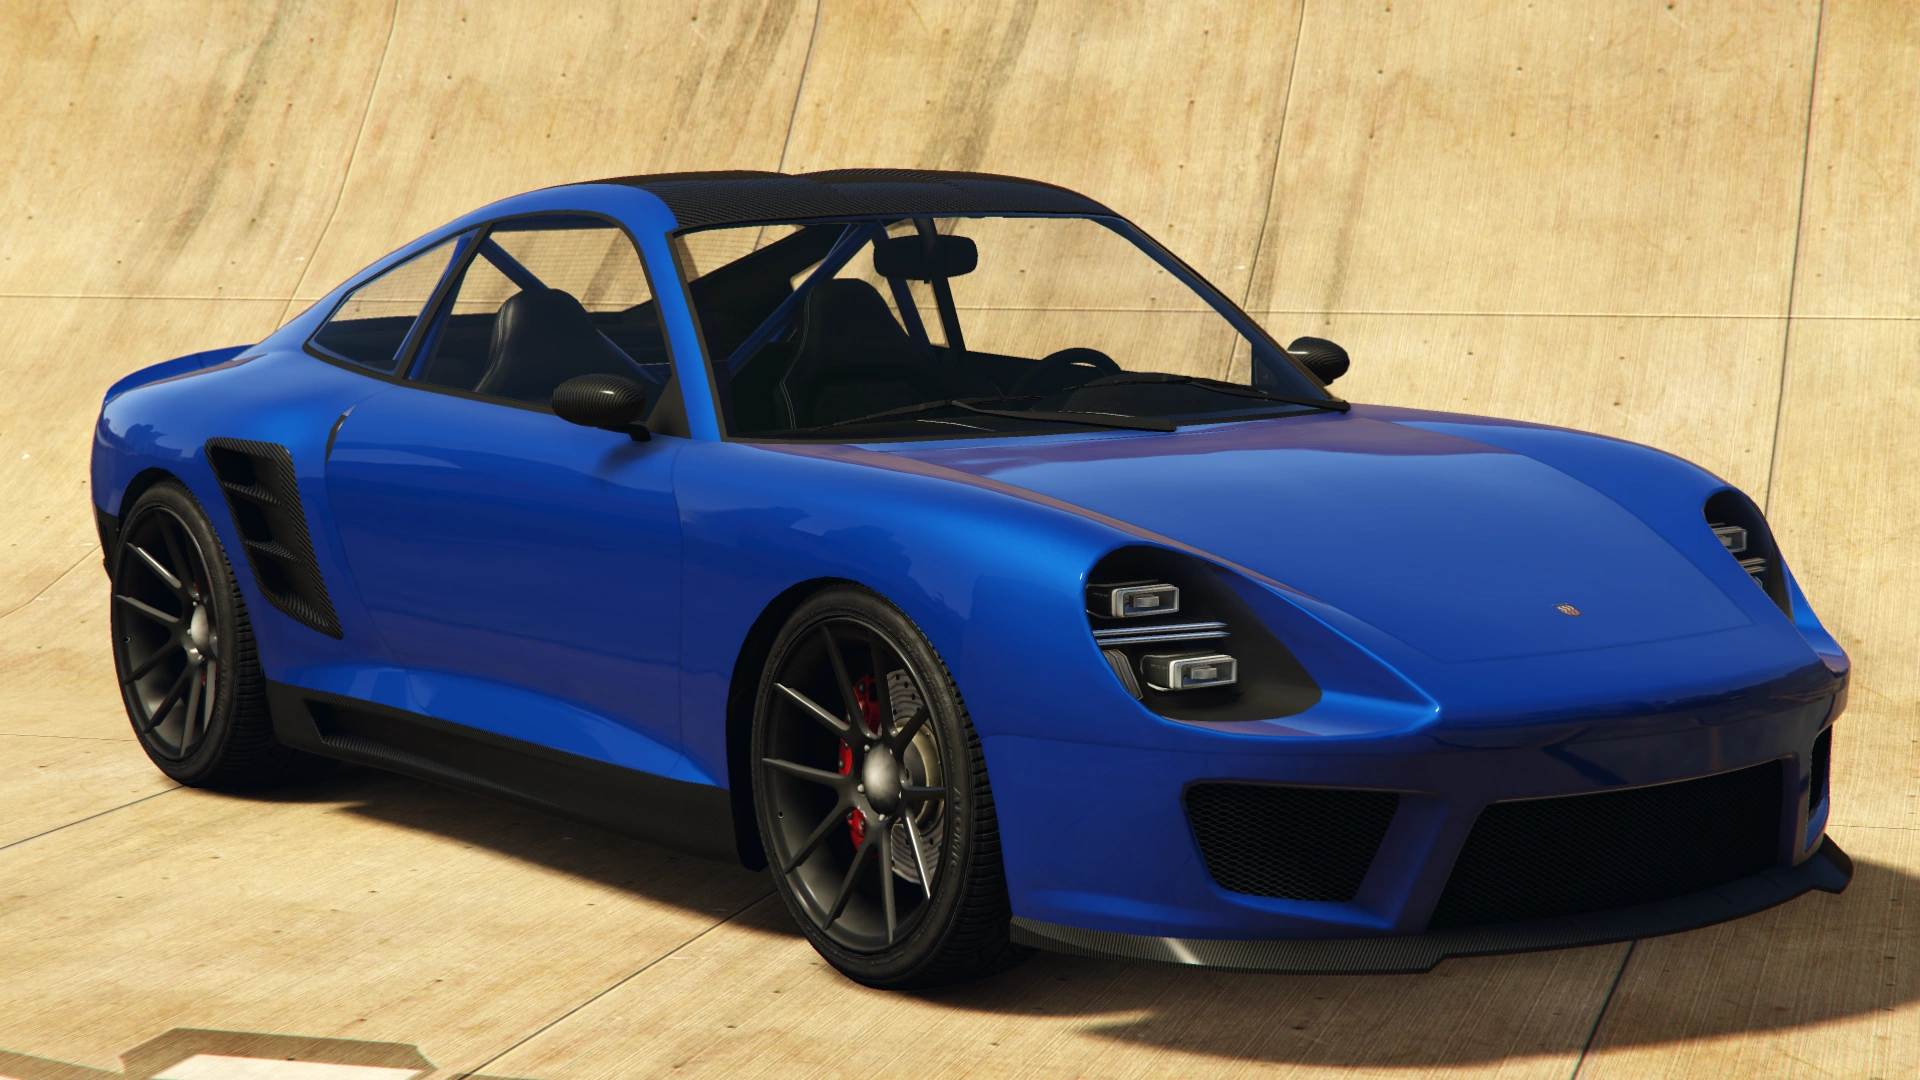
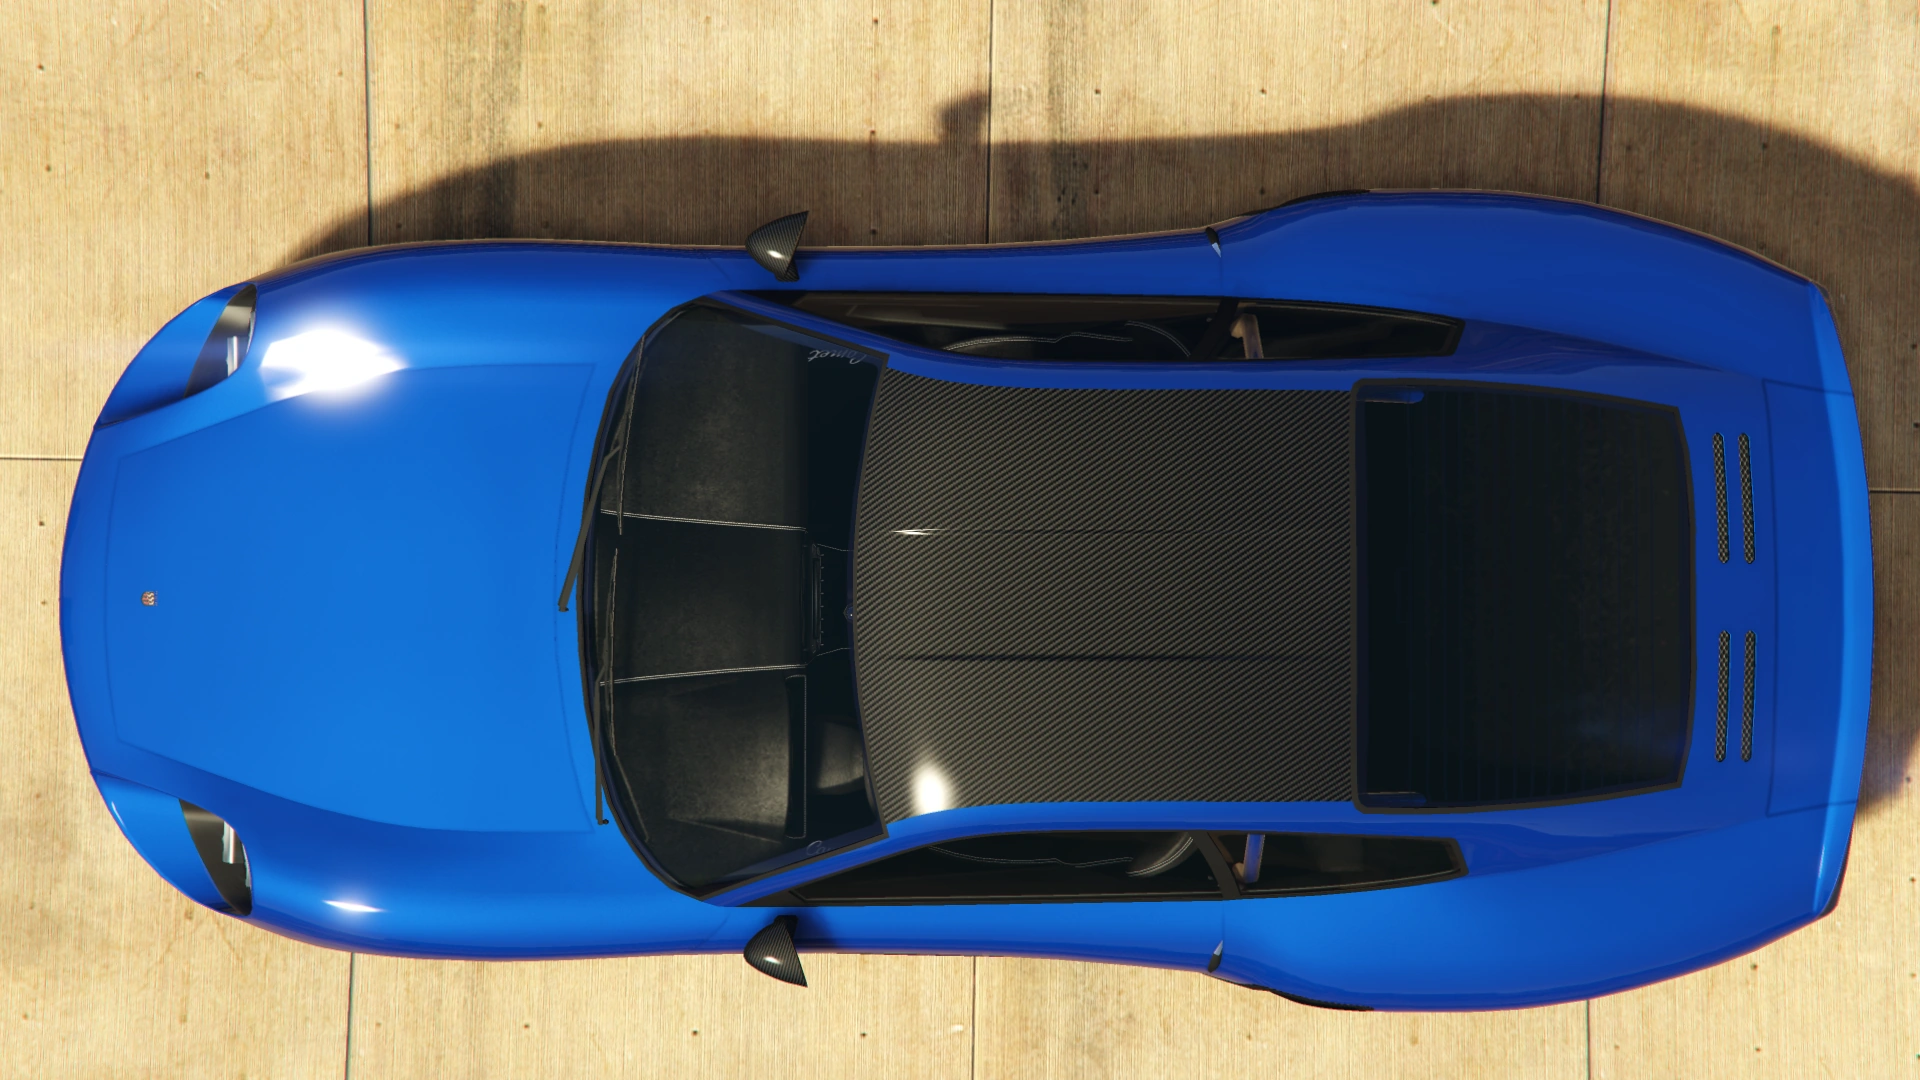
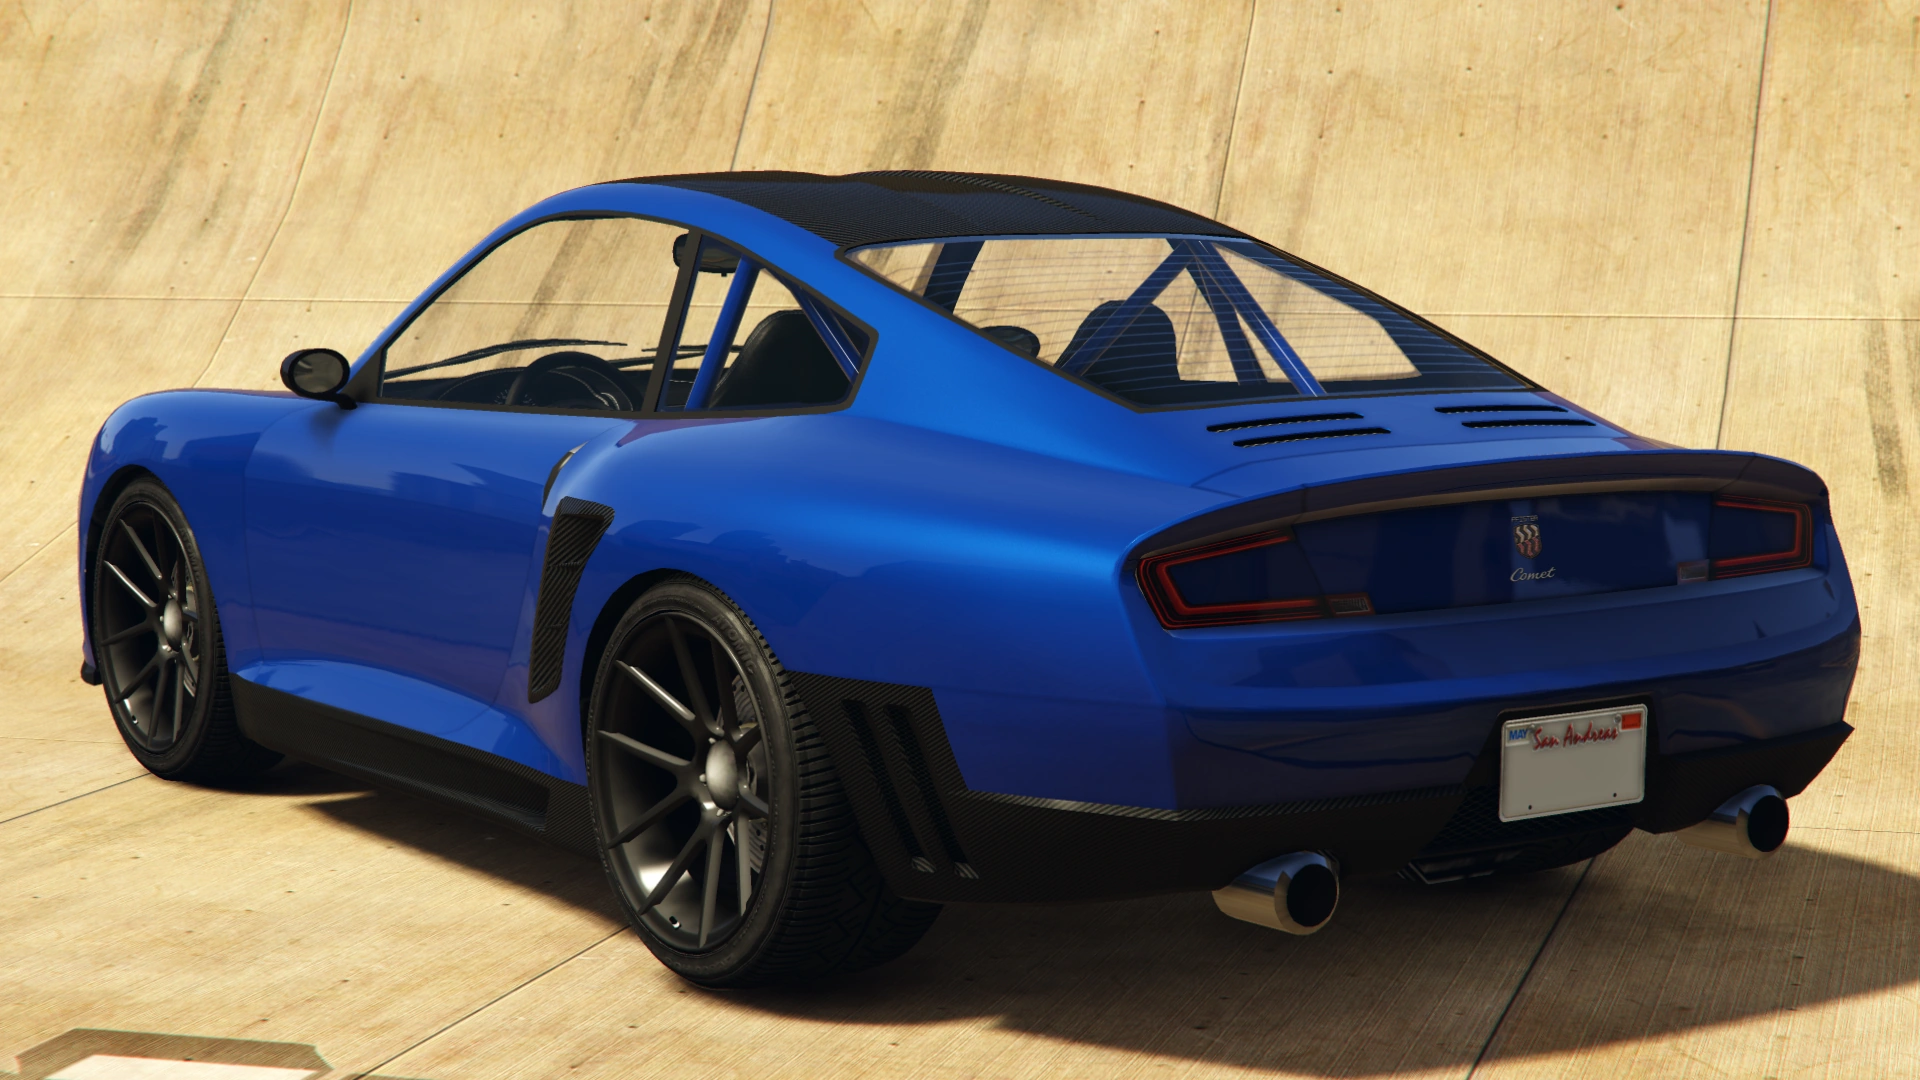
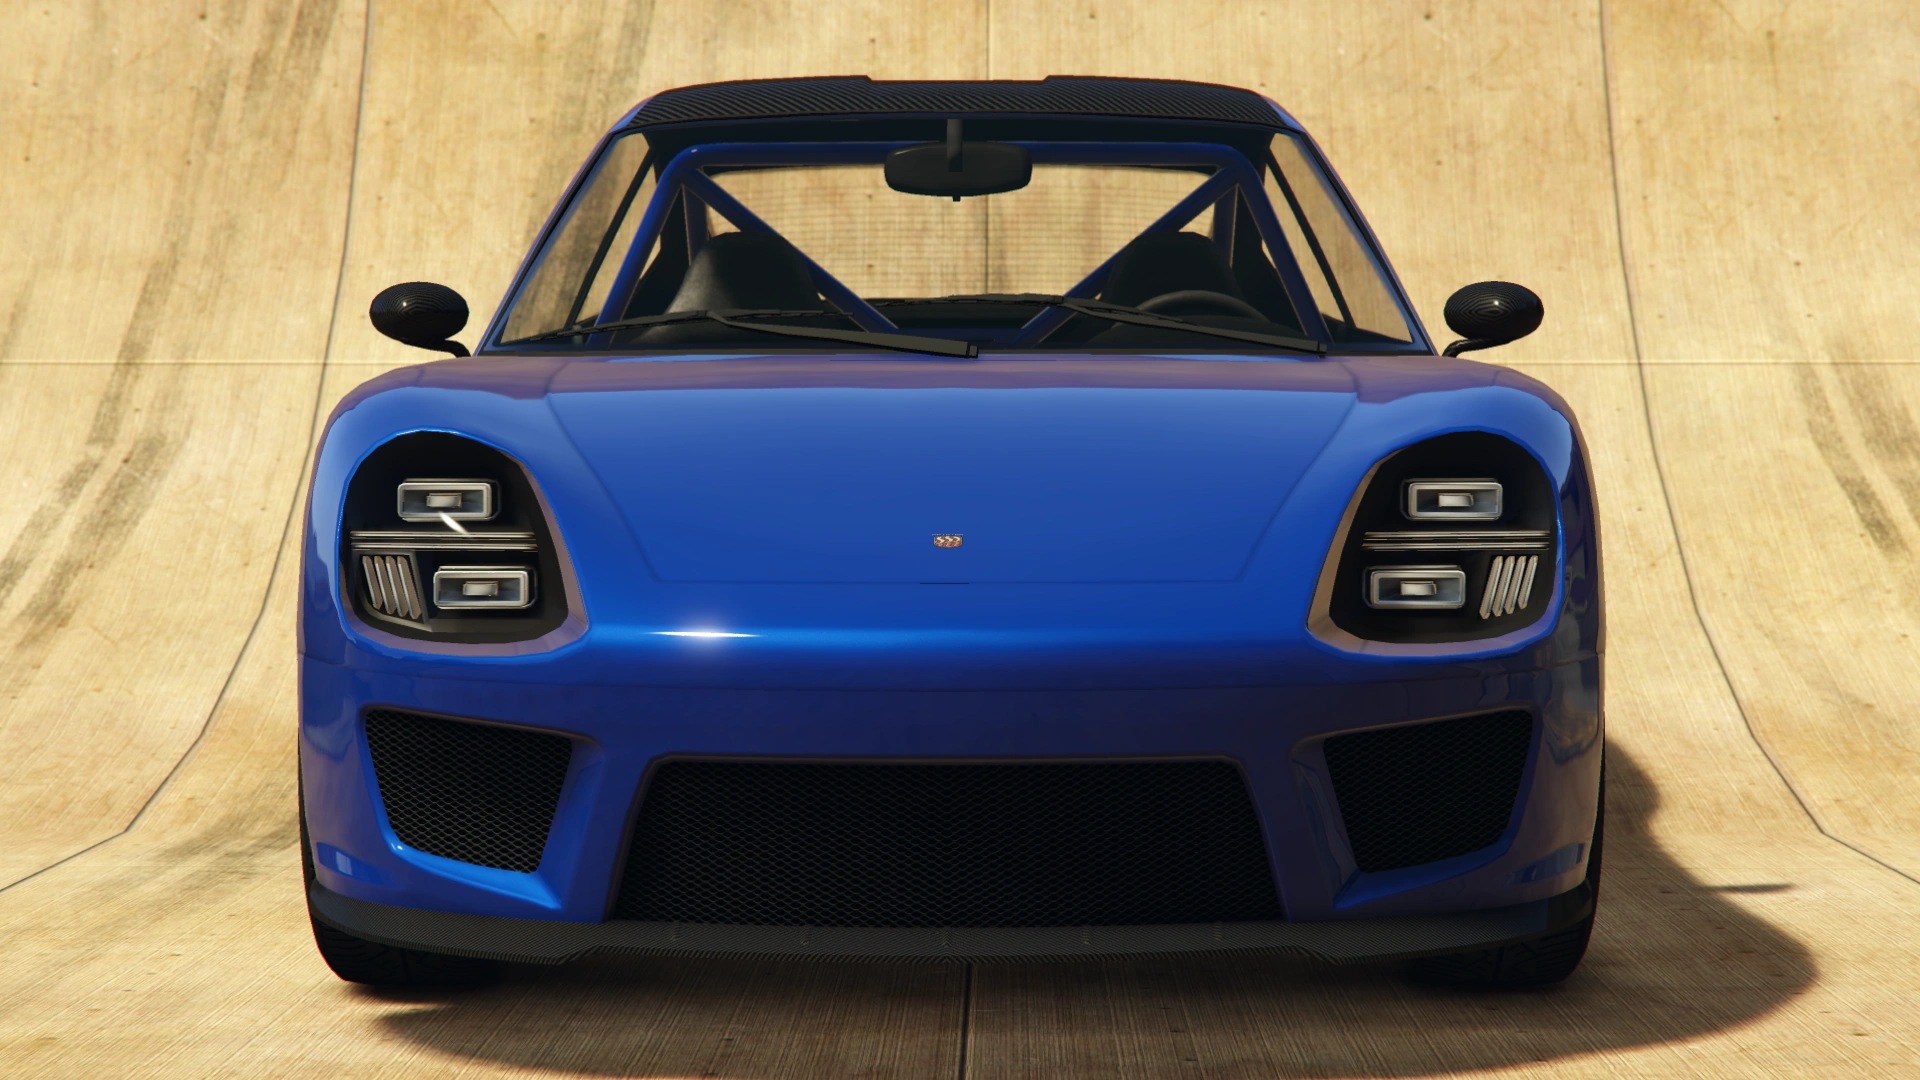
Design
Grand Theft Auto Online
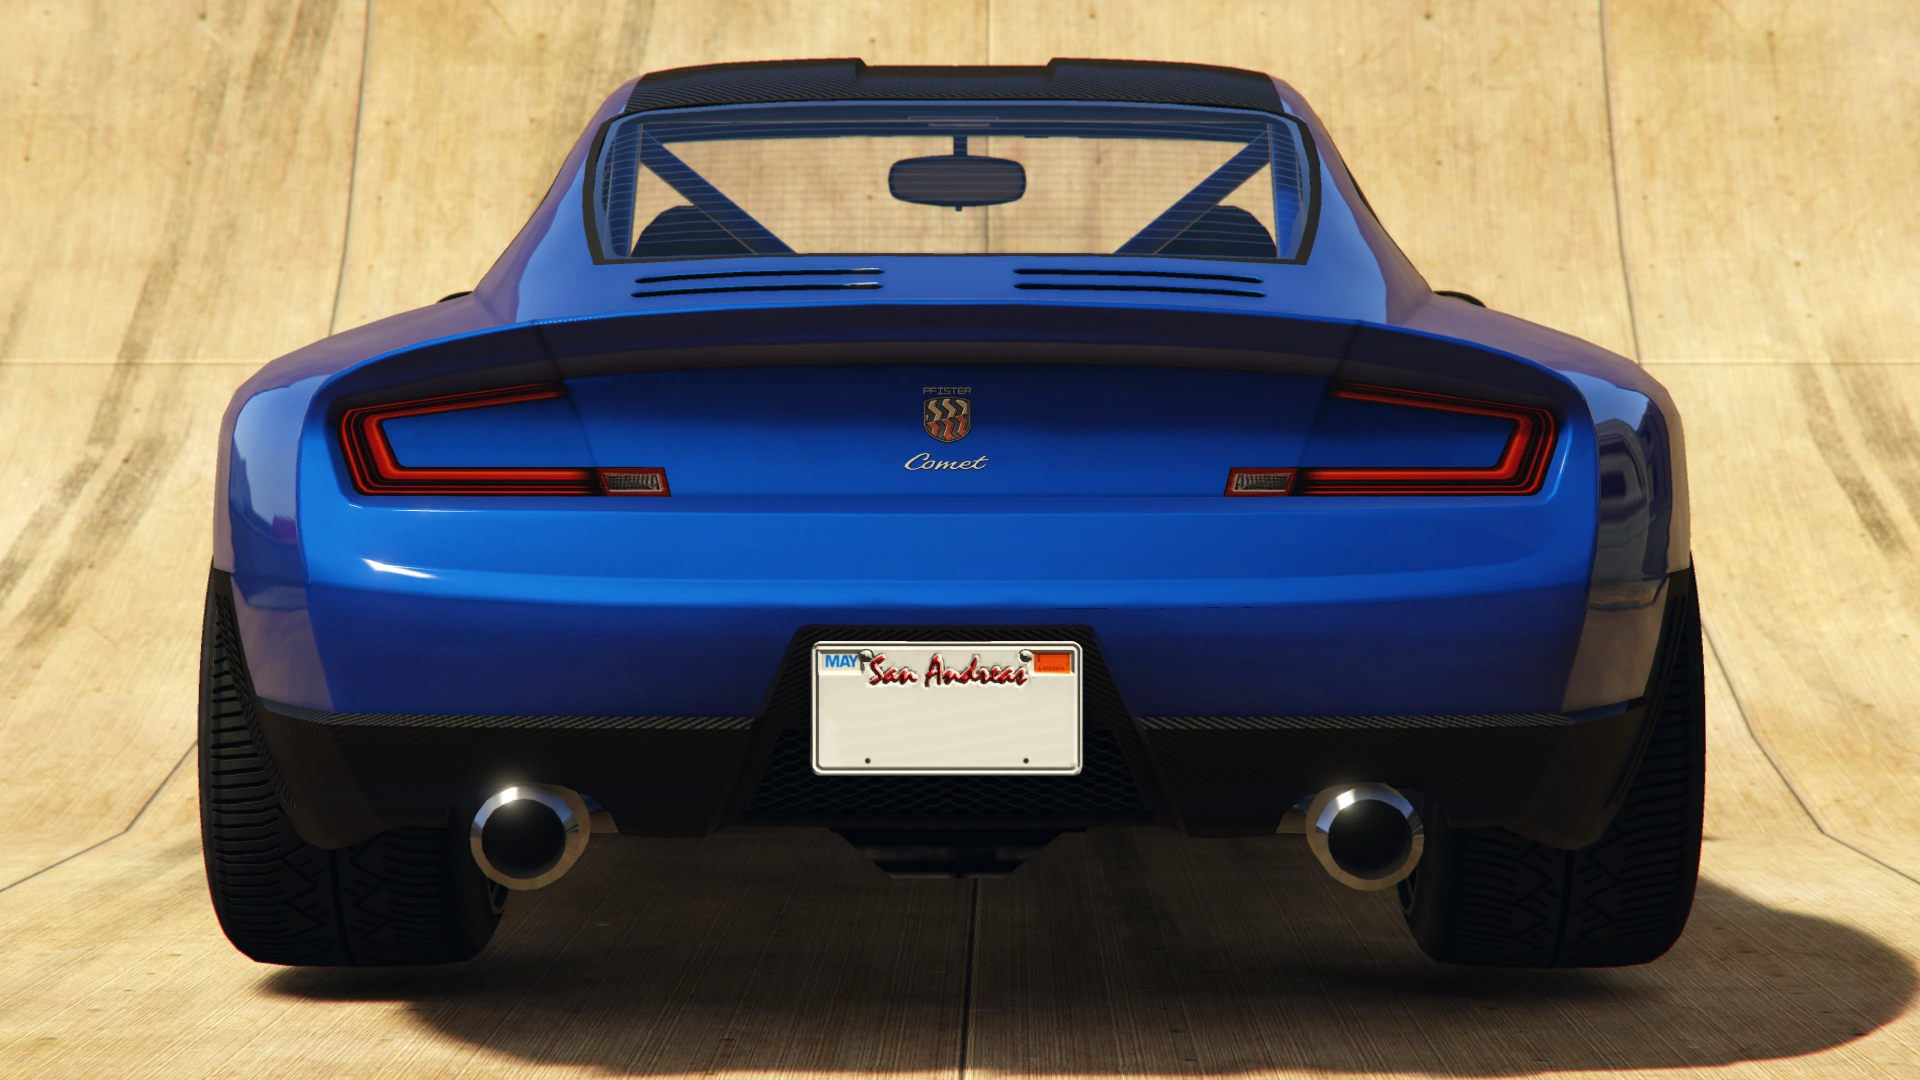
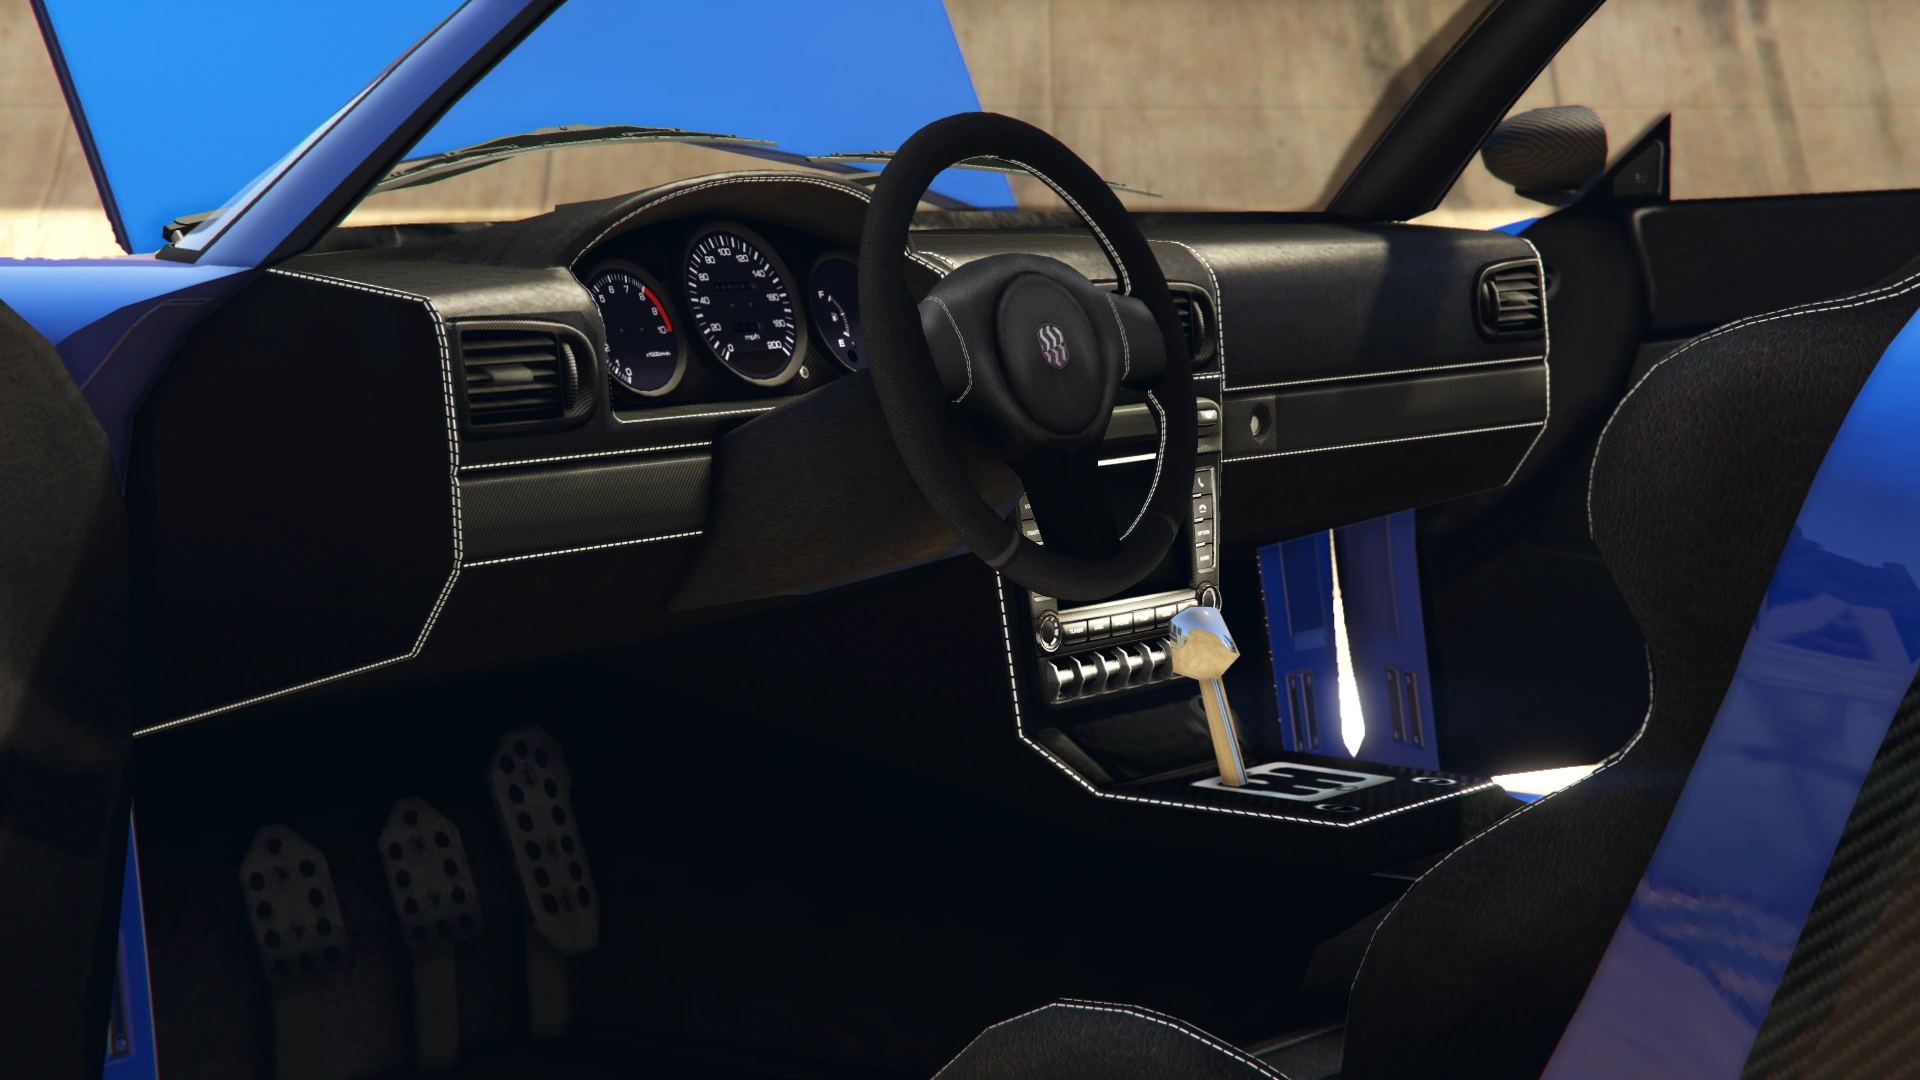
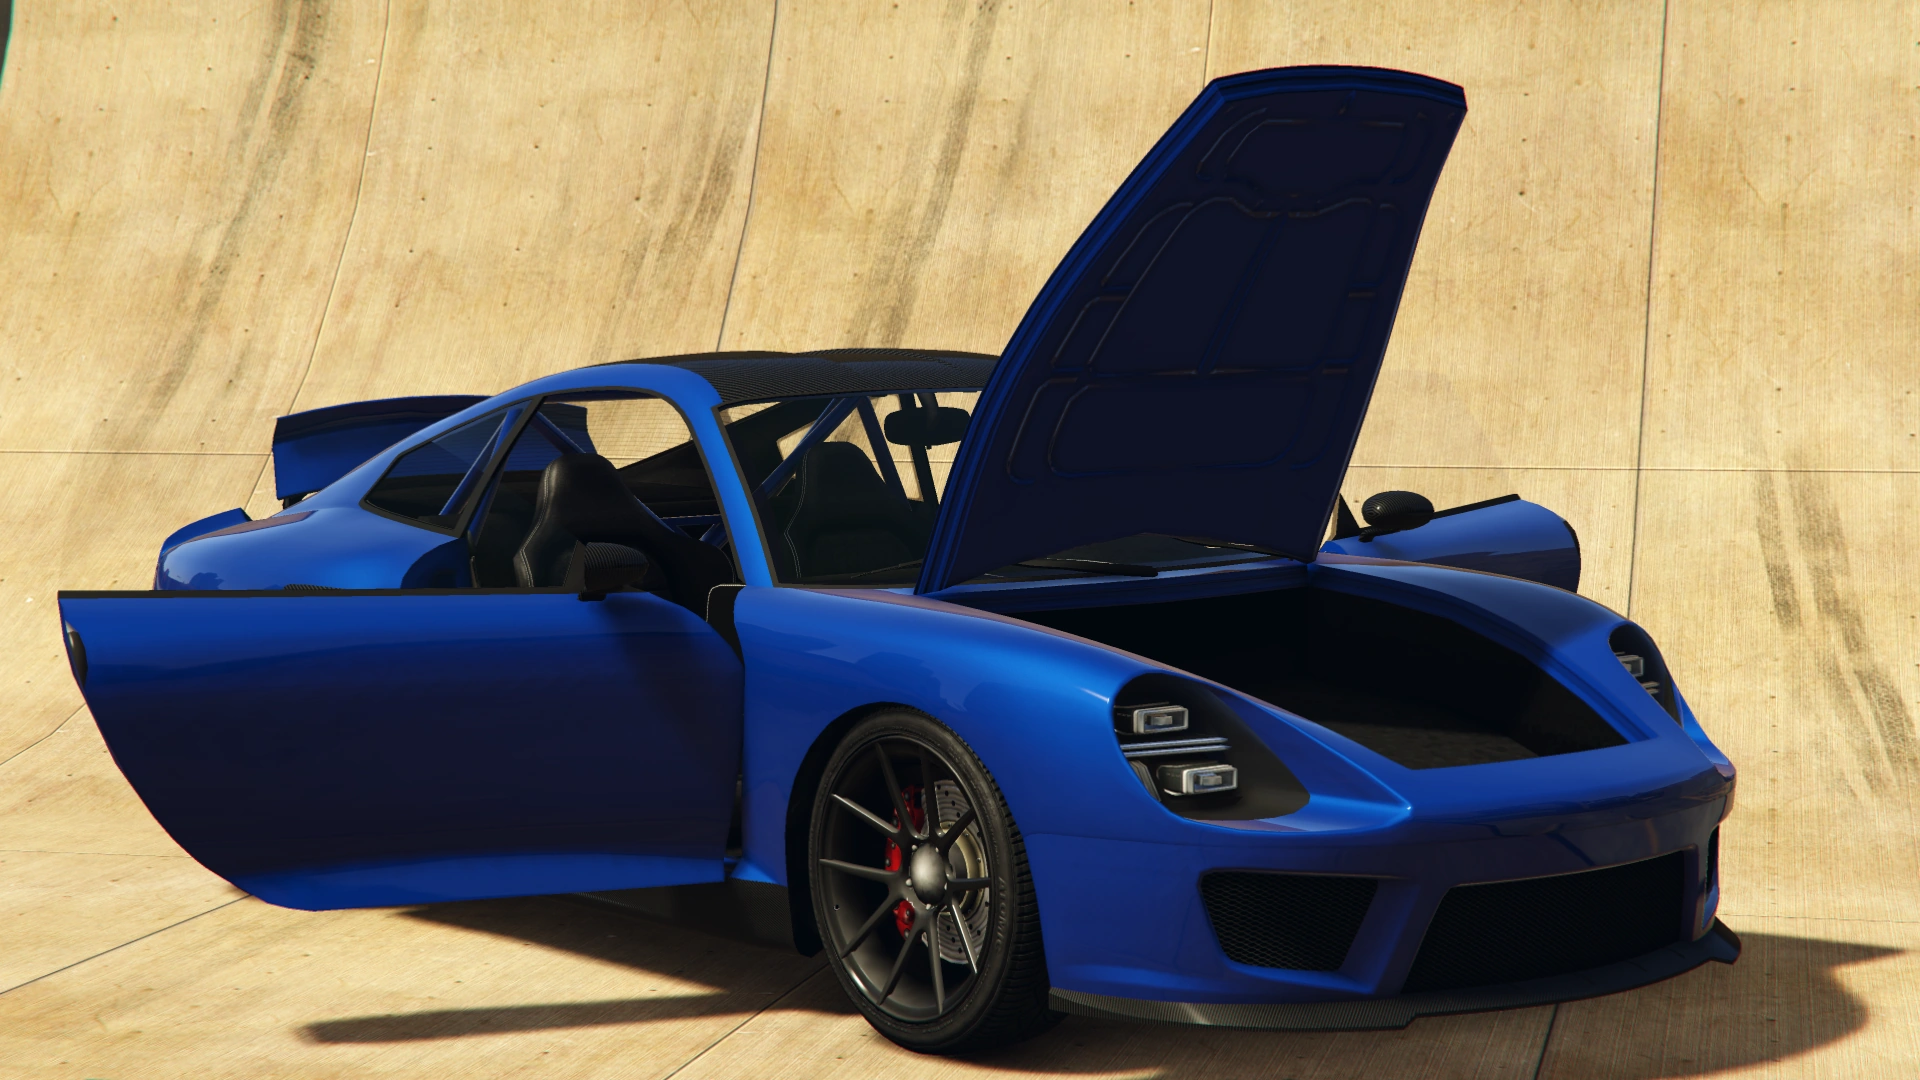
The Comet SR is a racing-oriented variant of the Comet, sporting a roll cage and updated rear spoiler by default. It features an updated front and rear fascia, as well as several CFRP elements throughout the body.
The vehicle is based on the Porsche 997 GT2 RS, as evidenced in the carbon fiber elements, default roll cage, and default rear spoiler.
Current Design Gallery


Performance
Grand Theft Auto Online
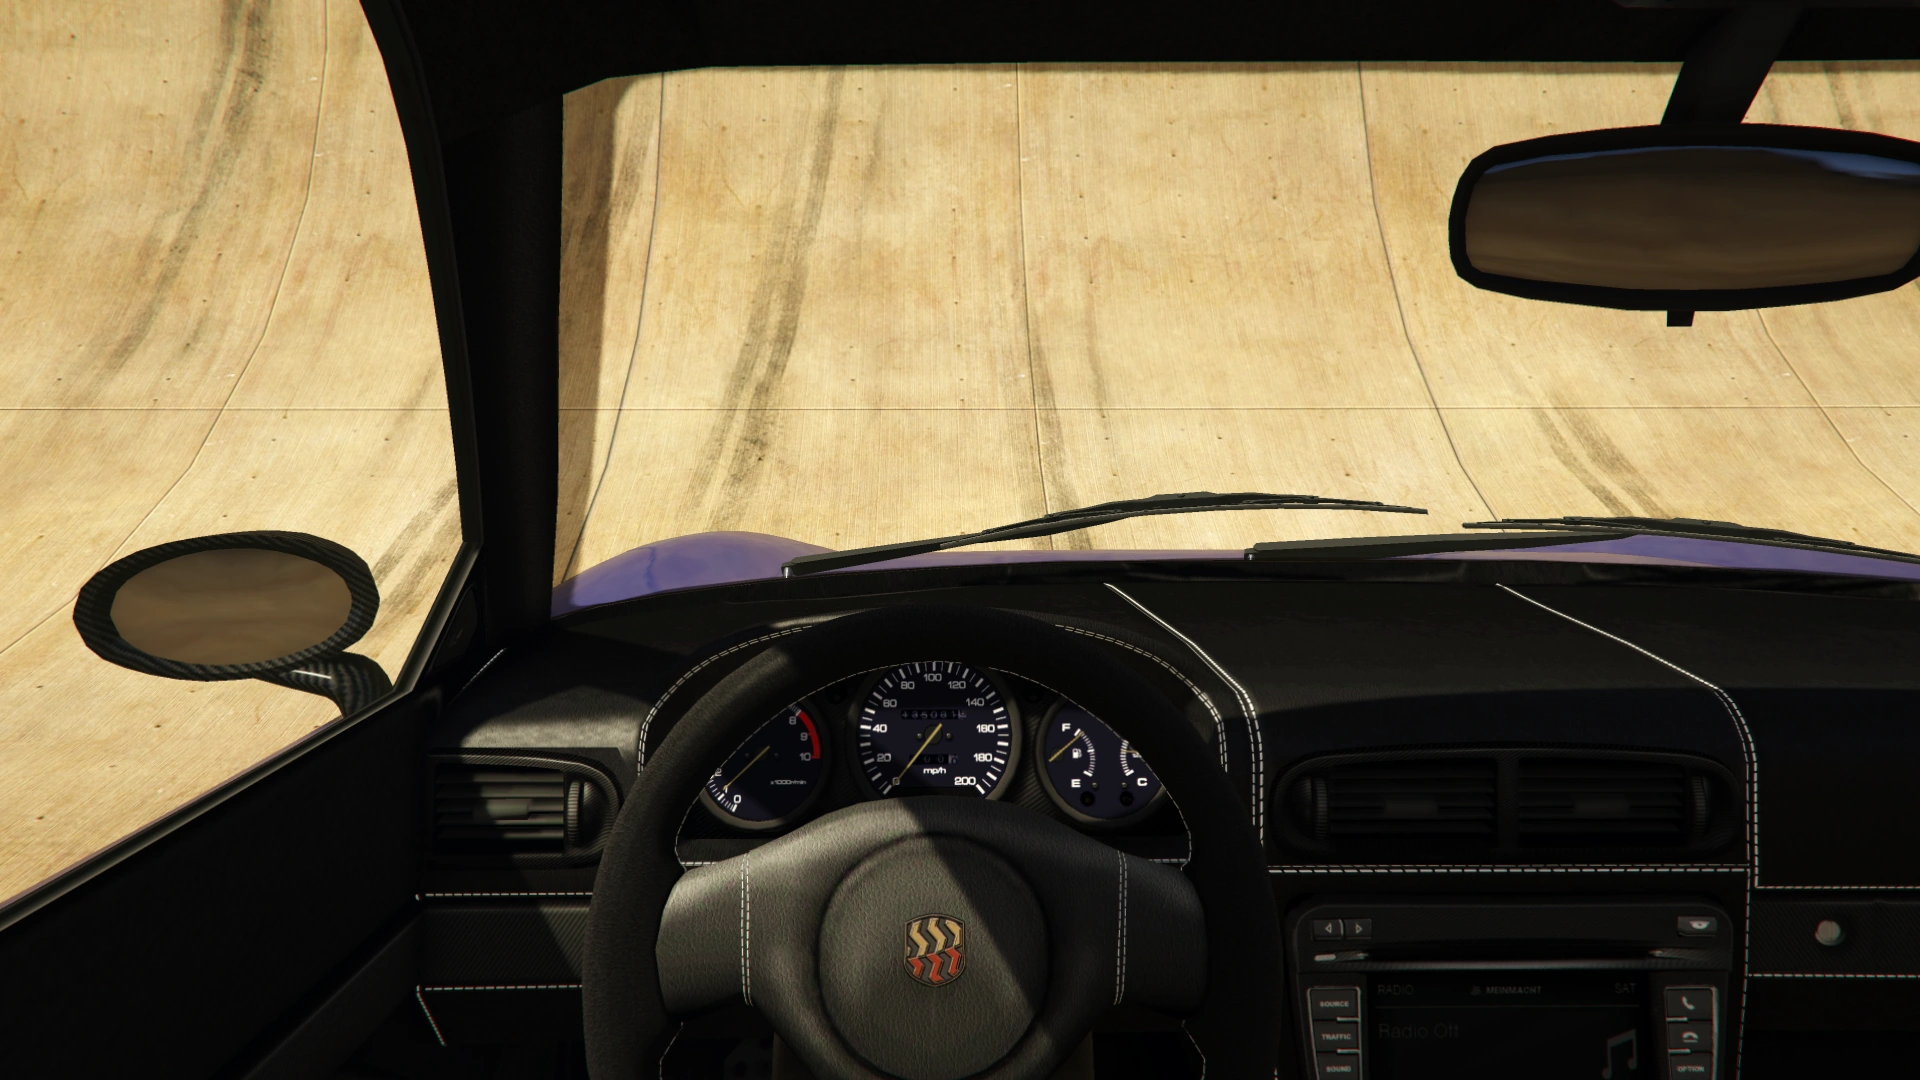
The Comet SR is very fast in the Sports class, with excellent traction, good acceleration and a high top speed. It drives very similarly to the related Comet, but the extra aerodynamic modifications and added power make it grippier and easier to handle.
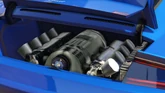
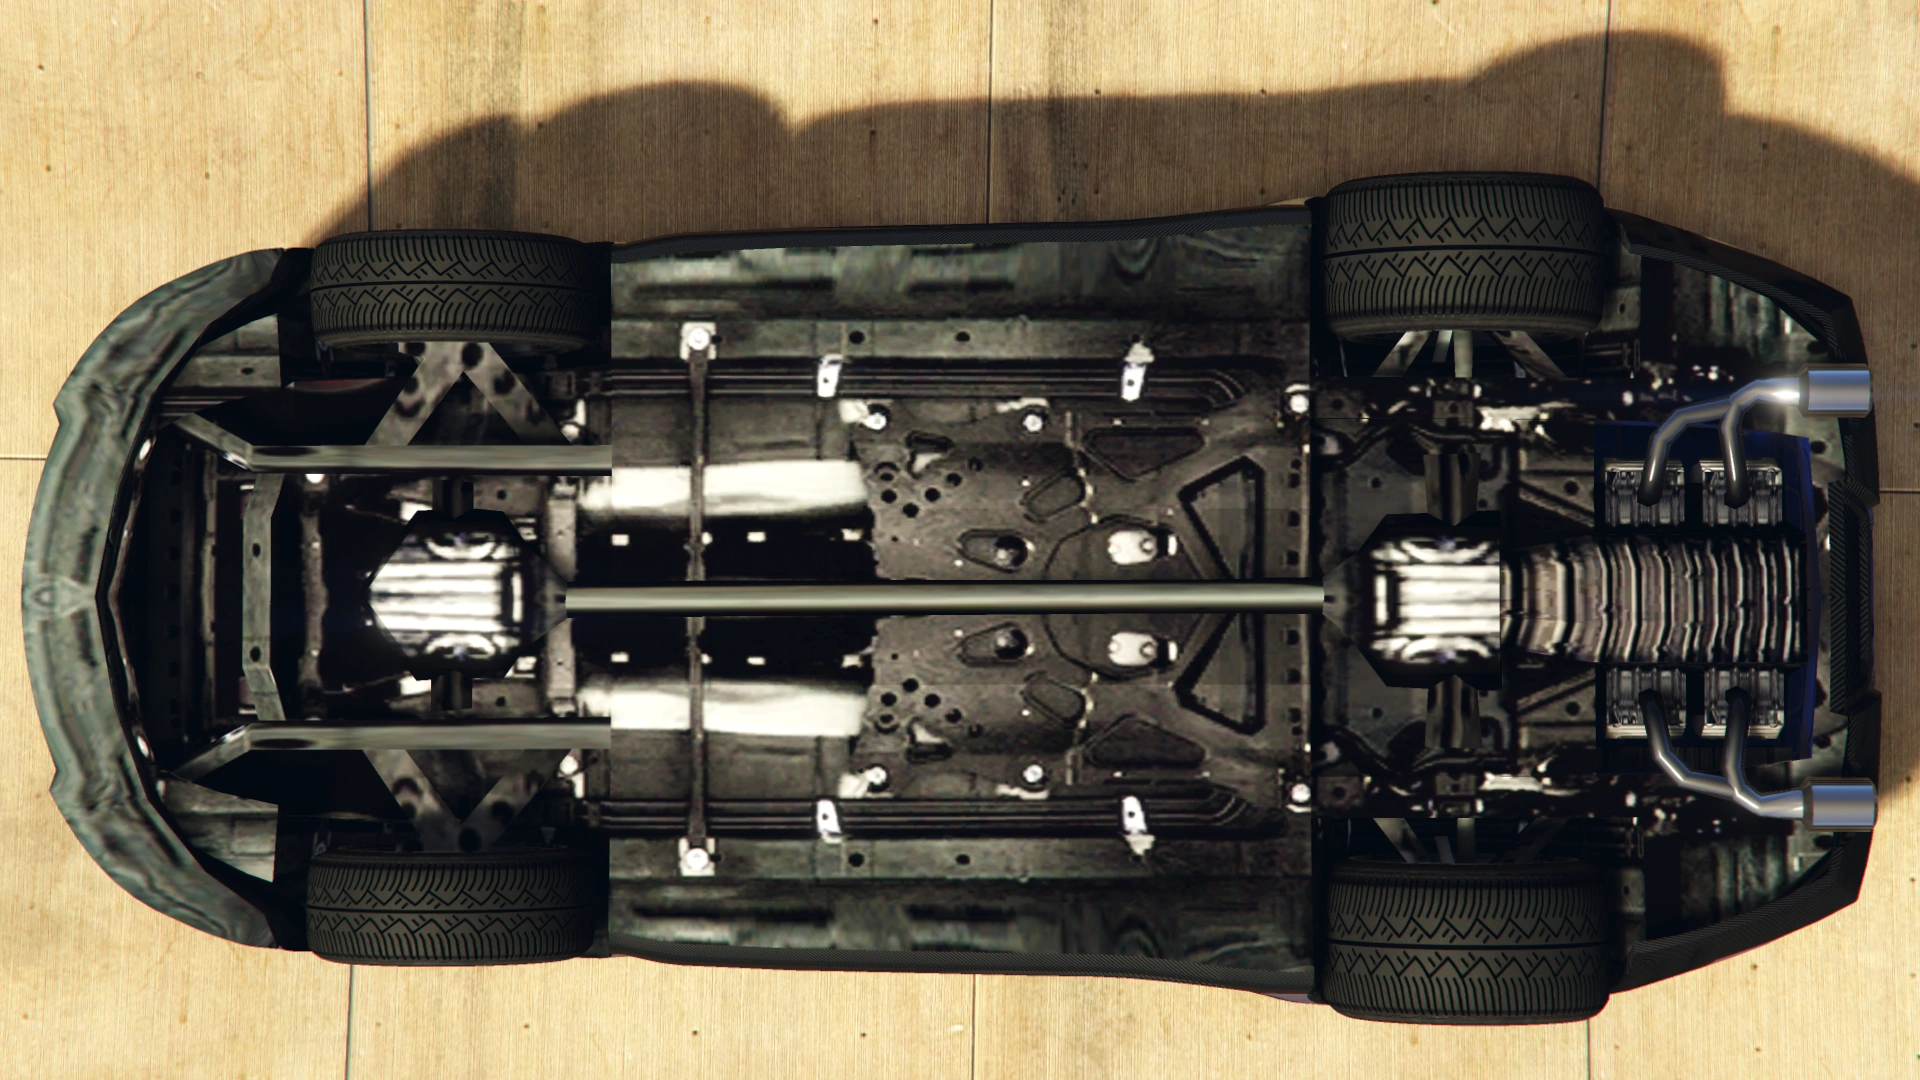
Like the standard model, the Comet SR is powered by the same single cam carburetored V8, coupled to a 6-speed gearbox in a rear engine, rear wheel drive layout.
GTA Online Overview
| Acceleration (0-60 mph in Seconds) |
Top Speed (mph / kmh) |
Gears | Engine | Drivetrain (FWD / RWD / AWD) |
Mass (kg / lbs) |
Fuel Tank Size (litres) |
|---|---|---|---|---|---|---|
| N/A | 97.9 / 157.5 | 6 | N/A | RWD | 703 / 1550 | 60 |
| N/A | N/A | N/A | N/A | N/A | N/A | N/A |
| N/A | N/A | 6 | RR SOHC V8 w/ 8 Carburetors/Throttle Bodies (In-game model) | RWD | Cannot be observed | Cannot be observed |
Modifications
Grand Theft Auto Online
| Category | Modification | Price | Image | |
|---|---|---|---|---|
| Armor | No Armor | $1,000 | ||
| Armor Upgrade 20% | $7,500 | |||
| Armor Upgrade 40% | $12,000 | |||
| Armor Upgrade 60% | $20,000 | |||
| Armor Upgrade 80% | $35,000 | |||
| Armor Upgrade 100% | $50,000 | |||
| Brakes | Stock Brakes | $1,000 | ||
| Street Brakes | $20,000 | |||
| Sport Brakes | $27,000 | |||
| Race Brakes | $35,000 | |||
| Bumpers | Front Bumpers | Stock Front Bumper | $2,200 | |
| Primary Splitter | $4,600 | |||
| Secondary Splitter | $7,400 | |||
| Competition Splitter | $11,700 | |||
| Rear Bumpers | Stock Rear Bumper | $2,200 | ||
| Primary Rear Bumper | $4,600 | |||
| Secondary Rear Bumper | $7,400 | |||
| Chassis | Stock Chassis | $700 | ||
| Primary Intakes | $1,100 | |||
| Secondary Intakes | $1,350 | |||
| Engine | EMS Upgrade, Level 1 | $9,000 | ||
| EMS Upgrade, Level 2 | $12,500 | |||
| EMS Upgrade, Level 3 | $18,000 | |||
| EMS Upgrade, Level 4 | $33,500 | |||
| Exhausts | Stock Exhaust | $260 | ||
| Twin Exhausts | $750 | |||
| Angled Dual Exhausts | $1,800 | |||
| Oval Shaped Exhausts | $3,000 | |||
| Titanium Tipped Exhausts | $9,550 | |||
| Explosives | Ignition Bomb | $5,000 | ||
| Remote Bomb | $7,500 | |||
| Fenders | Stock Fender | $300 | ||
| Extended Arches | $900 | |||
| Hoods | Stock Hood | $1,600 | ||
| Secondary Hood | $3,000 | |||
| Carbon Hood | $5,000 | |||
| Horns | Main article: Los Santos Customs/Horns | - | ||
| Lights | Headlights | Stock Lights | $600 | |
| Xenon Lights | $7,500 | |||
| Neon Kits | Main article: Los Santos Customs/Lights | - | ||
| Loss/Theft Prevention | Tracker | |||
| Full Coverage | ||||
| Plates | Blue on White 1 | $200 | ||
| Blue on White 2 | $200 | |||
| Blue on White 3 | $200 | |||
| Yellow on Blue | $300 | |||
| Yellow on Black | $600 | |||
| Respray | Main article: Los Santos Customs/Respray Colors | - | ||
| Roofs | Stock Roof | $200 | ||
| Primary Roof | $700 | |||
| Secondary Roof | $1,150 | |||
| Sell | Sell Vehicle | |||
| Skirts | Stock Skirts | $2,500 | ||
| Primary Skirts | $5,500 | |||
| Secondary Skirts | $8,000 | |||
| Competition Skirts | $10,500 | |||
| Spoilers | None | $6,000 | ||
| Stock Spoiler | $7,050 | |||
| Carbon Stock Spoiler | $10,000 | |||
| Primary Spoiler | $13,000 | |||
| Secondary Spoiler | $14,000 | |||
| Carbon Spoiler | $16,000 | |||
| Primary Race Spoiler | $16,500 | |||
| Secondary Race Spoiler | $17,000 | |||
| Carbon Race Spoiler | $17,500 | |||
| Suspension | Stock Suspension | $200 | ||
| Lowered Suspension | $1,000 | |||
| Street Suspension | $2,000 | |||
| Sport Suspension | $3,400 | |||
| Transmission | Stock Transmission | $1,000 | ||
| Street Transmission | $29,500 | |||
| Sports Transmission | $32,500 | |||
| Race Transmission | $40,000 | |||
| Turbo | None | $5,000 | ||
| Turbo Tuning | $50,000 | |||
| Wheels | Main article: Los Santos Customs/Wheels | - | ||
| Windows | None | $500 | ||
| Light Smoke | $1,500 | |||
| Dark Smoke | $3,500 | |||
| Limo | $5,000 | |||

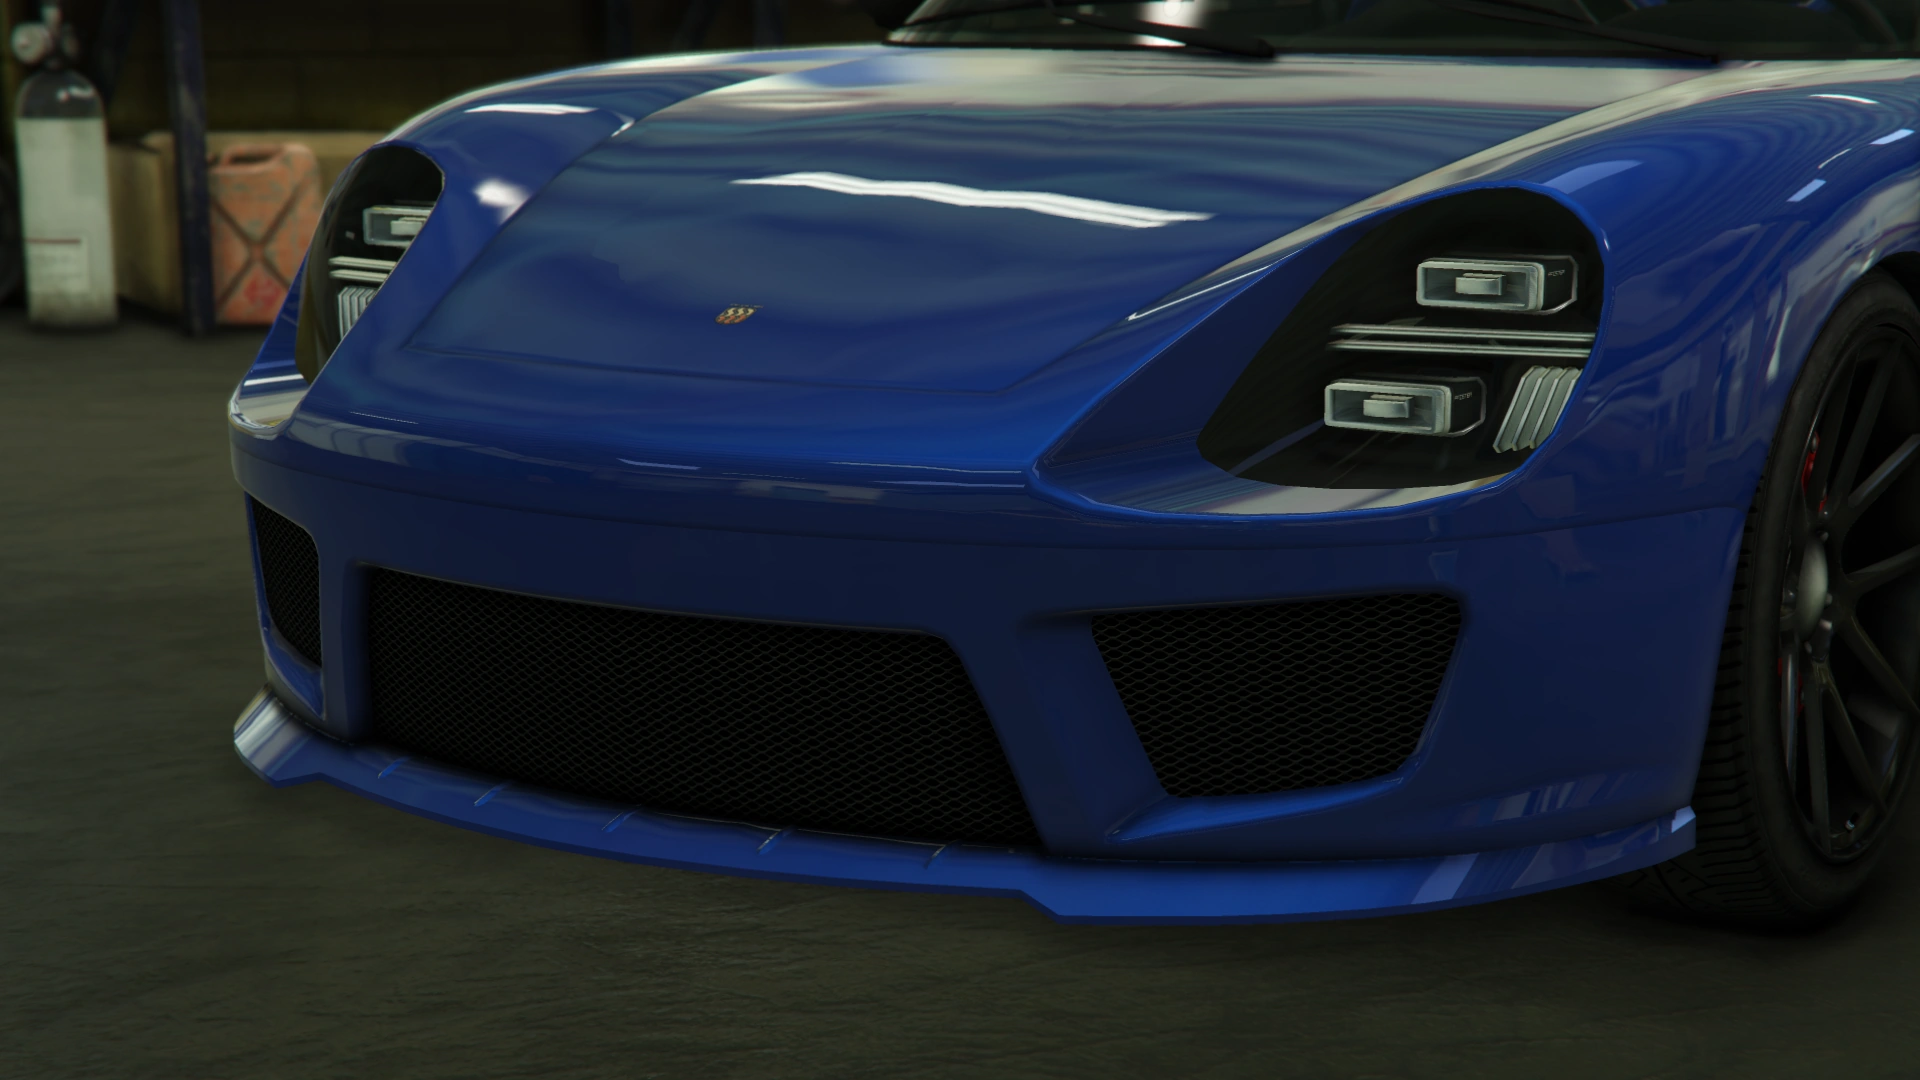
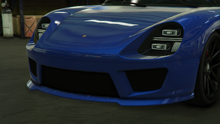


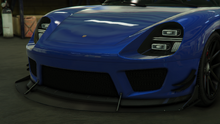


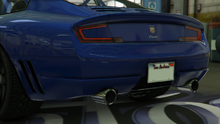

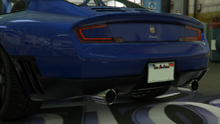
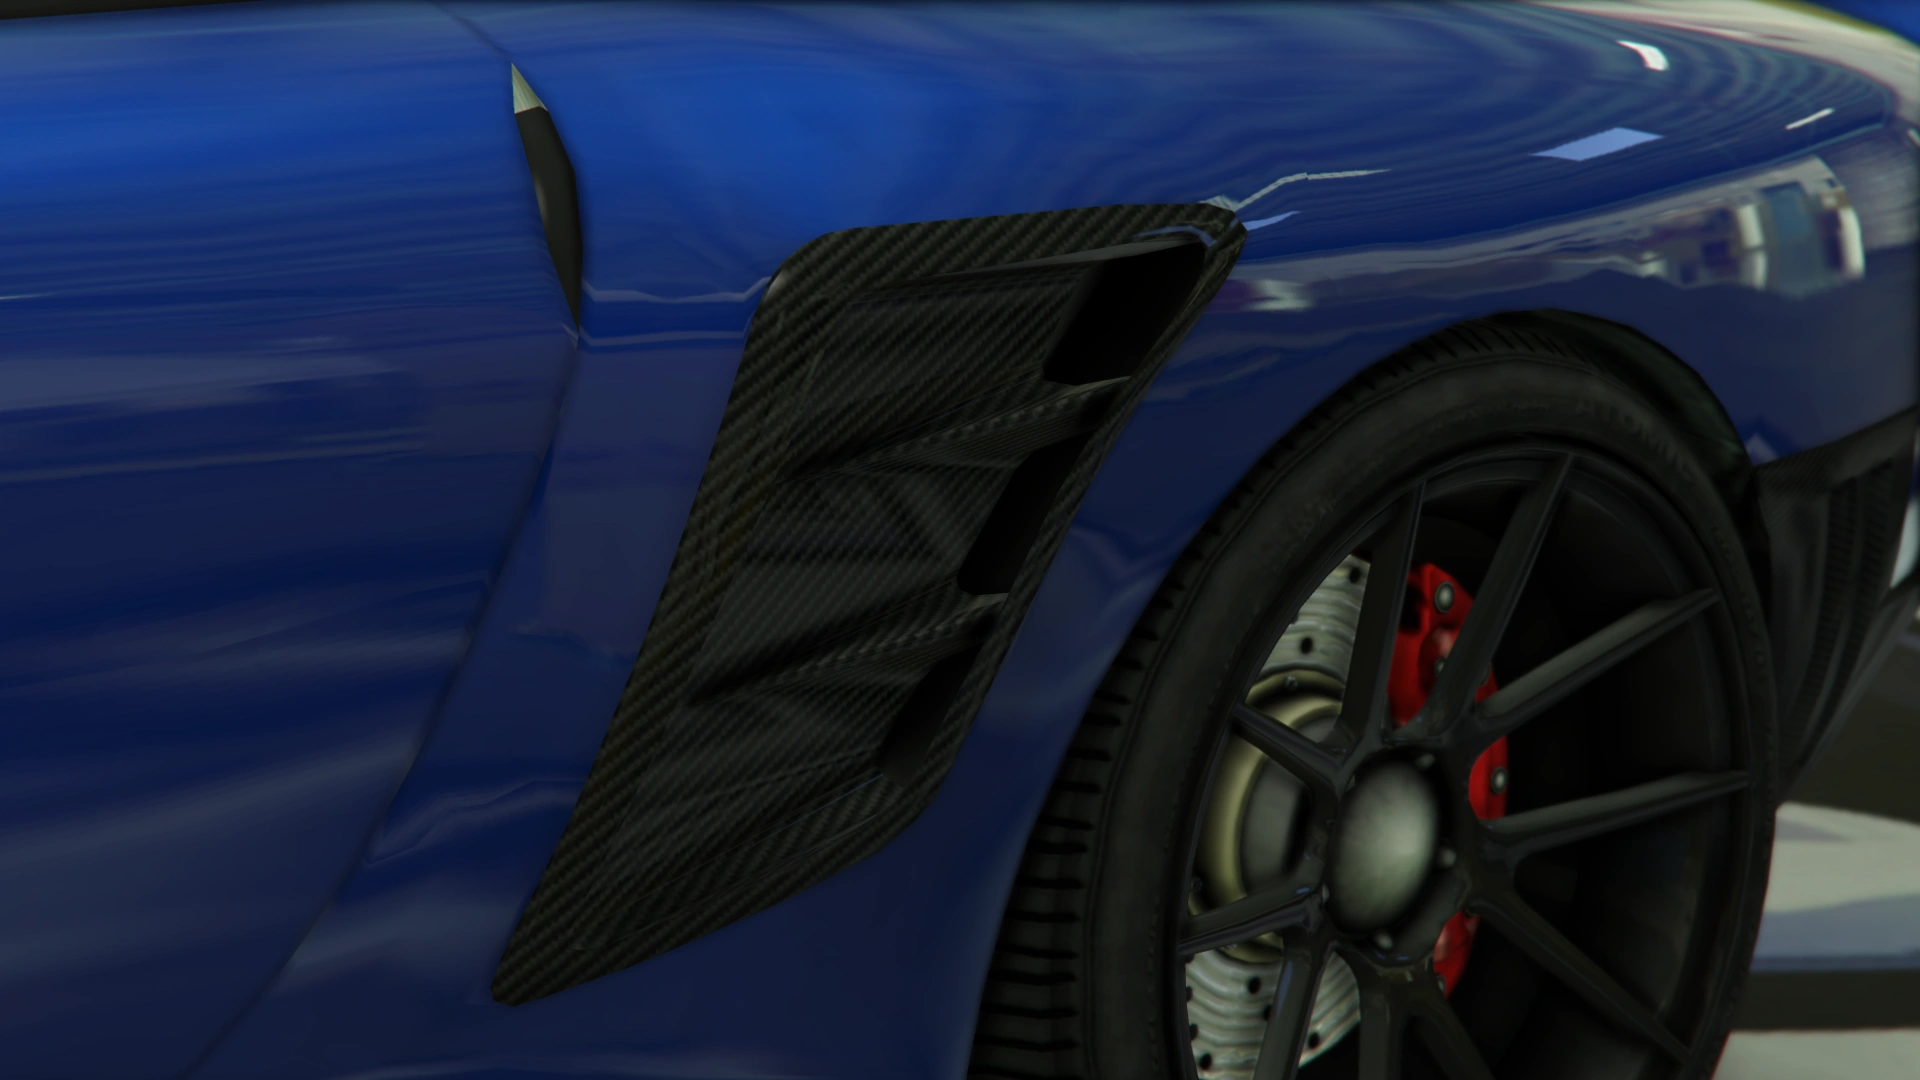

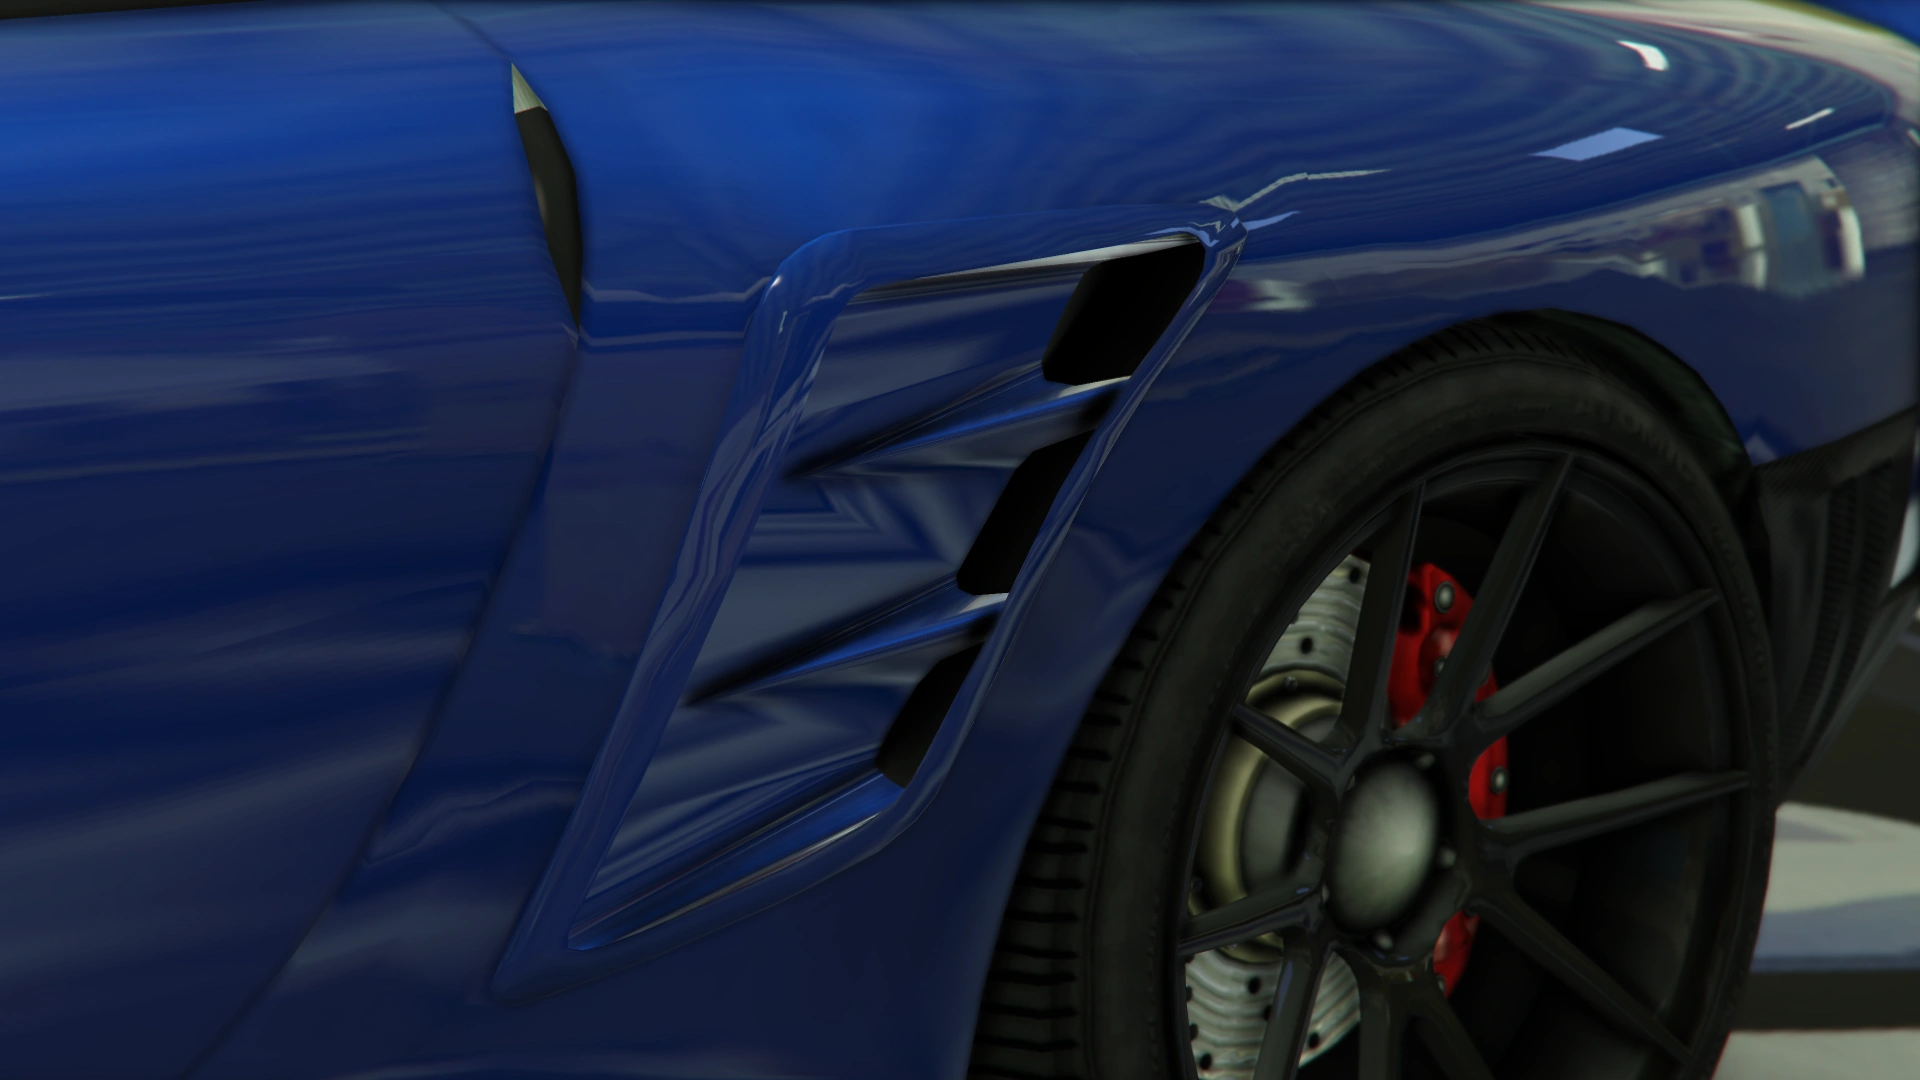
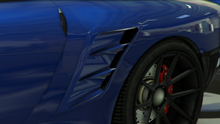


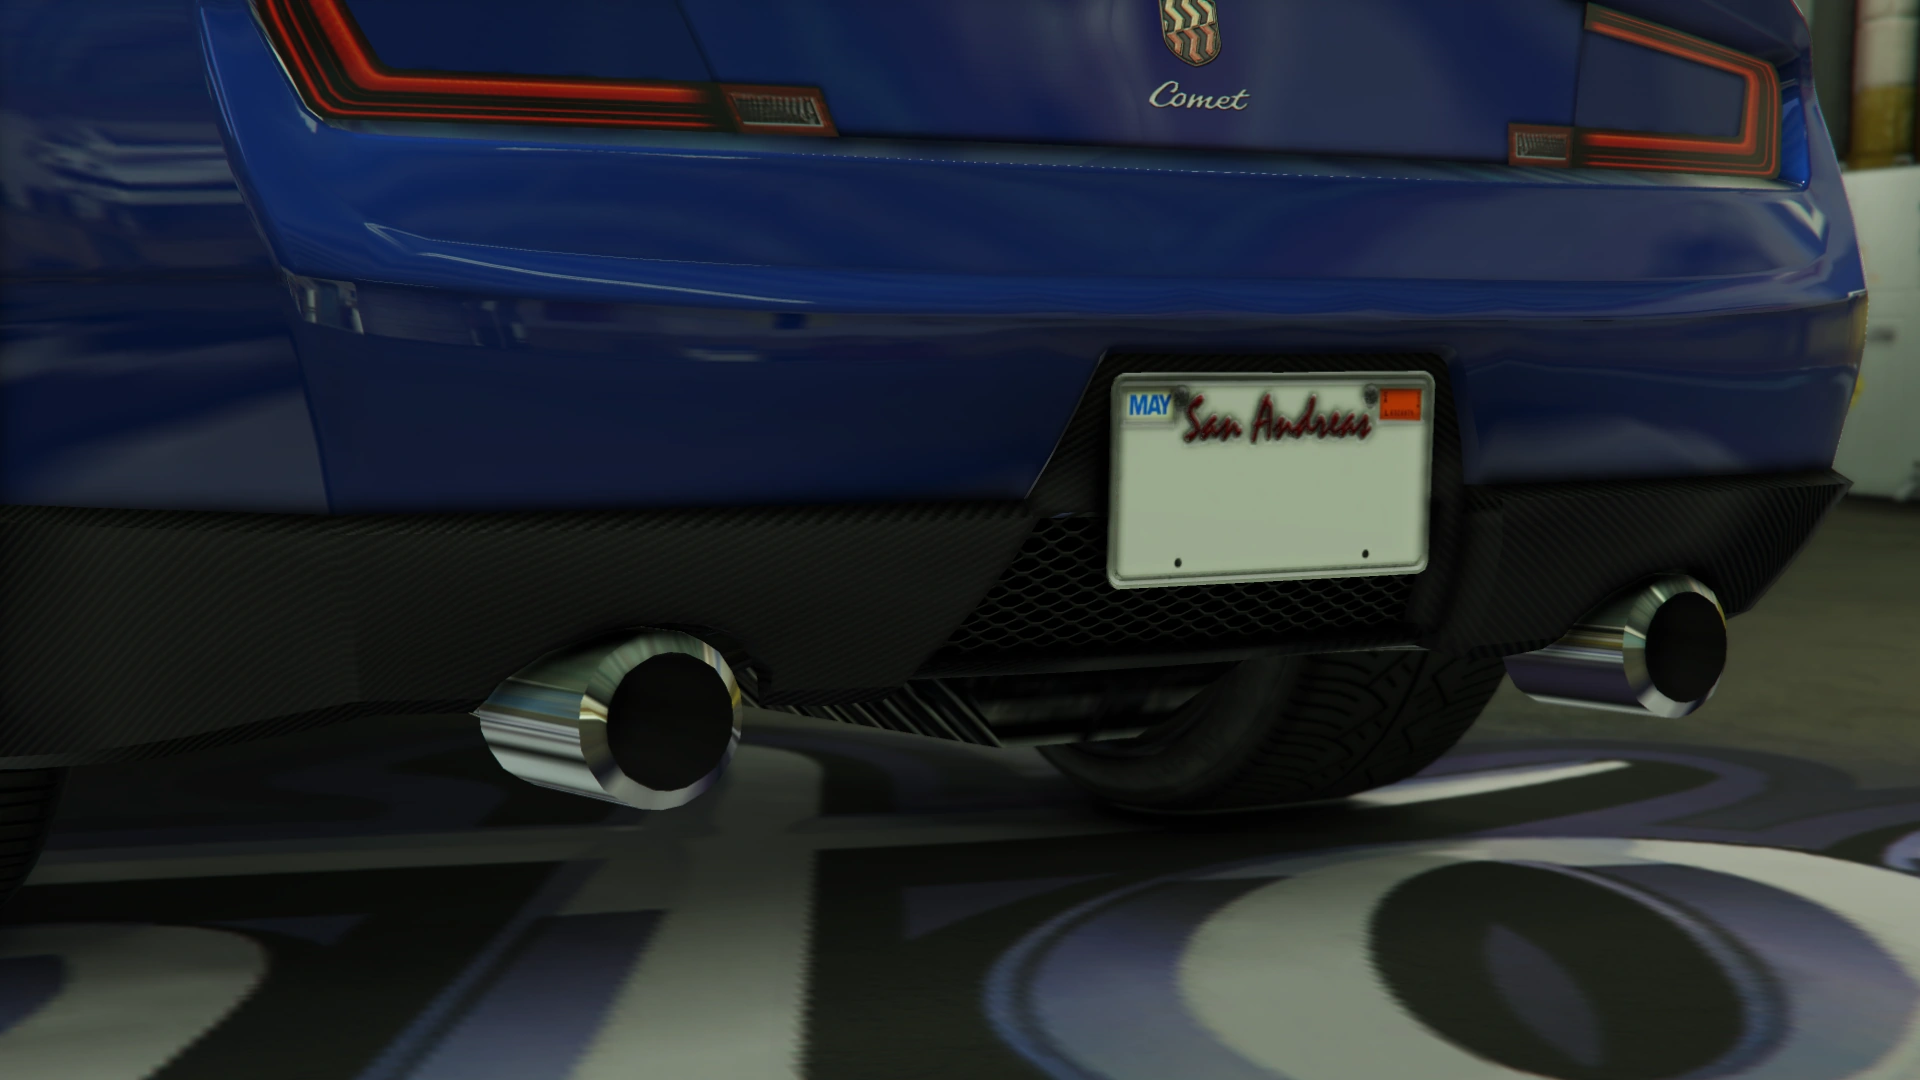


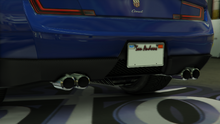
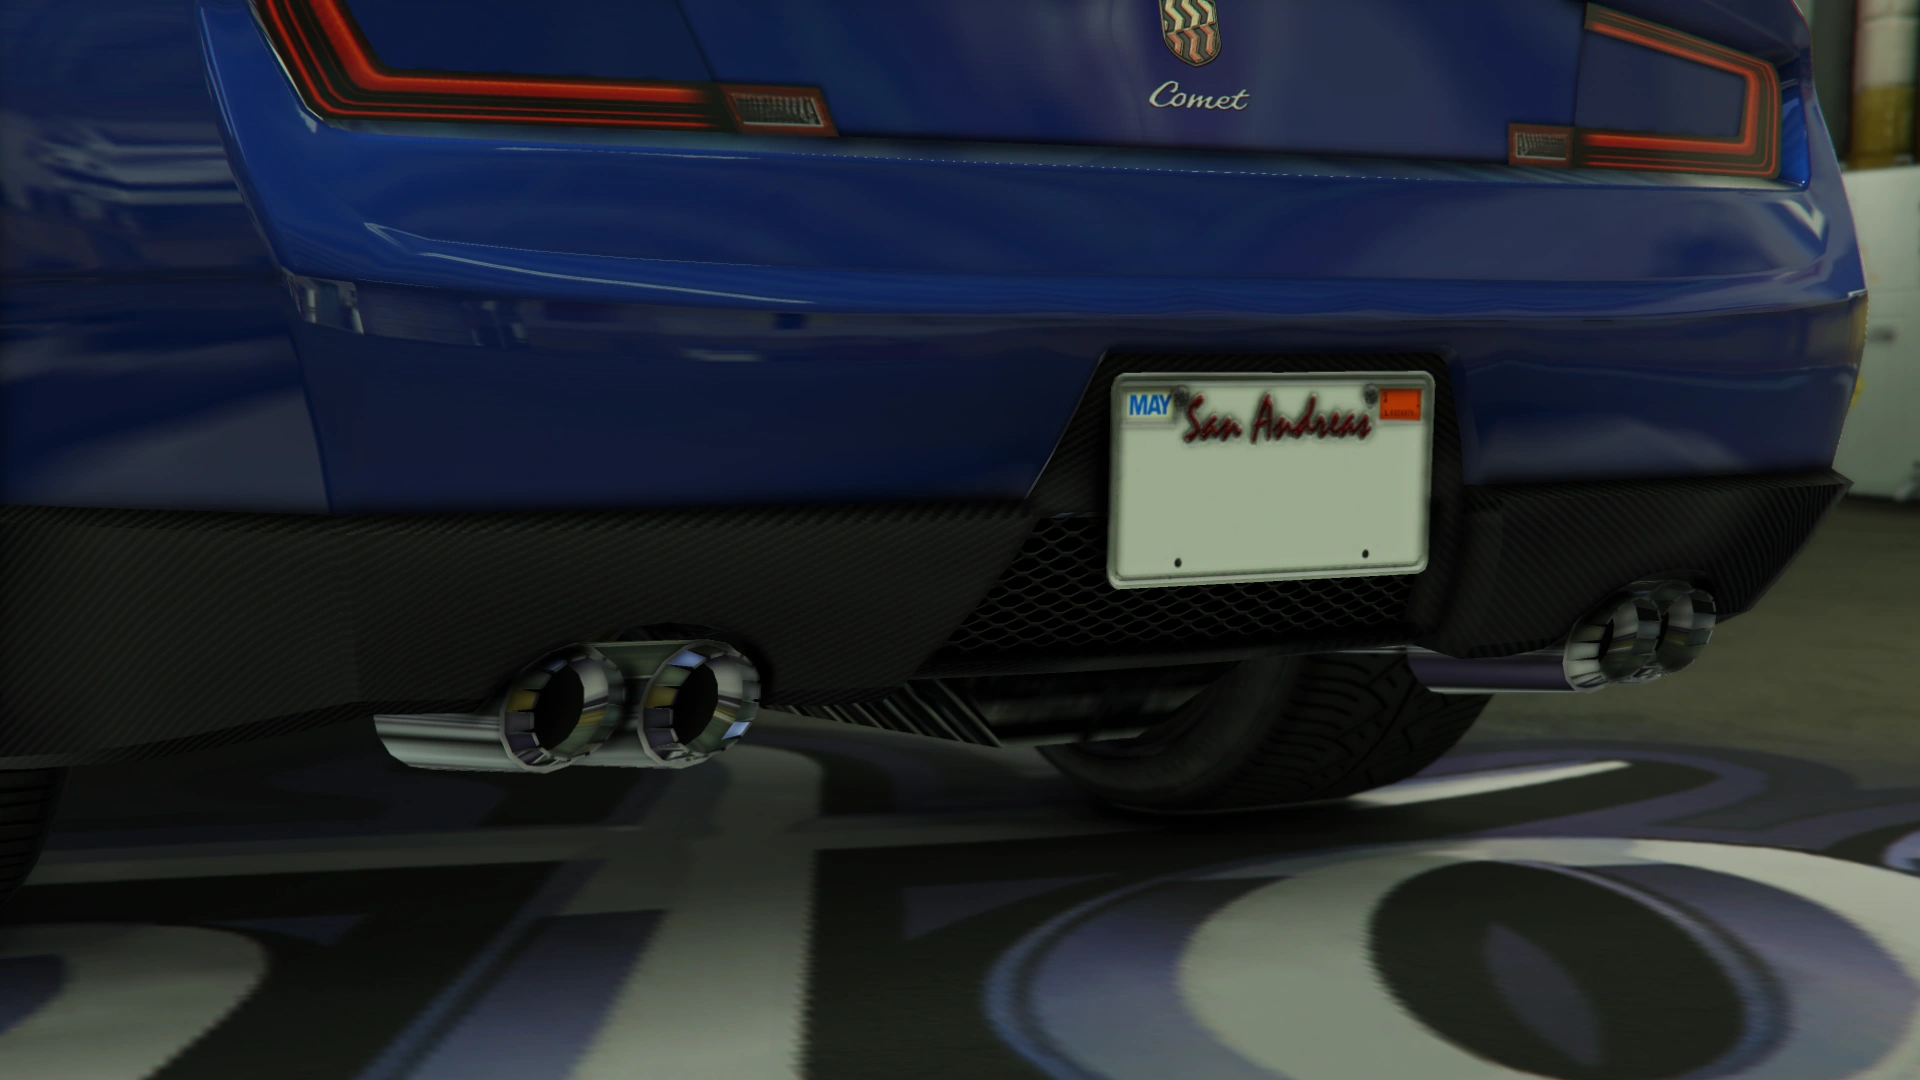


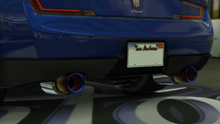
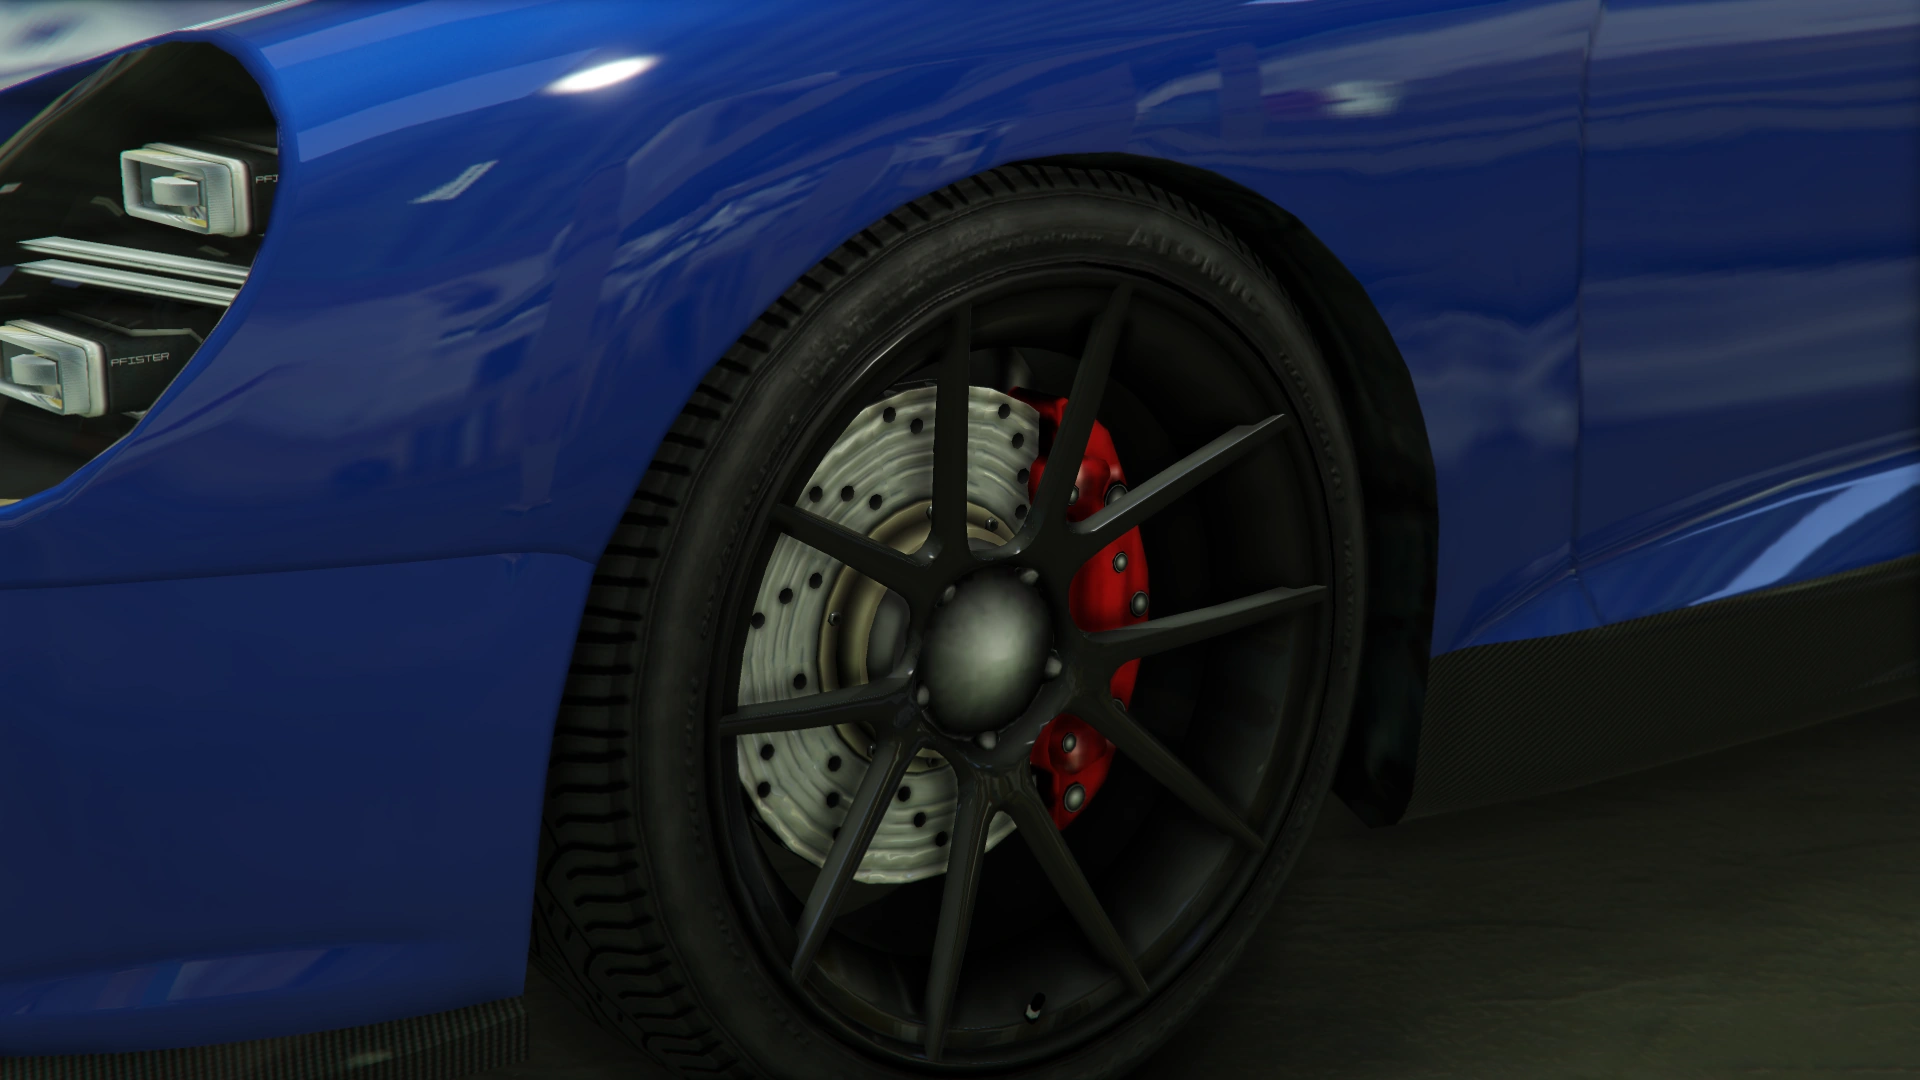
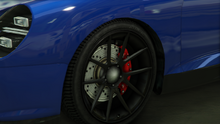
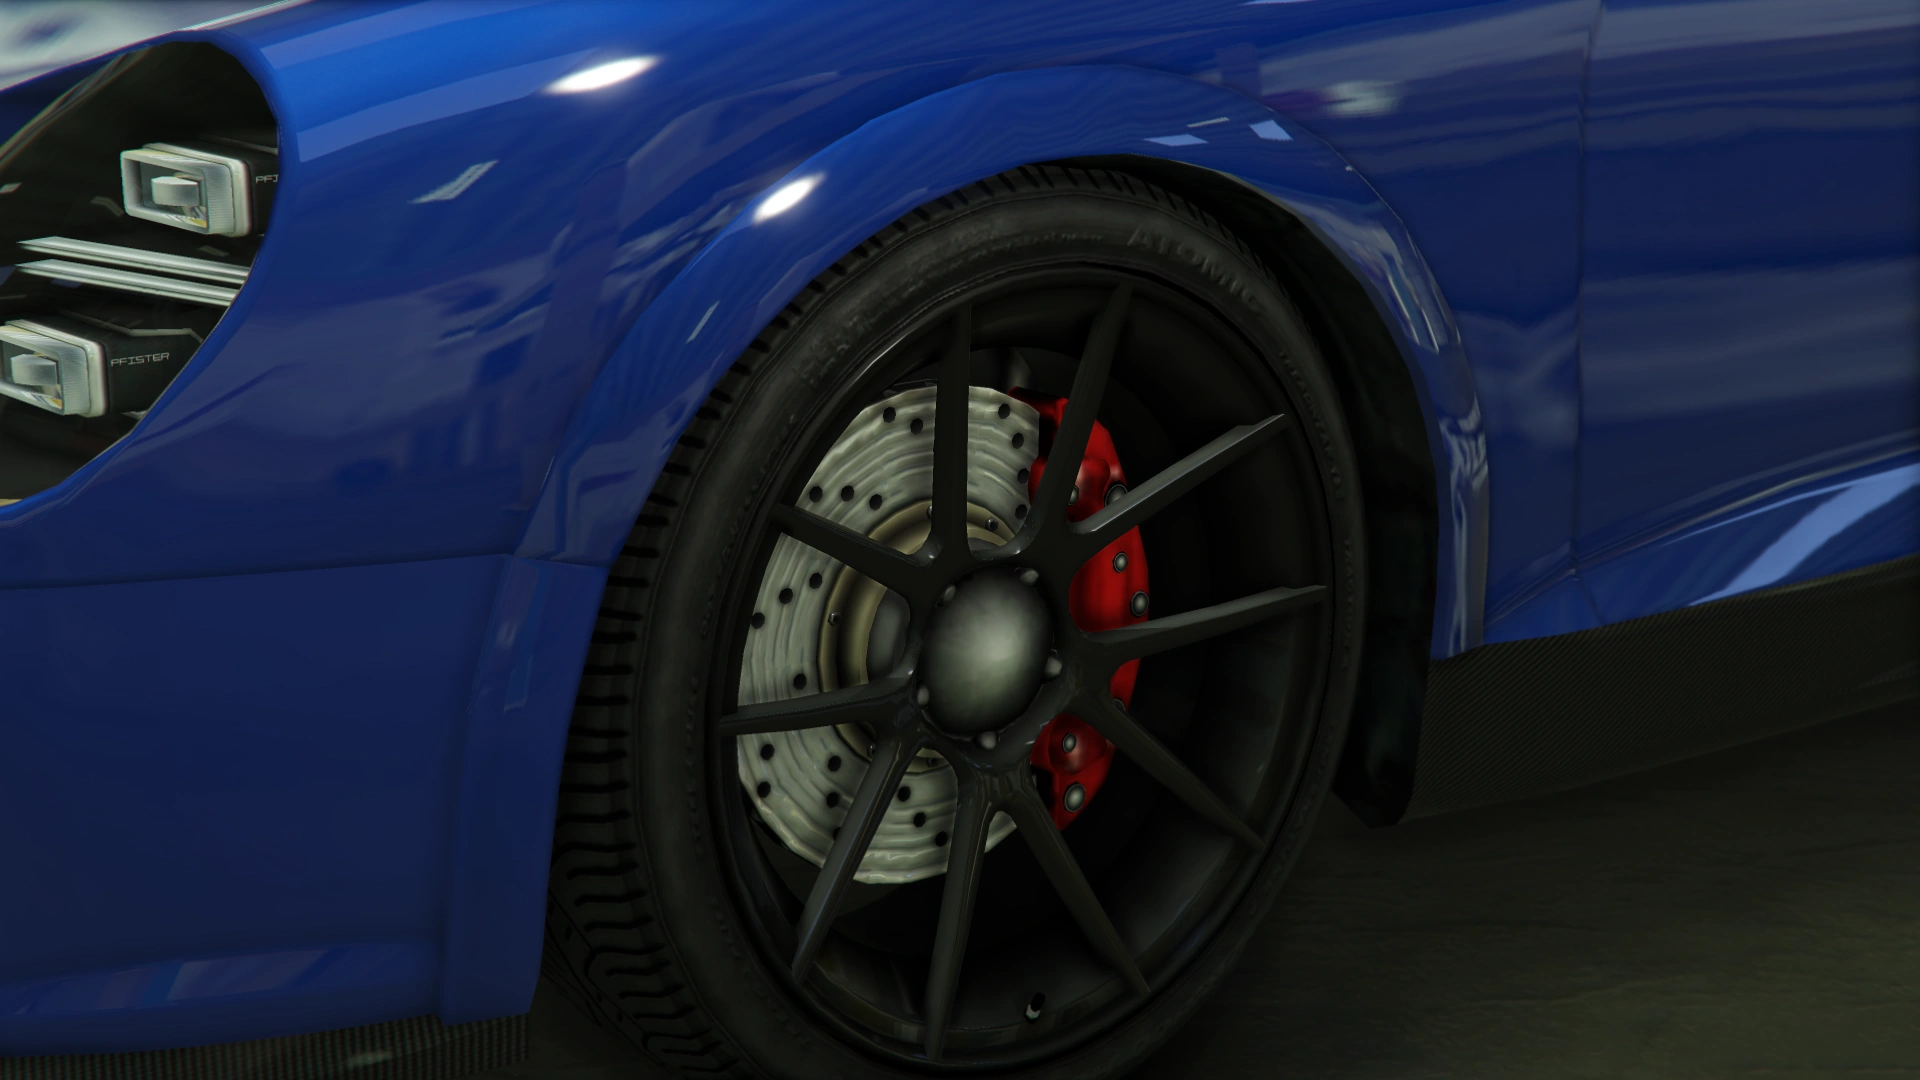

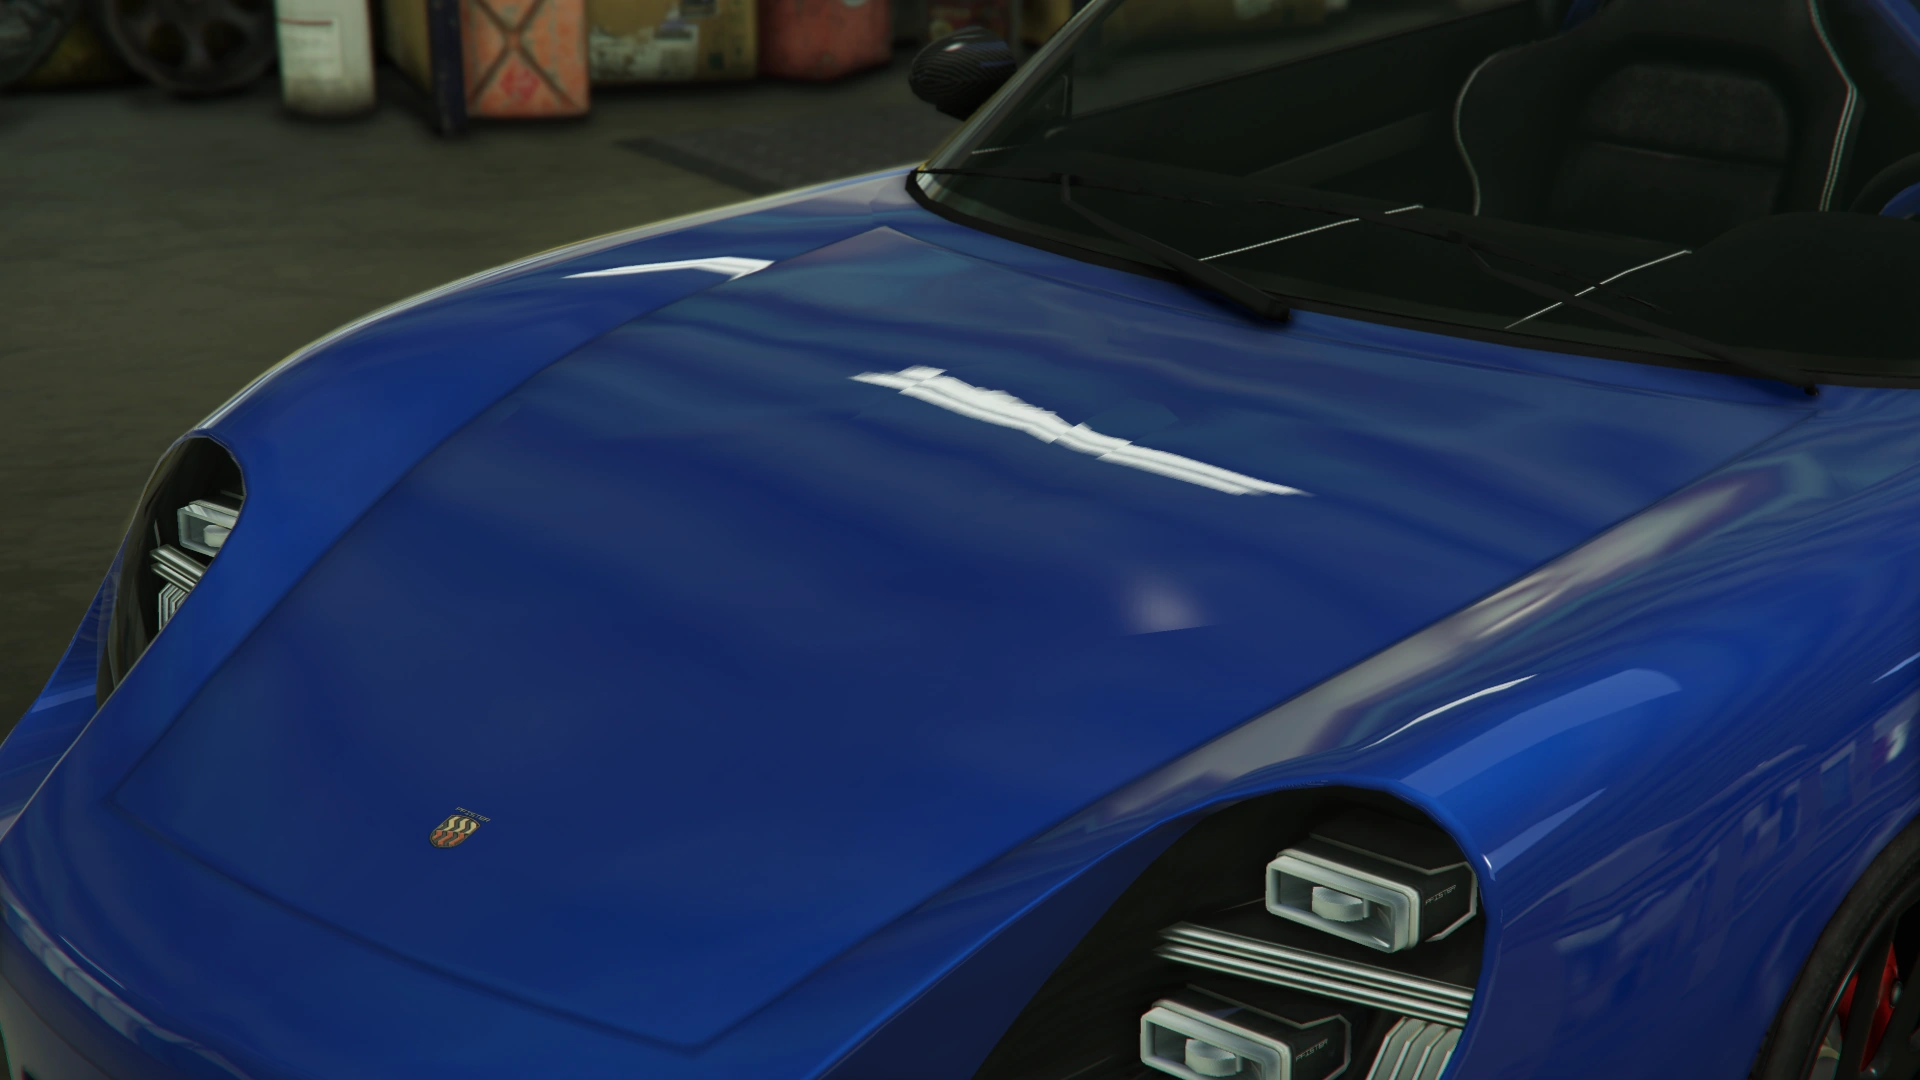


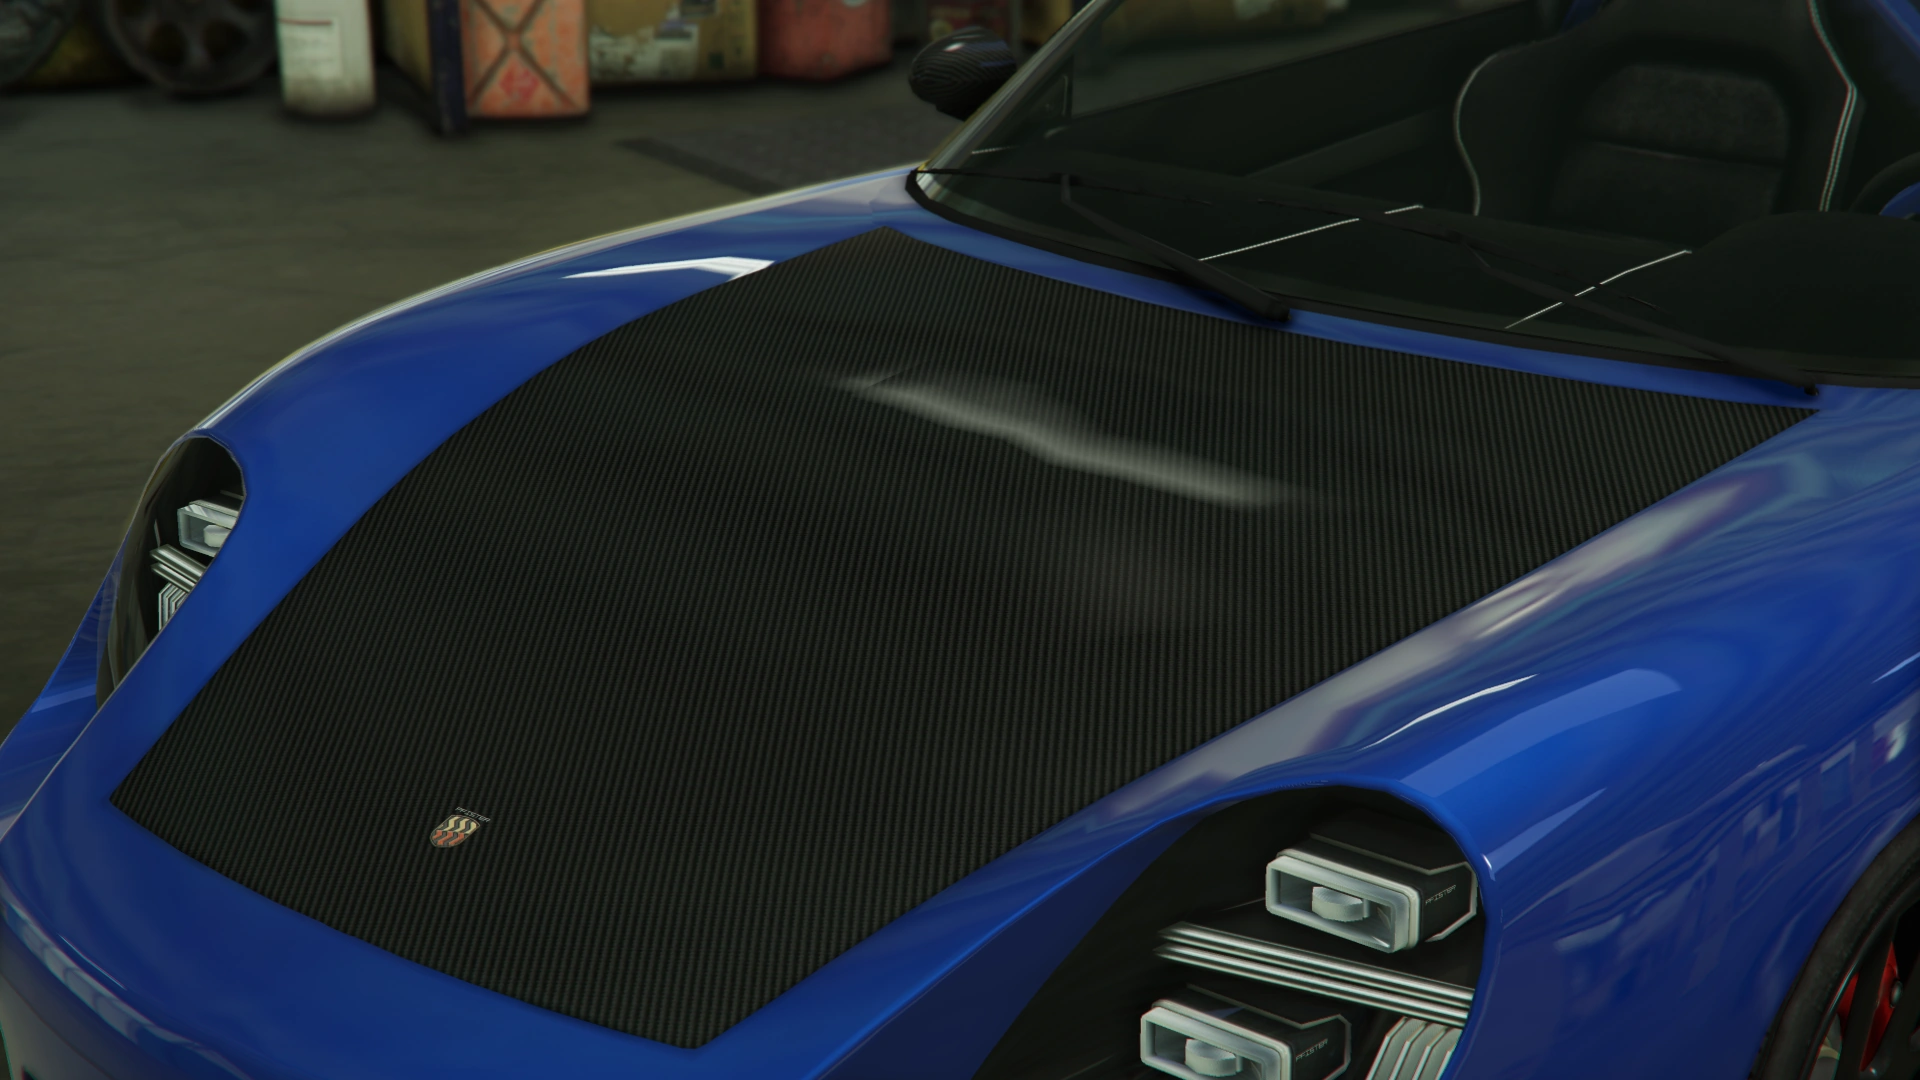
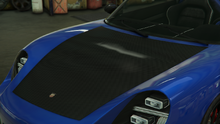
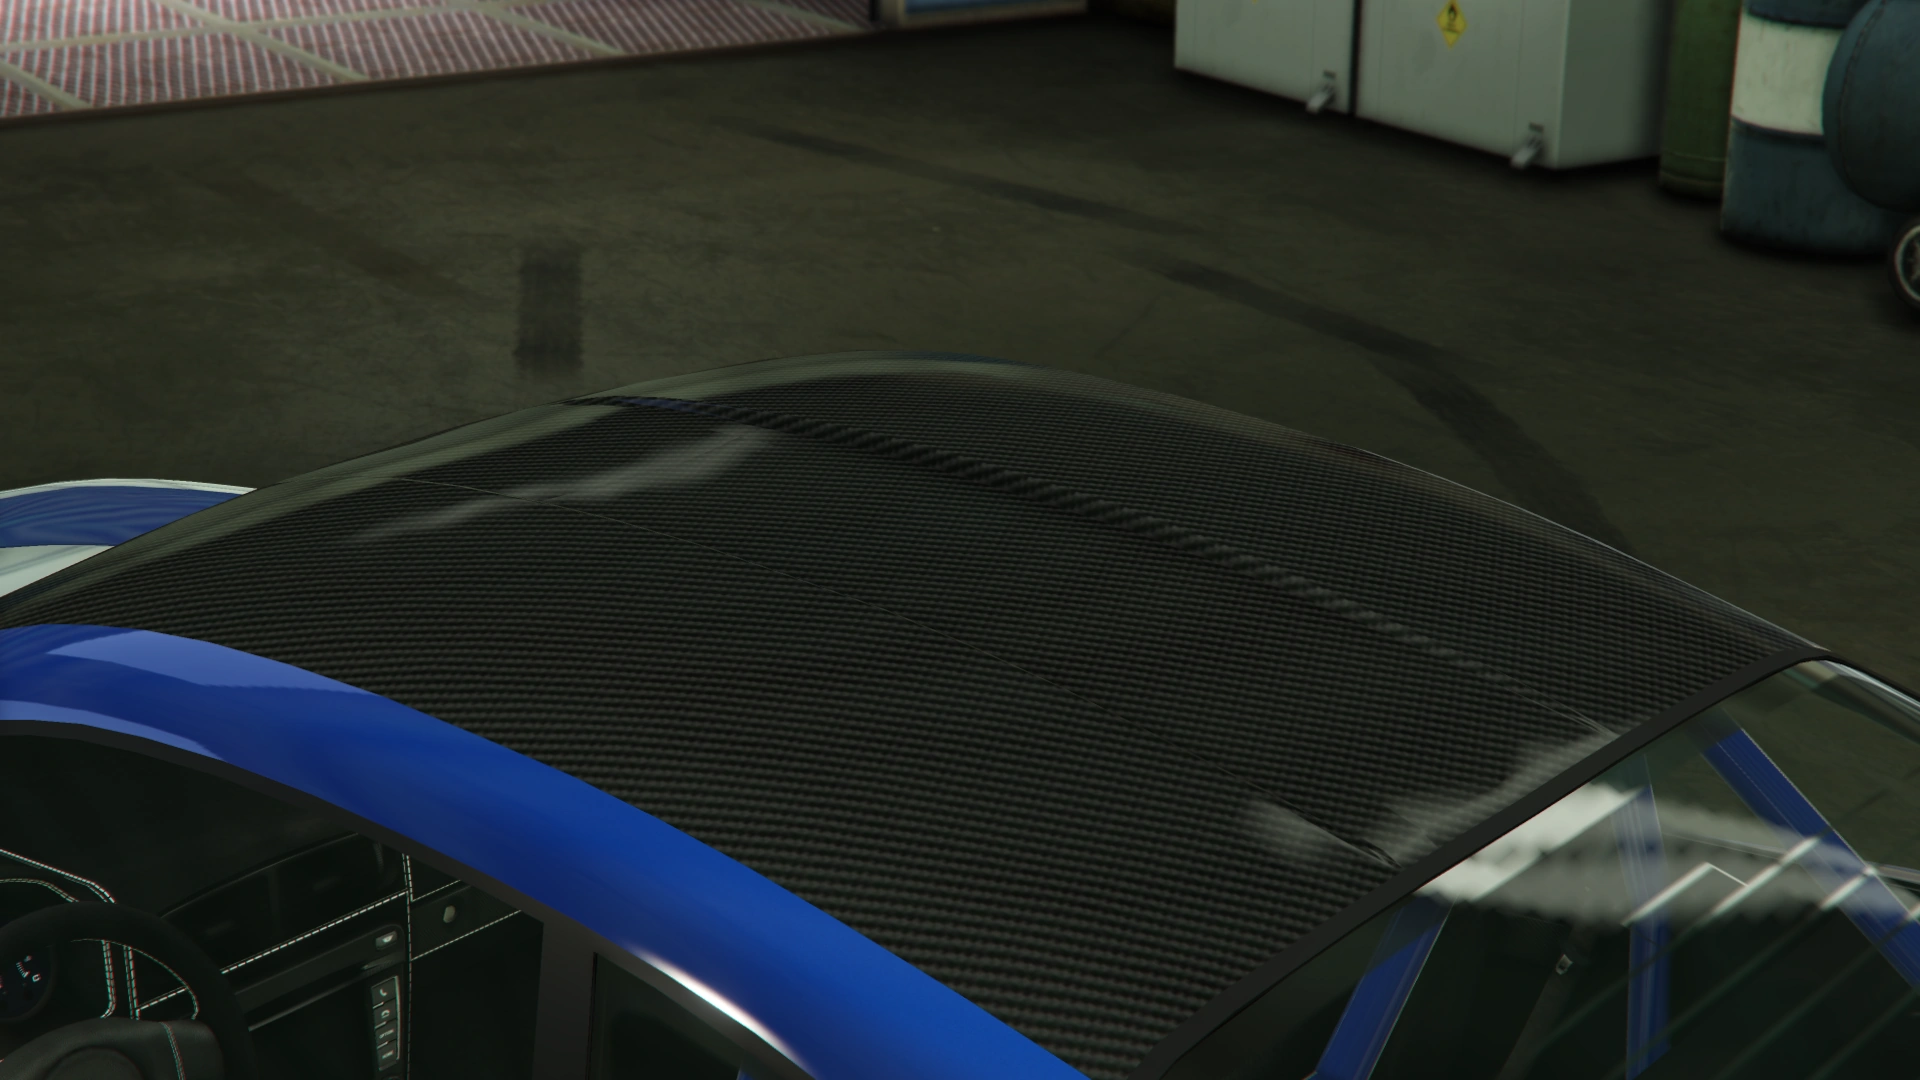

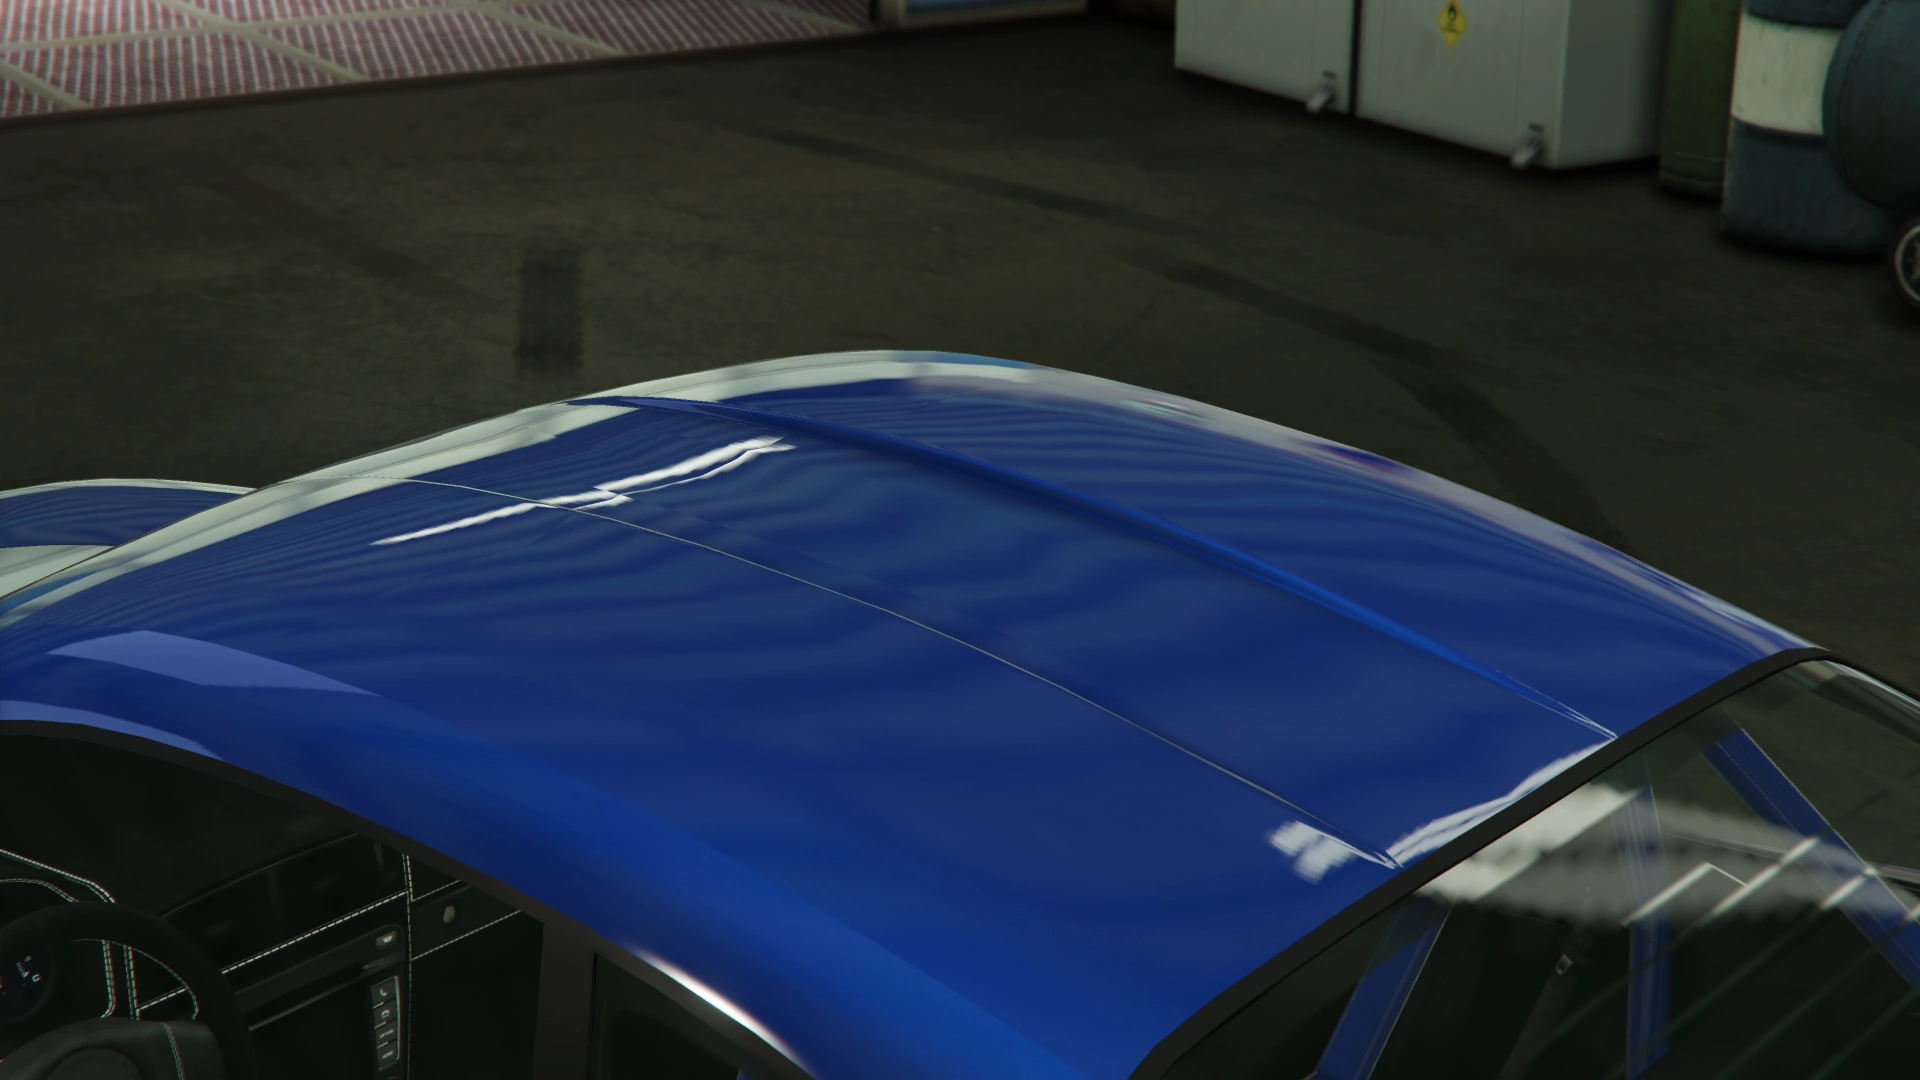
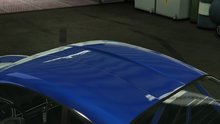
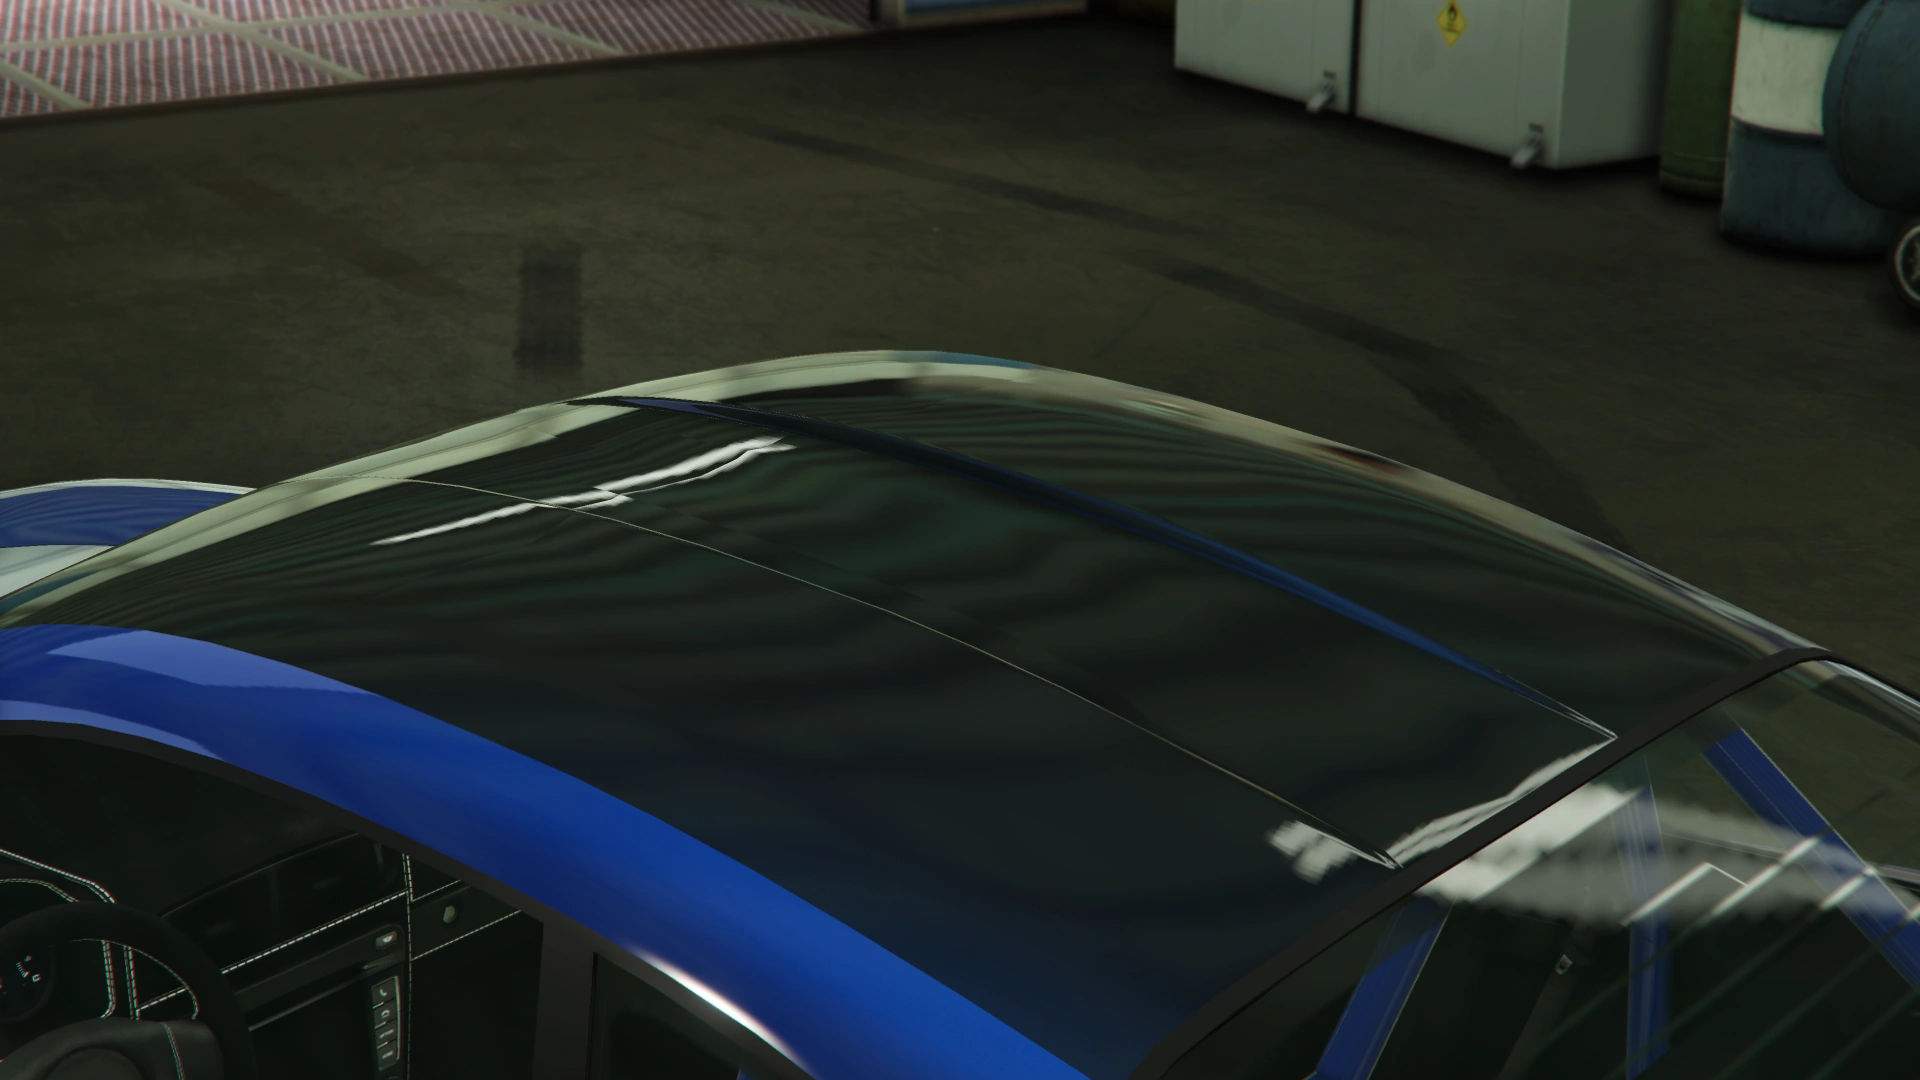

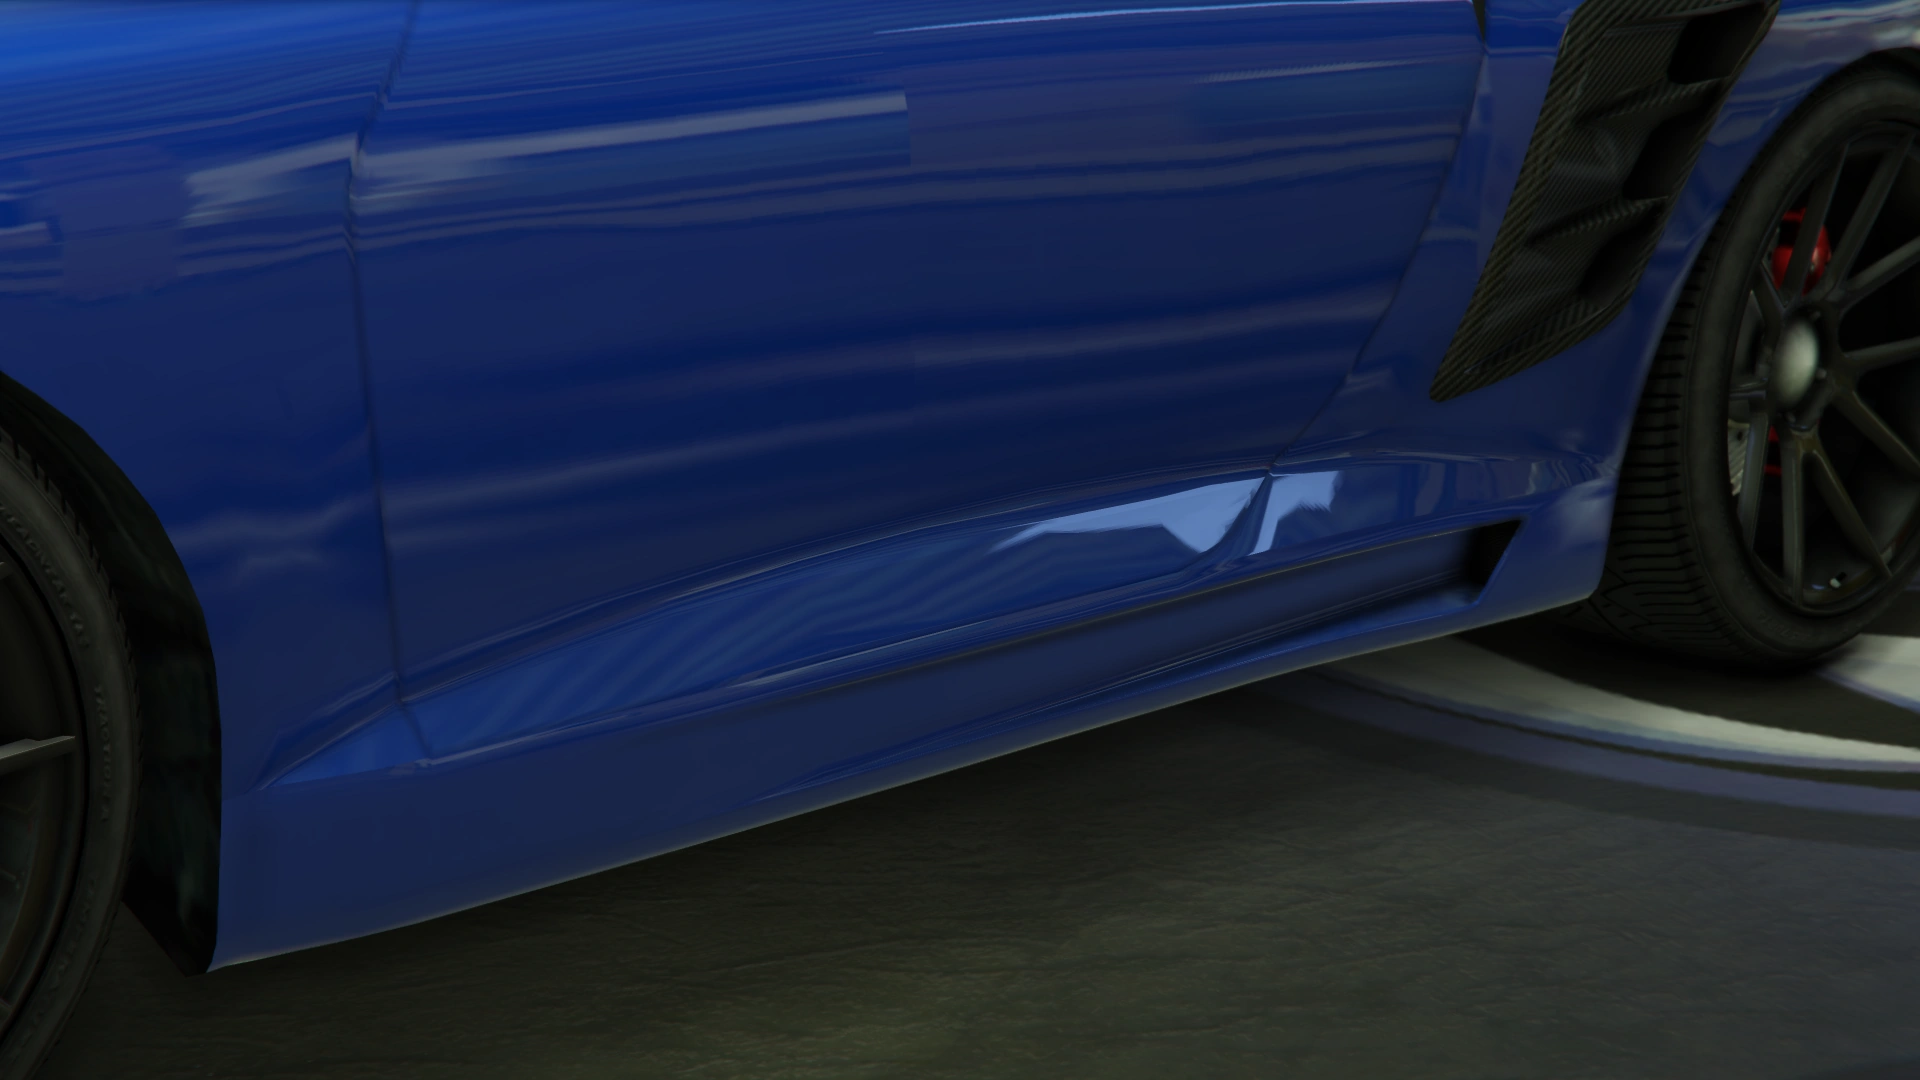

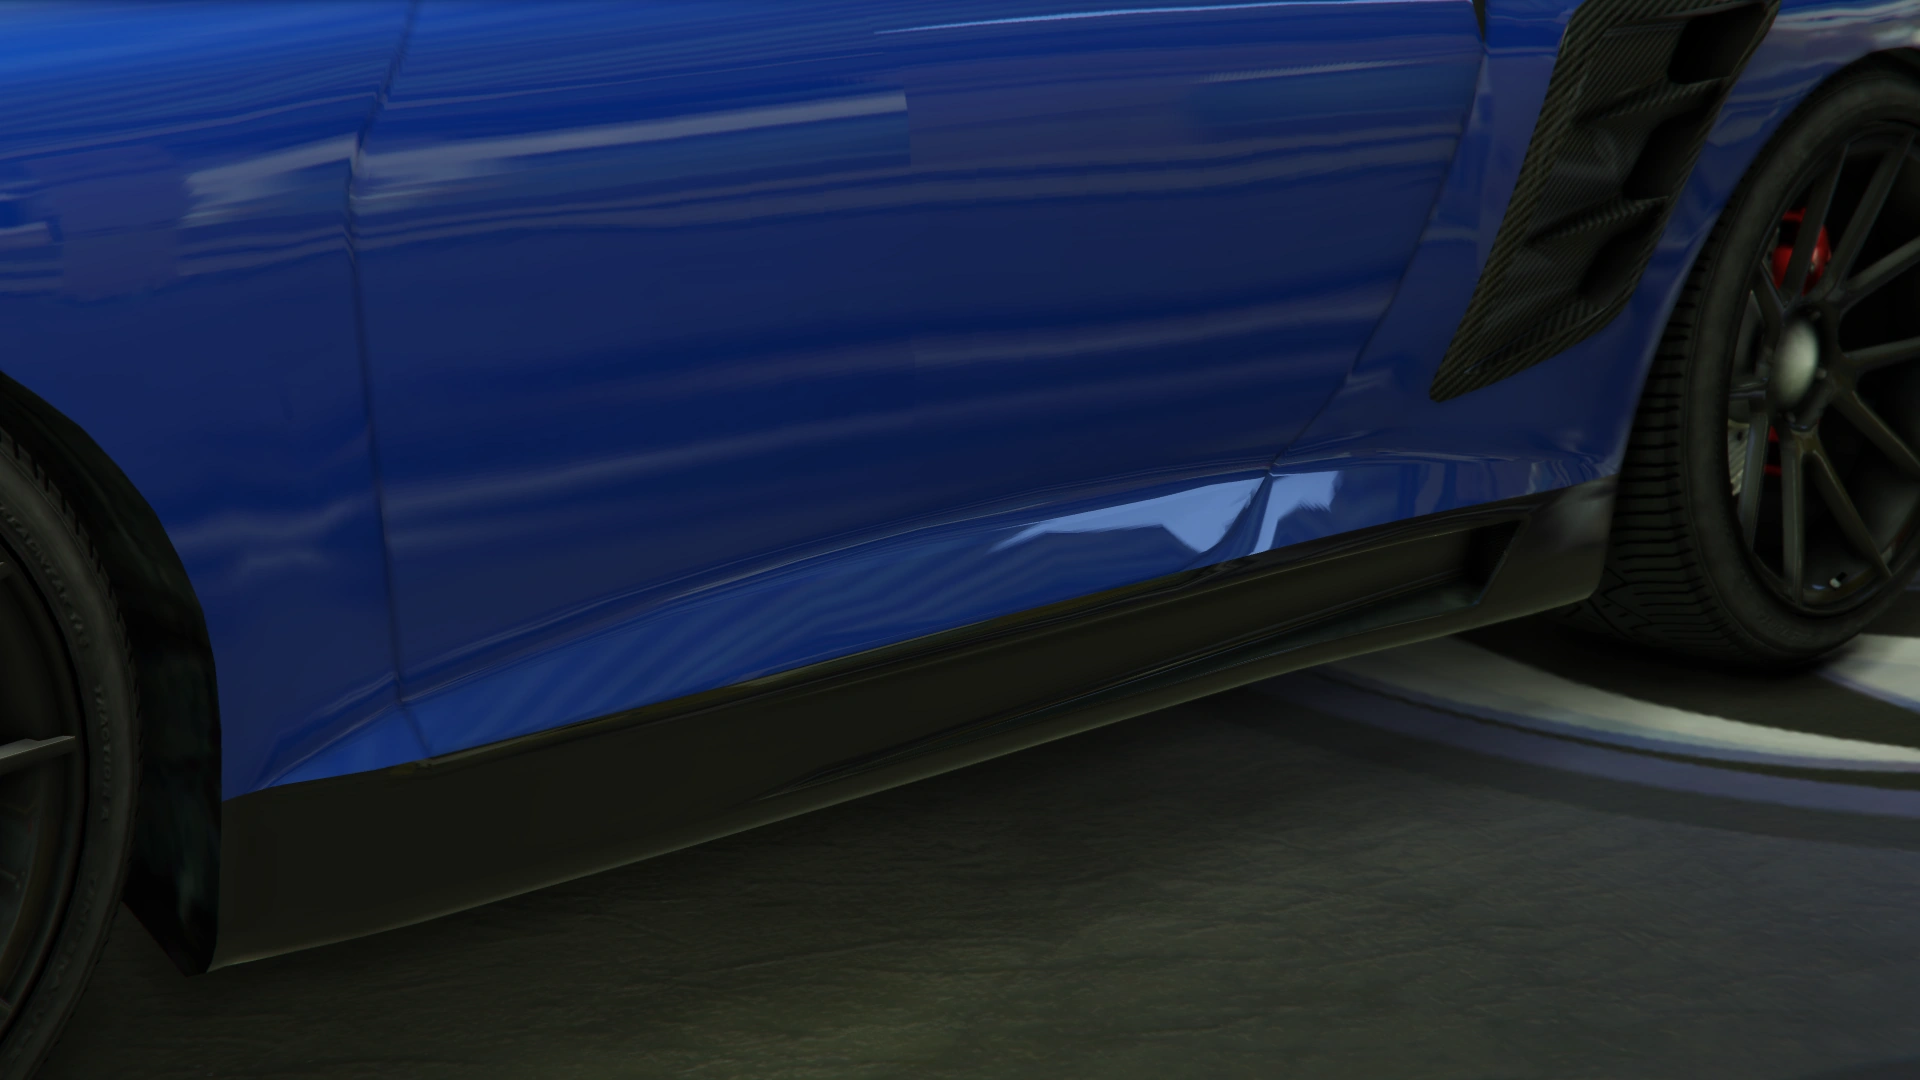


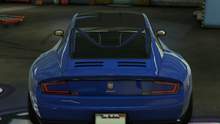


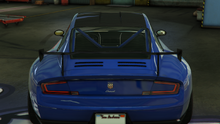
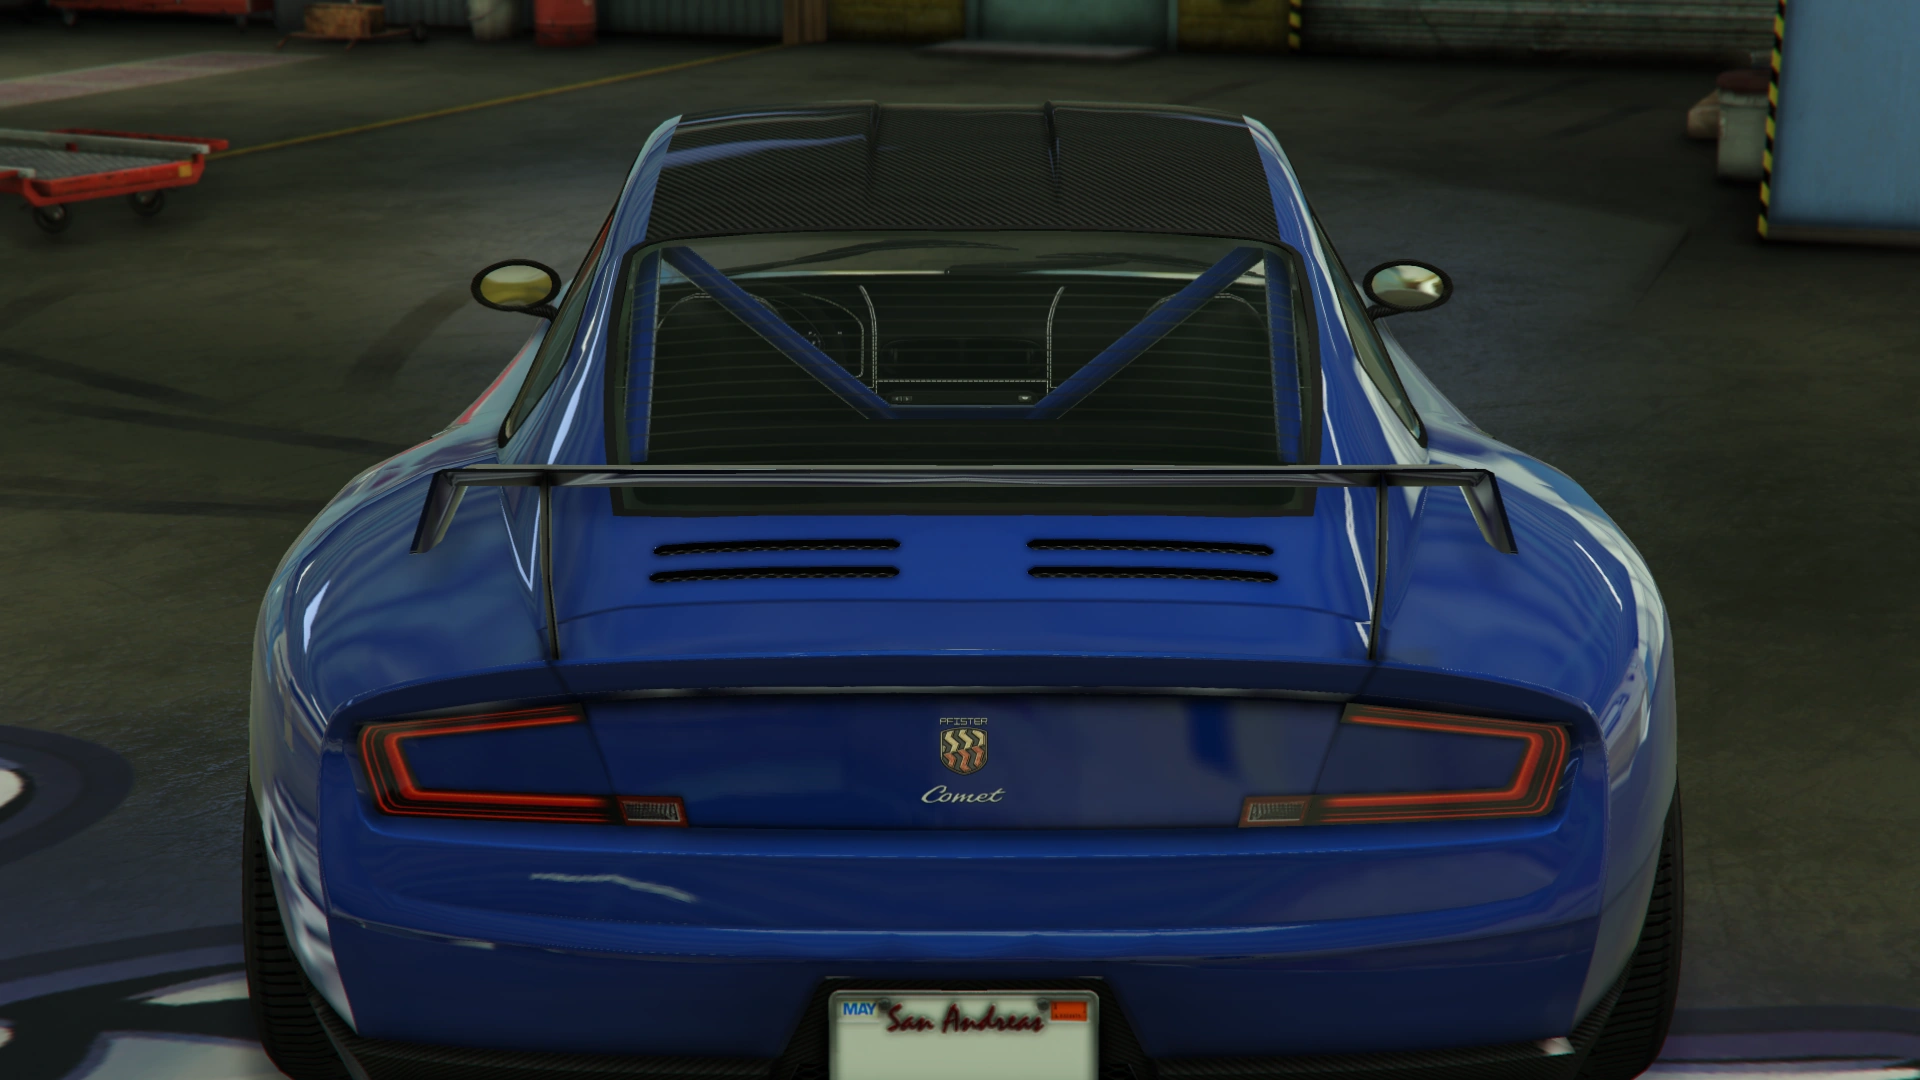
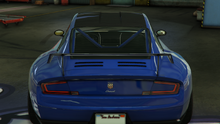


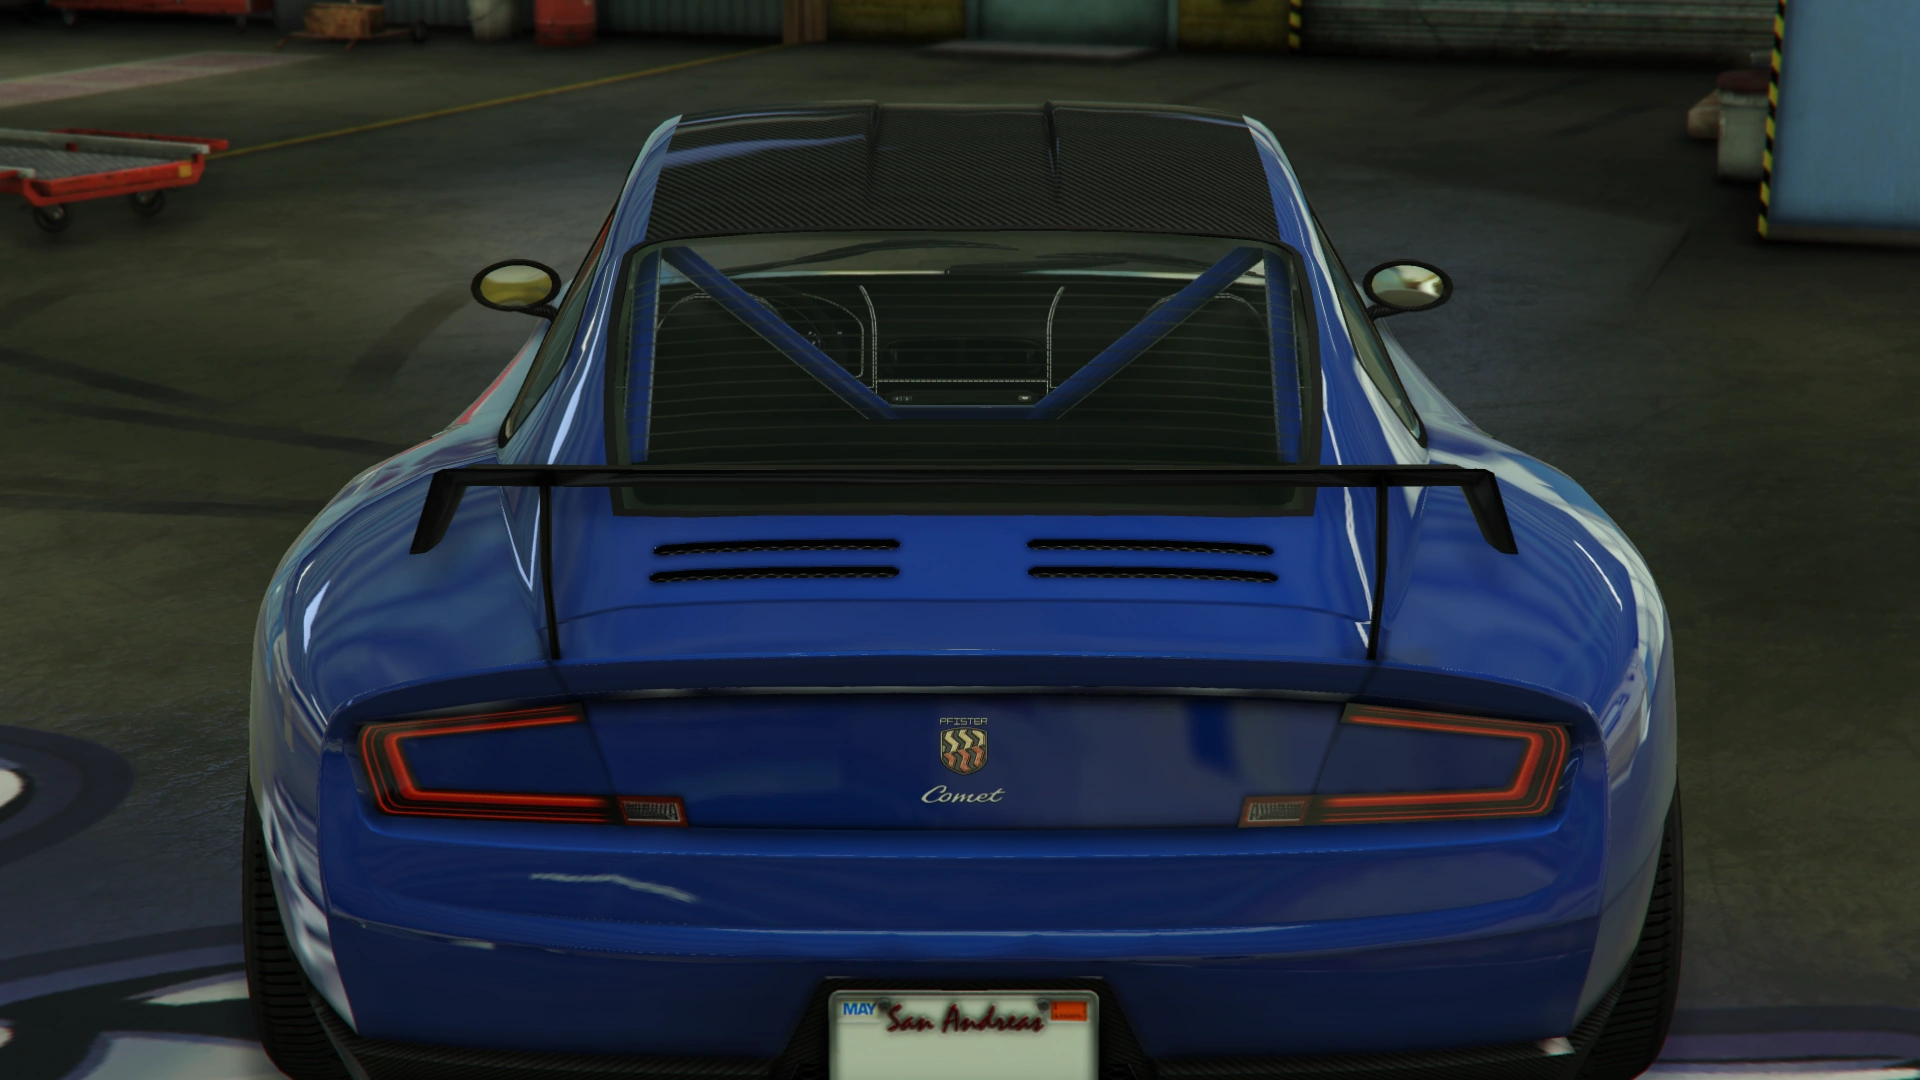


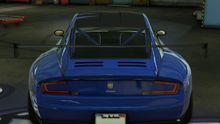

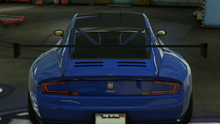
Image Gallery
Grand Theft Auto Online
")
")
Video

Locations
Grand Theft Auto Online
- Can be purchased from Legendary Motorsport for $1,145,000.
- The vehicle comes with the "Stock Spoiler" as standard when purchased.
Trivia
General
- "SR" may stand for "Street Racer", as both the vehicle and its Grand Theft Auto: Chinatown Wars counterpart are "tuner" sports cars. Contexts seen in the website description are a further reference.
- The default radio station of the Comet SR is Non-Stop-Pop FM.
See Also
- Comet - Basic model which the Comet SR is based on.
- Style SR - Grand Theft Auto: Chinatown Wars equivalent.