(Deshaciendo revisión 715632 de Ale444689) Los artículos destacados se quedan como cuando fueron destacados en su tiempo, no hace falta actualizarlo.) Etiqueta: sourceedit |
Sin resumen de edición |
||
| Línea 5: | Línea 5: | ||
| colspan="2" style="border:2px solid FireBrick; padding:1em 1em 1em 1em; background-color:none" | |
| colspan="2" style="border:2px solid FireBrick; padding:1em 1em 1em 1em; background-color:none" | |
||
<div align="right"><small>Grand Theft Auto: San Andreas</small></div> |
<div align="right"><small>Grand Theft Auto: San Andreas</small></div> |
||
| − | '''<div style="font-size:100%;">[[Imagen:Drive-Thru.jpg|right| |
+ | '''<div style="font-size:100%;">[[Imagen:Drive-Thru.jpg|right|250px]] |
<big>'''[[Drive-Thru]]'''</big> |
<big>'''[[Drive-Thru]]'''</big> |
||
| Línea 18: | Línea 18: | ||
| colspan="2" style="border:2px solid FireBrick; padding:1em 1em 1em 1em; background-color:none"| |
| colspan="2" style="border:2px solid FireBrick; padding:1em 1em 1em 1em; background-color:none"| |
||
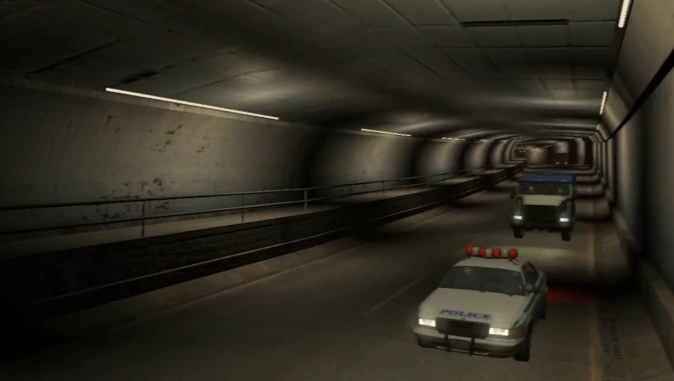
<div align="right"><small>Grand Theft Auto: Liberty City Stories</small></div> |
<div align="right"><small>Grand Theft Auto: Liberty City Stories</small></div> |
||
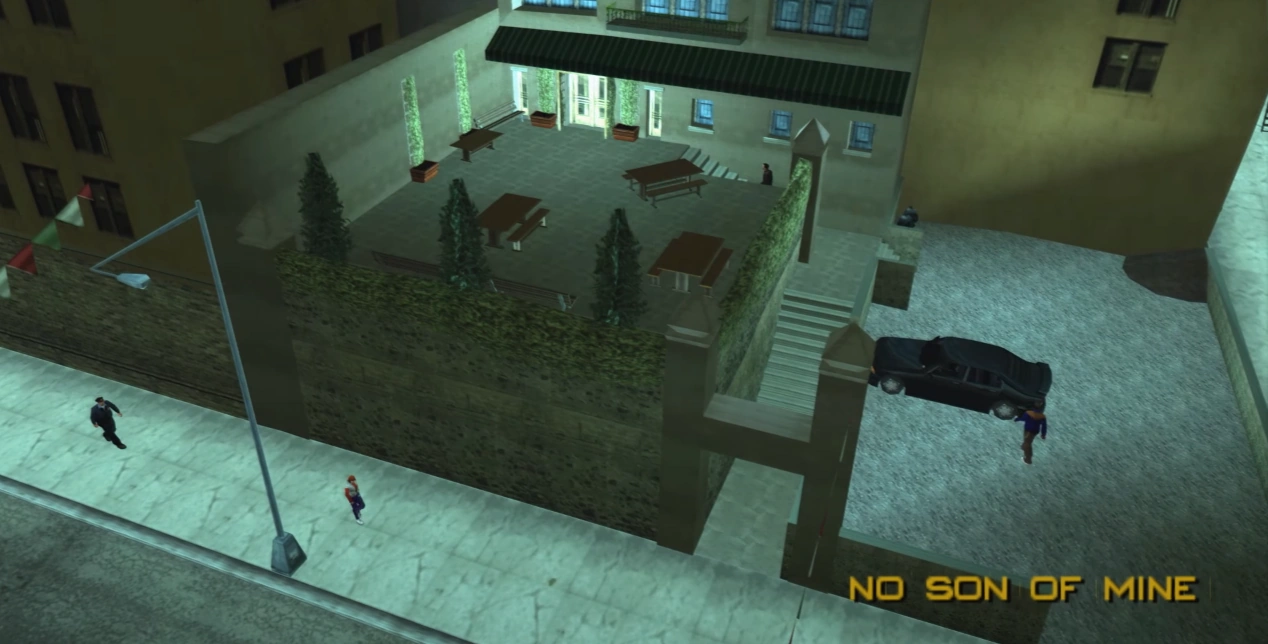
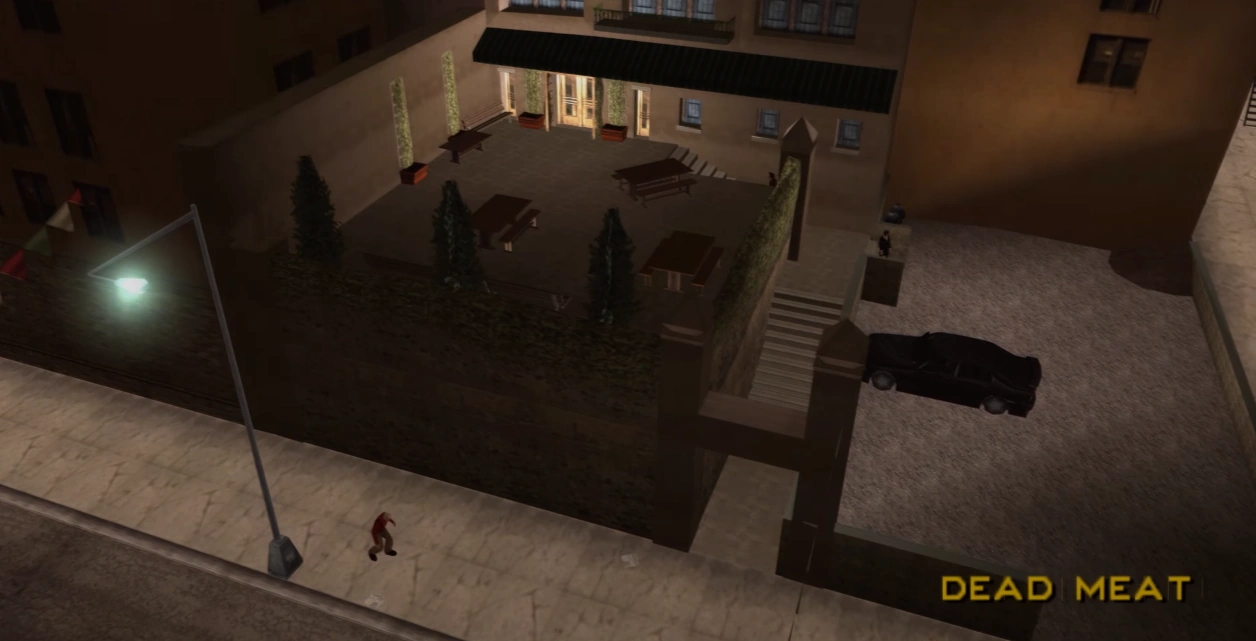
| − | [[Imagen:DrivingMrLeone.jpg|left|| |
+ | [[Imagen:DrivingMrLeone.jpg|left||250px]] |
<big>'''[[Driving Mr. Leone]]'''</big> |
<big>'''[[Driving Mr. Leone]]'''</big> |
||
| Línea 29: | Línea 29: | ||
| colspan="2" style="border:2px solid FireBrick; padding:1em 1em 1em 1em; background-color:none" | |
| colspan="2" style="border:2px solid FireBrick; padding:1em 1em 1em 1em; background-color:none" | |
||
<div align="right"><small>Grand Theft Auto: Liberty City Stories</small></div> |
<div align="right"><small>Grand Theft Auto: Liberty City Stories</small></div> |
||
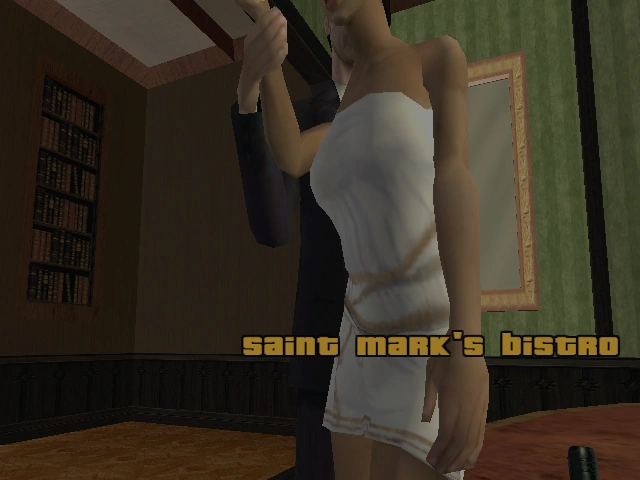
| − | '''<div style="font-size:100%;">[[Imagen:Portland_Chainsaw_Masquerade_LCS.jpg|right| |
+ | '''<div style="font-size:100%;">[[Imagen:Portland_Chainsaw_Masquerade_LCS.jpg|right|250px]] |
<big>'''[[The Portland Chainsaw Masquerade]]'''</big> |
<big>'''[[The Portland Chainsaw Masquerade]]'''</big> |
||
| Línea 40: | Línea 40: | ||
| colspan="2" style="border:2px solid FireBrick; padding:1em 1em 1em 1em; background-color:none" | |
| colspan="2" style="border:2px solid FireBrick; padding:1em 1em 1em 1em; background-color:none" | |
||
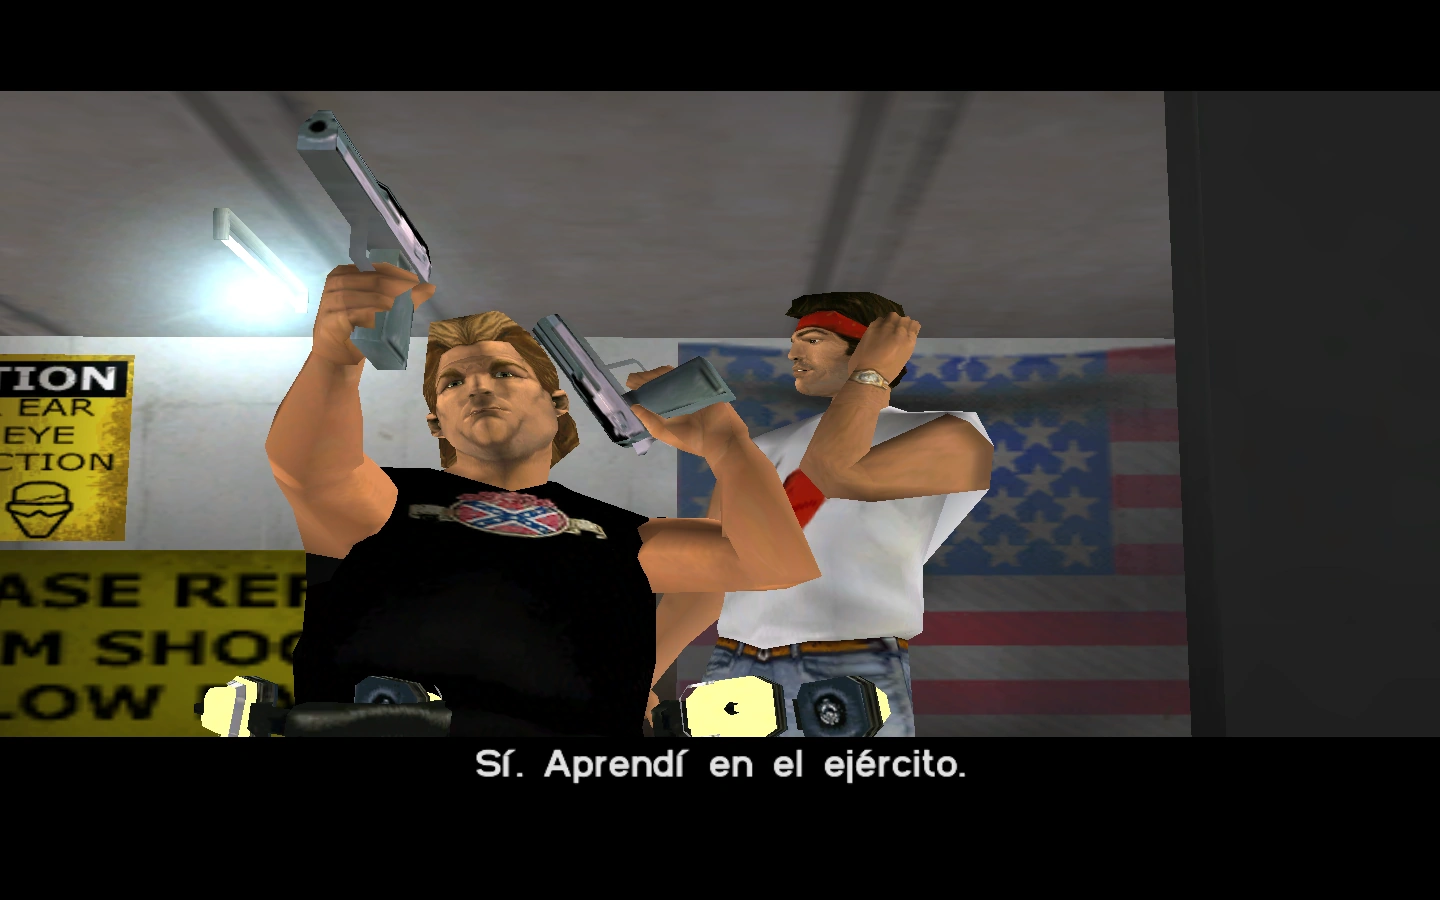
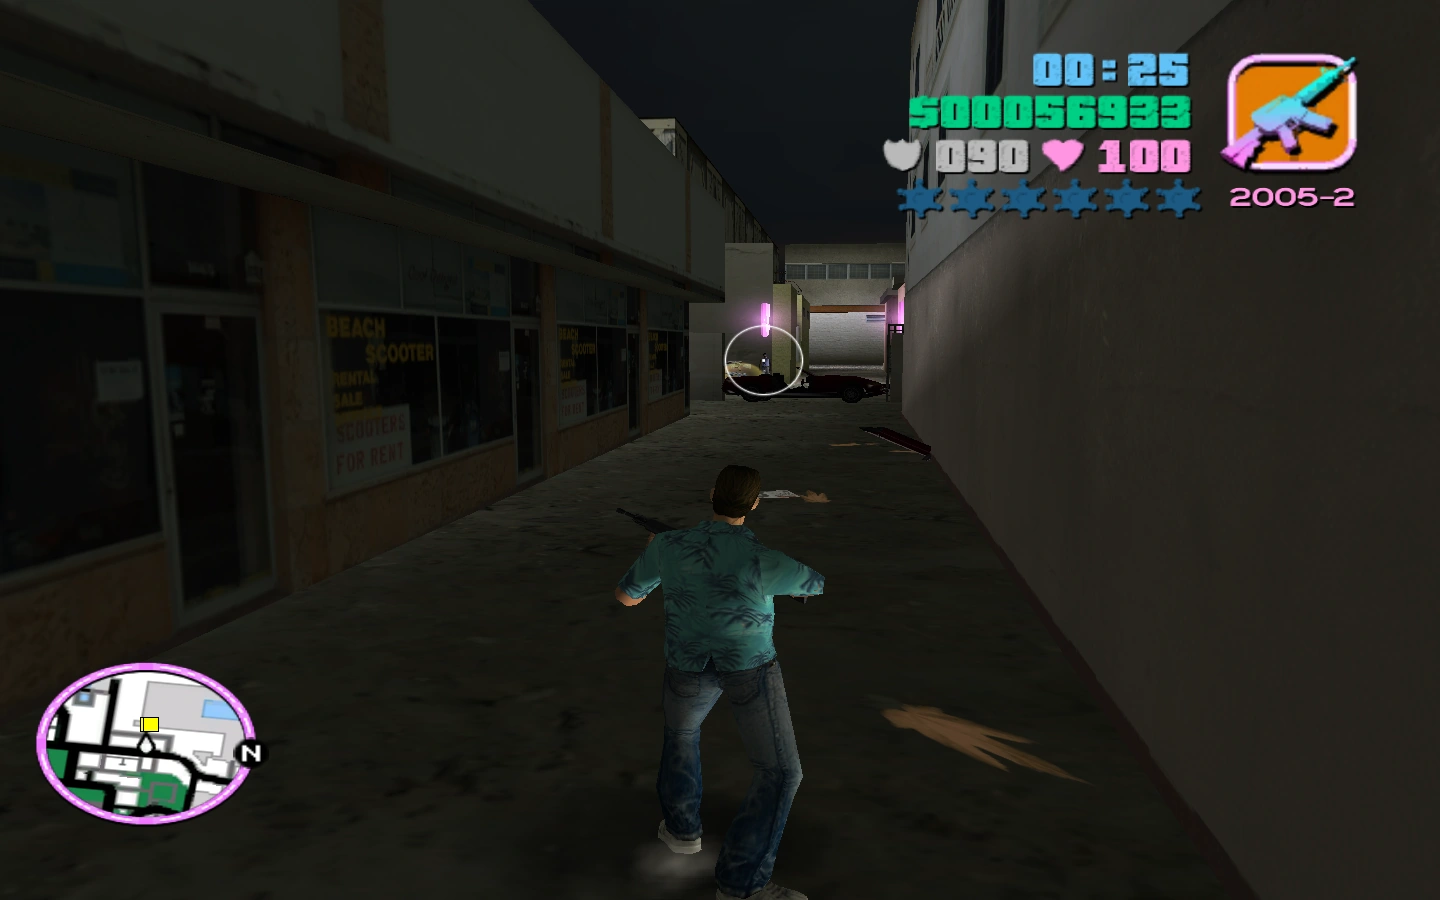
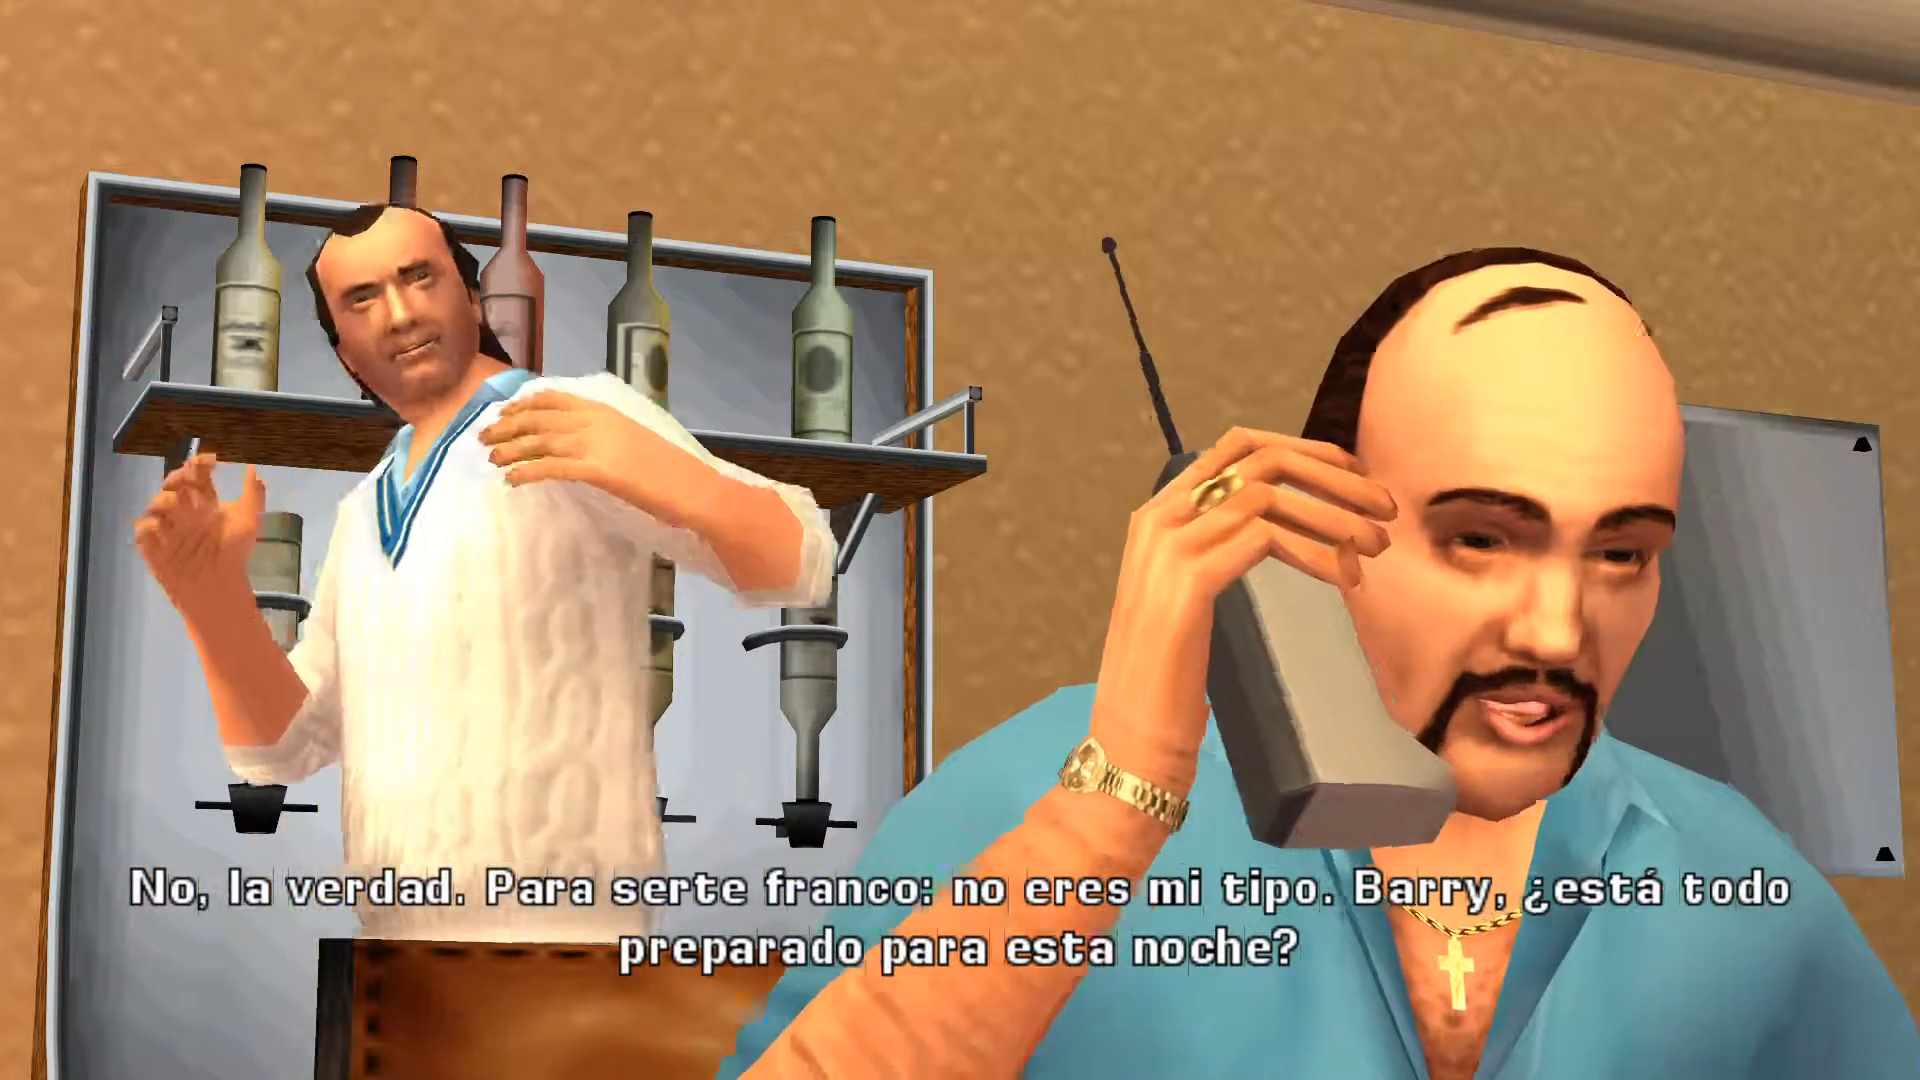
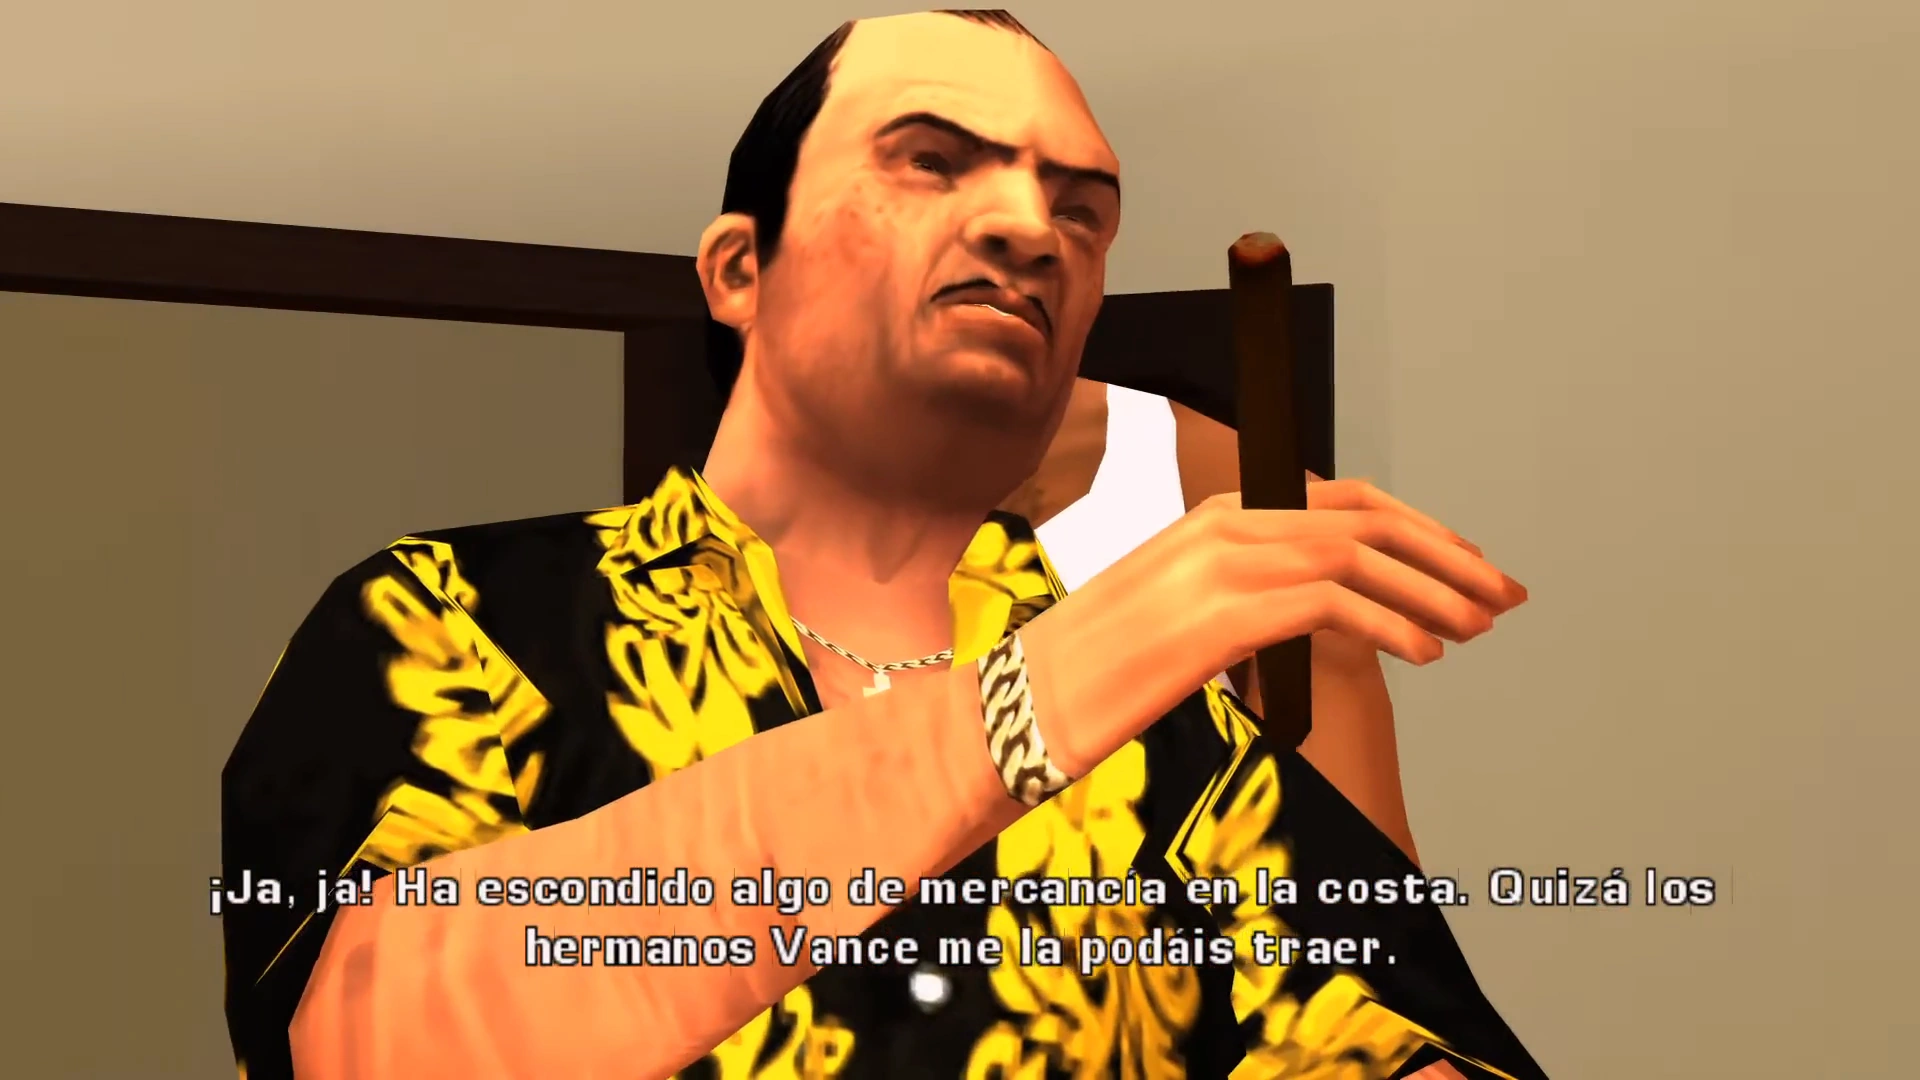
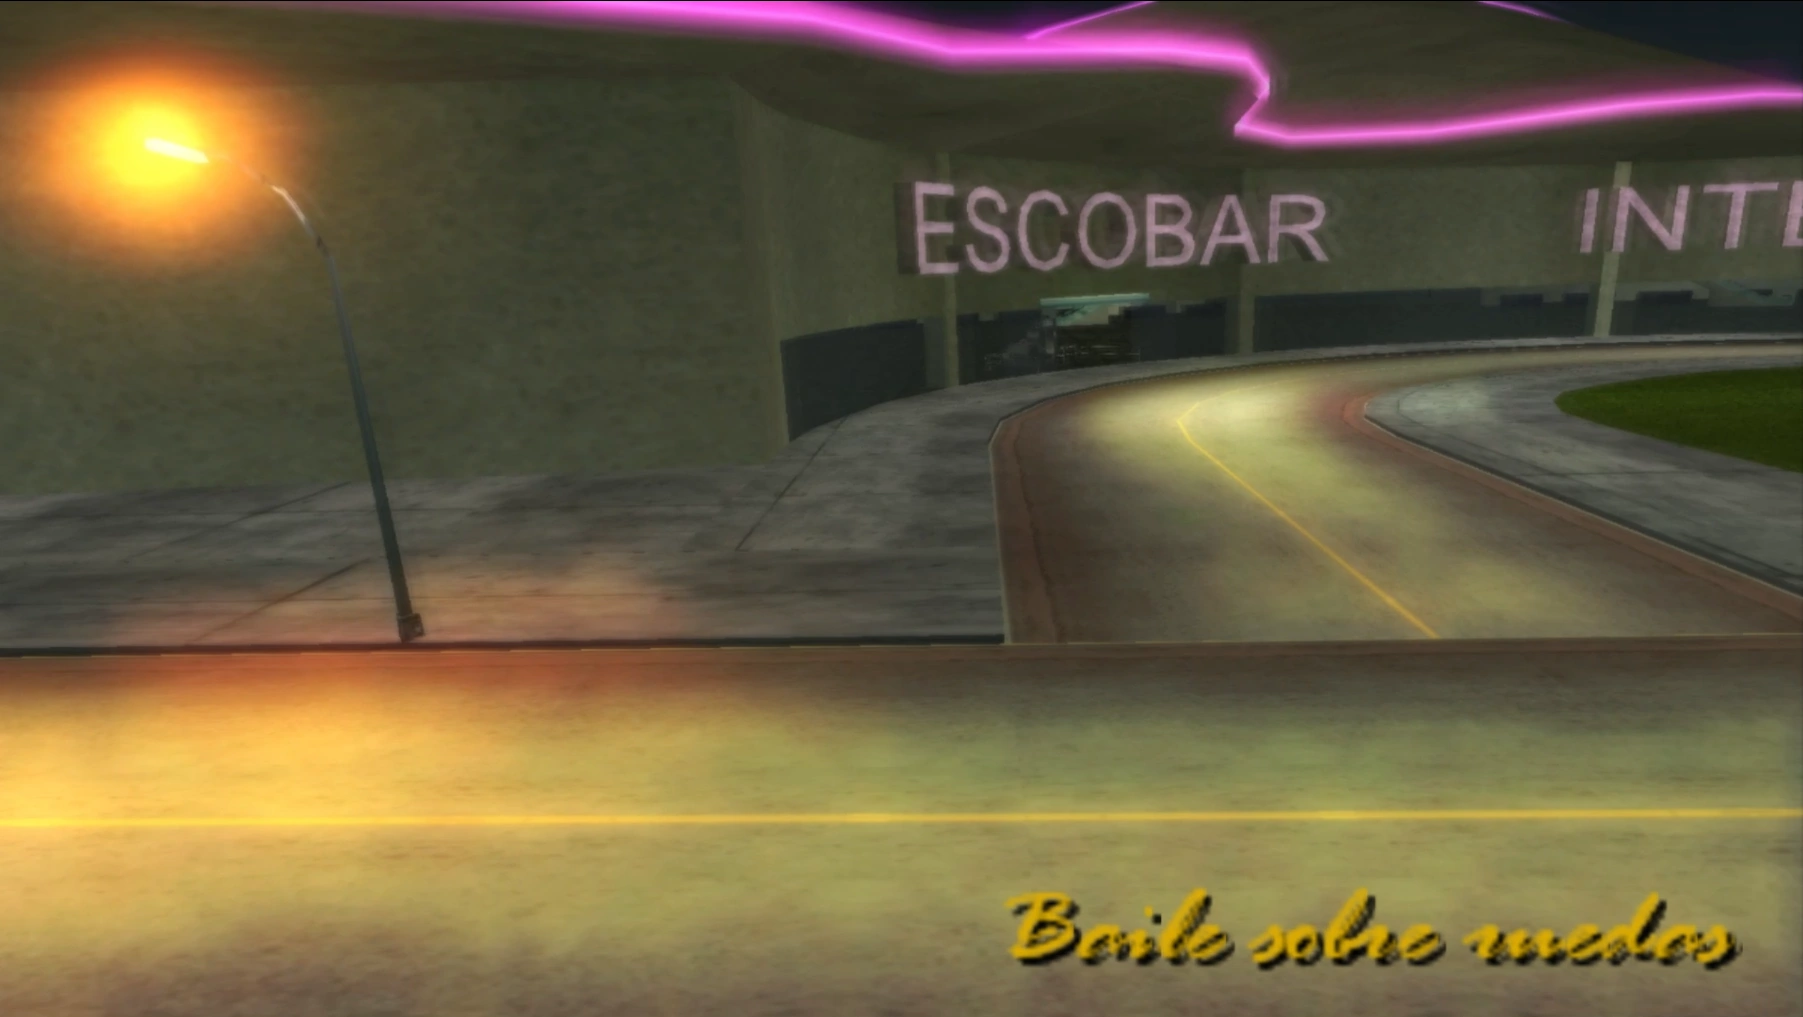
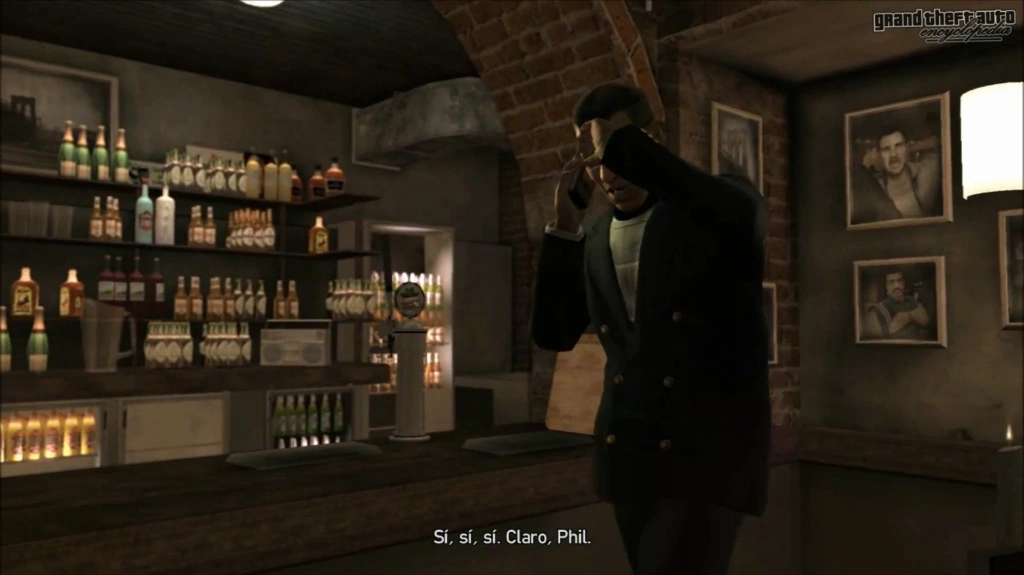
<div align="right"><small>Grand Theft Auto: Vice City Stories</small></div> |
<div align="right"><small>Grand Theft Auto: Vice City Stories</small></div> |
||
| − | '''<div style="font-size:100%;">[[Imagen:Phil22.jpg|right| |
+ | '''<div style="font-size:100%;">[[Imagen:Phil22.jpg|right|250px]] |
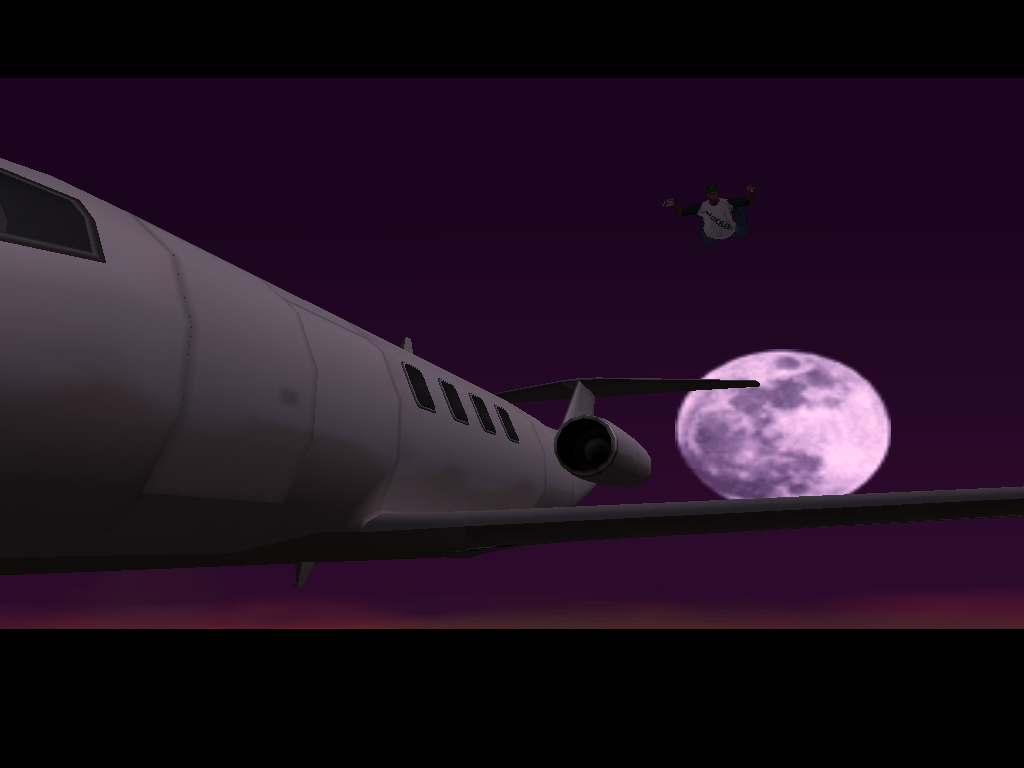
<big>'''[[In The Air Tonight]]'''</big> |
<big>'''[[In The Air Tonight]]'''</big> |
||
| Línea 52: | Línea 52: | ||
| colspan="2" style="border:2px solid FireBrick; padding:1em 1em 1em 1em; background-color:none" | |
| colspan="2" style="border:2px solid FireBrick; padding:1em 1em 1em 1em; background-color:none" | |
||
<div align="right"><small>Grand Theft Auto: San Andreas</small></div> |
<div align="right"><small>Grand Theft Auto: San Andreas</small></div> |
||
| − | '''<div style="font-size:100%;">[[Imagen:Breaking the Bank at Caligula's 6.jpg|left| |
+ | '''<div style="font-size:100%;">[[Imagen:Breaking the Bank at Caligula's 6.jpg|left|250px]] |
<big>'''[[Breaking the Bank at Caligula's]]'''</big> |
<big>'''[[Breaking the Bank at Caligula's]]'''</big> |
||
| Línea 61: | Línea 61: | ||
| colspan="2" style="border:2px solid FireBrick; padding:1em 1em 1em 1em; background-color:none" | |
| colspan="2" style="border:2px solid FireBrick; padding:1em 1em 1em 1em; background-color:none" | |
||
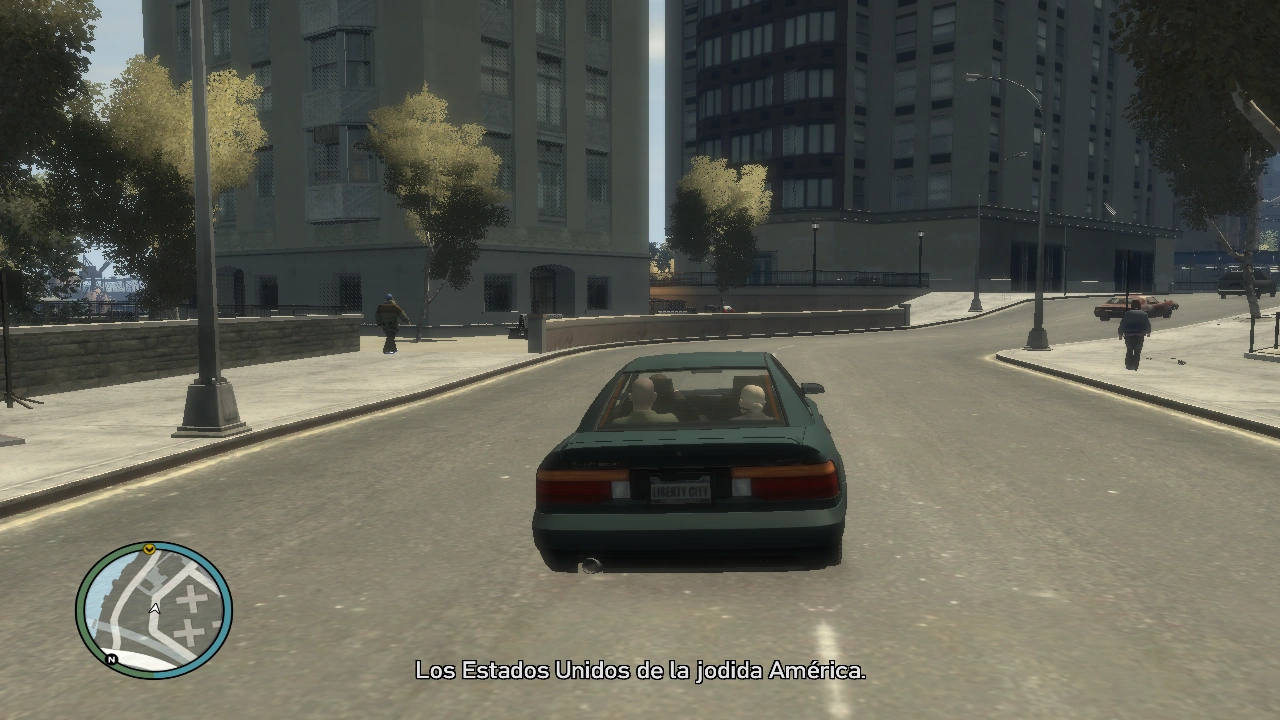
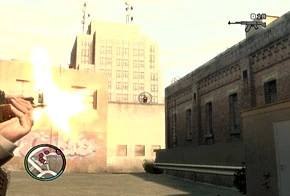
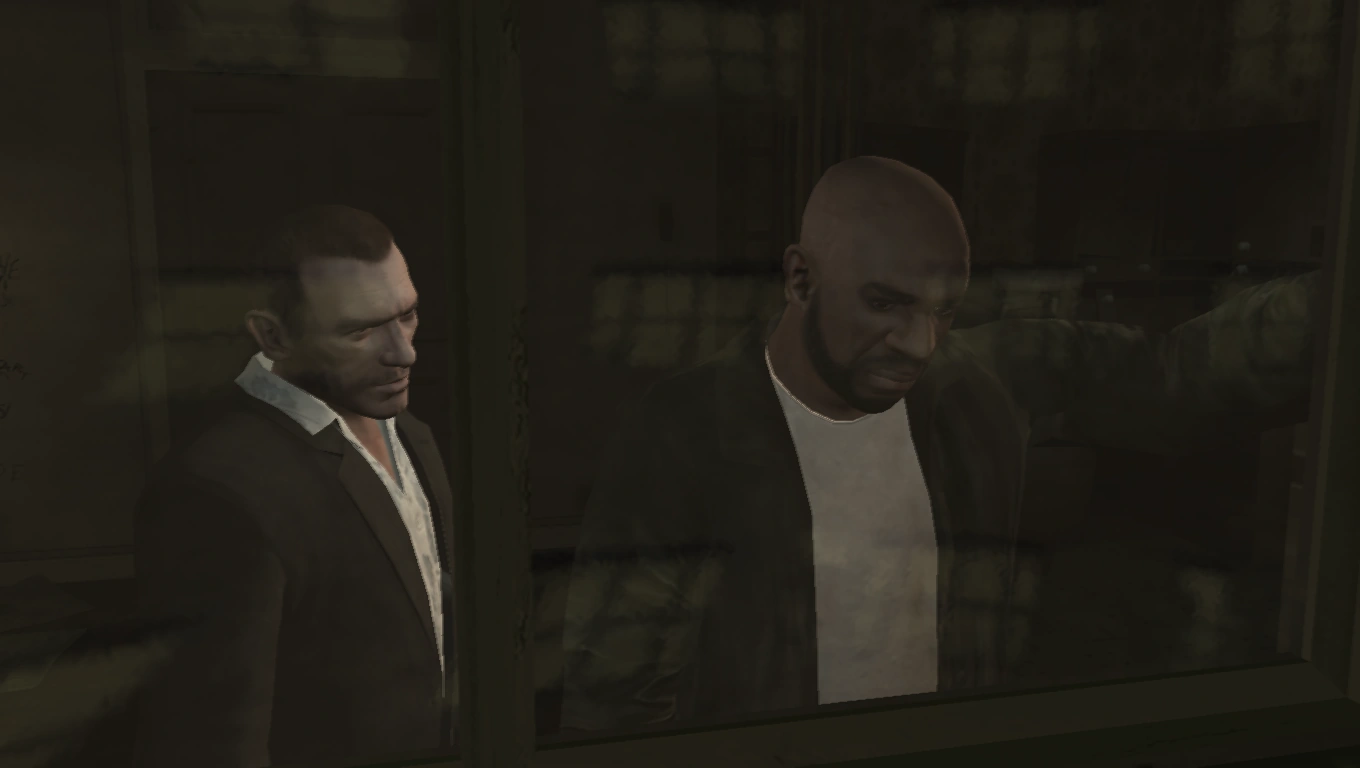
<div align="right"><small>Grand Theft Auto IV</small></div> |
<div align="right"><small>Grand Theft Auto IV</small></div> |
||
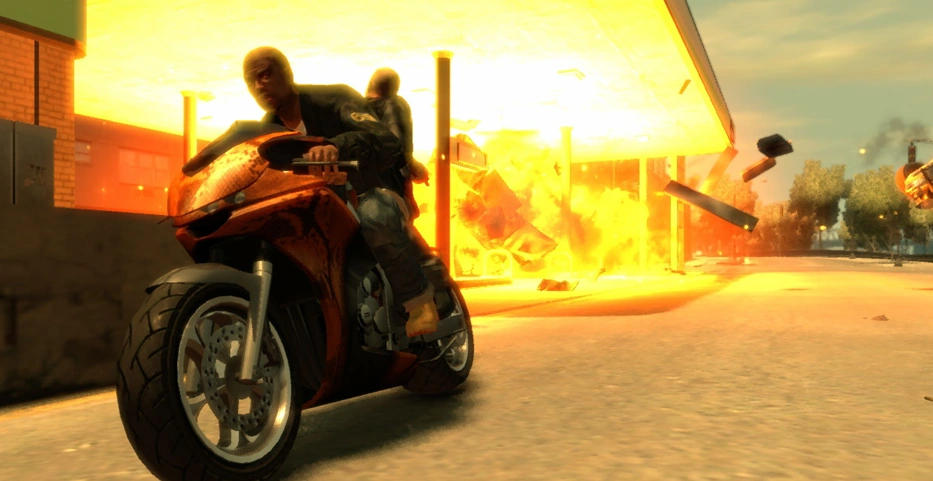
| − | '''<div style="font-size:100%;">[[Imagen:Robo.jpg|right| |
+ | '''<div style="font-size:100%;">[[Imagen:Robo.jpg|right|250px]] |
<big>'''[[Three Leaf Clover]]'''</big> |
<big>'''[[Three Leaf Clover]]'''</big> |
||
| Línea 71: | Línea 71: | ||
| colspan="2" style="border:2px solid FireBrick; padding:1em 1em 1em 1em; background-color:none" | |
| colspan="2" style="border:2px solid FireBrick; padding:1em 1em 1em 1em; background-color:none" | |
||
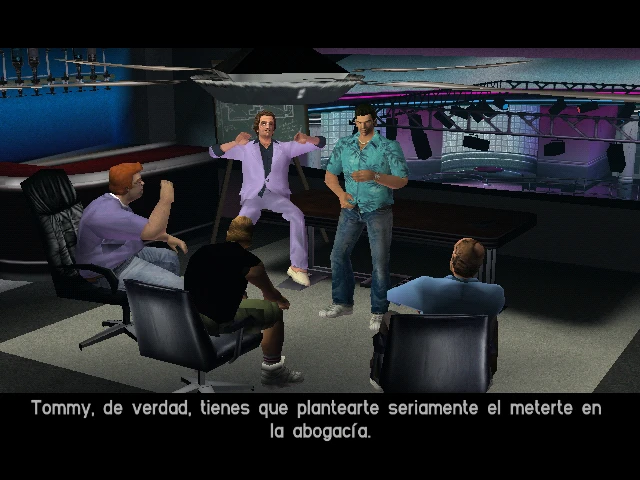
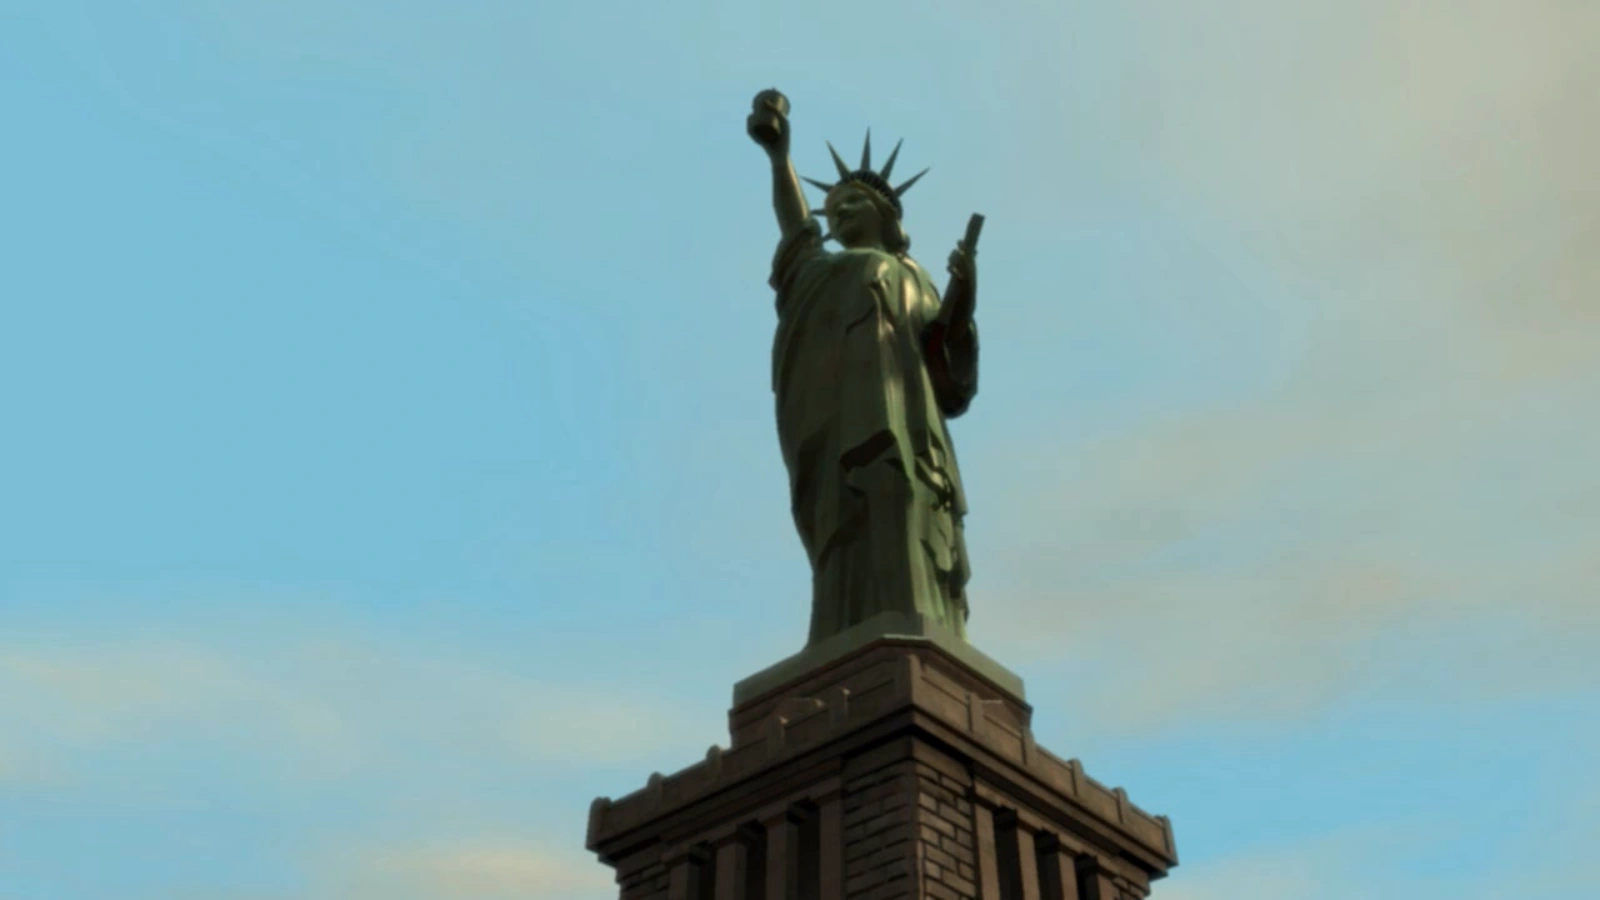
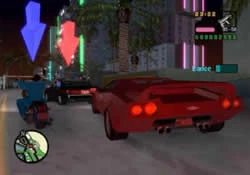
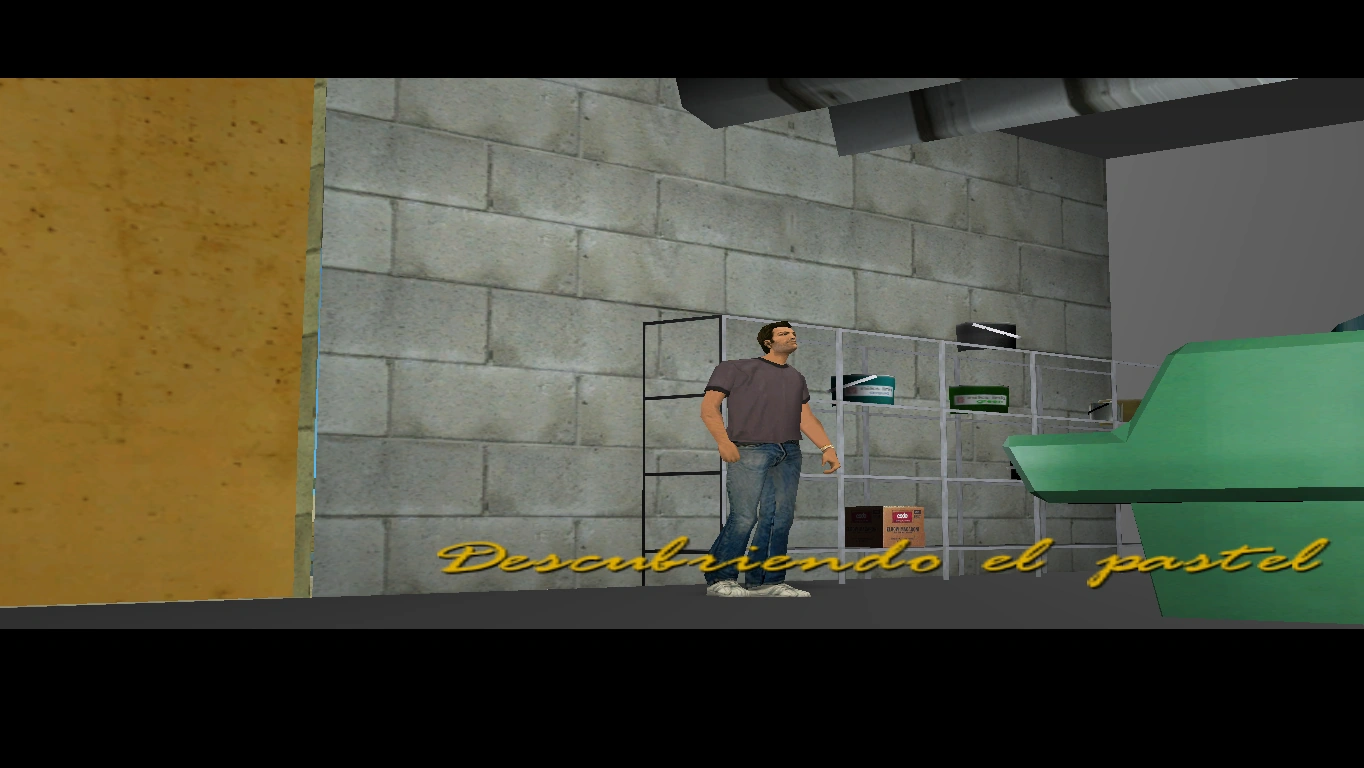
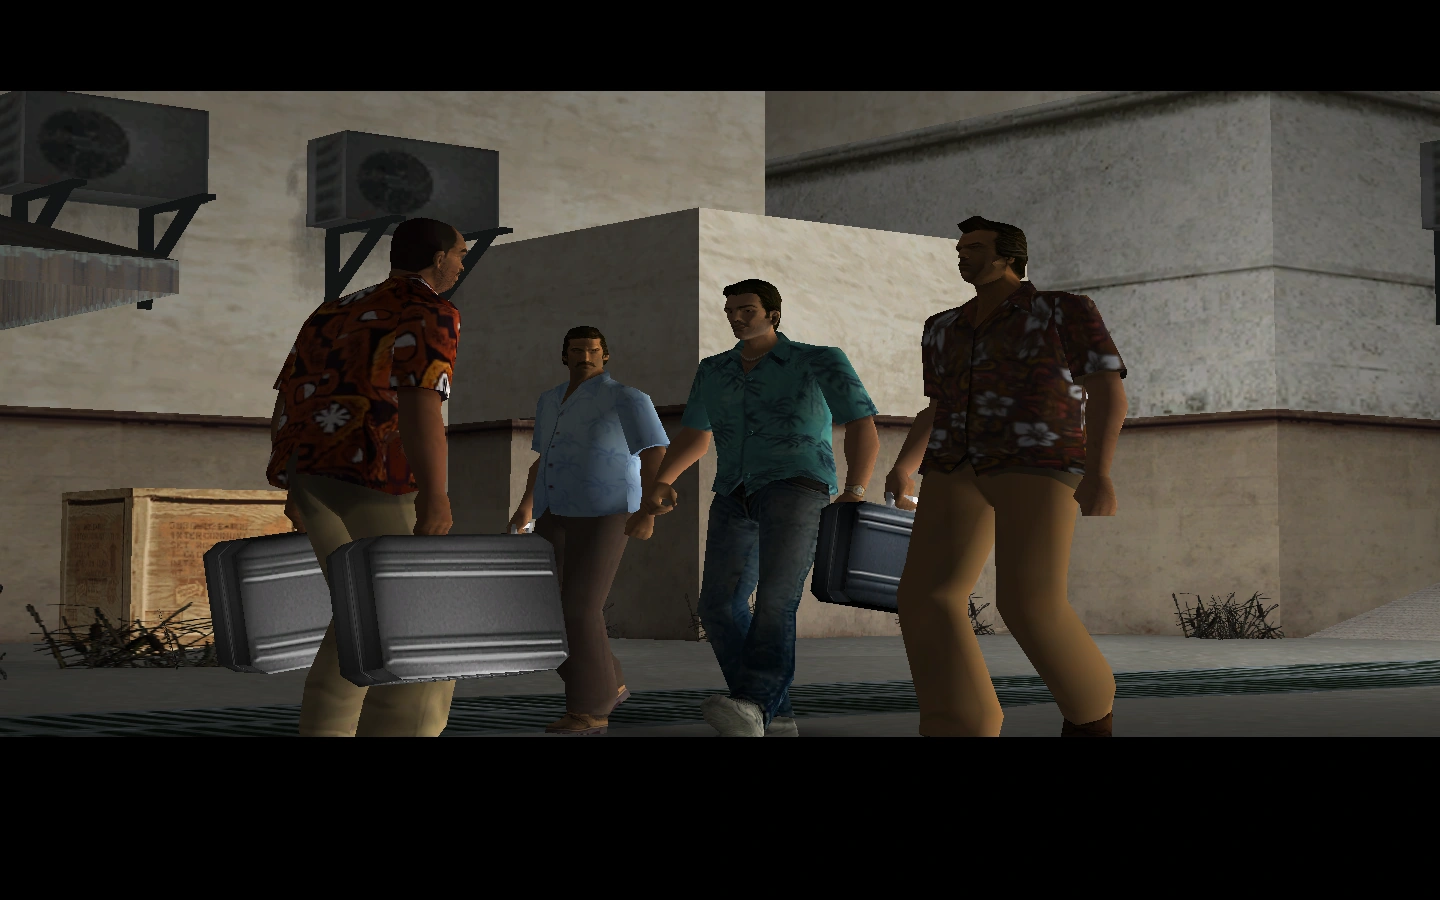
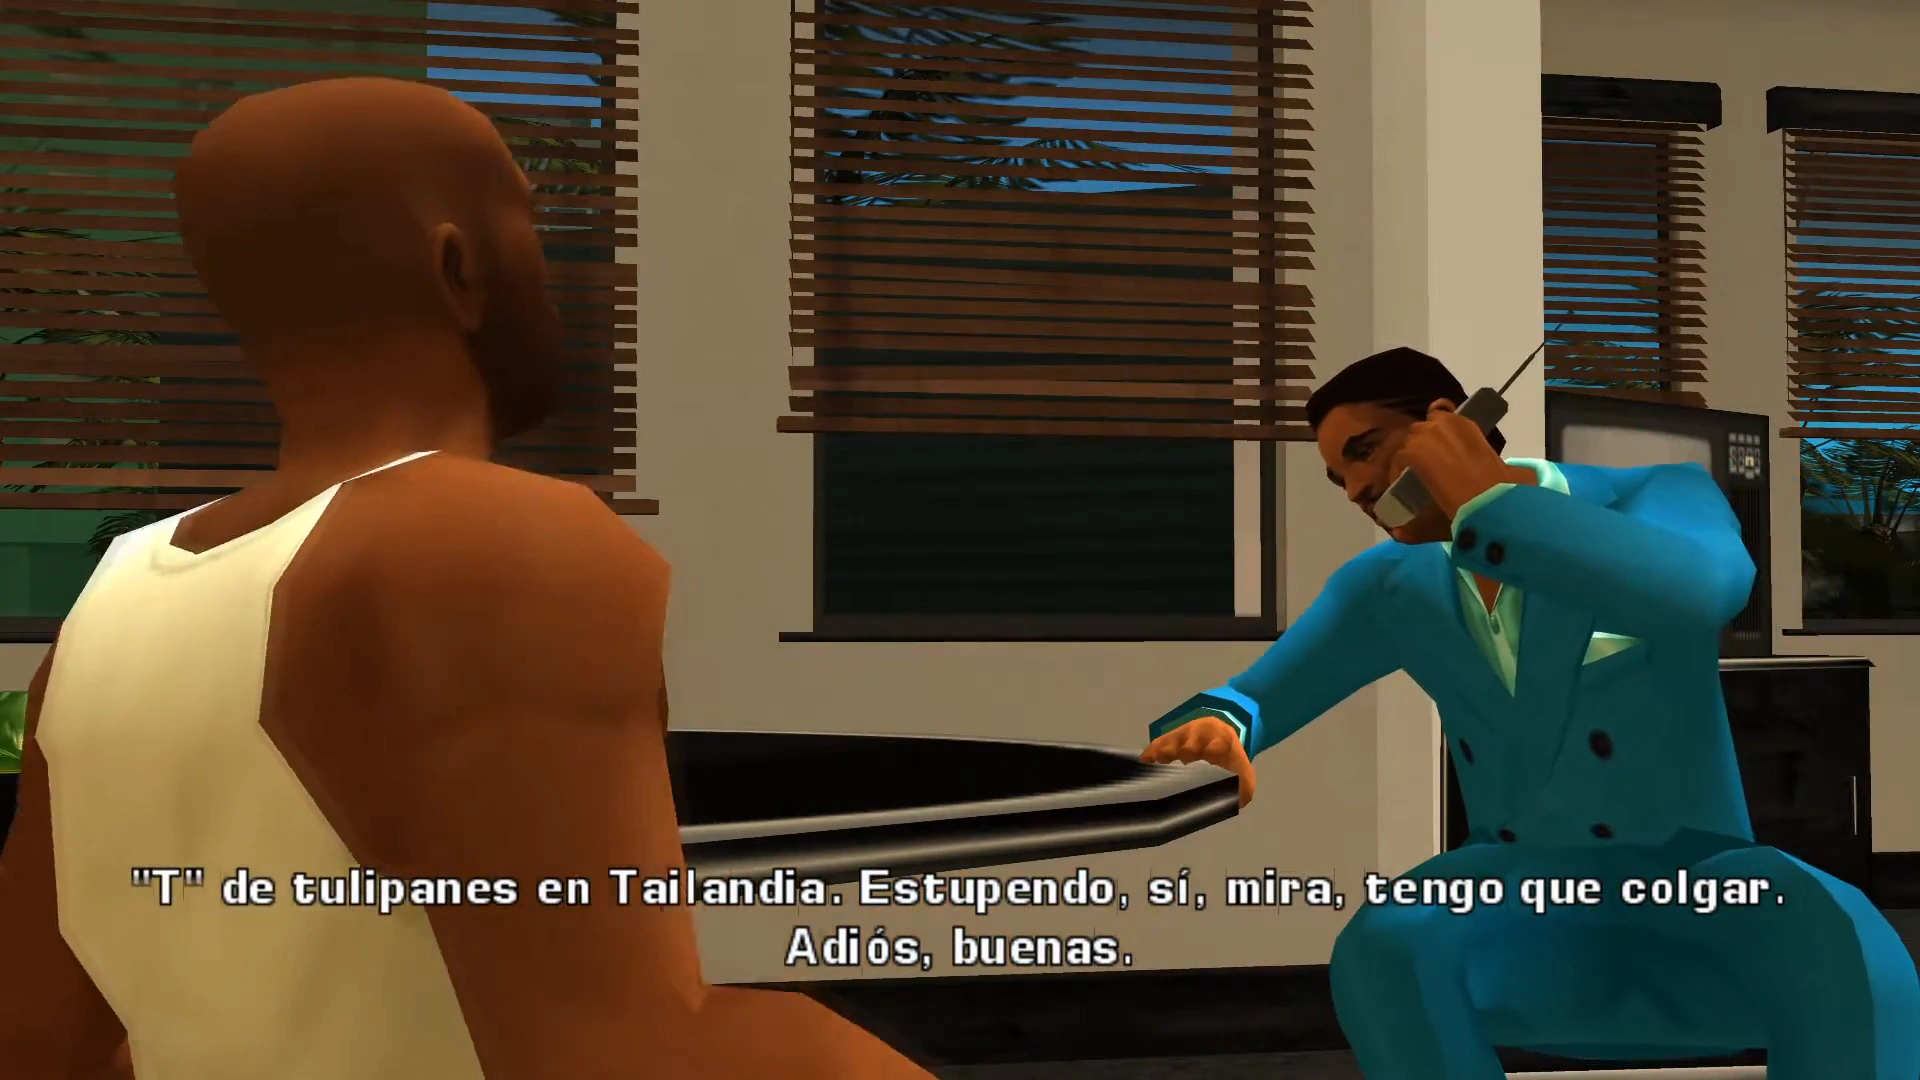
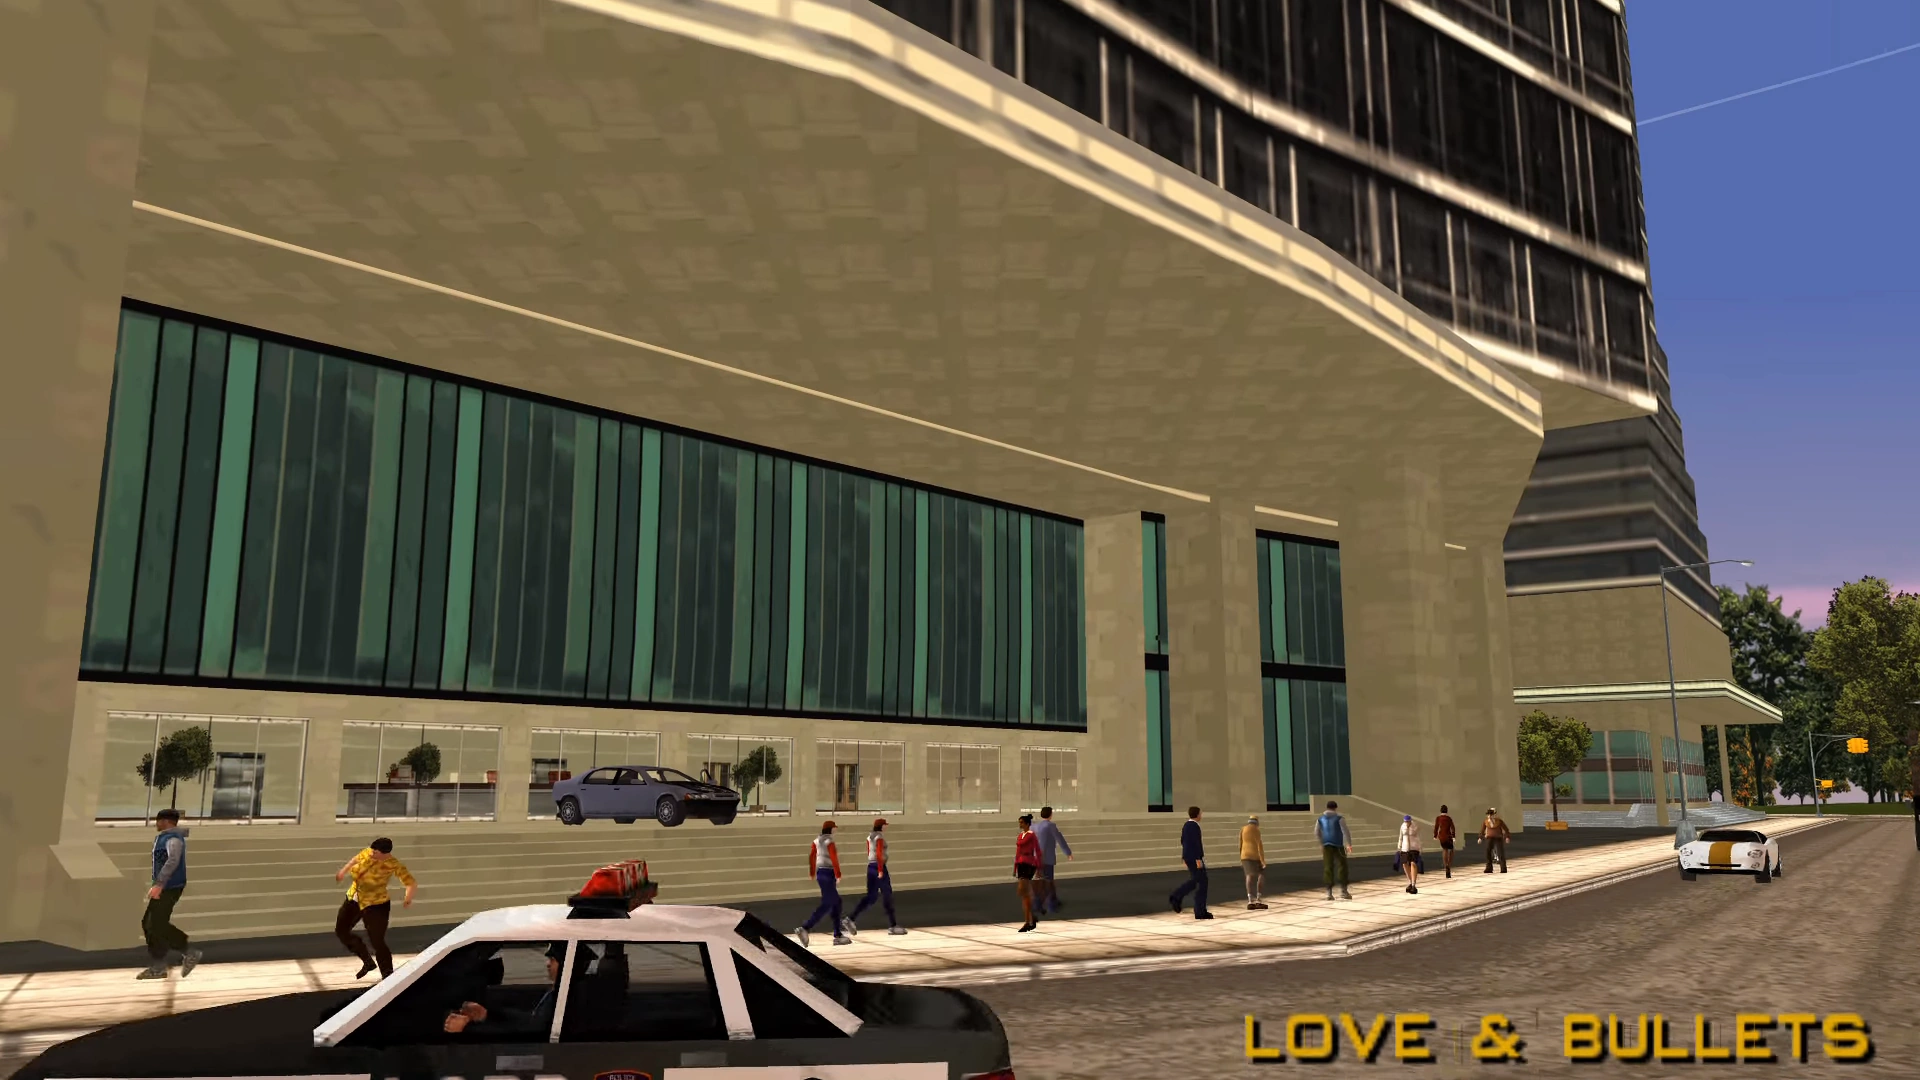
<div align="right"><small>Grand Theft Auto: Vice City</small></div> |
<div align="right"><small>Grand Theft Auto: Vice City</small></div> |
||
| − | '''<div style="font-size:100%;">[[Imagen:El_Atraco1.jpg|left| |
+ | '''<div style="font-size:100%;">[[Imagen:El_Atraco1.jpg|left|250px]] |
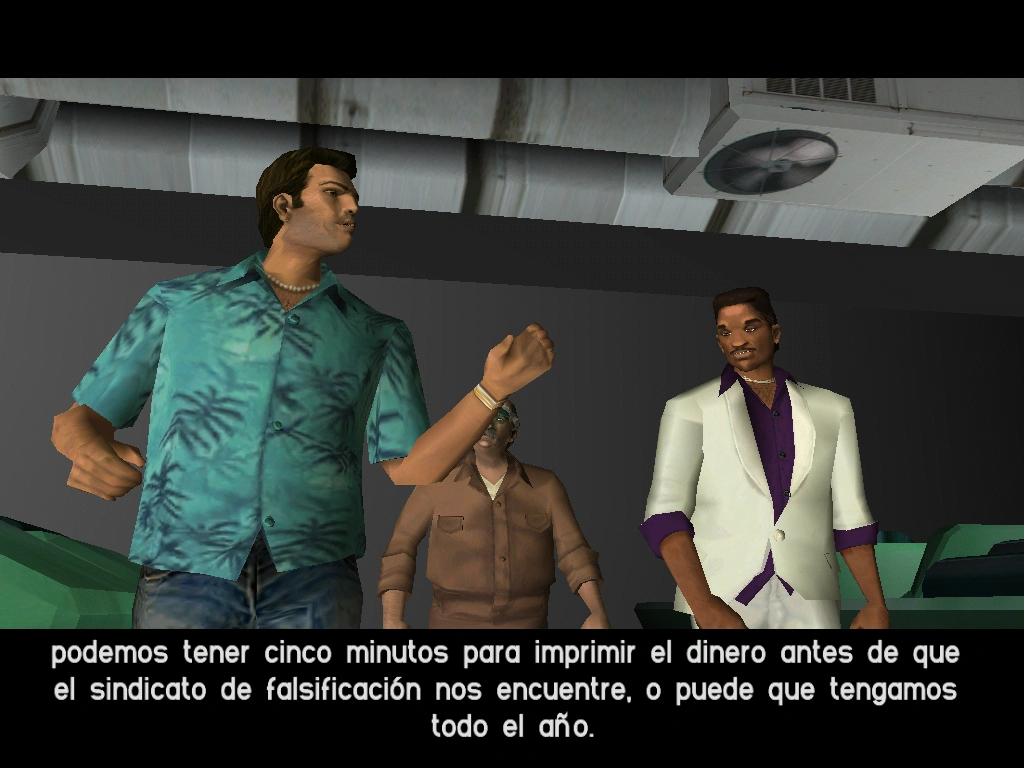
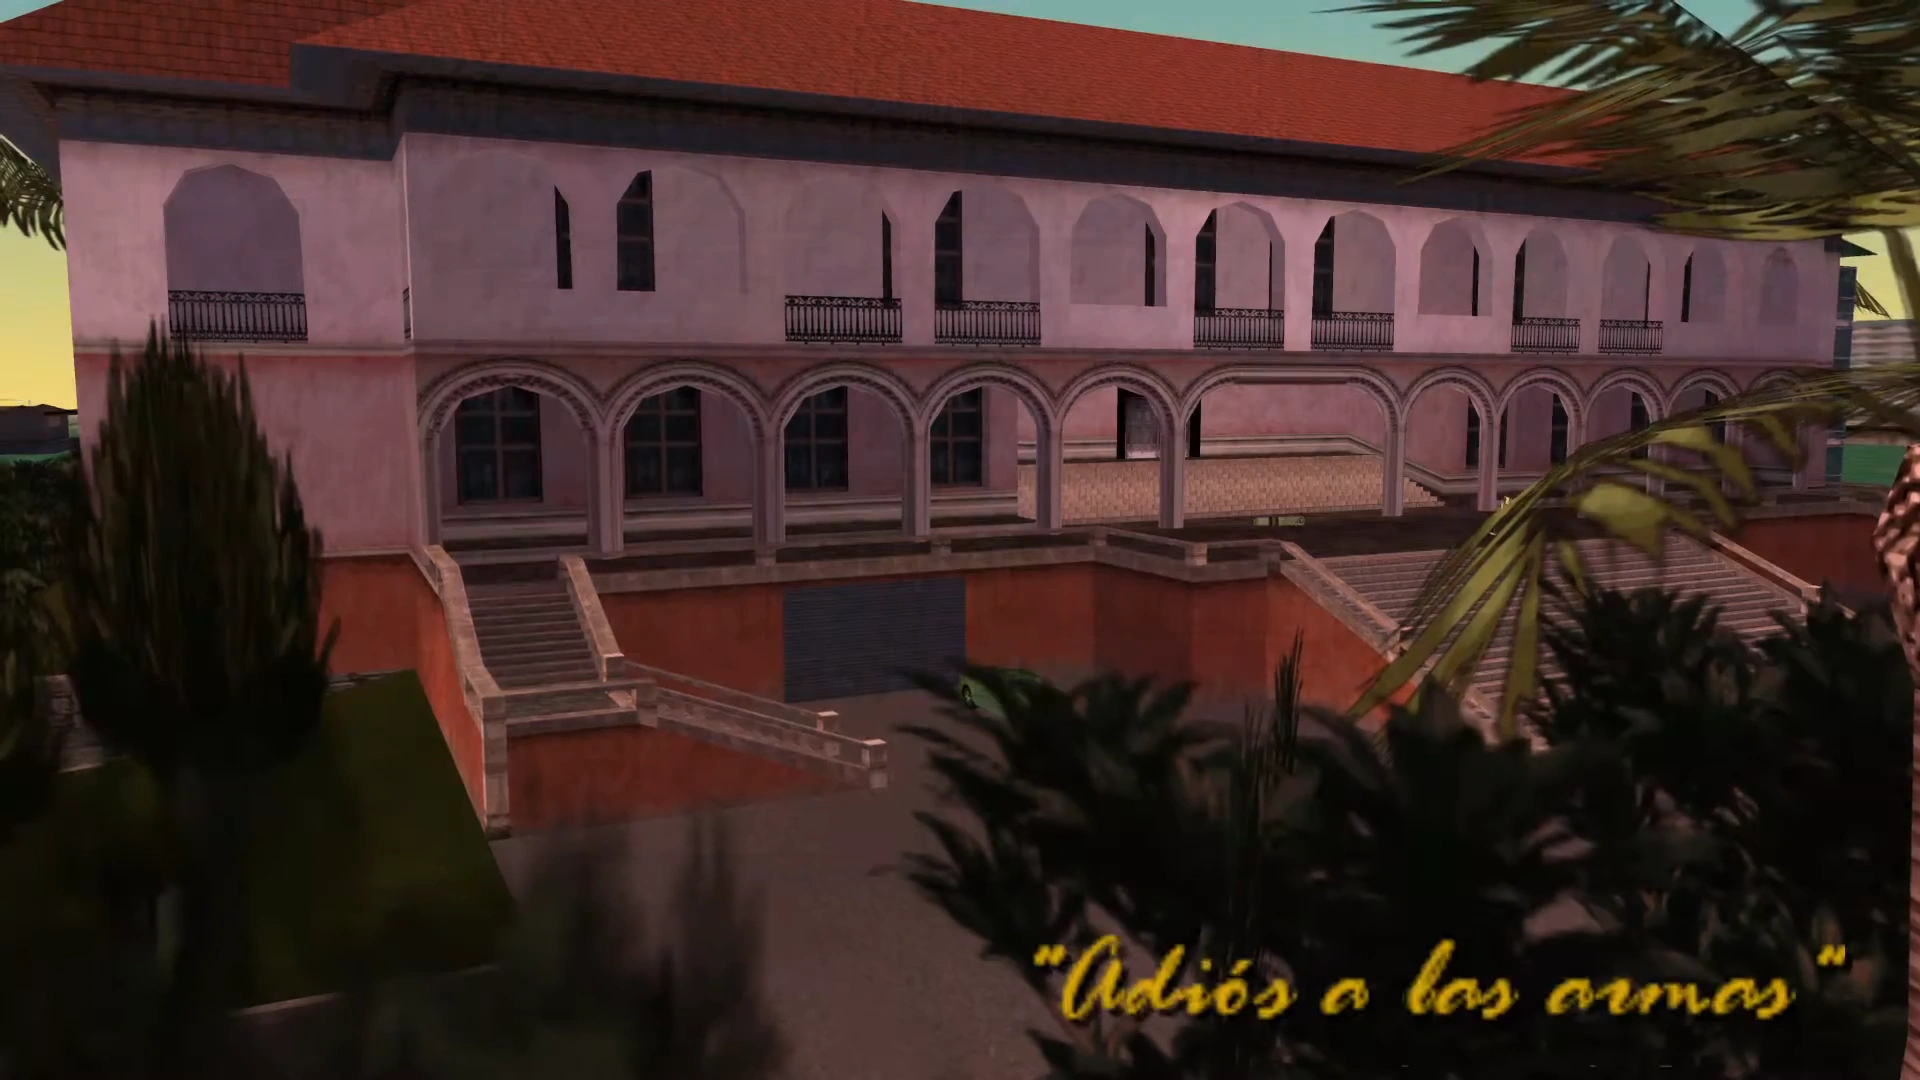
<big>'''[[El atraco]]'''</big> |
<big>'''[[El atraco]]'''</big> |
||
| Línea 83: | Línea 83: | ||
| colspan="2" style="border:2px solid FireBrick; padding:1em 1em 1em 1em; background-color:none" | |
| colspan="2" style="border:2px solid FireBrick; padding:1em 1em 1em 1em; background-color:none" | |
||
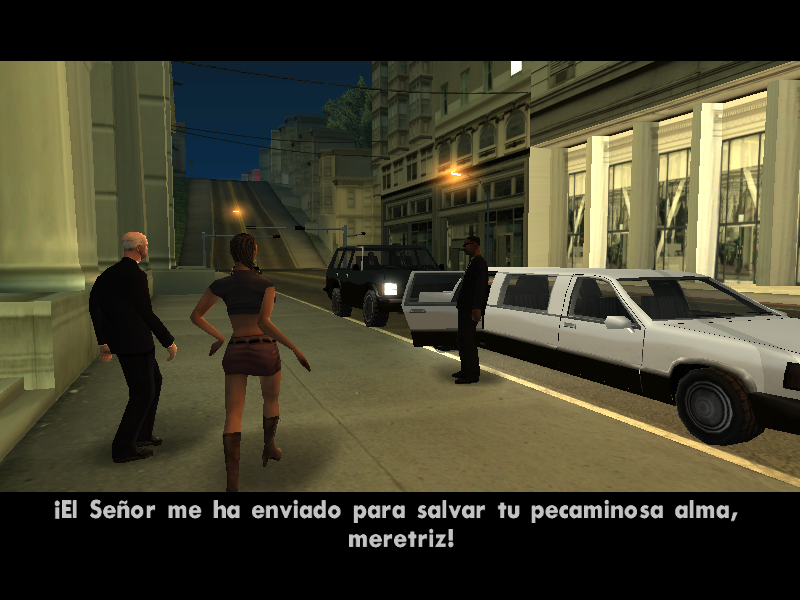
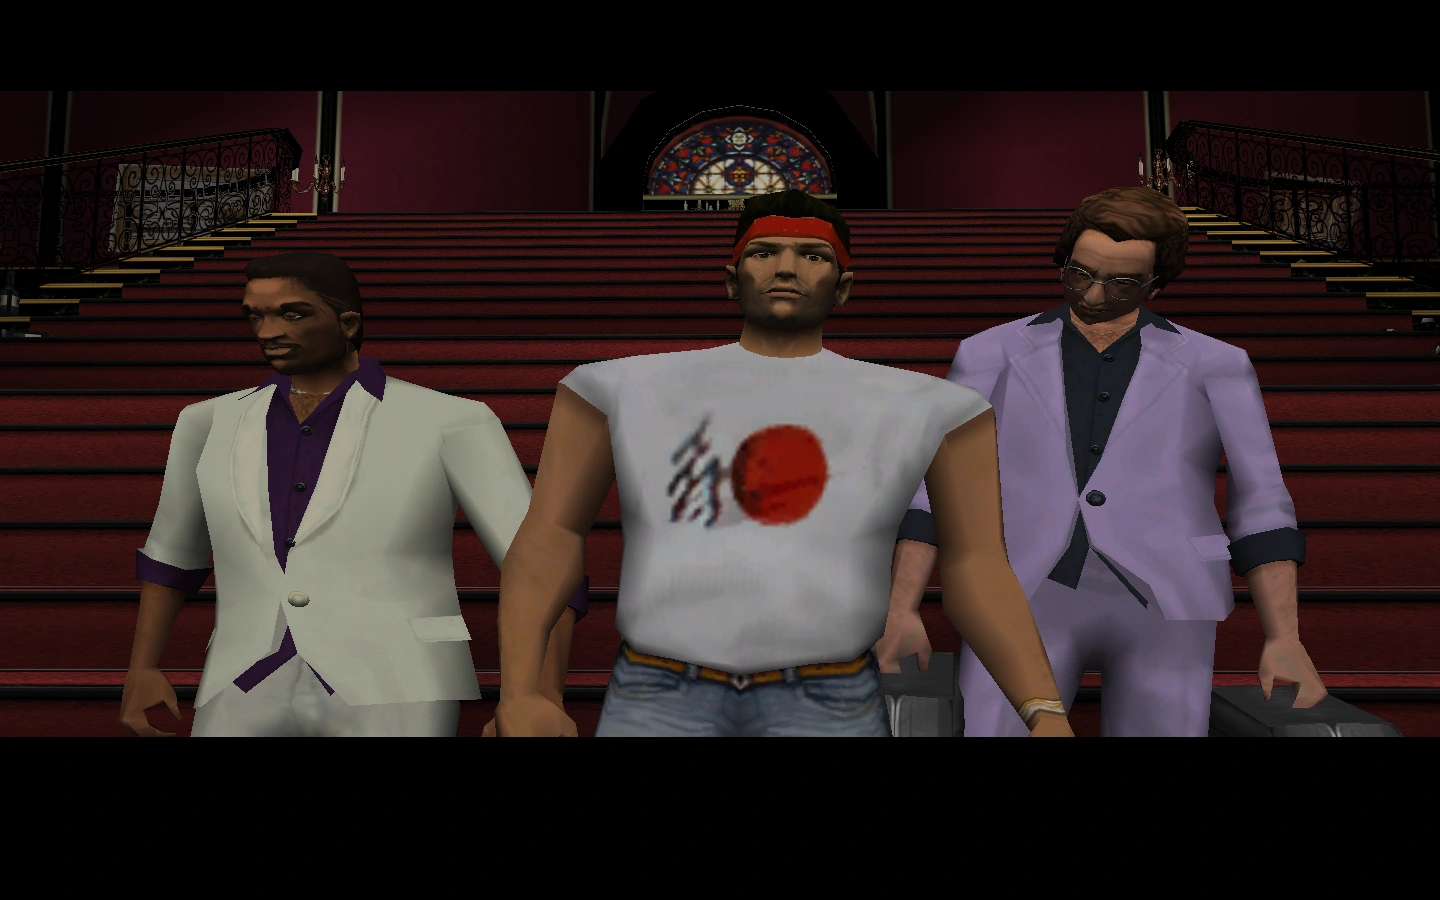
<div align="right"><small>Grand Theft Auto: Liberty City Stories</small></div> |
<div align="right"><small>Grand Theft Auto: Liberty City Stories</small></div> |
||
| − | '''<div style="font-size:100%;">[[Archivo:Shogun.png|right| |
+ | '''<div style="font-size:100%;">[[Archivo:Shogun.png|right|250px]] |
<big>'''[[Shogun Showdown]]'''</big> |
<big>'''[[Shogun Showdown]]'''</big> |
||
| Línea 92: | Línea 92: | ||
| colspan="2" style="border:2px solid FireBrick; padding:1em 1em 1em 1em; background-color:none" | |
| colspan="2" style="border:2px solid FireBrick; padding:1em 1em 1em 1em; background-color:none" | |
||
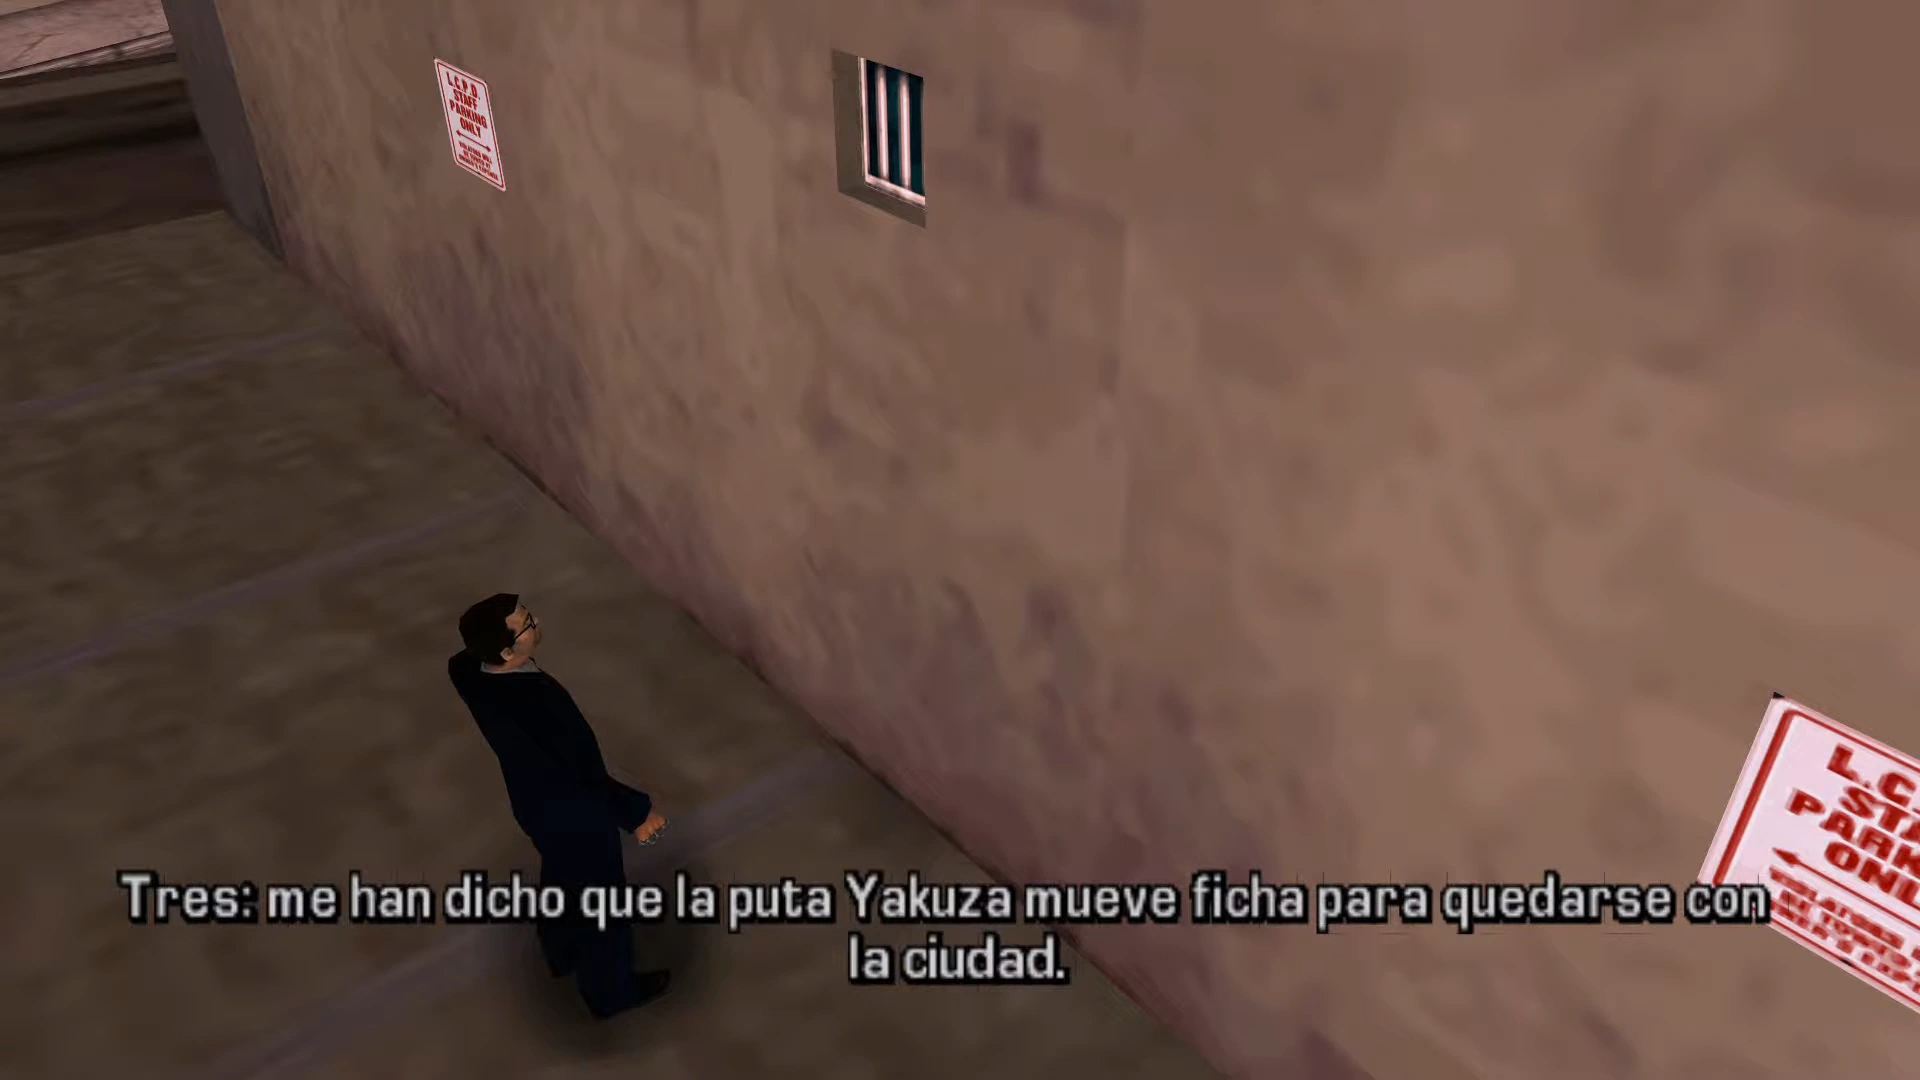
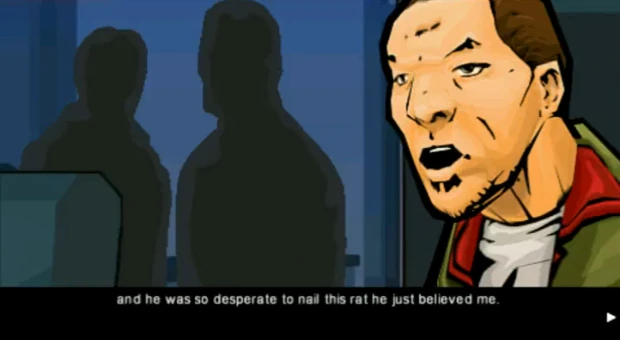
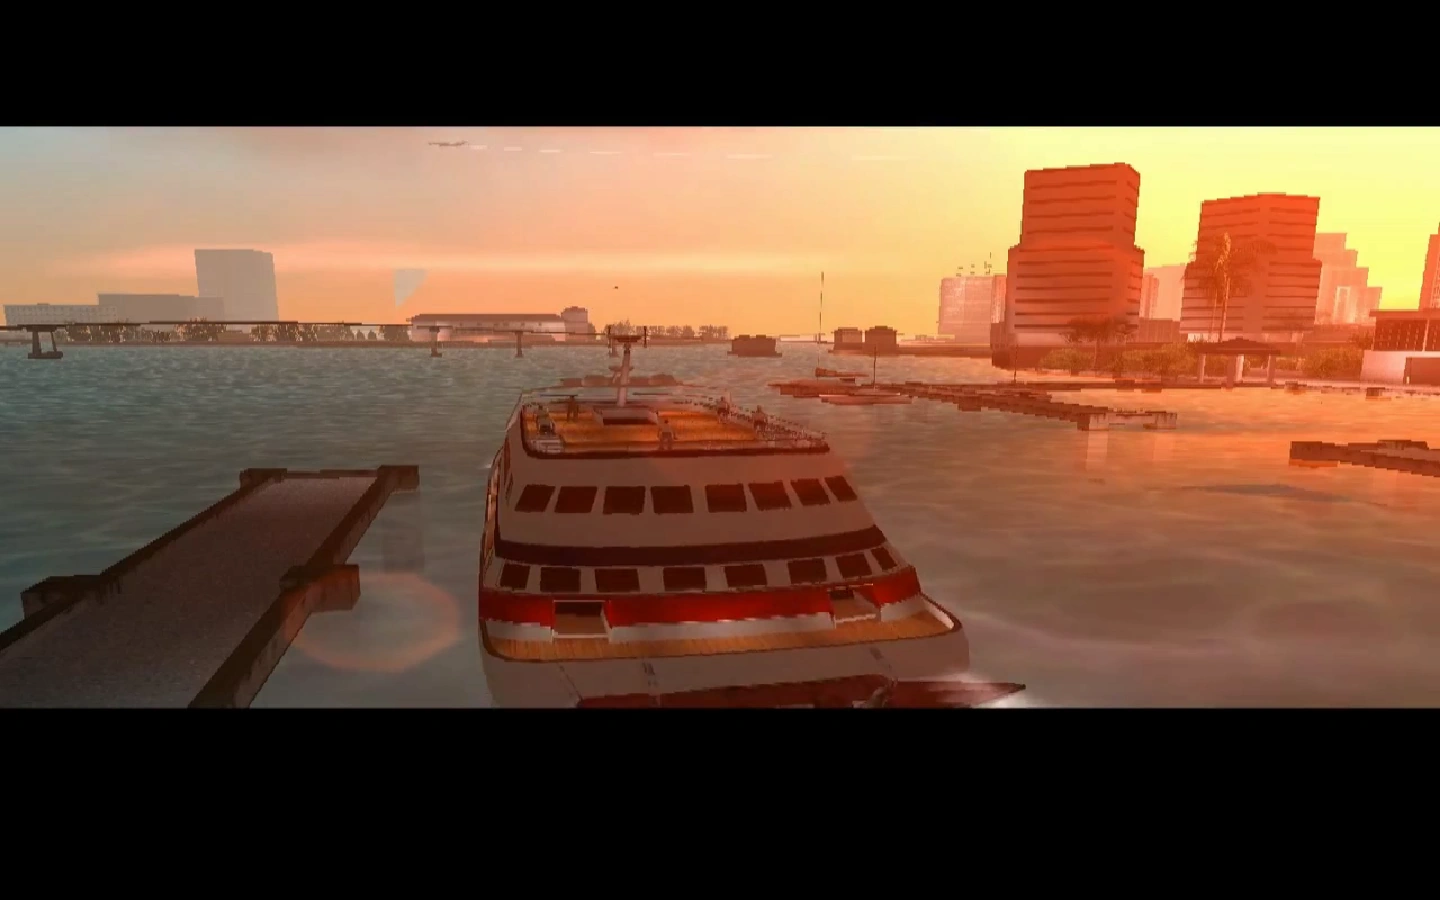
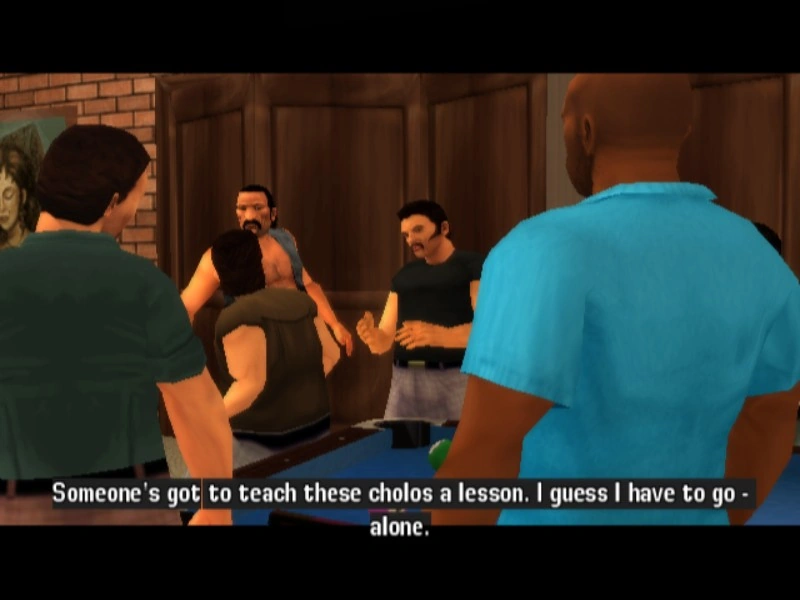
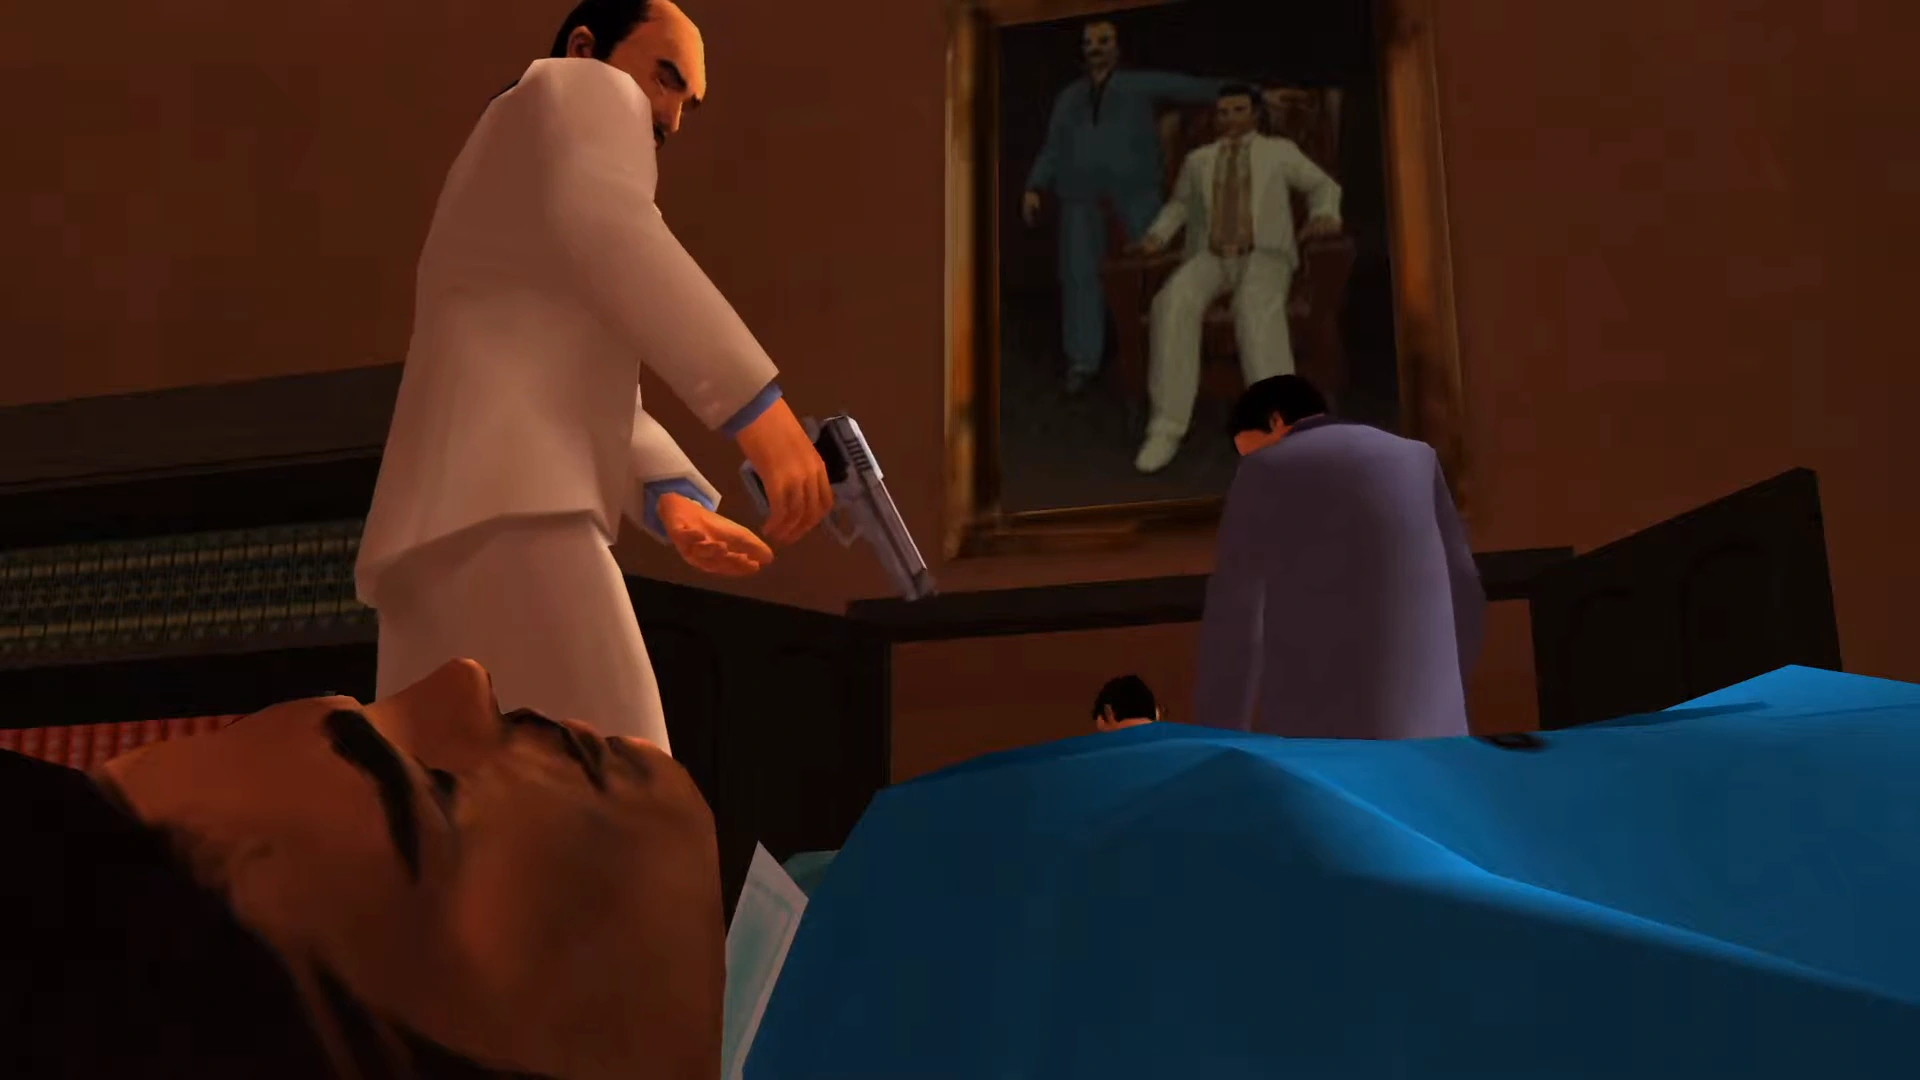
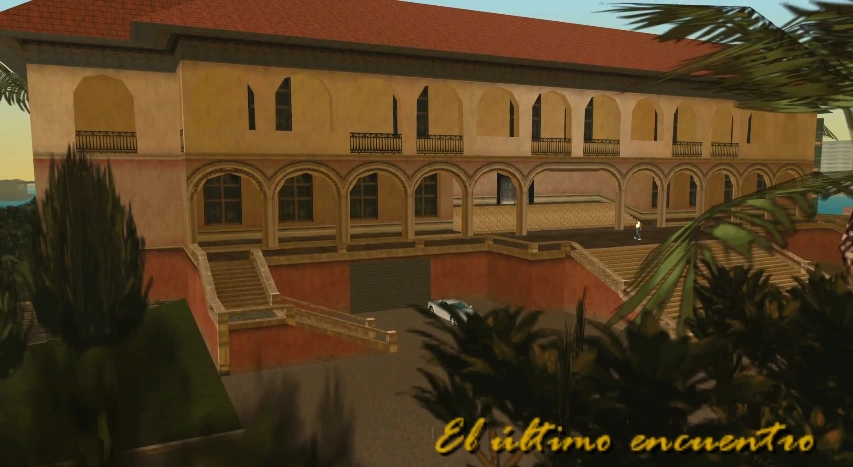
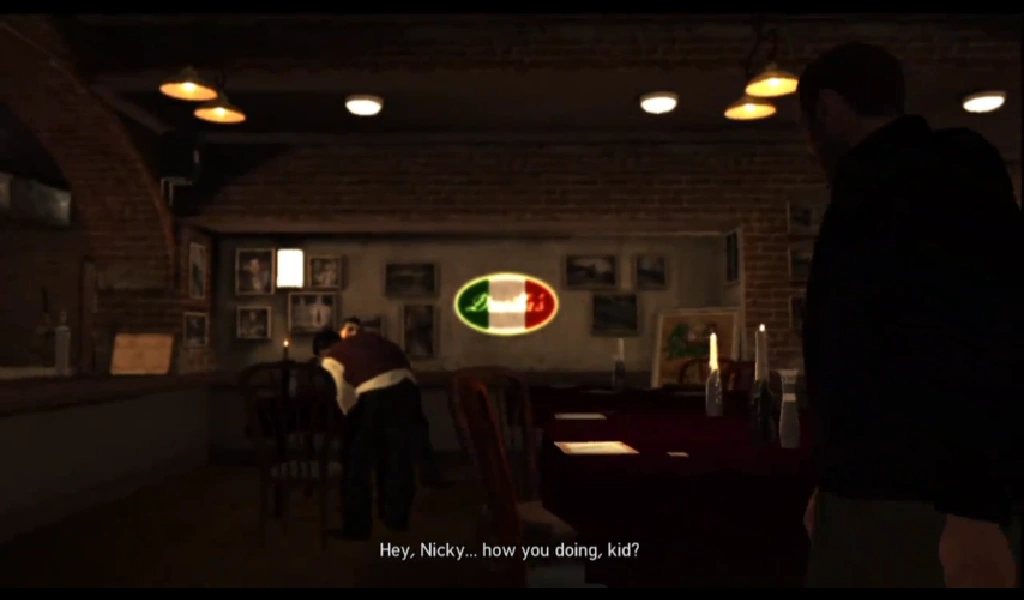
<div align="right"><small>Grand Theft Auto: Liberty City Stories</small></div> |
<div align="right"><small>Grand Theft Auto: Liberty City Stories</small></div> |
||
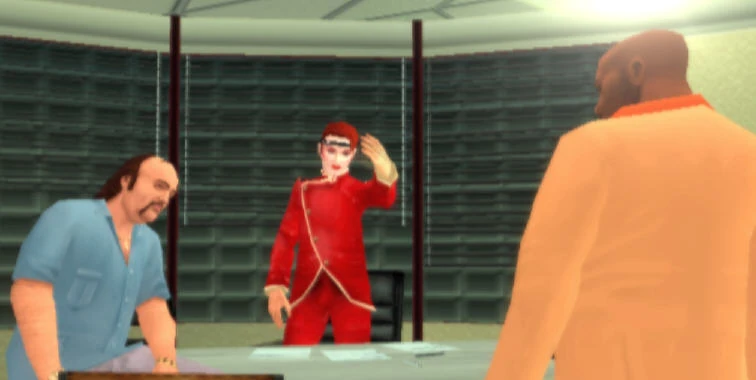
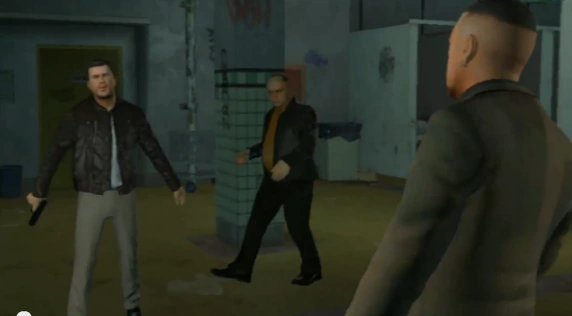
| − | '''<div style="font-size:100%;">[[Imagen:TheSicilianGambit.jpg|left| |
+ | '''<div style="font-size:100%;">[[Imagen:TheSicilianGambit.jpg|left|250px]] |
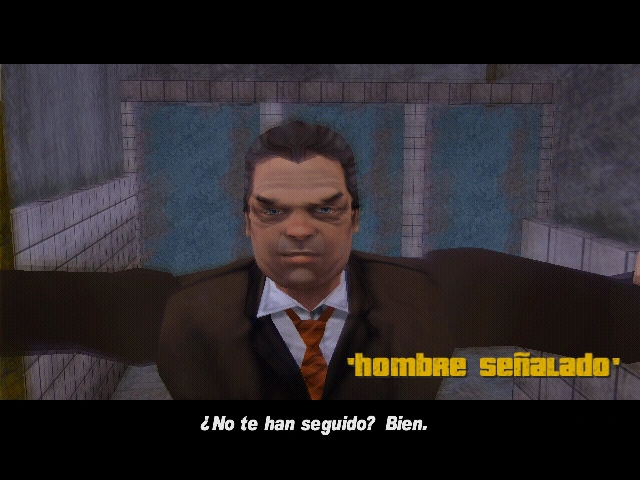
<big>'''[[The Sicilian Gambit]]'''</big> |
<big>'''[[The Sicilian Gambit]]'''</big> |
||
| Línea 101: | Línea 101: | ||
| colspan="2" style="border:2px solid FireBrick; padding:1em 1em 1em 1em; background-color:none" | |
| colspan="2" style="border:2px solid FireBrick; padding:1em 1em 1em 1em; background-color:none" | |
||
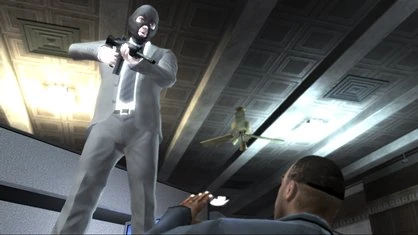
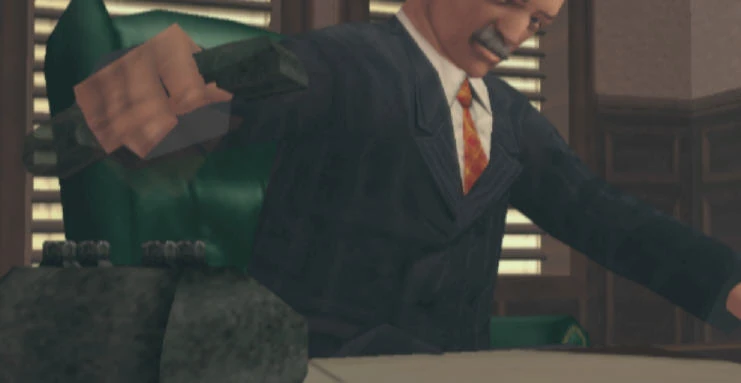
<div align="right"><small>Grand Theft Auto IV</small></div> |
<div align="right"><small>Grand Theft Auto IV</small></div> |
||
| − | '''<div style="font-size:100%;">[[Archivo:Diamonds are a Girl's Best Friend4.PNG|right| |
+ | '''<div style="font-size:100%;">[[Archivo:Diamonds are a Girl's Best Friend4.PNG|right|250px]] |
<big>'''[[Diamonds are a Girl's Best Friend]]'''</big> |
<big>'''[[Diamonds are a Girl's Best Friend]]'''</big> |
||
| Línea 111: | Línea 111: | ||
| colspan="2" style="border:2px solid FireBrick; padding:1em 1em 1em 1em; background-color:none" | |
| colspan="2" style="border:2px solid FireBrick; padding:1em 1em 1em 1em; background-color:none" | |
||
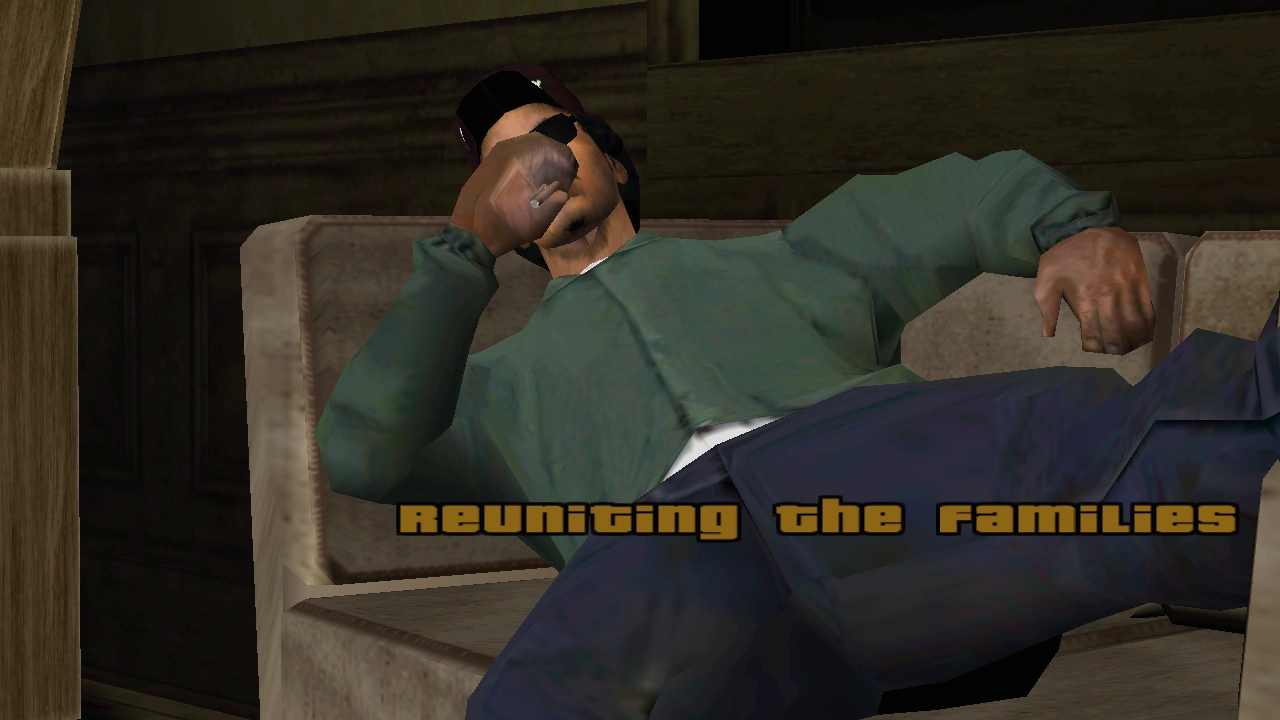
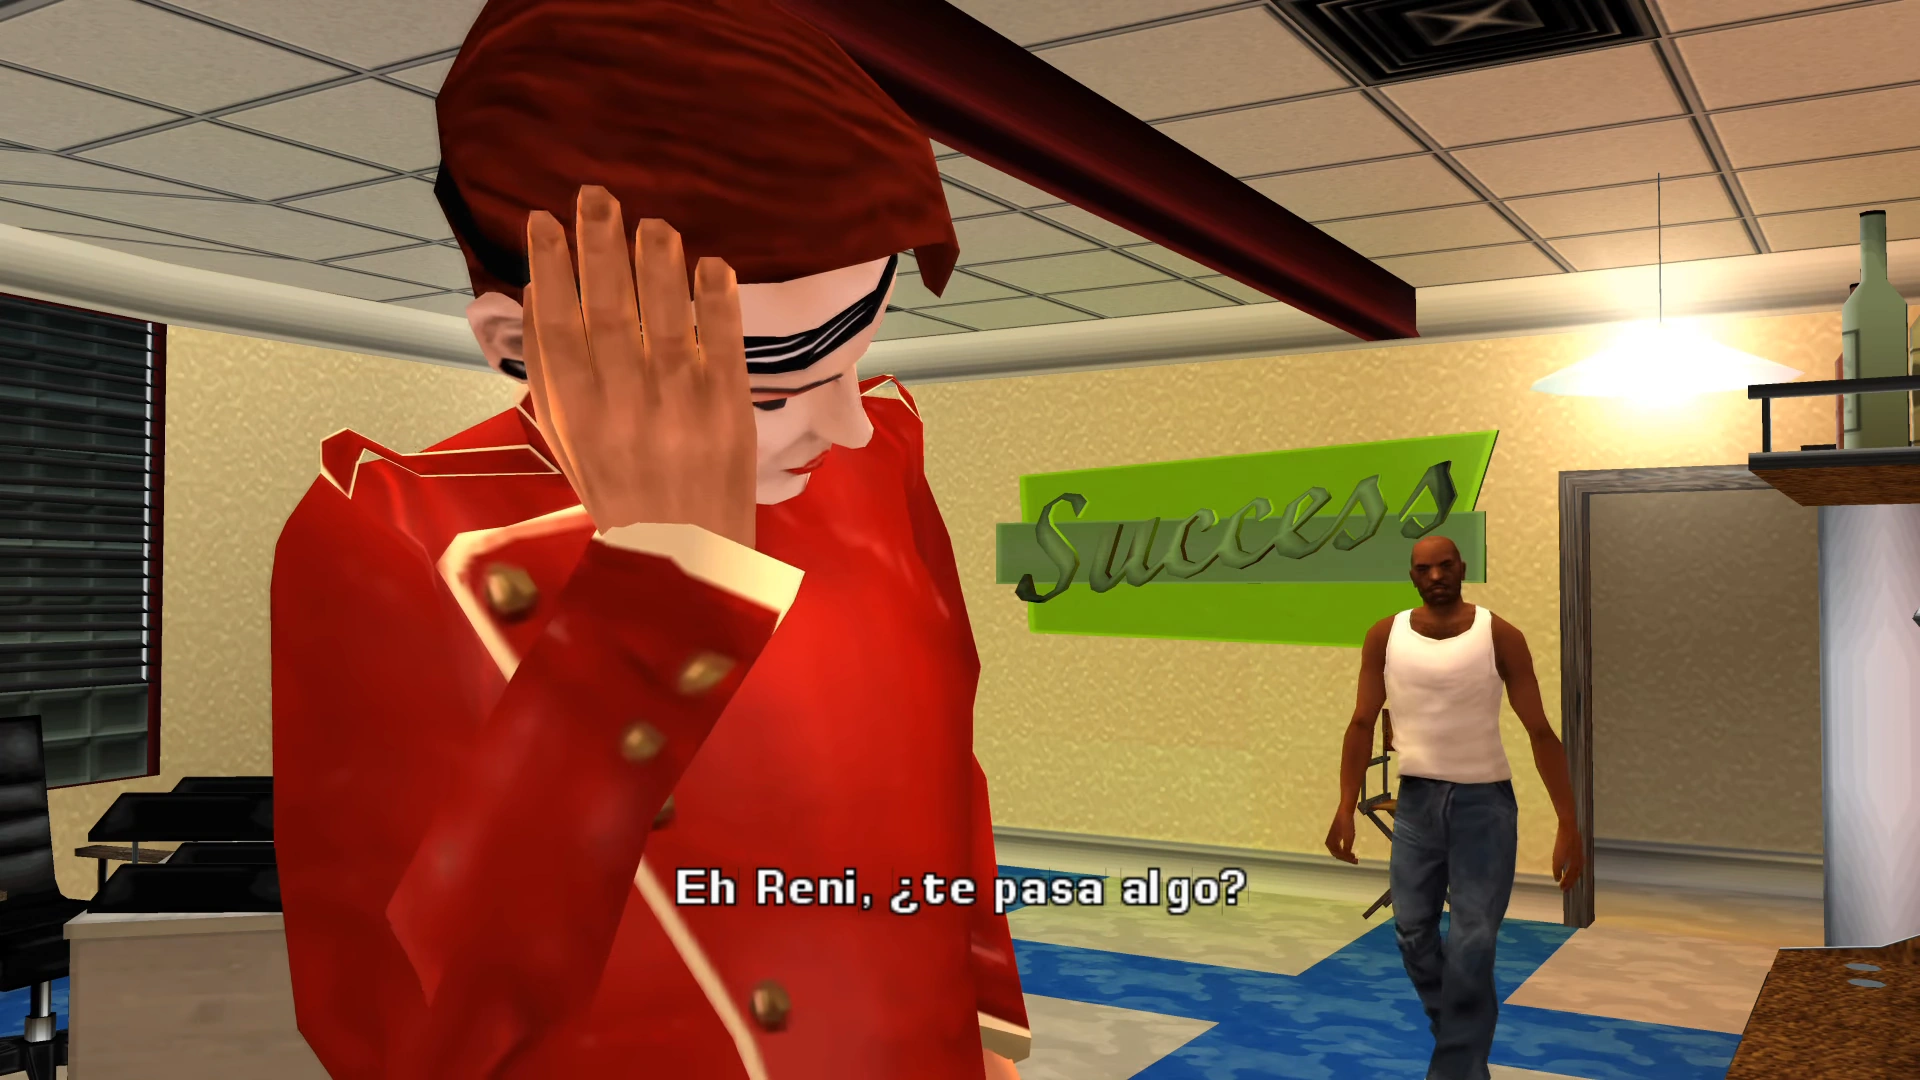
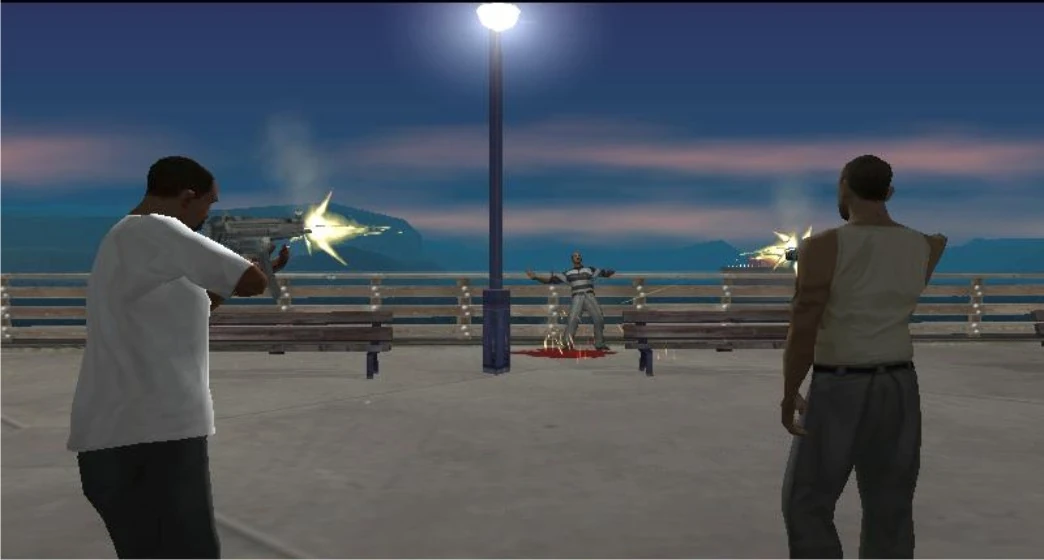
<div align="right"><small>Grand Theft Auto: San Andreas</small></div> |
<div align="right"><small>Grand Theft Auto: San Andreas</small></div> |
||
| − | '''<div style="font-size:100%;">[[Imagen:Greensabre.jpg|left| |
+ | '''<div style="font-size:100%;">[[Imagen:Greensabre.jpg|left|250px]] |
<big>'''[[The Green Sabre]]'''</big> |
<big>'''[[The Green Sabre]]'''</big> |
||
| Línea 123: | Línea 123: | ||
| colspan="2" style="border:2px solid FireBrick; padding:1em 1em 1em 1em; background-color:none" | |
| colspan="2" style="border:2px solid FireBrick; padding:1em 1em 1em 1em; background-color:none" | |
||
<div align="right"><small>Grand Theft Auto IV</small></div> |
<div align="right"><small>Grand Theft Auto IV</small></div> |
||
| − | '''<div style="font-size:100%;">[[Archivo:Waste not want knots 1.jpg|right| |
+ | '''<div style="font-size:100%;">[[Archivo:Waste not want knots 1.jpg|right|250px]] |
<big>'''[[Waste Not Want Knots]]'''</big> |
<big>'''[[Waste Not Want Knots]]'''</big> |
||
| Línea 867: | Línea 867: | ||
| colspan="2" style="border:2px solid FireBrick; padding:1em 1em 1em 1em; background-color:none" | |
| colspan="2" style="border:2px solid FireBrick; padding:1em 1em 1em 1em; background-color:none" | |
||
<div align="right"><small>Grand Theft Auto: San Andreas</small></div> |
<div align="right"><small>Grand Theft Auto: San Andreas</small></div> |
||
| − | '''<div style="font-size:100%;">[[Archivo:EotL2.png| |
+ | '''<div style="font-size:100%;">[[Archivo:EotL2.png|250px|right]] |
<big>'''[[End of the Line]]'''</big> |
<big>'''[[End of the Line]]'''</big> |
||
| Línea 874: | Línea 874: | ||
| colspan="2" style="border:2px solid FireBrick; padding:1em 1em 1em 1em; background-color:none" | |
| colspan="2" style="border:2px solid FireBrick; padding:1em 1em 1em 1em; background-color:none" | |
||
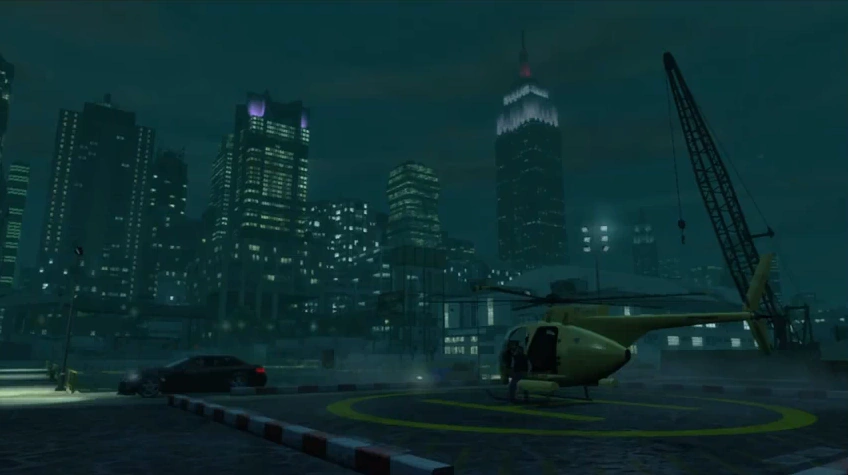
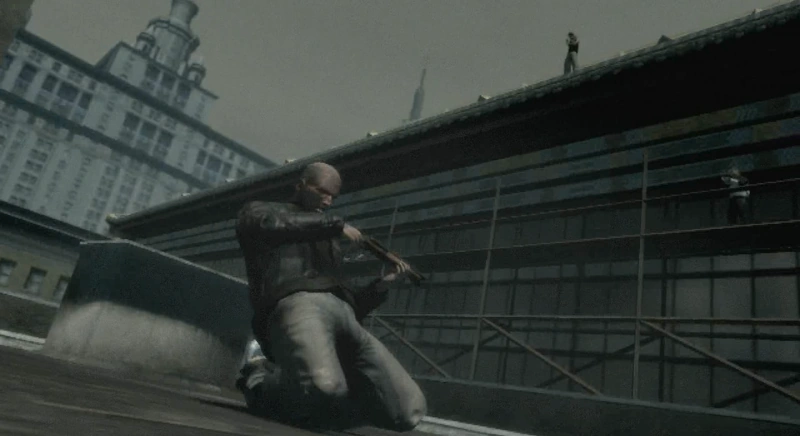
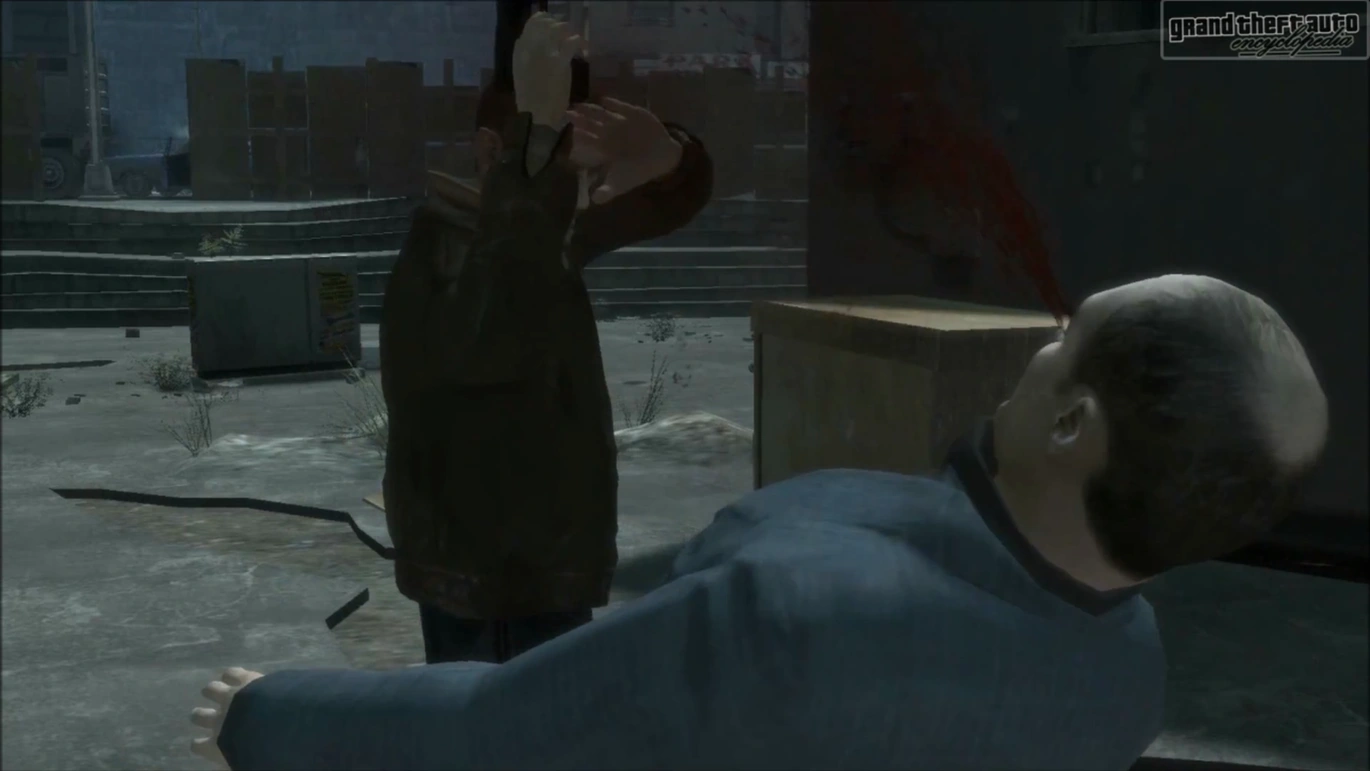
<div align="right"><small>Grand Theft Auto IV</small></div> |
<div align="right"><small>Grand Theft Auto IV</small></div> |
||
| − | '''<div style="font-size:100%;">[[Archivo:A Long Way to Fall 1.png| |
+ | '''<div style="font-size:100%;">[[Archivo:A Long Way to Fall 1.png|250px|left]] |
<big>'''[[A Long Way to Fall]]'''</big> |
<big>'''[[A Long Way to Fall]]'''</big> |
||
| Línea 881: | Línea 881: | ||
| colspan="2" style="border:2px solid FireBrick; padding:1em 1em 1em 1em; background-color:none" | |
| colspan="2" style="border:2px solid FireBrick; padding:1em 1em 1em 1em; background-color:none" | |
||
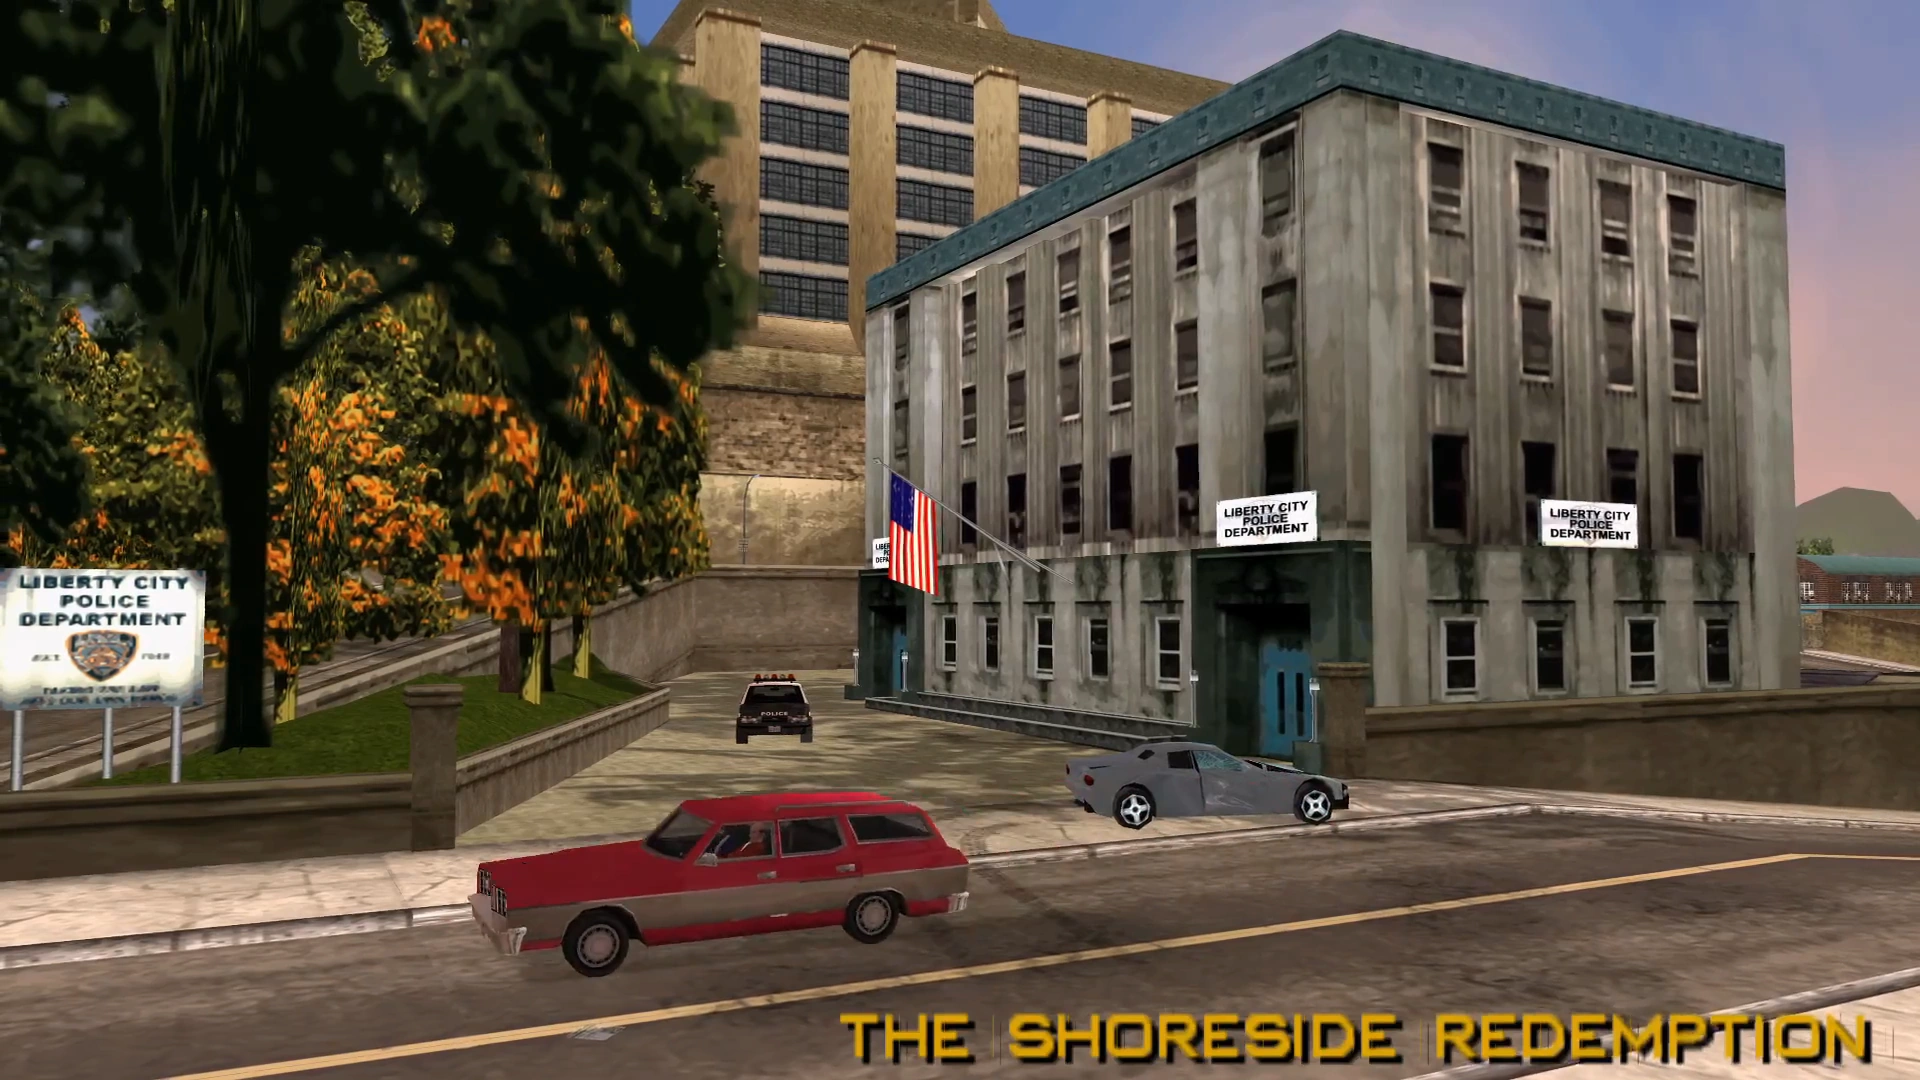
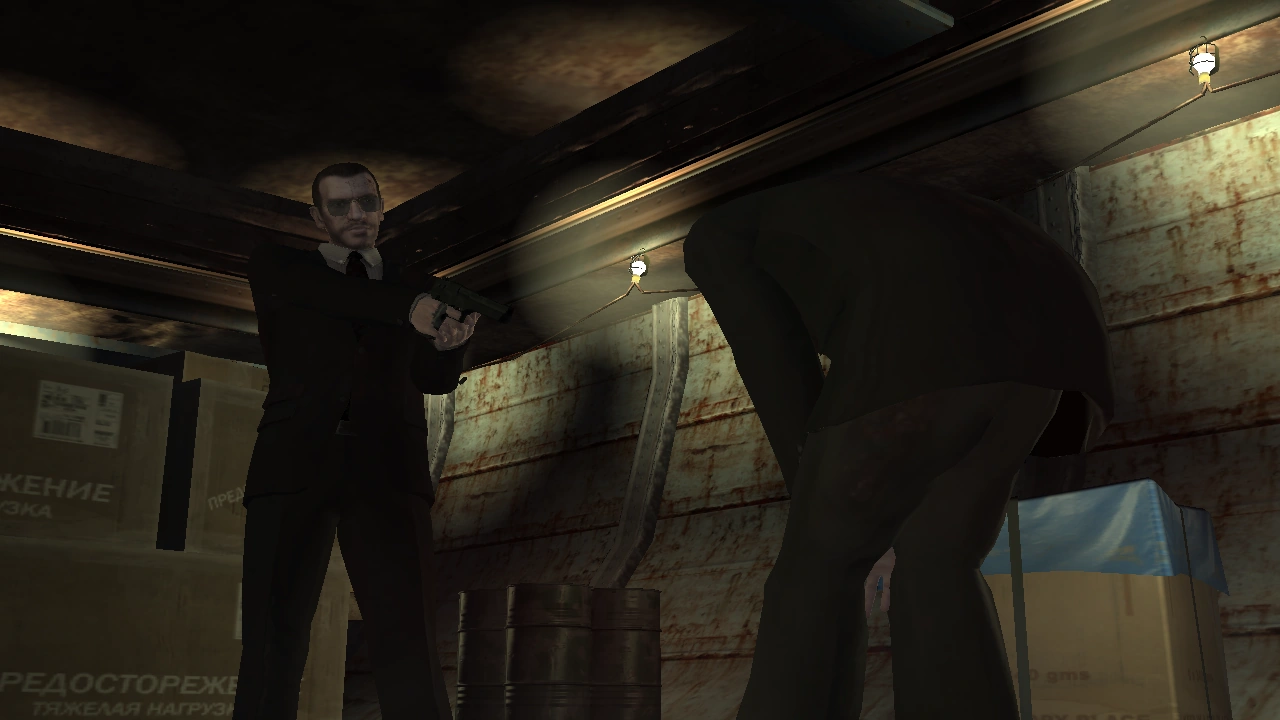
<div align="right"><small>Grand Theft Auto IV</small></div> |
<div align="right"><small>Grand Theft Auto IV</small></div> |
||
| − | '''<div style="font-size:100%;">[[Archivo:Roman's Sorrow.png| |
+ | '''<div style="font-size:100%;">[[Archivo:Roman's Sorrow.png|250px|right]] |
<big>'''[[Roman's Sorrow]]'''</big> |
<big>'''[[Roman's Sorrow]]'''</big> |
||
| Línea 889: | Línea 889: | ||
| colspan="2" style="border:2px solid FireBrick; padding:1em 1em 1em 1em; background-color:none" | |
| colspan="2" style="border:2px solid FireBrick; padding:1em 1em 1em 1em; background-color:none" | |
||
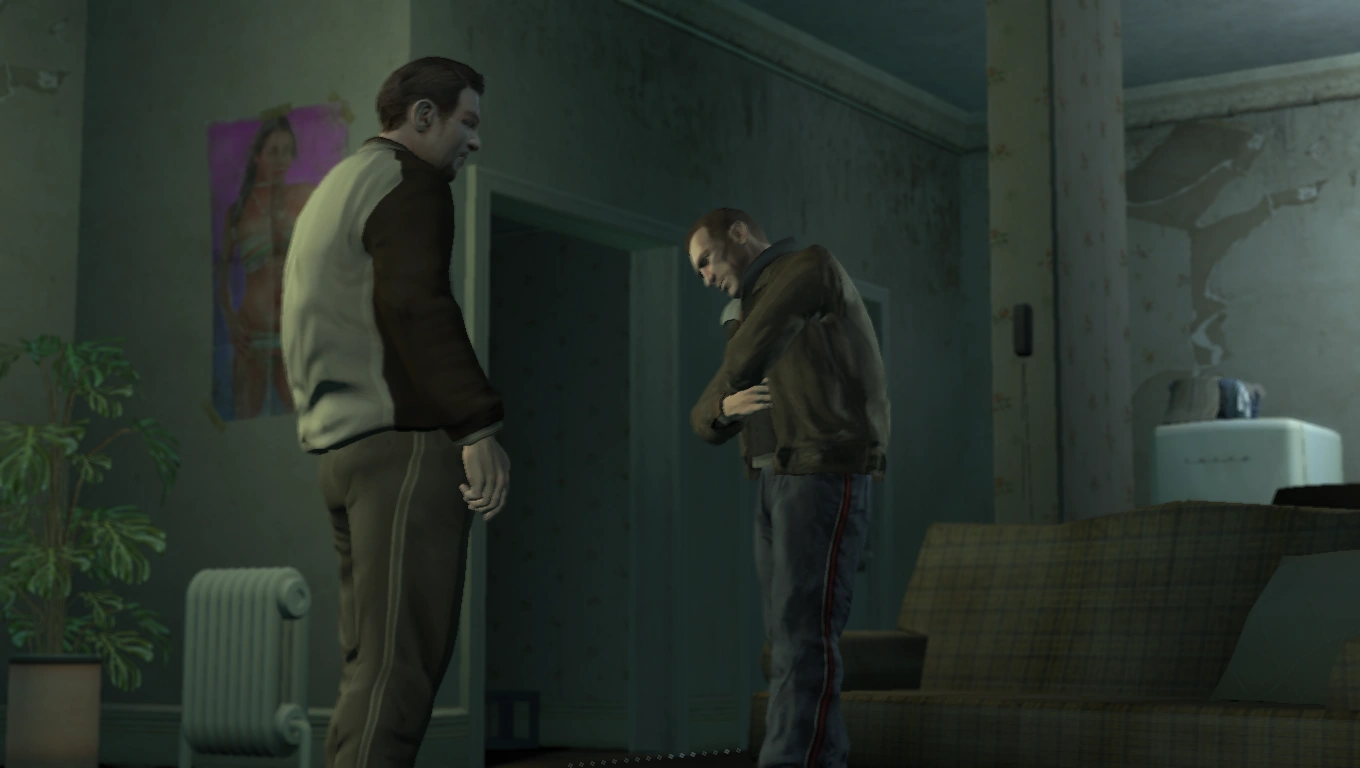
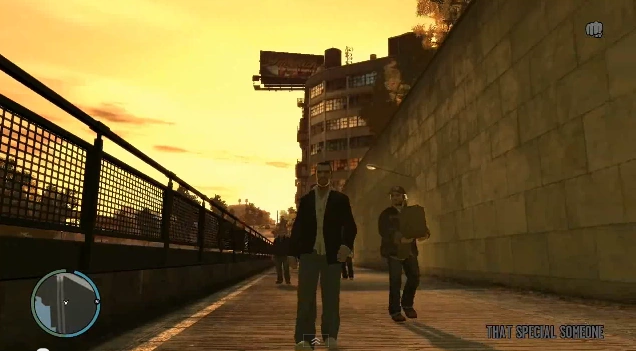
<div align="right"><small>Grand Theft Auto IV</small></div> |
<div align="right"><small>Grand Theft Auto IV</small></div> |
||
| − | '''<div style="font-size:100%;">[[Archivo:TSS3.png| |
+ | '''<div style="font-size:100%;">[[Archivo:TSS3.png|250px|left]] |
<big>'''[[That Special Someone]]'''</big> |
<big>'''[[That Special Someone]]'''</big> |
||
| Línea 899: | Línea 899: | ||
| colspan="2" style="border:2px solid FireBrick; padding:1em 1em 1em 1em; background-color:none" | |
| colspan="2" style="border:2px solid FireBrick; padding:1em 1em 1em 1em; background-color:none" | |
||
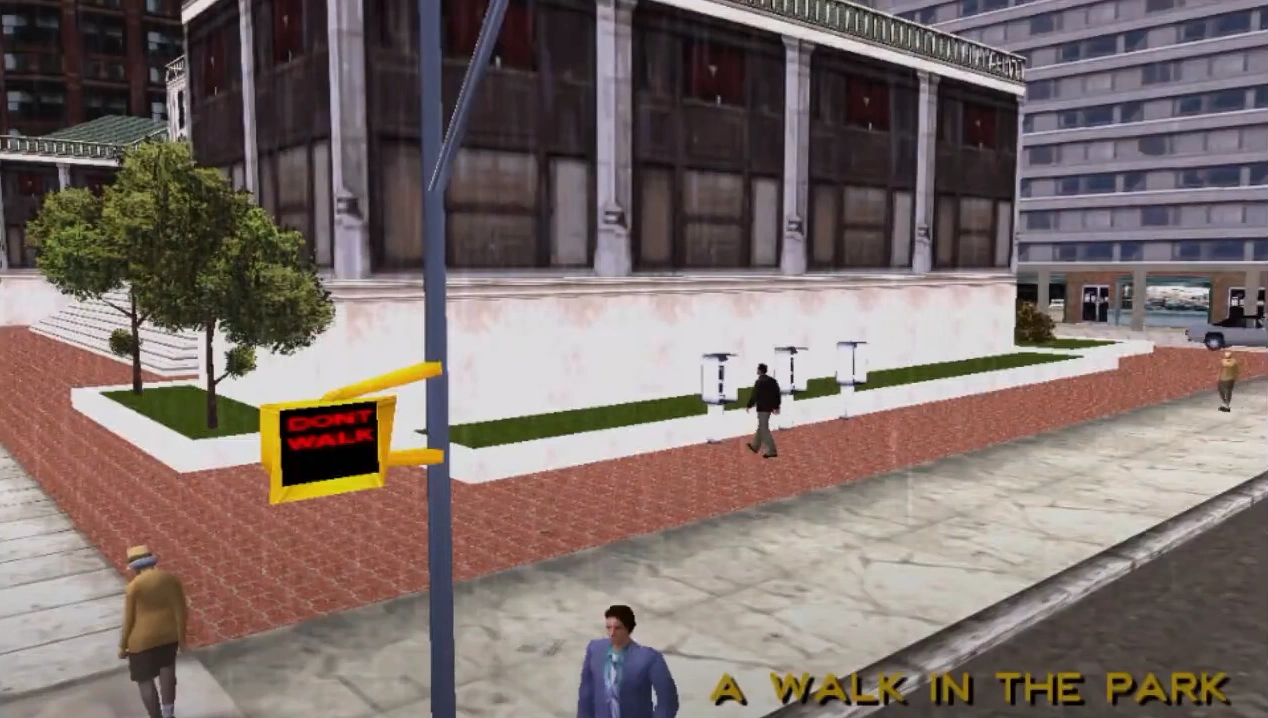
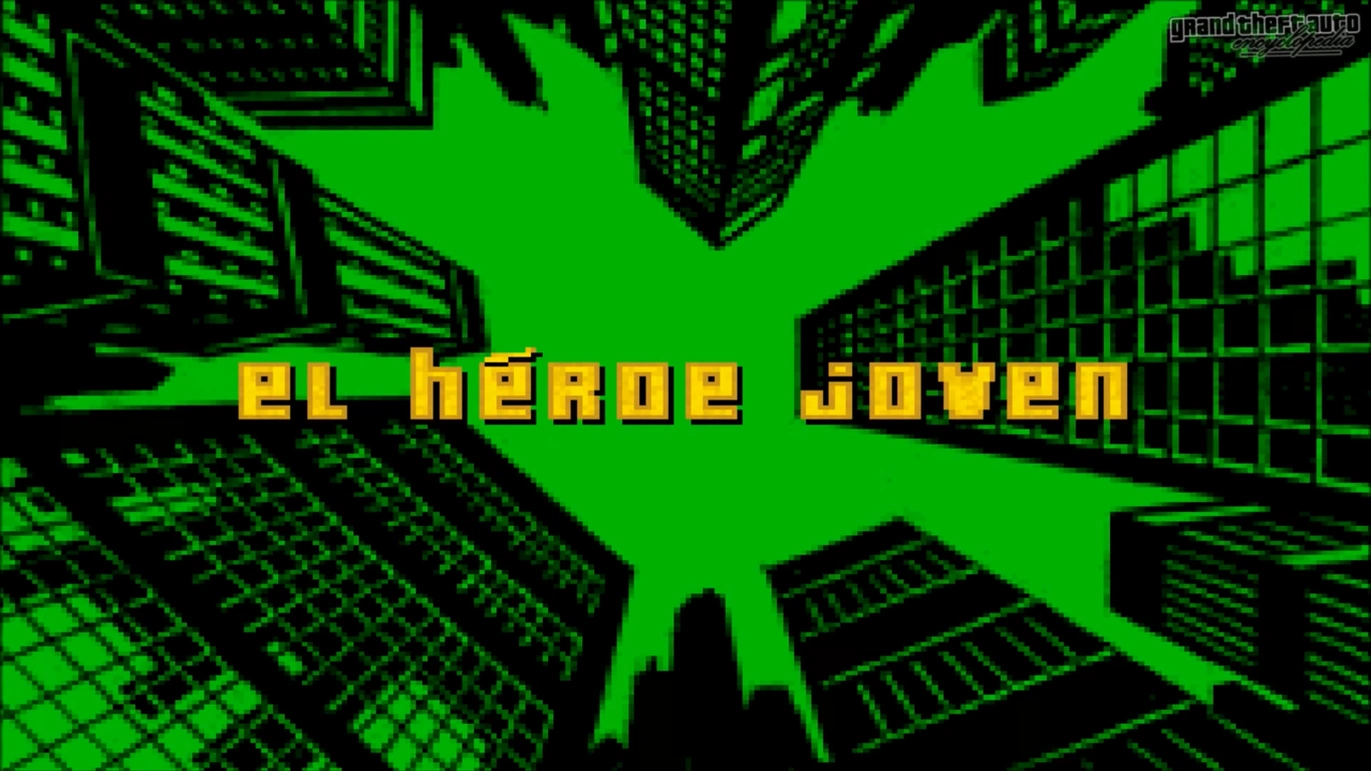
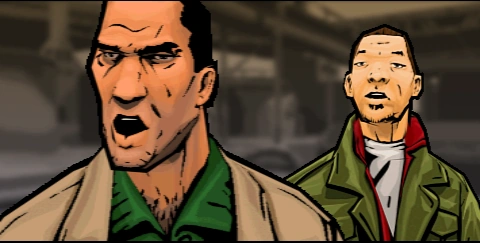
<div align="right"><small>Grand Theft Auto Advance</small></div> |
<div align="right"><small>Grand Theft Auto Advance</small></div> |
||
| − | '''<div style="font-size:100%;">[[Archivo:EHJ1.png| |
+ | '''<div style="font-size:100%;">[[Archivo:EHJ1.png|250px|right]] |
<big>'''[[El héroe joven]]'''</big> |
<big>'''[[El héroe joven]]'''</big> |
||
| Línea 909: | Línea 909: | ||
| colspan="2" style="border:2px solid FireBrick; padding:1em 1em 1em 1em; background-color:none" | |
| colspan="2" style="border:2px solid FireBrick; padding:1em 1em 1em 1em; background-color:none" | |
||
<div align="right"><small>Grand Theft Auto IV</small></div> |
<div align="right"><small>Grand Theft Auto IV</small></div> |
||
| − | '''<div style="font-size:100%;">[[Archivo:A Dish Served Cold.PNG| |
+ | '''<div style="font-size:100%;">[[Archivo:A Dish Served Cold.PNG|250px|left]] |
<big>'''[[A Dish Served Cold]]'''</big> |
<big>'''[[A Dish Served Cold]]'''</big> |
||
| Línea 919: | Línea 919: | ||
| colspan="2" style="border:2px solid FireBrick; padding:1em 1em 1em 1em; background-color:none" | |
| colspan="2" style="border:2px solid FireBrick; padding:1em 1em 1em 1em; background-color:none" | |
||
<div align="right"><small>Grand Theft Auto: Vice City Stories</small></div> |
<div align="right"><small>Grand Theft Auto: Vice City Stories</small></div> |
||
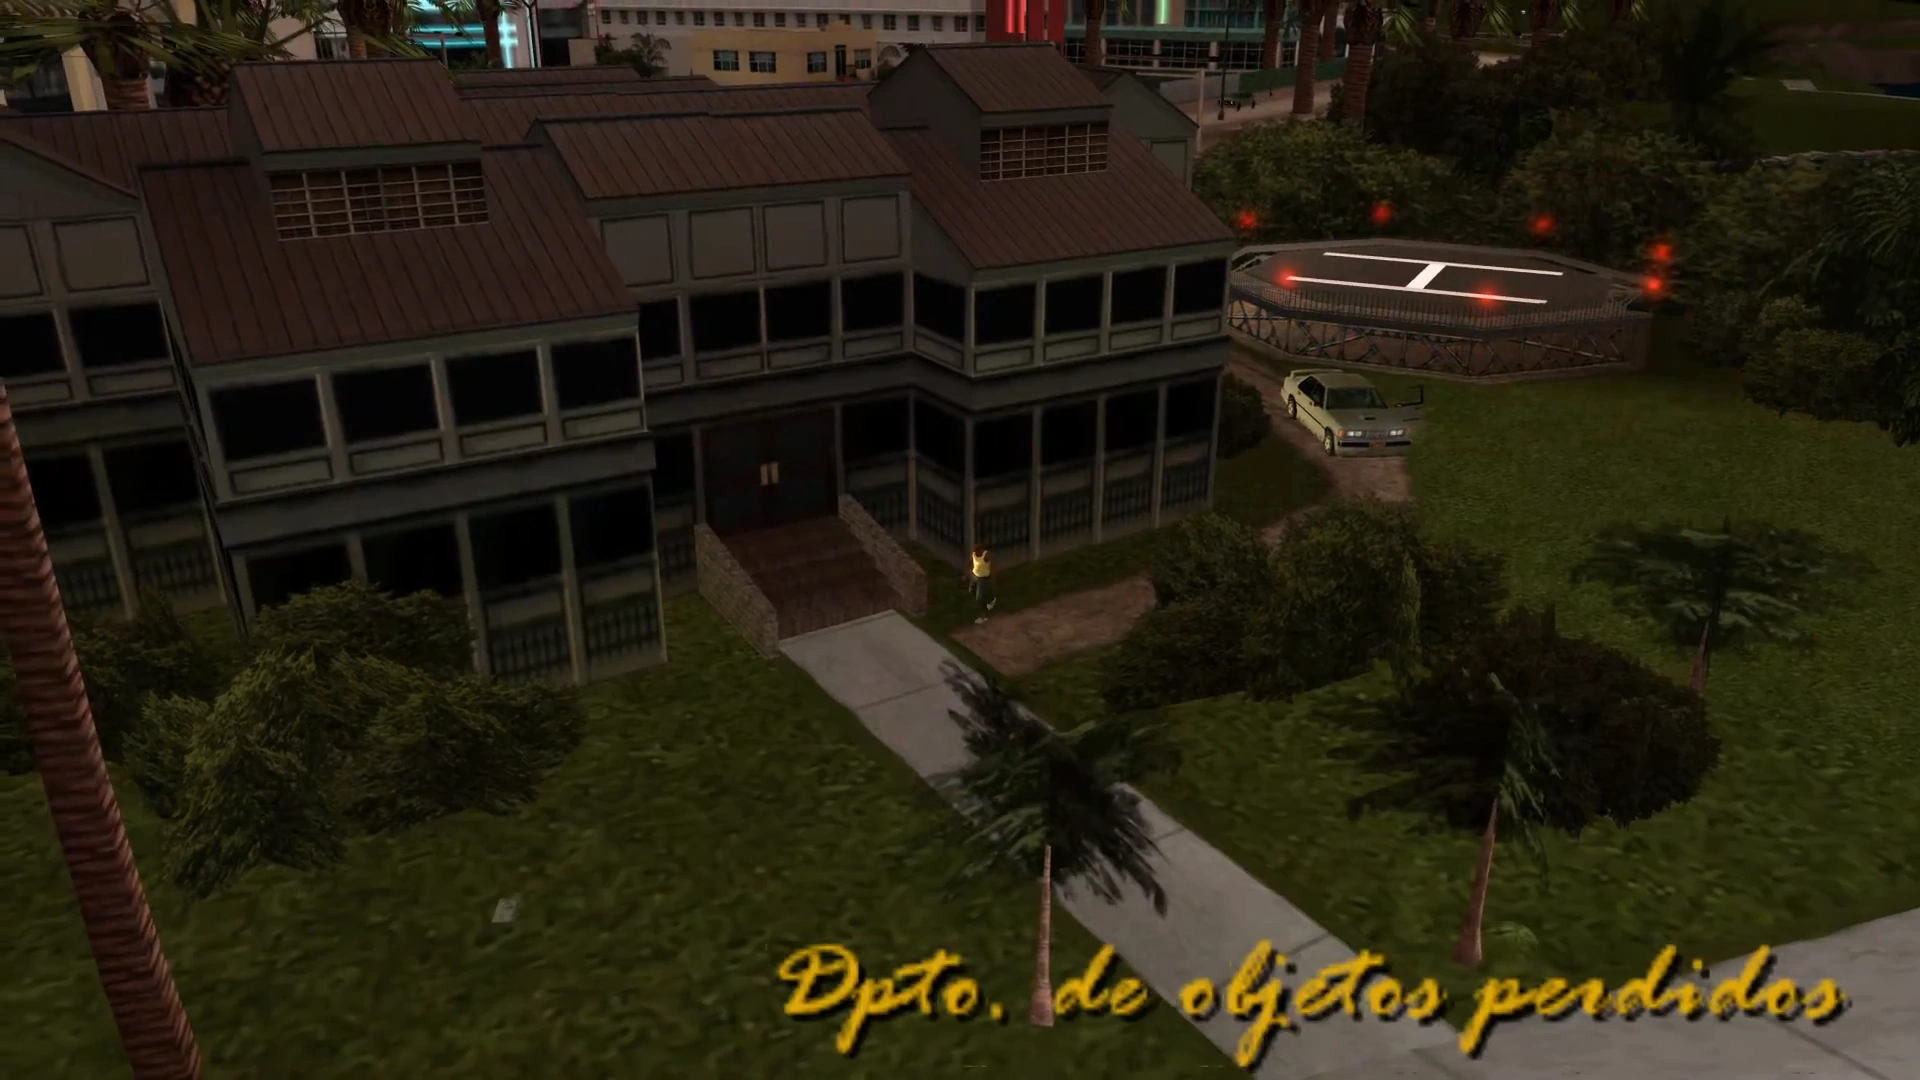
| − | '''<div style="font-size:100%;">[[Archivo:DdOP1.png| |
+ | '''<div style="font-size:100%;">[[Archivo:DdOP1.png|250px|right]] |
<big>'''[[Departamento de objetos perdidos]]'''</big> |
<big>'''[[Departamento de objetos perdidos]]'''</big> |
||
| Línea 927: | Línea 927: | ||
| colspan="2" style="border:2px solid FireBrick; padding:1em 1em 1em 1em; background-color:none" | |
| colspan="2" style="border:2px solid FireBrick; padding:1em 1em 1em 1em; background-color:none" | |
||
<div align="right"><small>Grand Theft Auto: Vice City Stories</small></div> |
<div align="right"><small>Grand Theft Auto: Vice City Stories</small></div> |
||
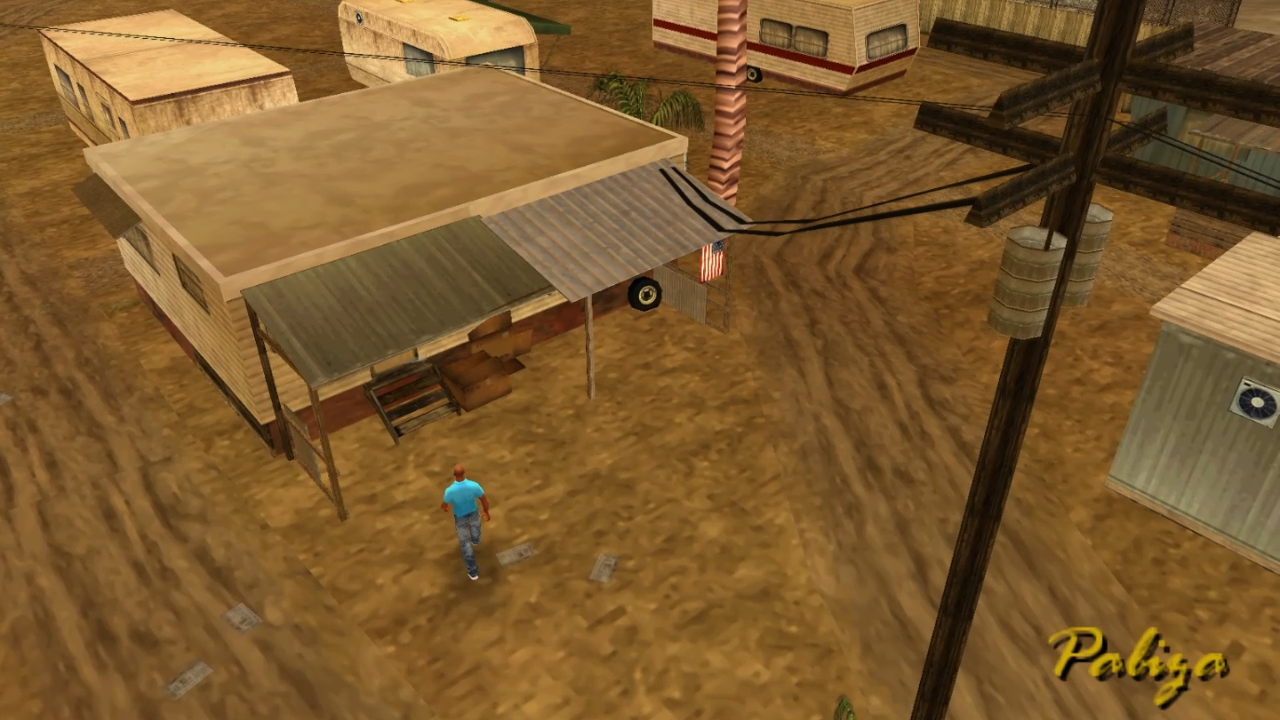
| − | '''<div style="font-size:100%;">[[Archivo:Paliza 1.png| |
+ | '''<div style="font-size:100%;">[[Archivo:Paliza 1.png|250px|left]] |
<big>'''[[Paliza]]'''</big> |
<big>'''[[Paliza]]'''</big> |
||
| Línea 934: | Línea 934: | ||
| colspan="2" style="border:2px solid FireBrick; padding:1em 1em 1em 1em; background-color:none" | |
| colspan="2" style="border:2px solid FireBrick; padding:1em 1em 1em 1em; background-color:none" | |
||
<div align="right"><small>Grand Theft Auto: Vice City Stories</small></div> |
<div align="right"><small>Grand Theft Auto: Vice City Stories</small></div> |
||
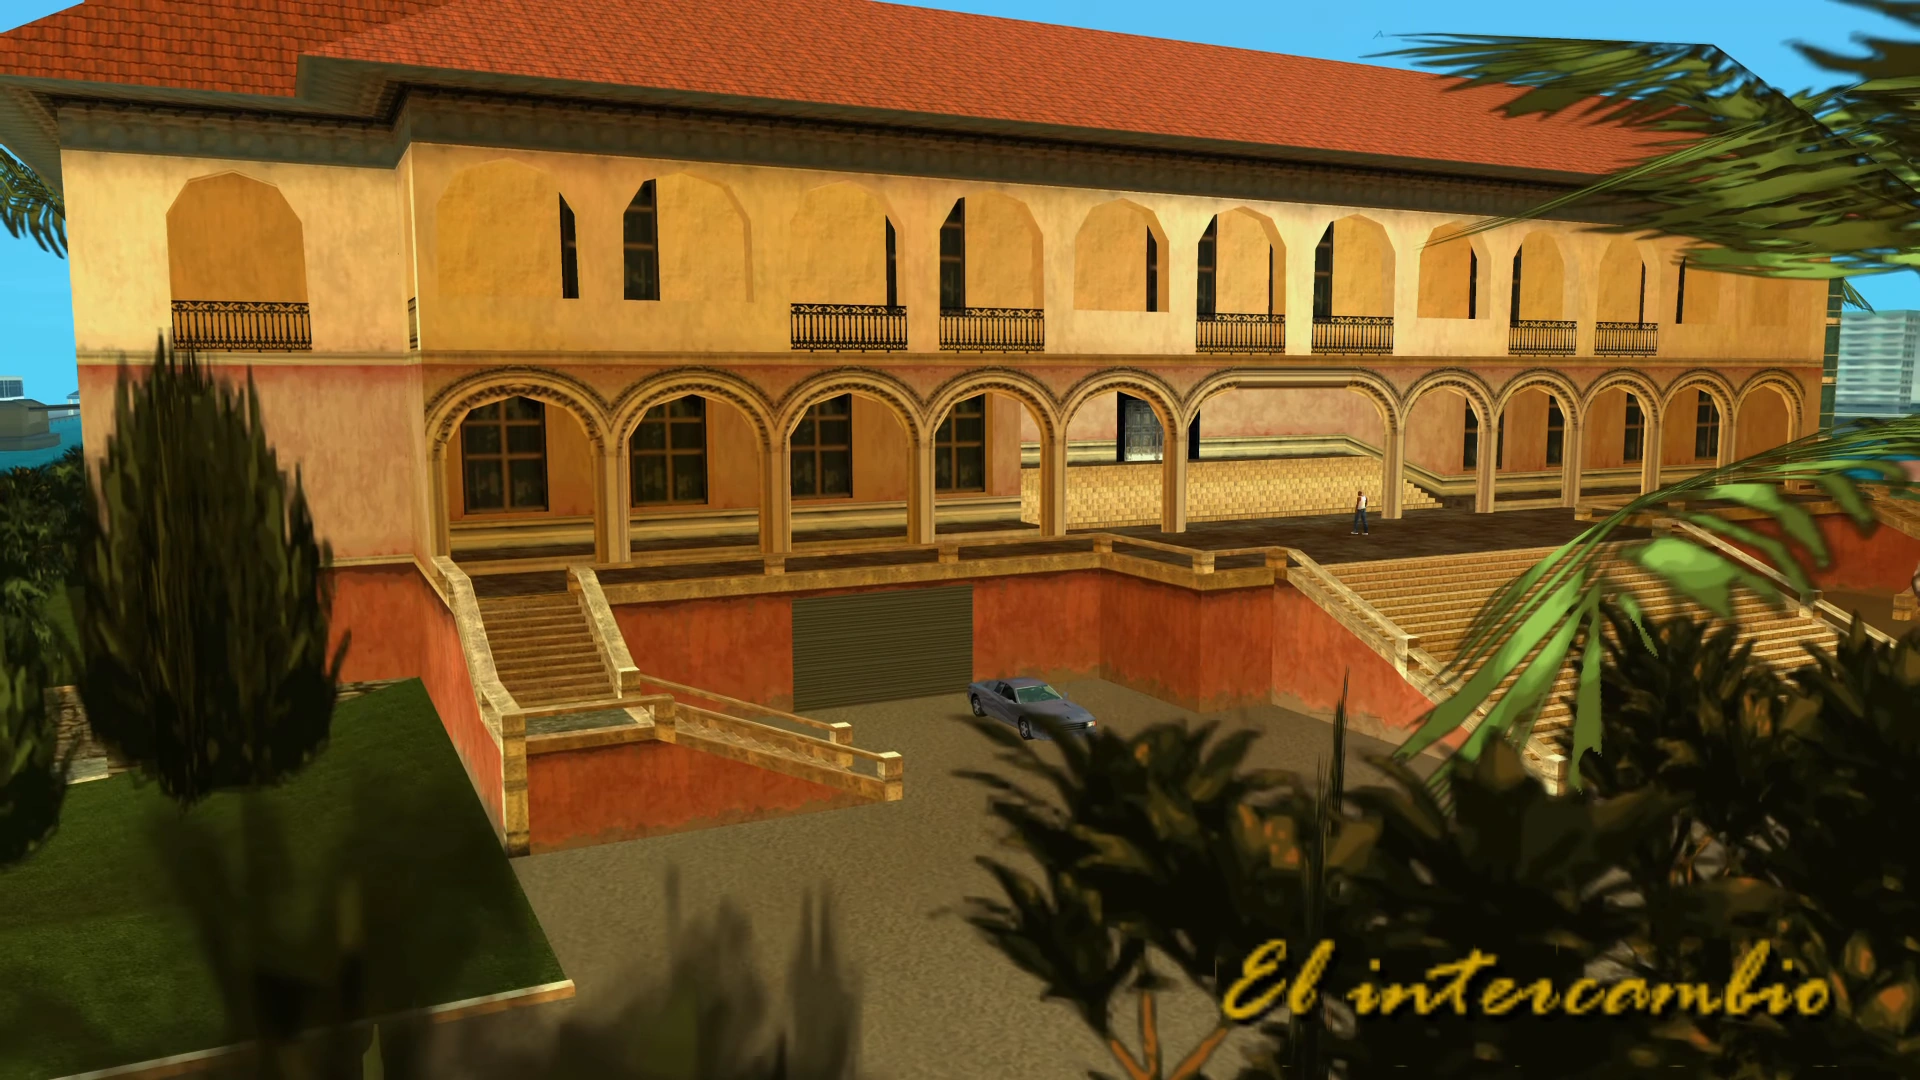
| − | '''<div style="font-size:100%;">[[Archivo:ElintercambioVCS1.PNG| |
+ | '''<div style="font-size:100%;">[[Archivo:ElintercambioVCS1.PNG|250px|right]] |
<big>'''[[El intercambio (VCS)]]'''</big> |
<big>'''[[El intercambio (VCS)]]'''</big> |
||
| Línea 944: | Línea 944: | ||
| colspan="2" style="border:2px solid FireBrick; padding:1em 1em 1em 1em; background-color:none" | |
| colspan="2" style="border:2px solid FireBrick; padding:1em 1em 1em 1em; background-color:none" | |
||
<div align="right"><small>Grand Theft Auto IV</small></div> |
<div align="right"><small>Grand Theft Auto IV</small></div> |
||
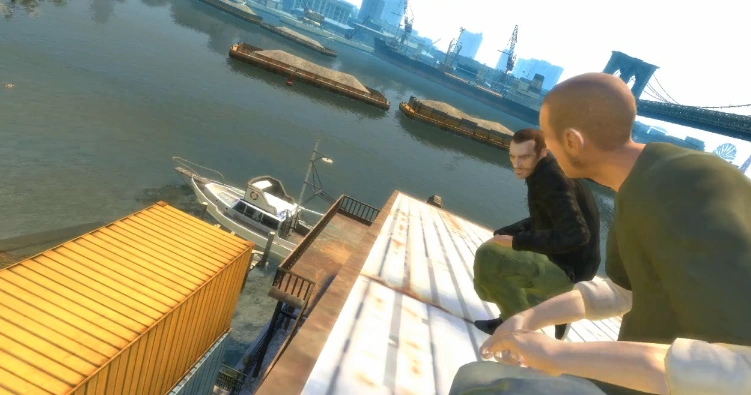
| − | '''<div style="font-size:100%;">[[Archivo:Harboring_a_Grudge_10.png| |
+ | '''<div style="font-size:100%;">[[Archivo:Harboring_a_Grudge_10.png|250px|left]] |
<big>'''[[Harboring a Grudge]]'''</big> |
<big>'''[[Harboring a Grudge]]'''</big> |
||
| Línea 954: | Línea 954: | ||
| colspan="2" style="border:2px solid FireBrick; padding:1em 1em 1em 1em; background-color:none" | |
| colspan="2" style="border:2px solid FireBrick; padding:1em 1em 1em 1em; background-color:none" | |
||
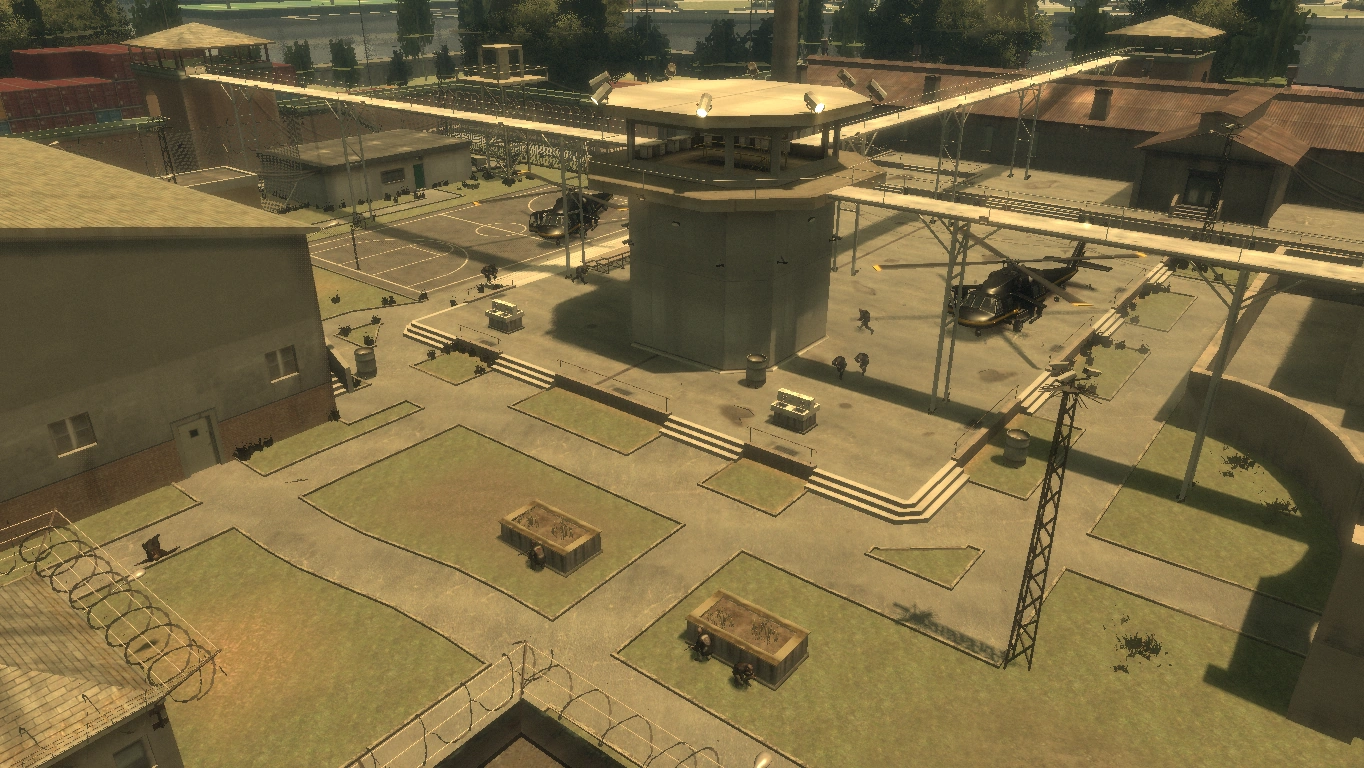
<div align="right"><small>Grand Theft Auto: San Andreas</small></div> |
<div align="right"><small>Grand Theft Auto: San Andreas</small></div> |
||
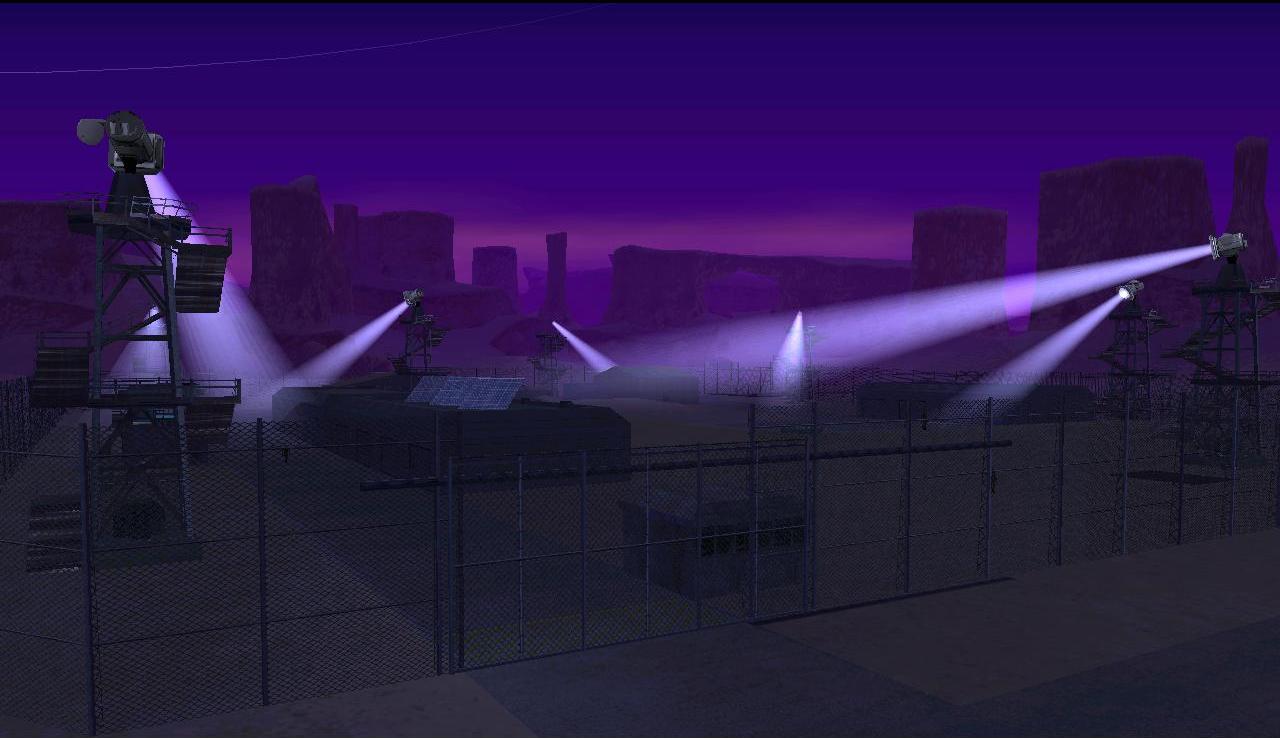
| − | '''<div style="font-size:100%;">[[Archivo:Black Project 1.jpg| |
+ | '''<div style="font-size:100%;">[[Archivo:Black Project 1.jpg|250px|right]] |
<big>'''[[Black Project]]'''</big> |
<big>'''[[Black Project]]'''</big> |
||
| Línea 962: | Línea 962: | ||
| colspan="2" style="border:2px solid FireBrick; padding:1em 1em 1em 1em; background-color:none" | |
| colspan="2" style="border:2px solid FireBrick; padding:1em 1em 1em 1em; background-color:none" | |
||
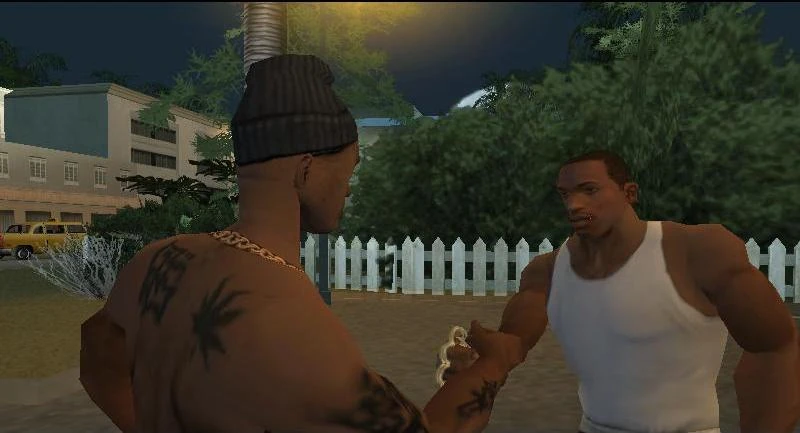
<div align="right"><small>Grand Theft Auto: San Andreas</small></div> |
<div align="right"><small>Grand Theft Auto: San Andreas</small></div> |
||
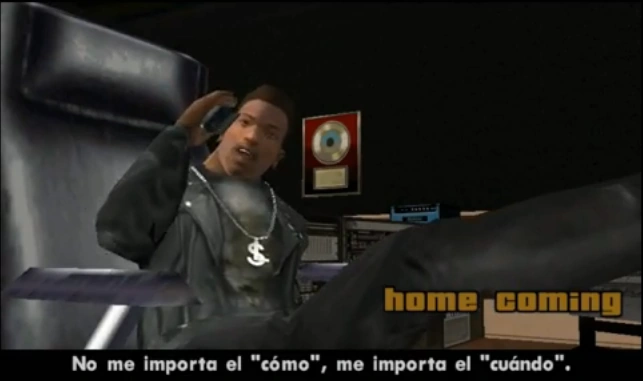
| − | '''<div style="font-size:100%;">[[Archivo:HomeComing1.png| |
+ | '''<div style="font-size:100%;">[[Archivo:HomeComing1.png|250px|left]] |
<big>'''[[Home Coming]]'''</big> |
<big>'''[[Home Coming]]'''</big> |
||
| Línea 972: | Línea 972: | ||
| colspan="2" style="border:2px solid FireBrick; padding:1em 1em 1em 1em; background-color:none" | |
| colspan="2" style="border:2px solid FireBrick; padding:1em 1em 1em 1em; background-color:none" | |
||
<div align="right"><small>Grand Theft Auto: The Ballad of Gay Tony</small></div> |
<div align="right"><small>Grand Theft Auto: The Ballad of Gay Tony</small></div> |
||
| − | '''<div style="font-size:100%;">[[Archivo:Mommas Boy 1.png| |
+ | '''<div style="font-size:100%;">[[Archivo:Mommas Boy 1.png|250px|right]] |
<big>'''[[Momma's Boy]]'''</big> |
<big>'''[[Momma's Boy]]'''</big> |
||
| Línea 979: | Línea 979: | ||
| colspan="2" style="border:2px solid FireBrick; padding:1em 1em 1em 1em; background-color:none" | |
| colspan="2" style="border:2px solid FireBrick; padding:1em 1em 1em 1em; background-color:none" | |
||
<div align="right"><small>Grand Theft Auto IV: The Lost and Damned</small></div> |
<div align="right"><small>Grand Theft Auto IV: The Lost and Damned</small></div> |
||
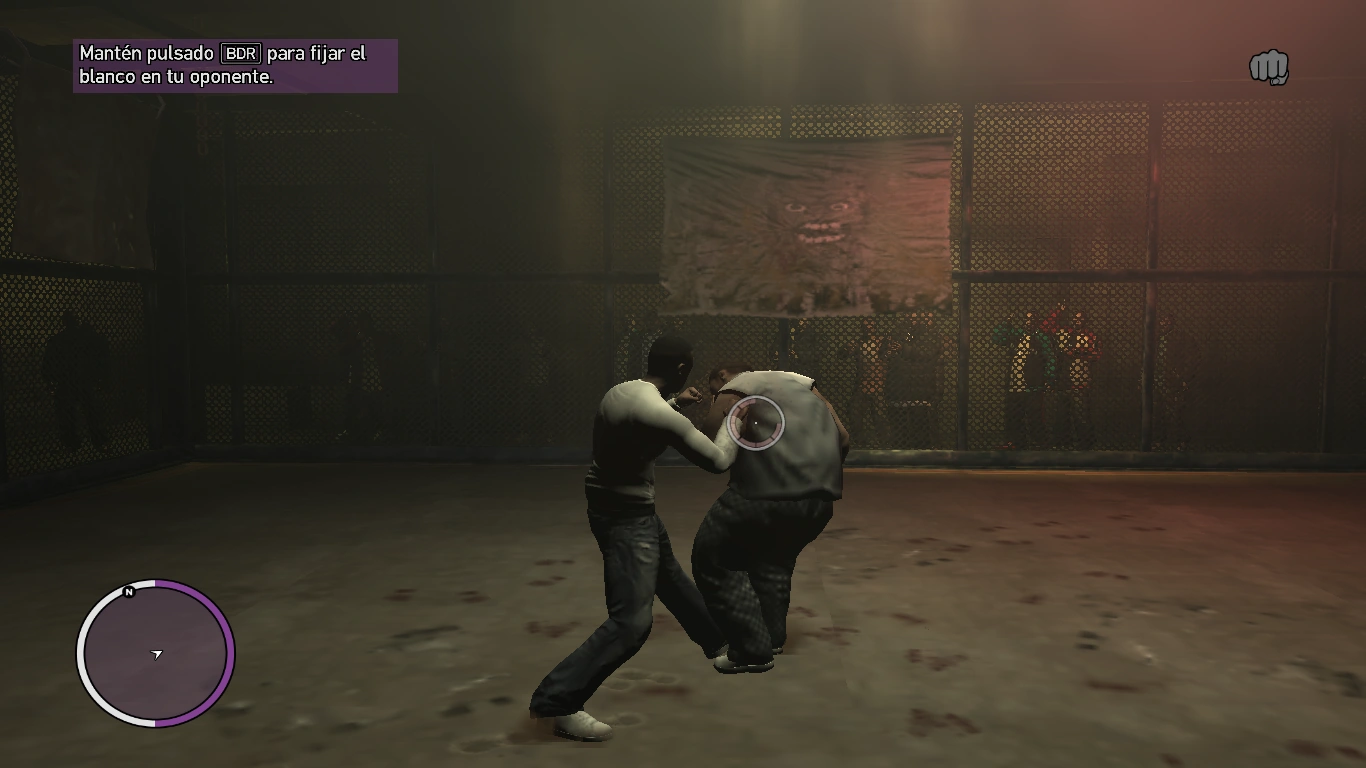
| − | '''<div style="font-size:100%;">[[Archivo:CaS1.png| |
+ | '''<div style="font-size:100%;">[[Archivo:CaS1.png|250px|left]] |
<big>'''[[Clean and Serene]]'''</big> |
<big>'''[[Clean and Serene]]'''</big> |
||
| Línea 993: | Línea 993: | ||
| colspan="2" style="border:2px solid FireBrick; padding:1em 1em 1em 1em; background-color:none" | |
| colspan="2" style="border:2px solid FireBrick; padding:1em 1em 1em 1em; background-color:none" | |
||
<div align="right"><small>Grand Theft Auto IV</small></div> |
<div align="right"><small>Grand Theft Auto IV</small></div> |
||
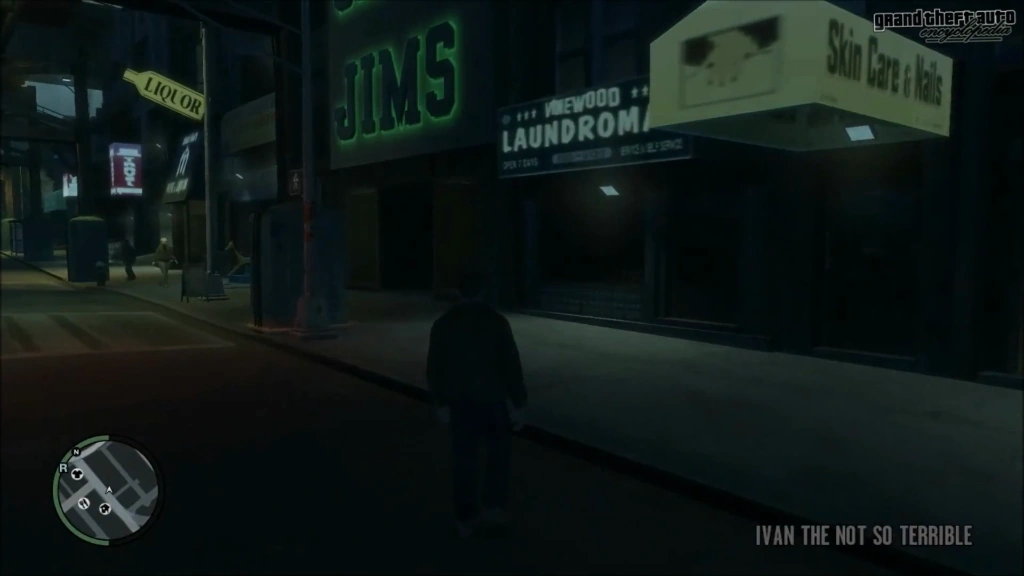
| − | '''<div style="font-size:100%;">[[Archivo:Ivan The Not so Terrible.png| |
+ | '''<div style="font-size:100%;">[[Archivo:Ivan The Not so Terrible.png|250px|left]] |
<big>'''[[Ivan The Not so Terrible]]'''</big> |
<big>'''[[Ivan The Not so Terrible]]'''</big> |
||
| Línea 1000: | Línea 1000: | ||
| colspan="2" style="border:2px solid FireBrick; padding:1em 1em 1em 1em; background-color:none" | |
| colspan="2" style="border:2px solid FireBrick; padding:1em 1em 1em 1em; background-color:none" | |
||
<div align="right"><small>Grand Theft Auto IV</small></div> |
<div align="right"><small>Grand Theft Auto IV</small></div> |
||
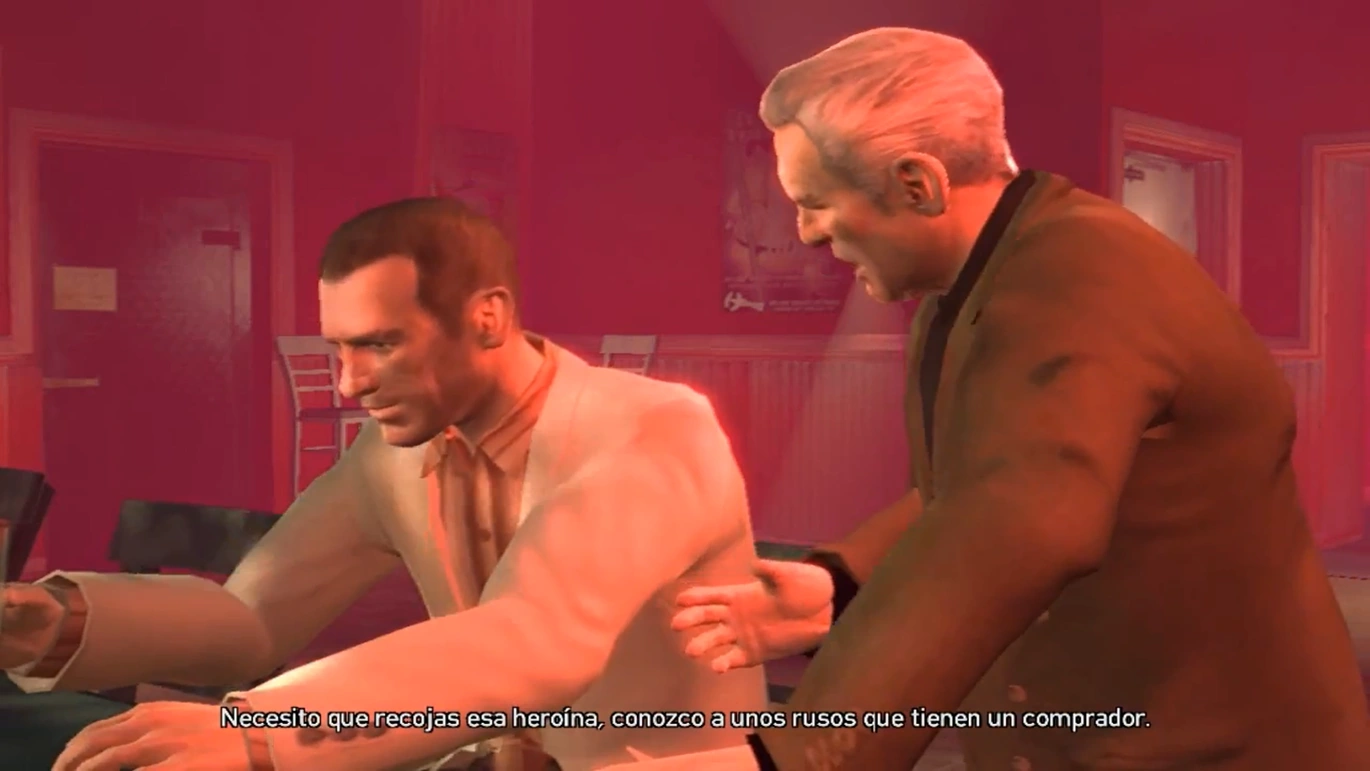
| − | '''<div style="font-size:100%;">[[Archivo:OLT1.png| |
+ | '''<div style="font-size:100%;">[[Archivo:OLT1.png|250px|right]] |
<big>'''[[If the price is right]]'''</big> |
<big>'''[[If the price is right]]'''</big> |
||
| Línea 1007: | Línea 1007: | ||
| colspan="2" style="border:2px solid FireBrick; padding:1em 1em 1em 1em; background-color:none" | |
| colspan="2" style="border:2px solid FireBrick; padding:1em 1em 1em 1em; background-color:none" | |
||
<div align="right"><small>Grand Theft Auto: The Ballad of Gay Tony</small></div> |
<div align="right"><small>Grand Theft Auto: The Ballad of Gay Tony</small></div> |
||
| − | '''<div style="font-size:100%;">[[Archivo:PartyOver0°.png| |
+ | '''<div style="font-size:100%;">[[Archivo:PartyOver0°.png|250px|left]] |
<big>'''[[Party's Over]]'''</big> |
<big>'''[[Party's Over]]'''</big> |
||
| Línea 1014: | Línea 1014: | ||
| colspan="2" style="border:2px solid FireBrick; padding:1em 1em 1em 1em; background-color:none" | |
| colspan="2" style="border:2px solid FireBrick; padding:1em 1em 1em 1em; background-color:none" | |
||
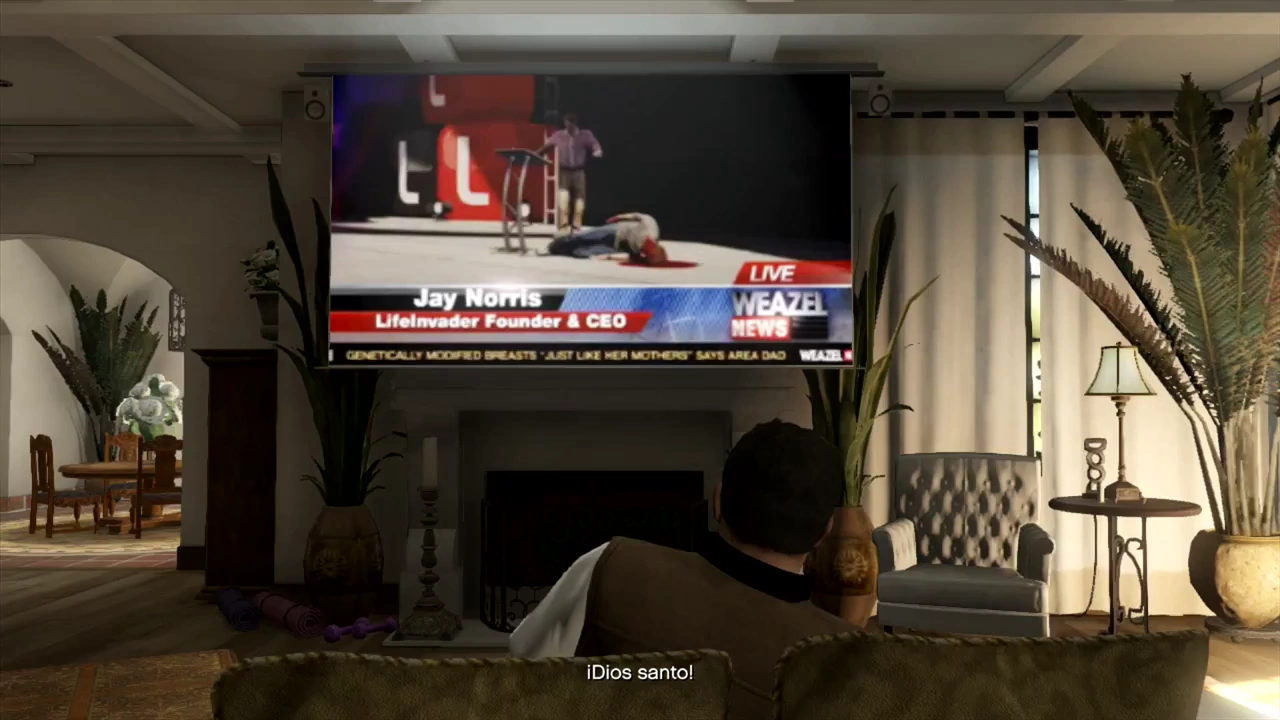
<div align="right"><small>Grand Theft Auto IV</small></div> |
<div align="right"><small>Grand Theft Auto IV</small></div> |
||
| − | '''<div style="font-size:100%;">[[Archivo:Meltdown1.png| |
+ | '''<div style="font-size:100%;">[[Archivo:Meltdown1.png|250px|right]] |
<big>'''[[Meltdown]]'''</big> |
<big>'''[[Meltdown]]'''</big> |
||
| Línea 1021: | Línea 1021: | ||
| colspan="2" style="border:2px solid FireBrick; padding:1em 1em 1em 1em; background-color:none" | |
| colspan="2" style="border:2px solid FireBrick; padding:1em 1em 1em 1em; background-color:none" | |
||
<div align="right"><small>Grand Theft Auto IV</small></div> |
<div align="right"><small>Grand Theft Auto IV</small></div> |
||
| − | '''<div style="font-size:100%;">[[Archivo:Undress_to_Kill.png| |
+ | '''<div style="font-size:100%;">[[Archivo:Undress_to_Kill.png|250px|left]] |
<big>'''[[Undress to Kill]]'''</big> |
<big>'''[[Undress to Kill]]'''</big> |
||
| Línea 1030: | Línea 1030: | ||
| colspan="2" style="border:2px solid FireBrick; padding:1em 1em 1em 1em; background-color:none" | |
| colspan="2" style="border:2px solid FireBrick; padding:1em 1em 1em 1em; background-color:none" | |
||
<div align="right"><small>Grand Theft Auto V</small></div> |
<div align="right"><small>Grand Theft Auto V</small></div> |
||
| − | '''<div style="font-size:100%;">[[Archivo:Complicaciones_GTAV.png| |
+ | '''<div style="font-size:100%;">[[Archivo:Complicaciones_GTAV.png|250px|right]] |
<big>'''[[Complicaciones]]'''</big> |
<big>'''[[Complicaciones]]'''</big> |
||
| Línea 1037: | Línea 1037: | ||
| colspan="2" style="border:2px solid FireBrick; padding:1em 1em 1em 1em; background-color:none" | |
| colspan="2" style="border:2px solid FireBrick; padding:1em 1em 1em 1em; background-color:none" | |
||
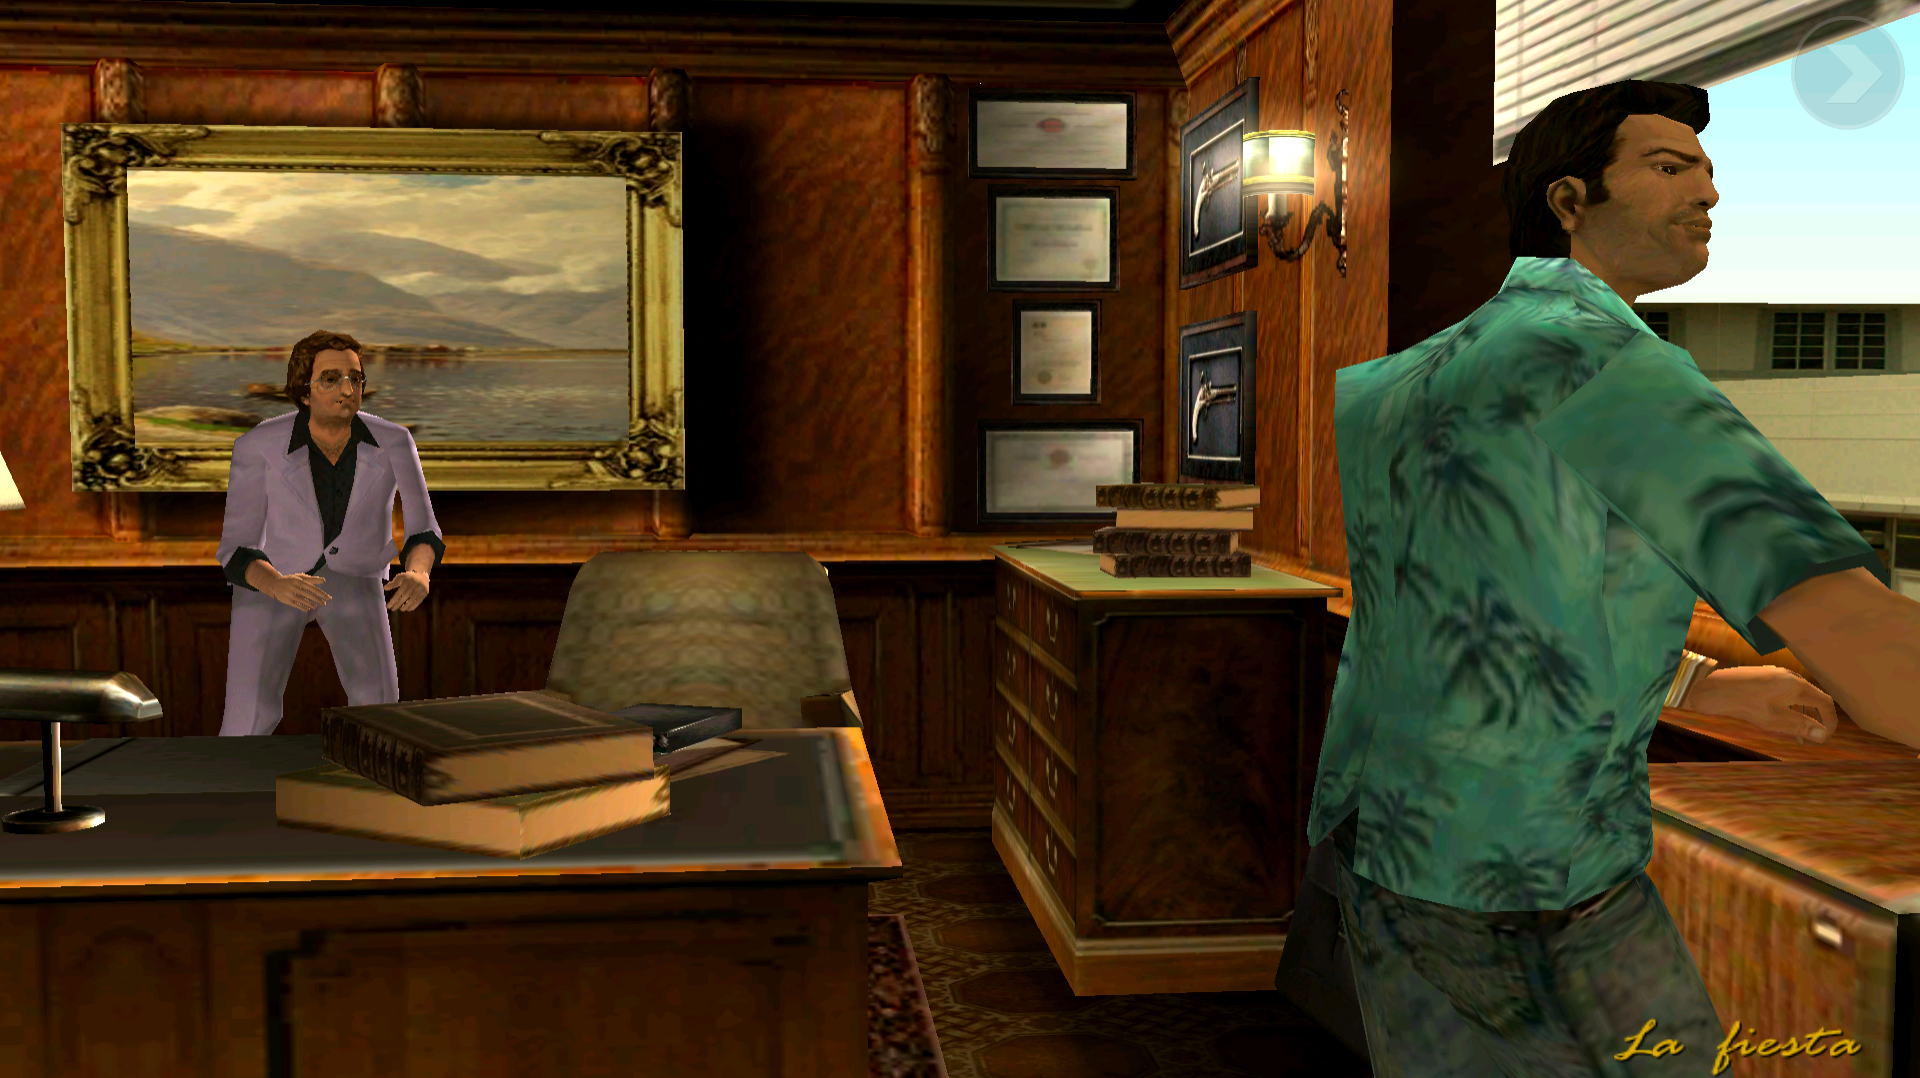
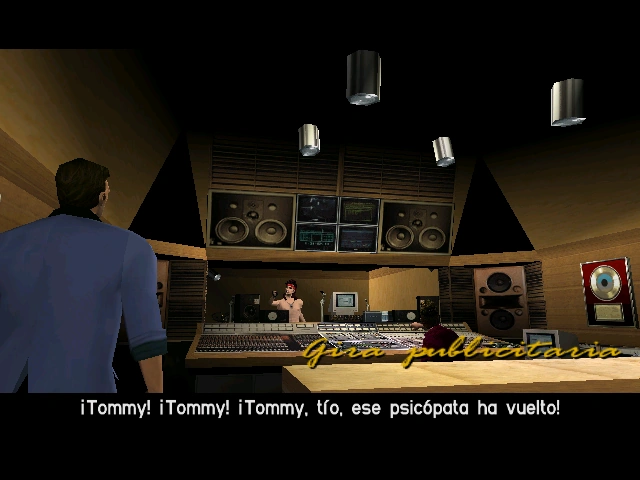
<div align="right"><small>Grand Theft Auto: Vice City</small></div> |
<div align="right"><small>Grand Theft Auto: Vice City</small></div> |
||
| − | '''<div style="font-size:100%;">[[Archivo:Gira_publicitaria_1.png| |
+ | '''<div style="font-size:100%;">[[Archivo:Gira_publicitaria_1.png|250px|left]] |
<big>'''[[Gira publicitaria]]'''</big> |
<big>'''[[Gira publicitaria]]'''</big> |
||
| Línea 1046: | Línea 1046: | ||
| colspan="2" style="border:2px solid FireBrick; padding:1em 1em 1em 1em; background-color:none" | |
| colspan="2" style="border:2px solid FireBrick; padding:1em 1em 1em 1em; background-color:none" | |
||
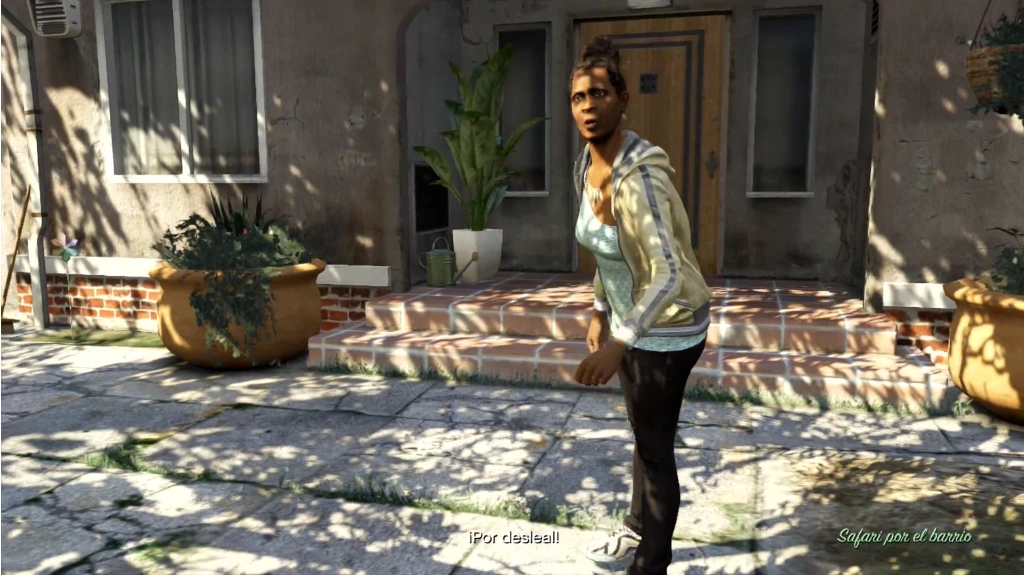
<div align="right"><small>Grand Theft Auto V</small></div> |
<div align="right"><small>Grand Theft Auto V</small></div> |
||
| − | '''<div style="font-size:100%;">[[Archivo:Safari_por_el_barrio.png| |
+ | '''<div style="font-size:100%;">[[Archivo:Safari_por_el_barrio.png|250px|right]] |
<big>'''[[Safari por el barrio]]'''</big> |
<big>'''[[Safari por el barrio]]'''</big> |
||
| Línea 1055: | Línea 1055: | ||
| colspan="2" style="border:2px solid FireBrick; padding:1em 1em 1em 1em; background-color:none" | |
| colspan="2" style="border:2px solid FireBrick; padding:1em 1em 1em 1em; background-color:none" | |
||
<div align="right"><small>Grand Theft Auto V</small></div> |
<div align="right"><small>Grand Theft Auto V</small></div> |
||
| − | '''<div style="font-size:100%;">[[Archivo:ITP 1.PNG| |
+ | '''<div style="font-size:100%;">[[Archivo:ITP 1.PNG|250px|left]] |
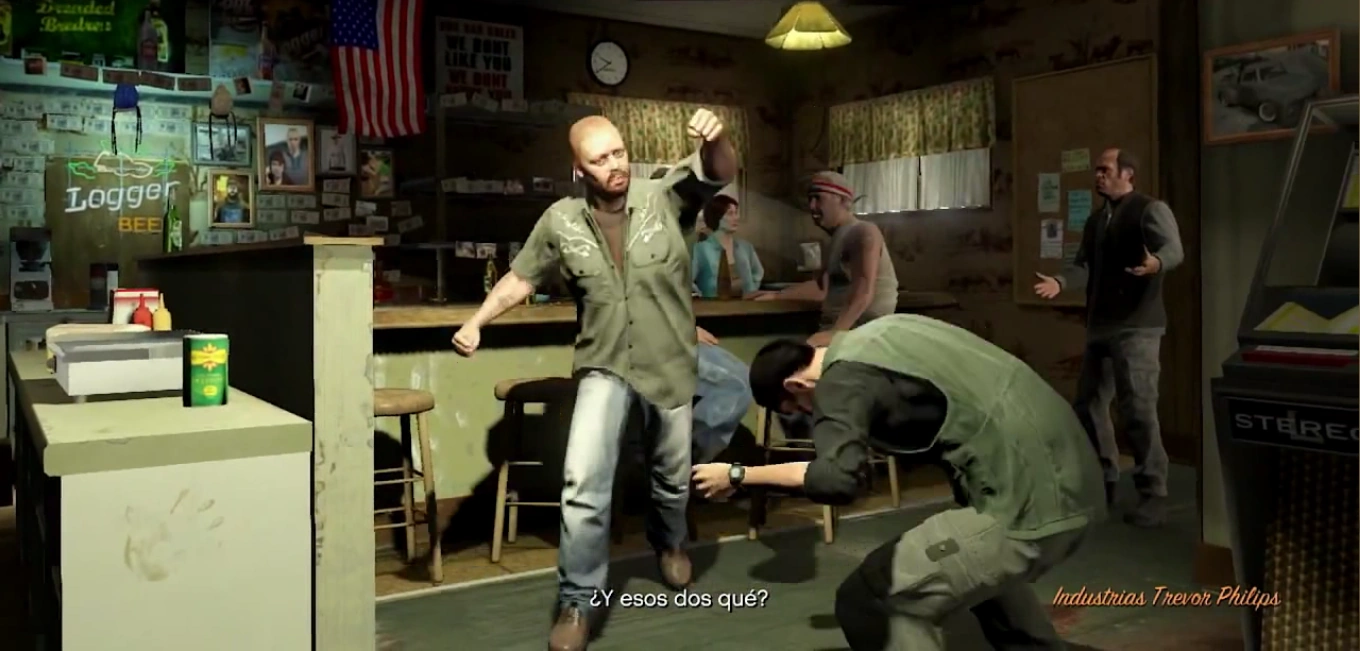
<big>'''[[Industrias Trevor Philips (misión)]]'''</big> |
<big>'''[[Industrias Trevor Philips (misión)]]'''</big> |
||
| Línea 1064: | Línea 1064: | ||
| colspan="2" style="border:2px solid FireBrick; padding:1em 1em 1em 1em; background-color:none" | |
| colspan="2" style="border:2px solid FireBrick; padding:1em 1em 1em 1em; background-color:none" | |
||
<div align="right"><small>Grand Theft Auto V</small></div> |
<div align="right"><small>Grand Theft Auto V</small></div> |
||
| − | '''<div style="font-size:100%;">[[Archivo:ElBloqueo1.png| |
+ | '''<div style="font-size:100%;">[[Archivo:ElBloqueo1.png|250px|right]] |
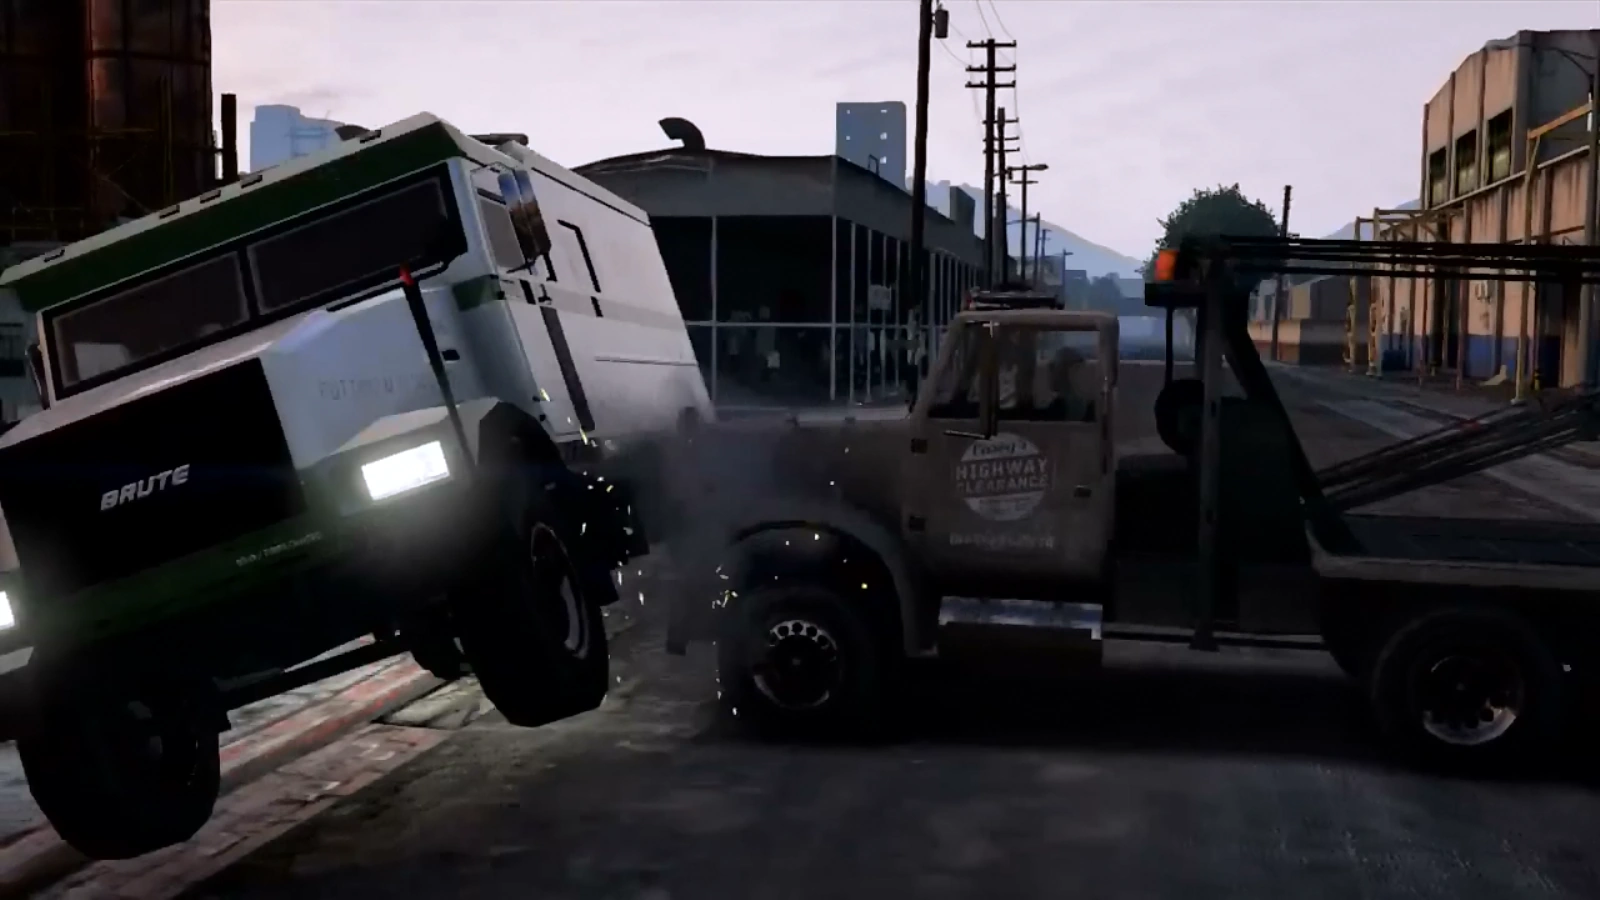
<big>'''[[El bloqueo]]'''</big> |
<big>'''[[El bloqueo]]'''</big> |
||
| Línea 1073: | Línea 1073: | ||
| colspan="2" style="border:2px solid FireBrick; padding:1em 1em 1em 1em; background-color:none" | |
| colspan="2" style="border:2px solid FireBrick; padding:1em 1em 1em 1em; background-color:none" | |
||
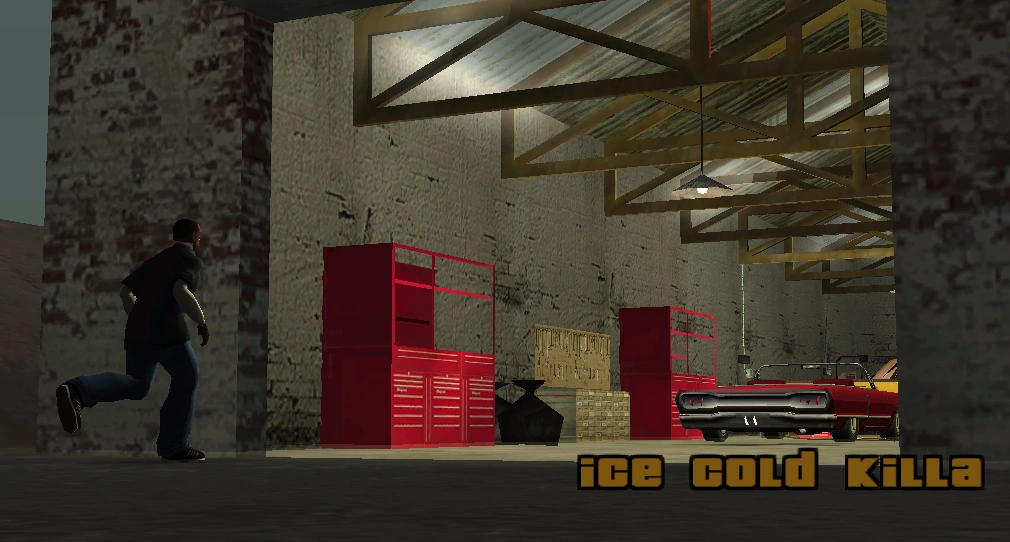
<div align="right"><small>Grand Theft Auto: San Andreas</small></div> |
<div align="right"><small>Grand Theft Auto: San Andreas</small></div> |
||
| − | '''<div style="font-size:100%;">[[Archivo:ICK 1 GTA SA.png| |
+ | '''<div style="font-size:100%;">[[Archivo:ICK 1 GTA SA.png|250px|left]] |
<big>'''[[Ice Cold Killa]]'''</big> |
<big>'''[[Ice Cold Killa]]'''</big> |
||
| Línea 1080: | Línea 1080: | ||
| colspan="2" style="border:2px solid FireBrick; padding:1em 1em 1em 1em; background-color:none" | |
| colspan="2" style="border:2px solid FireBrick; padding:1em 1em 1em 1em; background-color:none" | |
||
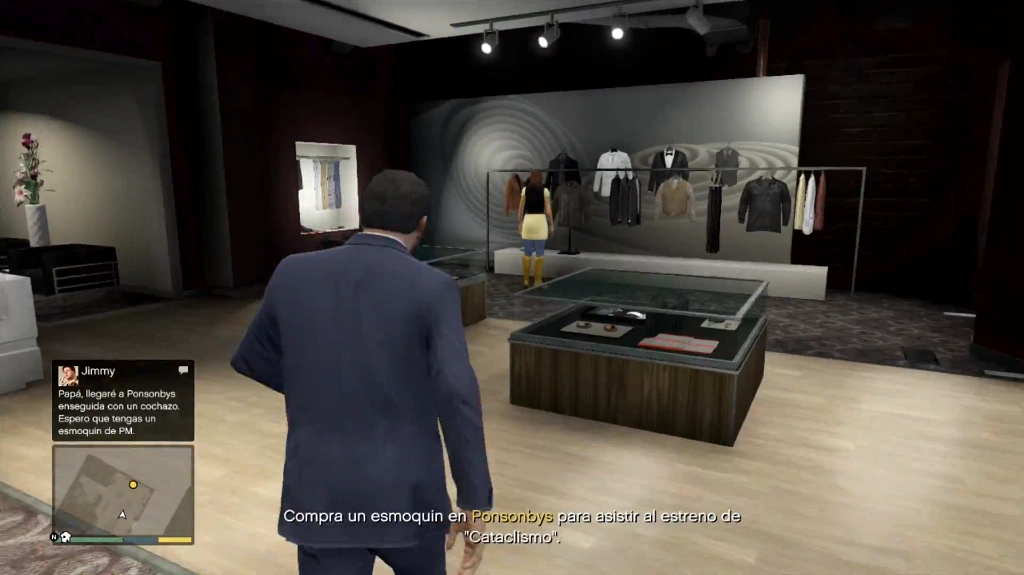
<div align="right"><small>Grand Theft Auto V</small></div> |
<div align="right"><small>Grand Theft Auto V</small></div> |
||
| − | '''<div style="font-size:100%;">[[Archivo:Cataclismo.png| |
+ | '''<div style="font-size:100%;">[[Archivo:Cataclismo.png|250px|right]] |
<big>'''[[Cataclismo]]'''</big> |
<big>'''[[Cataclismo]]'''</big> |
||
| Línea 1089: | Línea 1089: | ||
| colspan="2" style="border:2px solid FireBrick; padding:1em 1em 1em 1em; background-color:none" | |
| colspan="2" style="border:2px solid FireBrick; padding:1em 1em 1em 1em; background-color:none" | |
||
<div align="right"><small>Grand Theft Auto V</small></div> |
<div align="right"><small>Grand Theft Auto V</small></div> |
||
| − | '''<div style="font-size:100%;">[[Archivo:AsesoramientoMatrimonial_GTAV.png| |
+ | '''<div style="font-size:100%;">[[Archivo:AsesoramientoMatrimonial_GTAV.png|250px|left]] |
<big>'''[[Asesoramiento matrimonial]]'''</big> |
<big>'''[[Asesoramiento matrimonial]]'''</big> |
||
| Línea 1097: | Línea 1097: | ||
<div align="right"><small>Grand Theft Auto V</small></div> |
<div align="right"><small>Grand Theft Auto V</small></div> |
||
'''<div style="font-size:100%;"> |
'''<div style="font-size:100%;"> |
||
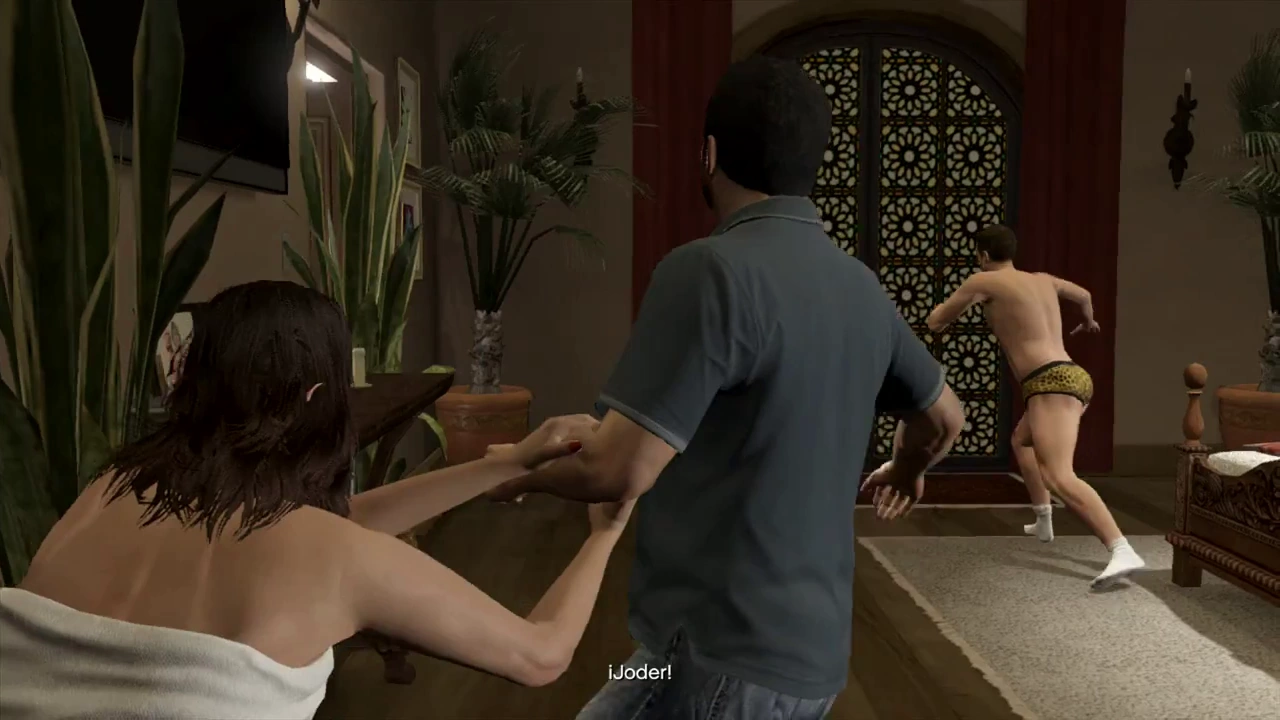
| − | [[Archivo:Me enfrente a la ley portada.png| |
+ | [[Archivo:Me enfrente a la ley portada.png|250px|right]] |
<big>'''[[Me enfrenté a la ley...]]</big> |
<big>'''[[Me enfrenté a la ley...]]</big> |
||
| Línea 1105: | Línea 1105: | ||
<div align="right"><small>Grand Theft Auto V</small></div> |
<div align="right"><small>Grand Theft Auto V</small></div> |
||
'''<div style="font-size:100%;"> |
'''<div style="font-size:100%;"> |
||
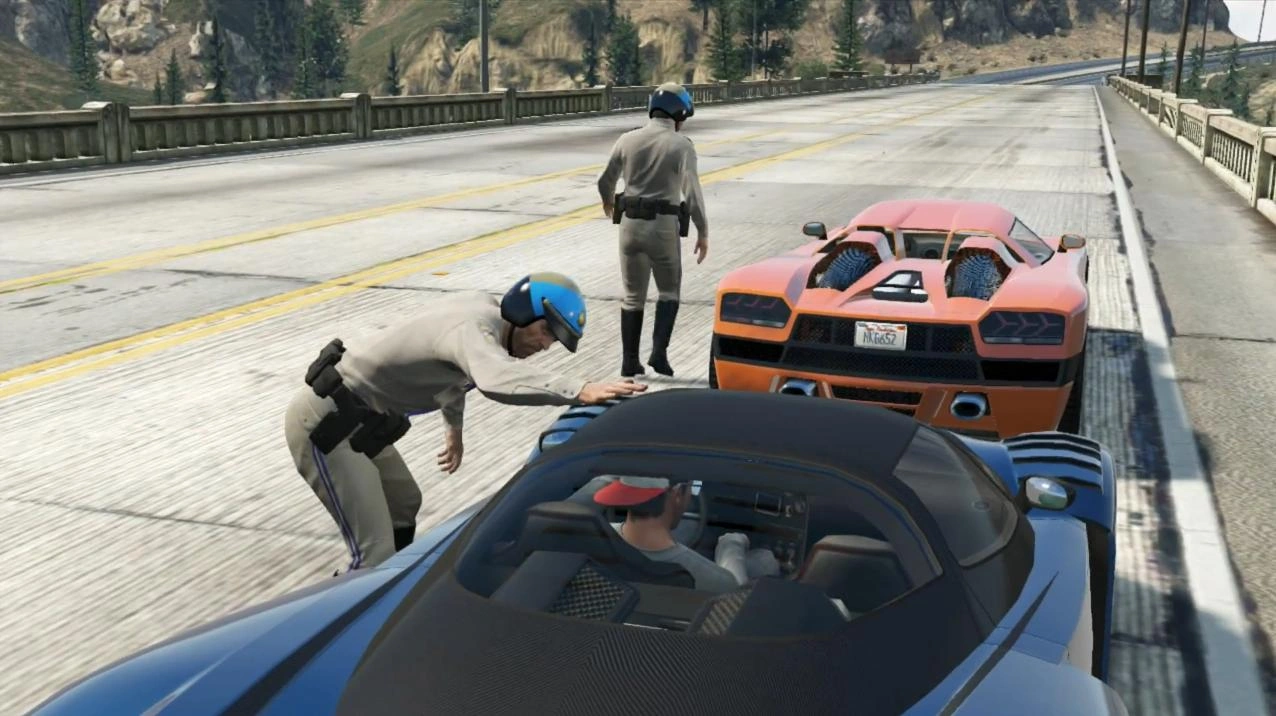
| − | [[Archivo:El gran golpe 1.PNG| |
+ | [[Archivo:El gran golpe 1.PNG|250px|left]] |
<big>'''[[El gran golpe]]</big> |
<big>'''[[El gran golpe]]</big> |
||
| Línea 1115: | Línea 1115: | ||
<div align="right"><small>Grand Theft Auto: San Andreas</small></div> |
<div align="right"><small>Grand Theft Auto: San Andreas</small></div> |
||
'''<div style="font-size:100%;"> |
'''<div style="font-size:100%;"> |
||
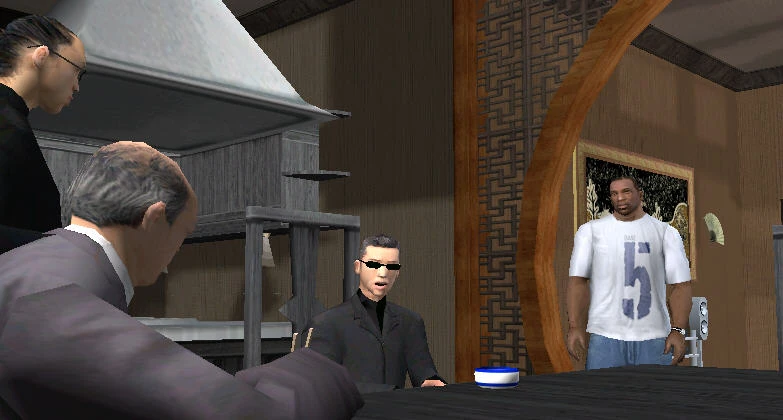
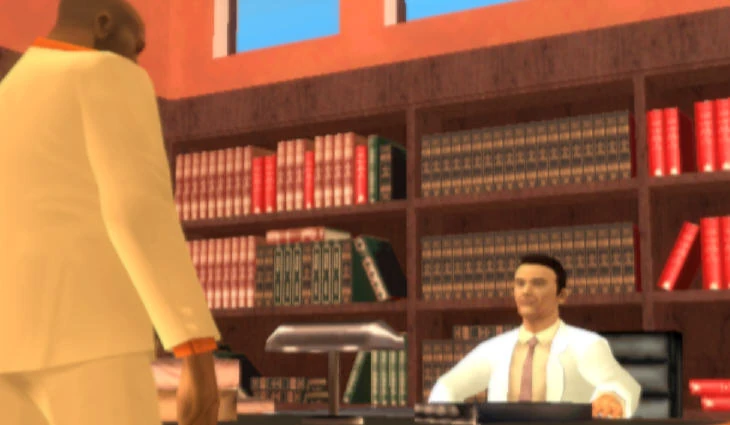
| − | [[Archivo:Ken conversando con Kent Paul y Maccer.png| |
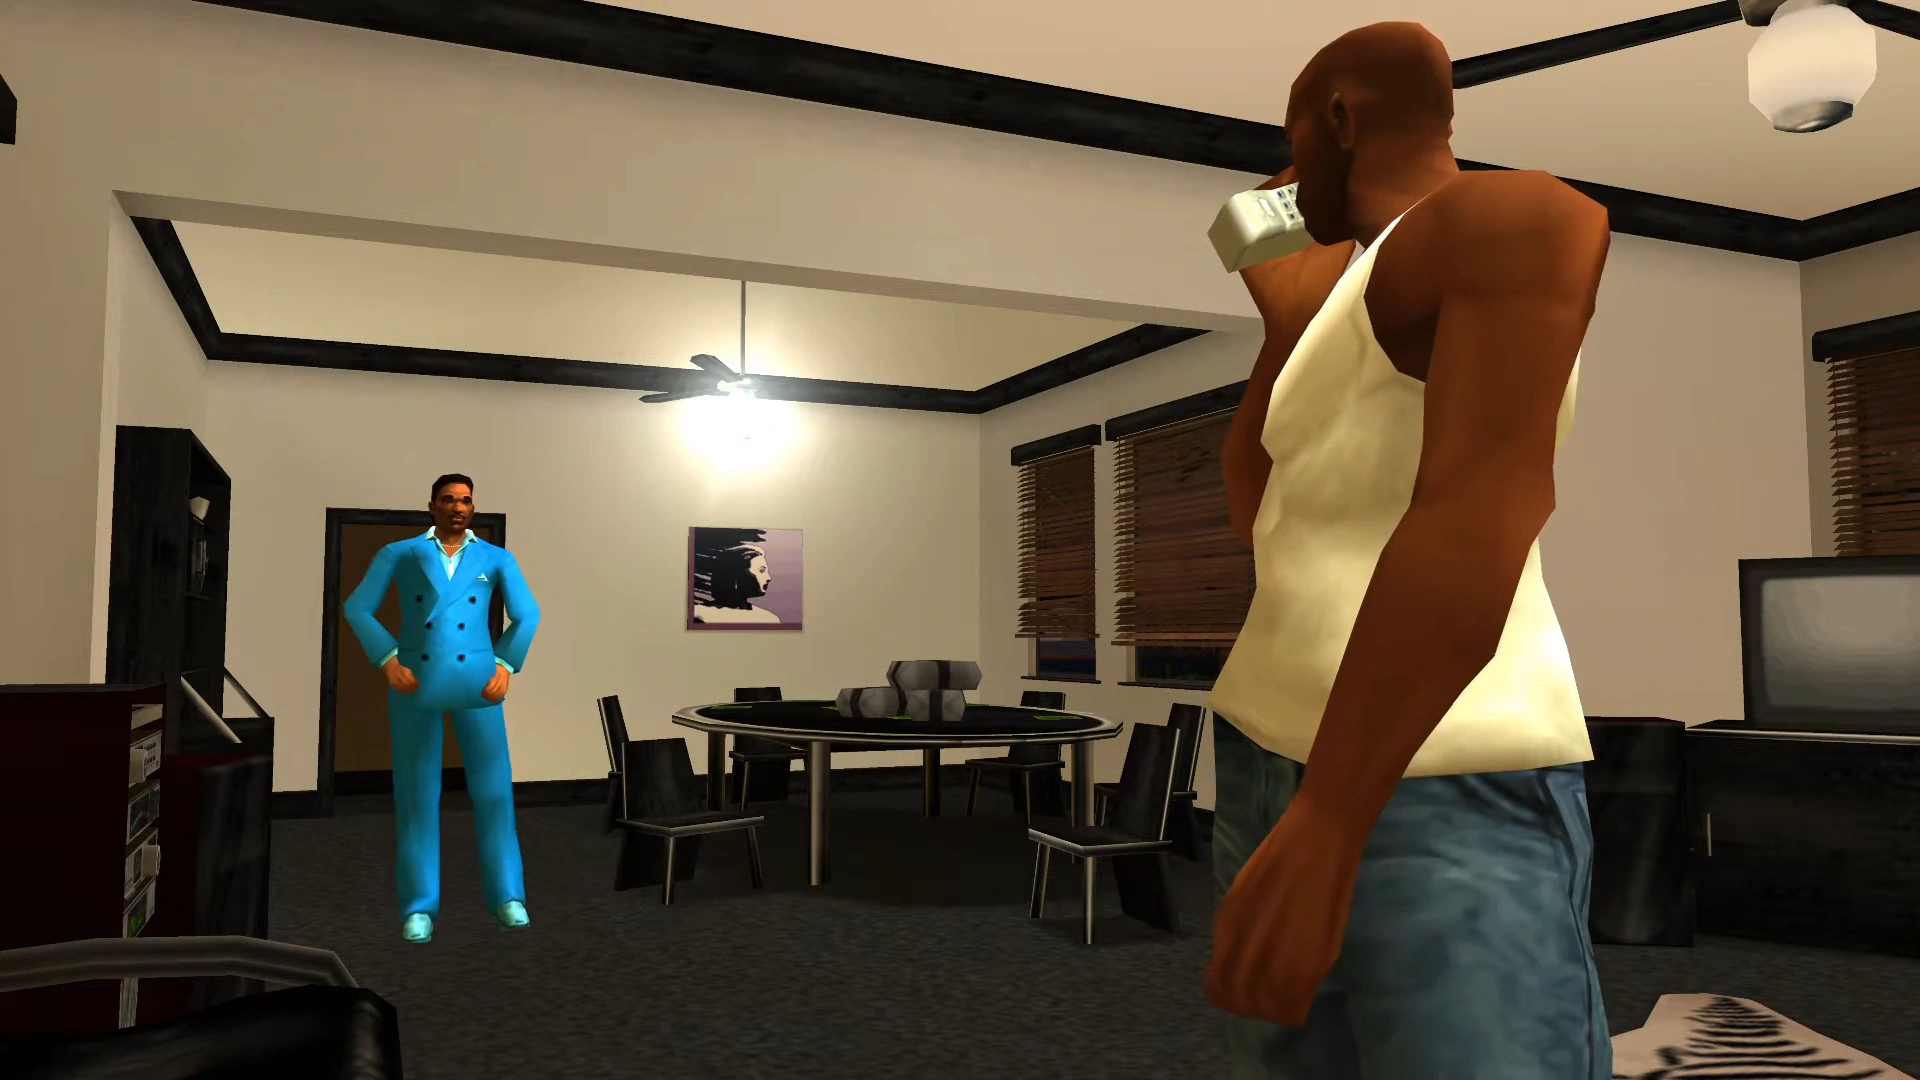
+ | [[Archivo:Ken conversando con Kent Paul y Maccer.png|250px|right]] |
<big>'''[[The Meat Business]]</big> |
<big>'''[[The Meat Business]]</big> |
||
| Línea 1123: | Línea 1123: | ||
<div align="right"><small>Grand Theft Auto V</small></div> |
<div align="right"><small>Grand Theft Auto V</small></div> |
||
'''<div style="font-size:100%;"> |
'''<div style="font-size:100%;"> |
||
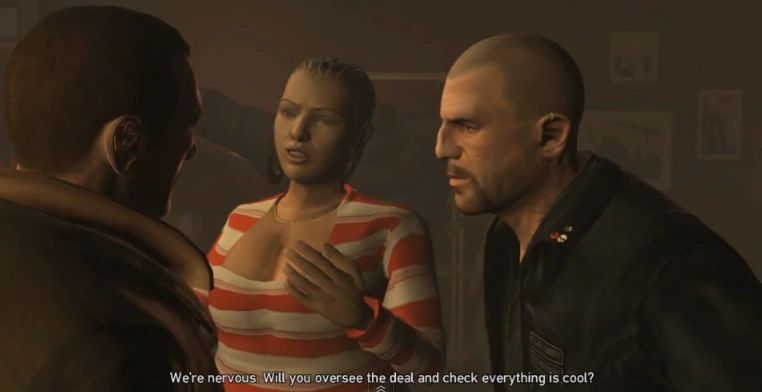
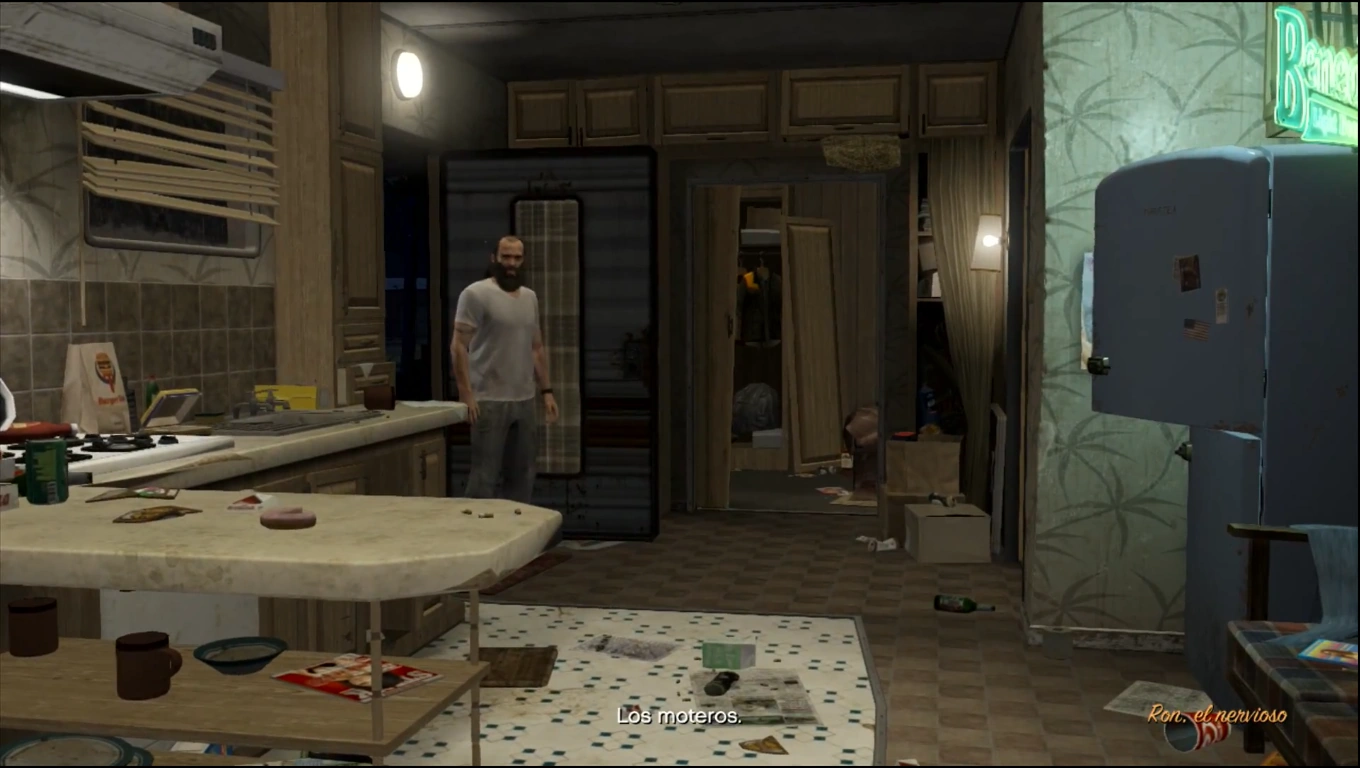
| − | [[Archivo:Ron,_el_nervioso_1.png| |
+ | [[Archivo:Ron,_el_nervioso_1.png|250px|left]] |
<big>'''[[Ron, el nervioso]]</big> |
<big>'''[[Ron, el nervioso]]</big> |
||
| Línea 1133: | Línea 1133: | ||
<div align="right"><small>Grand Theft Auto V</small></div> |
<div align="right"><small>Grand Theft Auto V</small></div> |
||
'''<div style="font-size:100%;"> |
'''<div style="font-size:100%;"> |
||
| − | [[Archivo:Solicitudeamistad_GTAV.png| |
+ | [[Archivo:Solicitudeamistad_GTAV.png|250px|right]] |
<big>'''[[Solicitud de amistad]]</big> |
<big>'''[[Solicitud de amistad]]</big> |
||
| Línea 1143: | Línea 1143: | ||
<div align="right"><small>Grand Theft Auto IV: The Lost and Damned</small></div> |
<div align="right"><small>Grand Theft Auto IV: The Lost and Damned</small></div> |
||
'''<div style="font-size:100%;"> |
'''<div style="font-size:100%;"> |
||
| − | [[Archivo:Roman's_Holiday.png| |
+ | [[Archivo:Roman's_Holiday.png|250px|left]] |
<big>'''[[Roman's Holiday]]</big> |
<big>'''[[Roman's Holiday]]</big> |
||
| Línea 1152: | Línea 1152: | ||
<div align="right"><small>Grand Theft Auto: Chinatown Wars</small></div> |
<div align="right"><small>Grand Theft Auto: Chinatown Wars</small></div> |
||
'''<div style="font-size:100%;"> |
'''<div style="font-size:100%;"> |
||
| − | [[Archivo:Salt in the Wound.PNG| |
+ | [[Archivo:Salt in the Wound.PNG|250px|right]] |
<big>'''[[Salt in the Wound]]</big> |
<big>'''[[Salt in the Wound]]</big> |
||
| Línea 1163: | Línea 1163: | ||
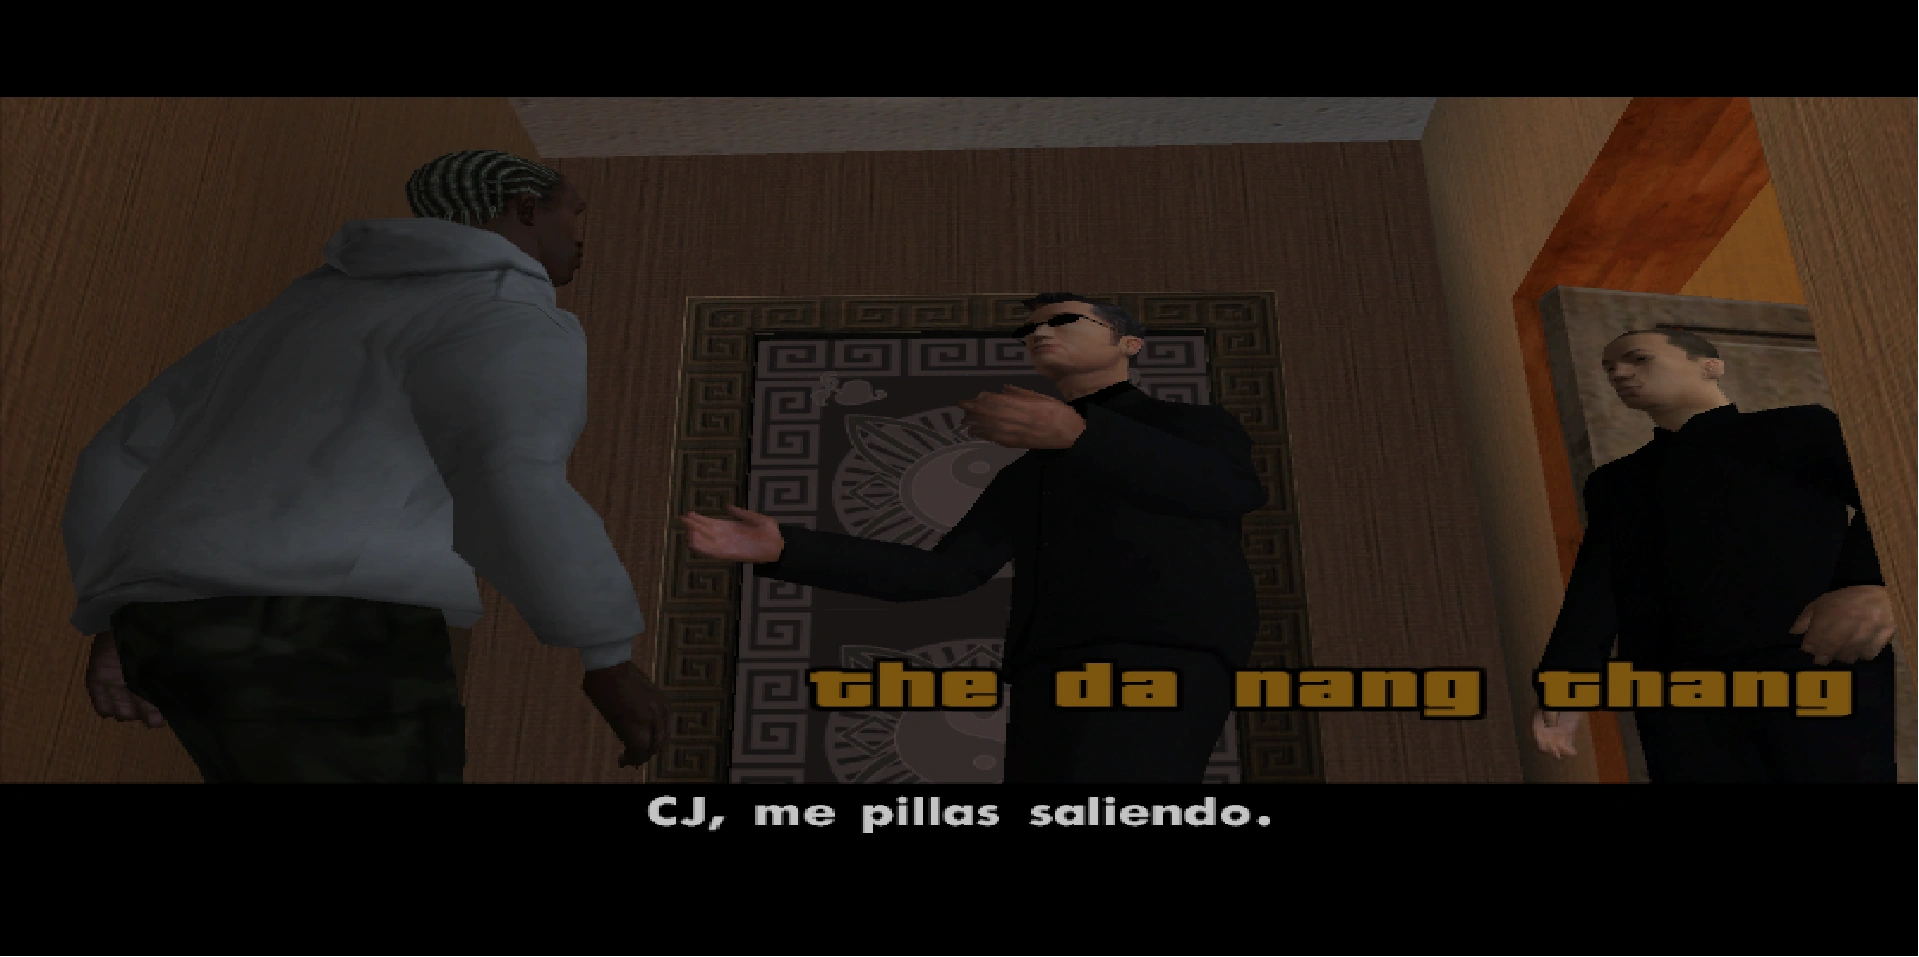
<div align="right"><small>Grand Theft Auto: San Andreas</small></div> |
<div align="right"><small>Grand Theft Auto: San Andreas</small></div> |
||
'''<div style="font-size:100%;"> |
'''<div style="font-size:100%;"> |
||
| − | [[Archivo:TDNT.png| |
+ | [[Archivo:TDNT.png|250px|left]] |
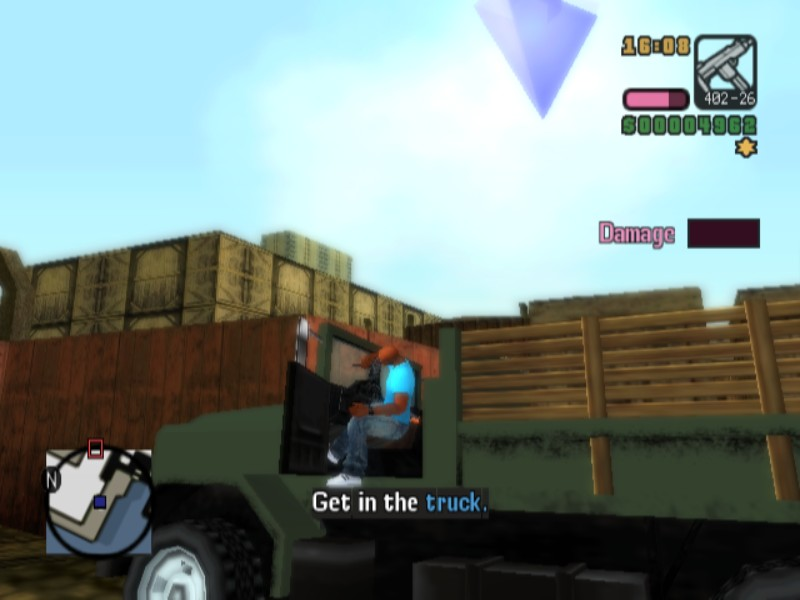
<big>'''[[The Da Nang Thang]]</big> |
<big>'''[[The Da Nang Thang]]</big> |
||
| Línea 1174: | Línea 1174: | ||
<div align="right"><small>Grand Theft Auto V</small></div> |
<div align="right"><small>Grand Theft Auto V</small></div> |
||
'''<div style="font-size:100%;"> |
'''<div style="font-size:100%;"> |
||
| − | [[Archivo:Desenterrandoelpasado1.jpg| |
+ | [[Archivo:Desenterrandoelpasado1.jpg|250px|right]] |
<big>'''[[Desenterrando el pasado]]</big> |
<big>'''[[Desenterrando el pasado]]</big> |
||
| Línea 1183: | Línea 1183: | ||
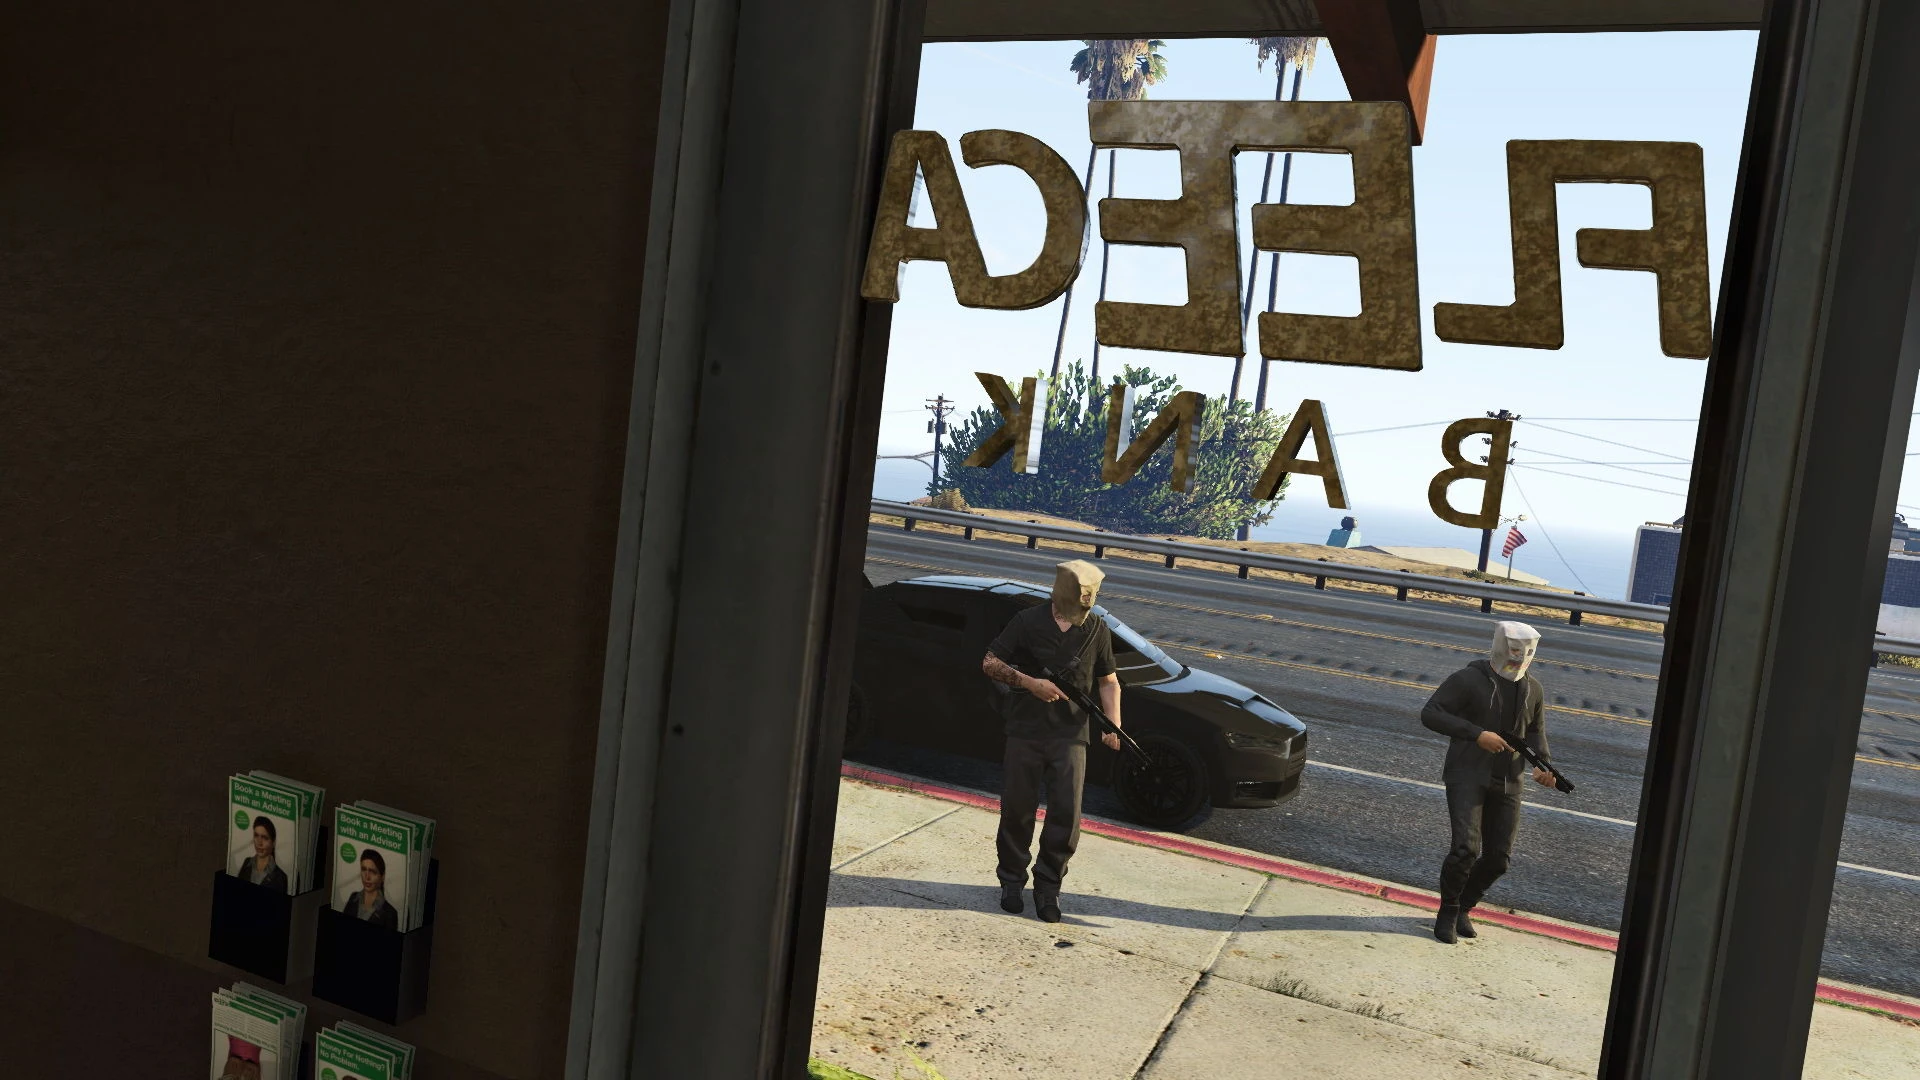
<div align="left"><small>Grand Theft Auto V</small></div> |
<div align="left"><small>Grand Theft Auto V</small></div> |
||
'''<div style="font-size:100%;"> |
'''<div style="font-size:100%;"> |
||
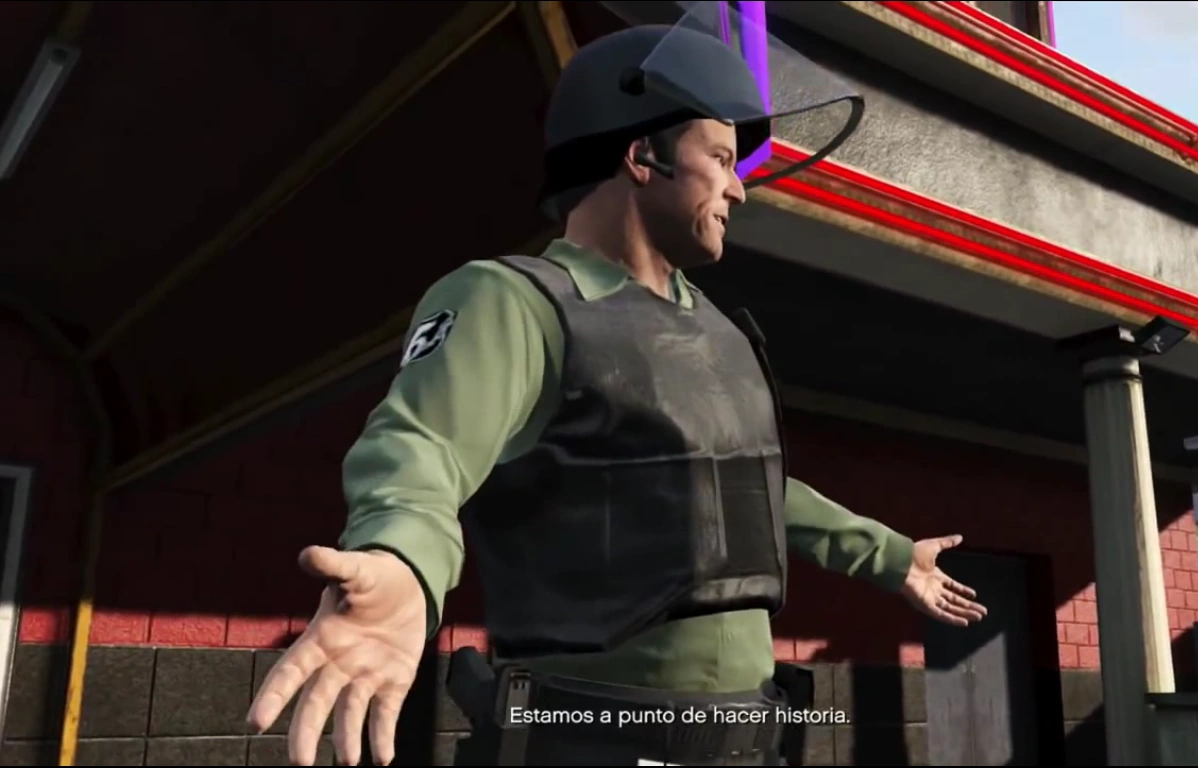
| − | [[Archivo:GolpeAlFleecaGTAOnline.jpg| |
+ | [[Archivo:GolpeAlFleecaGTAOnline.jpg|250px|left]] |
<big>'''[[El golpe al Fleeca]]</big> |
<big>'''[[El golpe al Fleeca]]</big> |
||
| Línea 1192: | Línea 1192: | ||
<div align="right"><small>Grand Theft Auto: Liberty City Stories</small></div> |
<div align="right"><small>Grand Theft Auto: Liberty City Stories</small></div> |
||
'''<div style="font-size:100%;"> |
'''<div style="font-size:100%;"> |
||
| − | [[Archivo:Bringing_the_House_Down1.png| |
+ | [[Archivo:Bringing_the_House_Down1.png|250px|right]] |
<big>'''[[Bringing the House Down]]</big> |
<big>'''[[Bringing the House Down]]</big> |
||
| Línea 1203: | Línea 1203: | ||
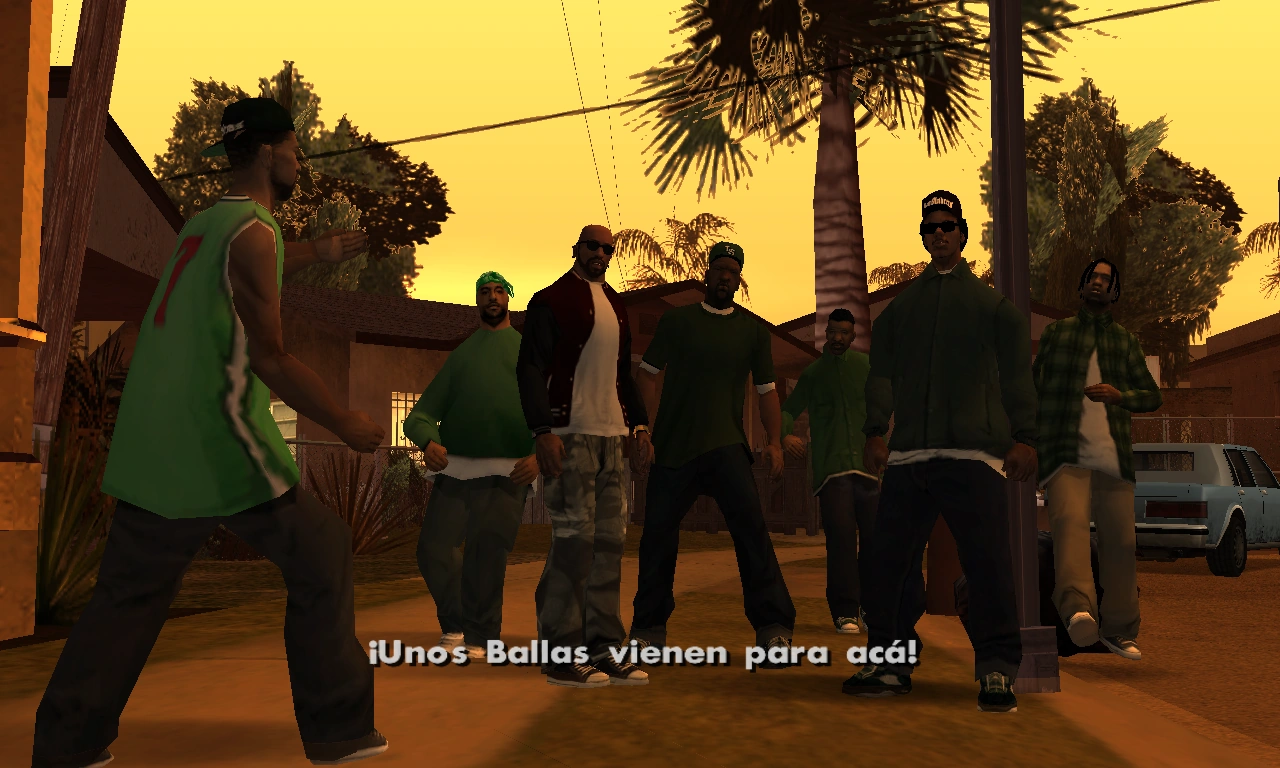
<div align="right"><small>Grand Theft Auto: San Andreas</small></div> |
<div align="right"><small>Grand Theft Auto: San Andreas</small></div> |
||
'''<div style="font-size:100%;"> |
'''<div style="font-size:100%;"> |
||
| − | [[Archivo:Hauseparty1.png| |
+ | [[Archivo:Hauseparty1.png|250px|left]] |
<big>'''[[House Party]]</big> |
<big>'''[[House Party]]</big> |
||
| Línea 1212: | Línea 1212: | ||
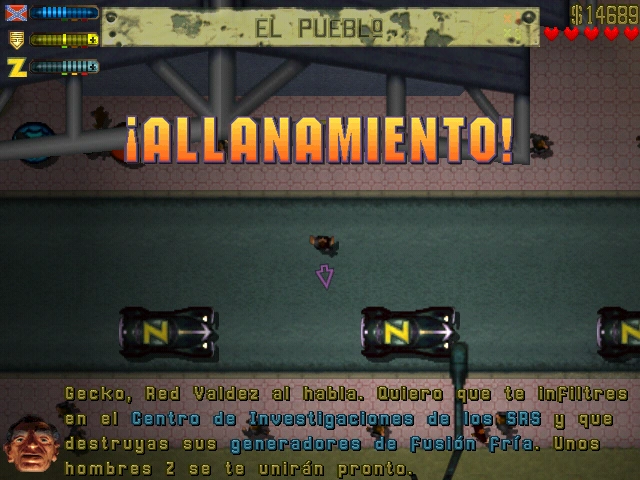
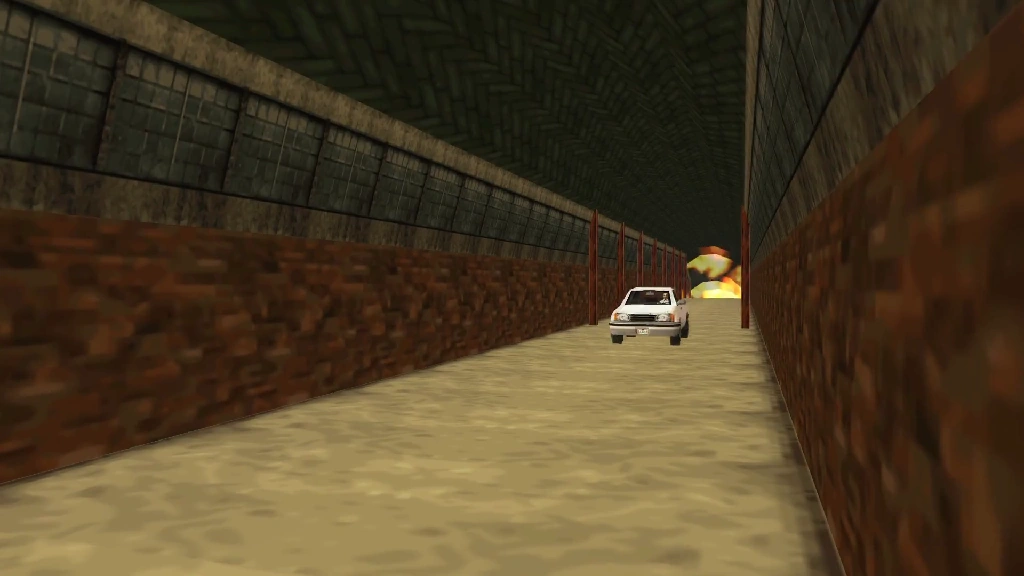
<div align="right"><small>Grand Theft Auto 2</small></div> |
<div align="right"><small>Grand Theft Auto 2</small></div> |
||
'''<div style="font-size:100%;"> |
'''<div style="font-size:100%;"> |
||
| − | [[Archivo:¡Grand Theft Auto!.PNG| |
+ | [[Archivo:¡Grand Theft Auto!.PNG|250px|right]] |
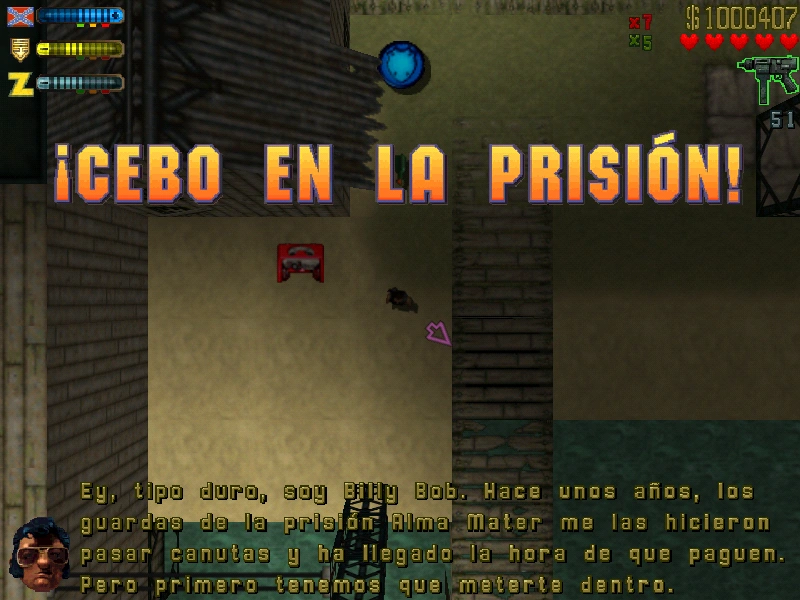
<big>'''[[¡Grand Theft Auto!]]</big> |
<big>'''[[¡Grand Theft Auto!]]</big> |
||
| − | '''¡Grand Theft Auto!''' se trata de la segunda misión que la [[Zaibatsu Corporation]] le otorgará |
+ | '''¡Grand Theft Auto!''' se trata de la segunda misión que la [[Zaibatsu Corporation]] le otorgará al [[jugador (2)|jugador]] en el [[Distrito Industrial]], la misión será atendida desde el teléfono verde. Al tratarse de una de las primeras misiones de esta corporación, con tener la barra de respeto en neutro bastará para ejecutarla. |
|- |
|- |
||
| colspan="2" style="border:2px solid FireBrick; padding:1em 1em 1em 1em; background-color:none" | |
| colspan="2" style="border:2px solid FireBrick; padding:1em 1em 1em 1em; background-color:none" | |
||
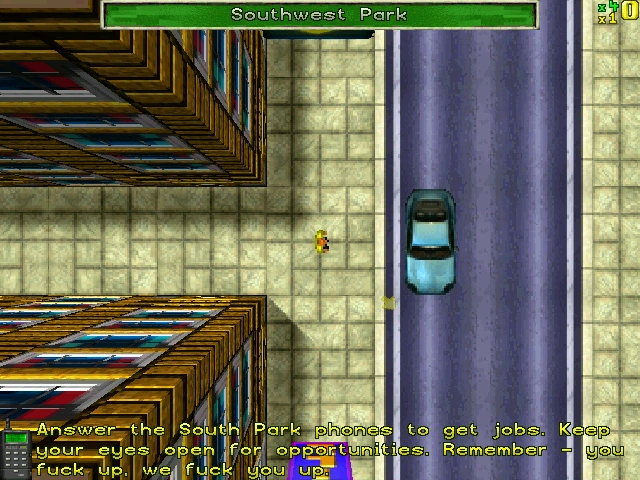
<div align="left"><small>Grand Theft Auto</small></div> |
<div align="left"><small>Grand Theft Auto</small></div> |
||
'''<div style="font-size:100%;"> |
'''<div style="font-size:100%;"> |
||
| − | [[Archivo:Gangsta Bang 1.png| |
+ | [[Archivo:Gangsta Bang 1.png|250px|left]] |
<big>'''[[Gangsta Bang]] '''</big> |
<big>'''[[Gangsta Bang]] '''</big> |
||
| Línea 1229: | Línea 1229: | ||
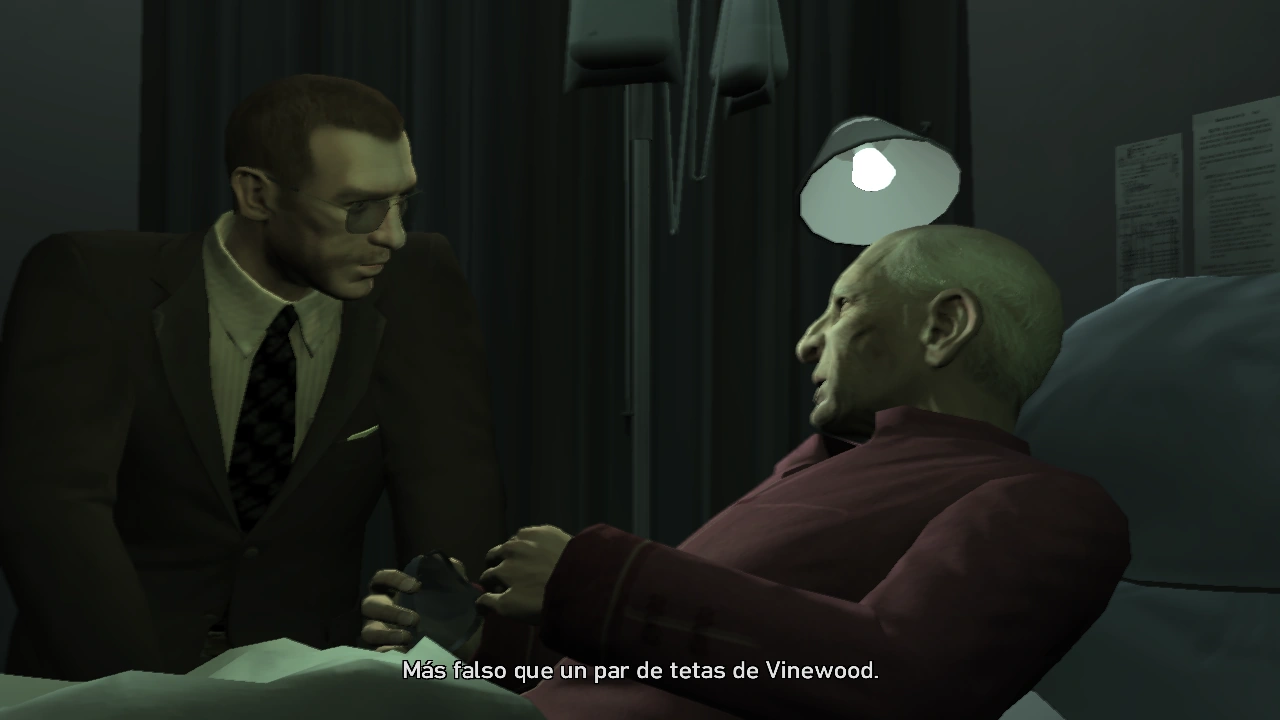
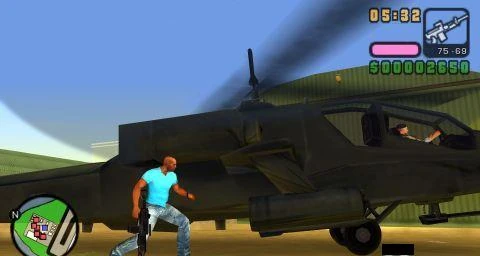
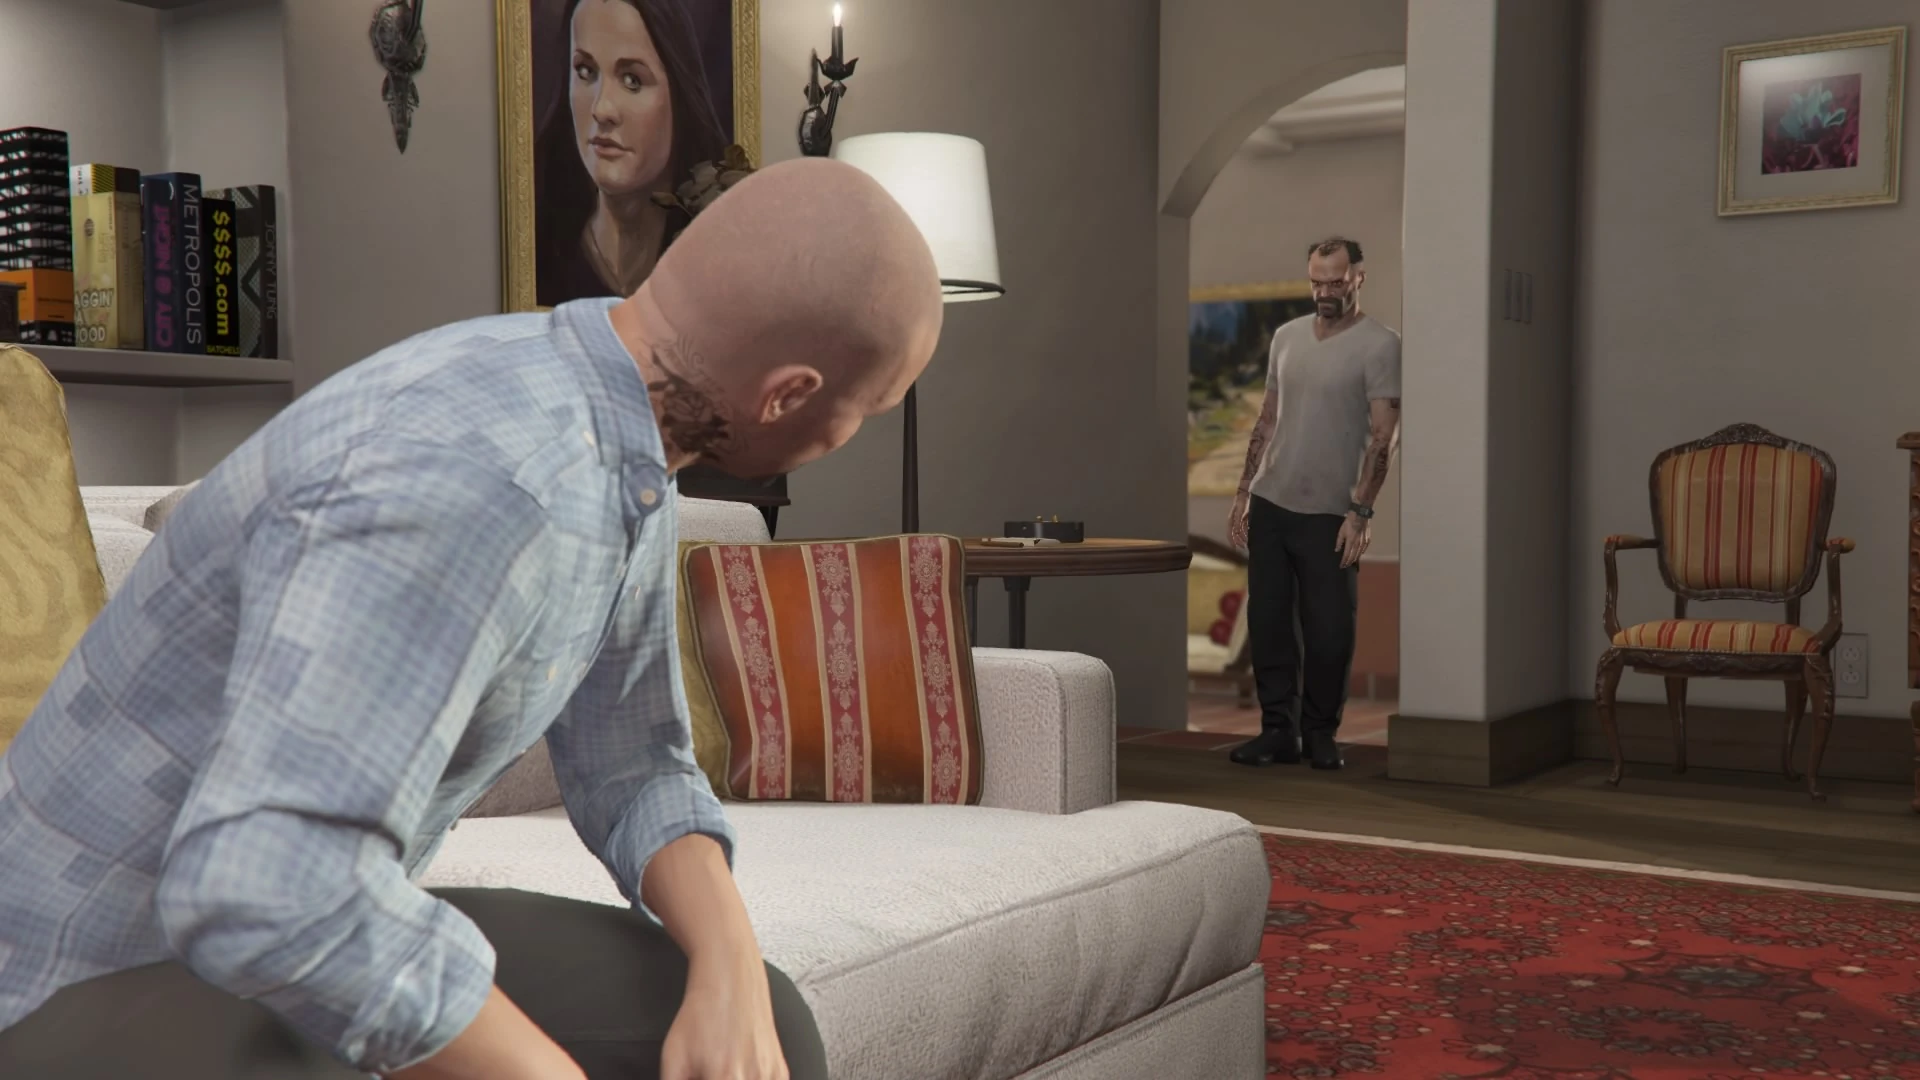
<div align="right"><small>Grand Theft Auto V</small></div> |
<div align="right"><small>Grand Theft Auto V</small></div> |
||
'''<div style="font-size:100%;"> |
'''<div style="font-size:100%;"> |
||
| − | [[Archivo:SrPhilips.jpg| |
+ | [[Archivo:SrPhilips.jpg|250px|right]] |
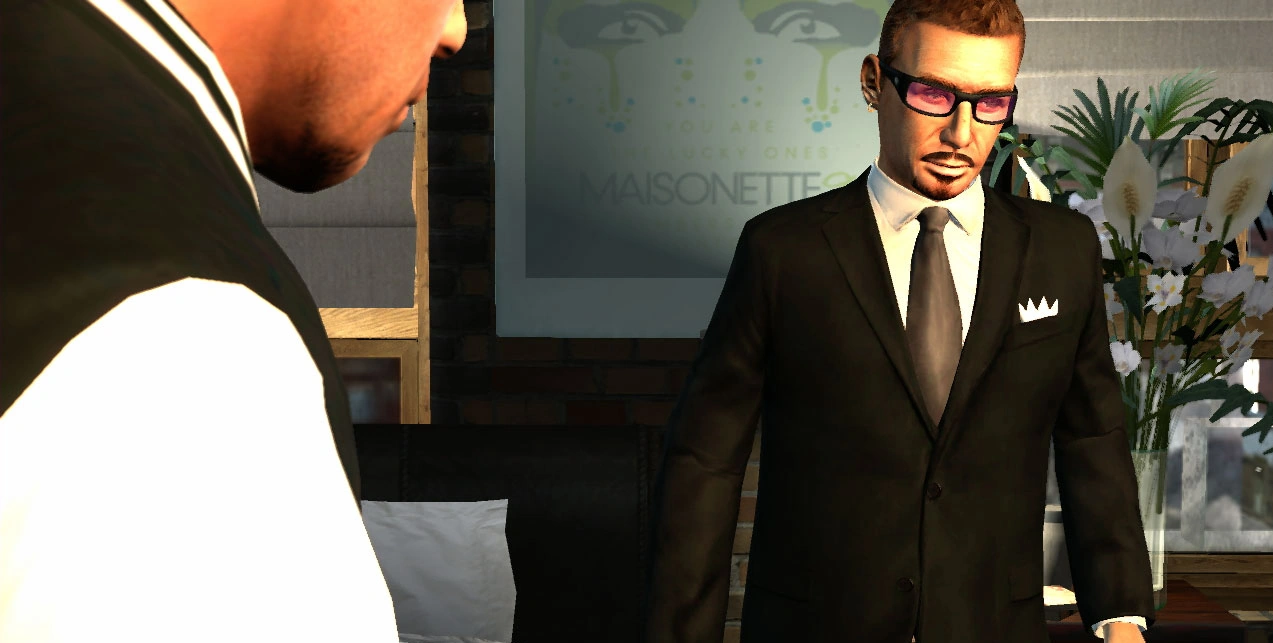
<big>'''[[Sr. Philips]]'''</big> |
<big>'''[[Sr. Philips]]'''</big> |
||
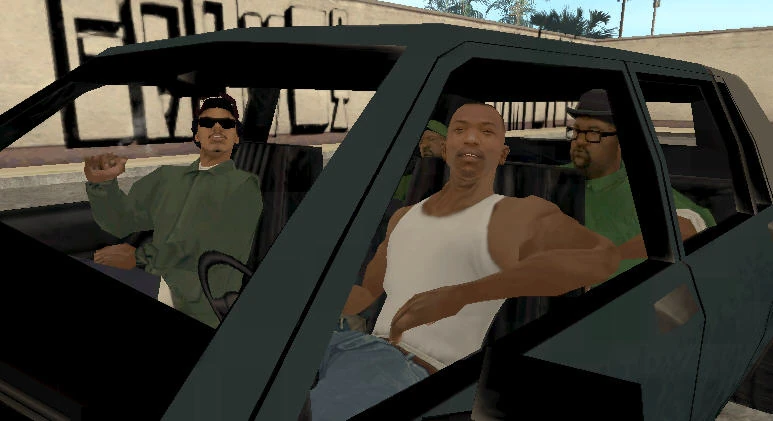
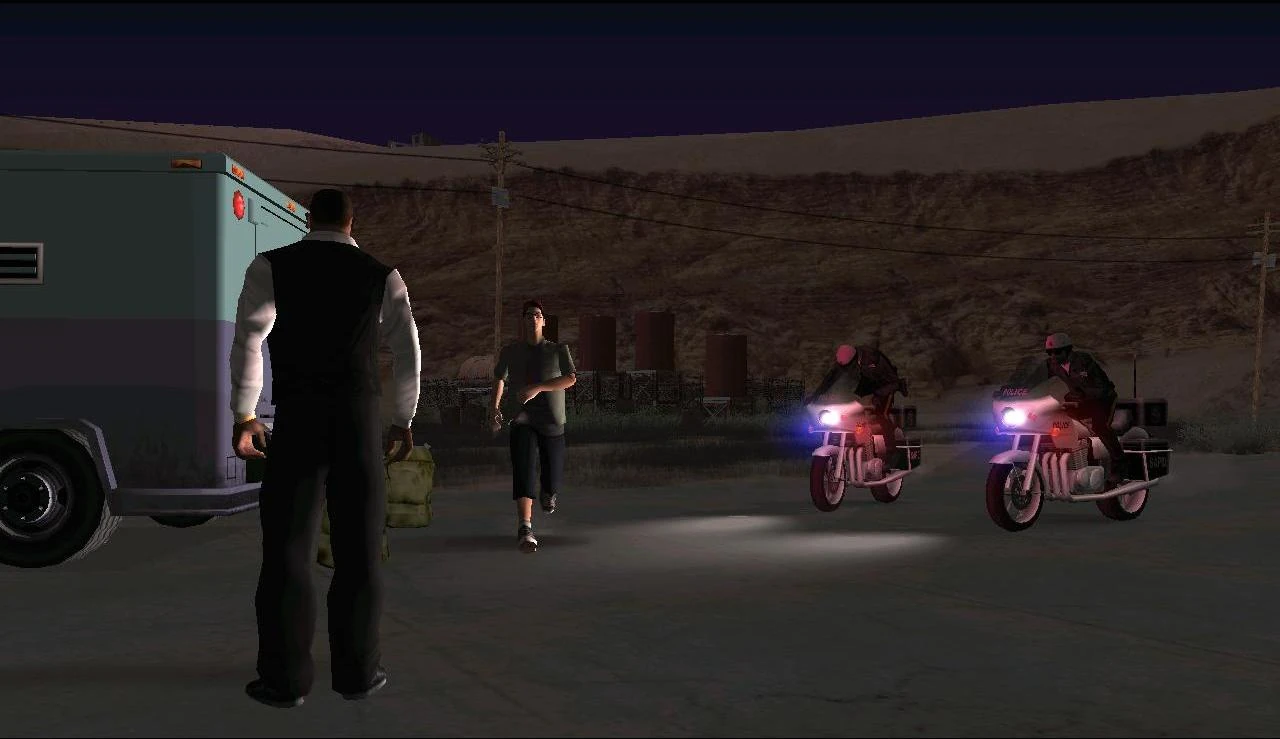
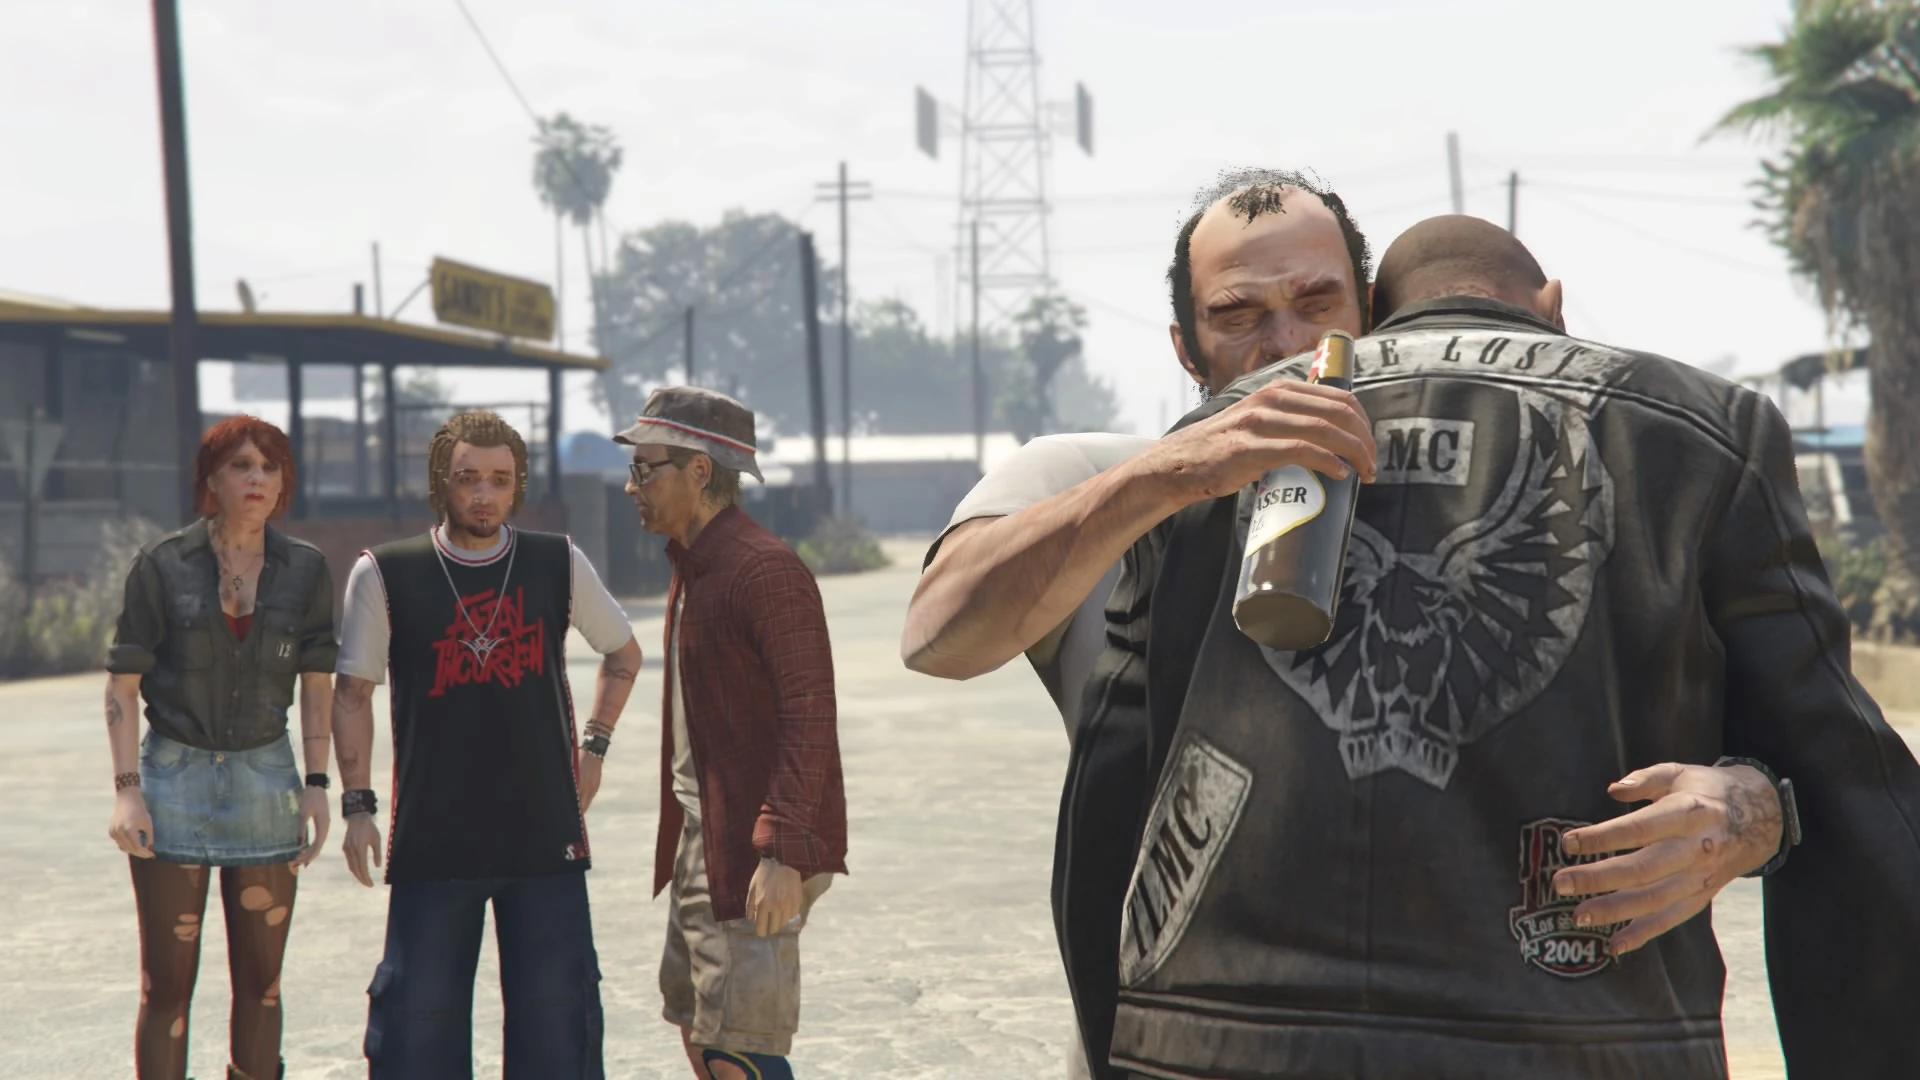
'''Sr. Philips''' es una misión principal de [[Grand Theft Auto V]] y la primera misión que hacemos como [[Trevor Philips]], desde el [[Prólogo|prólogo]]. Además es la misión donde descubrimos una nueva ubicación, siendo esta el [[condado de Blaine]]. Consiste en la ejecución de varios miembros de los [[The Lost Motorcycle Club|Lost MC]] y el líder de los [[Varrios Los Aztecas (V)|Aztecas]], [[Ortega]]. |
'''Sr. Philips''' es una misión principal de [[Grand Theft Auto V]] y la primera misión que hacemos como [[Trevor Philips]], desde el [[Prólogo|prólogo]]. Además es la misión donde descubrimos una nueva ubicación, siendo esta el [[condado de Blaine]]. Consiste en la ejecución de varios miembros de los [[The Lost Motorcycle Club|Lost MC]] y el líder de los [[Varrios Los Aztecas (V)|Aztecas]], [[Ortega]]. |
||
| + | |||
| + | |- |
||
| + | | colspan="2" style="border:2px solid FireBrick; padding:1em 1em 1em 1em; background-color:none" | |
||
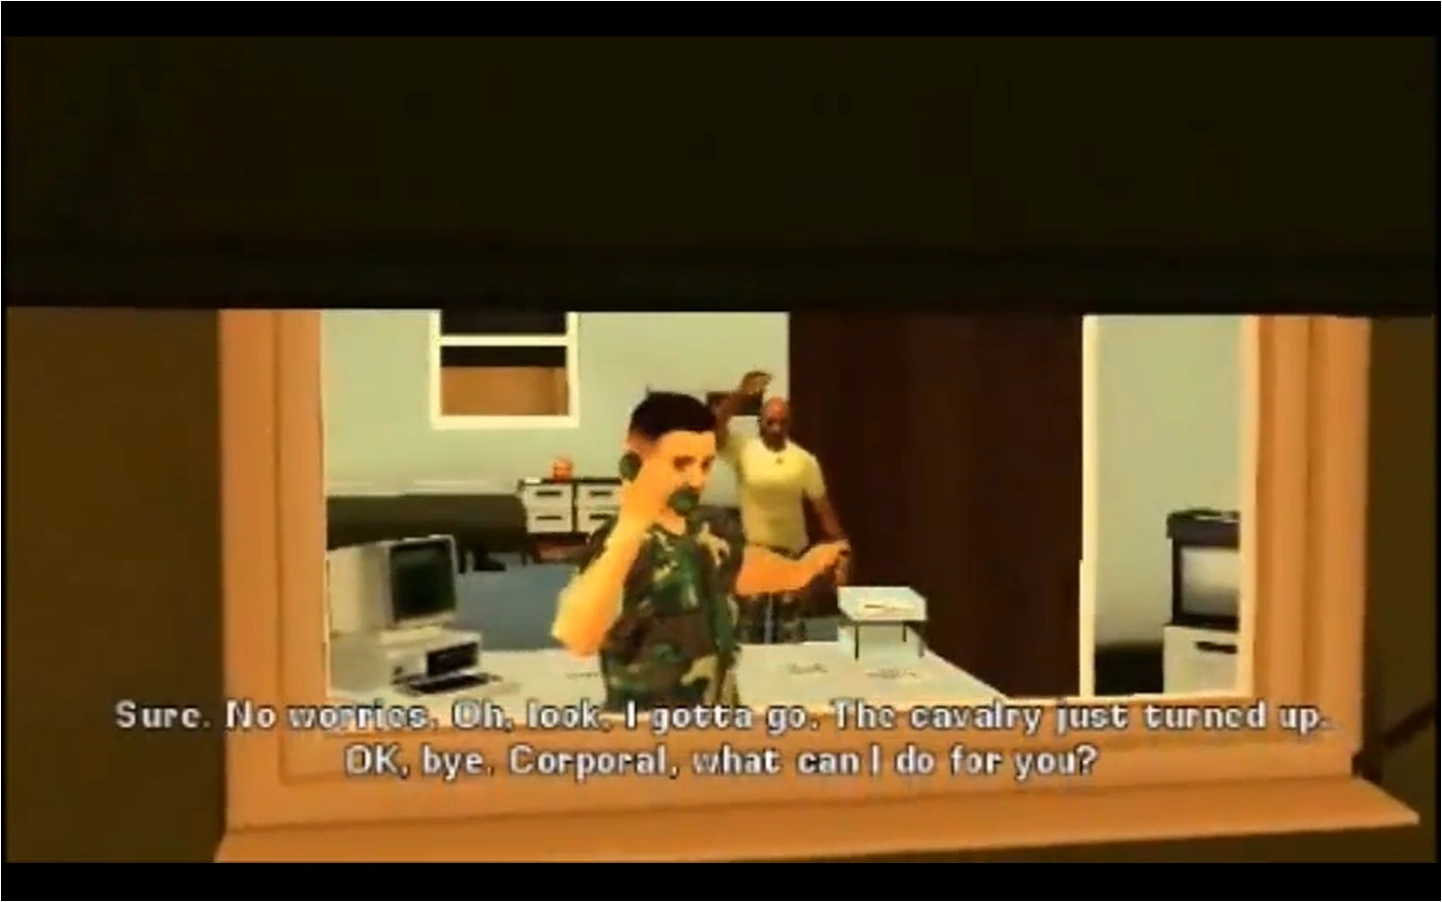
| + | <div align="left"><small>Grand Theft Auto: Chinatown Wars</small></div> |
||
| + | '''<div style="font-size:100%;"> |
||
| + | [[Archivo:Dragon Haul Z 1.png|250px|left]] |
||
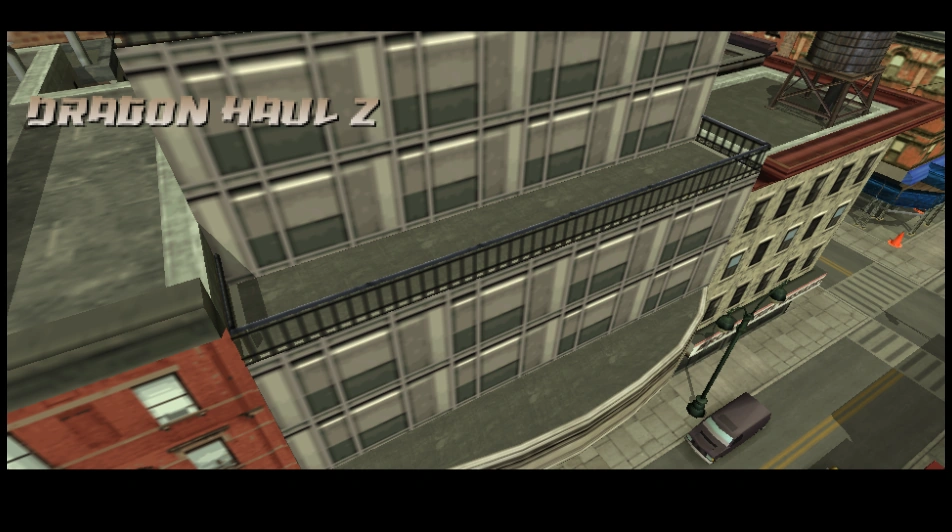
| + | <big>'''[[Dragon Haul Z]] '''</big> |
||
| + | |||
| + | '''Dragon Haul Z''' es la sexta misión que [[Zhou Ming]] otorga a [[Huang Lee]] en [[Grand Theft Auto: Chinatown Wars]]. Huang llega al departamento de Zhou, y este último le comenta que esa noche participarán en las fiestas del [[Barrio Chino]], diciendo que festejarán "cien años de salarios pobres, abuso de opio" y otras "tradiciones". |
||
[[Categoría:Archivos destacados]] |
[[Categoría:Archivos destacados]] |
||
Revisión del 21:15 1 sep 2020
|
Esta es la lista con las misiones destacadas de esta enciclopedia:
|